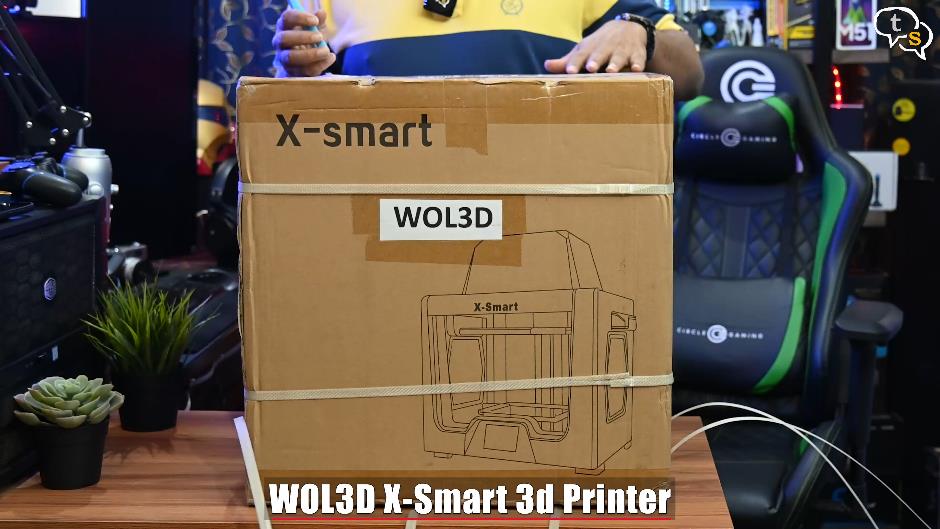
This is one interesting printer, unlike the Ender 3 i reviewed earlier this one comes pre-assembled so you’re ready to print in a few minutes. The one I have is a customized version by WOL 3d in line with the requirements for schools and institutions and by the Atal Tinkering labs, so it has a bigger printing bed and a 4-litre print capacity.
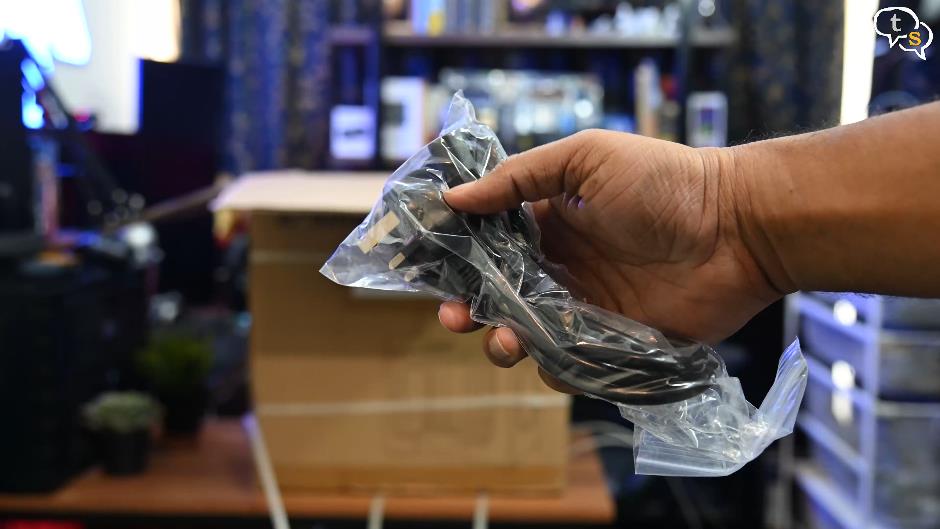

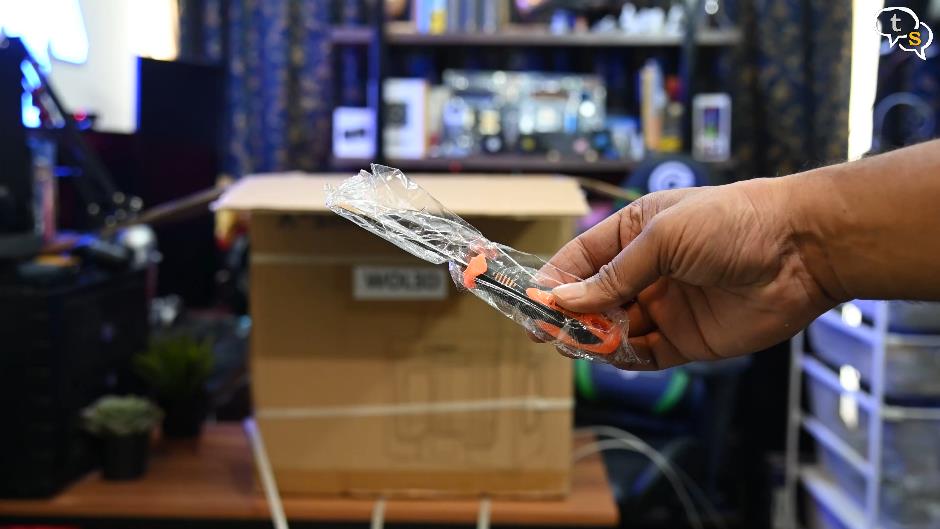
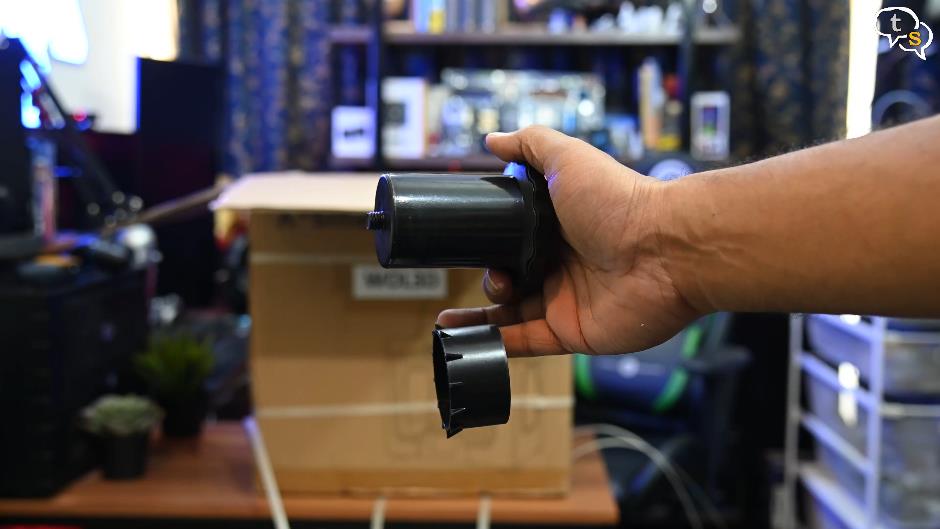
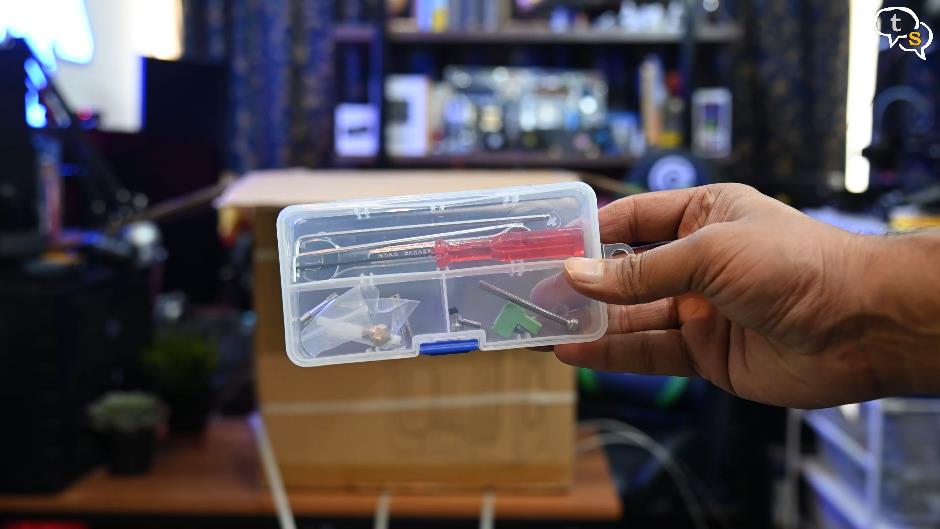
Ok, got it open. The first item that comes out are the accessories. So power cord, scraper, screw driver, Filament holder, and an assortment of tools in a mini toolbox.
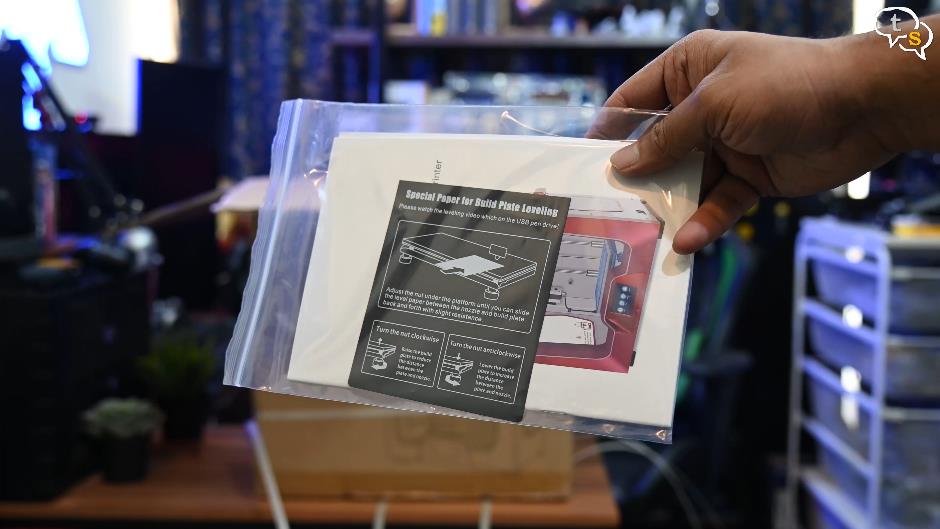
And oh yes, the manual.
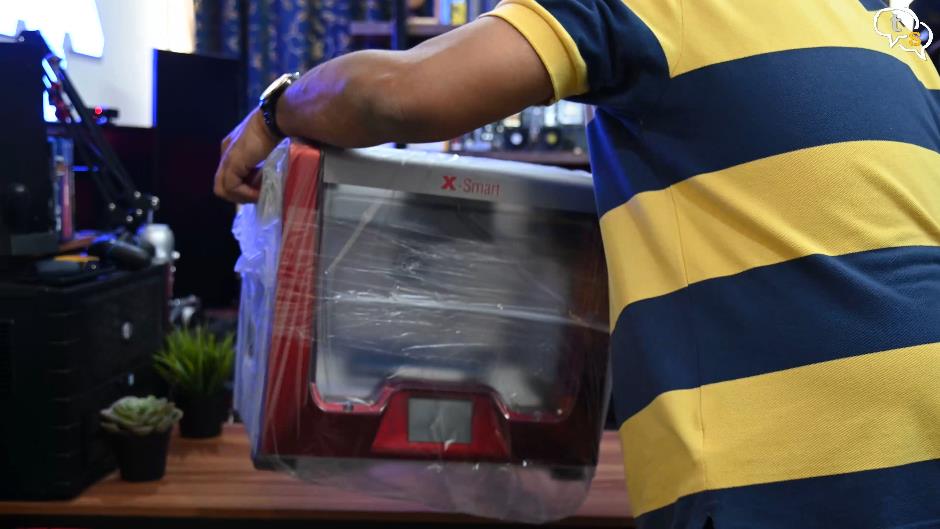
Now for the printer, oh, boy this is heavy. Be careful while removing it from the box, use the handles provided on the sides to pick it up out of the box. Placing the box on the floor else I would not have space on the table to place the printer.
There you go. It’s heavy at around 15kg so be careful.
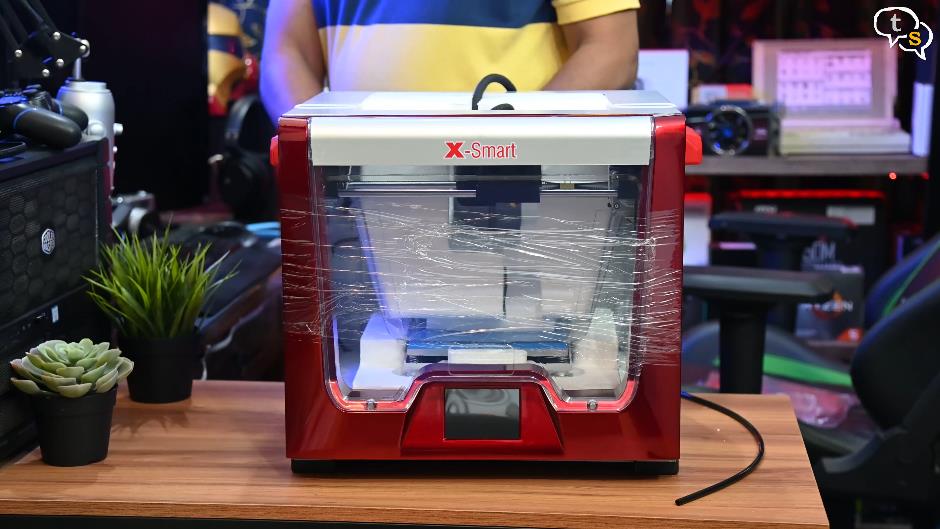
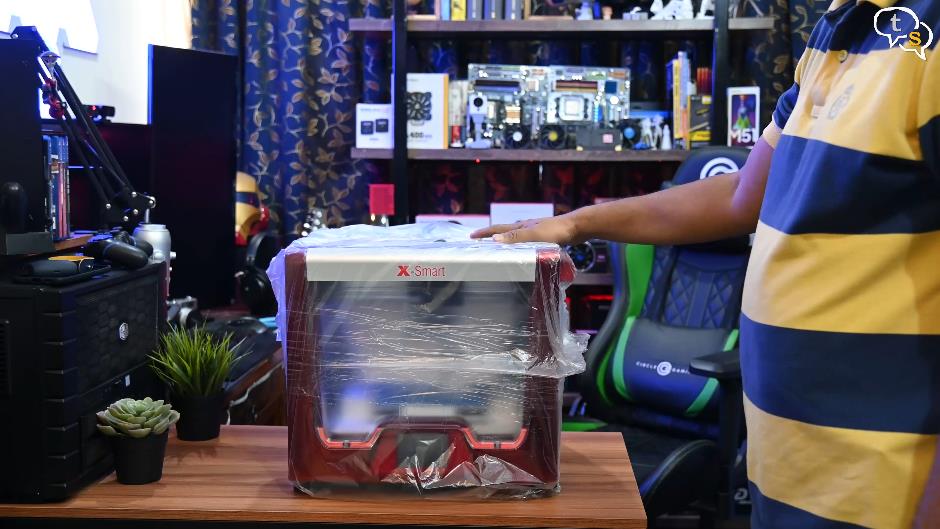
Let’s get all this plastic wrap off.
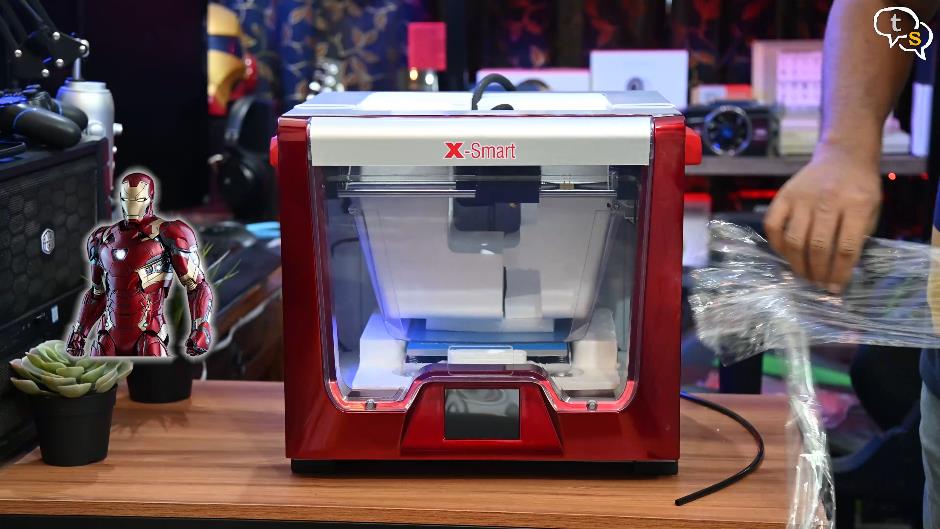
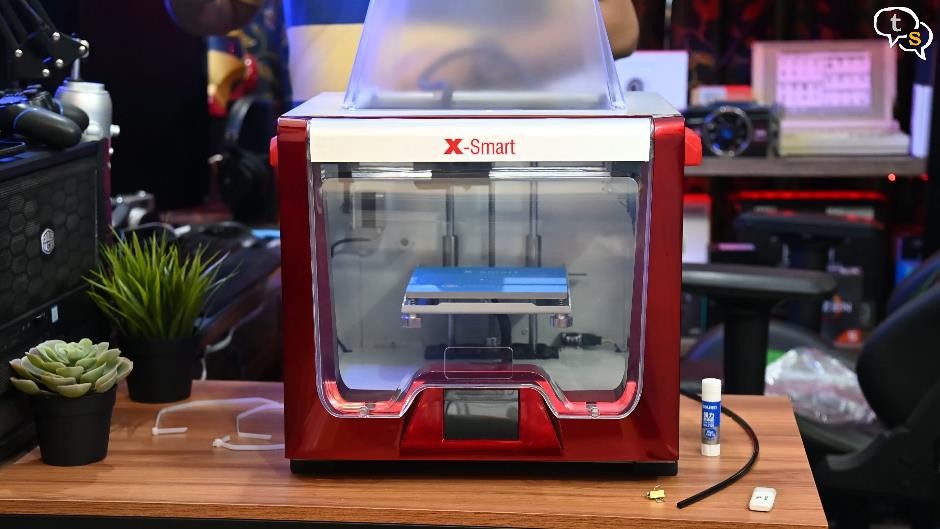
This looks so cool. Hot rod colors as Tony Stark based his suit colors off of. It comes pre-assembled with a compact all-metal design.
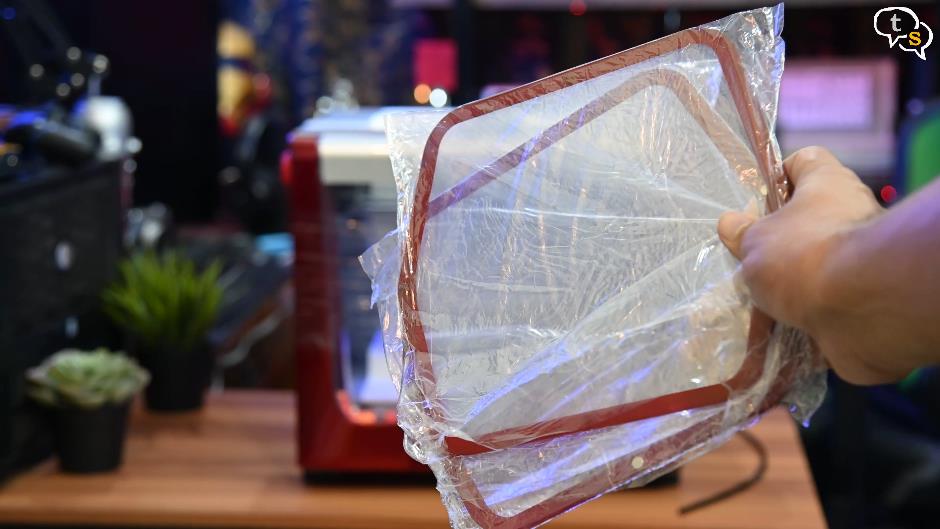
More items in the box are the filament guide and the side panels.
Now to remove all the protective stickers and foam.
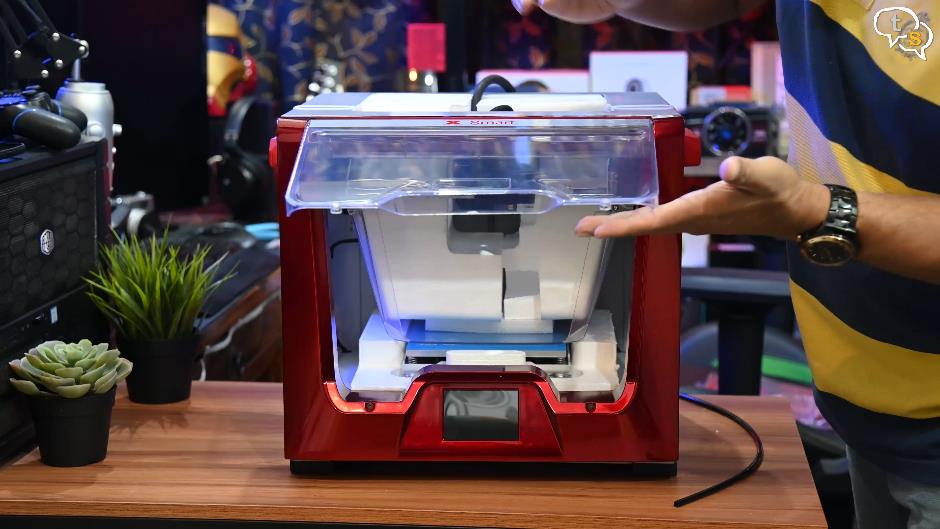
The front swivelling acrylic window allows it to open and close giving access to the print inside.
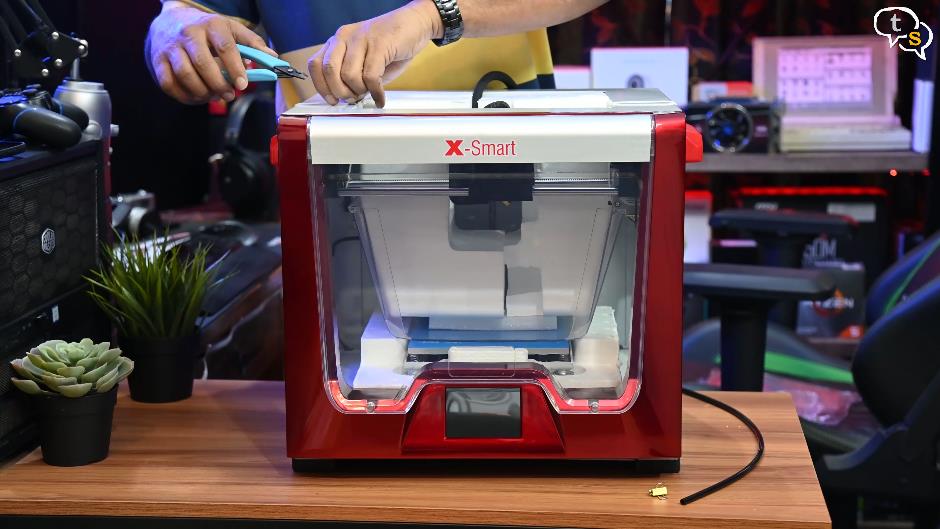
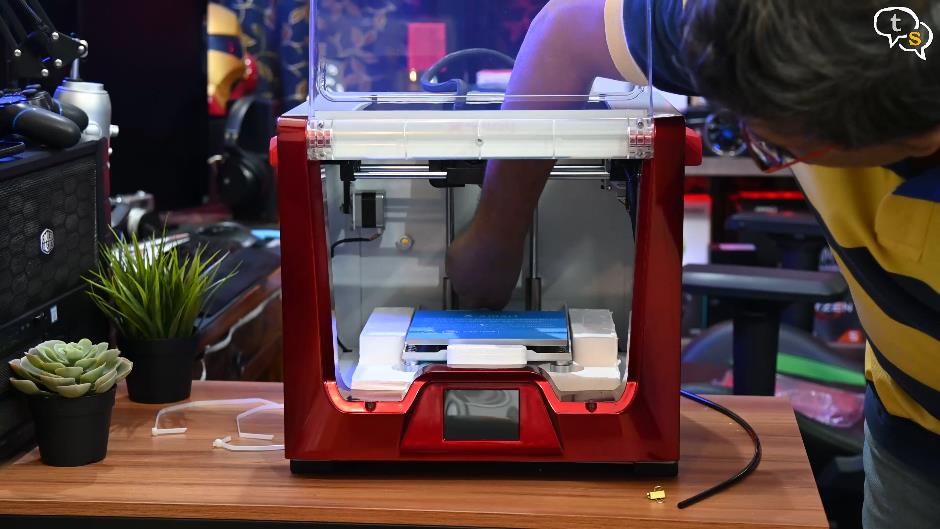
Cut the zip ties holding down the foam and it’s out. These were in place to protect the extruder.
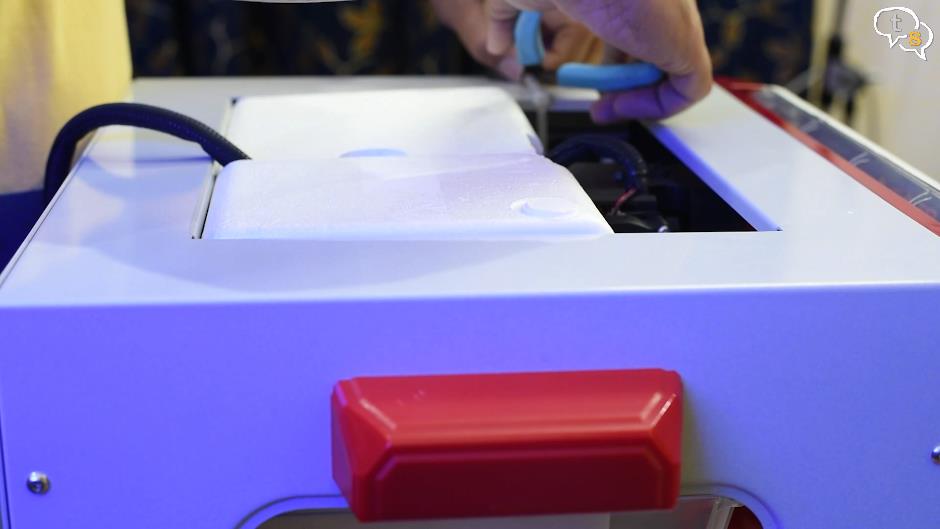
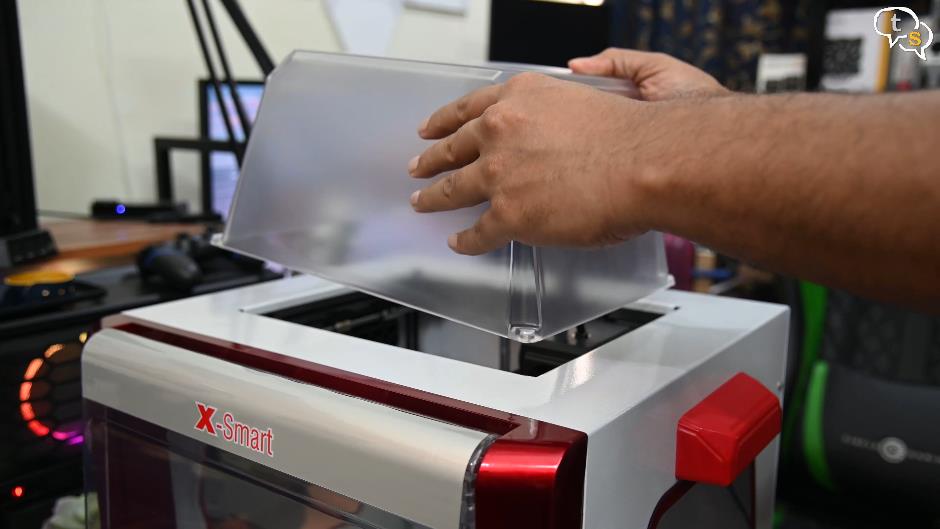
Next, we push the extruder back in the x-axis and we can remove the printer’s cover.
This goes on top of the printer.
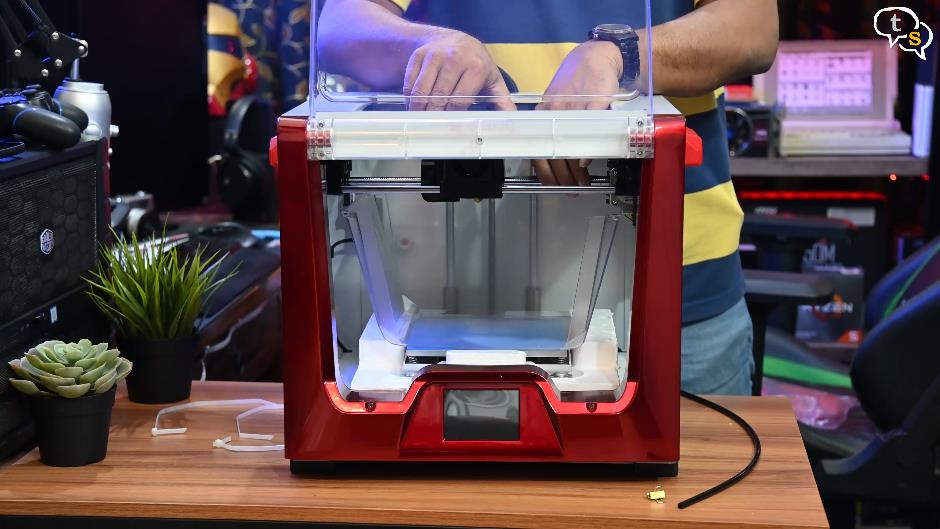
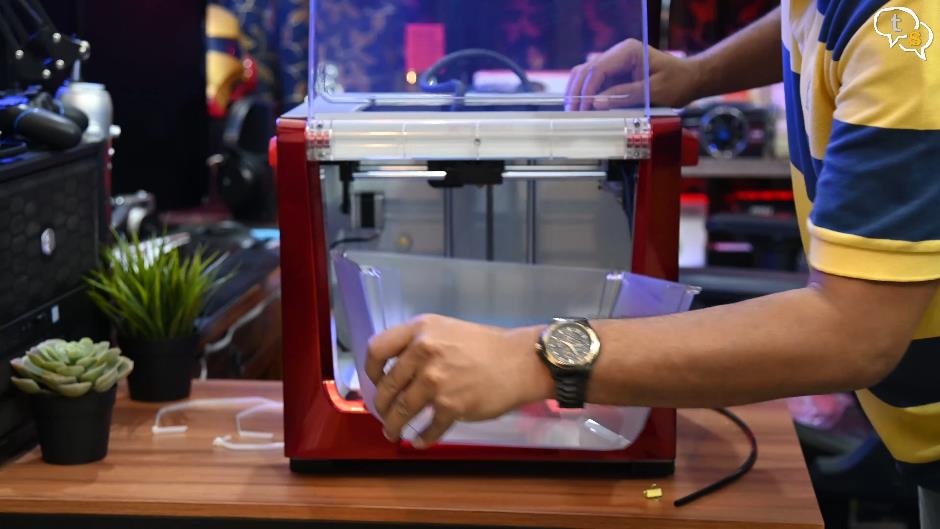
Now for the foam under the print bed.
Rotate the z-axis screw and move the build platform up to get to the foam below.
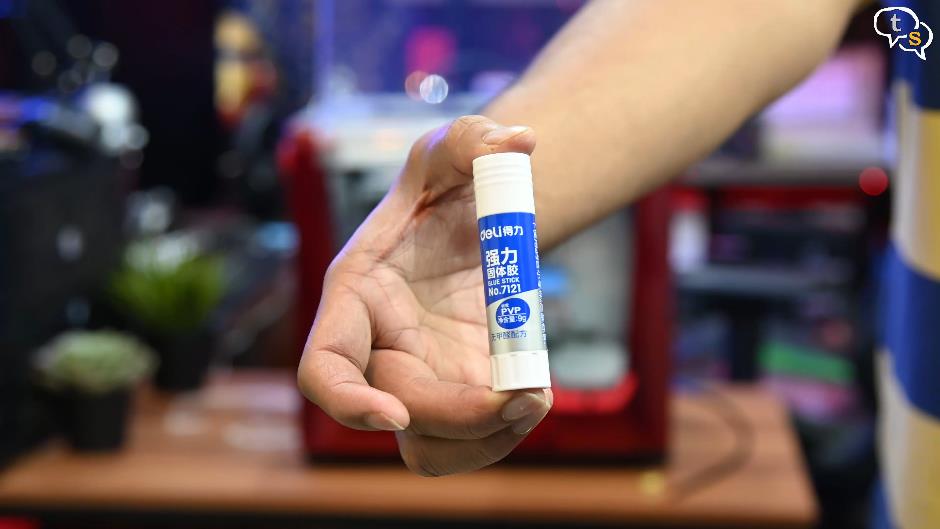
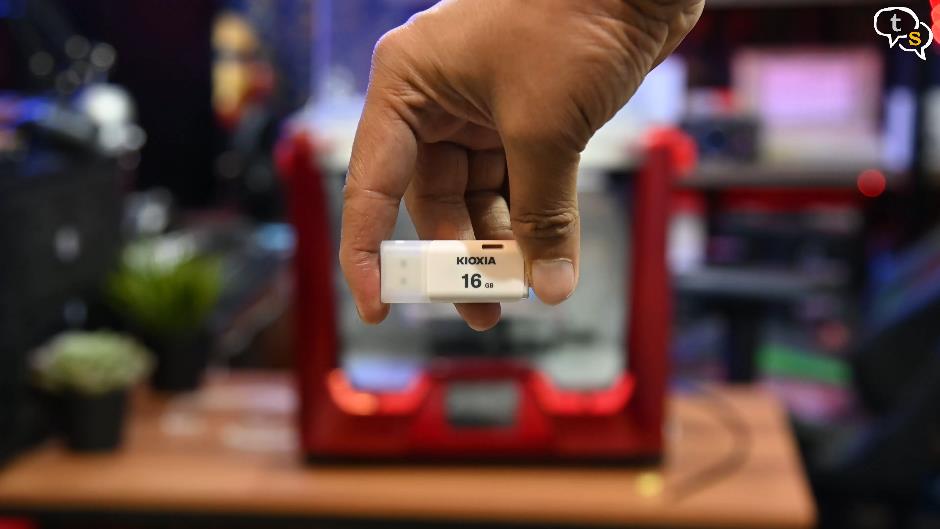
There is a glue stick in the foam below, and a 16 gb pen drive to copy the files you want to print.
The cover attaches to the top using magnets, this is so cool.
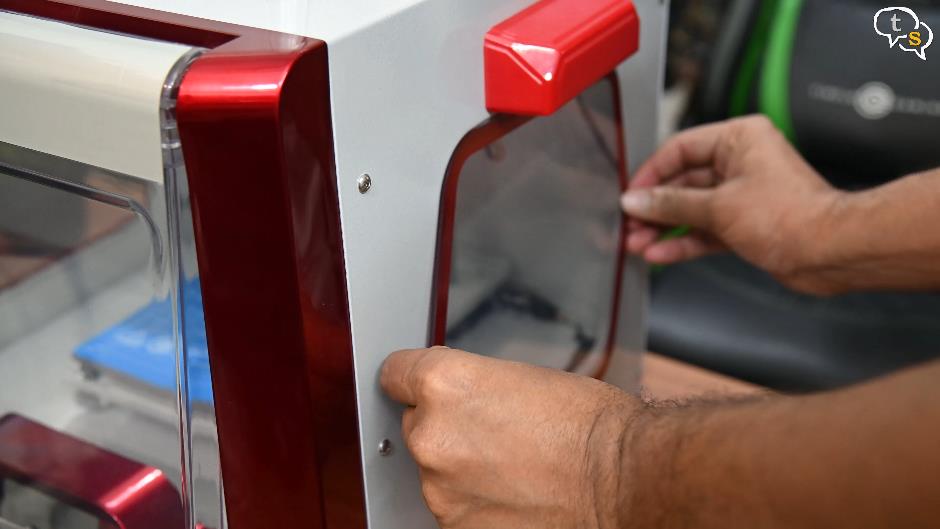
And the acrylic panels on the sides use magnets too to attach to the frame.
The enclosure helps protect your prints from dust and also curious hands, especially as this printer is targeted at school and institutions kids might try to reach inside and the extruder and filament being hot will hurt them. The enclosure protects against this.
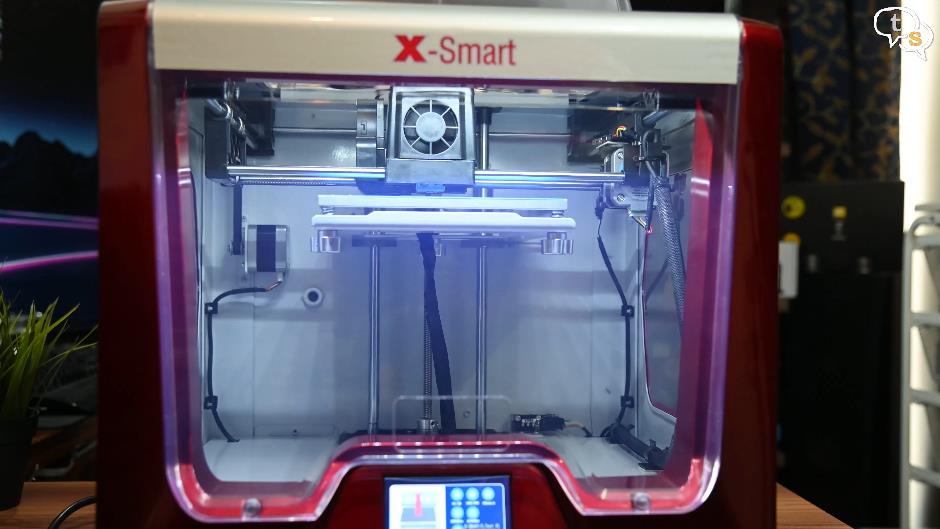
The enclosure also keeps the internal temperature constant which is great for material like ABS which generally warp if cooled too quickly. The closed environment makes it safe to use even at home.
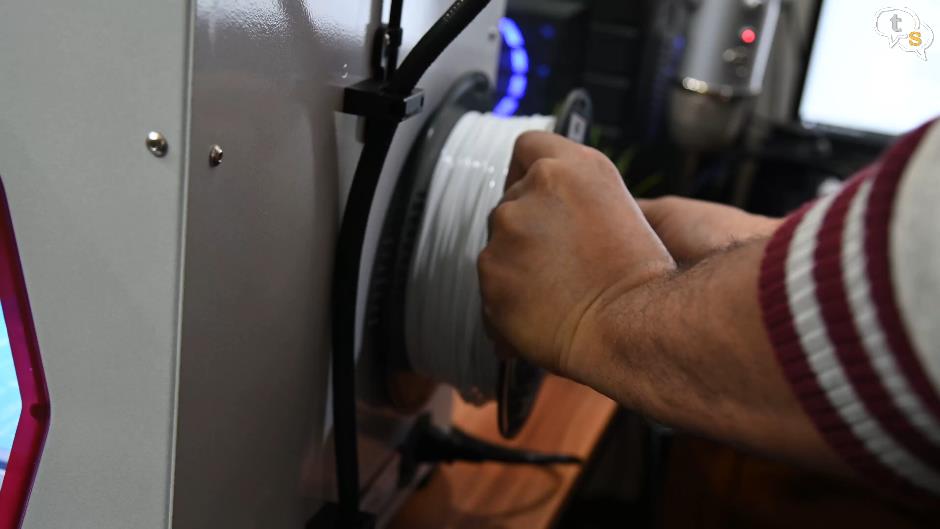
Let’s add a filament, using the provided filament holder mount the filament to the back of the printer.
Add the filament guide to the provided holder on the back and run the filament through all the way to the main extruder.
The filament is yet to be inserted into the extruder, for that we need it to be powered on.

Attach the power cable and turn the printer on. Wow, look how bright the light is within. The firmware is booting up as visible on the touch screen in front. A few seconds later we are at the main interface.
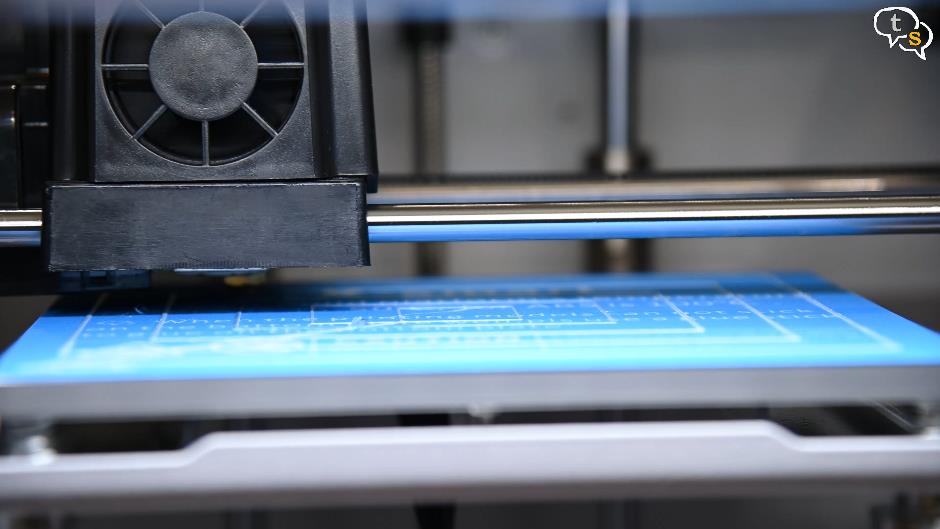
Before any printing can take place, we need to level the bed, as the printer has been moving around during transportation.
So using the touch screen we tap on tool, levelling.
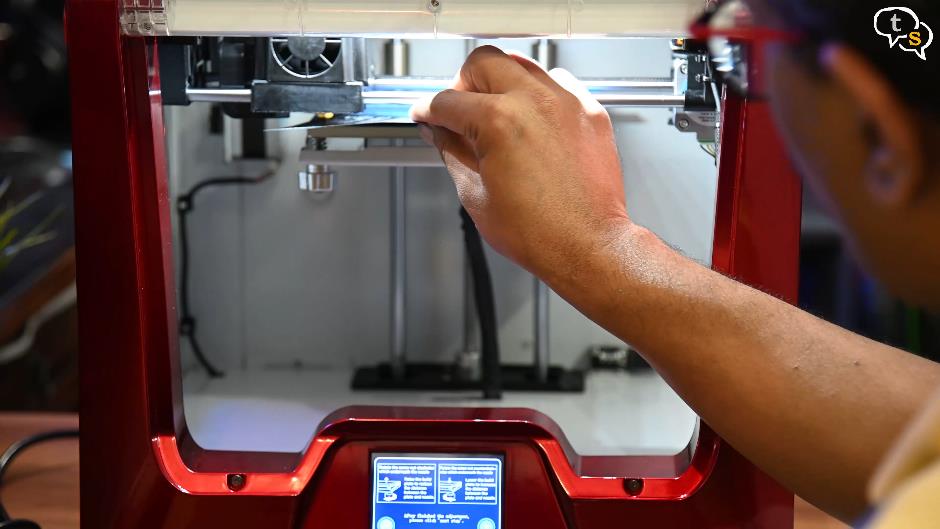
Now if you are familiar with bed levelling, this is a stroll in the park. We use the provided bed levelling sheet to test the level. Basically the printer moves the extruder to 3 corners on the bed plate and using the knobs below tighten or loosen until the sheet provided has a bit of resistance. Having the nozzle at the right height over the print bed allows for better adhesion
and optimum print height.
Do this for the three sections on the print bed by tapping on next on the touch screen. As usual righty tighty and lefty loosey, tighten to move the nozzle away from the bed and loosen to bring it closer. Now the build plate is level and we are ready to print.
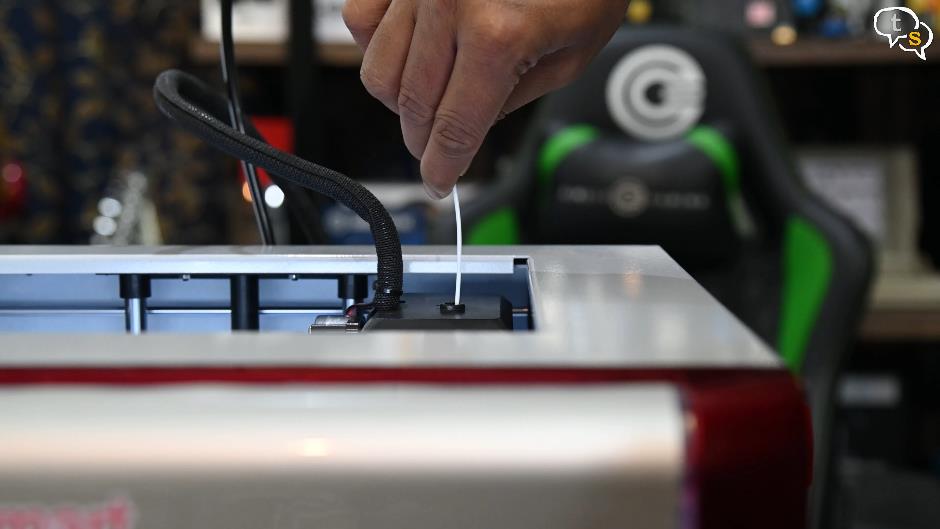
Now we need to insert the filament into the extruder, so using the filament option we first heat up the extruder. This is done by tapping on the number which denotes the current temperature, and the extruder starts to heat up.
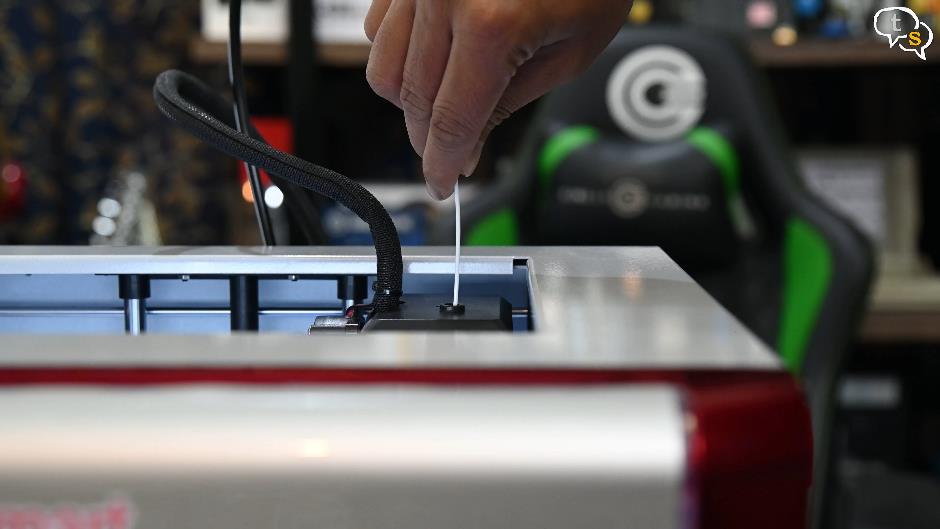
We insert the filament into the hole provided and push the ingest button and the filament is fed into the extruder.
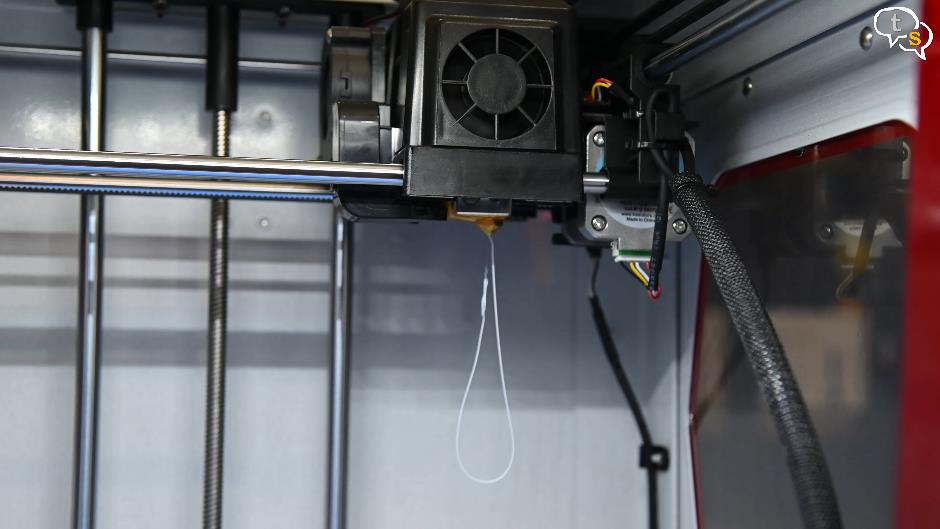
Once the filament starts to flow through the extruder and would you believe it, the printer is ready for use.
The turbo cooling fan is designed to provide an even cooling from four sides to prevent unwanted print shrinkage.
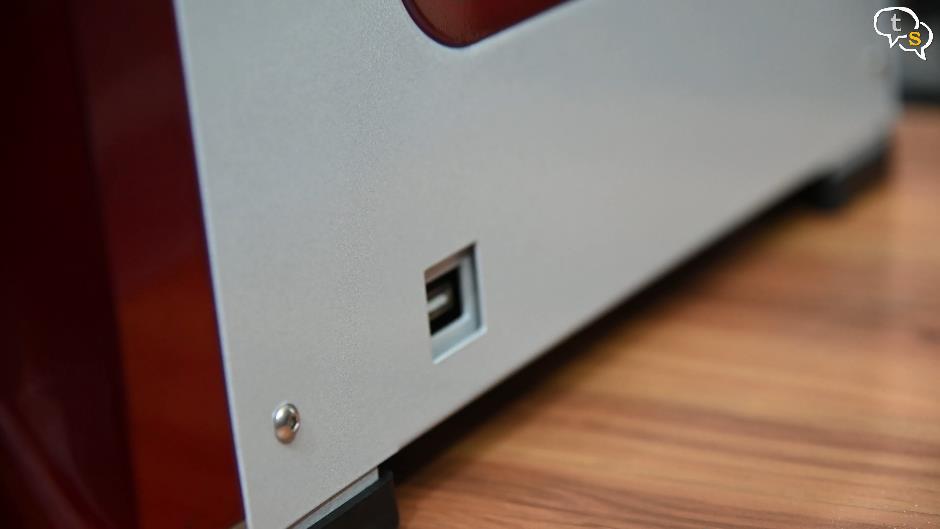
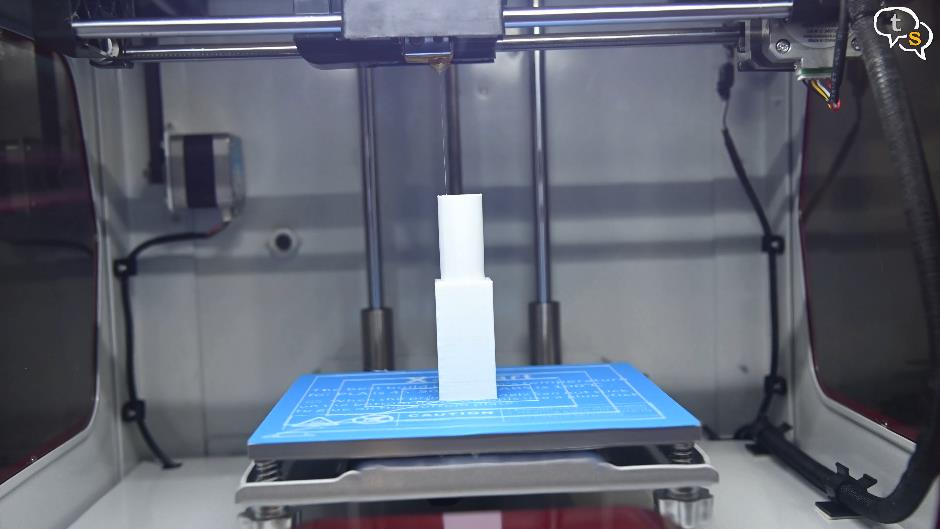
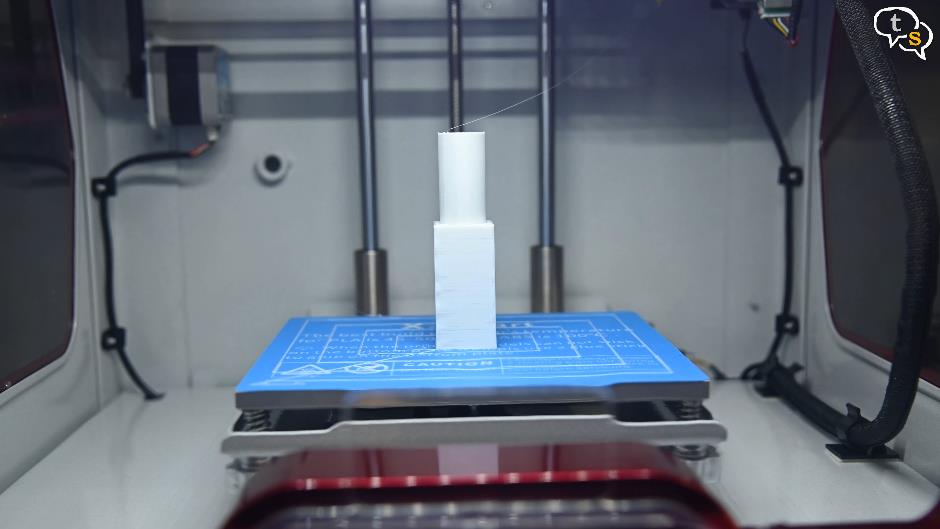
Let’s select a test print from the included pendrive. You need to attach the pen drive to the USB port on the right.
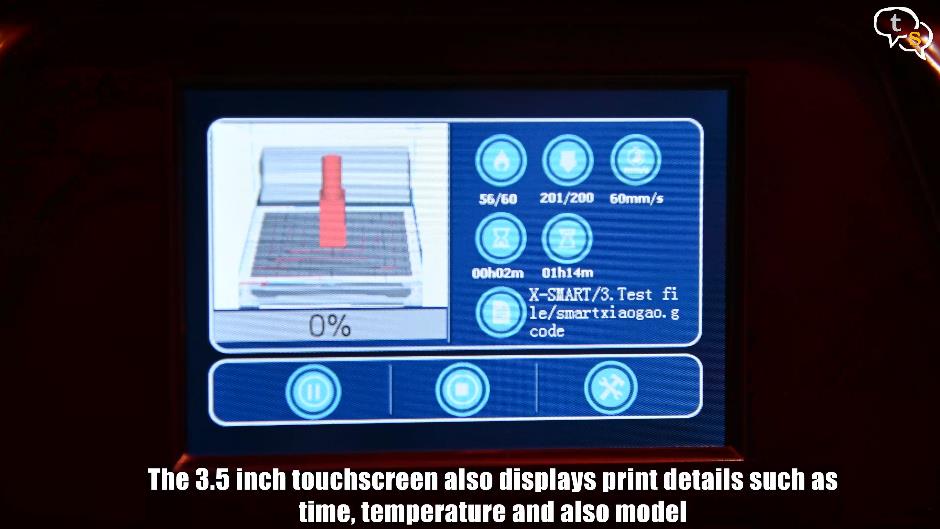
So cool, it shows the actual model, the time it will take to print, print speed and a lot more.
The print is stated to take 1hr 15 minutes. Hit start and it’s off printing.
. Let’s switch to another solid color shall we.
An hour later, here’s the print.
Did you notice that in this printer the build plate moves up and down and not the extruder, the printing starts with the plate all the way at the top, slowly lowering as each level is printed.
This printer is perfect for beginners, hobbyists and makers. It’s ready to use and pre-assembled so you can get it up and running in no time. With schools needing to setup Atal Tinkering labs in their premises this printer is fast and easy to setup and as it has been configured with the necessary build volume and specifications. The weight of the printer adds to its stability adding to its precision. Filaments adhere quickly and easily to the build plate, meaning fewer failed prints and less frustration. It actually works right out of the box. You only need to take it out of the package, remove the foam, plug it in, and start printing.
The WOL X-Smart is an entry-level option designed for beginners, educators, and those simply looking for a terrific and easy to setup printer.
If you have any questions do write in to me at tech@talkingstuff.net or WhatsApp me at 9652578833.
Also make sure to Like, Subscribe and hit the notification bell to be notified when new videos are added. Thank You for watching and see you all next time.