ExtremeRate Official Website:
eXtremeRate Custom Full Set Shell with Buttons for Steam Deck LCD – Clear
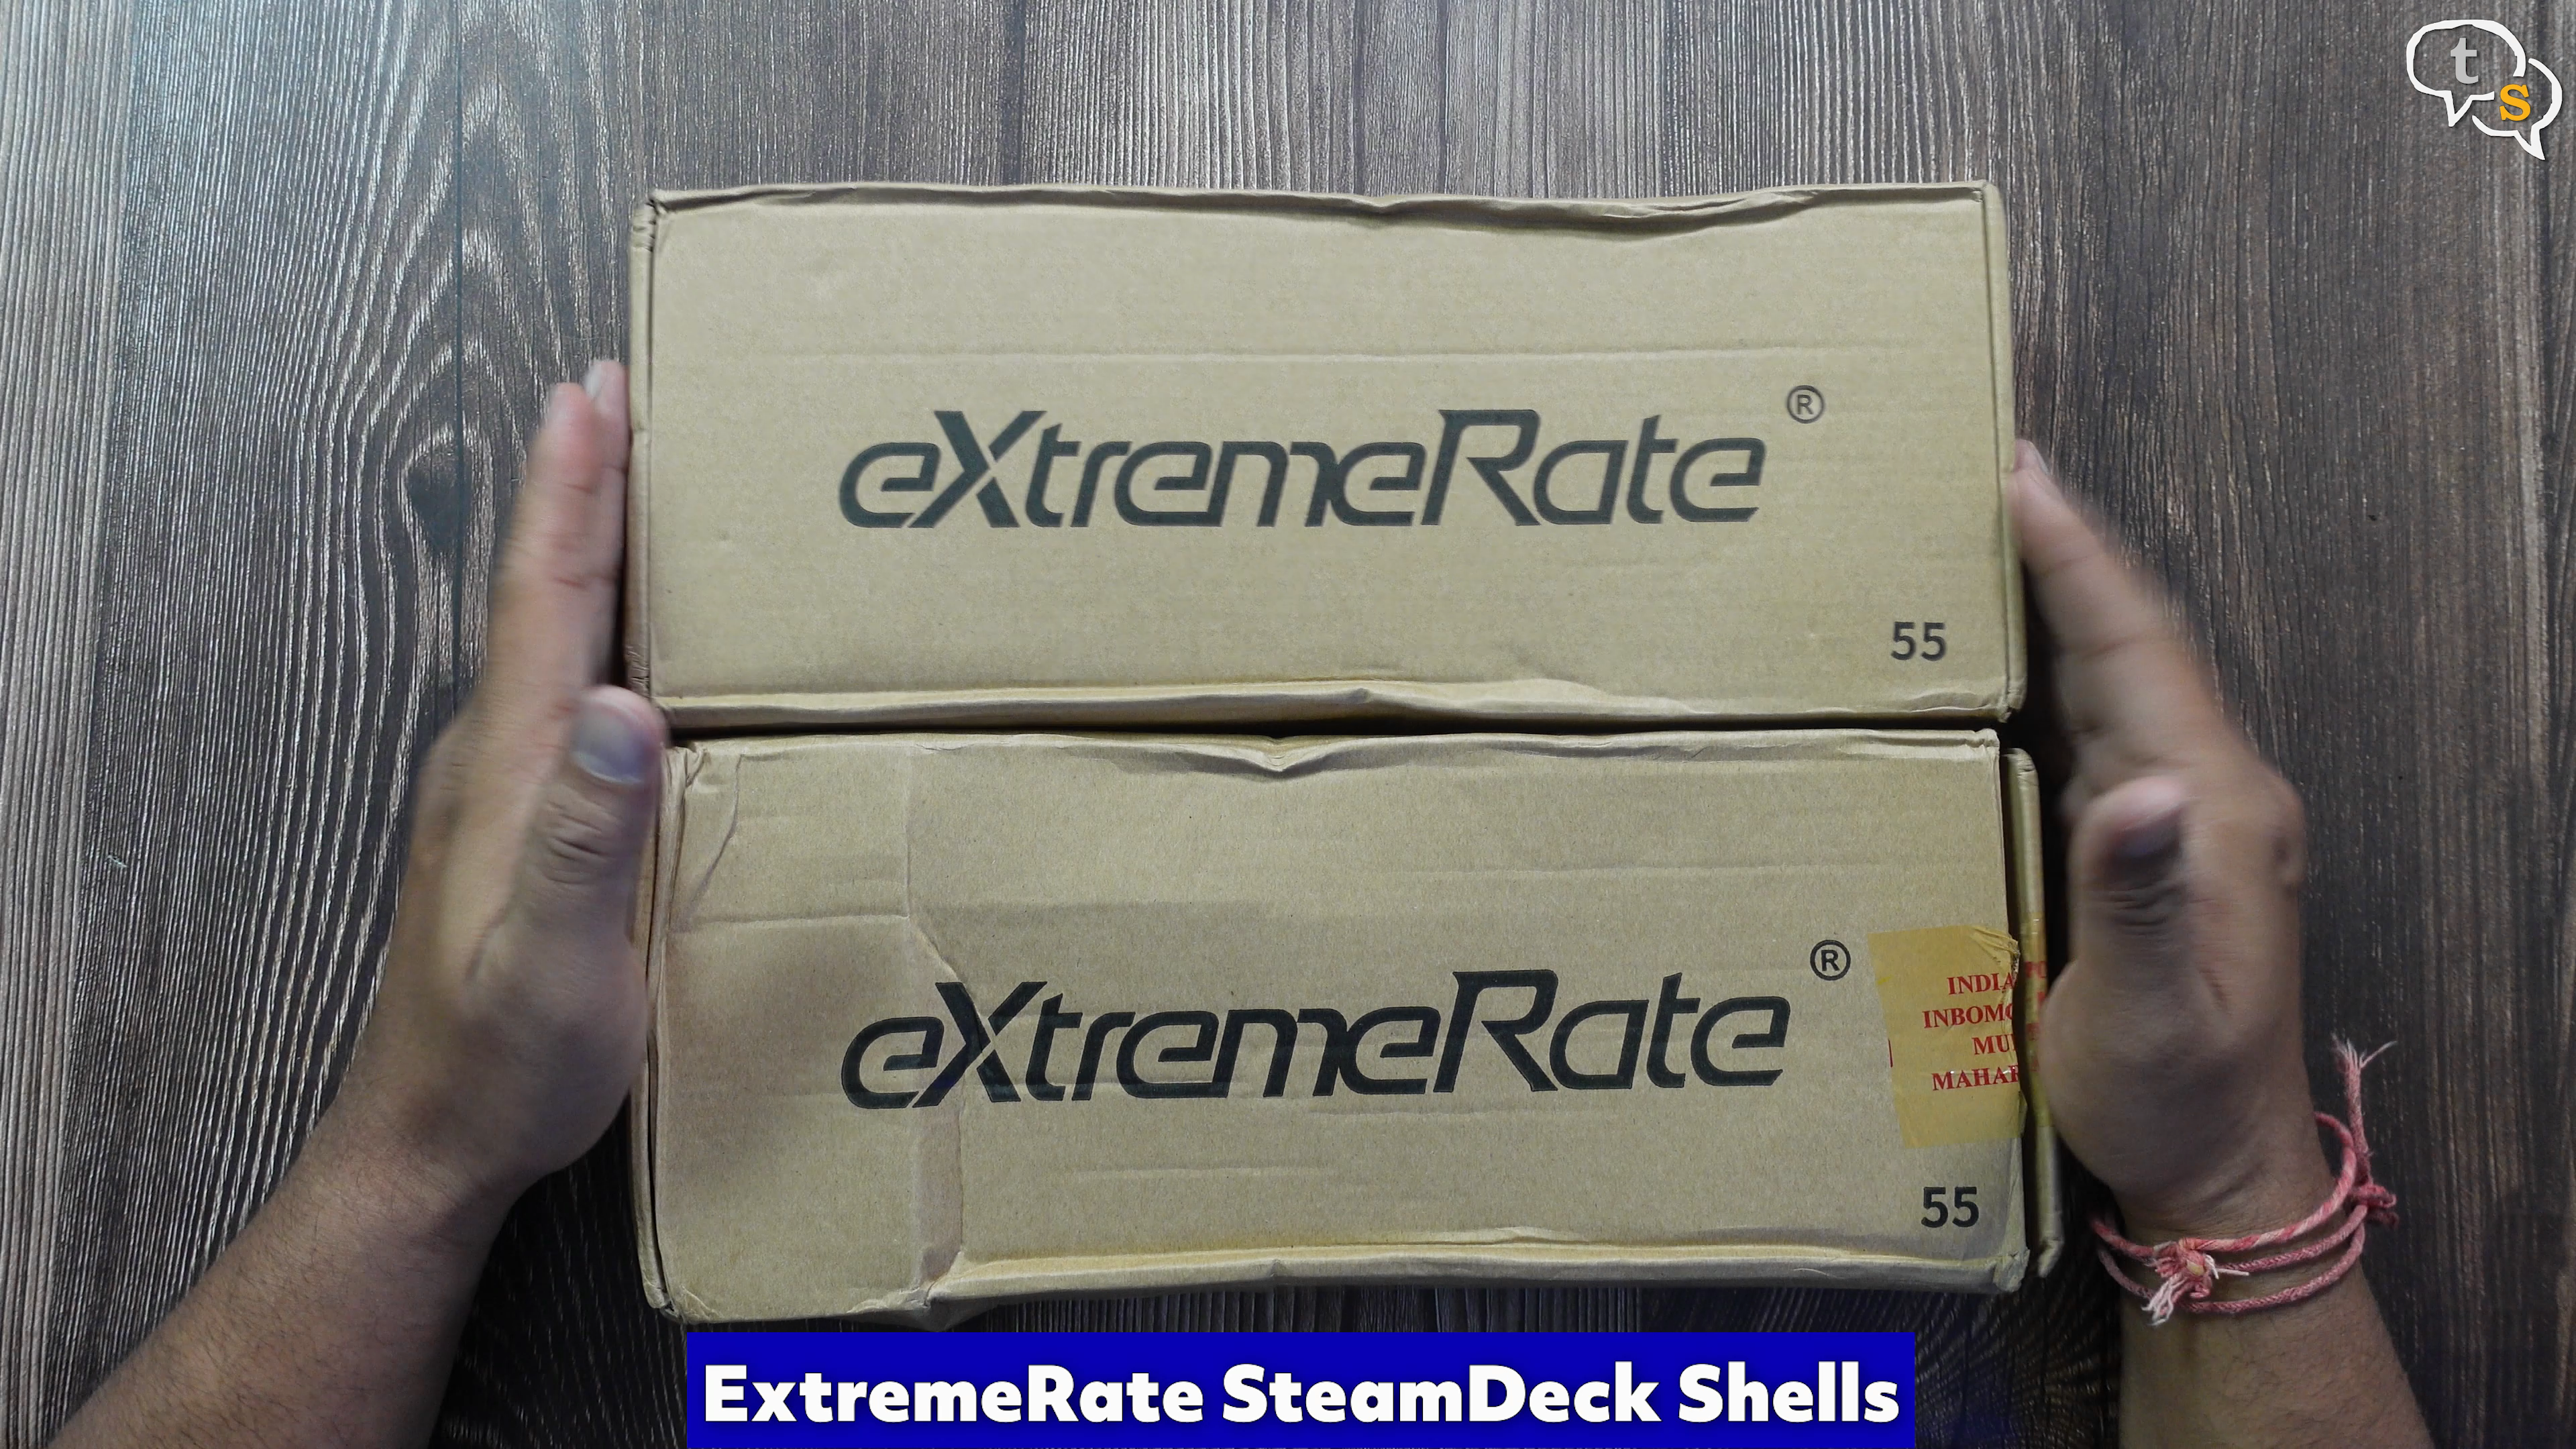
These are Steamdeck shells by Extremerate, they have some great shell options, but i’ve picked these two for myself.
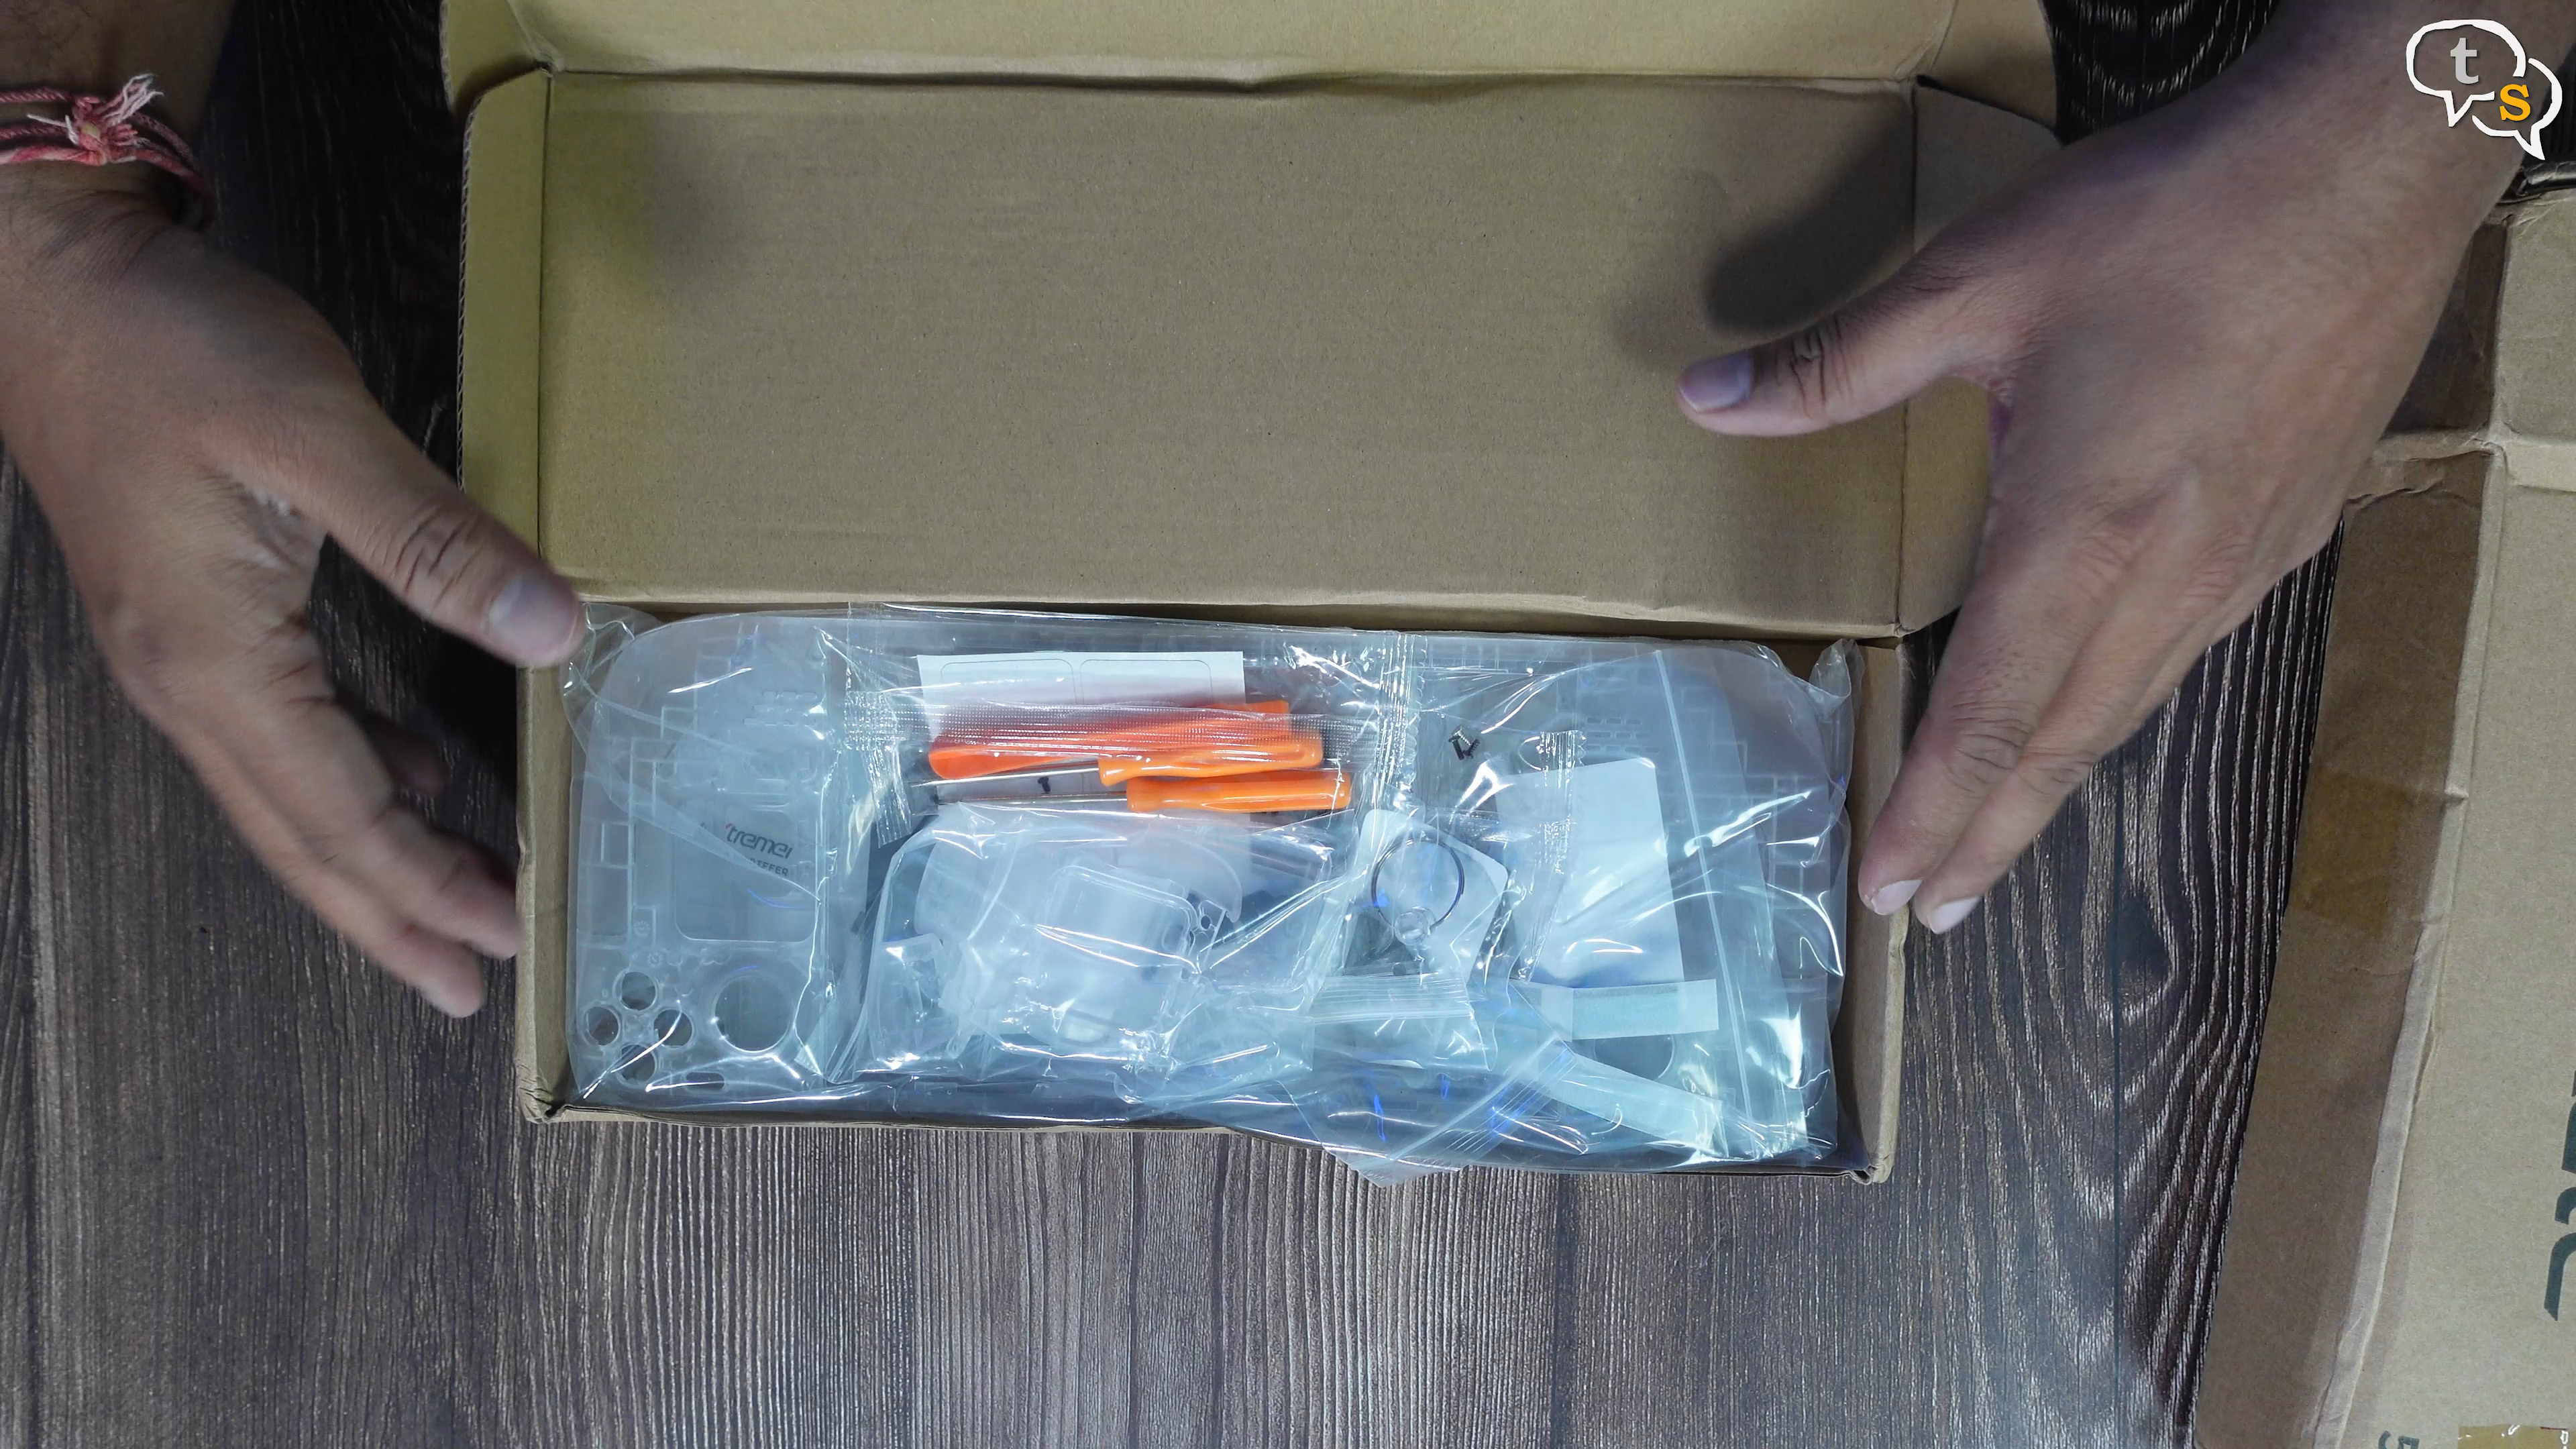
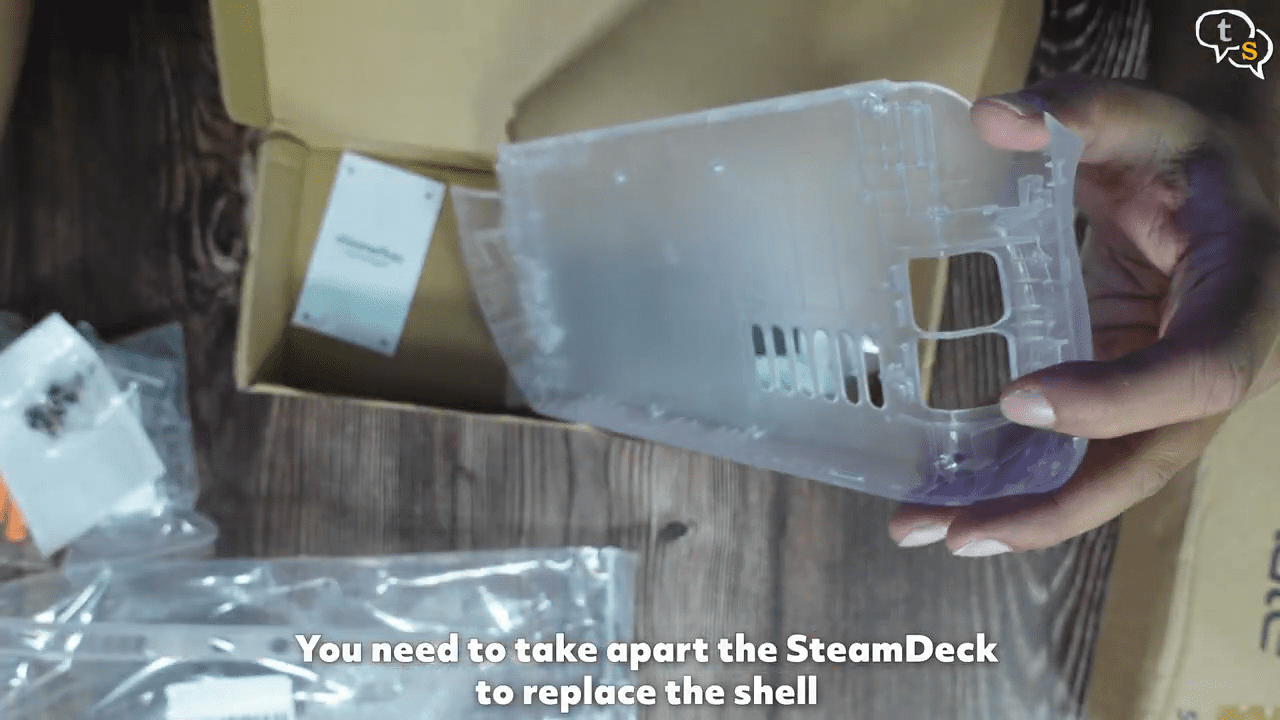
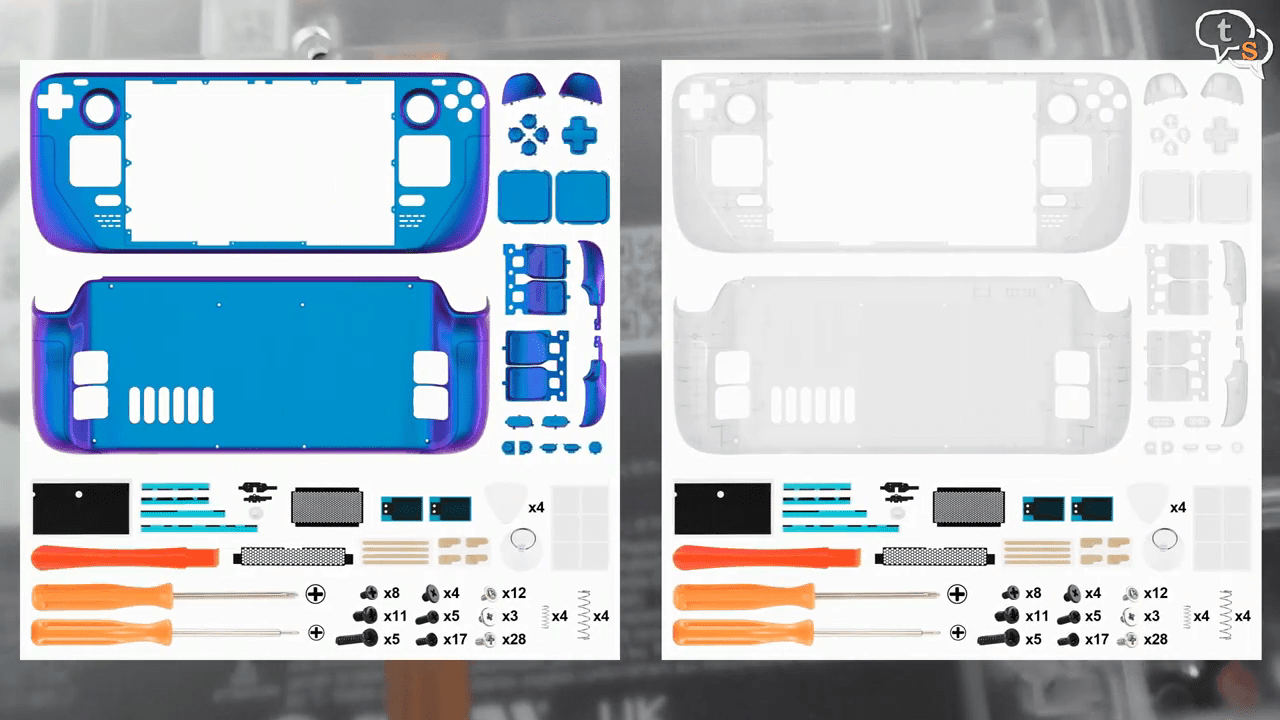
My first choice is the transparent shell also called the clear custom shell. We have replacement buttons, screwdrivers and a plastic pry tool. The shell screws are also present in this pack.
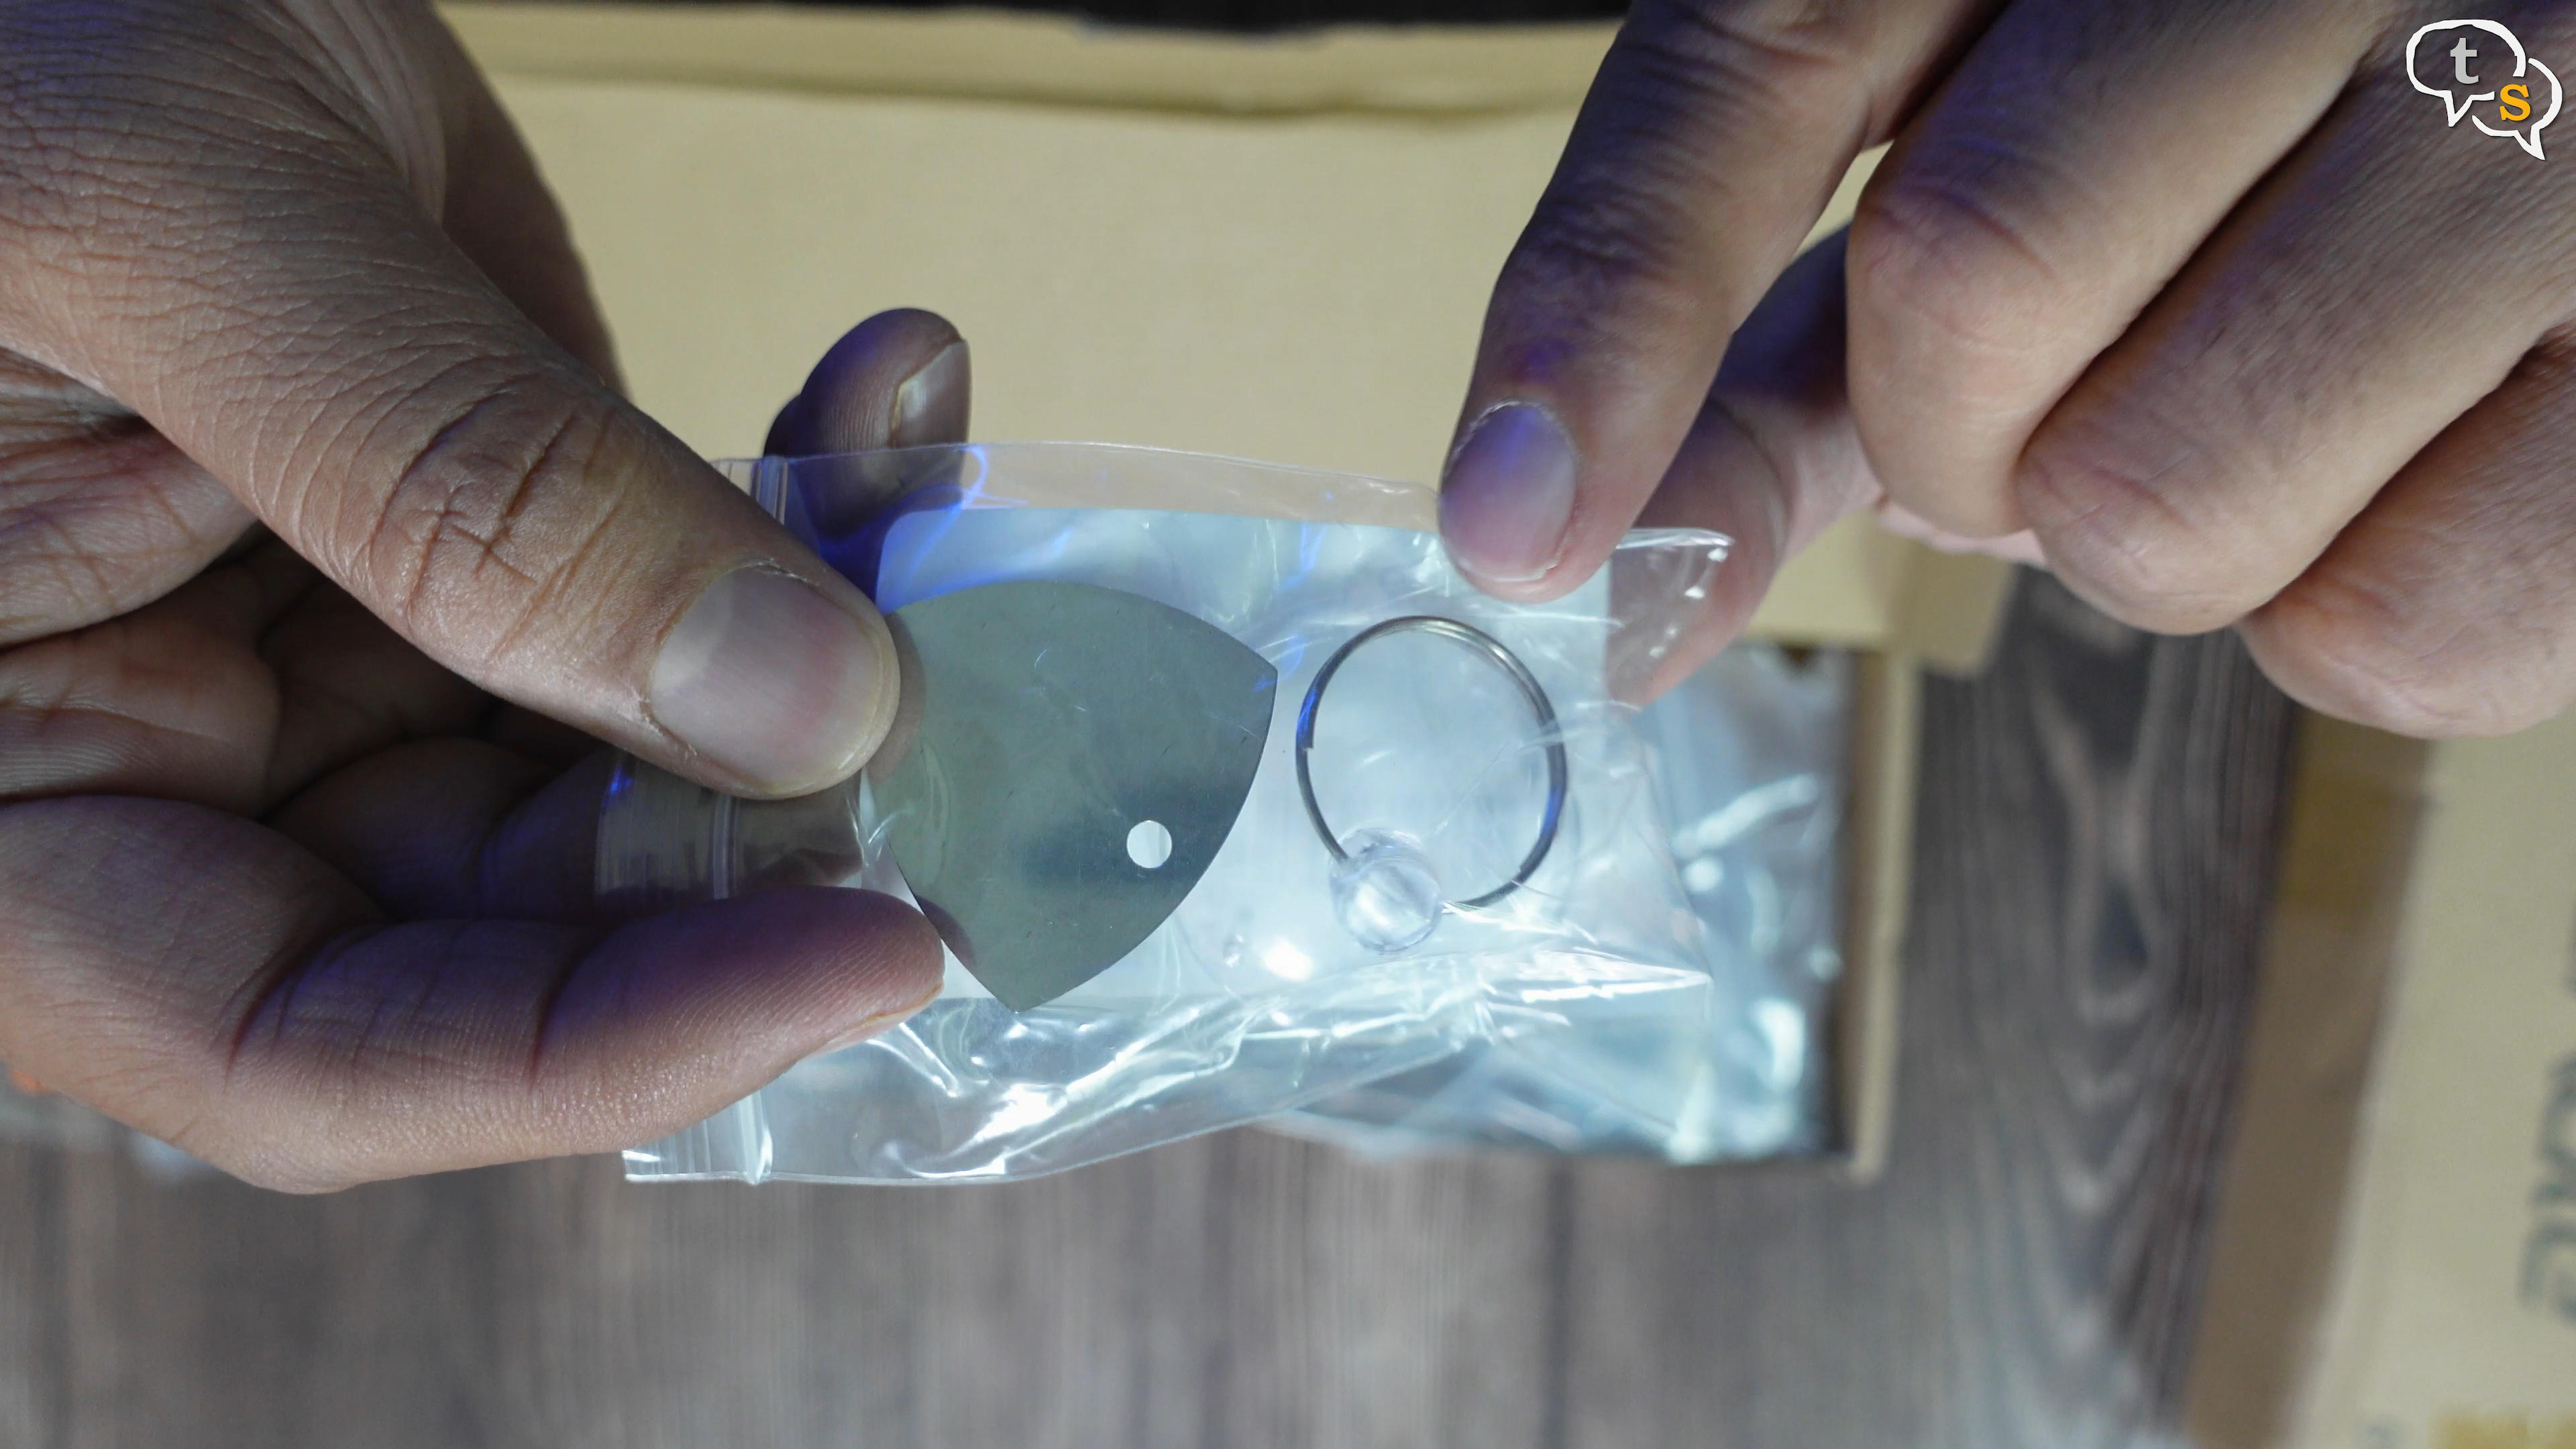
A metal pry tool and a suction cup for removing the screen.
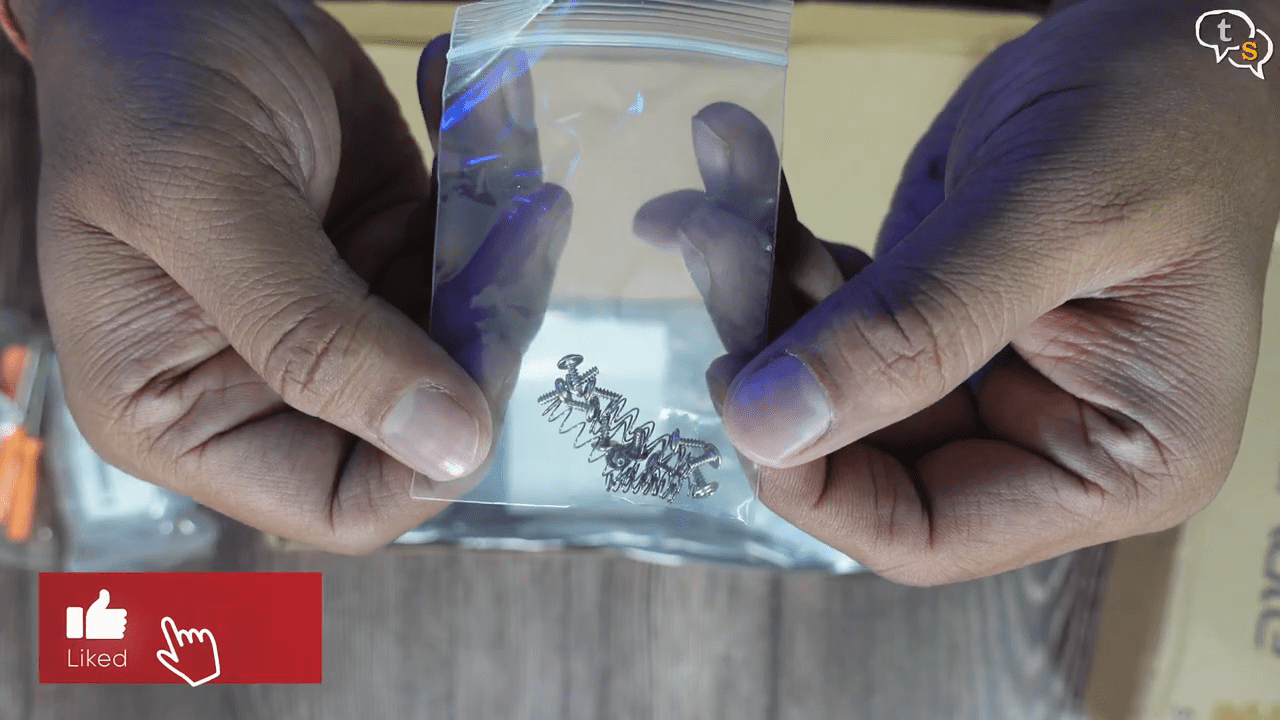
Screws and springs for the buttons.
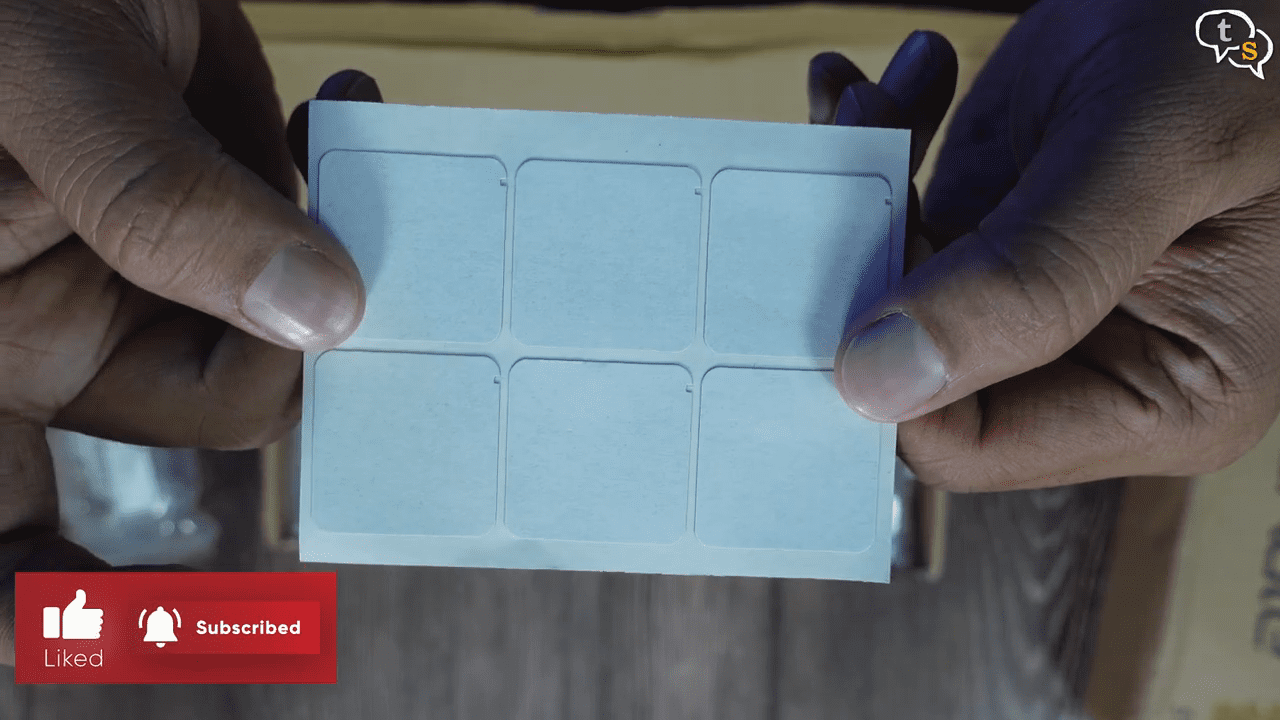
Stickers for the trackpads controller.
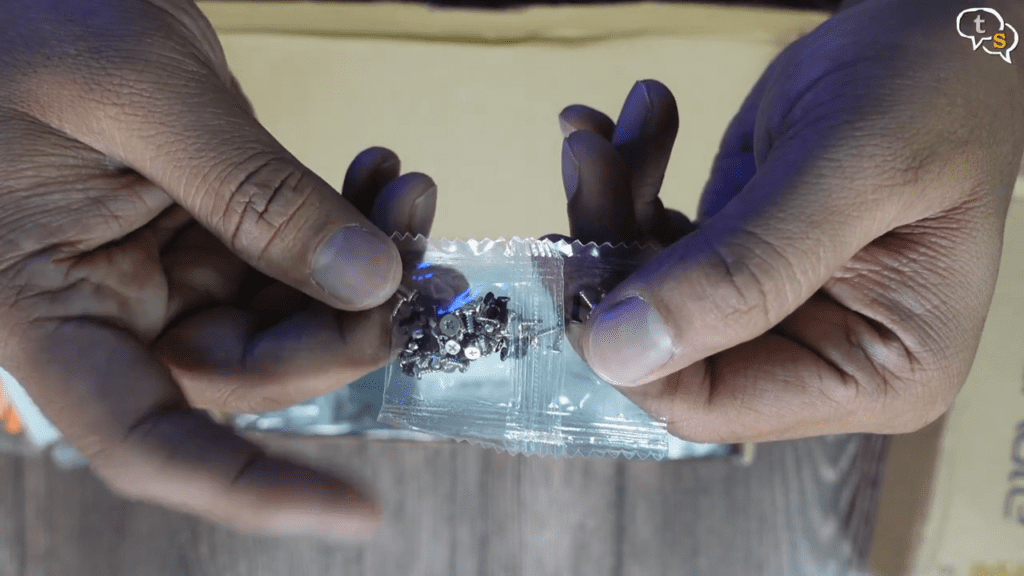
More screws.
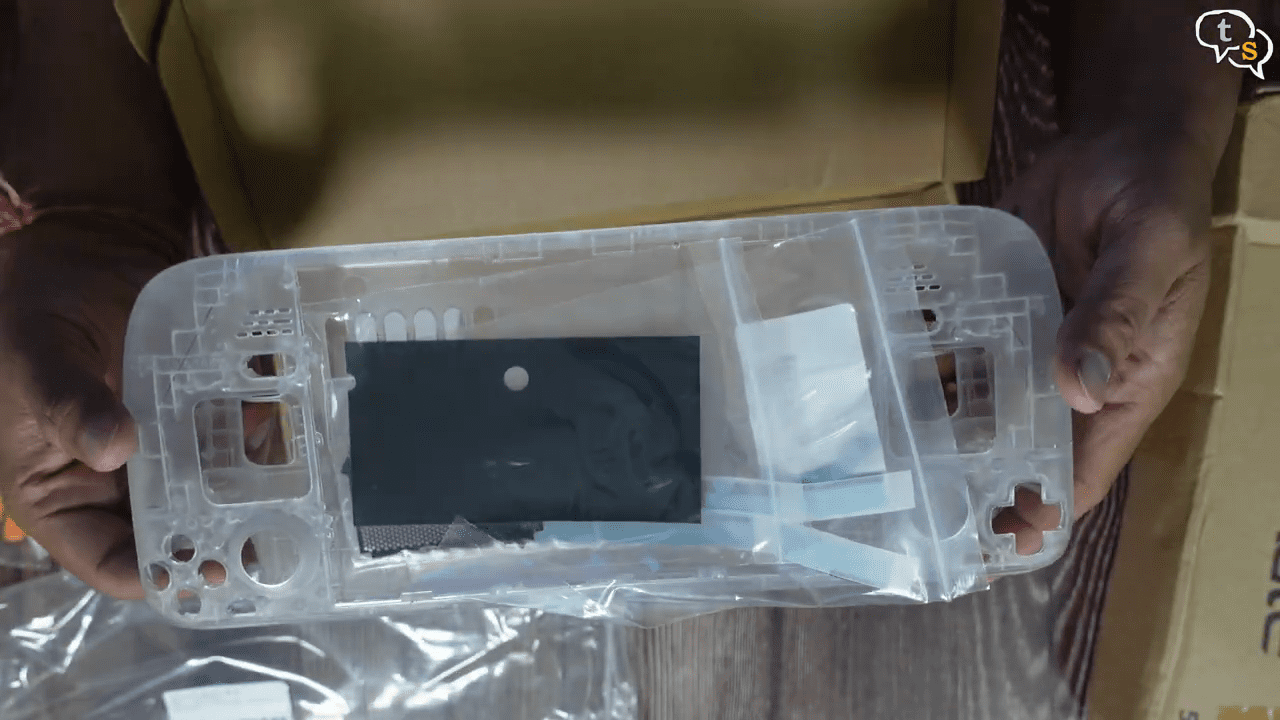
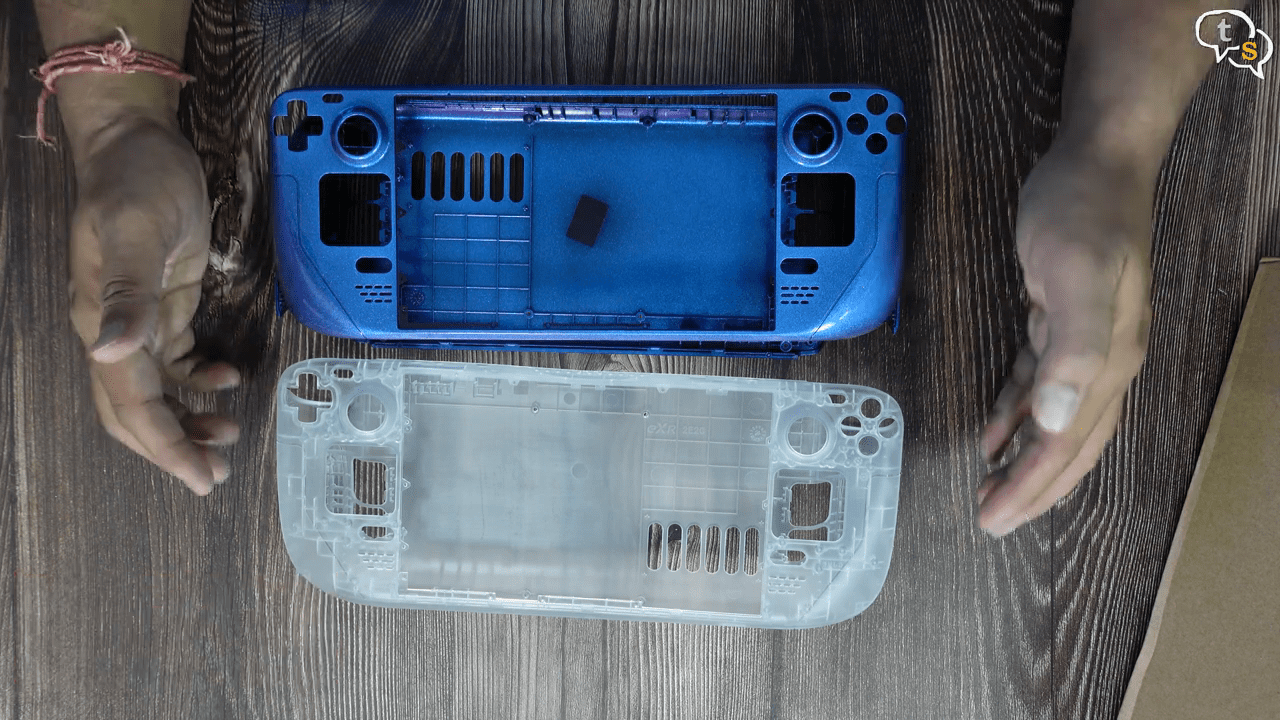
And here’s the shell. It has a nice texture to it, feels nice.
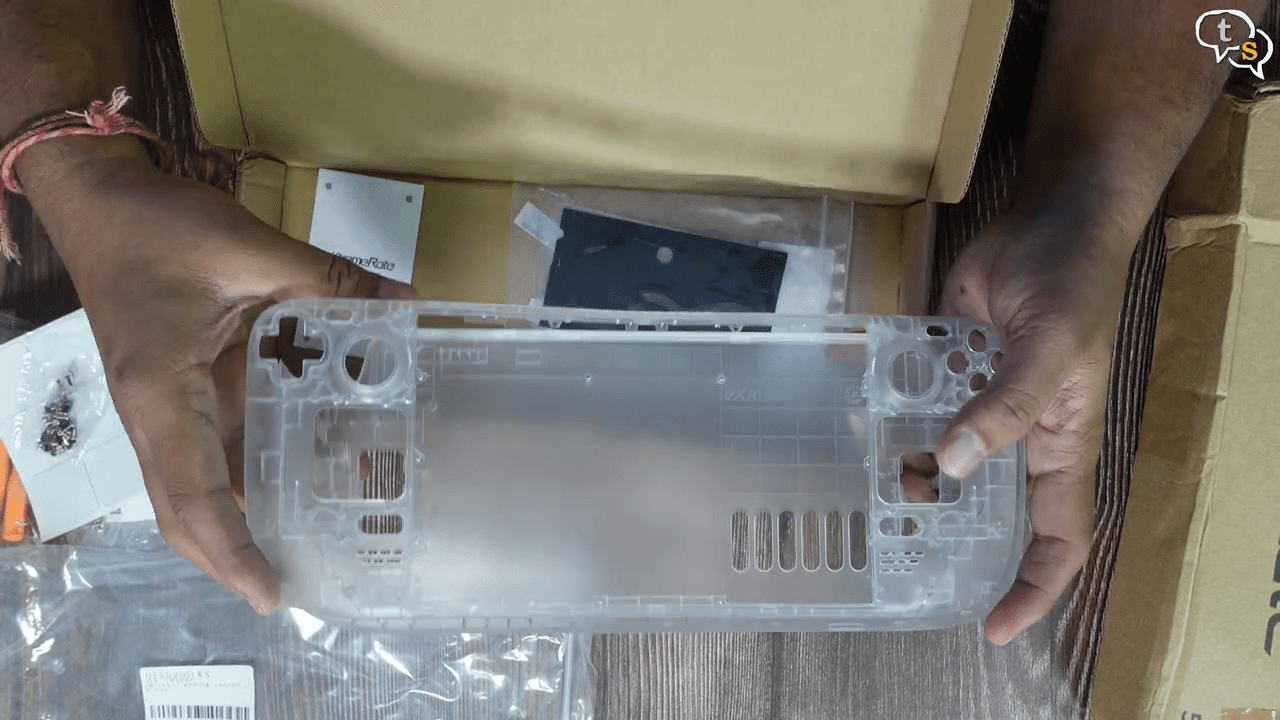
We can see the cut-out’s for the buttons, trackpads, joysticks, speakers on both sides.
The faceplate has cut-out’s for the power button, mic hole, USB-C port, here’s where the buttons pop out.
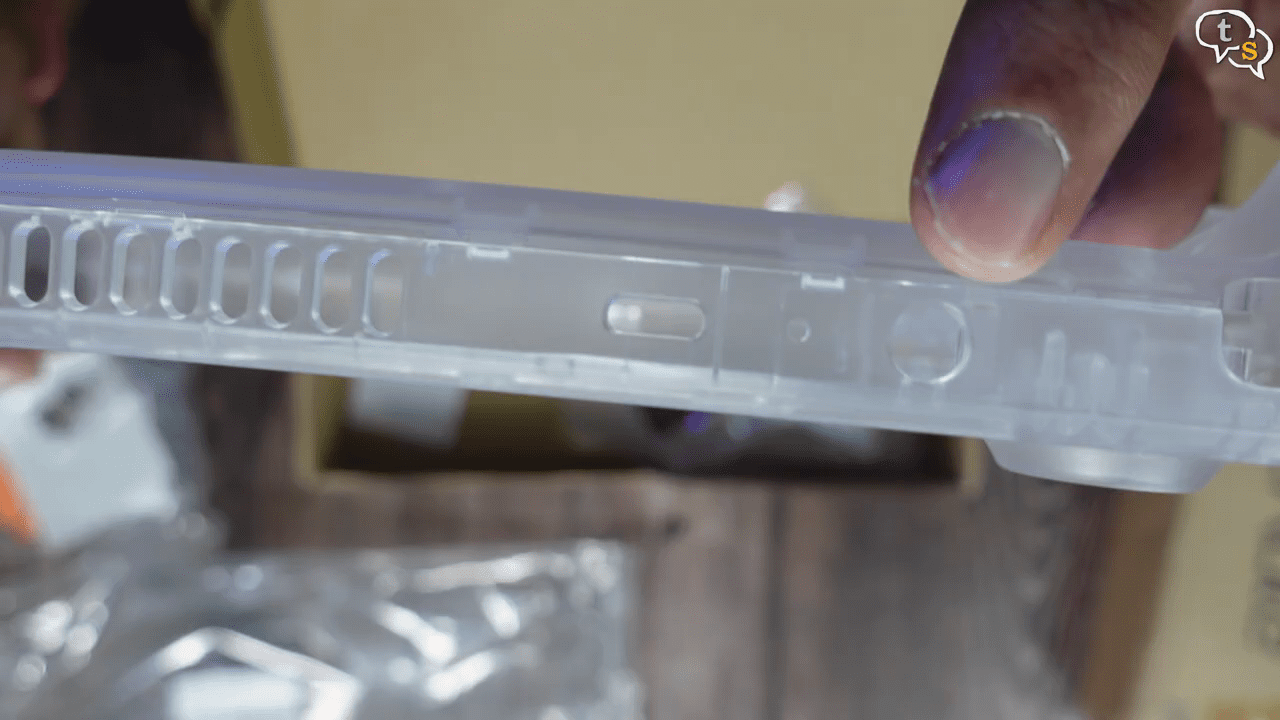
Cutouts for Volume button and headphone jack, and we have the top vent cut-out too.
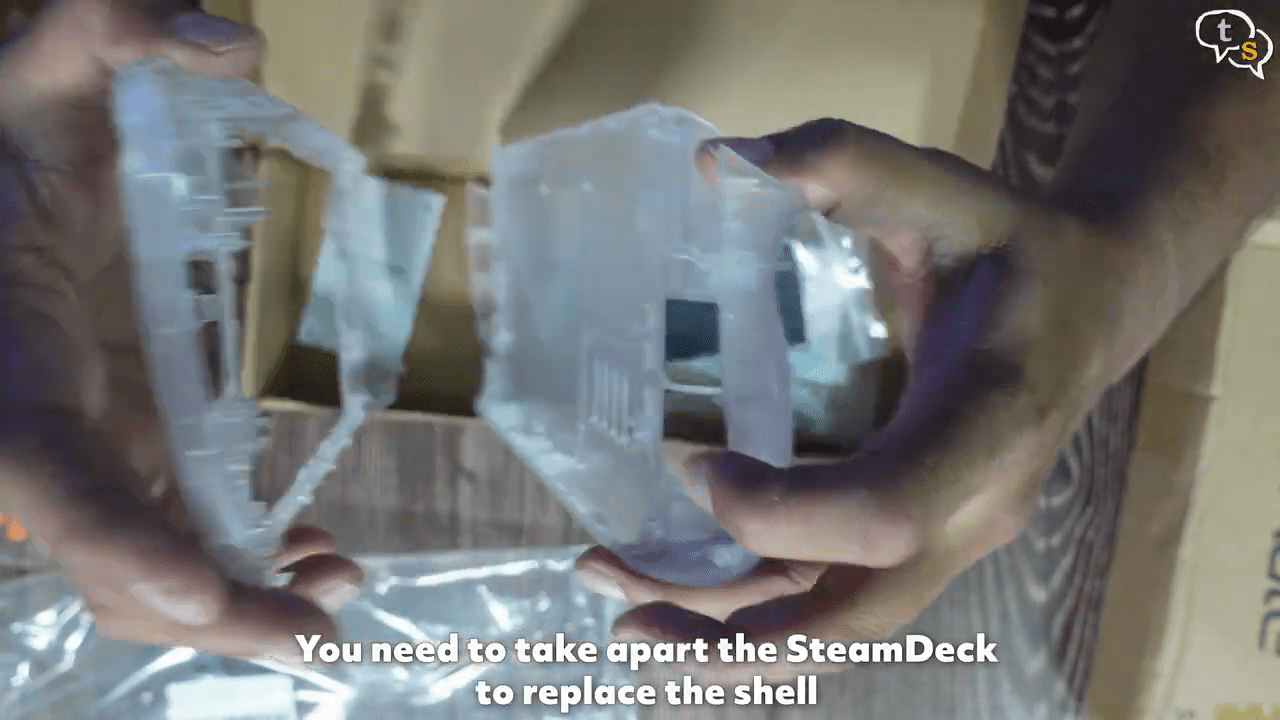
We can separate the front and back shells like so.
We have Exr branding within.
The front and rear shell would bring a complete new look to the stead deck
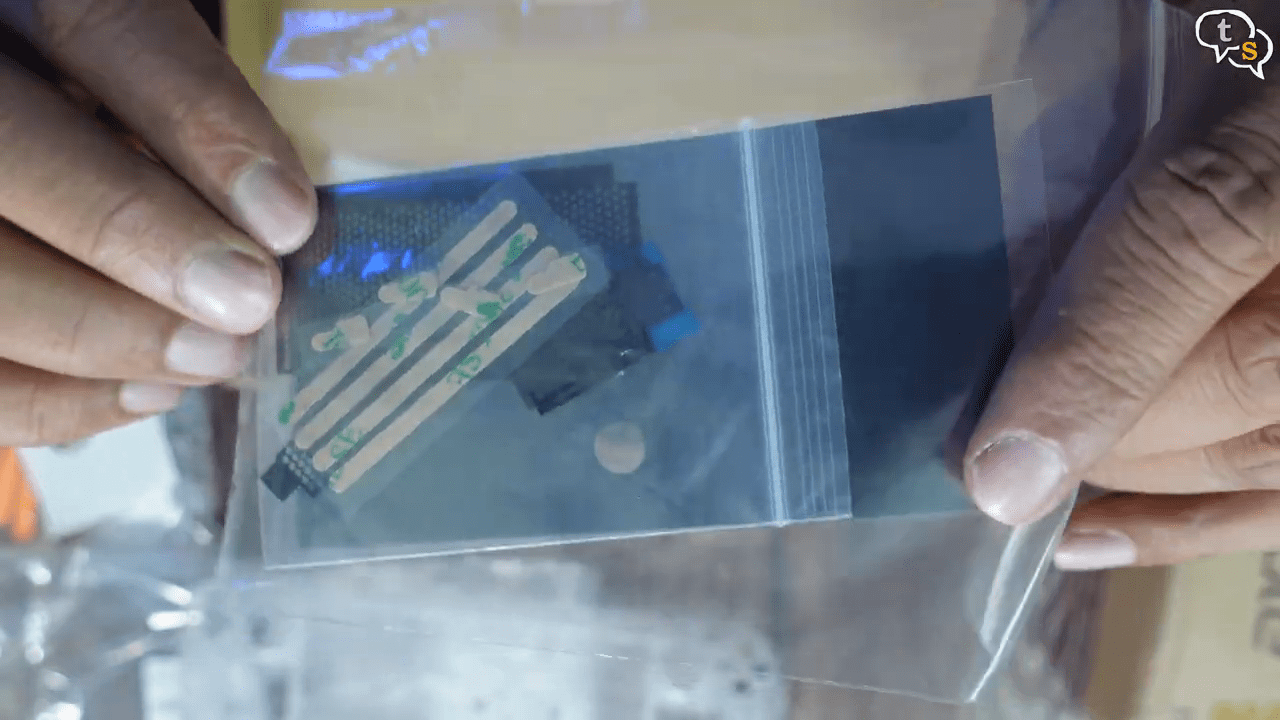
Mounting Stickers are also present.
These stickers are for mounting the screen.
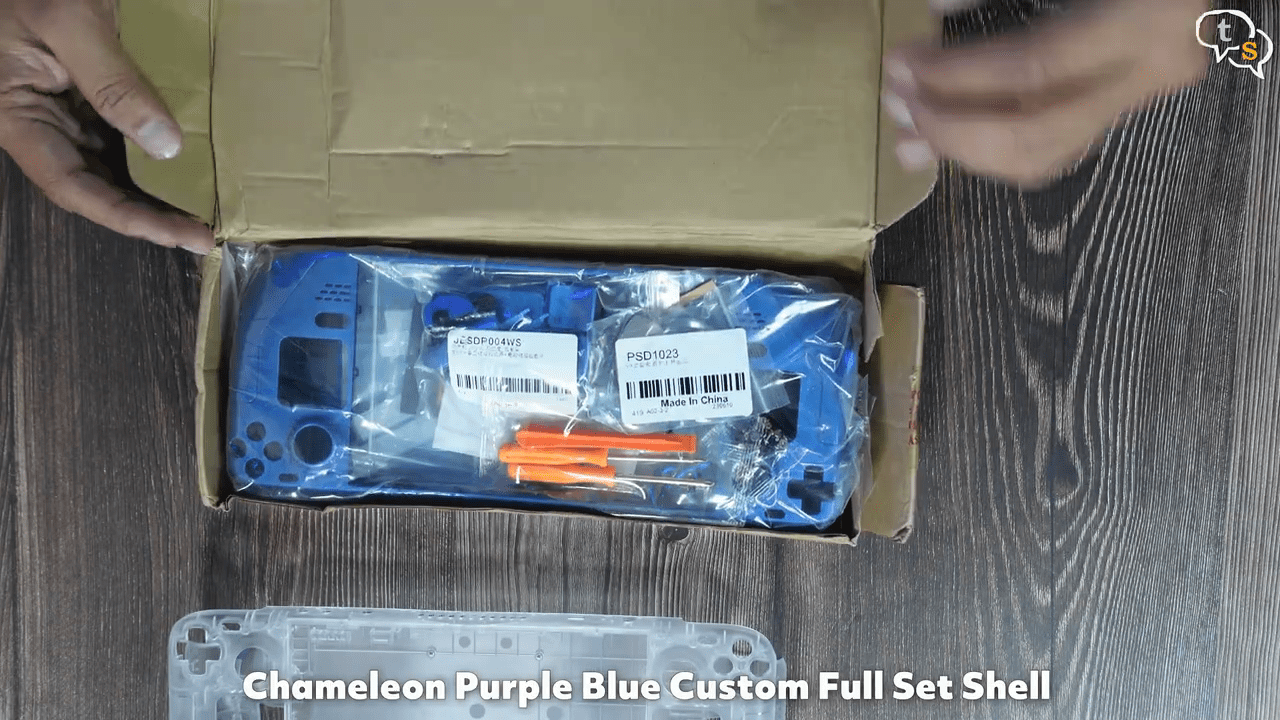
Now for my second choice, the Chameleon Purple Blue shell. I liked the concept so let’s see how it looks in reality.
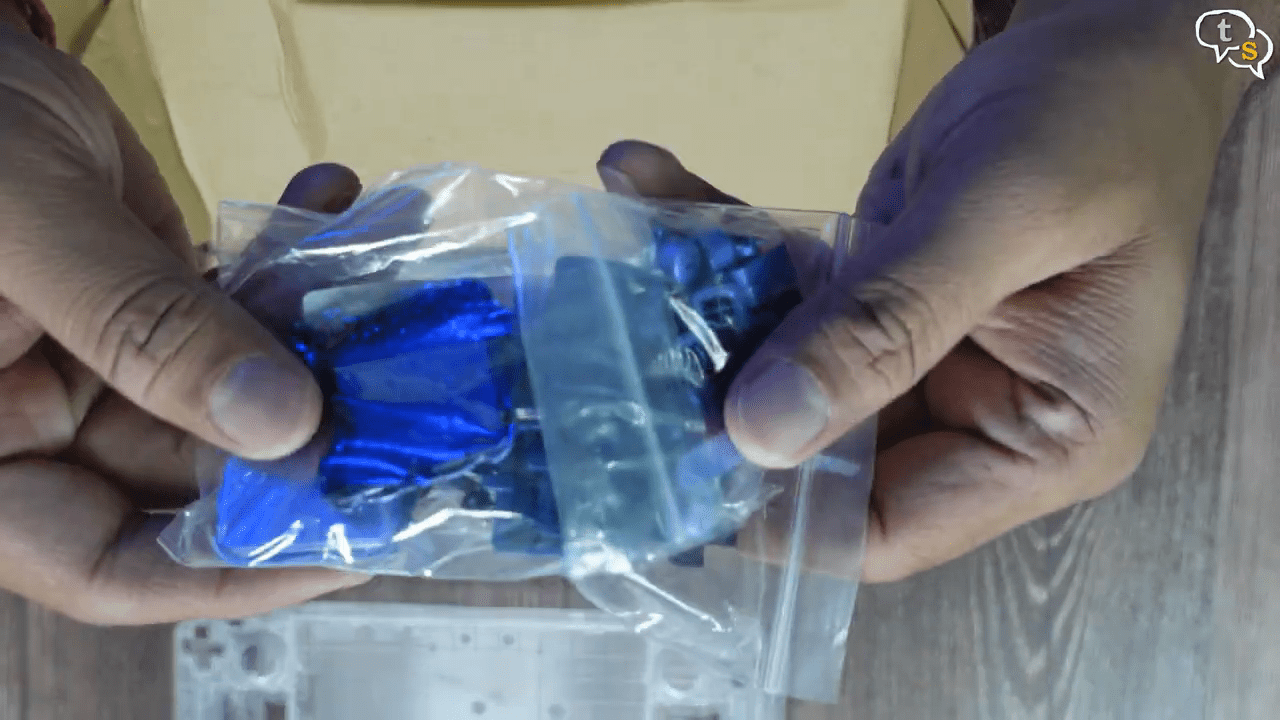
We have purple blue buttons,
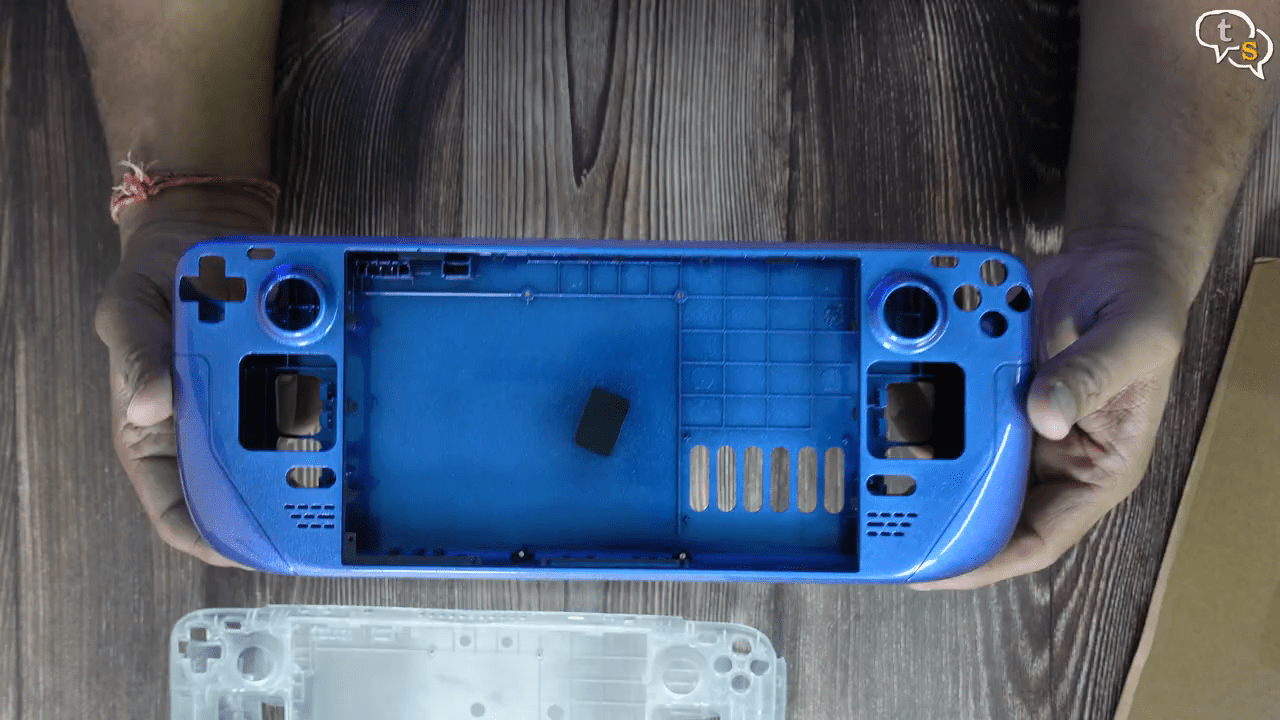
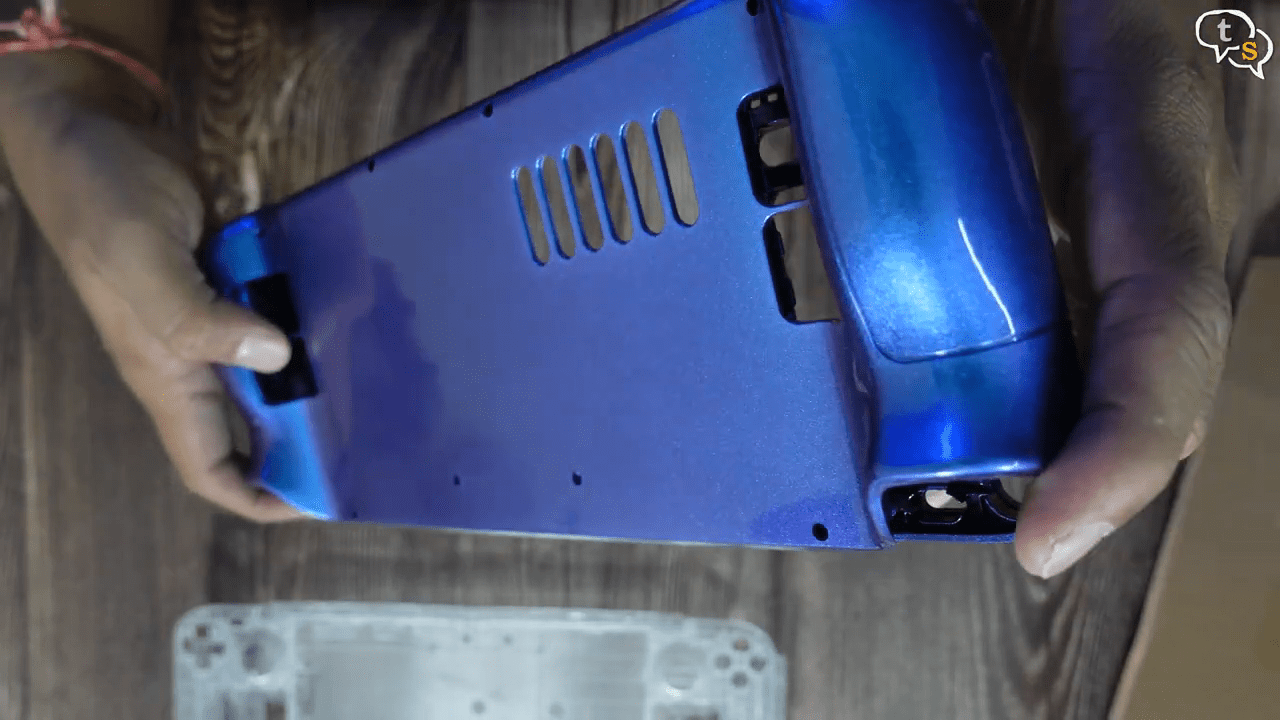
Here’s the shell, what’s special about this one is that it shifts in colour as per the angle.
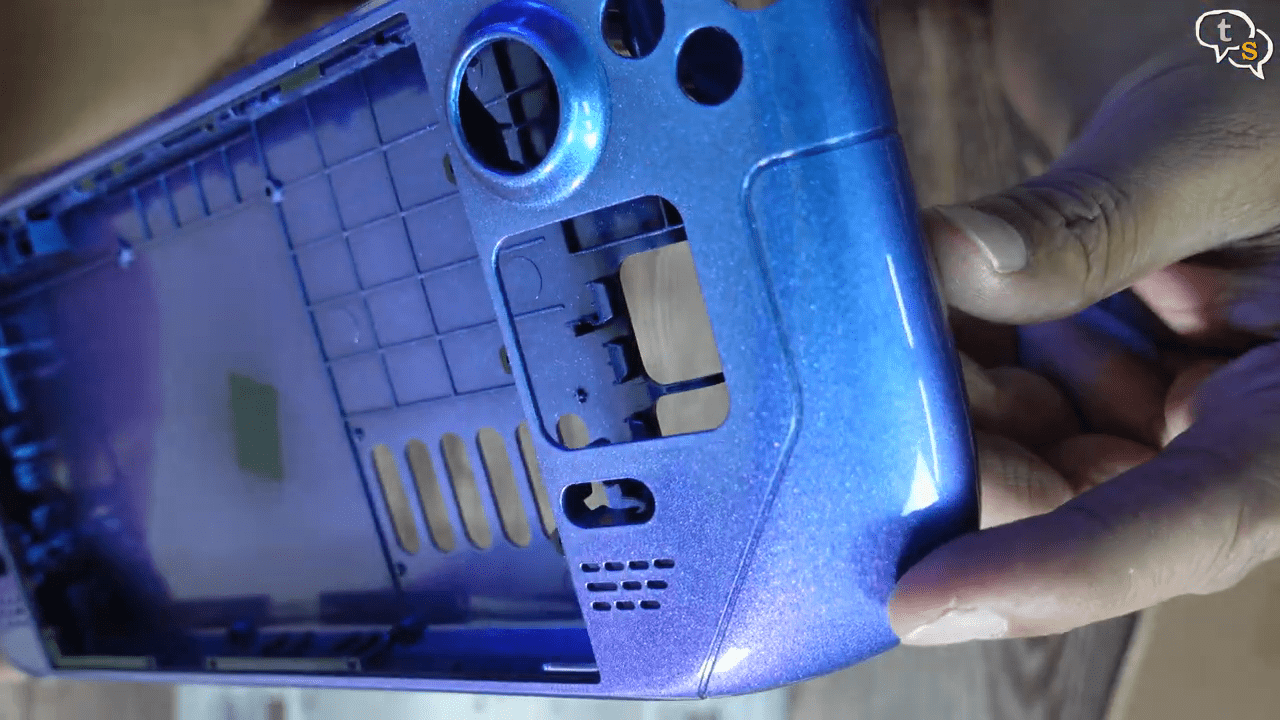
We can see just a hint of purple in the video, but in reality it’s so much more, almost turning complete purple.
Cutouts are similar to the clear shell.
We can see a hint of purple in this angle, but still the video is not doing justice to the actual look of the shell.
It also looks to have glitter within, shiny and reflective.

Feels comfortable, and the shells are designed to fit the steamdeck exactly. The screen attaches from the top and you need a heat gun to melt the adhesive, not going to be installing the front shell.
Ok, let’s begin the back plate installation.
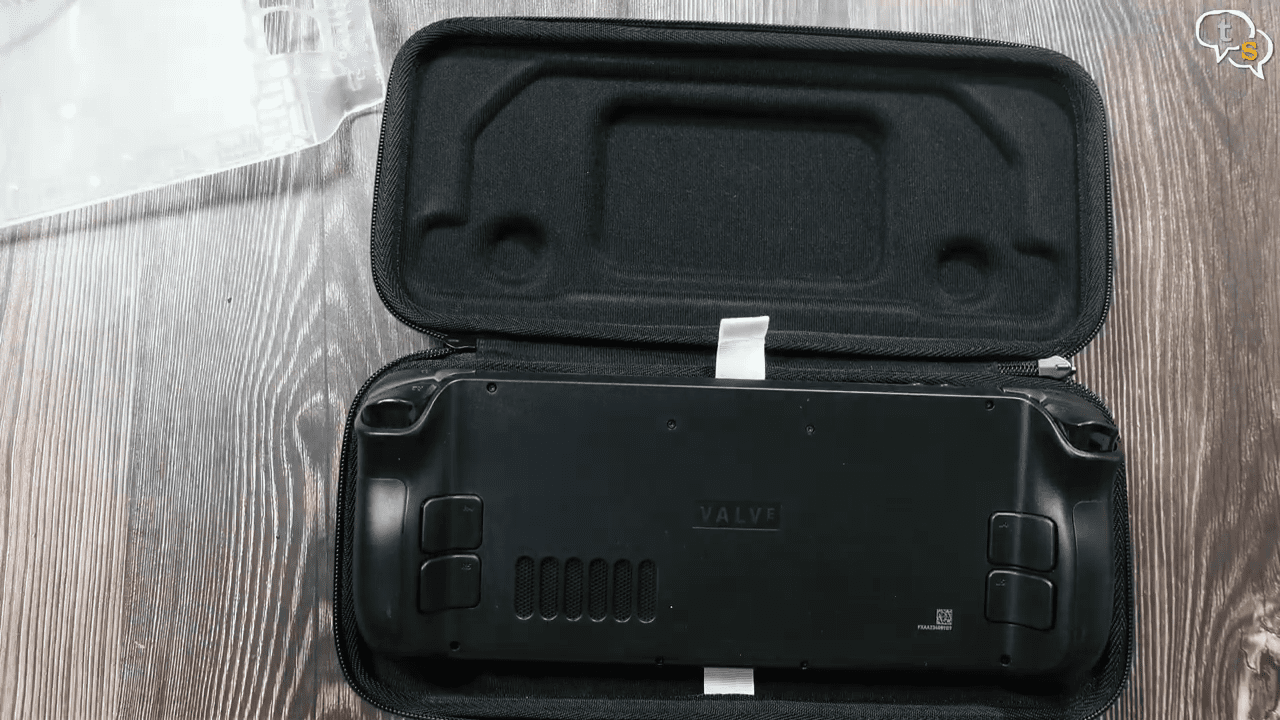
As before I’m placing the steamdeck within it’s case face down, as this would protect the joysticks.
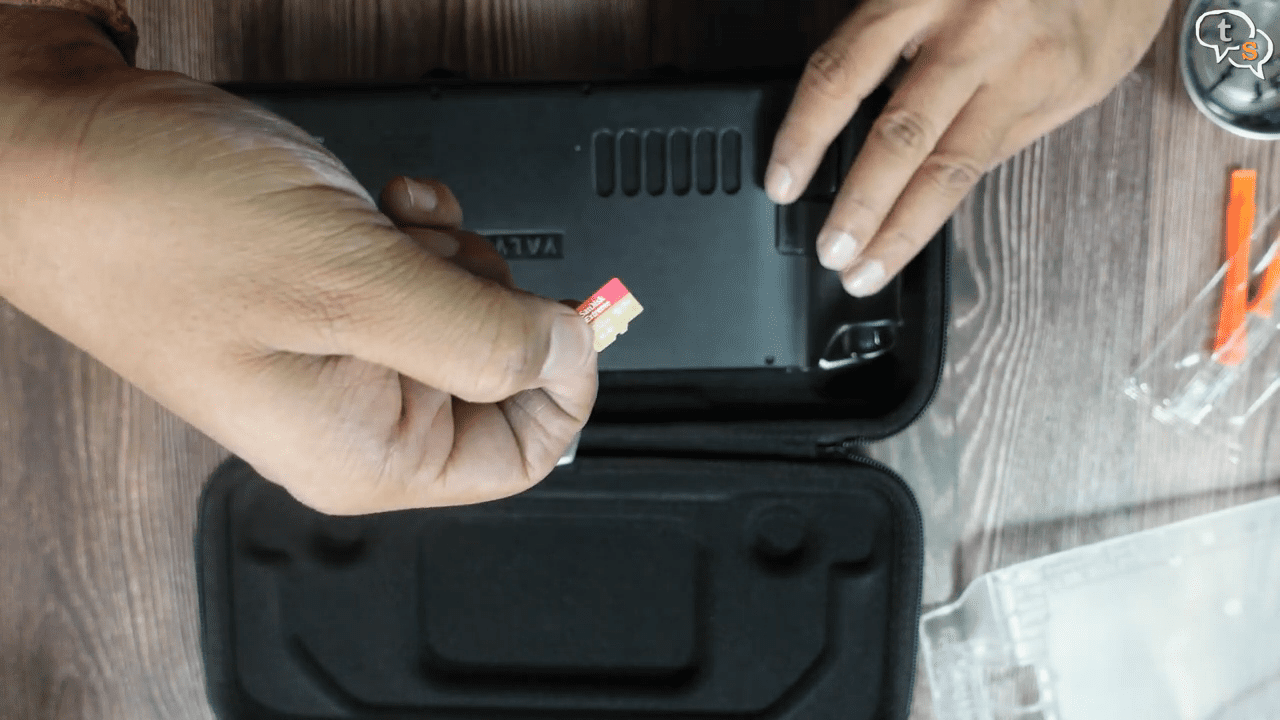
Oh, and make sure you remove you micro-sd card before starting the mod as it will break if you don’t.
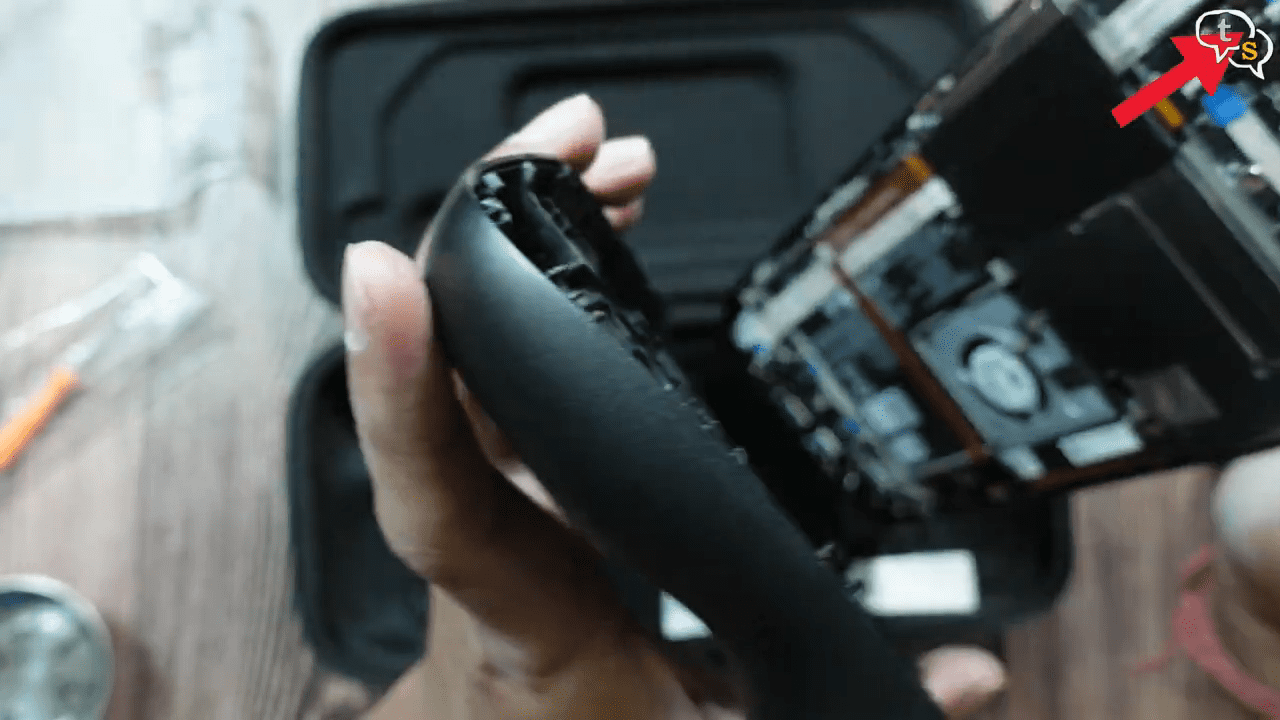
We need to remove the backplate off.
Same as earlier, remove the four small screws in the middle and four long screws on the sides.
Use the pry tool to pry off the back plate.
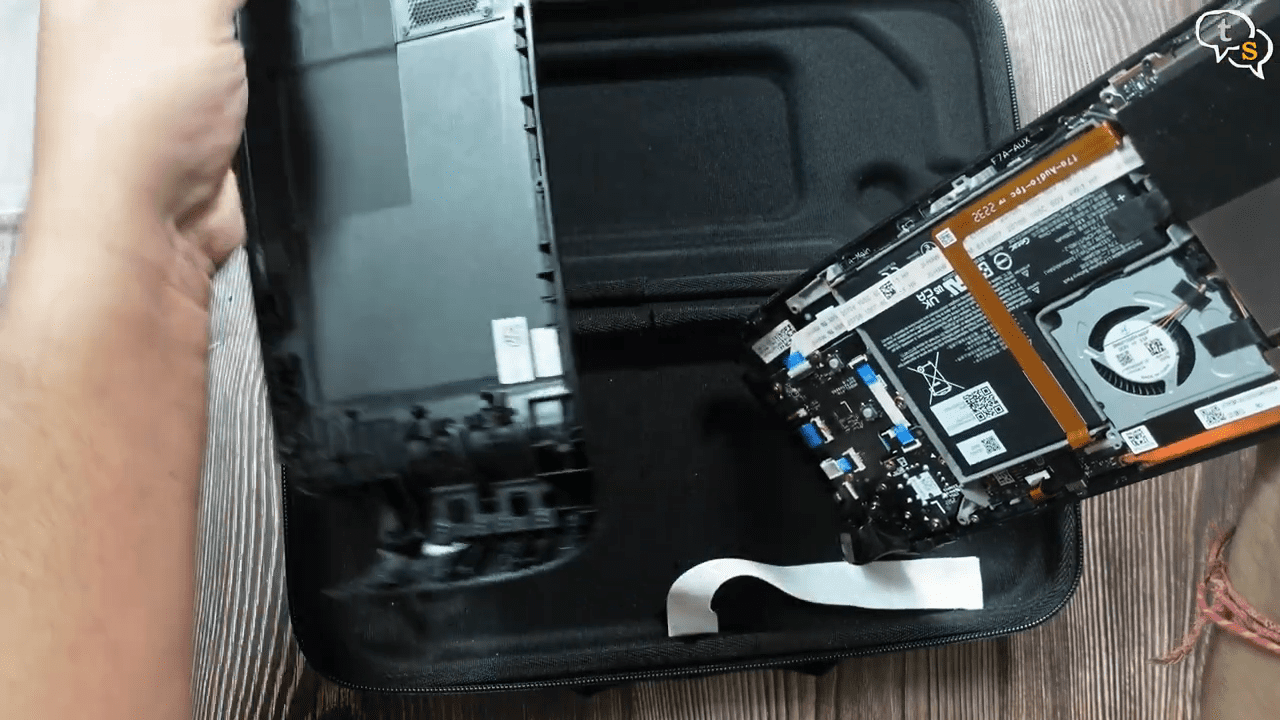
There we go.
If you’ve not seen my 1tb ssd upgrade you can find the article here.
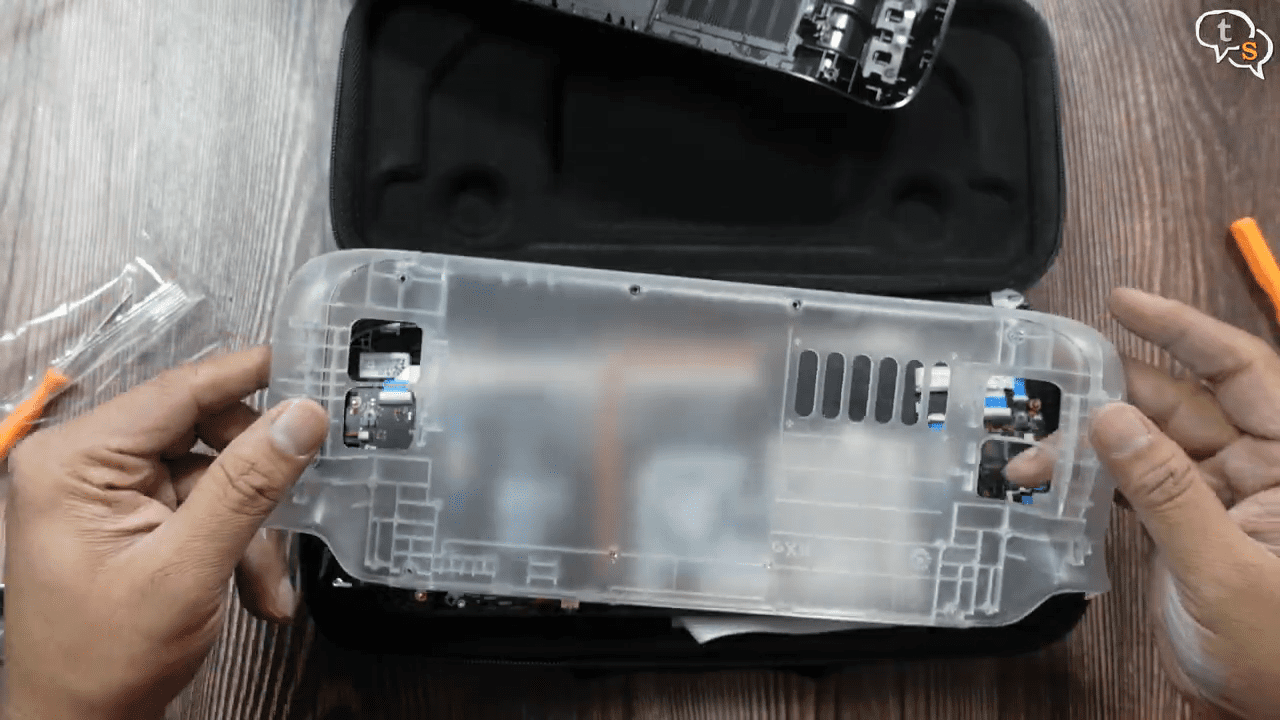
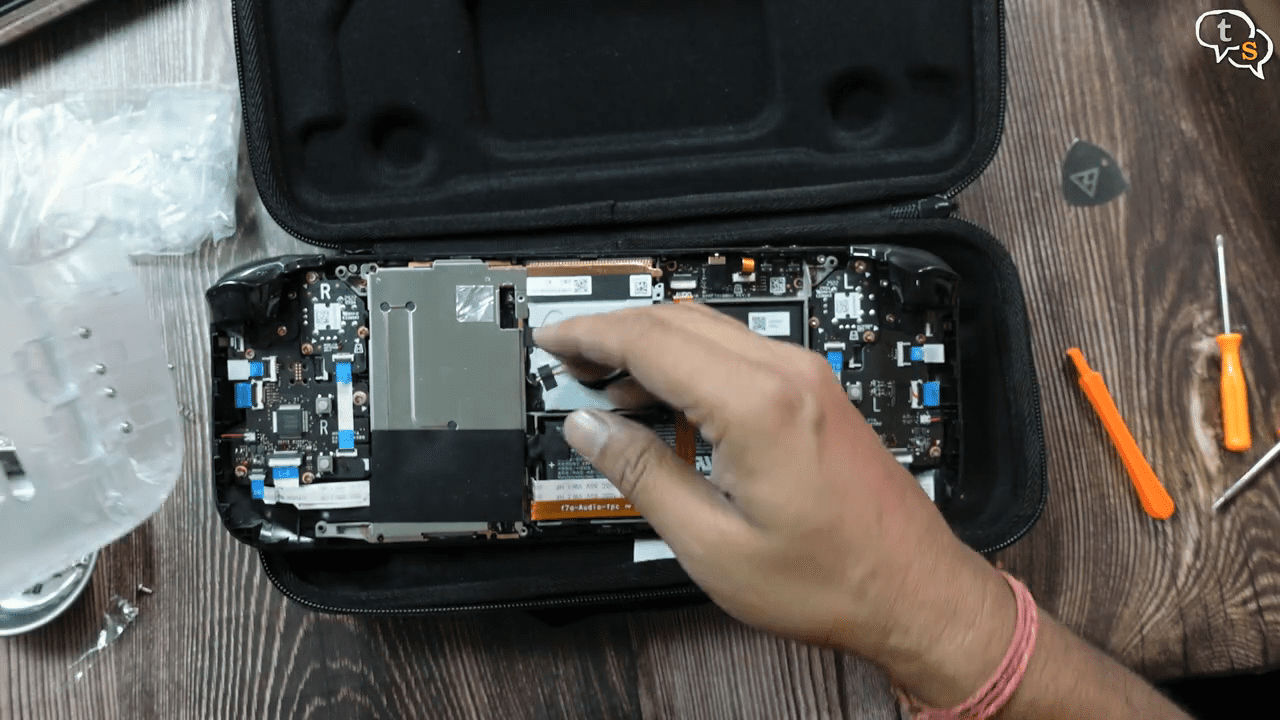
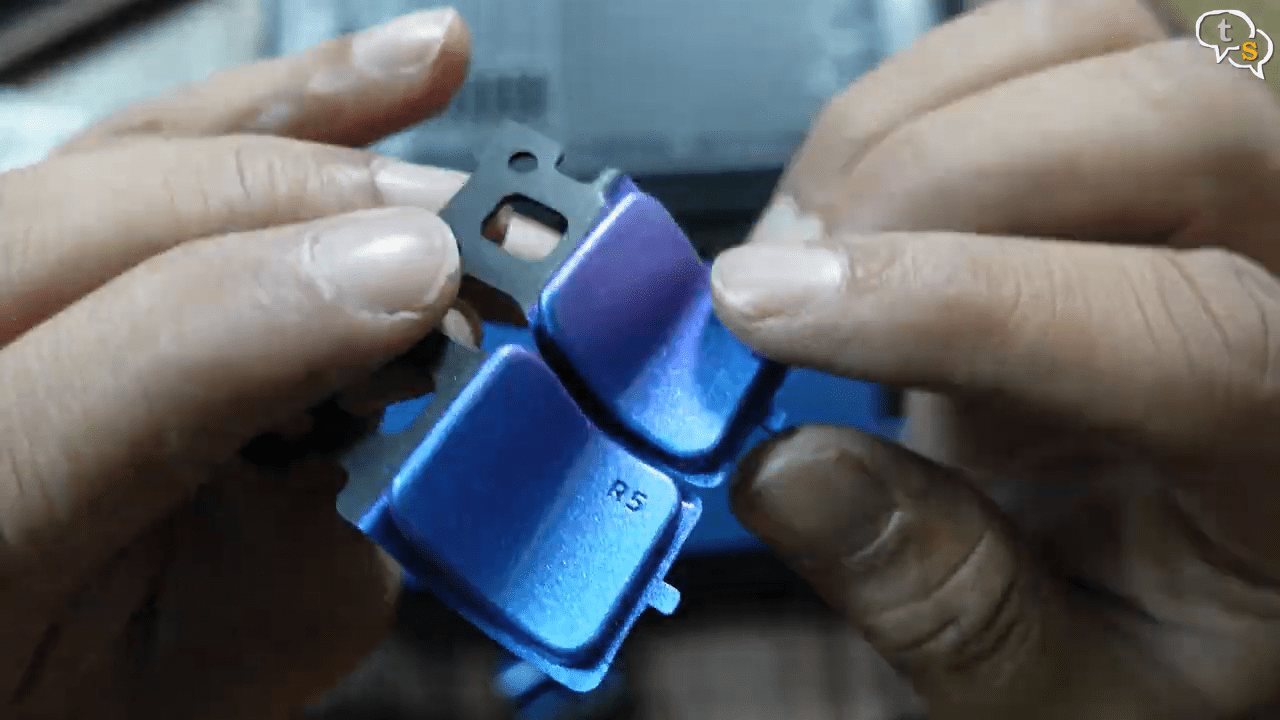
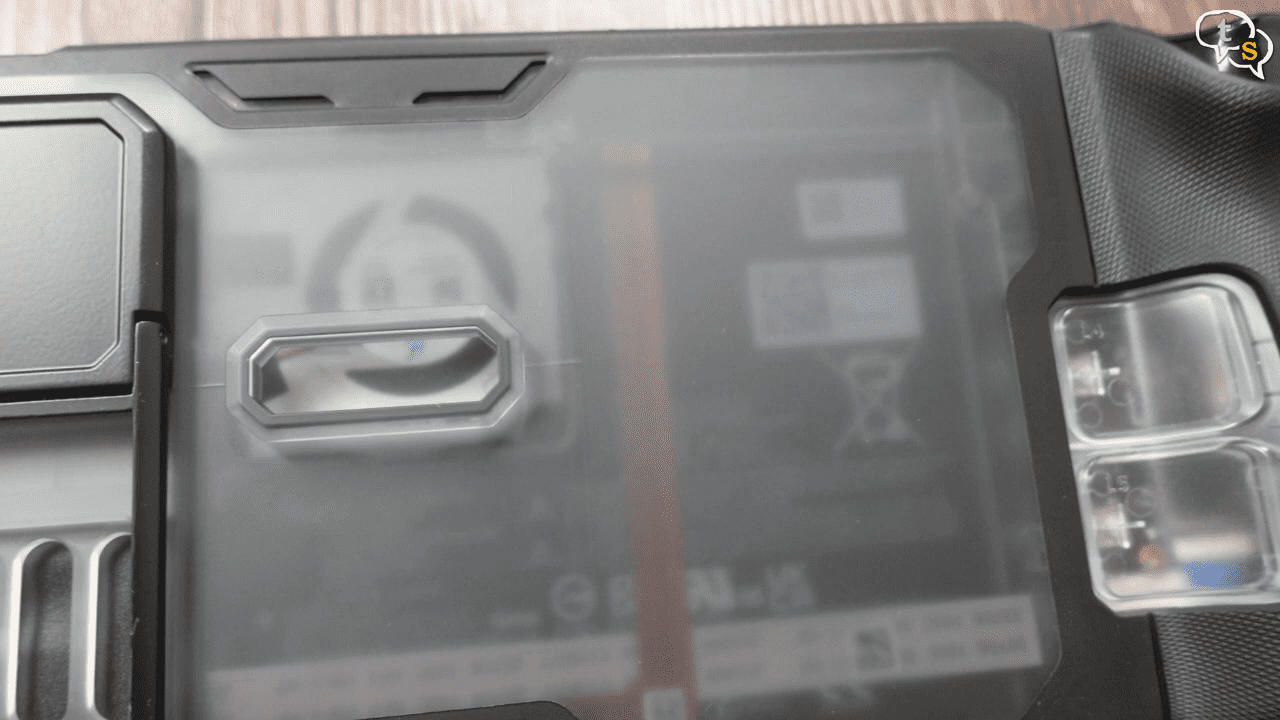
I’m starting off with the clear back plate, but before I can install it, let’s install the rear buttons.
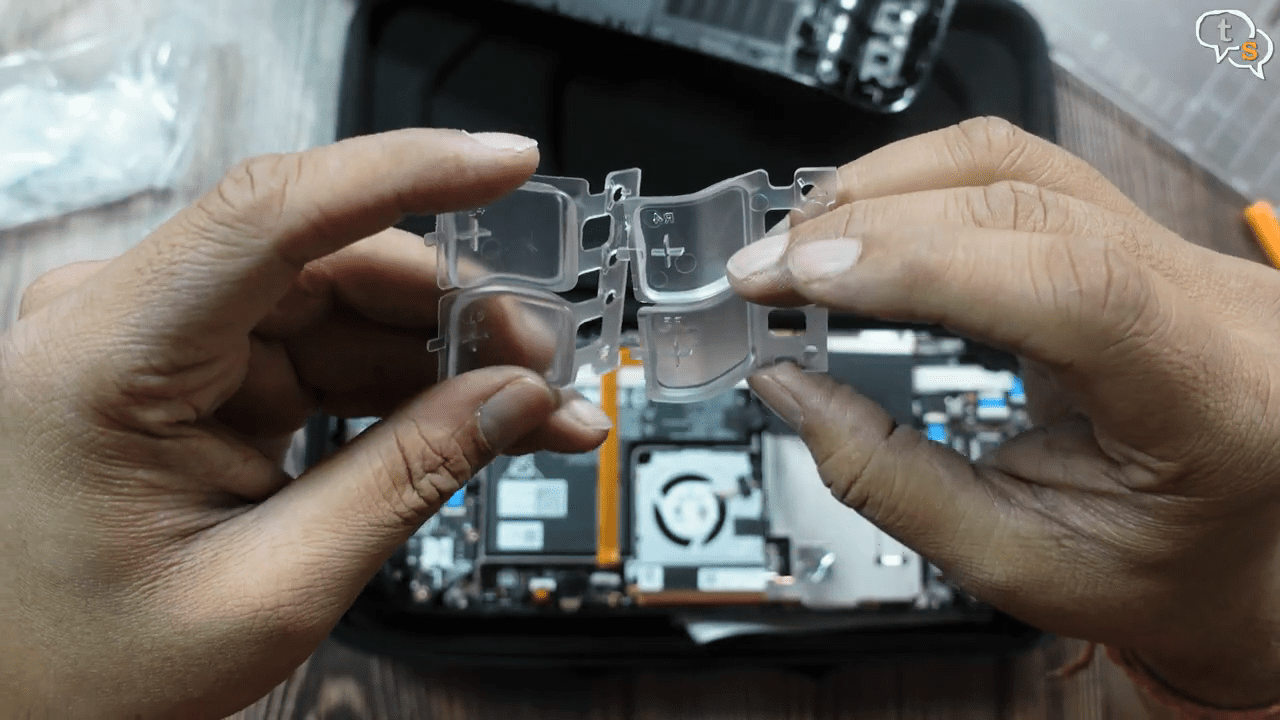
L4/L5 and R4/R5. Make sure of the side and orientation and place them into the back plate.
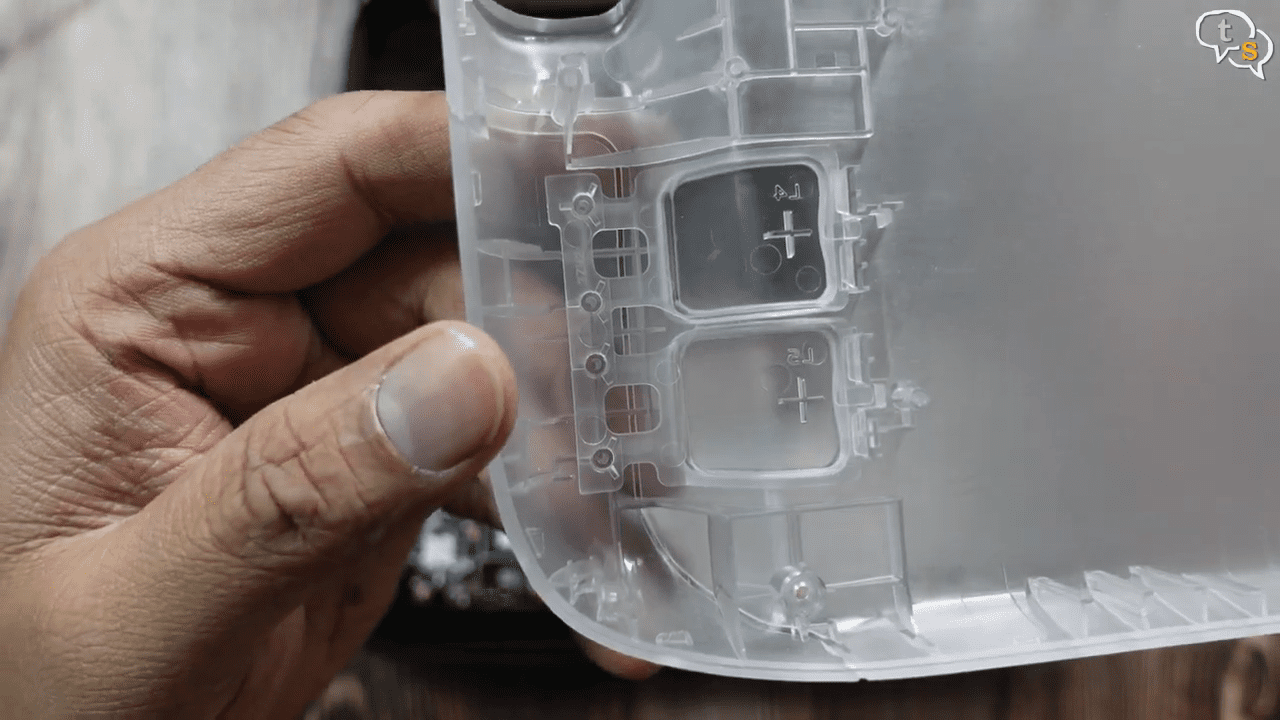
This is how they look once installed.
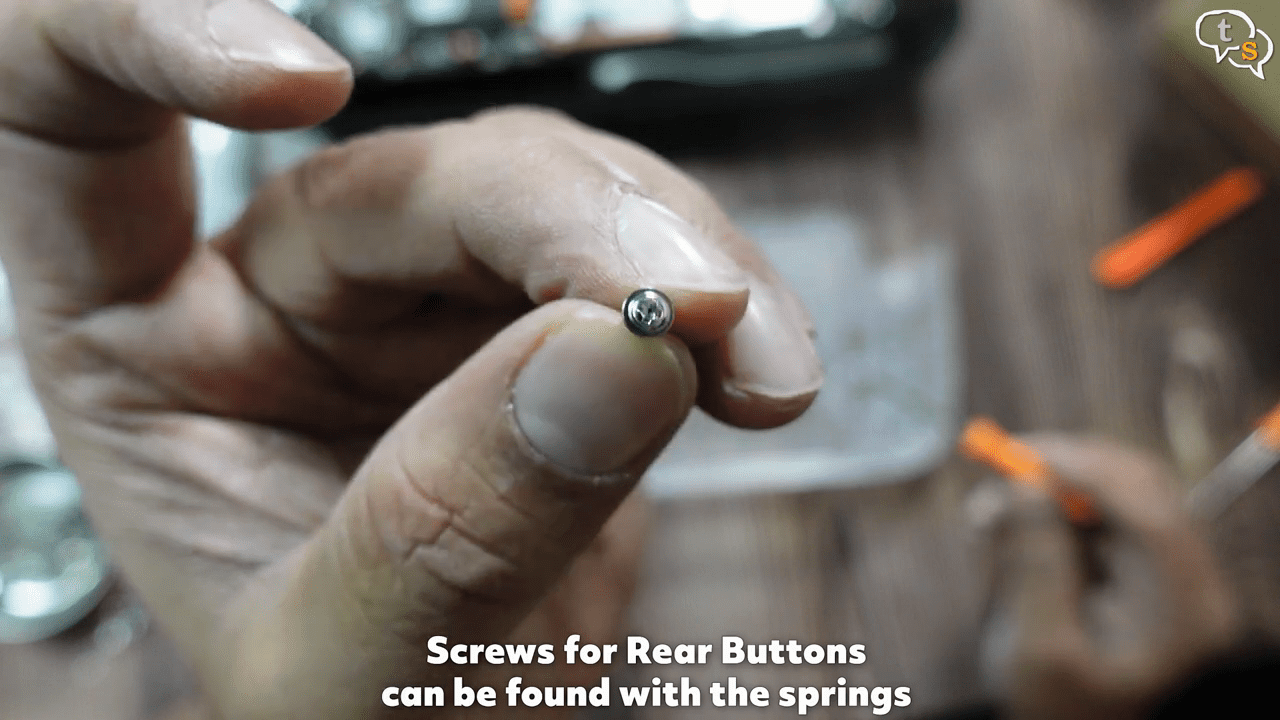
We need to screw them down using these screws.
Four on each side. Ok they don’t click as they need the button beneath.
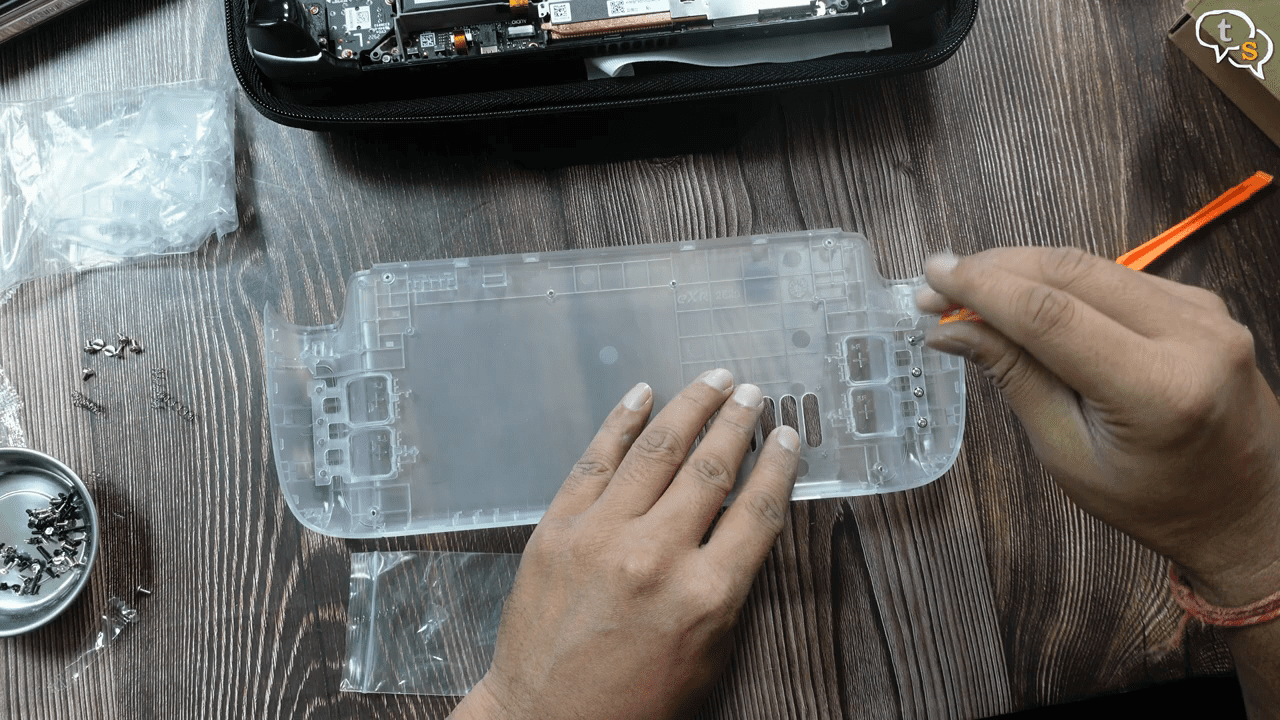
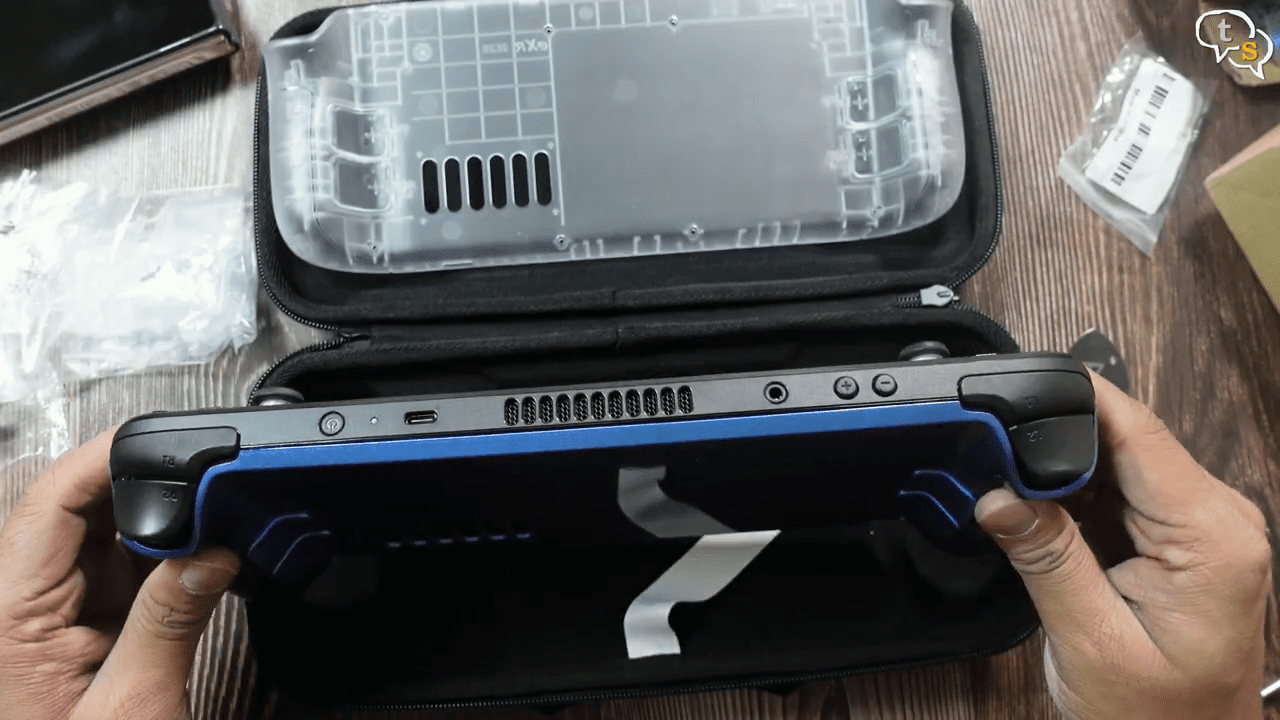
Place the shell on the back of the steamdeck and push down on all the sides to clip it on. It’s great that this back plate fit’s onto the original front plate.
The buttons click now.
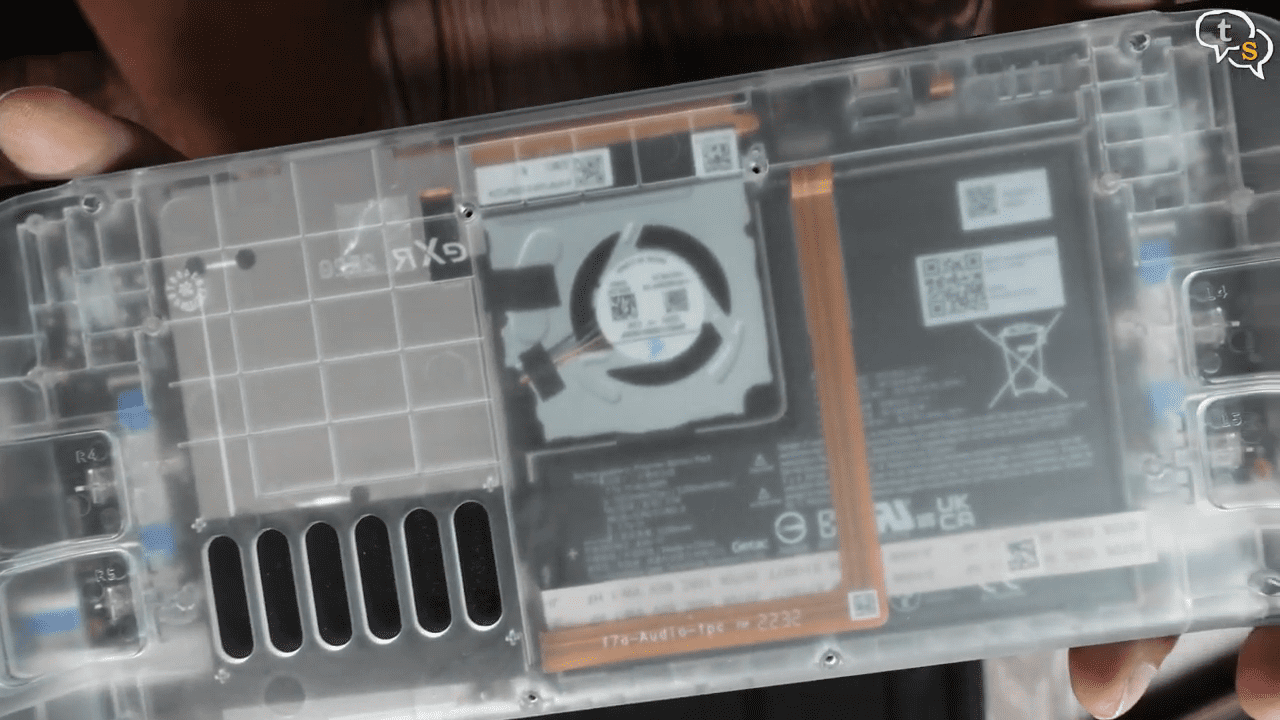
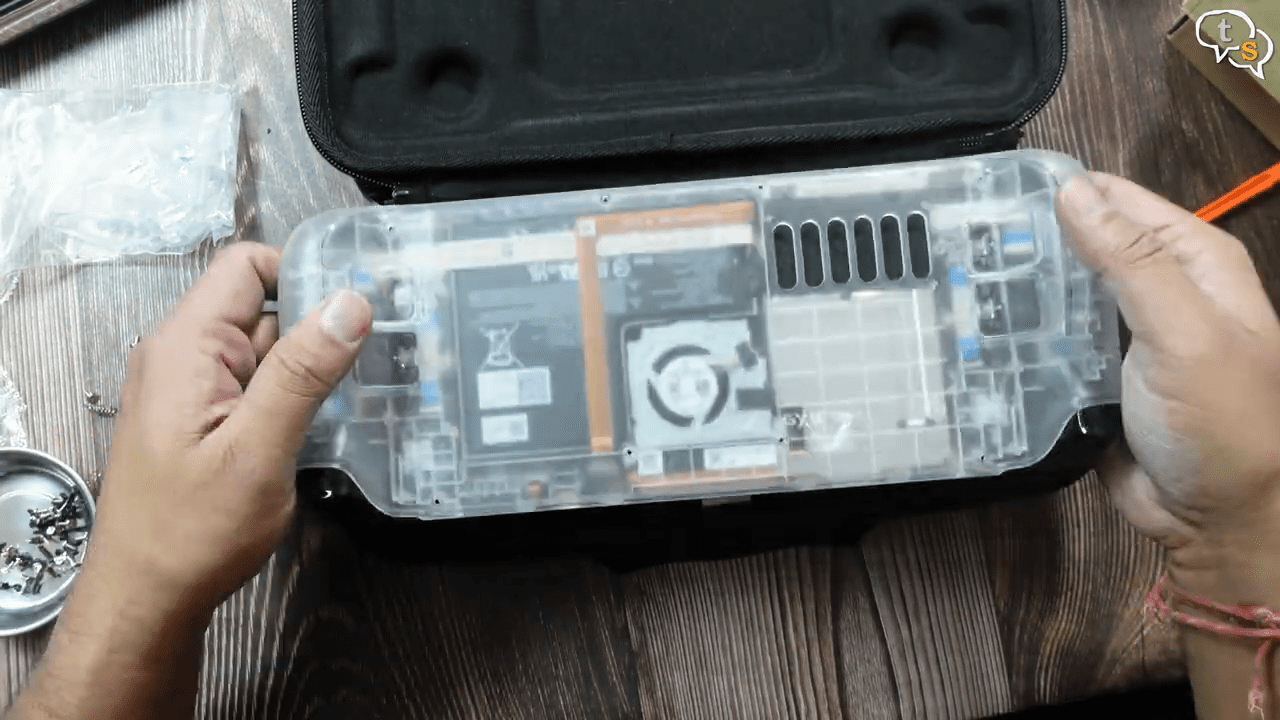
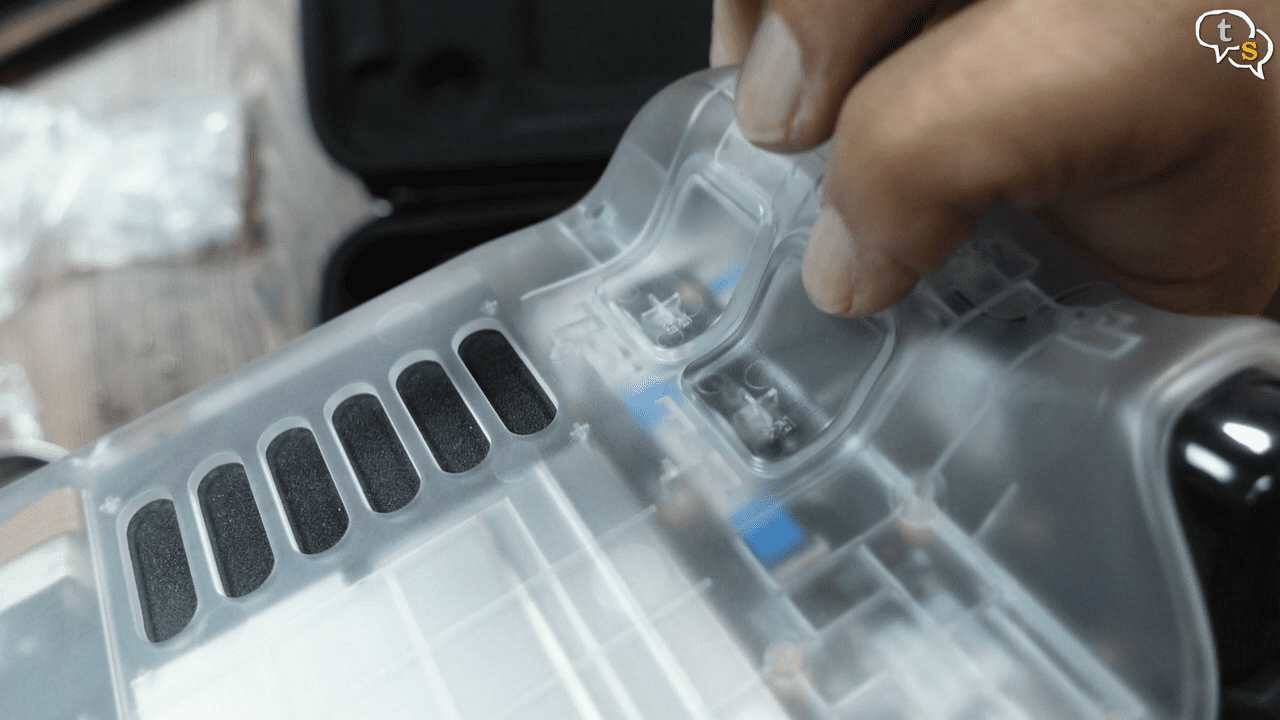
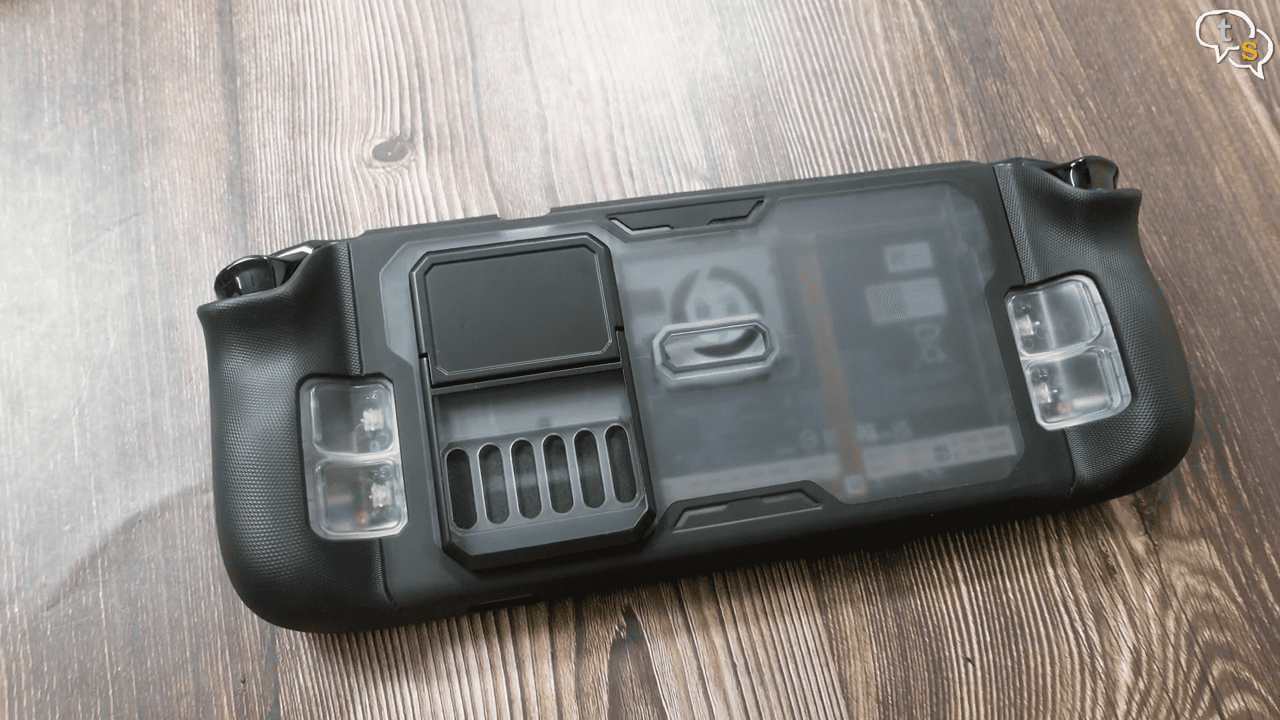
This is how the backplate looks , we can see the fan, the battery, and all the electronics within.
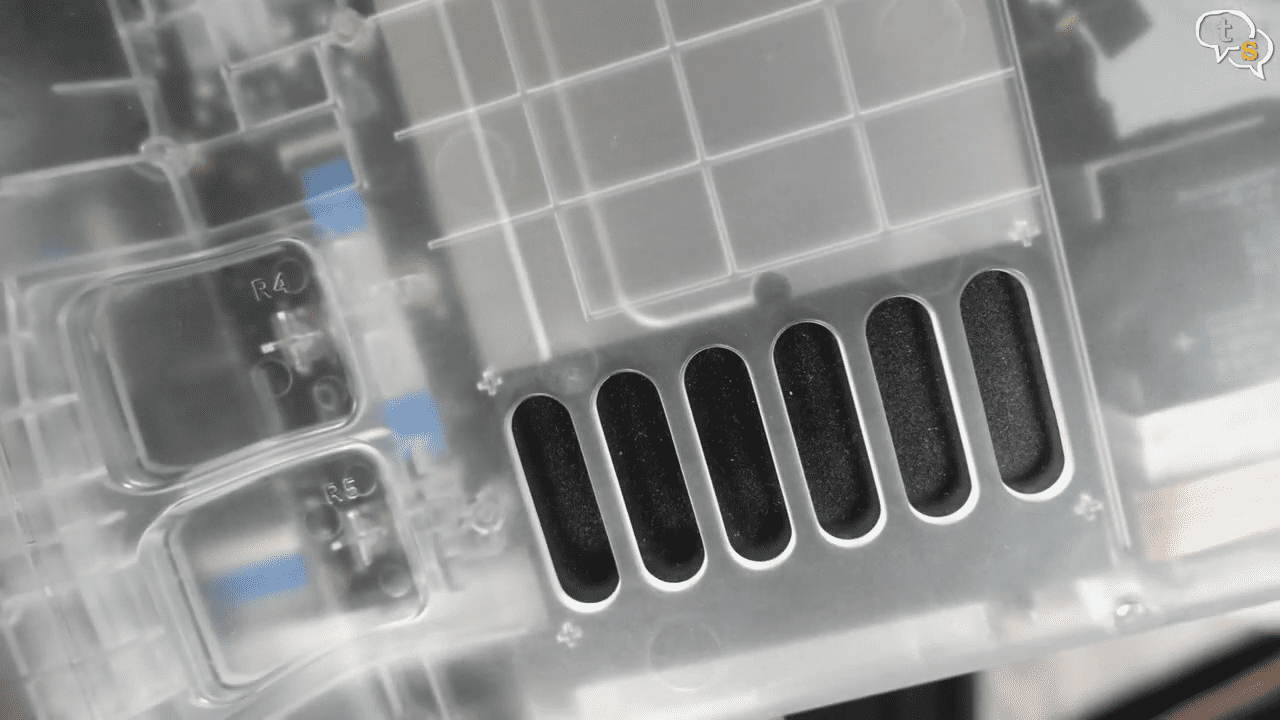
Everything lines up and what’s this , is the air intake at the back is actually of no use?
I’ve not added the grill and removed the cover; the black block it’s on the steam deck itself and not the shell.
Ok, I watched a GN video where he explains that there is airflow.
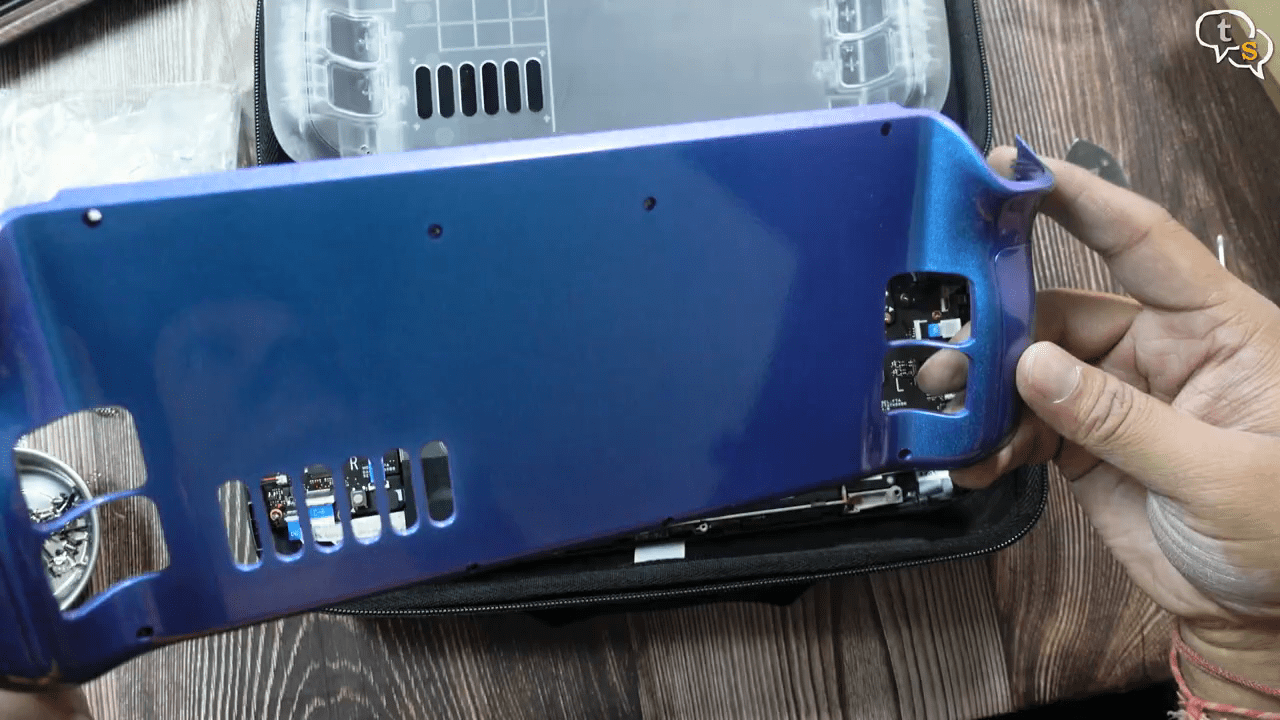
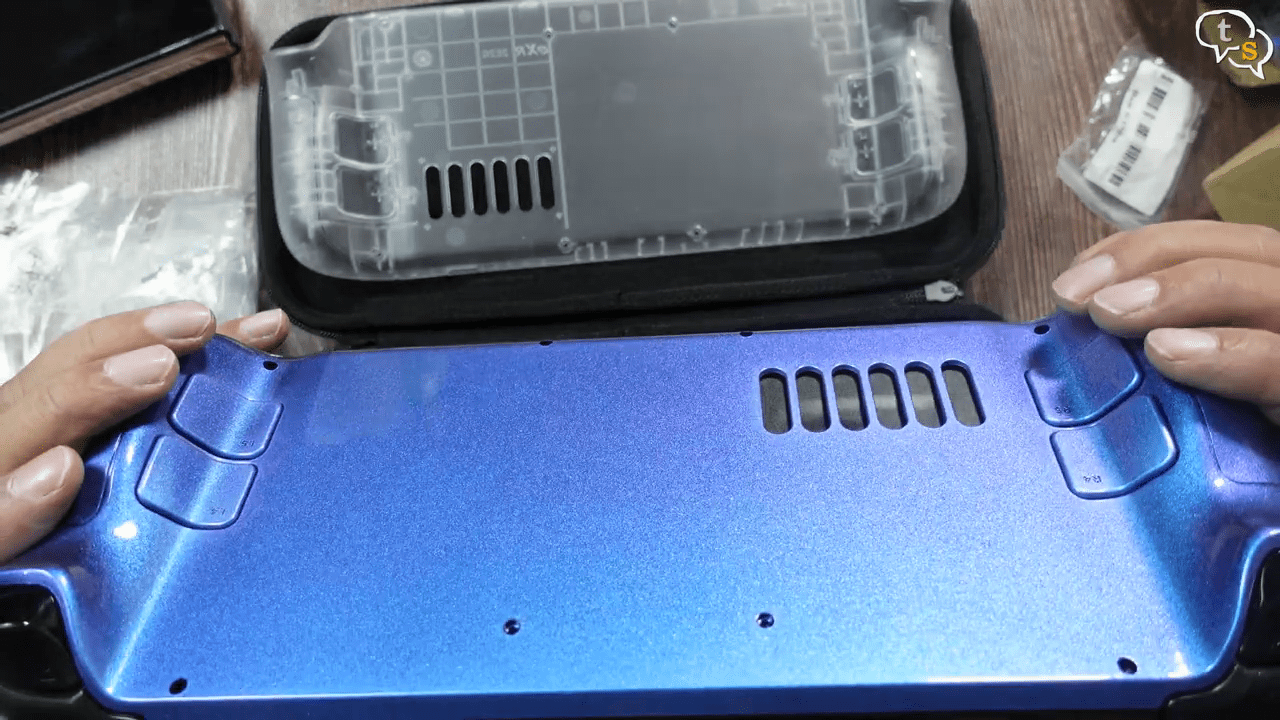
Ok, now that the clear backplate is off, let’s check how it looks with the purple blue backplate.
Same as earlier we need to add the rear buttons. Screw them down.
Ready, can you guys see the purple colour here? Same for the back plate, not very visible on camera for some reason.
Snap the shell onto the steamdeck and it’s done.
Looks really cool, rear buttons are also working.
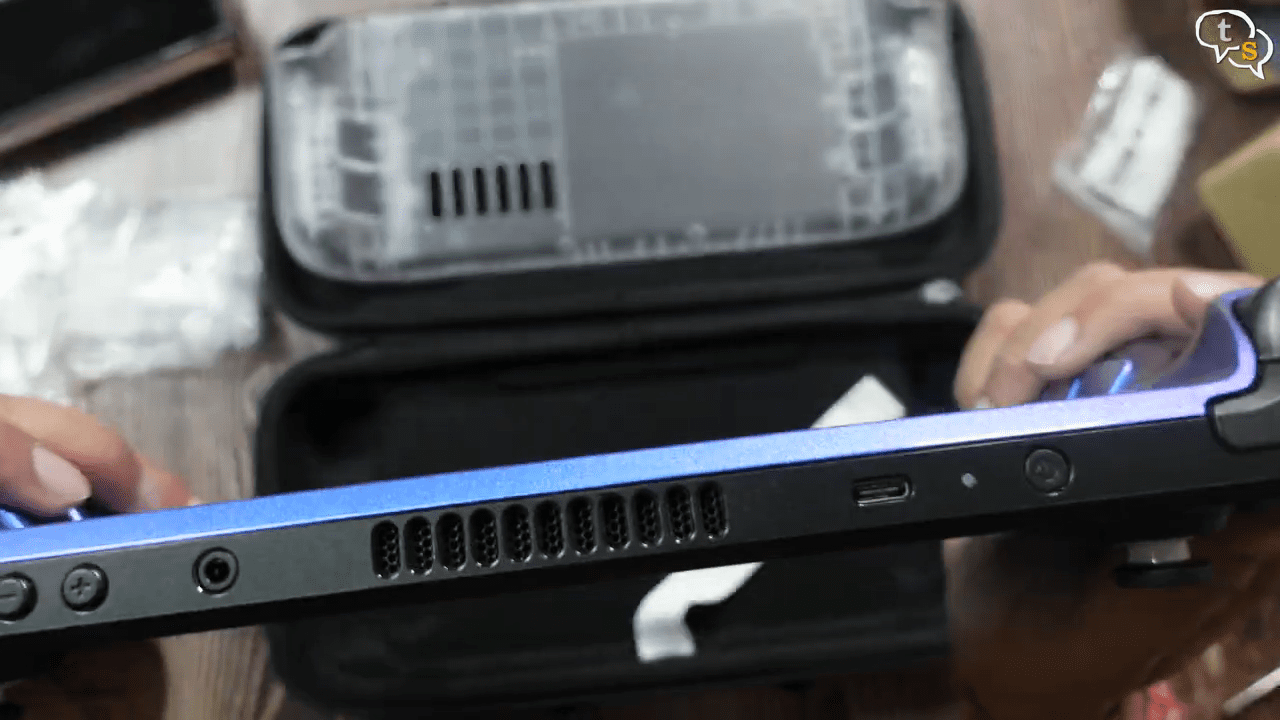
Most of the top buttons are on the front shell so when only changing the backplate we only need to worry about the triggers.

I honestly like the clear shell more, and I installed it back instantly.
Everything is working on the steamdeck, nothing has moved within, which I’m thankful for.
I’m just loving this. I do want to customize the front shell too, but i’ll have to do it more carefully as it also includes the removal of the screen which if i make a mistake is not very easy to get a replacement.
Both the kits are complete replacement shells with their corresponding buttons.
Everything lines up properly, so you have no problems with the shells, also this being a shell it also fits my jsaux mod case, and that being transparent too you can still see the insides.
The case even though having a fake vent seems to not hamper air flow and the temps are still under control. Grip wise it feels good, I like the textured feel of the case. The blue shell is smooth and reflective.
The SteamDeck still fits into my JSAUX case,
and it being transparent too we can see the electronics within.
Well, I want my SteamDeck and don’t want anything happening to it. There’s no official service by Valve in India, so I didn’t disassemble my steamdeck much. The back shell and buttons by itself gives a complete new look to my device. I’m loving the transparent shell, being able to see the innards of the device is so cool. The multicolour shell is also cool, but I liked the transparent one more. It’s great that affordable replacement shells are available via extremerate and we need not worry if our main steamdeck shell is damaged.
So how did you guys like the extreme rate steamdeck shell. Are you planning on customizing your SteamDeck in future or do you already use any other form such as skins and cases. Make sure to comment what you use below.