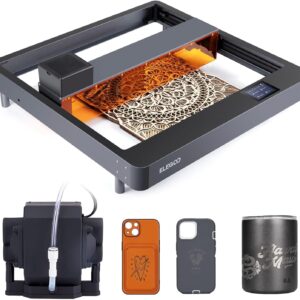
This is the Elegoo Phecda, phecda,

also called Gamma Ursae Majoris, is a star in the constellation of Ursa Major.
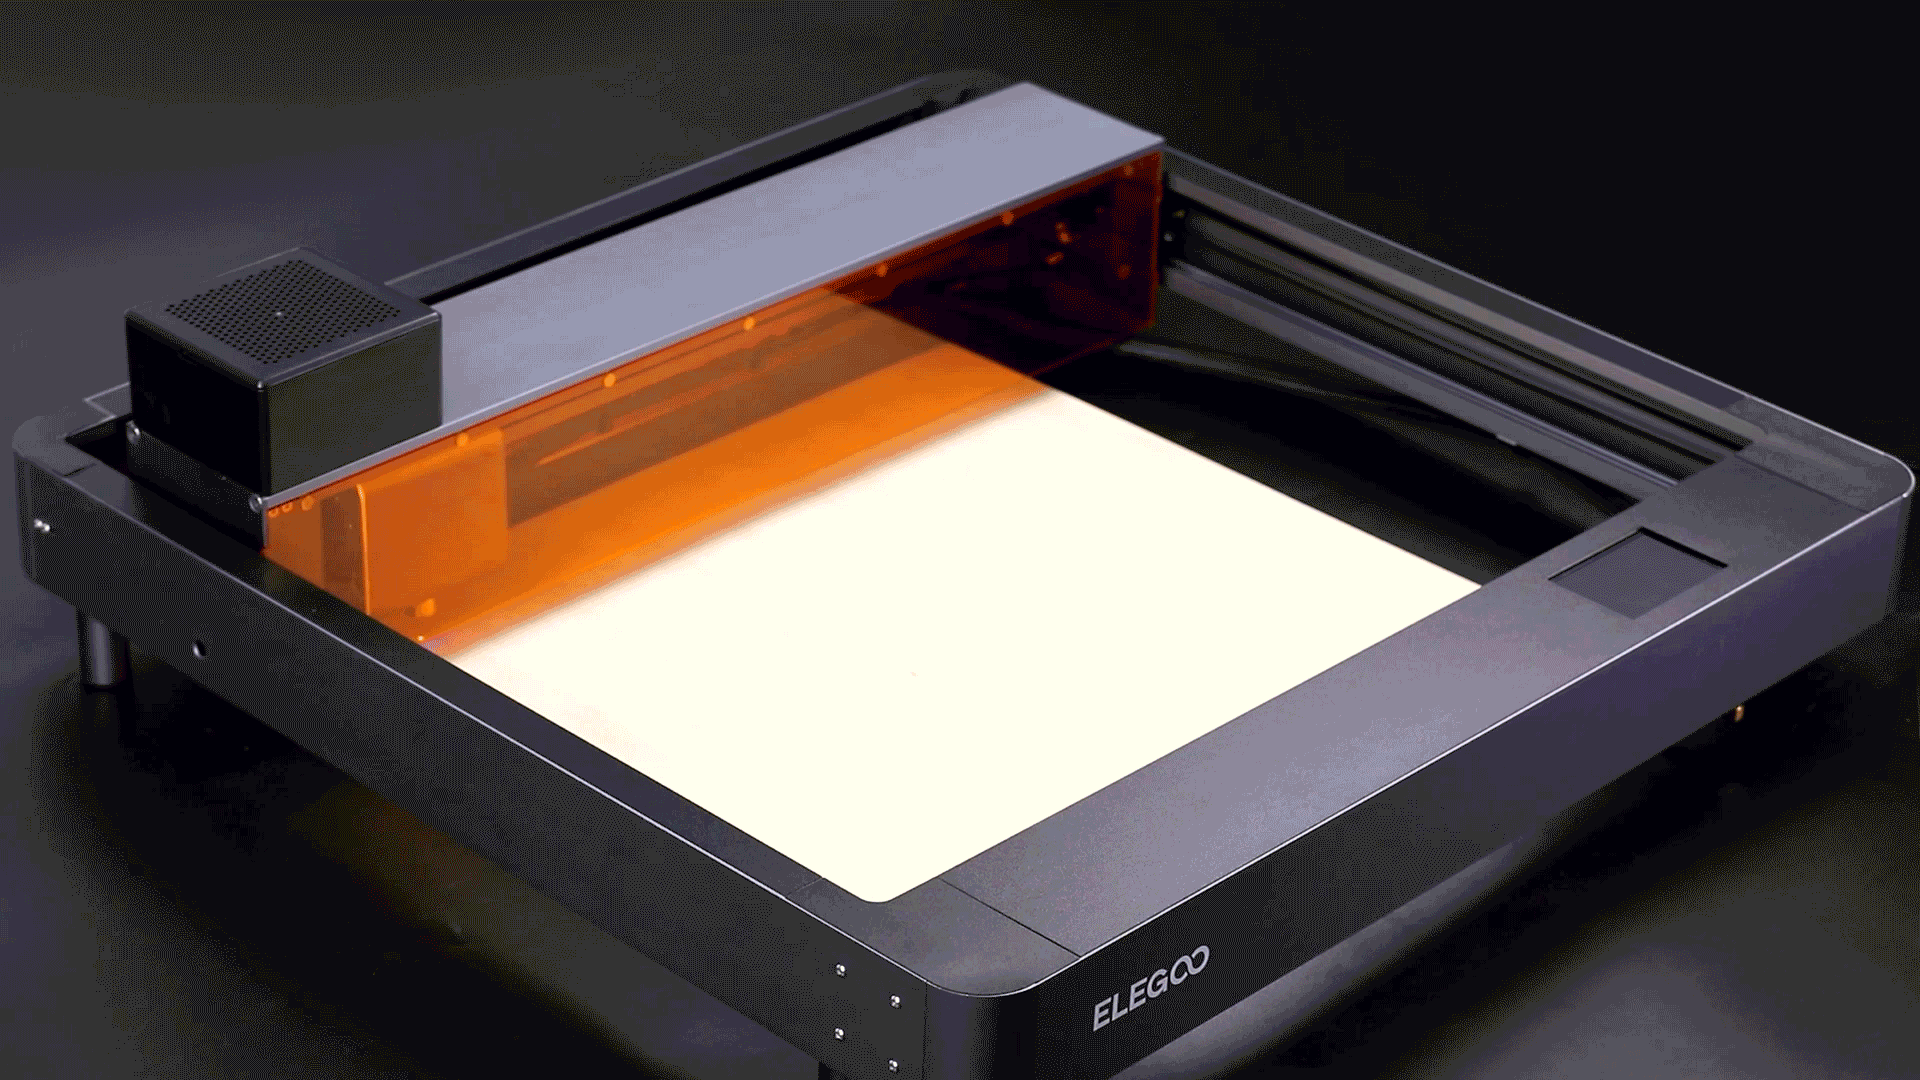
The laser engraver / cutter comes in two models , 10W and 20 W. I have the 20 W version with the air assist module.
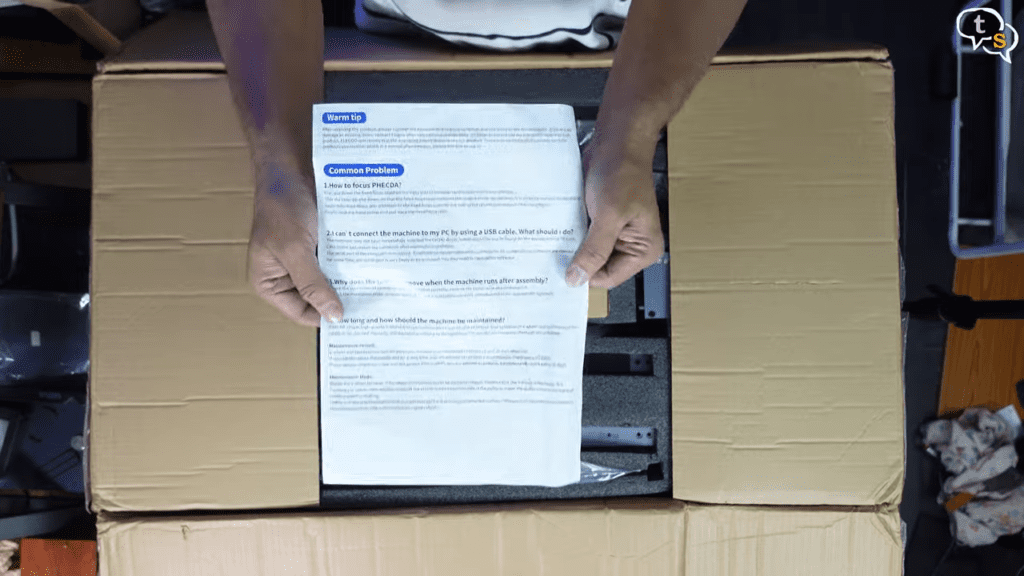
Opening up the box, we have a FAQ flyer,
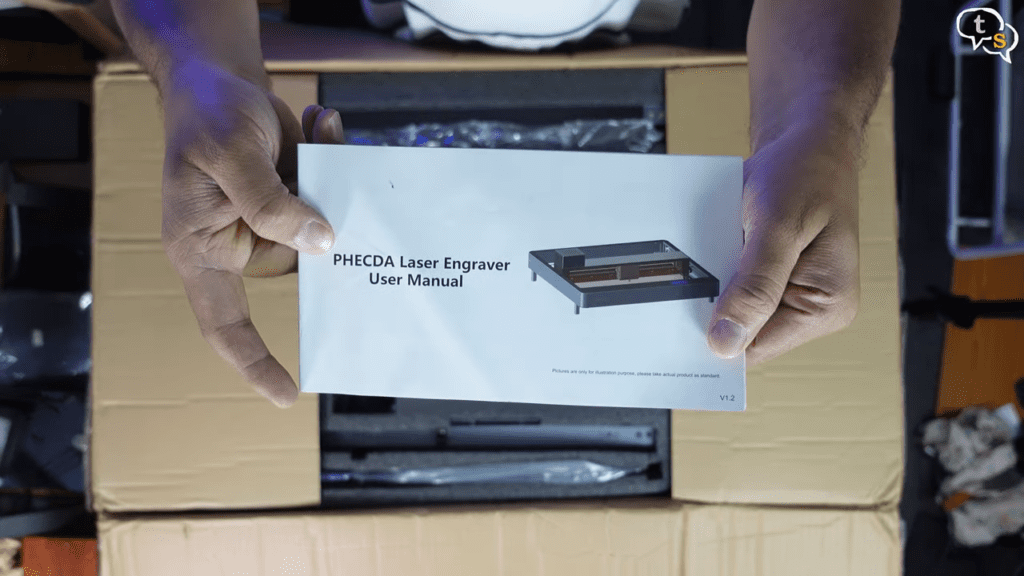
Also included is a manual, it’s quite detailed, but hard to follow. I will share the ELEGOO setup video here, which is way simpler to follow. I noticed later that the same video is included in the memory card that comes with the engraver.
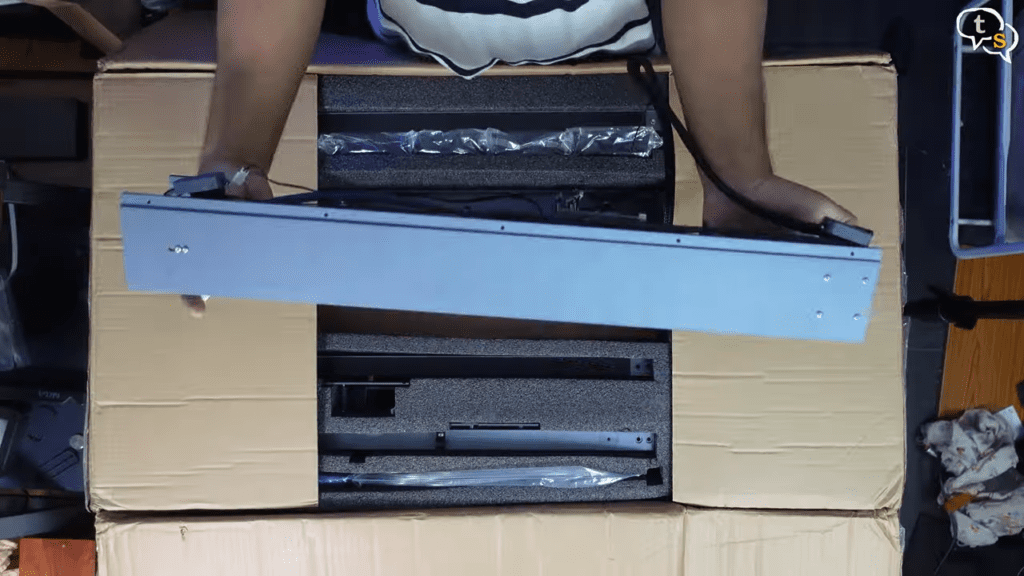
This box includes the extension legs, these are the end feet, and another set of extensions if you want more room for taller projects.
This is the air assist module, the dial here controls the speed of the pump.
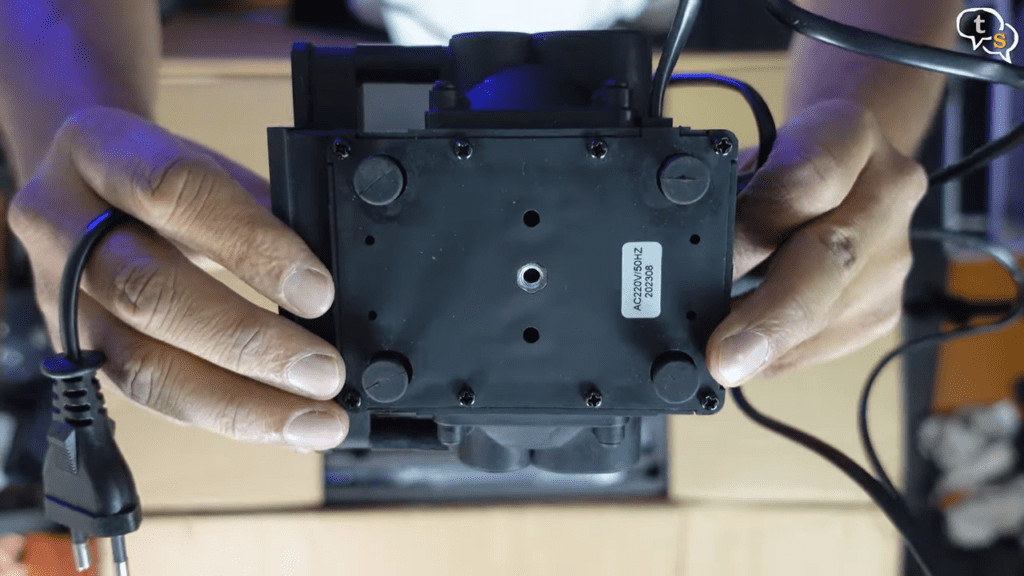
Rubber feet, so as to reduce sound due to vibration. The air assist module uses a 10 amp power plug.
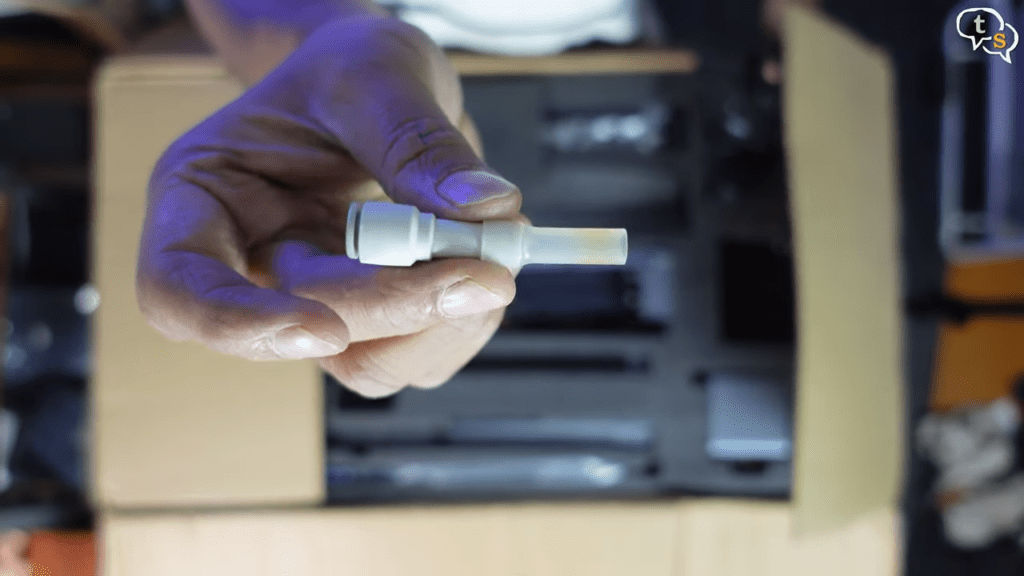
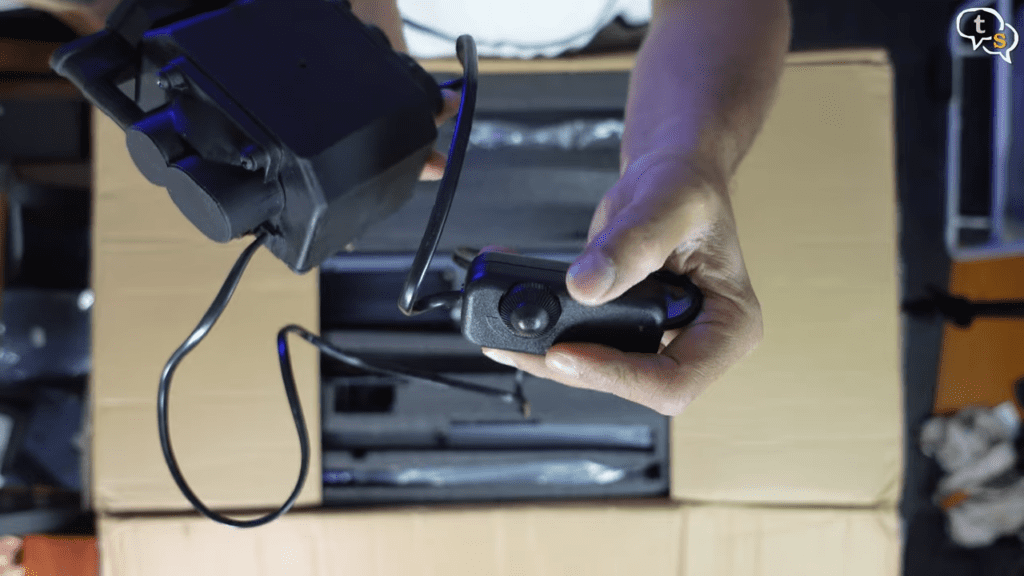
We have an adapter which helps connect the laser module with the air assist module.
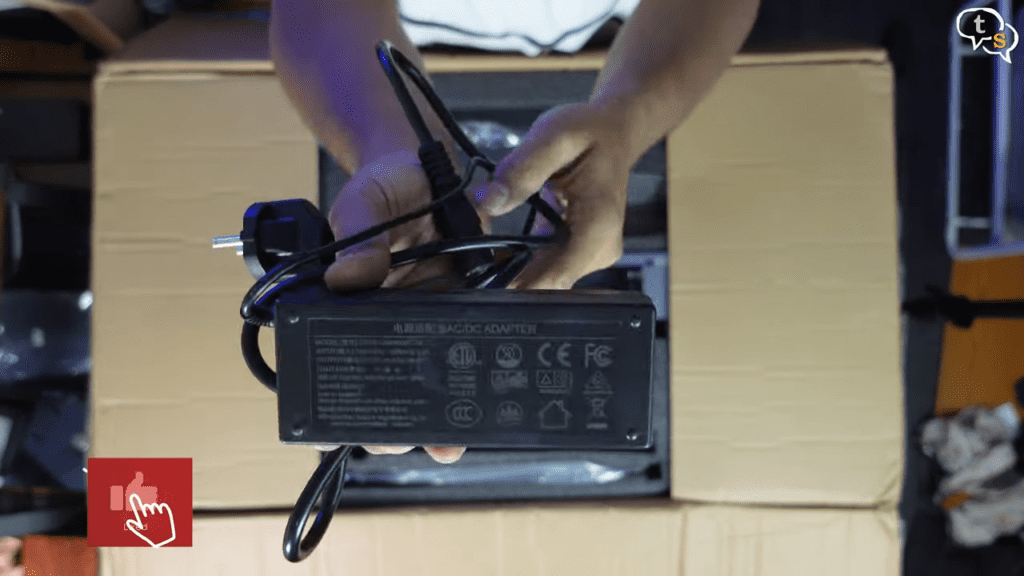
Power supply, for the cutter/engraver.
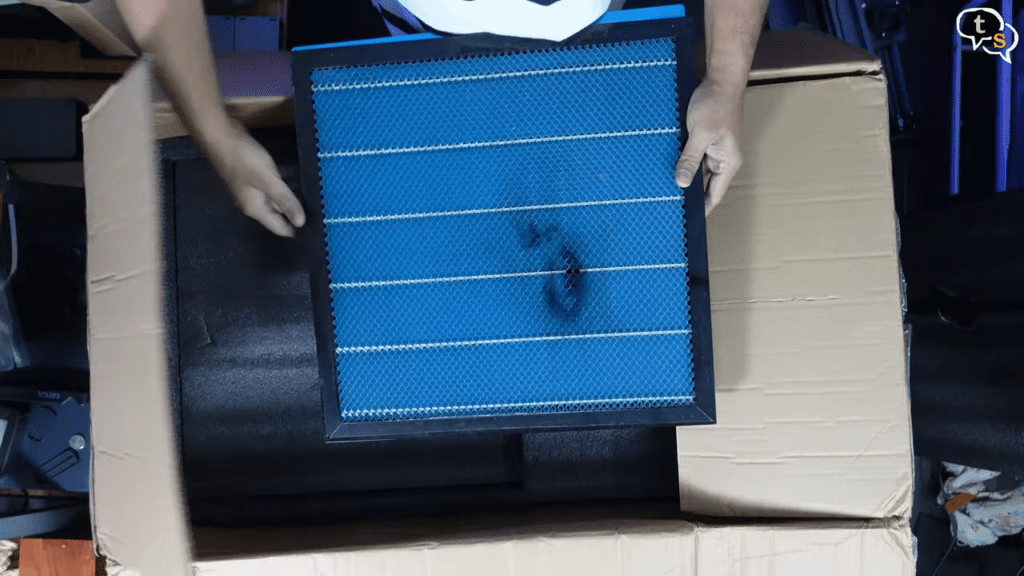
Air filter, which helps filter out the fumes and dust when the engraving takes place.
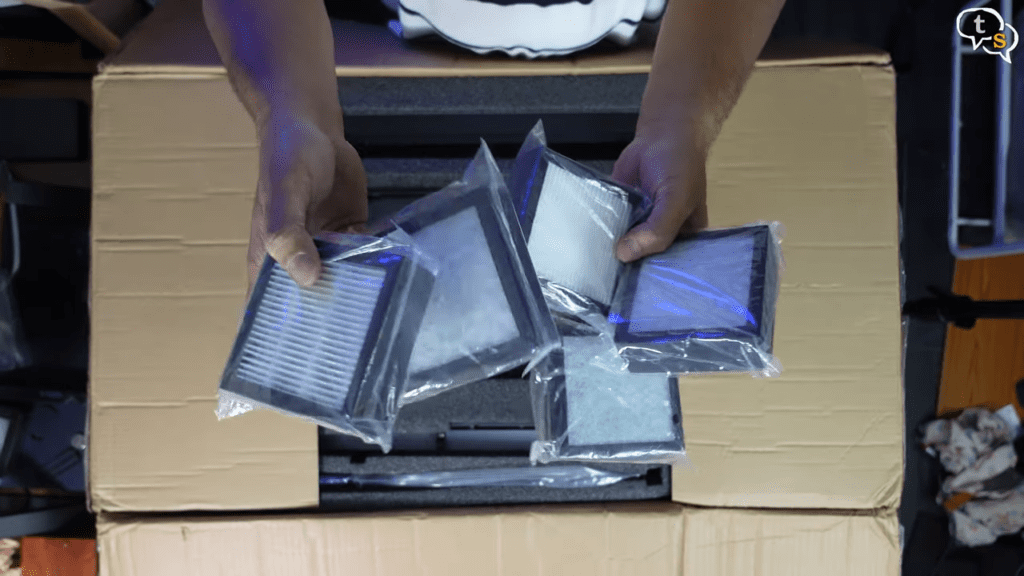
We are provided 5 replacement filters for the air filter.
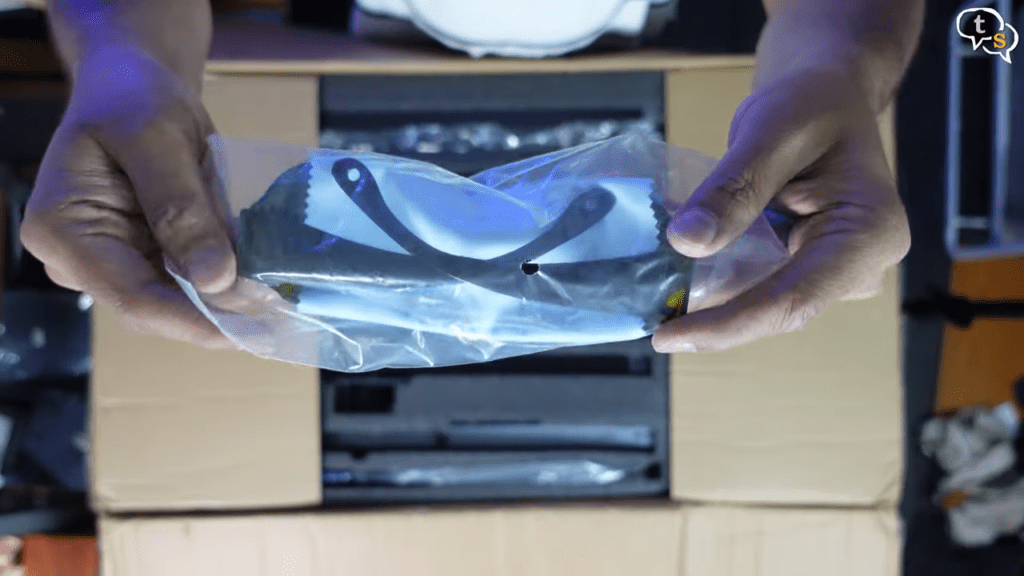
Safety goggles and cleaning cloth.
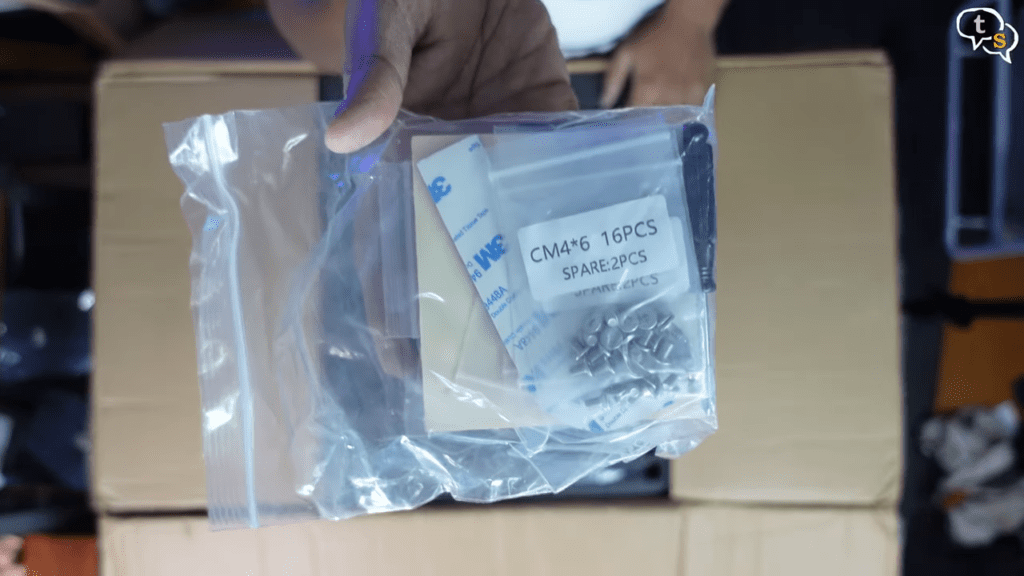
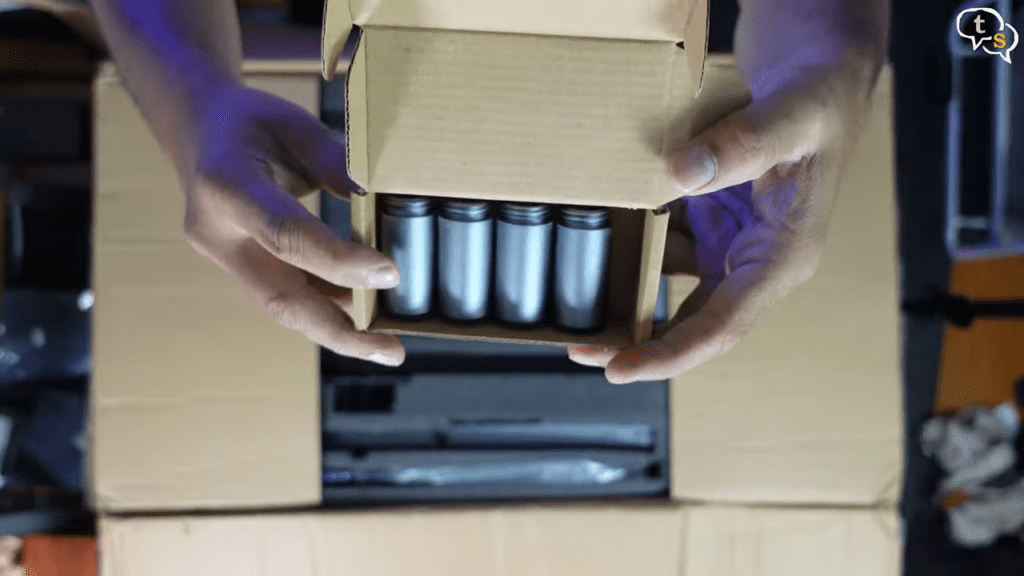
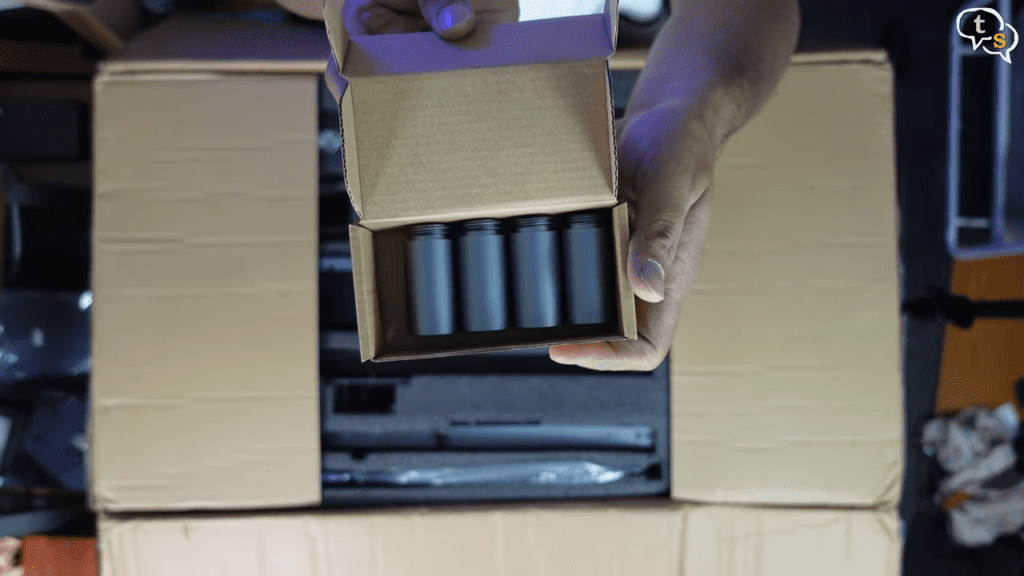
Screws, tools, and stickers.
Now for the main parts, the frame is constructed using aluminum alloy. These parts are also called baffles as per their video.
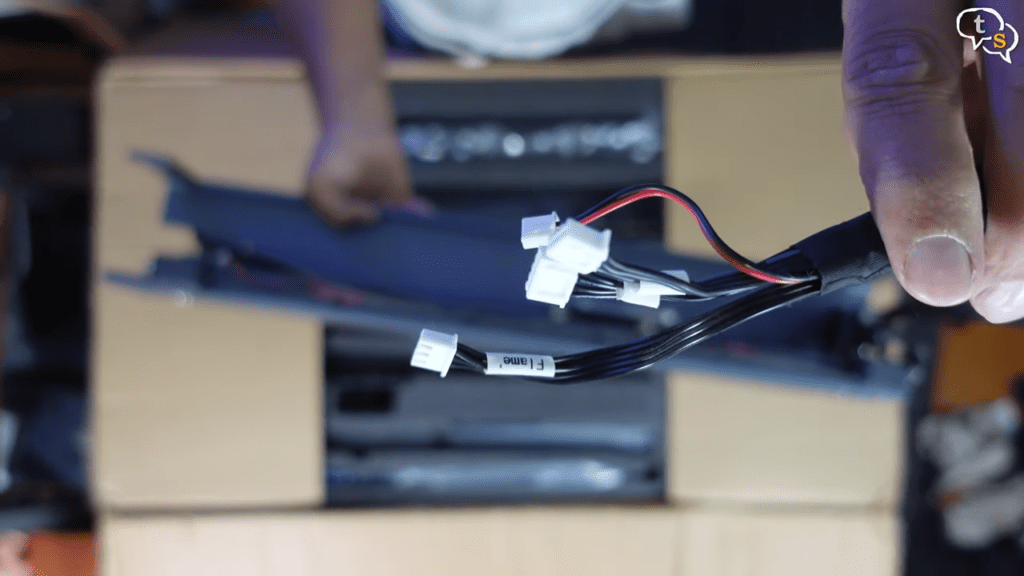
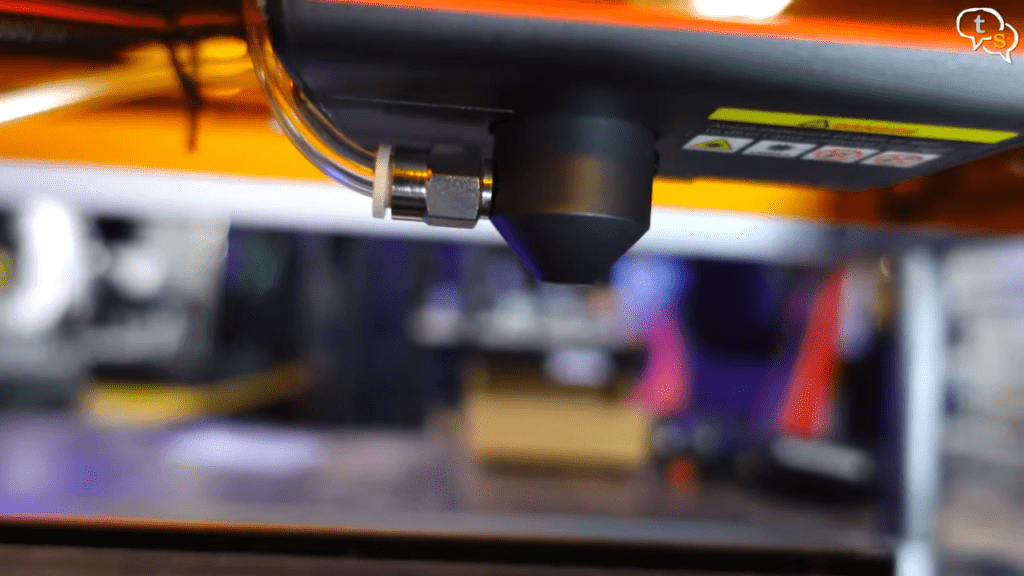
This is the laser mount, with connectors,
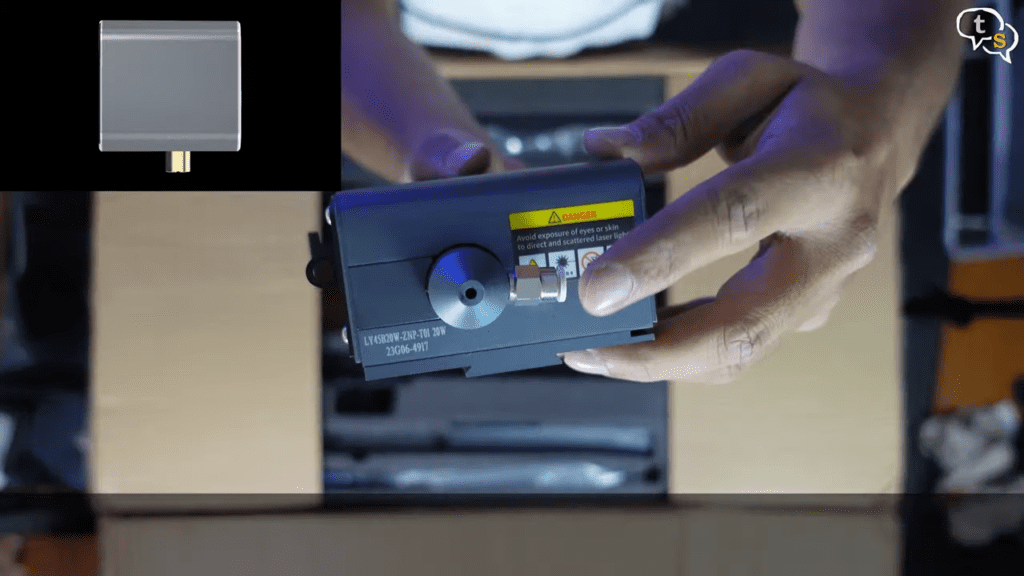
and here’s the laser module.
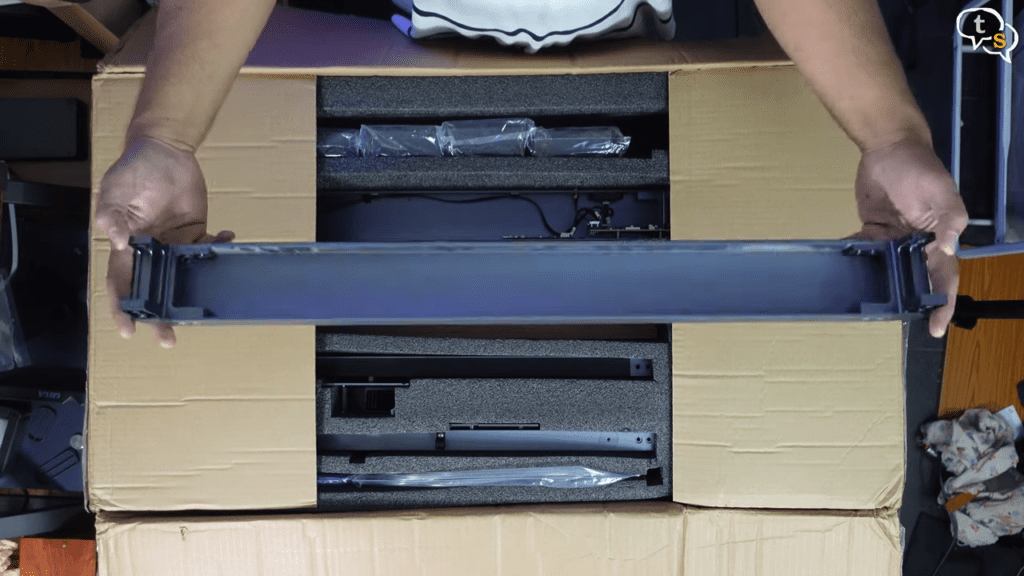
Another part of the frame, light but strong being aluminium alloy.
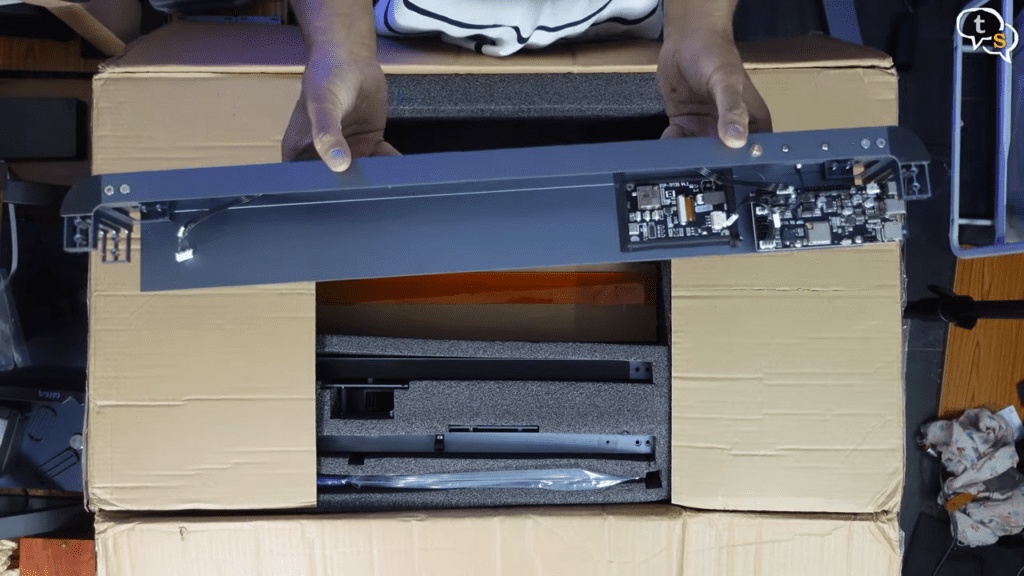
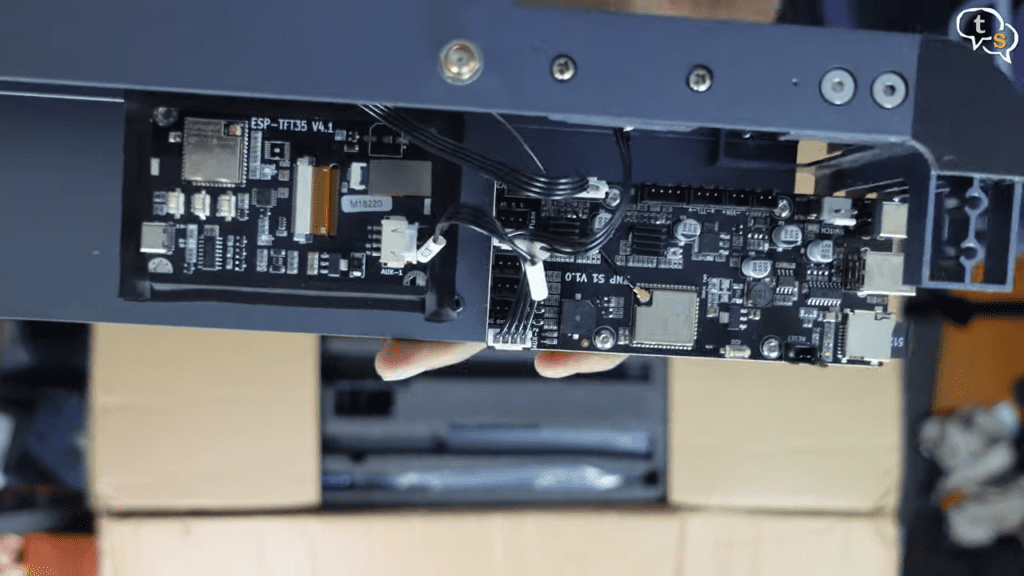
This is the controller, basically a motherboard where the cables all meet up and has the logic to control the engraver, both in movement and cutting.
We have the ELEGOO logo on the side,
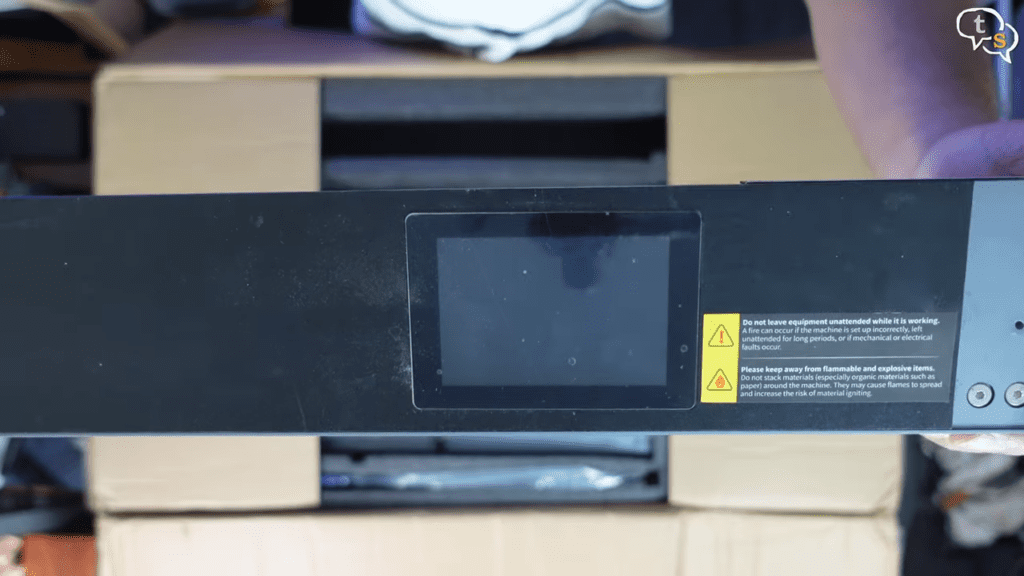
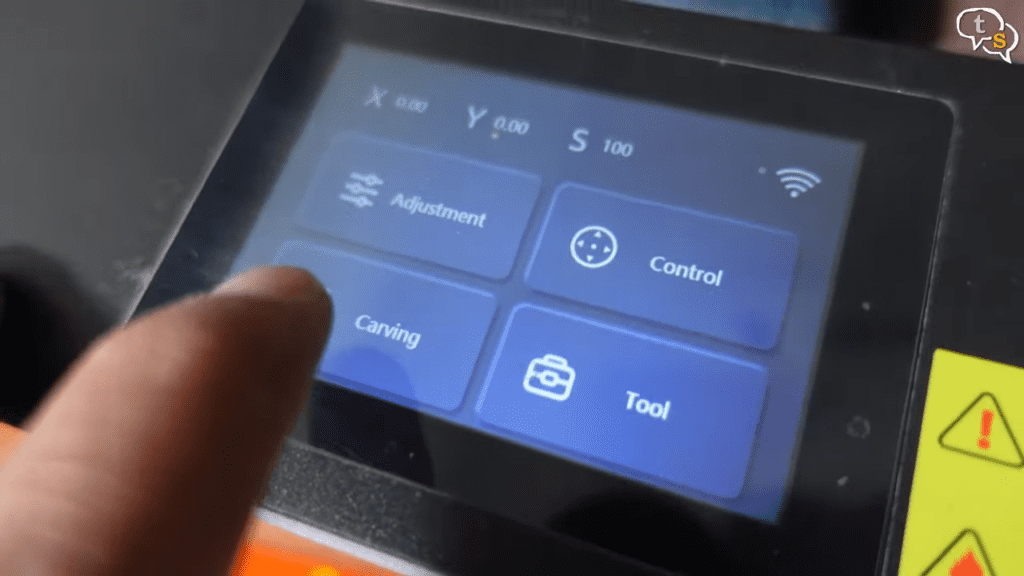
and the touch screen control on top.
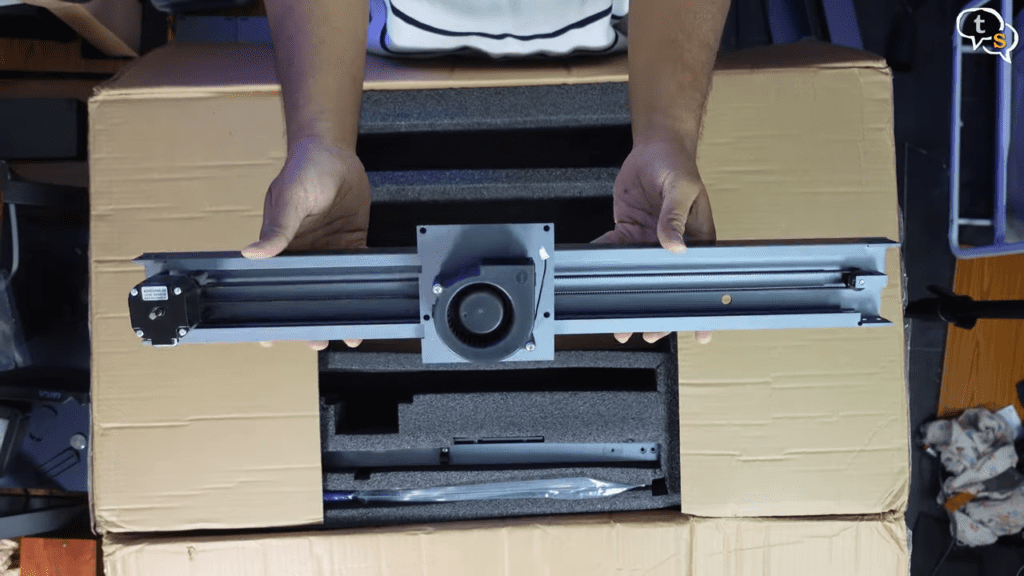
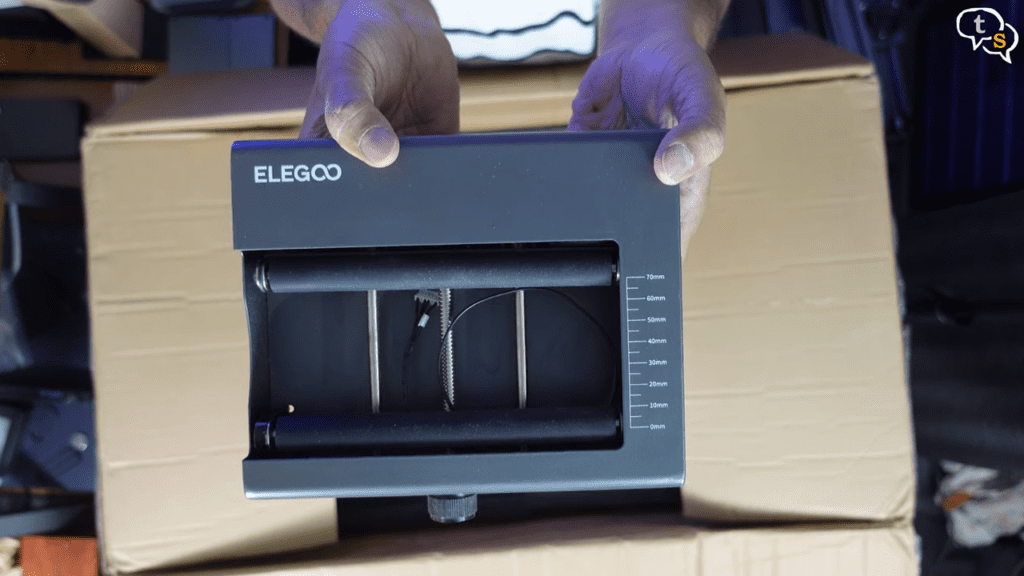
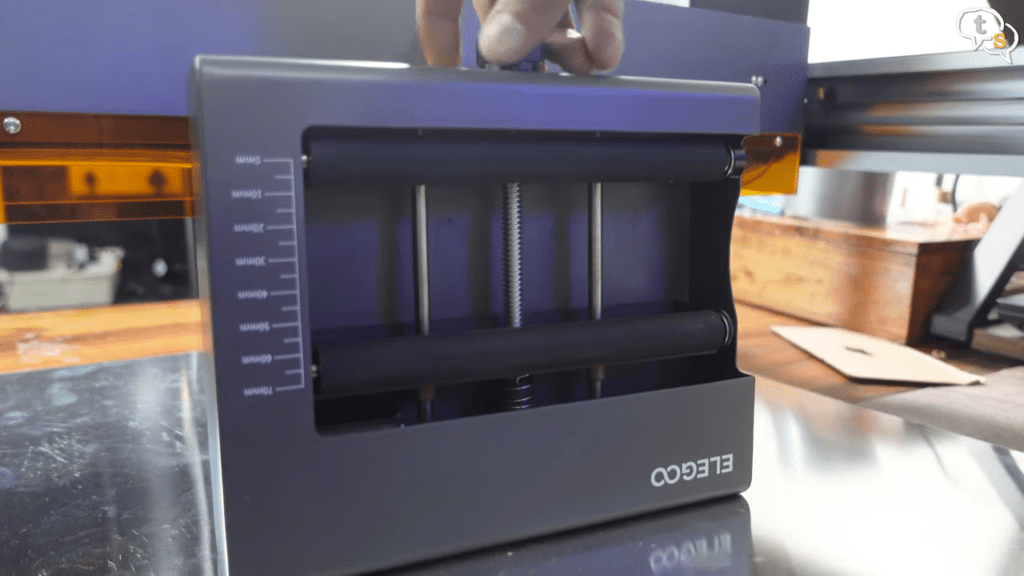
This is the other part of the frame which controls y axis movements,
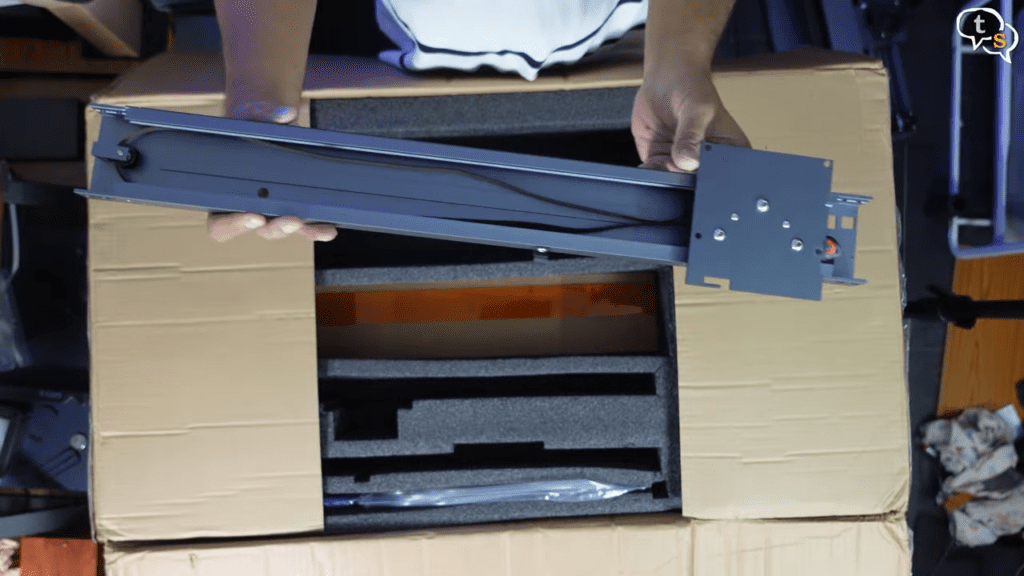
and this is the opposite side.
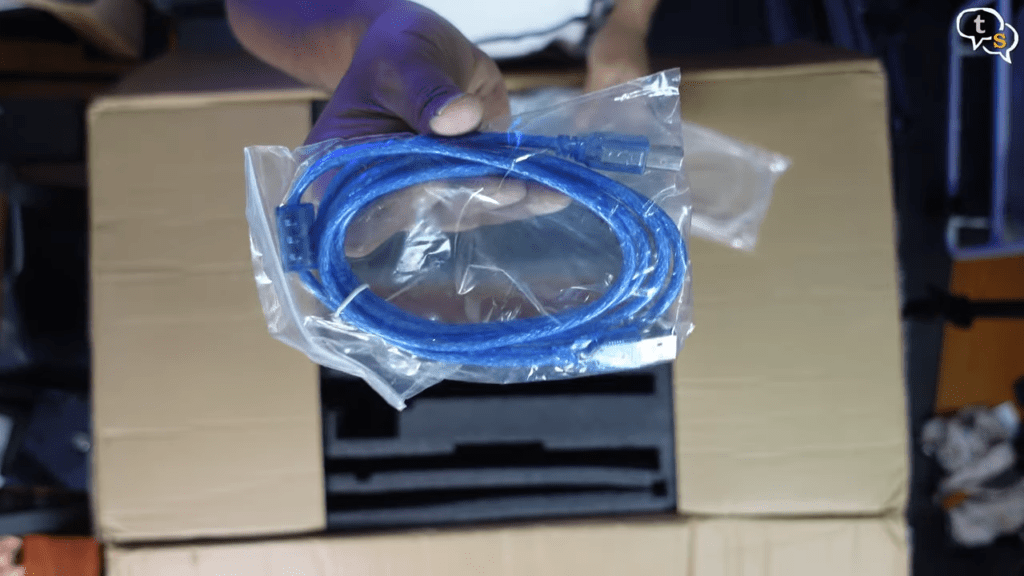
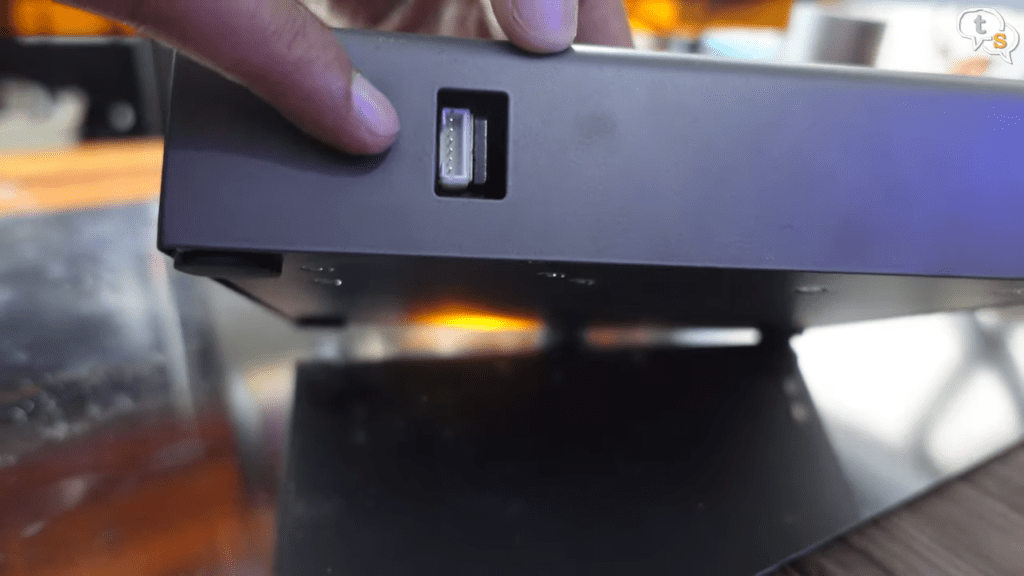
USB cable for interfacing the machine with a PC.
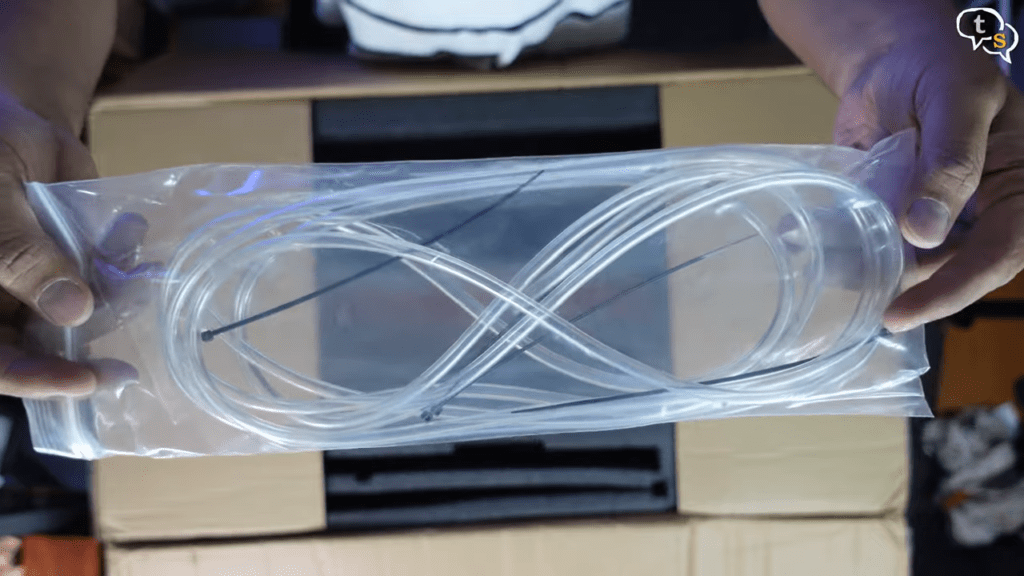
Tube which connects to the air assist module.
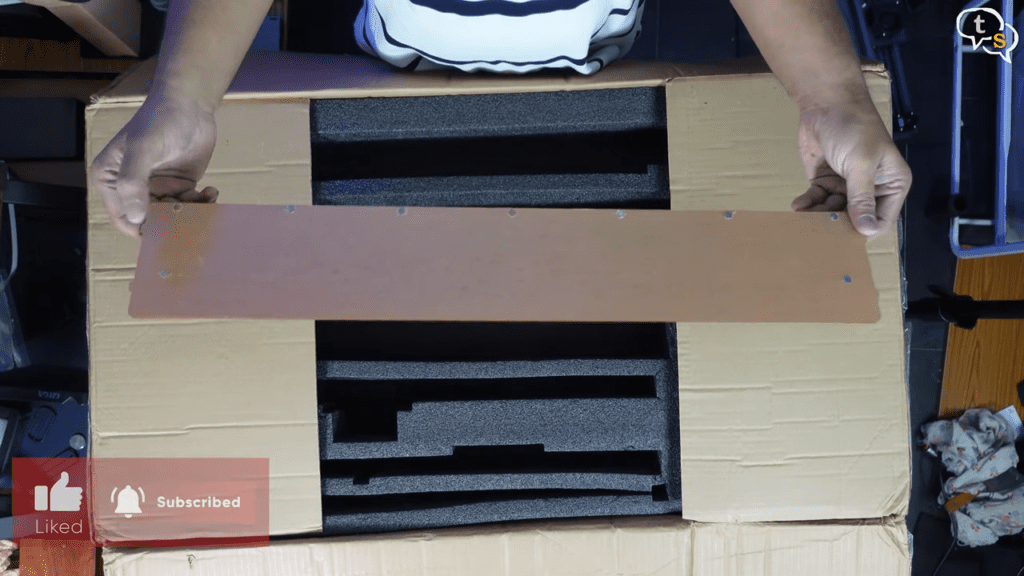
Fixed rear cover plate, which protects us from the laser when cutting takes place.
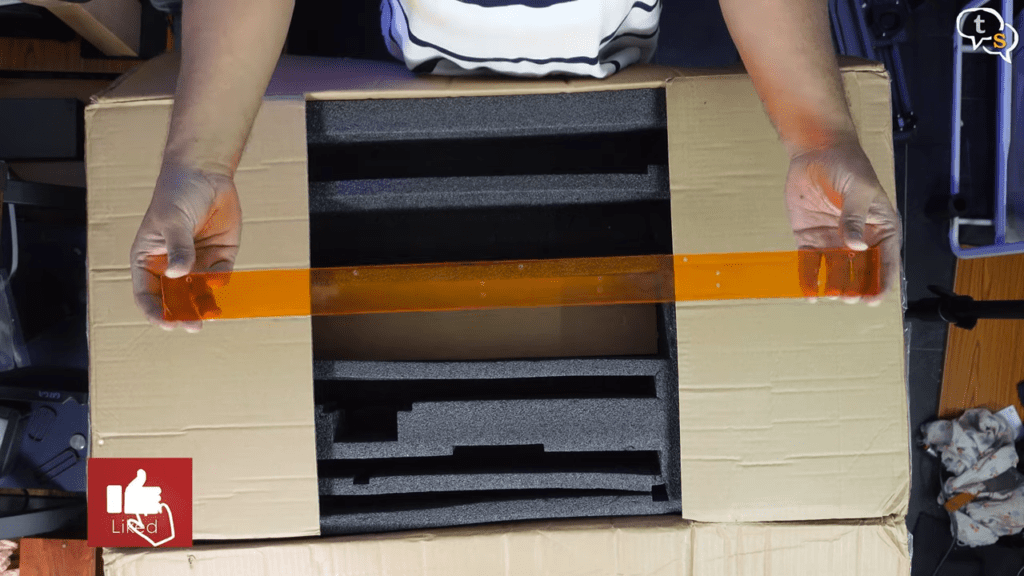
Big shading plate, which has magnets and can be easily attached and removed as needed.
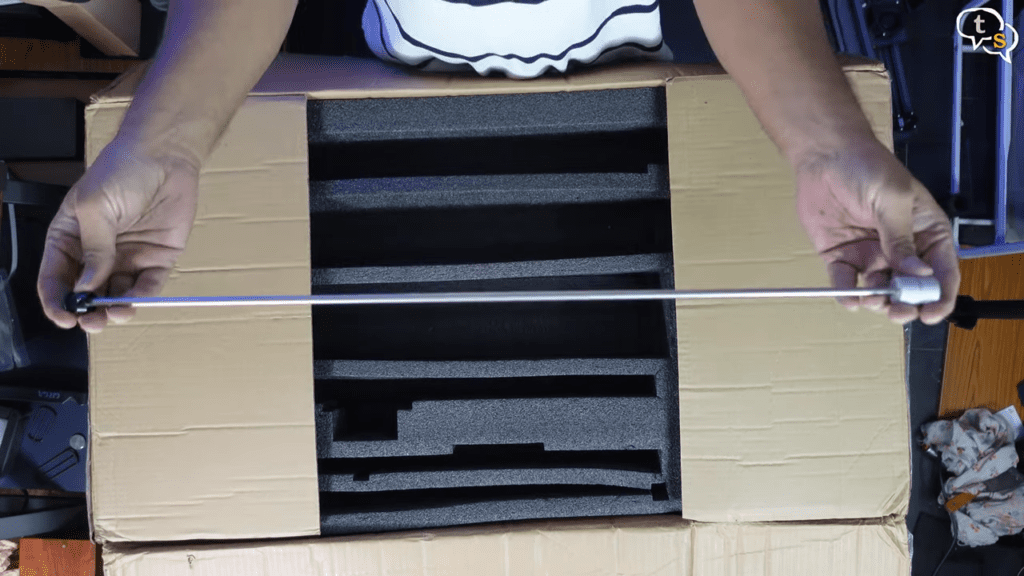
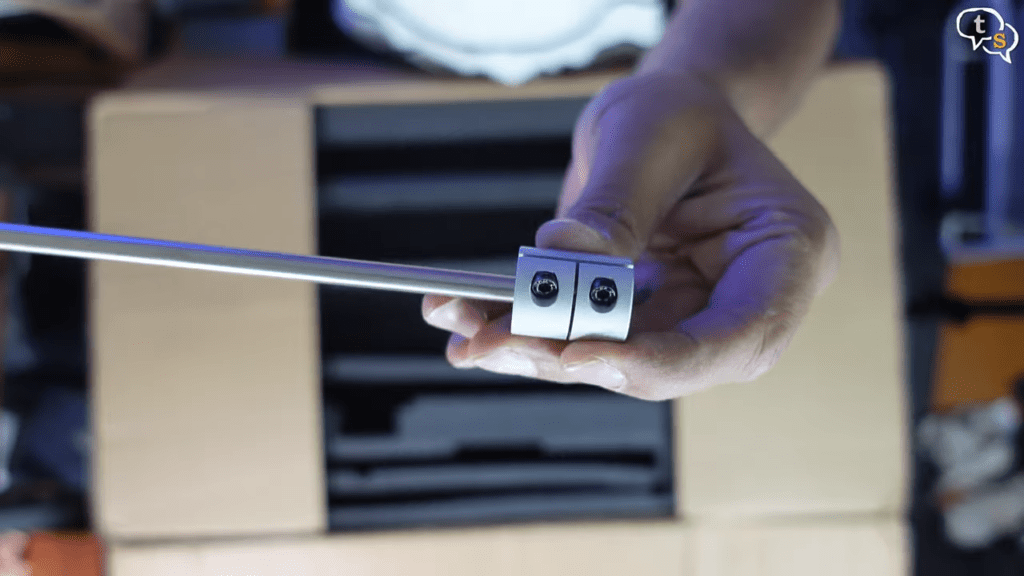
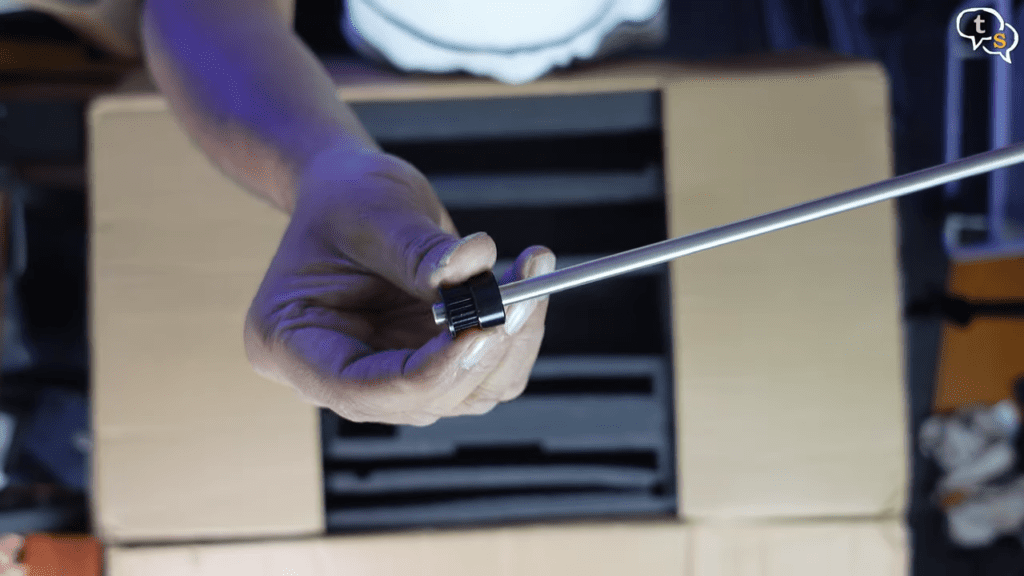
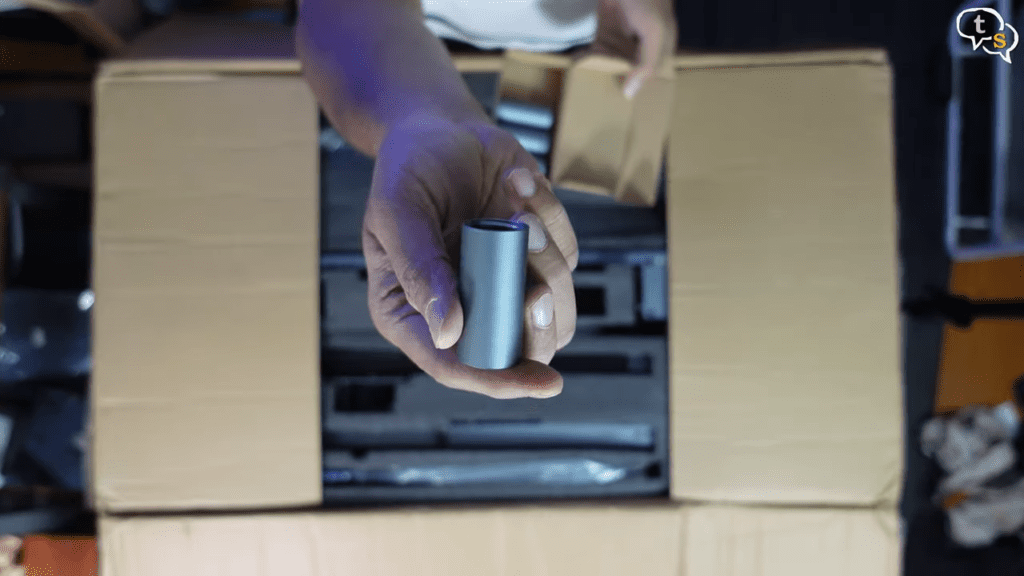
Optical shaft.
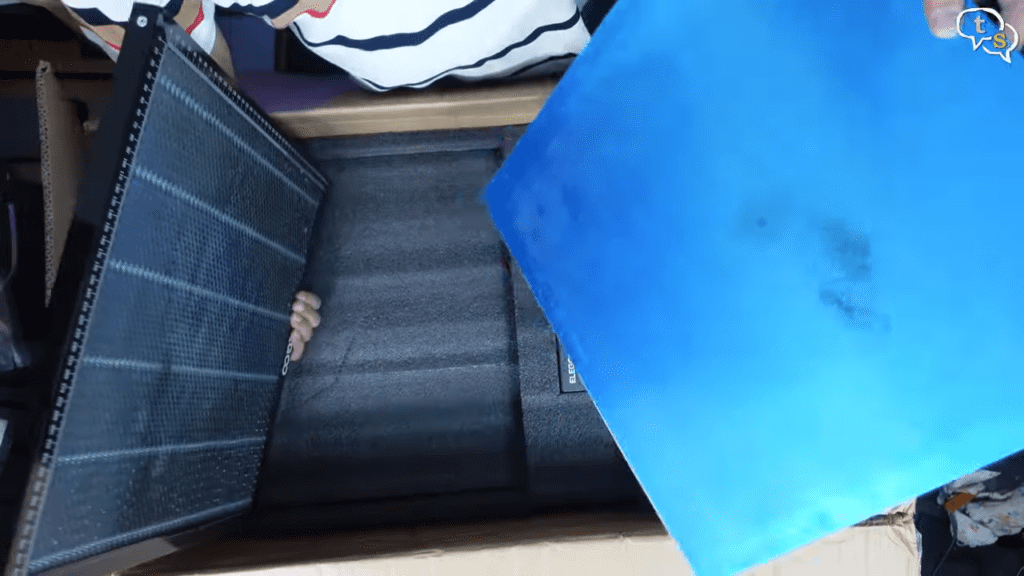
Honeycomb panel, which also has a steel plate below.
Rotary module, this is cool, i will show how it works later.
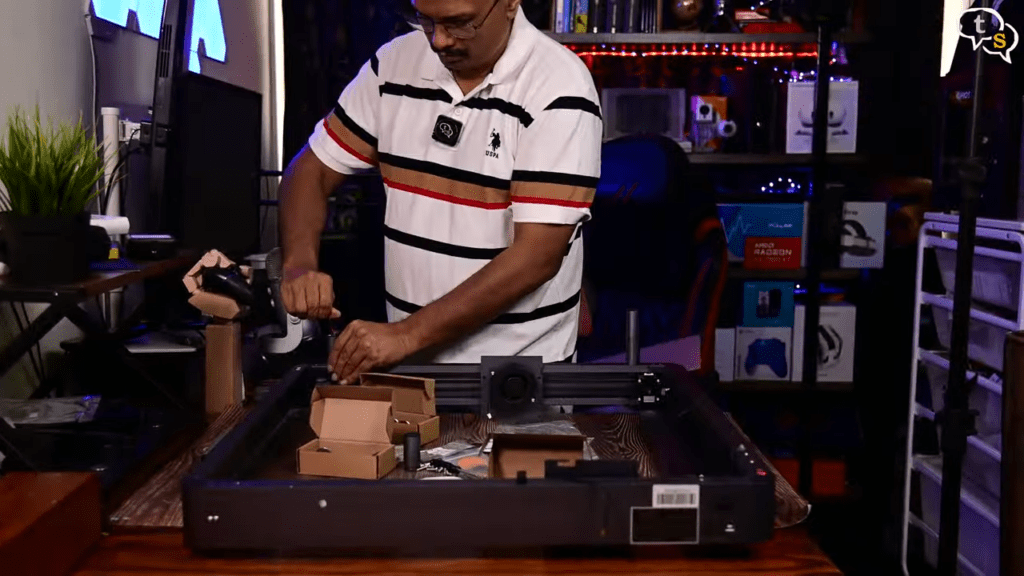
Ok, now for the assembly,
I wanted to make a assembly tutorial, but I hit a roadblocks and Elegoo have a well made video tutorial too so find it here.
Now that everythings put together,
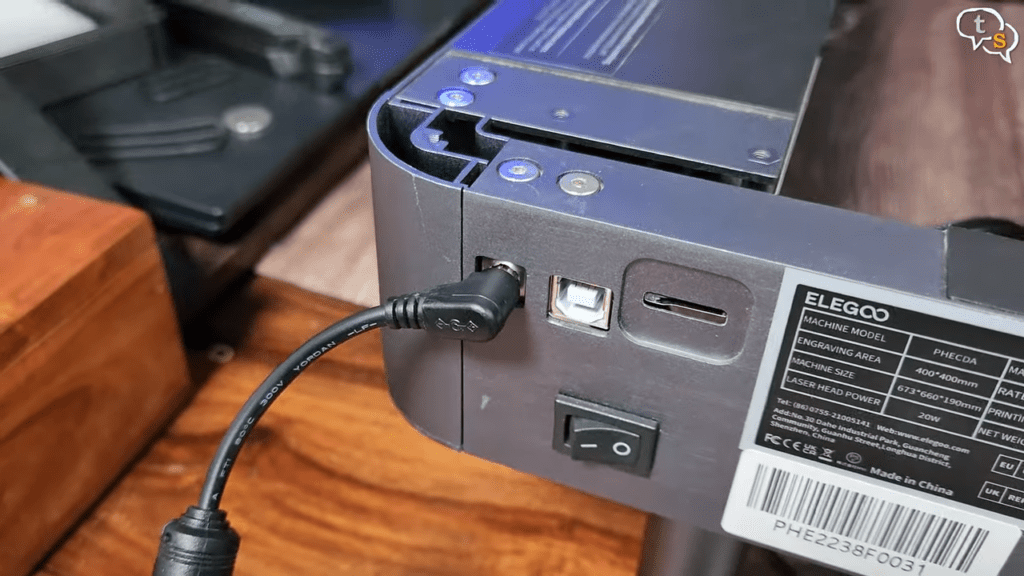
Connect the power.
And the engraver is ready.
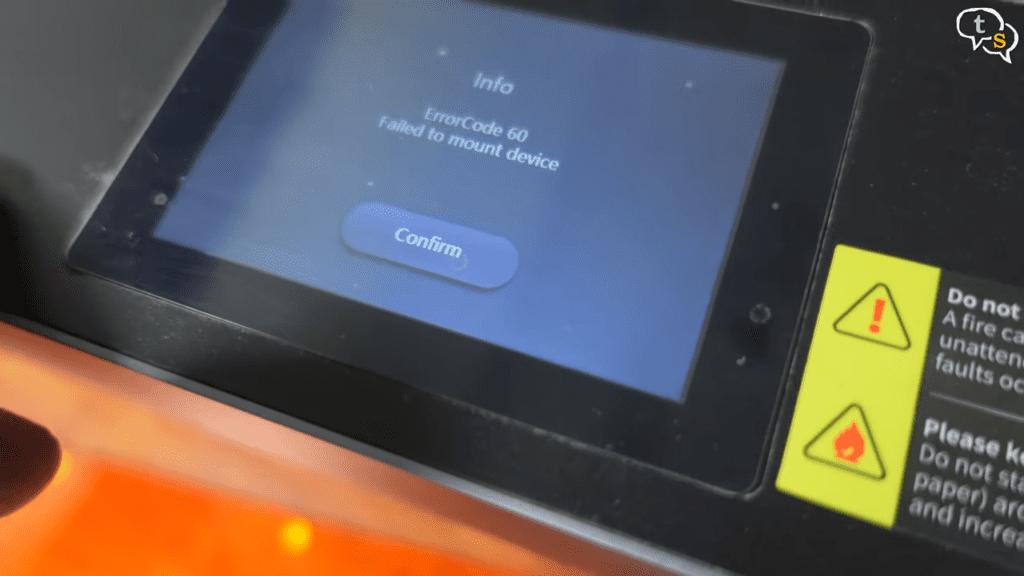

Hmm error code 60, one quick google search and I find that the memory card is not installed. Can’t they tell me that in the first place.

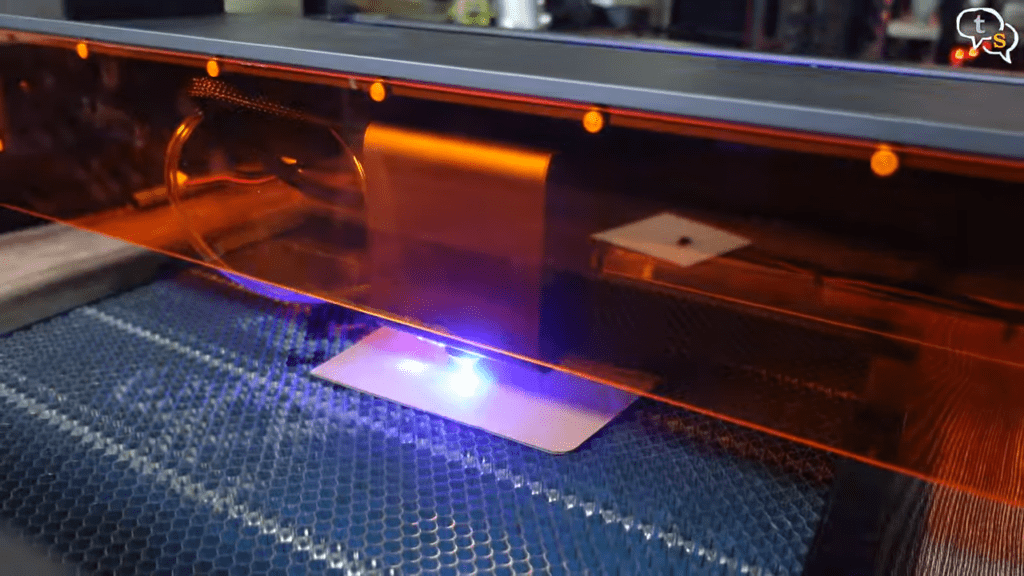
Before I can engrave, I need to set the laser module to the correct height, pull out the focal length bar and tighten the screws to the laser module up or down to the correct height. I’m engraving this piece of plywood.
All features are controllable via the touchscreen.
X-axis control
Y-axis control
Origin set
Axis speed
Live coordinates
Laser adjustment
Info and Wi-Fi
Card files access for engraving
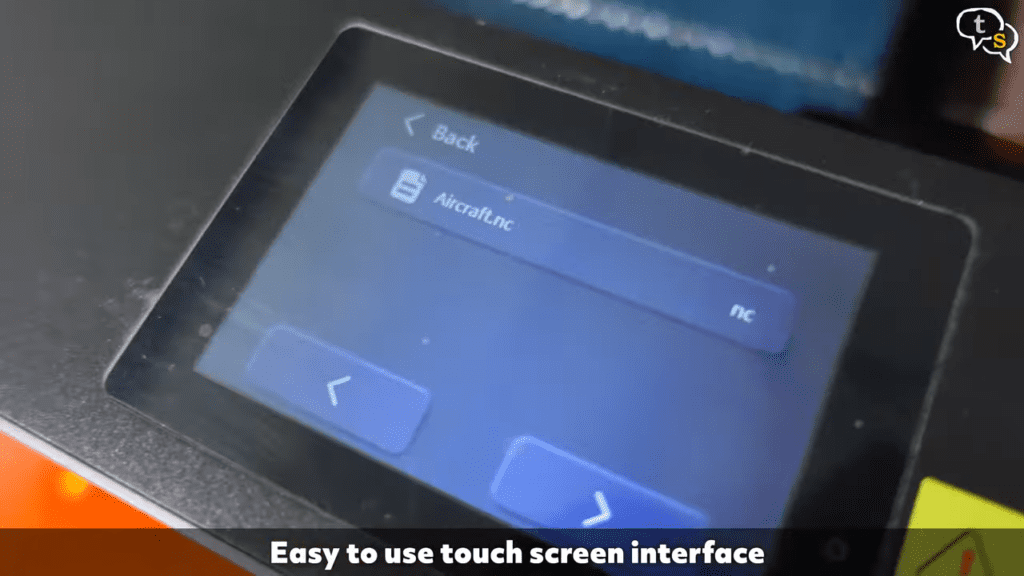
I’m now selecting a sample design from the memory card and first I select mark parameter, this enables us to know where the engraving is going to take place.
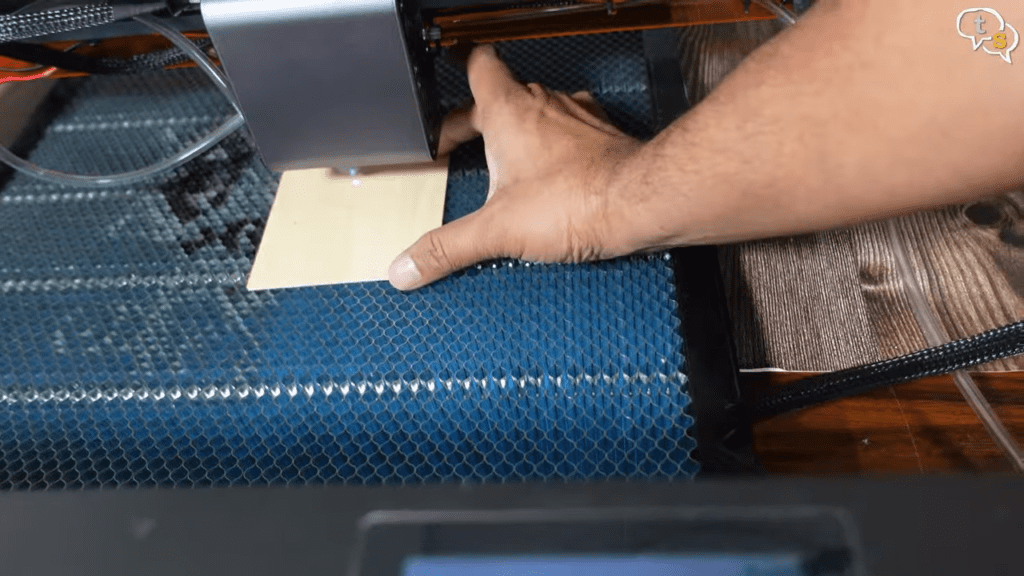
We can see a light, its not engraving but just showing us the border of where it is going to engrave.
Adjust as required
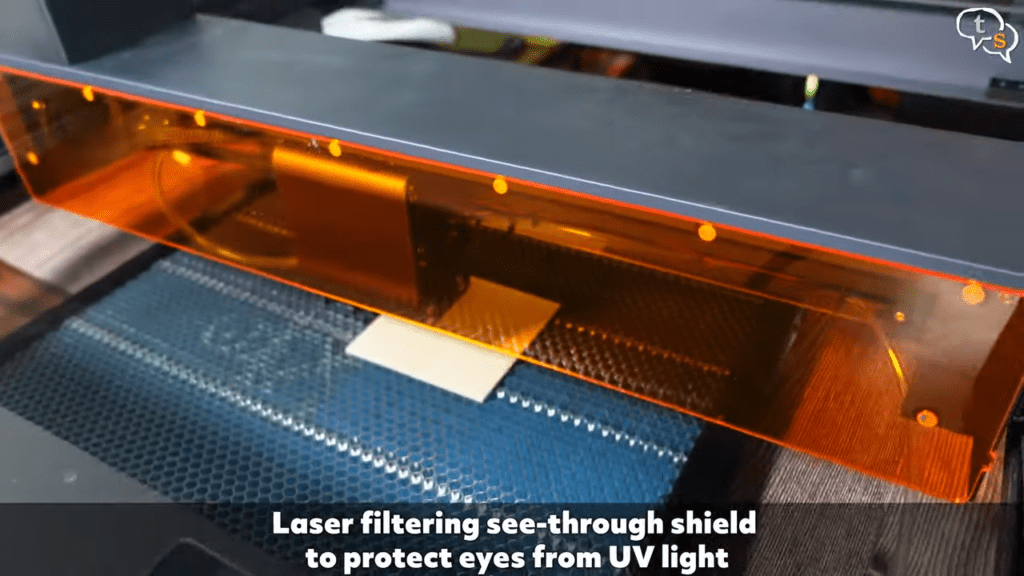
make sure we attach the magnetic shading plate and hit carve.

The ELEGOO PHEKDA has a 400x400mm working area. Make sure to wear the protective glasses provided, to protect your eyes.
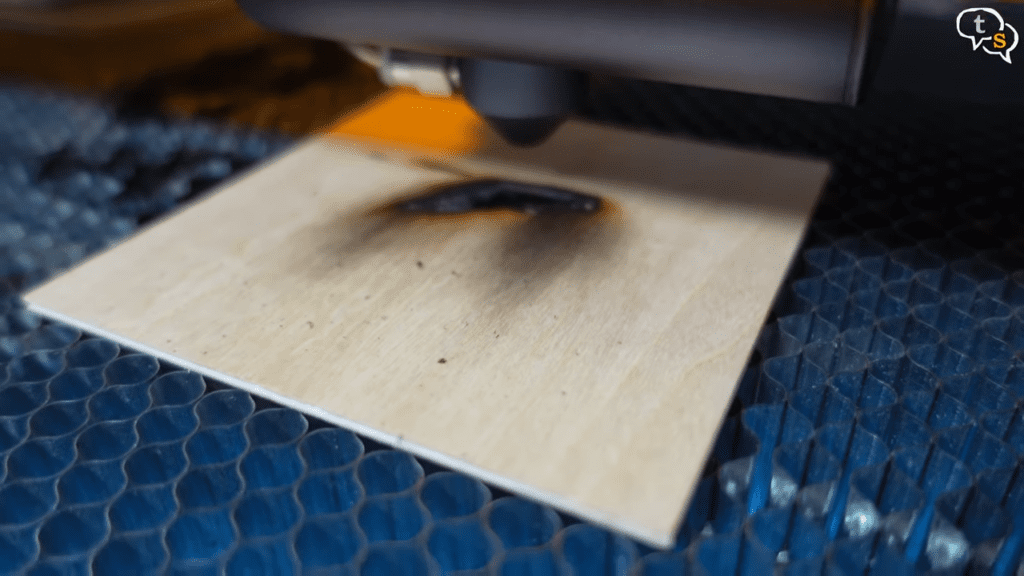
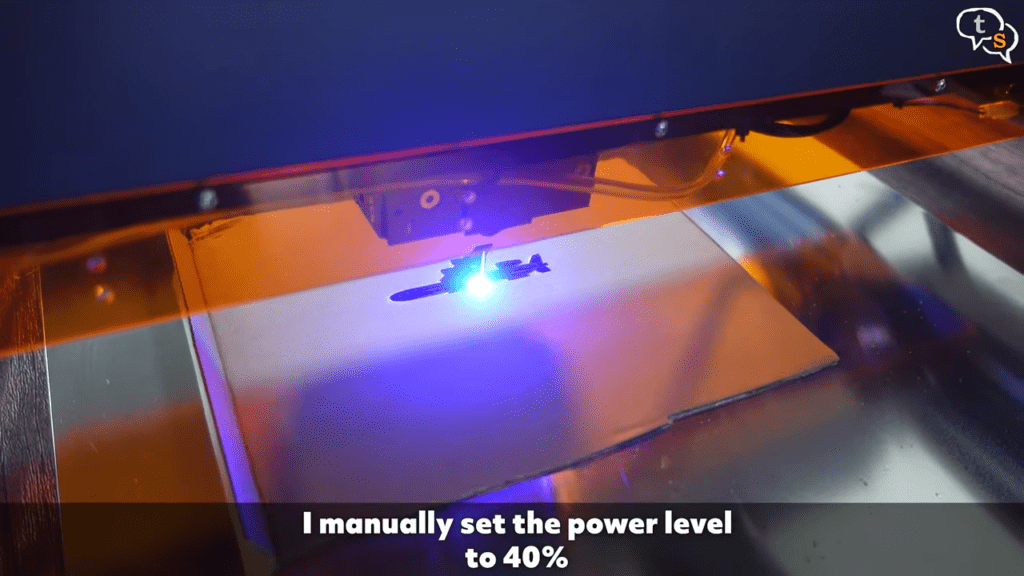
Wow, eh it’s totally burning. Stop, stop.
I think the laser power is too high.
I’m now using a piece of cardboard, and still the same, I need to lower the power.
First time I didn’t use the air assist, and the room was smelling of burning wood.
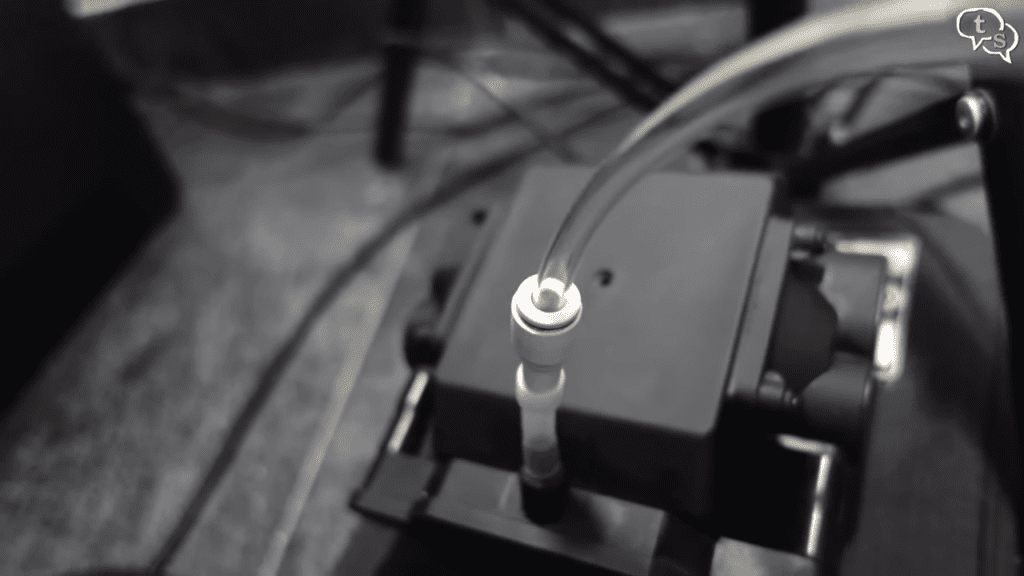
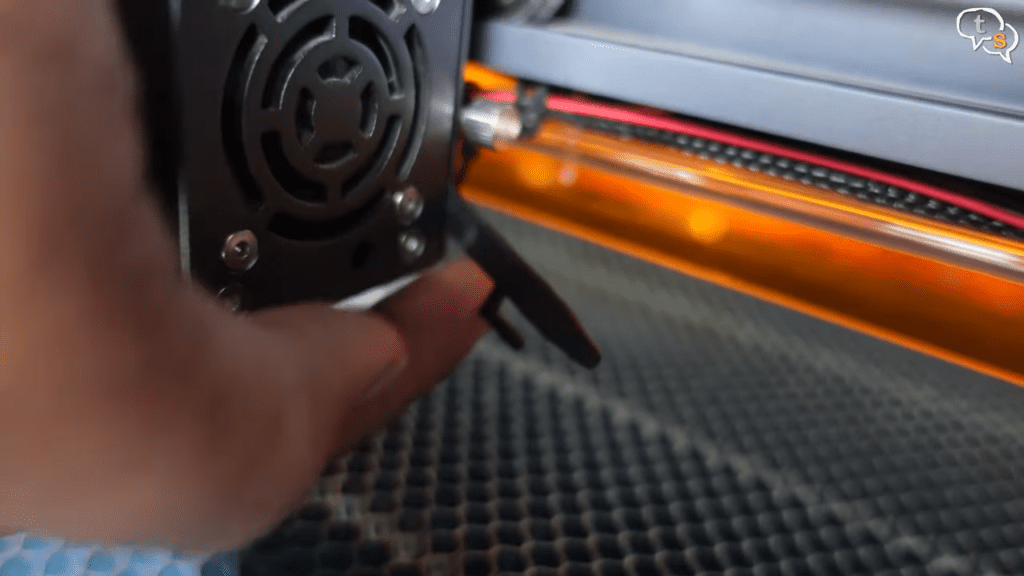
I’ve now connected the air assist module,
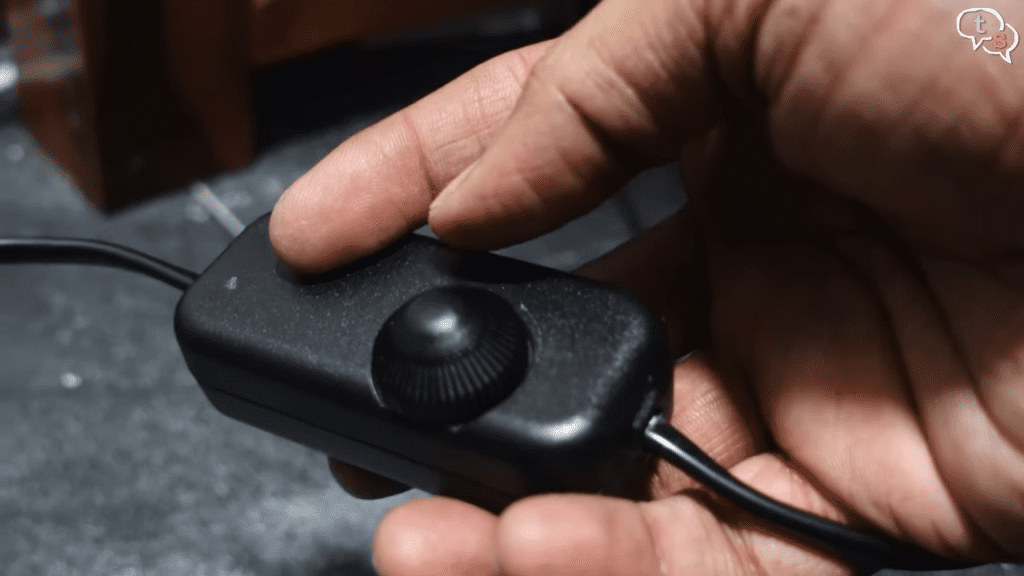
this is the controller to control the speed,
and this tube goes all the way upto the laser module. Now when ever it engraves or cuts, the smoke is directly pumped away.
I dialled it down to the right setting and now it’s cutting onto cardboard without a problem.

This aeroplane images is a sample file on the micro sd card. This is how the final output looks.
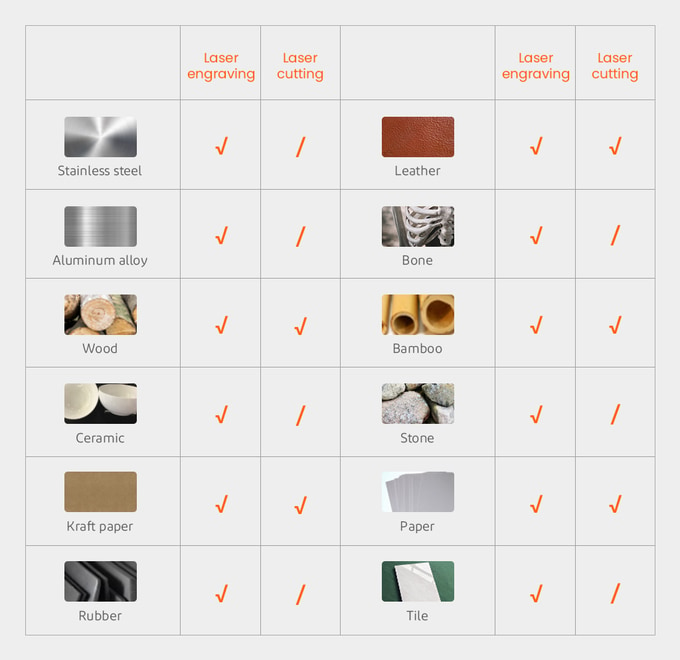
The ELEGOO PHEDA can engrave/cut the following materials
Wood
Acrylic
Leather
Stone (engraving)
Bone (engraving)
MDF<br> • Bamboo
Tile (engraving)
Metal (engraving)
Stainless steel (engraving)
Aluminum (engraving)
Brass (engraving)
Ceramics (engraving)
Glass (engraving)
Mirrors (engraving)
Plastics & PVC
LaserGrbl is the software provided by elegoo on the memory card, and this software can link via a usb cable to the engraver and the commands can be sent to it directly.
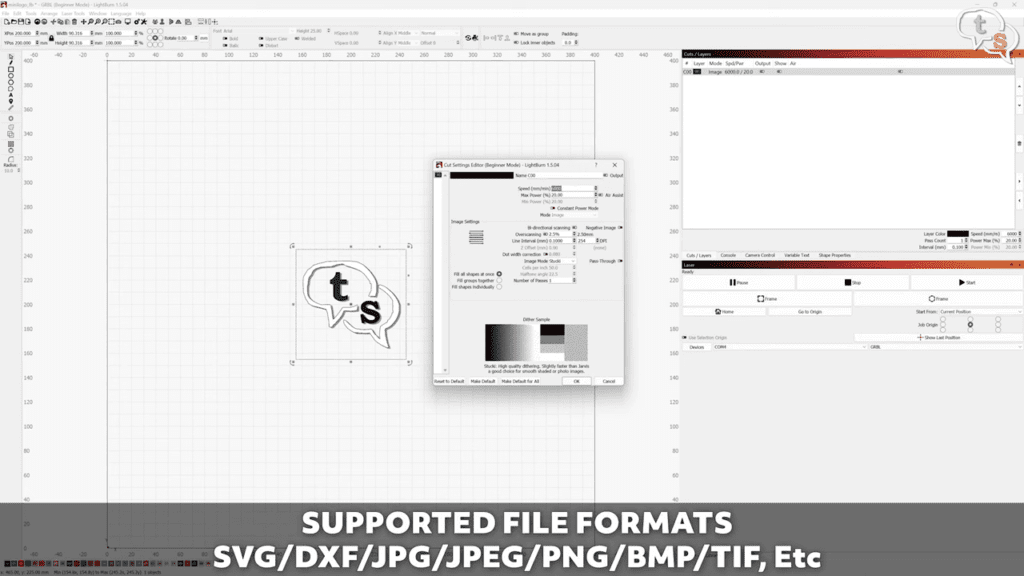
I’m using a trial version of lightburn which has more features, but it is a paid option.
To test I imported the talkingstuff logo, and it automatically made it grayscale. The transparent areas are not engraved, and the darker it is the more power is set.
Dithering the image provides better gradation, but as my logo is solid color it just has the dark and light parts.
Export the file to the memory card.
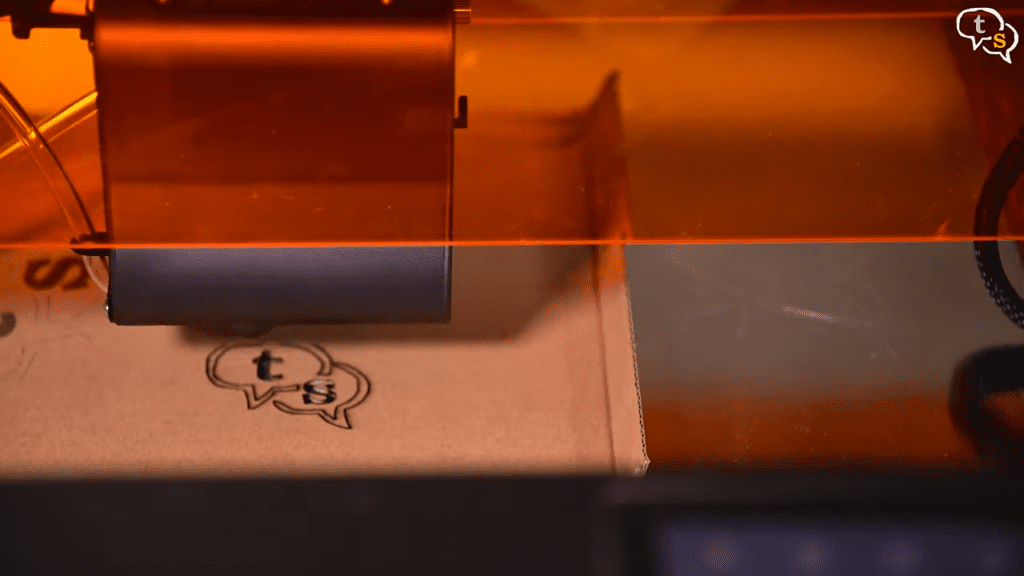
Open it up on the engraver and wow this is so cool, it’s cutting into cardboard,

and the dark areas have completely cut through.
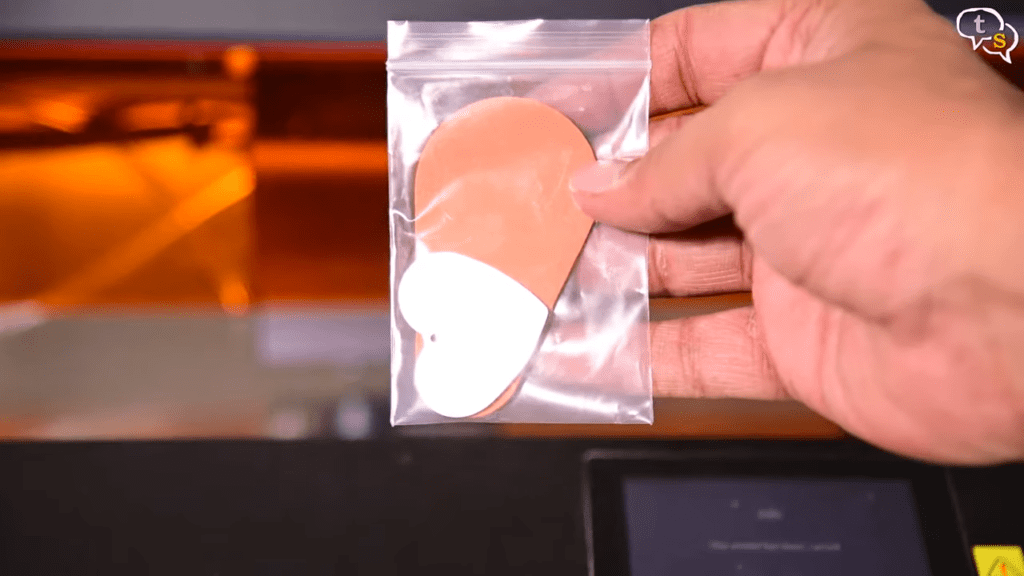
We have some sample materials such as leather and aluminium, let’s try the same logo on leather.

Checking out the perimeter where it’s going to be cut and then I start carving. To make sure the leather piece doesn’t move, I stuck it down using duct tape, just make sure the laser doesn’t hit the tape as it can burn.
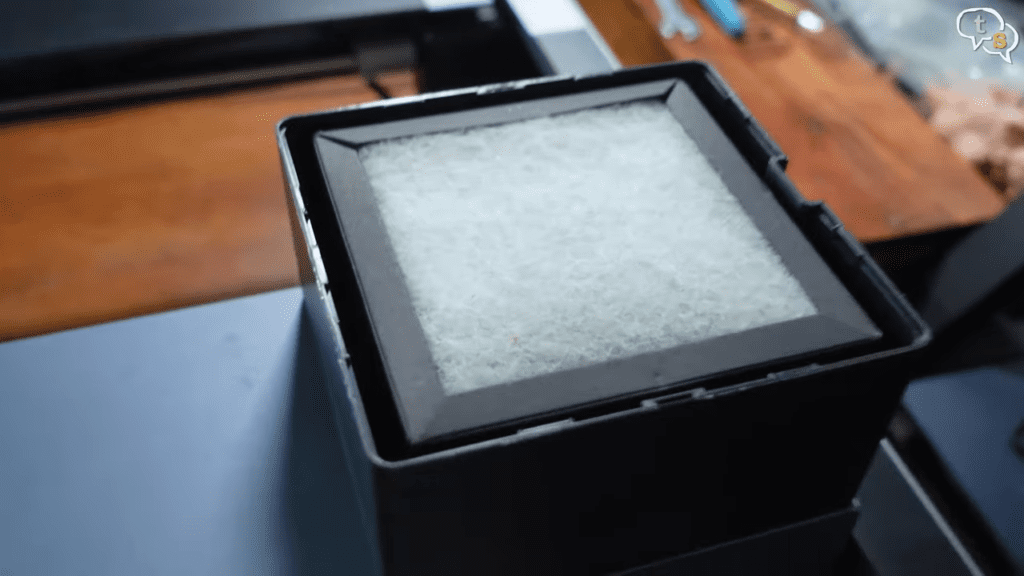
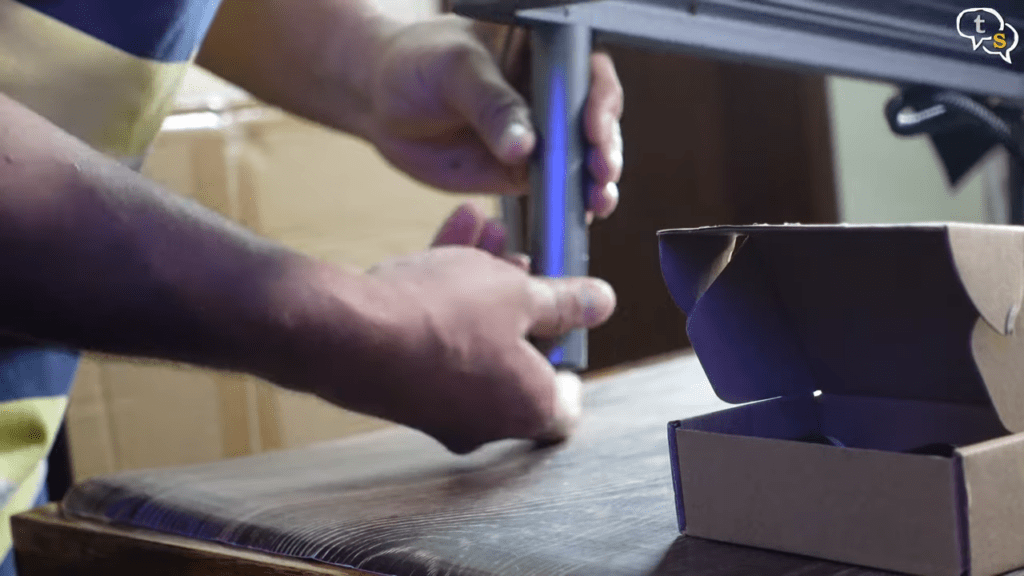
This is the filter which removes the smoke and dust particles from the air,

making this engraver usable in a closed room. It is recommended to use the same in a well ventilated room though.
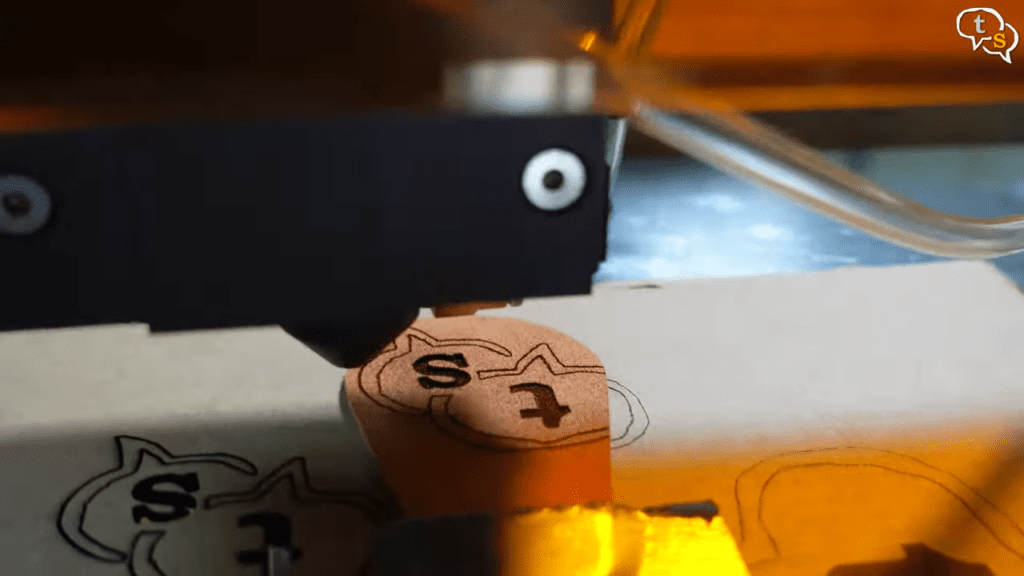
And this is how it looks,
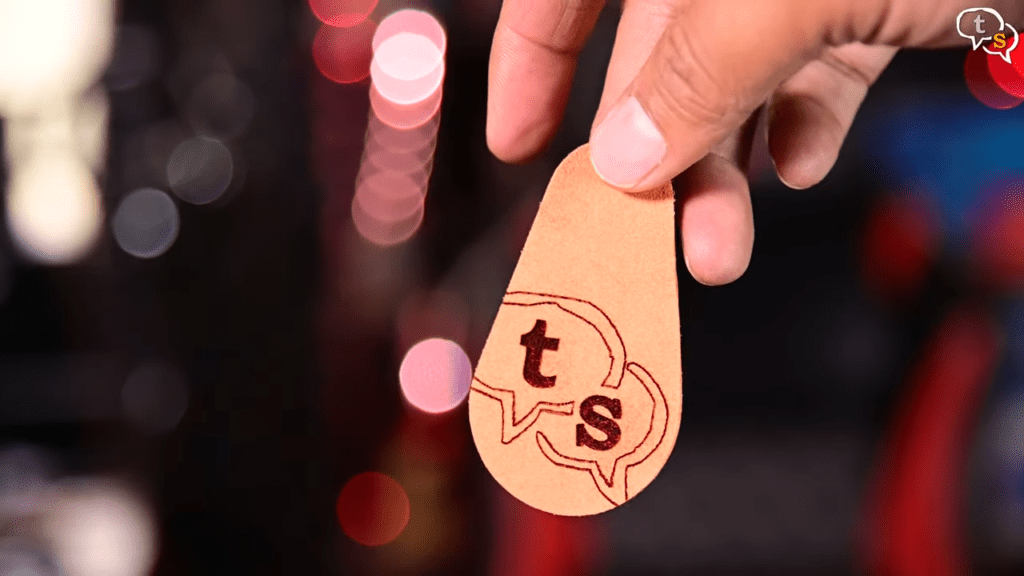
the t and s being dark are cut deeper into the leather. Custom keychains.
I’m going to try metal, aluminium to be exact , and I have this image of hanuman , export and carve.
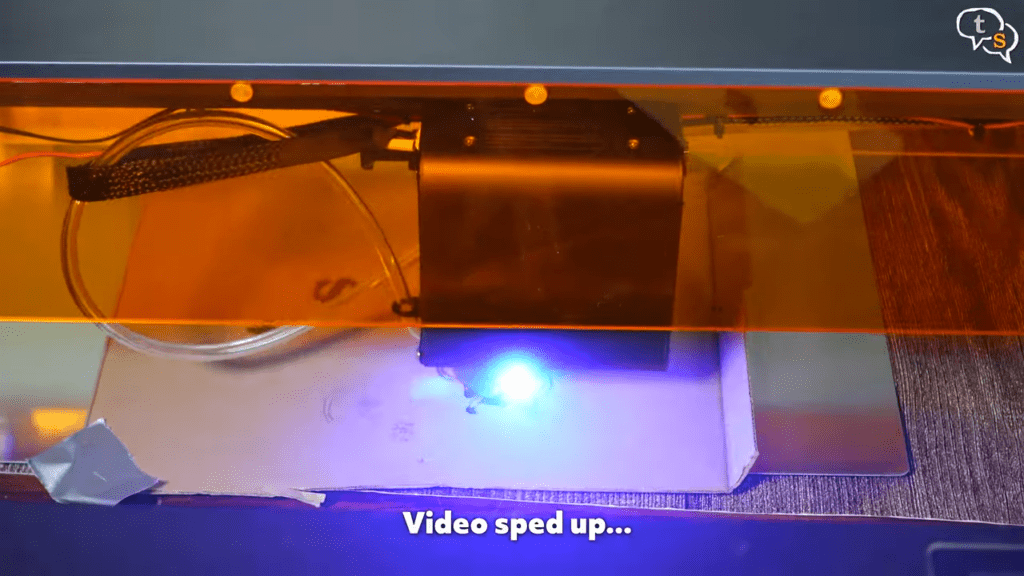
I ran the carving for 5 passes, where the laser traces on the same area multiple times.
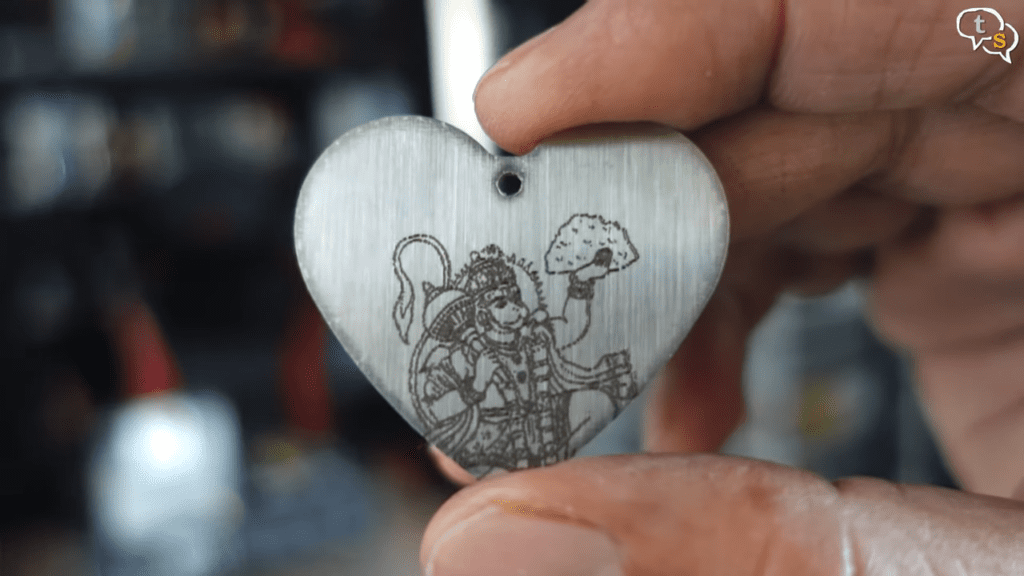
Came out well, if I do say so myself.

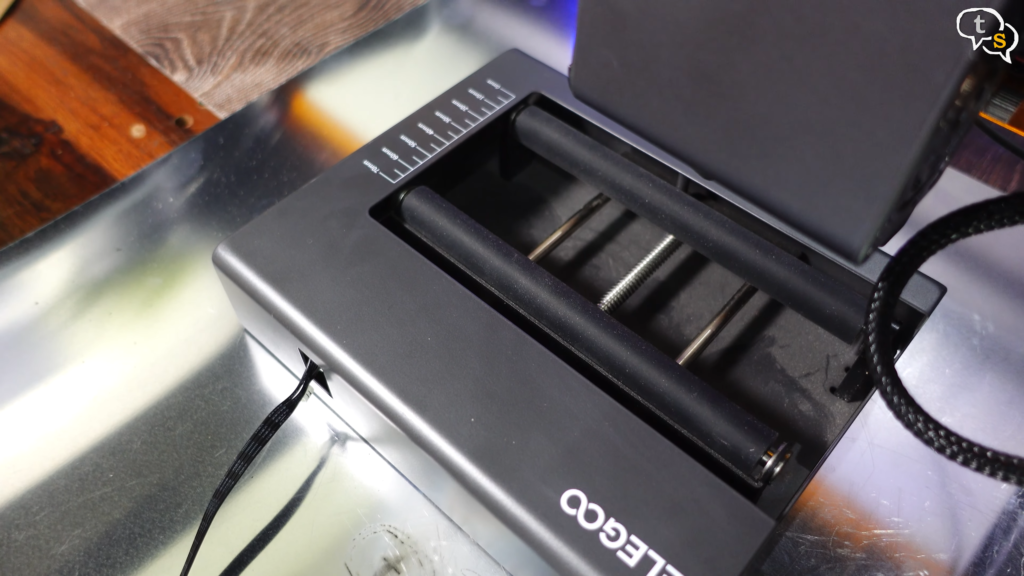
Another cool attachment is this rotary module, and in order to use it, we need more height.

These risers are provided in the box, add them to the four feet on each side and the engraver is elevated to the perfect height.
We can set the width of the rotors using this screw here.
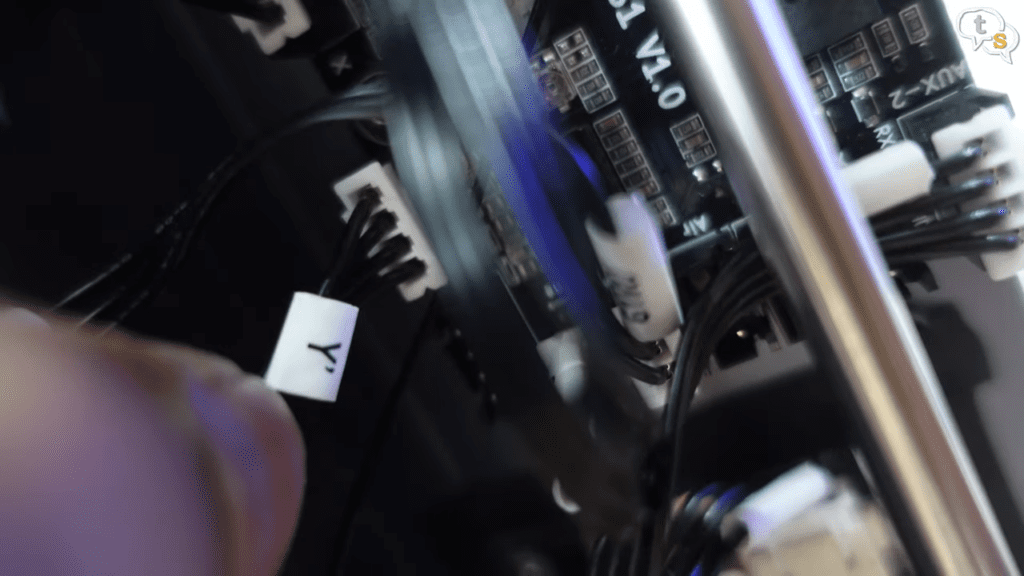
To connect this module to the engraver we use the cable provided, and replace the cable marked Y on the motherboard with the other end of this cable.
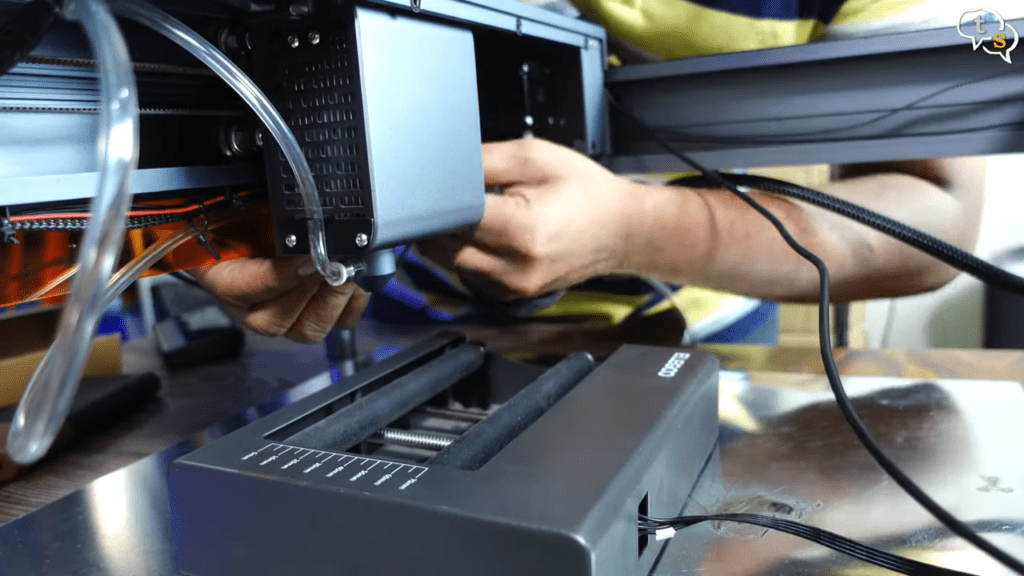
Now the process is the same as earlier, we need the laser module to be moved higher, and I’ve mounted it here.
Let’s check if the rotary module works, using the controls via the touchscreen, it’s rotating when I hit the y+ and y- buttons on screen.
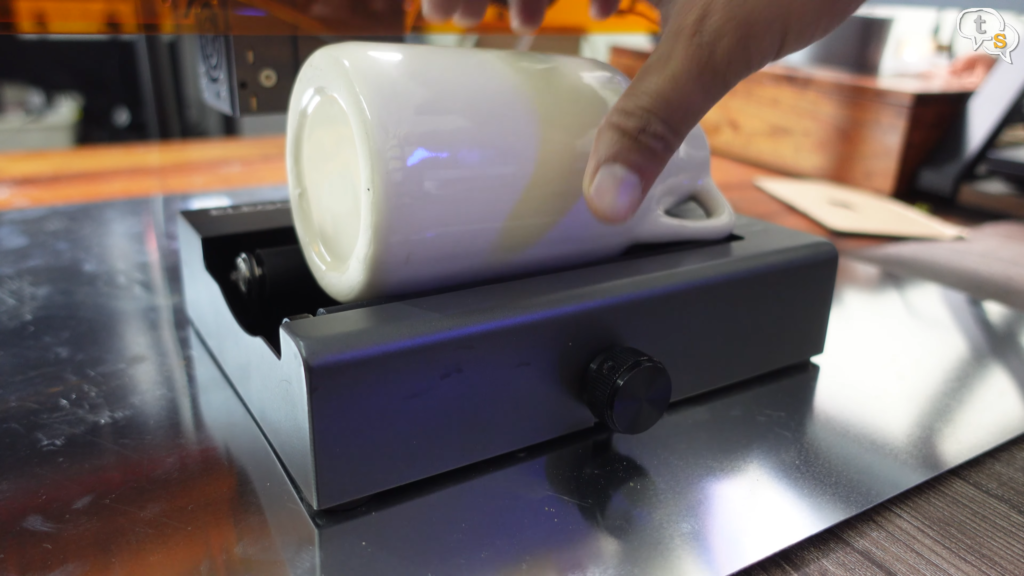
Let’s try this jug, nope it’s going to hit the sides.
https://talkingstuff.net/wp-content/uploads/2024/04/Pasted-72.png
Let’s try a silver cup, hmm, its odd shape is not allowing it to stay in place.

I’m now using this removable side table leg, and it works perfectly.
We do need a perfect cylinder for best results.
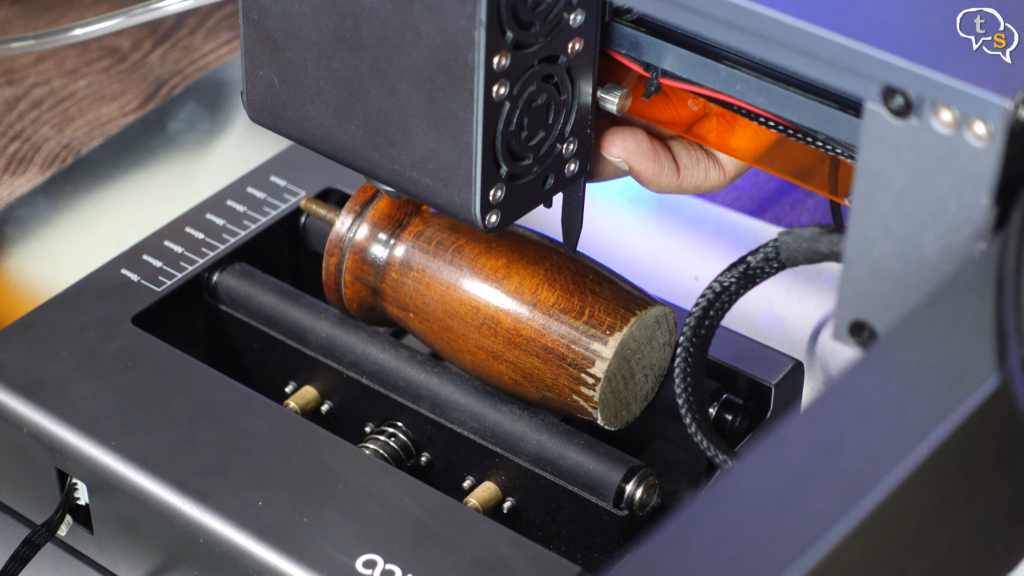
Set the focal length using the guide on the laser module.
Check the engraving perimeter.
Add the protective plate, and hit carve.
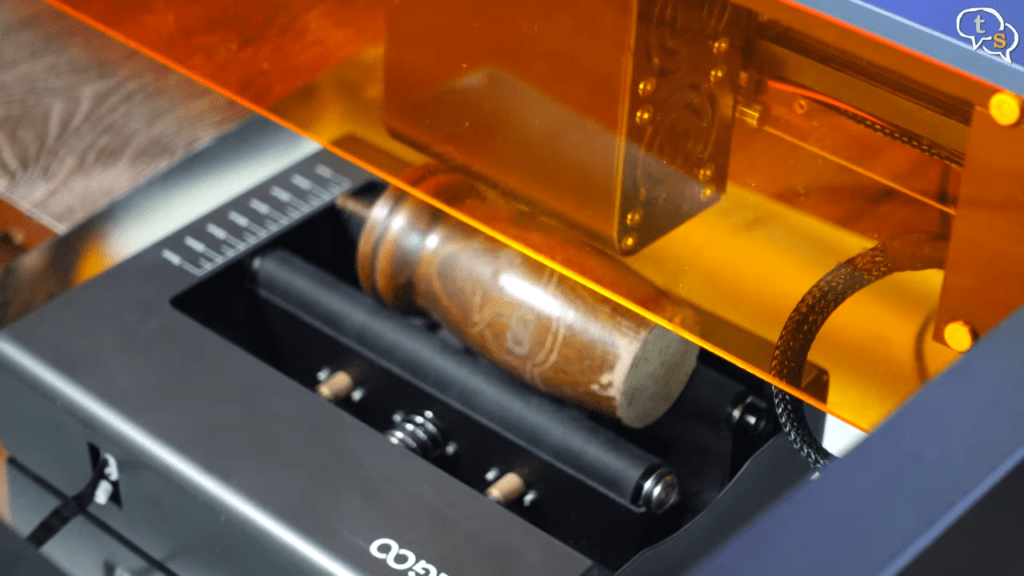
Wow so cool, it’s engraved on wood, that too a cylindrical shape.

The engraver can also be controlled using a mobile phone, enable WI-FI on the engraver and you will need to connect to the engravers hotspot to control it.
Now we can send an image directly to the engraver, draw and engrave and also control the engraver manually.
The Elegoo Phecda laser engraver is surprisingly fast, accurate and quite powerful, especially as I have the 20 watt version with me. The manual is not easy to follow so find the assembly video on Youtube and you’ll be ready much faster. Also the assembly instructions are available on the memory card, so make sure to open that first.
Once the assembly hurdle is passed the Elegoo Phecda engraver is really easy to use. Ive tested it on wood, cardboard, leather and also aluminum and it works like a charm. Also make sure to connect the air assist module else your entire room will be filled with smoke. It doesn’t completely remove the smell, but would gauge it to be around 50-70 % filtered.
It’s a great machine for members who like to put things together, and it’s really fun to do so. Absolute beginners might have some problems, but it is mostly easy to put together. A really cool addition for DIY’ers.
What do you guys think, would you pick one up. The Elegoo Phecda is available via Protomont technologies and I will add the link to the description.