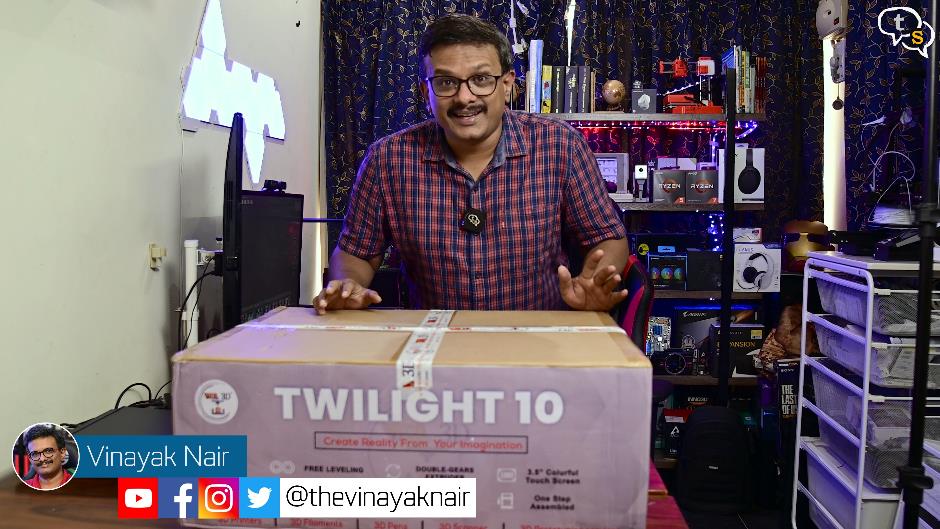
WOL3d has a new line of 3d printers, and the twilight 10, which is the one I have here, I would call is medium size between the Aster max and the pixel S1. Let’s unbox it and check it out.
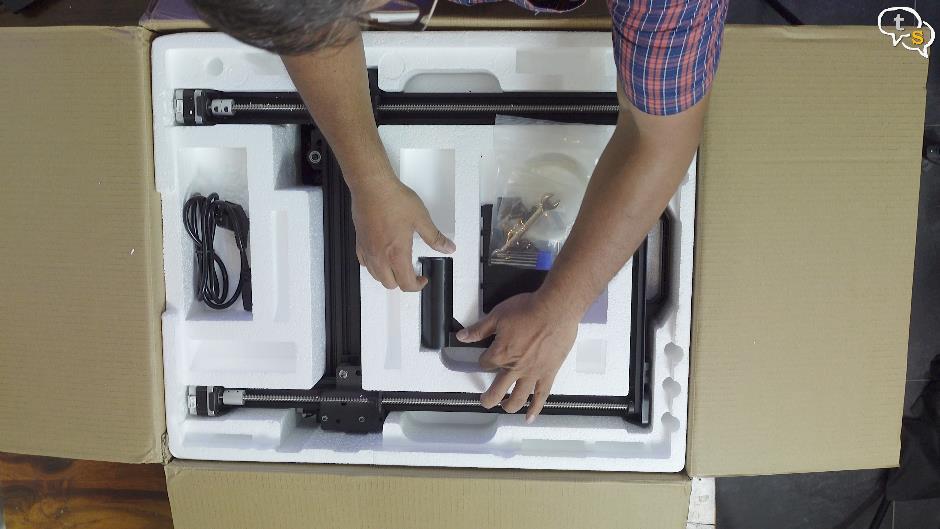
This is the Wol3d twilight 10, which is one of WOL3d’s large print volume printers but still not the biggest as that title is taken by the ASTER max. Opening the box, we have everything laid out neatly.
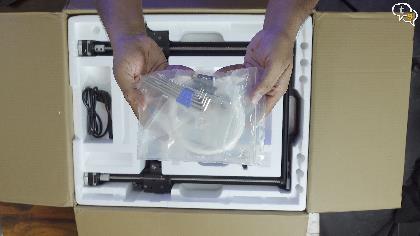
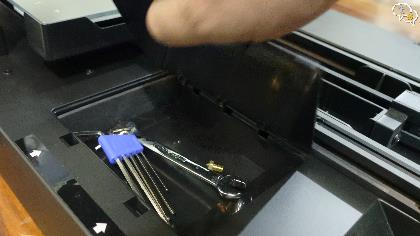
Let’s start out with this small packet, it contains the tools, accessories, and a roll of filament.
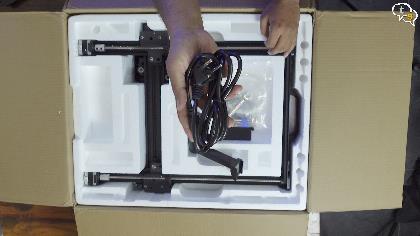
Here’s the filament holder, power cord.
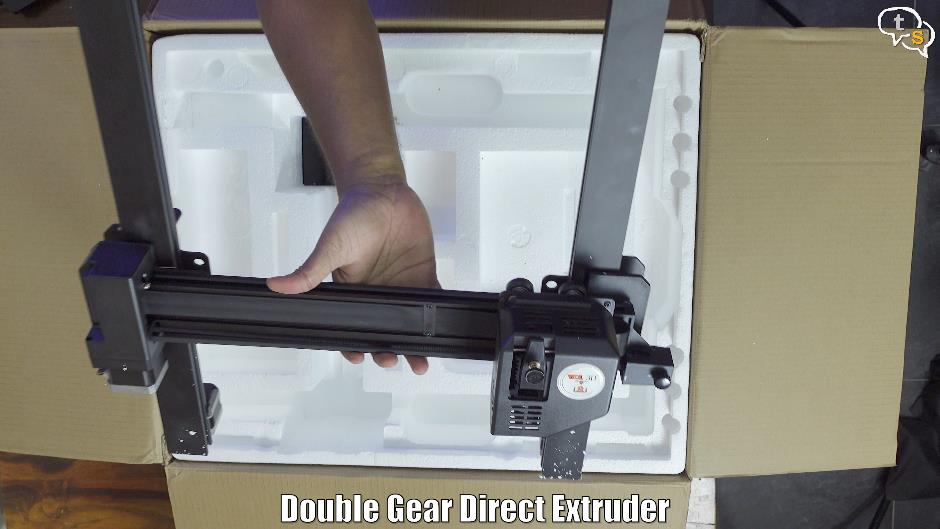
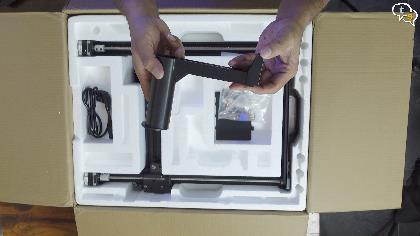
Now for the extruder column.
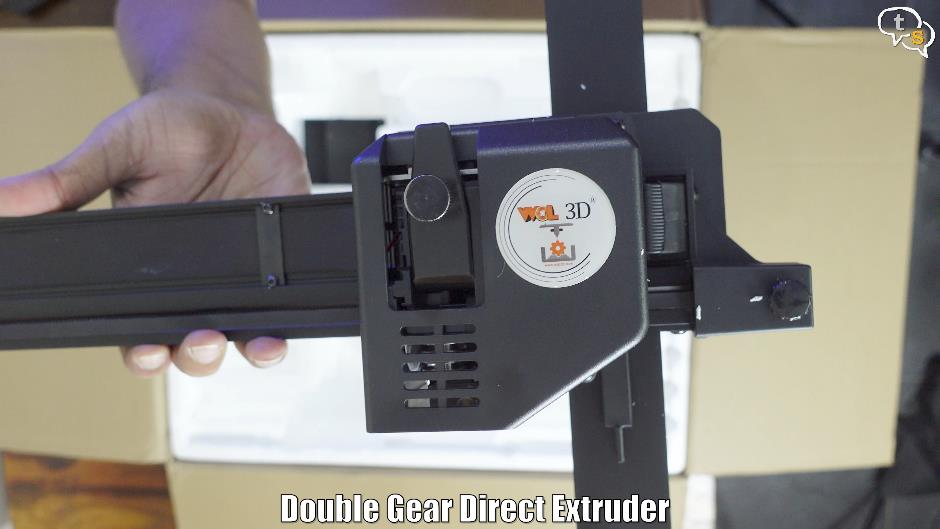
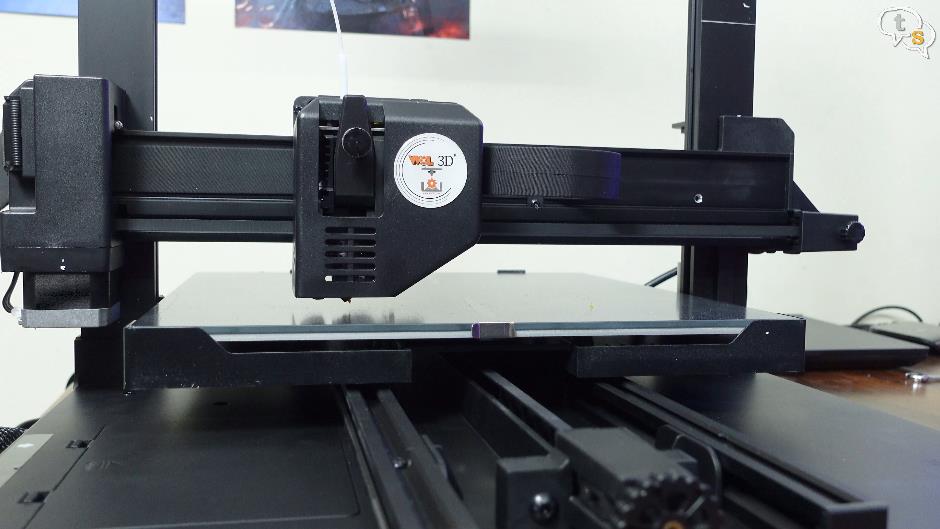
Here’s the direct drive extruder with the WOL3D branding on it.
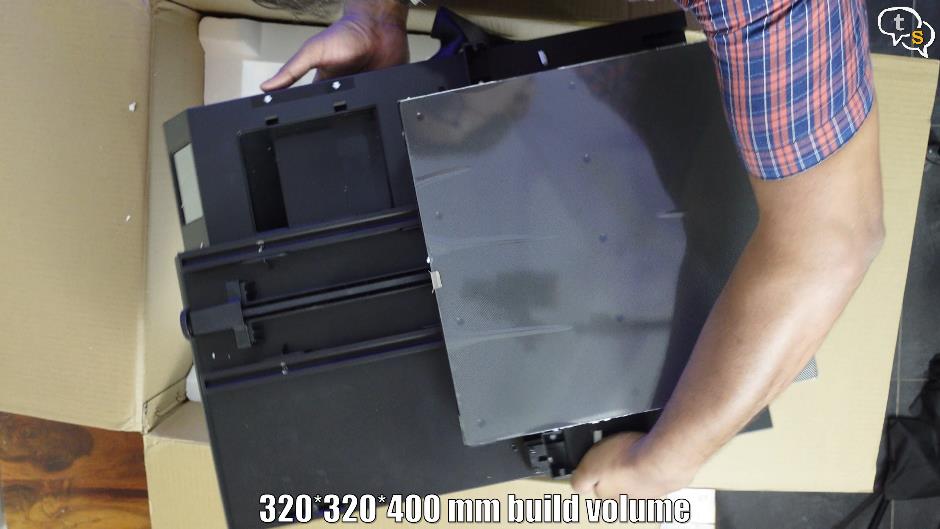
We have another section below which has the controller base with the huge glass plate. The build dimensions can go as high as 320x320x400mm.
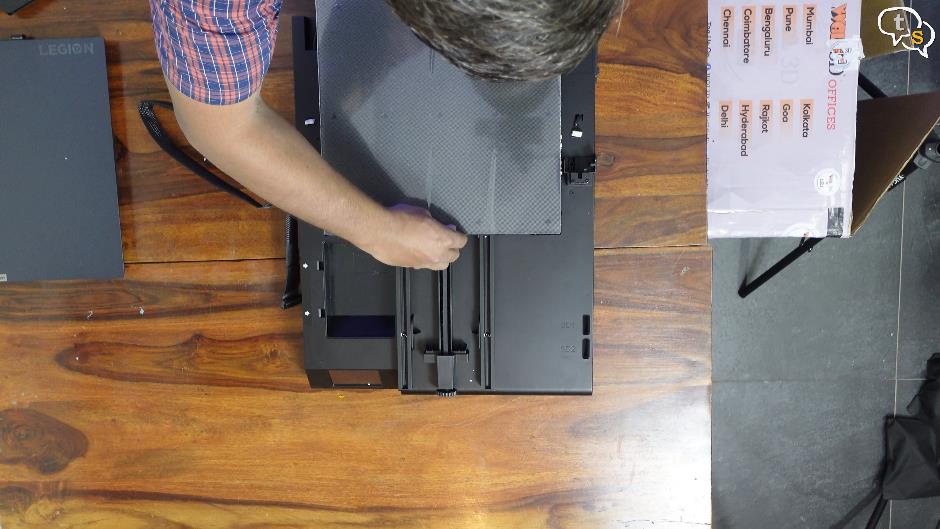
Remove this clip to access the carborundum glass plate.
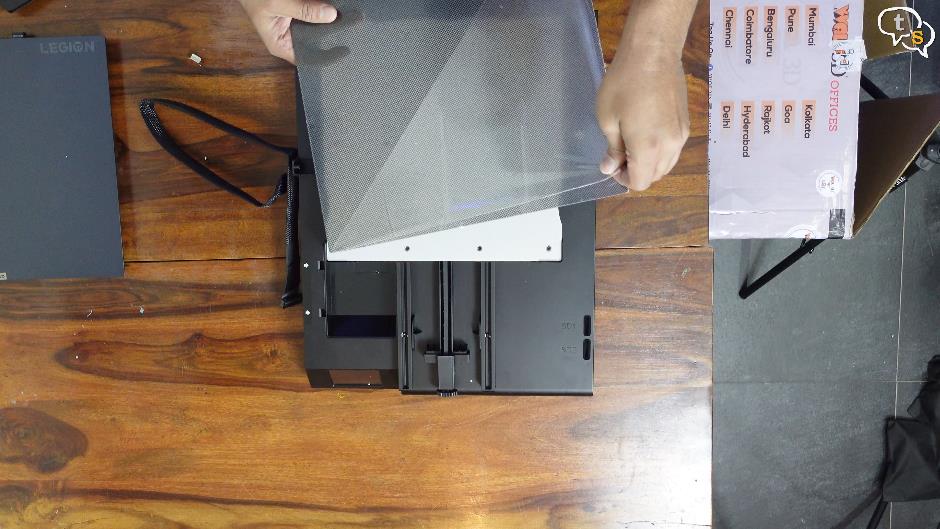
Once the plate is off, we peel the protective film off the glass plate.
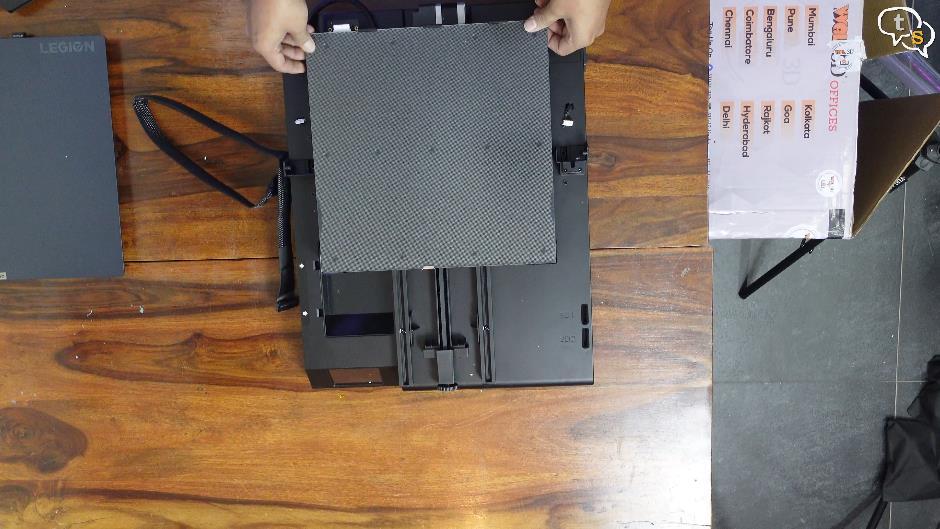
Secure the glass plate down using the clip we removed earlier.
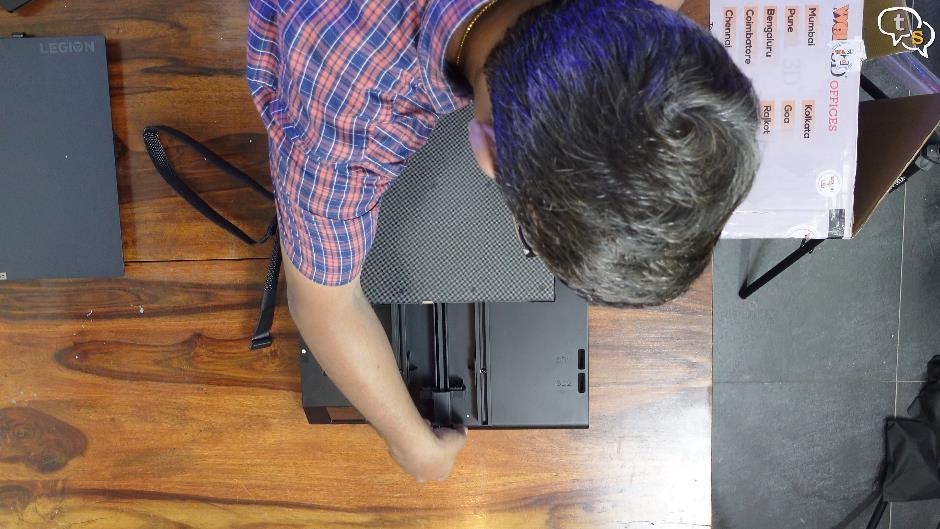
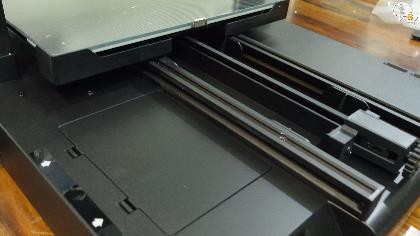
Hmm, moving this bed forward and back I can feel a wobble. Using this screw here, we can tighten the belt, increasing the tension and the wobble is gone.
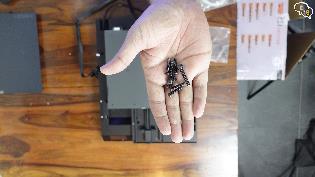
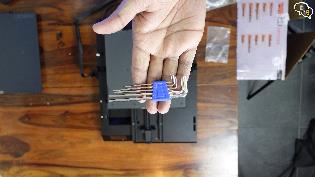
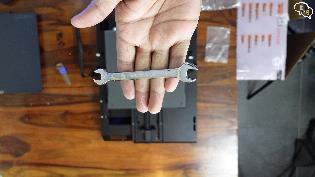
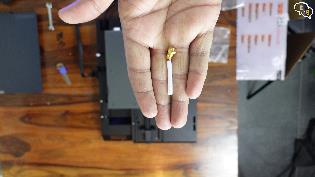
These are the provided screws, a set of Allen keys, a spanner, a Teflon tube, and an extra nozzle is also included.
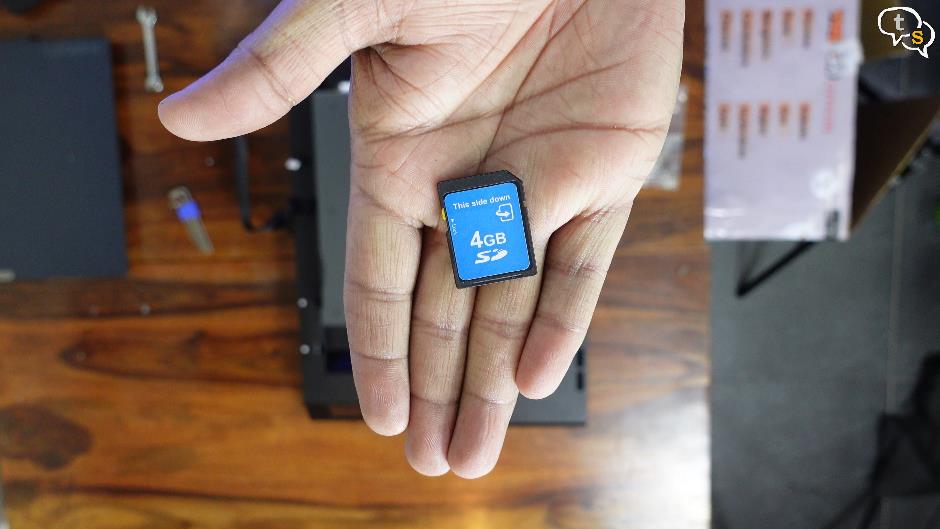
SD-card, this contains the slicing software and a couple of test models.
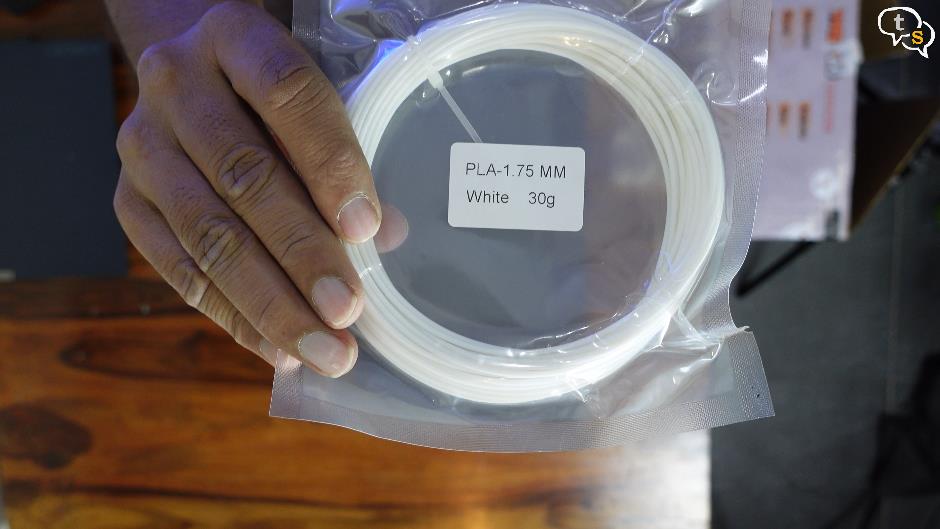
30 grams of filament, more than enough to test the printer and print a small model.
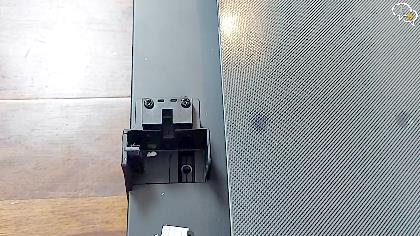
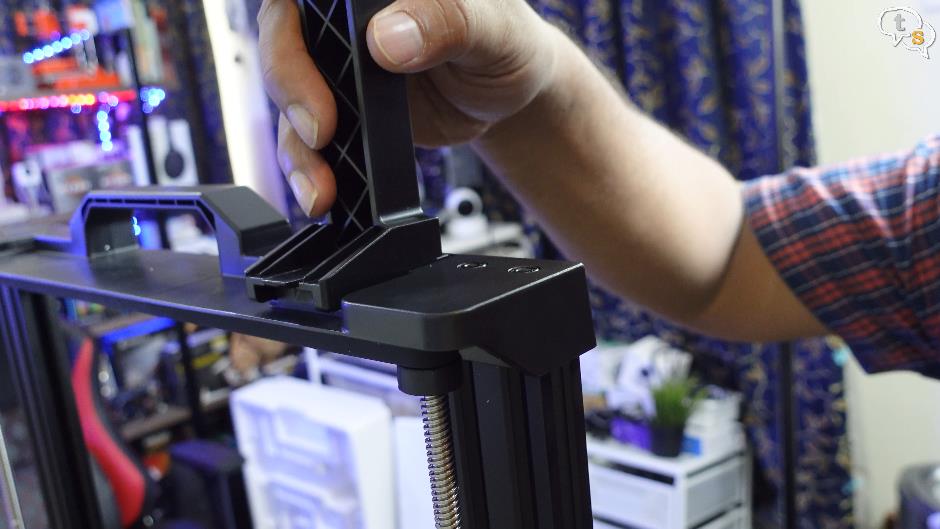
The extruder column will fit in here into these grooves.
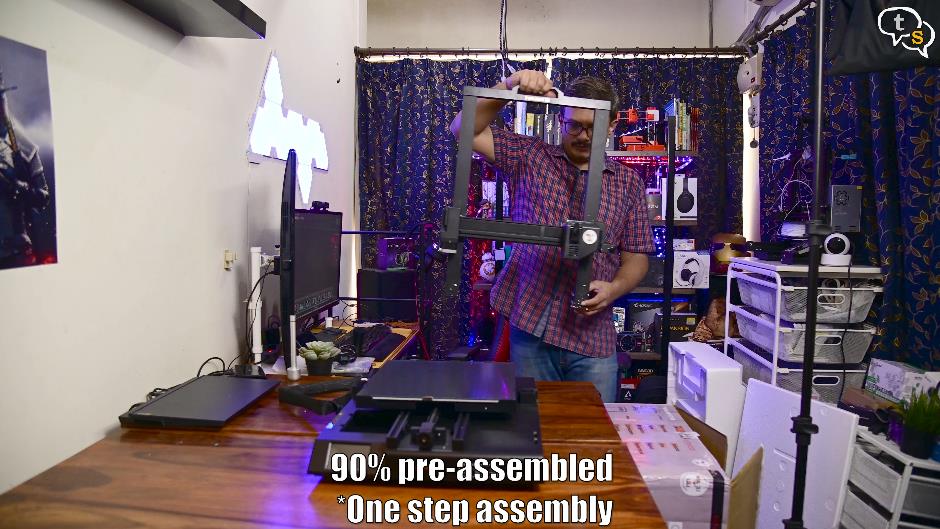
WOL3D has designed a 3D printer which is first of its kind and easy to assemble DIY in 2 steps only. It is 90% pre-assembled and hence even a beginner with zero basic knowledge can assemble this printer.
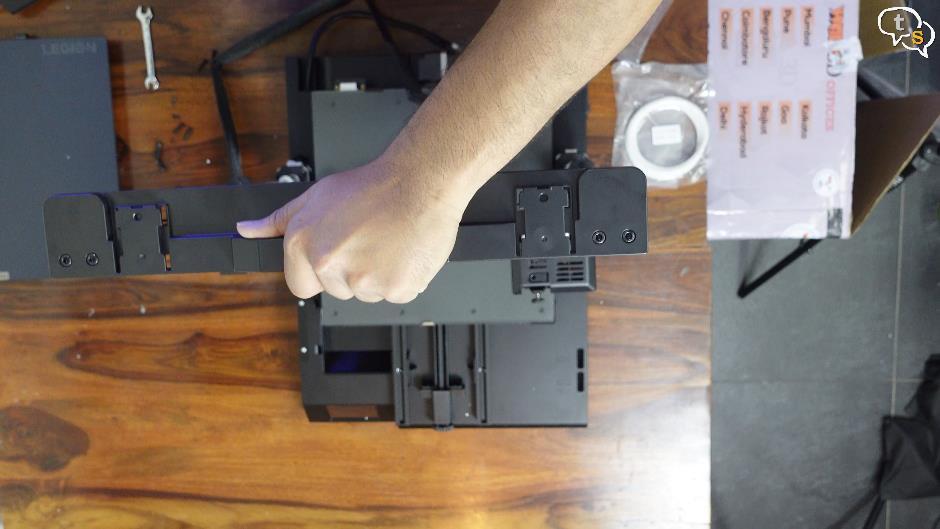
Carefully slide the column into the grooves.
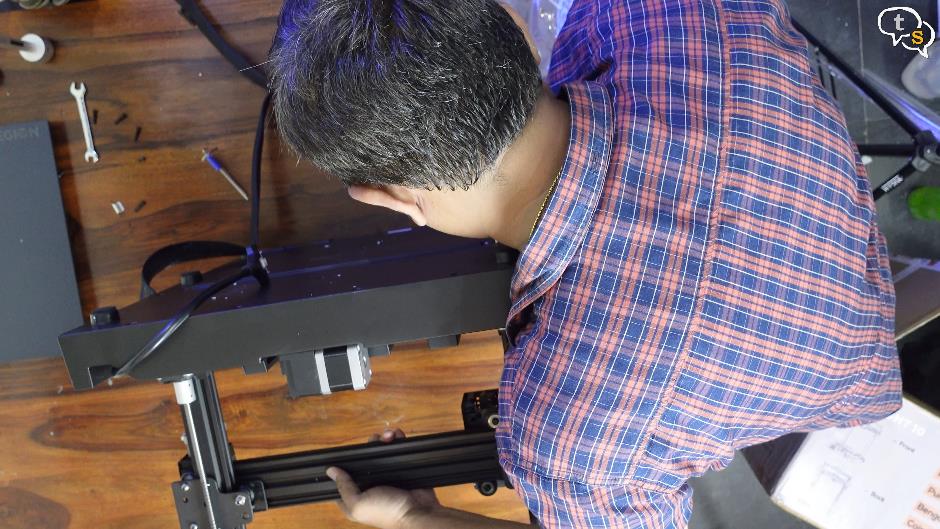
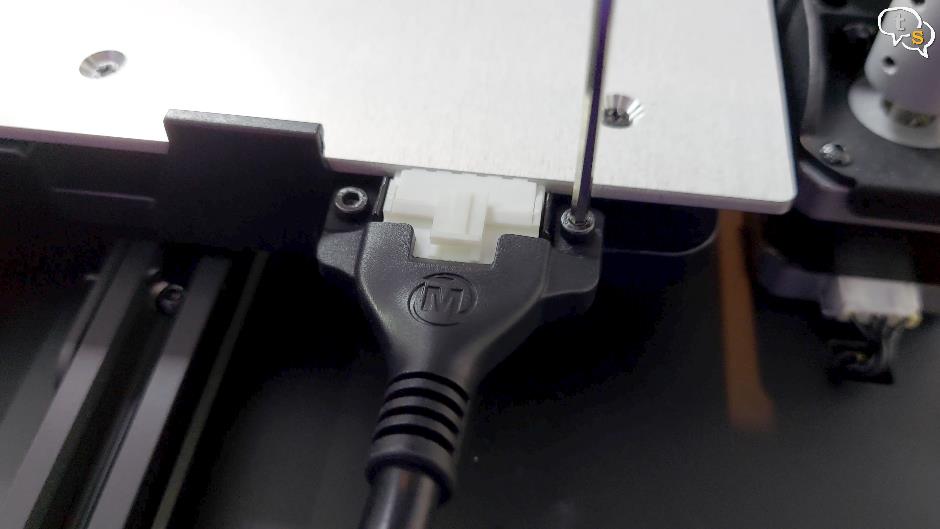
I held the printer sideways to screw in the bolts, you could also use the side of a table instead to access the screw holes below. I would have liked the screw holes to be from the top as this is a bit finicky if you’re doing it alone. But I managed to get it done.
Do it on both sides and the printer is ready. Not sure why there are so many screws, the only other location I can use a pair is for the power plug which I will get to in a bit.
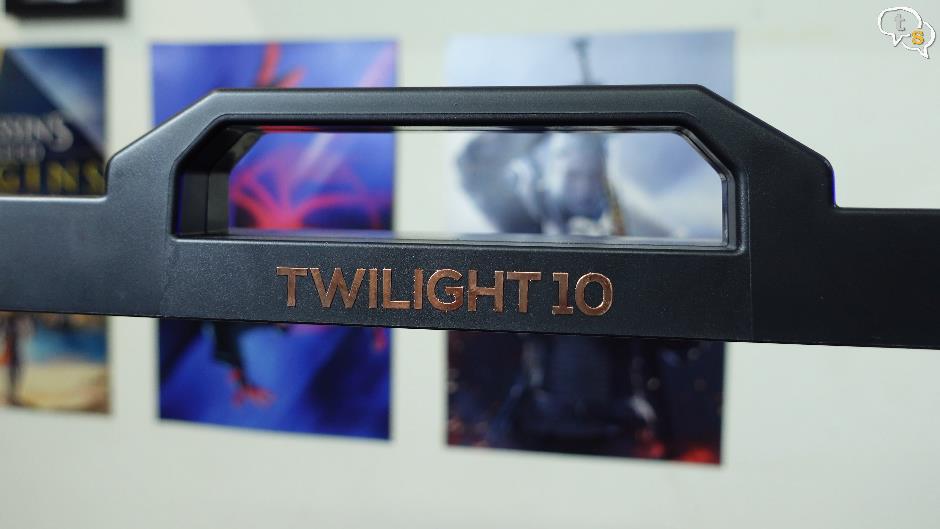
We have a nice handle now on top with the twilight 10 branding.
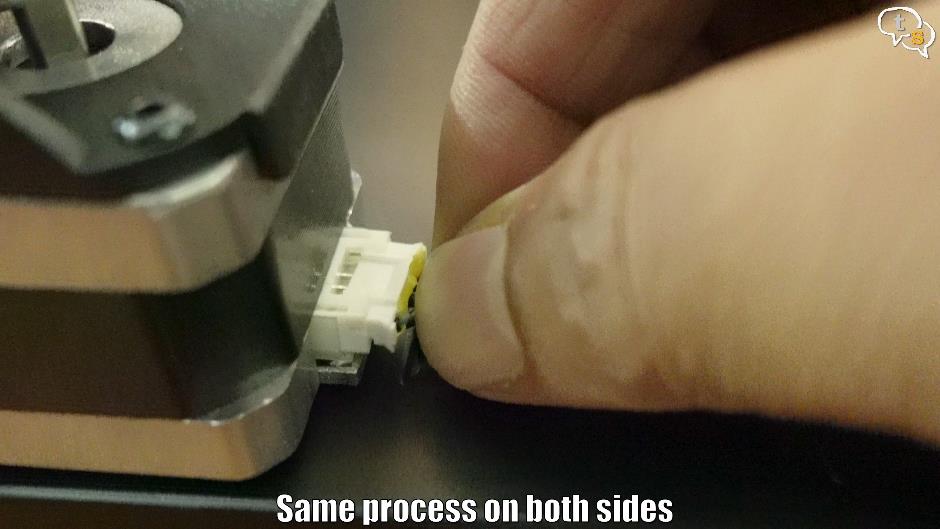
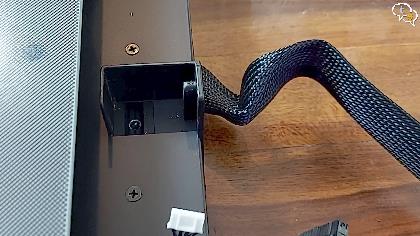
We have these white connectors on the sides, plug them in.
These are the screws I was talking about; these make sure the power plug does not disconnect accidentally.
This is the toolbox cover, we have a mini toolbox area on the base, where we can store our tools. No need to fumble around looking for them as they are all safe in one place.
The filament holder slides on and snaps into place.
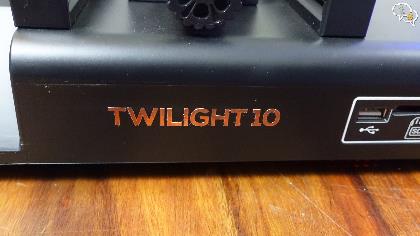
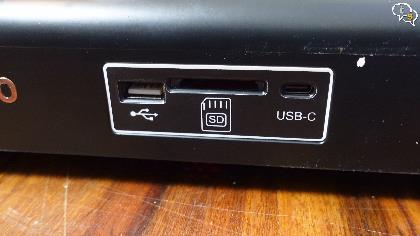
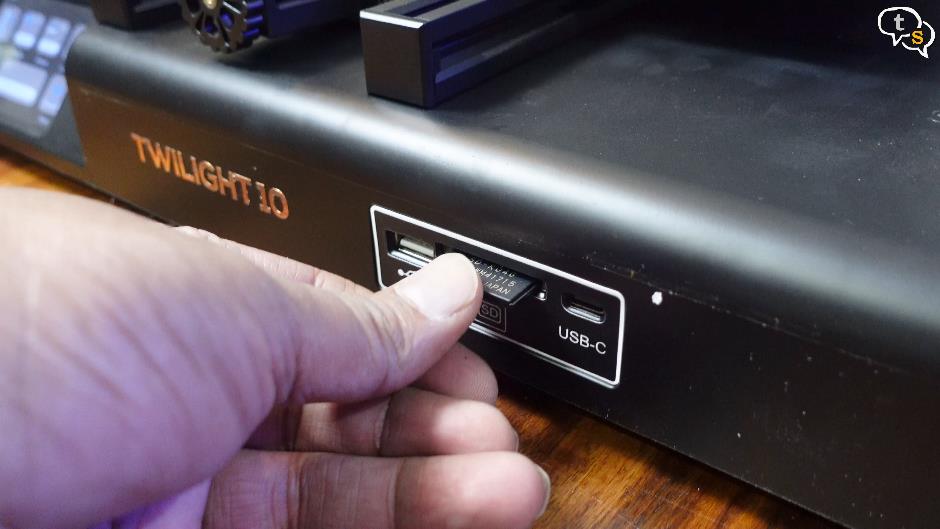
We have the twilight 10 branding in front, and we can also find a USB port, a SD-card slot and a USB-C port.
We have two slots on top, to store your SD-cards.
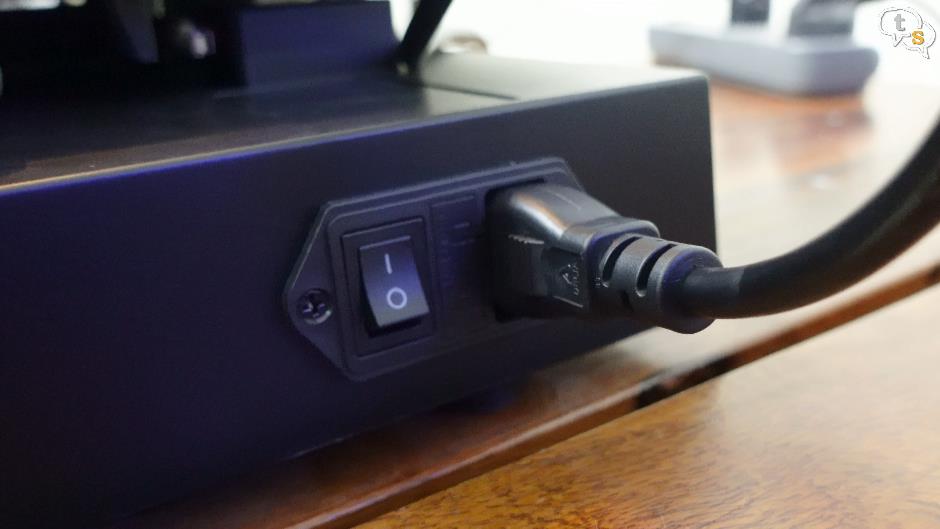
Here’s the power port, plug in the provided power cable and turn on.

The wol3d logo appears on bootup,
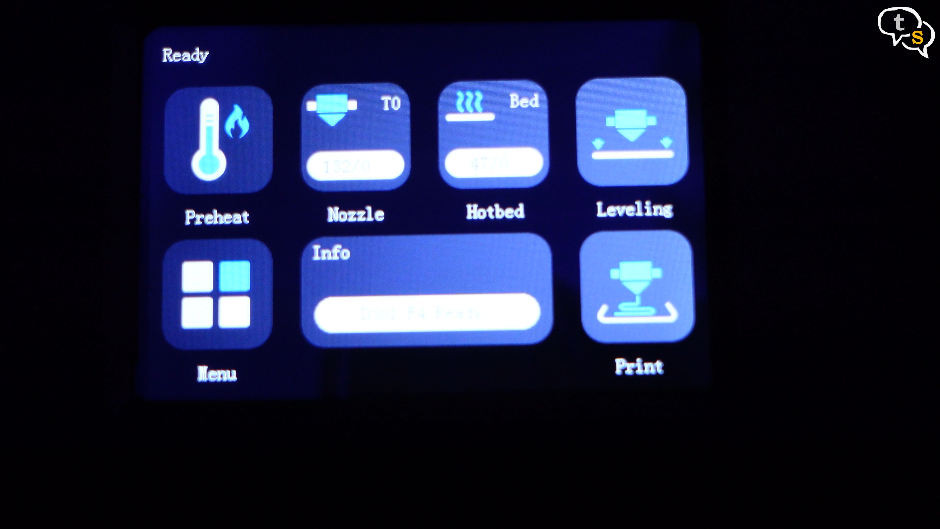
and we are presented with the printers touch interface.
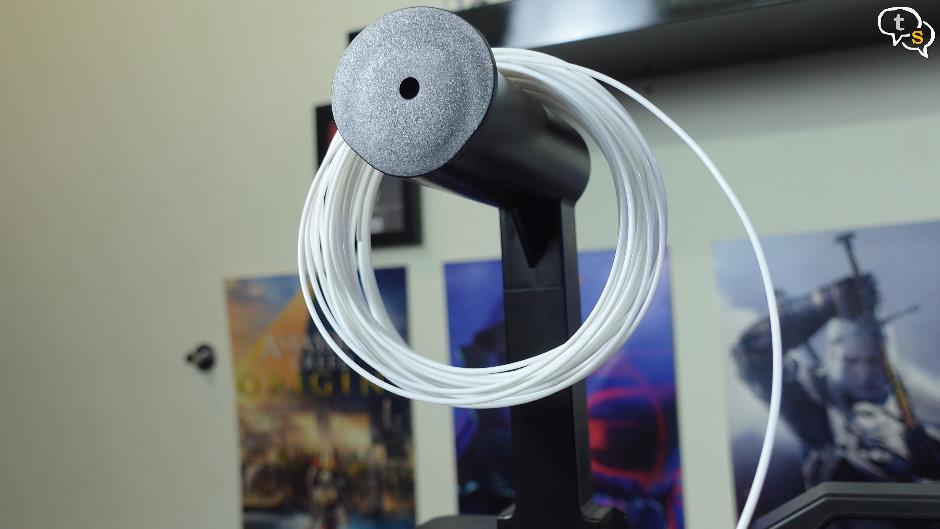
I’ve installed the filament provided in the box and inserted the other end into the extruder.
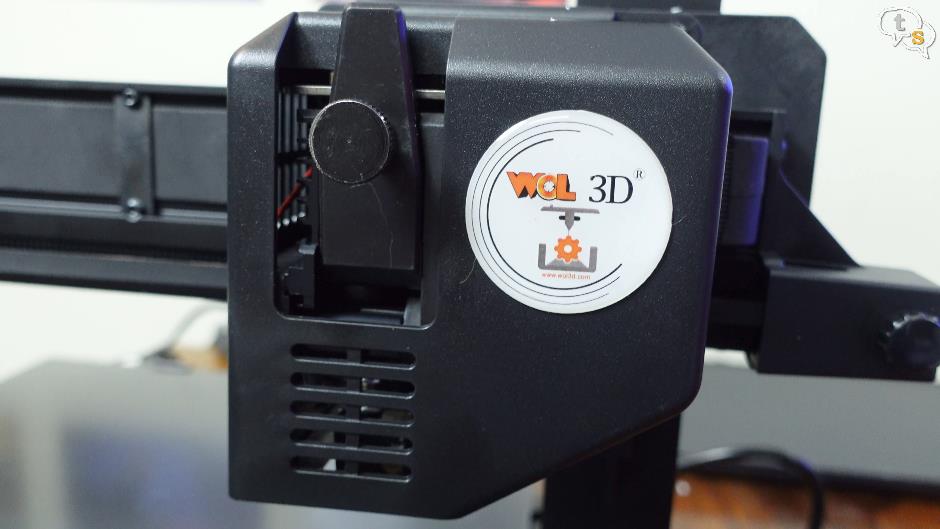
The extruder is direct drive meaning that its dual gears are housed above the nozzle and they pull in the filament directly.
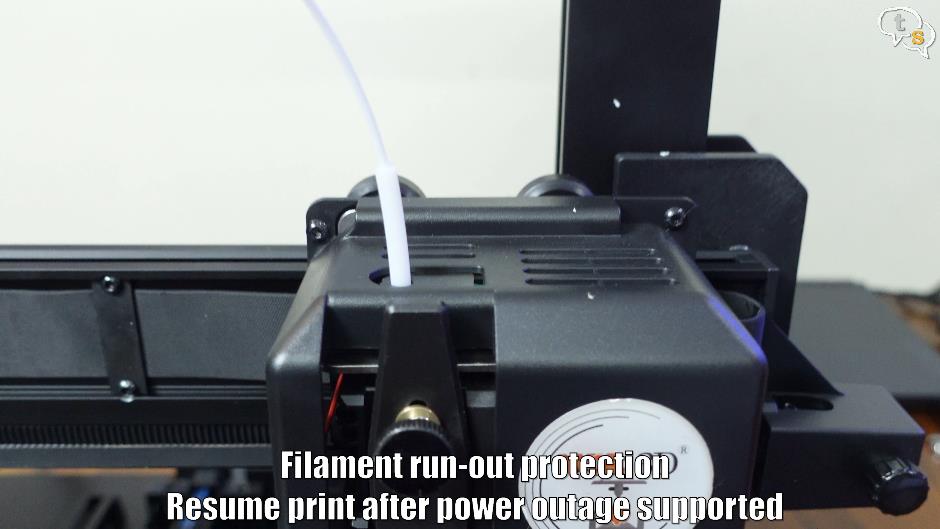
If the filament runs out during a print filament run-out detection is supported which would pause the print until the filament is replaced.
The nozzle can reach temperatures upto 260 degrees centigrade and the hotbend can reach upto 110 degrees centigrade.
Supported filament diameter is 1.75mm
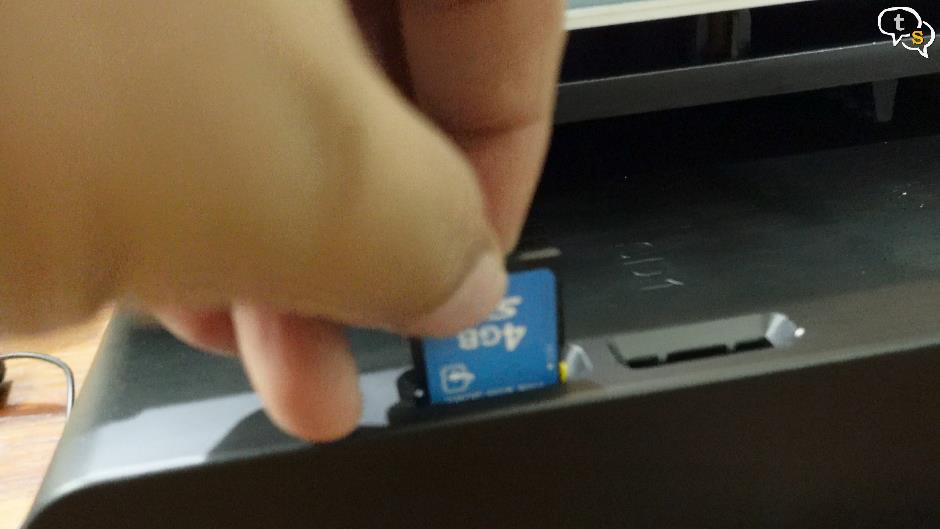
Insert the sd-card into the slot like so, it goes in upside down.

The touch screen allows us to interact with the printer, level the bed, start a print and also set up the defaults for the printer such as nozzle and bed temps. We can also set the z-offset if you find the printer is not keeping the appropriate height between the bed and the nozzle.
As we’ve just put this printer together, a bed-leveling is in order, which is quite easy via this one touch option. Auto-Leveling function that can automatically compensate for any unevenness in the hot bed.
The printer uses bilinear leveling by tapping the extruder onto the bed in 12 zones.
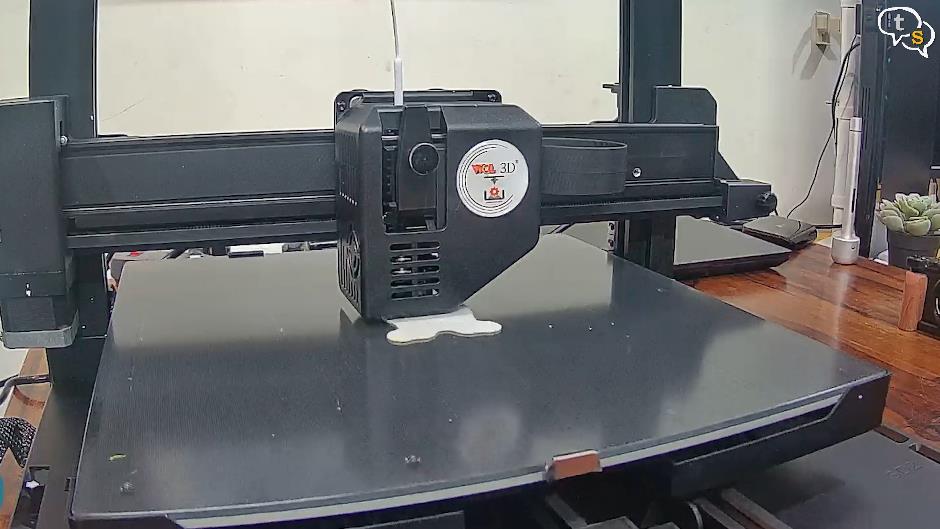
Now that that’s done let’s try out a print. The sd-card already has two files on it. I’m choosing the pumpkin monster gcode file. The sd-card also has a copy of cura on it, for slicing the models.
Printing is now underway.
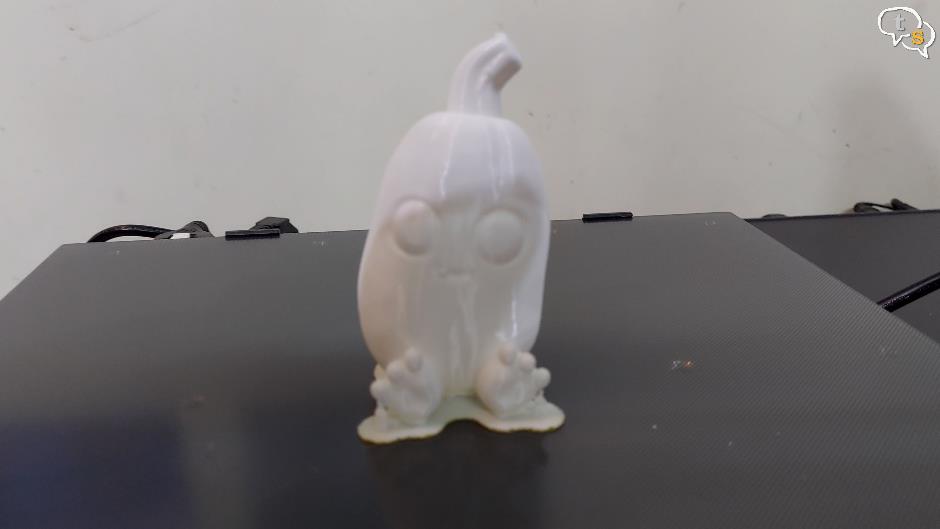
And once it’s printed it pops off quite easily.
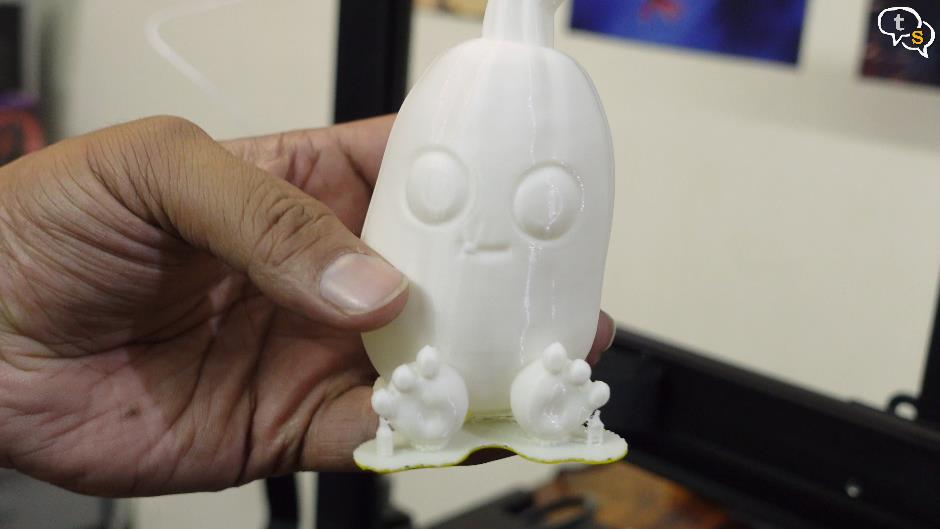
The print has come out really well, the filament has a shine to it which I didn’t know it did. The tiny details are also very clean. There was a bit of yellow filament in the nozzle, hence the two colours, but overall, a very clean print and it was quite fast too at.
What I like about these new printers by WOL3D is that it’s very easy to put together. But the accessibility of the screws from below to fix down the extruder column is a bit awkward on the twilight 10. You can place it close to the edge of the table to fit the screws in from below.
Large print size gives you freedom to make large prototypes, or multiple smaller objects in one go.
Other than that, it’s a very good easy to use 3d printer and is recommended if you need large build volumes. The twilight 10 is a tad smaller in build volume as compared to the aster max, but it might still be big enough for many as it’s still bigger than an ender 3. Easy to put together, I just had two bolts to attach the extruder column, power it on, and level the bed and the printer is ready to use. That’s quite nice.