Today I have something unique and fun for everyone. A 3d Pen?, what is a 3d pen you might ask, watch on to find out.
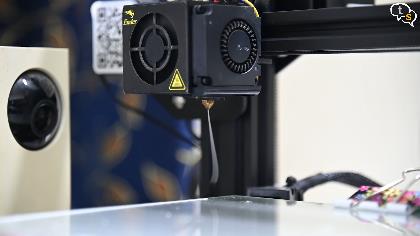

You might have heard about 3d printing before where a filament made of PLA or ABS is heated and melted down a thin nozzle and this melted filament is layered to create a 3d object.
Using this same principle we have 3d pens, which use the same filament used for 3d printing and melts it down to draw and create shapes.
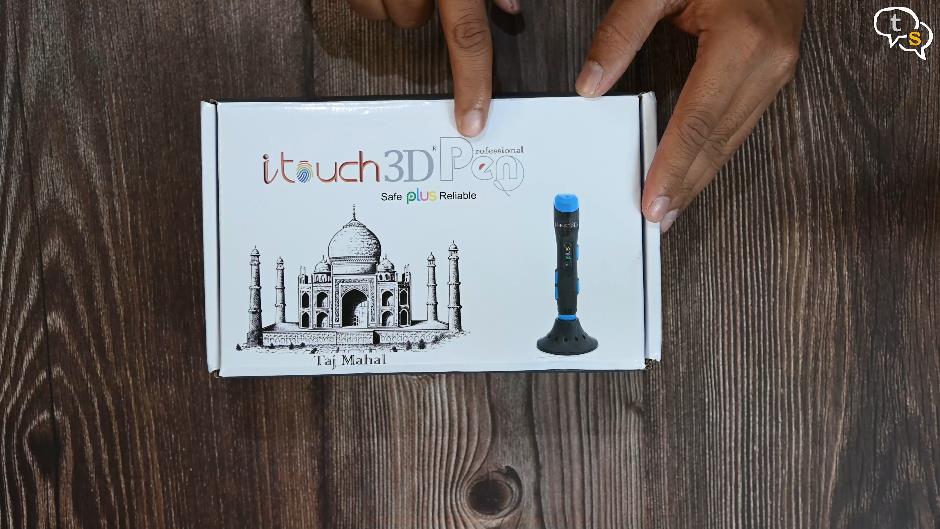
I have here the itouch 3d pen from wol3d, and compared to 3d printers is quite small, making it portable. These are generally ready to go out of the box. So that was the box, let’s get to the actual product.
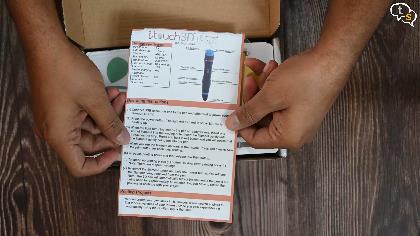
Opening it up we have an instruction sheet on the functions of the buttons, and other operating instructions.
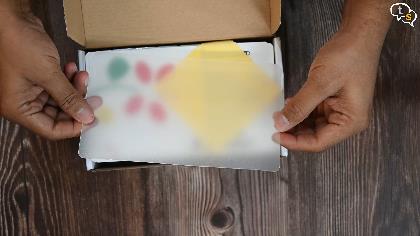
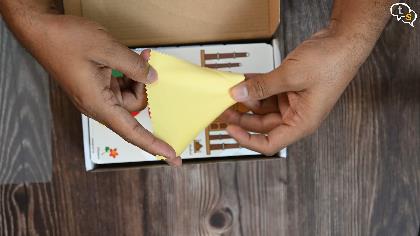
We have this translucent sheet which would help us trace any design.
A cleaning cloth to clean out the nozzle between use.
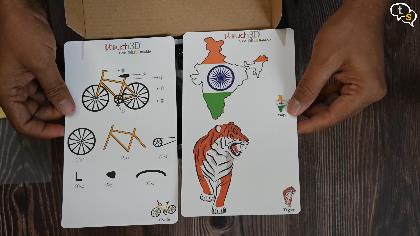
The kit comes with a few designs, like the taj mahal, a flower and more. We would use these as a reference to create our 3d designs. Looks fun.
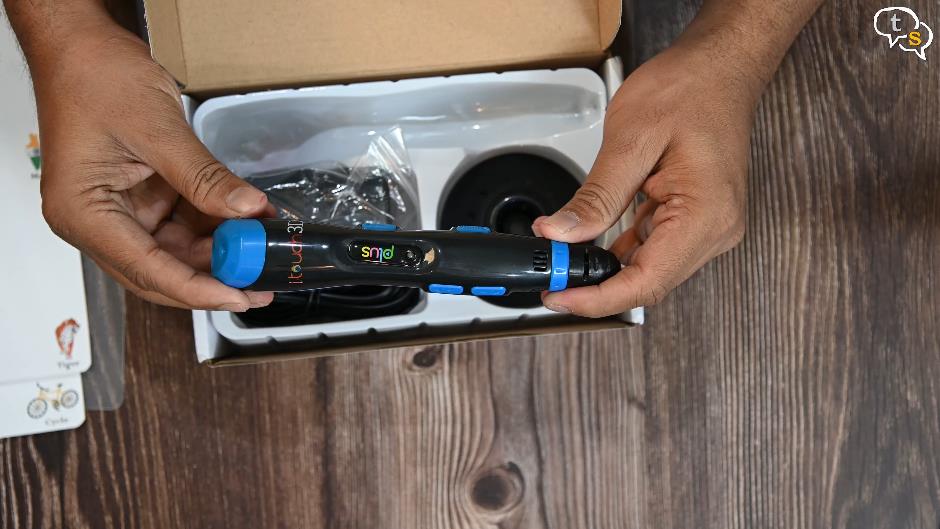
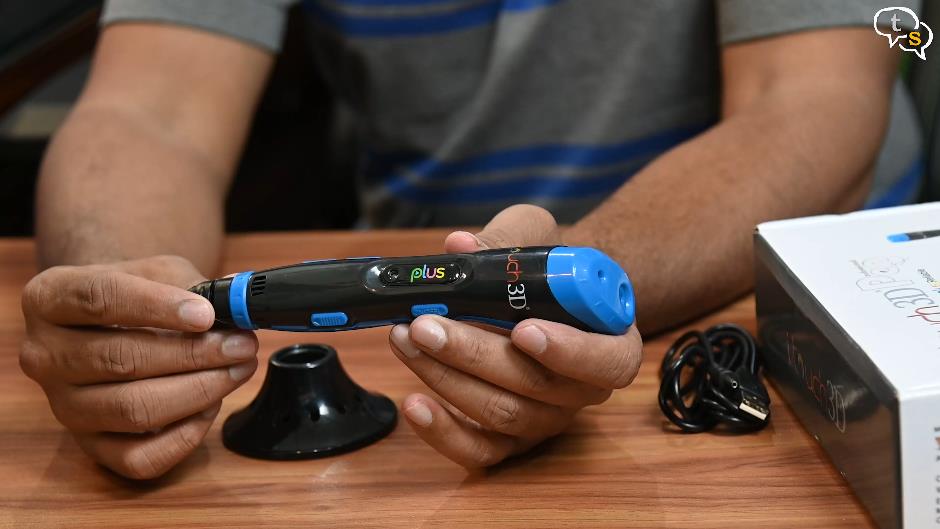
Now for the 3d Pen, it has the name itouch 3d with plus marked above the status indication light.
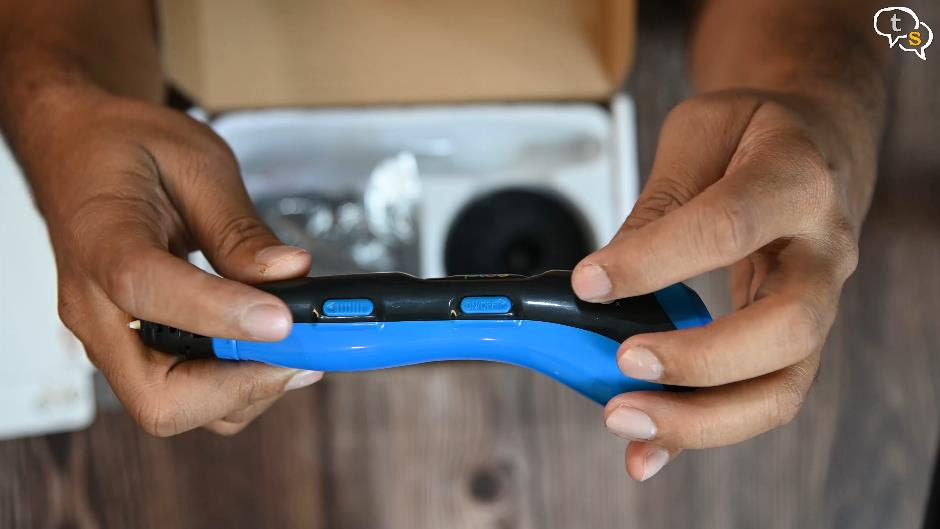 We have a few buttons on the pen, on the left we have the power button and the filament feed button.
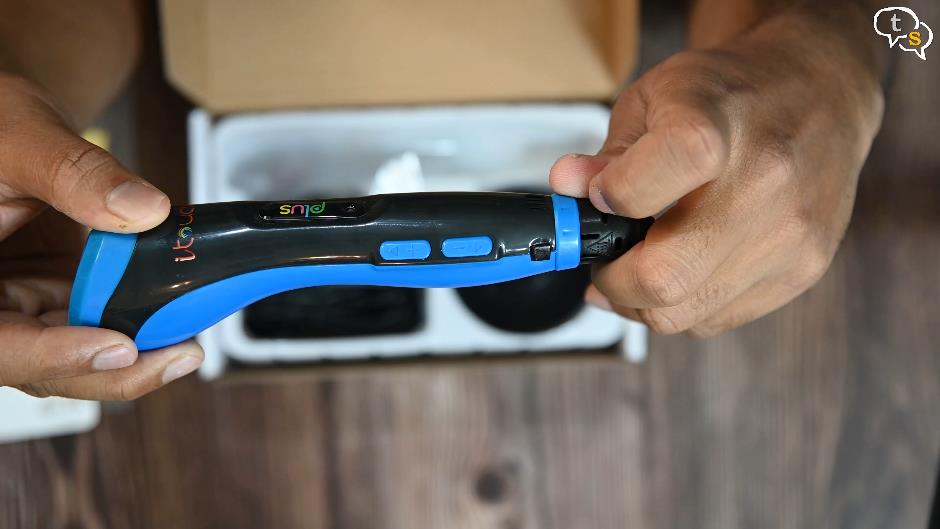
On the other side we have an option to speed up and slow down the speed of the flow of filament.
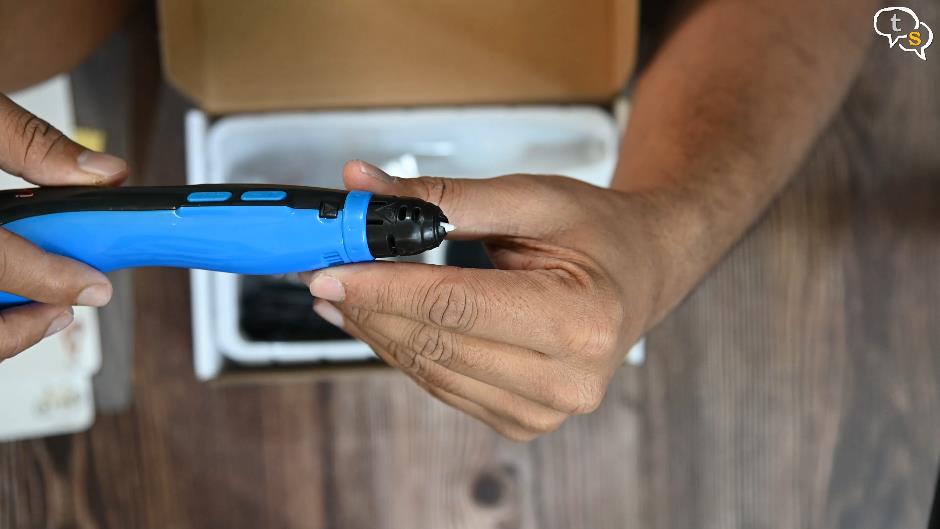
Here’s the nozzle, where the filament would be ejected. It seems to have some sort of protective plastic on it, as the filament that comes out can get quite hot. The vents are to dissipate the heat as the filaments are heated to between 200 to 220 degrees. Not sure how much the pen heats the filament to.
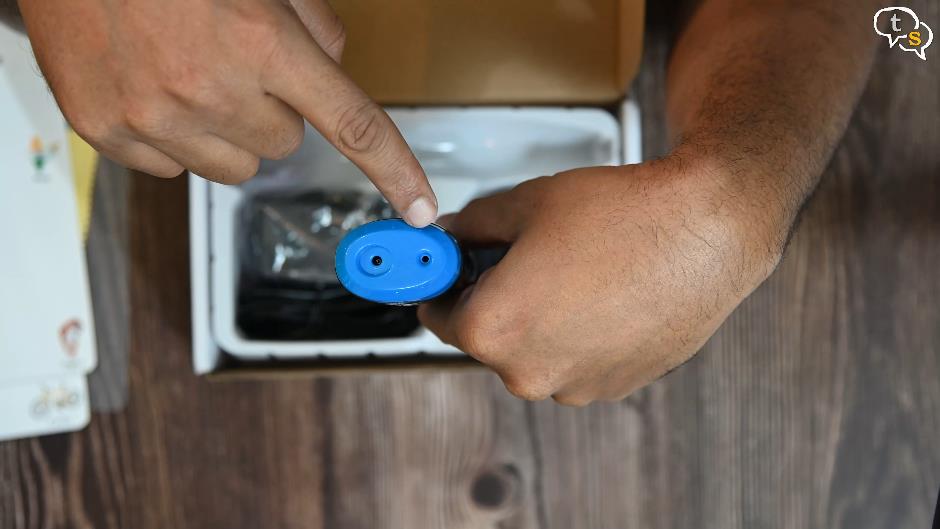
On the top we have a power connector and a filament loading hole.
Here’s a stand, keeps the 3d pen vertically when not in use, or even between uses.
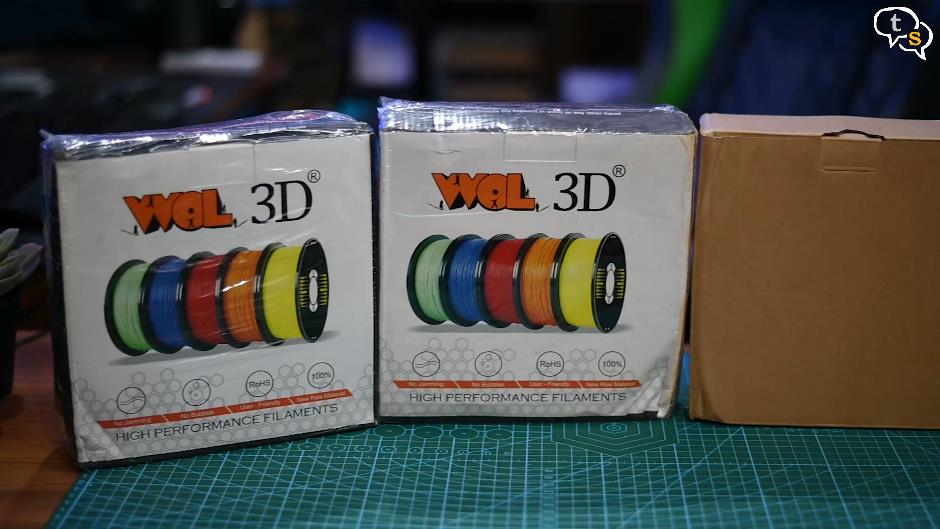
Power adapter with a USB-A port. A cable with usb-a to barrel connector for power. And under the main compartment we have filaments of 3 different colors. These are the filaments to be used with the 3d pen, you can also purchase standard 3d printer filaments such as PLA to use with the 3d pen.
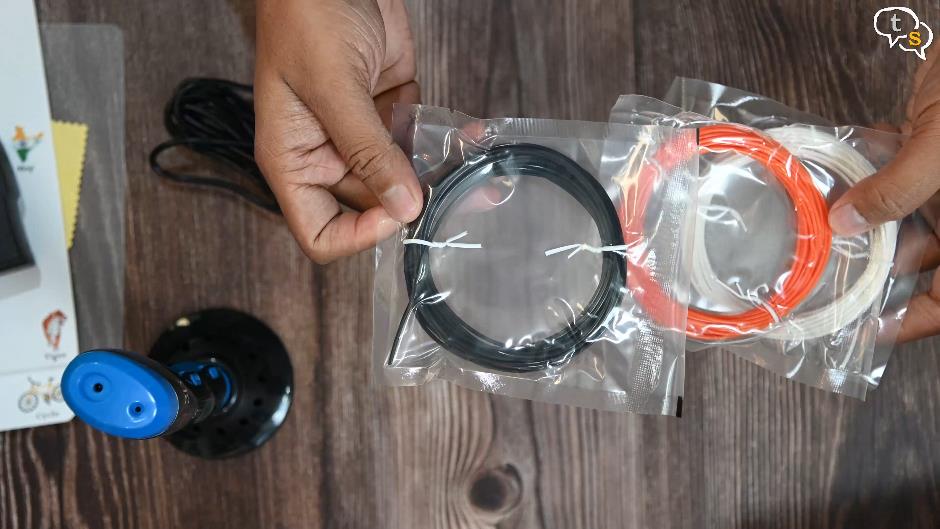
The color options we have are black, orange and white.
The pen looks quite nice, and I’m surprised how all that extruder tech is crammed within such a small frame.
Let’s open up a filament and power on the pen to try it out.
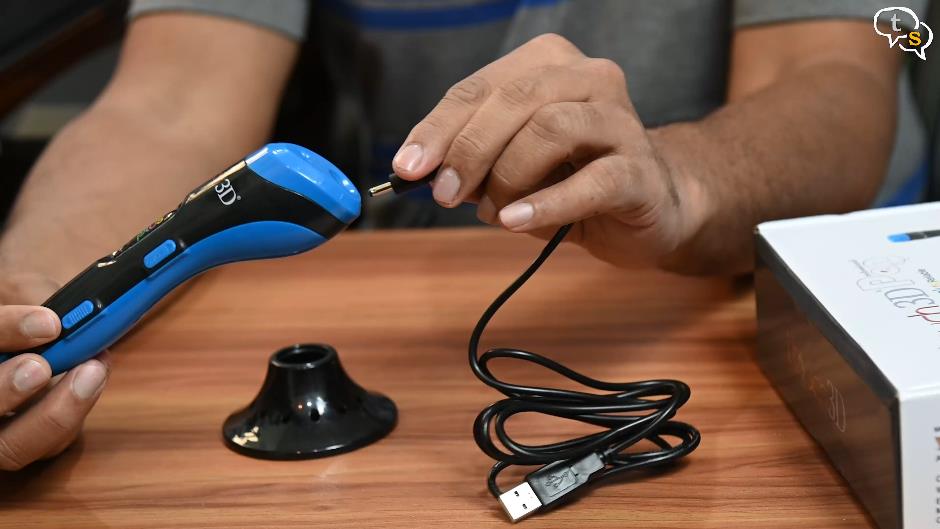
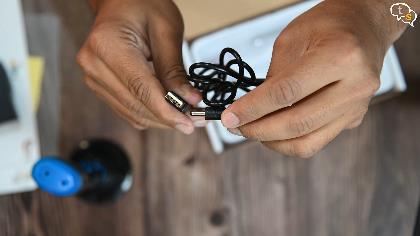
Here’s the power port, plug in the barrel plug into the port. The other end you connect to the power adapter and turn it on. The cable provided is around 4 and a half feet.

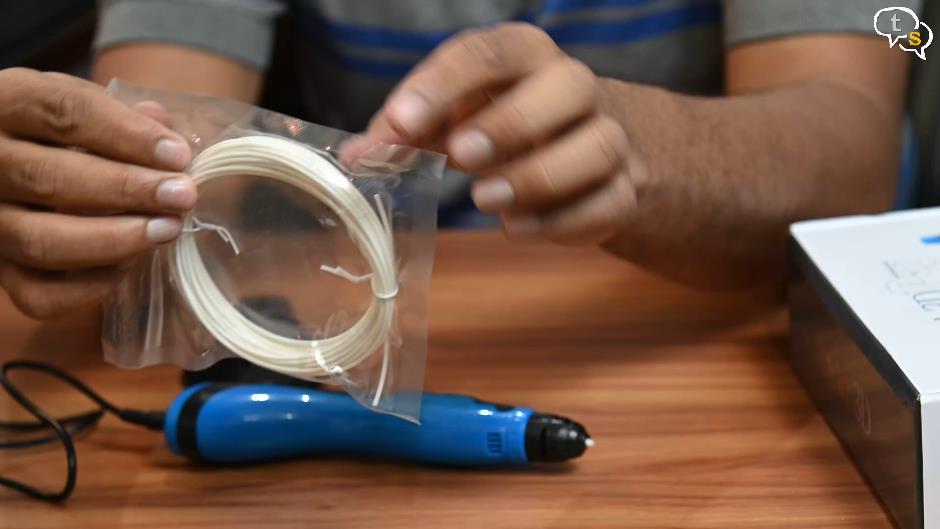
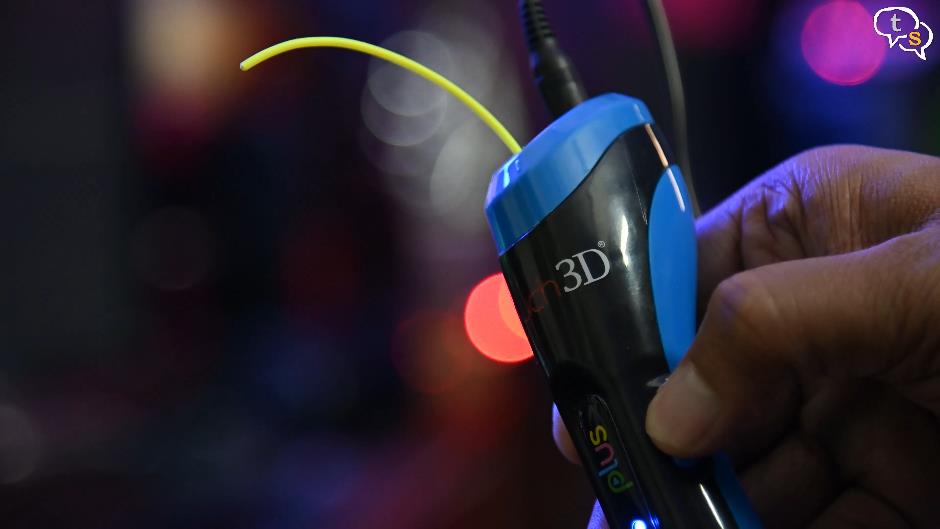
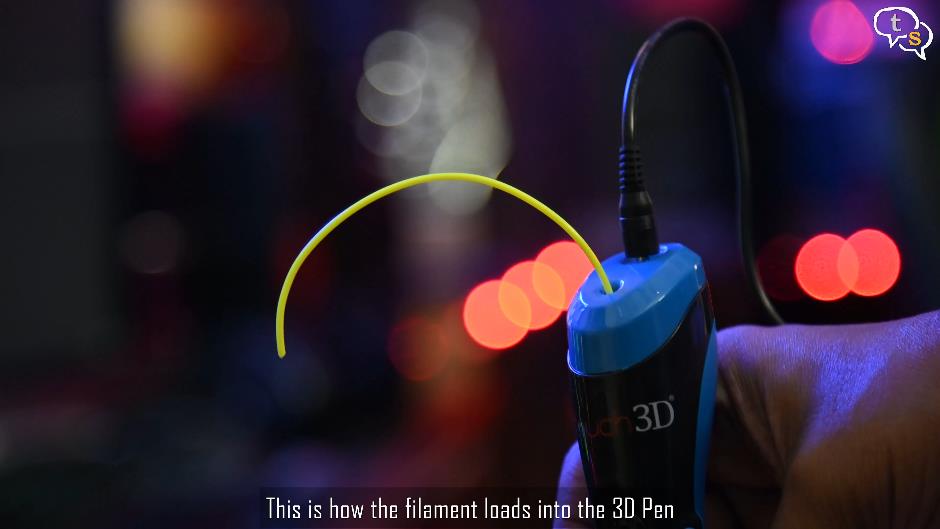
Use the power button to turn the 3d pen on. We have a red light glowing indicating that it is heating. I’m going to use this white filament first, it comes vacuum packed to protect it from moisture. Open it up and load it into the 3d pen using the loading hole.
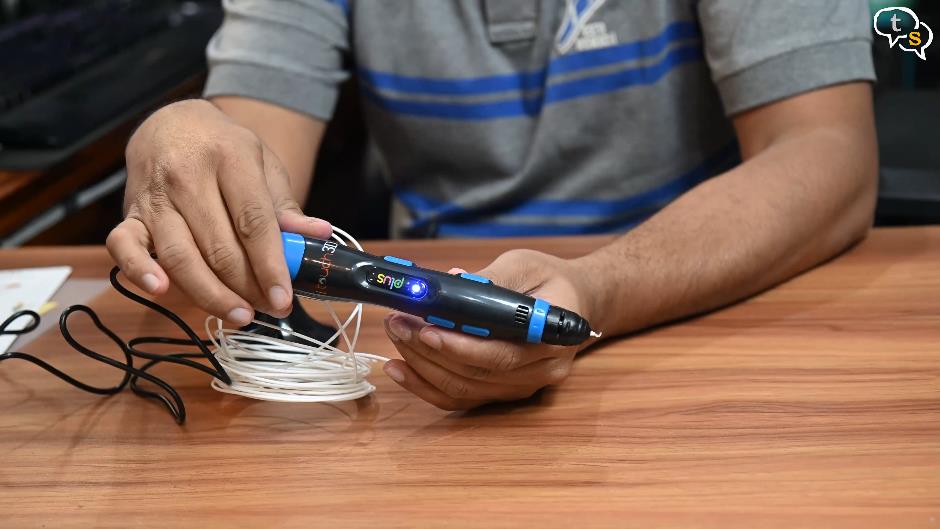
The led has turned blue indicating that it’s ready for use.
Press the filament load button on the bottom left and the filament is slowly pulled into the pen. I dont think it’s that visible on camera, but it is being drawn into the pen.
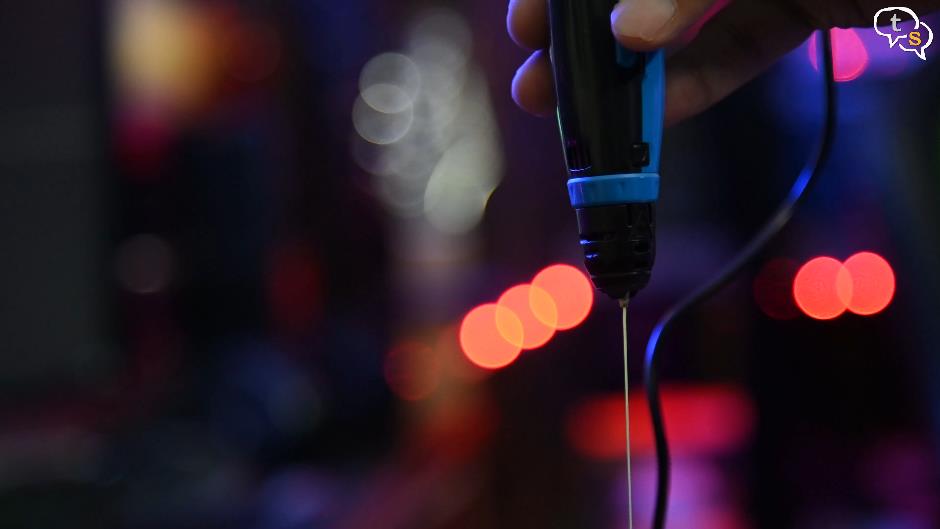
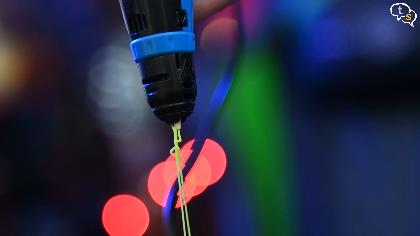
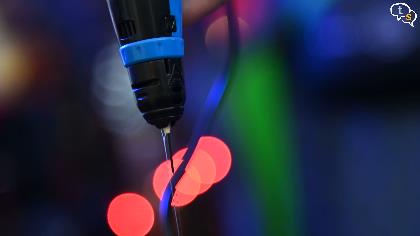
The filament that is loaded is heated to 200 to 220 degrees makes it flow like a paste which is released slowly through the nozzle, as it leaves the nozzle it is cooled and the filament hardens retaining its shape.
It would take a few seconds for the film to get ready for printing. Push the filament feed button to start drawing.
Ok, Here we have the filament seeping out of the nozzle.
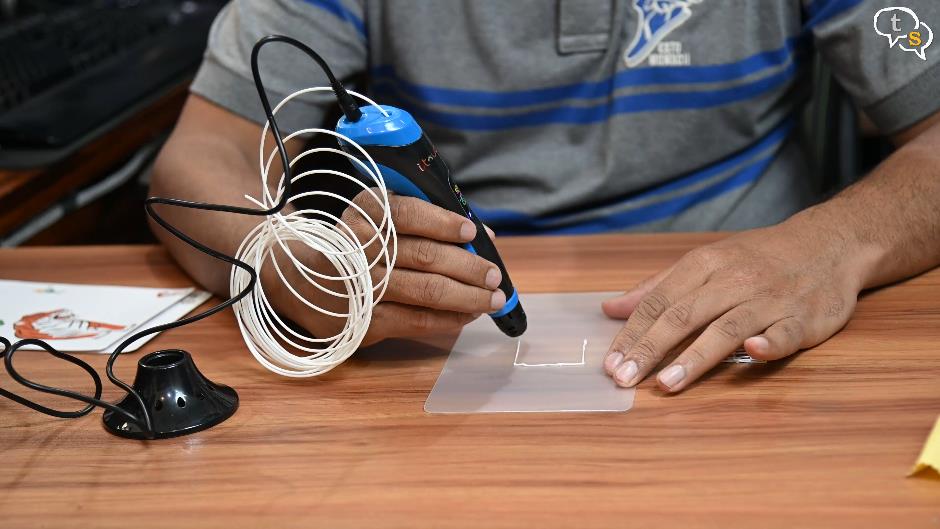
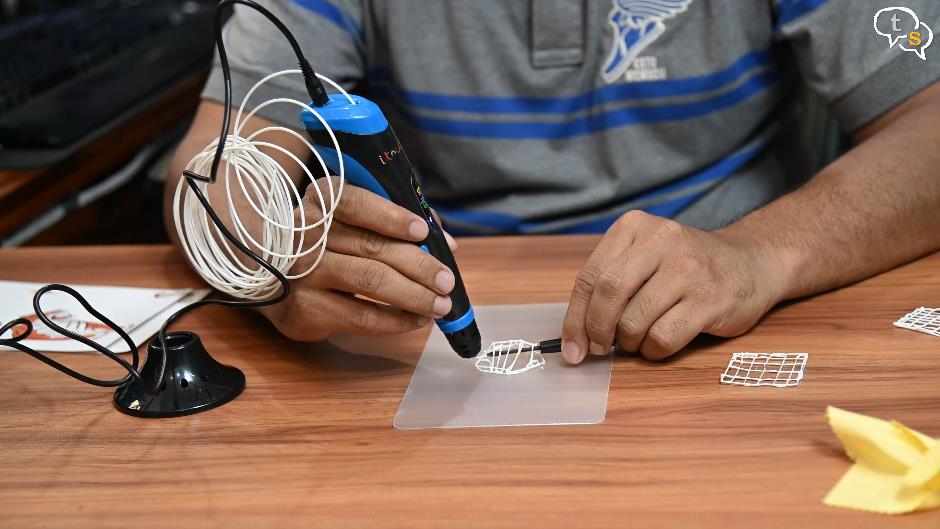
Let’s use the sheet provided and try to draw something.
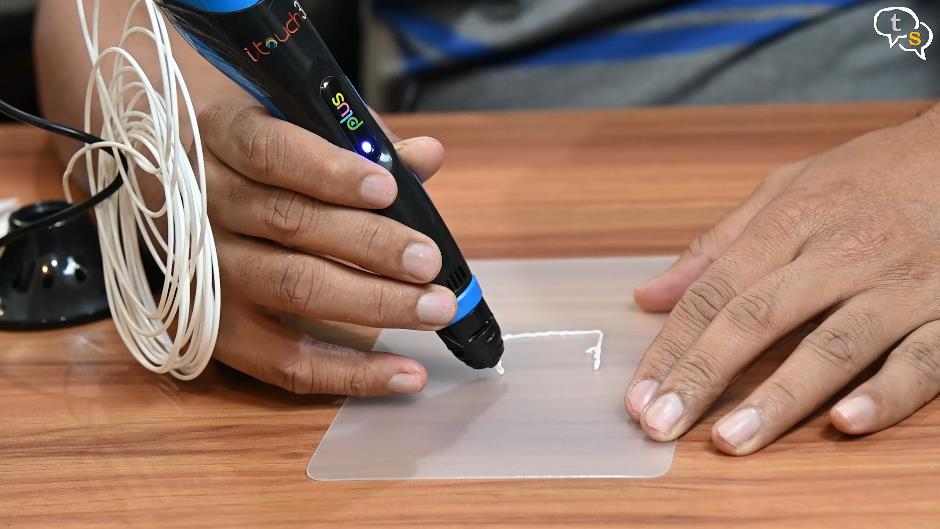
Just drawing a simple mesh square. This is my first ever drawing with a 3d pen.
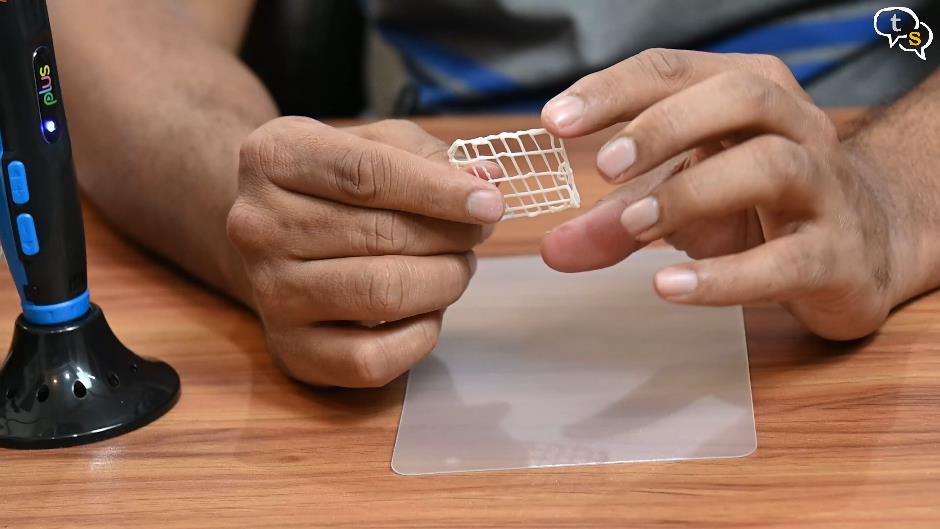
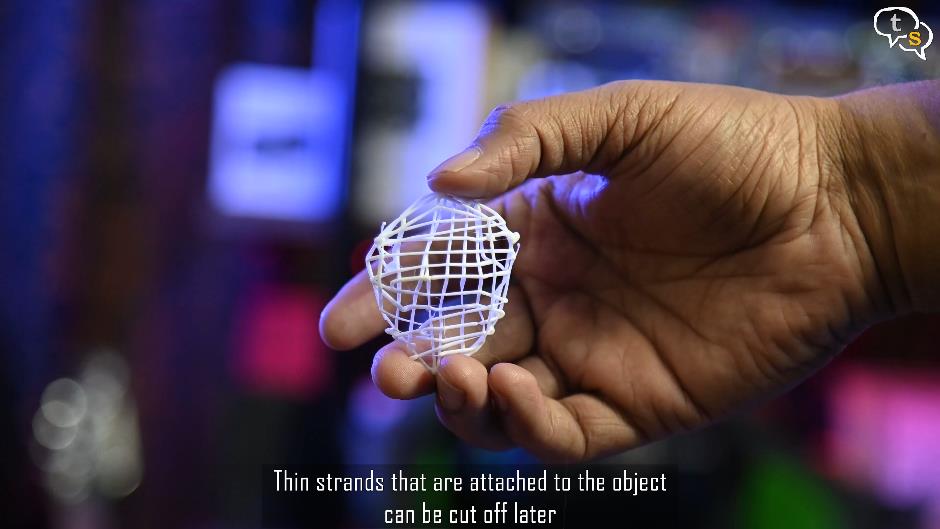
Ok this is how it looks, it is sticky in the beginning but a few seconds later removing it from the sheet you can see that it has hardened. It’s quite strong now.
Takes a bit getting used to, on how fast you should move as the filament flows through, but once you get the idea it’s quite fun to use.
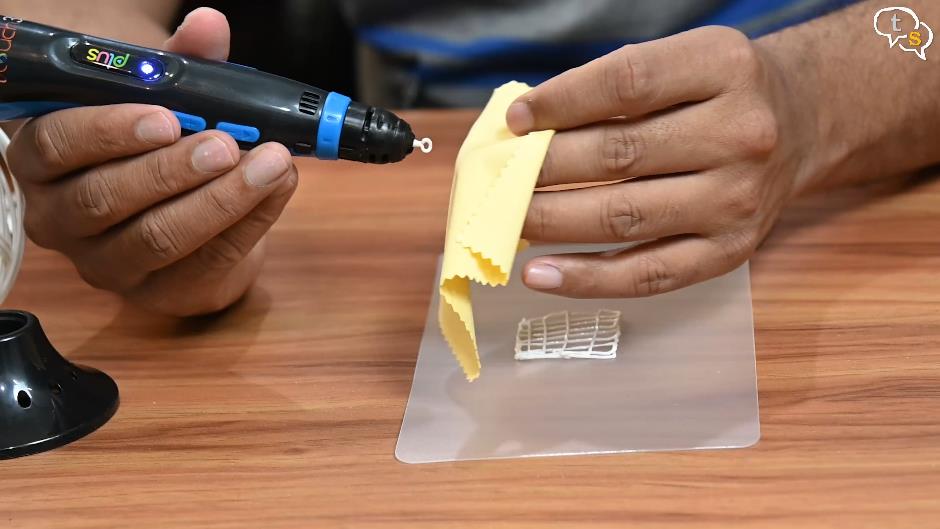
Clean the nozzle using the cleaning cloth provided as it would be hot. Push the filament feed button again to pause drawing.

I like this stand, it keeps the pen vertical and easily accessible when you need to draw and away safely when not required.
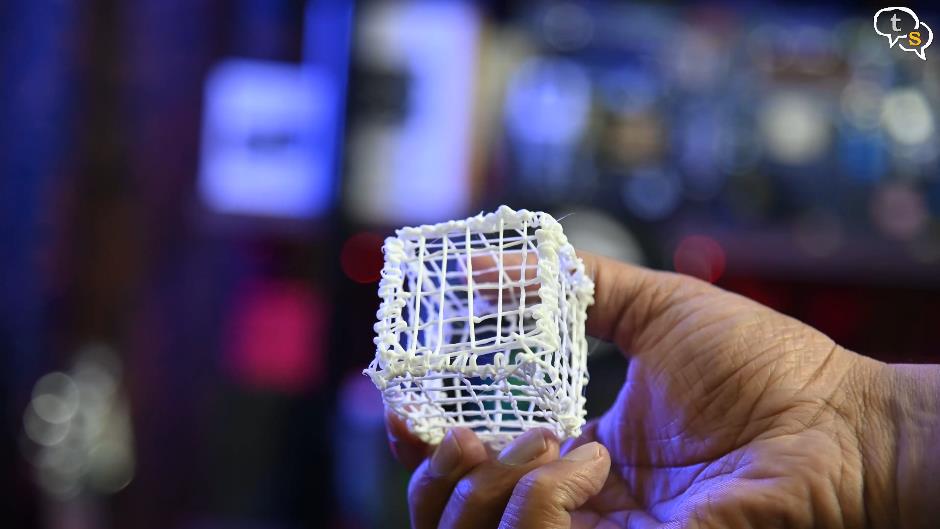
I have drawn another square mesh, you can make more and attach them together to make a cube in effect making a 3d object. Use a reference to get the same size squares as mine are not the same.

You can also draw upwards, once cooled it stays straight up without any support.
The speed of the filament can be changed using the + and – buttons on the right.
I’m using a screwdriver as support for the filament and going over it a few times. Making a mesh as I did earlier but with it raised a bit in the centre.
And we have a hemisphere, maybe. But do notice that once it cooled it did keep the shape and is not 2d anymore.
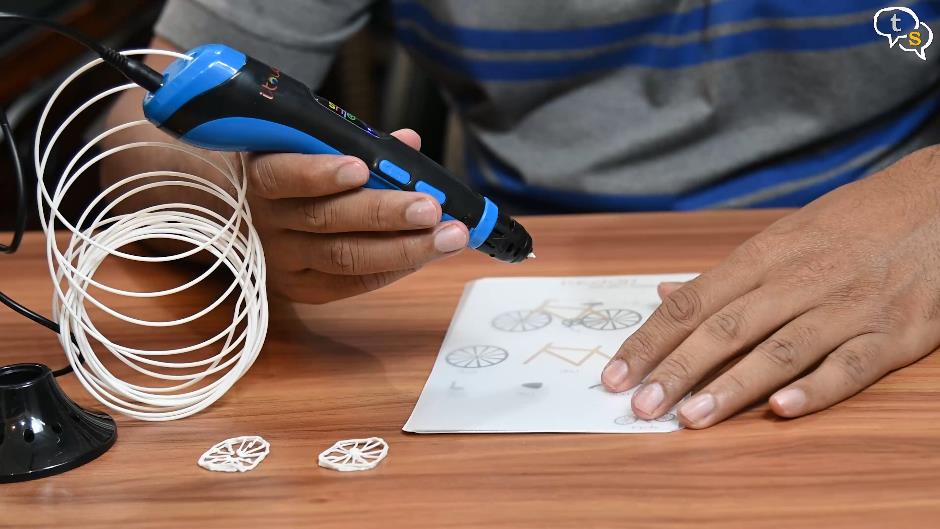
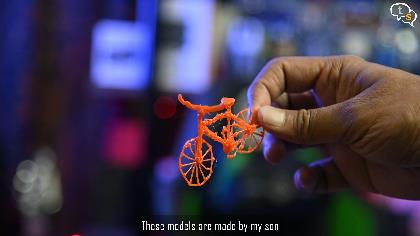
Lets try one of the designs provided in the box, the cycle did catch my eye. So as per the instructions we need two wheels and everything else only needs one of each.

So wheel 1, wheel 2, the frame, the pedal, seat, the handlebar and another pedal.
Now that we have the parts we can assemble them using the filament.
Done
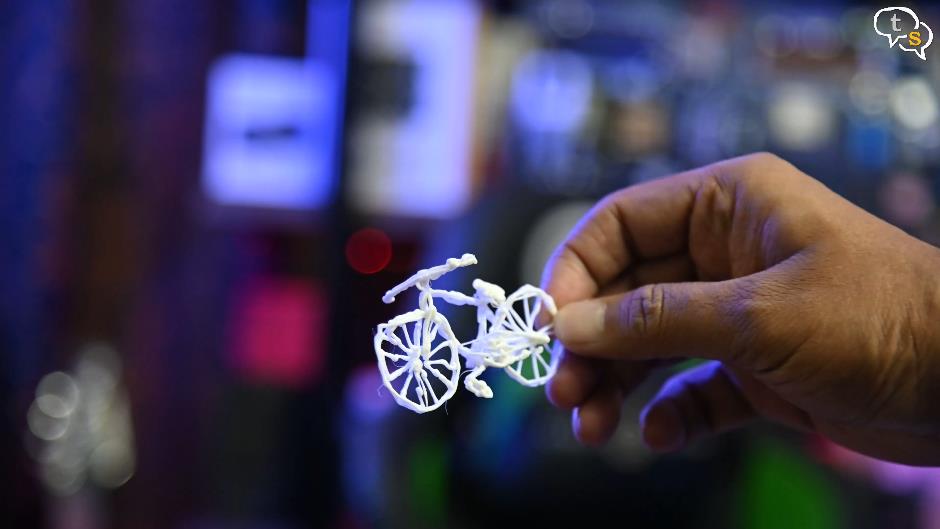
This is how it looks, I’m just cleaning off the excess filament. Not bad for a first try, I guess.
Here’s an India map.
Let’s see if I can make a phone case. Using this riggear phone case as a reference.
Use coupon code ‘talkingstuff‘ for a 10% discount on http://riggear.in
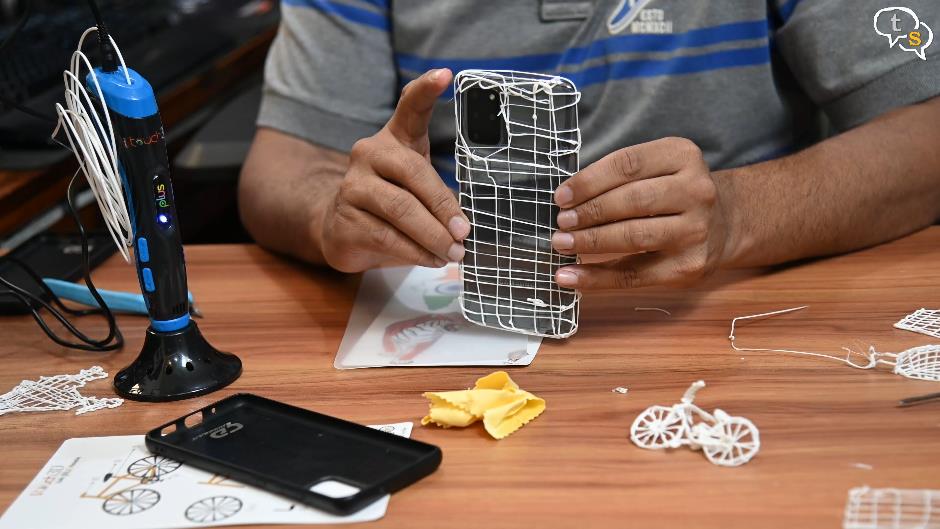
So here we have it, doesn’t fit snugly, I will need a few more rounds for it to be strong enough to snap fit. Just a trial.
To change filaments, press and hold the power button and the filament starts to retract from within the pen.
Now just feed in the new filament and press the draw button and in a few seconds its ready to use. You could have a bit of your older filament within so once the color changes the new filament takes its place.
Just as any art accessory, the itouch 3d pen’s output is dependent on our creativity.
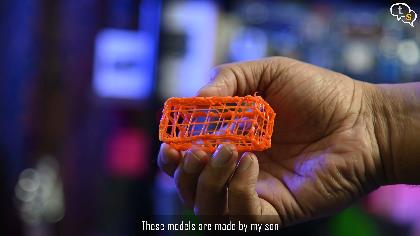
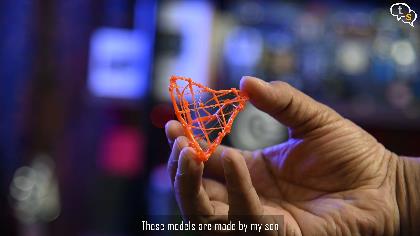
It’s a great gift for maybe kids who would love making 3d objects using this pen, but nothing is stopping us adults from having fun with this. I found that it also works with power banks and this helps making it more operable as it can be used on the go, keeping the kids engaged.
The nozzle has safety features to make it safe for use by children, such as turning off automatically when not used for around 10 minutes. The filaments if using PLA is non toxic, ABS would release fumes which are toxic so make sure which filament you’re purchasing.
At around 2000 Rs it’s quite affordable, the filaments provided should keep the kids busy for a while, but you can purchase extra filaments online via amazon. I have seen a Filament box set that has around 20 different colors, each color is 10 metres in length, I will link that in the description. There are set’s with fewer filaments too if you don’t need that many.
I also used the filaments which I generally use with my 3d printer and these work too. There are tons of design ideas on the web with some fantastic prints. It has a learning curve, but once you get used to it, the sky’s the limit.
I hope you enjoyed the video, if you have any questions do write in to us at tech@talkingstuff.net or WhatsApp me at 9652578833.