In an earlier Instructable I had listed steps to make your own 3d bust or 3d selfie as some call it. I had a Kinect lying around, hence I could make it. But if you do not have one, how do you still make your own 3d scans. Watch on to find out.
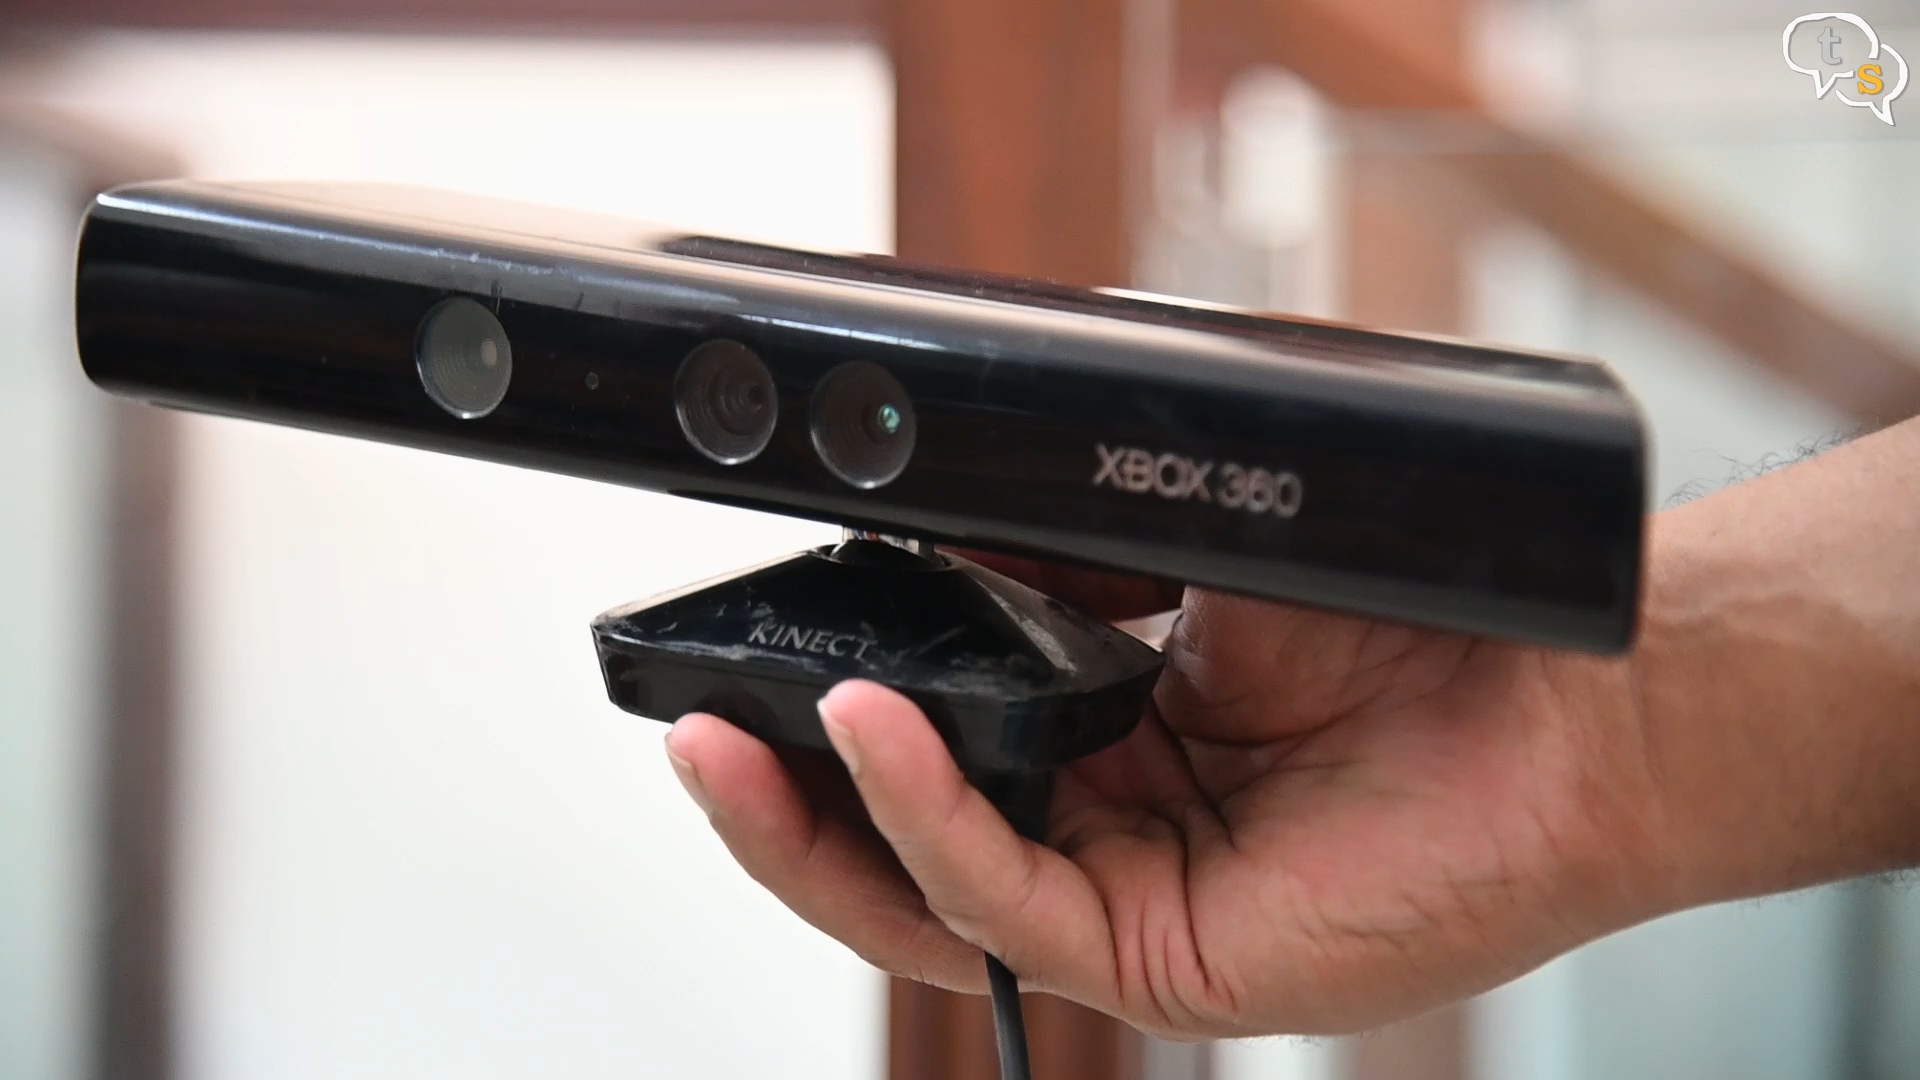
The Kinect is a specialized piece of hardware that users of an Xbox might have access to and, actual 3d scanners are way out of our budget. But today we’re going to scan objects using a device which most of us have at our disposal. A mobile phone.
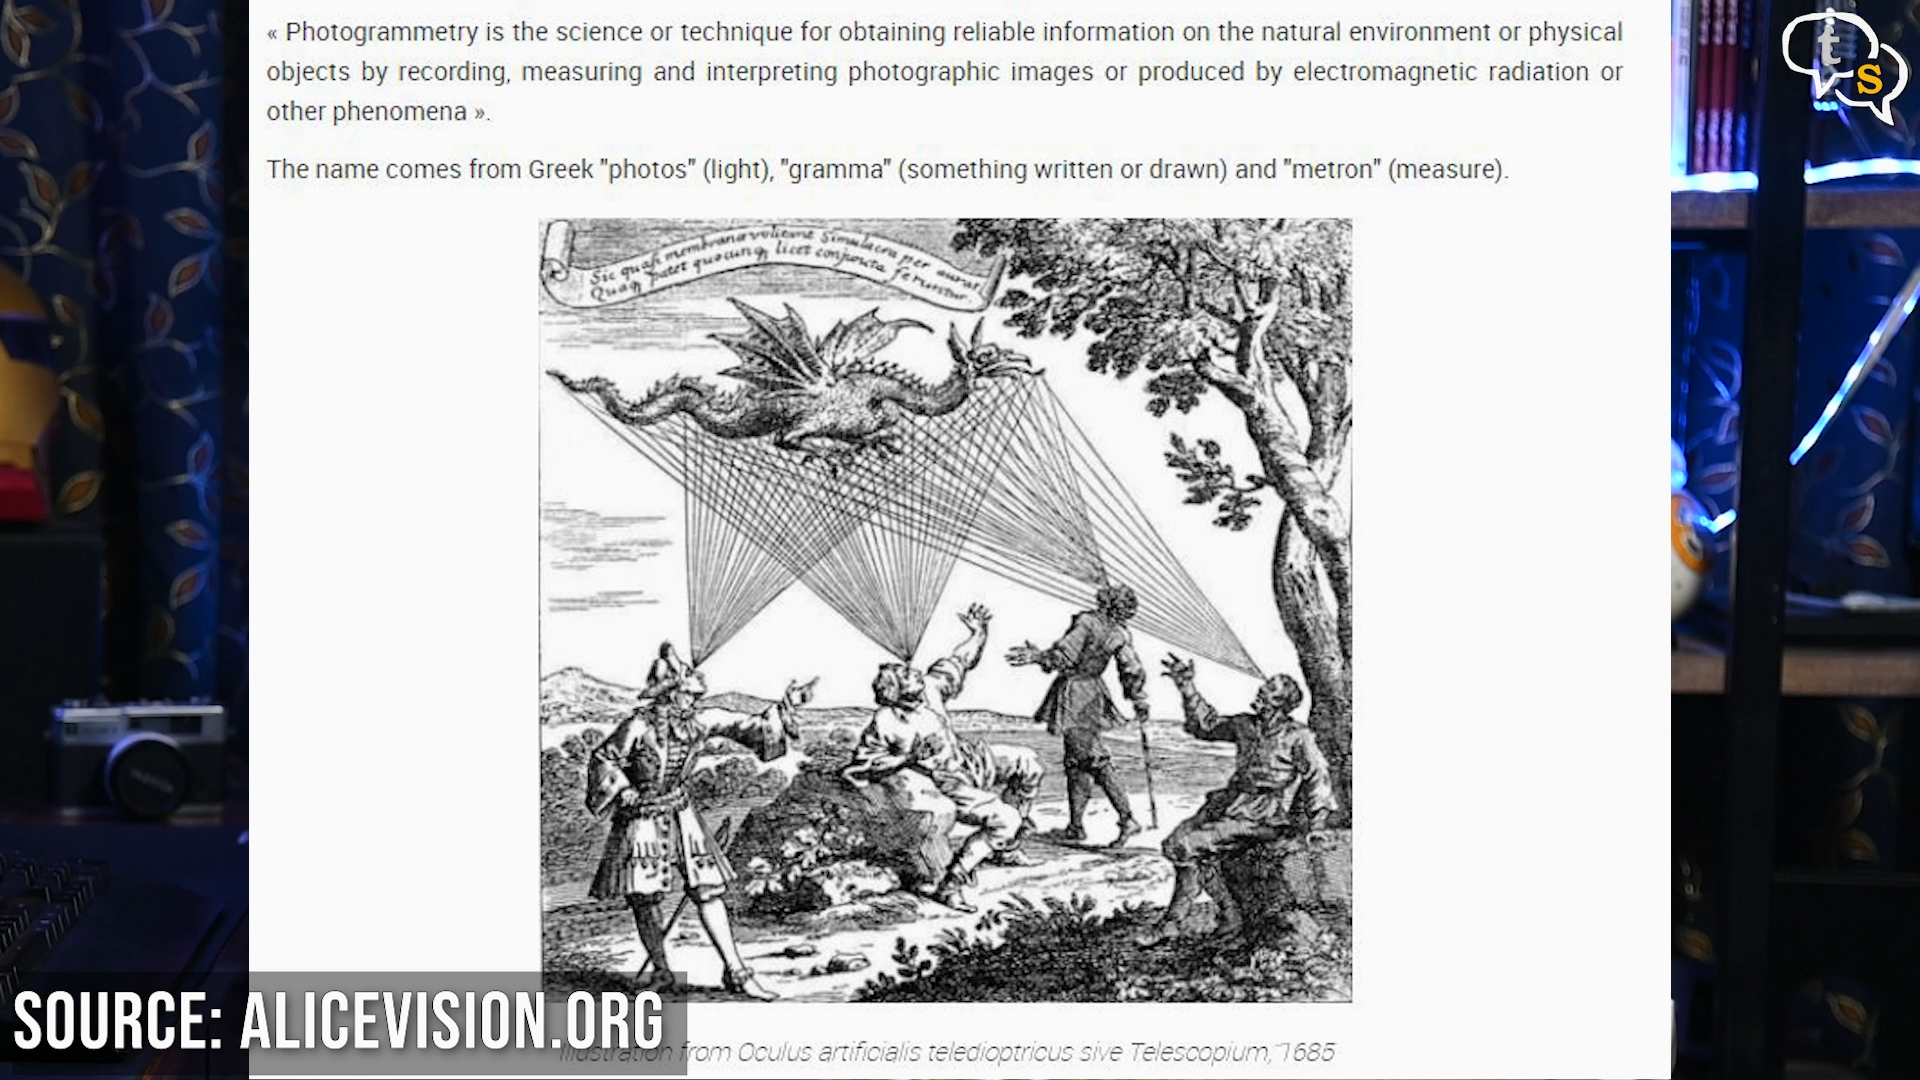
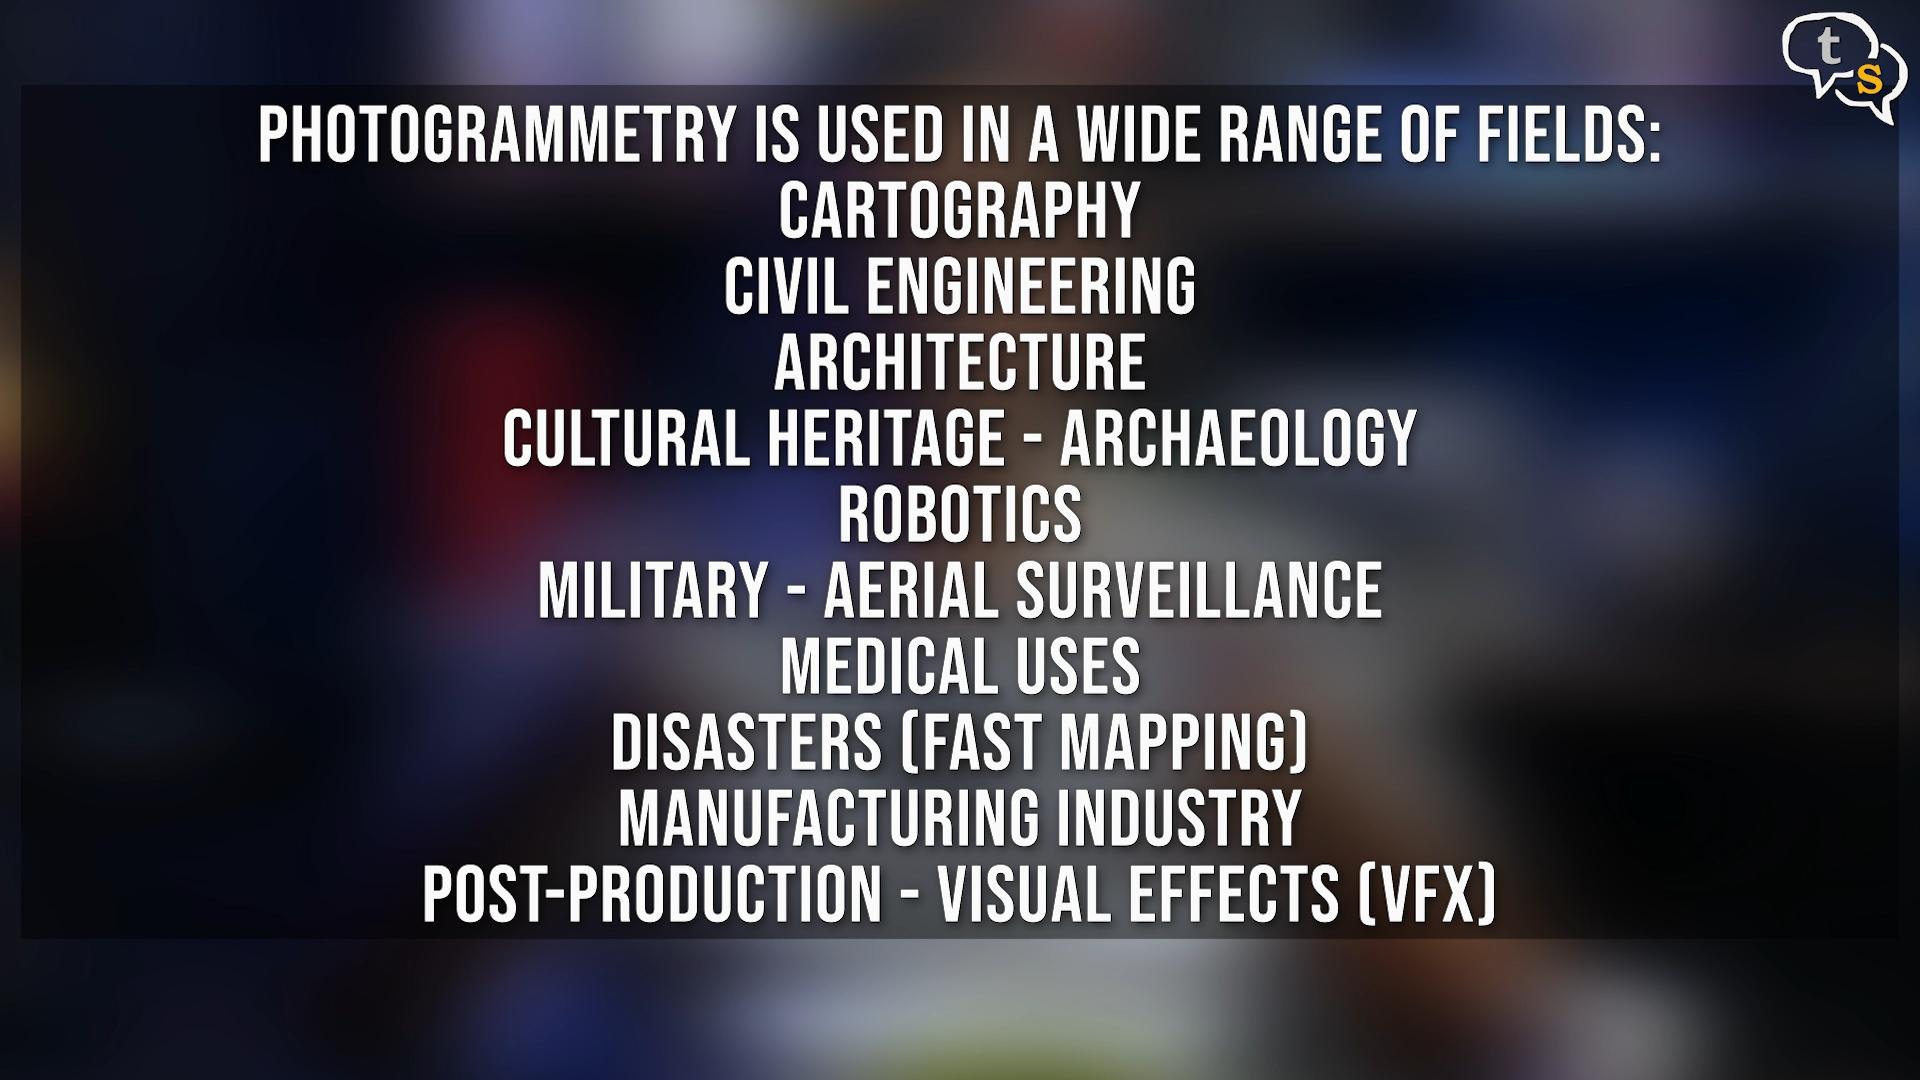
The technique we’re going to use is called Photogrammetry. Photogrammetry is not a new technology in any which way and appeared in the middle of the 19th century almost simultaneously with the appearance of photography itself.
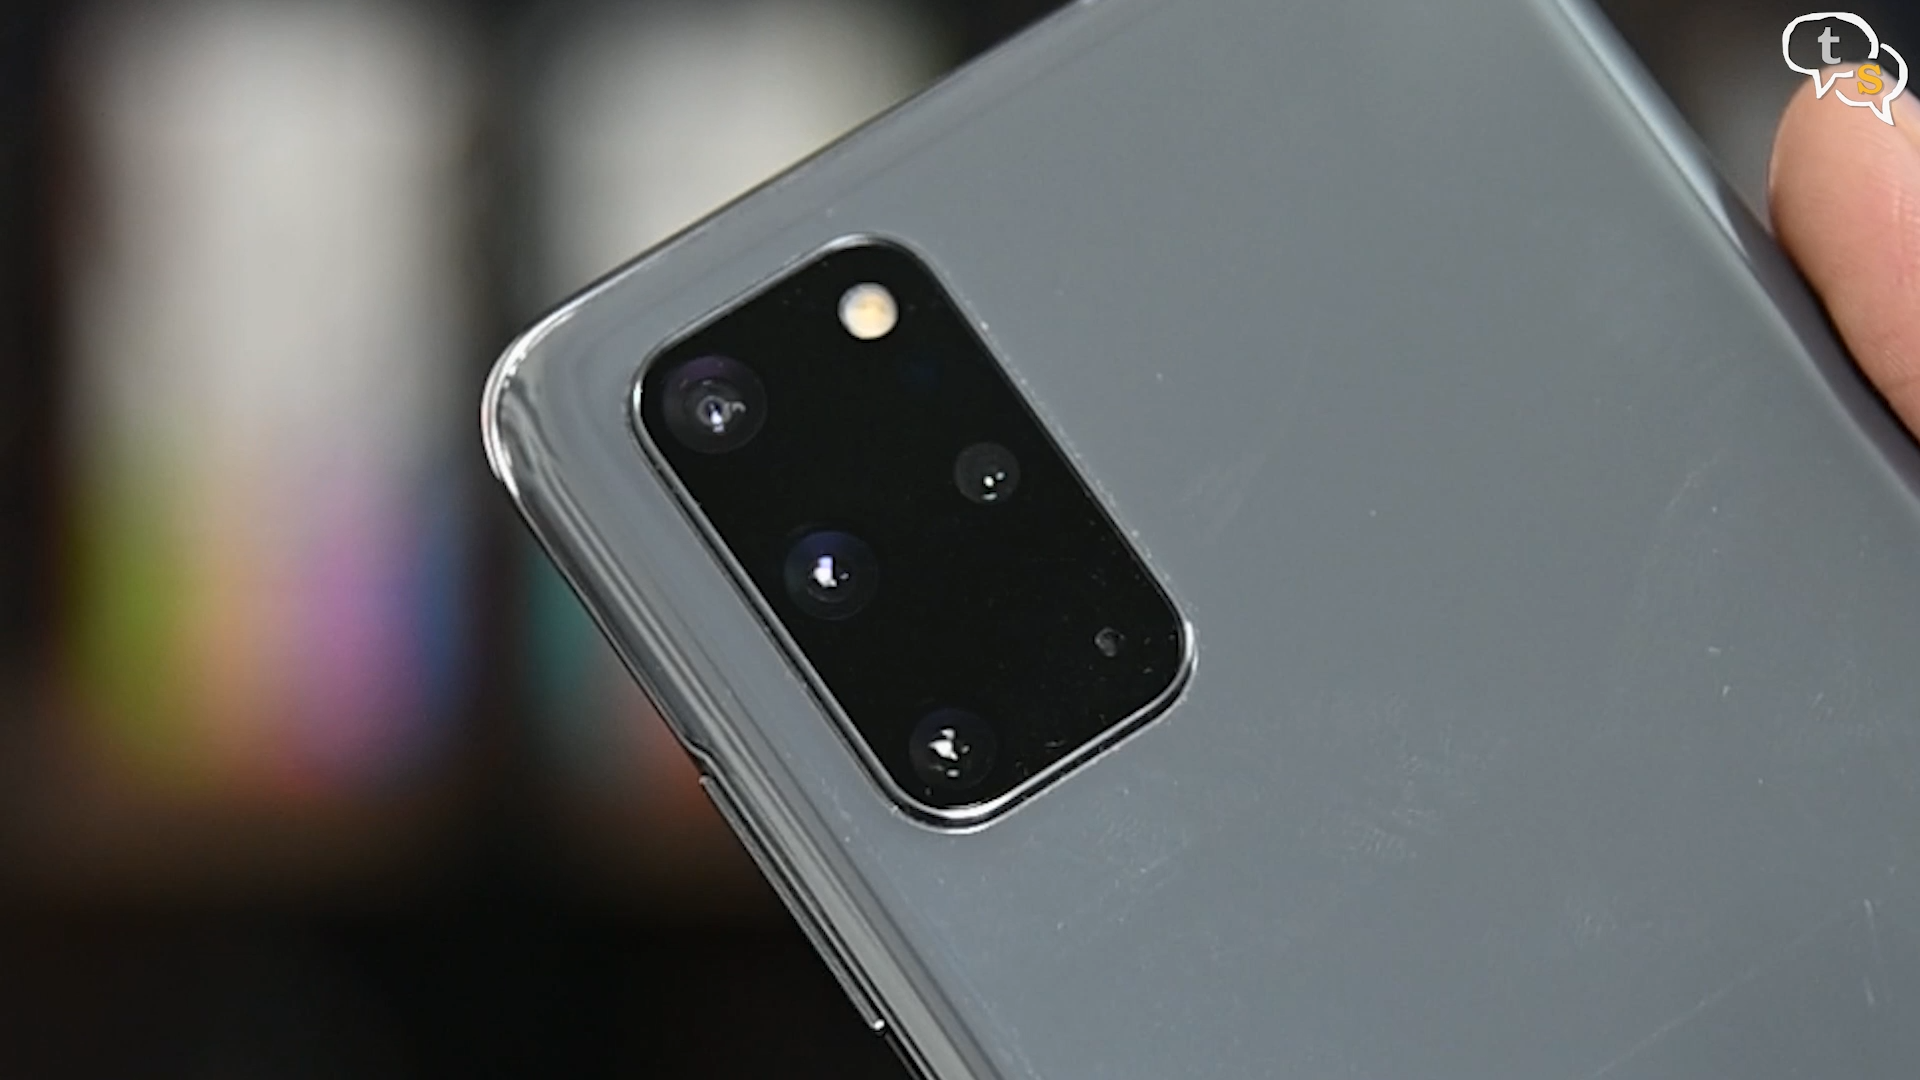
With digital photography becoming more accessible to everyone, photogrammetry only needs a camera, which could also be a mobile camera and a moderately powerful pc.
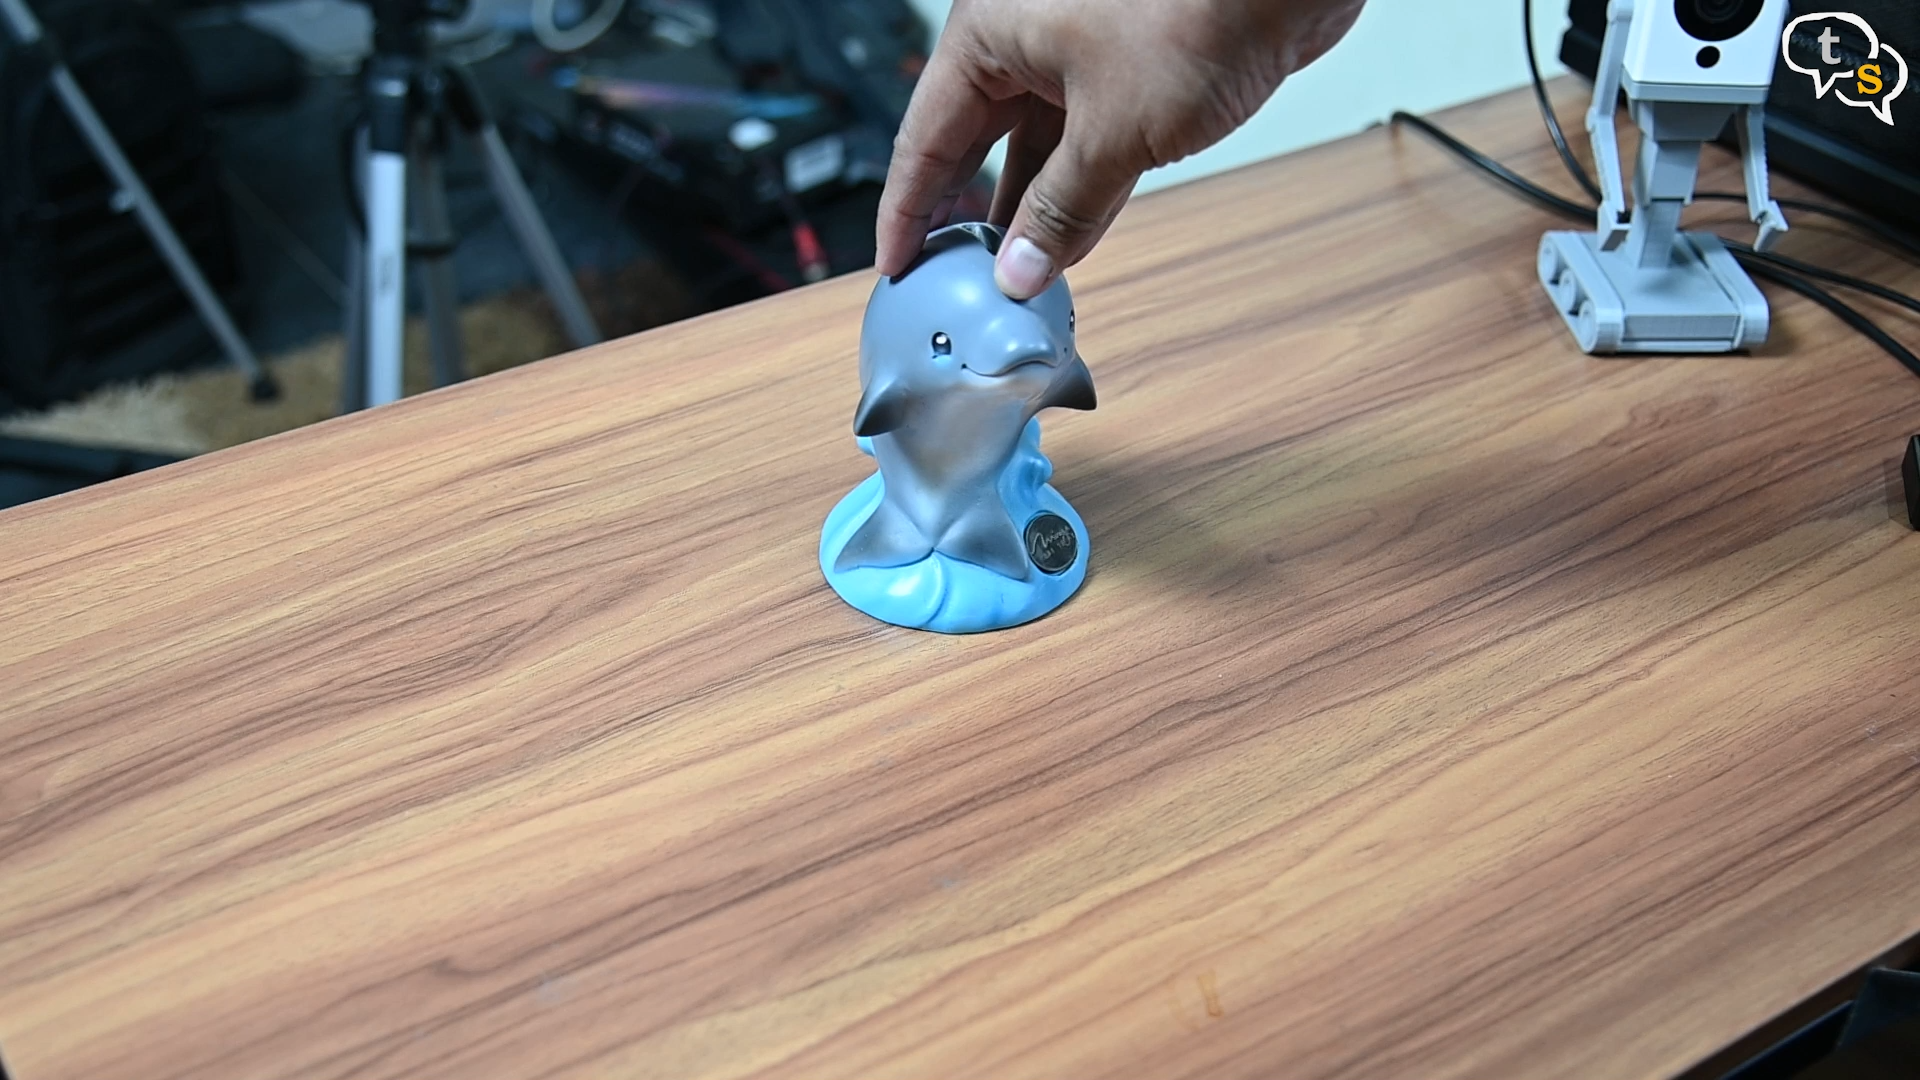
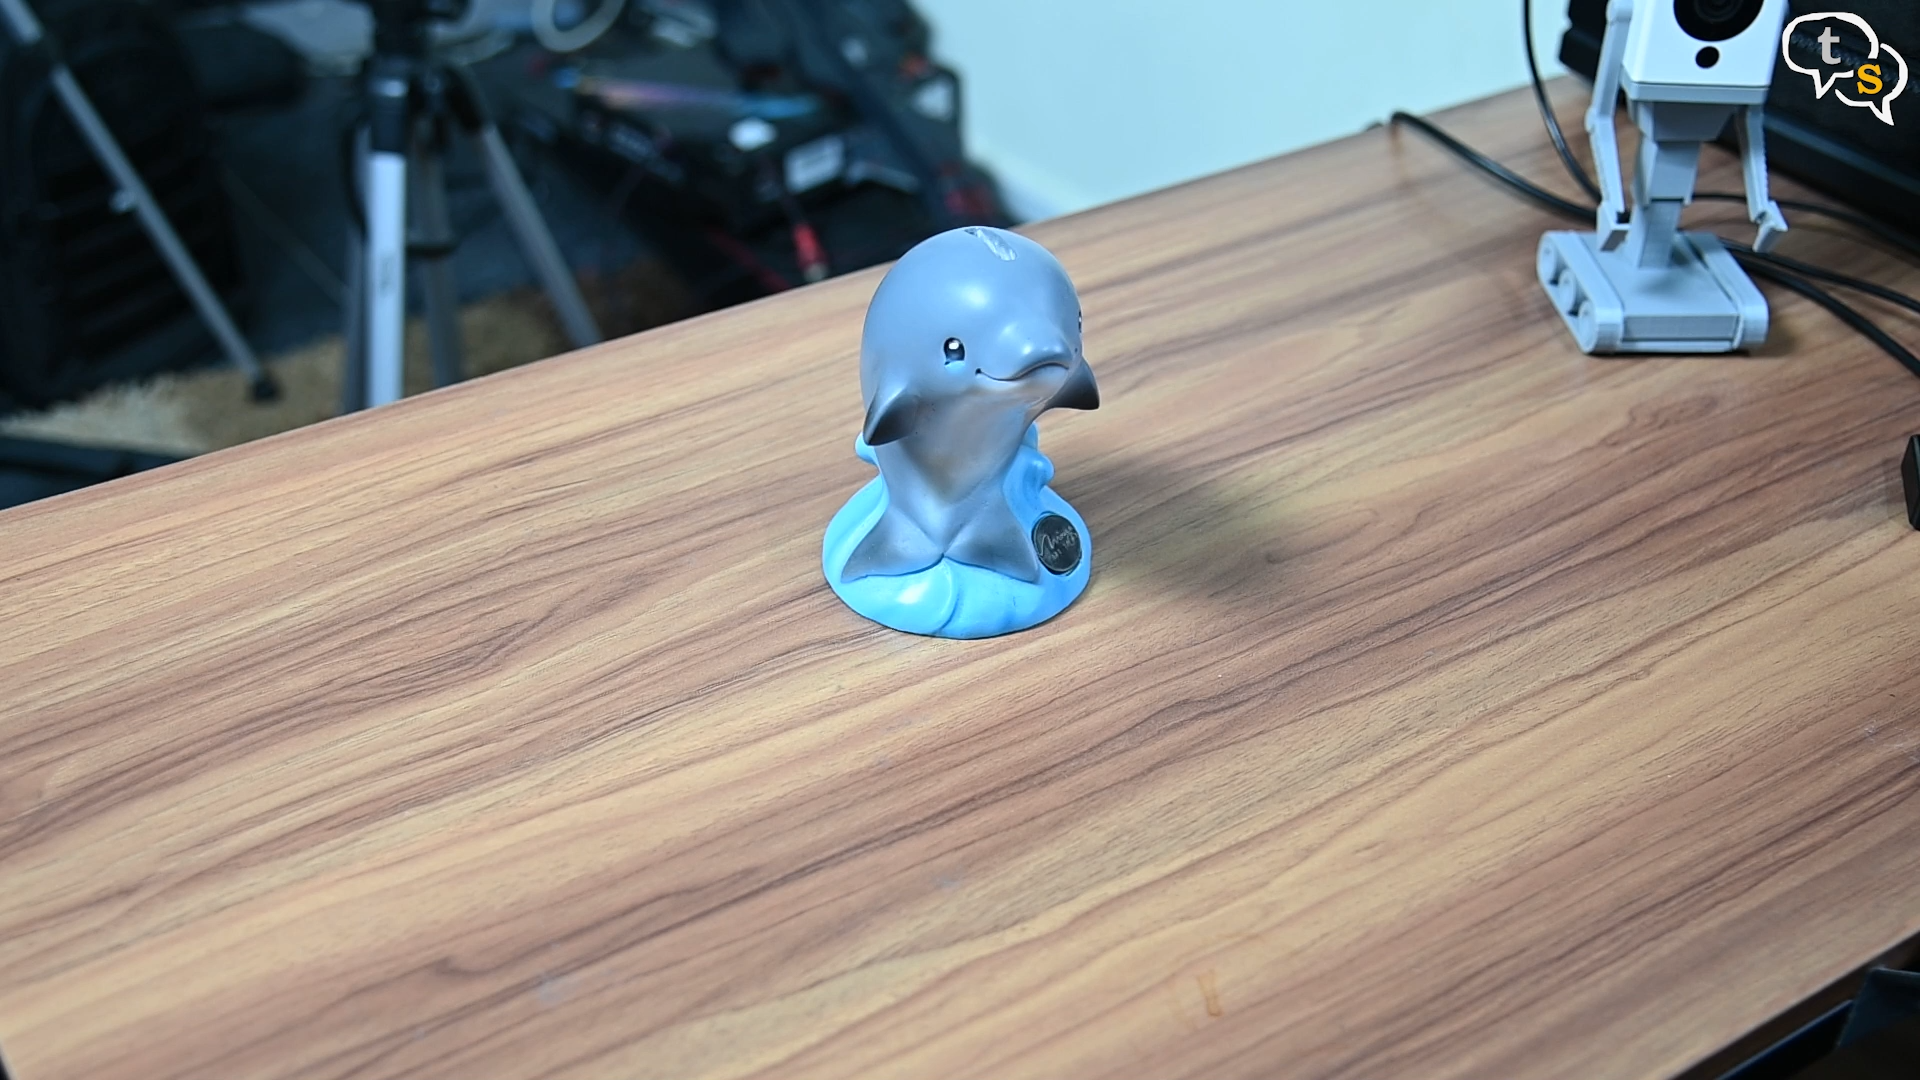
So how do we digitize the real world? First, we need to select a model, this should do. I have chosen this model as it’s small enough to work with and move around to get the necessary pictures for the process.
We need to place the object in a static location. Make sure to evenly light the object from all sides so that there are no sudden changes in the colours and make sure to avoid hard shadows.
Taking pictures outside under a cloudy sky will give you a more even lighting.
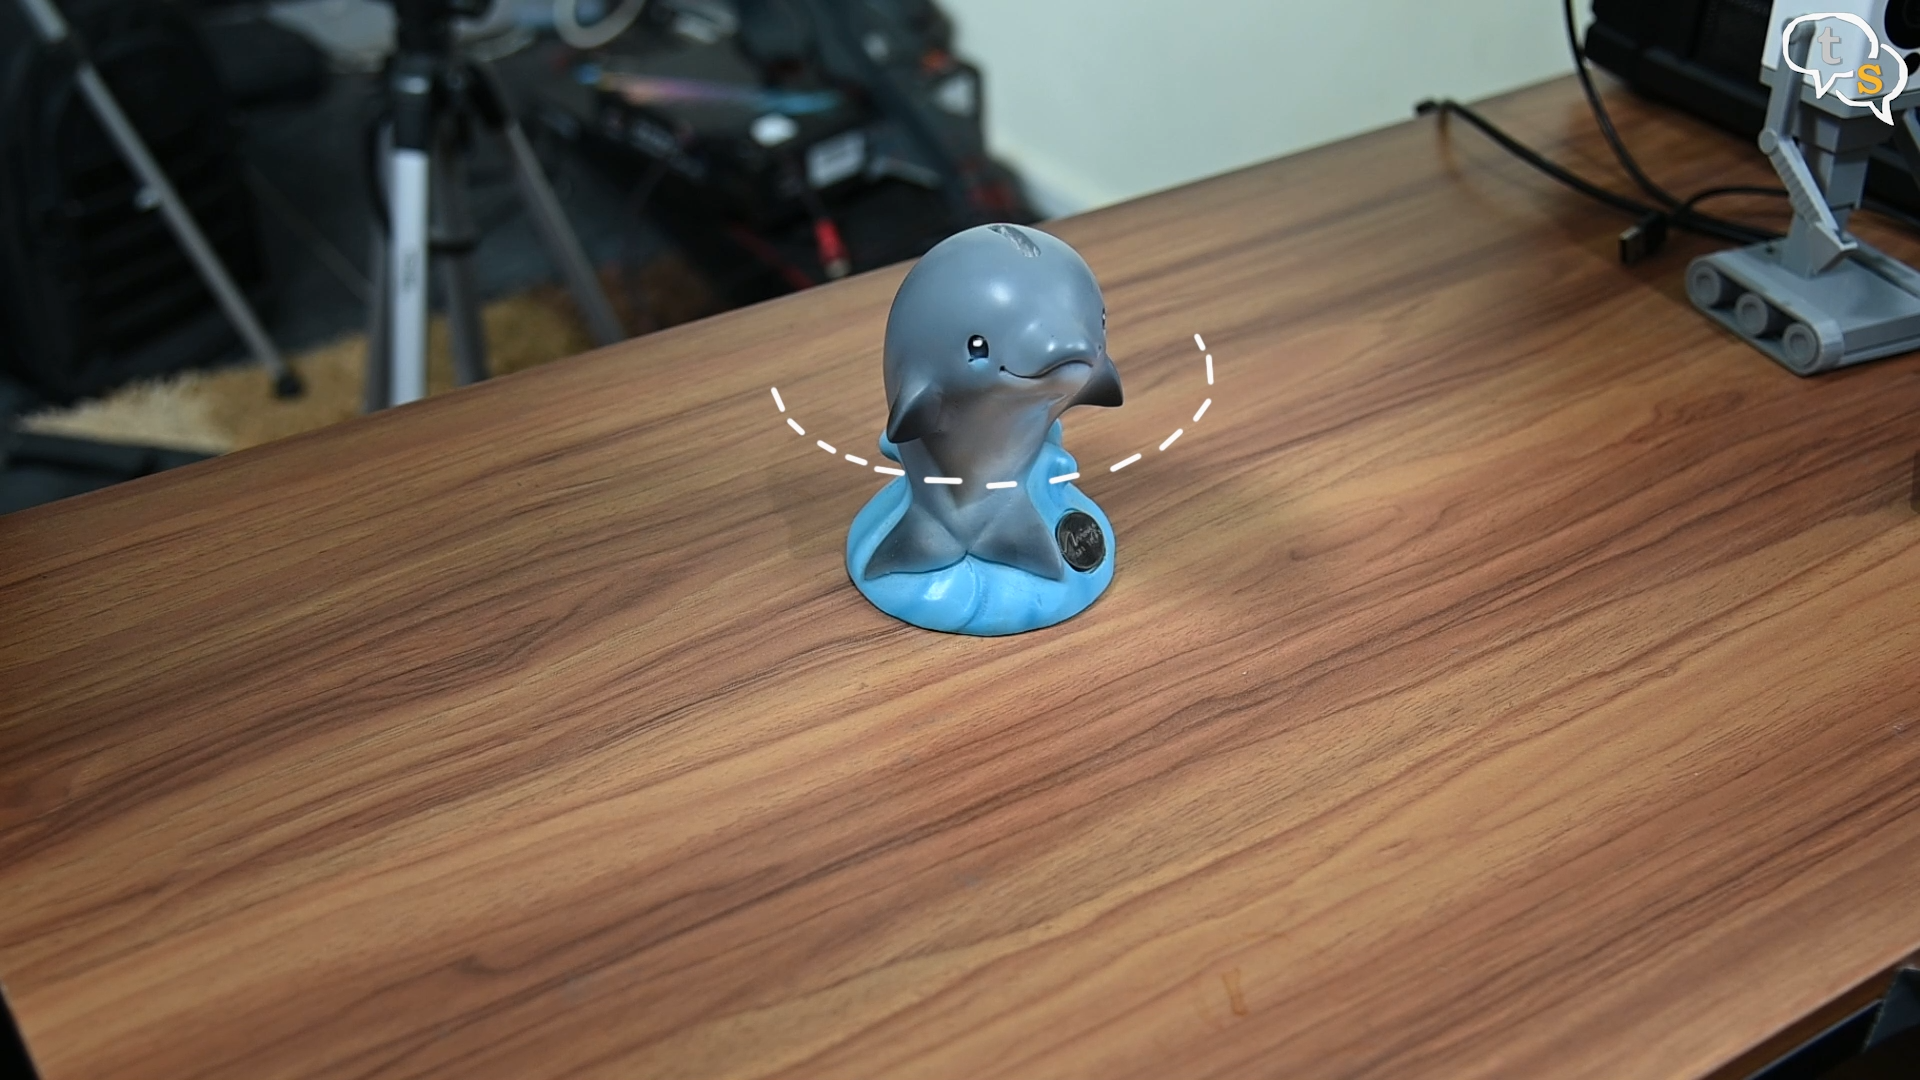
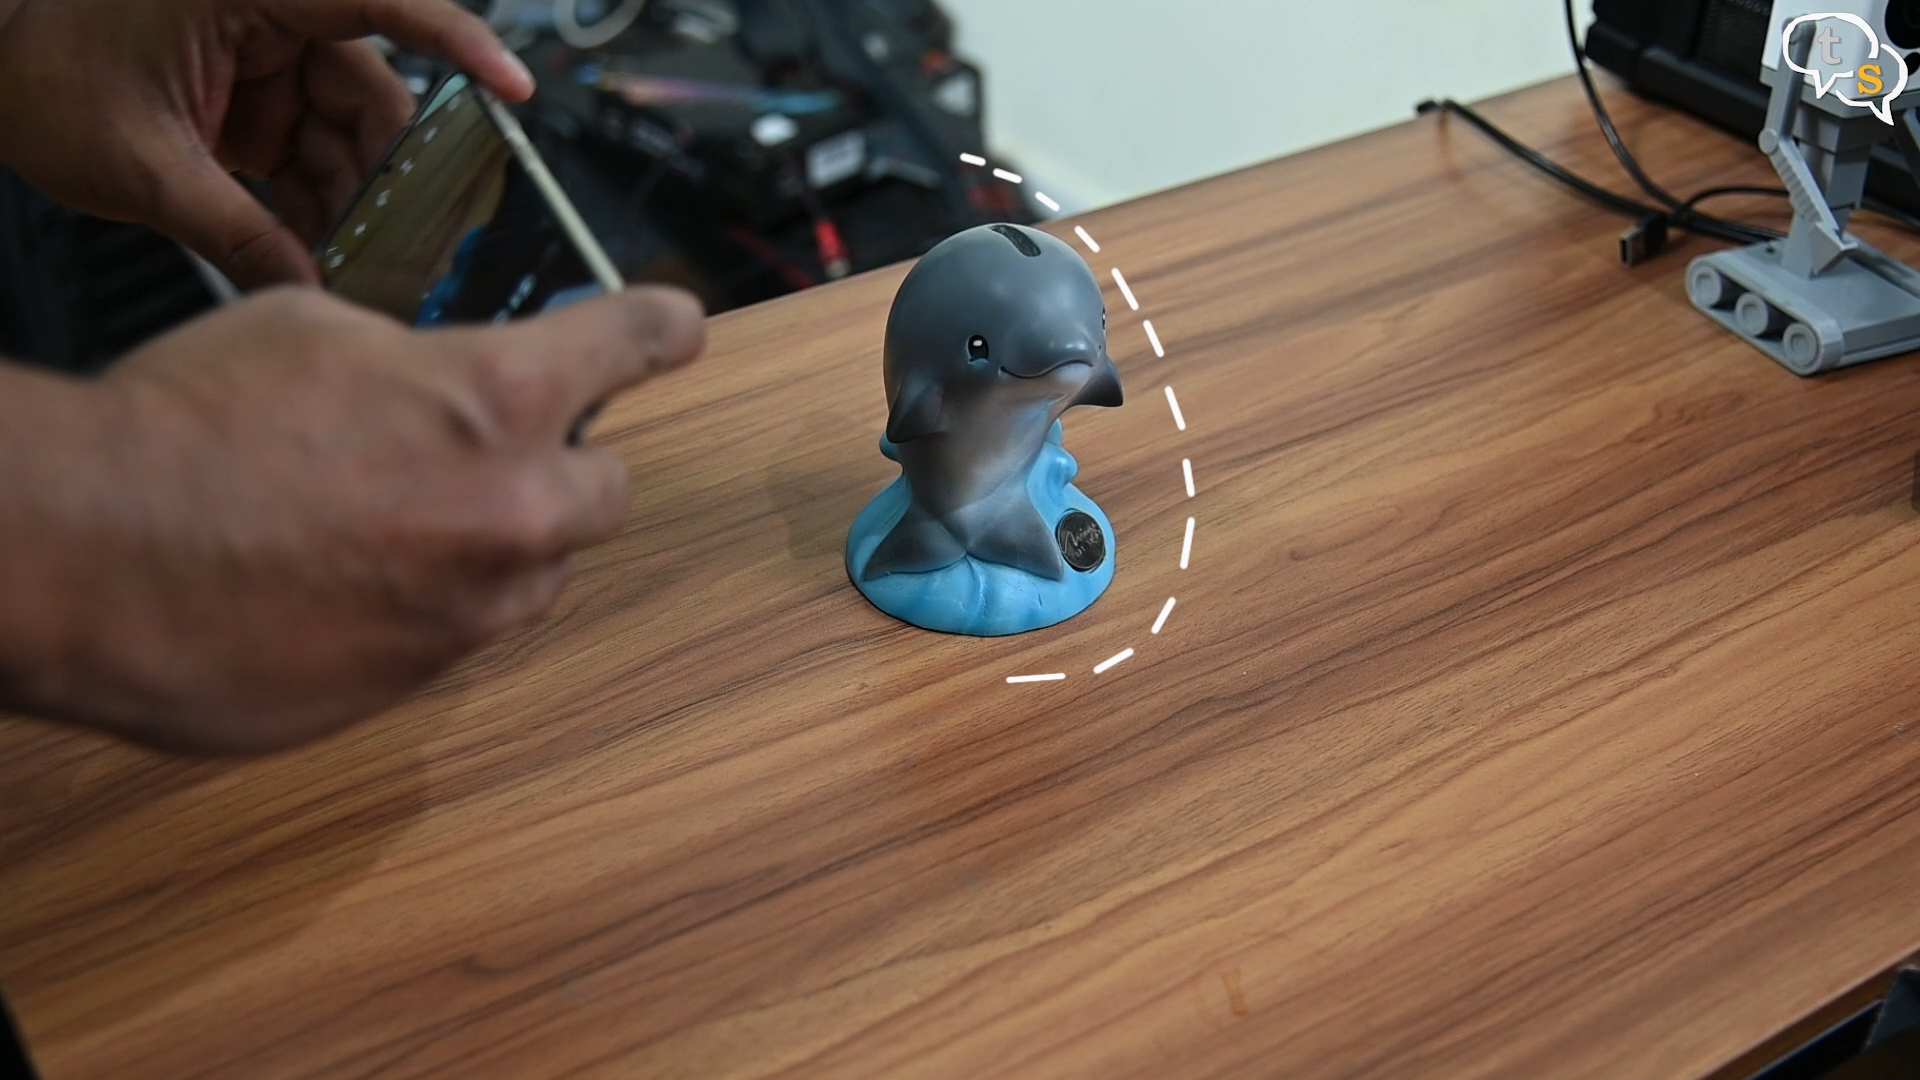
Now using a mobile phone, circle around the object taking pictures from as many angles as you can. Even move the camera to the top and bottom or those details will be left out when processing the pictures on the computer. You would move effectively in a spherical motion around the object being scanned.
Make sure to keep the object in one place, and it does not move, or the entire process would go to waste. This could happen by physically moving the object or bumping into the table by mistake while taking pictures.
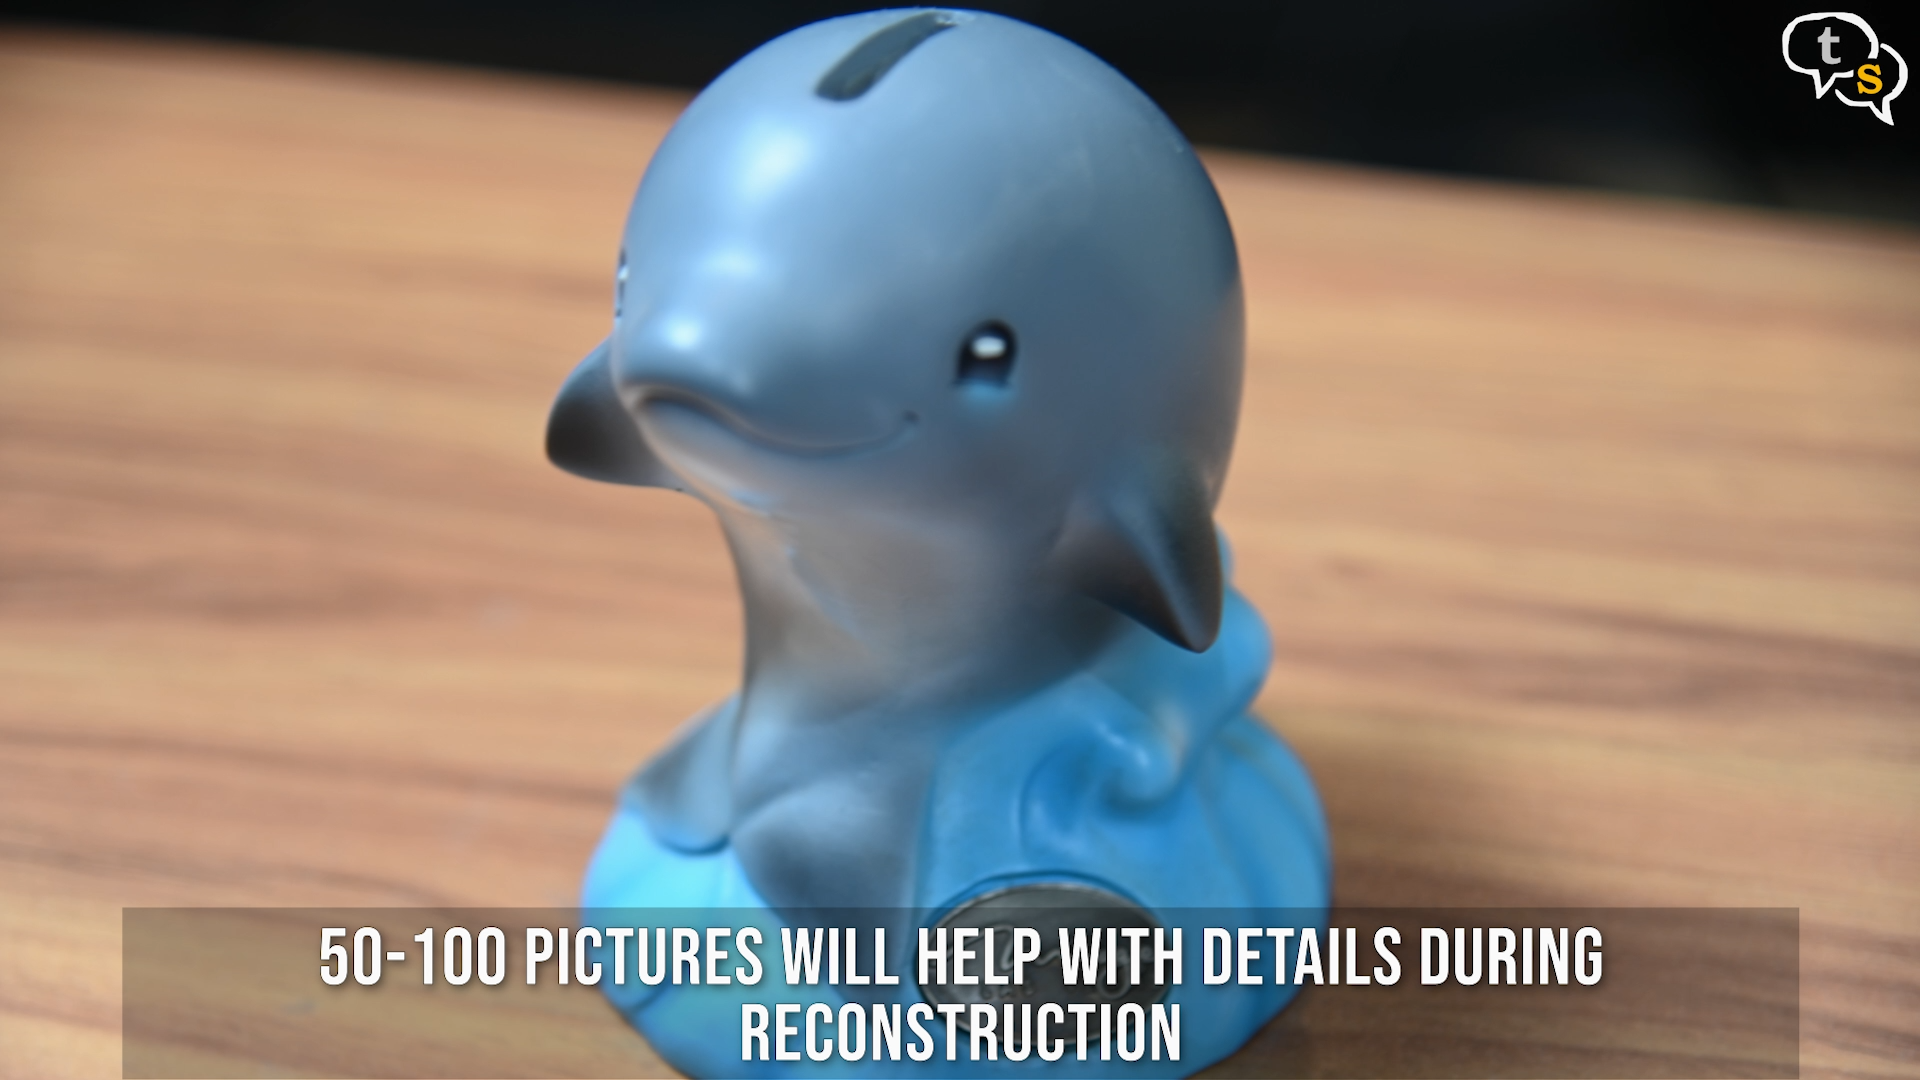
Capturing as many photos as you can of the object will help bring out the details in the model, and make sure to capture the object from as many angles as you can. 50-100 photos might be necessary to get a good enough detail from the images, the more information the software has to work with, the more detailed the model becomes. Make sure the object covers most of the screen, essentially making it stand out. Close up shots can be taken for finer details.
The software would use the surroundings to know the location of the camera allowing it to build the 3D model using the spatial information.
Now that we have the shots, let’s move onto the PC to process them.
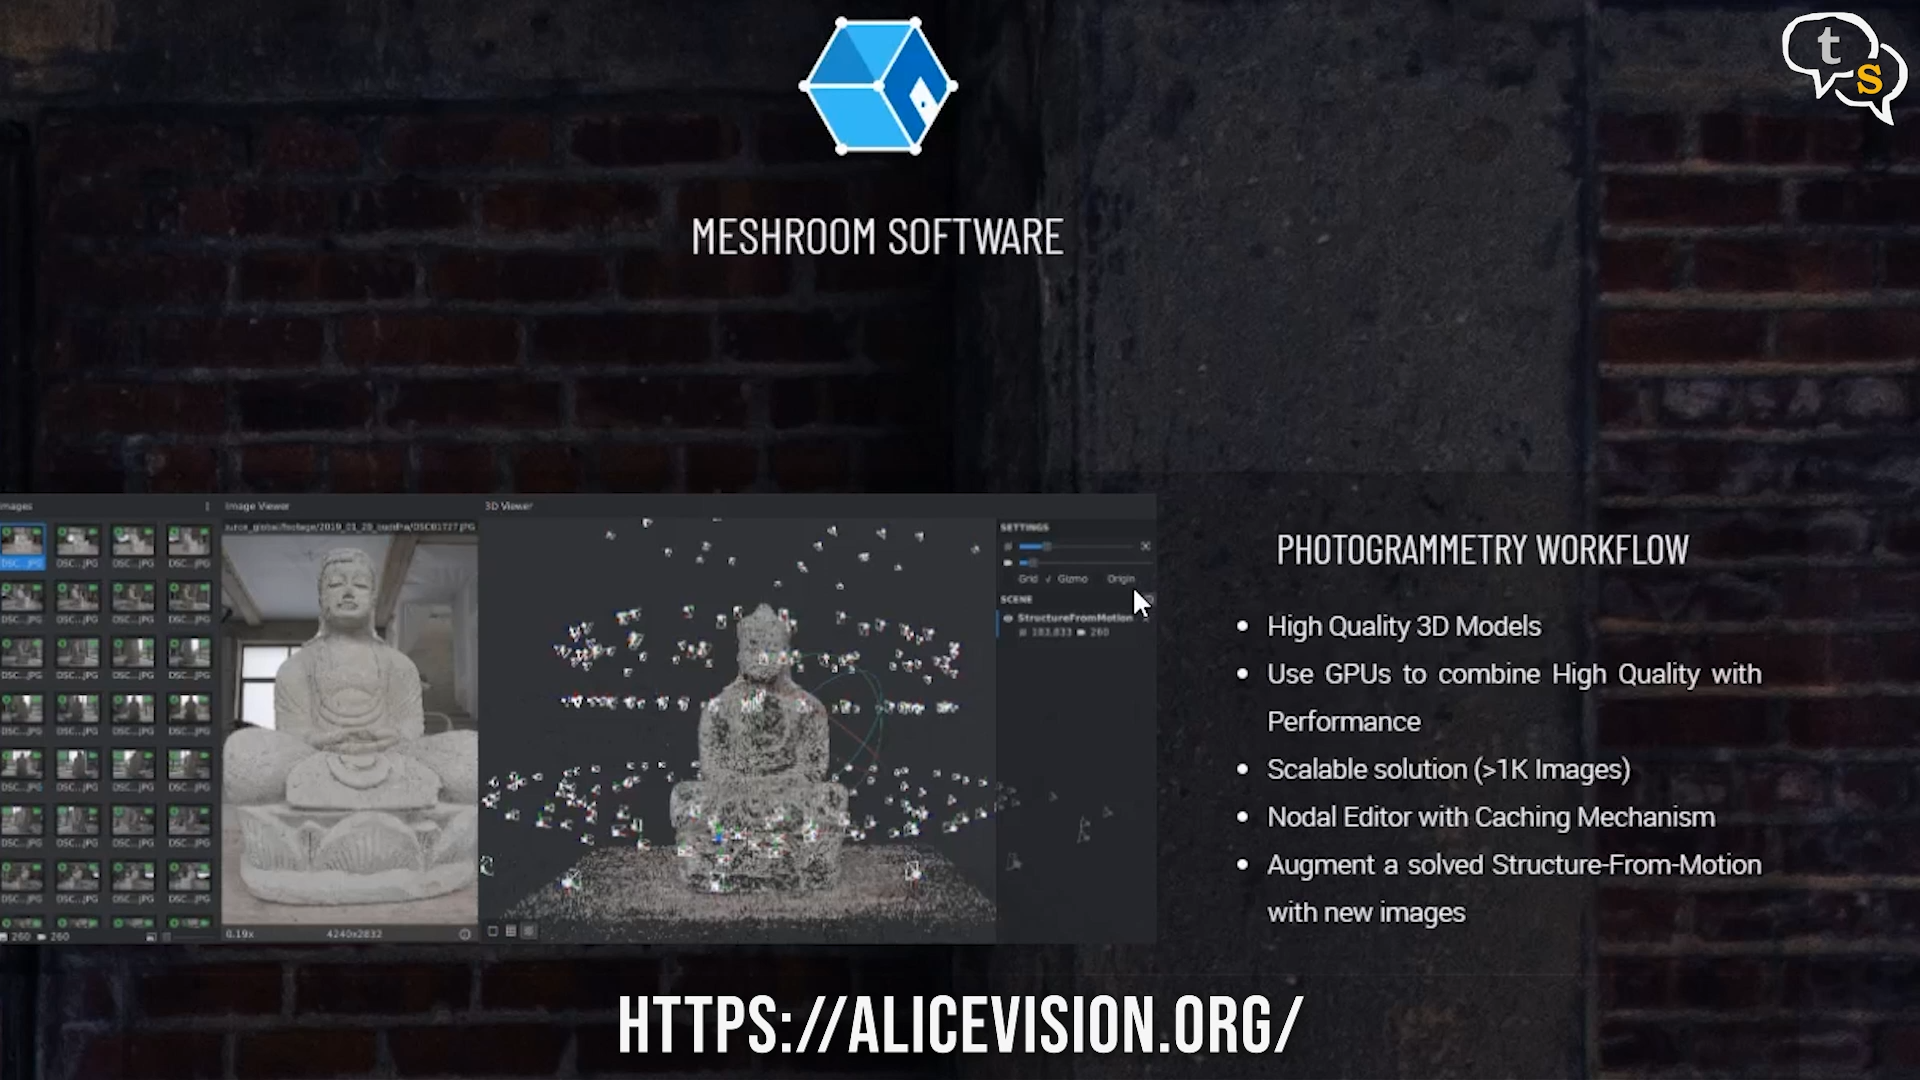
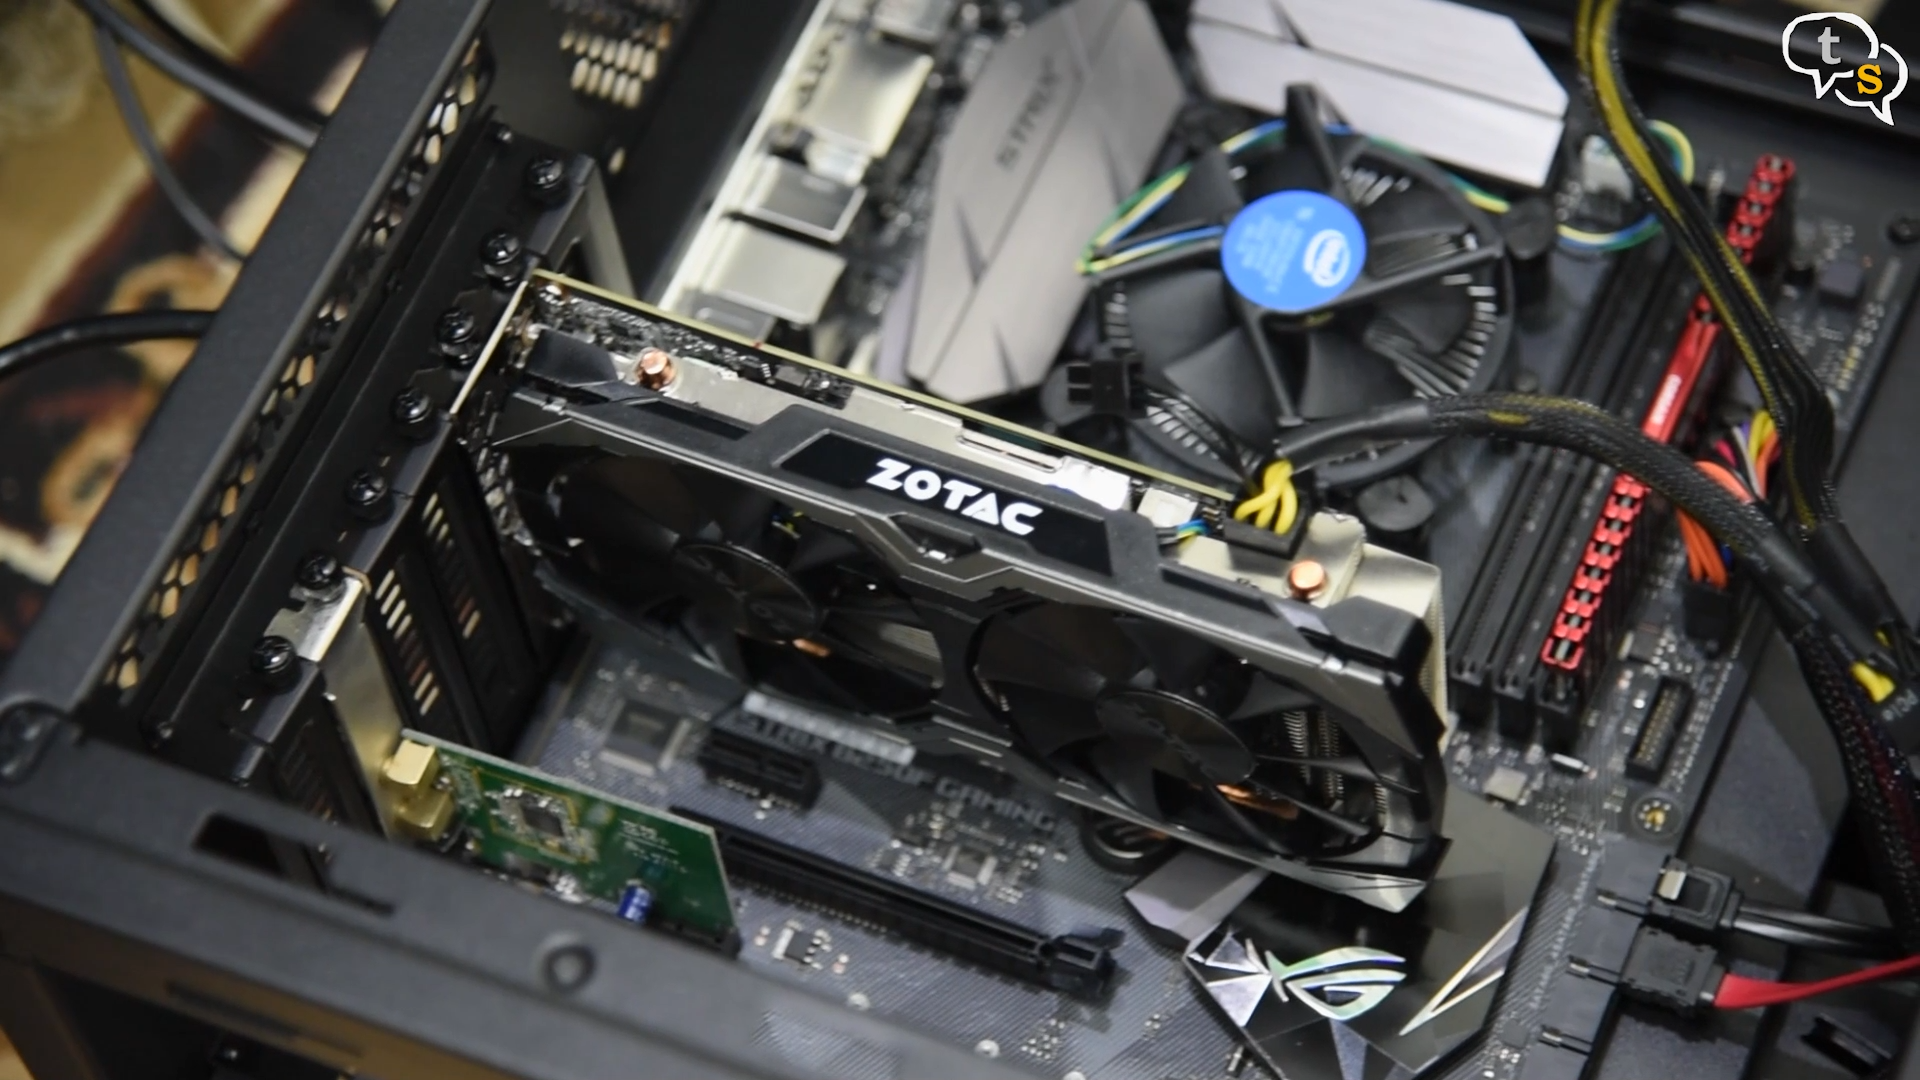
There are n number of options, but most of them are expensive. But I was lucky to find Meshroom, a free open-source 3d reconstruction software, which uses the Alice Vision framework.
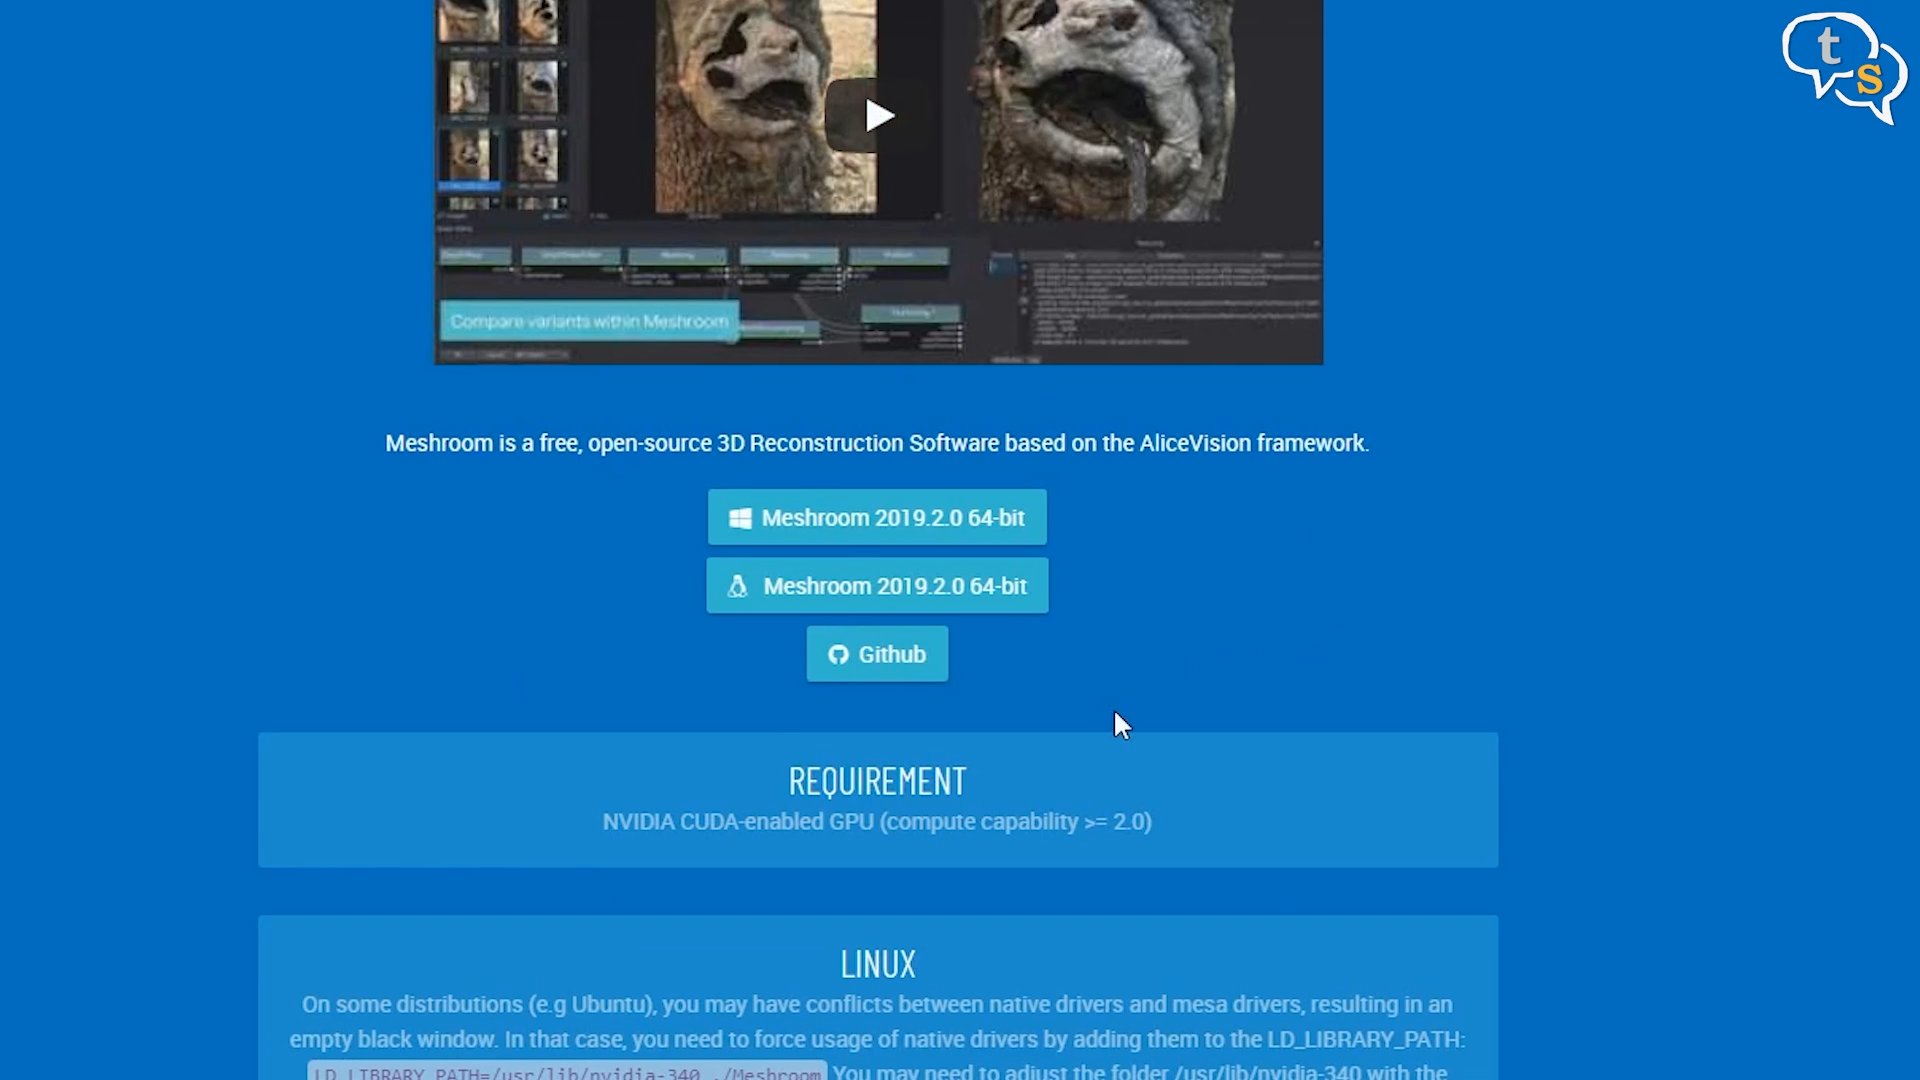
Windows and Linux versions are available, so you can pick whichever flavor you choose. As I’m running Windows I of course downloaded the Windows 64-bit archive. No Mac version available, sorry.
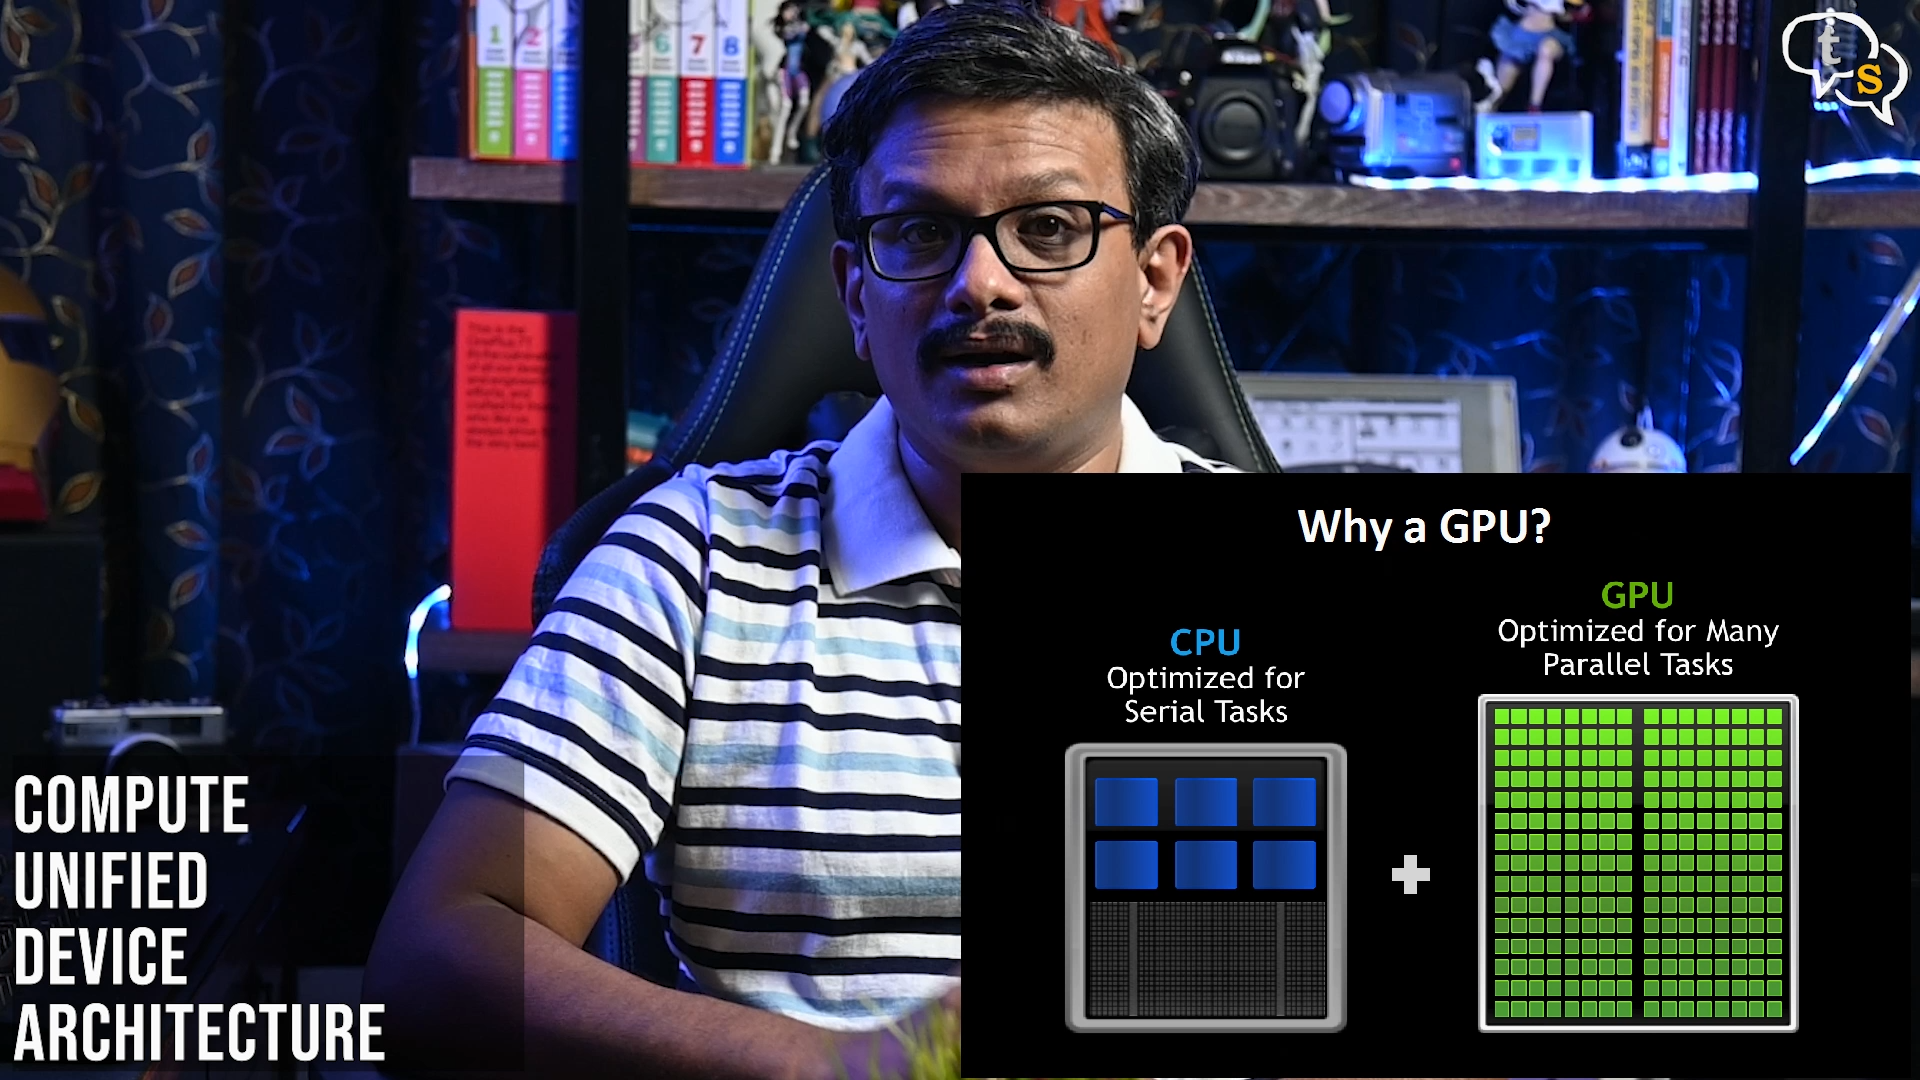
A CUDA enabled GPU is recommended with a compute capability above 2.0.
CUDA® is a parallel computing platform and programming model that enables dramatic increases in computing performance by harnessing the power of the graphics processing unit (GPU).
The higher the version number also called SM number the more CUDA features the GPU supports. I’m using a GTX 1060 which has a compute capability of 6.1 as it is based on the Pascal architecture, well that’s for a different video as we’re digressing from the main topic.
So, we have our photographs, now we need to process them.
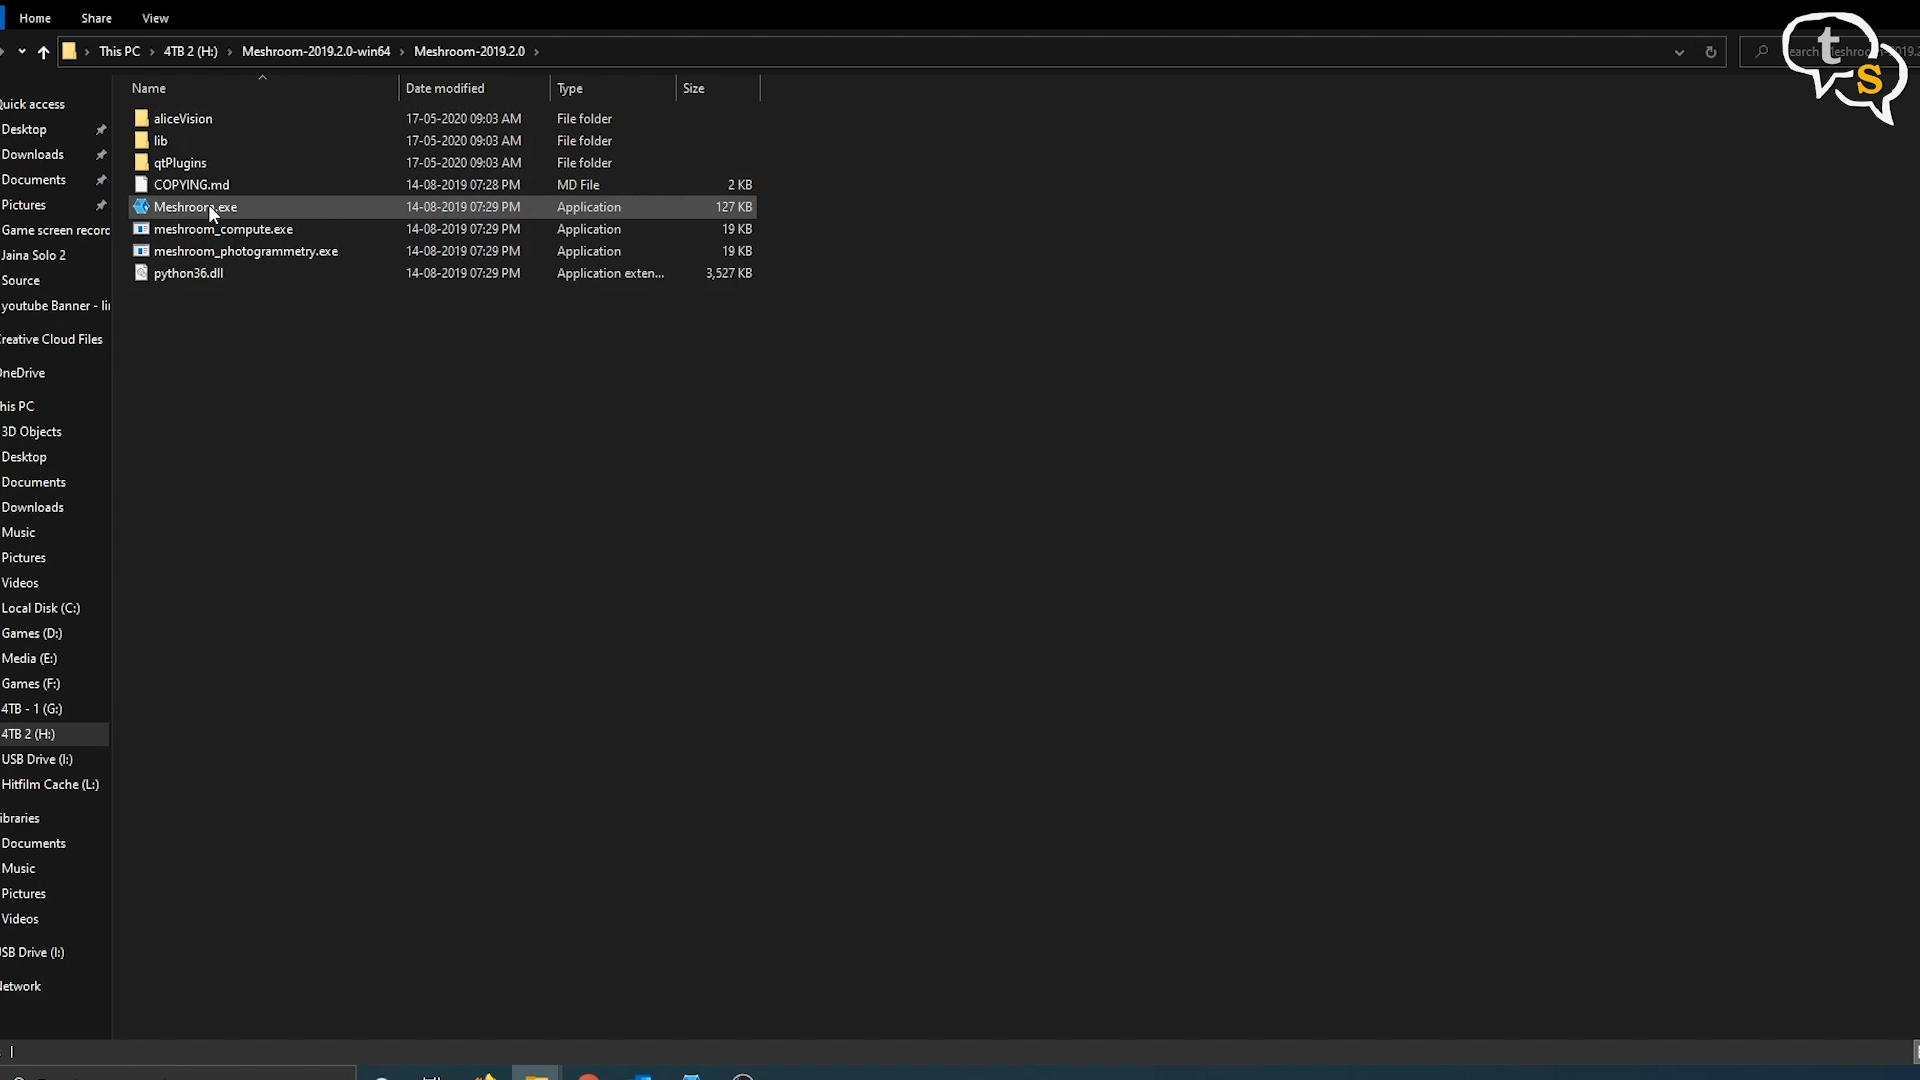
Just unzip the Meshroom archive into a folder and the software is ready to use. Double click on the Meshroom icon and the software starts up.
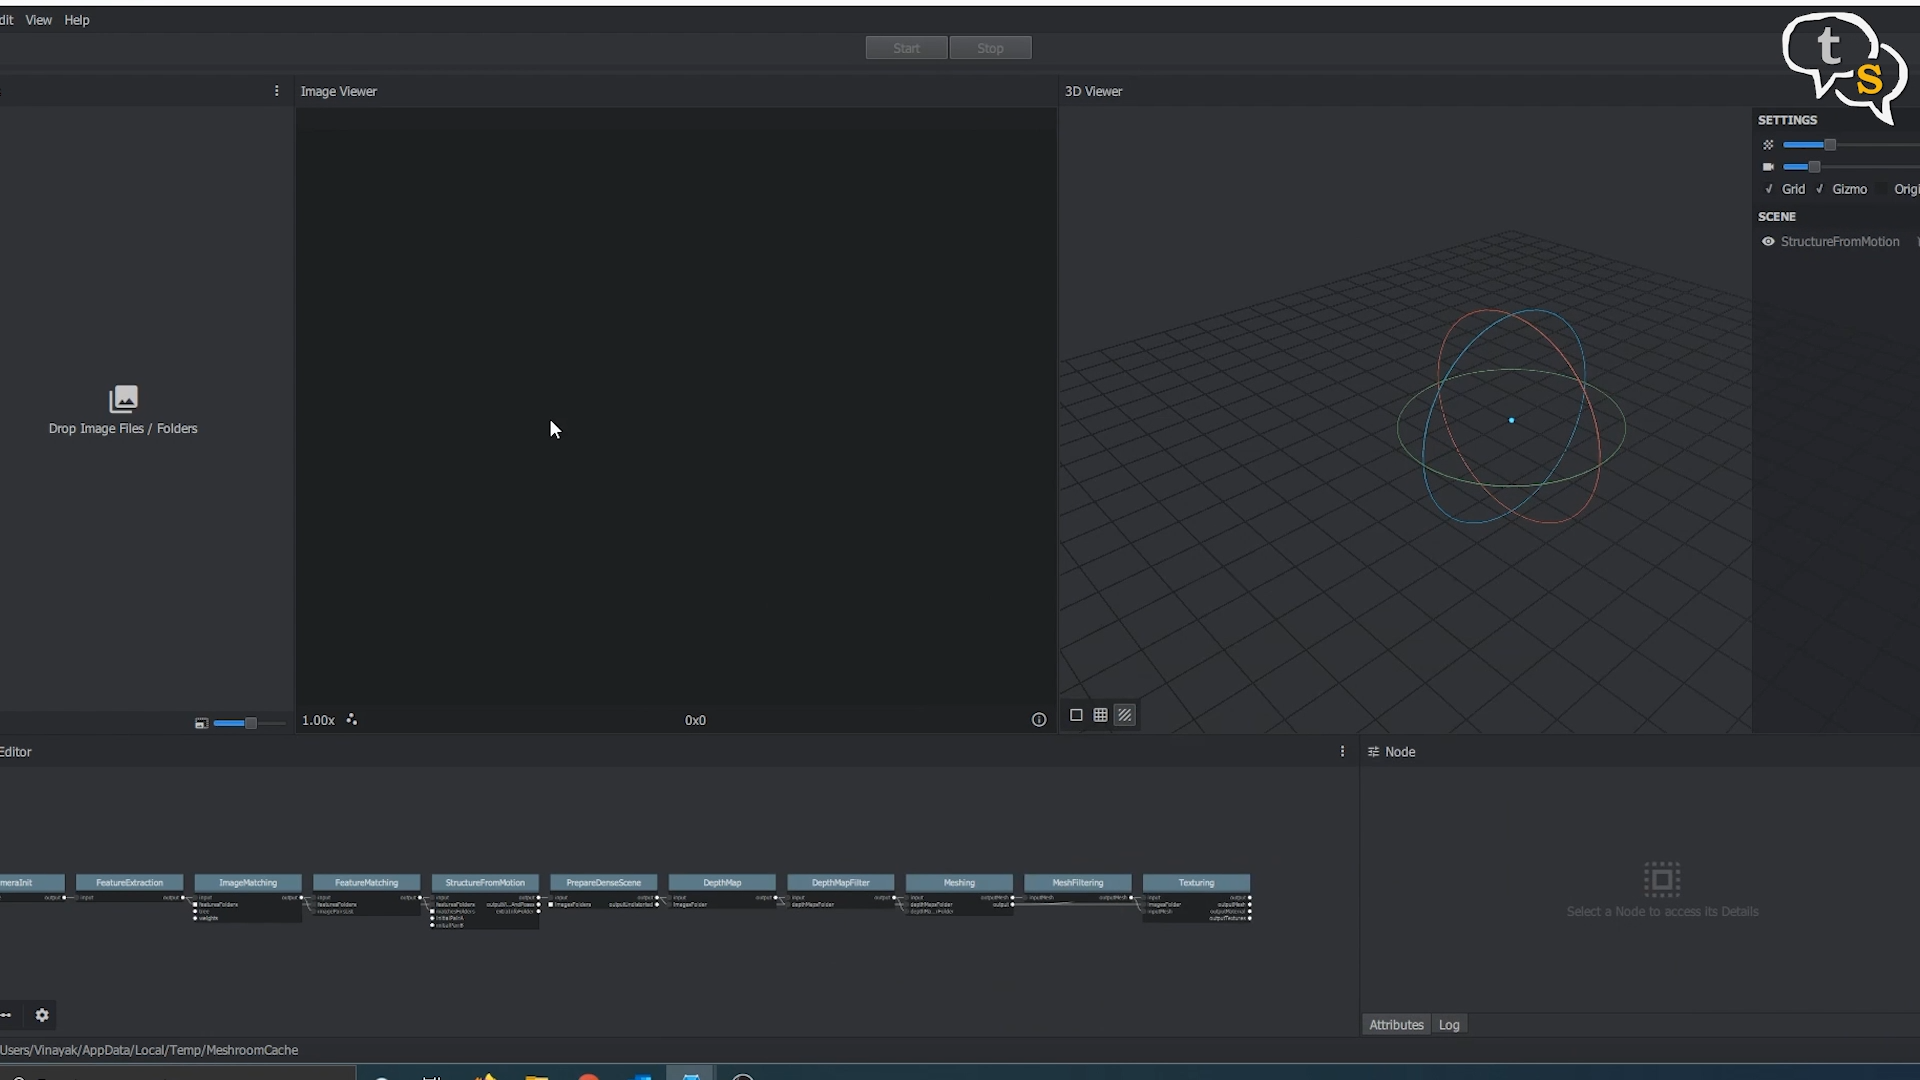
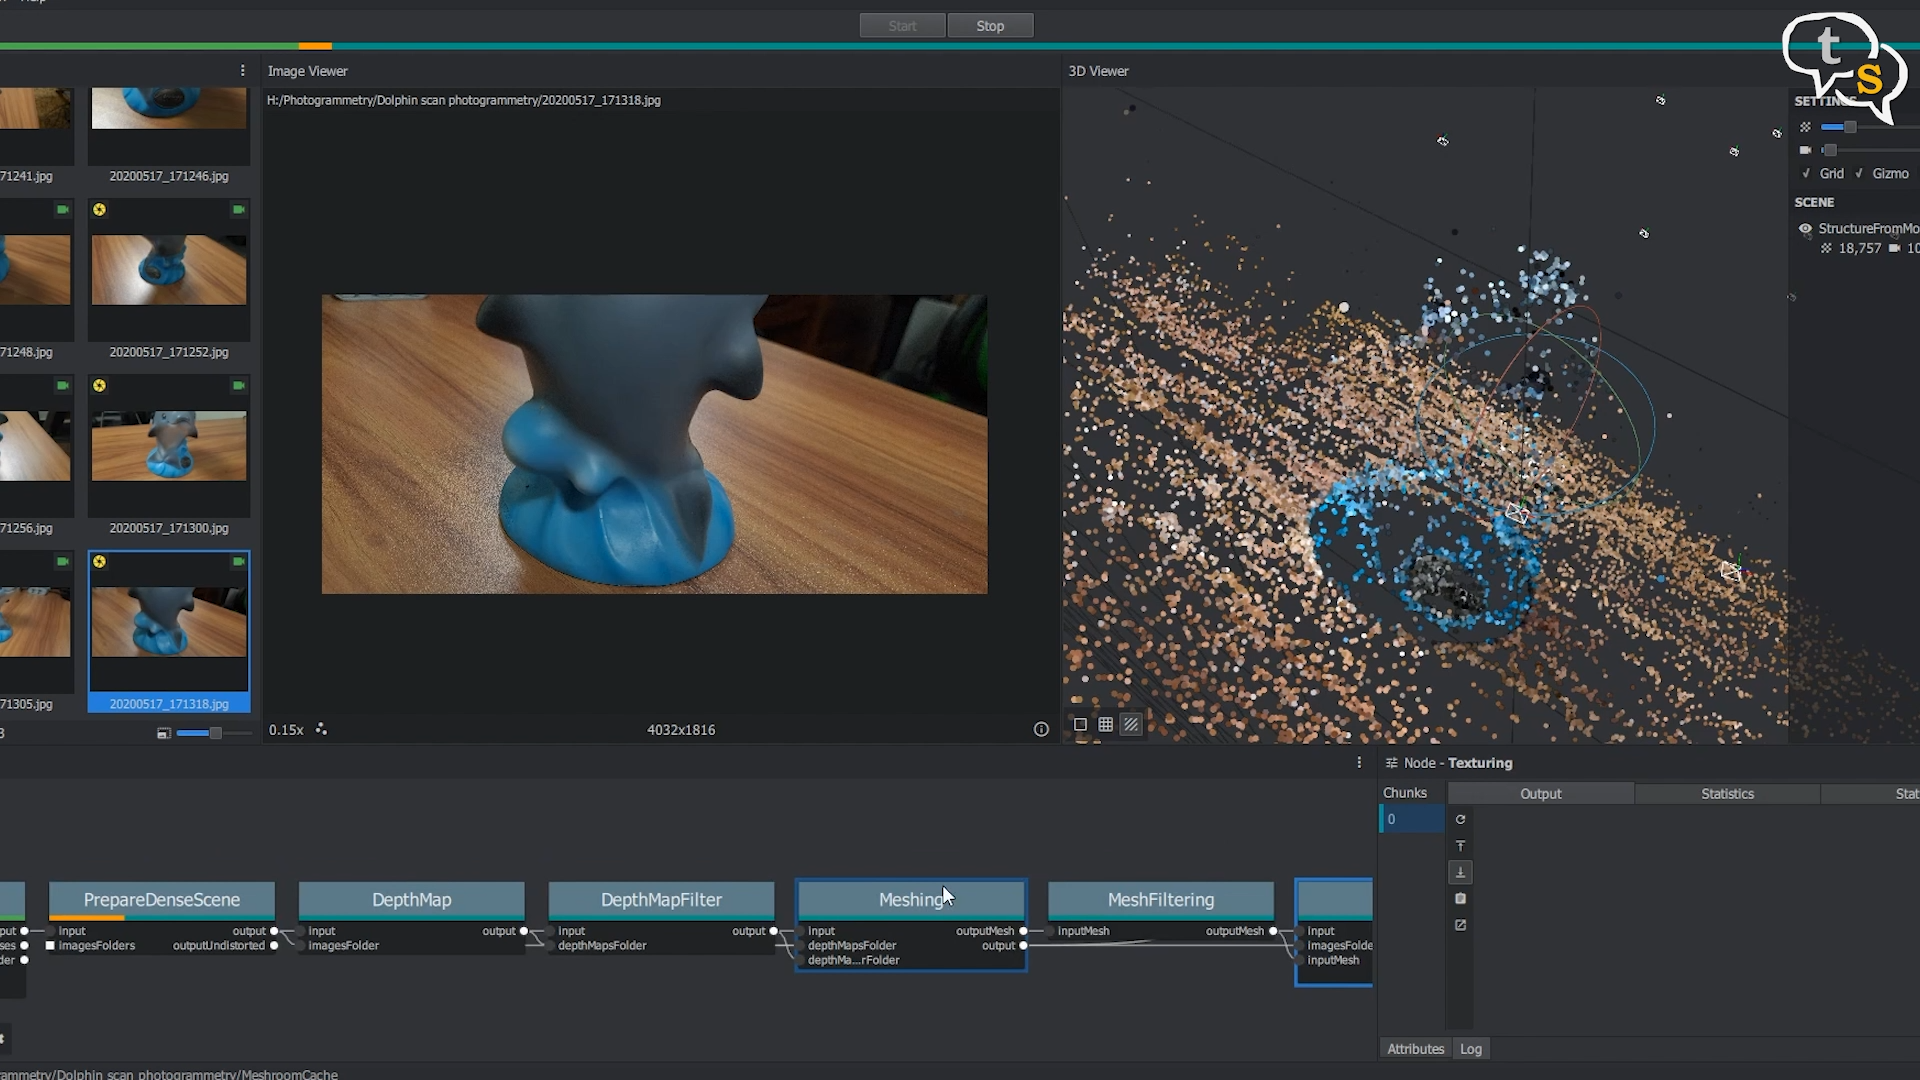
The interface is quite simple, it has a window named images. You would drag and drop the images into this window and hit start and Meshroom would start performing its magic.
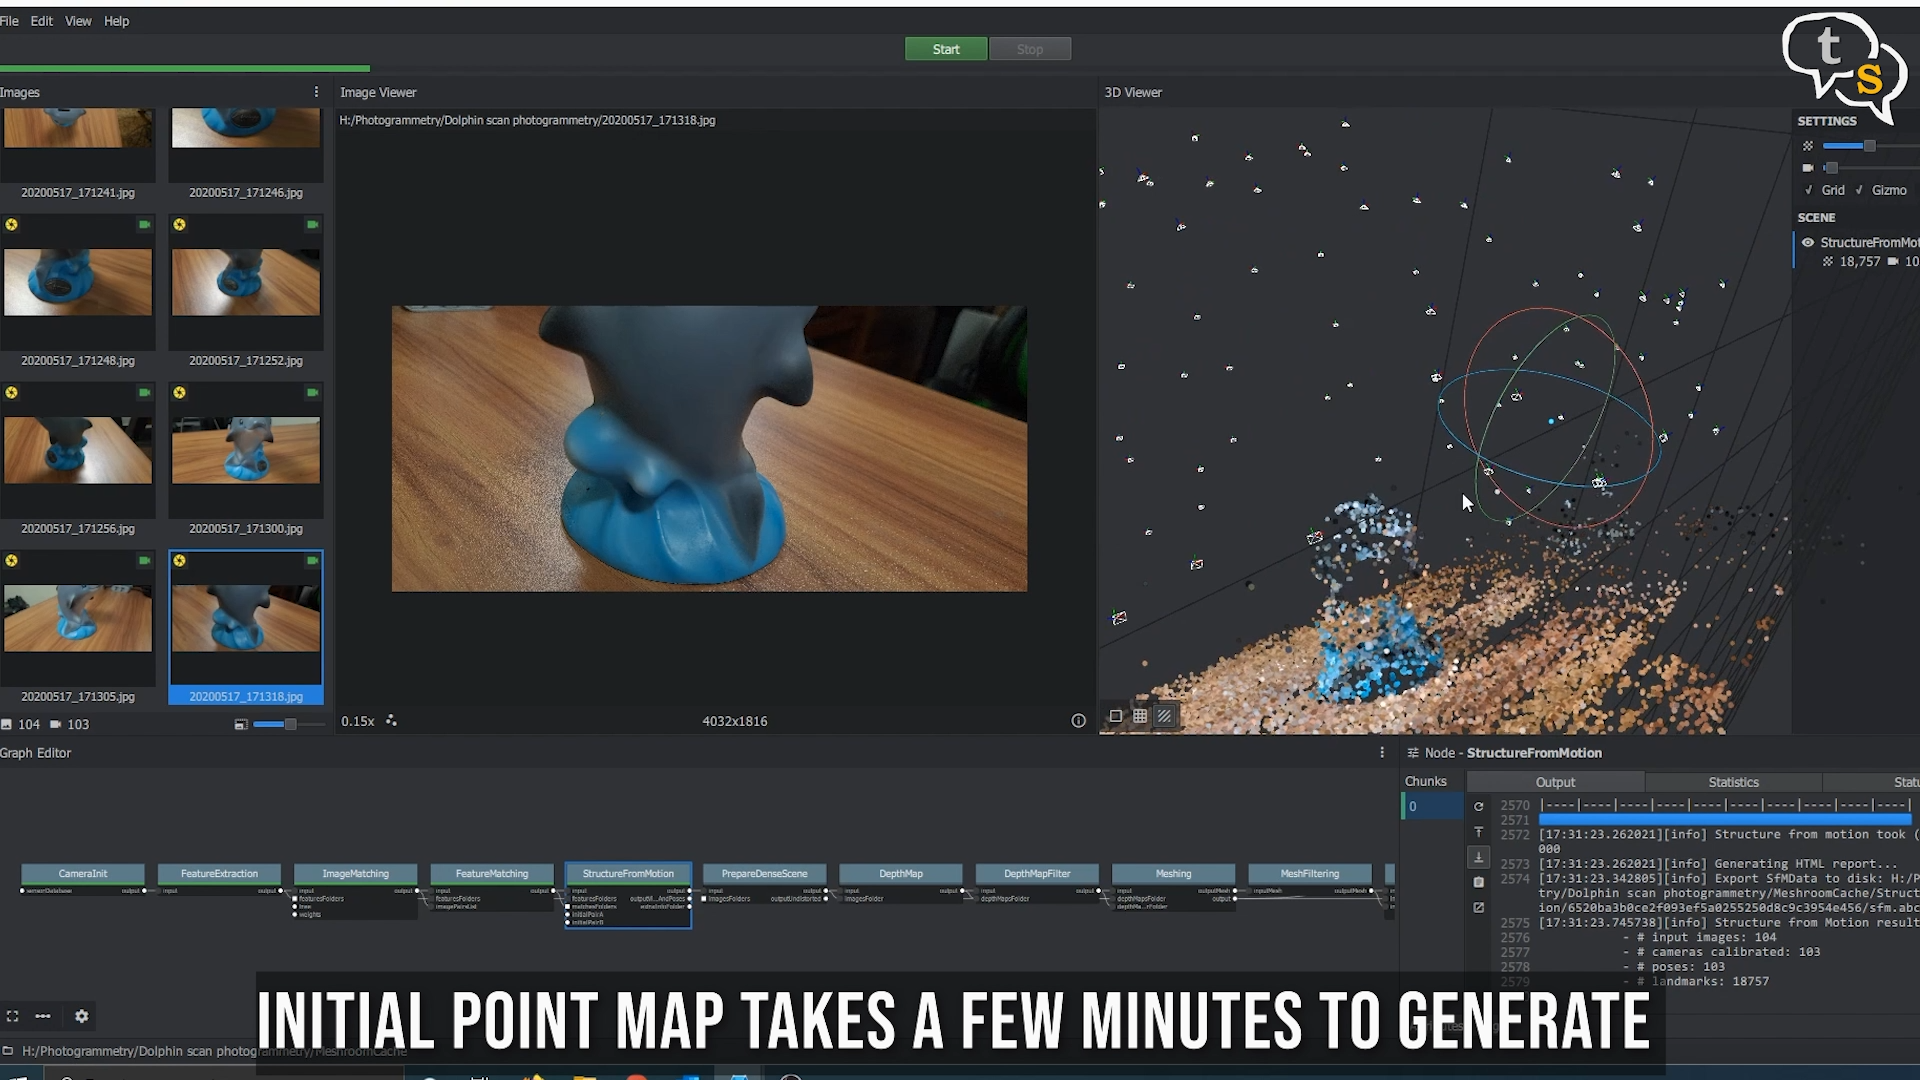
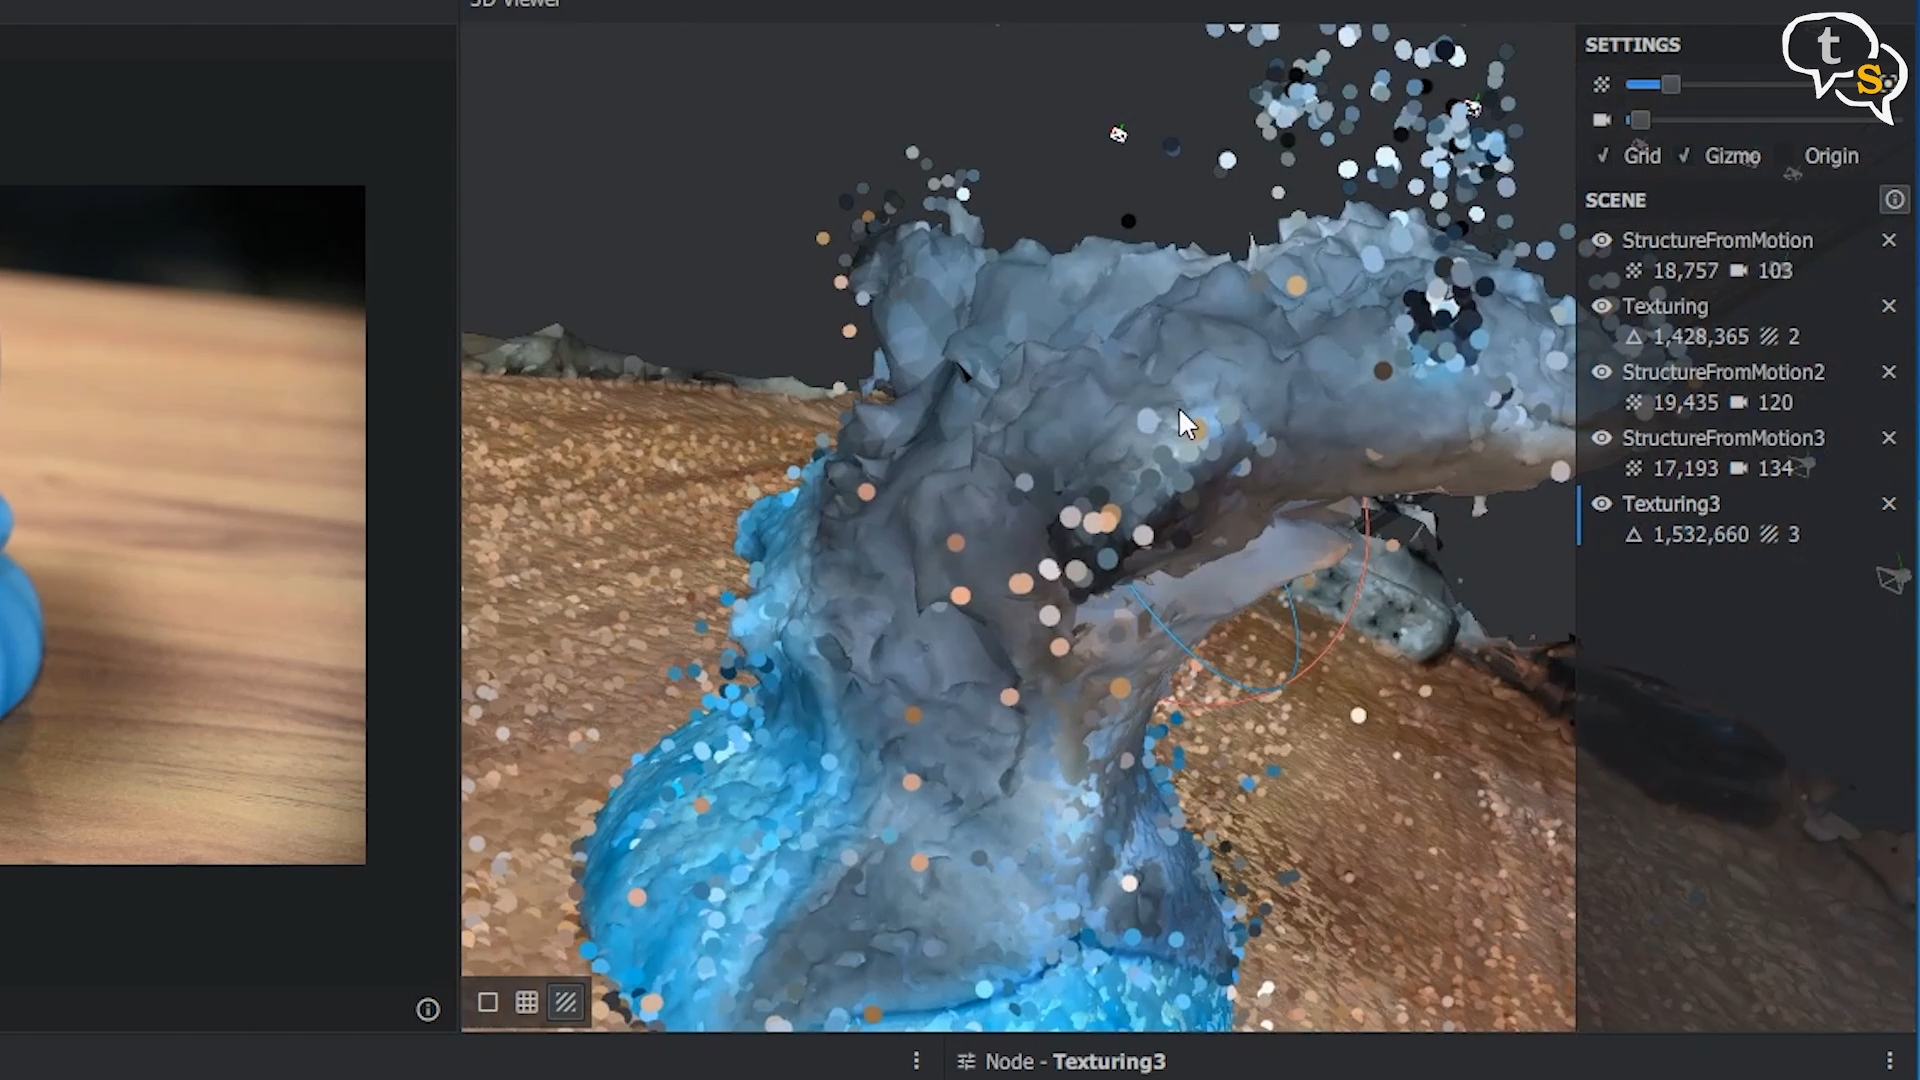
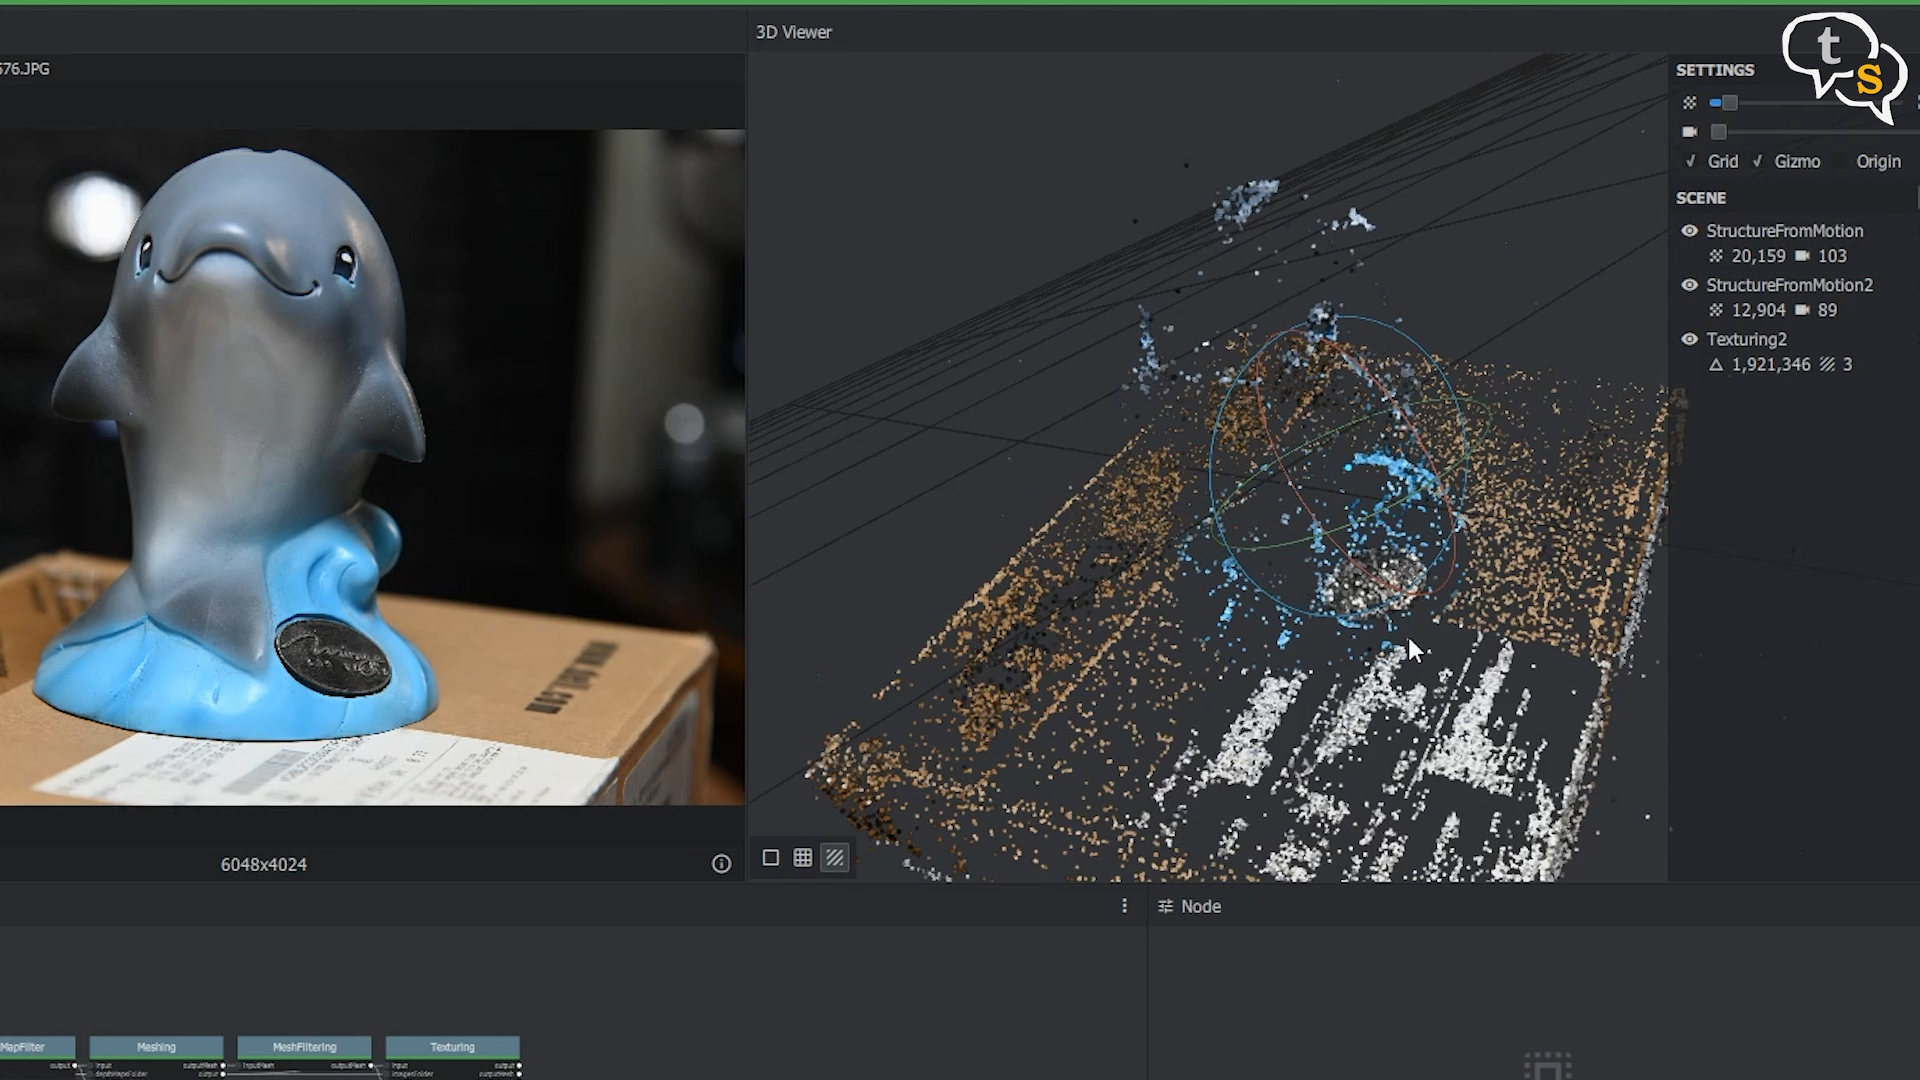
You can see that the object is slowly coming to form. The approximate camera positions are also displayed in the 3D preview.
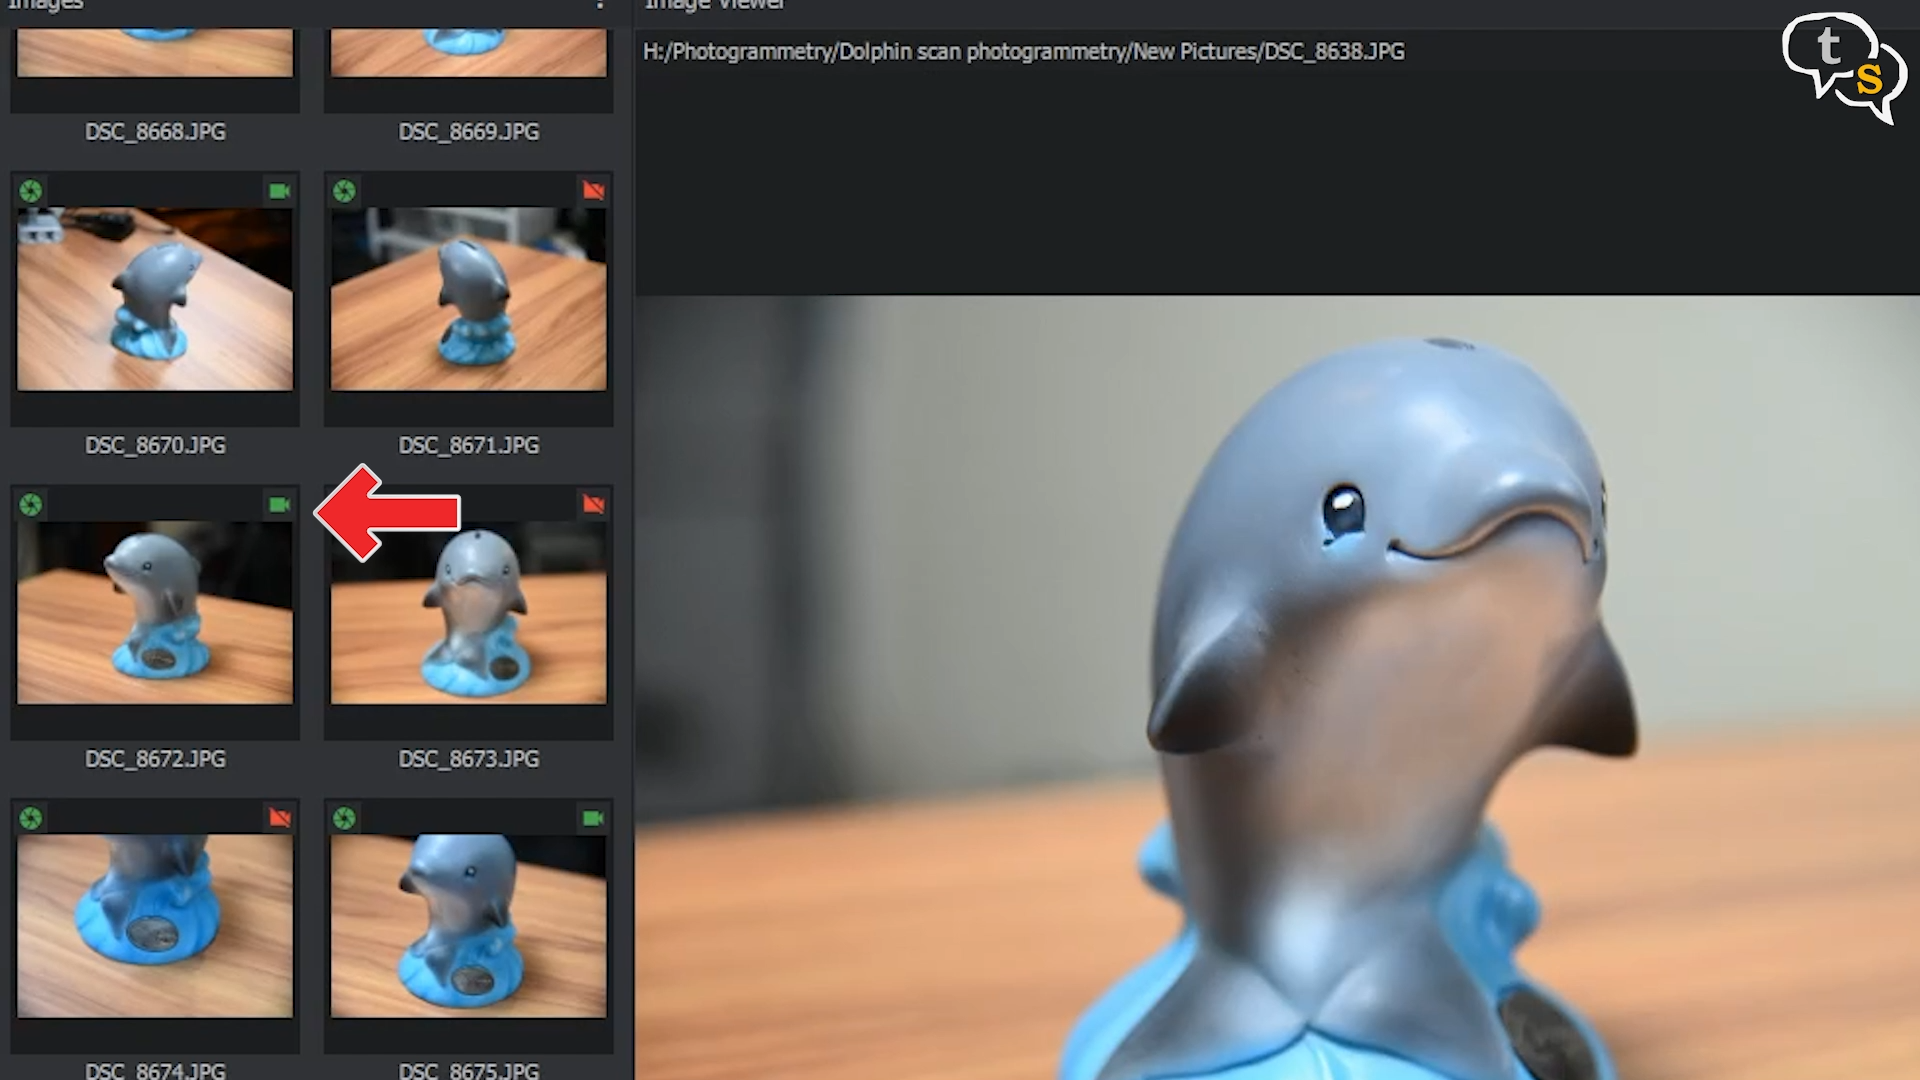
All pictures that have successfully been identified for the reconstruction are tagged with a green checkmark. Pictures marked in red are discarded images.
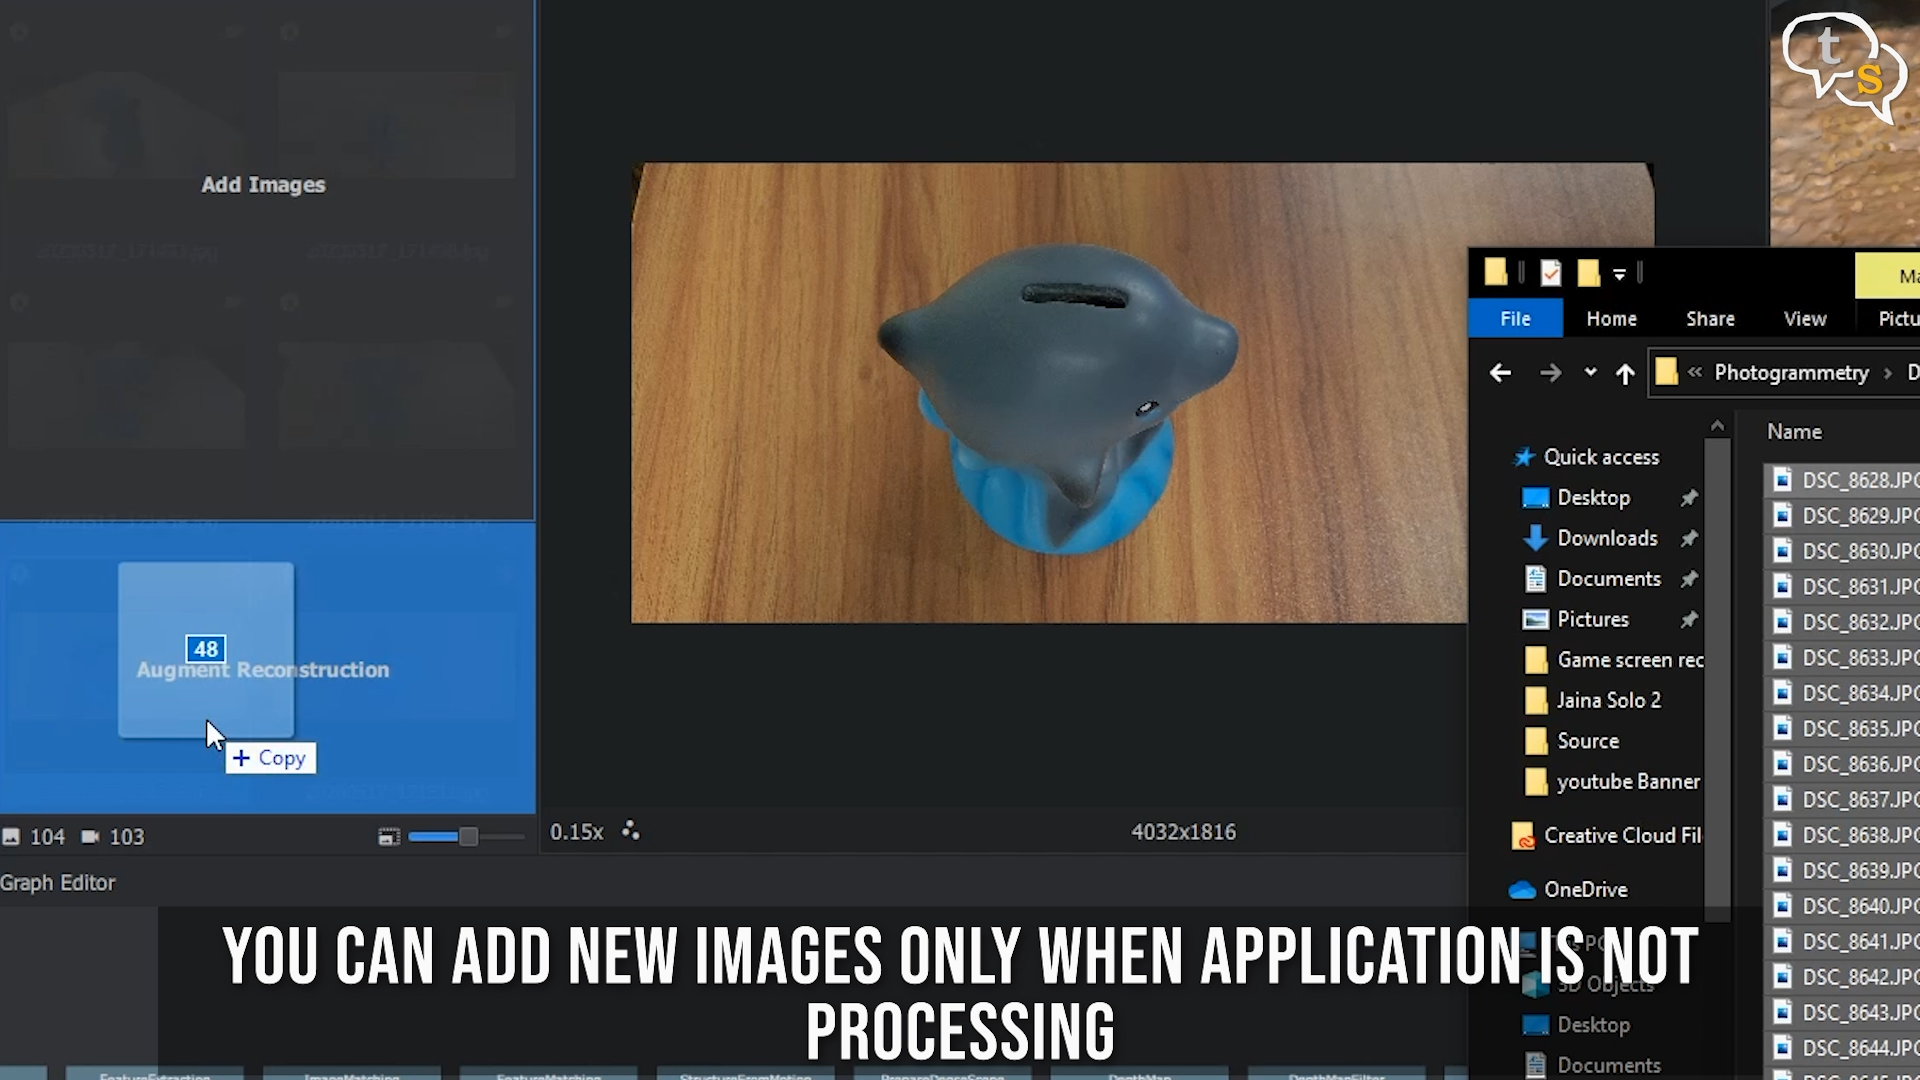
Meshroom, also supports Augmented Reconstruction which allows adding in more images to add more details to the constructed model.
So if you feel one side of the object could use more details, or a few in that section have been discarded by the software, photograph it again, import and the software would add the details to the partially constructed model. But you should not have moved the object from its place or Augmented reconstruction will not work. I suggest not moving the object until the entire reconstruction is done.
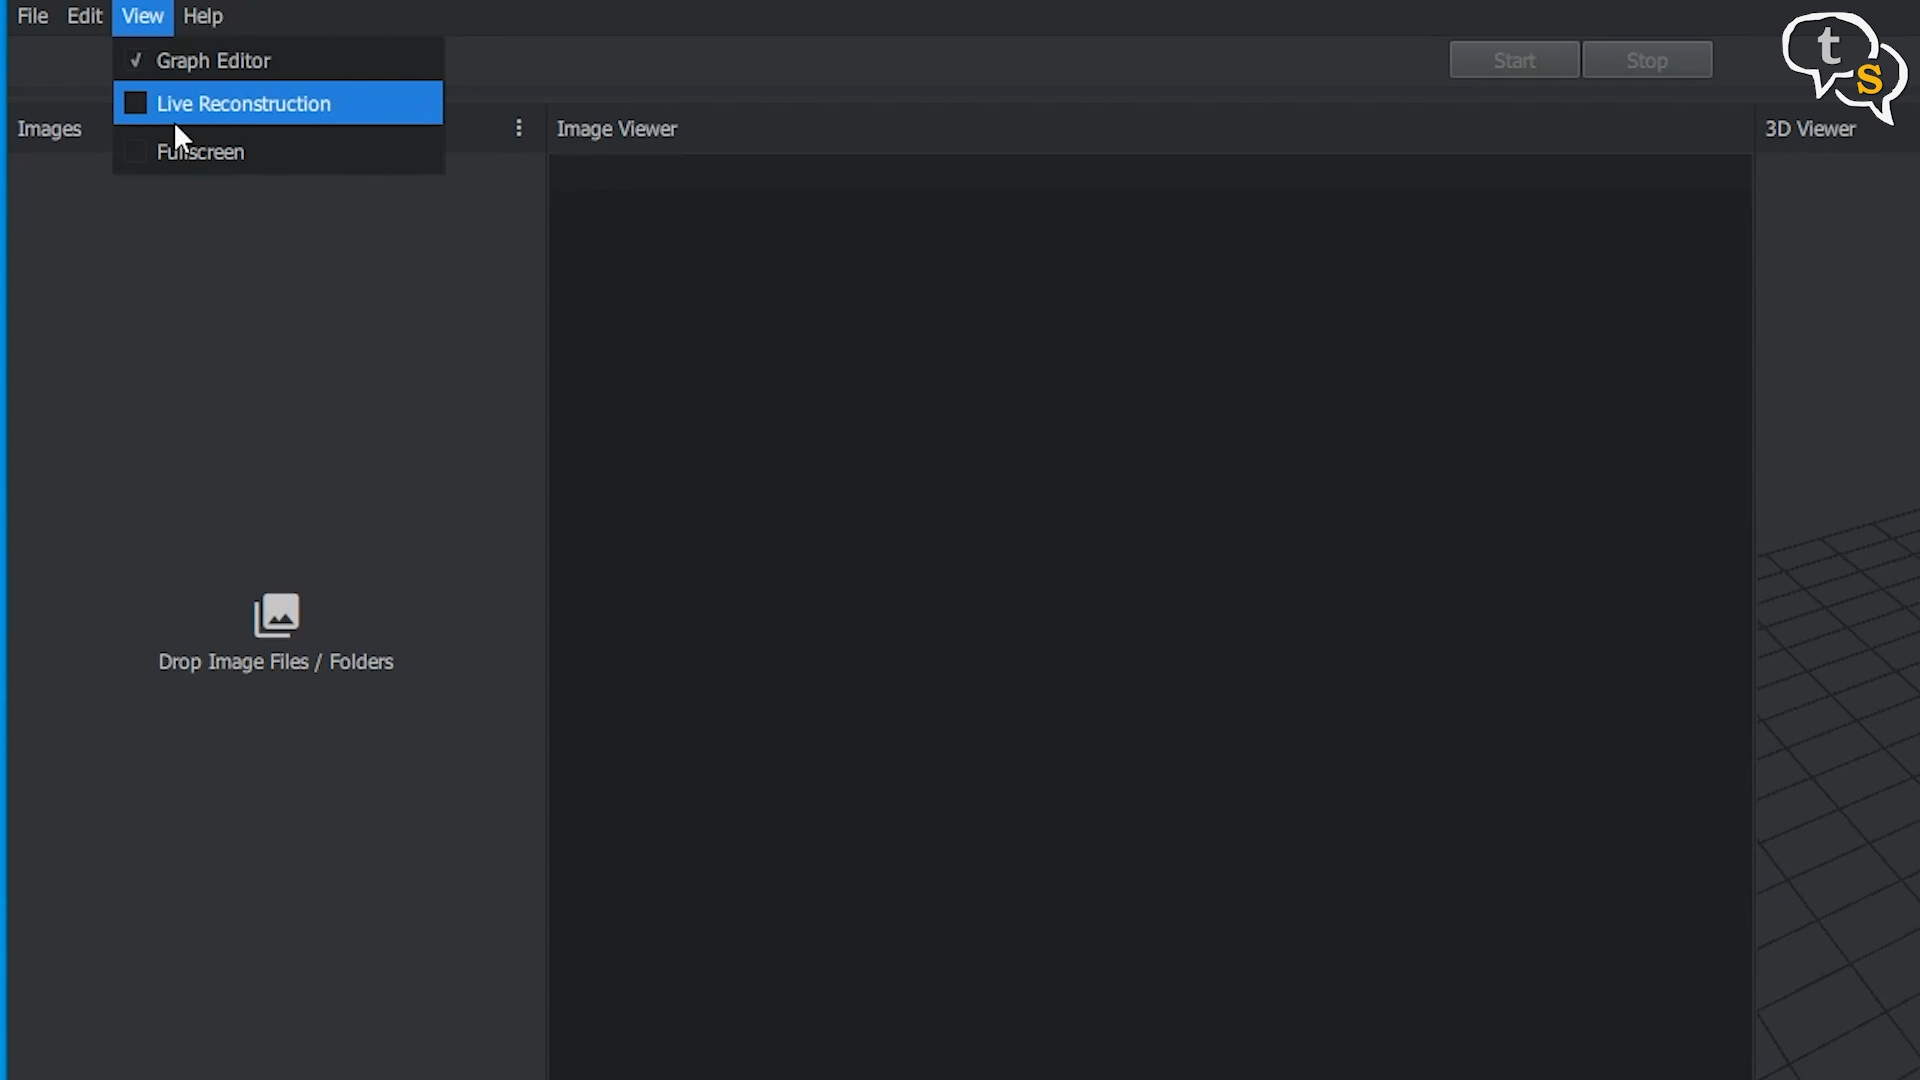
Meshroom also allows live reconstruction, which generally means you could have a watch folder that the software keeps looking in for new pictures, as and when you drop pictures into the folder, it starts processing them automatically.
Looking at the preview on the screen you can decide if you need more detail, and which areas don’t look as good, just take some more pictures and drop it into the folder and Meshroom adds the details.
Mine had gaping holes in the model so I took some more shots from those angles and tried to get the holes filled in and get in more shape information.
Once all the computations are done, we have the object ready in 3d, as indicated by the nodes below turning green one by one. The reconstruction happens step by step and these are indicated by the nodes below.
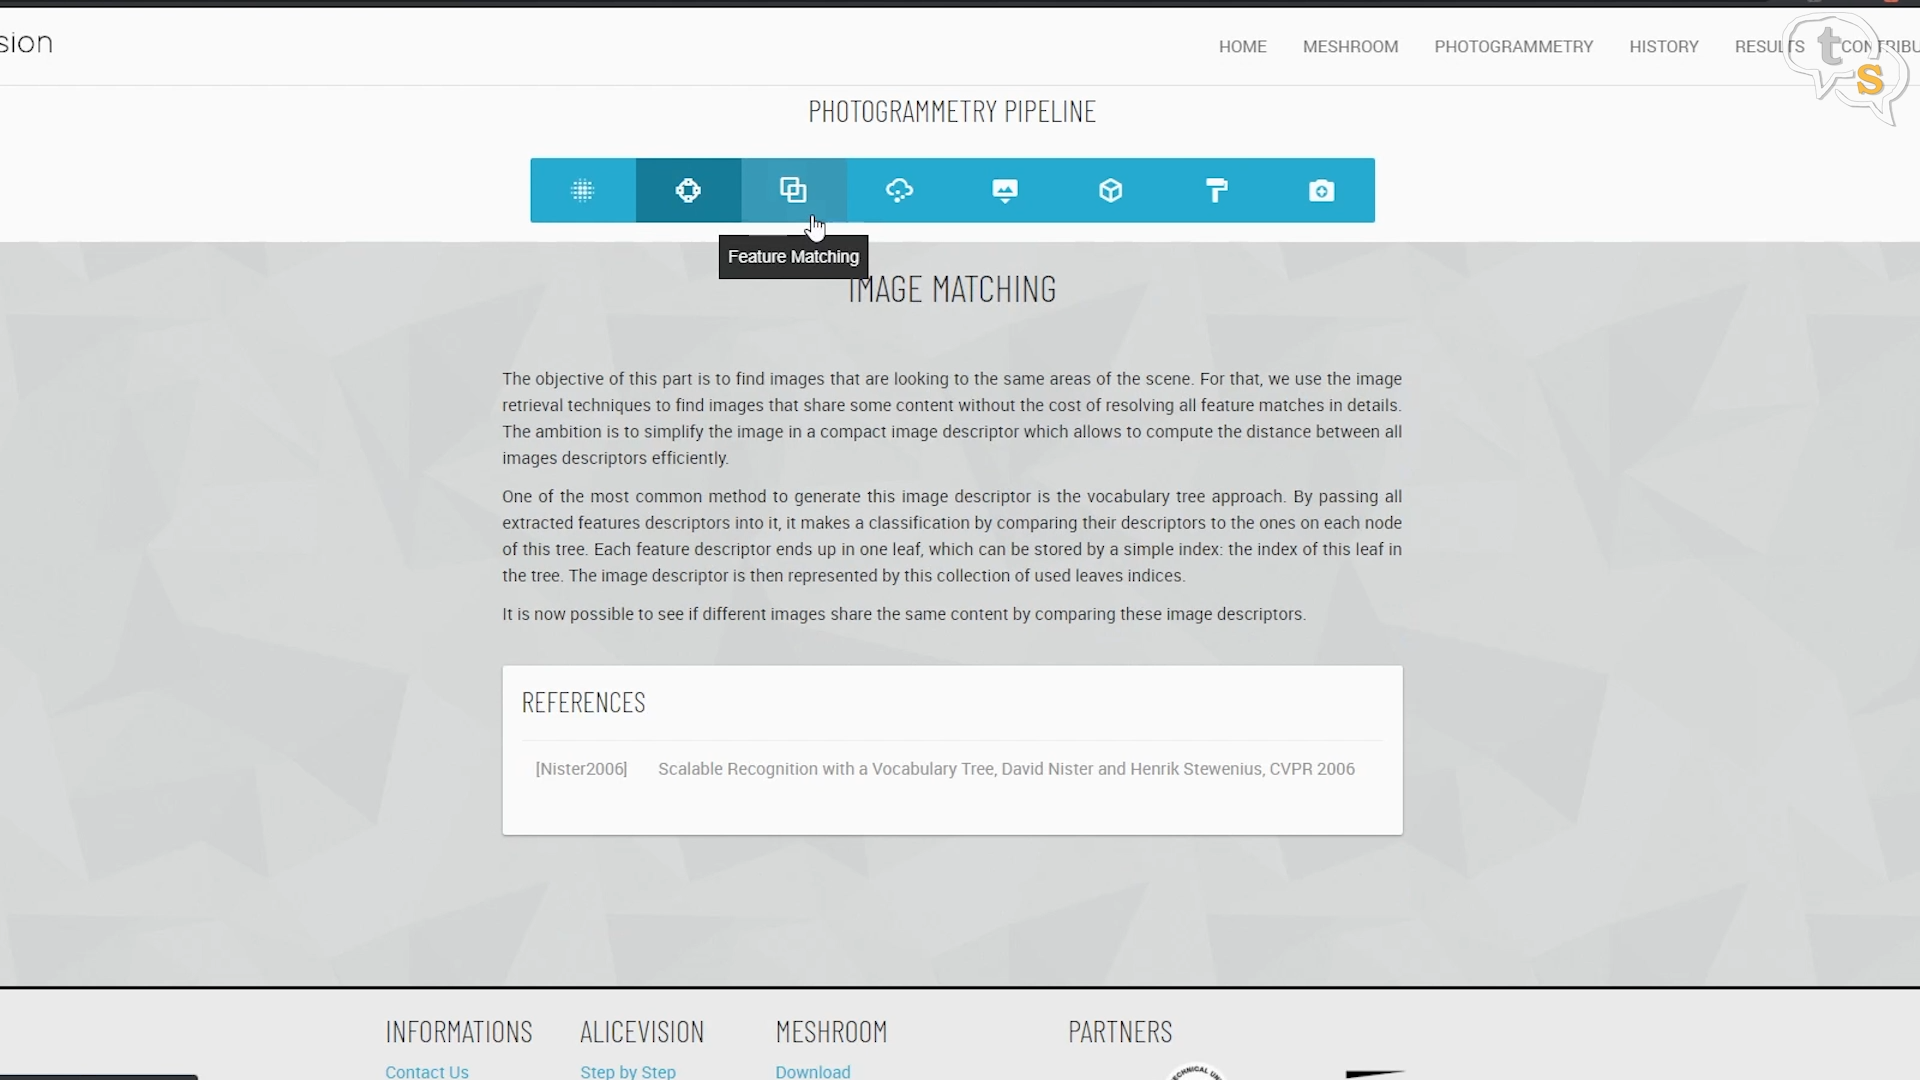
The entire pipeline, node by node is explained on the Alice Vision website and in more detail on their Wikipedia page.
Reconstruction is not instantaneous and will take some time, hours even, so a lot of patience is expected.
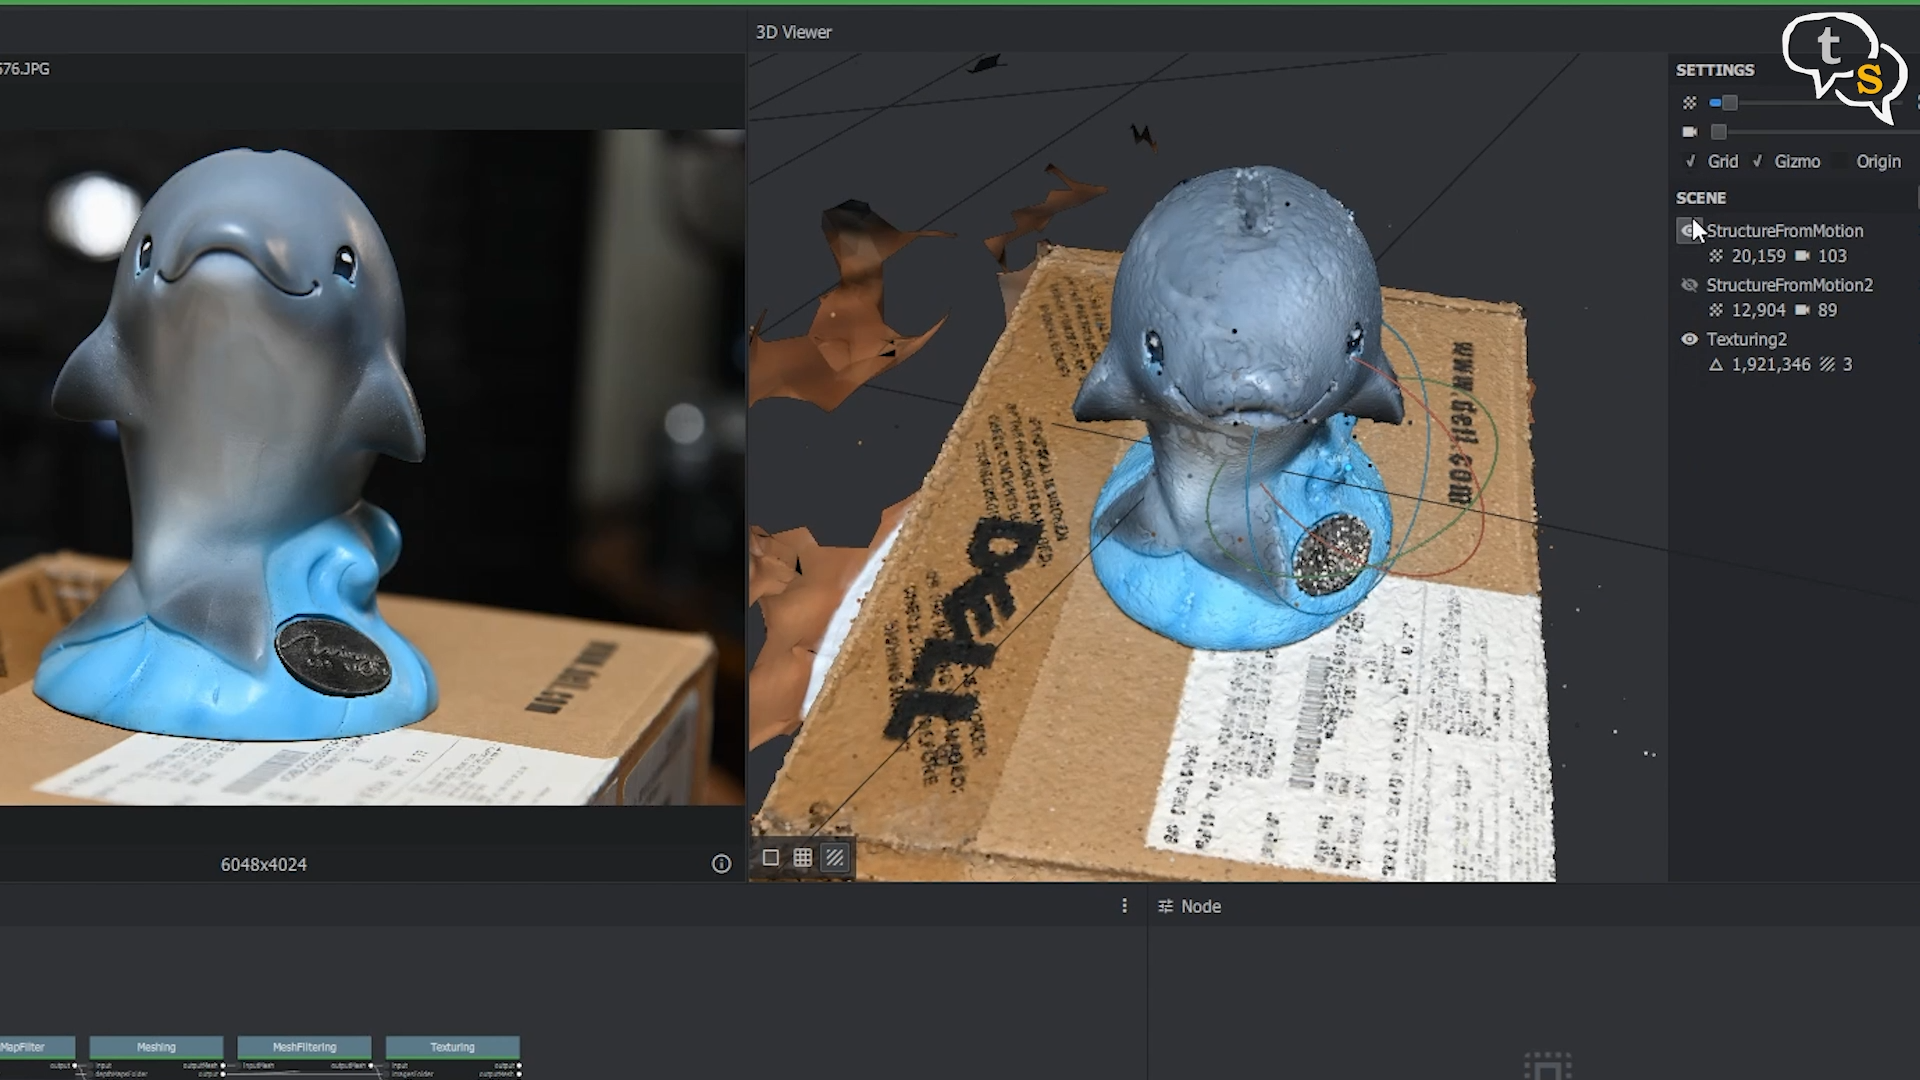
After around 15-16 hours of computation or more, I just left the PC on to process the photographs overnight. The model seems to have come out moderately well, I used a smartphone in this tutorial as newer smartphones have a high enough resolution camera for this task, but if you have a DSLR the model will come out much better.
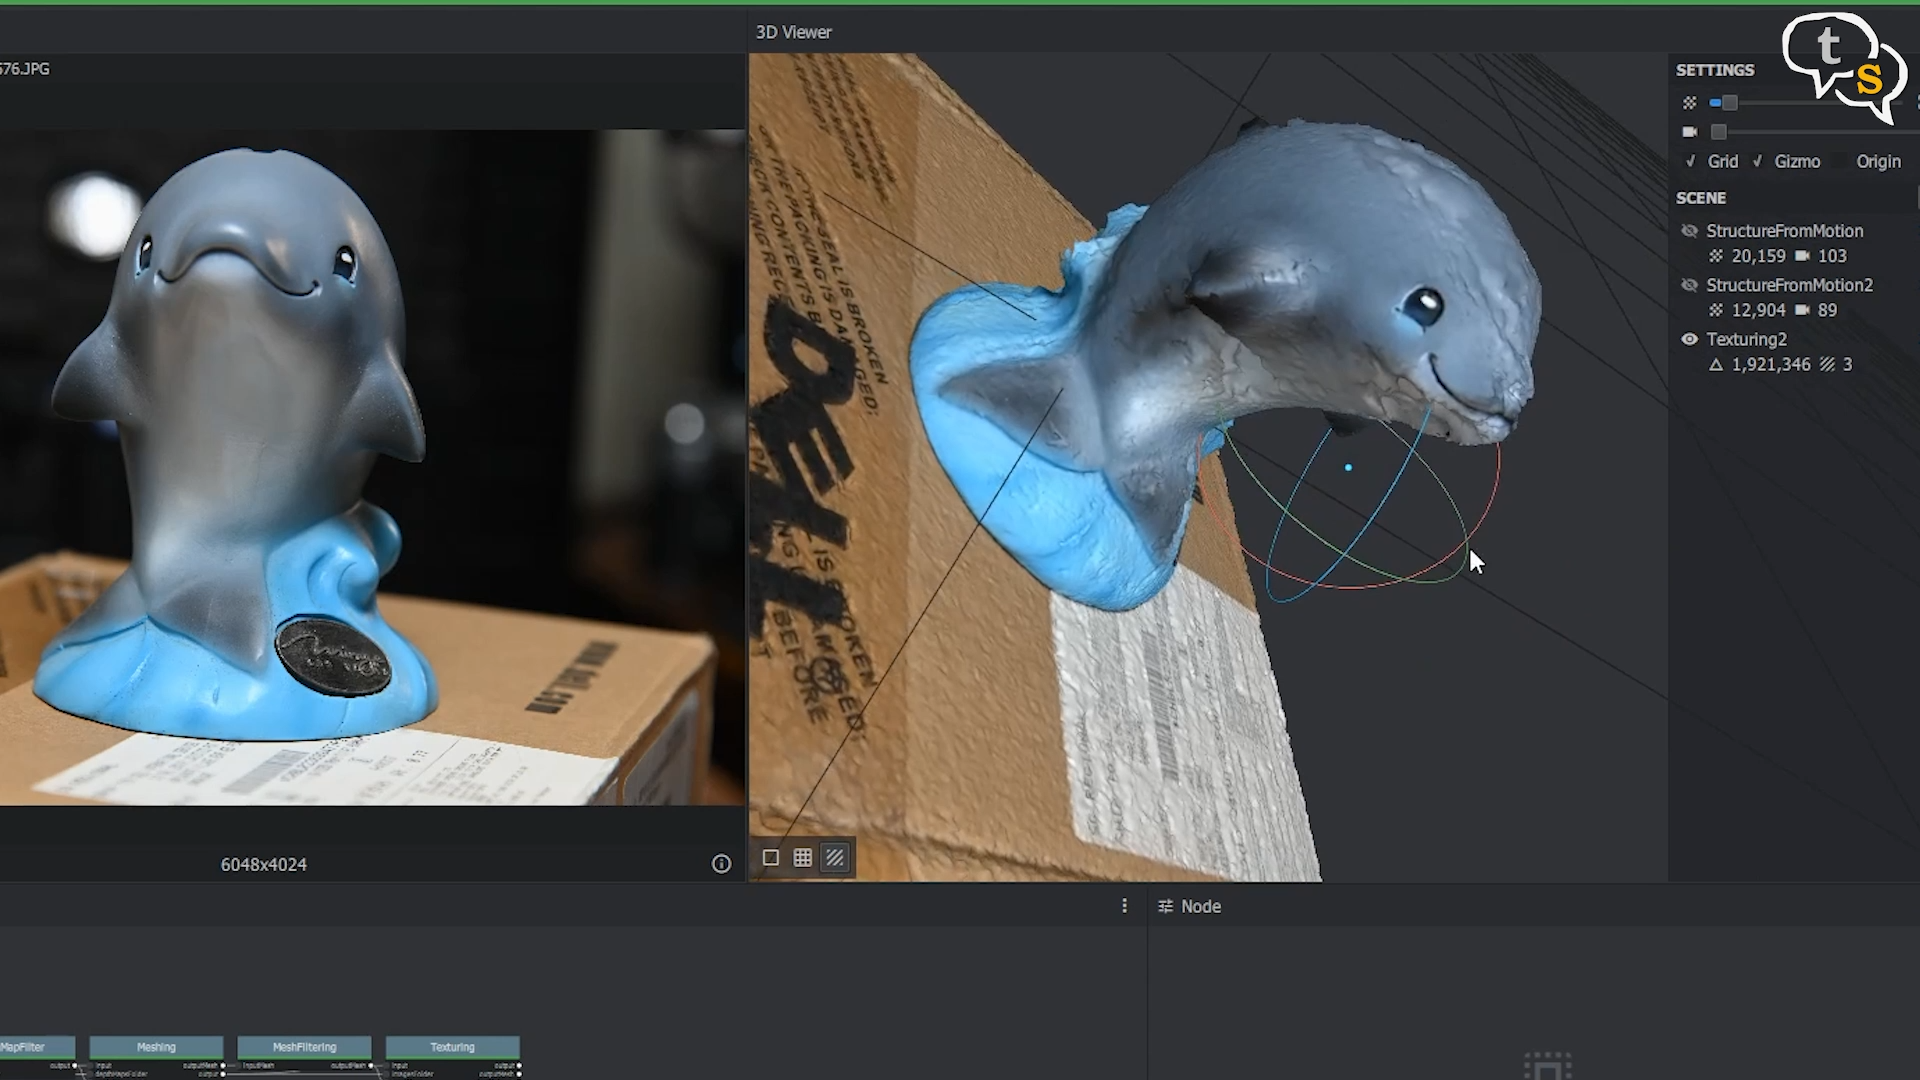
Even the textures are captured and mapped onto the model. All meshes that are generated will have a hole in the bottom, you can use Meshmixer, blender or your favourite 3d software to add a plane below to close it up.
The model created by Meshroom is a 3D standard Wavefront OBJ format and can be imported into your favourite slicer software directly. You will need a lot of clean up and smoothening to be done on the model in Meshmixer before slicing it to print.
Meshroom can handle photos from multiple cameras, which is fantastic. You can also use frames from a video to reconstruct a model, but due to the compression, the details will not stand out as much. But if you had shot an object as a video during a vacation and want to reconstruct it, you can still do it. You might have problems capturing glossy surfaces, so maybe try masking the glossy areas with painters’ tape before capture.
Even though this can be done by anyone at home, my earlier Kinect method gives much better results in minutes. Photogrammetry takes hours and the end result is ok, not as great as I expected it to be.
Yes, I have not lit the model evenly and the photographs might not have been the best, but it still managed to get a model ready so cannot blame Meshroom completely. I hope this video gets you interested in photogrammetry and do try this method out yourself and if you get better results do share in the comments below.
Models scanned for personal use and not for commercial purposes.
If you have any questions do write in to tech@talkingstuff.net or WhatsApp us at 9652578833.