In this article we’re taking a look at the Trifo IronPie m6+, so let’s set it up and test it out.
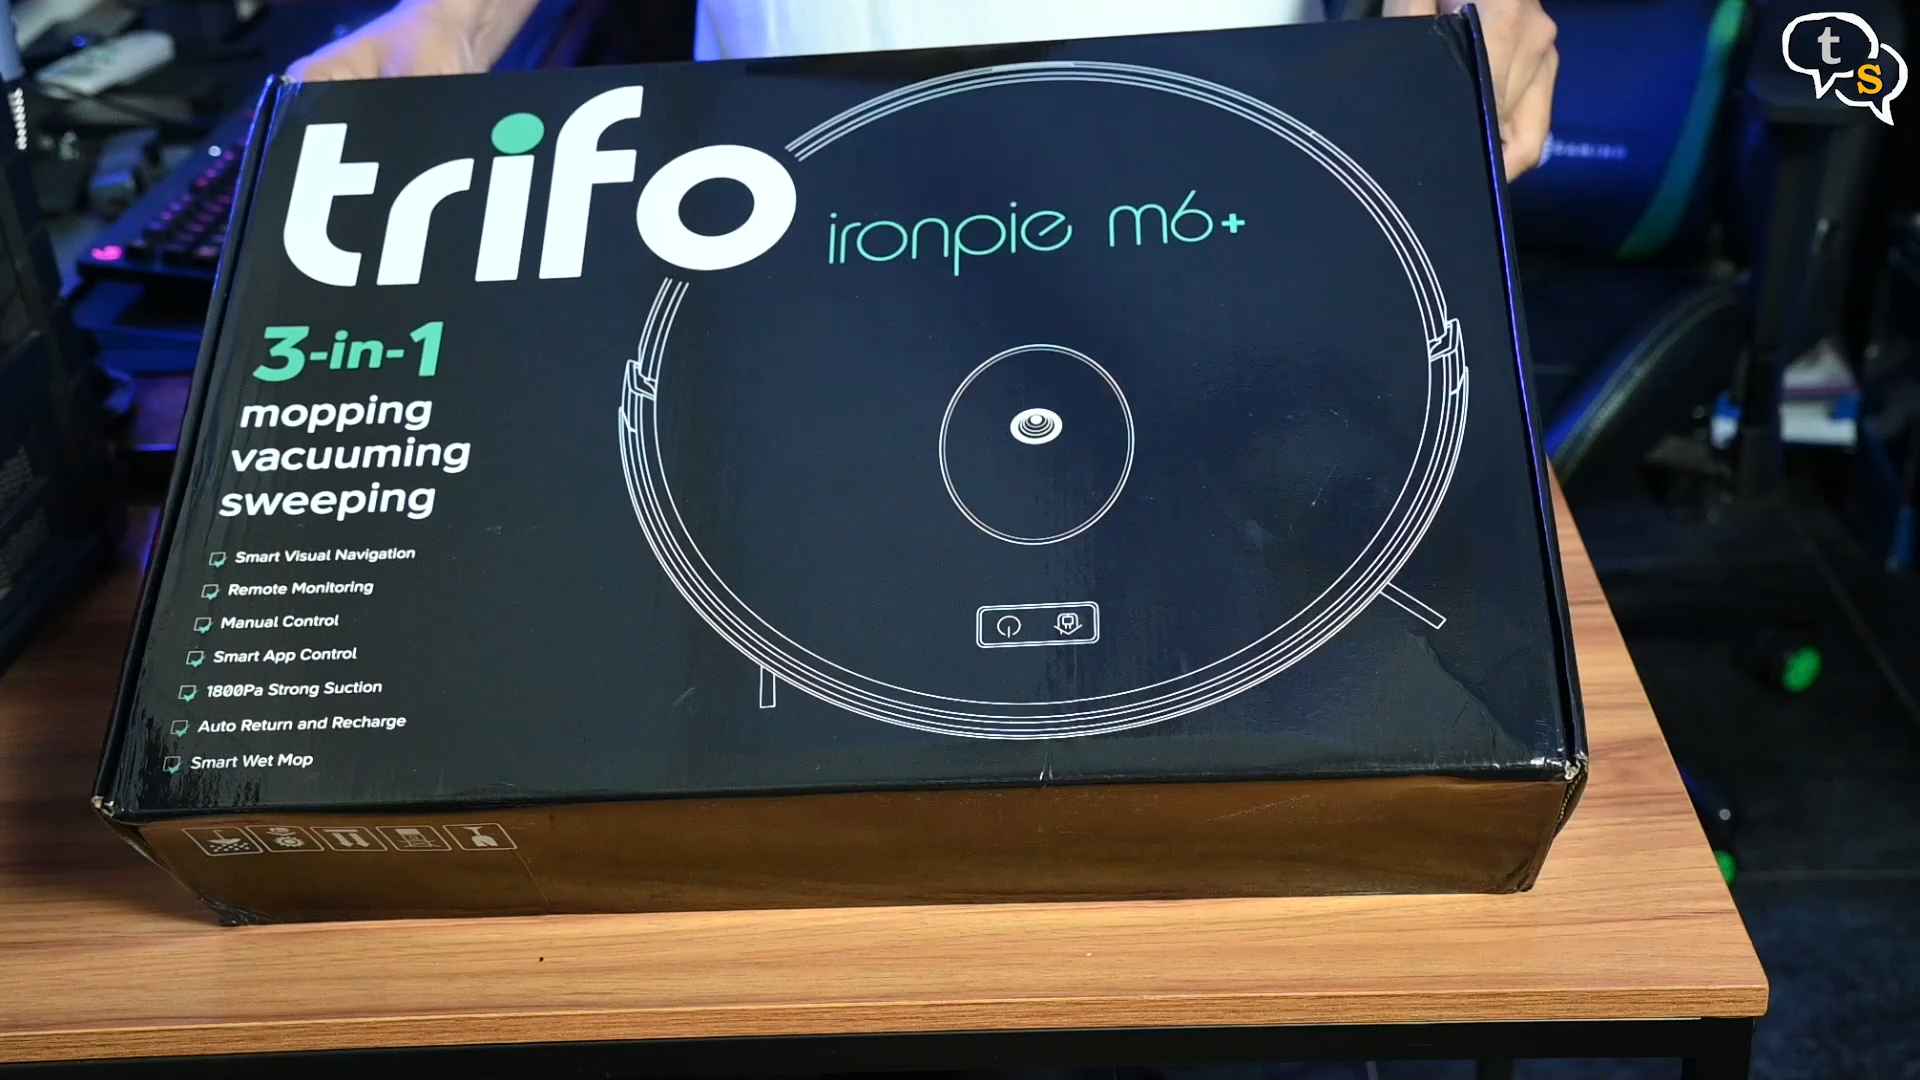
So, let’s start by unboxing the vacuum, wow, glossy black box. This is the IronPie m6+ which has the 3-in-1 functionality of Mopping, Vacuuming and Sweeping. The third I feel would be just running the brushes without the vacuum on.
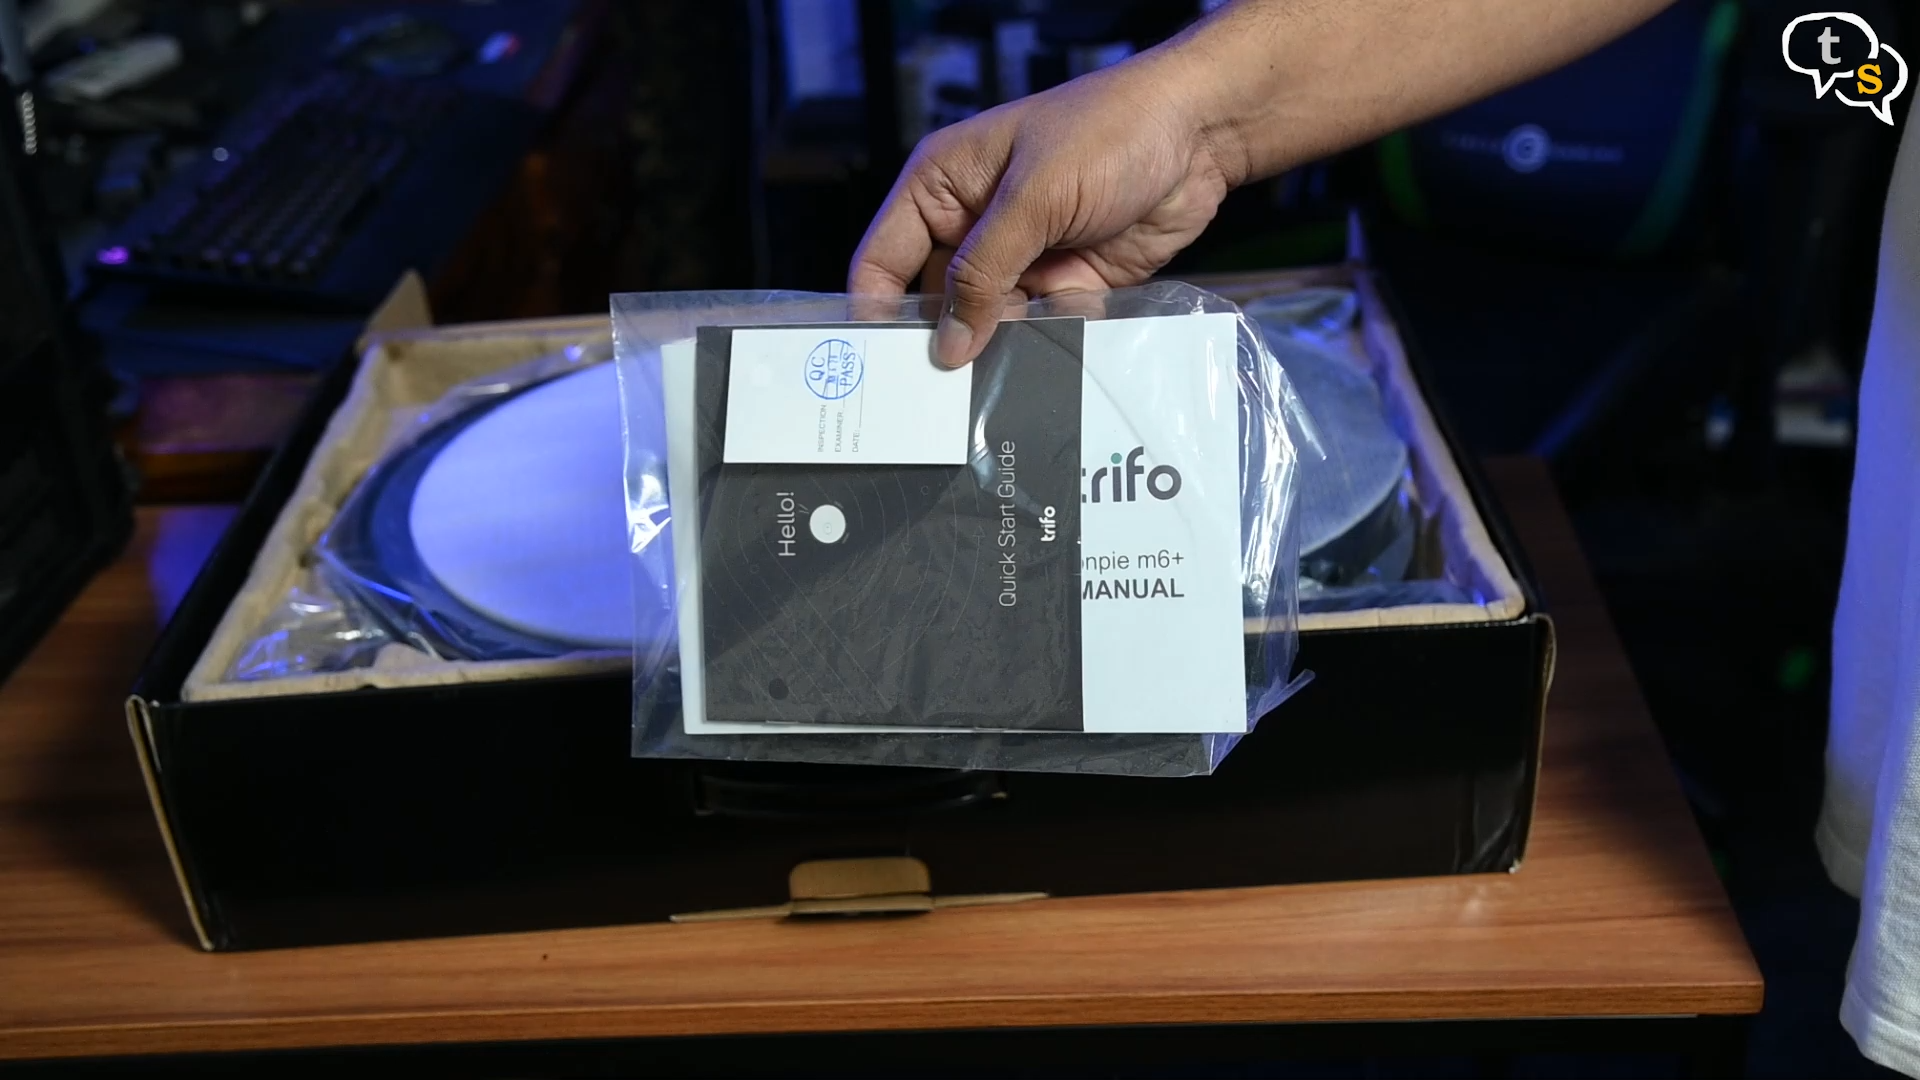
Let’s open it up, we have the manuals and warranty card.
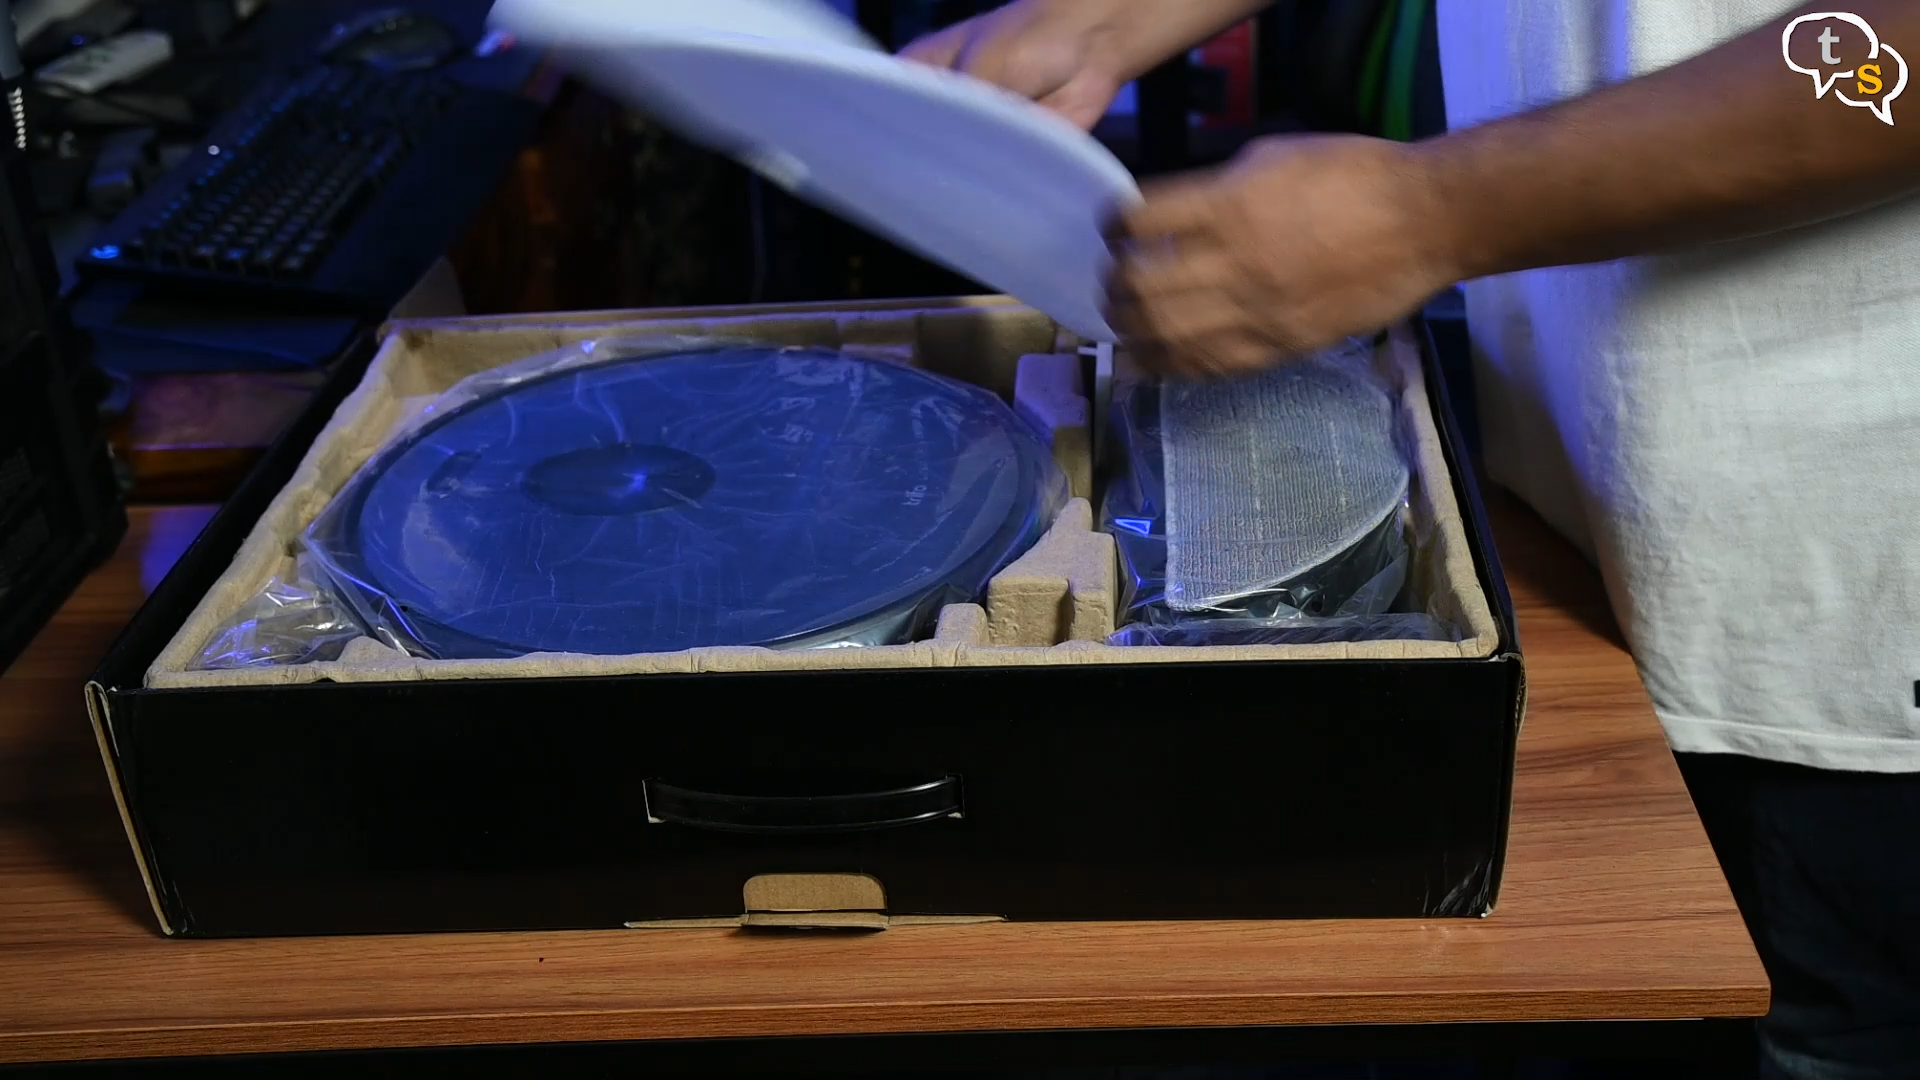
Under the protective foam we have the Trifo Vacuum. Let’s keep the Vacuum to the side and empty out the contents of the box.
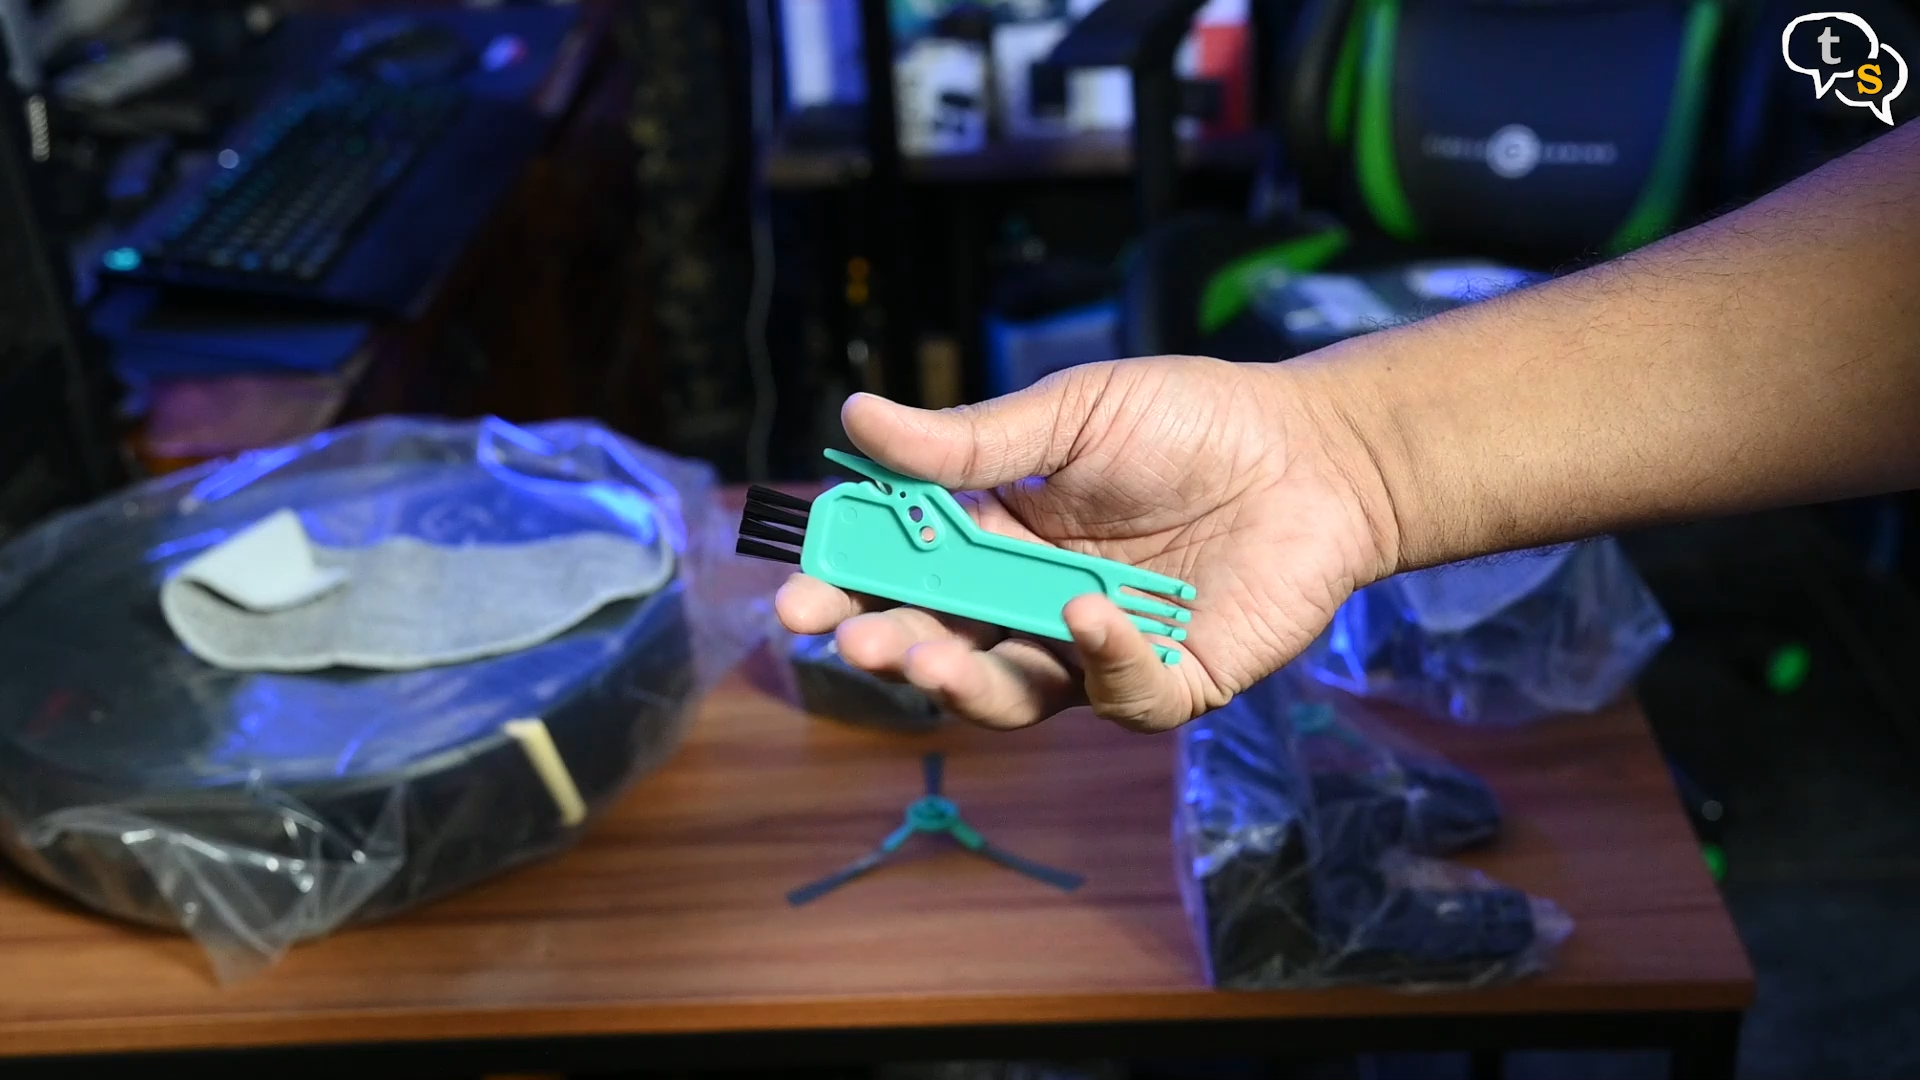
Here’s a cleaning tool, nice and big, includes a razor on the side to cut through hair which can get tangled up in the vacuum.
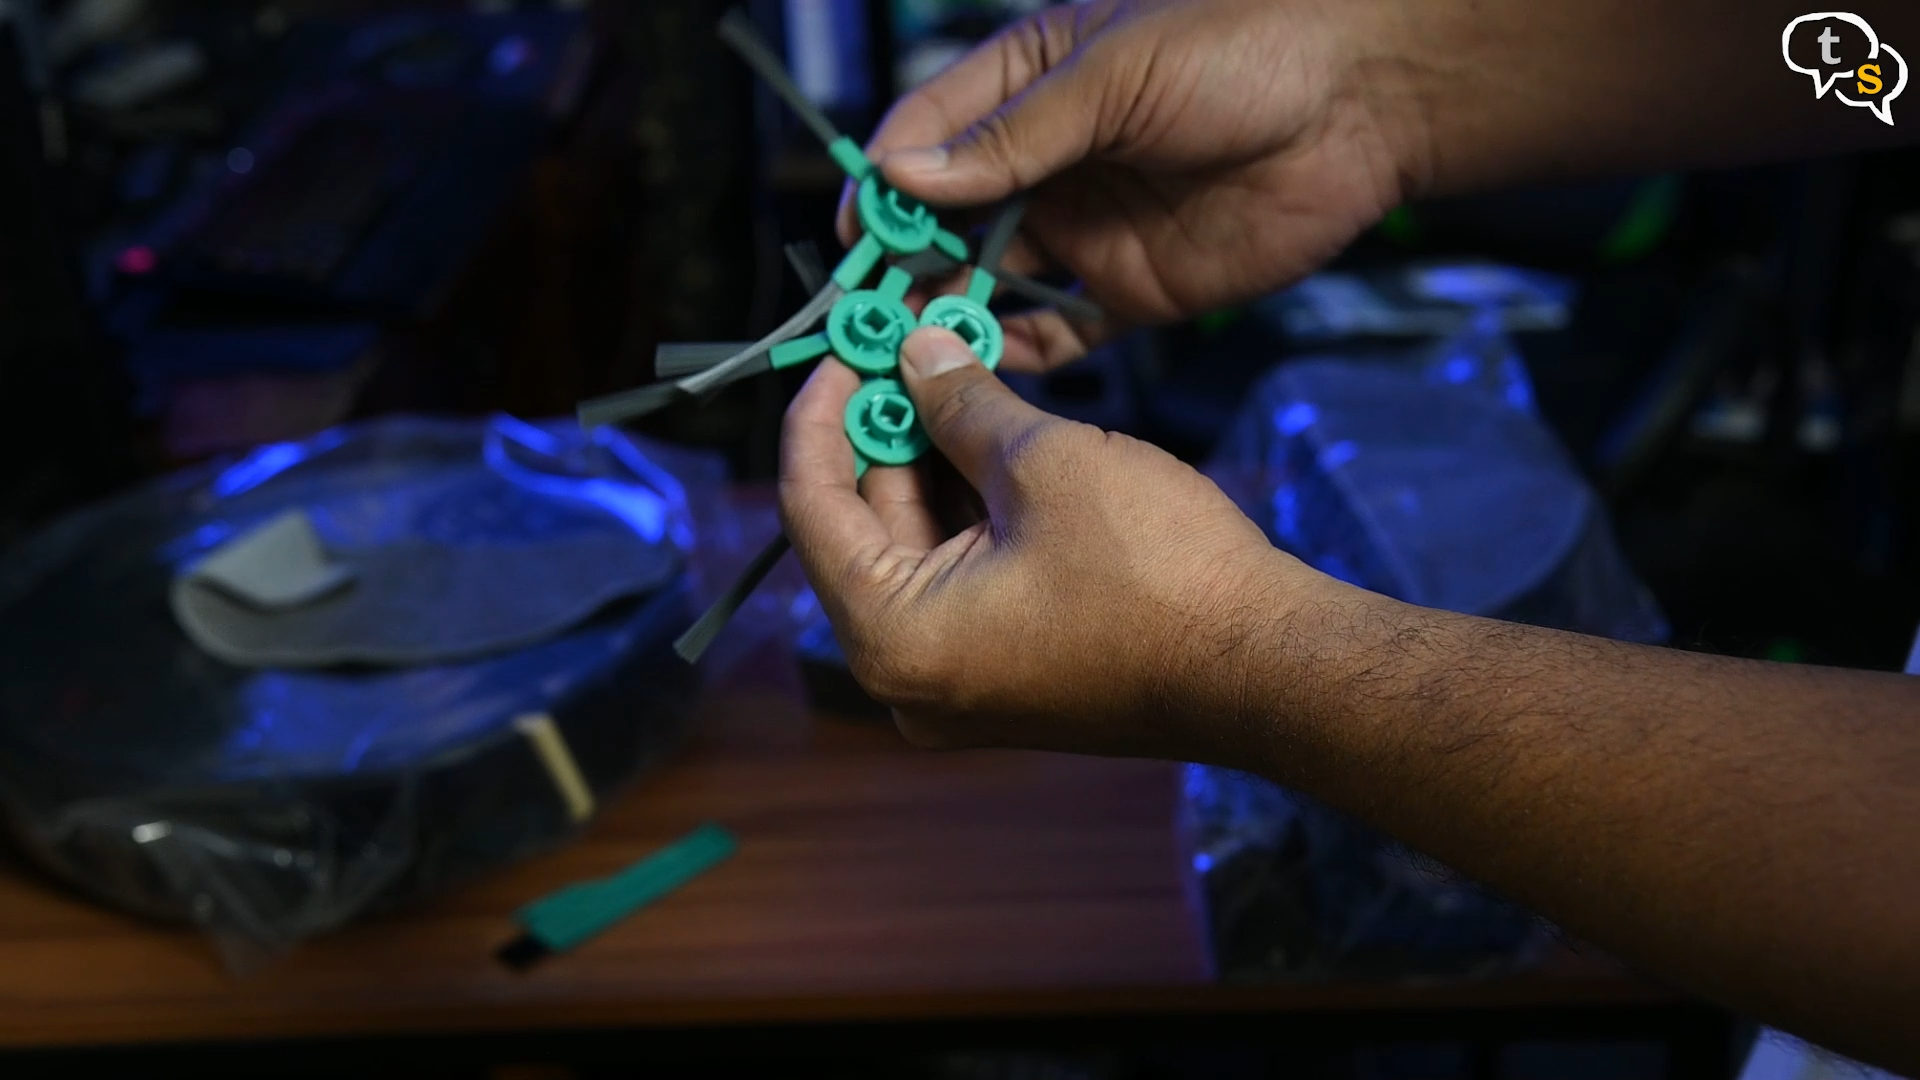
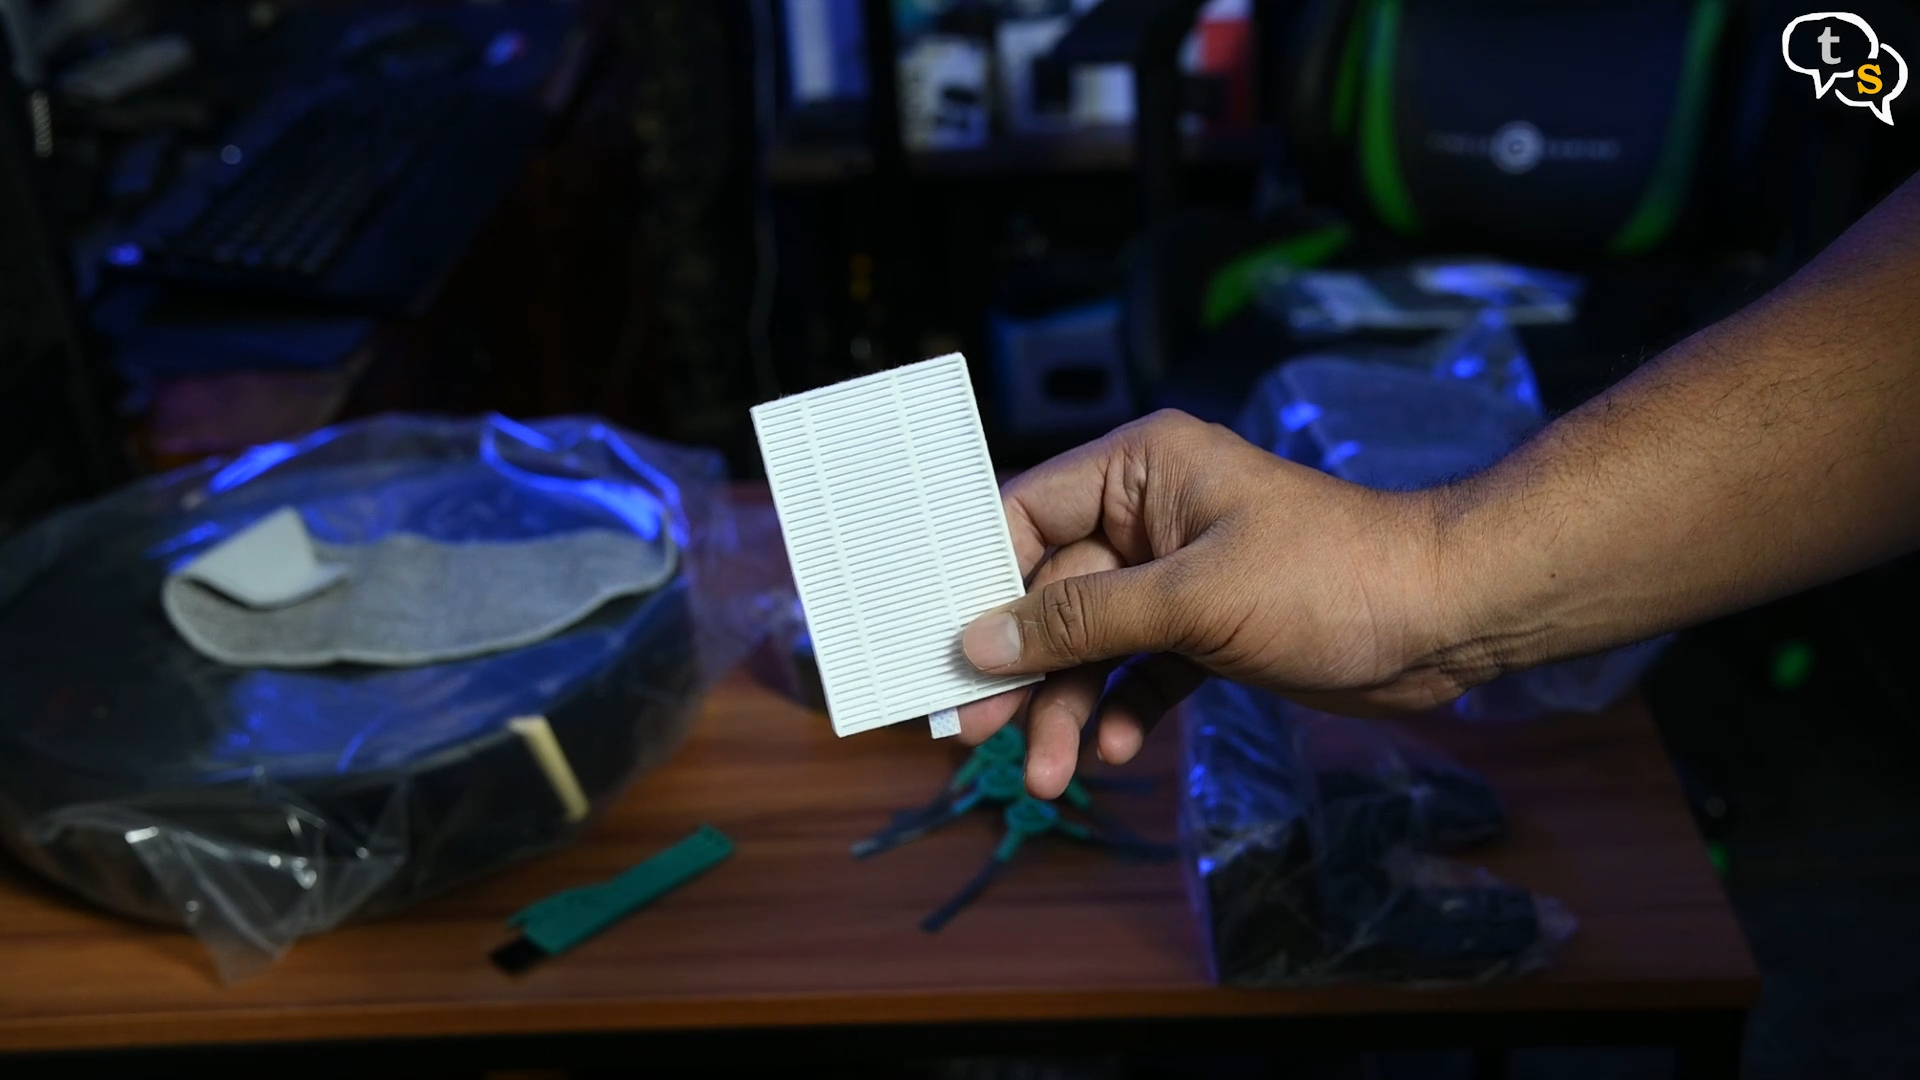
4 brushes, off which 2 are spare in case they get damaged. Extra filter.
Extra Mopping pad. I’m liking that you’re getting spares for the vacuum included in the box
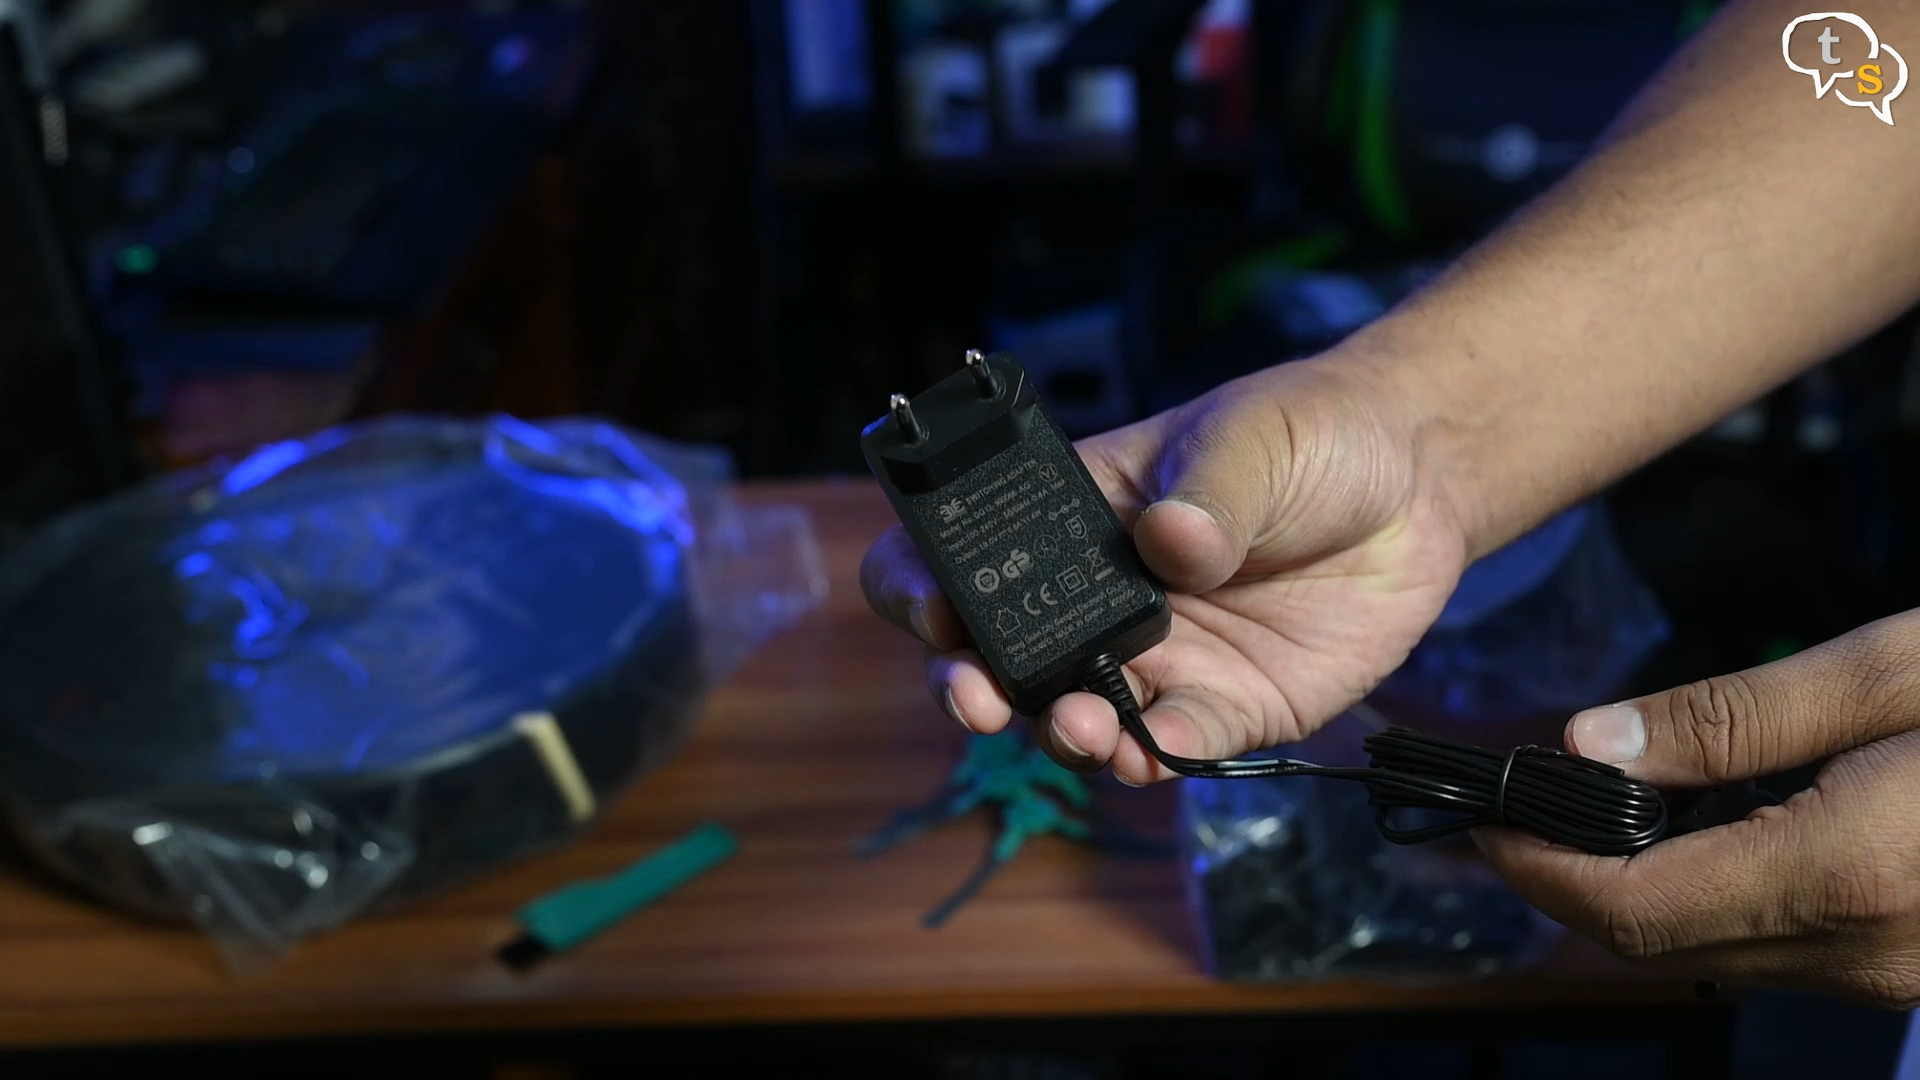
Here’s the power adapter, it has the India plug so that’s good.

Next is the charging dock, quite small compared to other models I’ve seen. These are the metal contacts which come in contact to the ones on the vacuum to charge up the device.
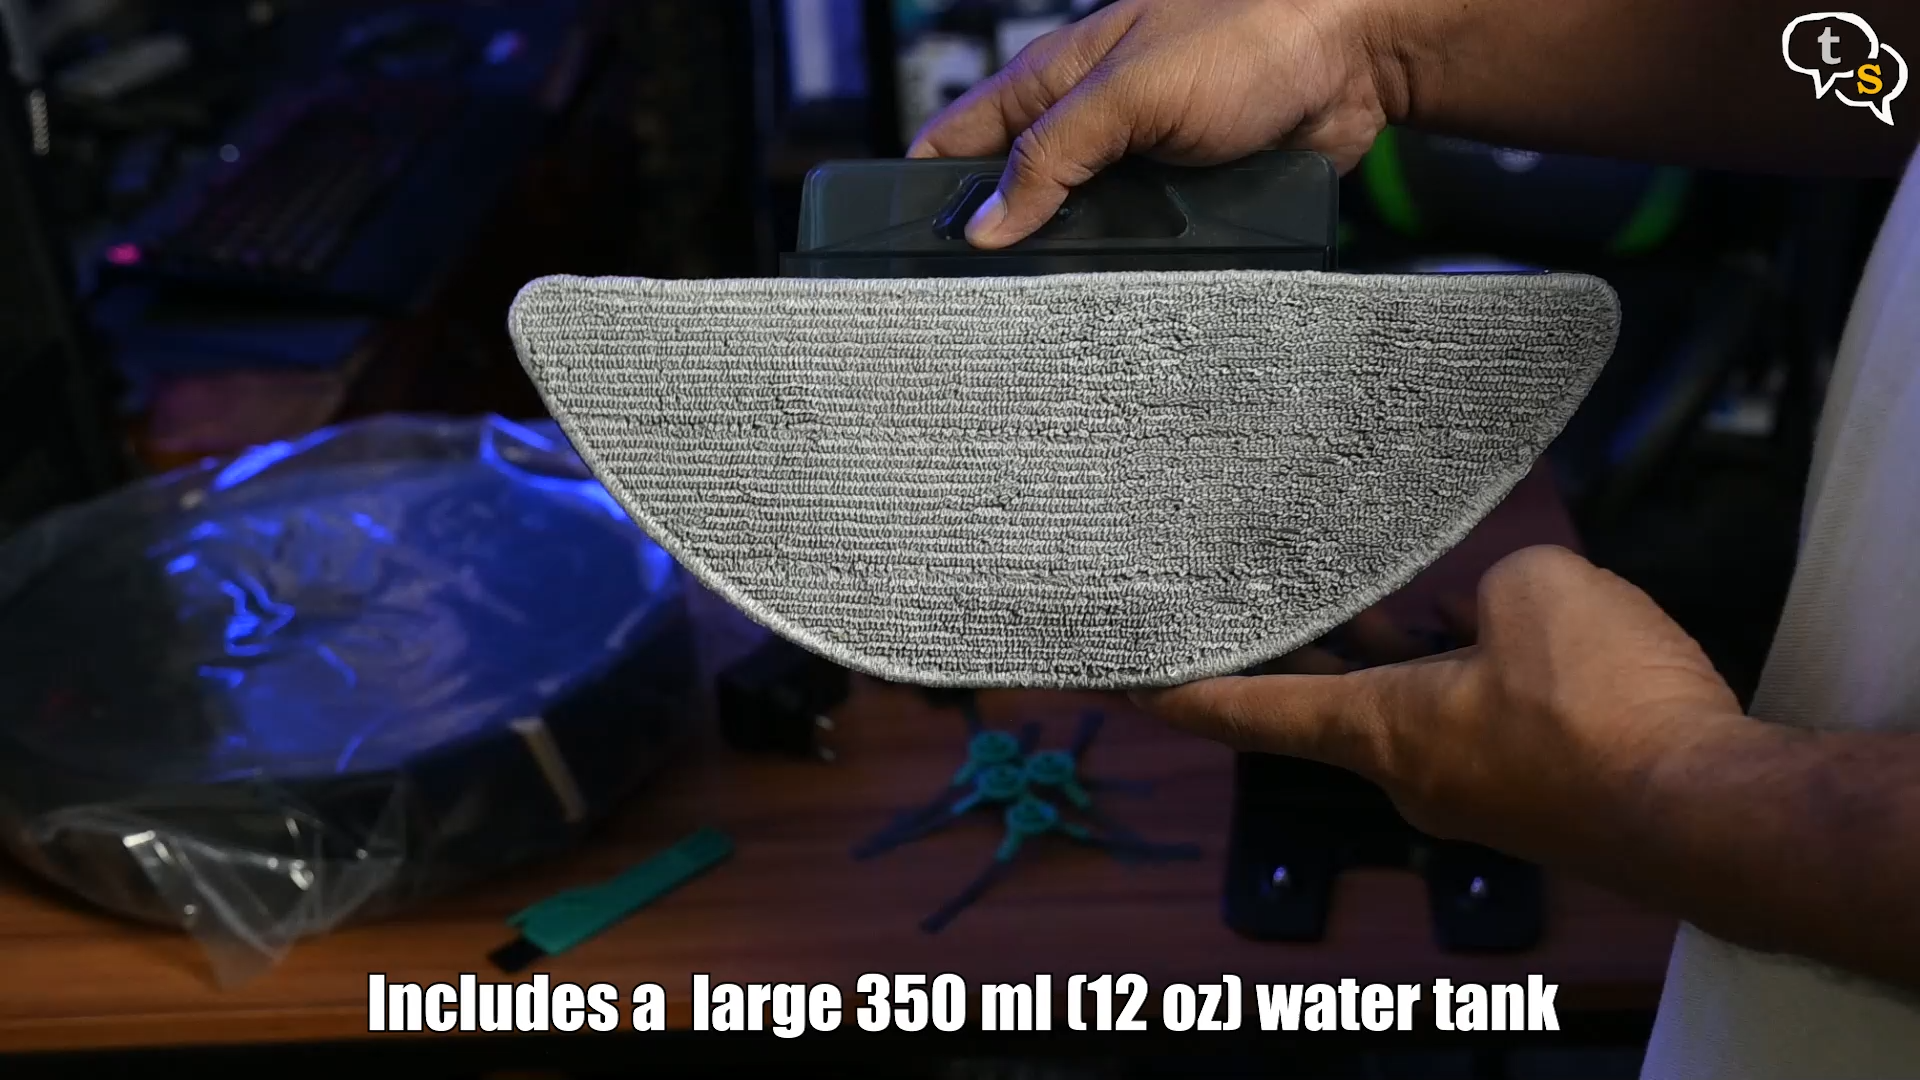
Mopping attachment, quite big, it has a 350 ml capacity. It has a pad pre-installed.
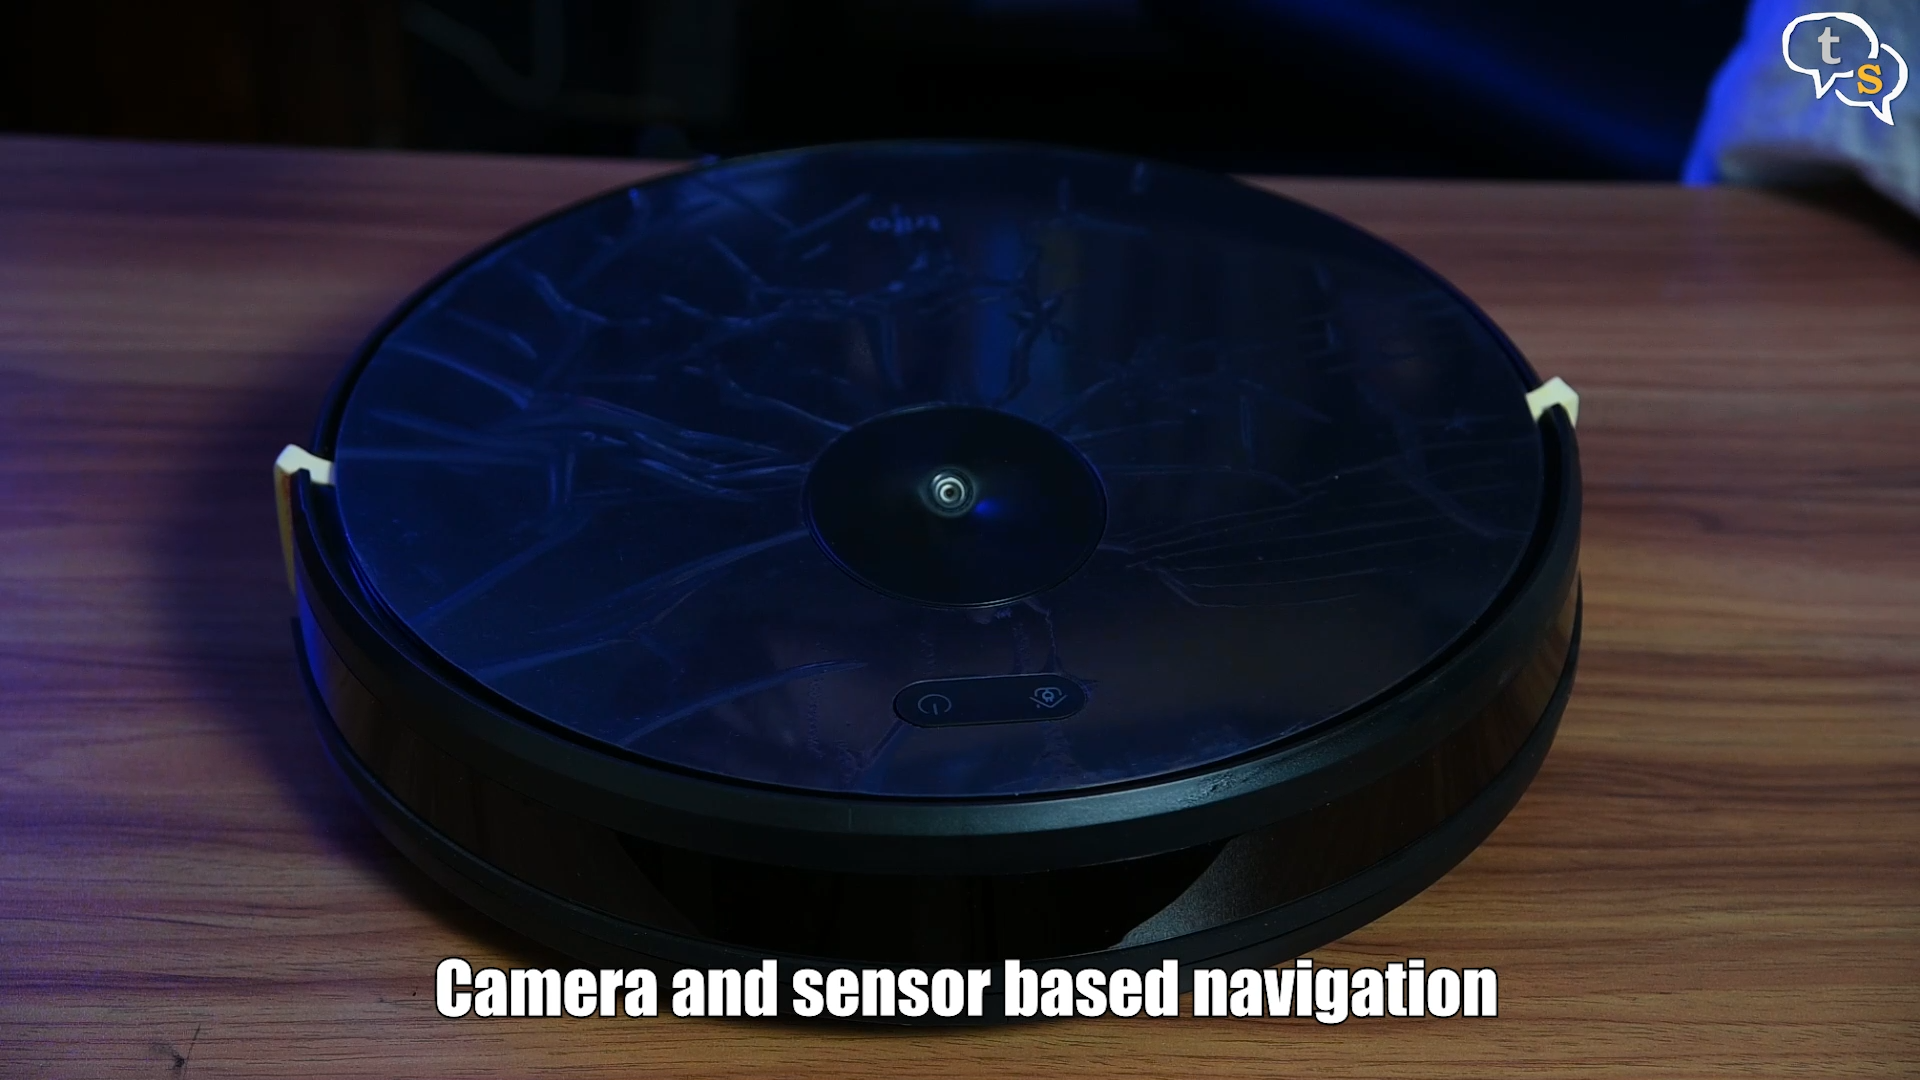
Now for the vacuum. This vacuum uses a camera for navigation as opposed to LIDAR on the 360 S7 which I had reviewed earlier. Let’s peel the plastic film off the camera.
This vacuum also has a bumper to avoid obstacles, and it’s protected by these pieces of foam.
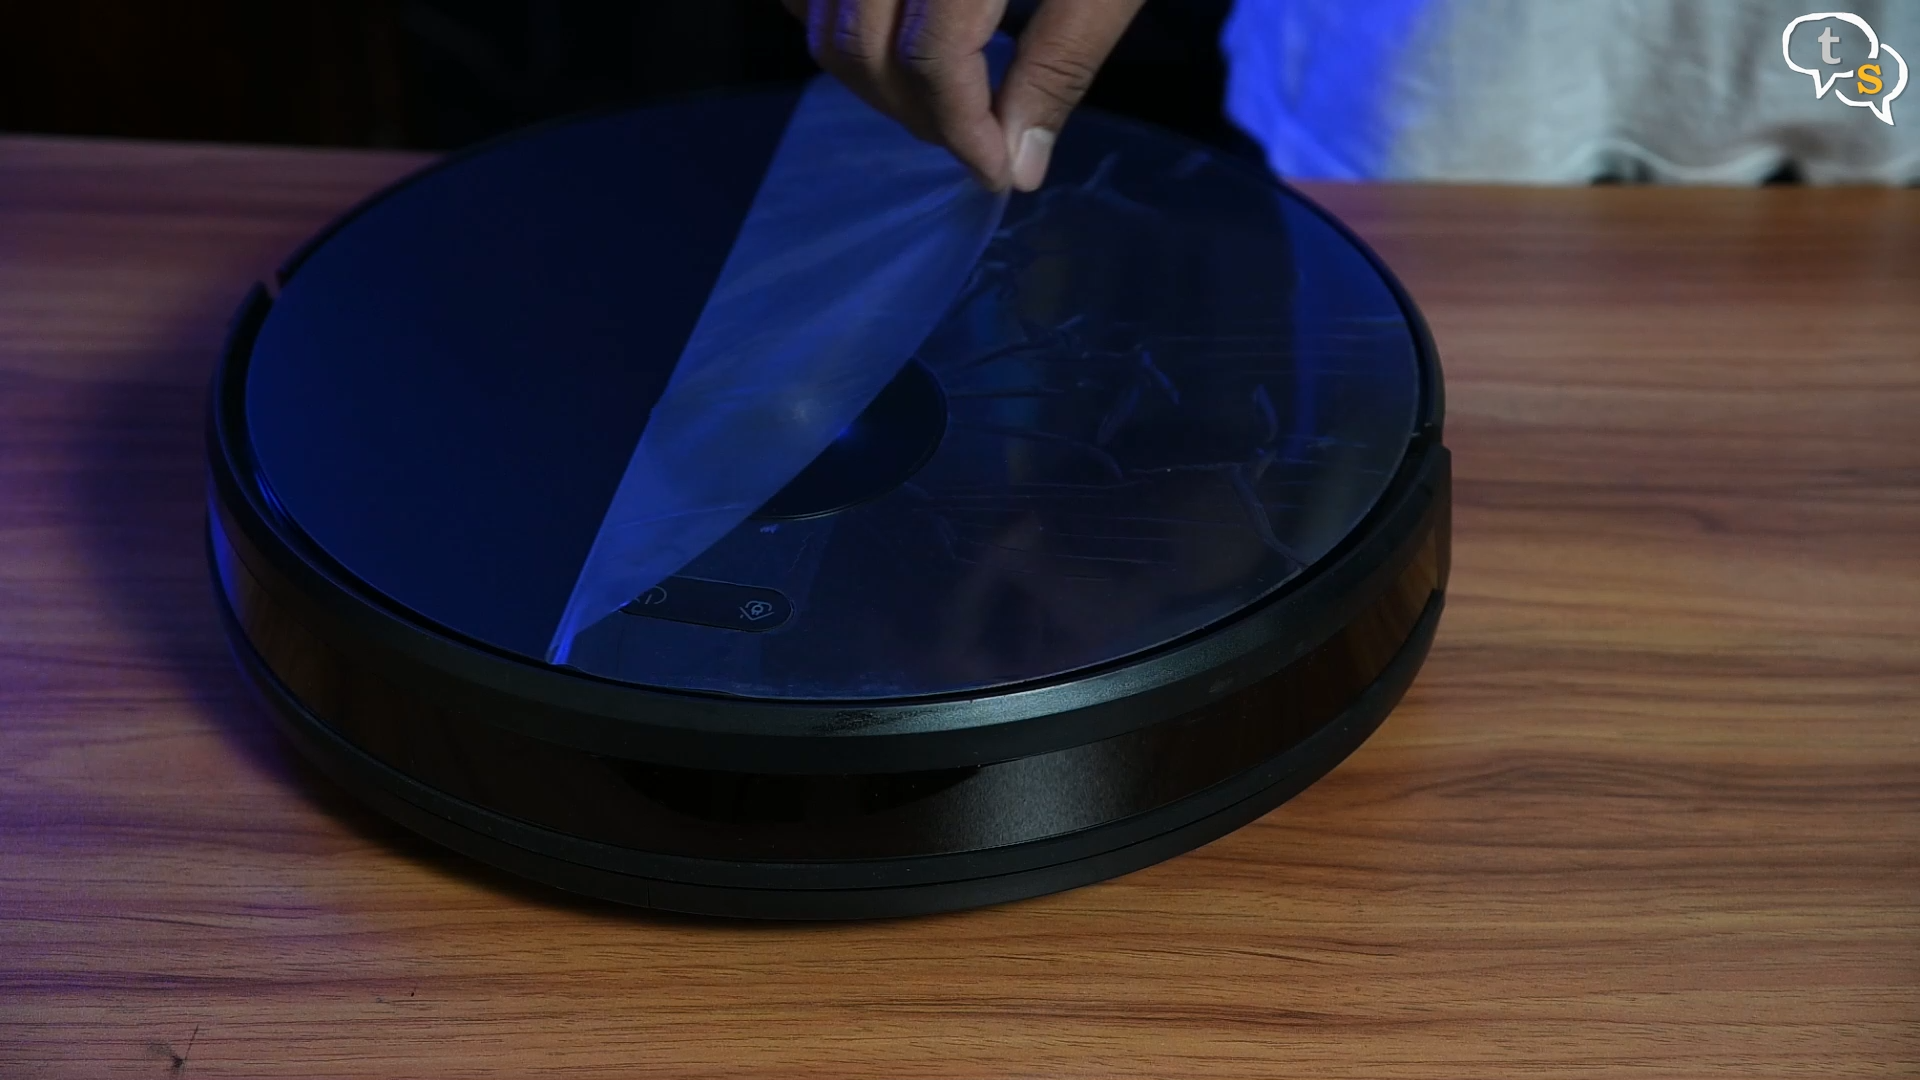
Now let’s remove the plastic film off the top of the vacuum. Oh, the top of the vacuum has a matte finish rather than glossy, which I like a lot.
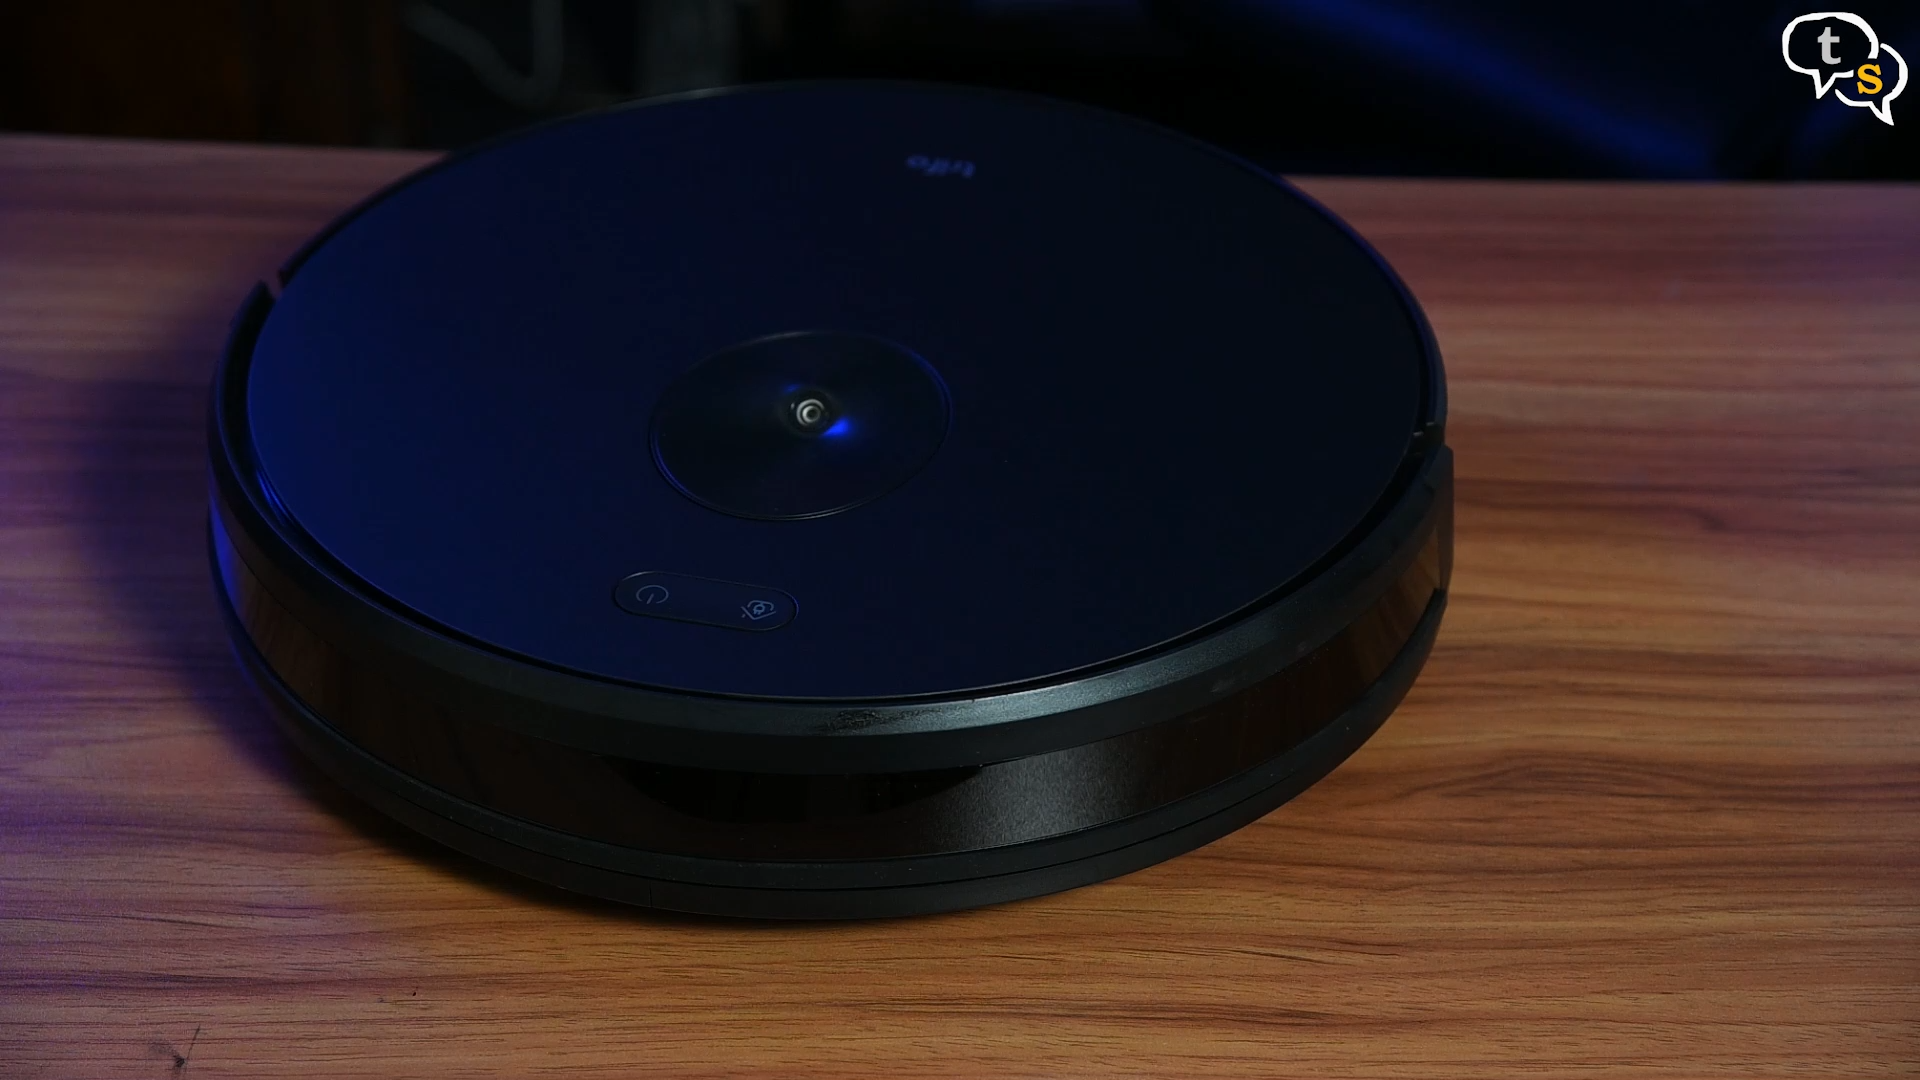
The black colour is so cool.
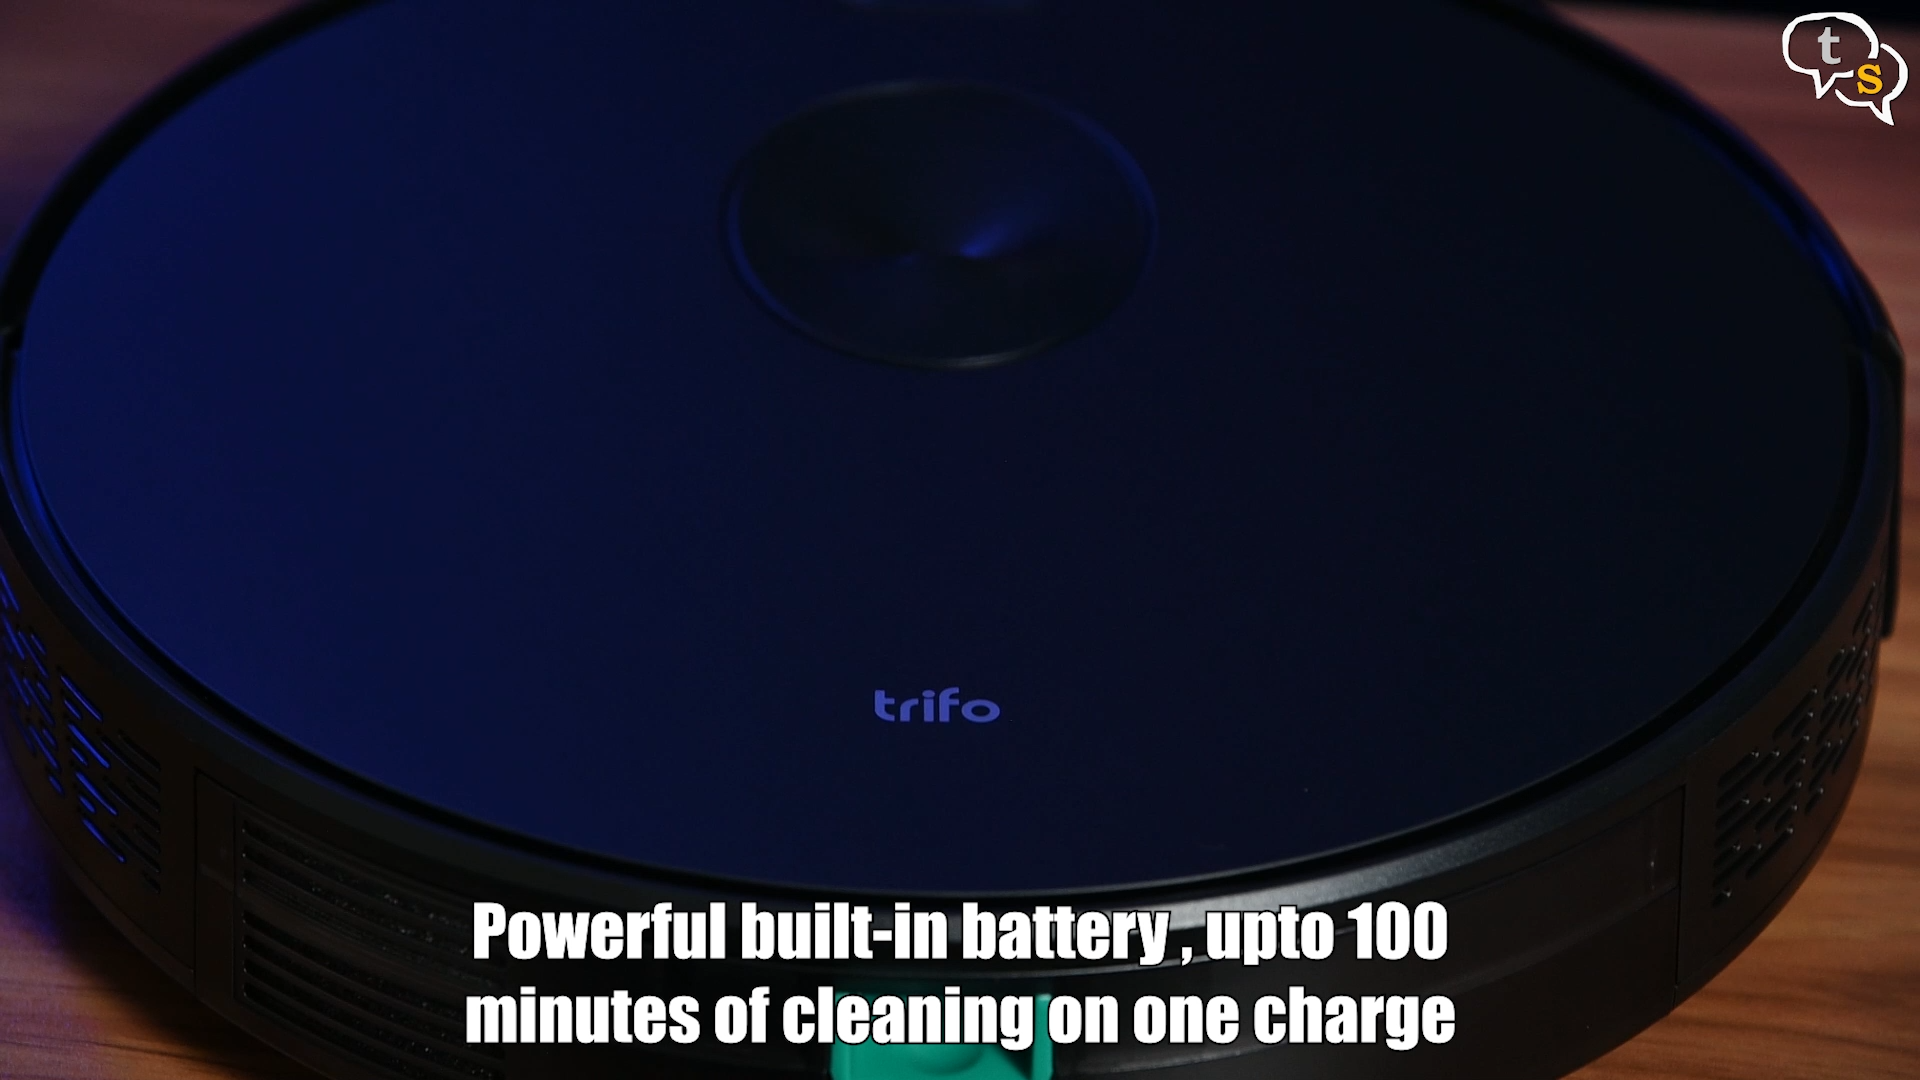
We have the trifo branding on top. The back has the dust container.
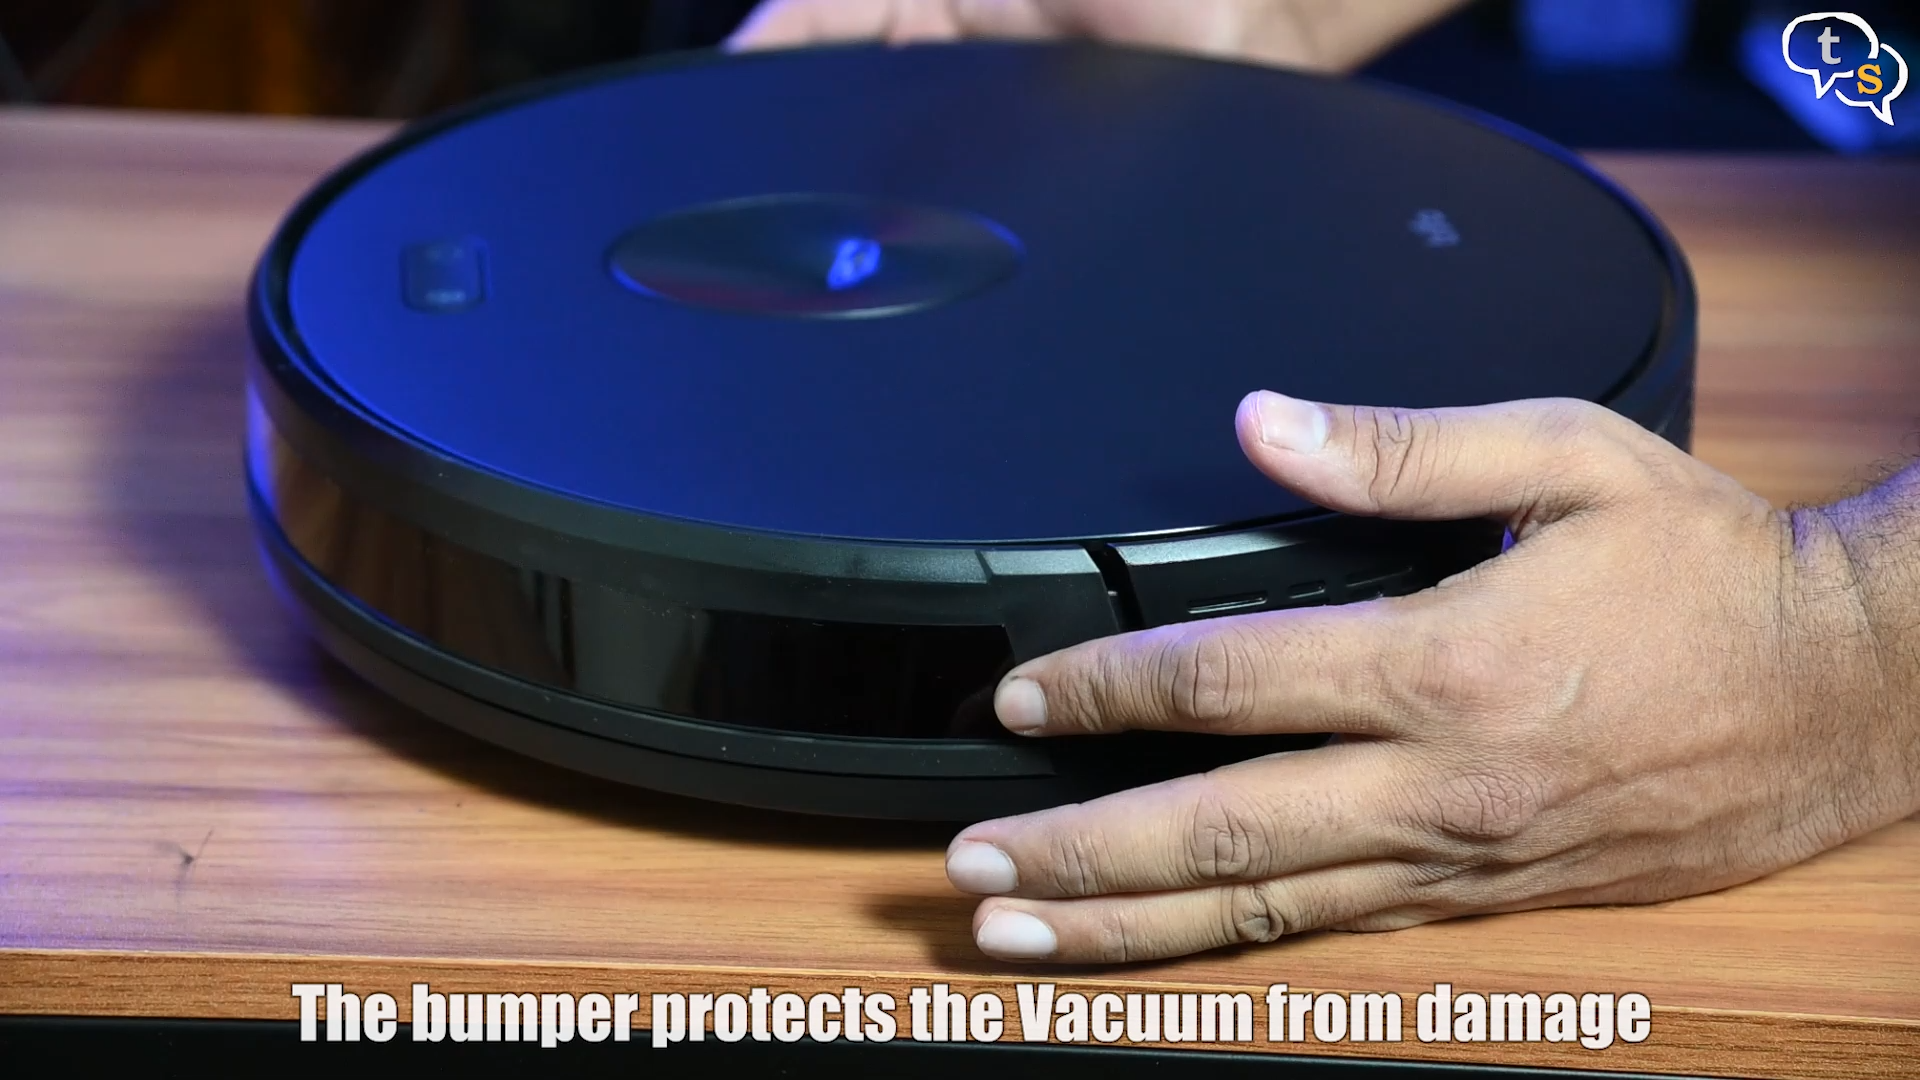
As with most robot vacuums this one has a bumper too, to avoid bumping into obstacles and being rubber wont leave a mark on your furniture.
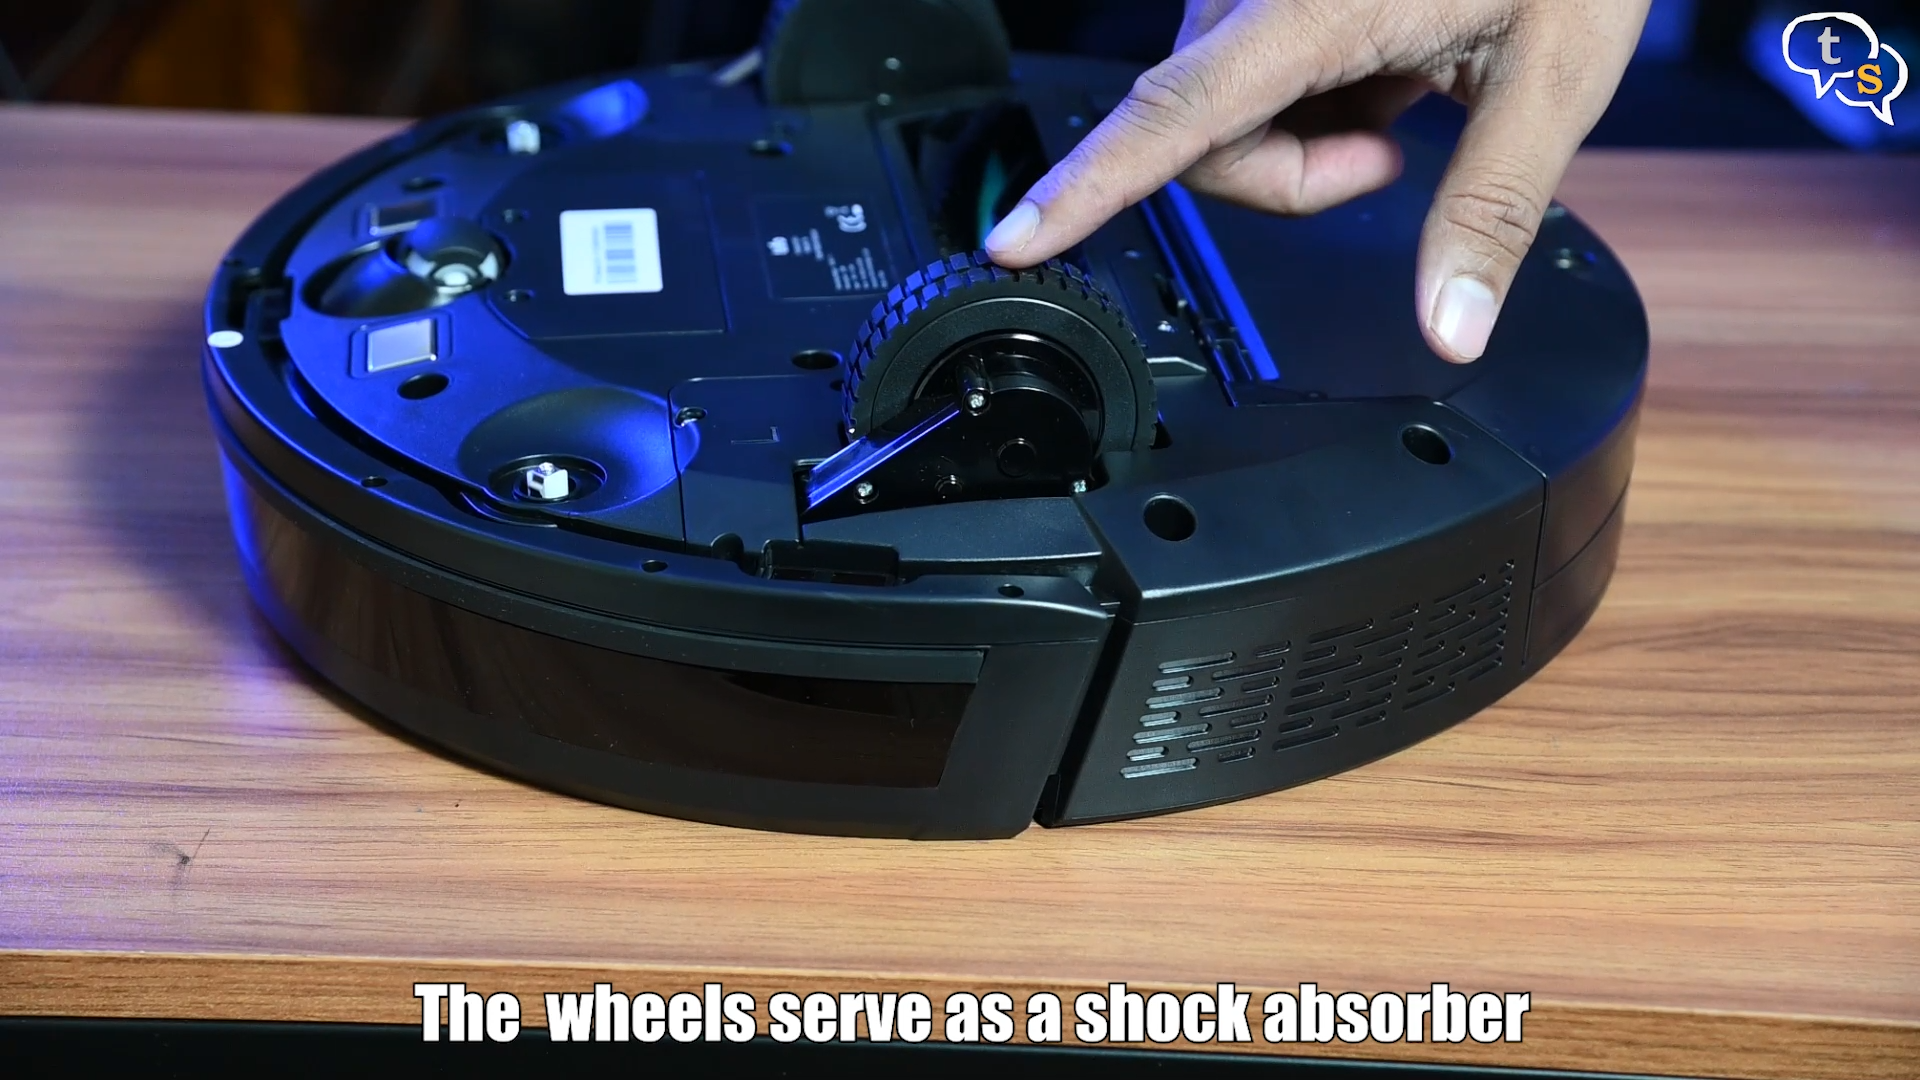
On the bottom we have the wheels, and they also act as shock absorbers when climbing on or off carpets.
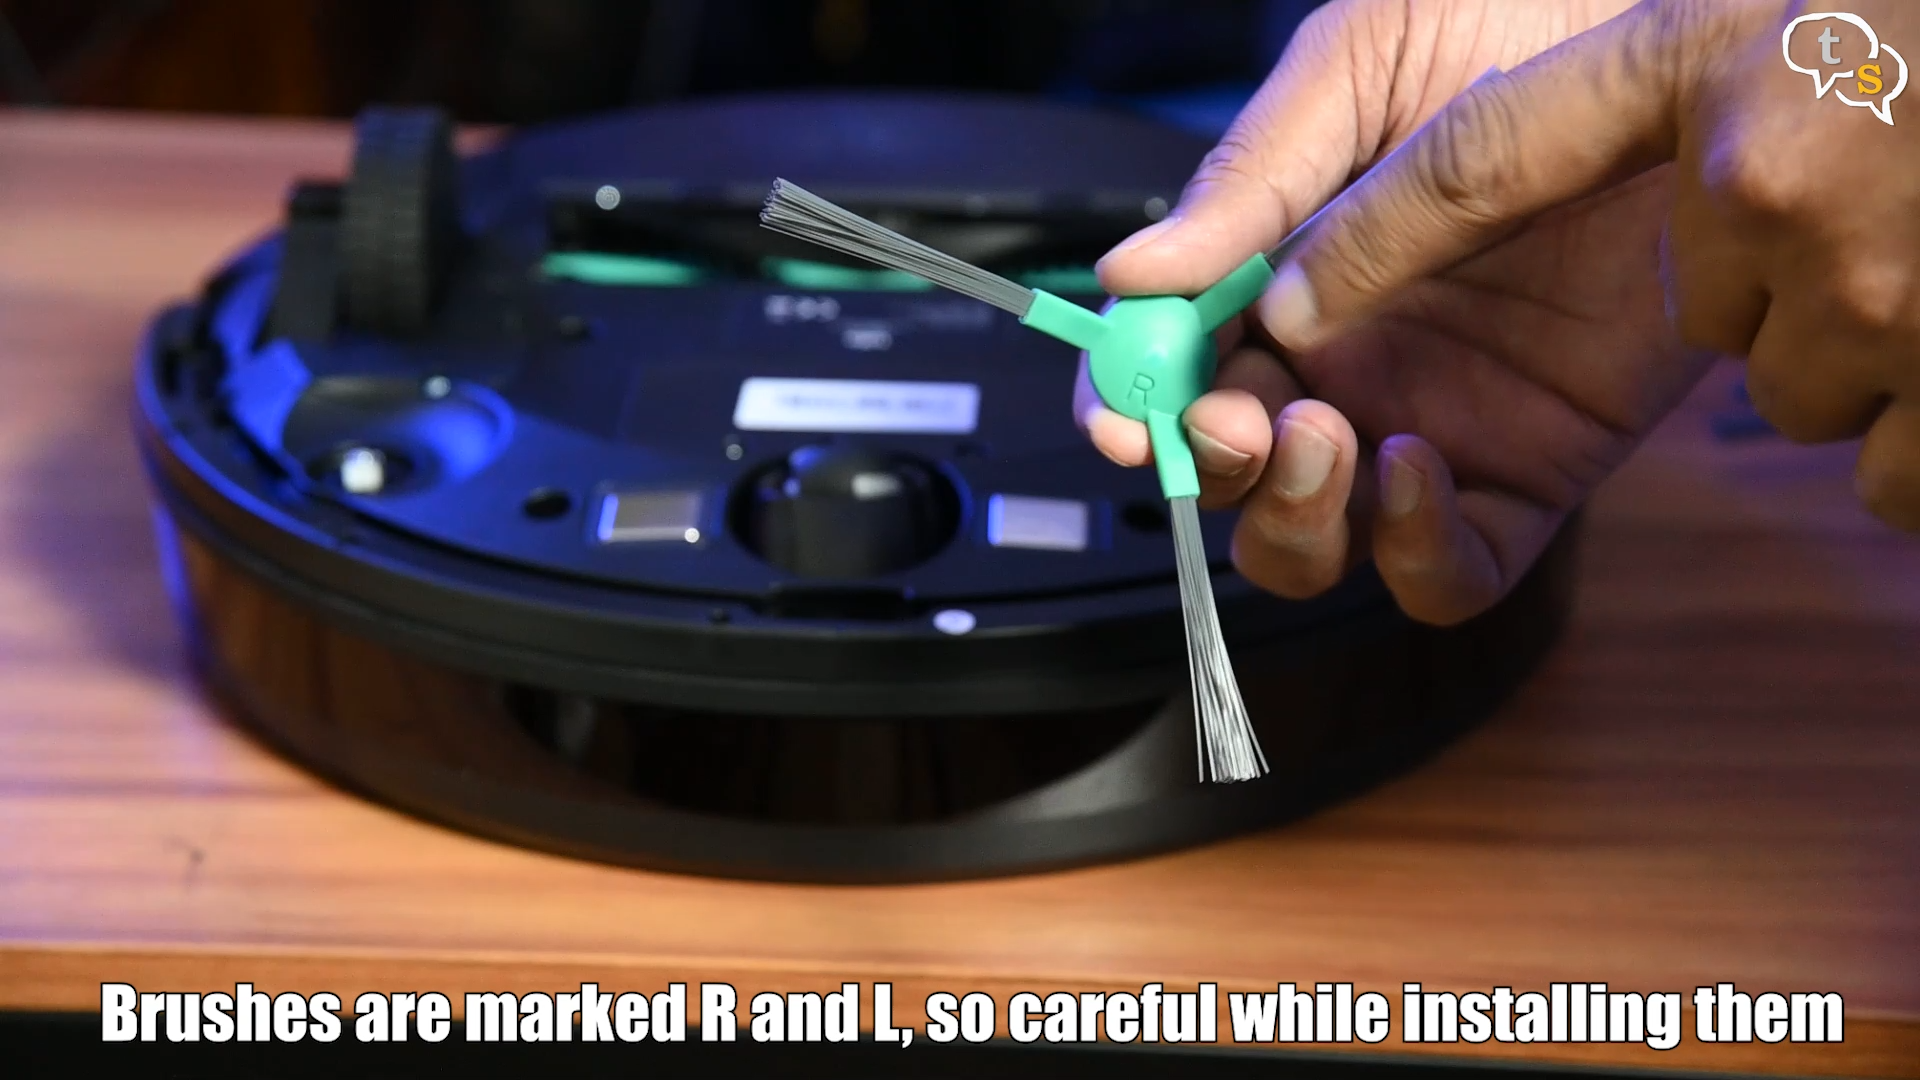
On the sides are where you would snap in your cleaning brushes.

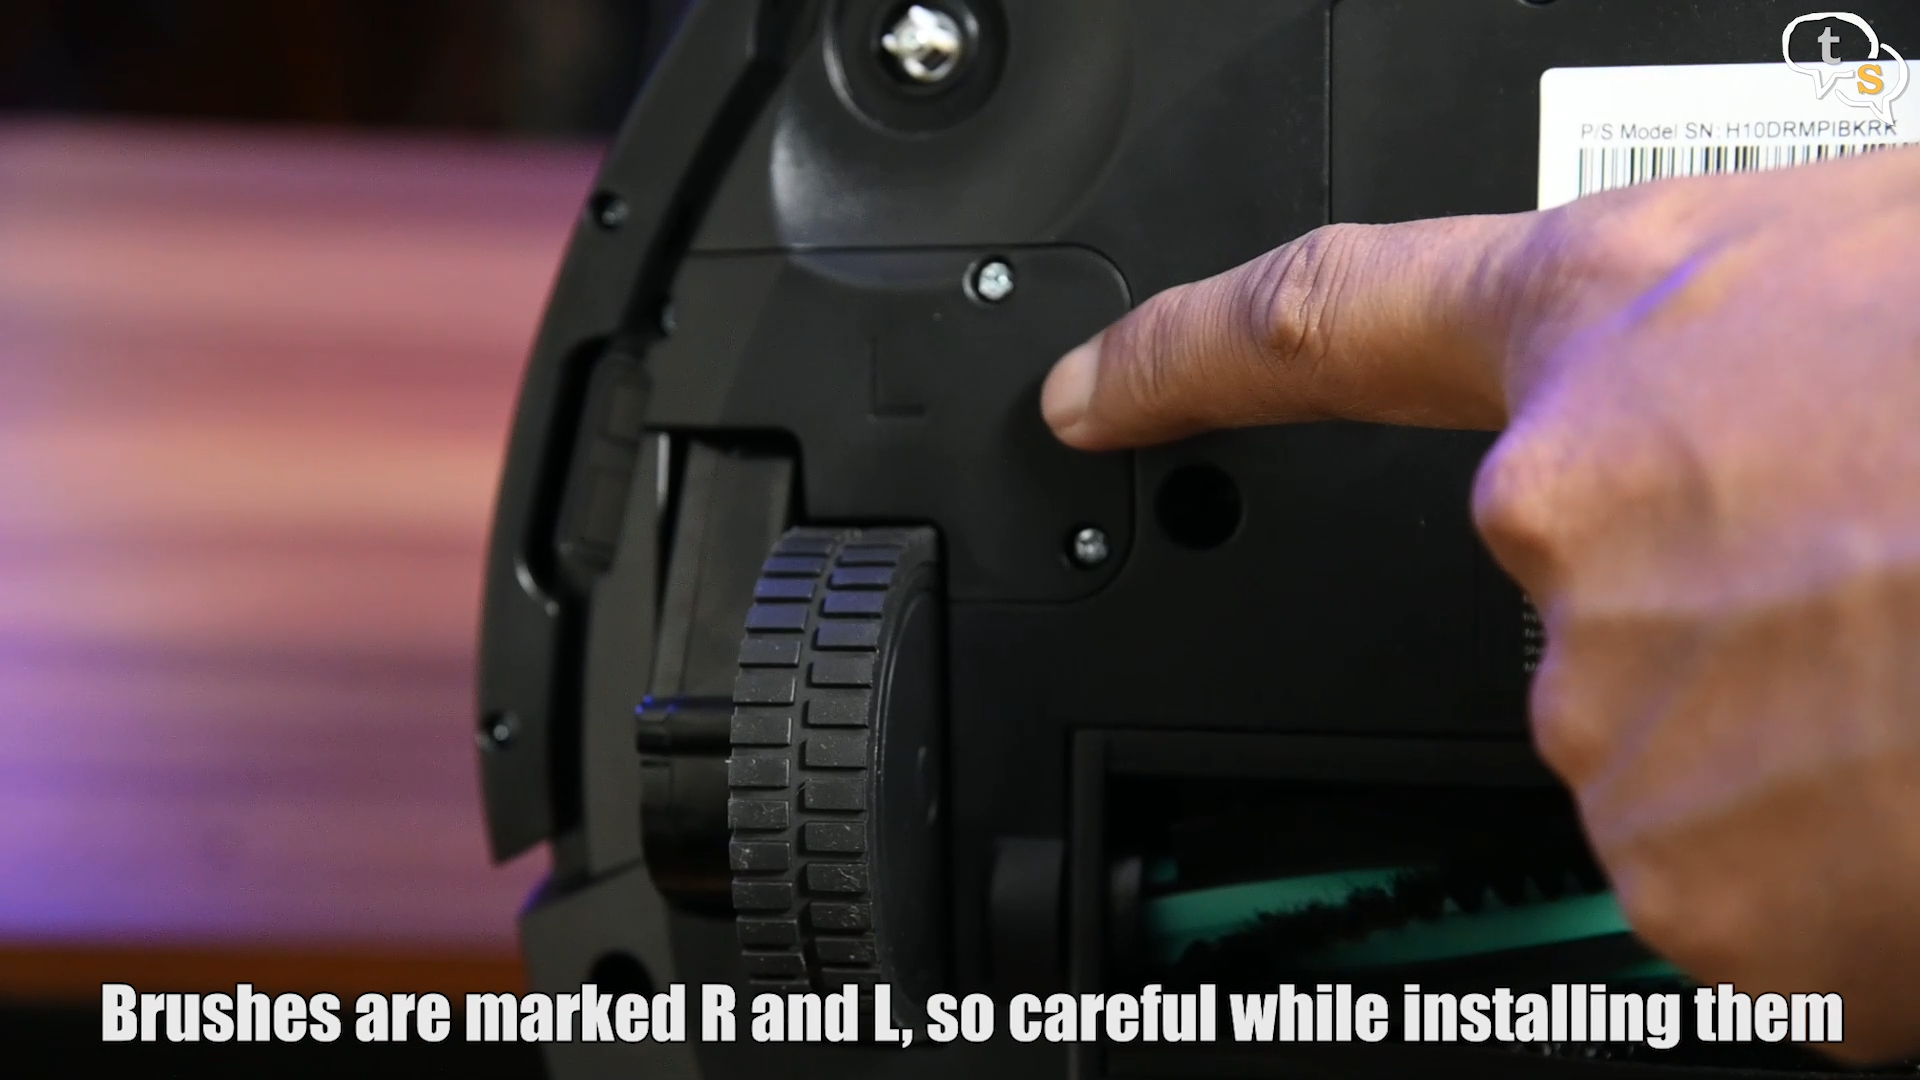
They are marked R and L on the brushes and also on the Vacuum, so the appropriate one needs to be installed on the correct side.
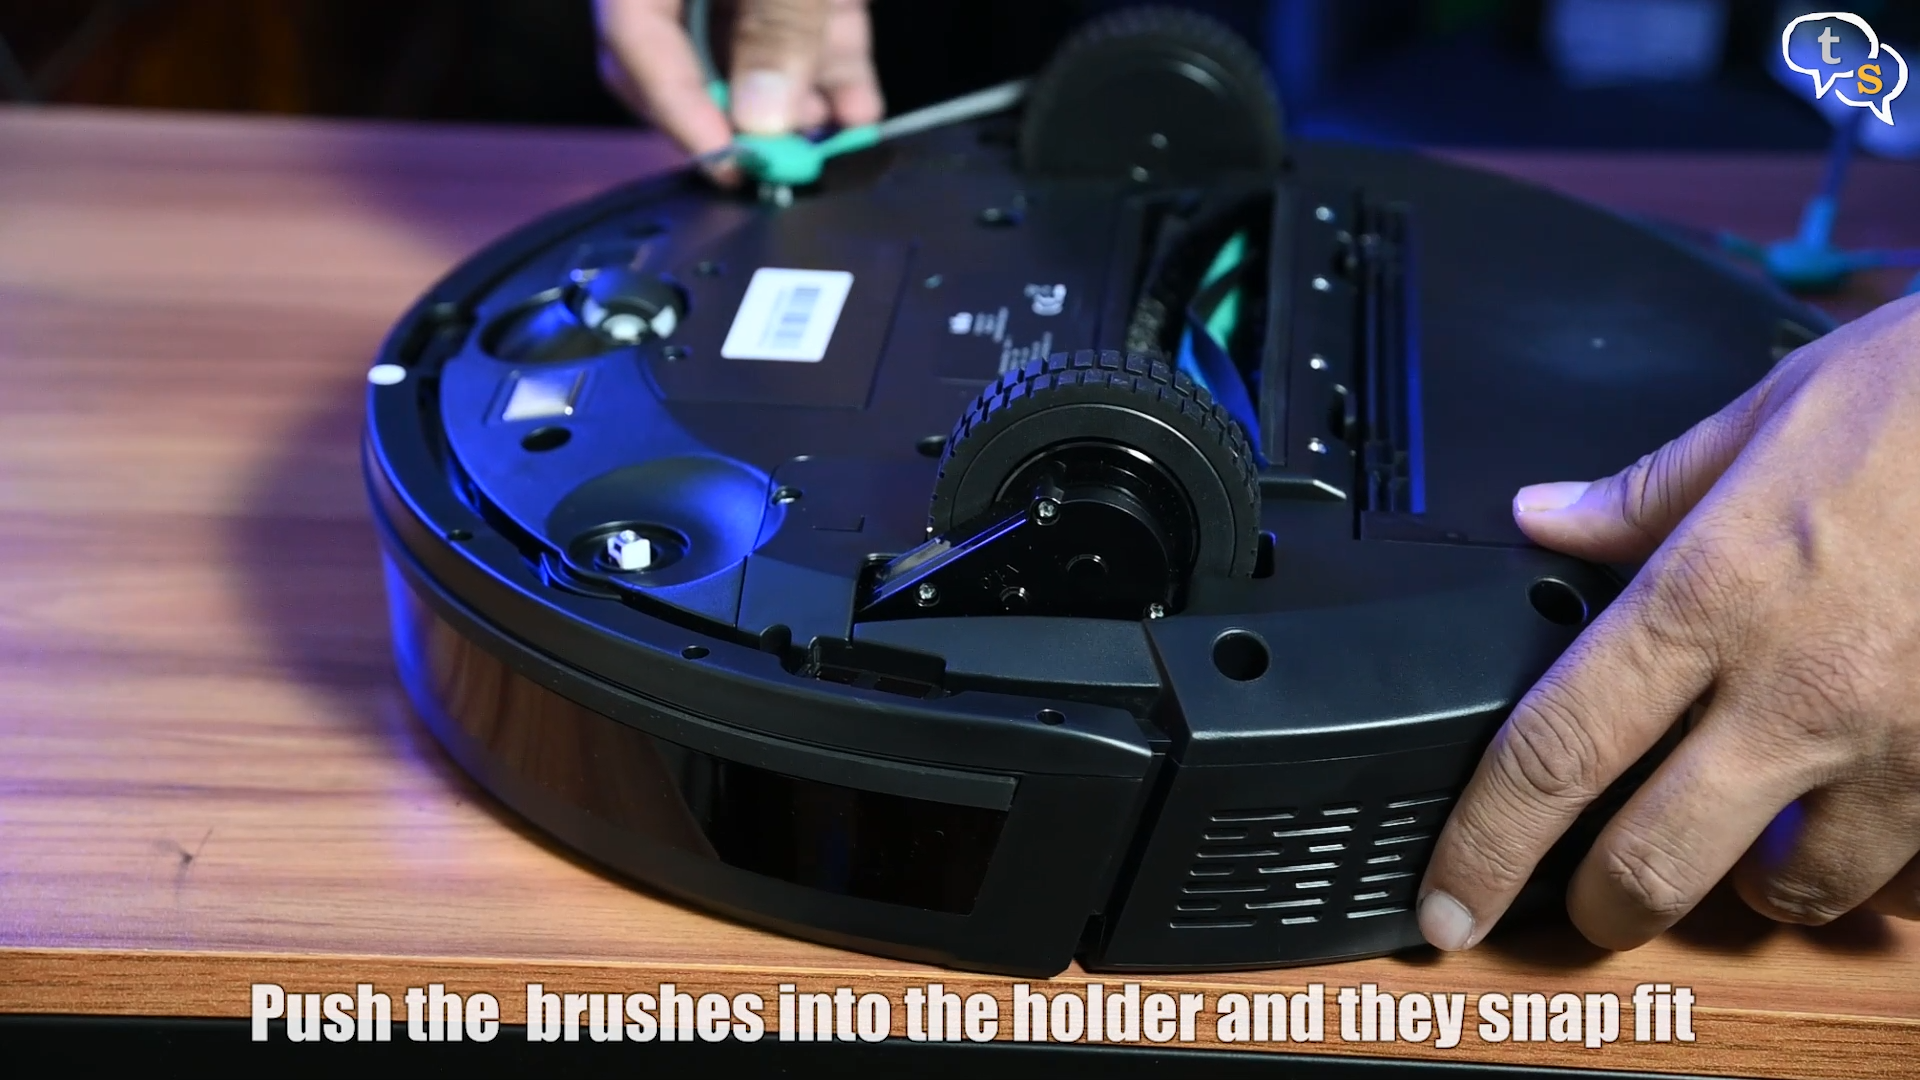
Quite simple, align and push in to snap.
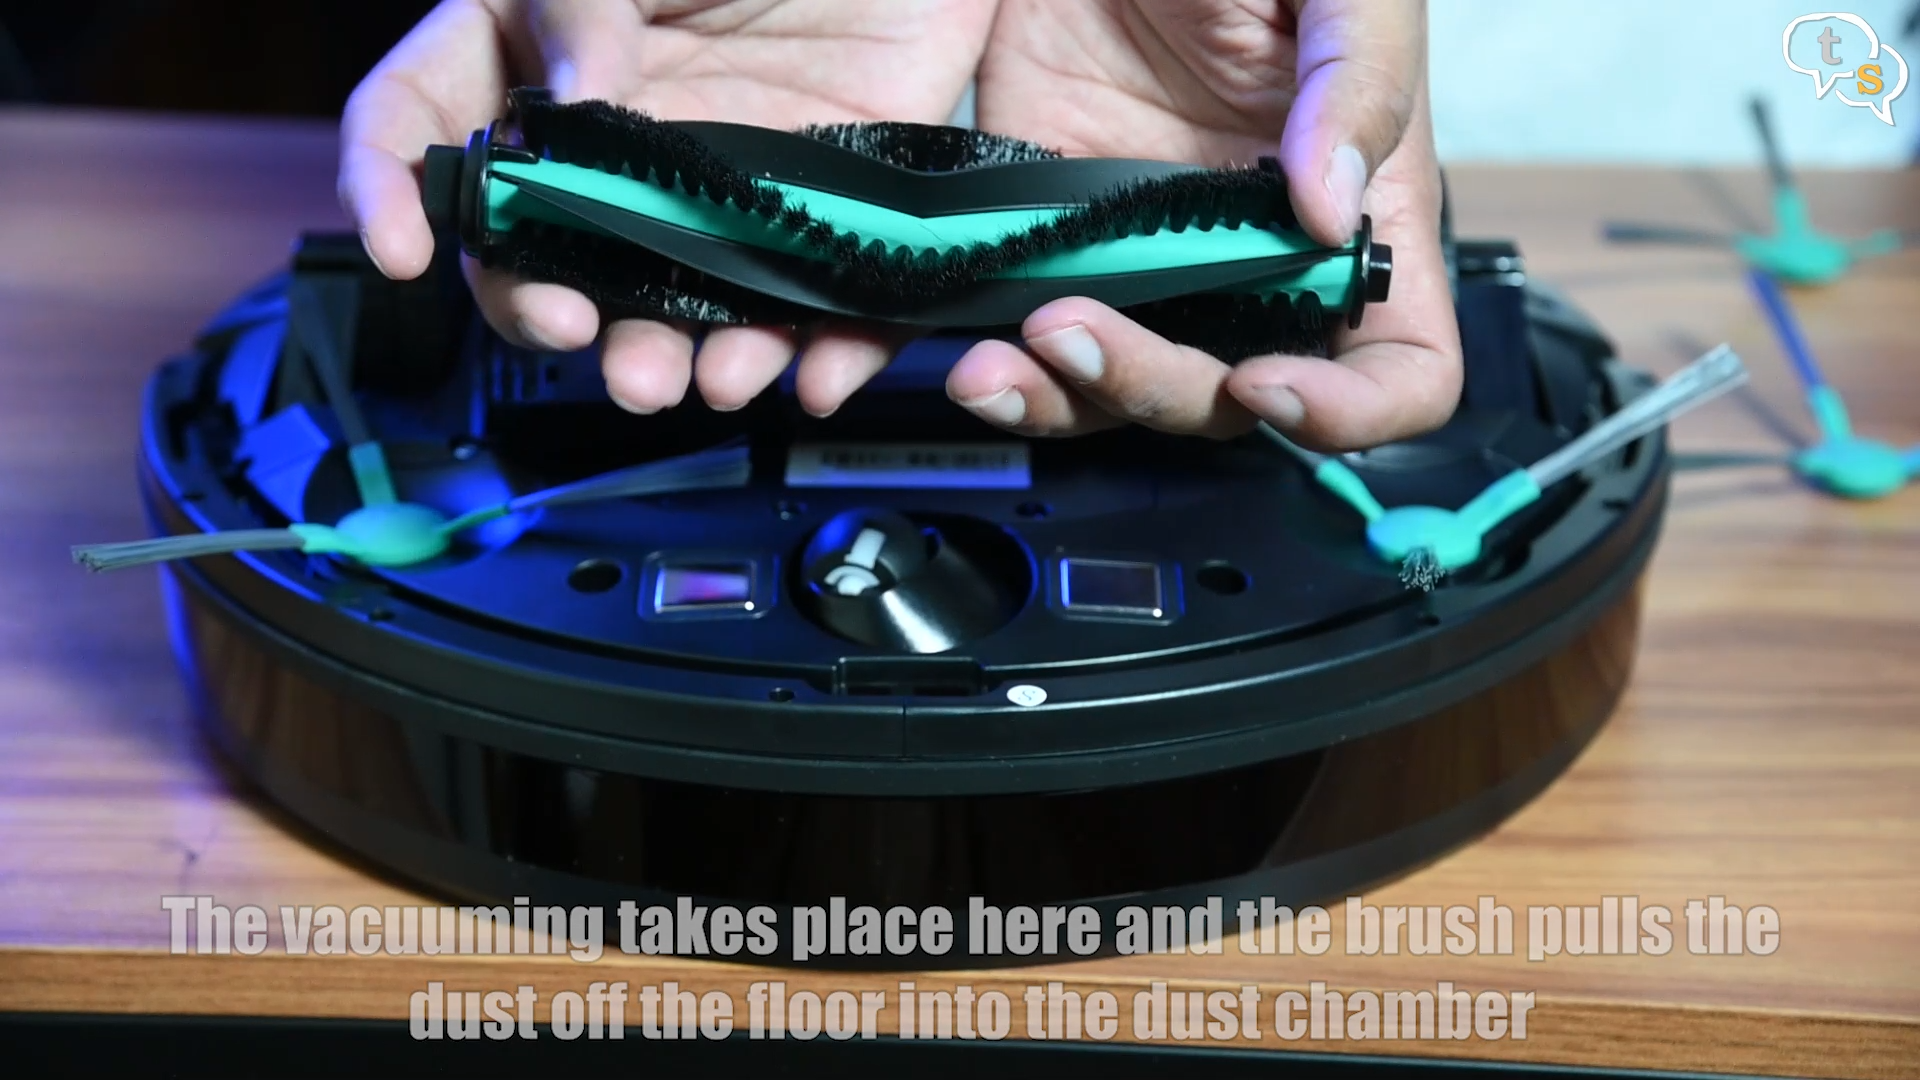
Here’s the main brush, which pulls in the dust and debris into the dust container. Easy to remove and clean in case something gets stuck within.
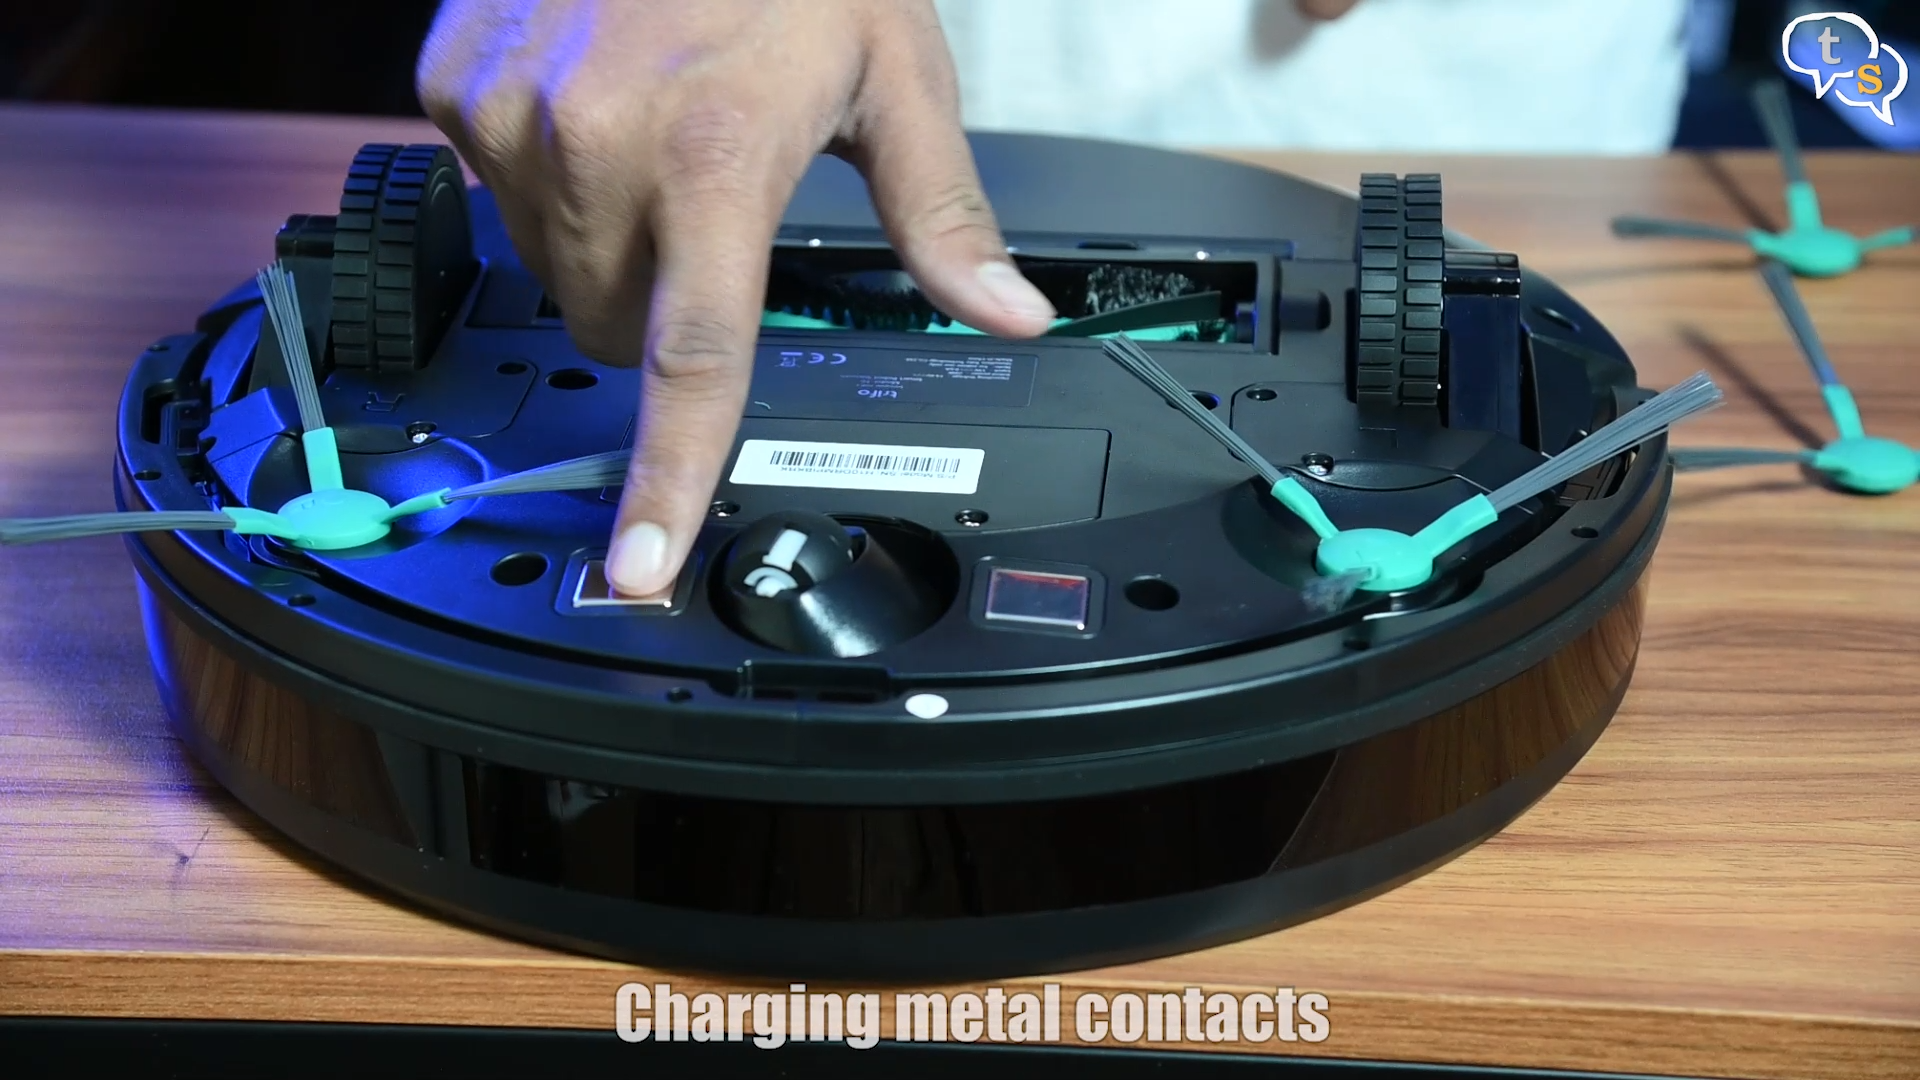
Here are the charging metal connectors on the vacuum, which line up with the dock to charge.
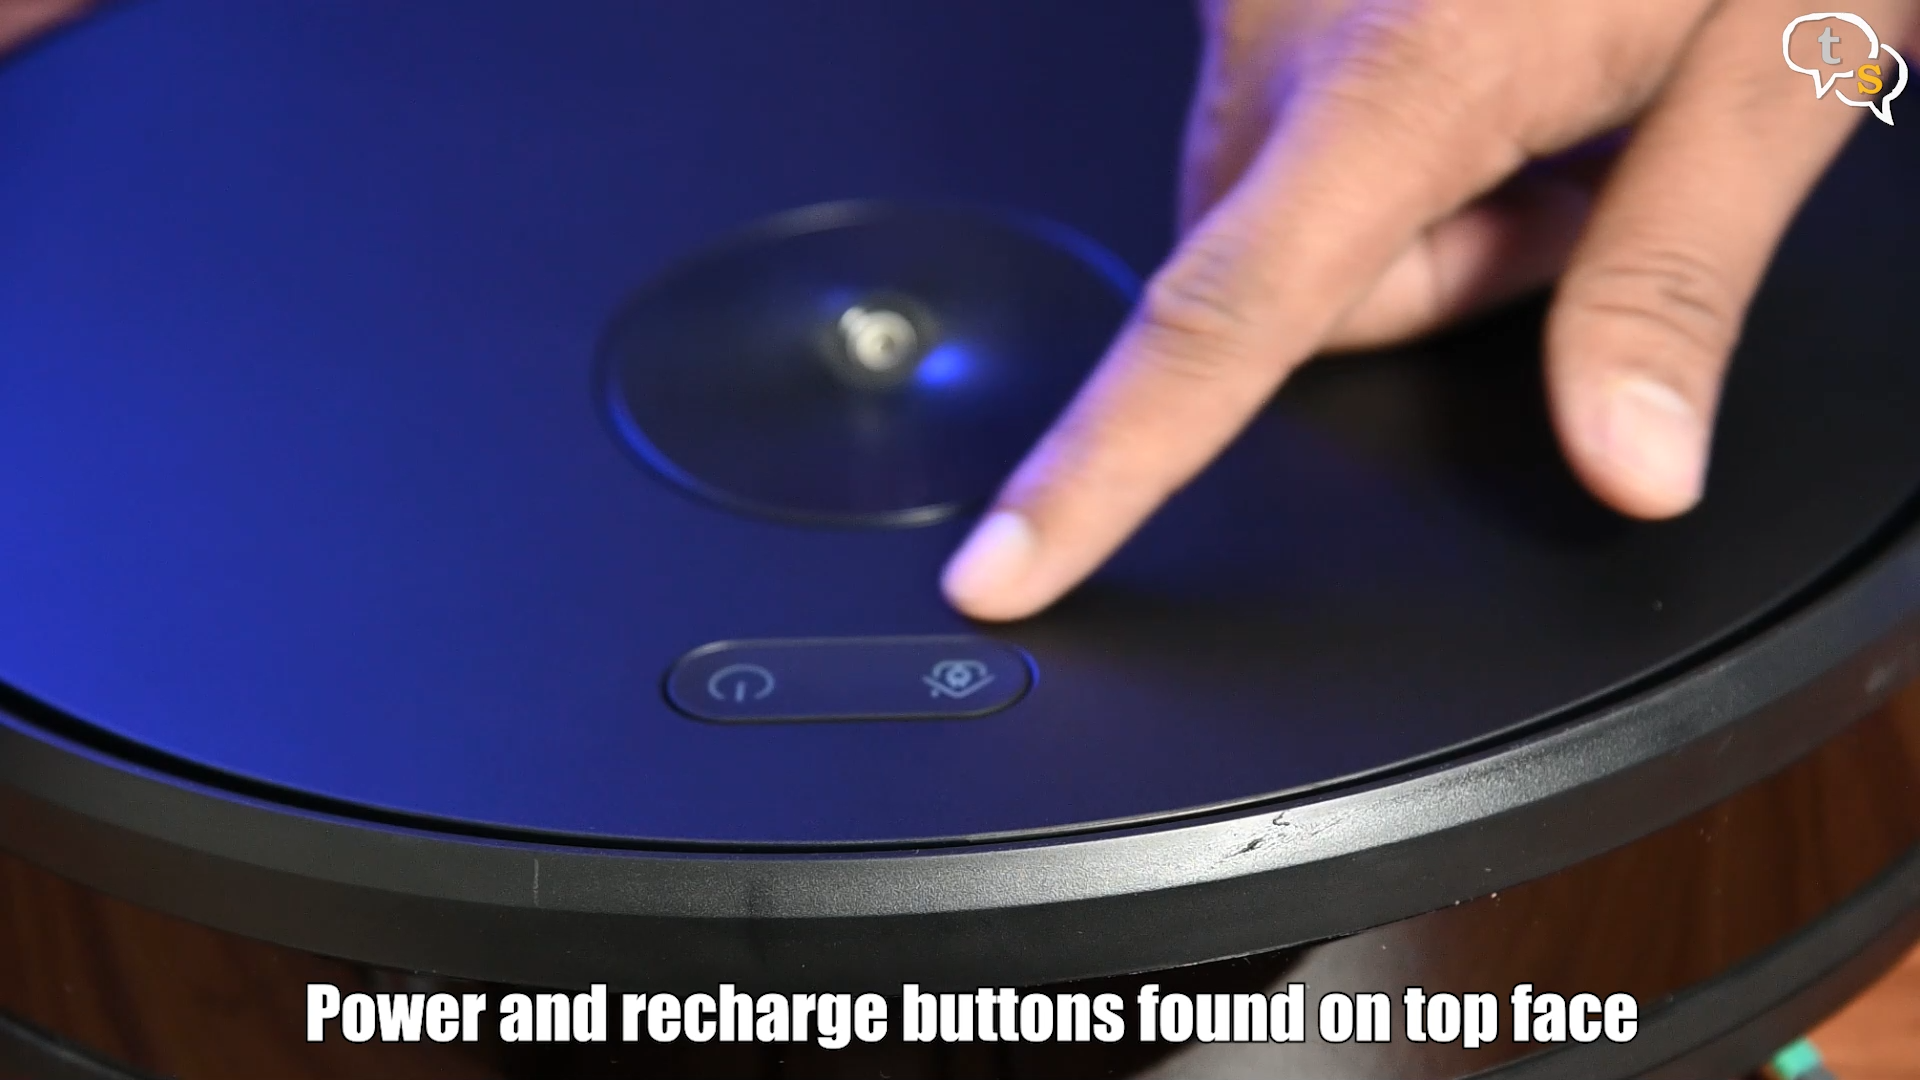
We have the power and recharge button on the front face of the vacuum. Let’s power it on and check if it has a charge.
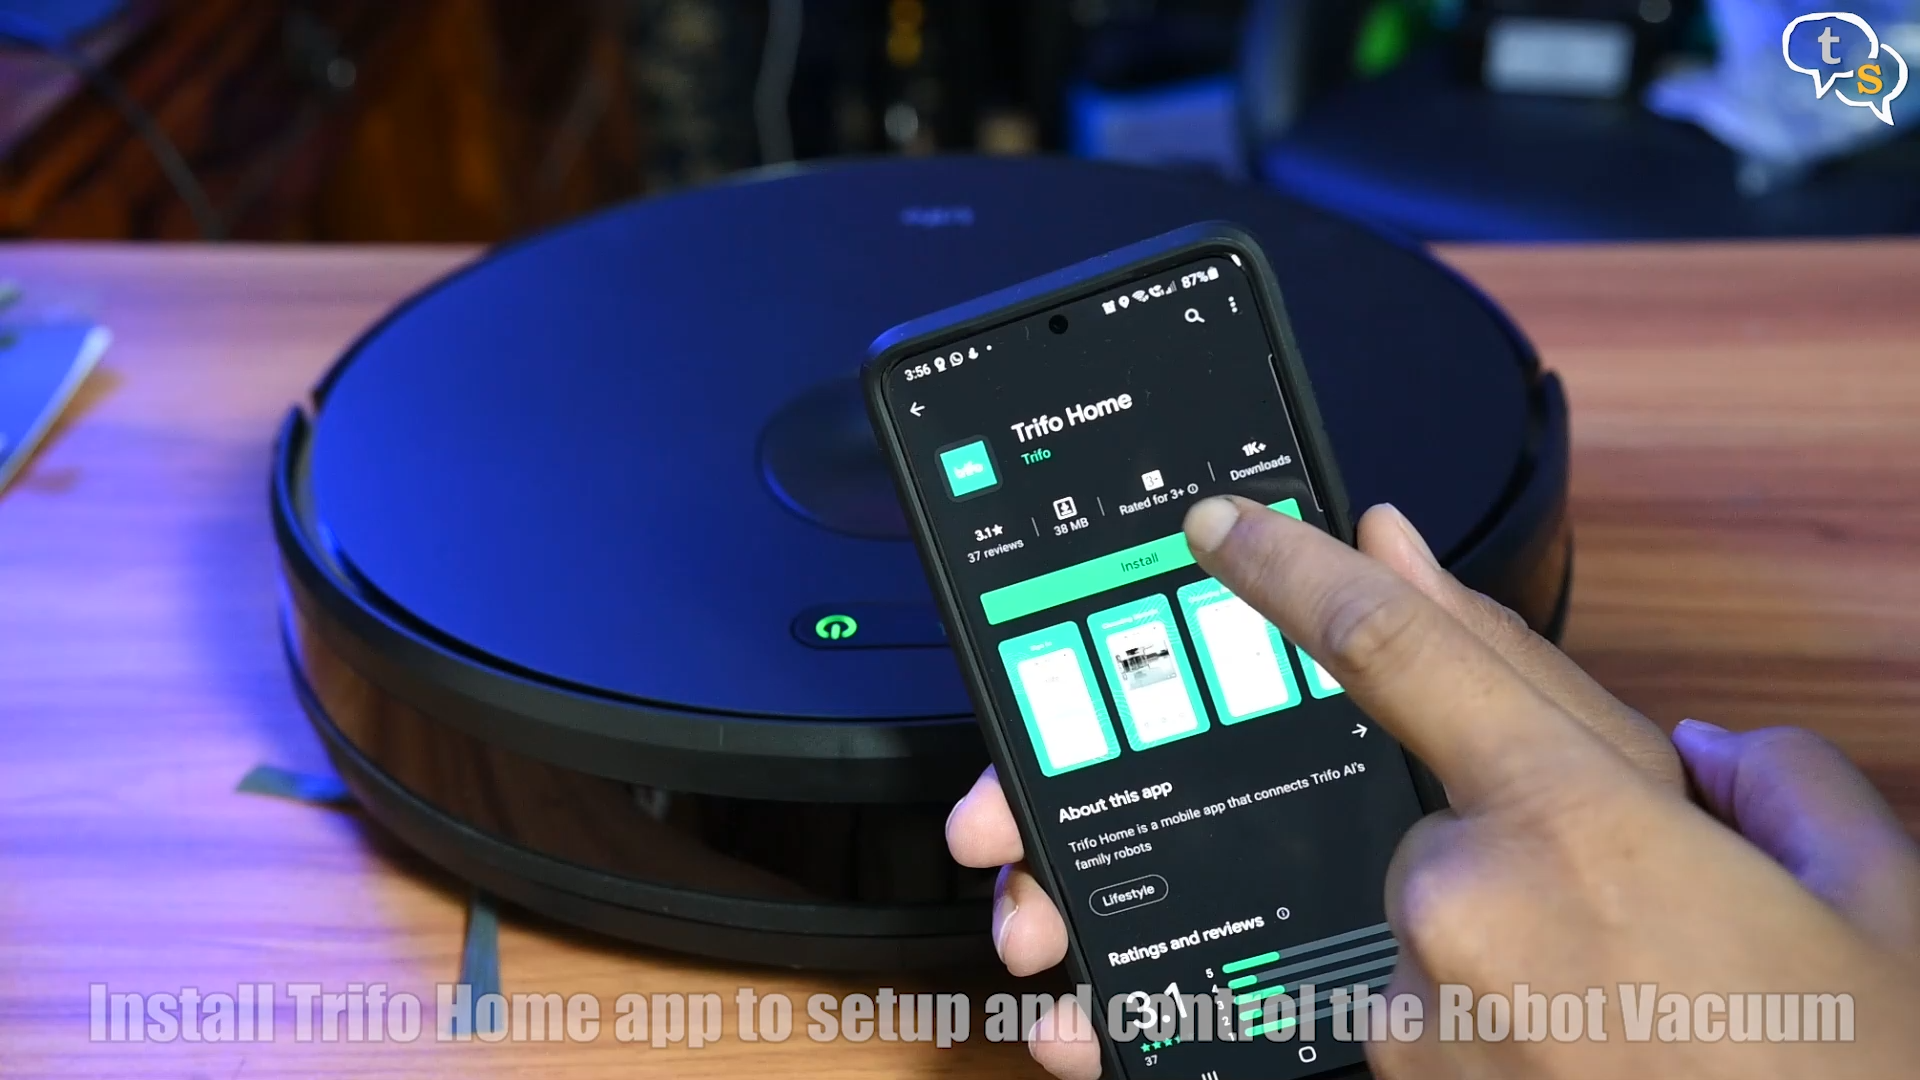
We need to install the Trifo Home app, to control the Vacuum.
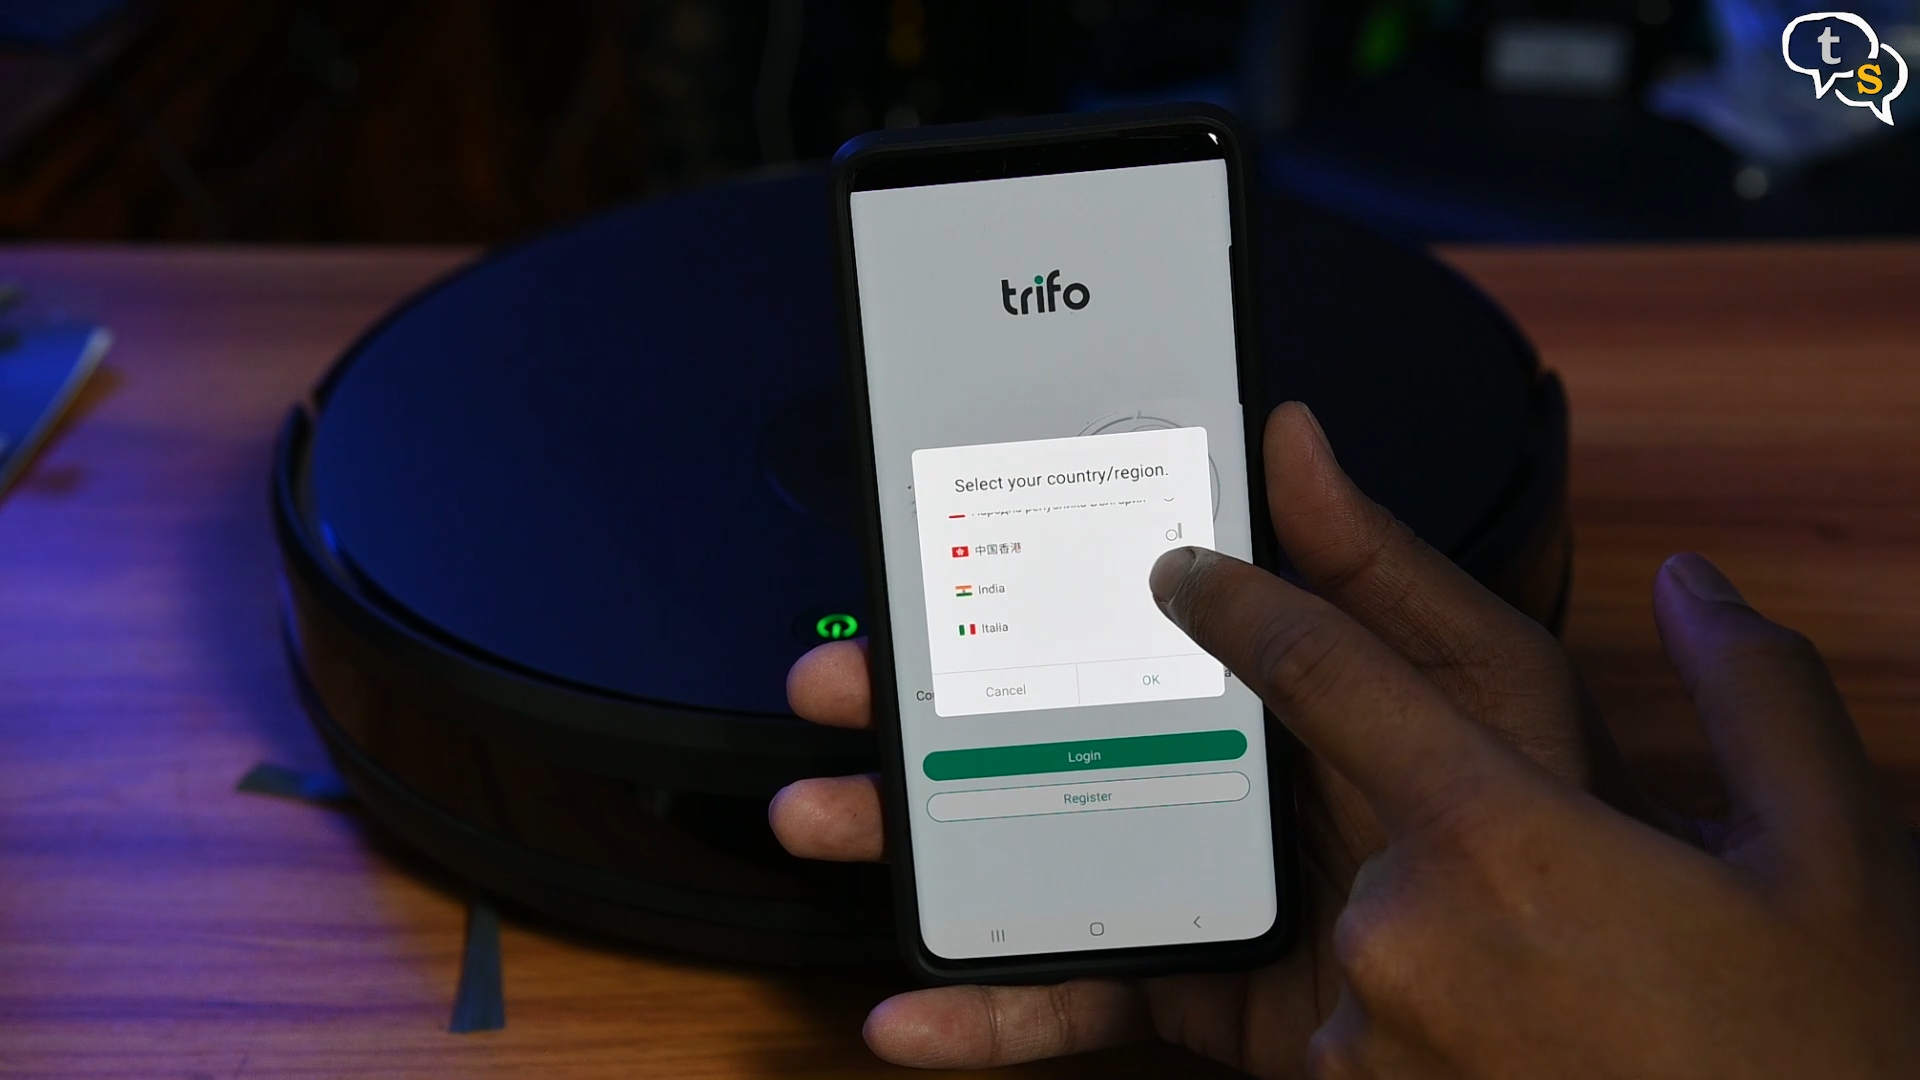
App installed, select country, India, and register for an account.
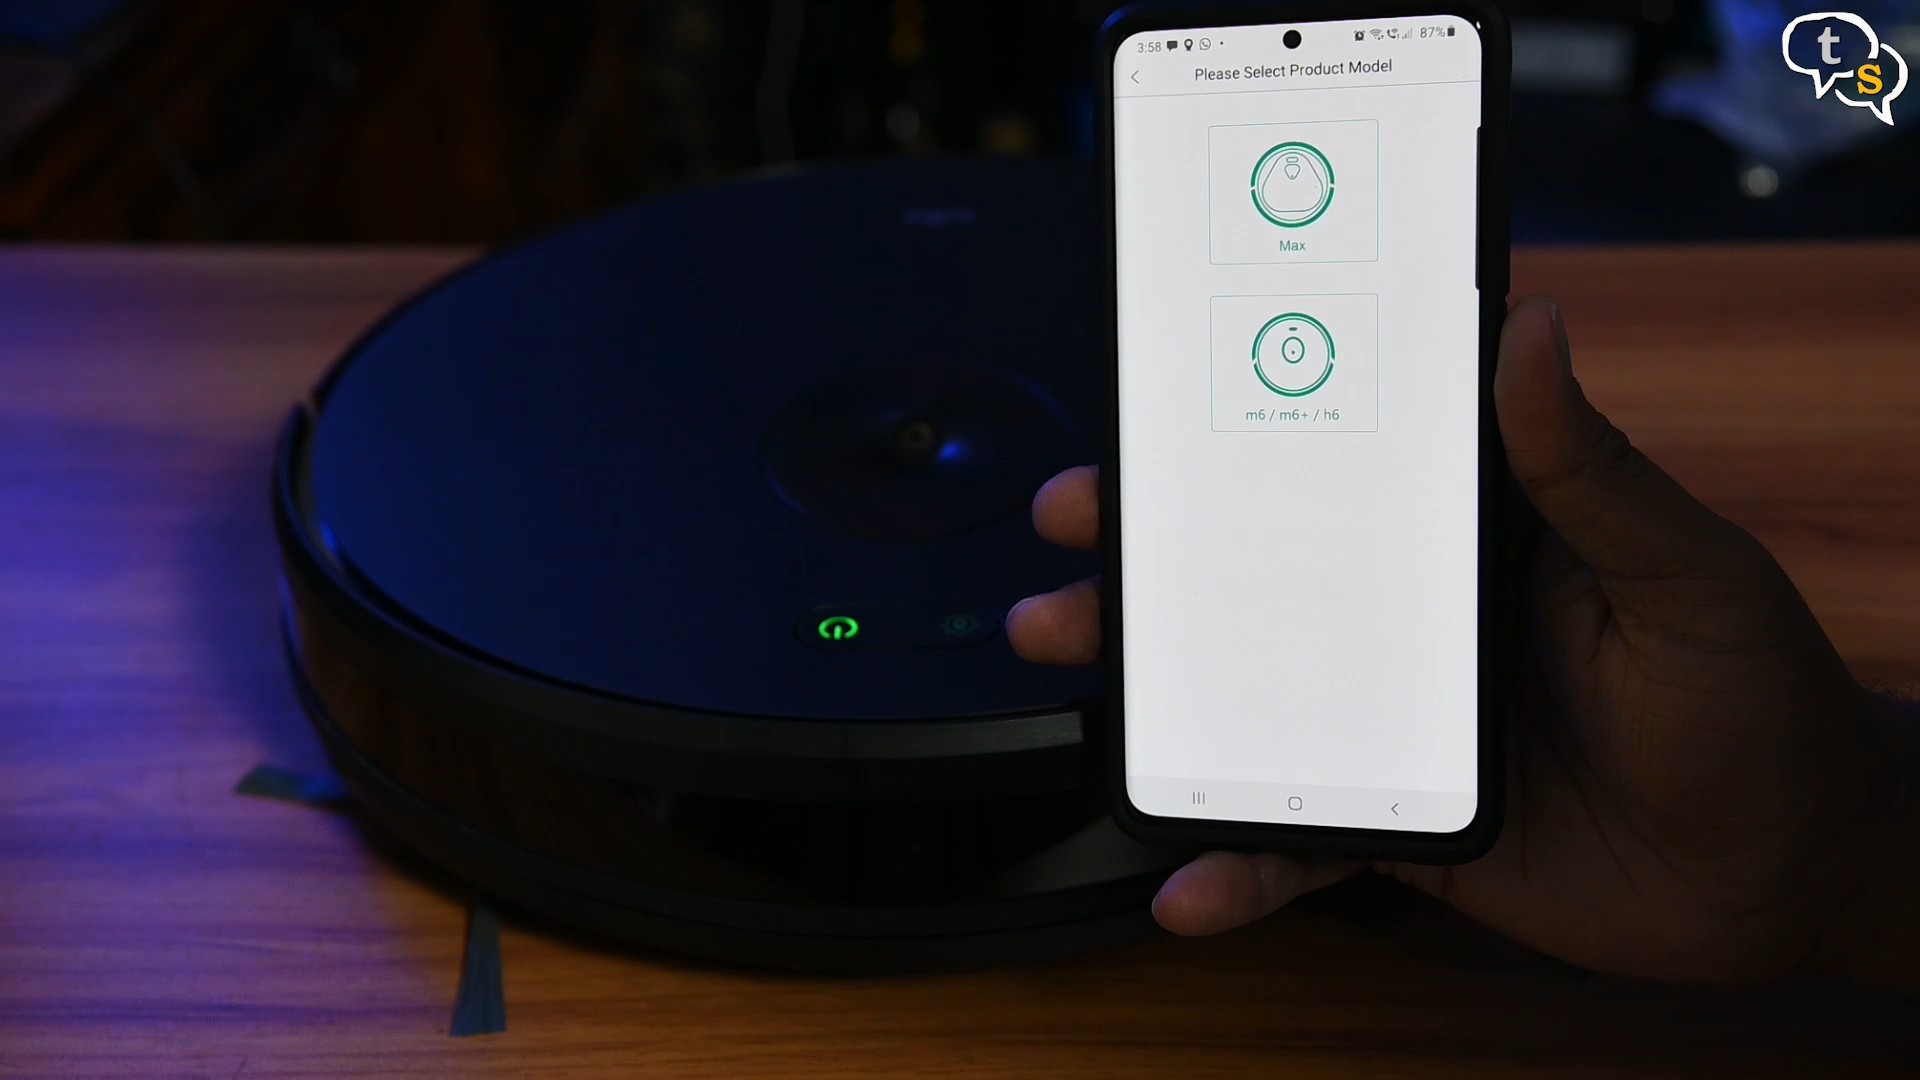
Once logged in, add device, select model.

Now to get the device into WIFI pairing mode, quite simple, press and hold the recharge button for around 5 seconds until the power and recharge LEDS start blinking. This indicates it’s ready to pair.
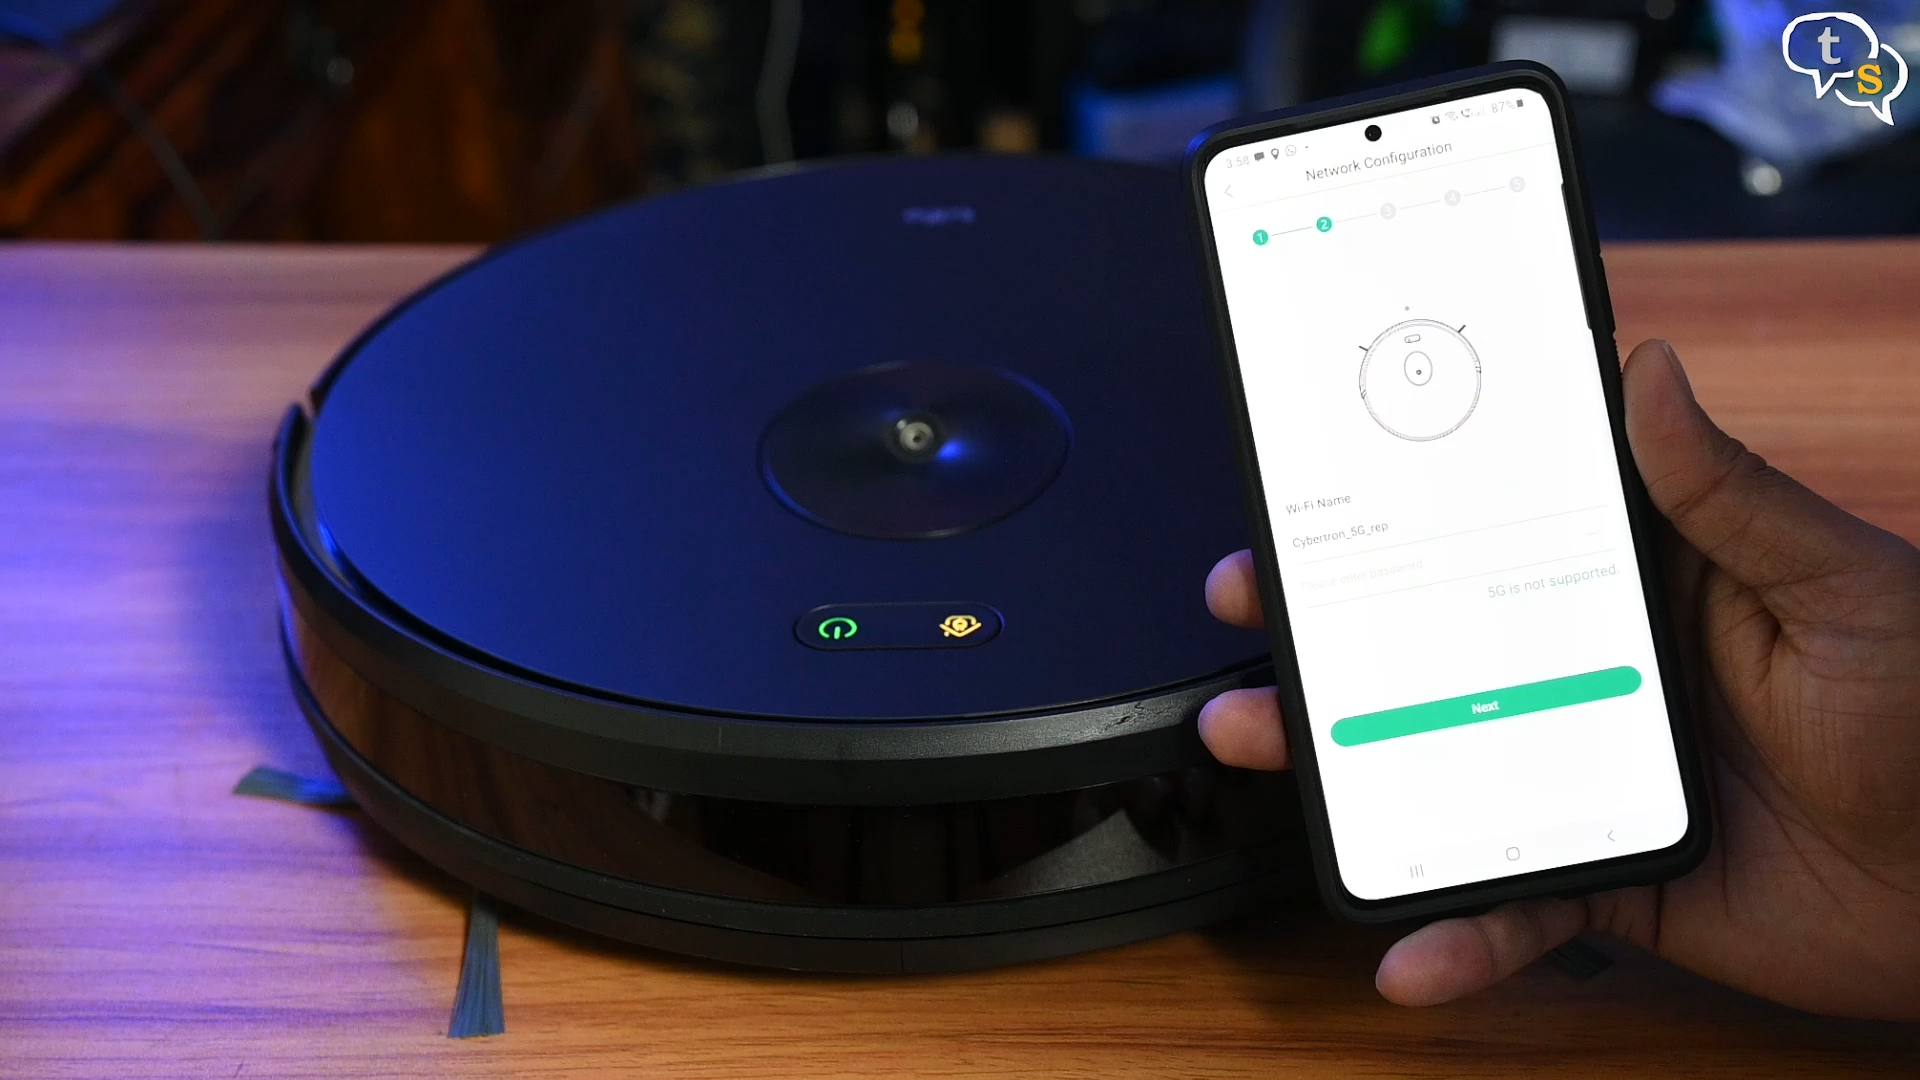
Enter Wi-Fi credentials on app, show it to the vacuum’s camera.
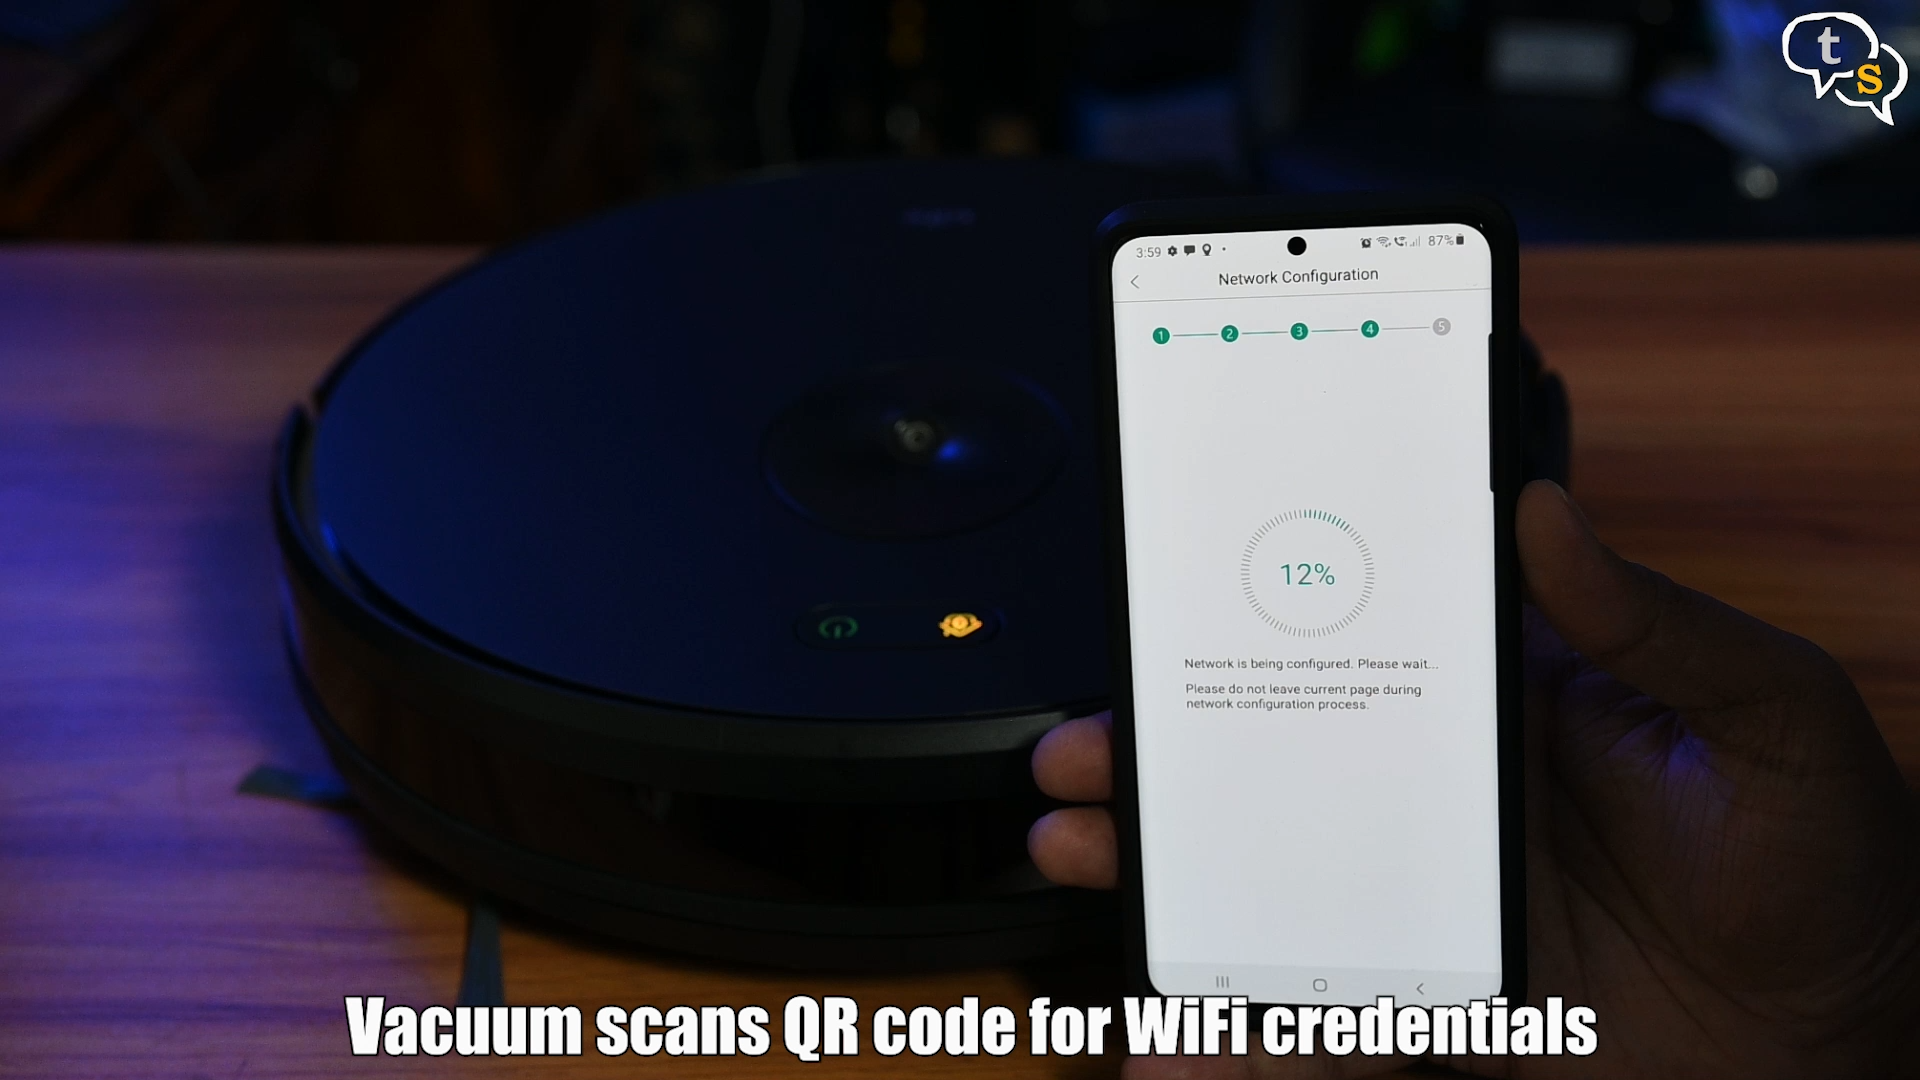
It reads the QR code and connects to WIFI.
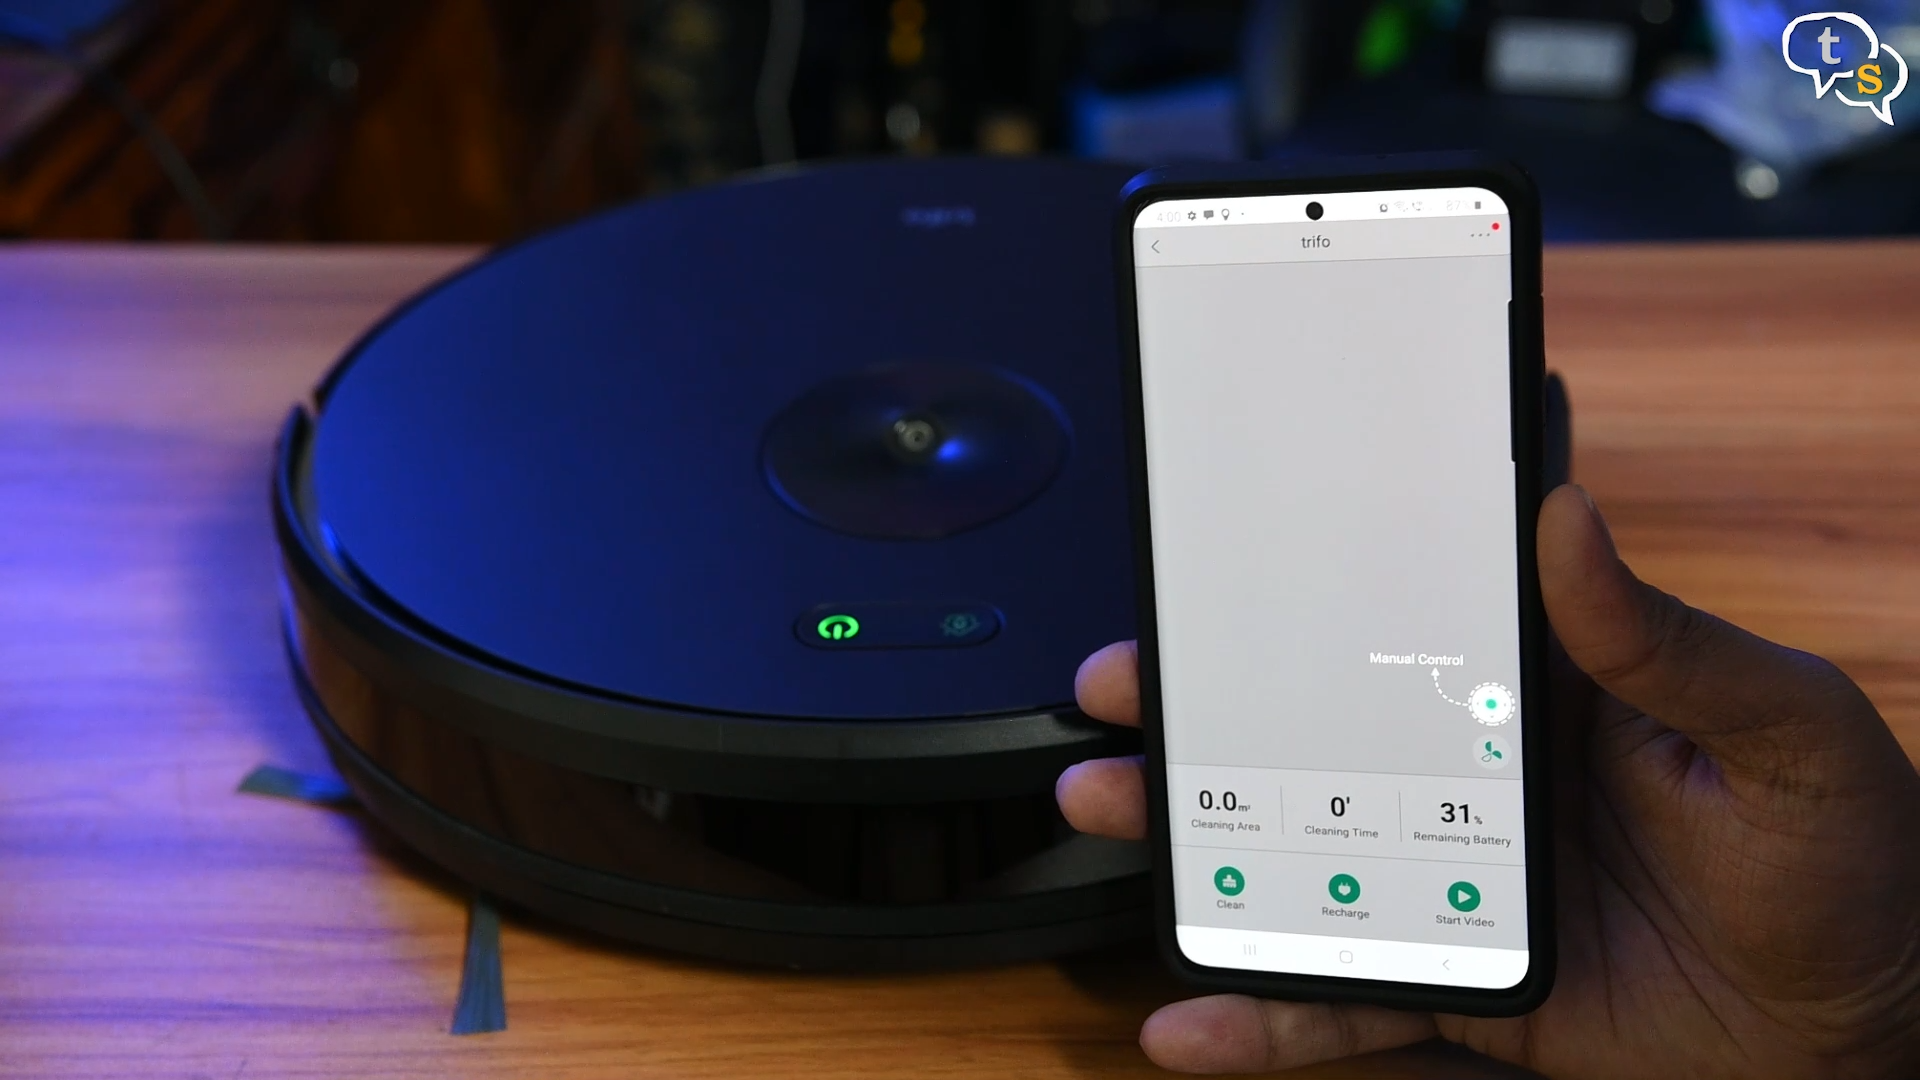
Now it’s ready for use. The current status of the vacuum is visible on the app, running status, battery level etc is shown on screen. Let’s take it down to the hall to test it out.
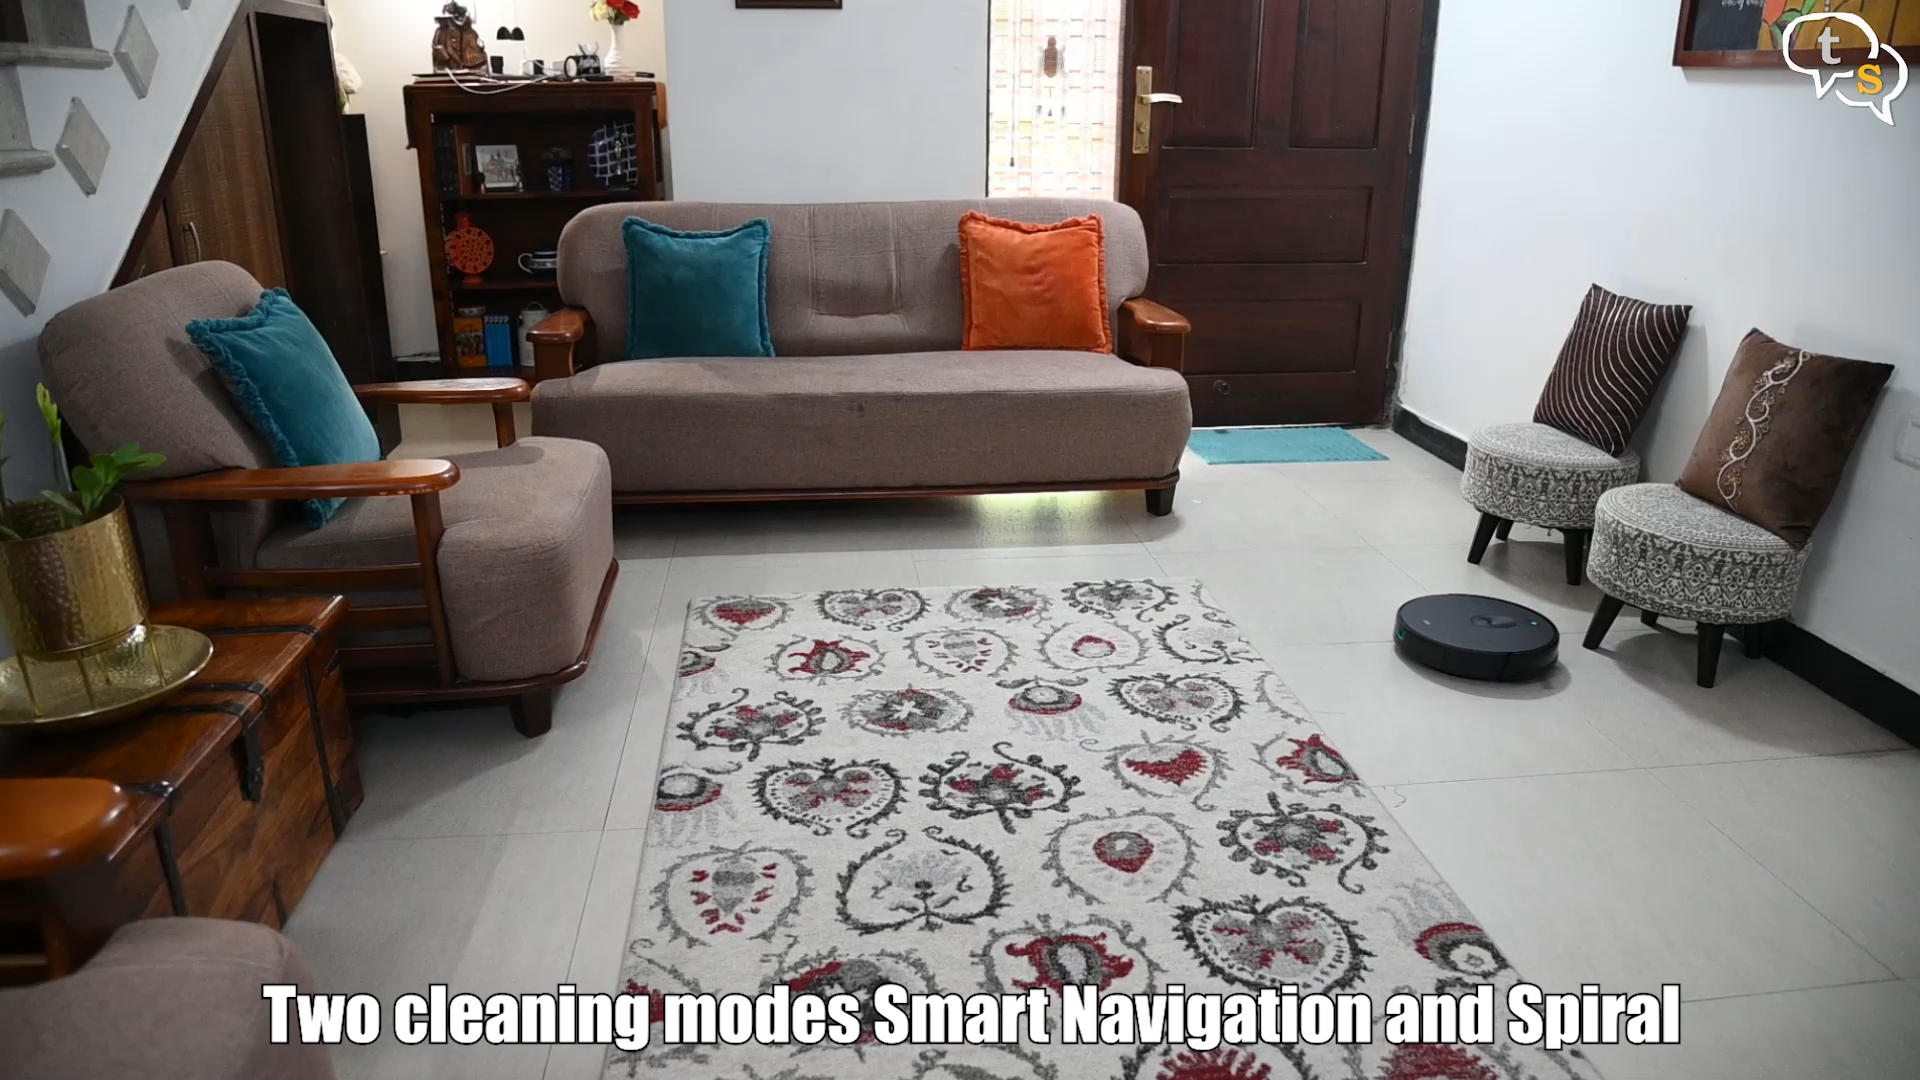
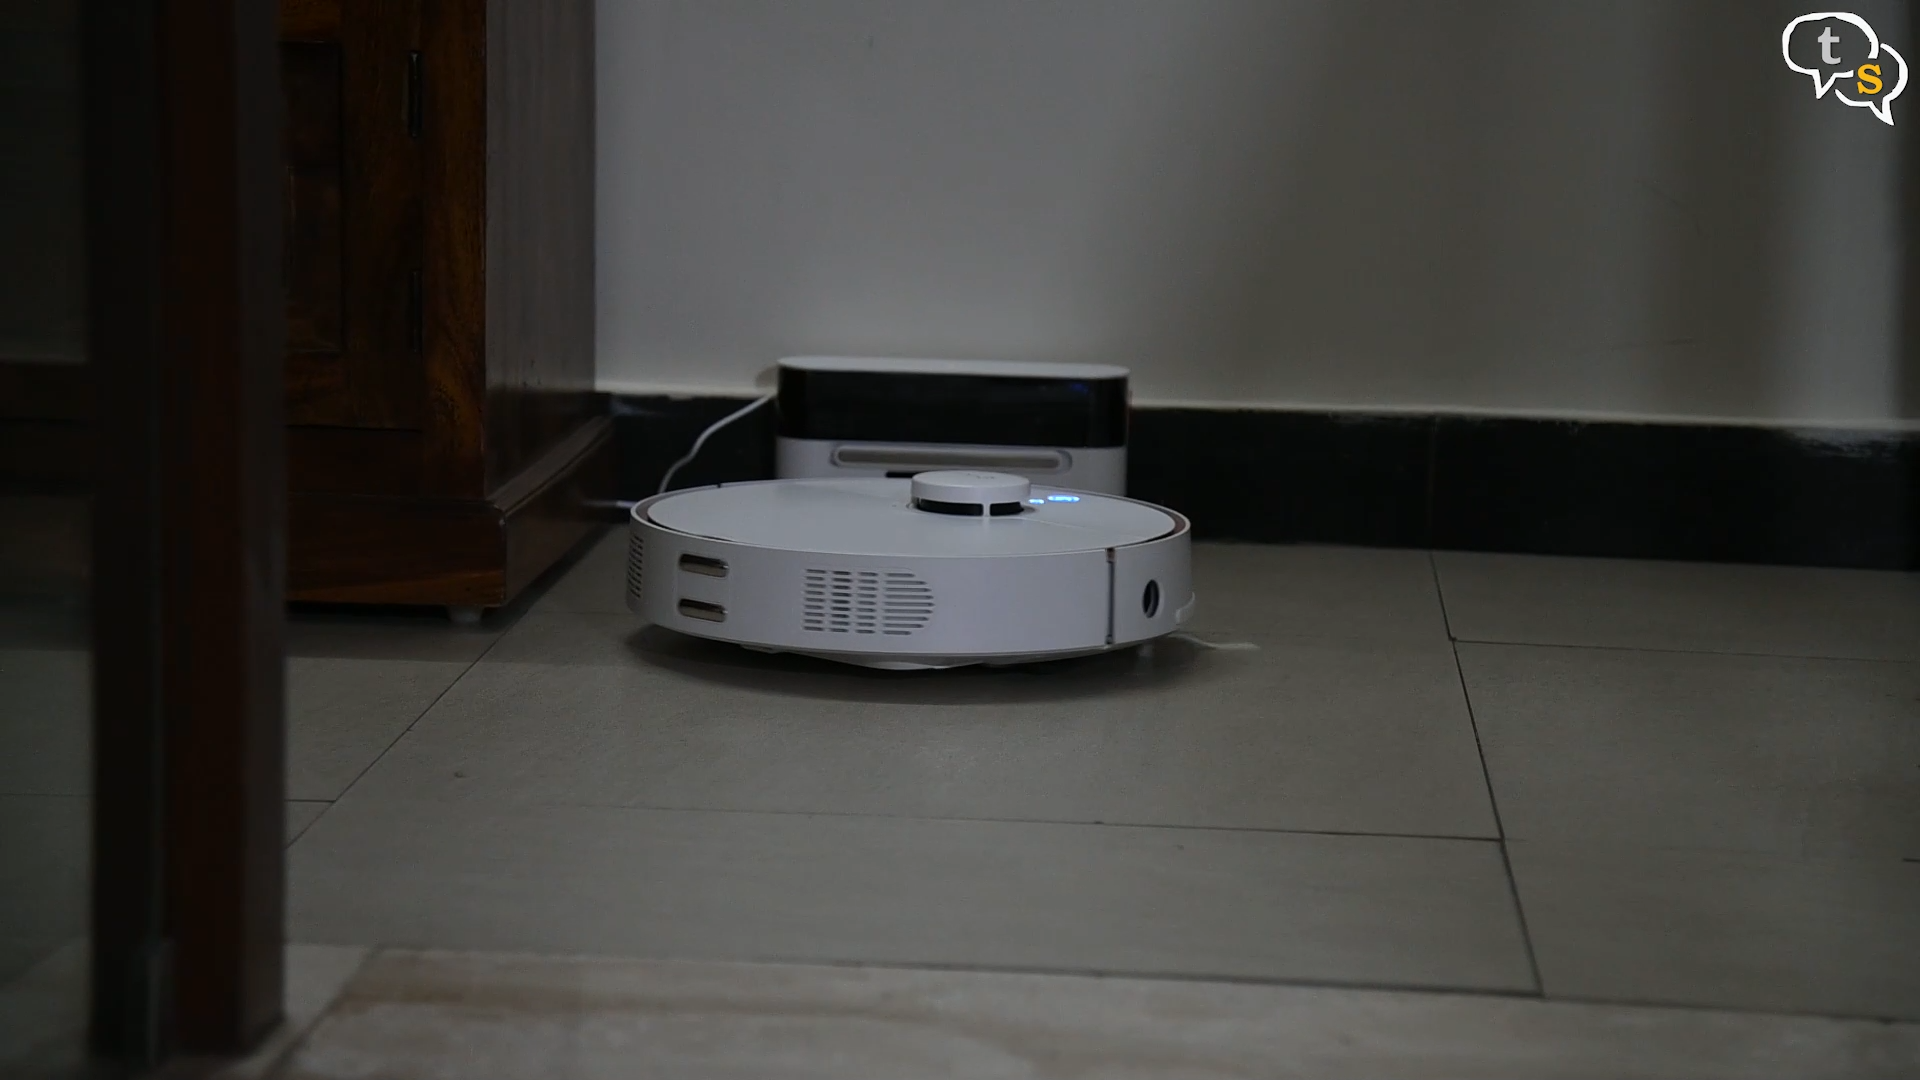
Same area as before, let’s see how well this one works. Moves in a similar fashion compared the 360 S7.
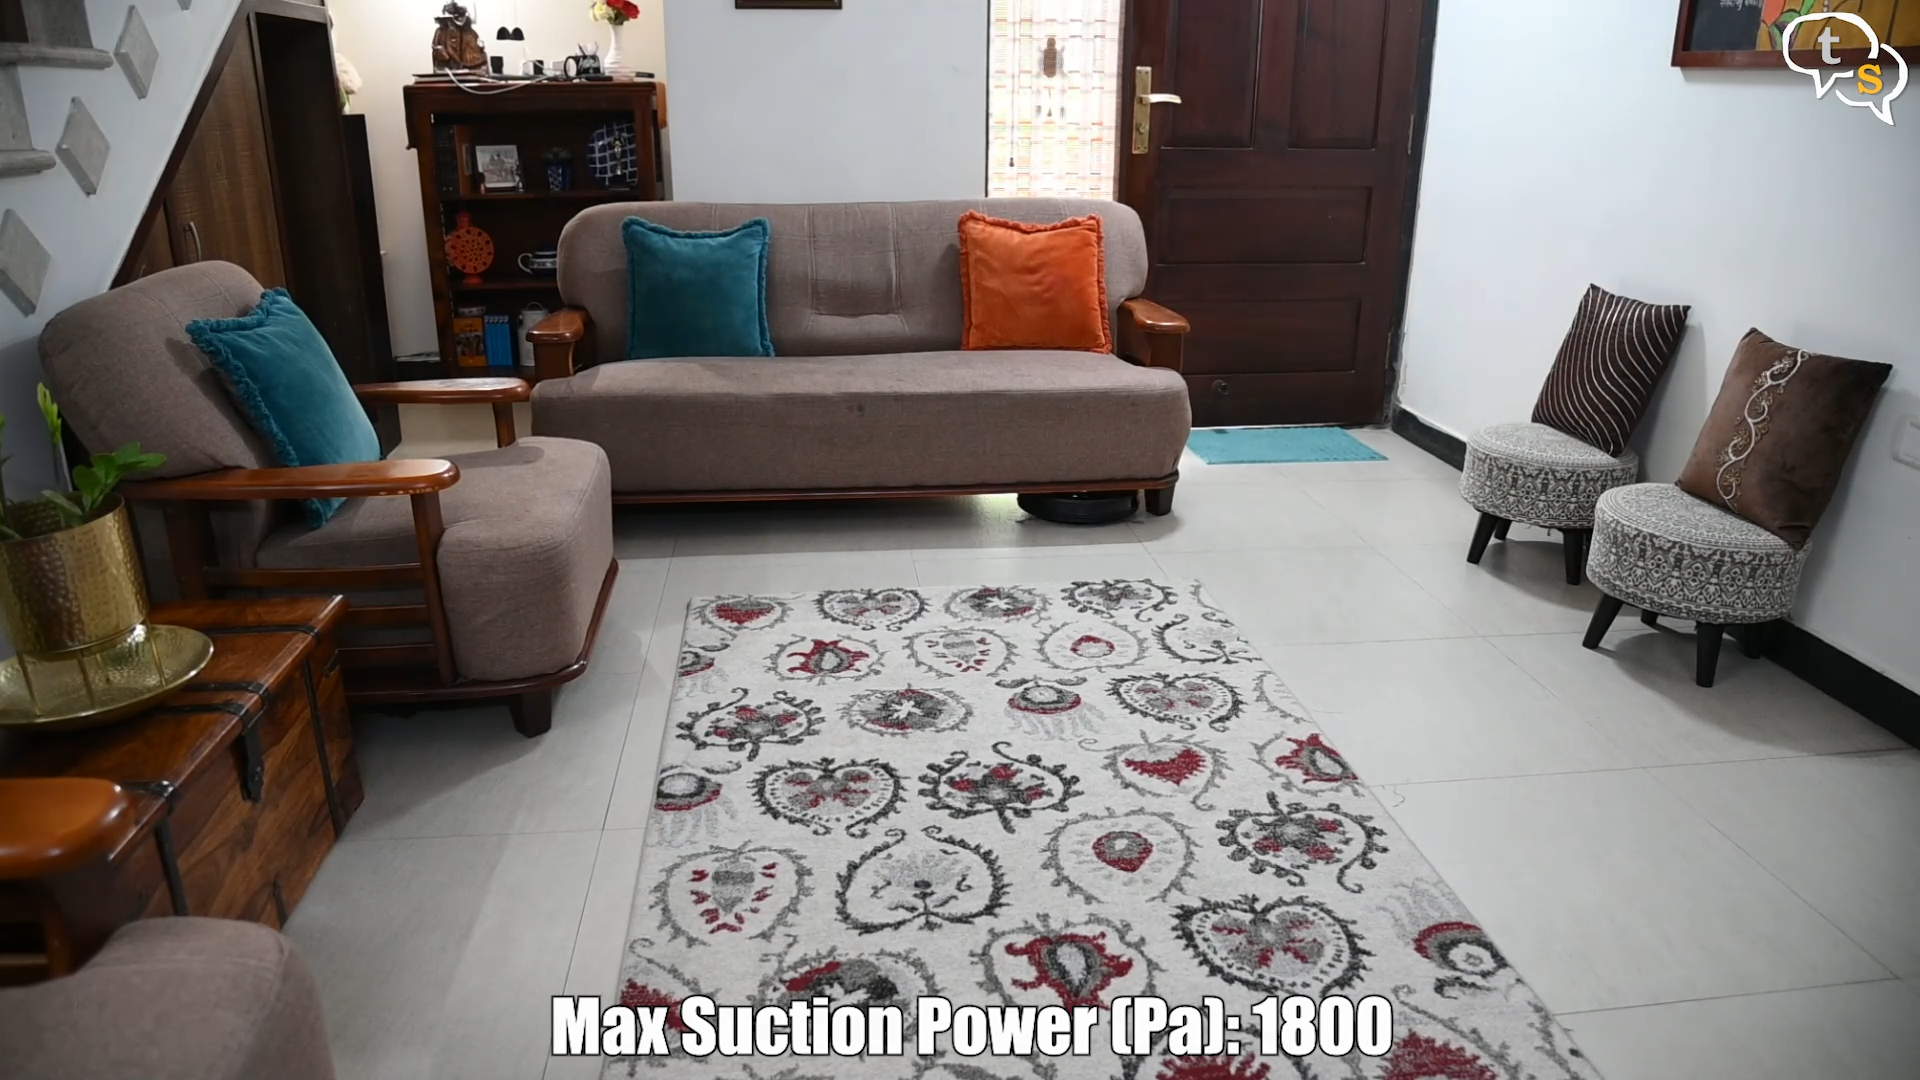
Wow, this one can go under the sofa too. The Lidar on the 360 S7 didn’t allow it to go under sofas, but this doesn’t seem to have any problems.
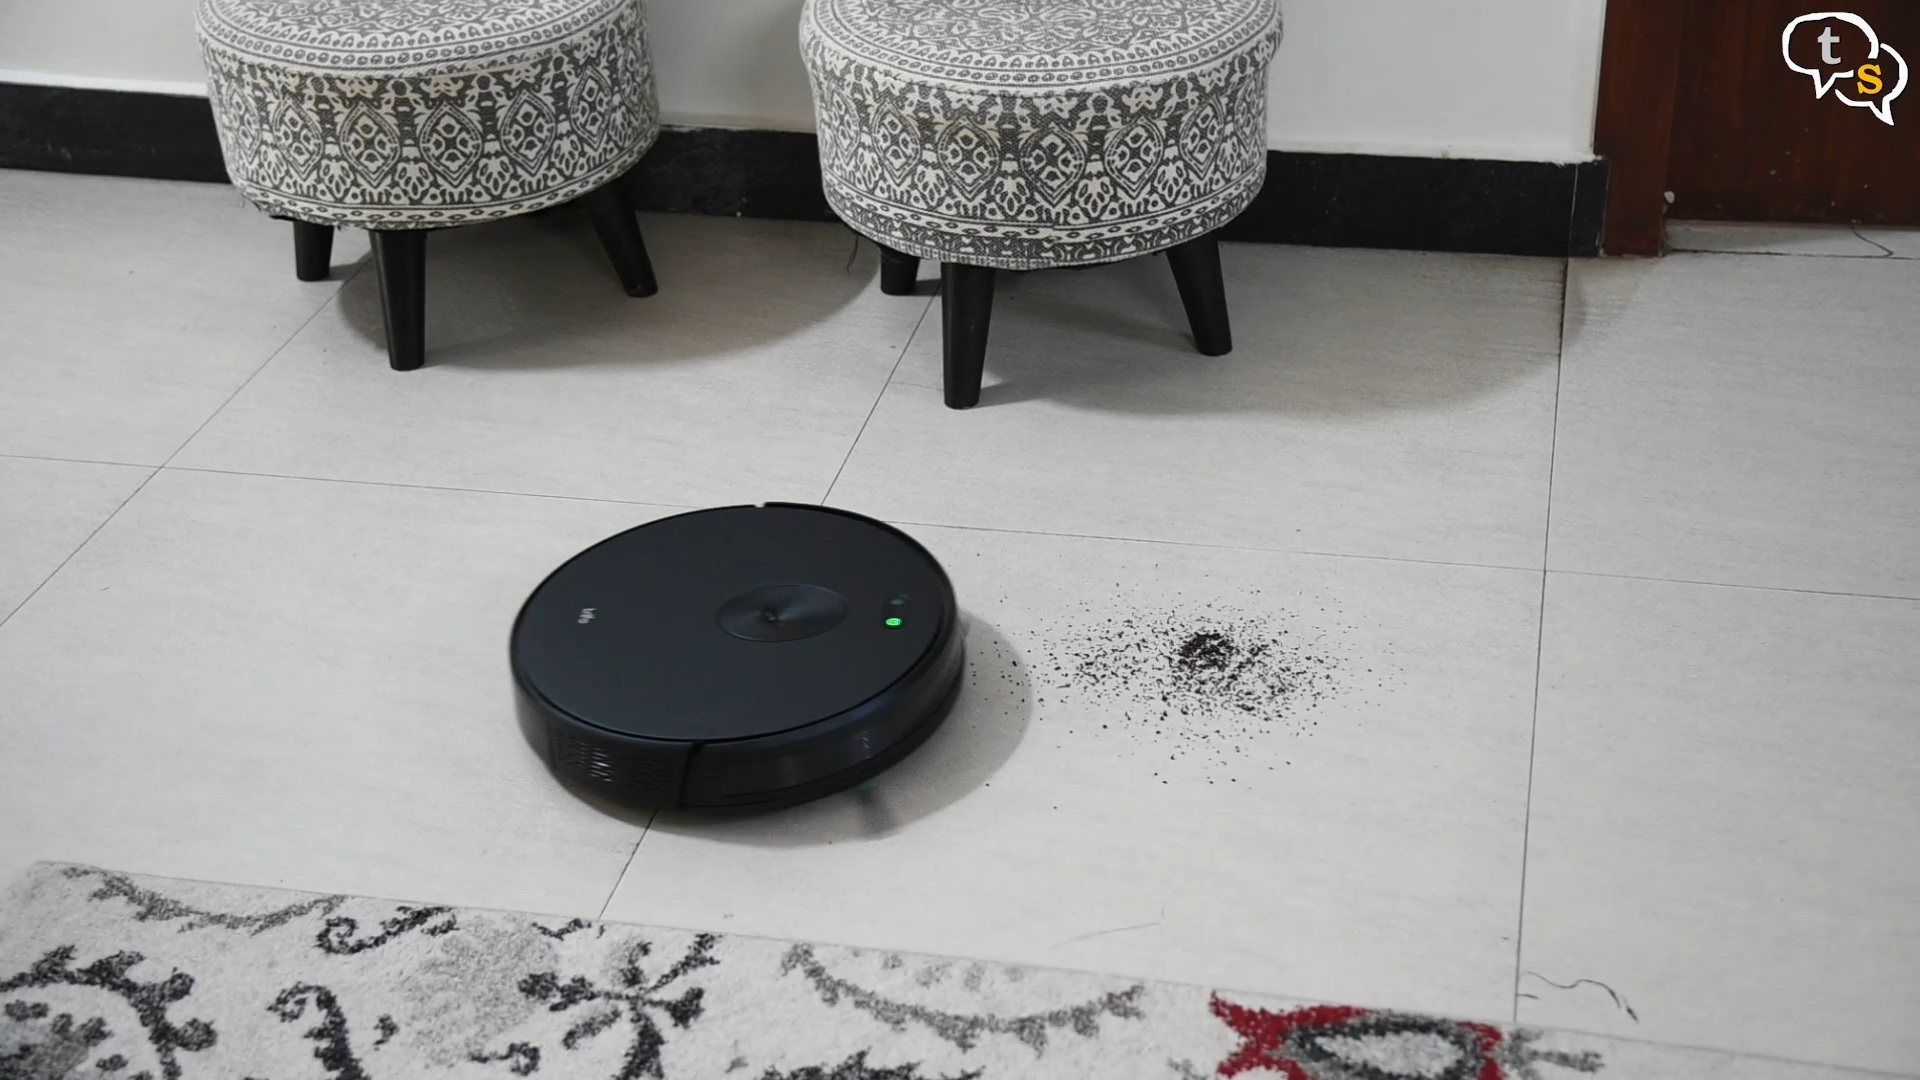
Let’s conduct the same tests as before, we have tea powder here, let’s check how well it picks it up.
It managed to pick it up well. Do note I’m controlling it manually, because if I left it to auto clean it would have gone everywhere else other than where I want it to clean.
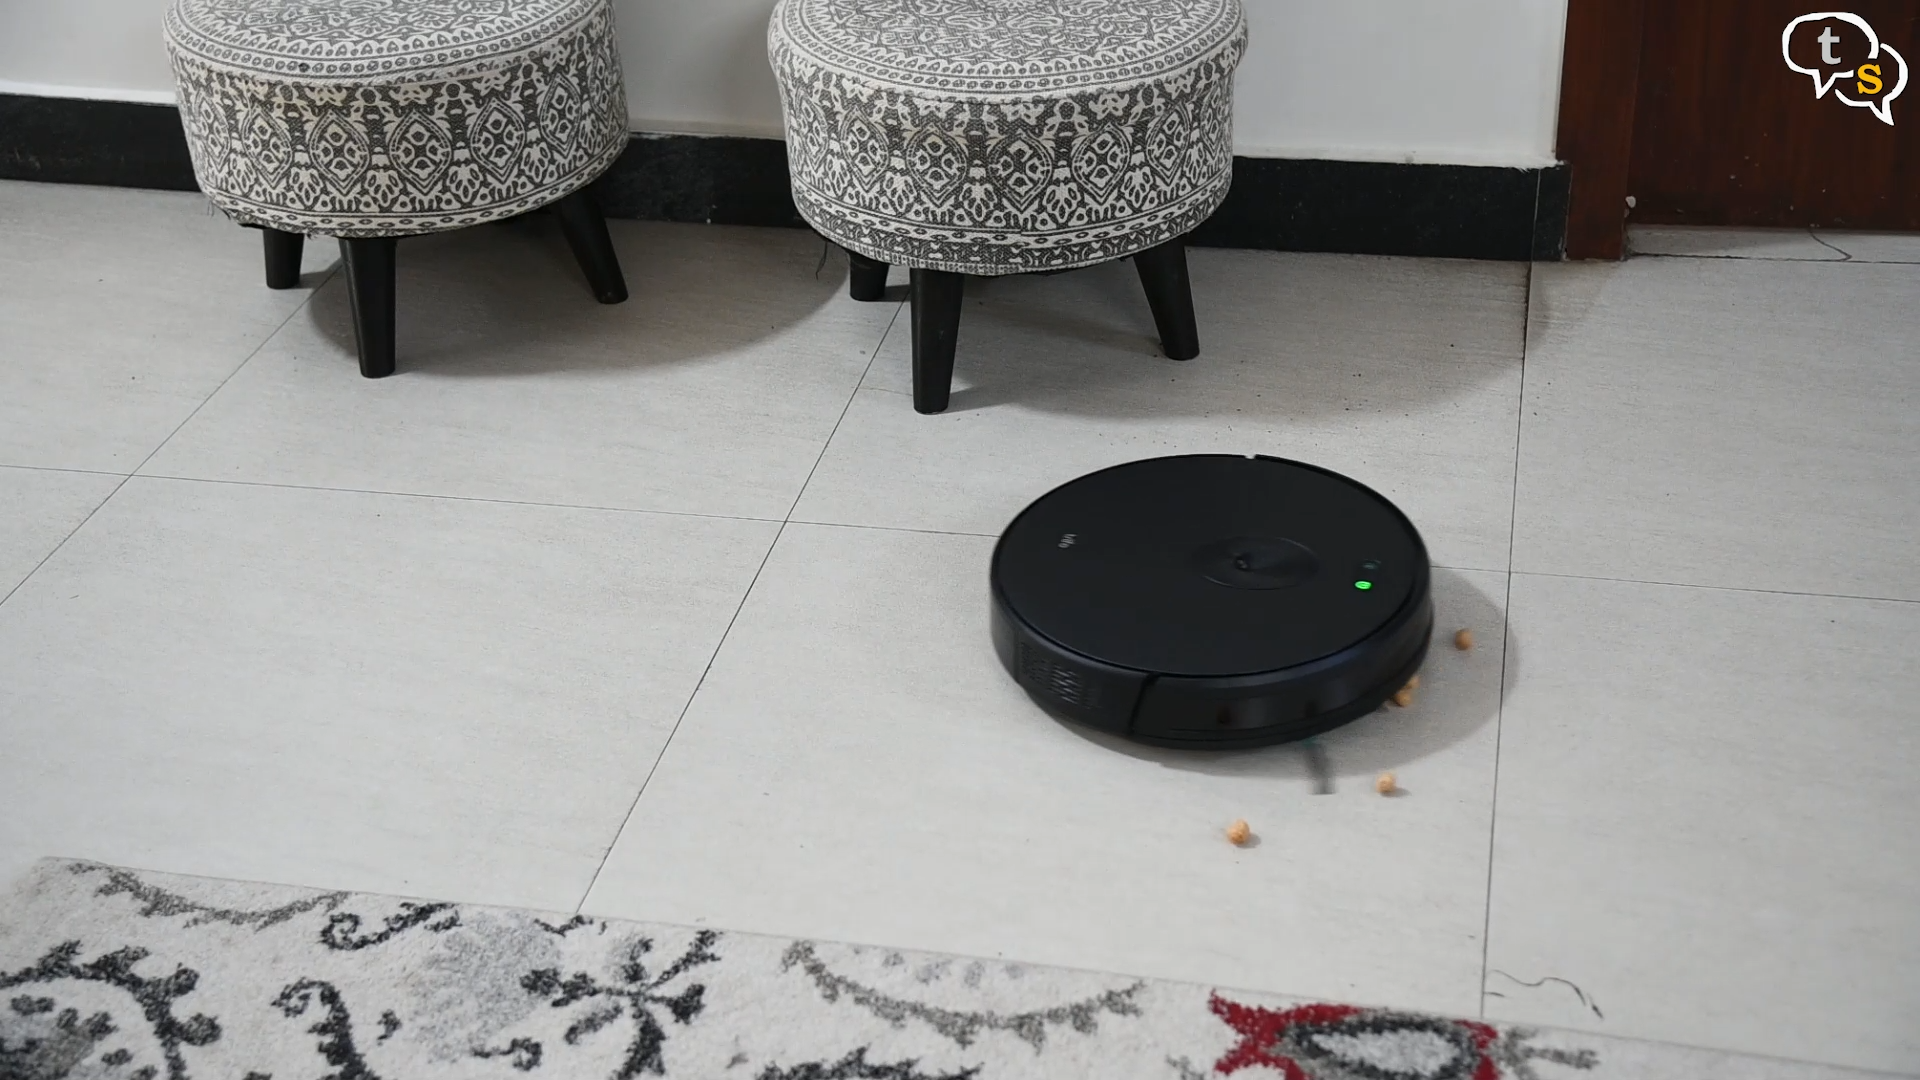
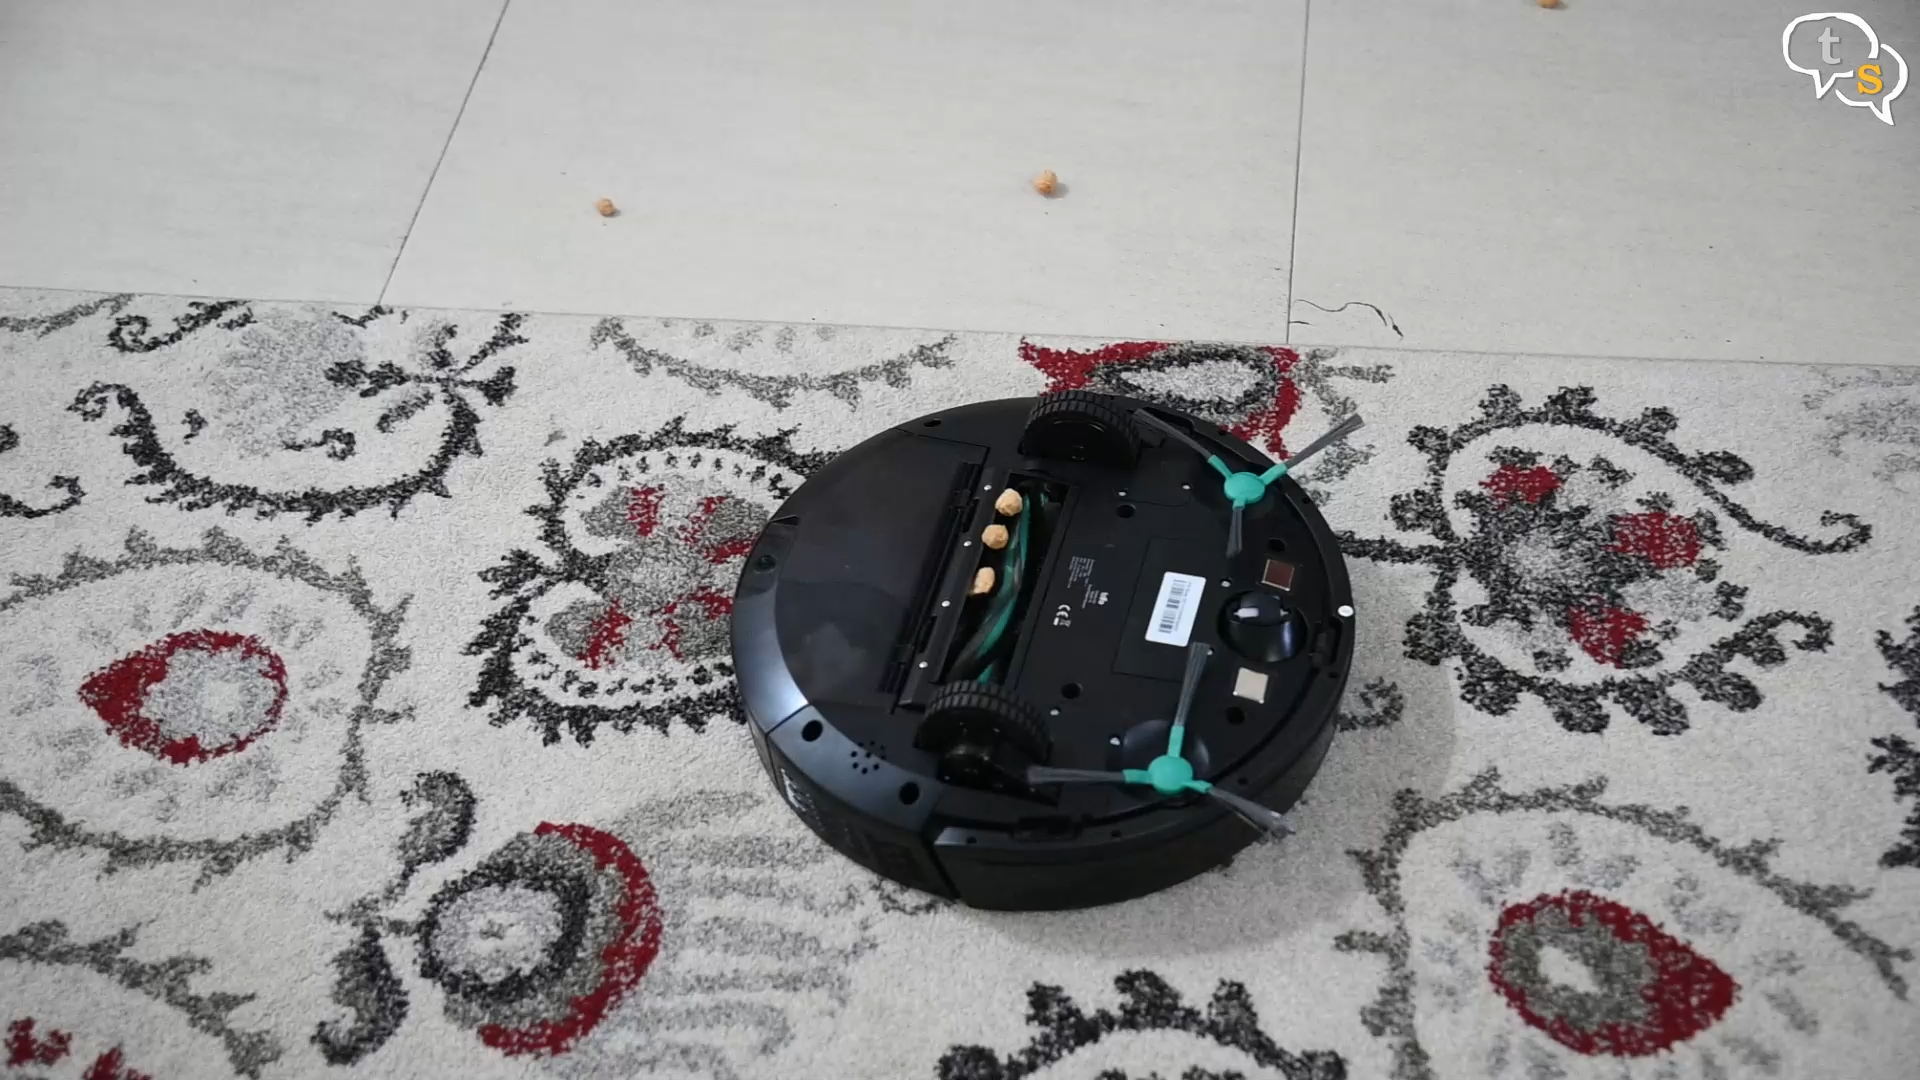
Let’s try soya chunks, hmm, it got jammed. Let’s check under it. Yeah, we have soya chunks stuck in the main brush. But it’s easy to remove and put it back to work.
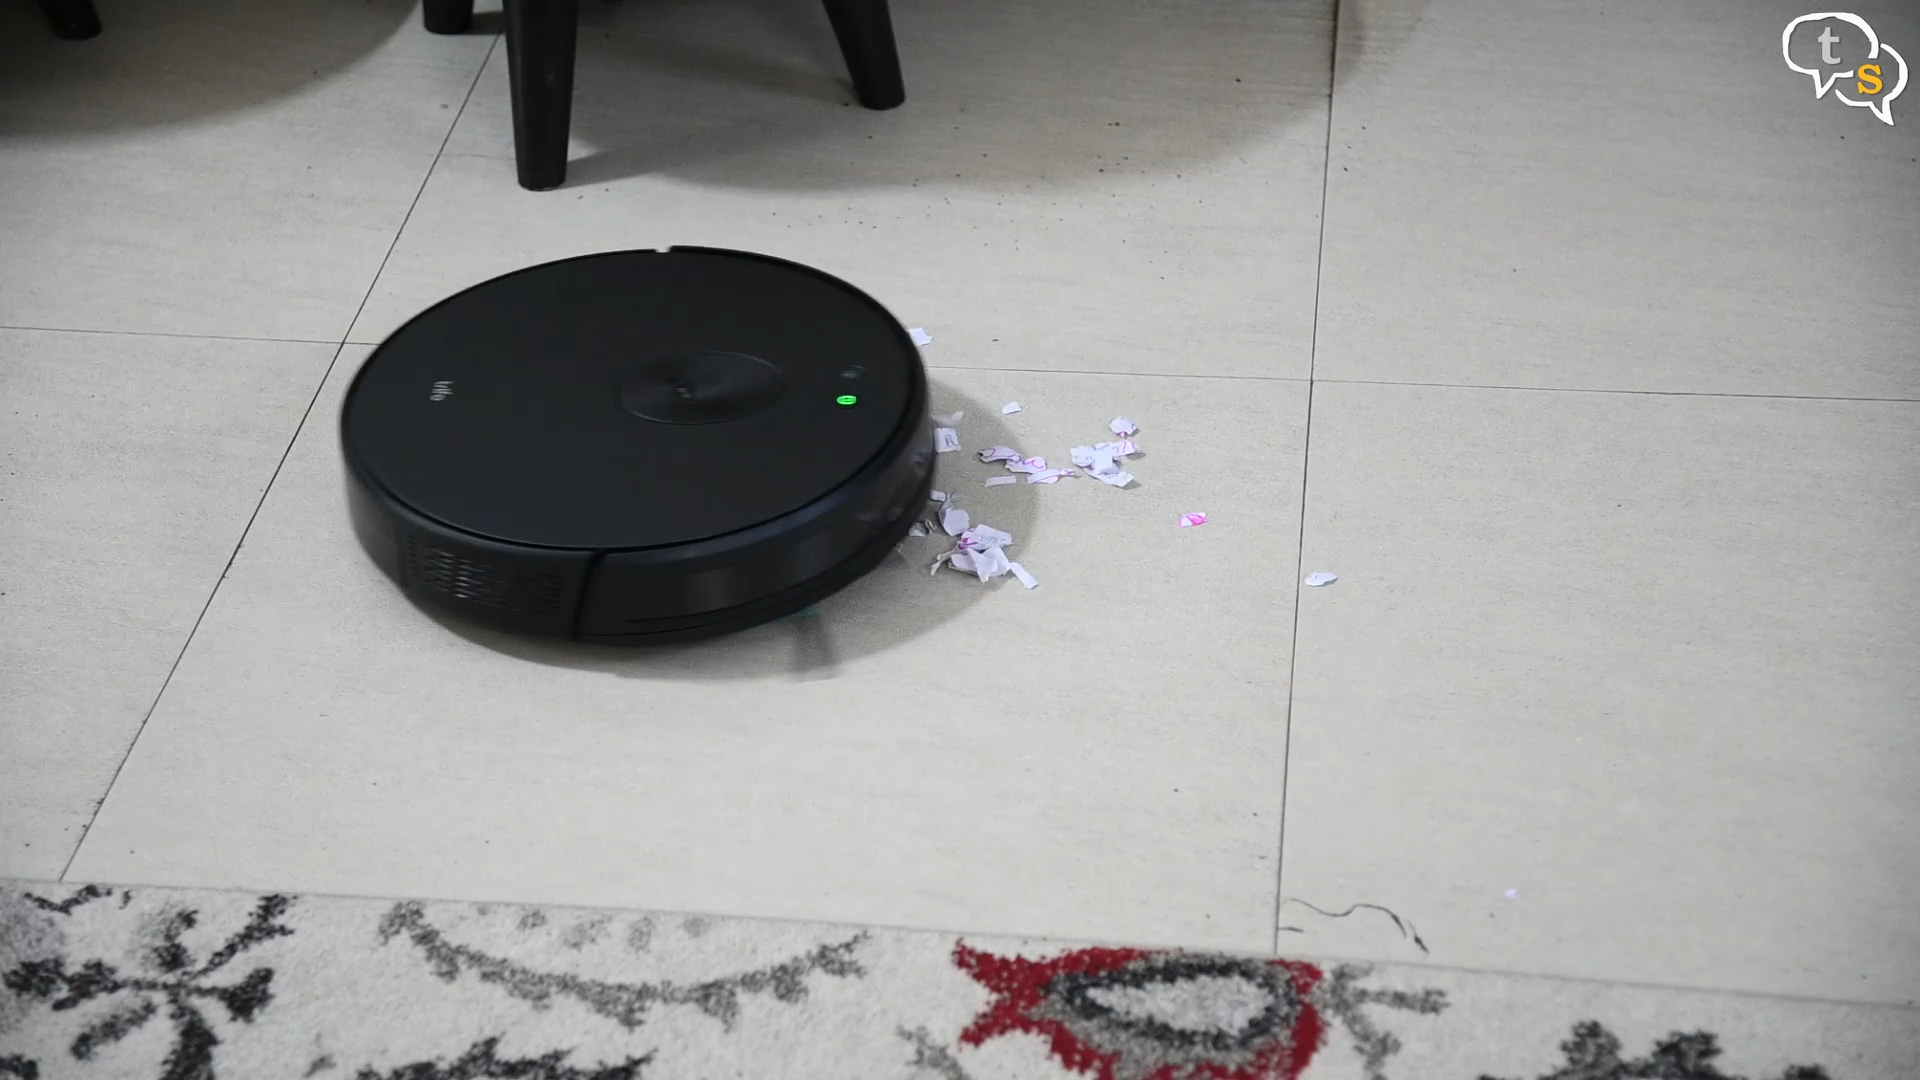
Let’s try paper, no problems at all, it managed to get everything.
The vacuum does have problems with big debris so you will have to be careful when setting it up to clean. It’s easy to remove what’s jamming the brush, but it can also become an irritant if it keeps getting jammed and needs you to clean it up regularly. The automatic cleaning doesn’t hold anymore. Make sure you don’t have any wires or items on the floor which could clog the brush.
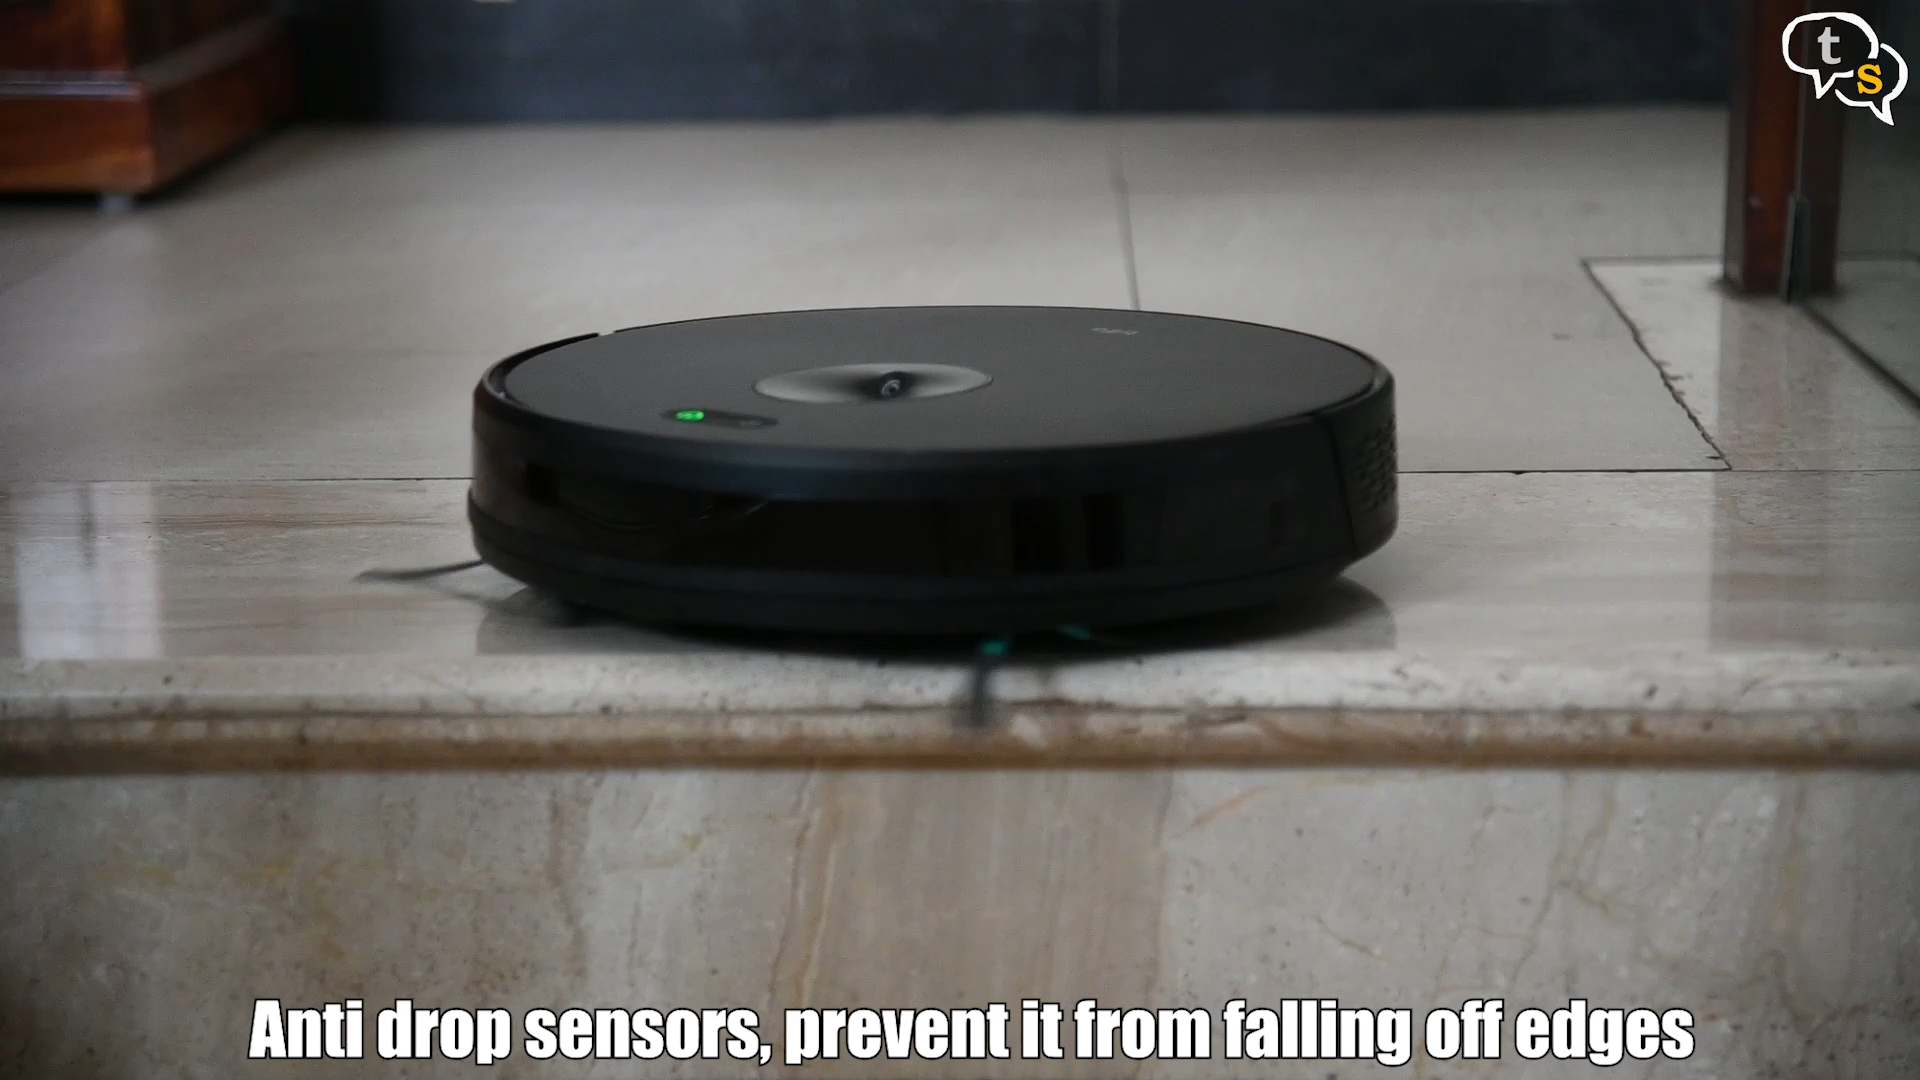
Anti drop sensors, also called cliff sensors prevent it from falling off the edges.

Here’s the dust container, easily accessible from the back. Just pull it out, open the lid on top and empty into a dustbin. Slide it back in and the vacuum is ready to work again.
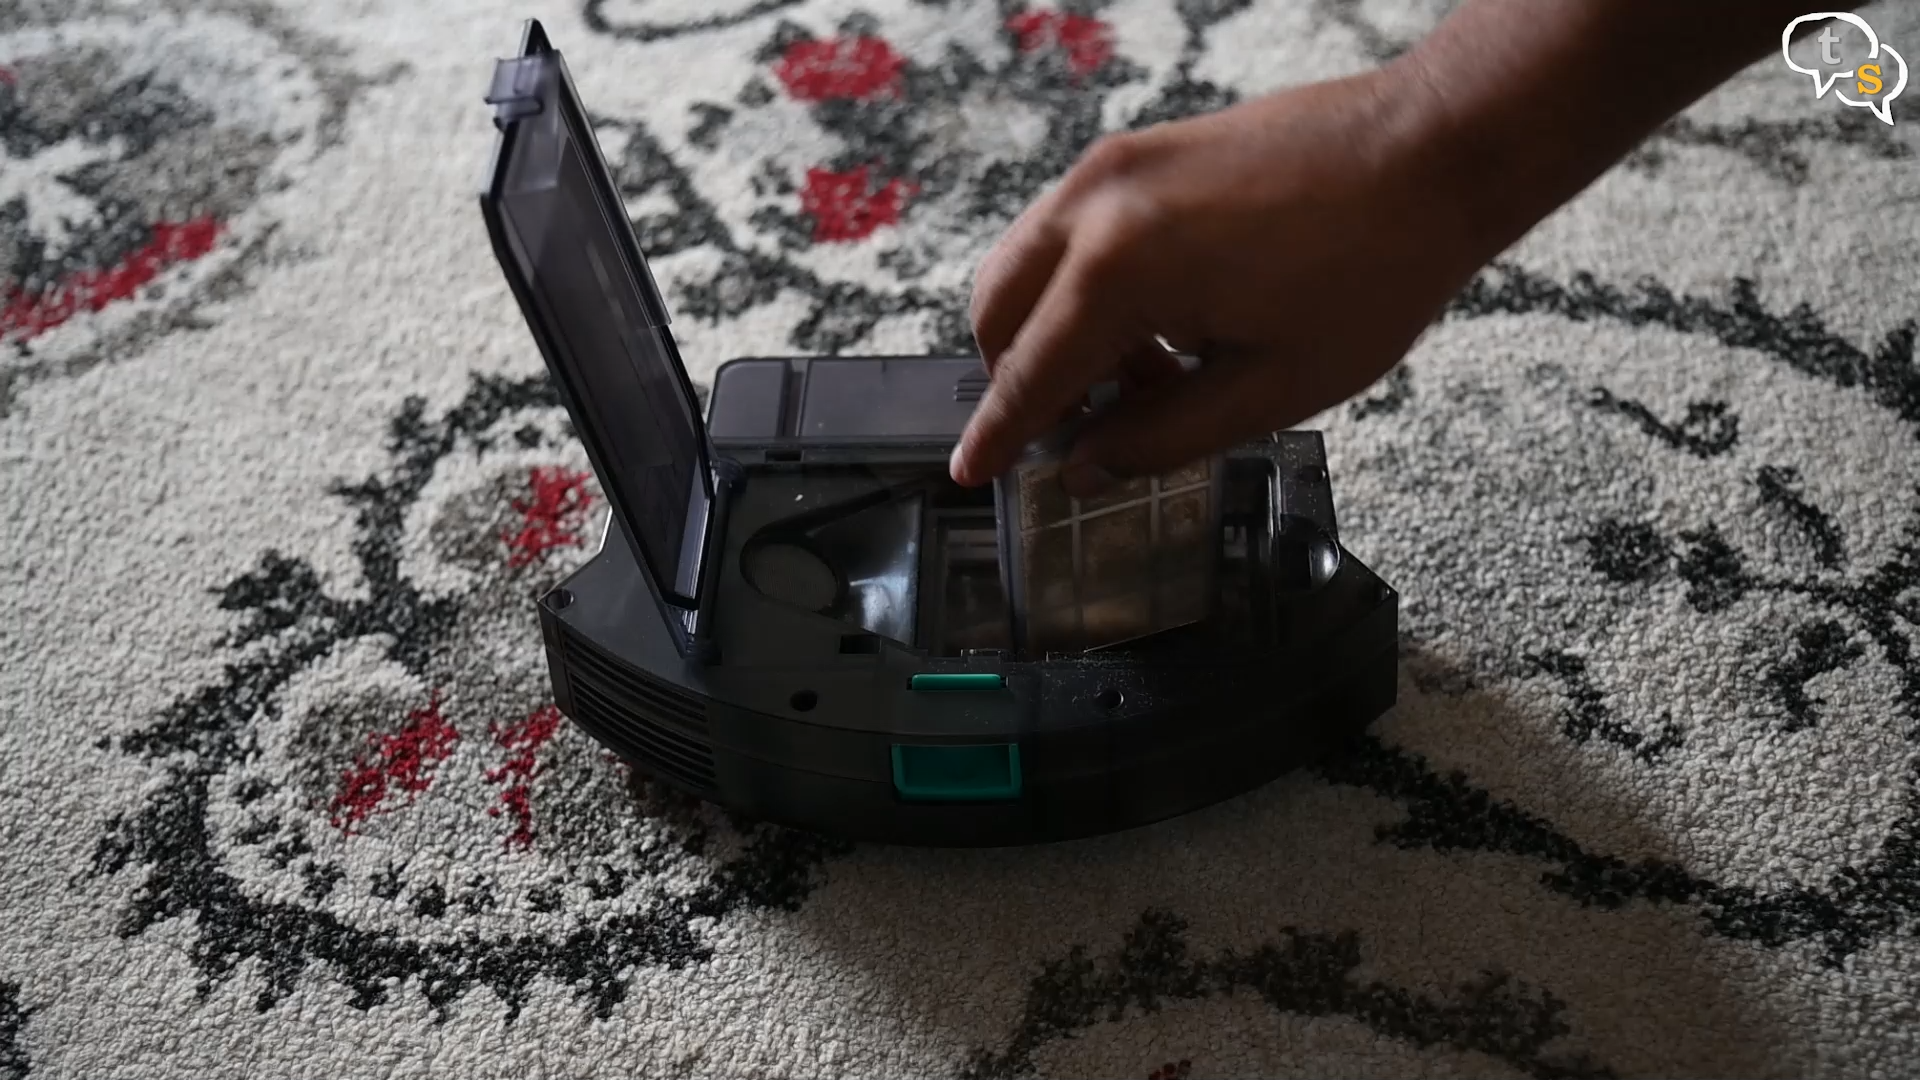
We have the filter also within, which can be replaced easily.
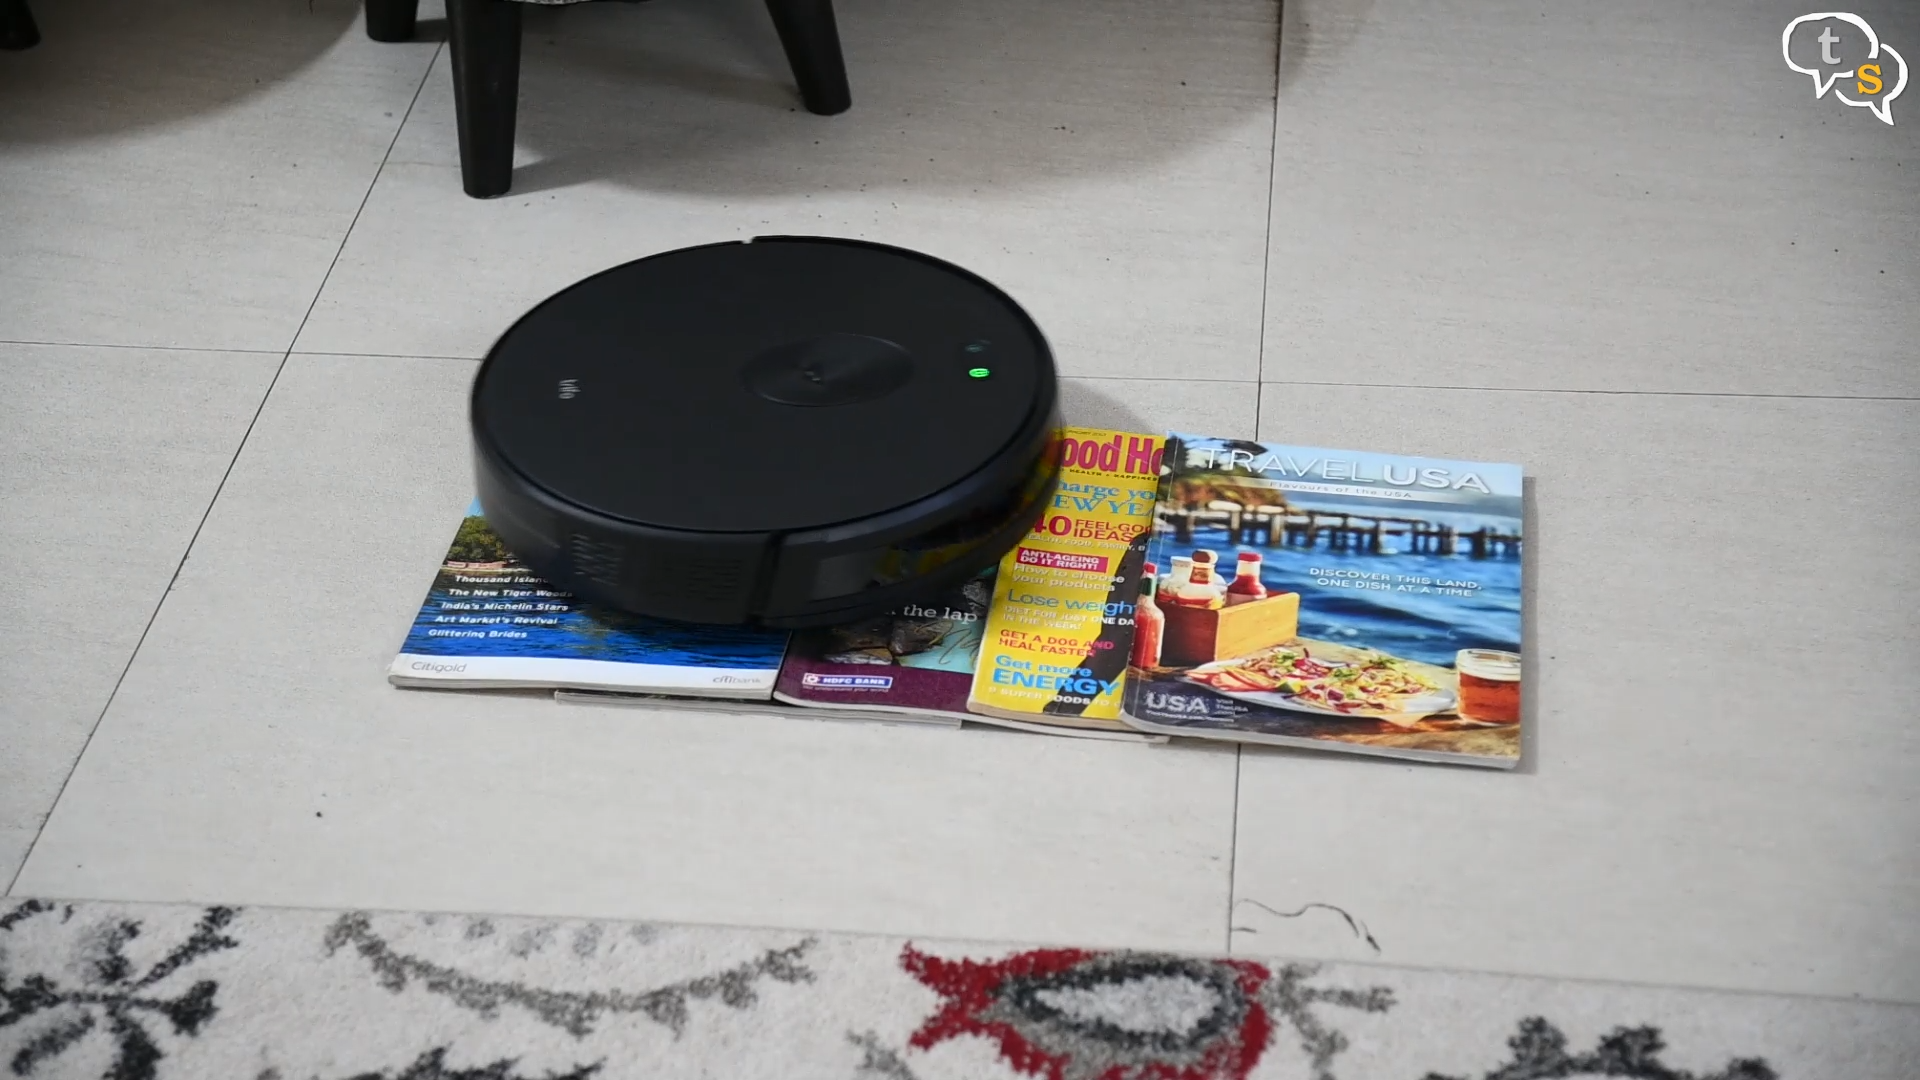
Let’s drive it over some magazines to check how well it can climb over small obstacles. It worked fine, let’s try the other way. It manages to get across small bumps.
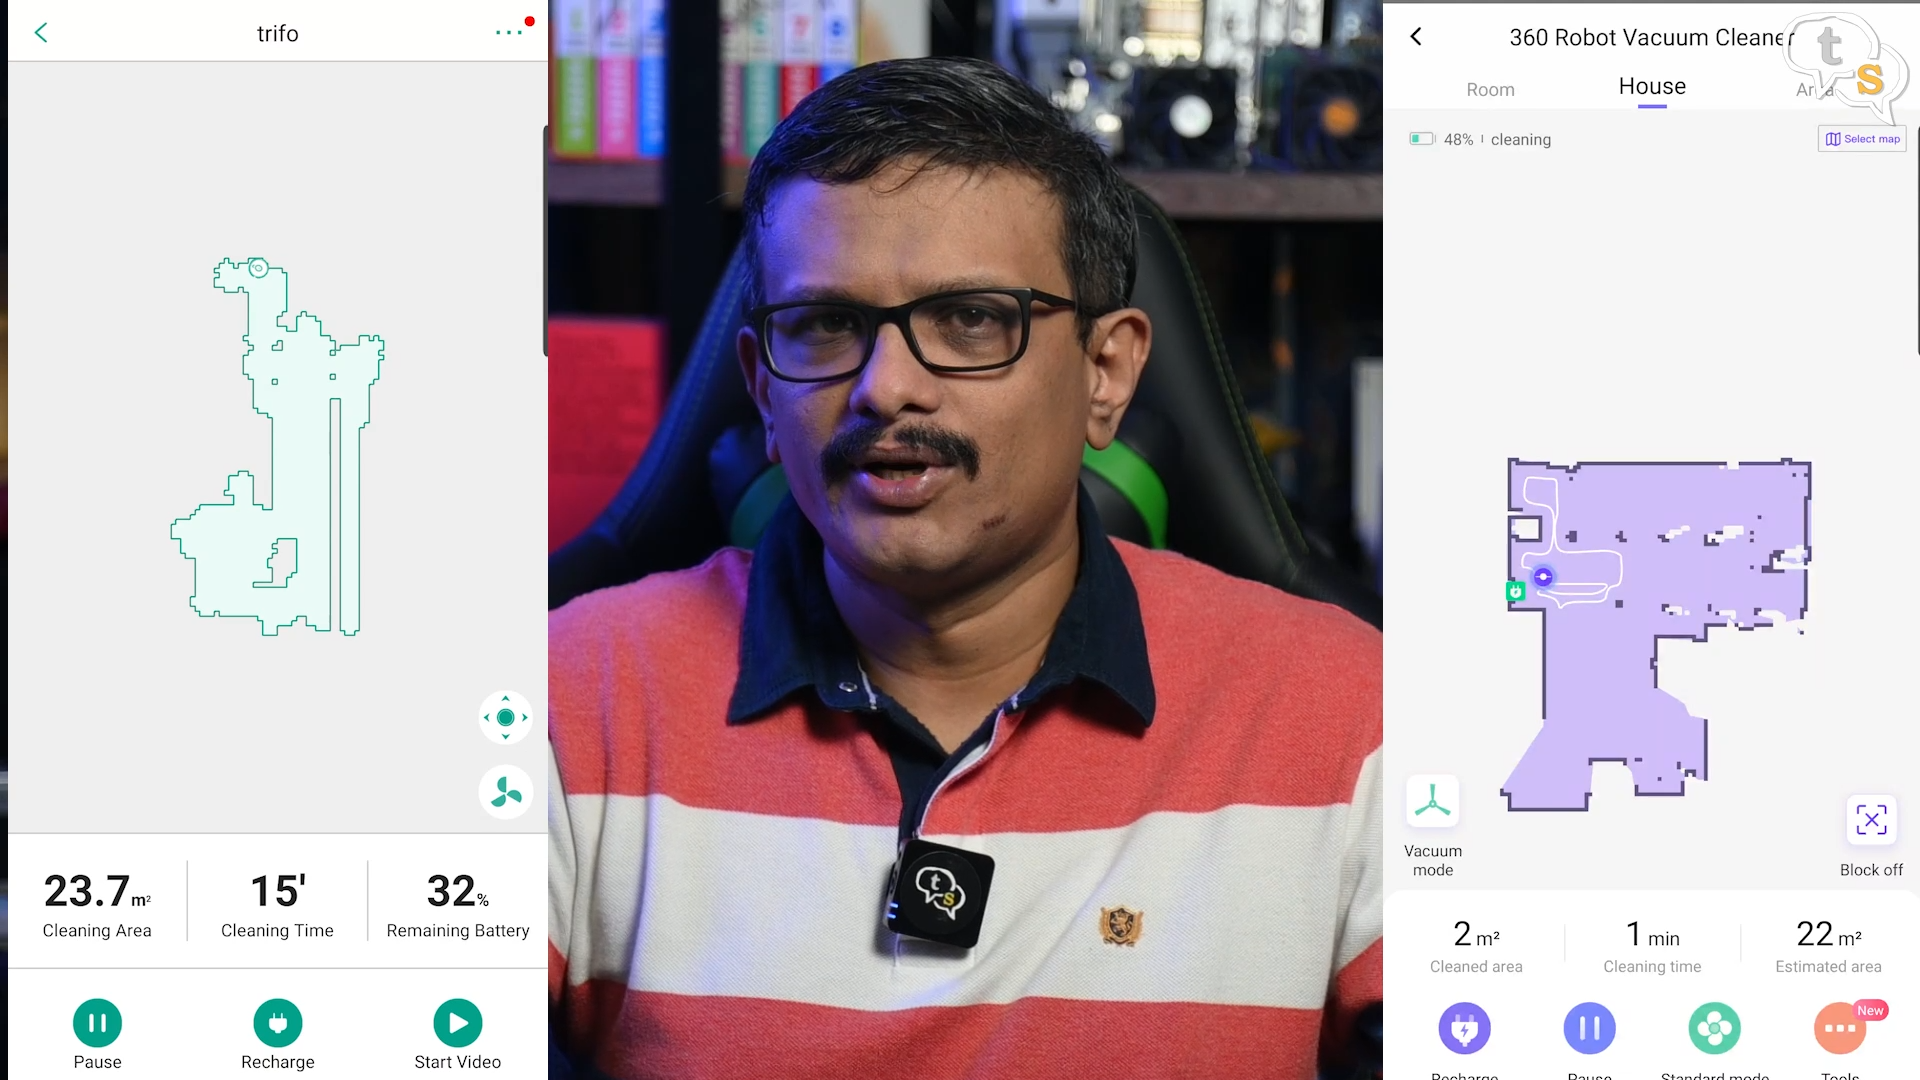
The mapping is accurate, but not as fast as LIDAR. A LIDAR based vacuum has positional awareness, which camera-based vacuums do not. Also, we need the lights to be on for these vacuums to work. Do Not pick up the vacuum while it’s mapping or it will mess it up and will have to start again.
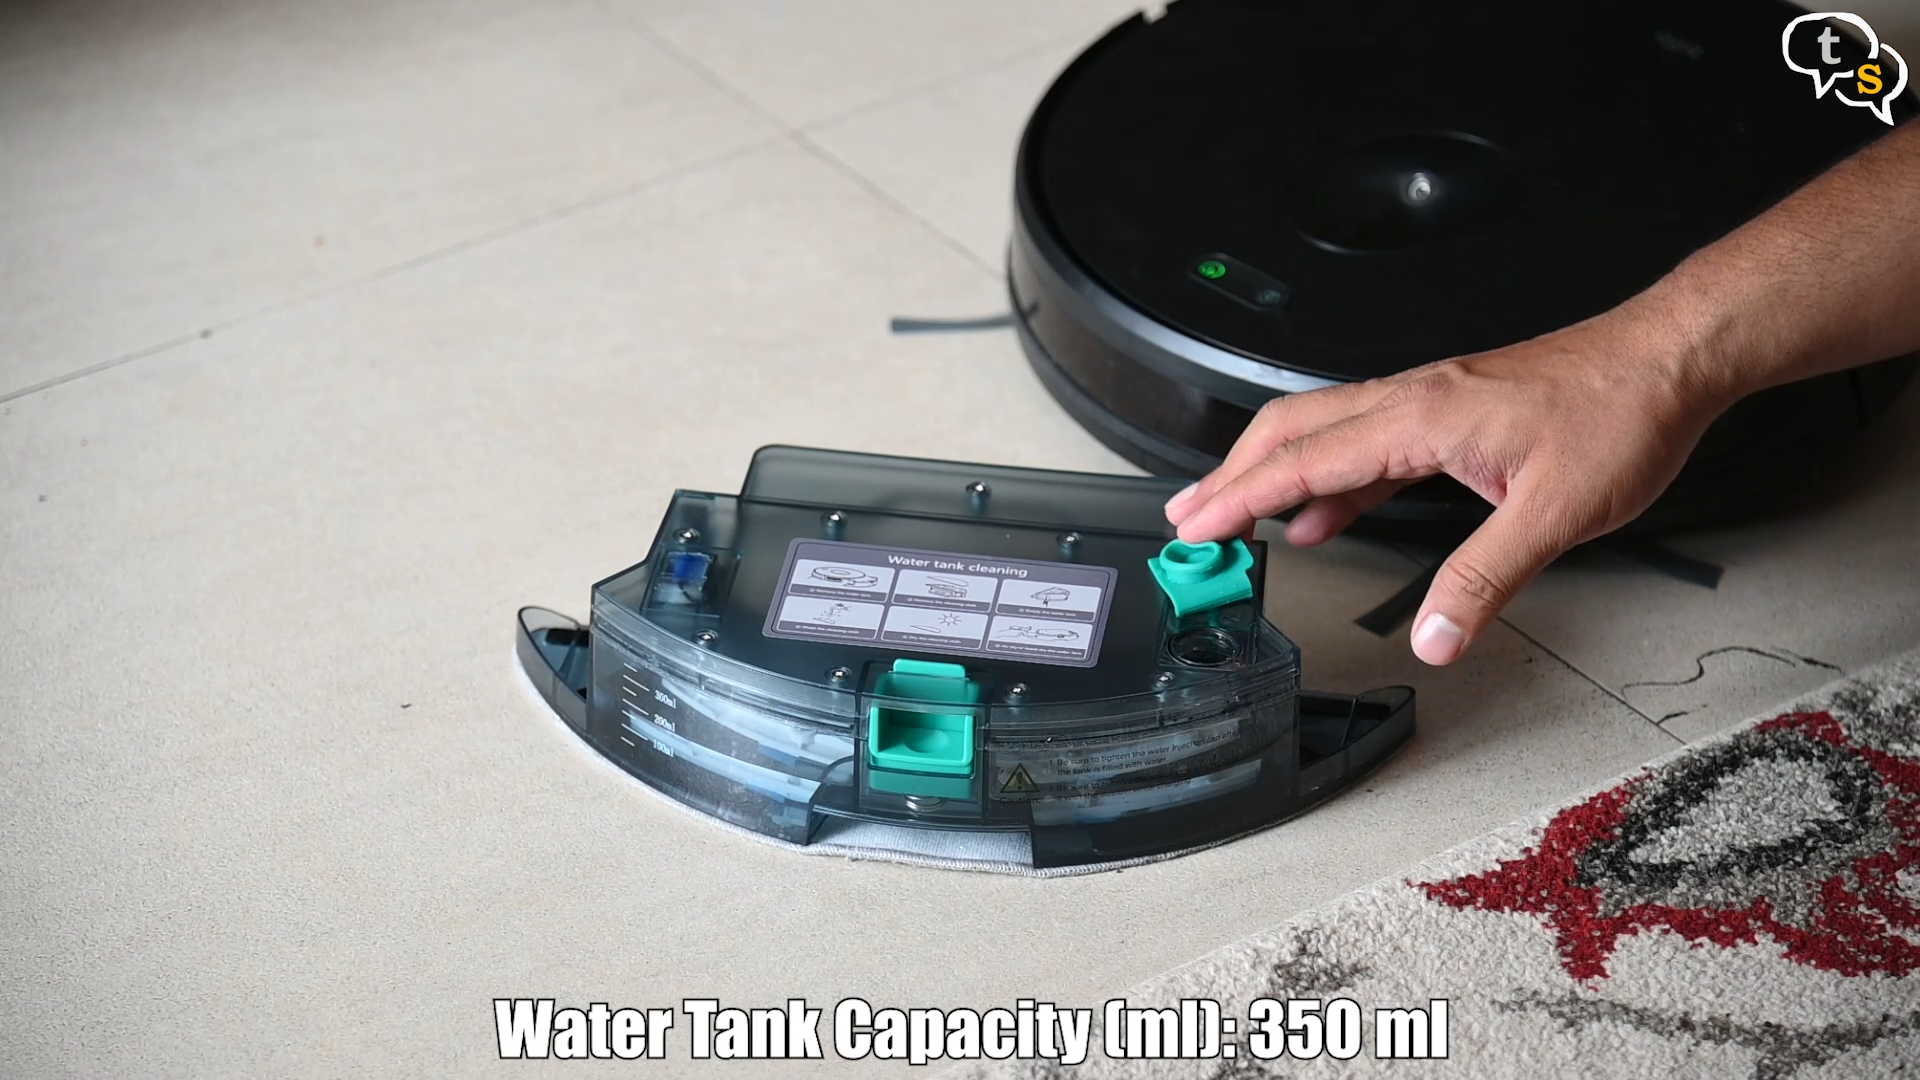
Here’s the massive mopping attachment, fill with water and replace the existing dust compartment. It has a 350ml tank.
Now it mops as it sweeps.
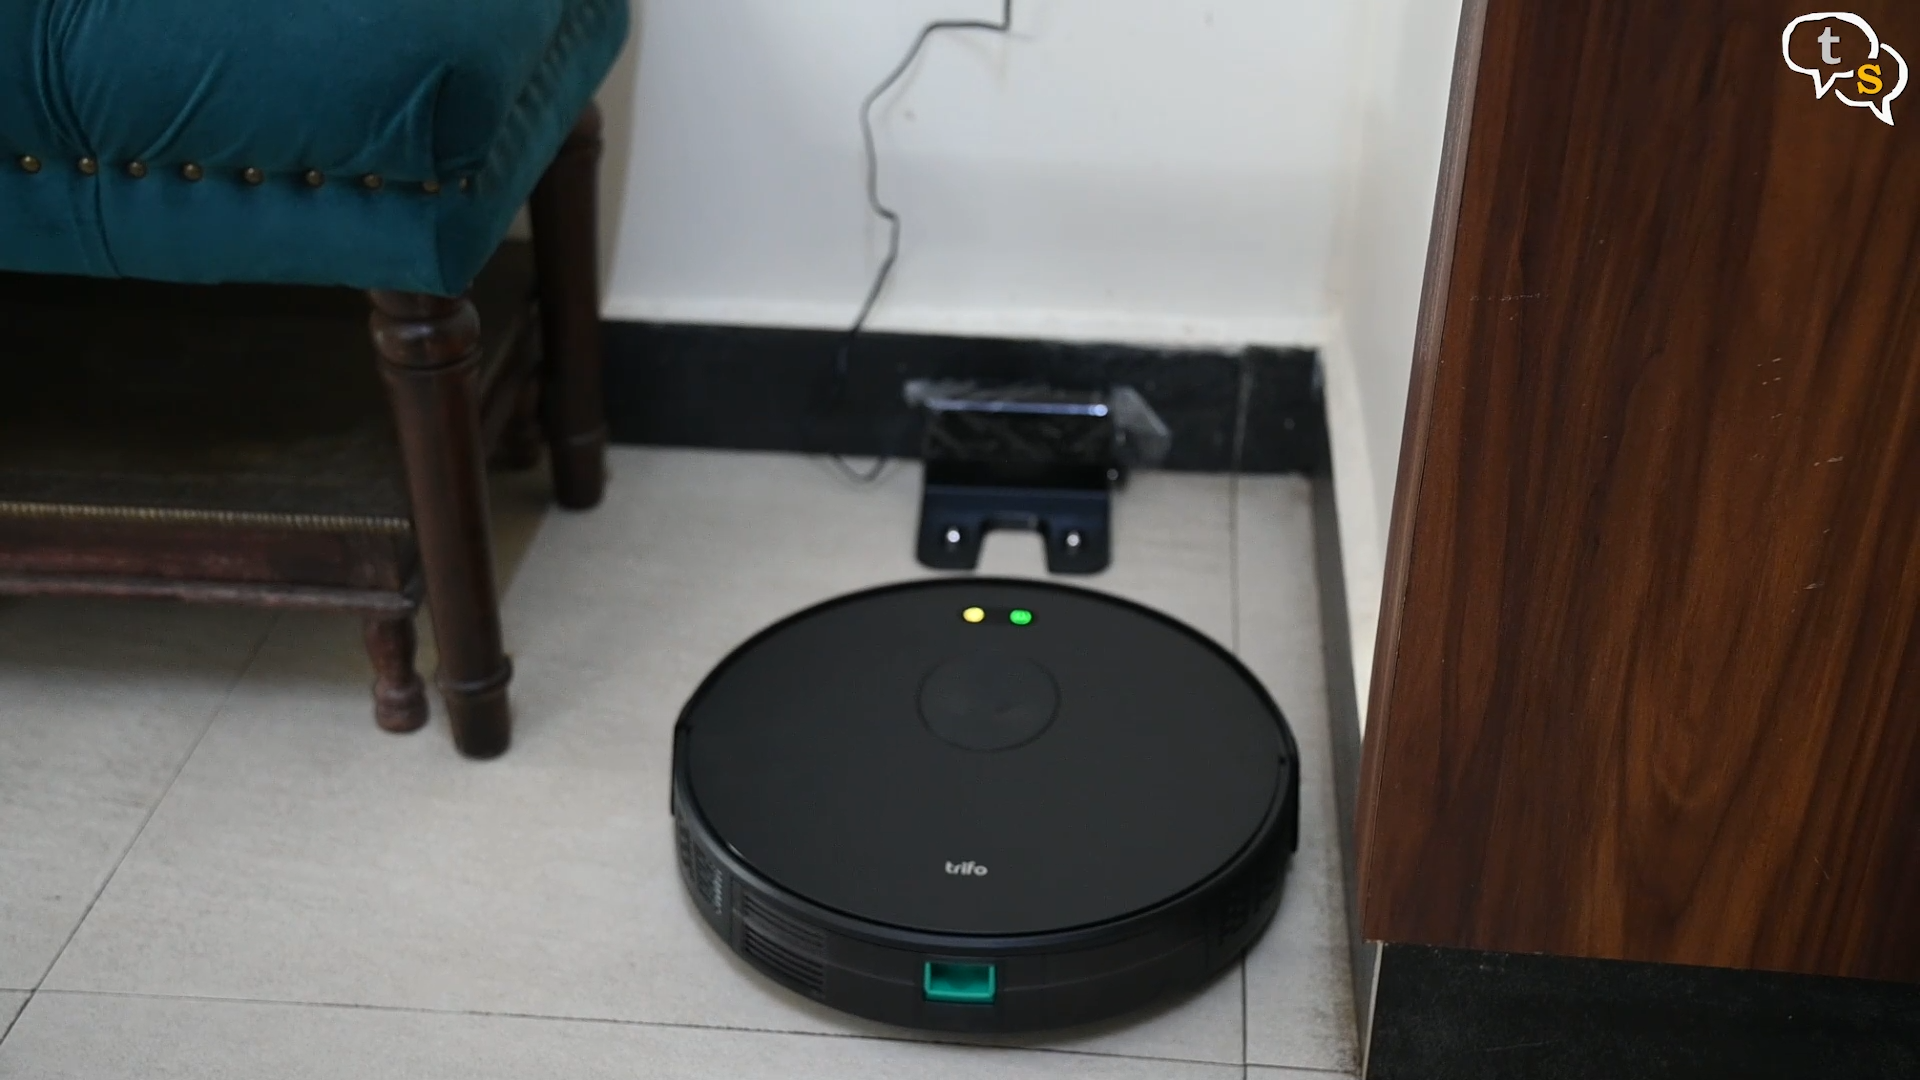
The vacuum manages to find the recharging base, but it takes a long time to dock. This device was loitering about the area, for quite some time before it homed into its dock.
Which in comparison, LIDAR vacuums just home in and dock in one shot.
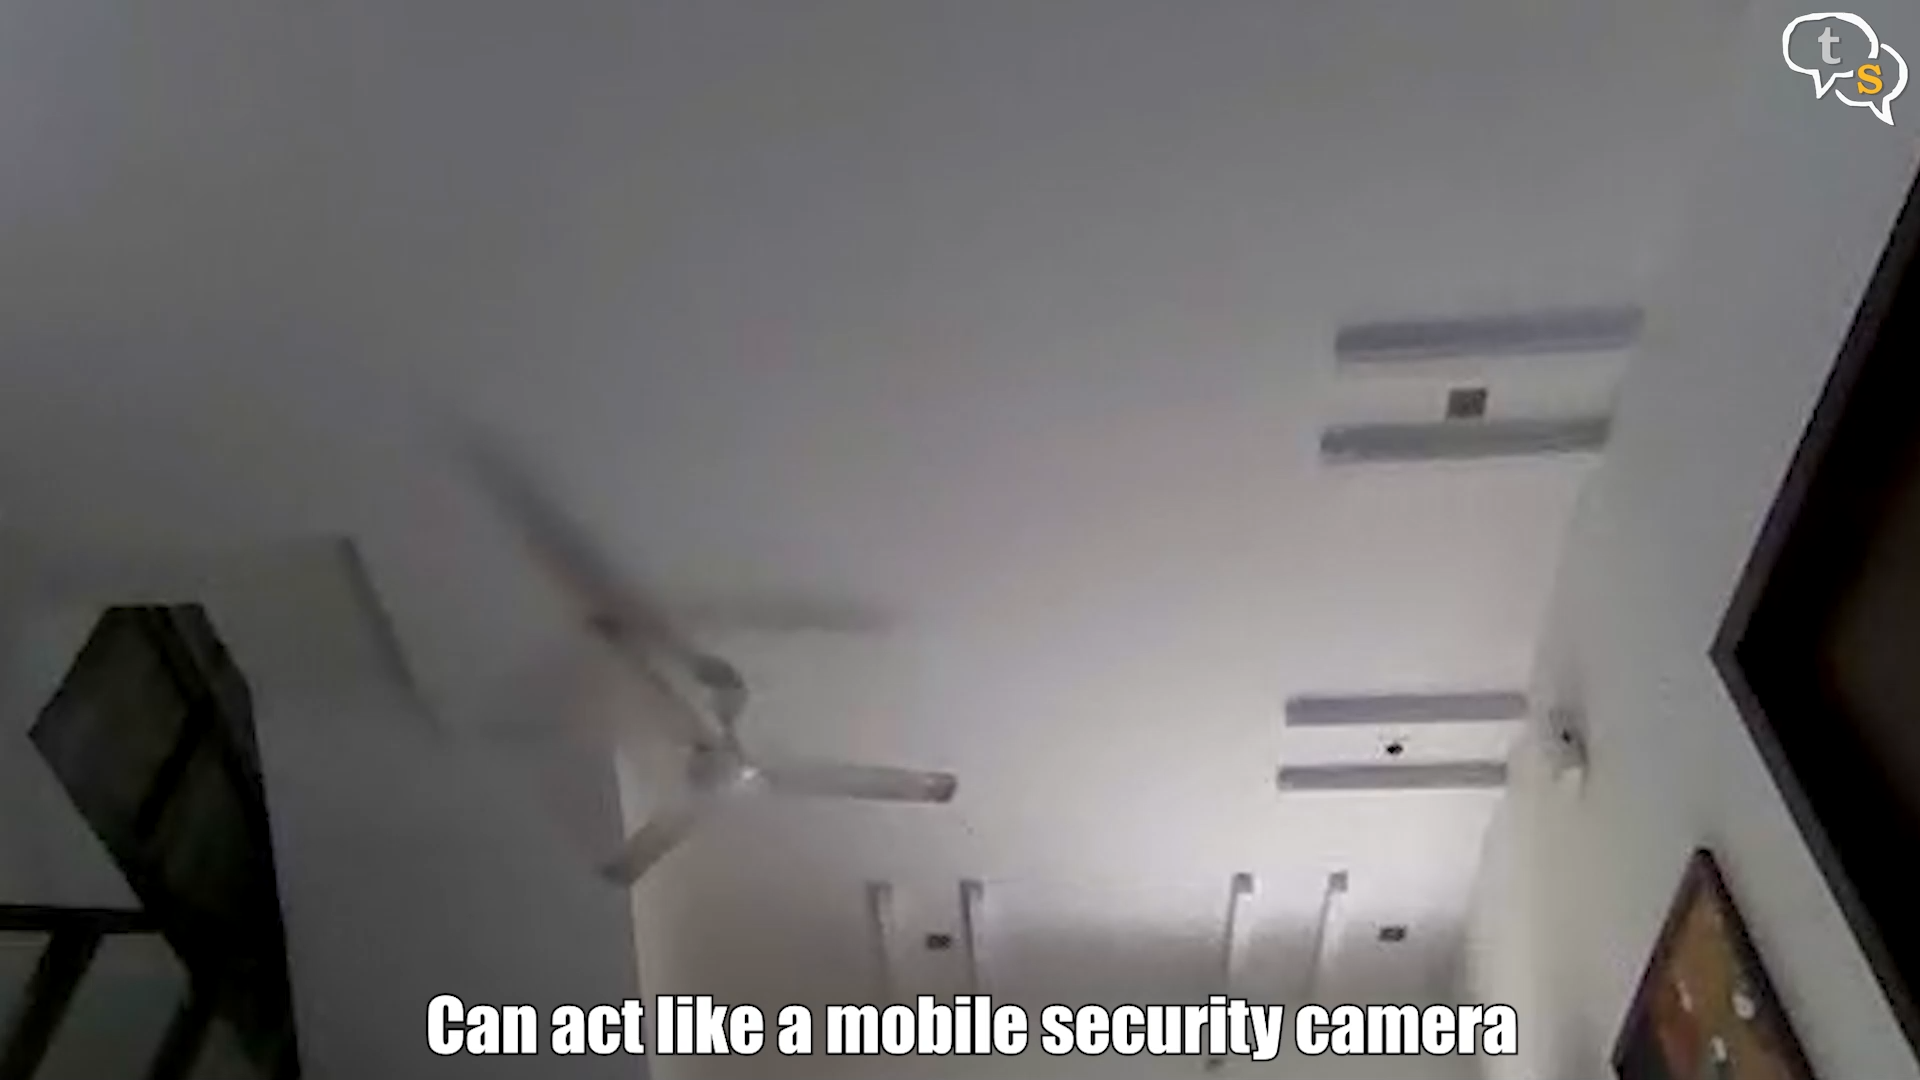
The camera on the vacuum can stream video to the app, which is very cool. Here’s a recording via the camera app.
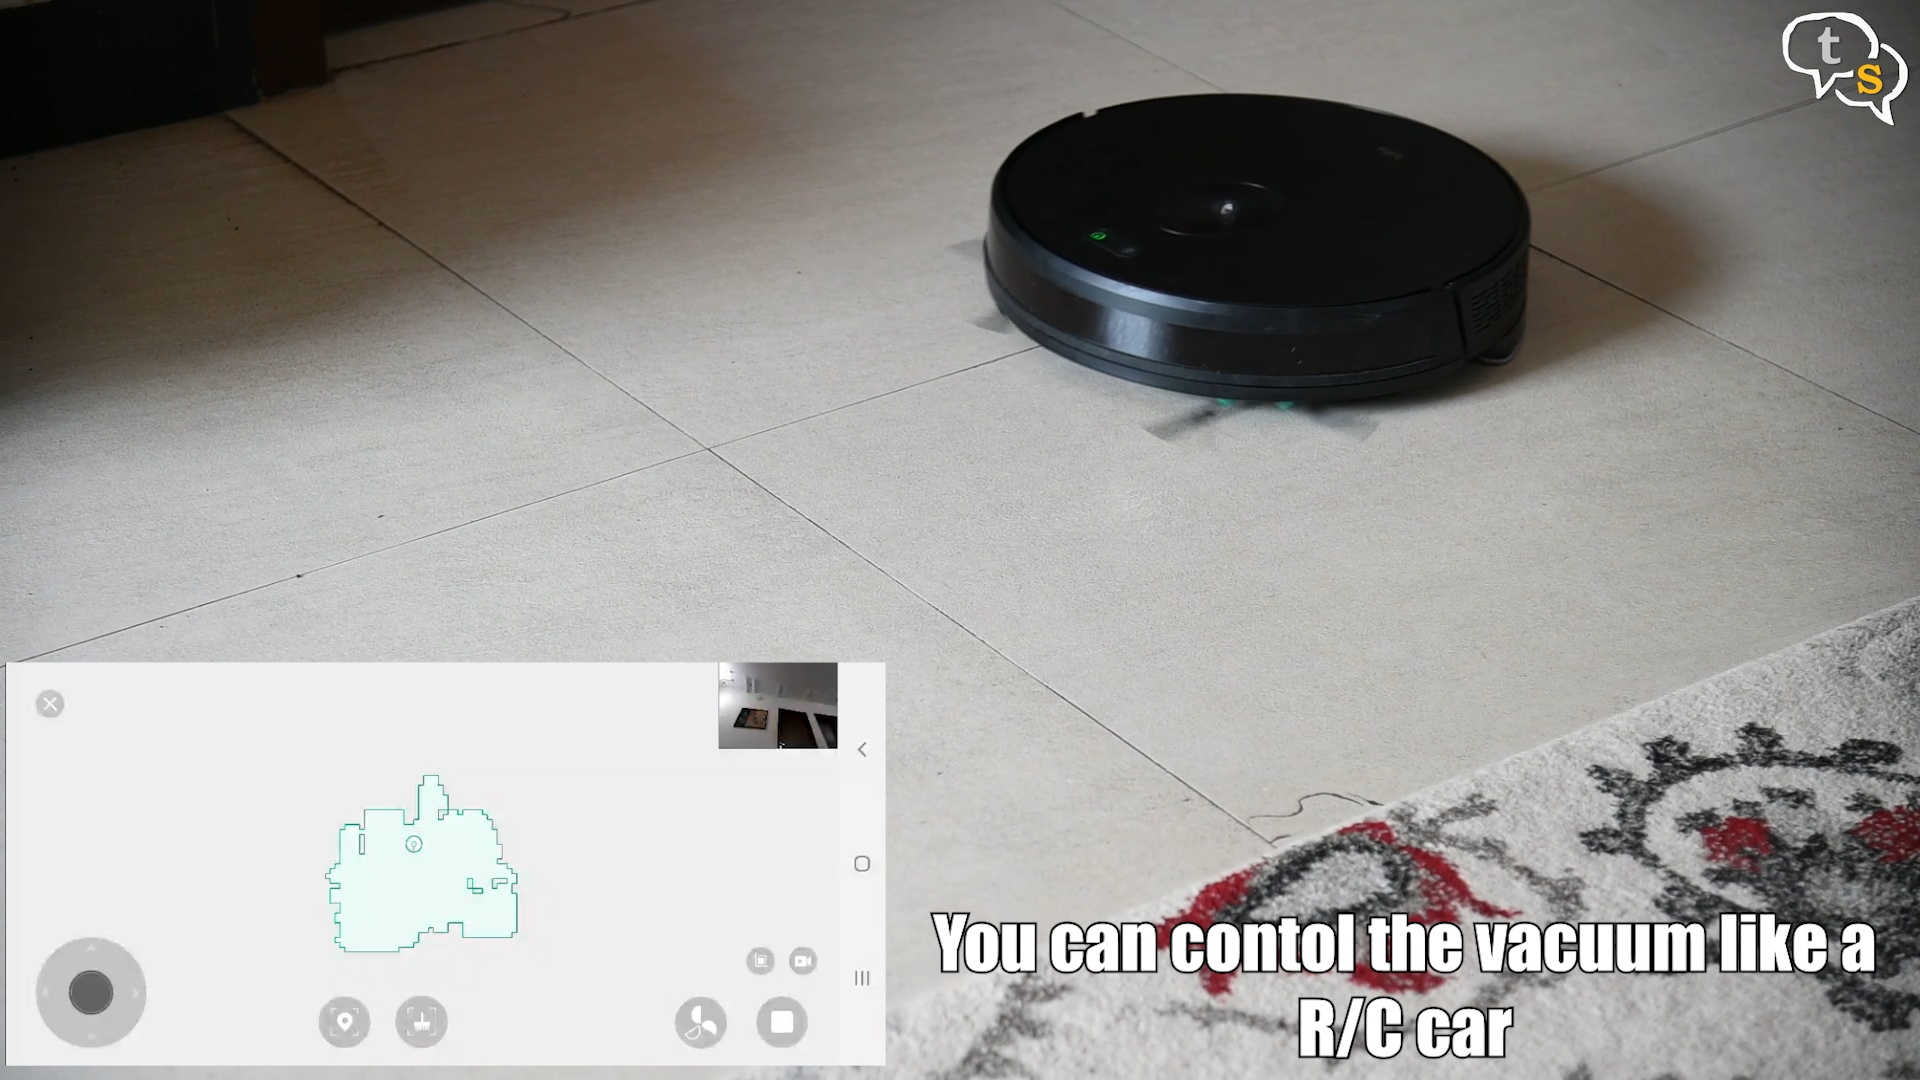
We can manually control the Vacuum via the app, which is fun as always. We can change power modes, start and stop the camera. We can stop the vacuum suction.
I like how slim the vacuum is, it can go under the sofas to get a thorough cleaning underneath. That’s one advantage of the camera based vacuums vs LIDAR.

The Trifo IronPie has Alexa Integration too. So, we can control it via voice. Look for the Trifo home skill on Alexa, enable, login and you’re ready.

Now you can use the Alexa app and also your voice to control the vacuum.
So that was the Trifo Ironpie Vacuum Robot Cleaner, it works quite well, if you have a large house or even a location like a marriage hall, which needs to be swept and mopped robot vacuum cleaners can help.
I liked that the Trifo can sweep under the sofas too, due to its slim profile. There are a few niggles while cleaning, but once we cleared the area, it got through the entire floor, it had picked up everything.
You will need to place furniture in a way it can move under them, as with any robot vacuum cleaner. Only problem I had with it is that it couldn’t pick up large debris. I did miss the features you have on LIDAR robot vacuums such as keep out zones and select an area on the map to clean. But that does bring down the price of the vacuum considerably. It’s a great vacuum and works well for large open houses or flats. Would recommend this if price is a constraint and you need the ability to vacuum under the sofas, but if it’s not, i would recommend a LIDAR based Robot Vacuum instead.
If you have any questions do write in to us at tech@talkingstuff.net or WhatsApp us at 9652578833.