Stl to 3d Print case:
https://www.thingiverse.com/thing:1698162
I’ve had the Raspberry Pi for quite some time now and was thinking on what new projects I could work on using this. One thing which actually stops me from using this, even though it can be powered via a power bank, is, it still is not portable? Well we’re going to fix that problem in this video.
As I said the raspberry pi on its own is not portable which means it needs an external display or input methods to be of any use.
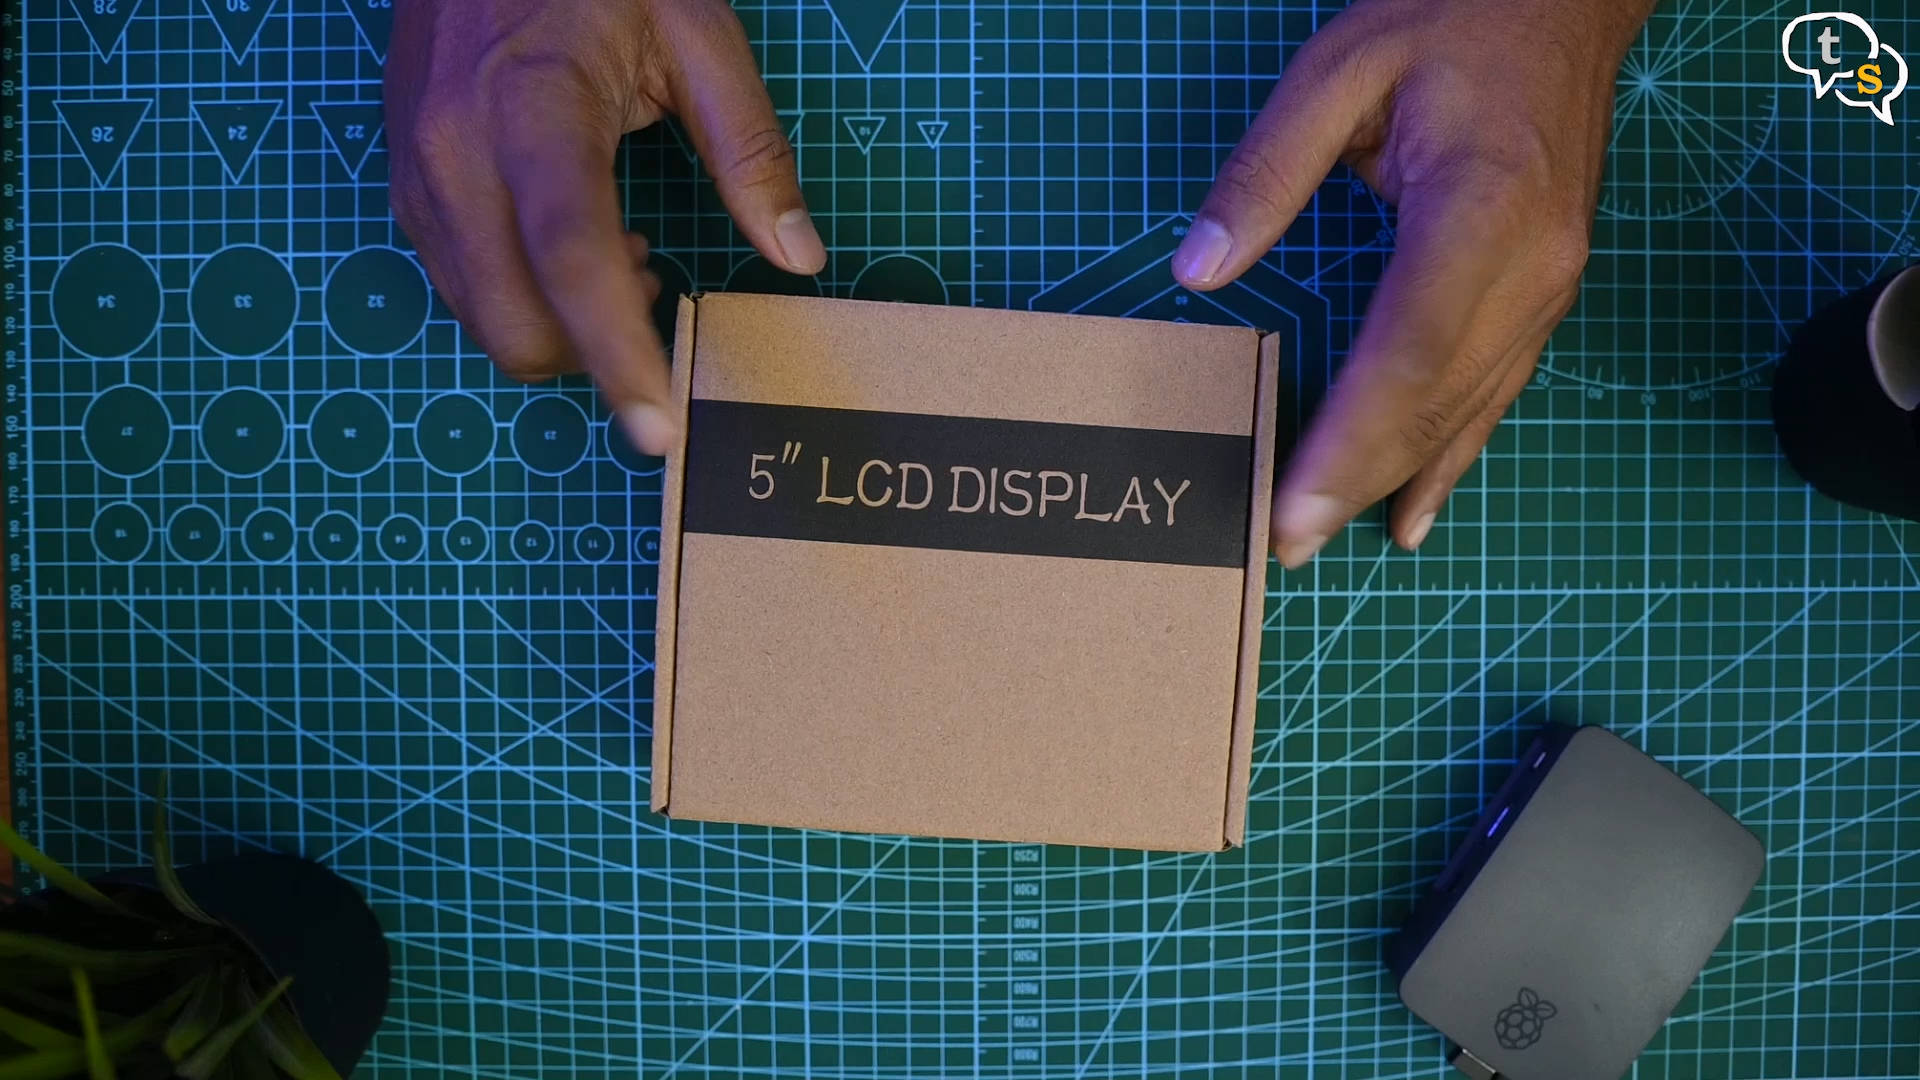
Here I have a 5 inch touchscreen display, which I’ll be coupling with this raspberry pi.
I purchased the 5-inch model after the 3.5 inch version of the same which didn’t work for me. The extra screen real estate should allow for more ease of use.
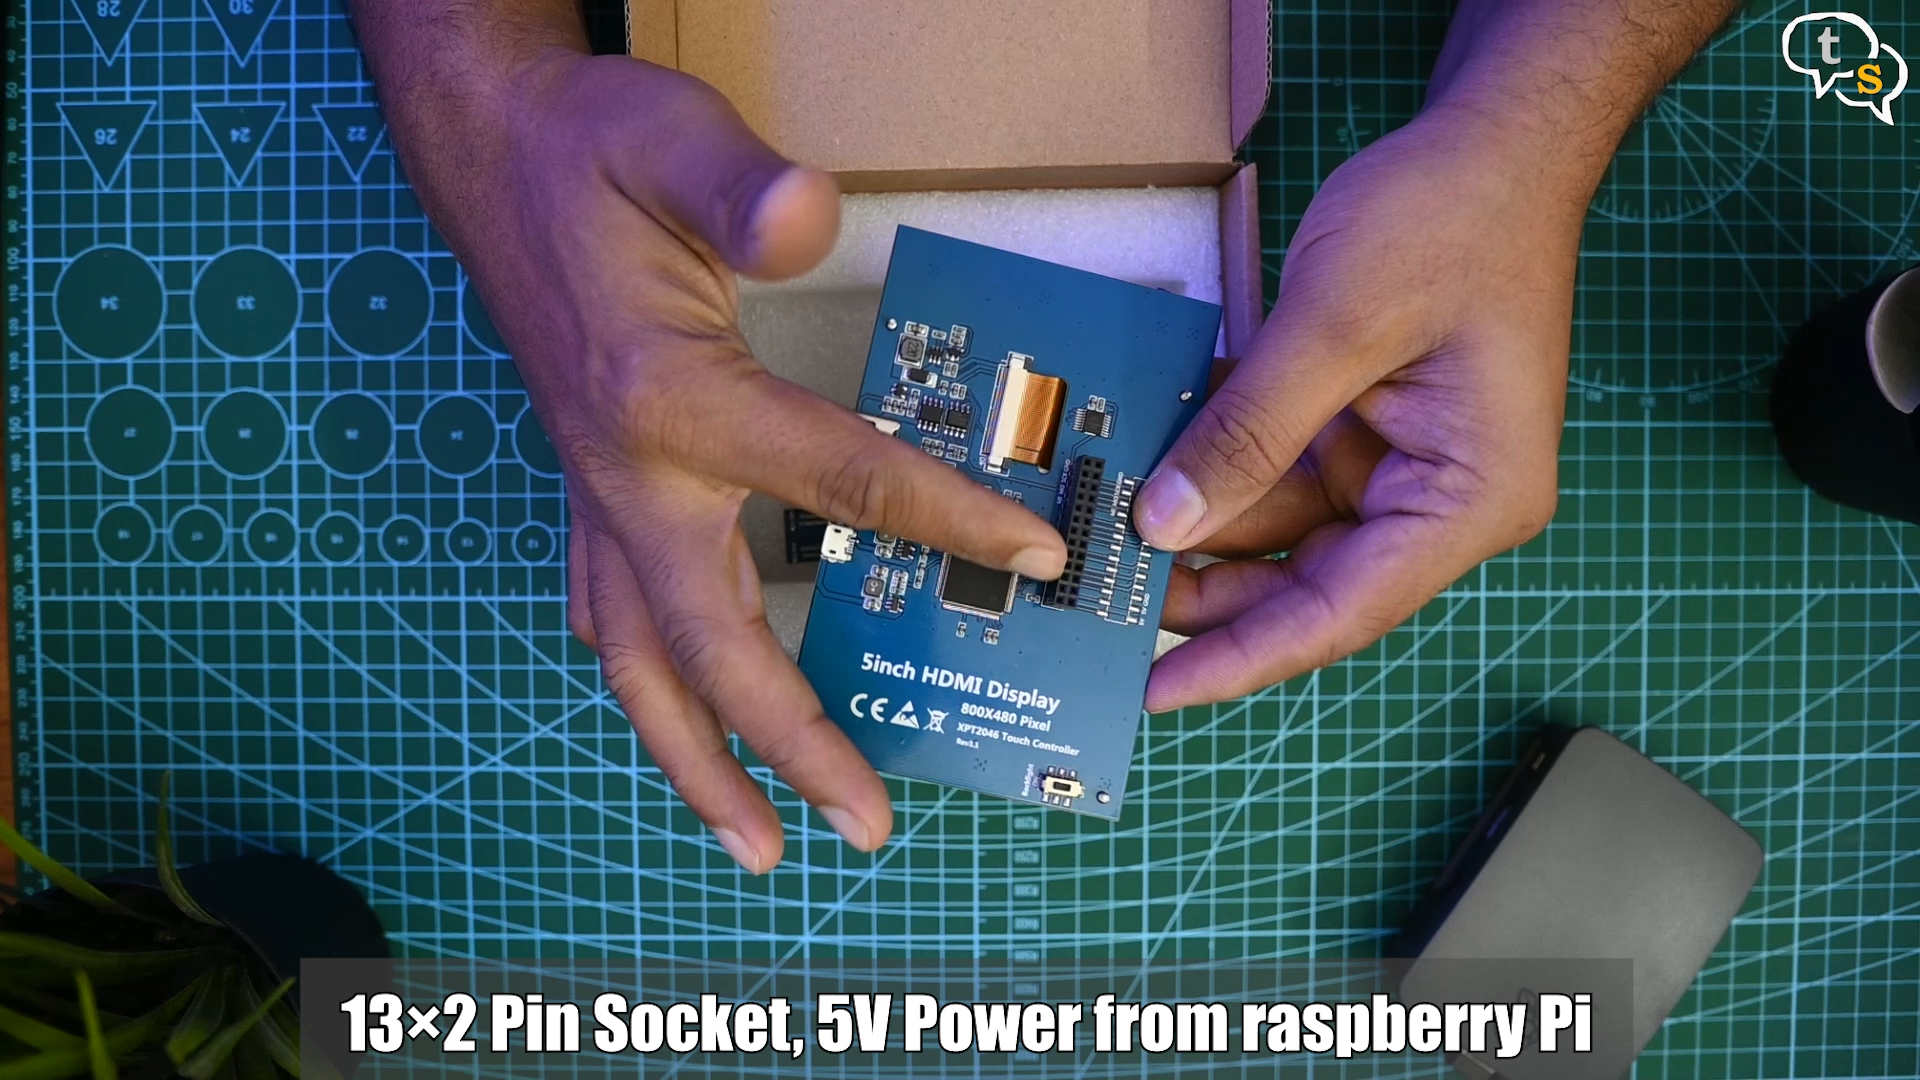
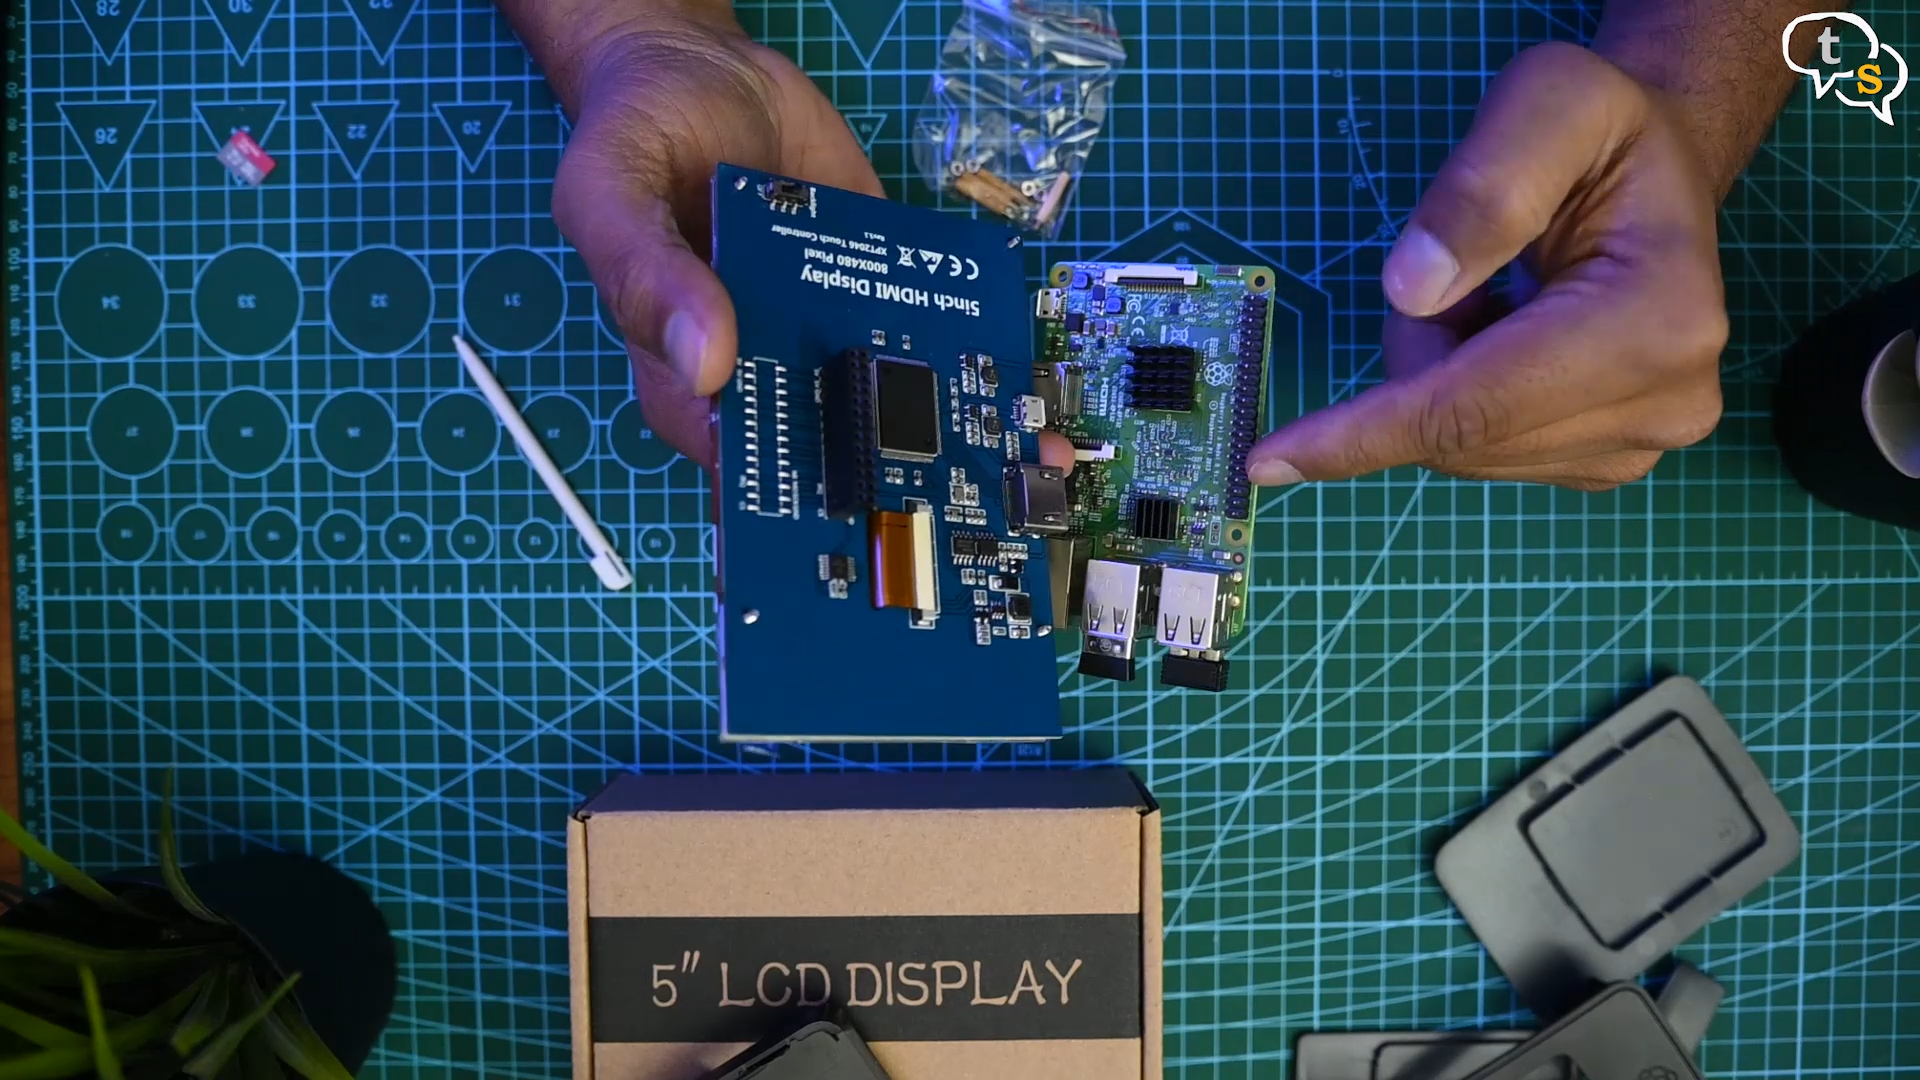
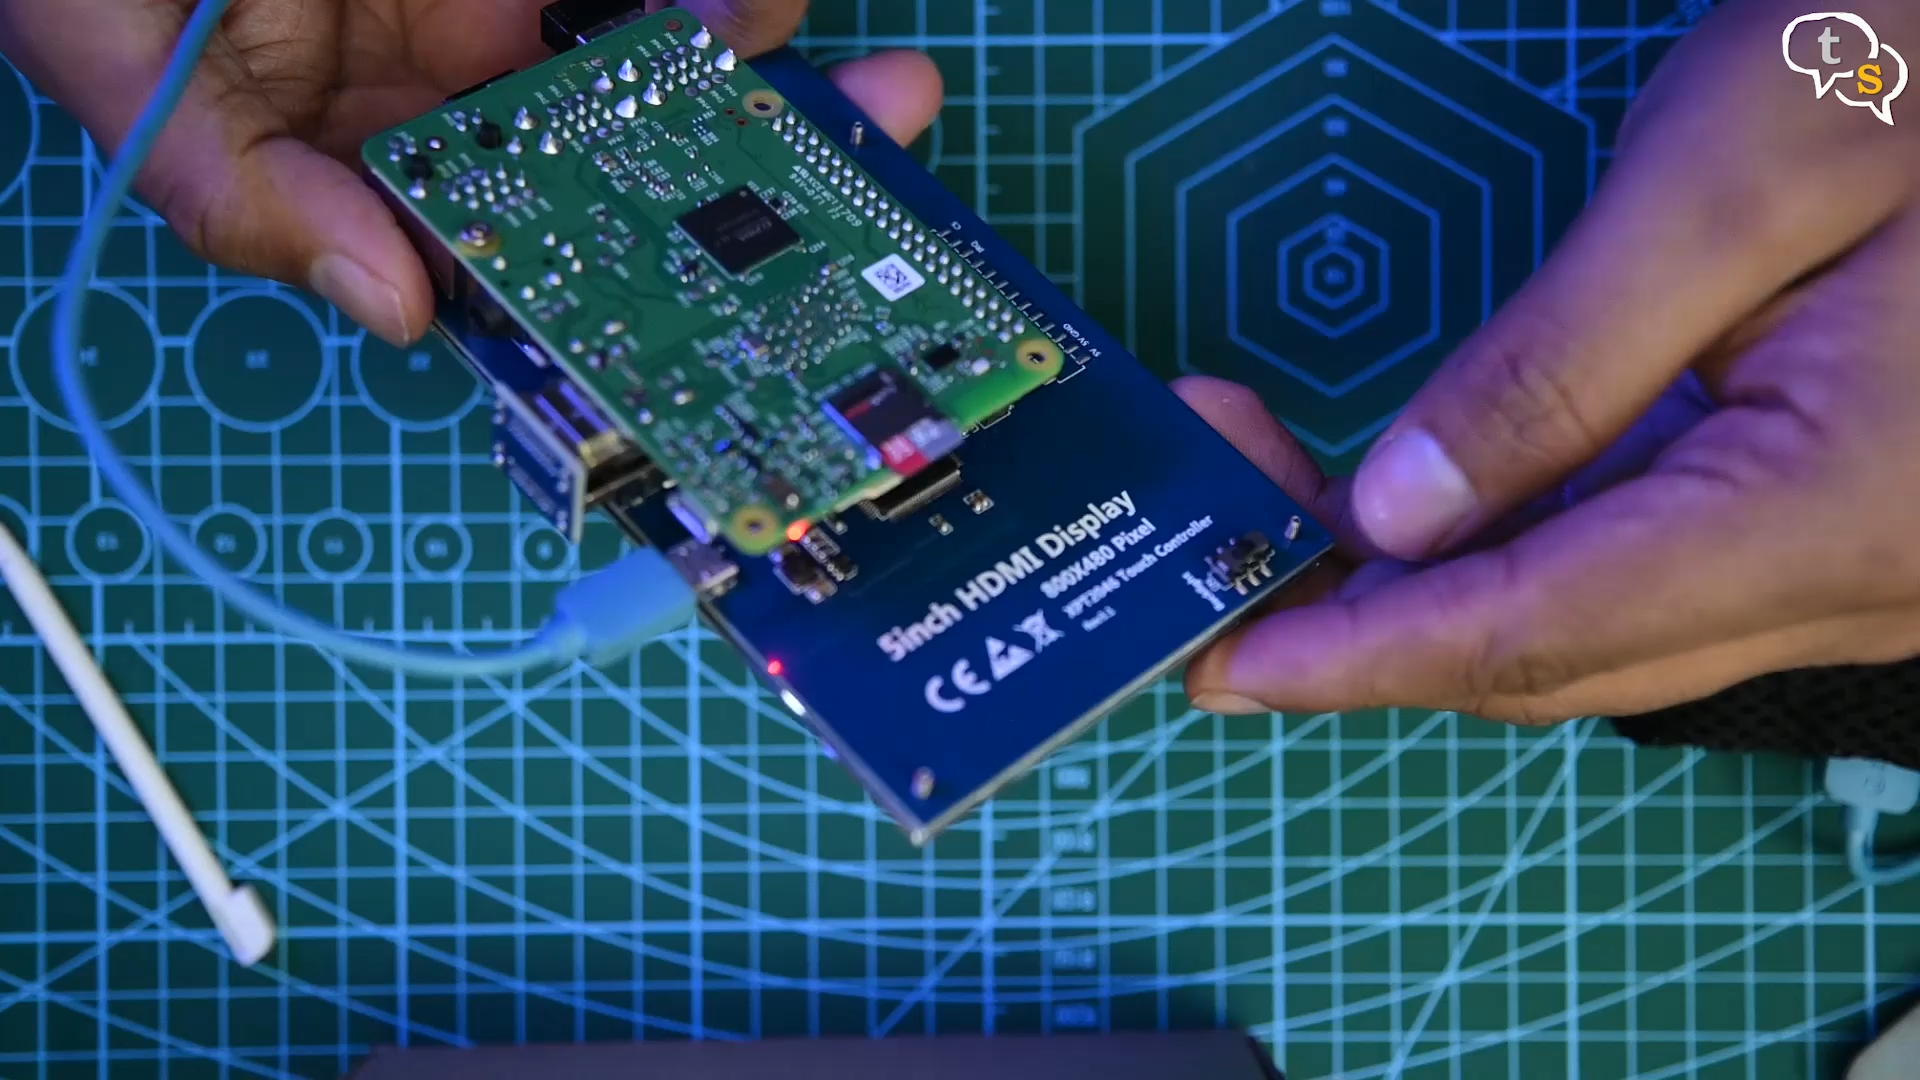
On the back of the display are the GPIO or General Purpose Input output connectors, which would connect directly to the pins on the raspberry pi, but do note there are 40 pins on the raspberry pi and only 26 on the display, so it has to be aligned and connected with care.

Here’s a backlight switch, to turn the screen backlight on or off, essentially turning the image off lowering the power draw, to save battery if using a powerbank.
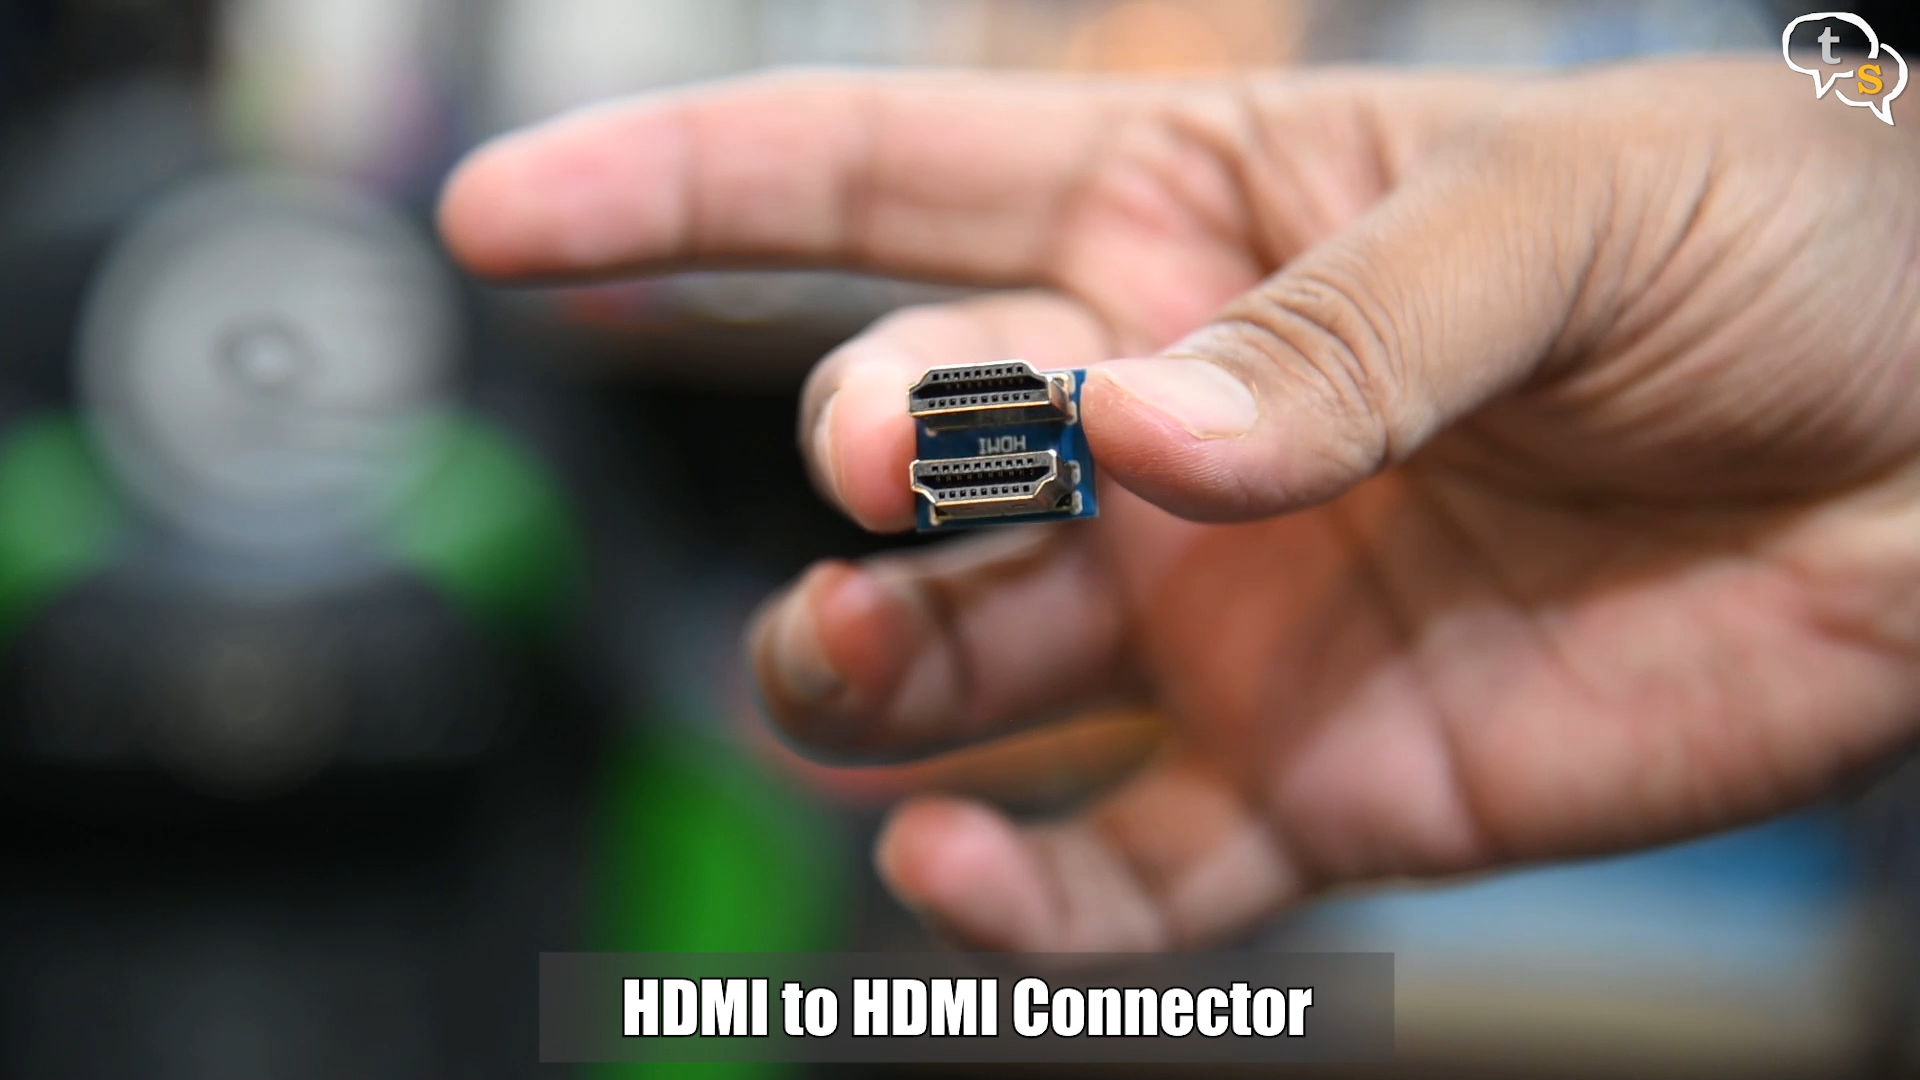
Also present in the box is a HDMI to HDMI connector, it has the exact size and spacing allowing to connect between the screen and the raspberry pi. Which is nice as I don’t need a long hdmi cable dangling between the two halves.
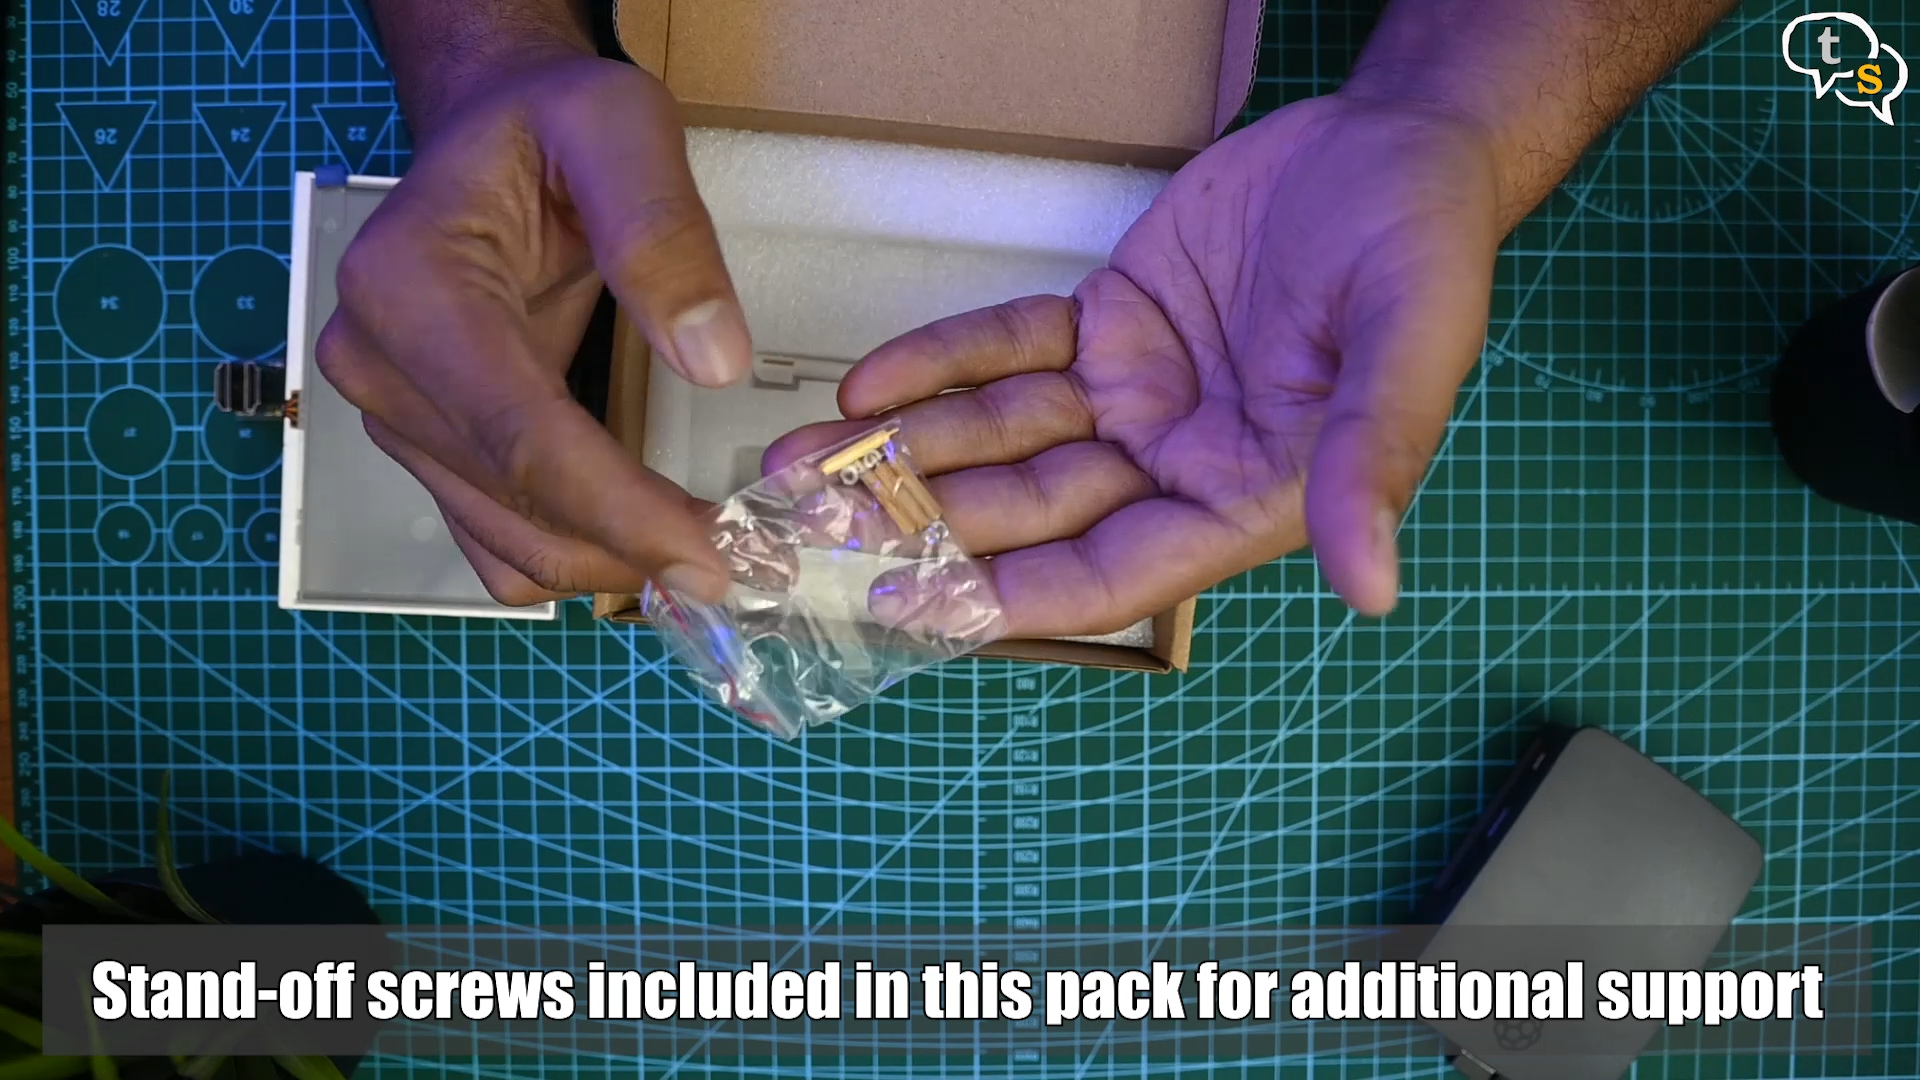
Standoffs to give some support between the pi and LCD screen.
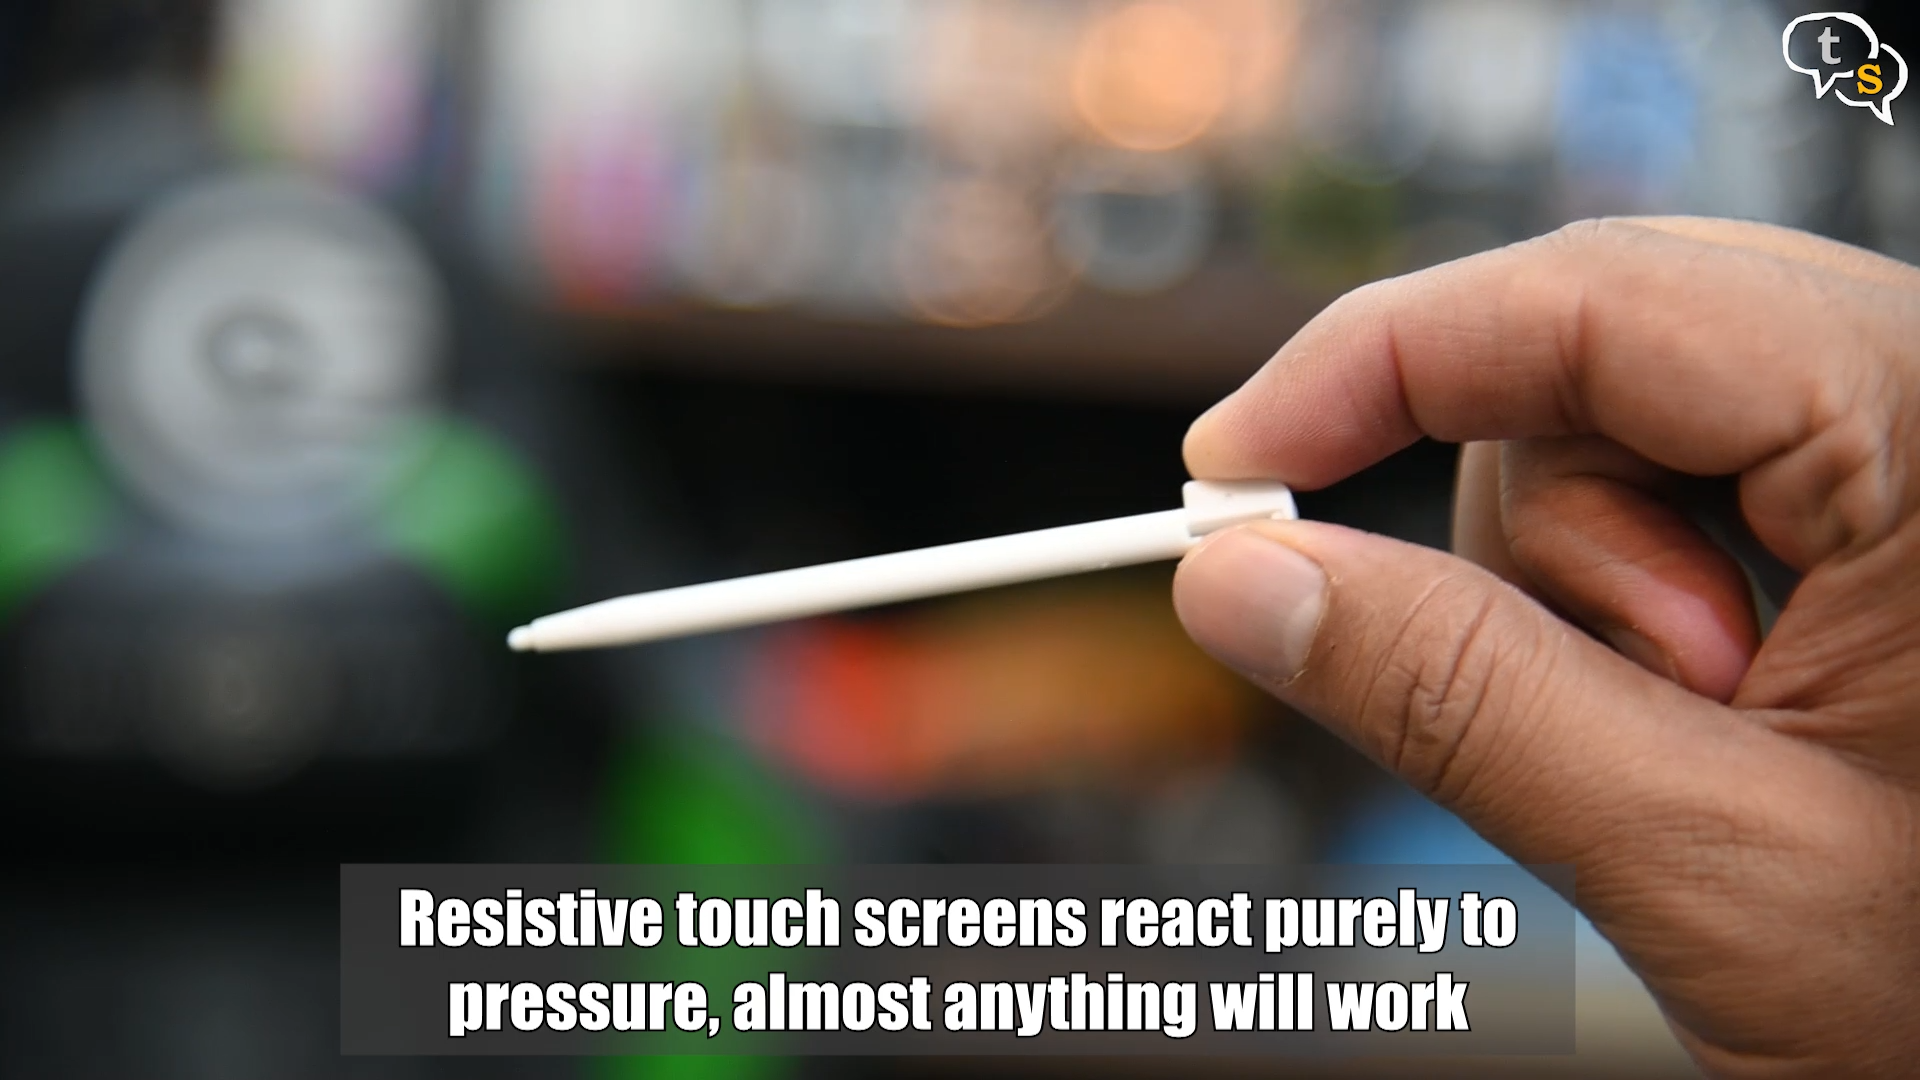
A stylus, this LCD screen has a resistive touchscreen, so styli like these or even your finger will work.
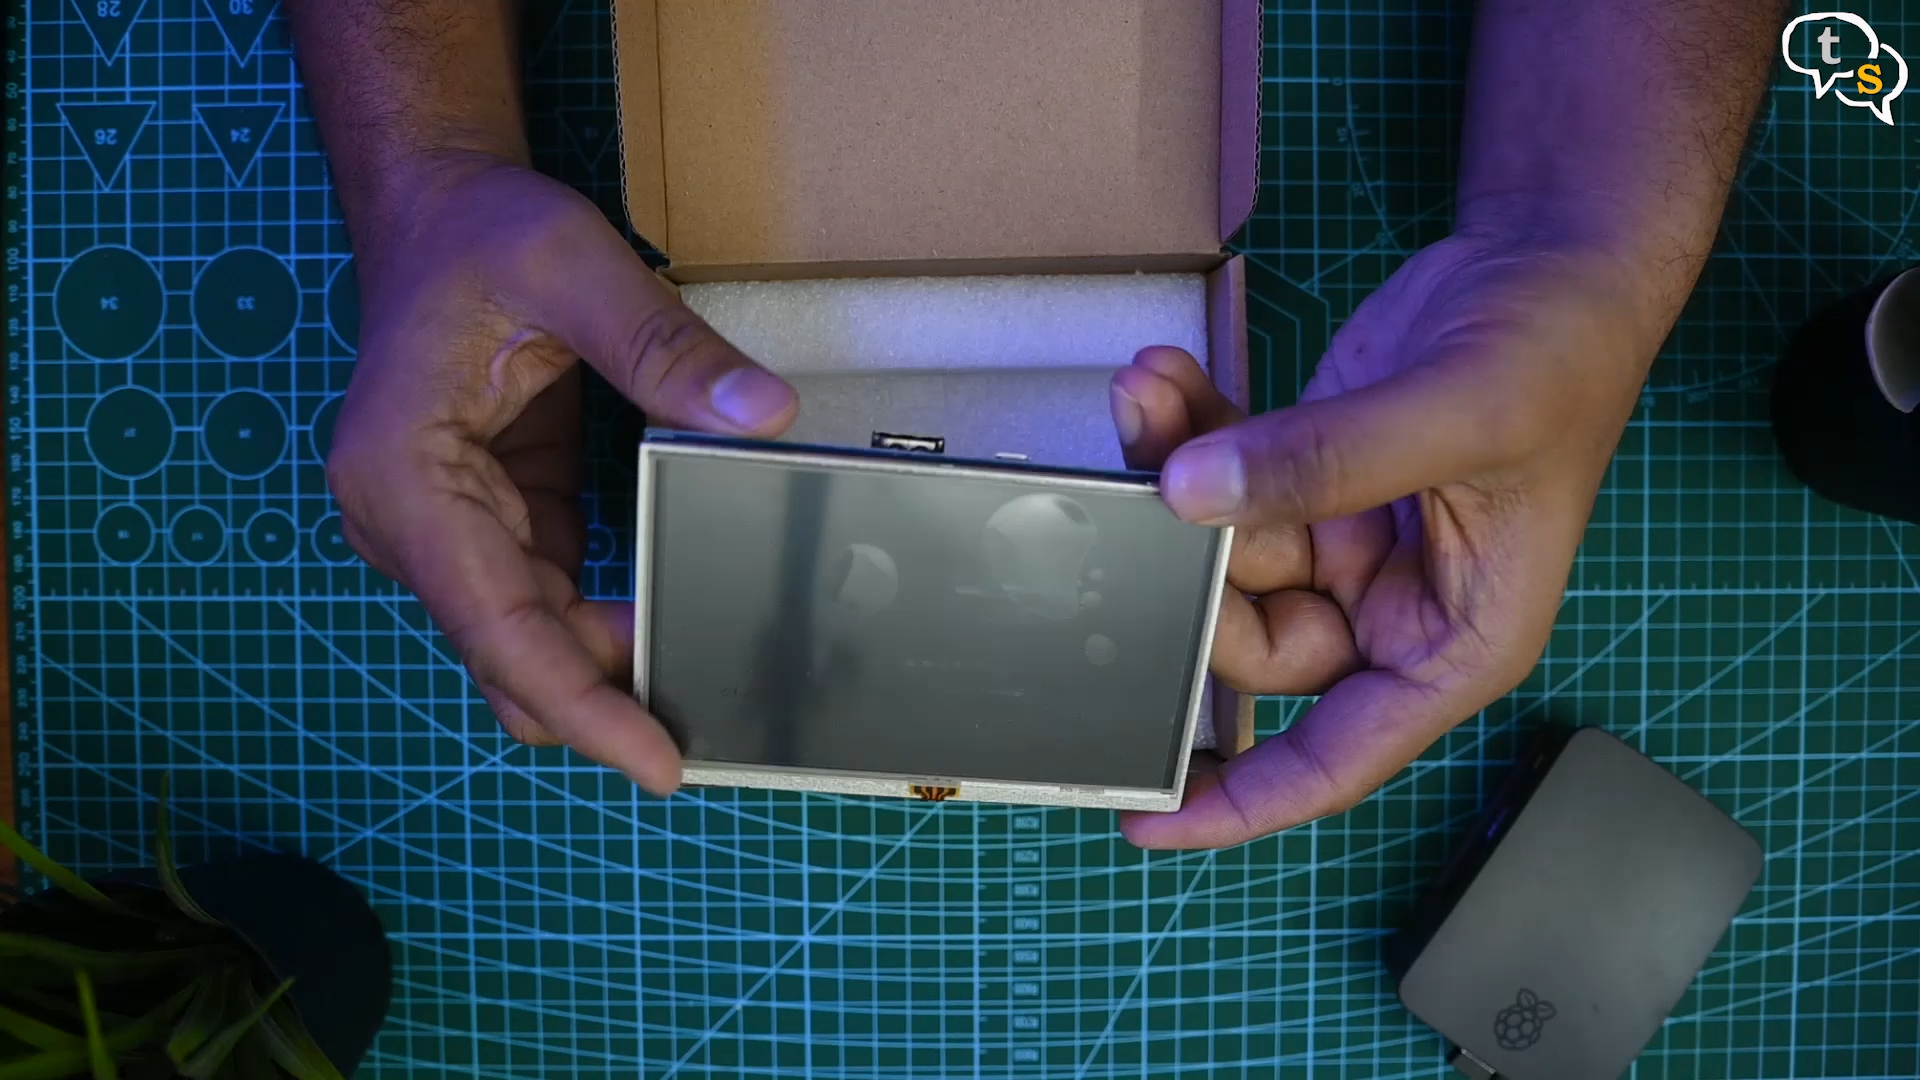
Let’s get the box out of the way and get back to the screen.
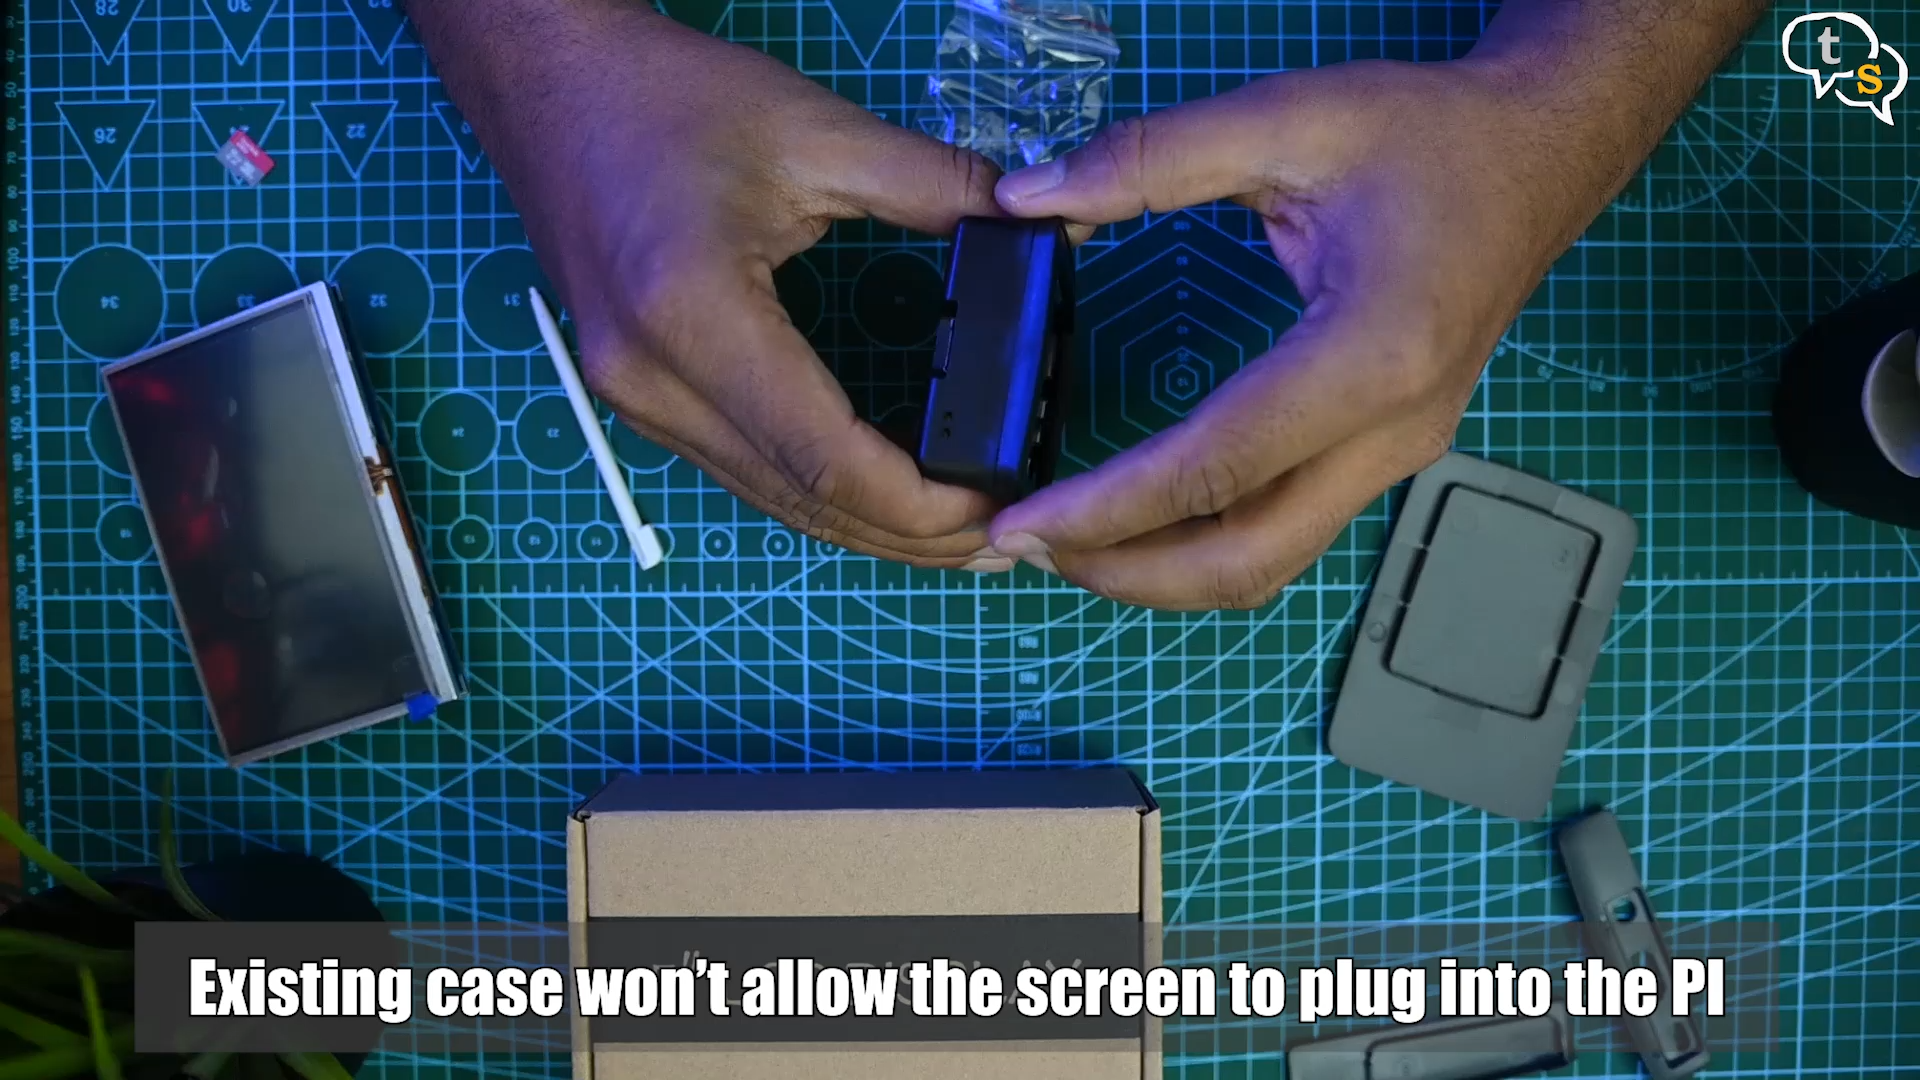
I won’t be able to use this case while the Pi is connected to the LCD, so better I remove it.
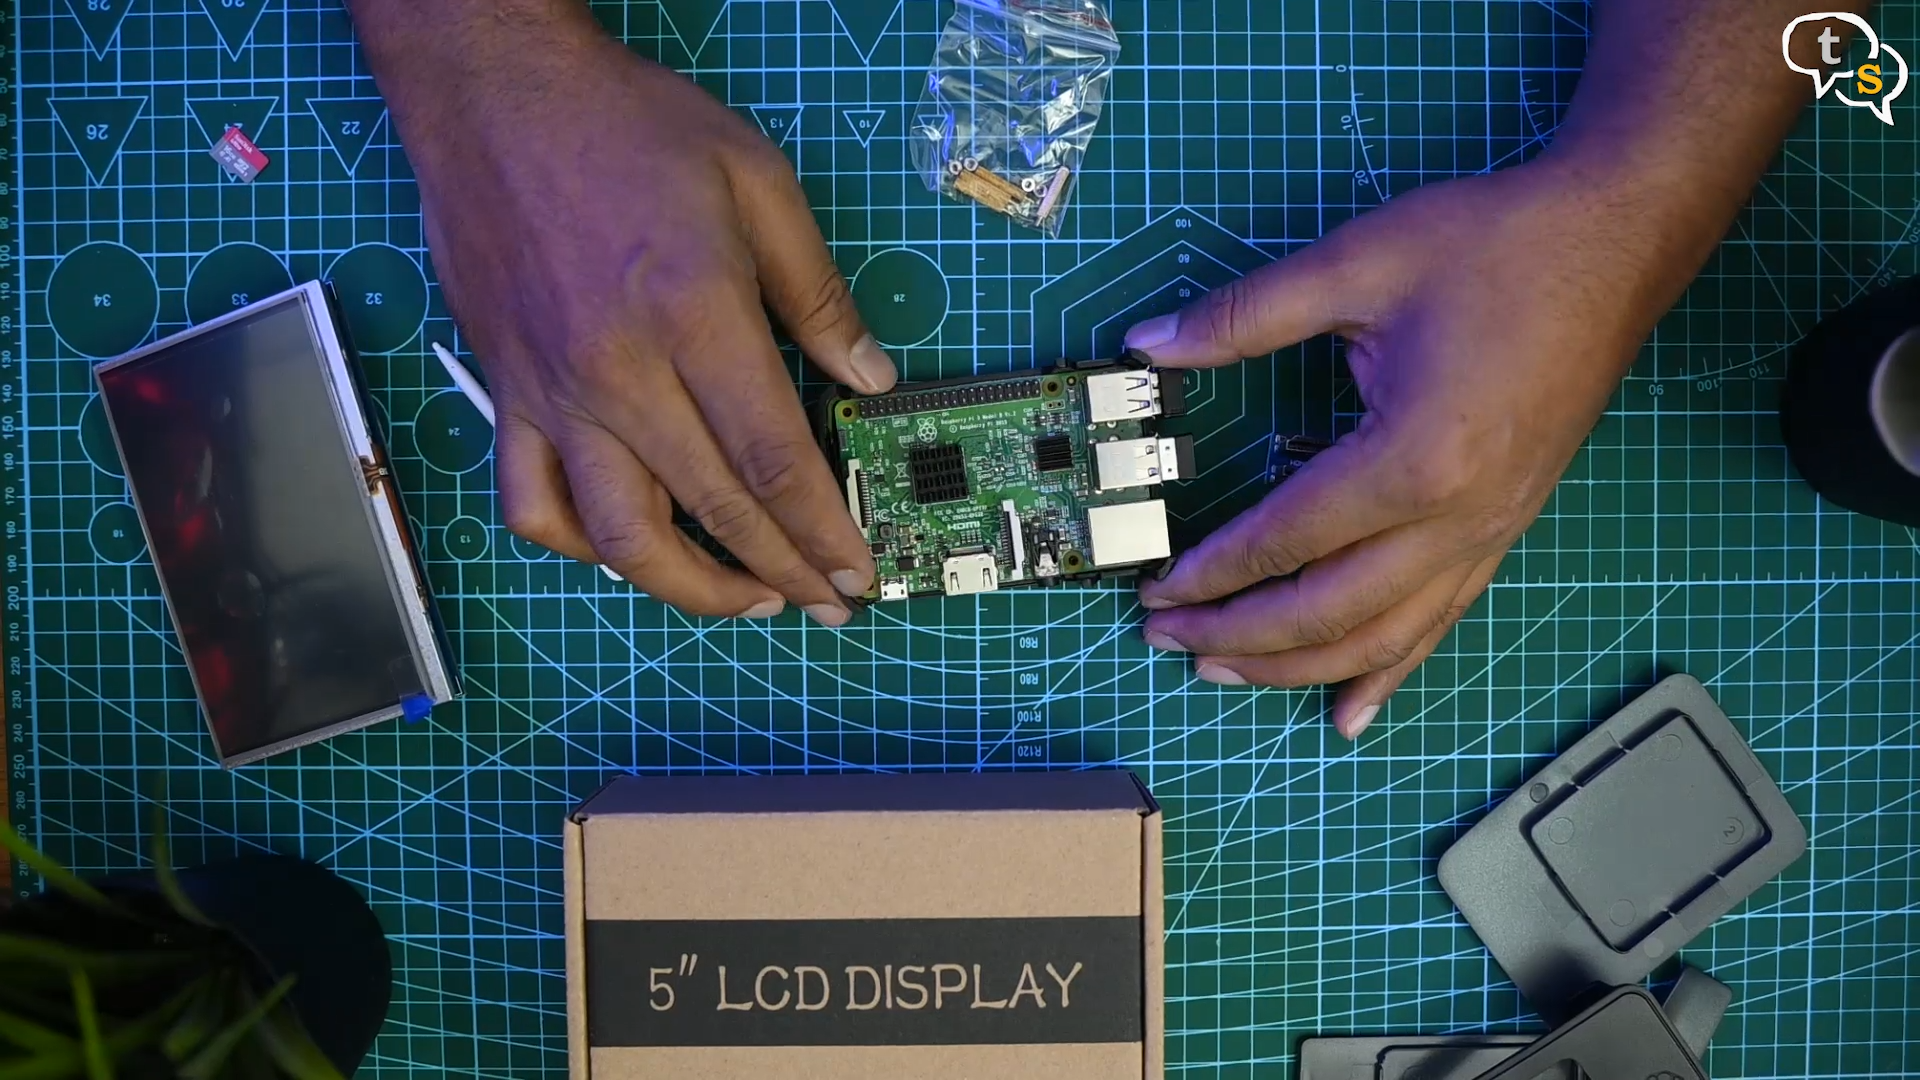
Here’s the Raspberry pi in it’s actual form, it is quite small, considering it is a mini computer.
These are the pins which would align with the ports on the display.
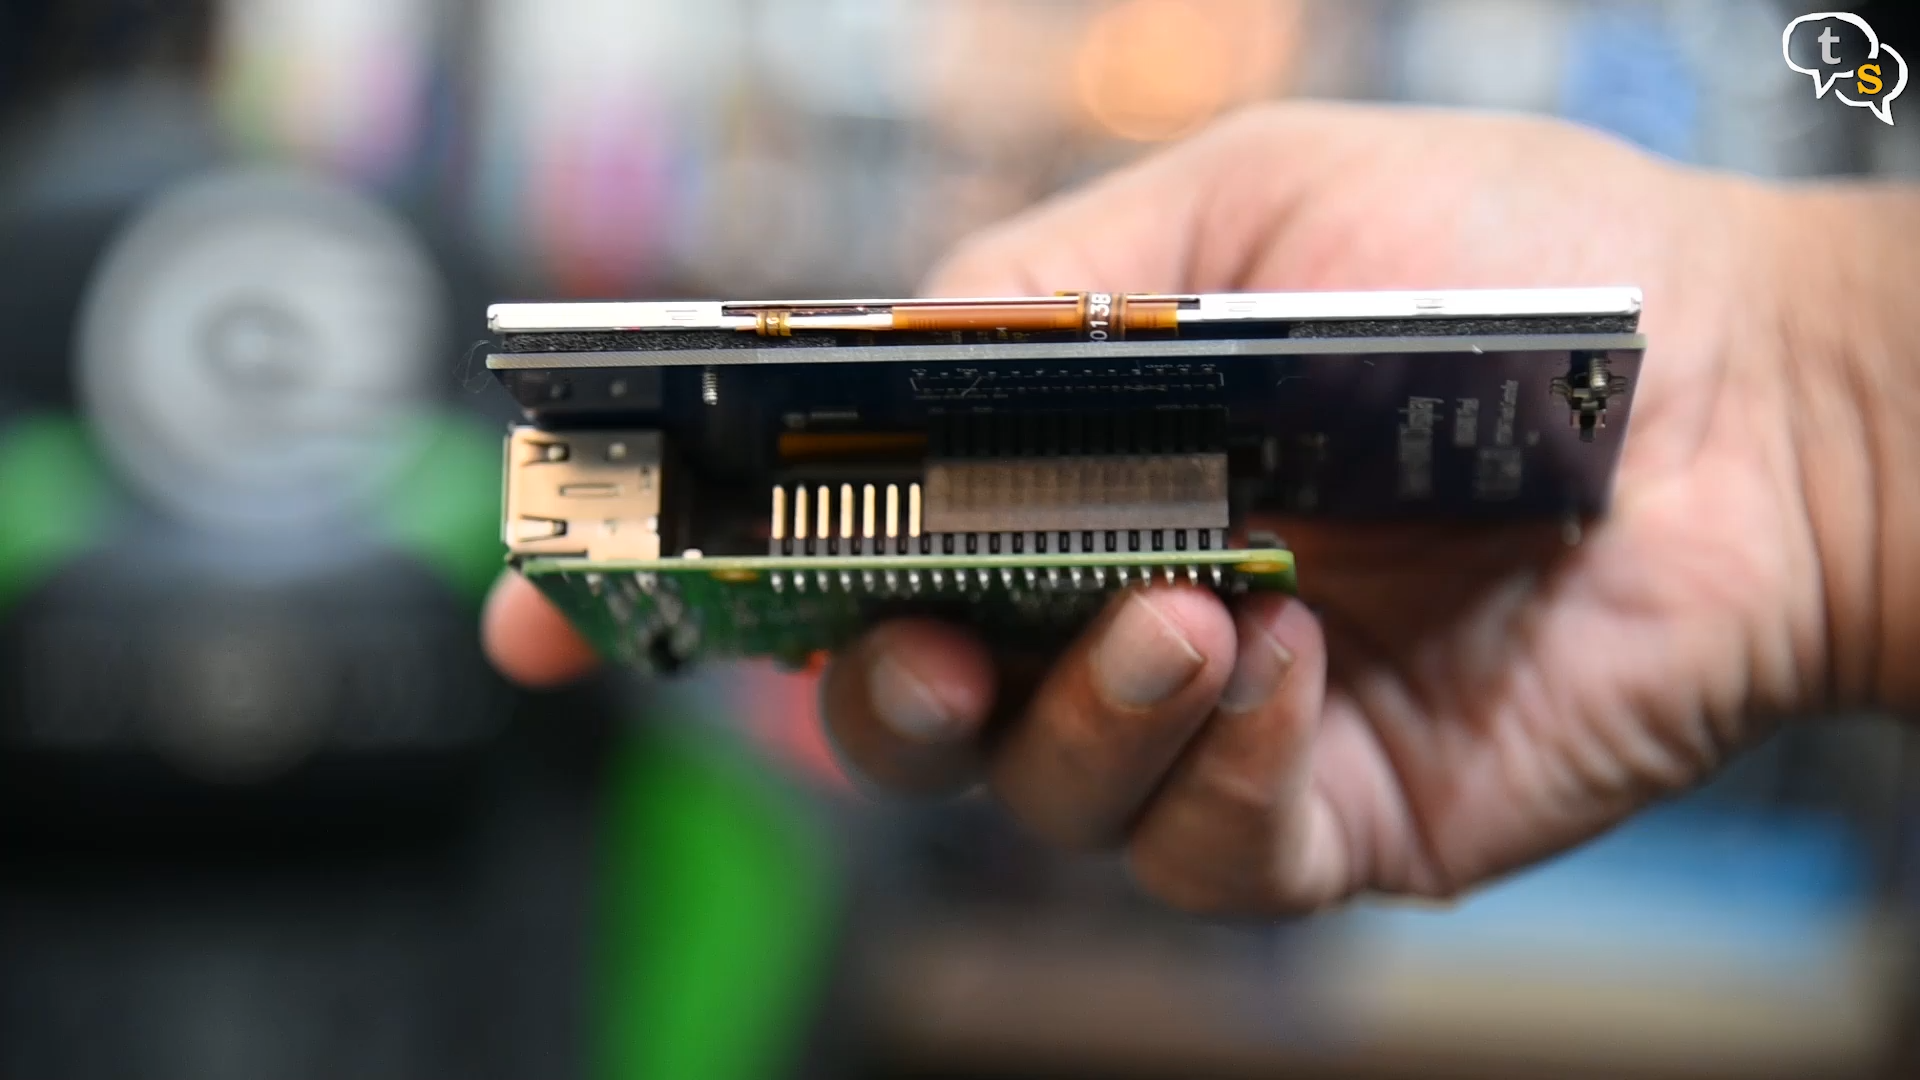
Align the pins on the raspberry pi with the ports on the screen and carefully plug it in.
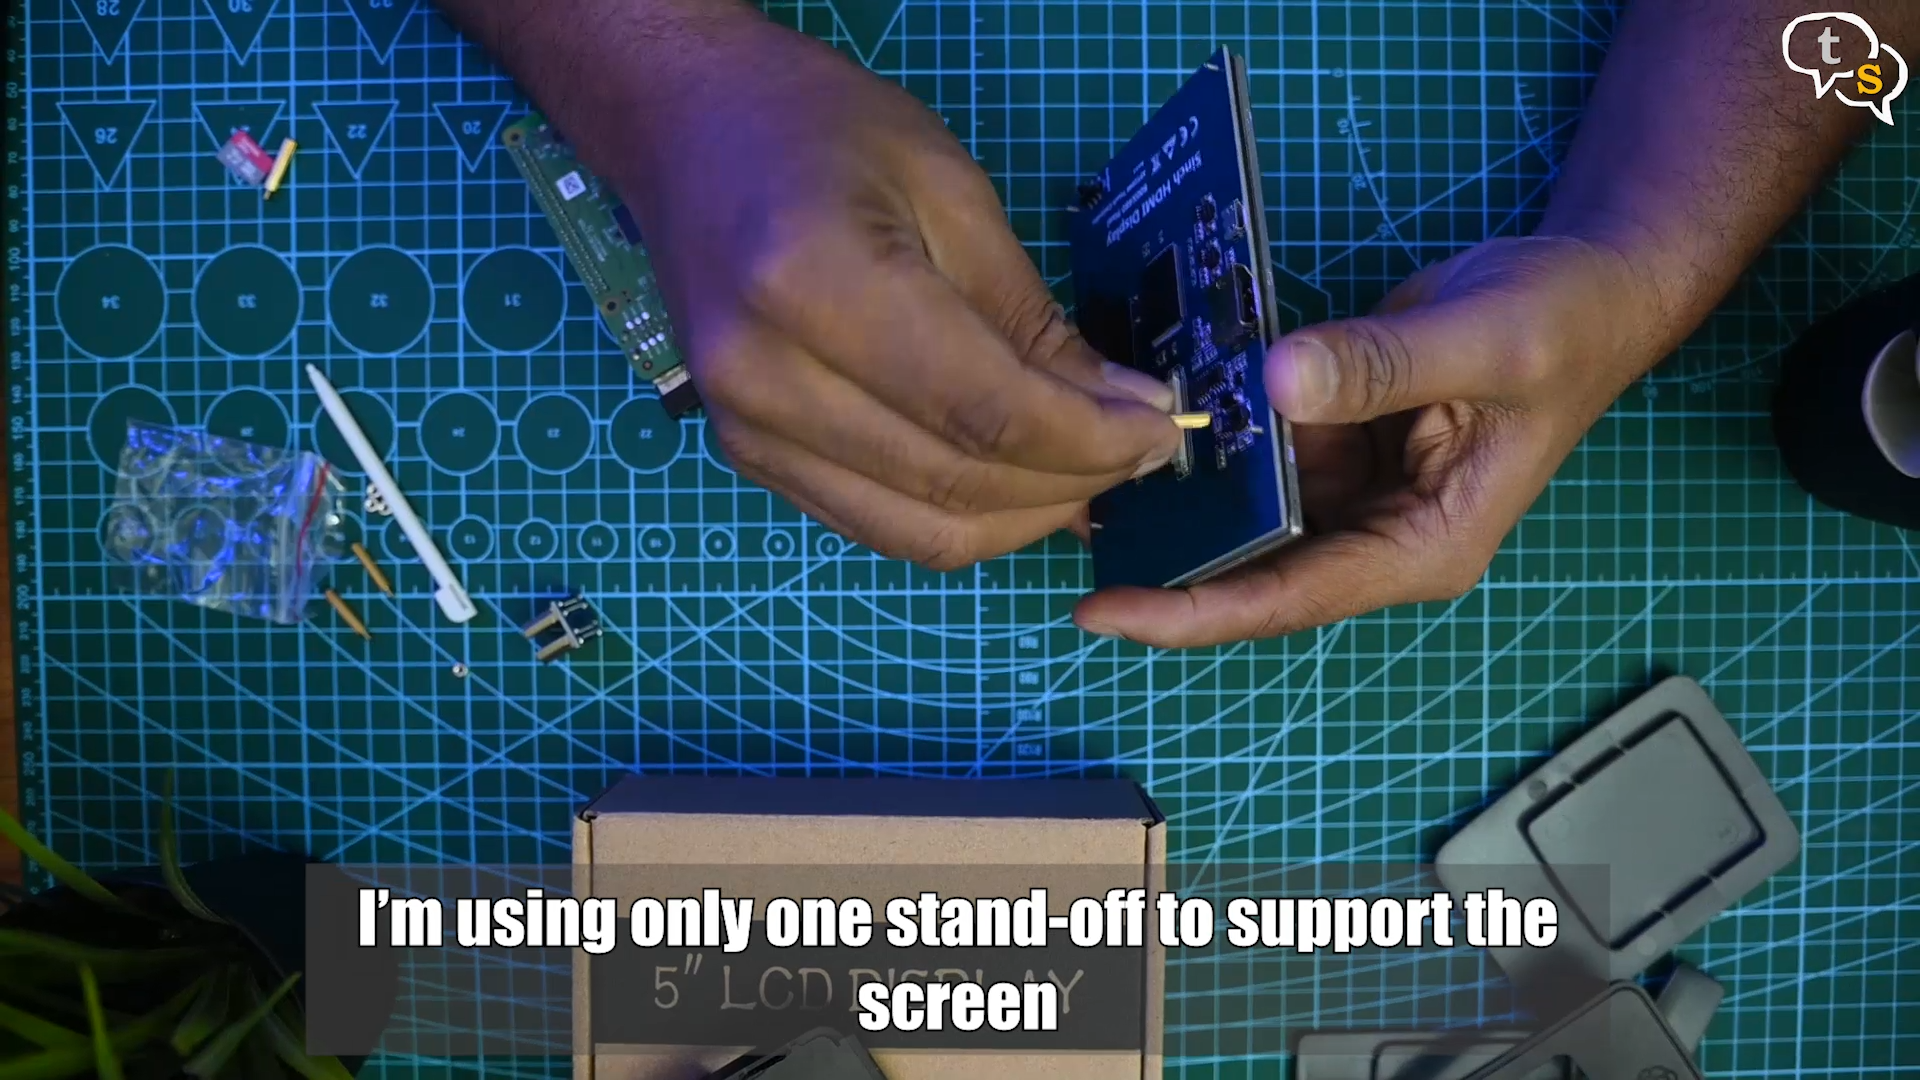
This location looks good for a standoff to give some strength, as we would be using the touchscreen, and we don’t want all the force to be exerted on the pins.
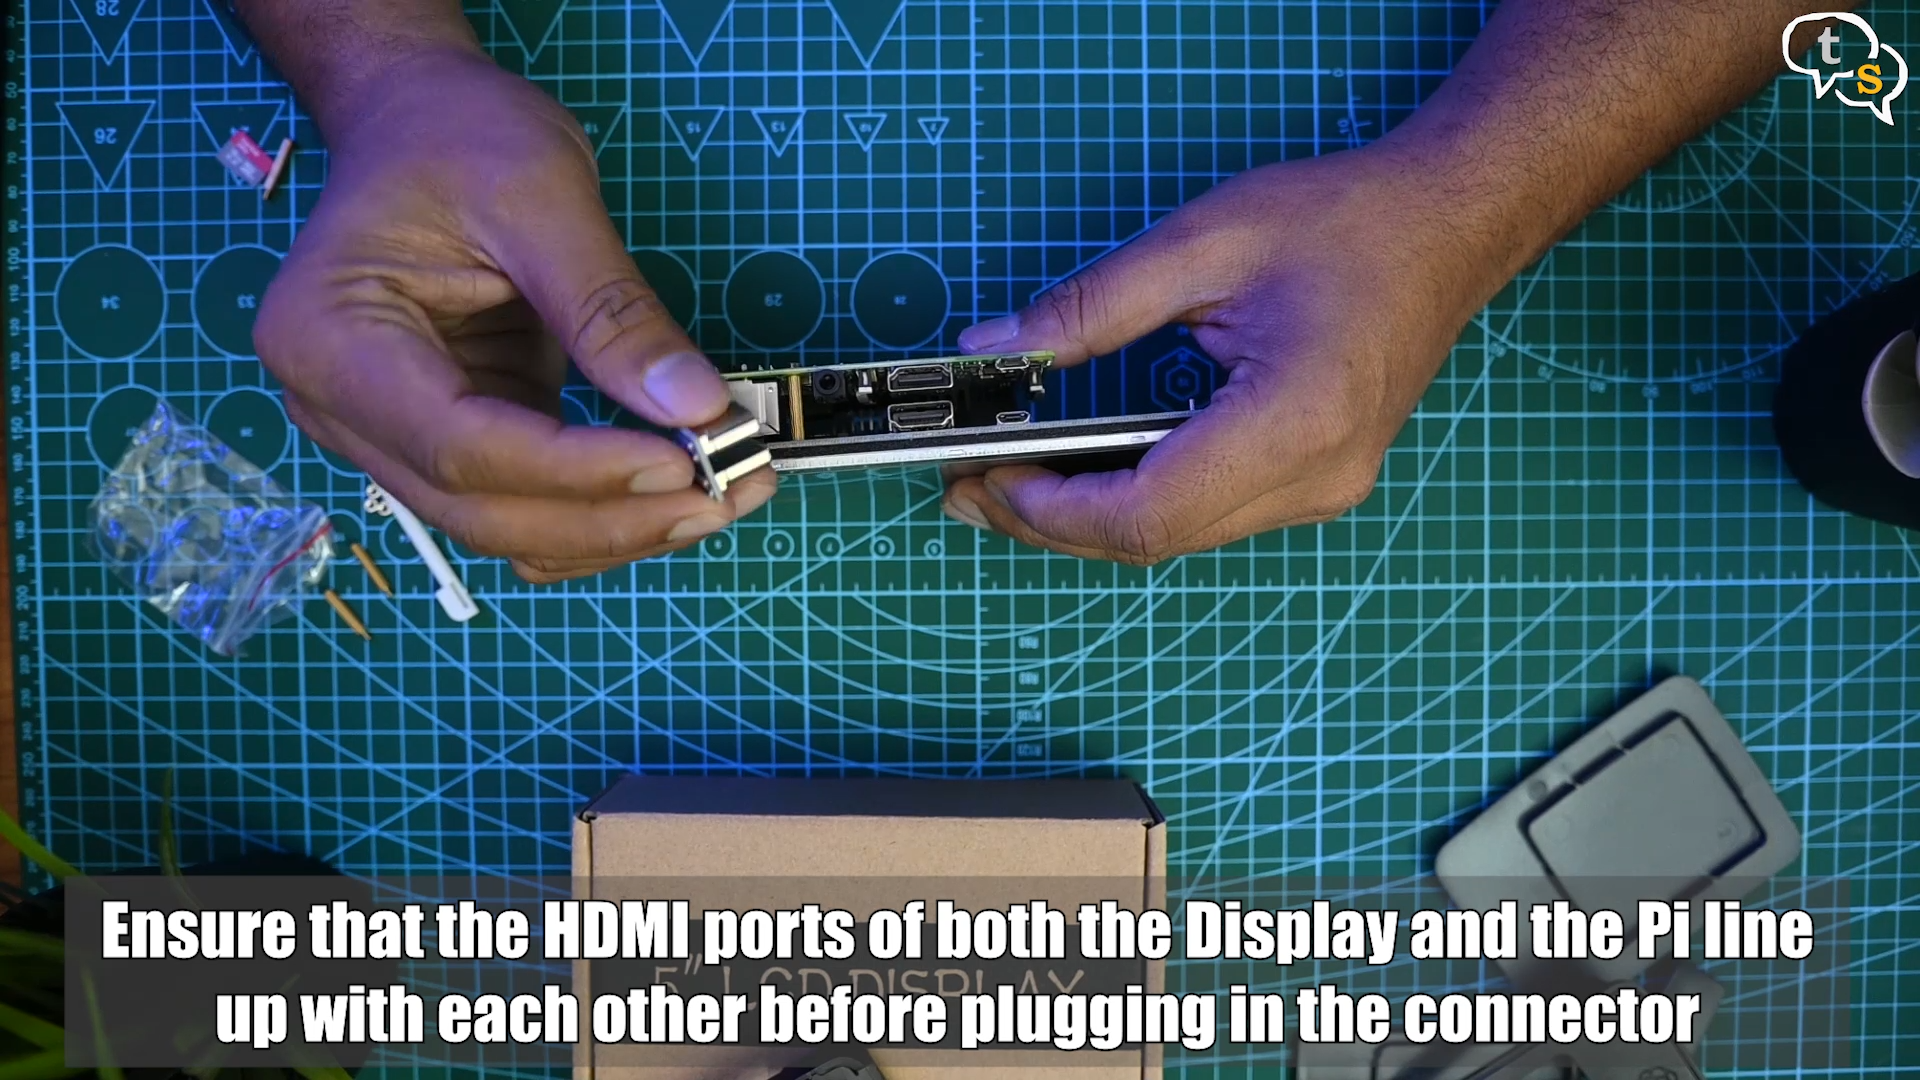
On this side we have the HDMI port on both the LCD screen and the pi. The provided HDMI to HDMI connector fits perfectly between them.
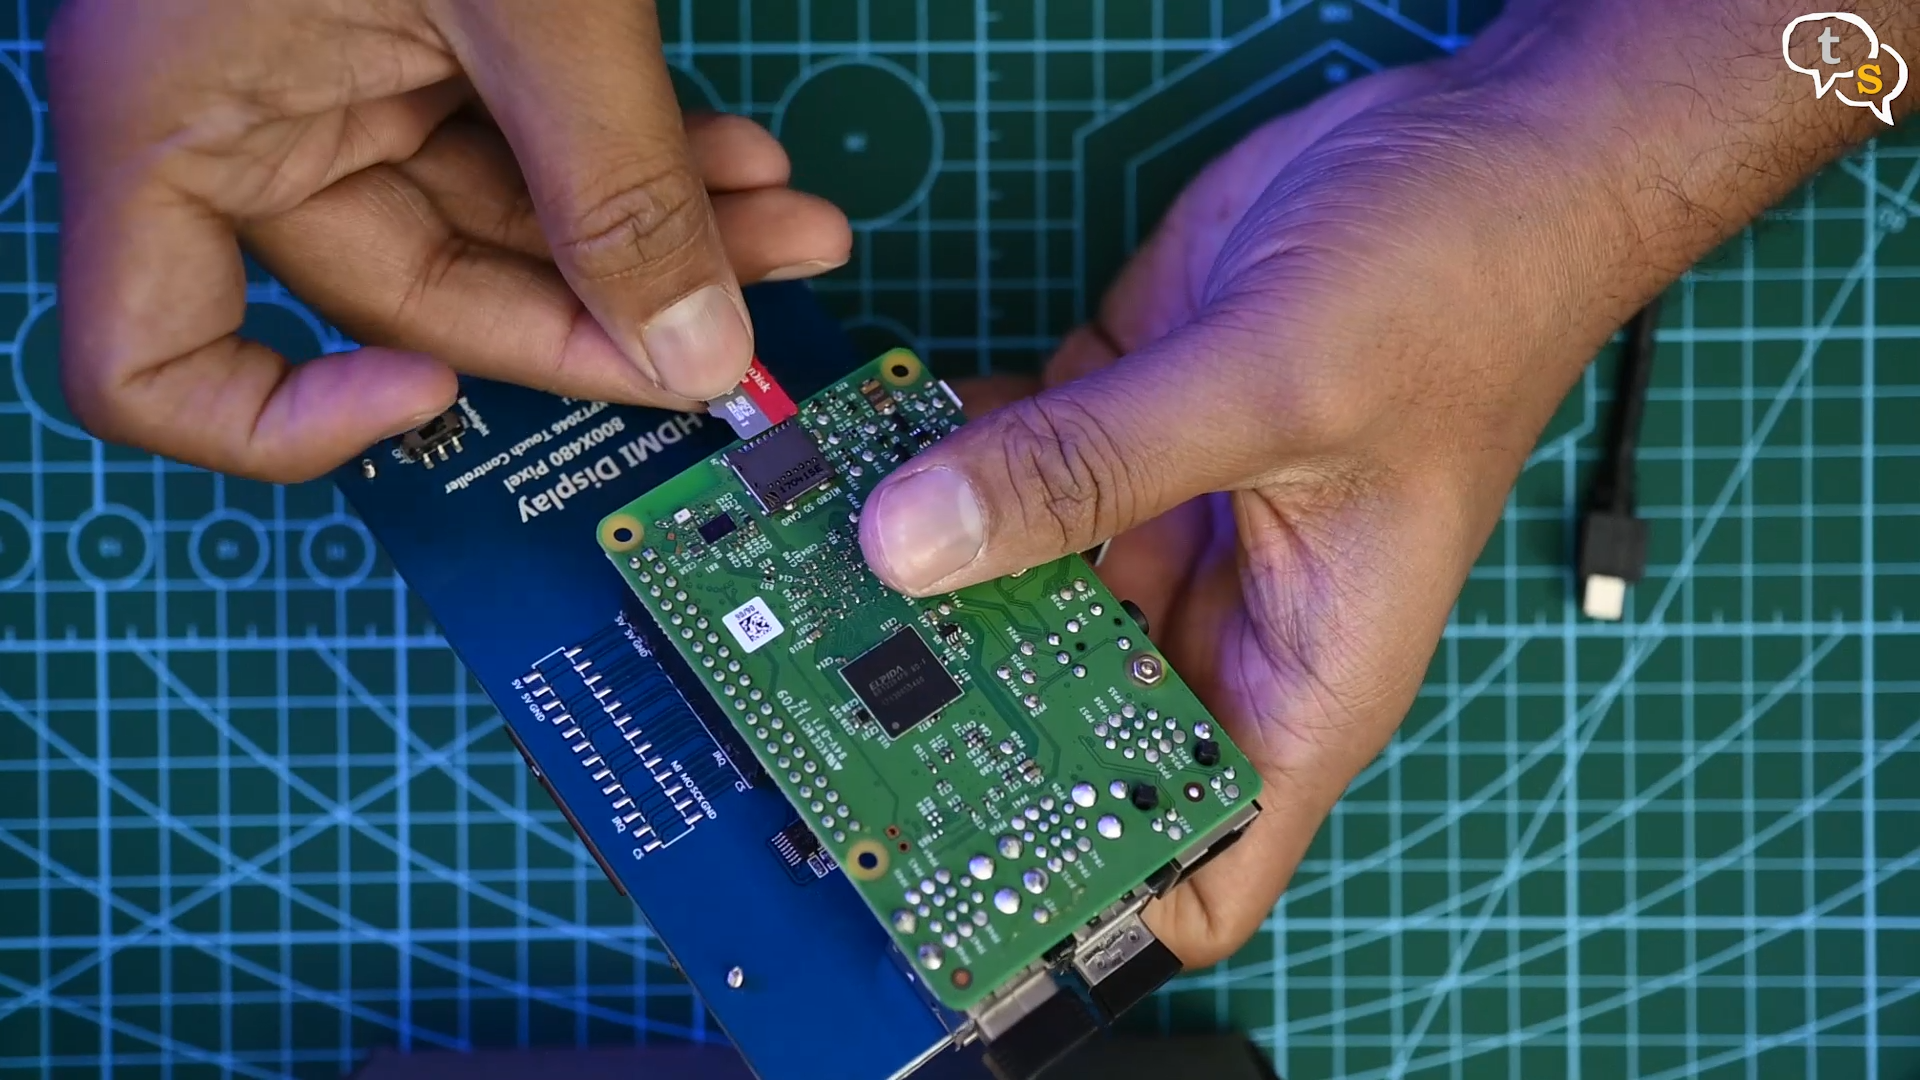
I have a version of Raspberry OS on this micro SD card, it was formerly known as Raspbian, which is based on Debian Linux optimized for the Raspberry Pi hardware.
Insert the micro-sd card into the slot, plug in the raspberry pi and we’re off.
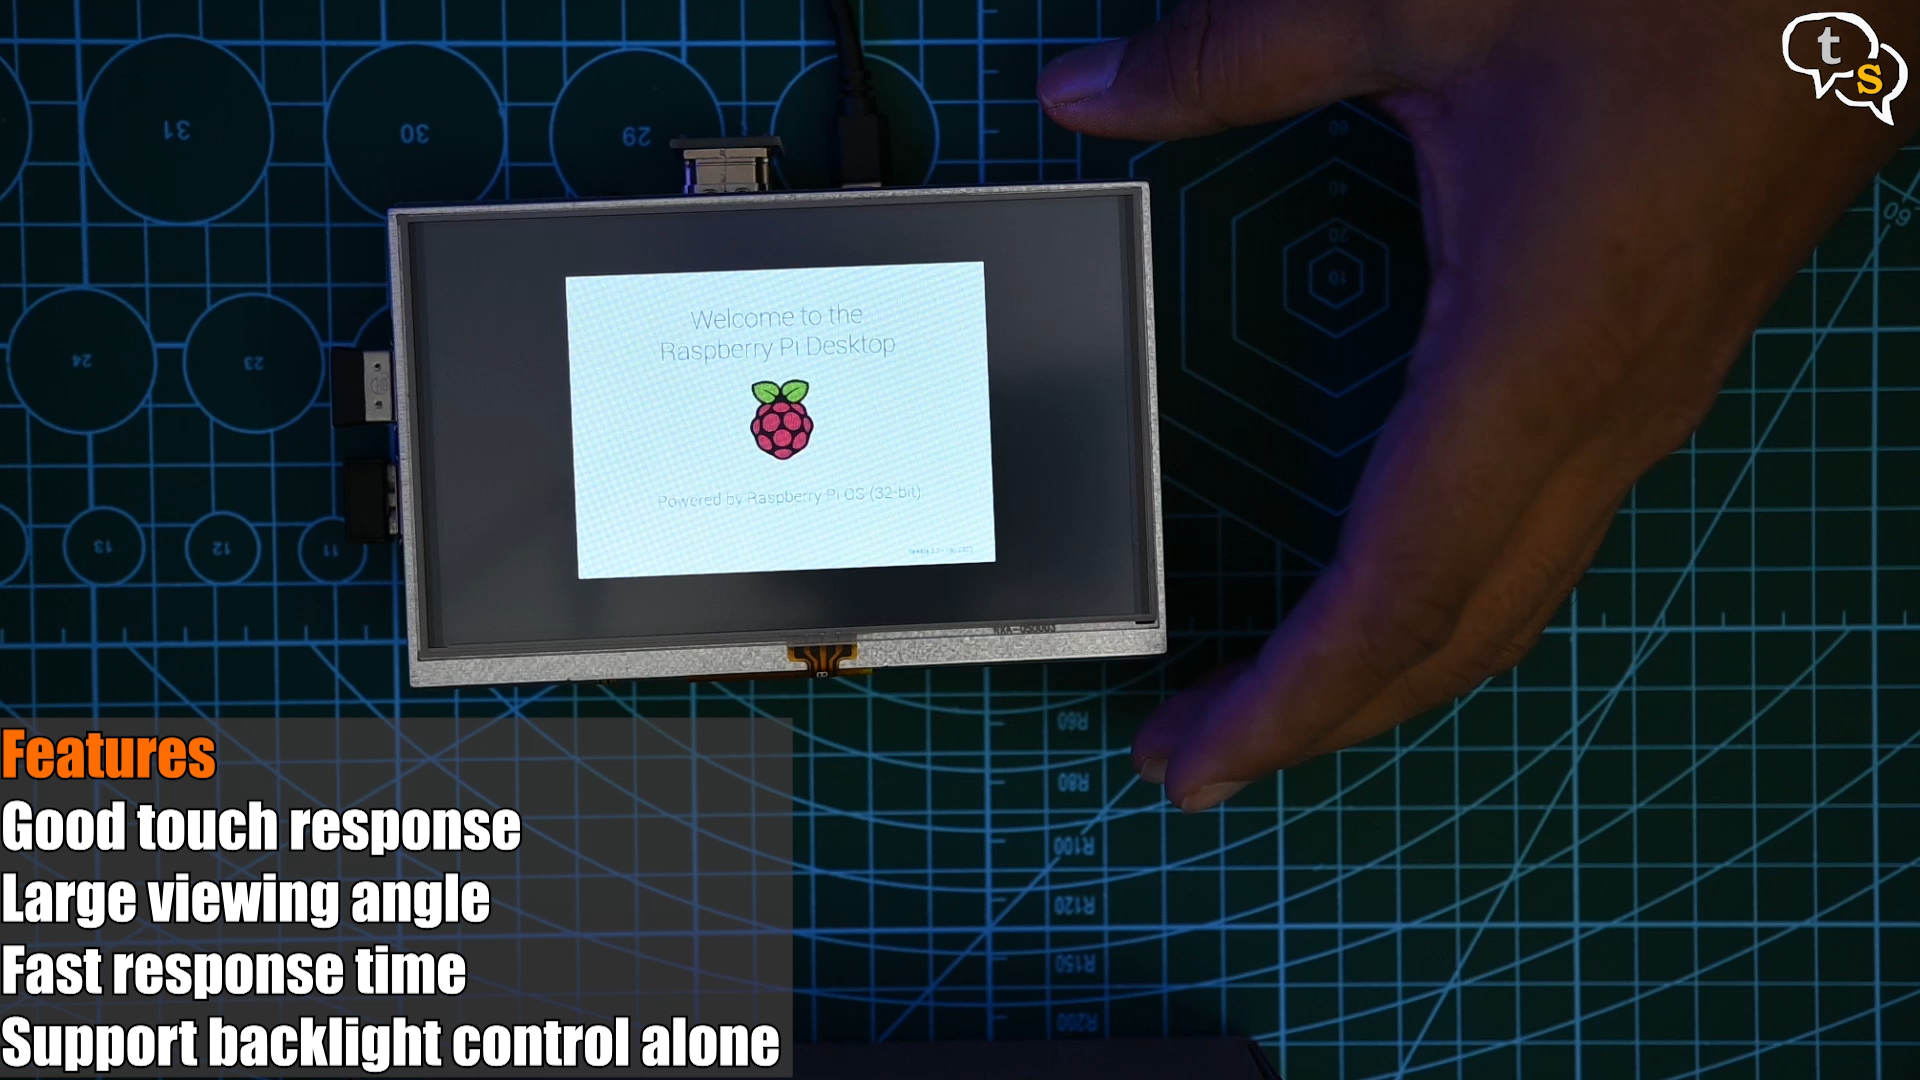
The LCD using the HDMI to HDMI interface provides an image instantly. The 3.5 inch display I had purchased earlier only had the image come through the GPIO pins, which generally has a bad refresh rate. This being hdmi to hdmi has a way smoother display and is easier to install.
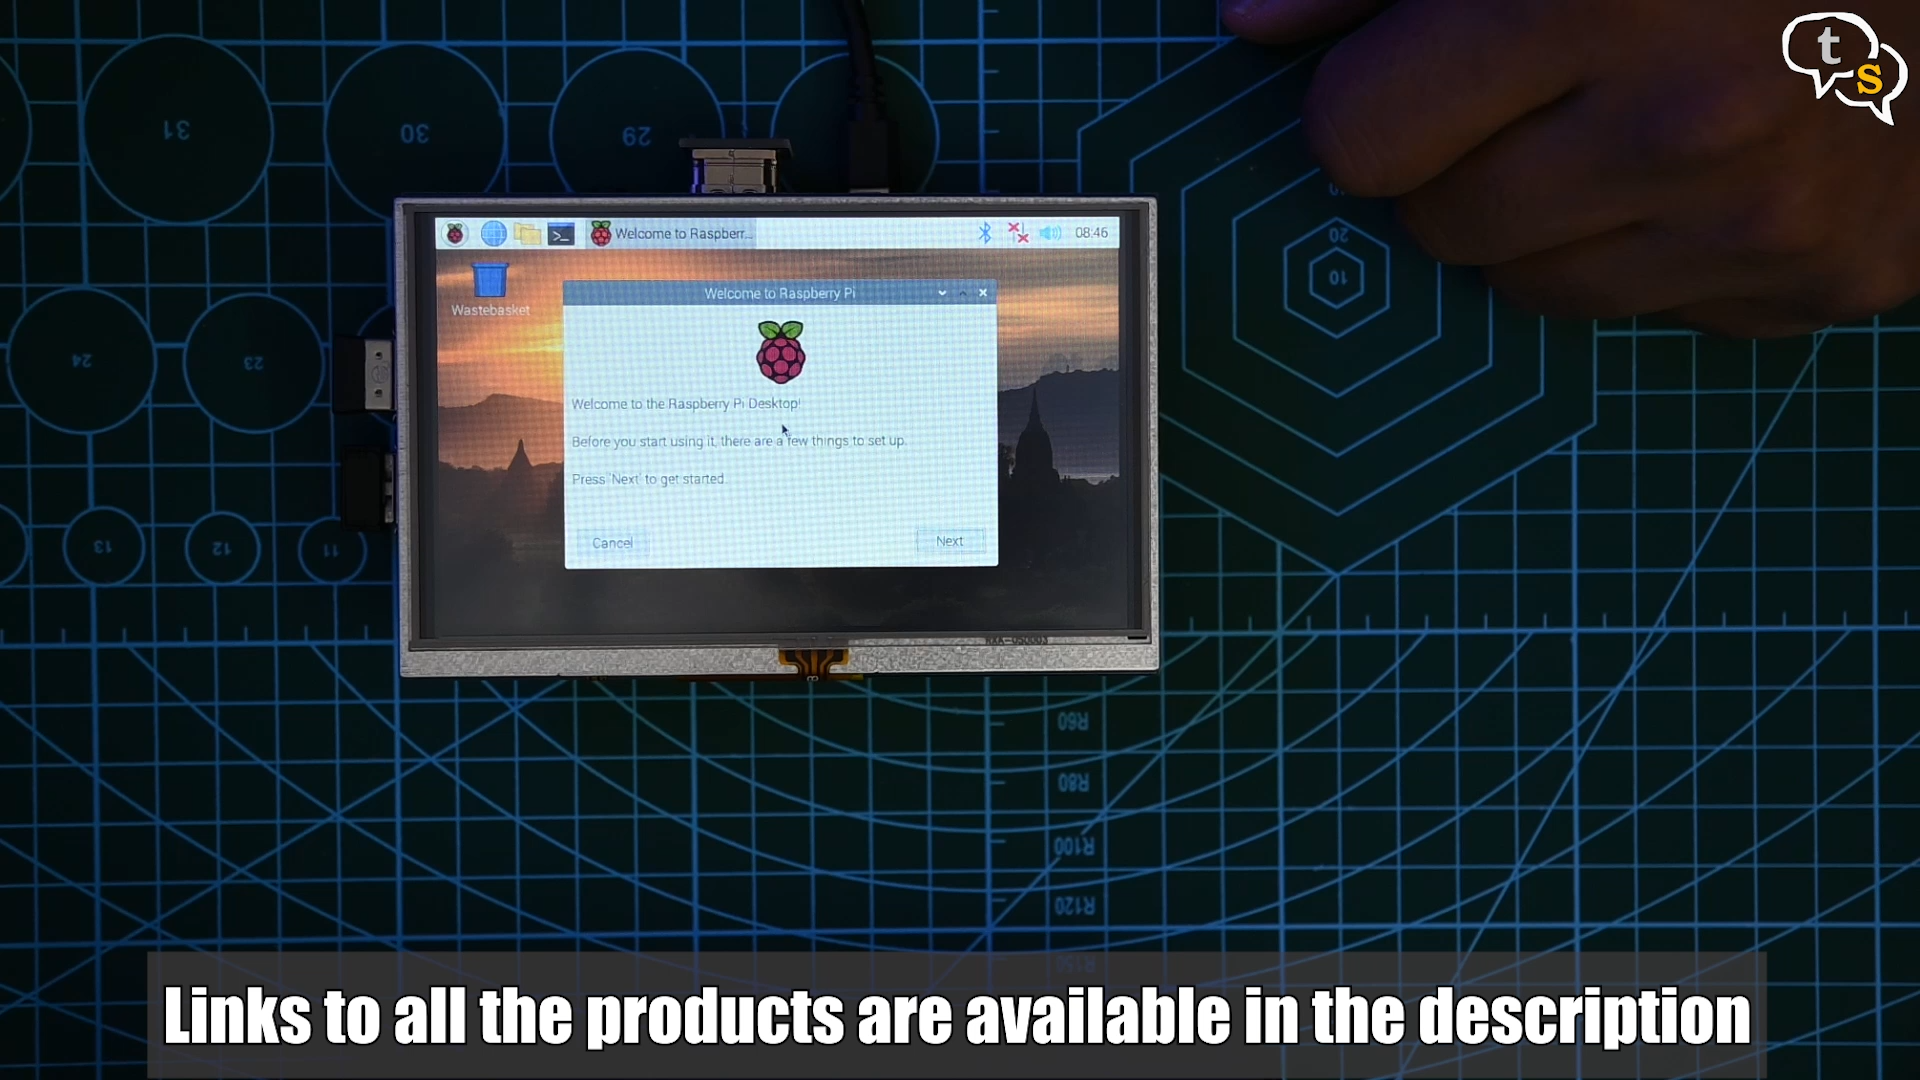
We’re in, we have booted into the Raspberry OS desktop.
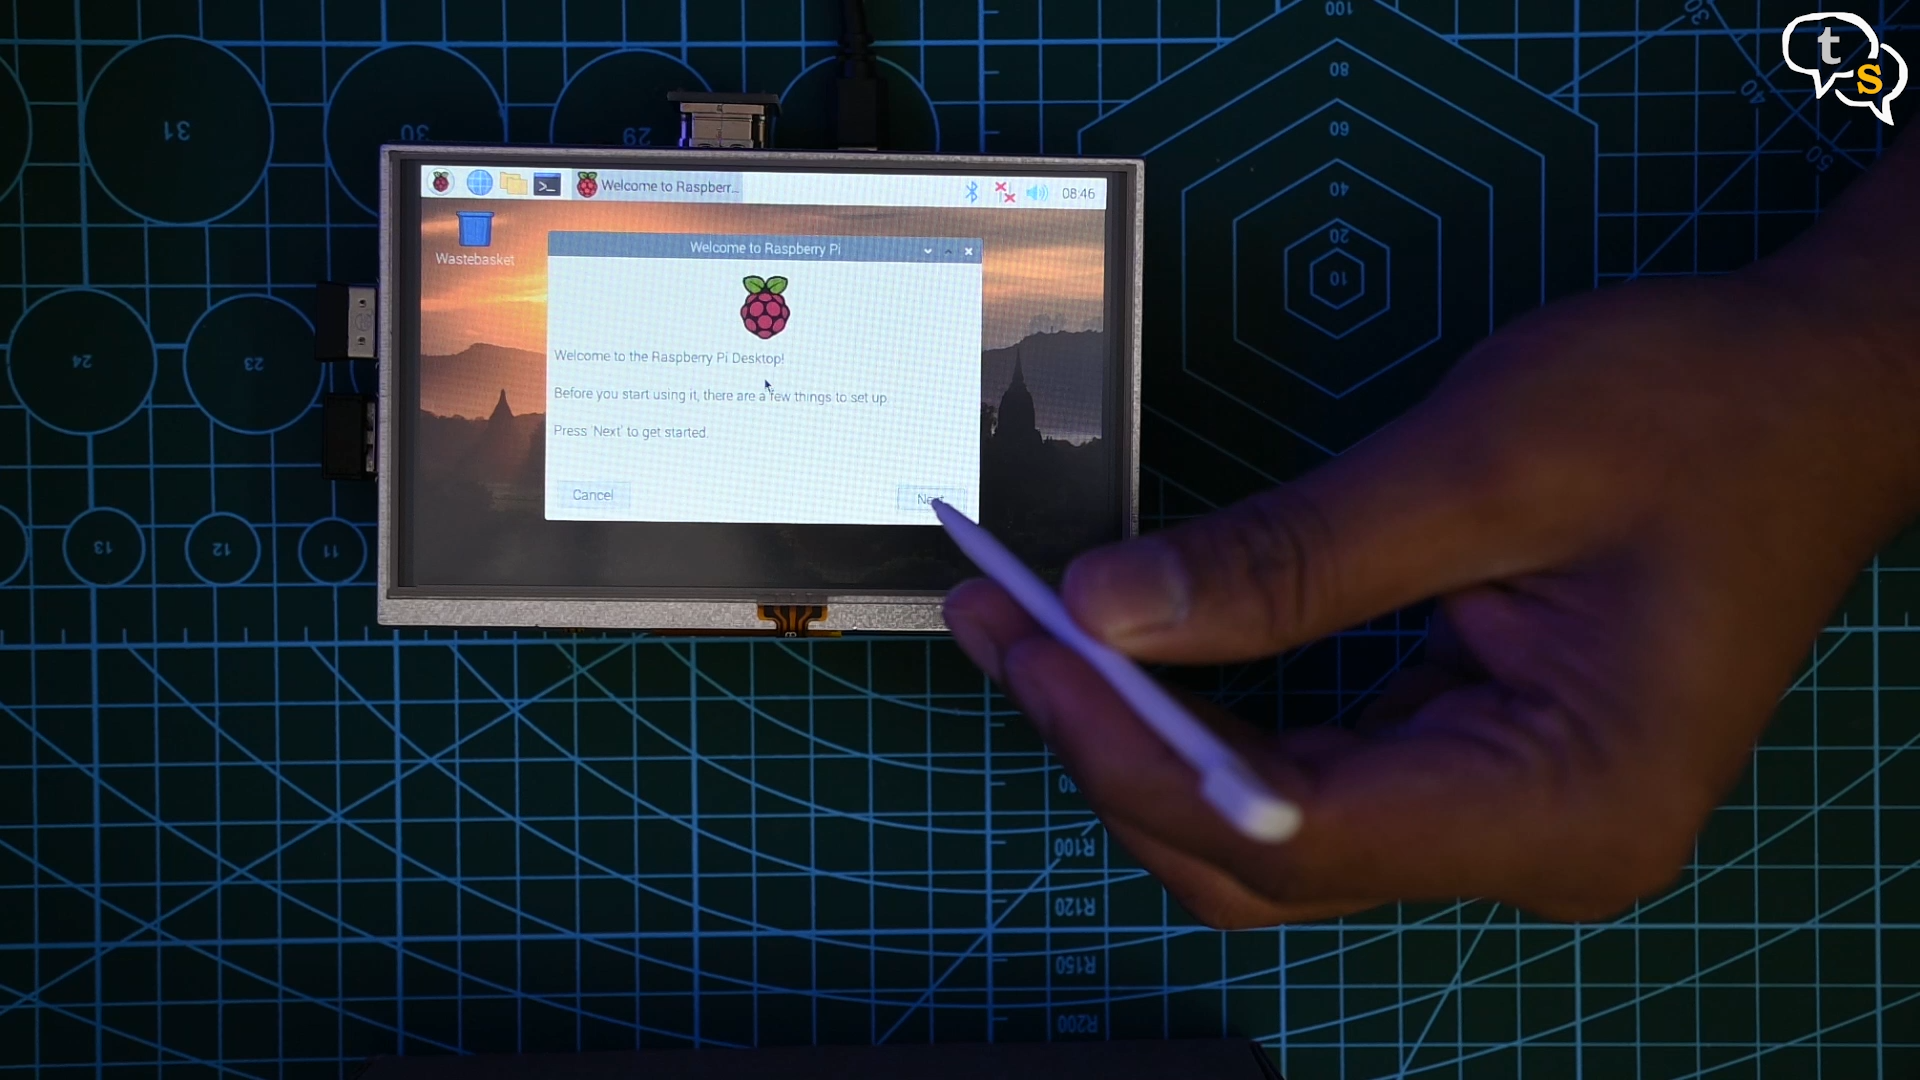
Hit, next to continue. You will notice that the touchscreen doesn’t work. This is because the touch-screen drivers are not installed as yet.
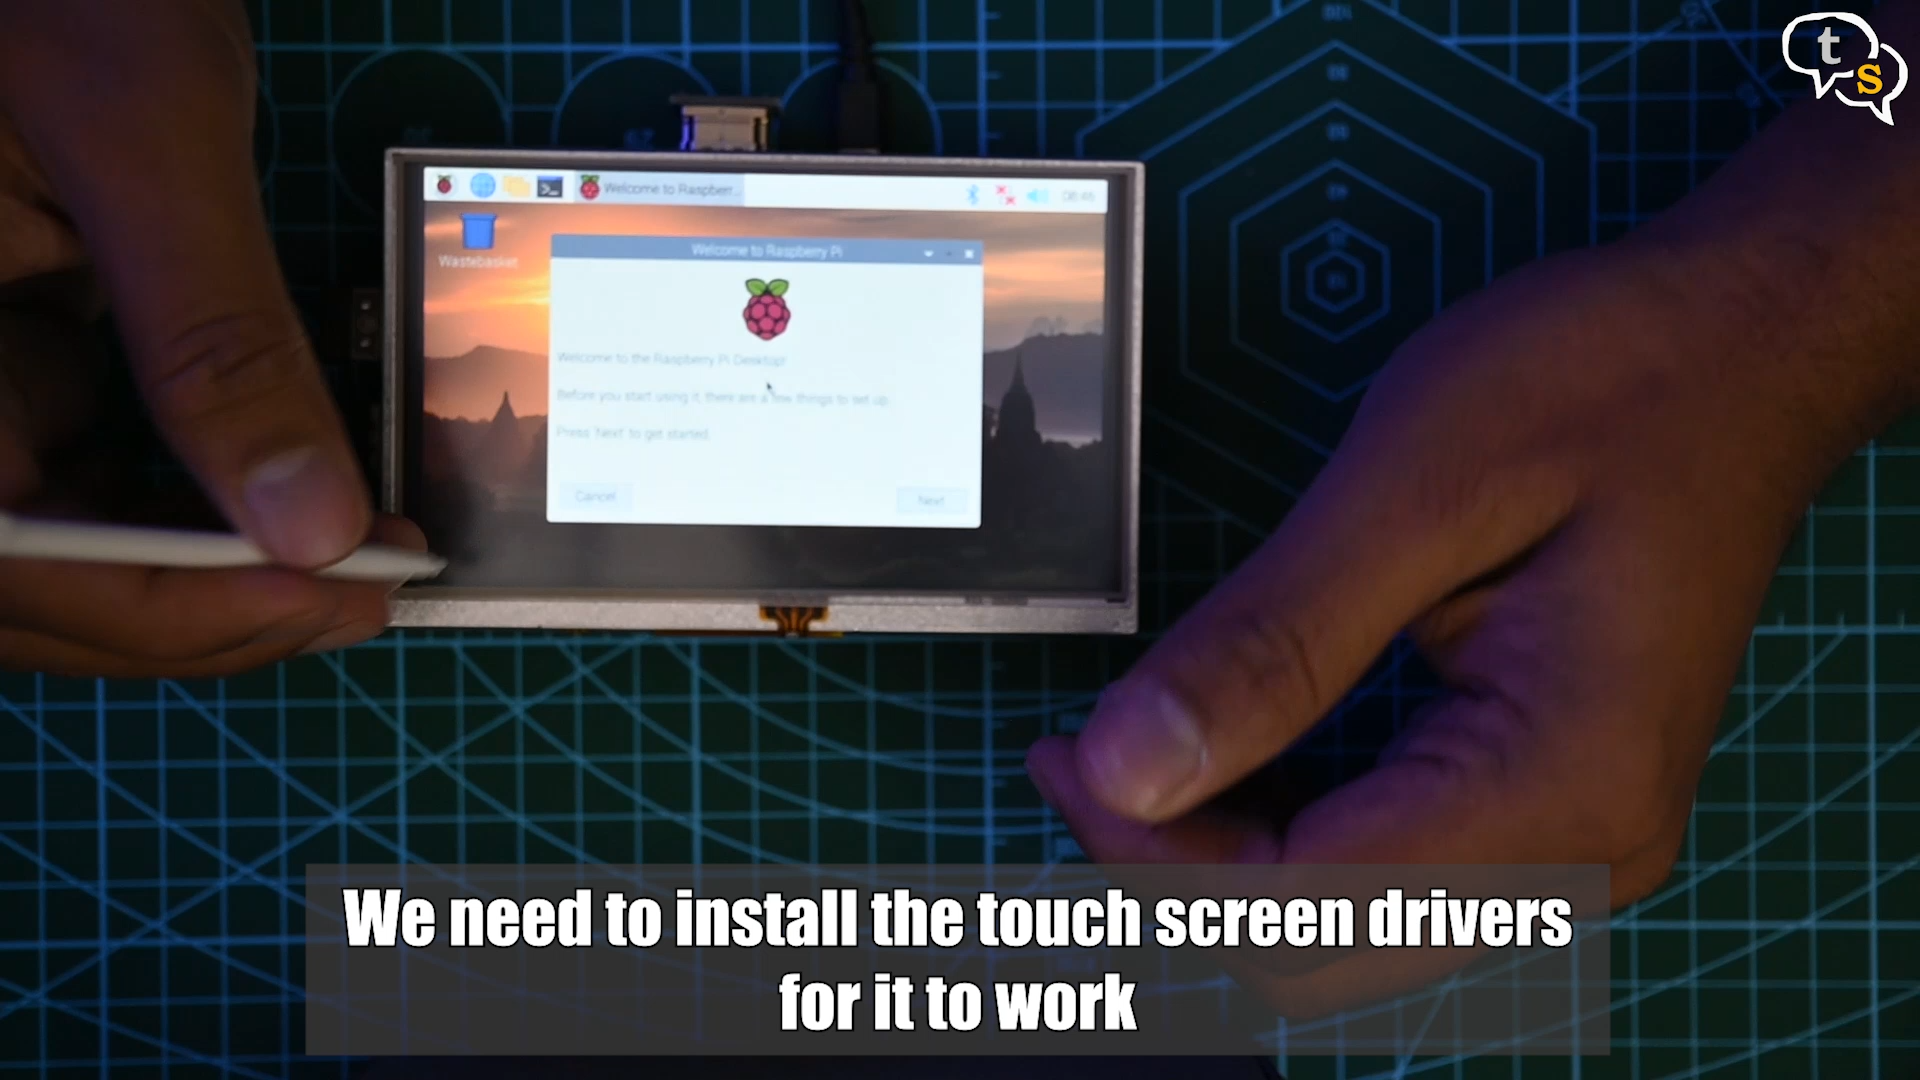
The GPIO pins are used for the touch screen interface. Now to load the drivers, I’m using a USB mouse to setup the Bluetooth keyboard, as I don’t have an extra USB-Keyboard.If you have a USB mouse and keyboard you can start using them once connected.
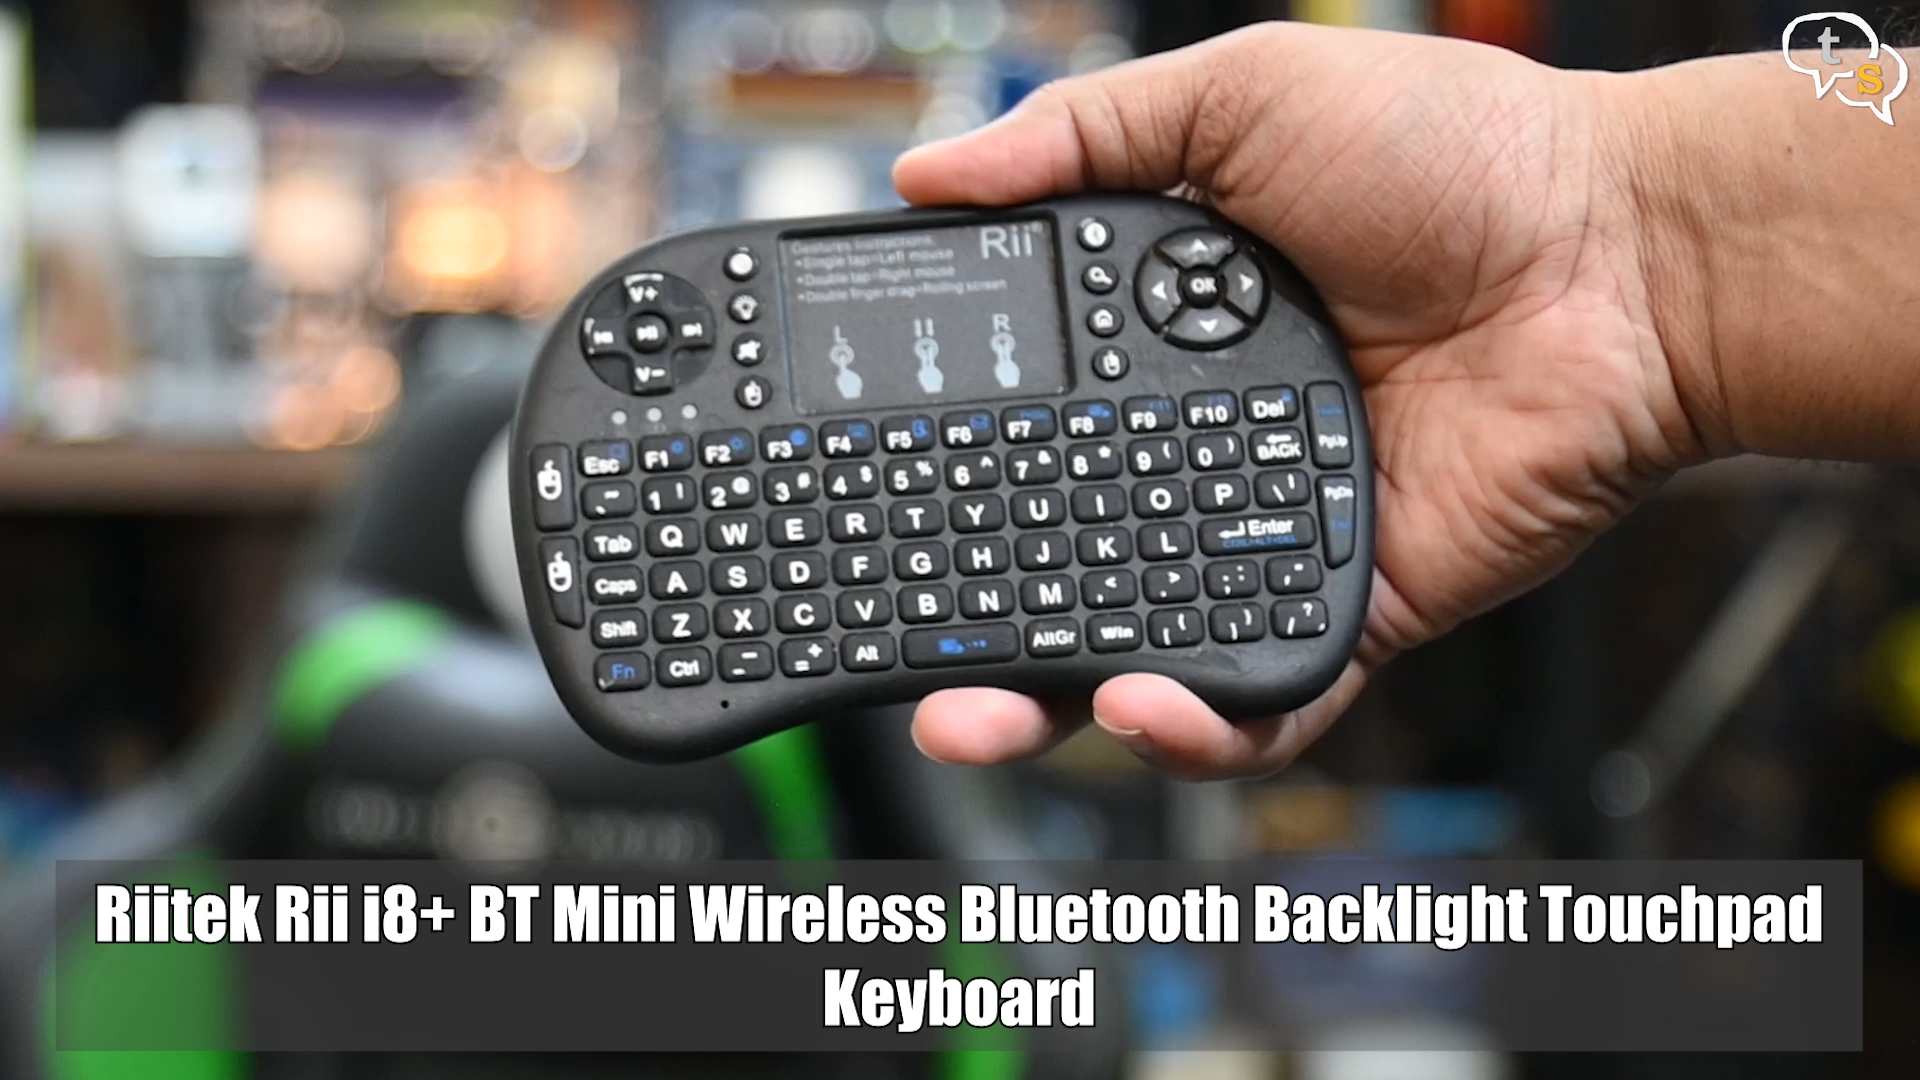
You could also use this, the Ri wireless Bluetooth keyboard, which also has a touchpad on top.
Also we need the Wi-Fi to be connected as we need to download the drivers to install.
Ok, now that the keyboard and WiFI are setup we can run the required commands to install the touch screen drivers.
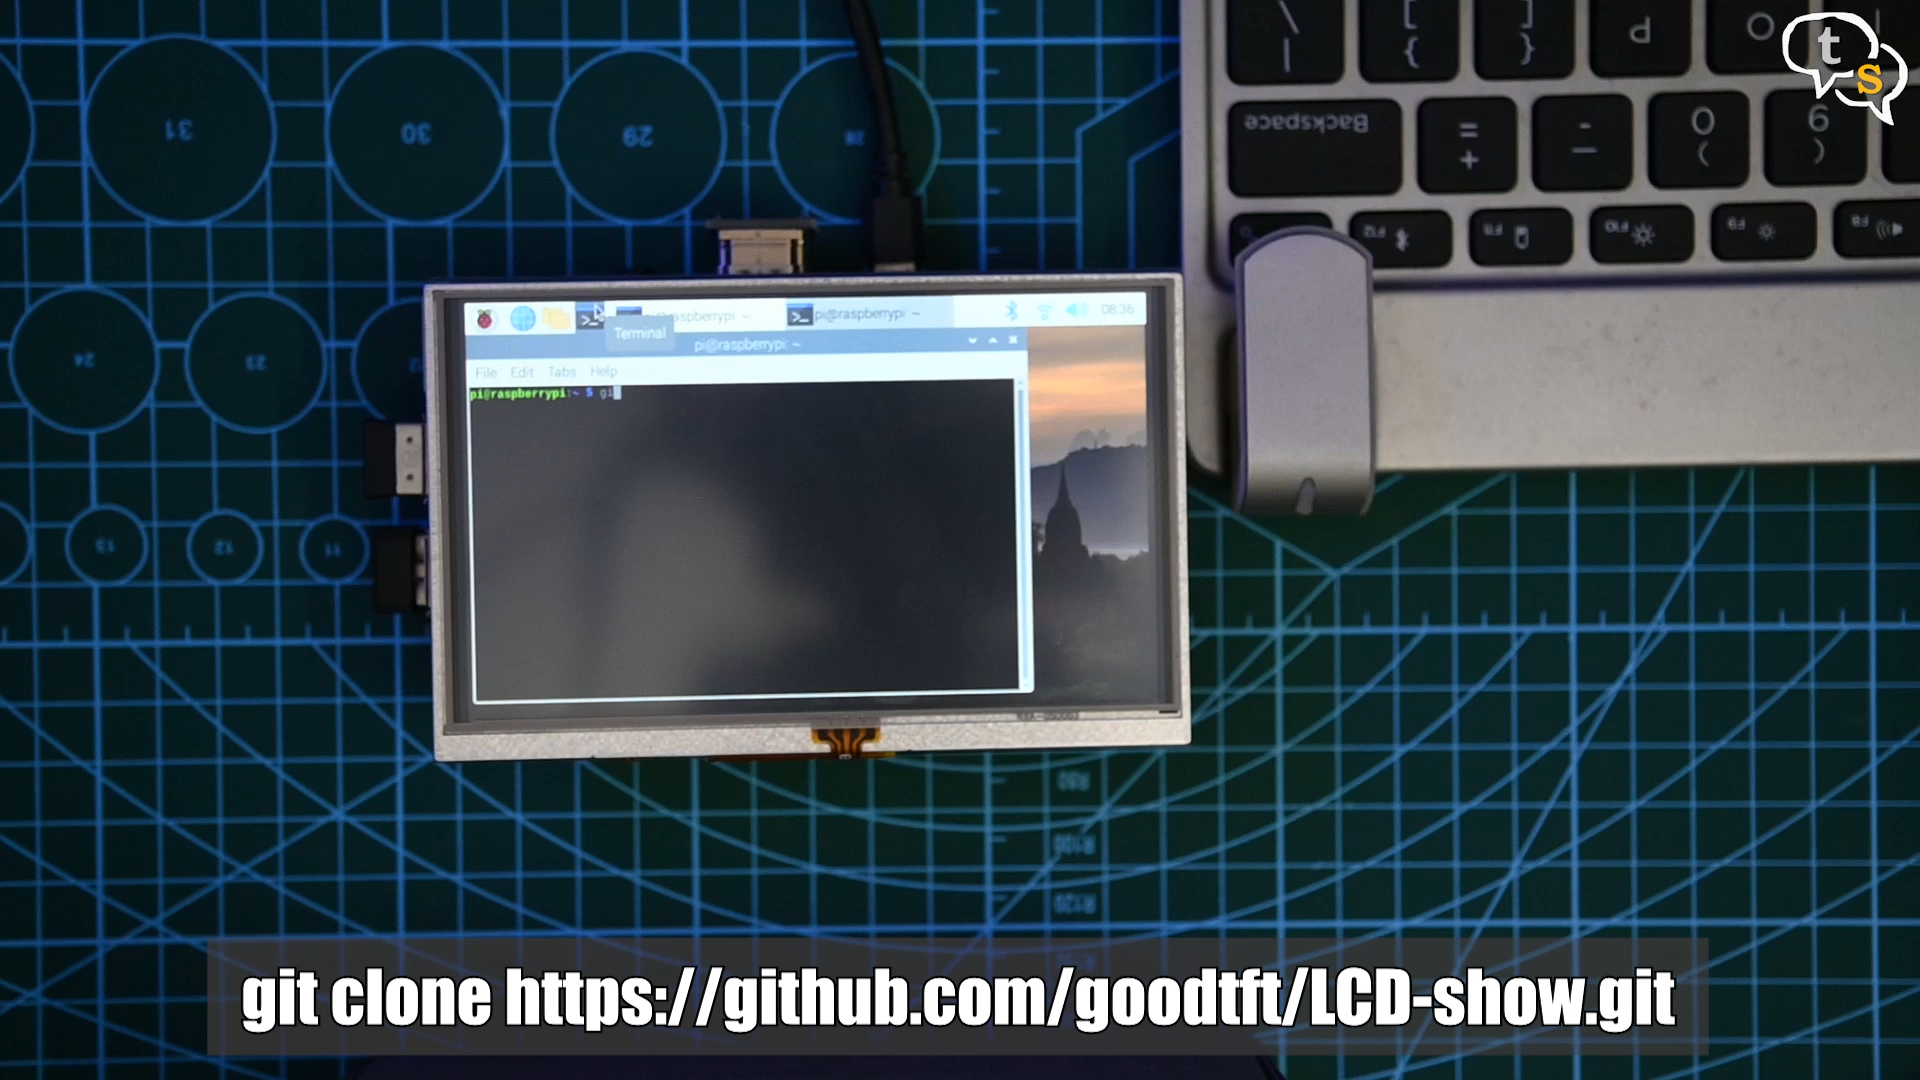
Open up terminal, and type in
git clone https://github.com/goodtft/LCD-show.git
The Raspberry pi starts to download the driver from the GIT repository.
Once done we are back at the prompt.
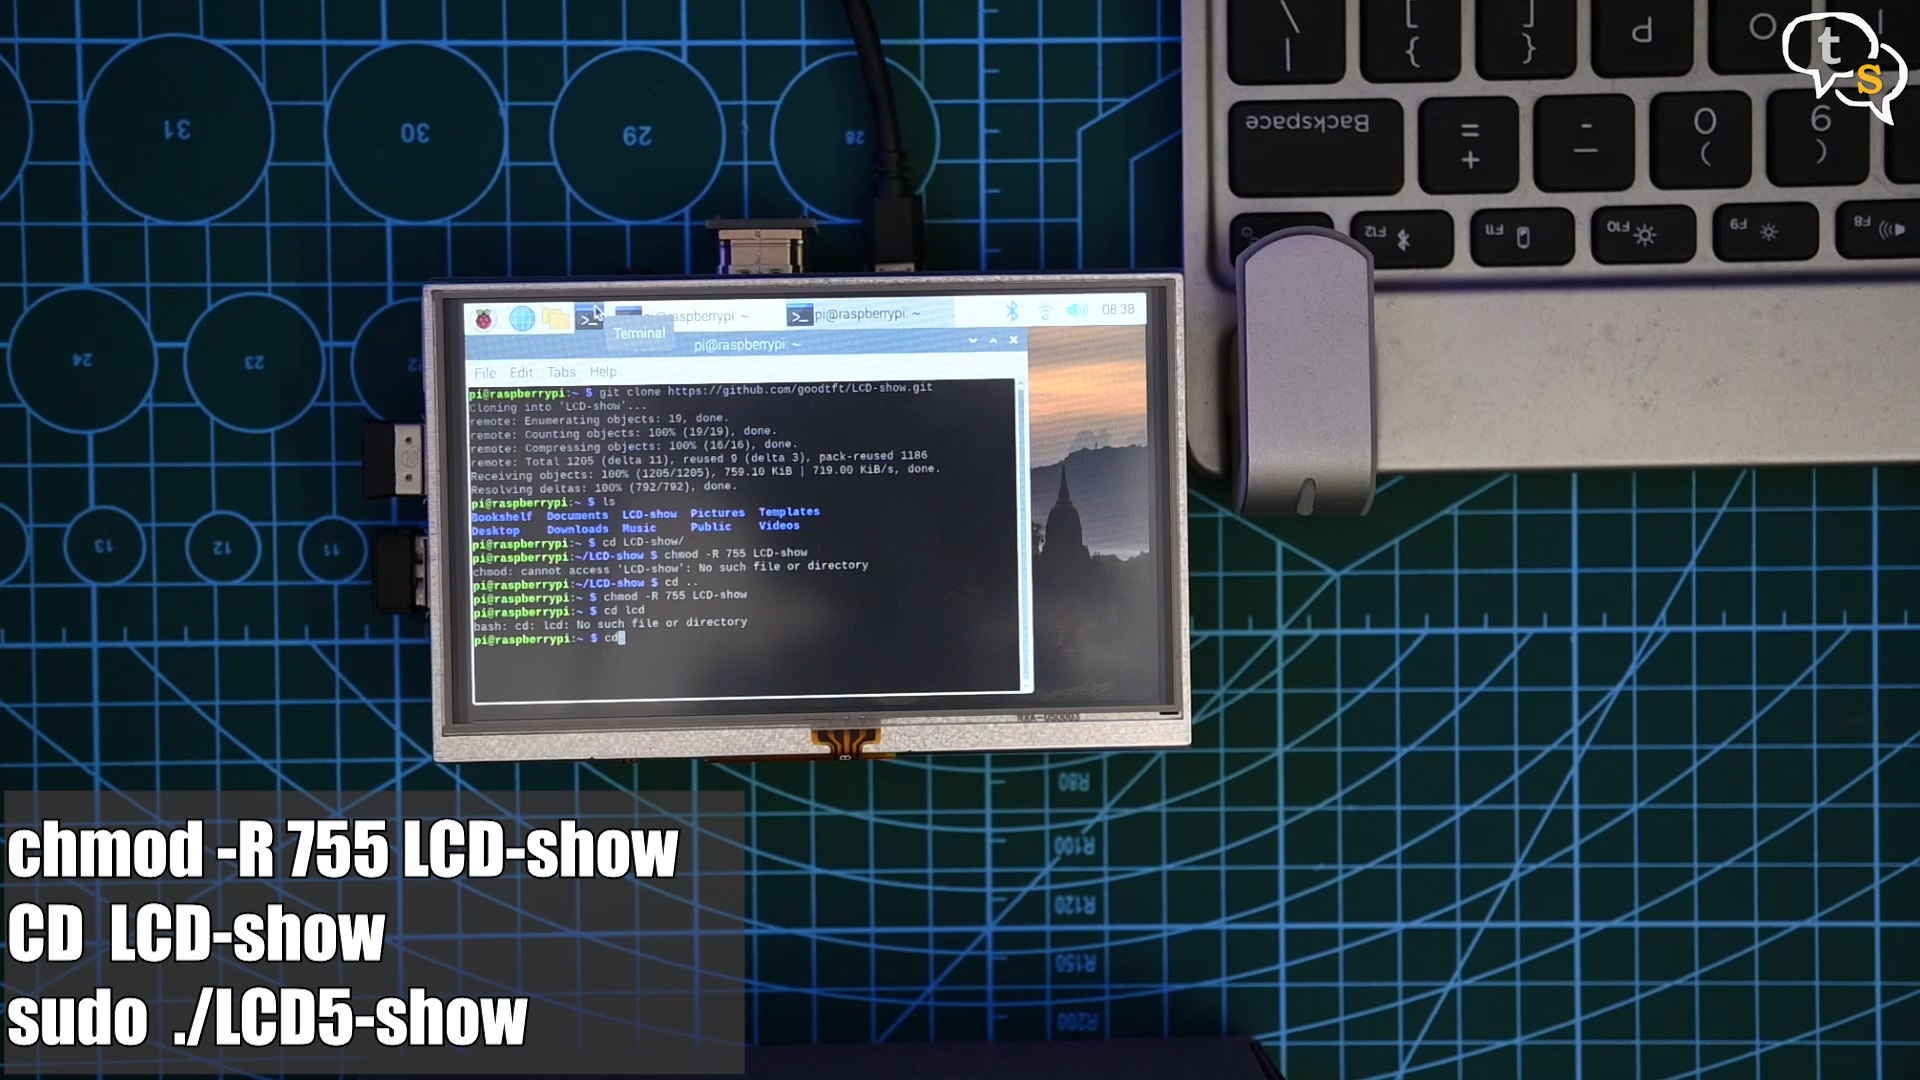
chmod -R 755 LCD-show
CD LCD-show
sudo ./LCD5-show
Now the raspberry pi will update the touch configuration files and reboot.
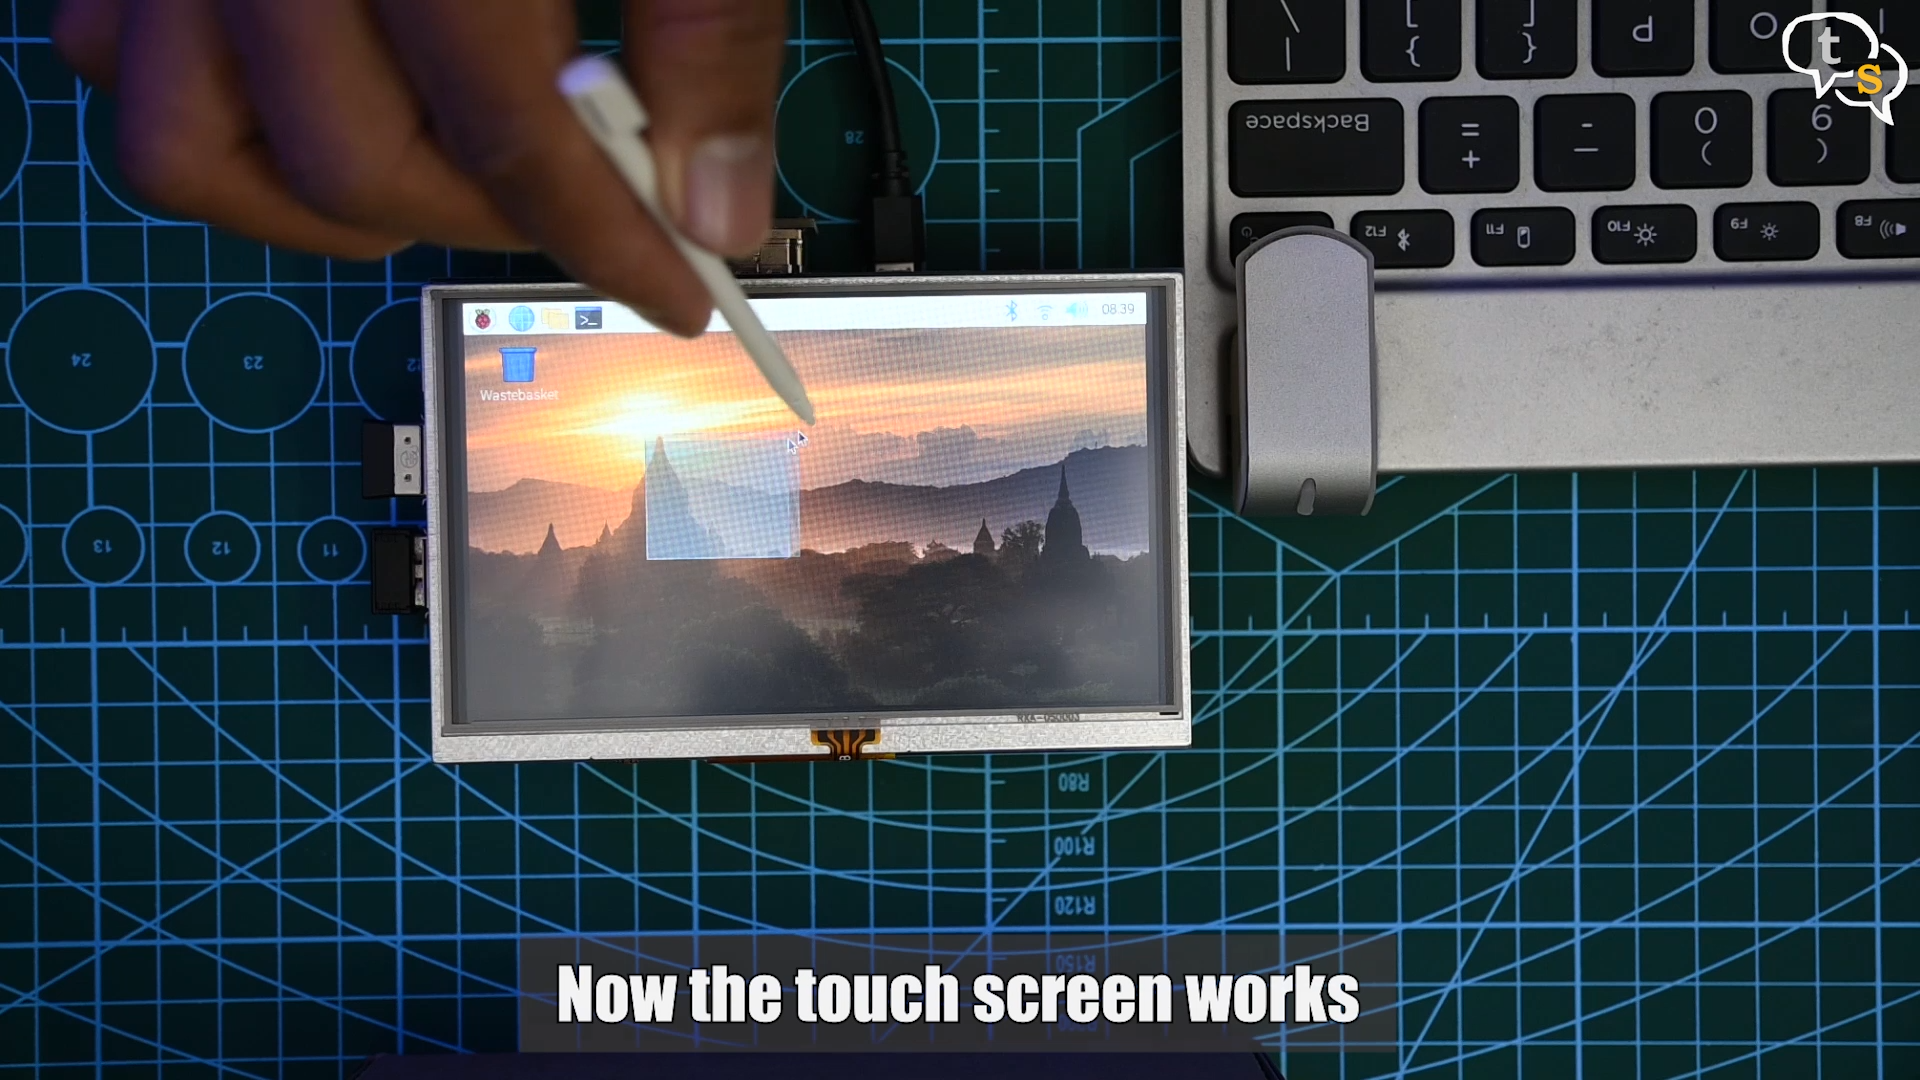
The touch screen now works.
The pi was being powered using a plugged in micro USB cable, let’s shift to a power bank.
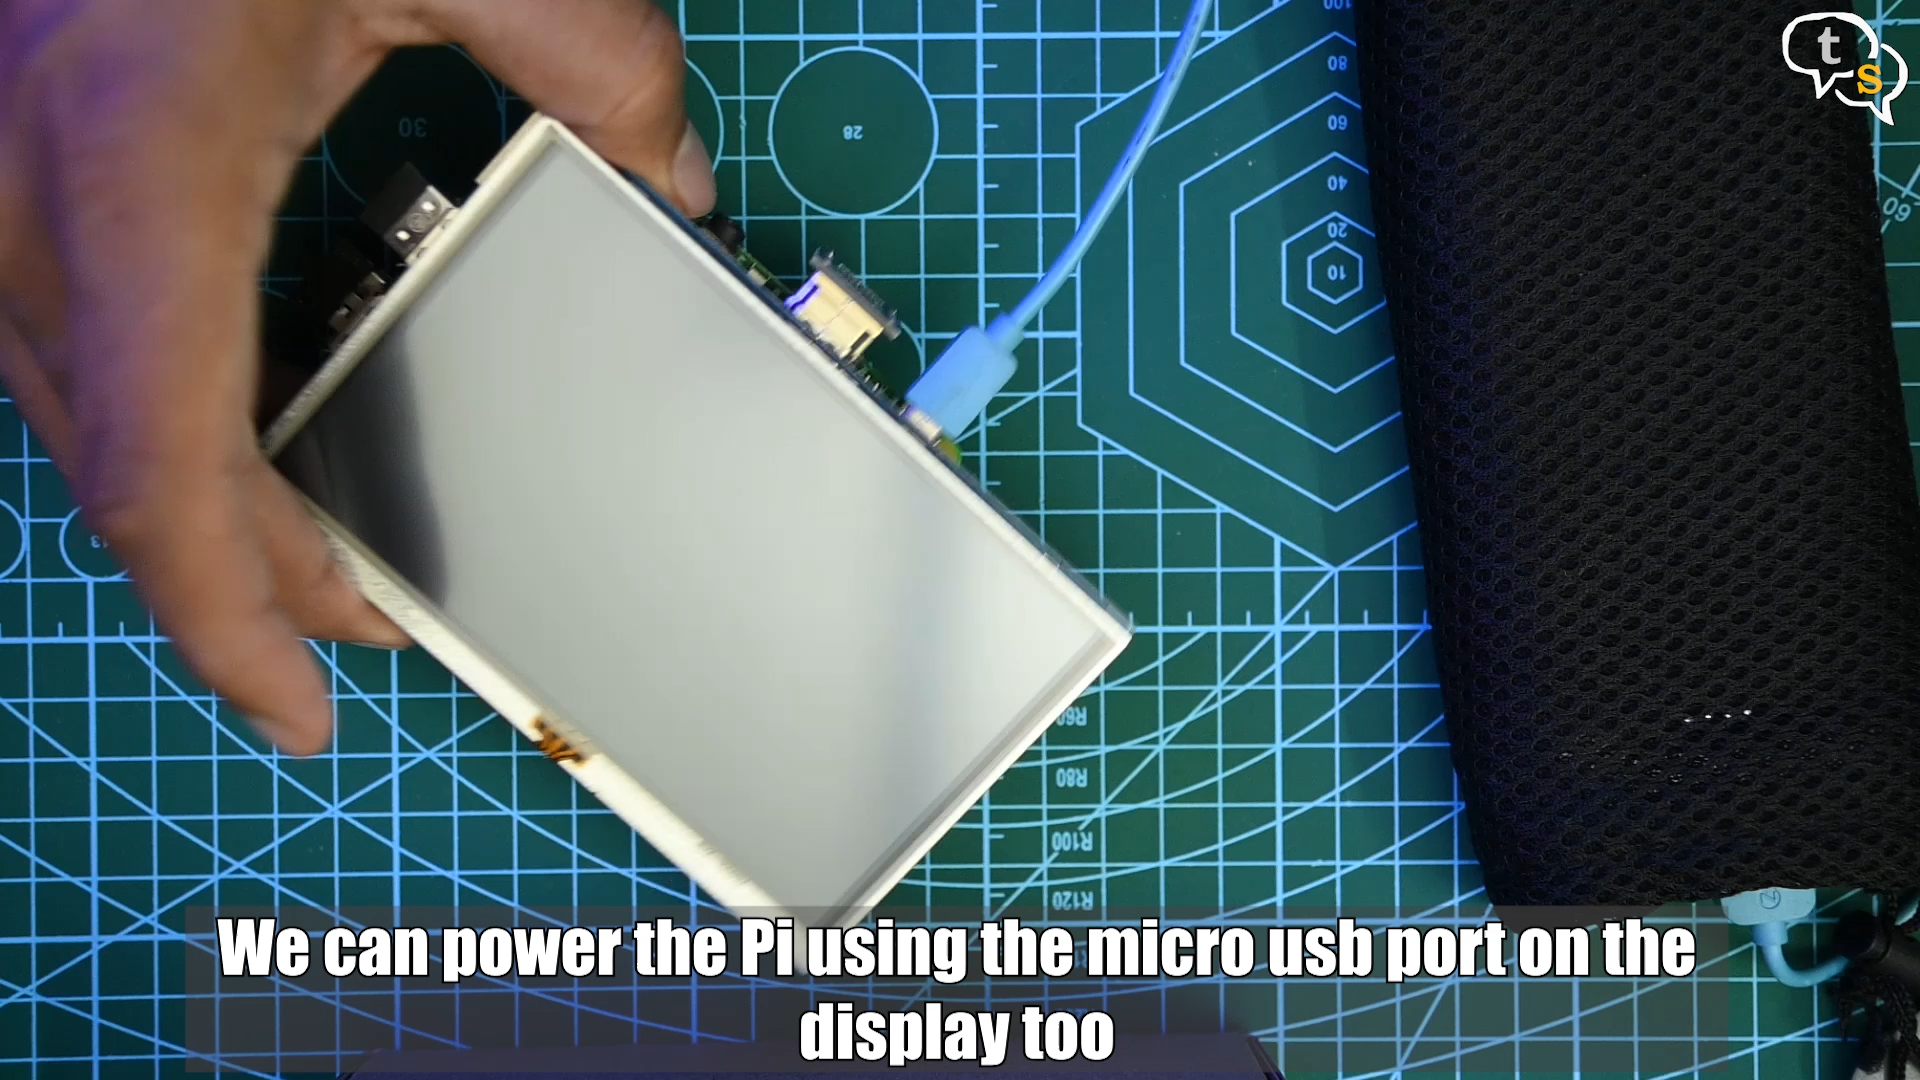
You will notice there’s a micro-USB port on the LCD screen too, we can power the PI, by connecting the power cable to either the Pi itself or even via the display.
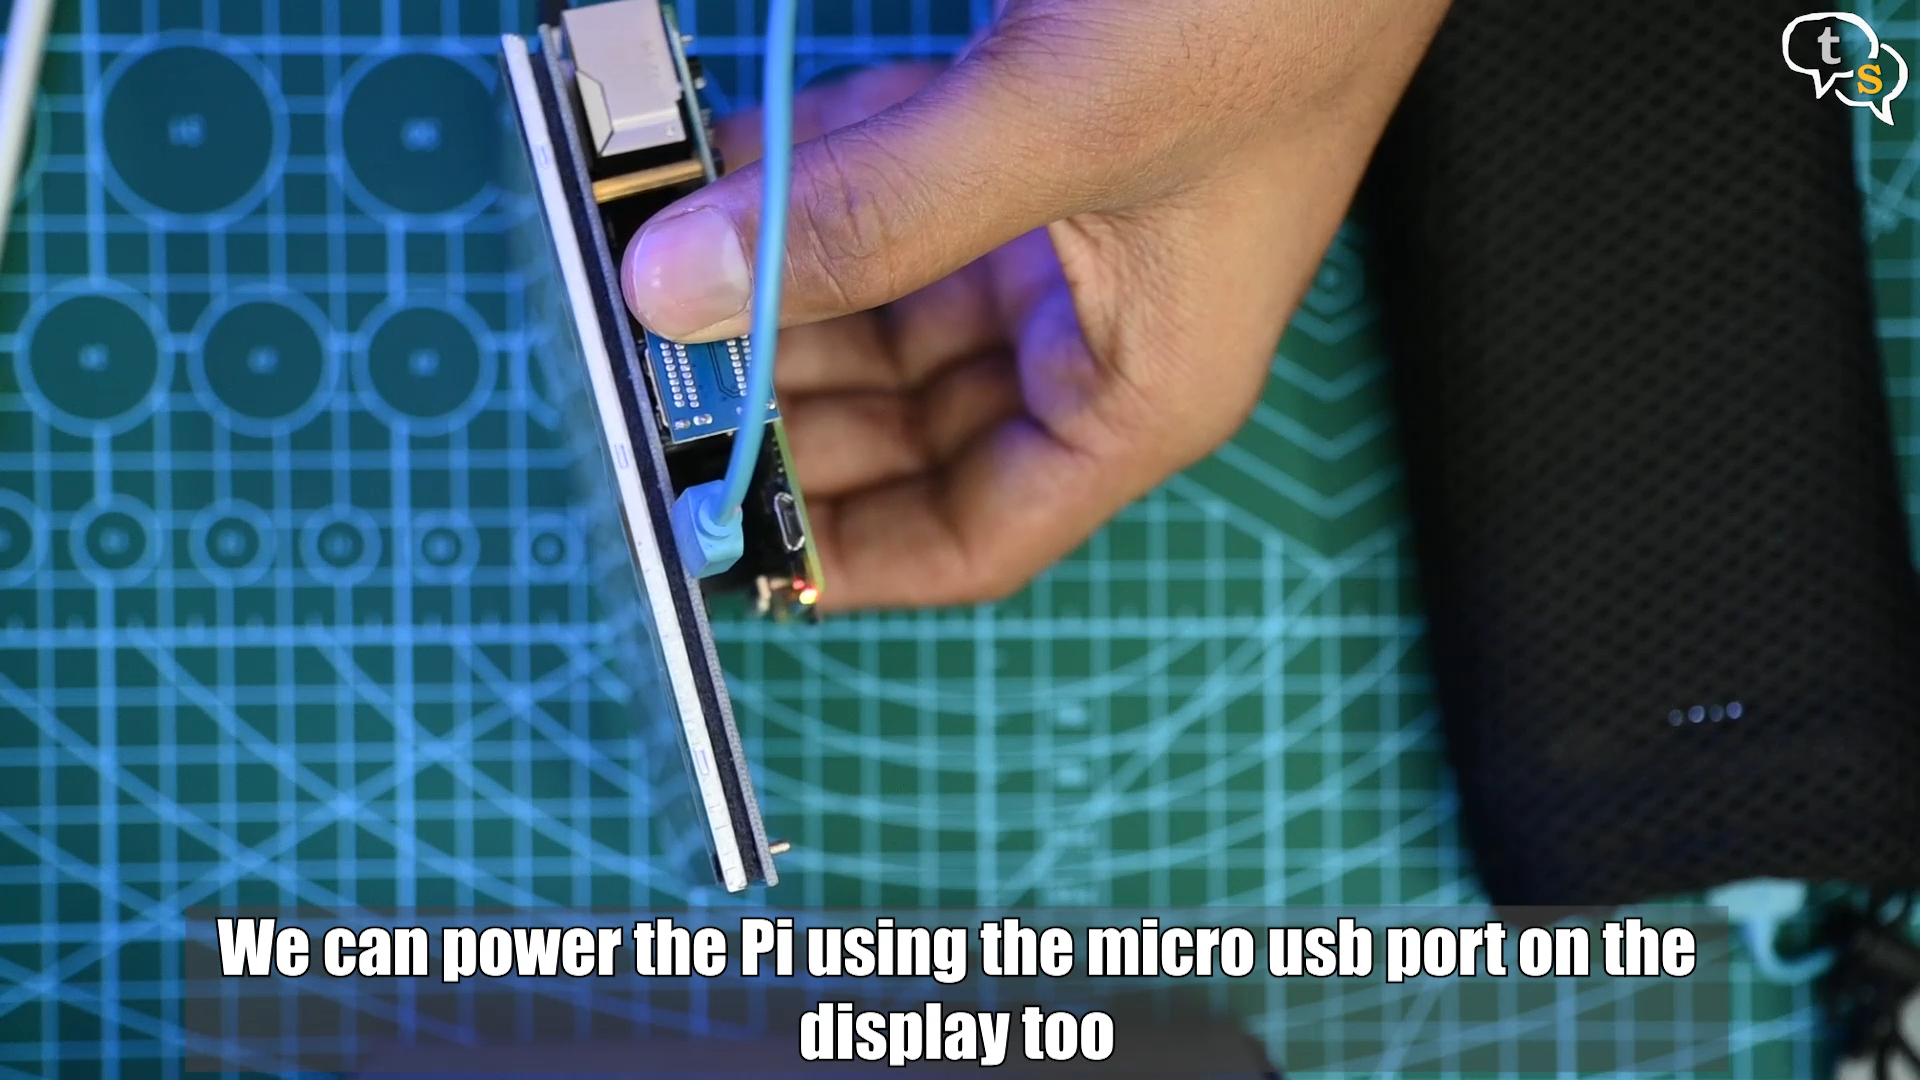
This time I’m using the display to power both devices.
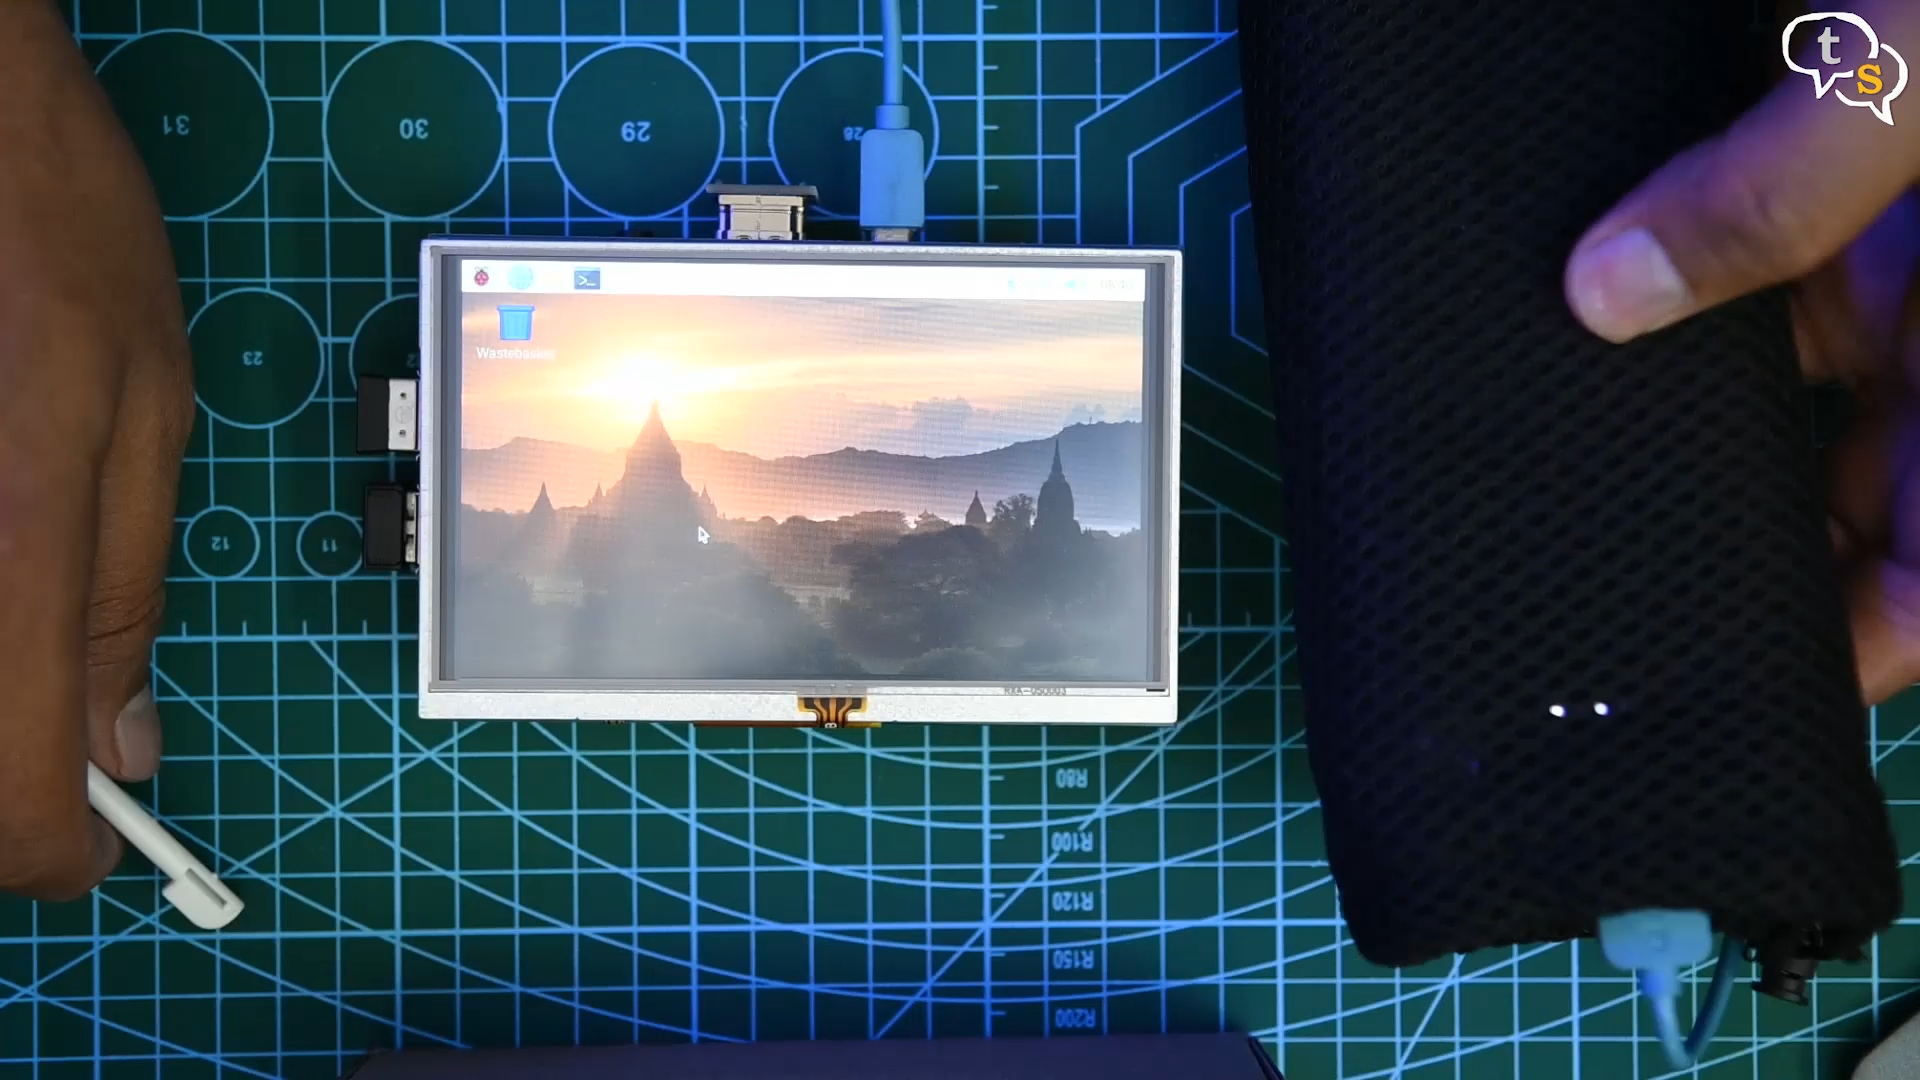
I’m using this Ambrane 20,000 mAh powerbank, making the raspberry pi completely portable.
Let’s open up the browser,

Youtube, and let’s test video playback.

The playback is smooth.
For the onscreen keyboard to run we need to install it.
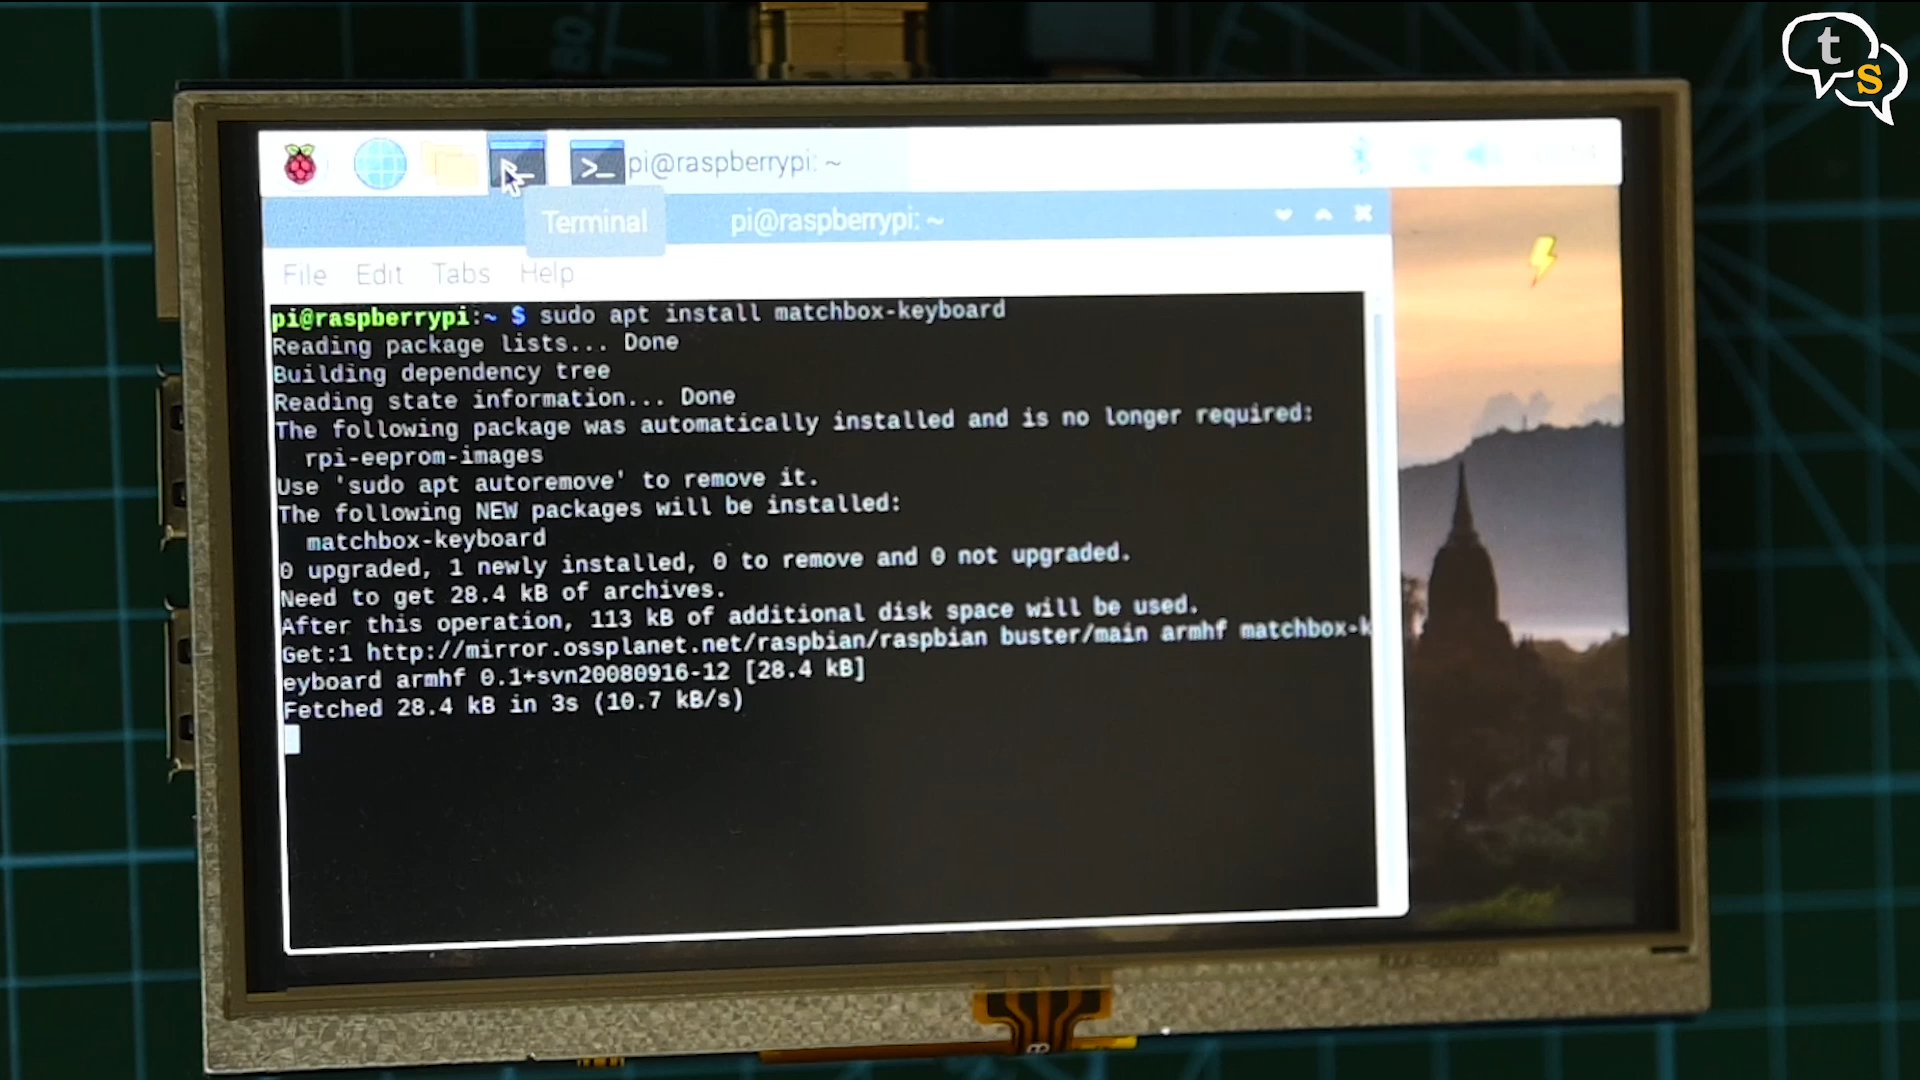
So run
sudo apt install matchbox-keyboard
I chose to use the matchbox-keyboard package as it’s the most stable for the Raspberry Pi while also not chewing up too much of the Pi’s limited resources.
Once done,
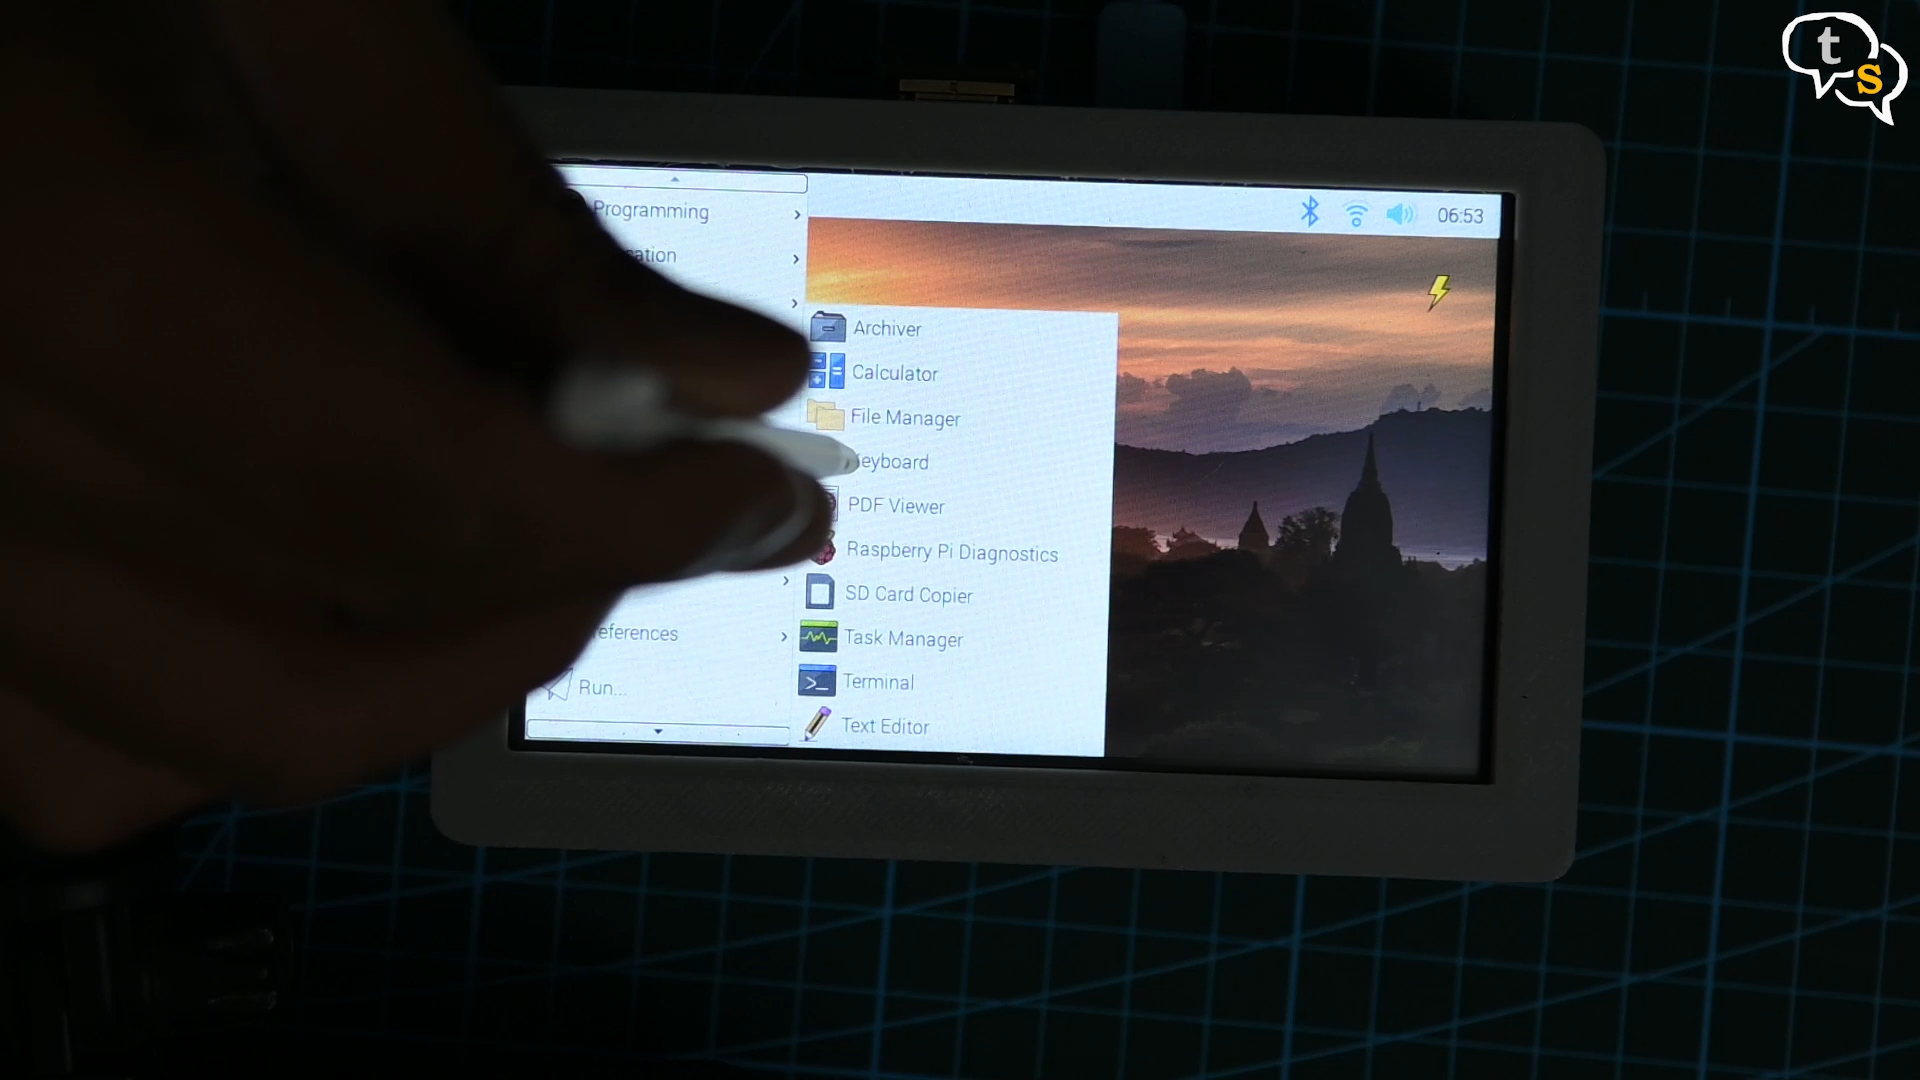
Hit the pi icon on the top left, accessories, keyboard.
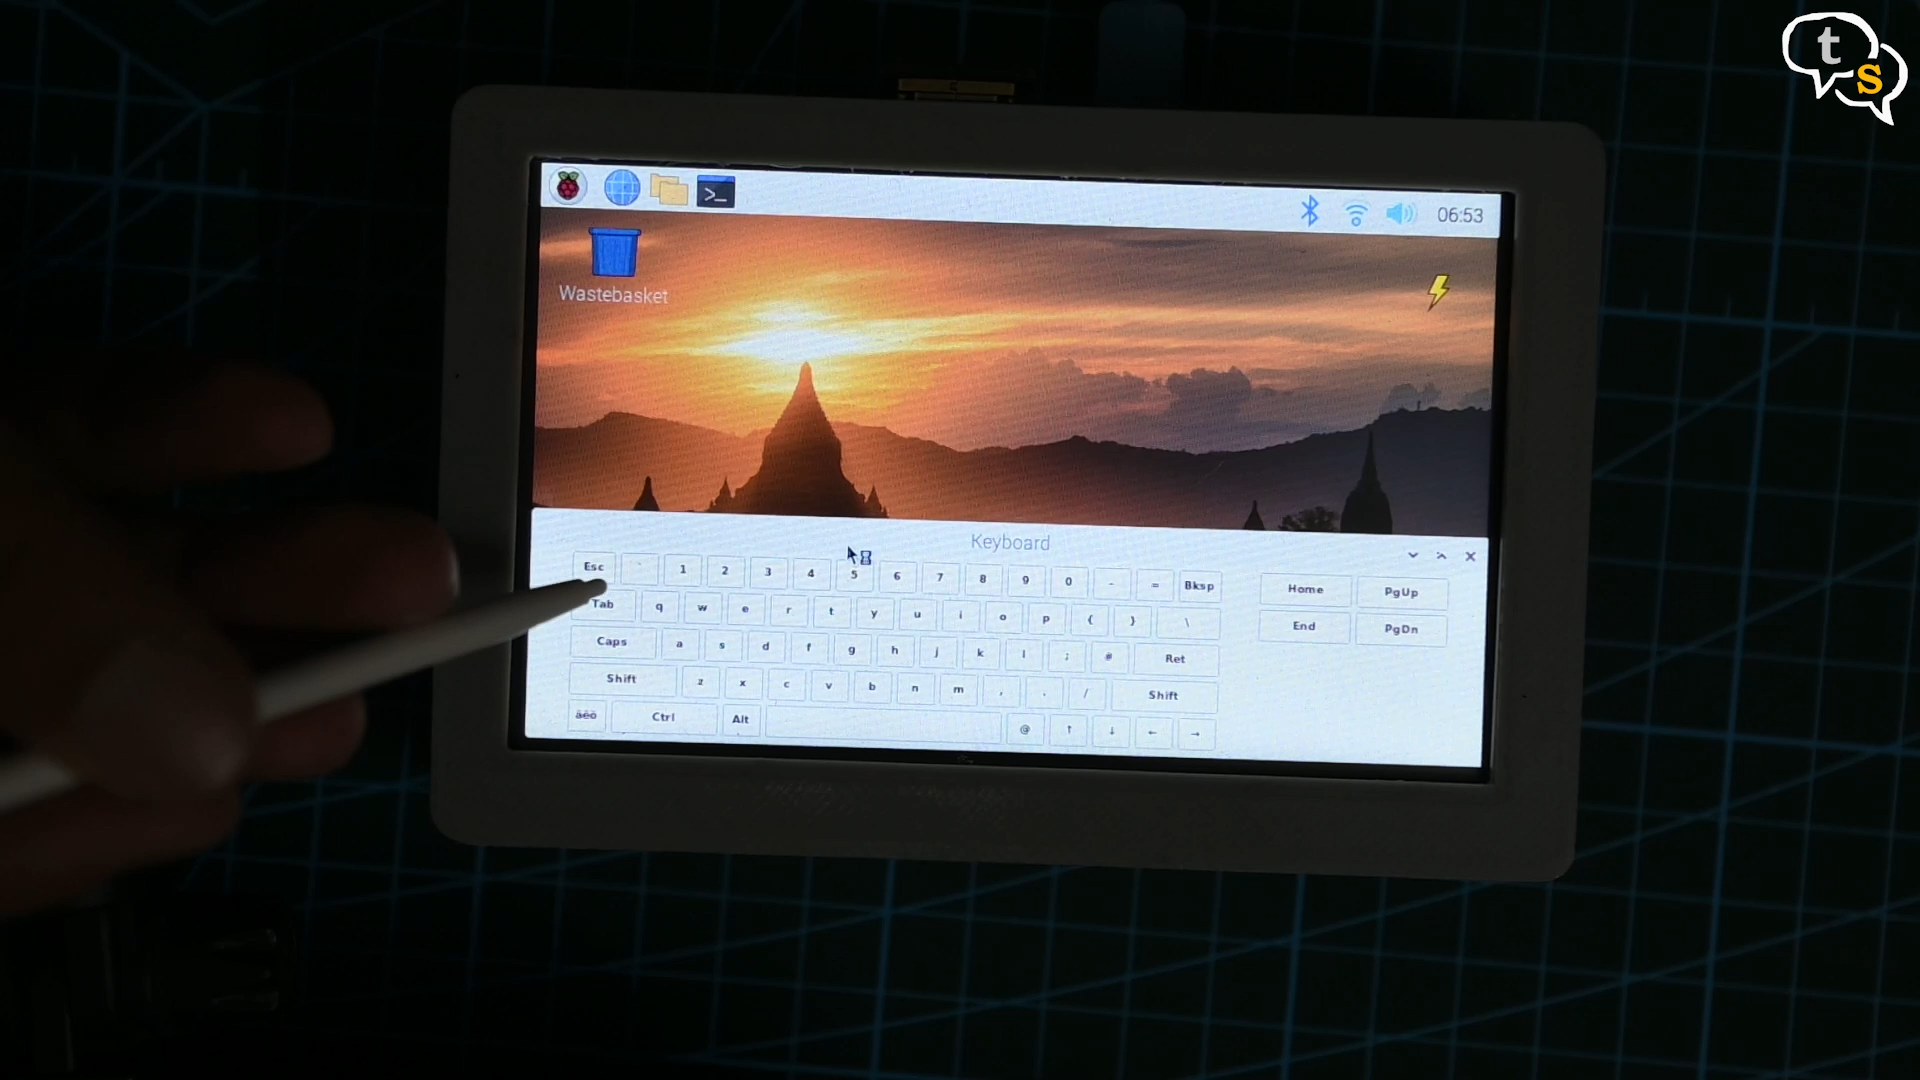
Now we have an on-screen keyboard, not requiring use to have a physical keyboard connected anymore.
It’s not safe to carry around this frankensteinian creation around all open to the elements, so I went forward and printed a case for it.
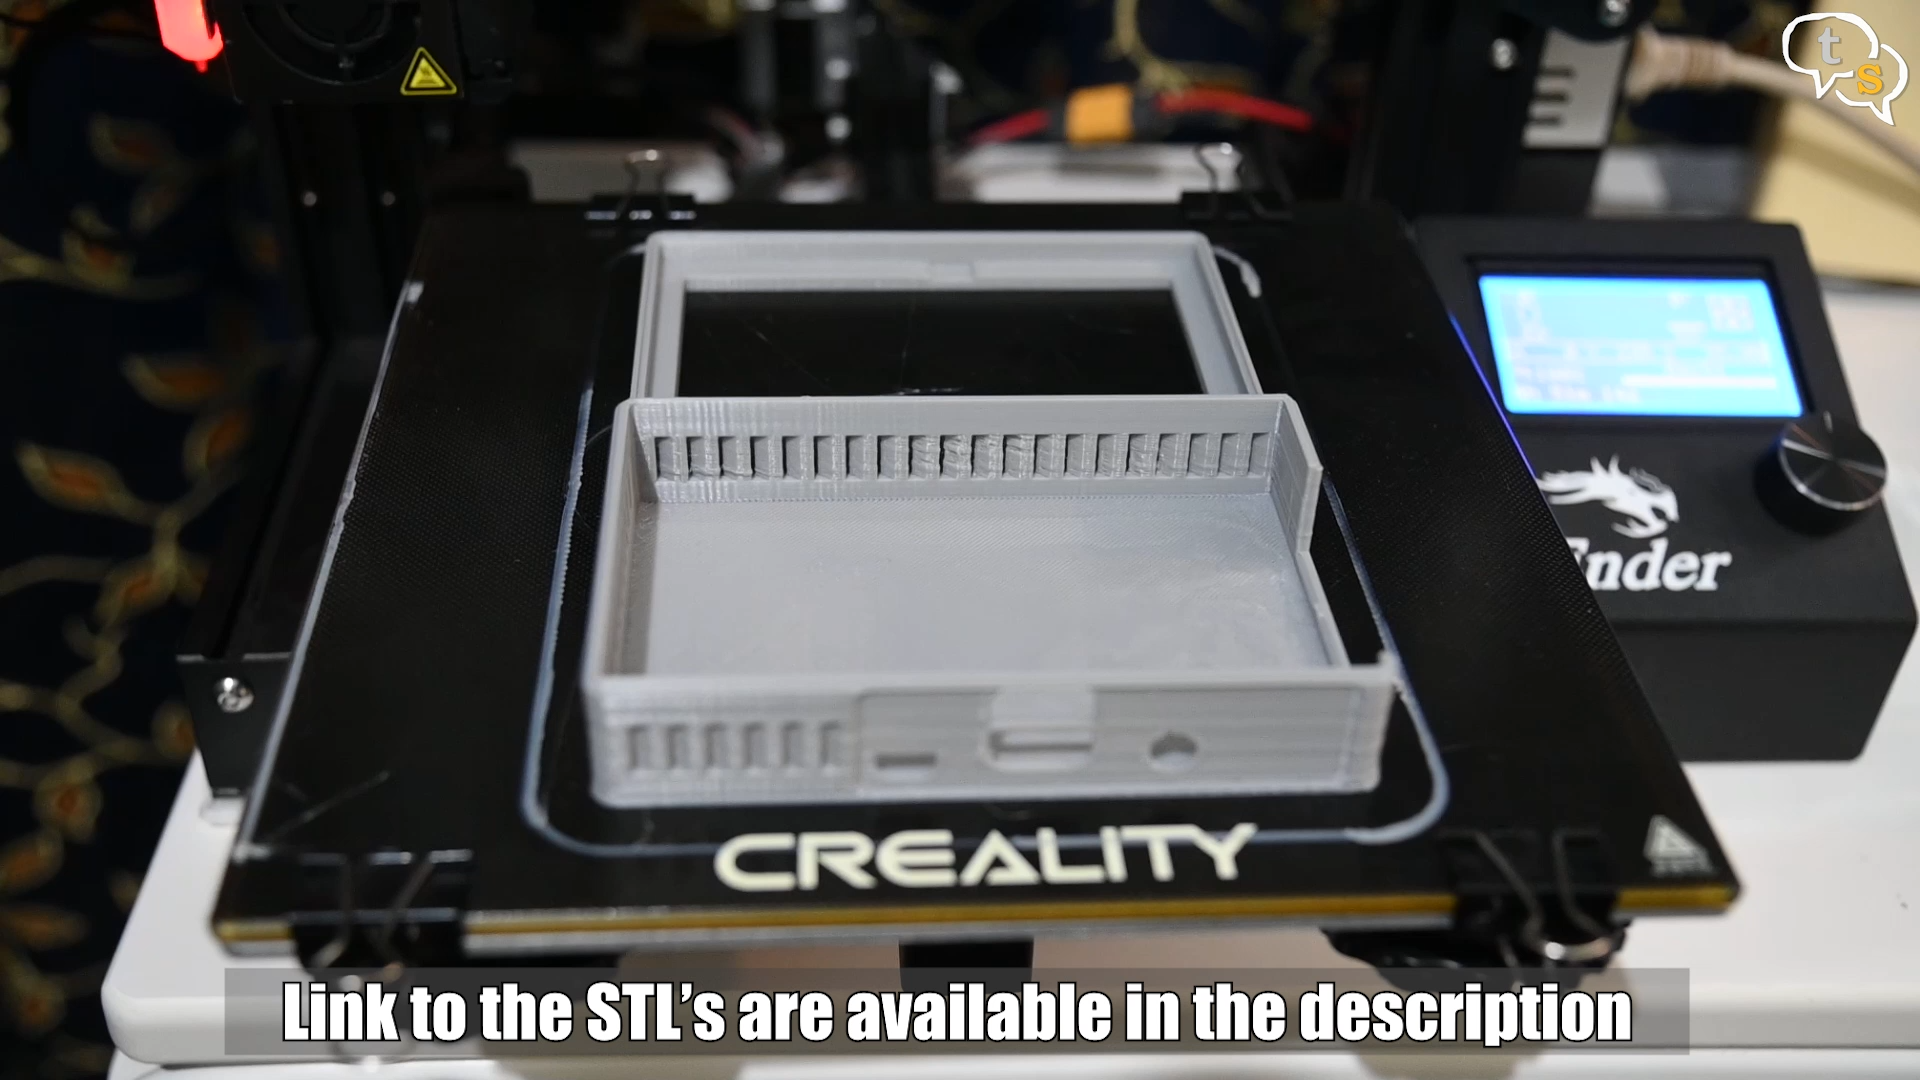
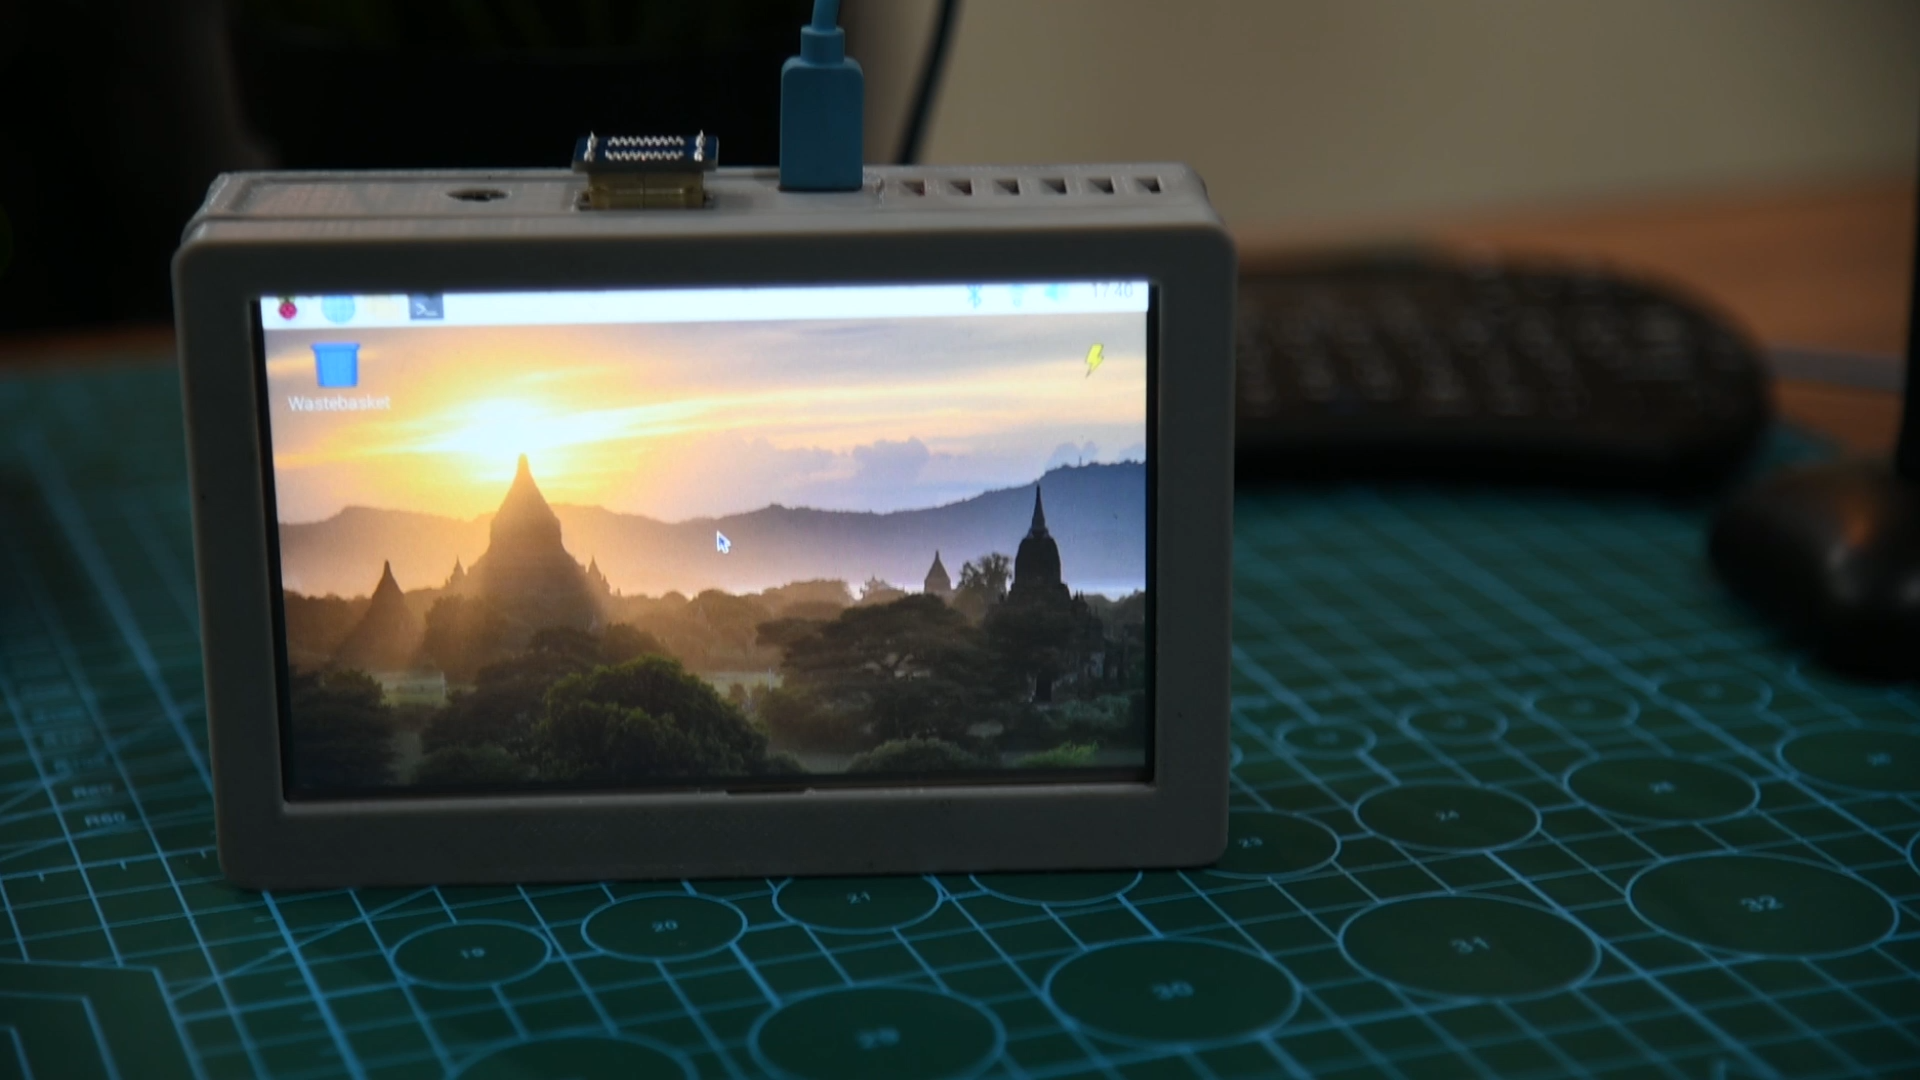
This is how it looks, the case is not designed by me, I have shared the URL for the same in the description.
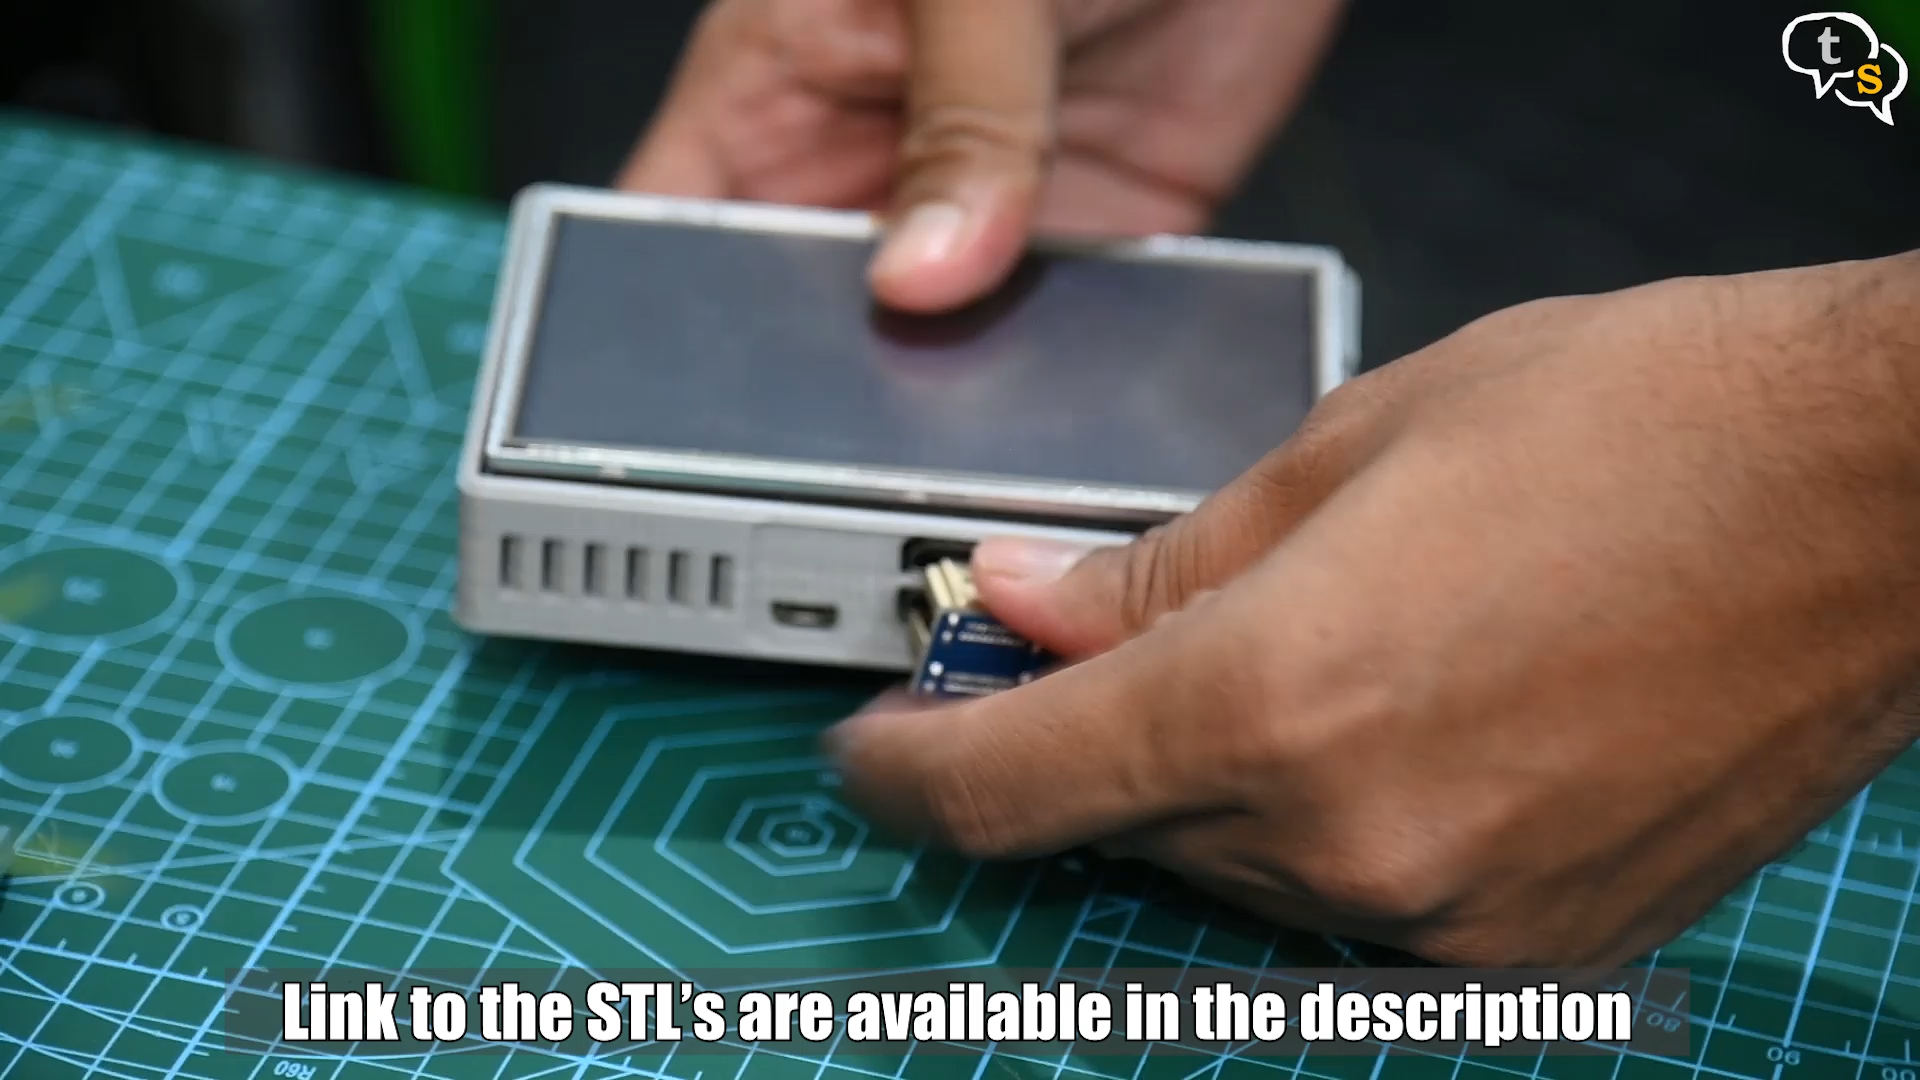
This is the final implementation.
Now the Pi is ready to deploy code which could be run portably not having it to be tethered to a power adapter.
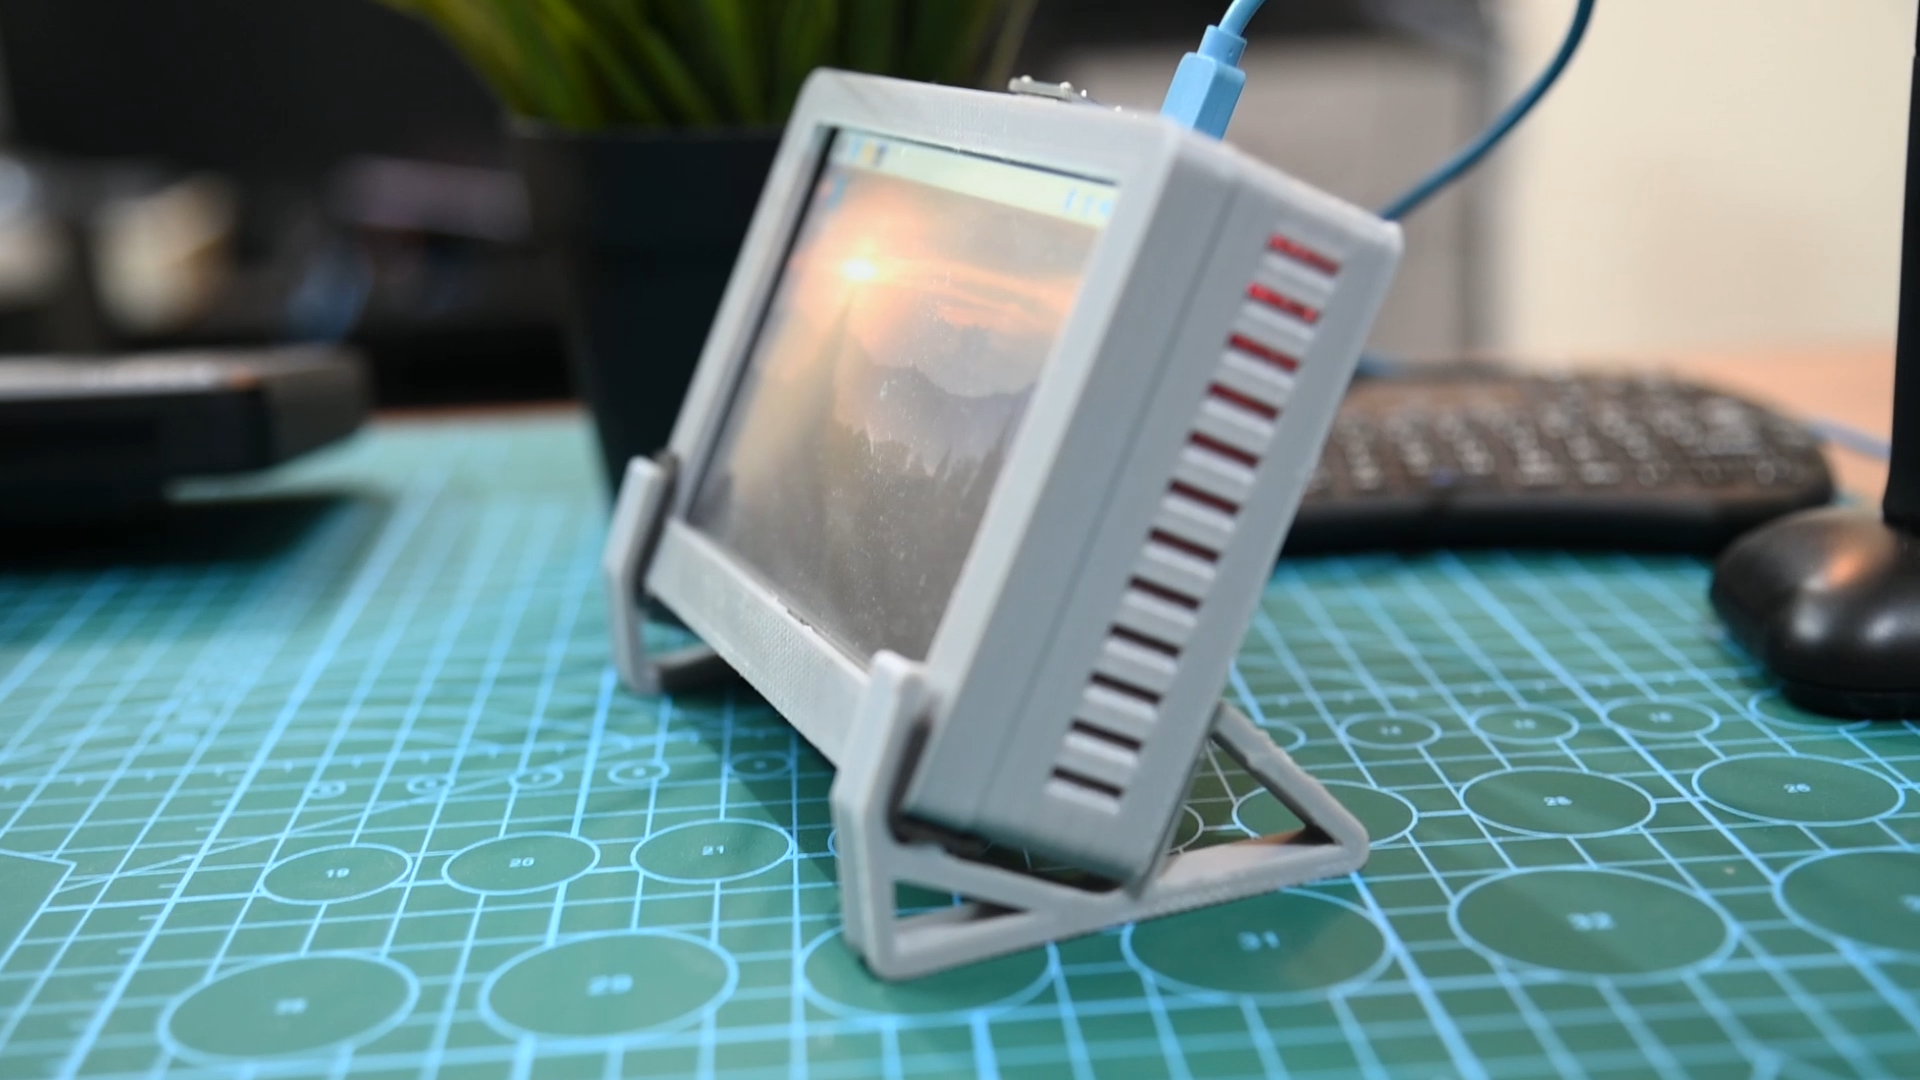
I also printed these stands, used it from another stl, I have shared the same also in the description.
So, that was it, hope it helped you get your Raspberry pi paired with a LCD display and also some ideas on how to use it. I have a few coming up so stay tuned.
If you have any questions do write in to tech@talkingstuff.net or WhatsApp me at 9652578833.
Also make sure to like, subscribe and hit the notification bell to be informed when new videos are added.
Thank you for watching and see you all next time.