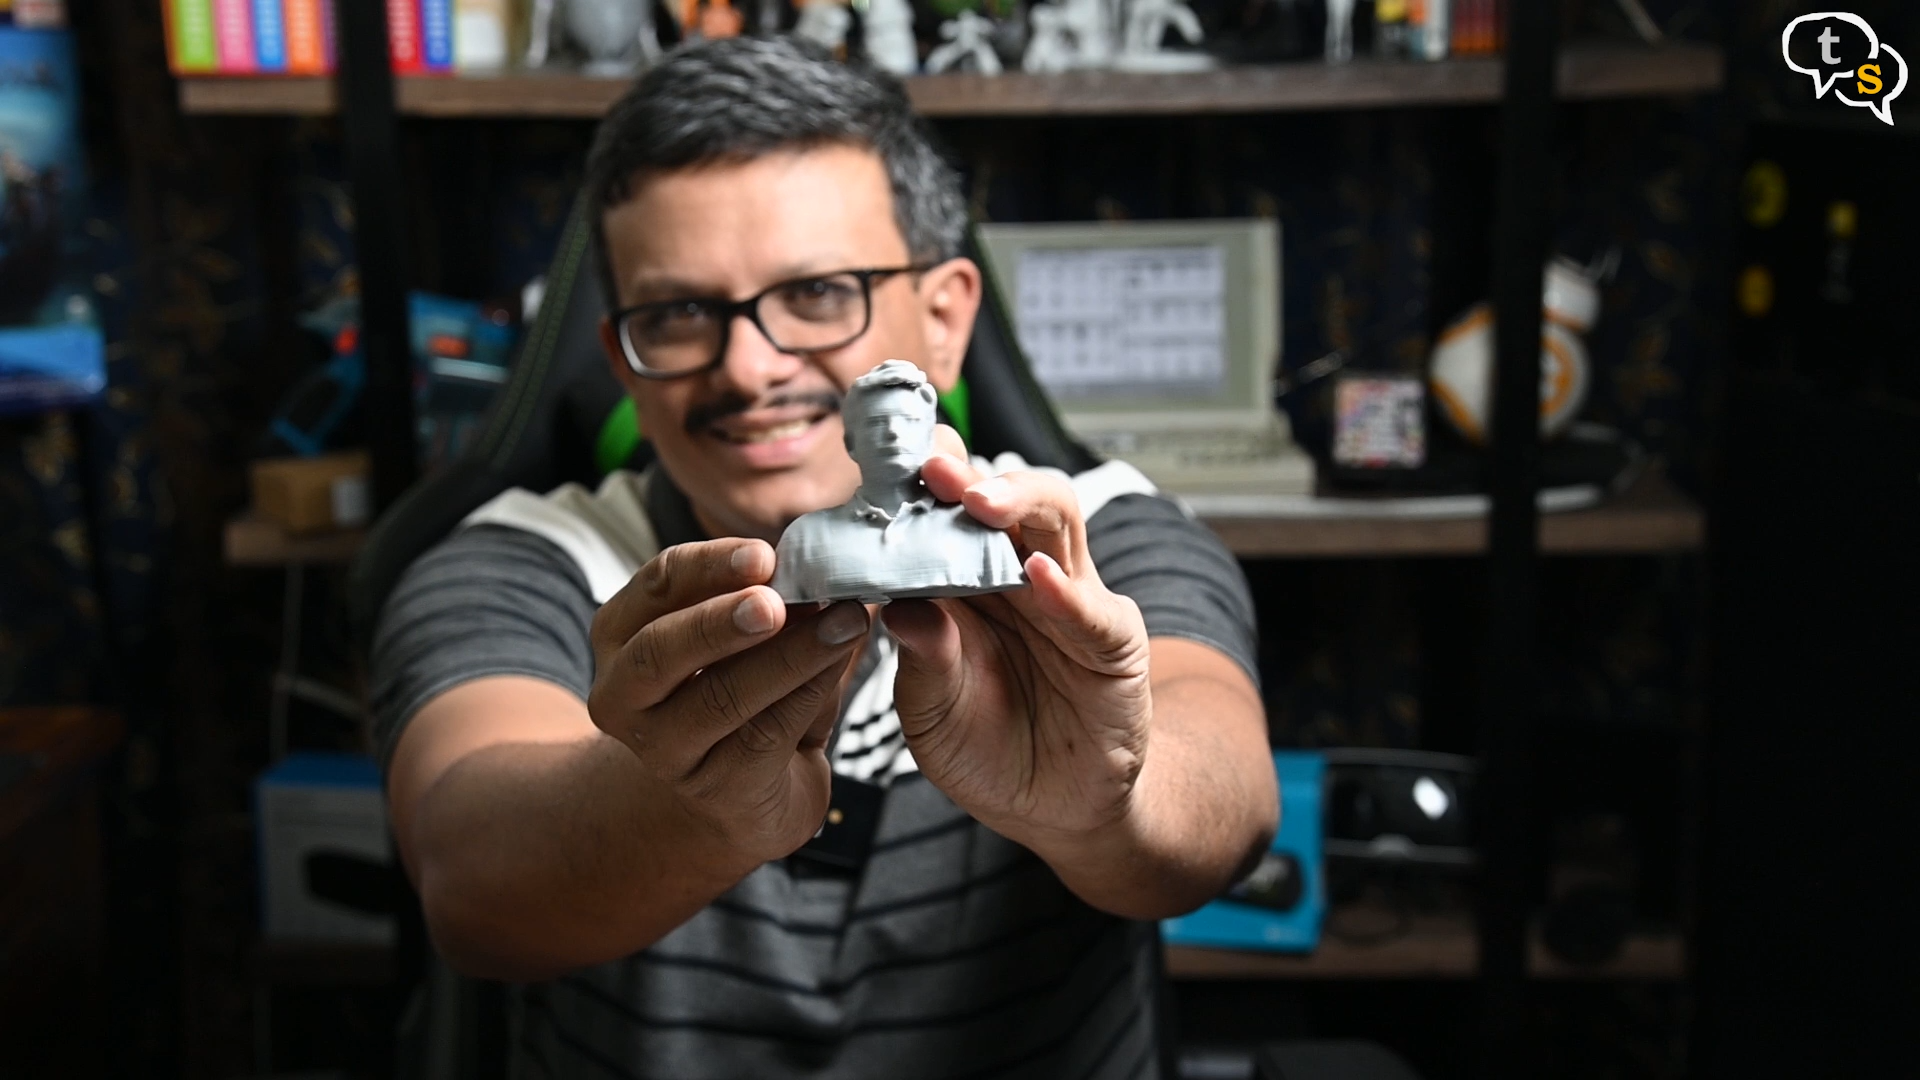
If you are not able to tell what’s special about this, it’s supposed to be a model of me. I was surprised at how easy it was, so let’s go step by step on how I made myself.
I’ve been into 3d printing for a month maybe. Trying out a lot of techniques, and learning along the way, i thought i would try to find a way to print my own 3d selfie.
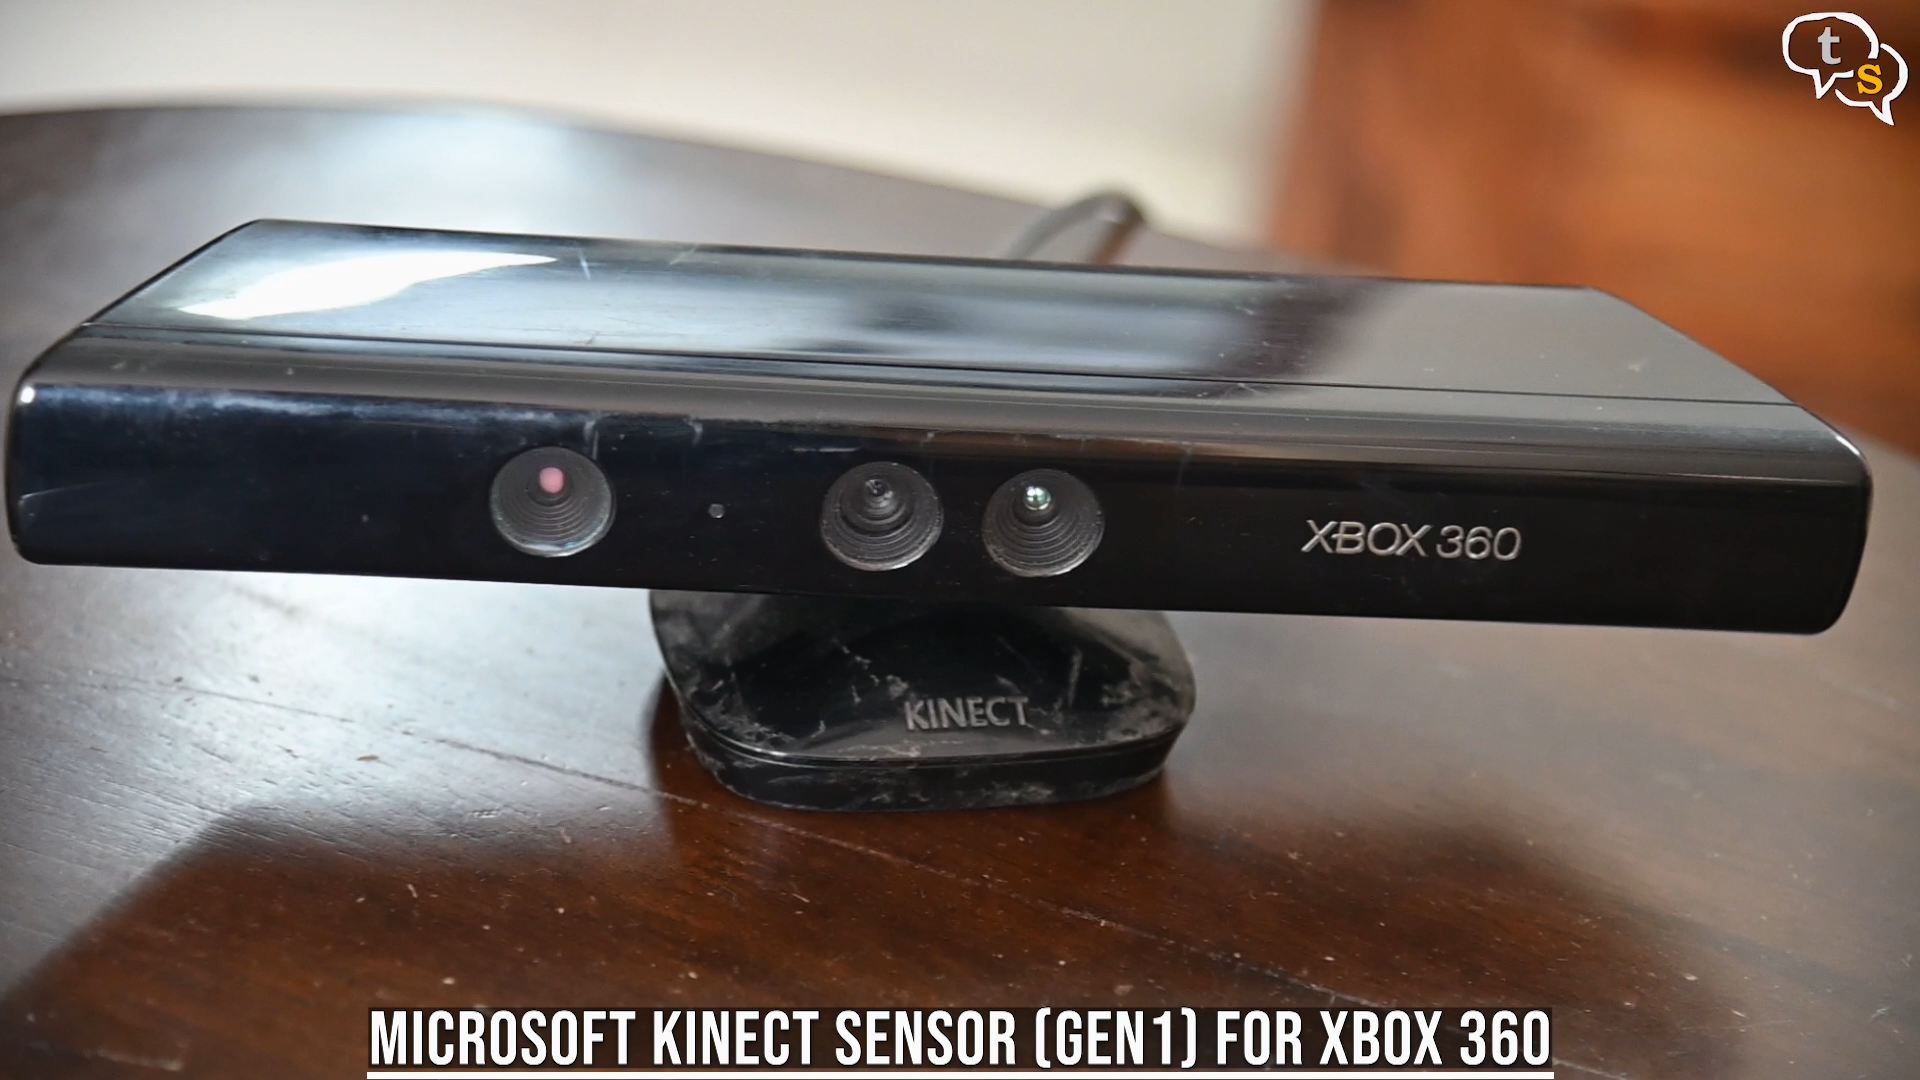
First you need a scanner like this one, the kinect from the Xbox 360. It has 3d scanning capabilities as it can use the depth scanner to make 3d models.
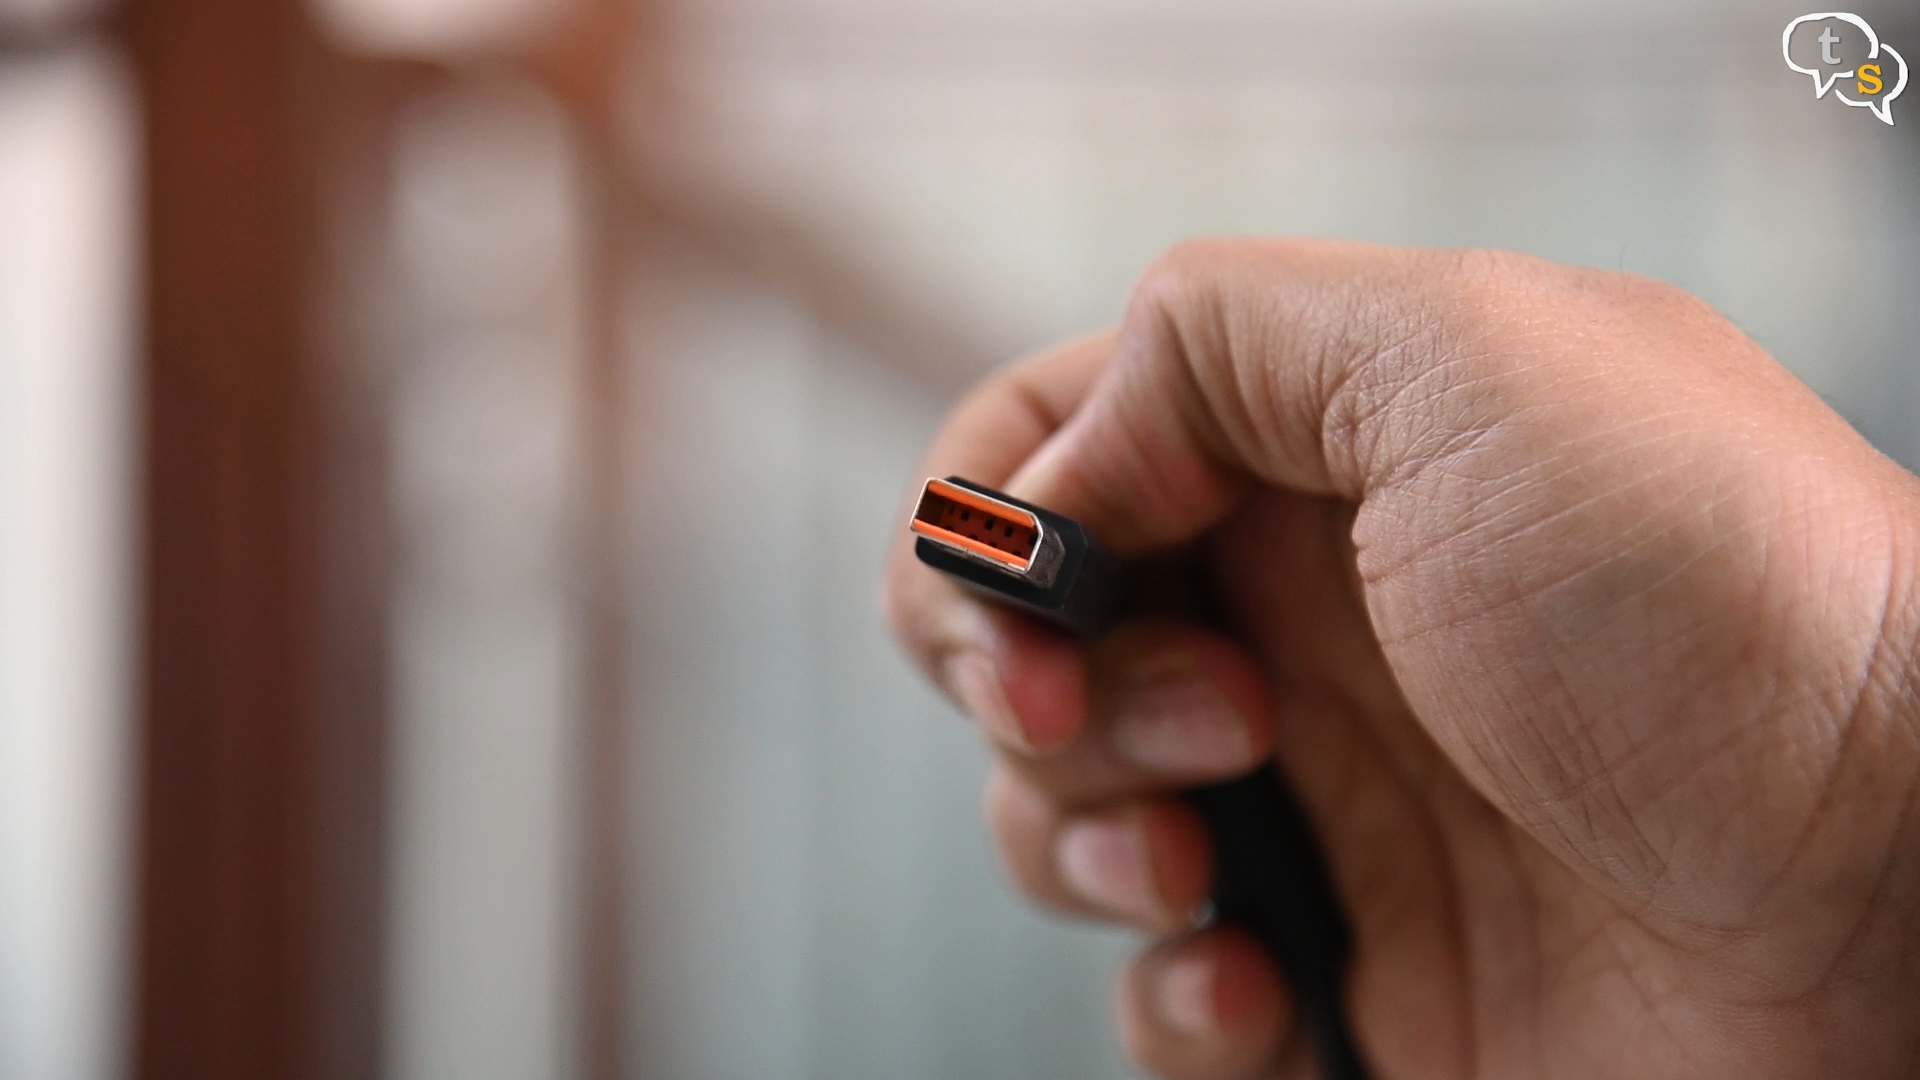
You can’t connect it directly to the pc as it has a proprietary USB connector. I had to purchase a USB adapter which also has power adaptor.
The usb port on the kinect has this weird indent which doesn’t allow it to be used in standard usb ports.
Plug in the usb port of the kinect into the adapter, power it via the power adapter provided and it should be ready.
Now that we have the hardware, we need to install the software.
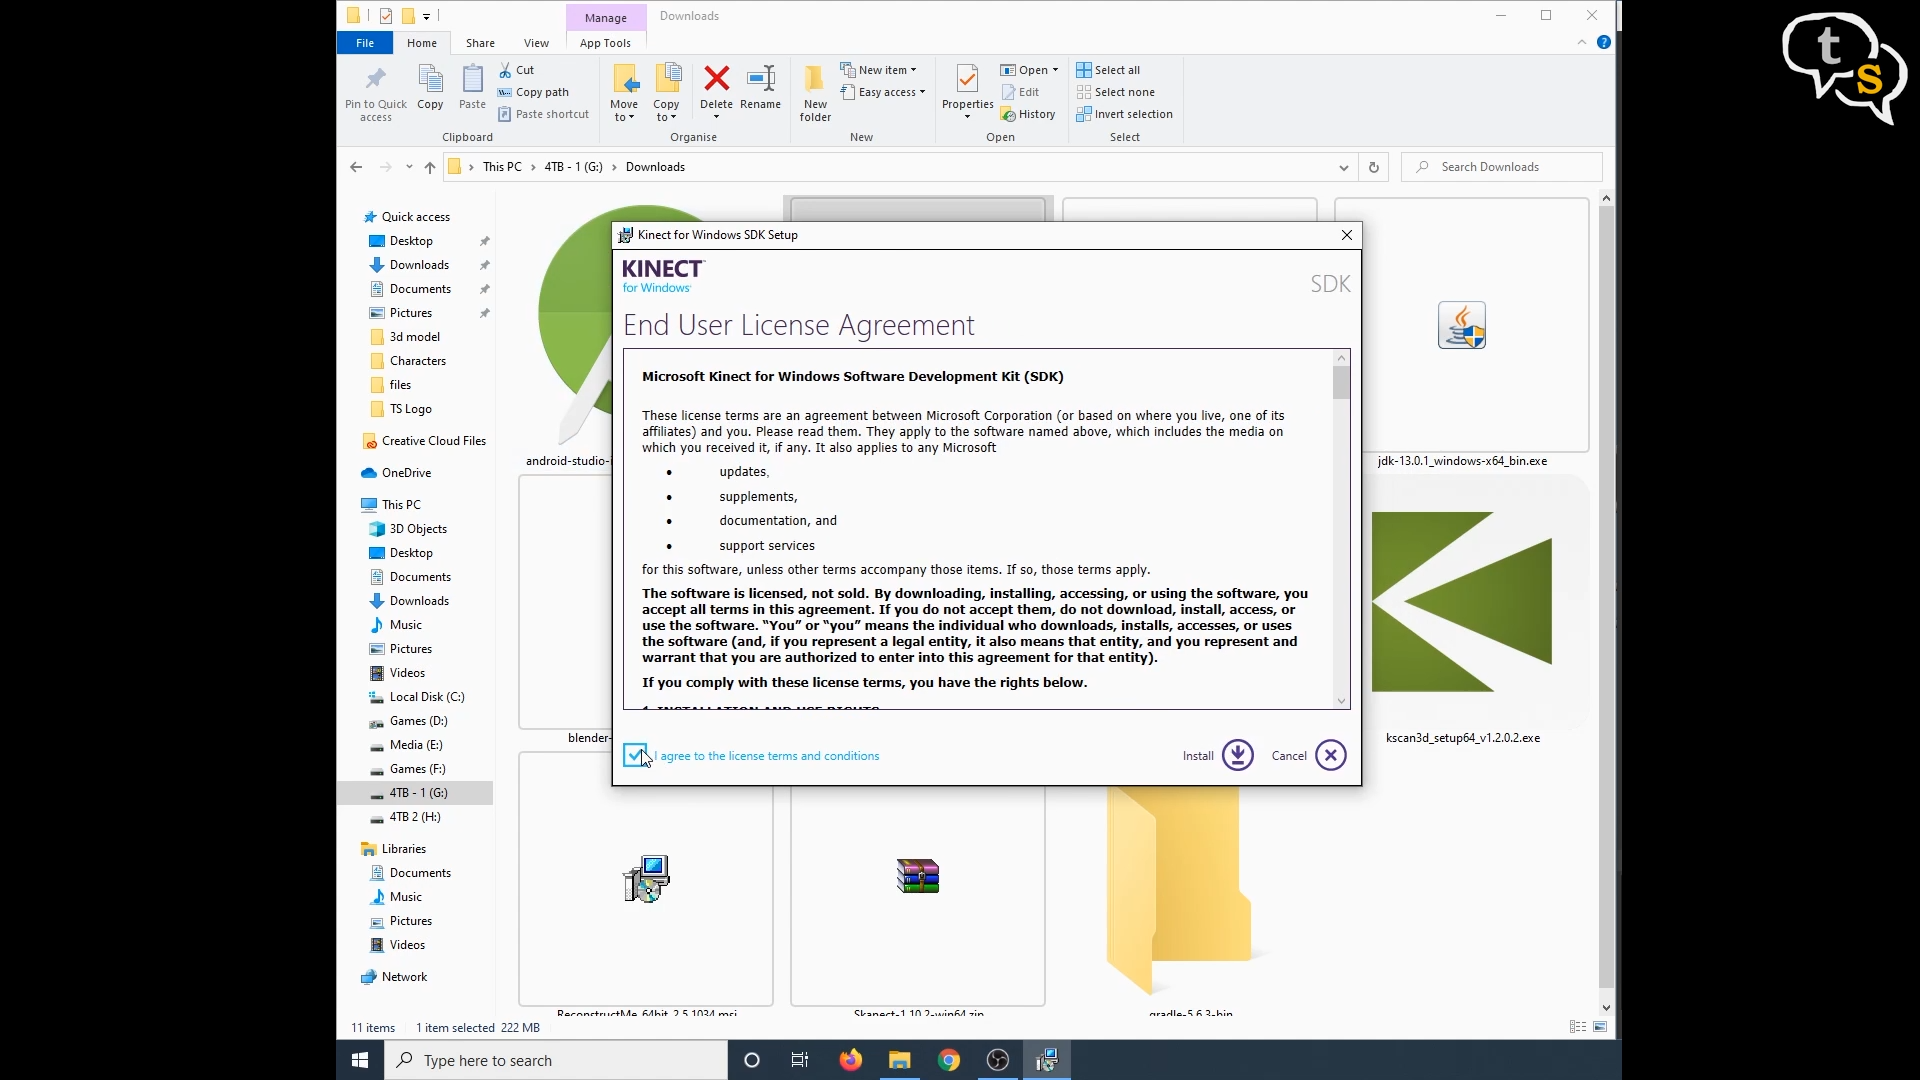
Download the kinect sdk, links in the description. Install and connect the hardware. It should be found and the led stops blinking indicating its ready.
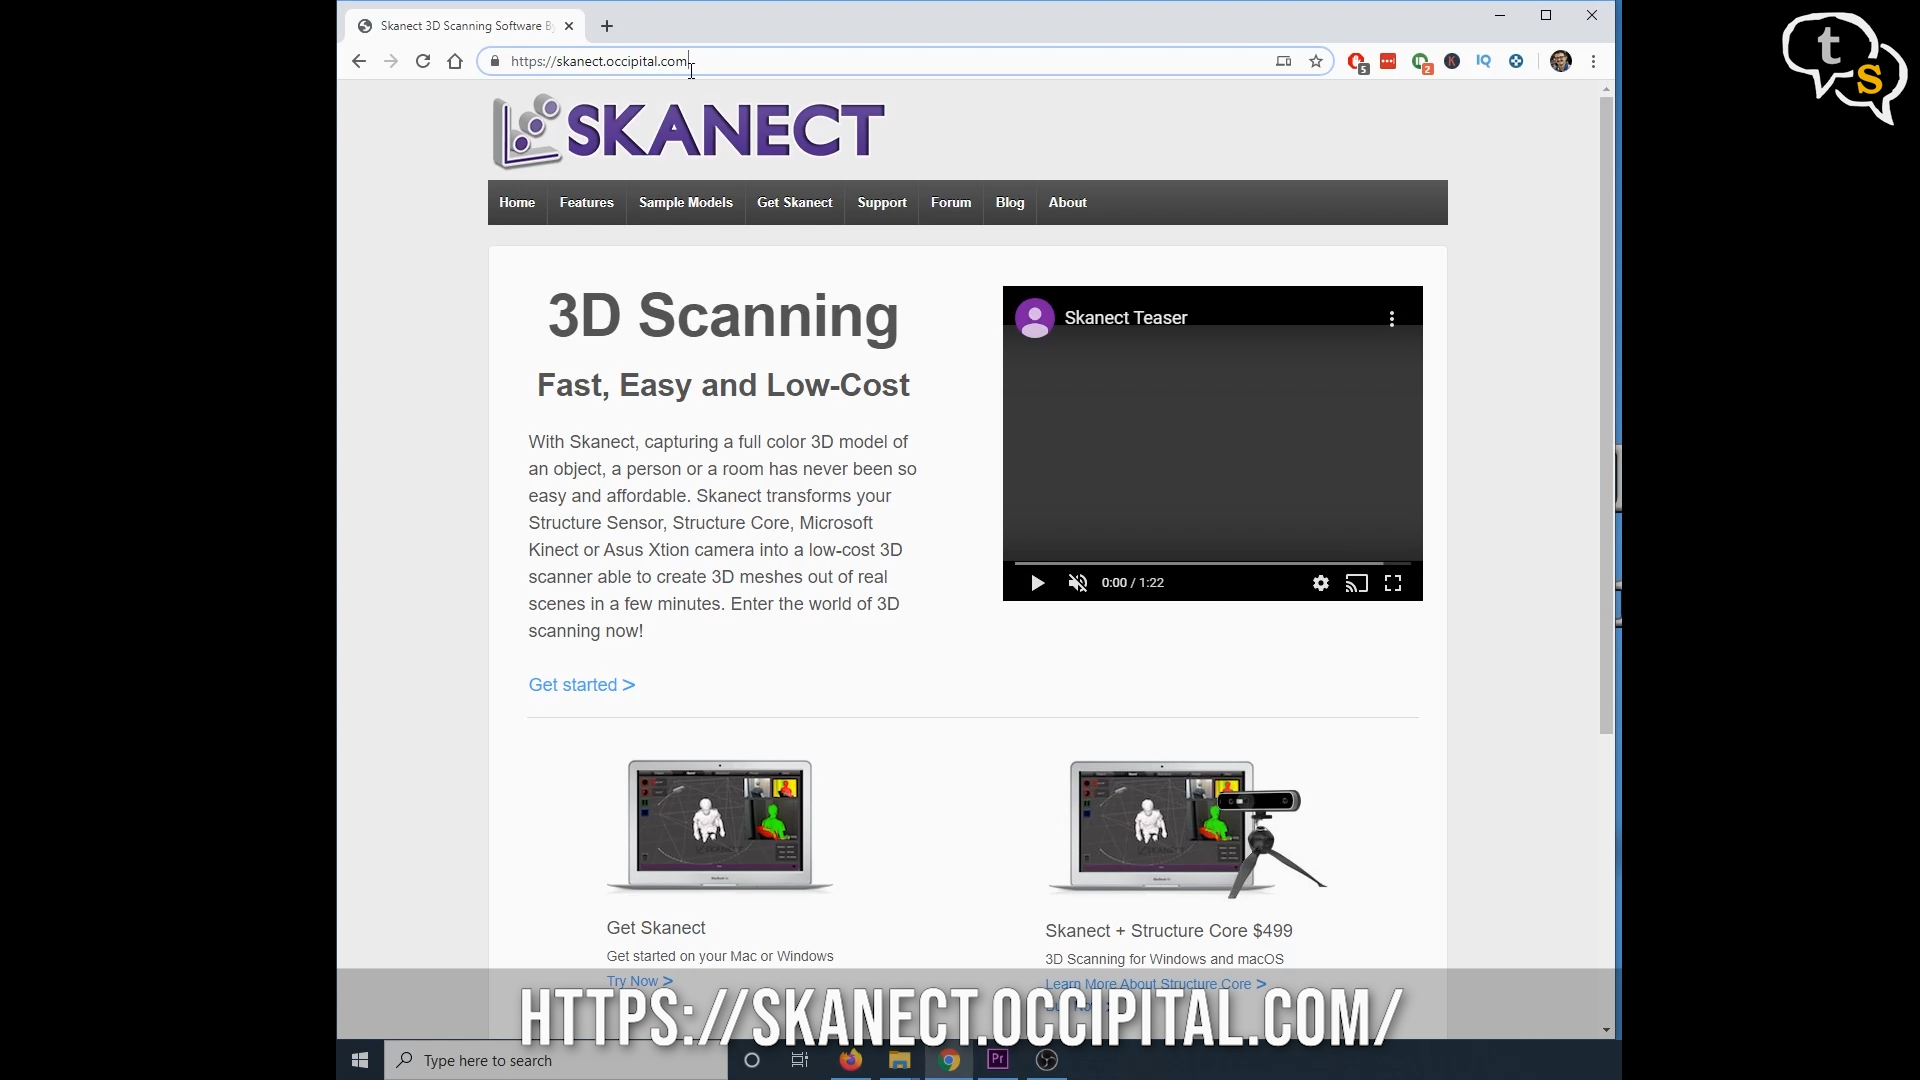
Skanect is what I first downloaded.
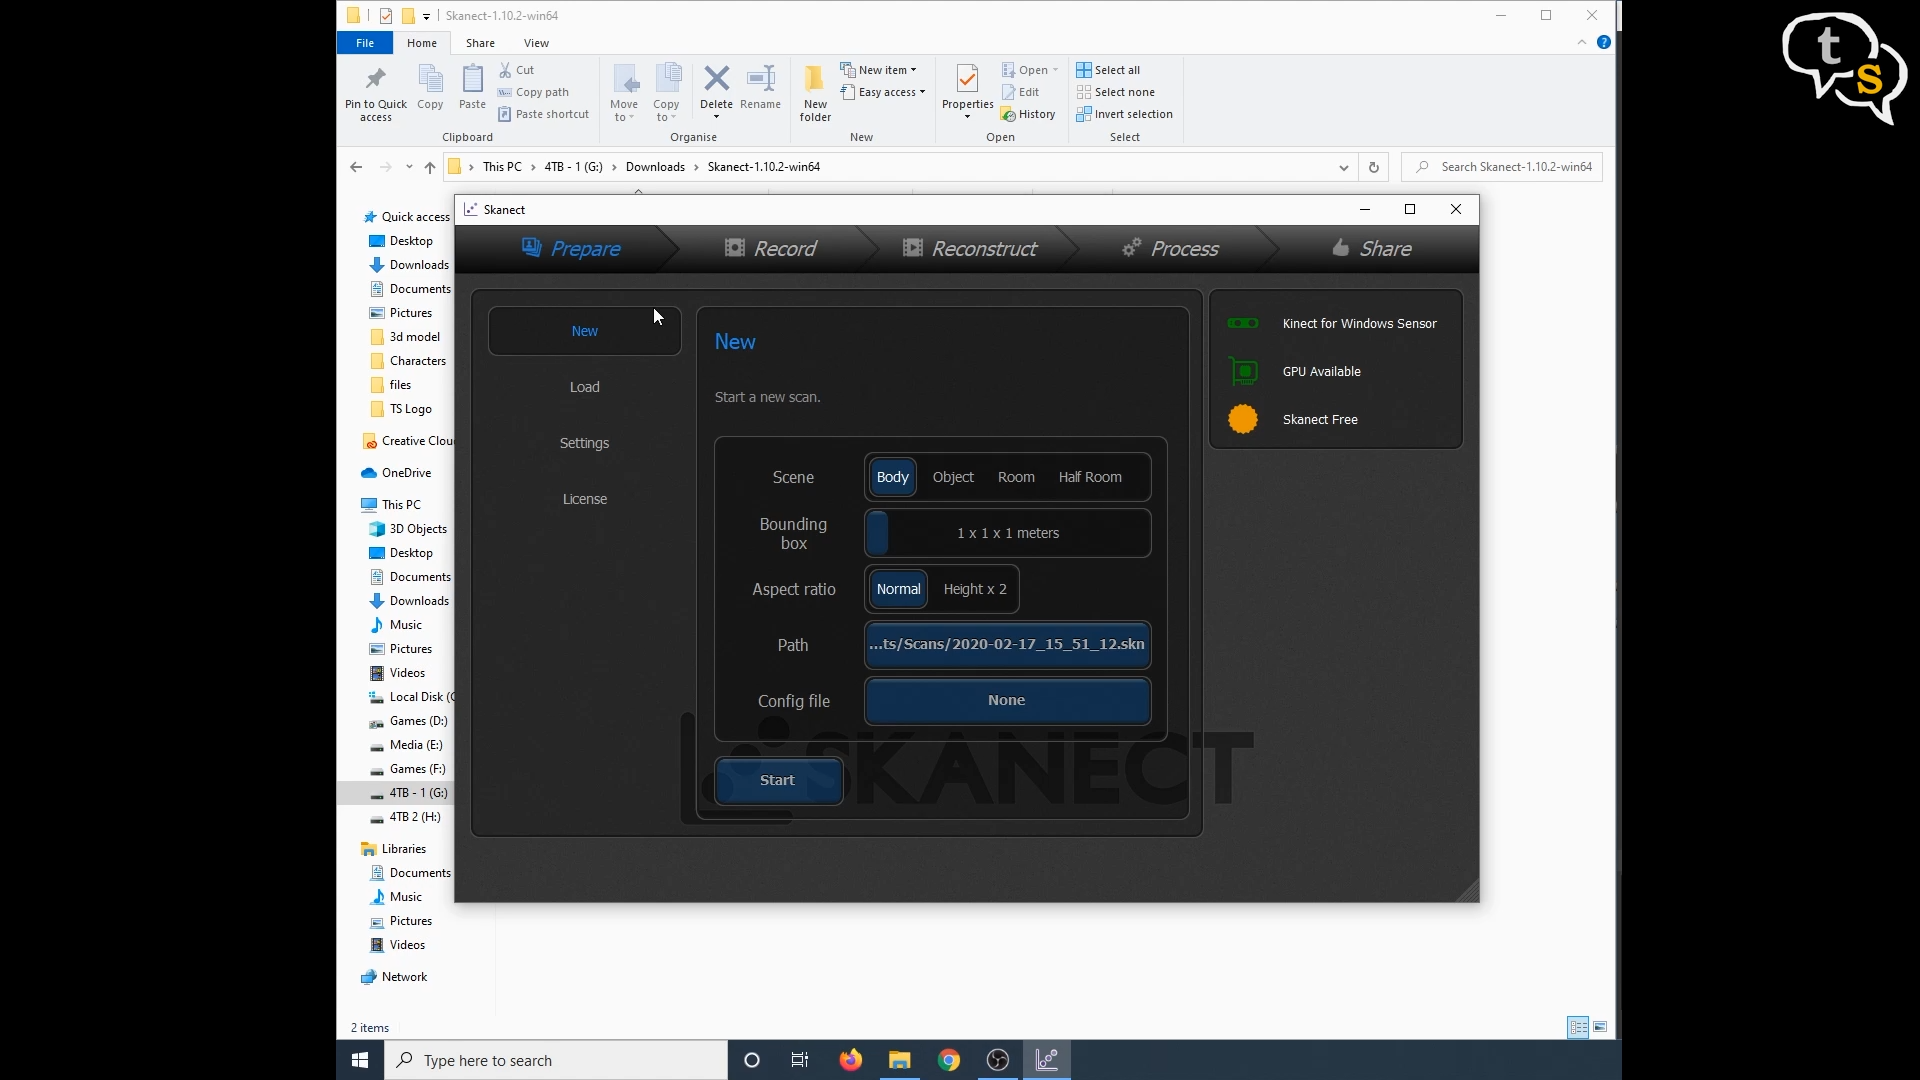
Open up the software and it detects the kinect, which is shown on the top right.
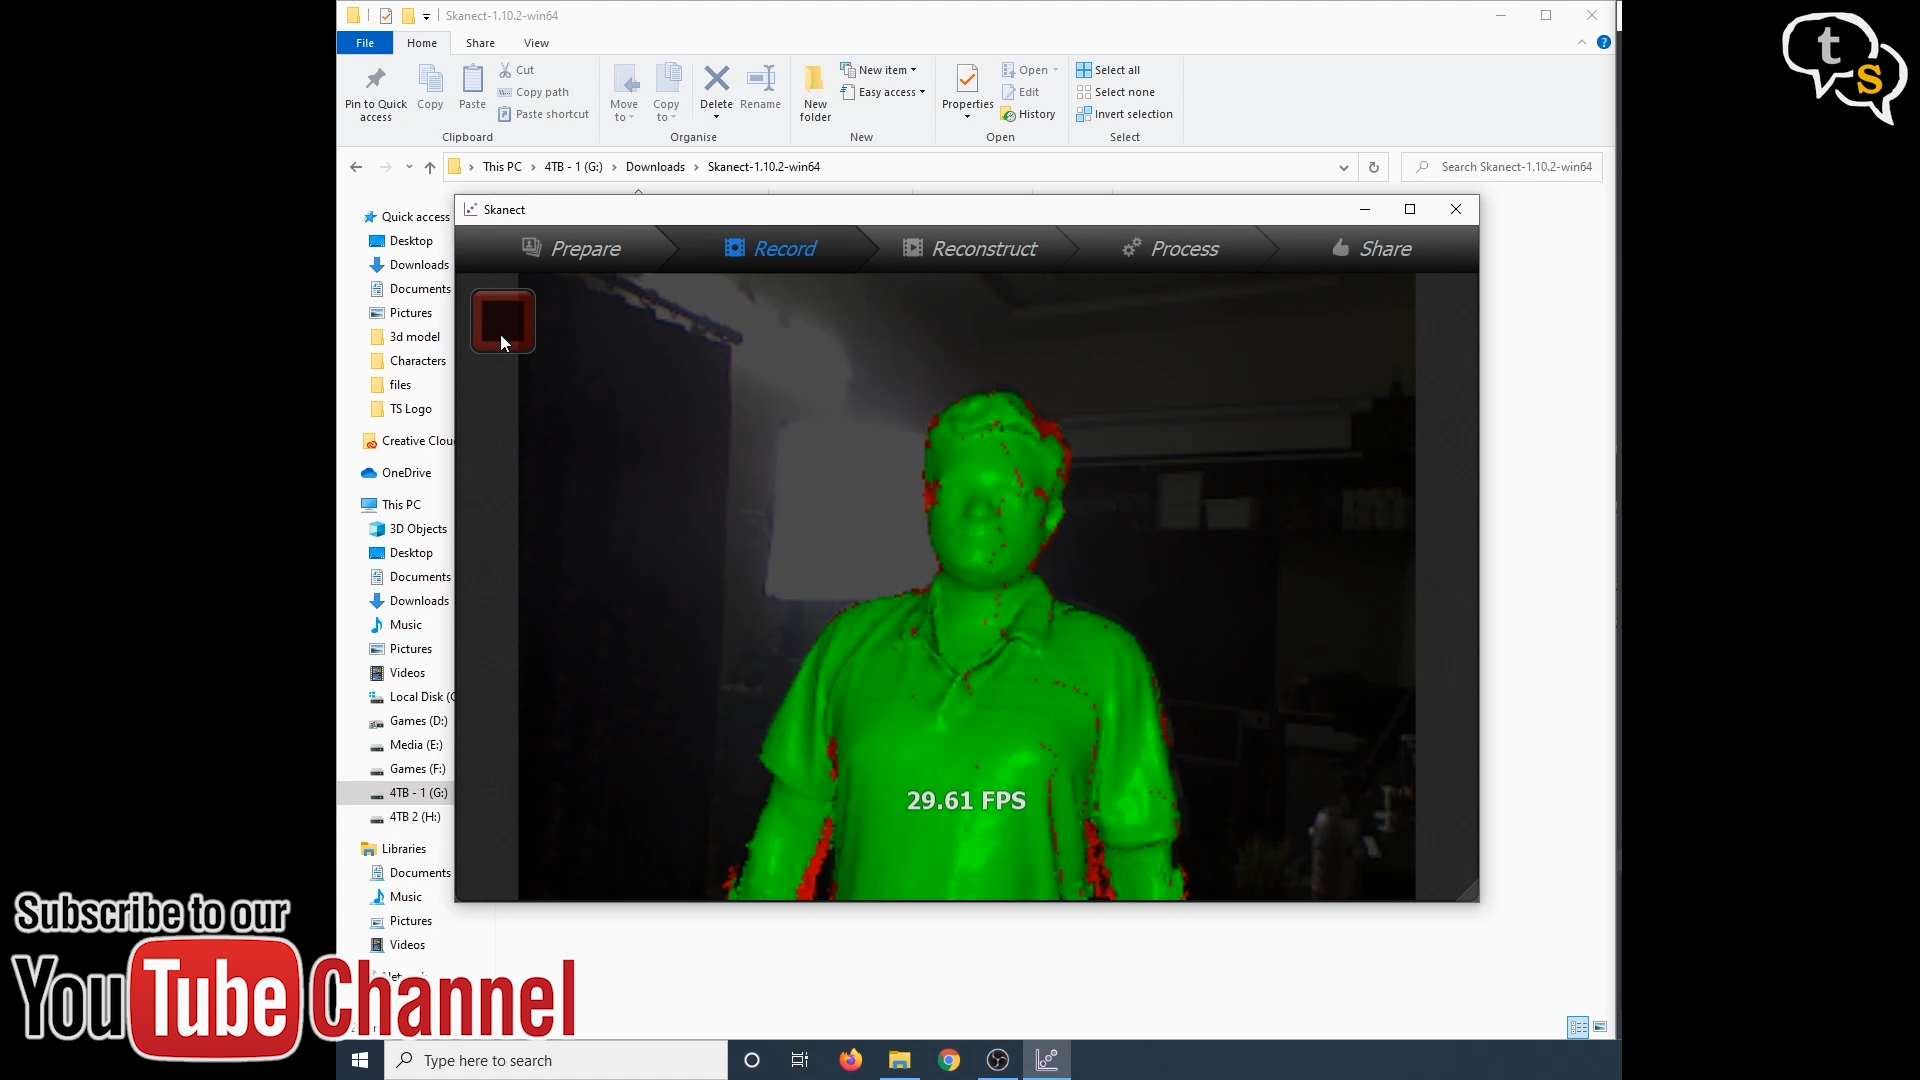
Hit start to start scanning
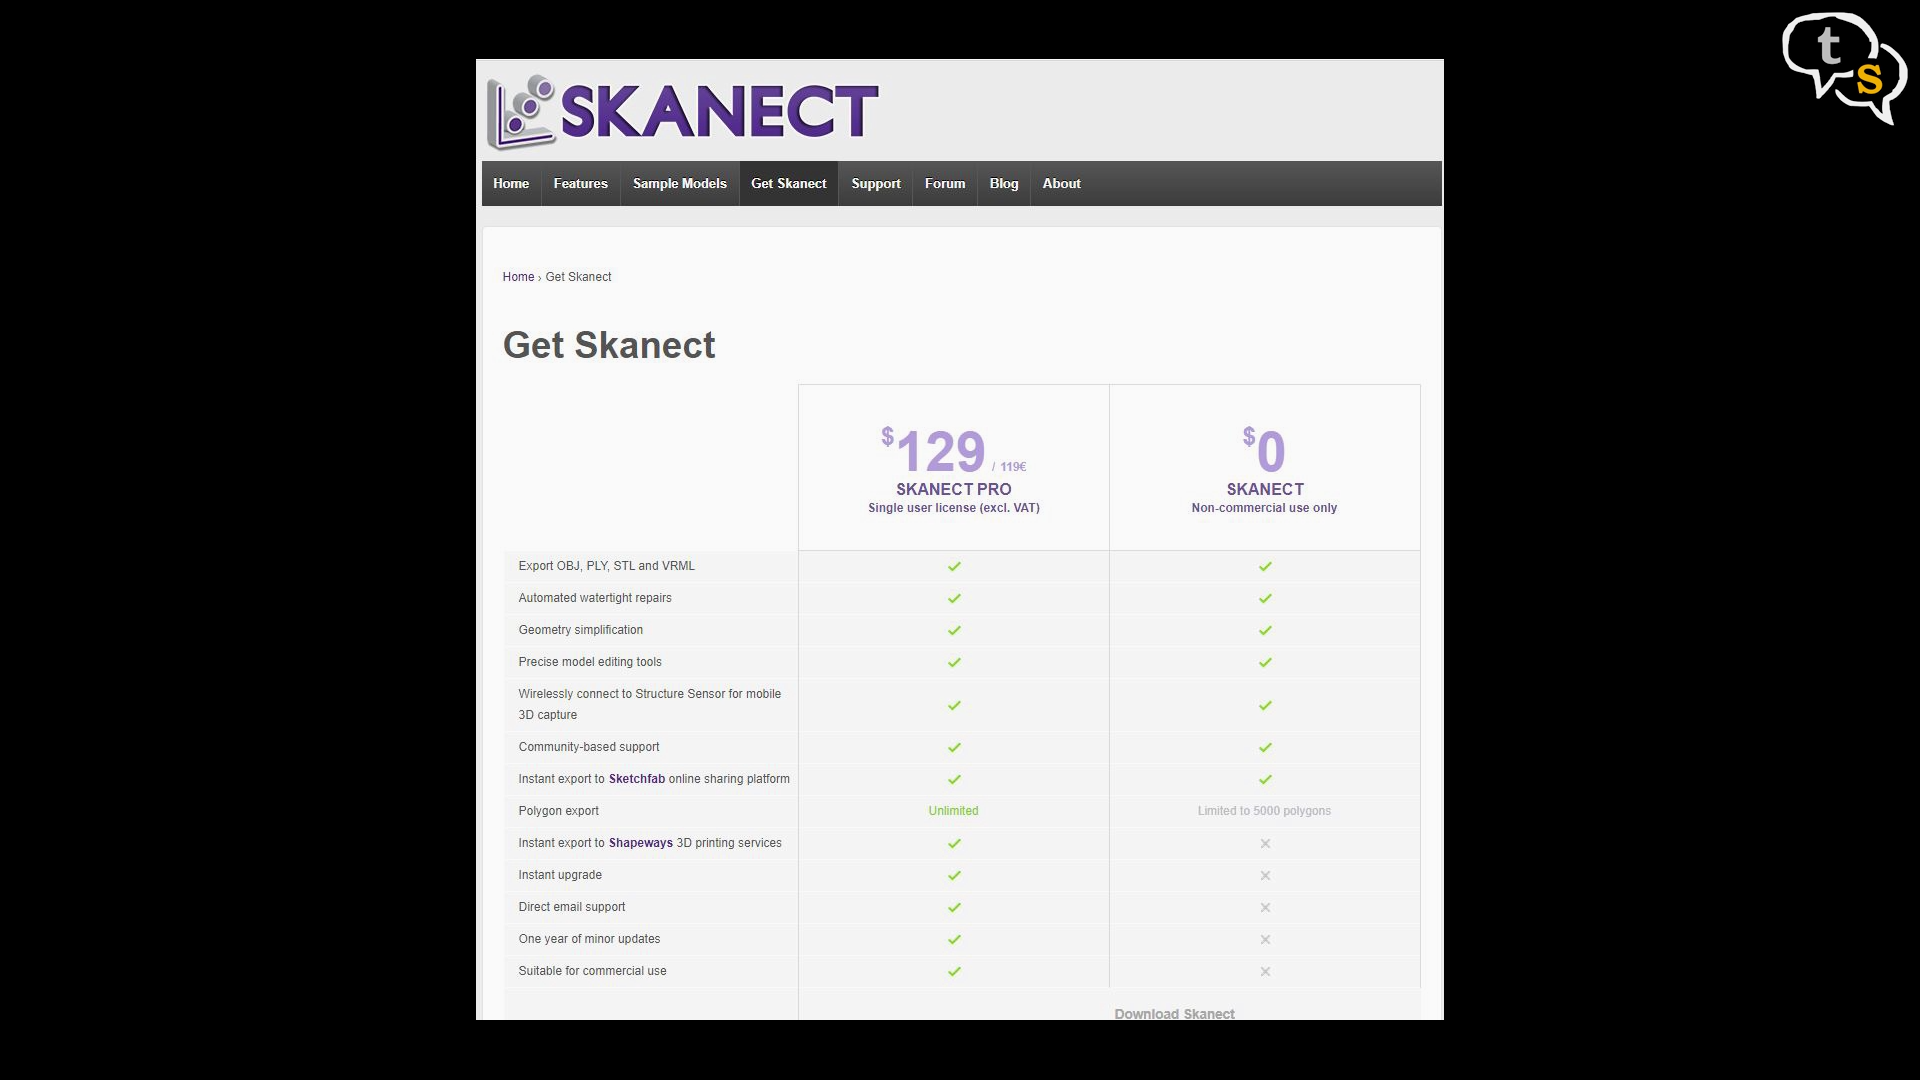
Skanect is a paid option at $129,and I wasn’t ready to spend that kind of money.
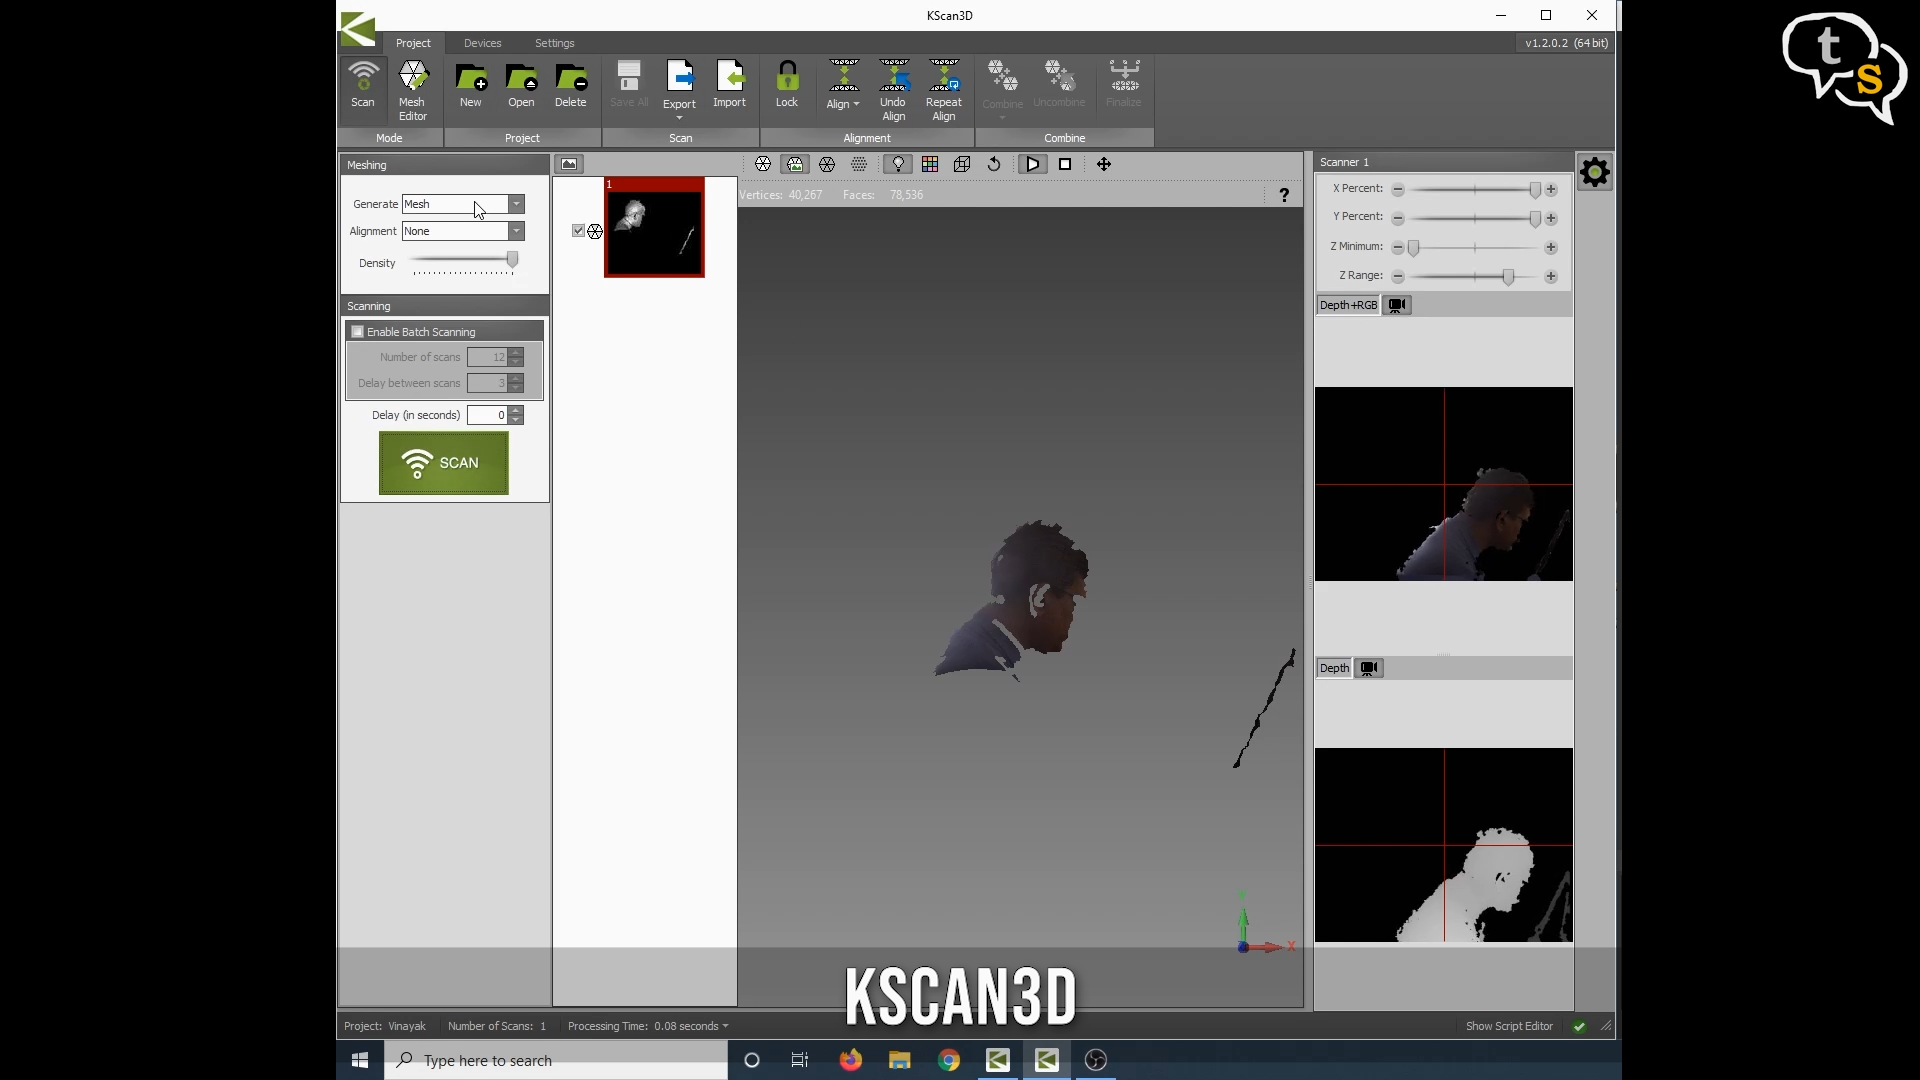
Scouting around more apps. I downloaded kscan. That caused problems for the other apps. Only kscan worked for some reason.

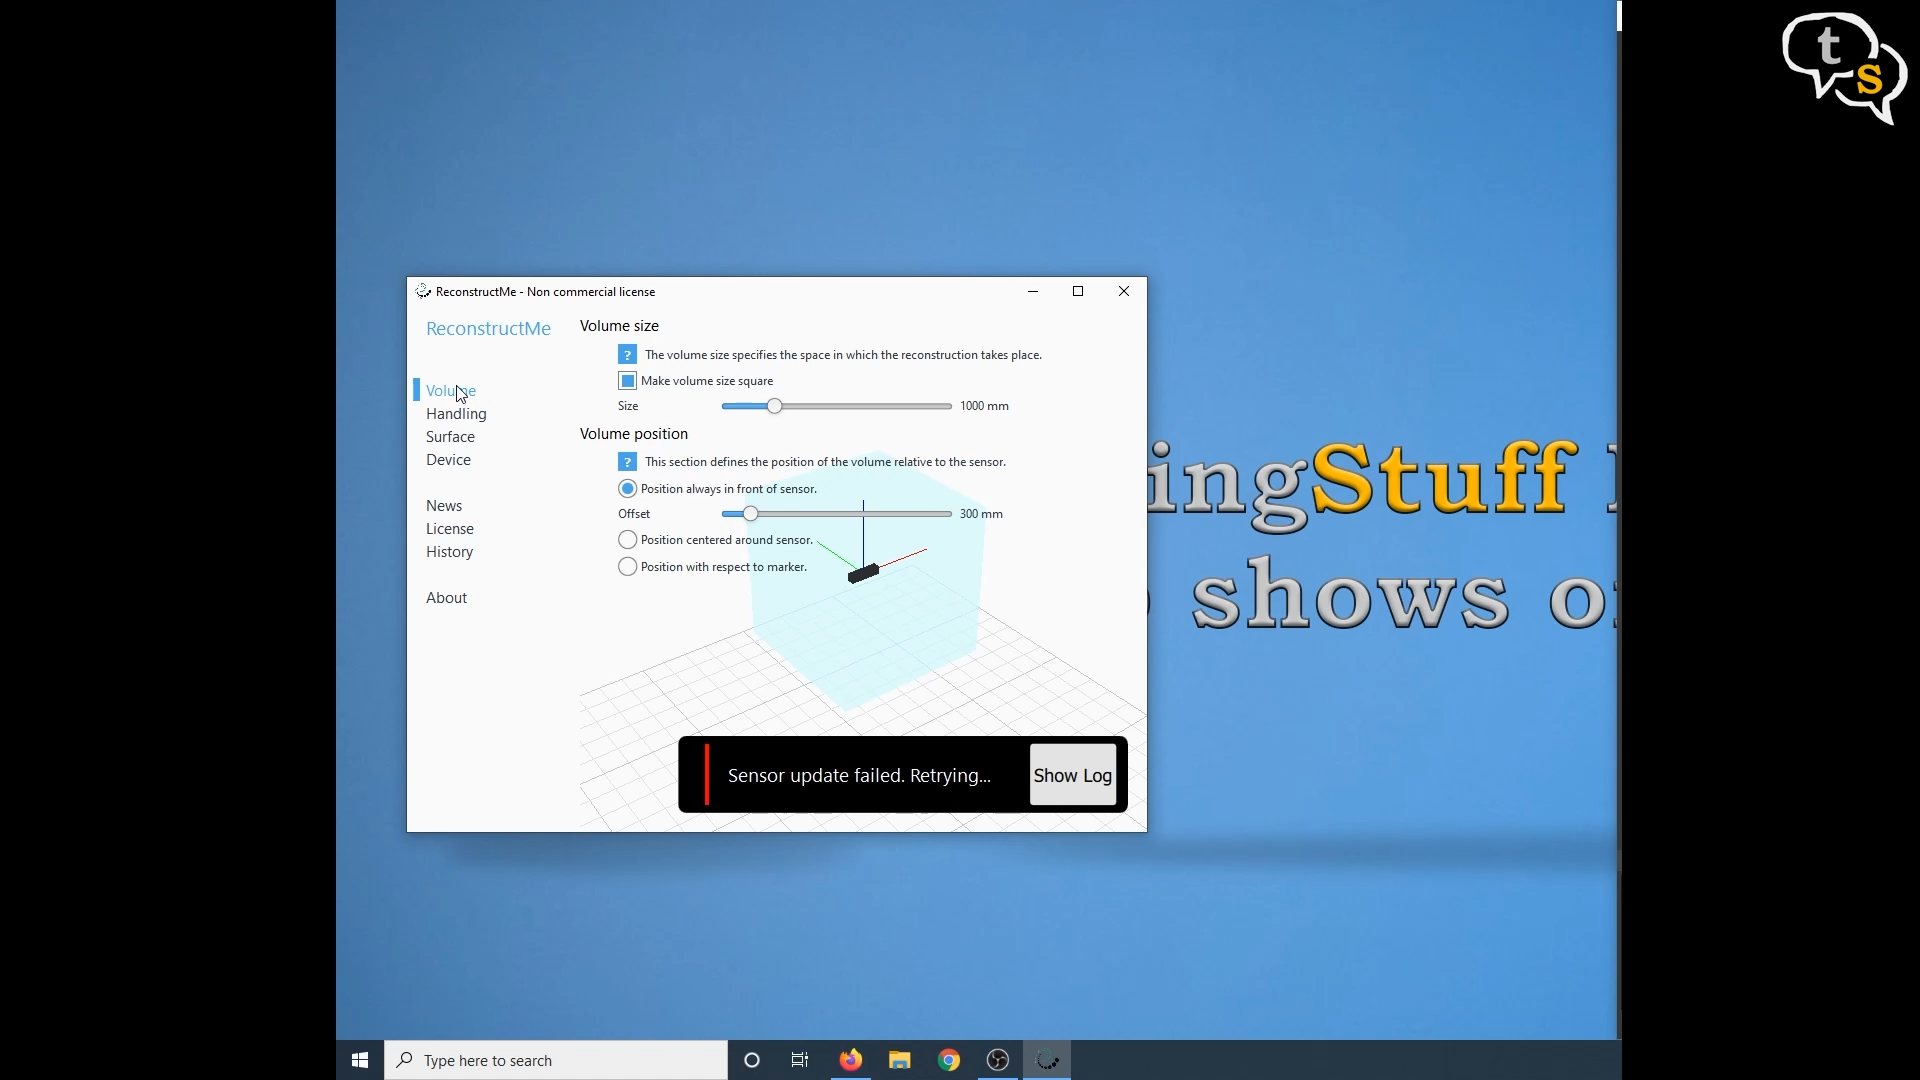
Reconstruct me is the next application I downloaded. I left the options on default except for device selection, which i set to MIcrosoft Kinect (1st gen)
Somehow it wasnt detecting the kinect, but KSCAN was?
I found the earlier kinect drivers I installed were missing after installing KSCAN. So uinstalled everything and restarted and installed the sdk again.
Phew it’s working again.
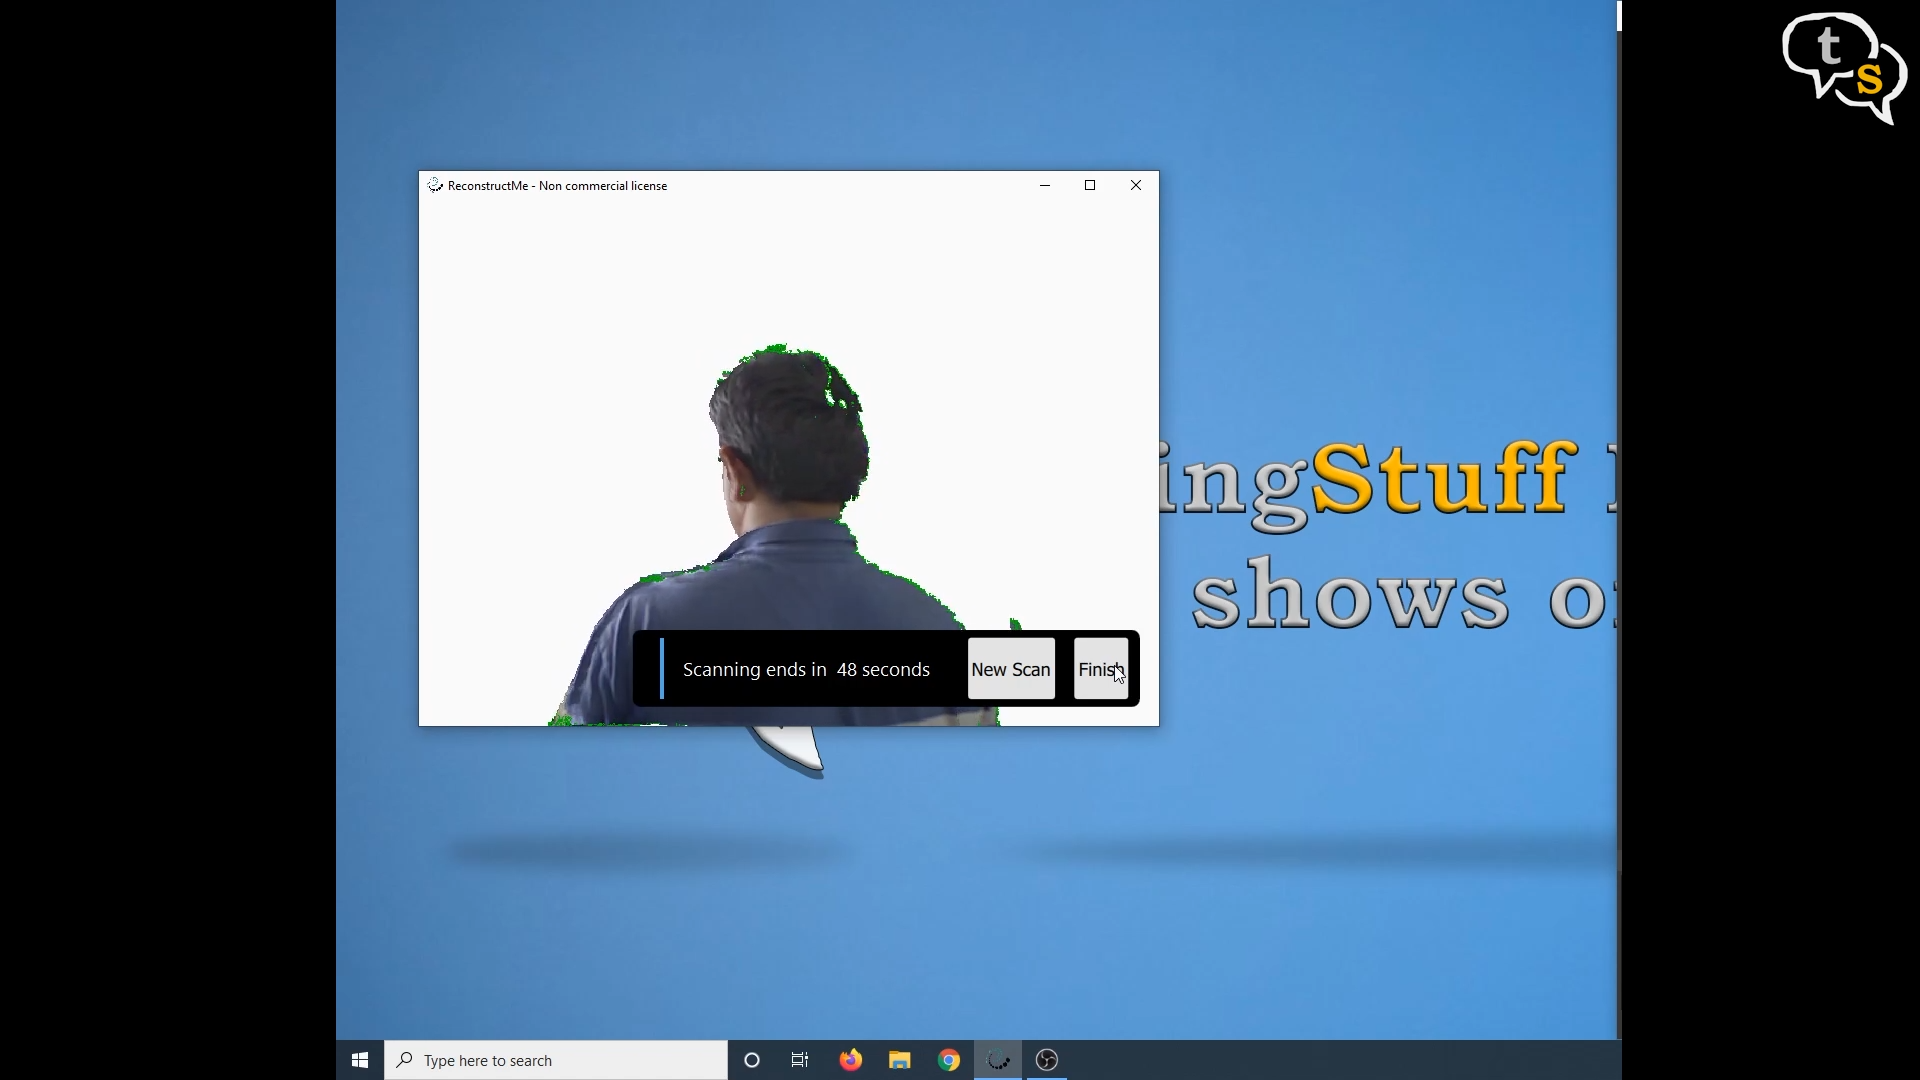

Now that I have the app working, I initiated a scan. I turned around slowly
And it scanned me quite well, i bent forward for the scan to get the top of my head too. Ugh, doesn’t look good, so just saved it anyway and set the quality higher. Same process again, rotate and scan done.
Save the scanned model, but i still wasn’t happy as the light was causing shadowing on one side.
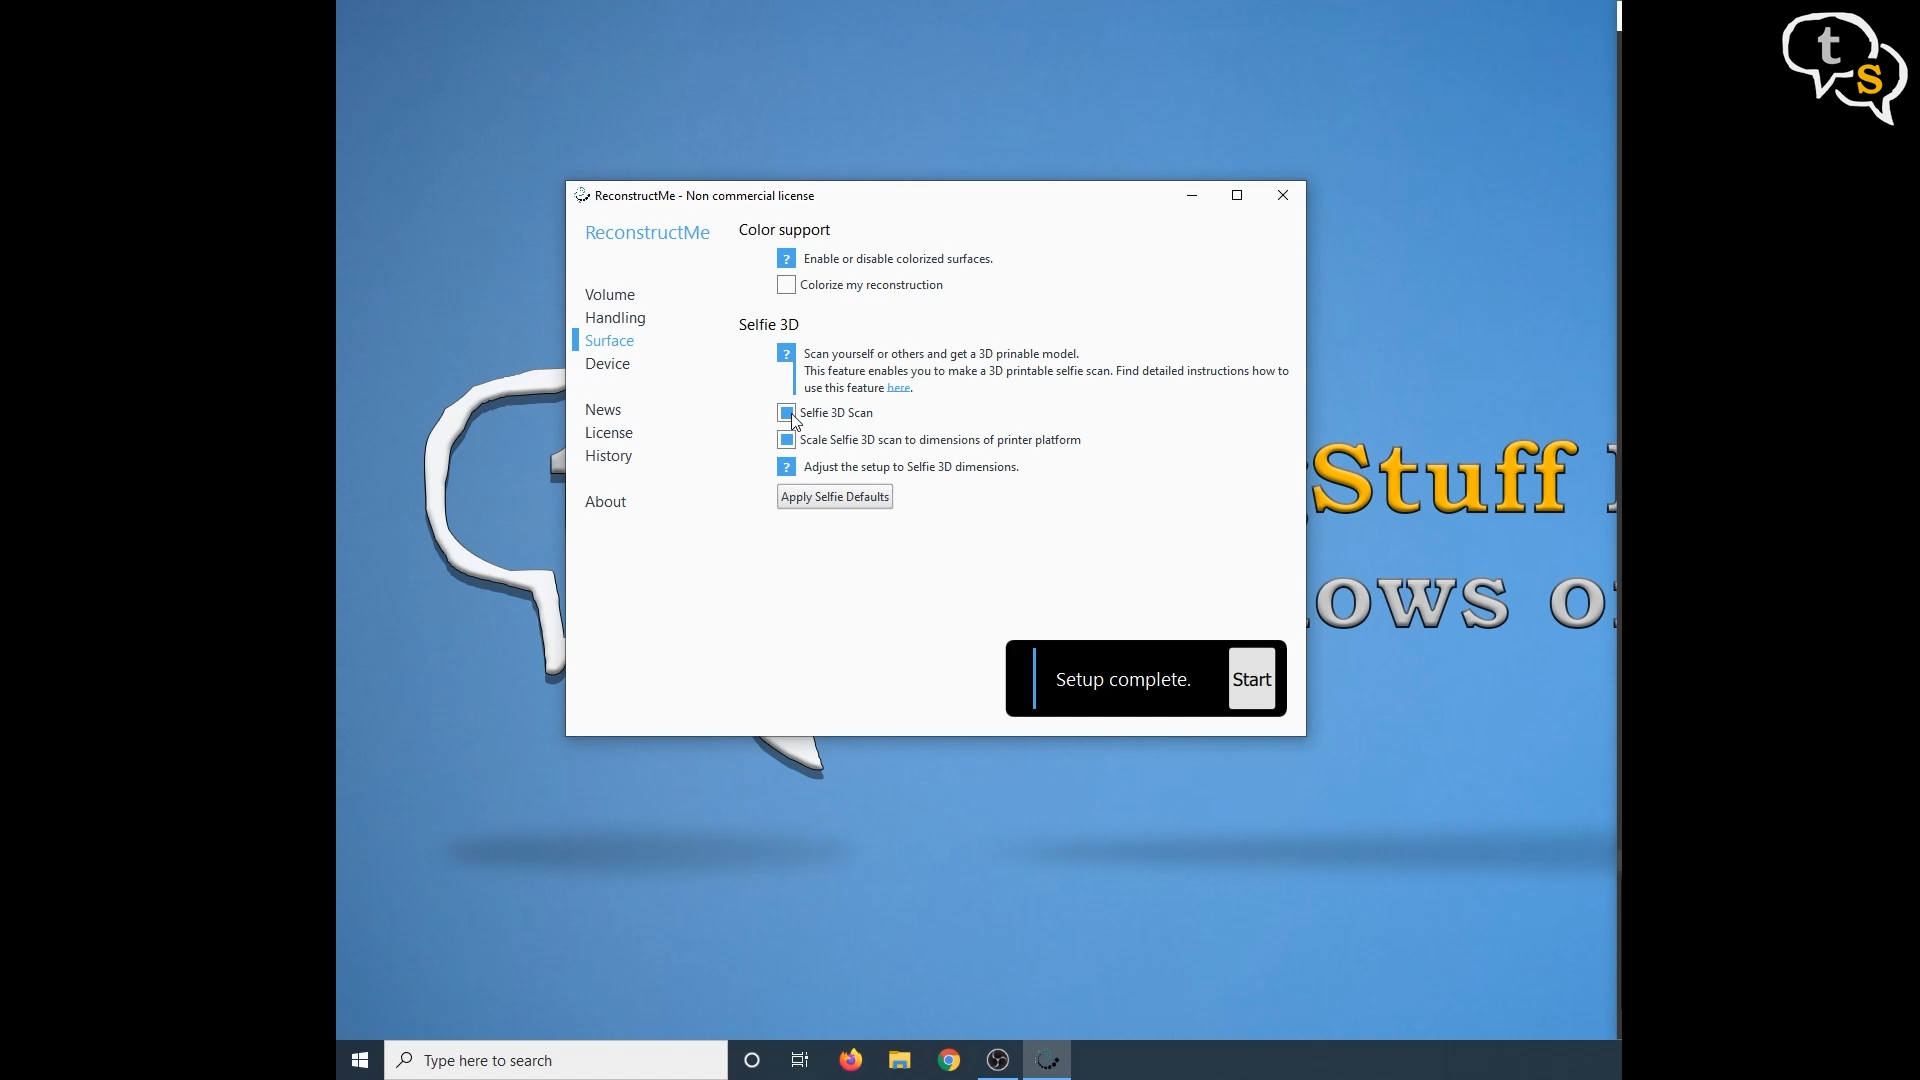
Then I changed the surface setting to not capture color. And there is a cool option to make a selfie 3d scan.
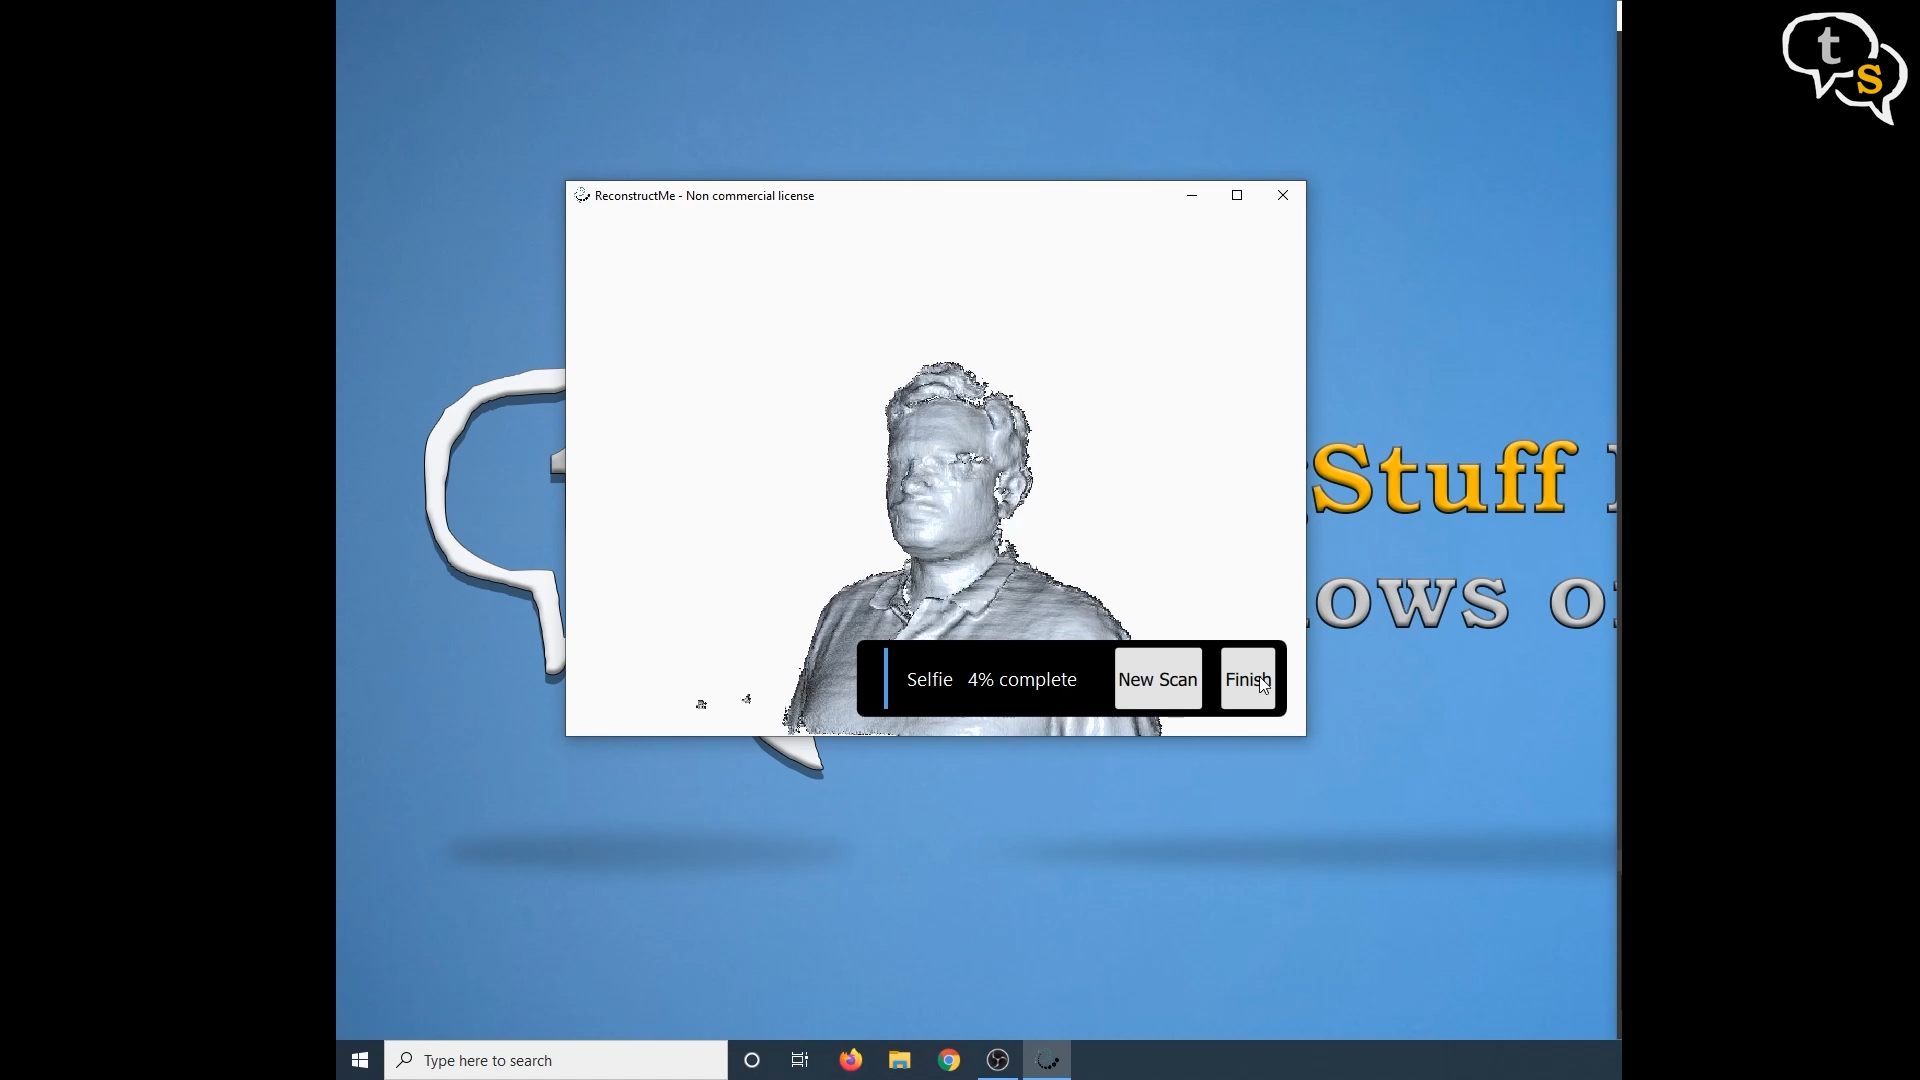
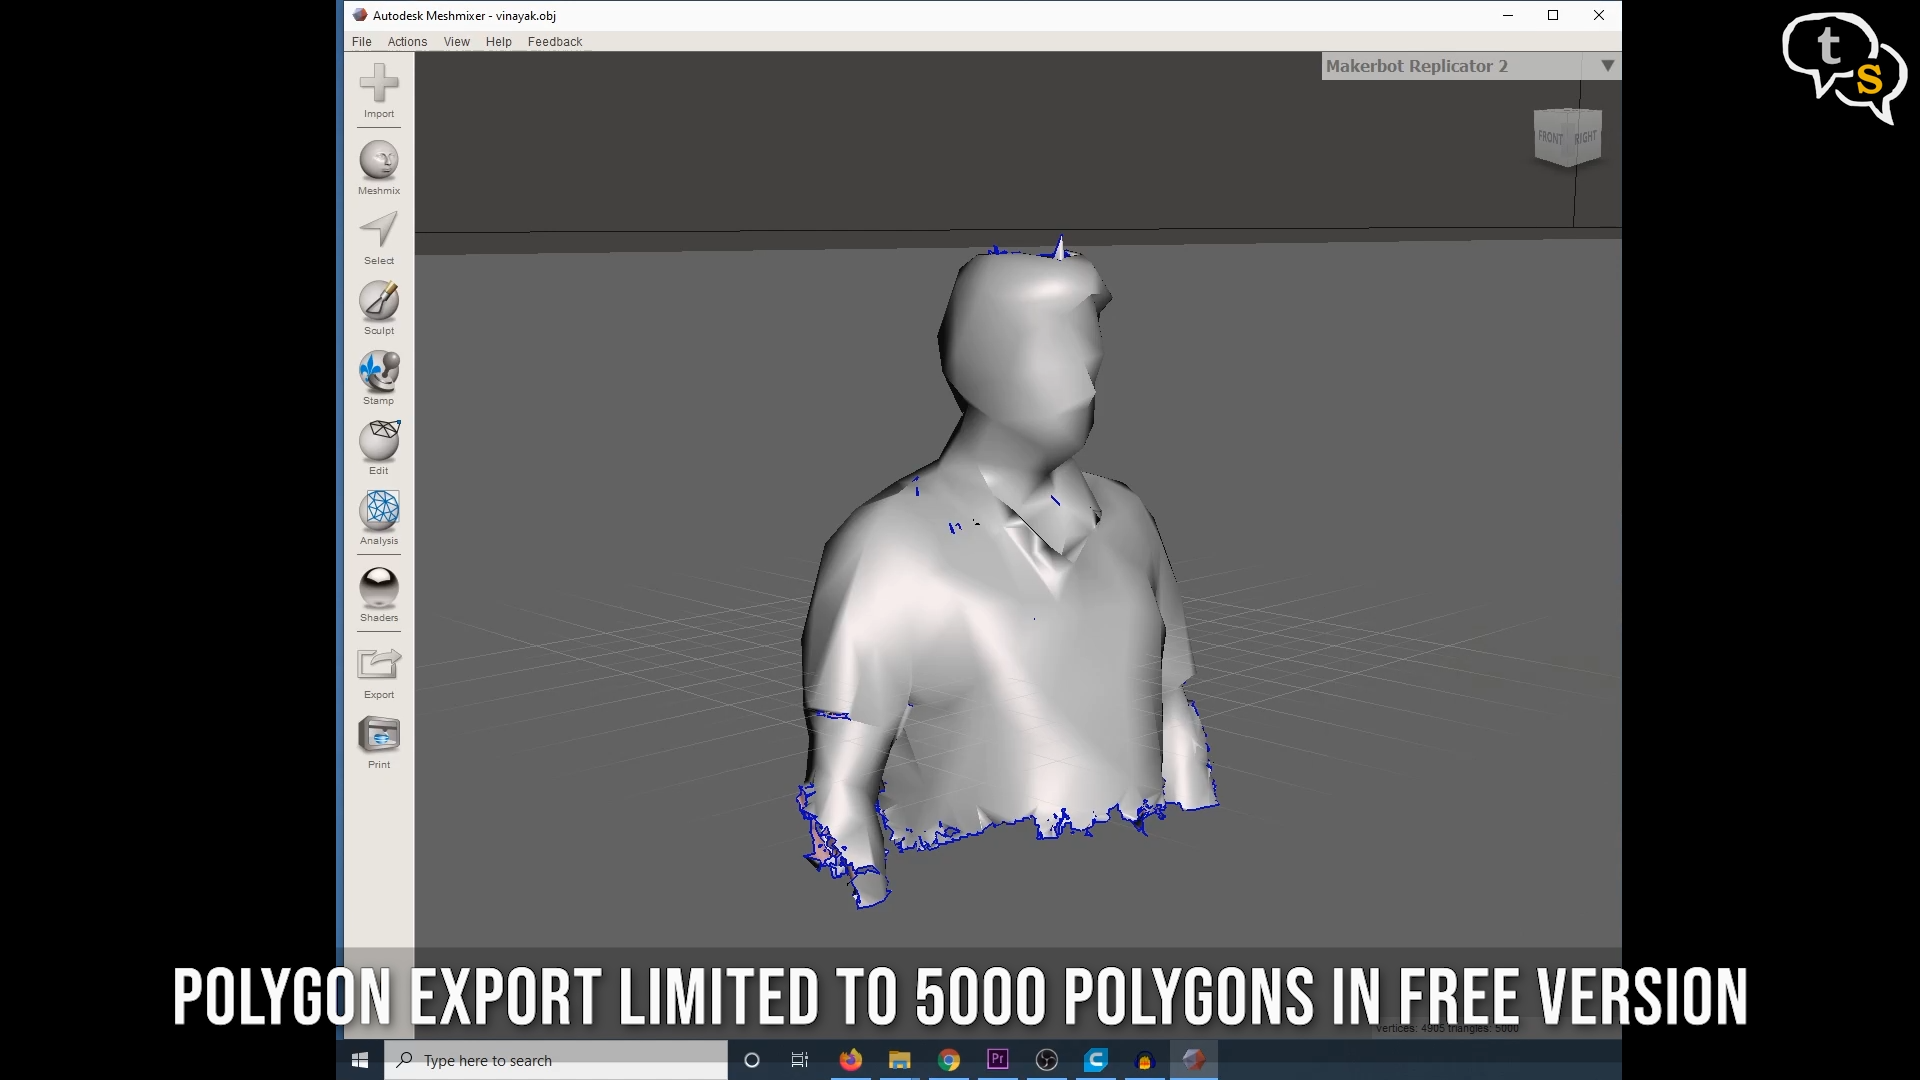
Scanned again and slowly rotated, and voila a mesh was generated. Saved and then opened it up in meshmaker.

I generally smoothened out the mesh, cleaned out the excess polygons and ready. Now to export to a 3d slicing software to slice the model and make it ready for printing.
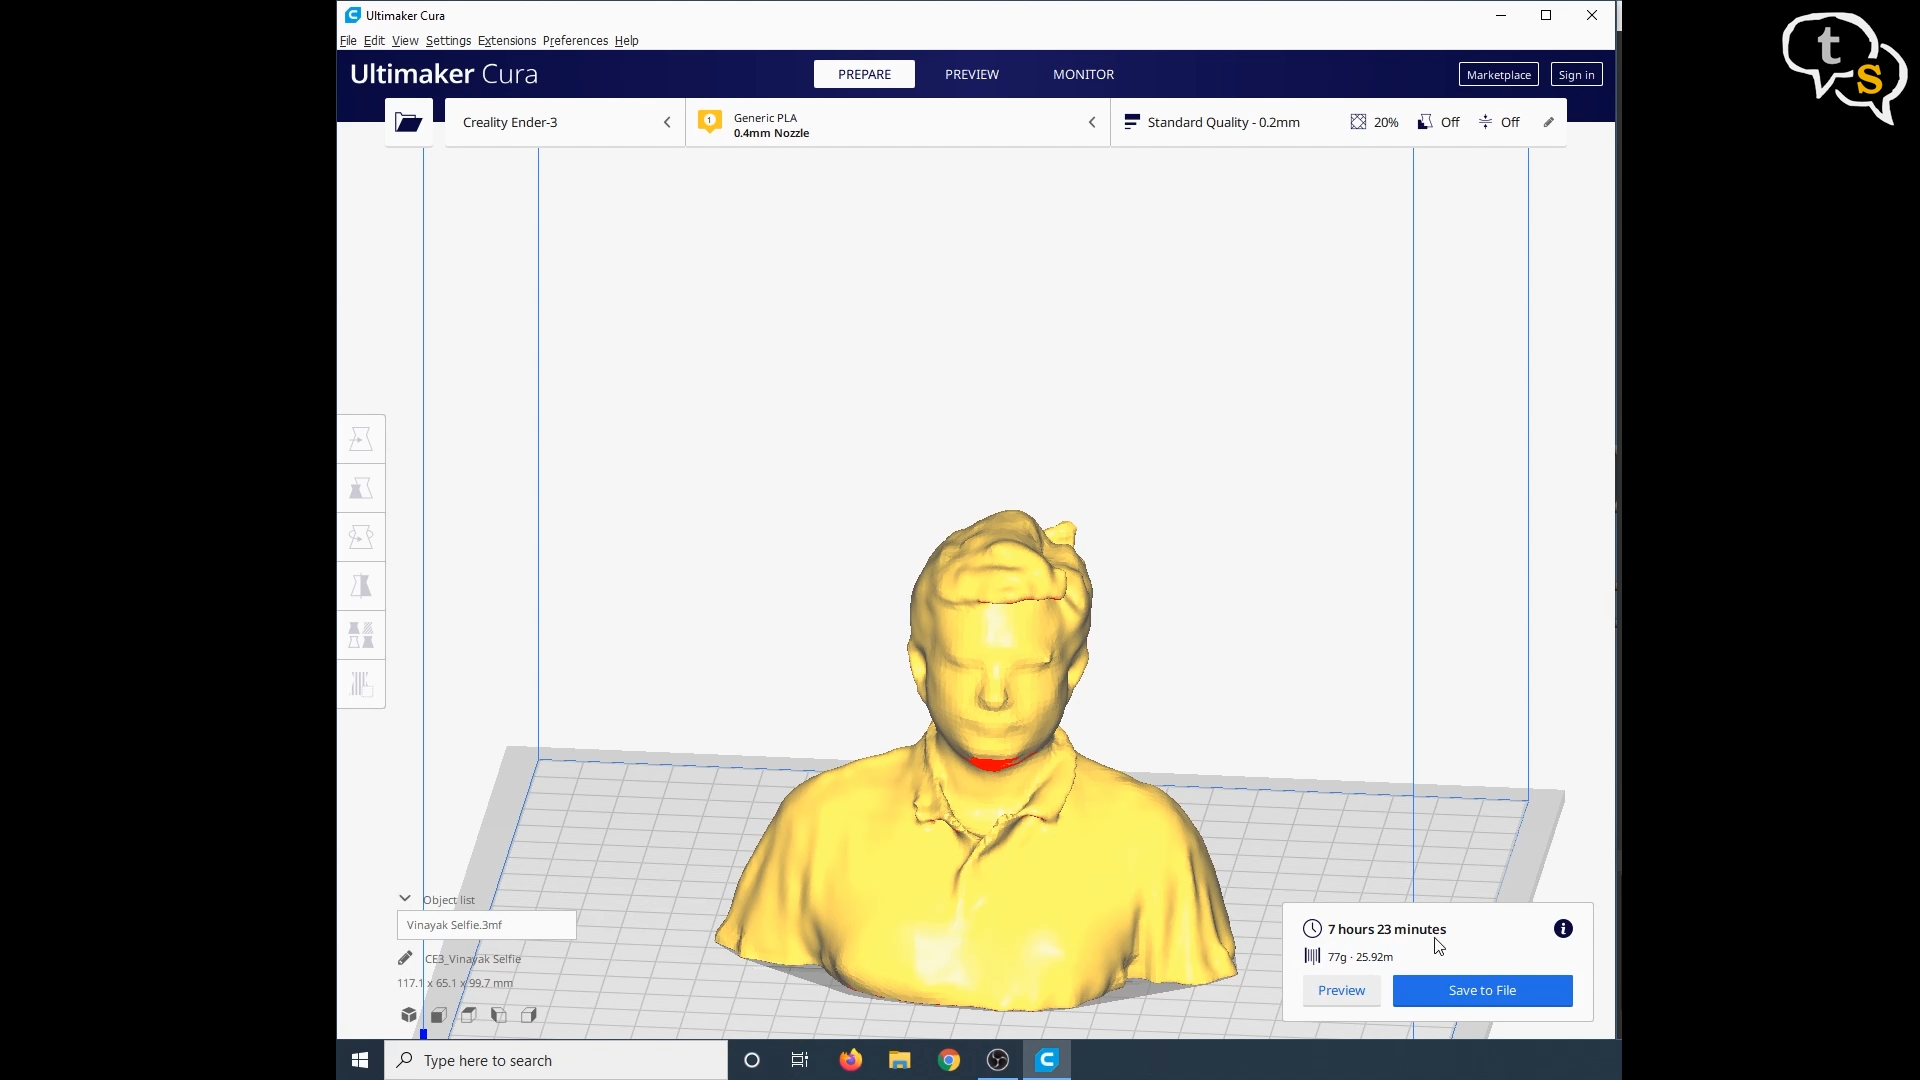
I use cura for slicing and here at its original size it would take 7 hours and 23 minutes to print.
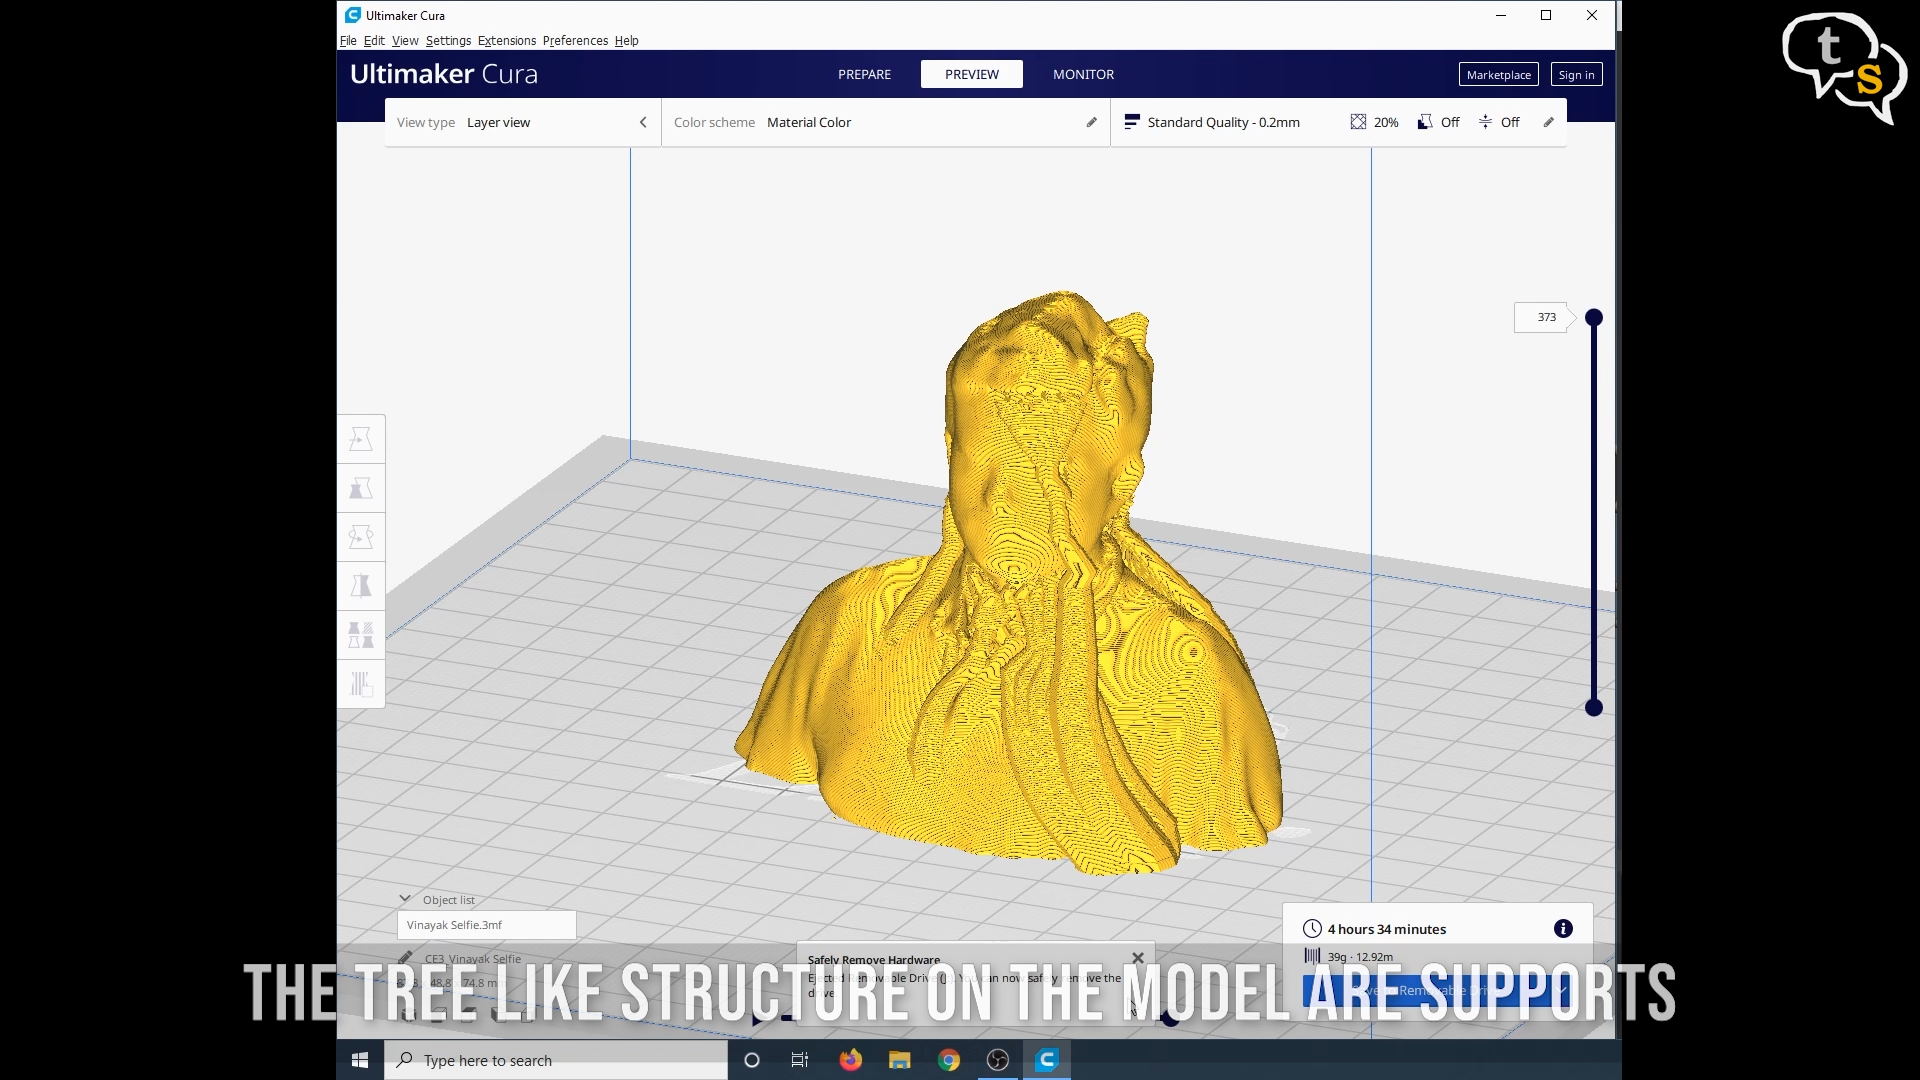
I scaled the model down to 75% and it would now print in 4 hours 34 minutes. Using a tree support the print would be supported in areas where overhangs are present, as the printer cannot print in the air.
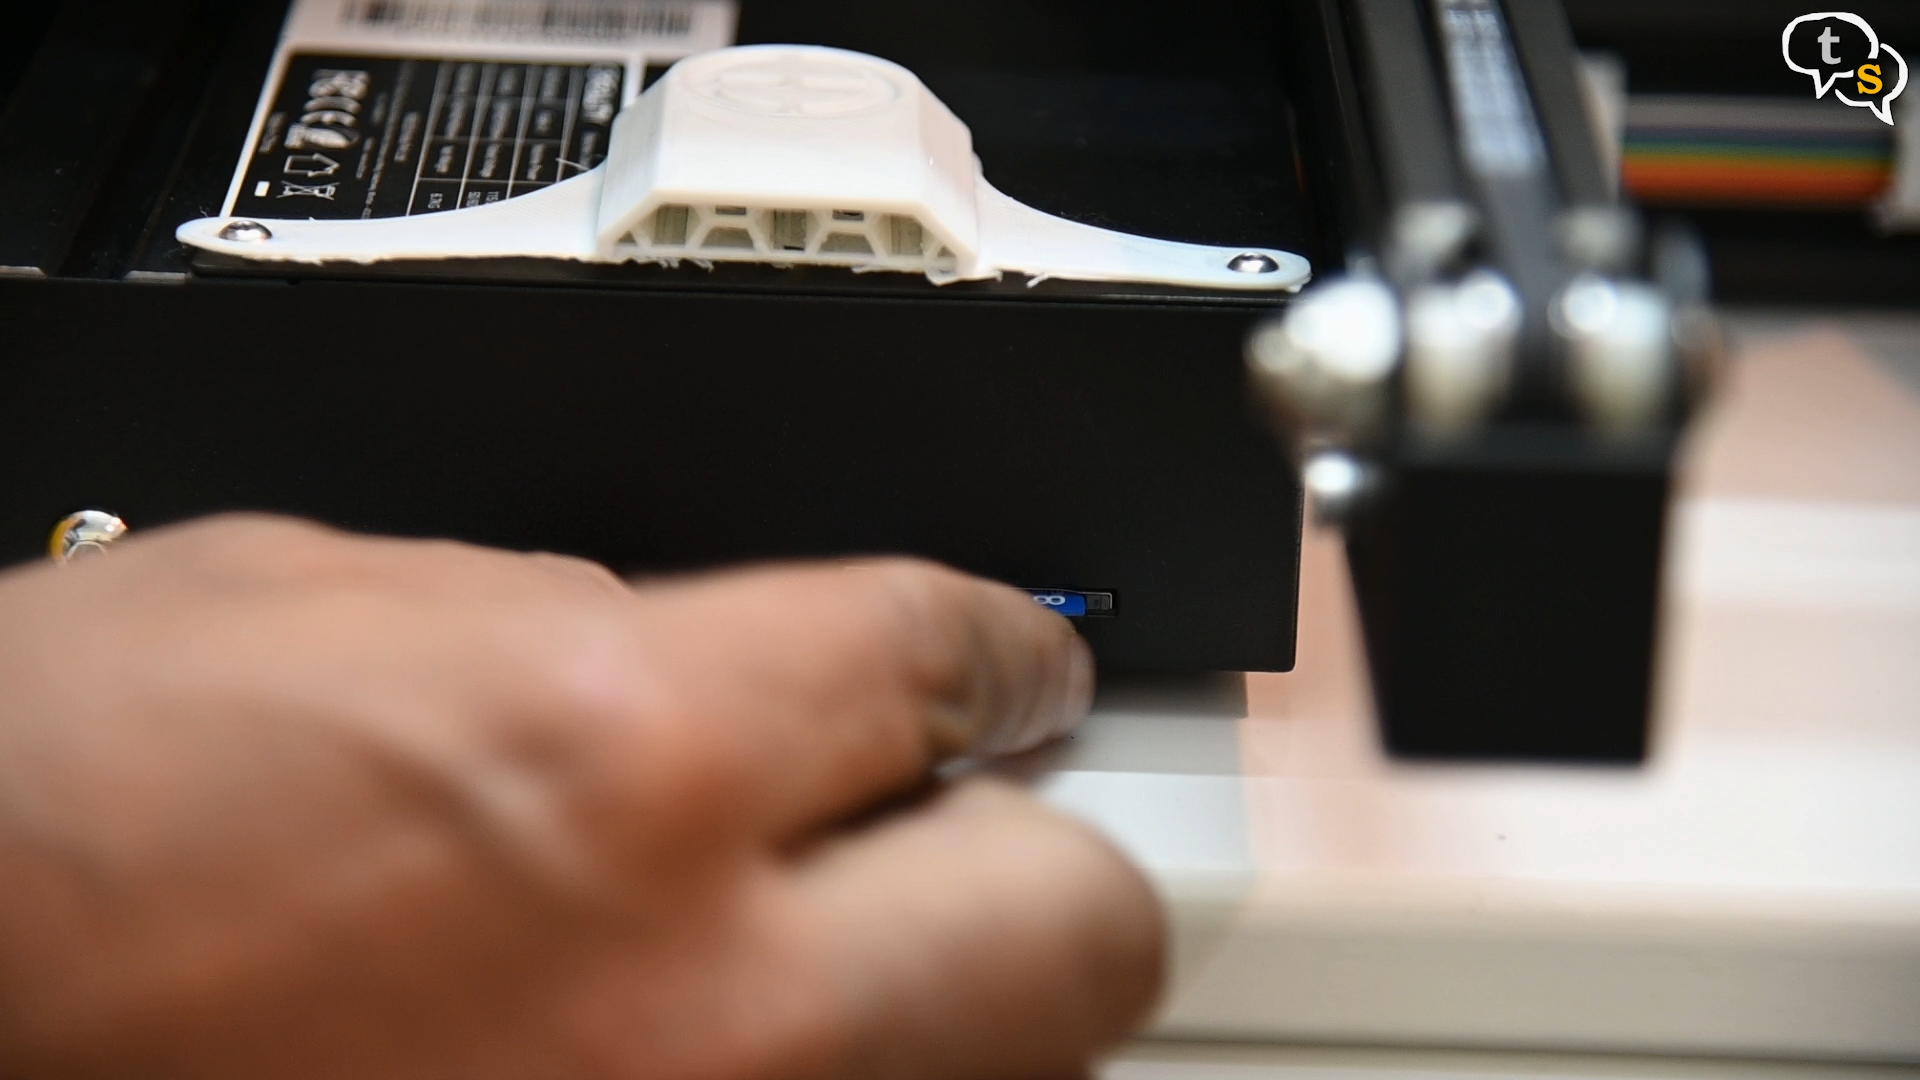
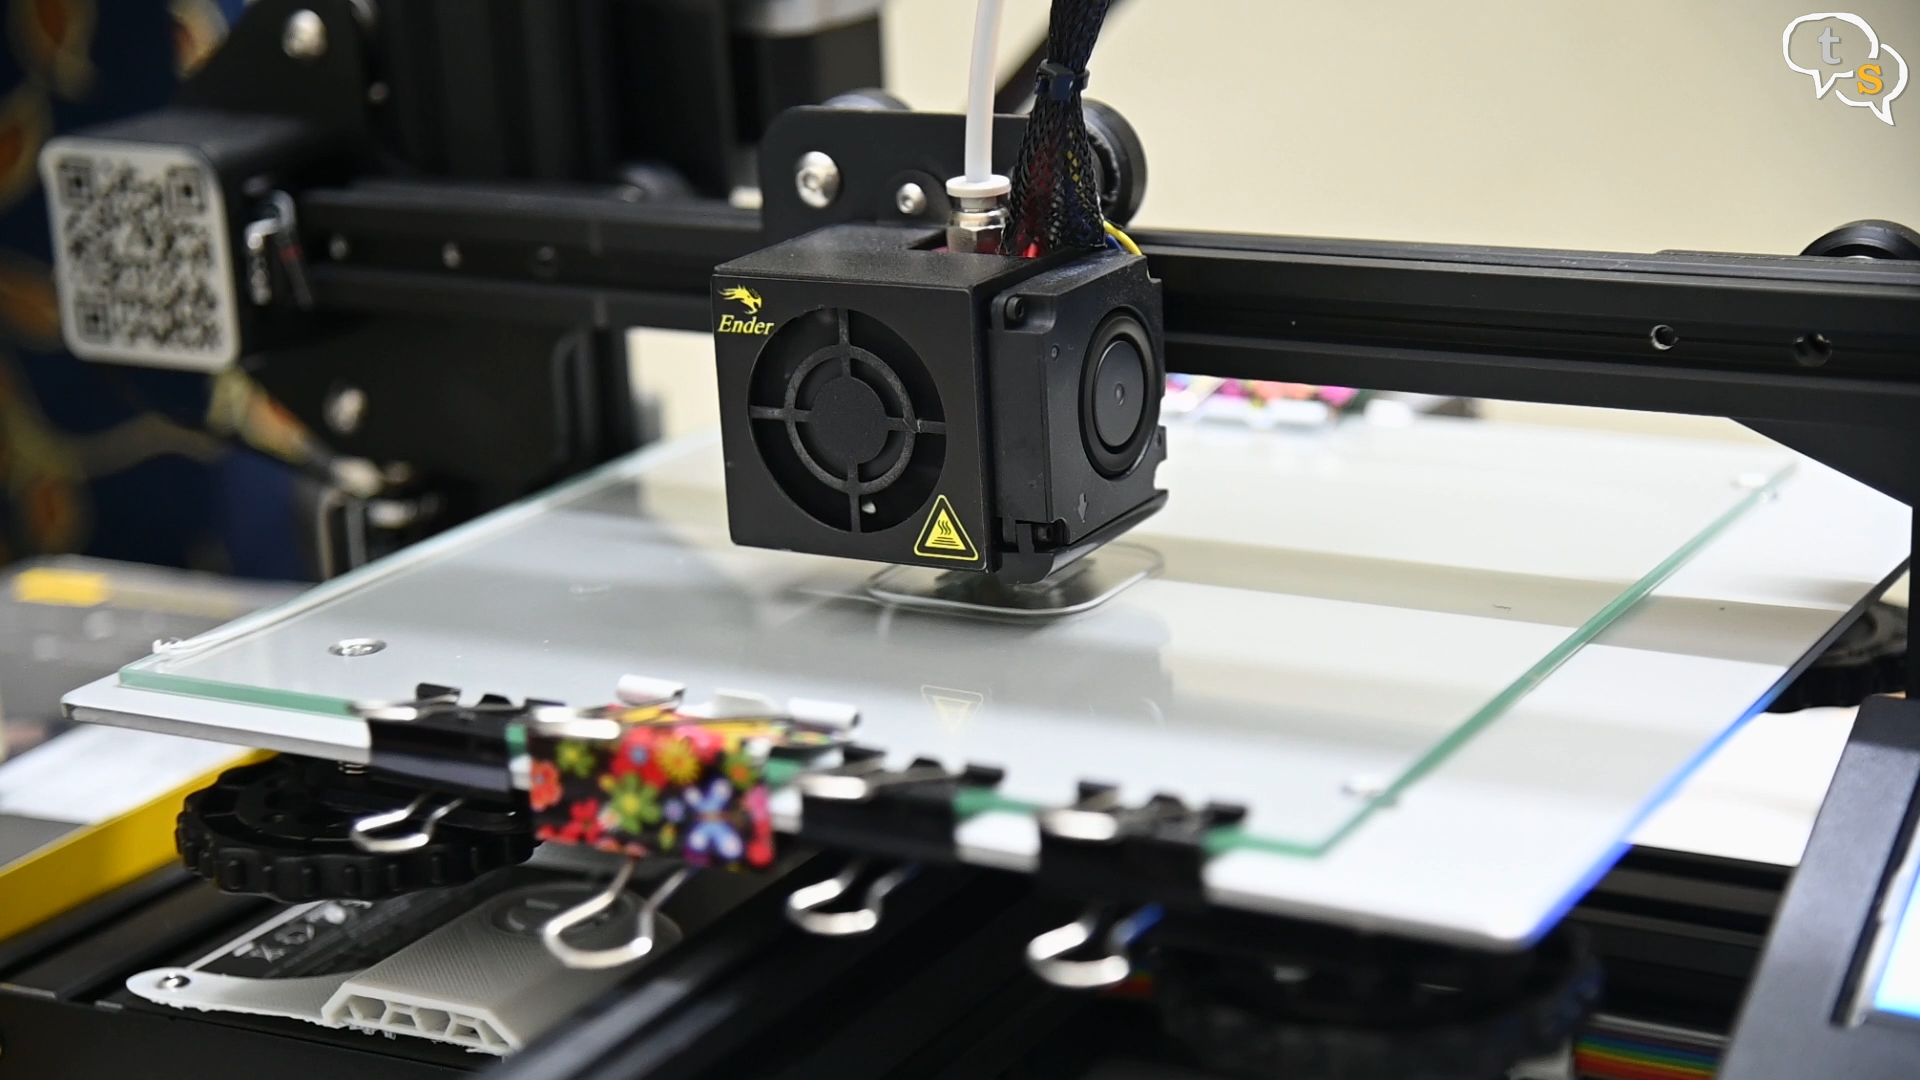
Now let’s get it to a printer and start printing.
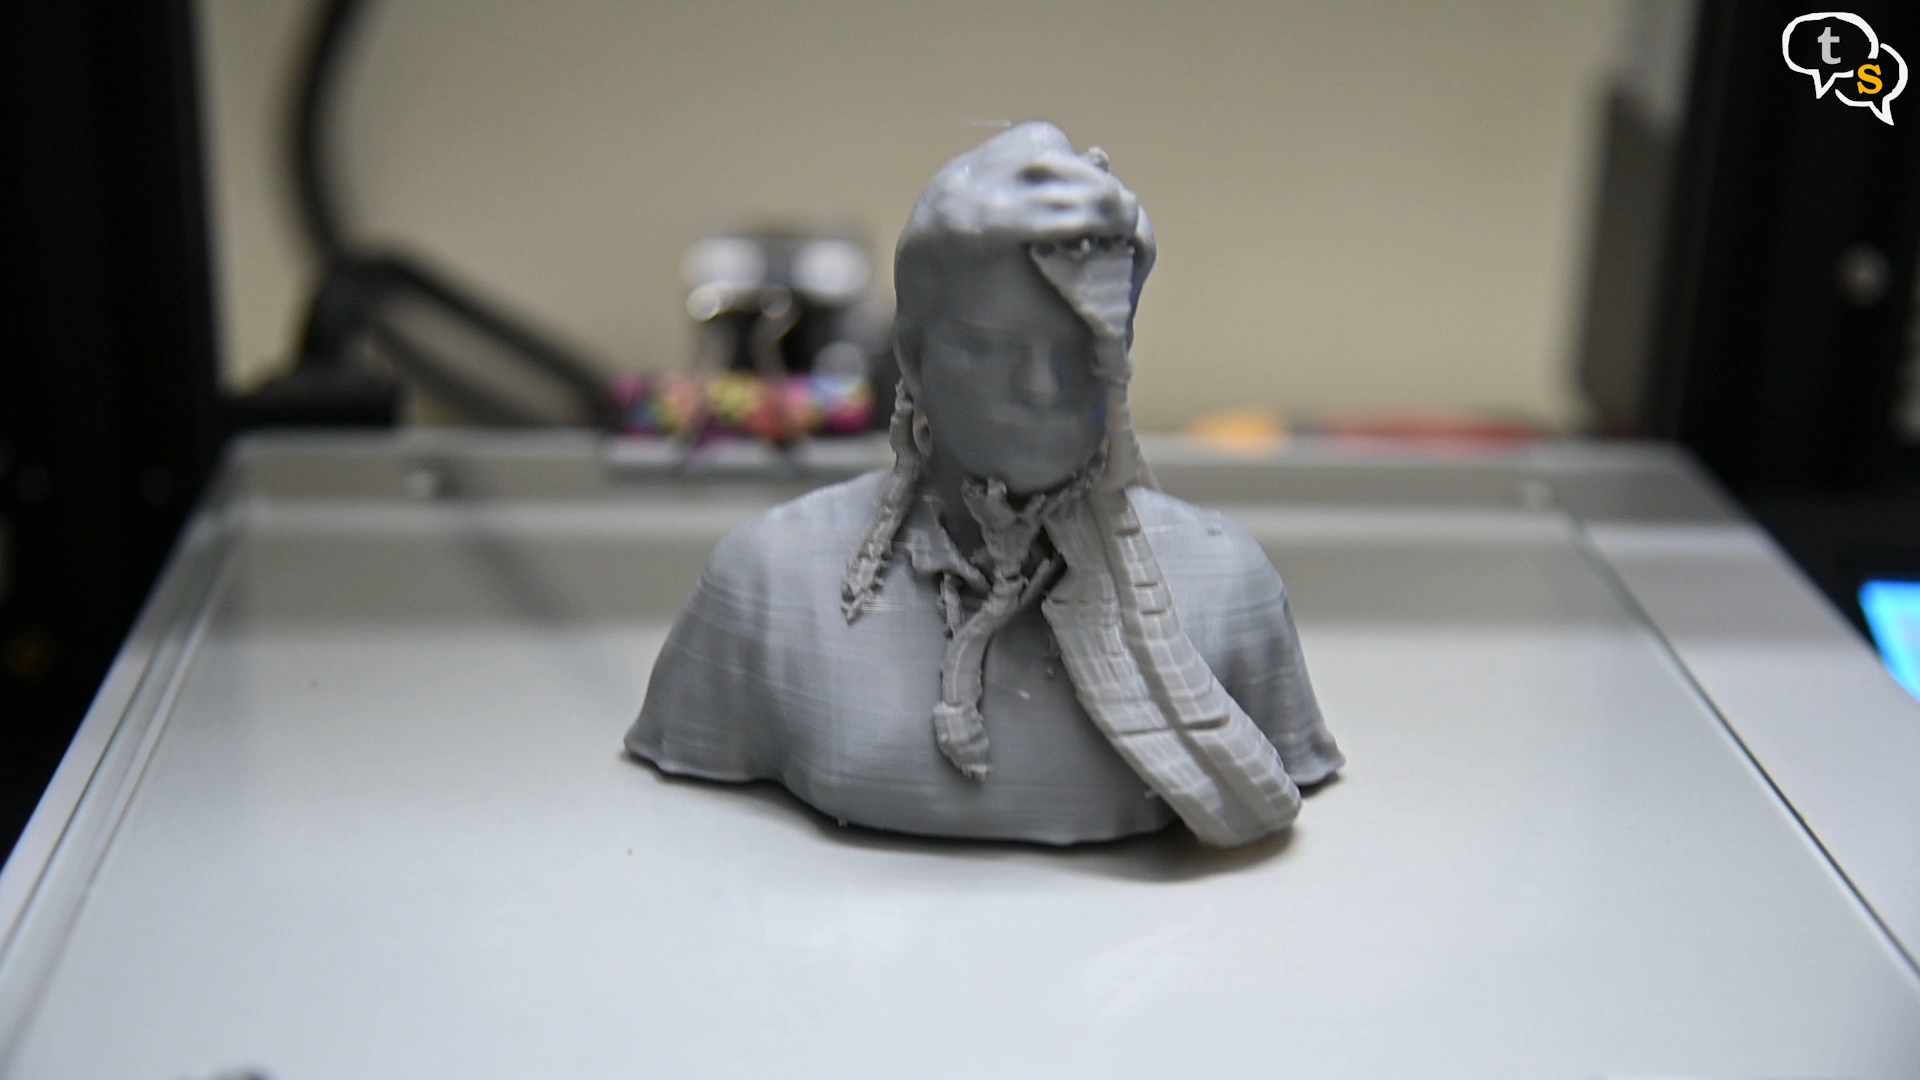
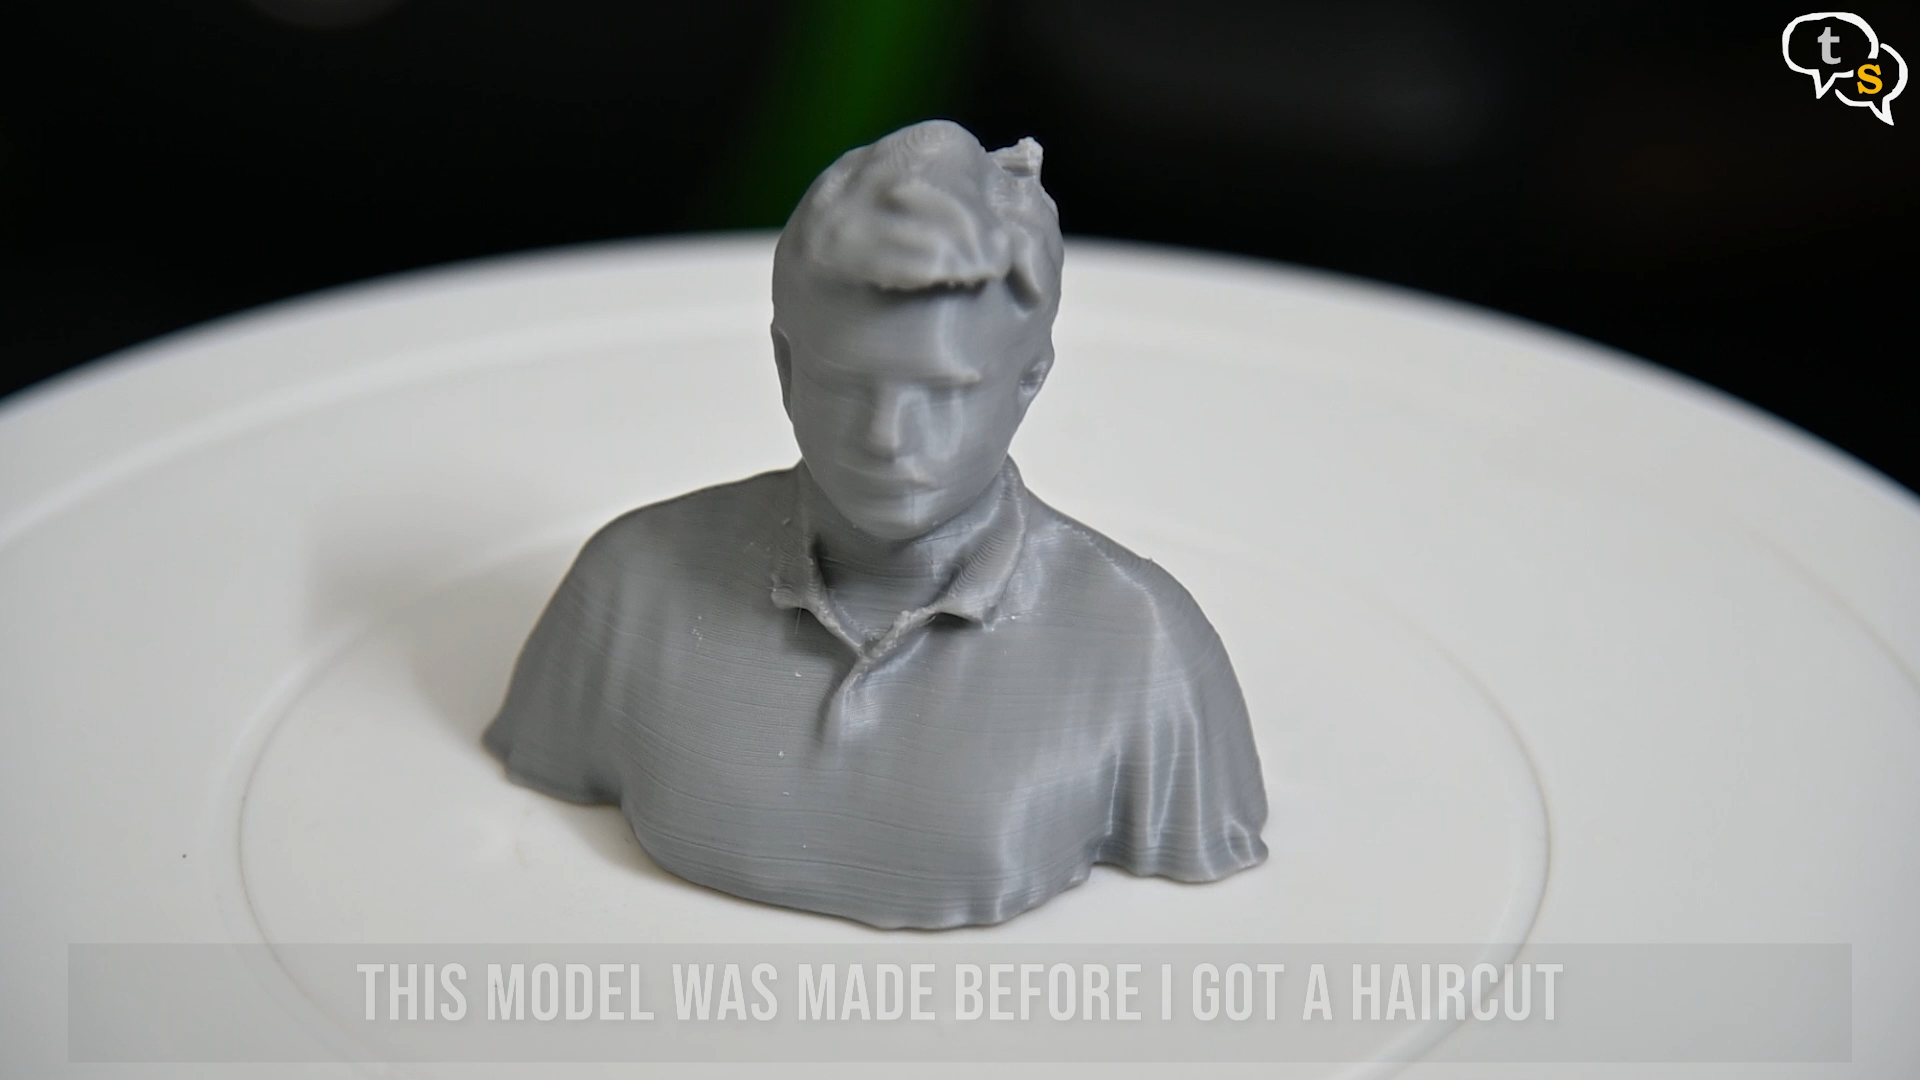
The model looks quite good, it was an initial test so not the most accurate. But not bad either.