Recently delving into 3d Printing I was looking for better ways to optimize the way I print. One important feature I needed was a way to stop printing when a problem occurred. So, here’s where octoprint comes in. let’s check it out.
3d Printing takes hours, and if something goes wrong during a print, we have no way of knowing until we get near to the printer. With a 9-5 job, we setup the printer to print and we leave for office, hoping that when we’re back, we should have a ready print.
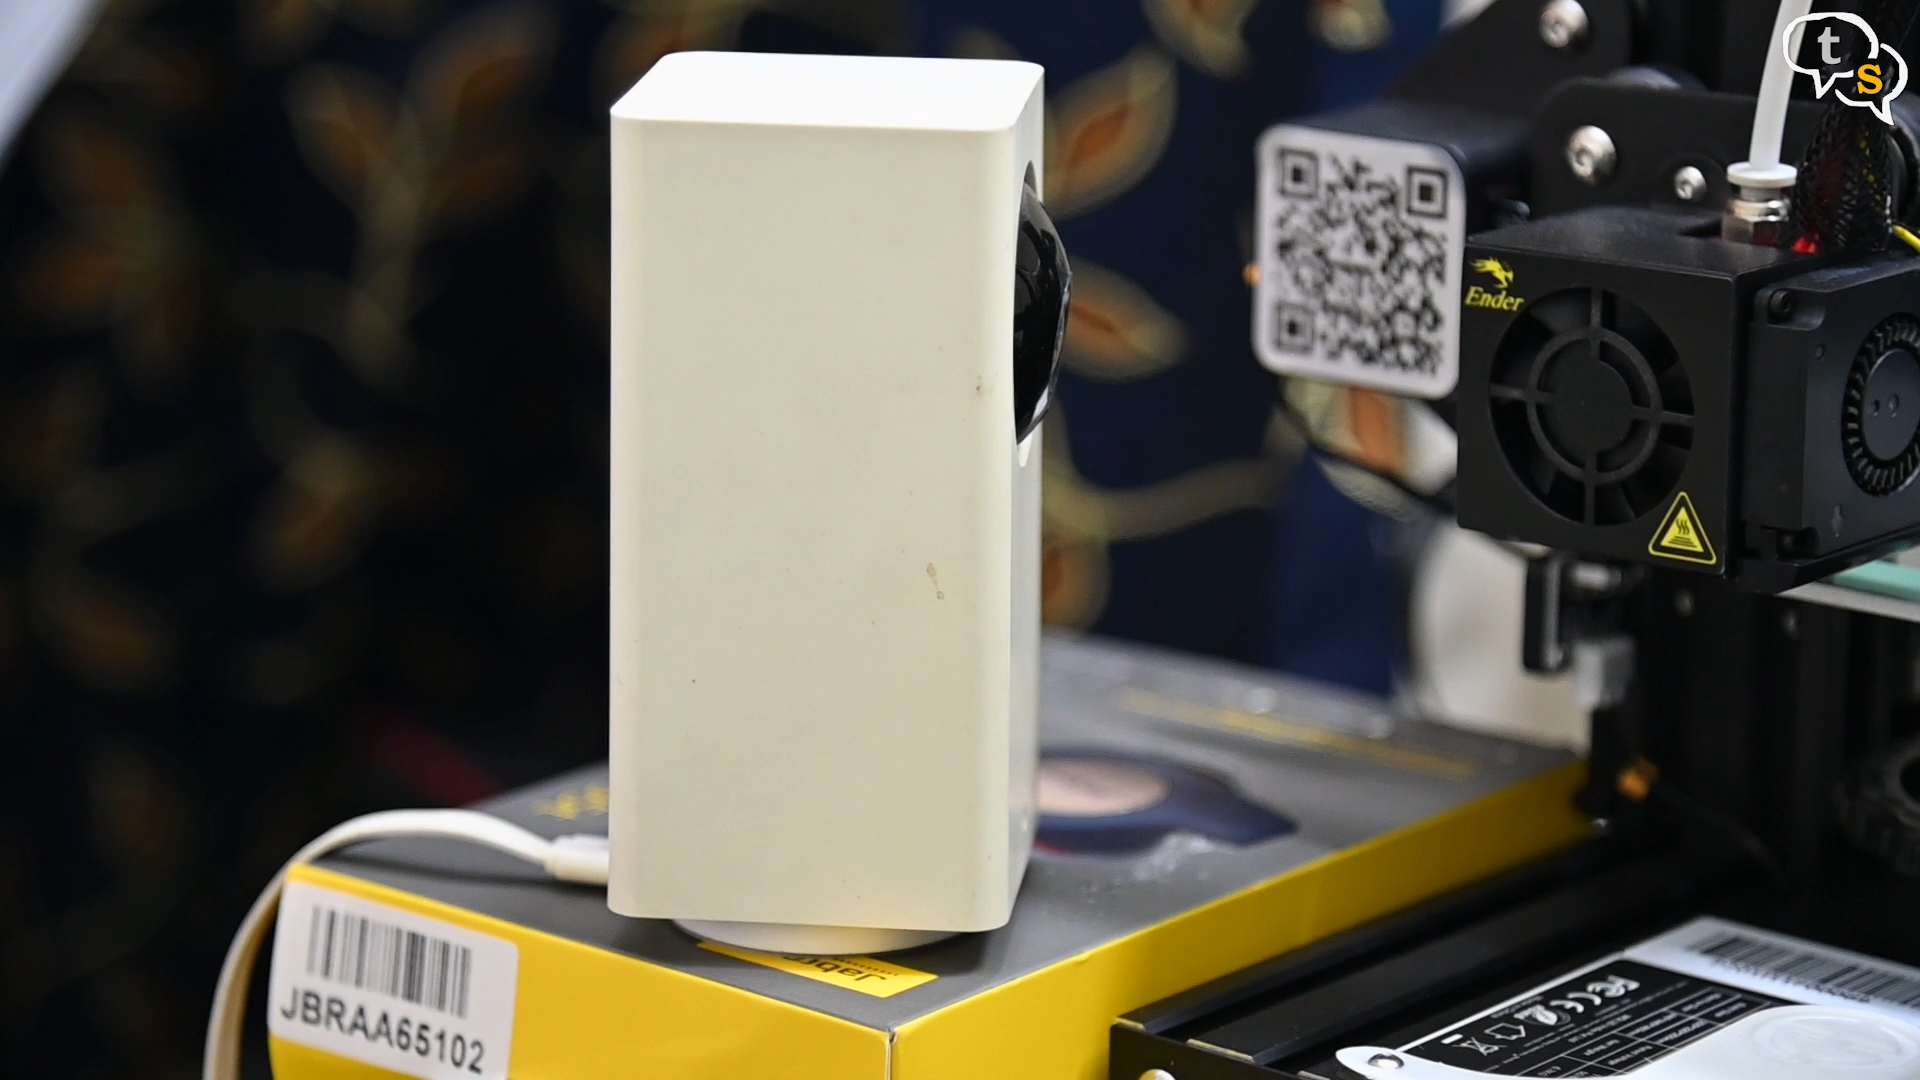
I have set an IP camera to monitor how the printing is going on, but I have no way of stopping the print when it misprints.
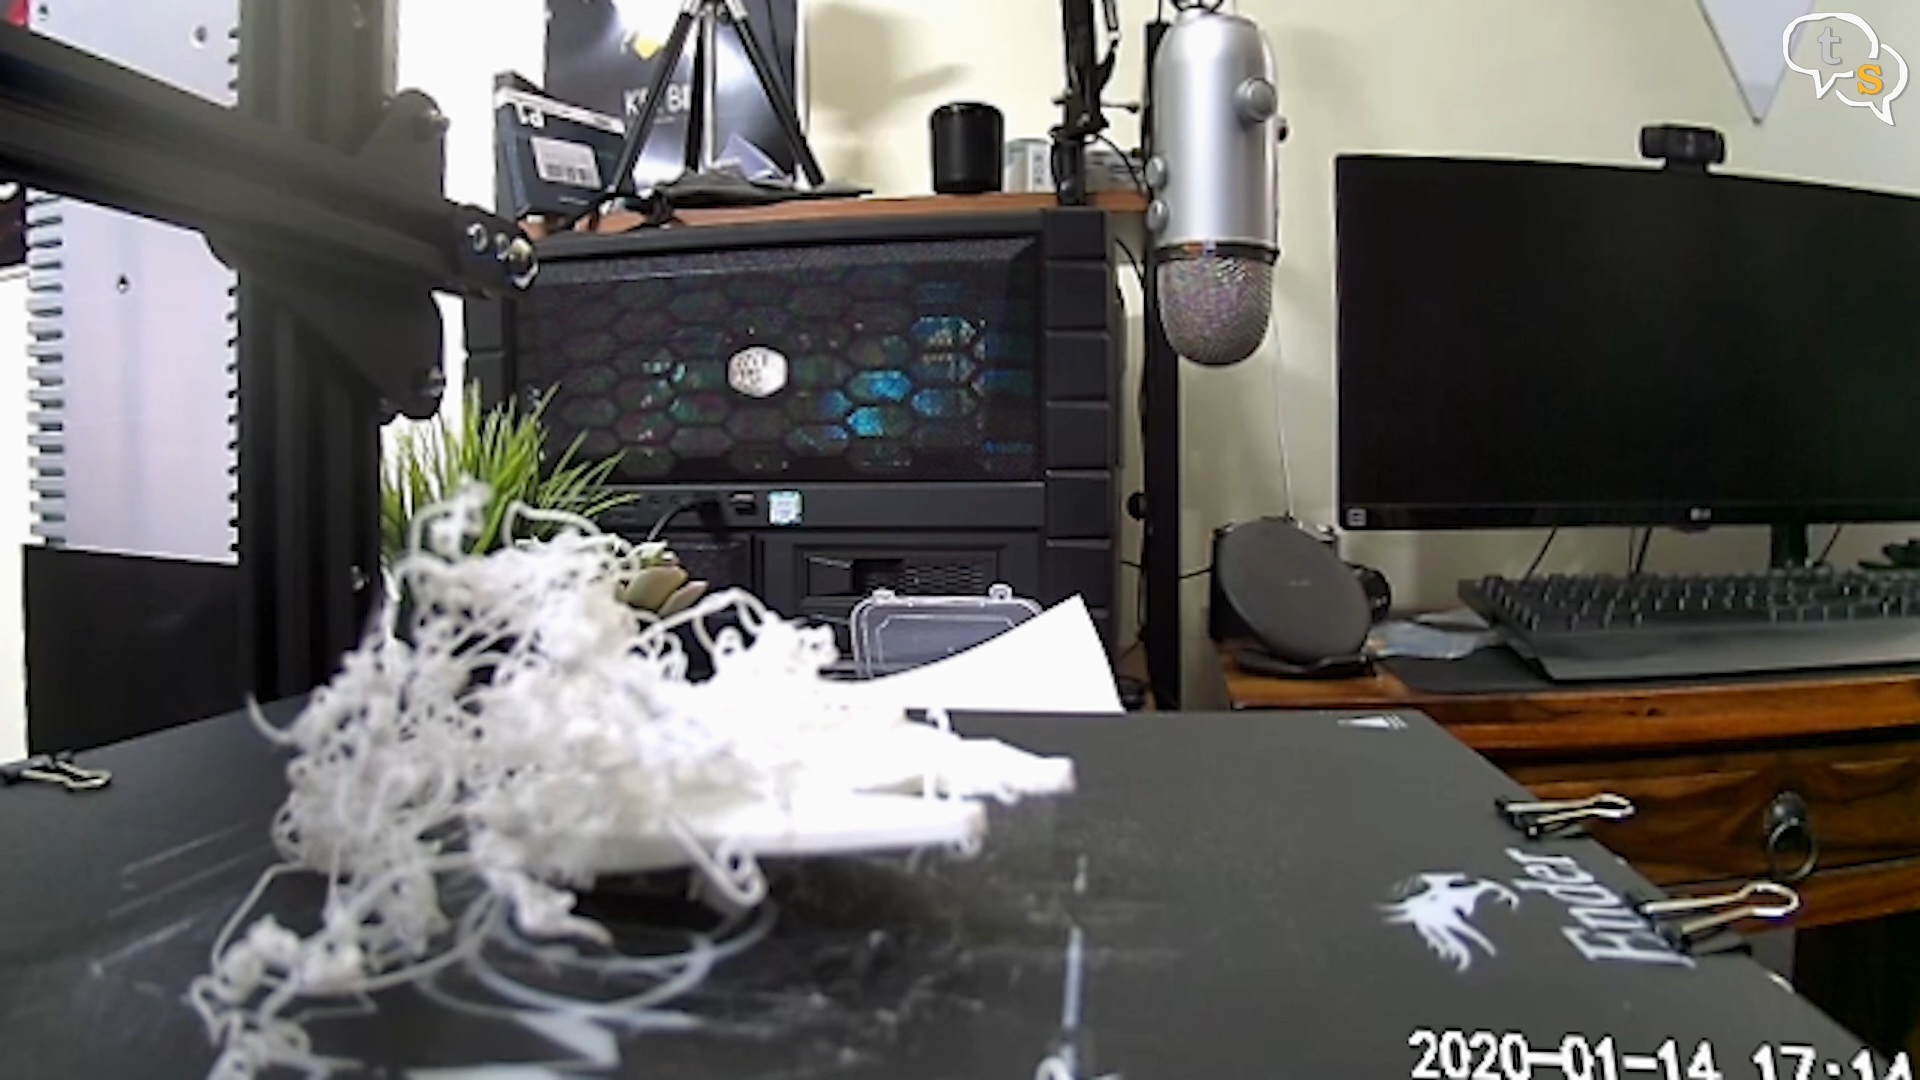
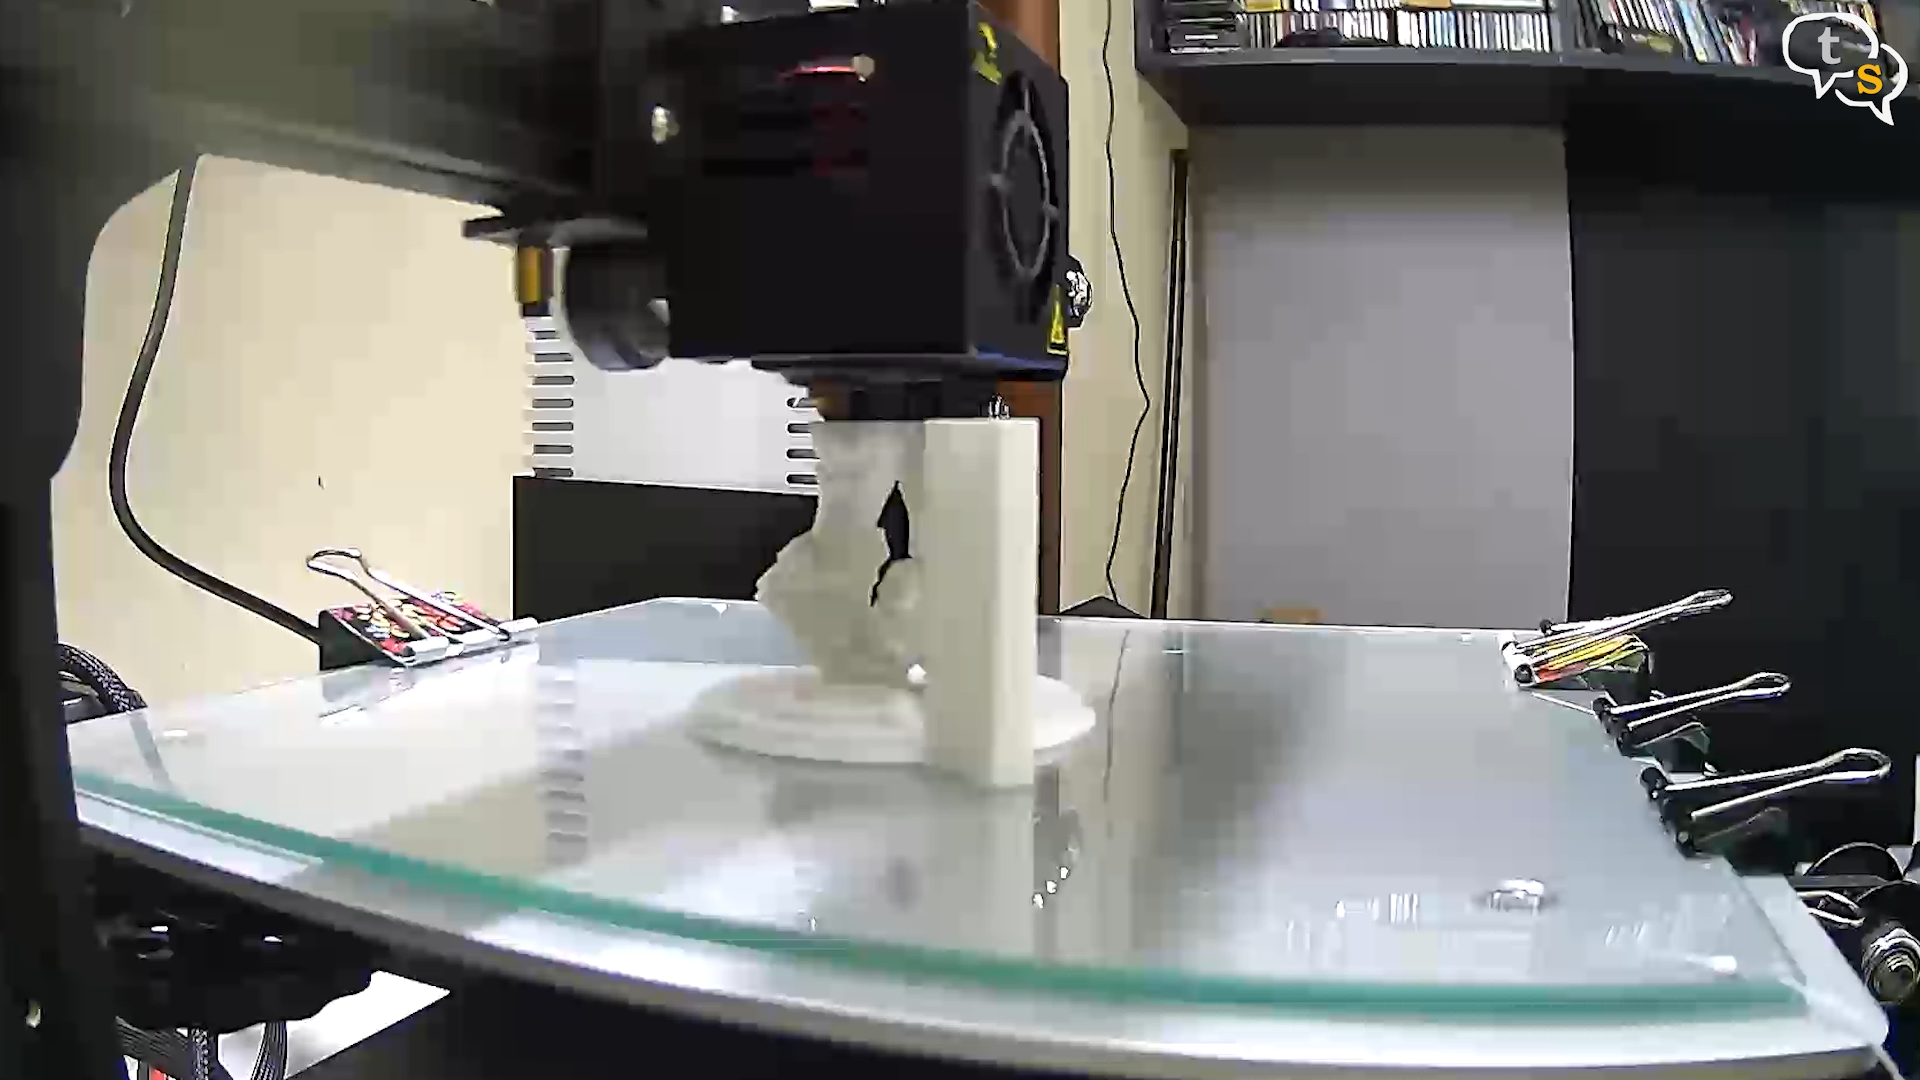
A misprint also adds to wasted filament which is not cheap in any way.
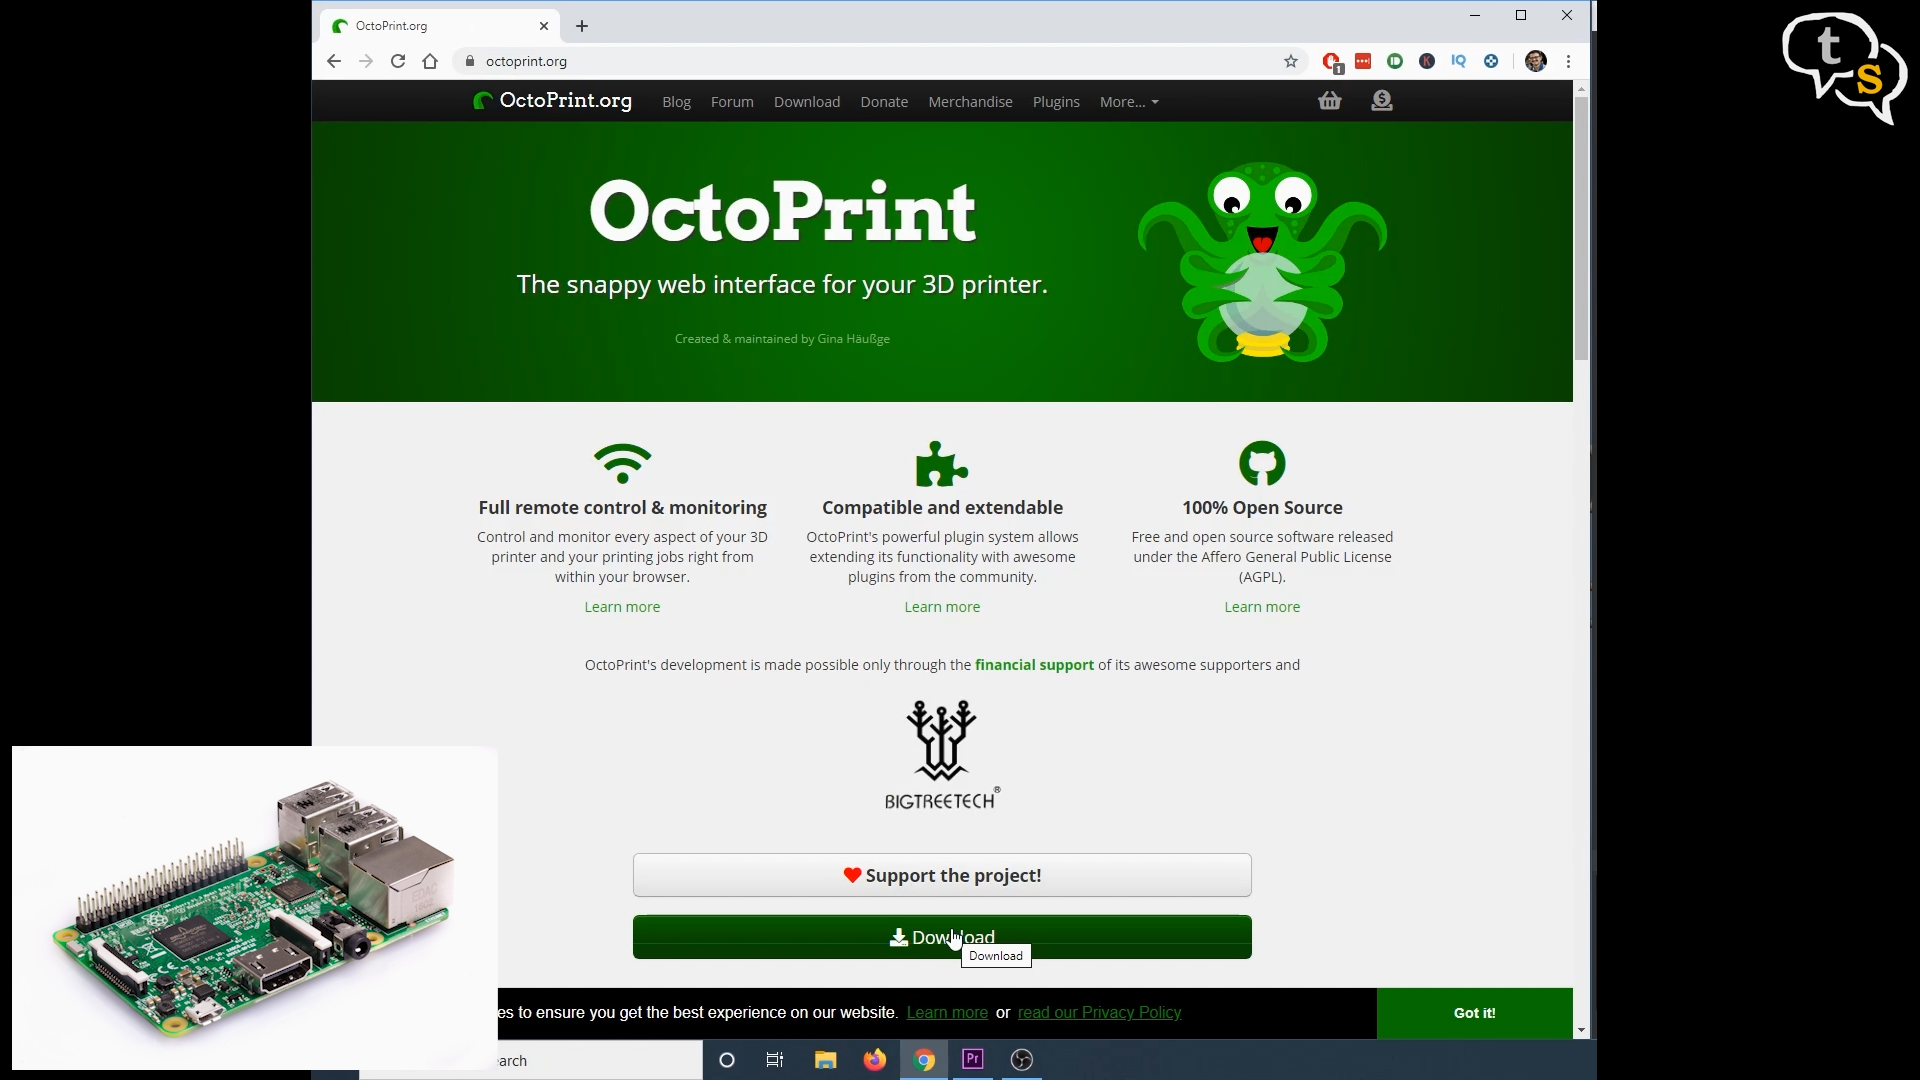
Scouring the internet I found octoprint, a 3d printer interface which is accessible via a web application running on a raspberry pi. I have a raspberry pie, so why not set this up.
Octoprint is free to download, so that’s one obstacle removed.
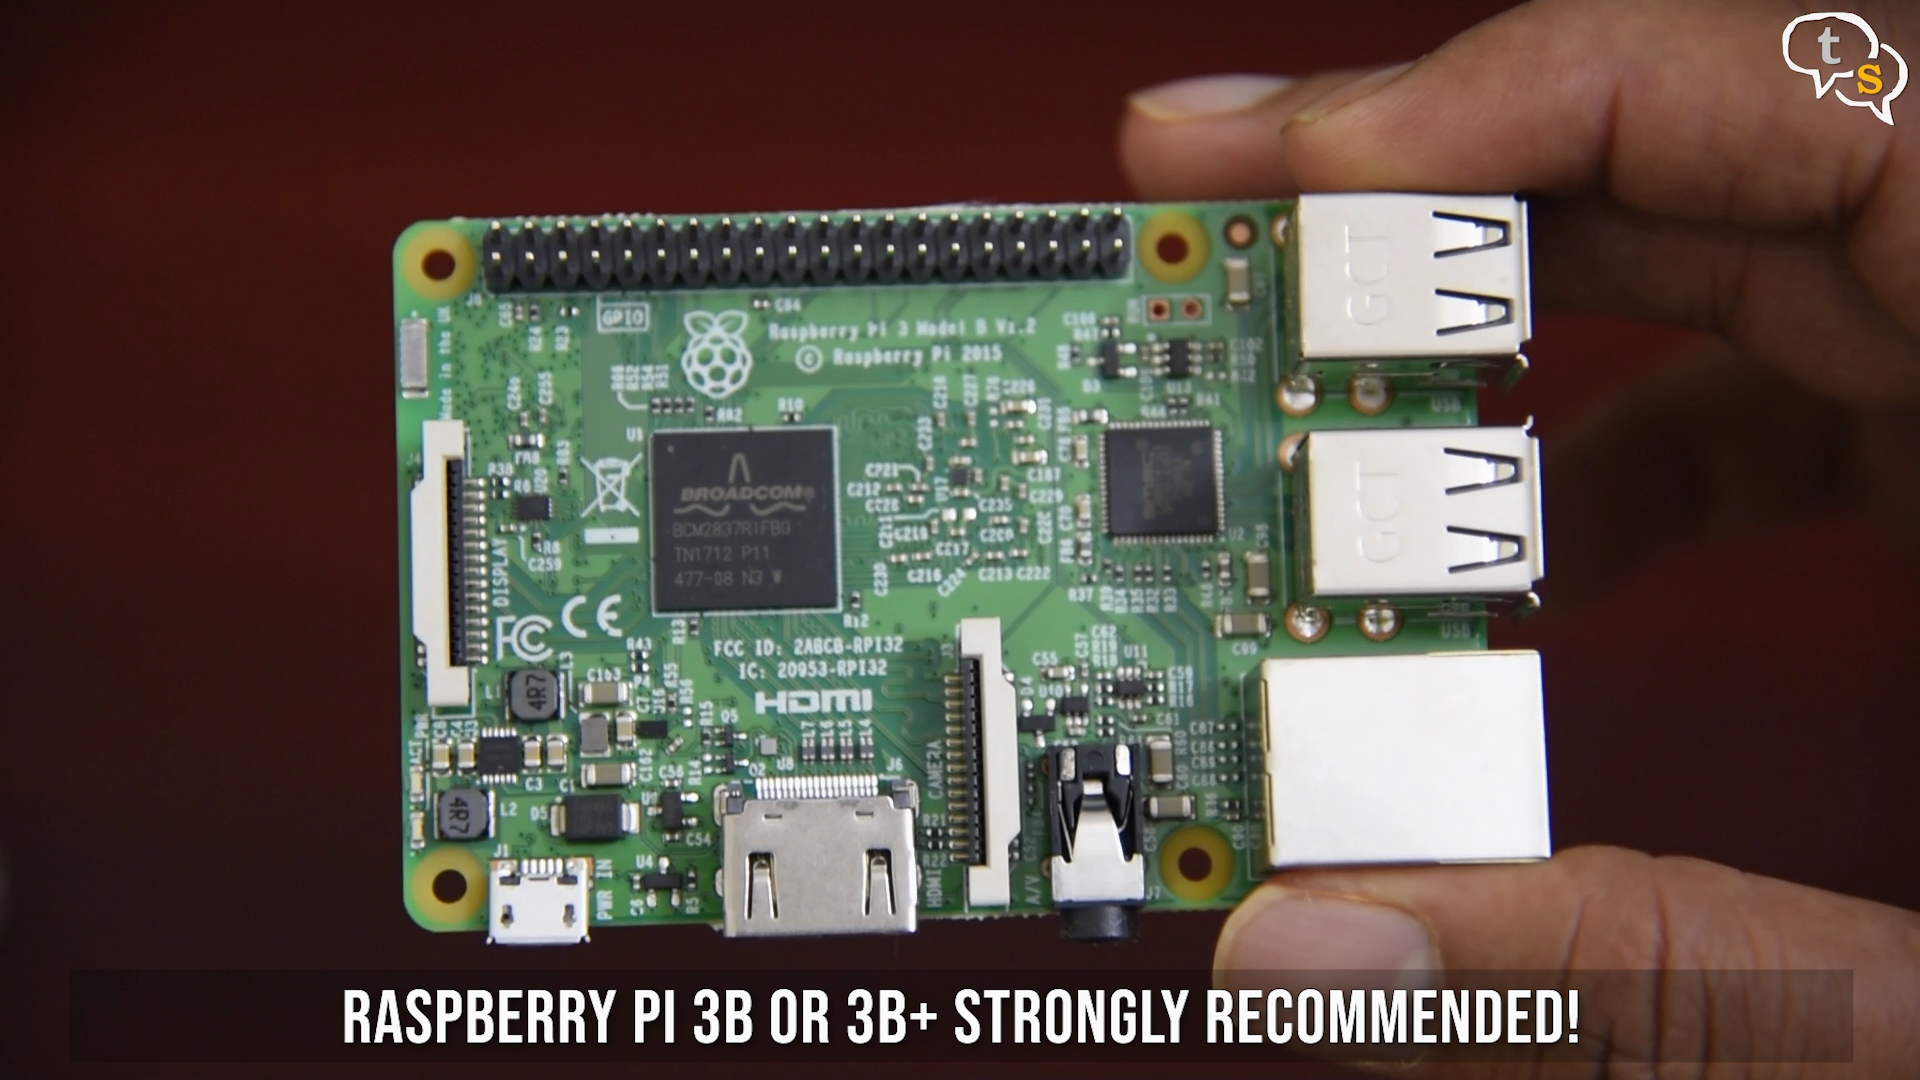
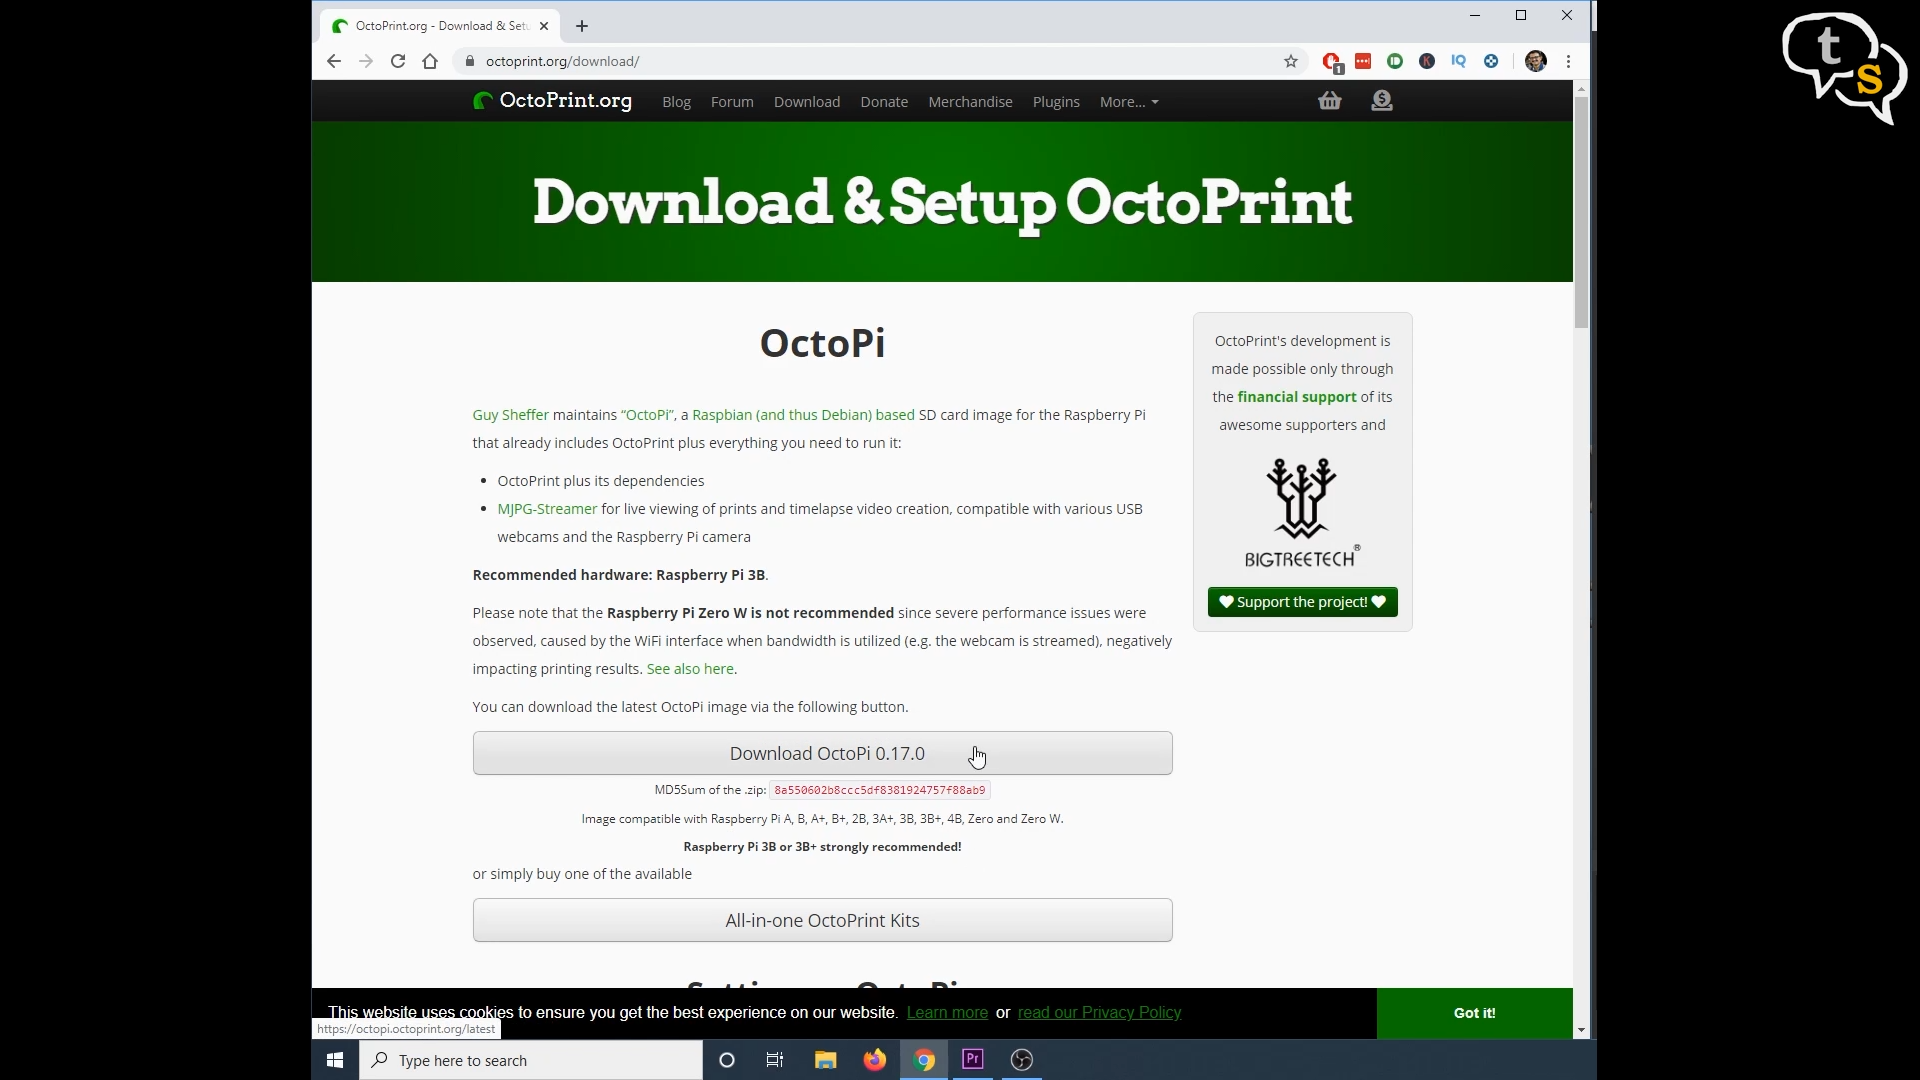
The app does need a raspberry pi to run, so if you have one that’s great, but if you don’t there’s a link in the description where you can pick up a kit.
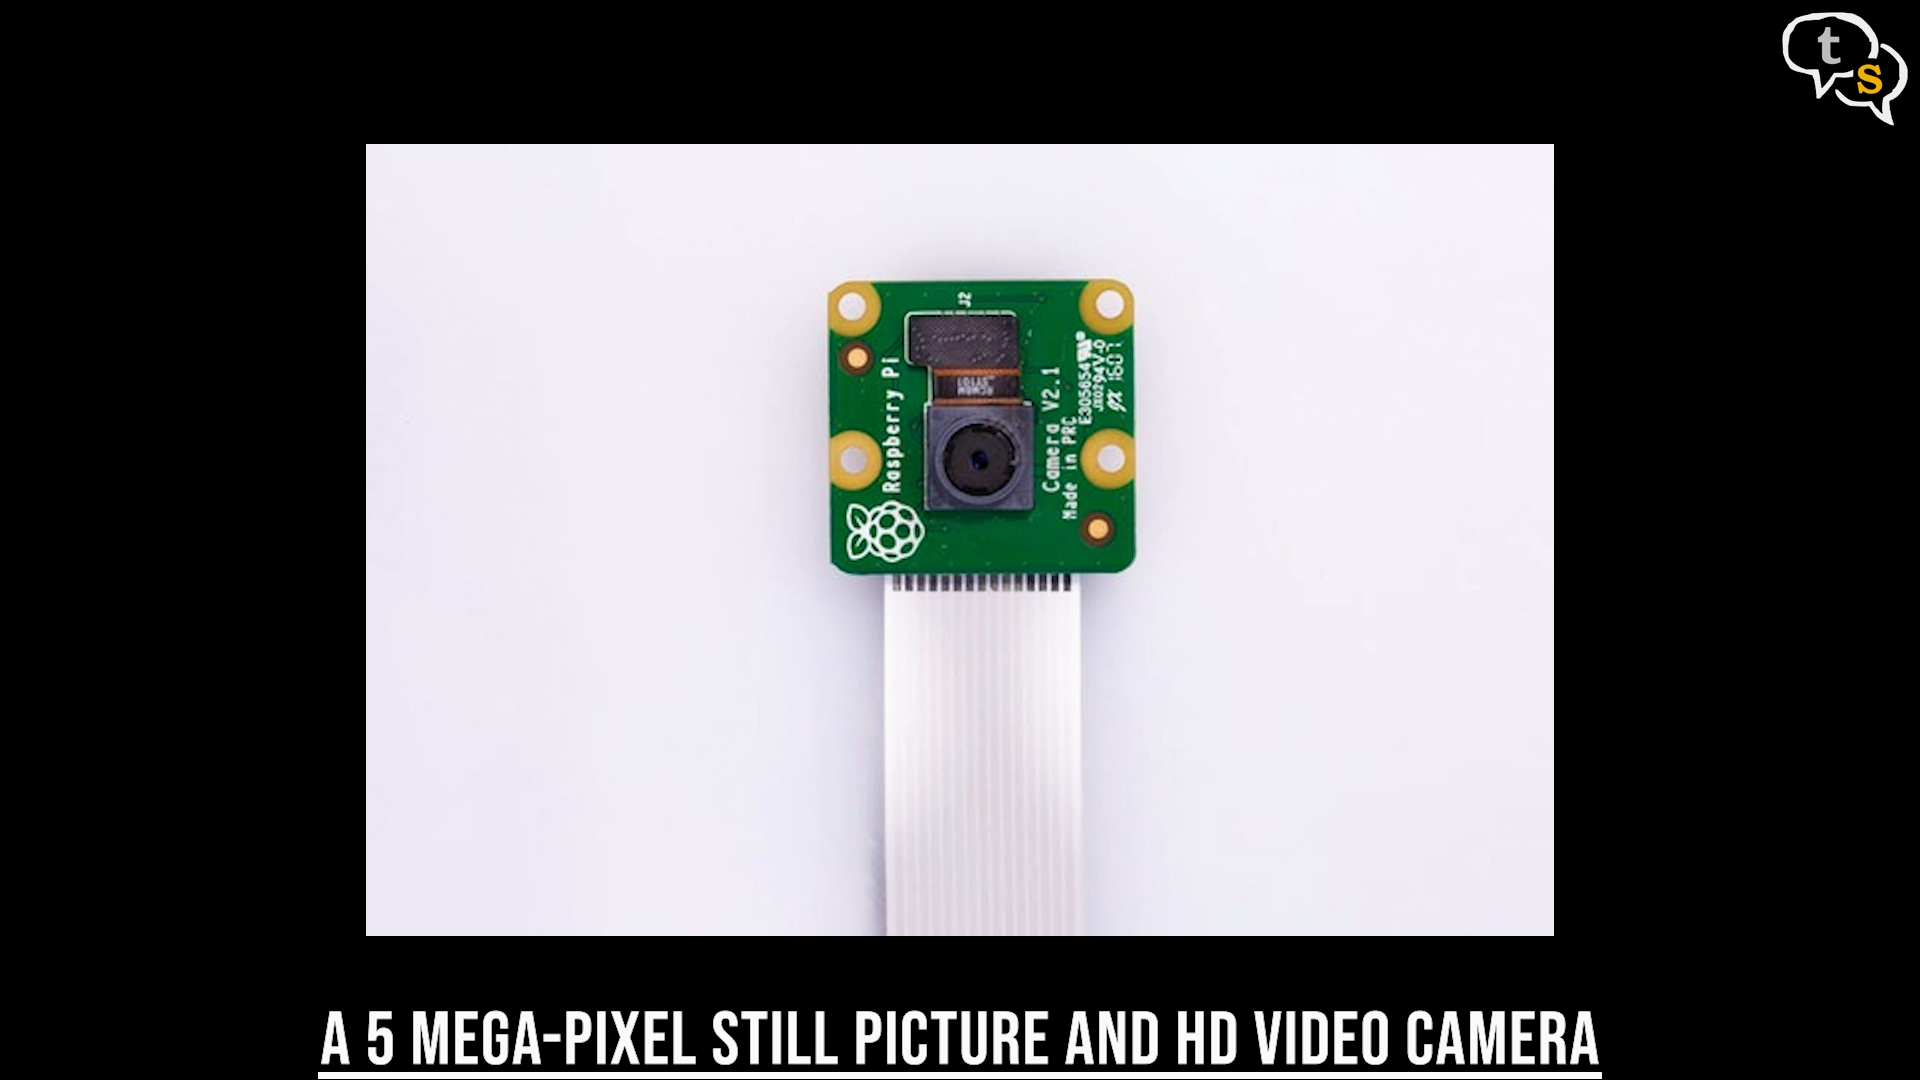
Octoprint also supports picam a webcam module for the raspberry pi. It’s not mandatory to have one, but if you don’t have an ipcam to spare its a good addon.
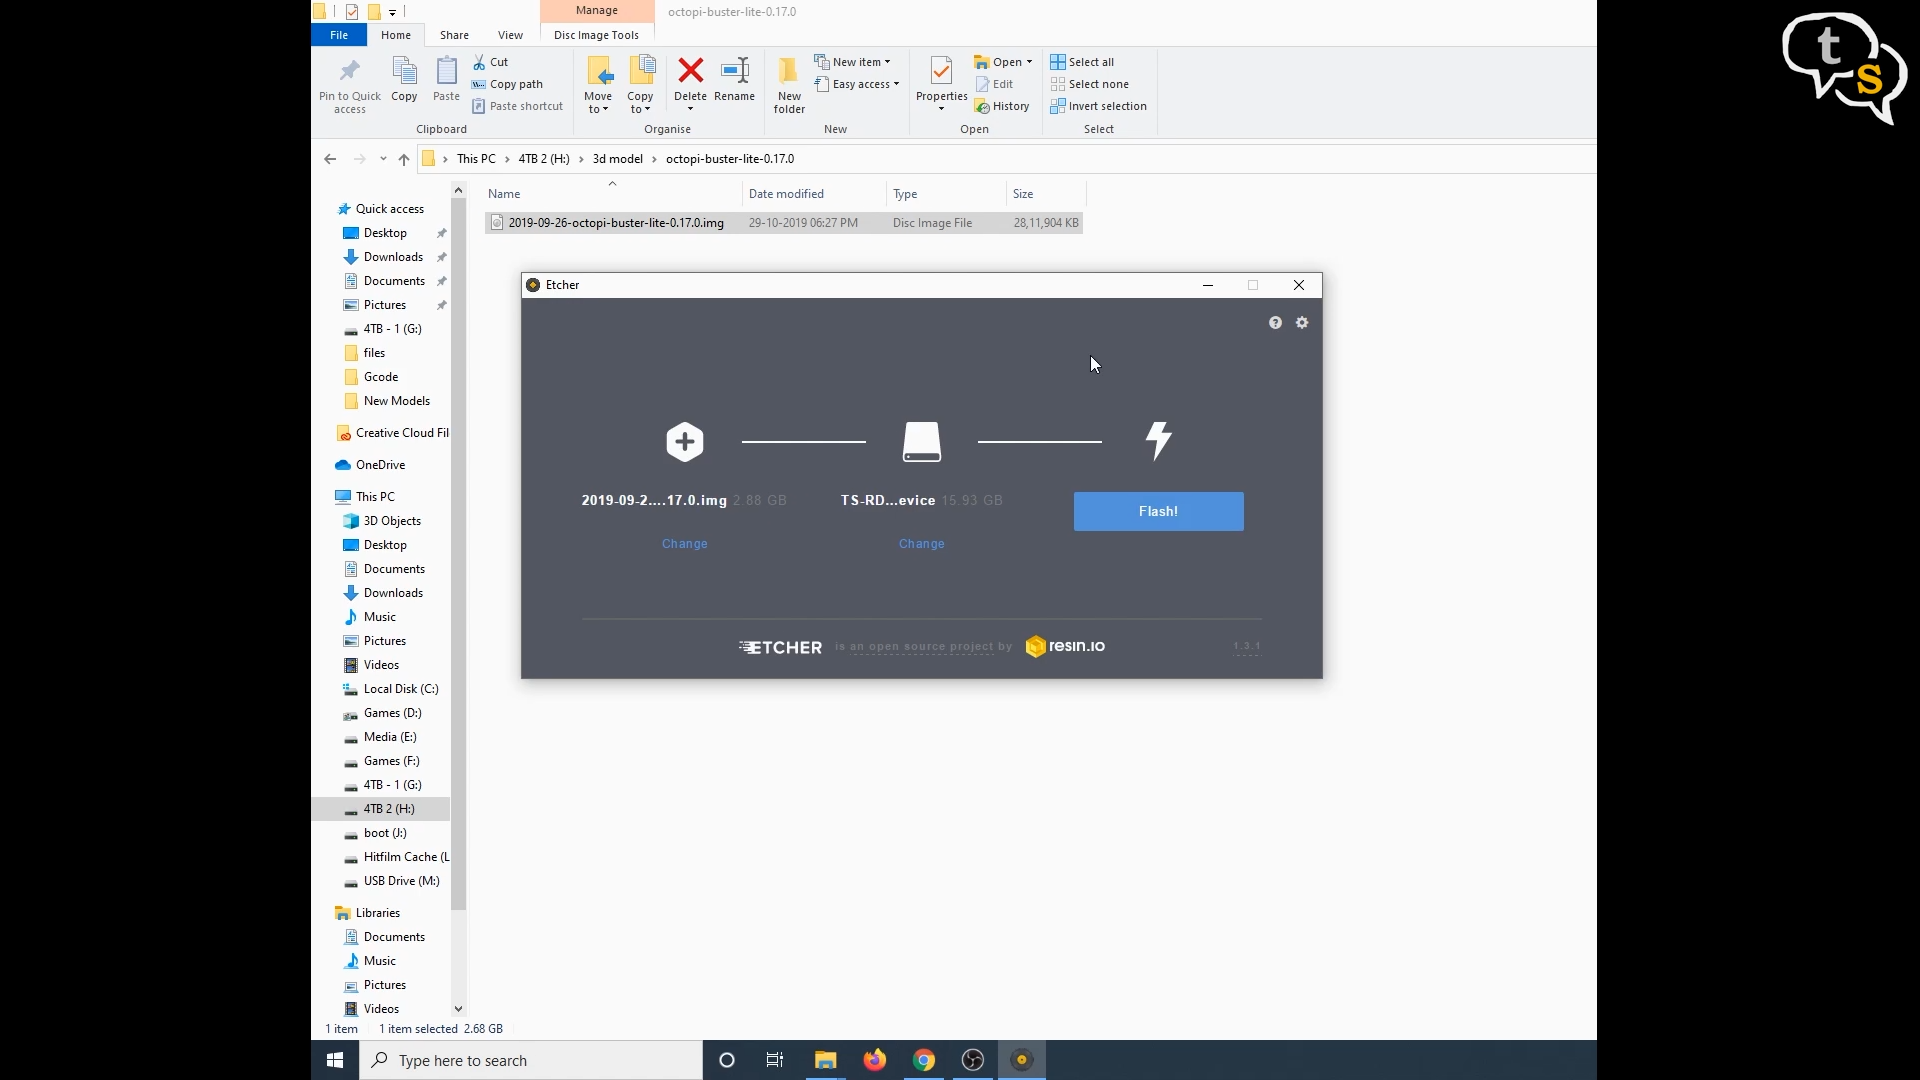
Installation is easy, download the image file off the octoprint website, extract the zip file to get access to the img file. You will need to download etcher an application that would clone the image into your microsd card which would be used in your raspberry pi.
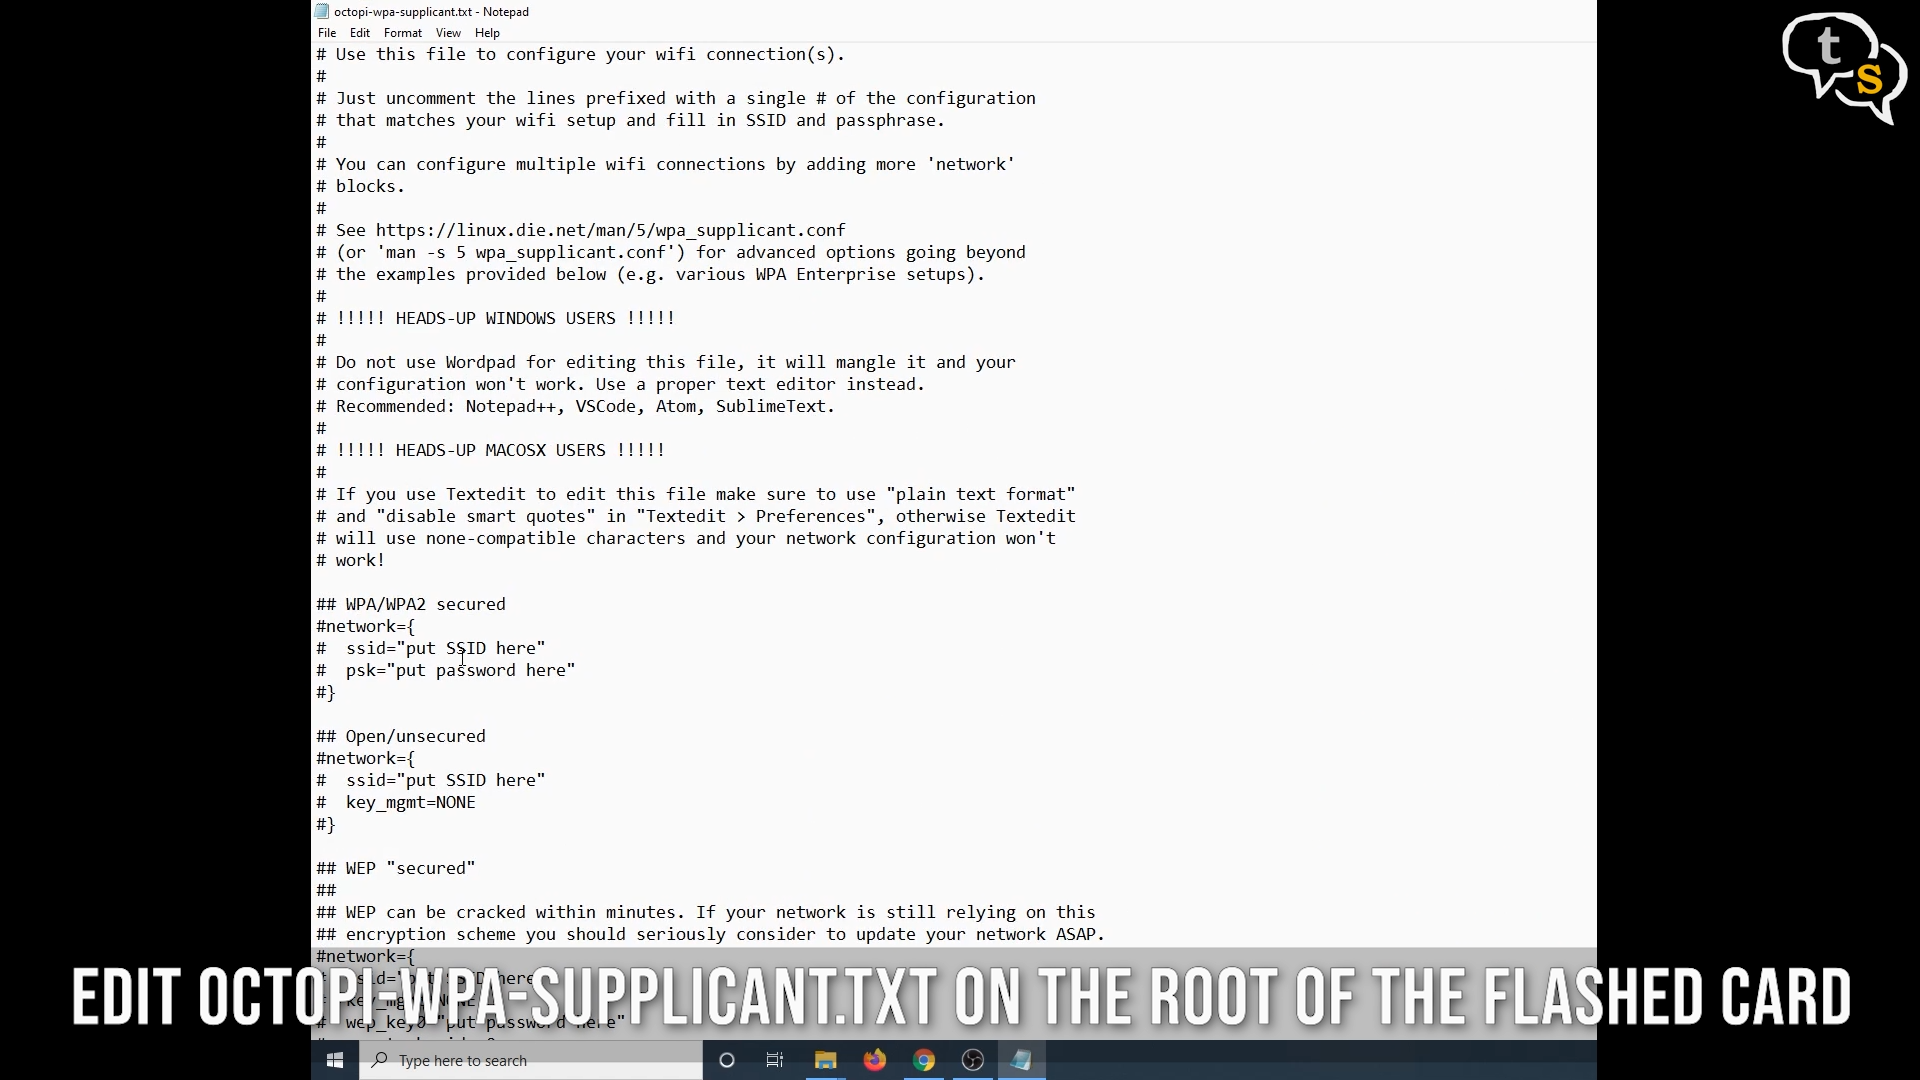
You will need to edit a file octopi-wpa-supplicant.txt where you would enter your wifi credentials.
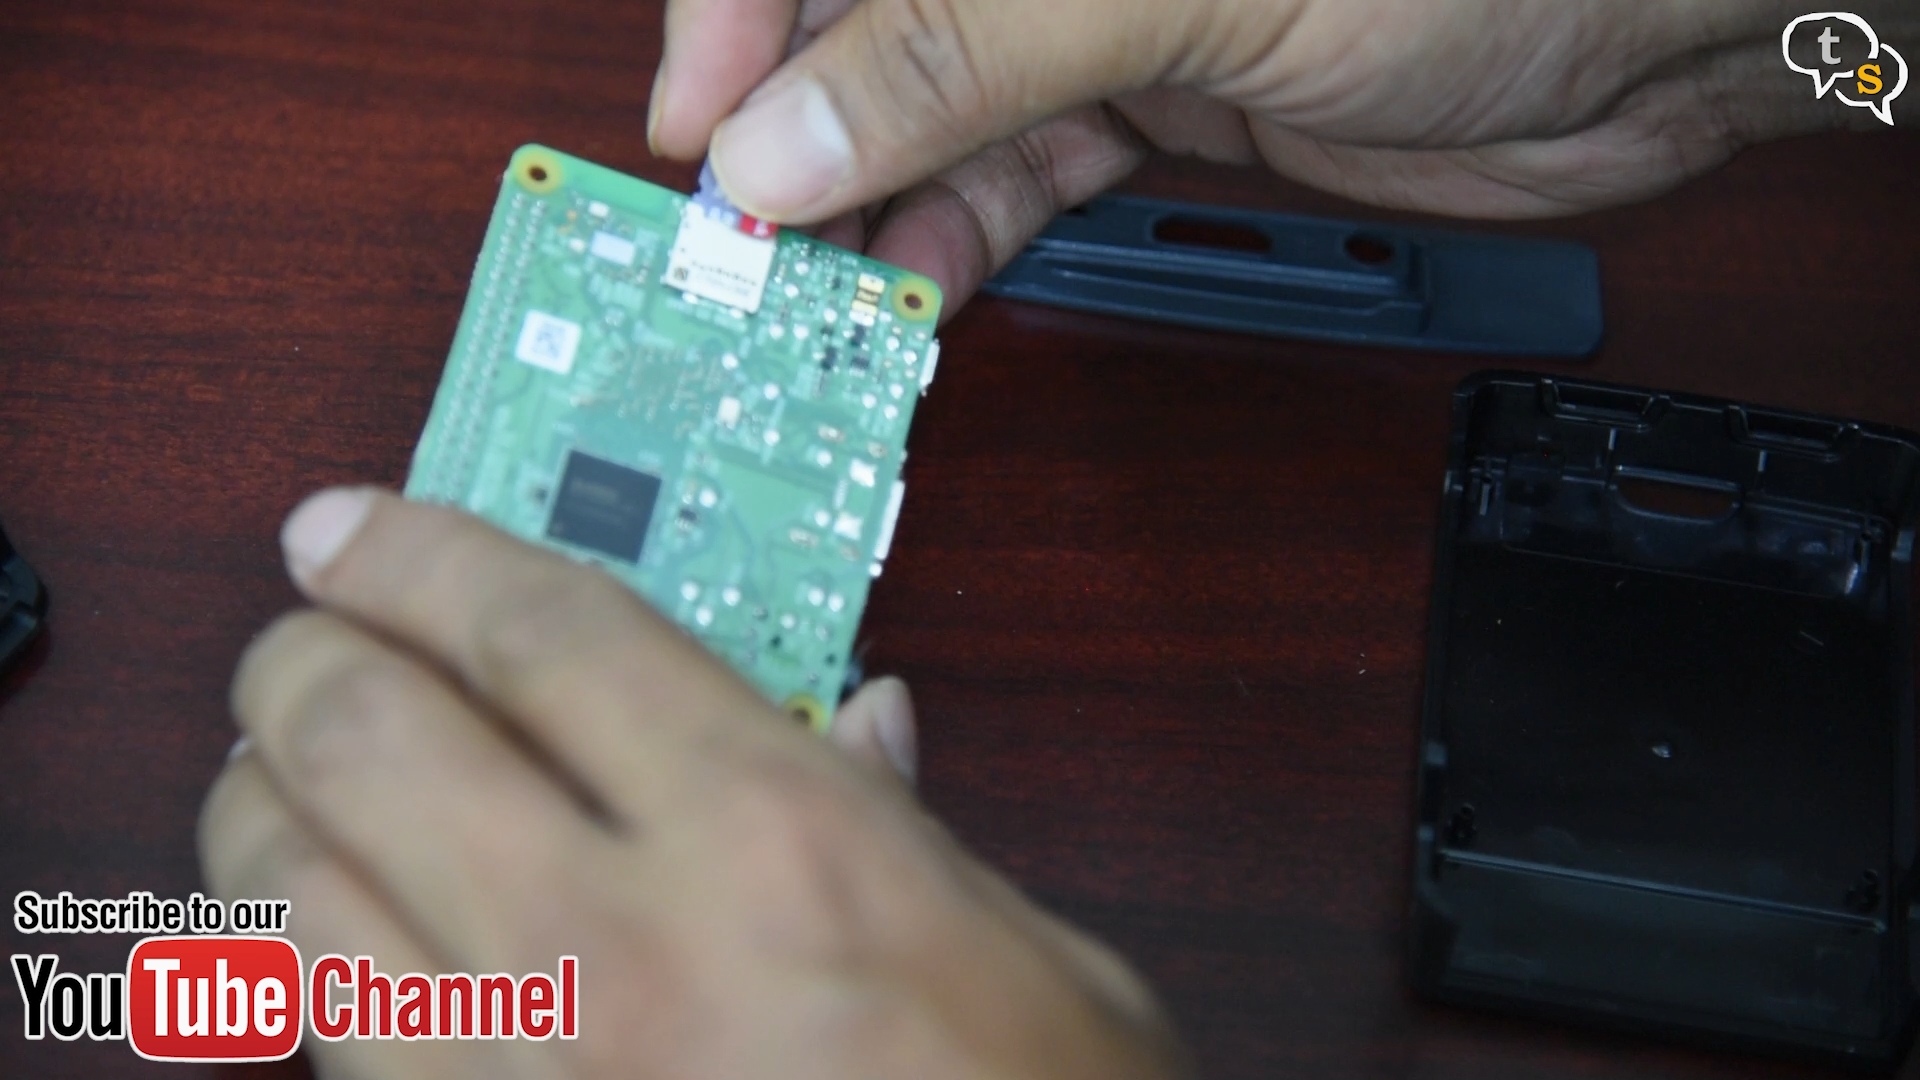
Once done, insert the memory card into the raspberry pi, and now when the raspberry pi is powered on octoprint starts up. A usb a to mini usb cable is required to connect the printer to the raspberry pi.
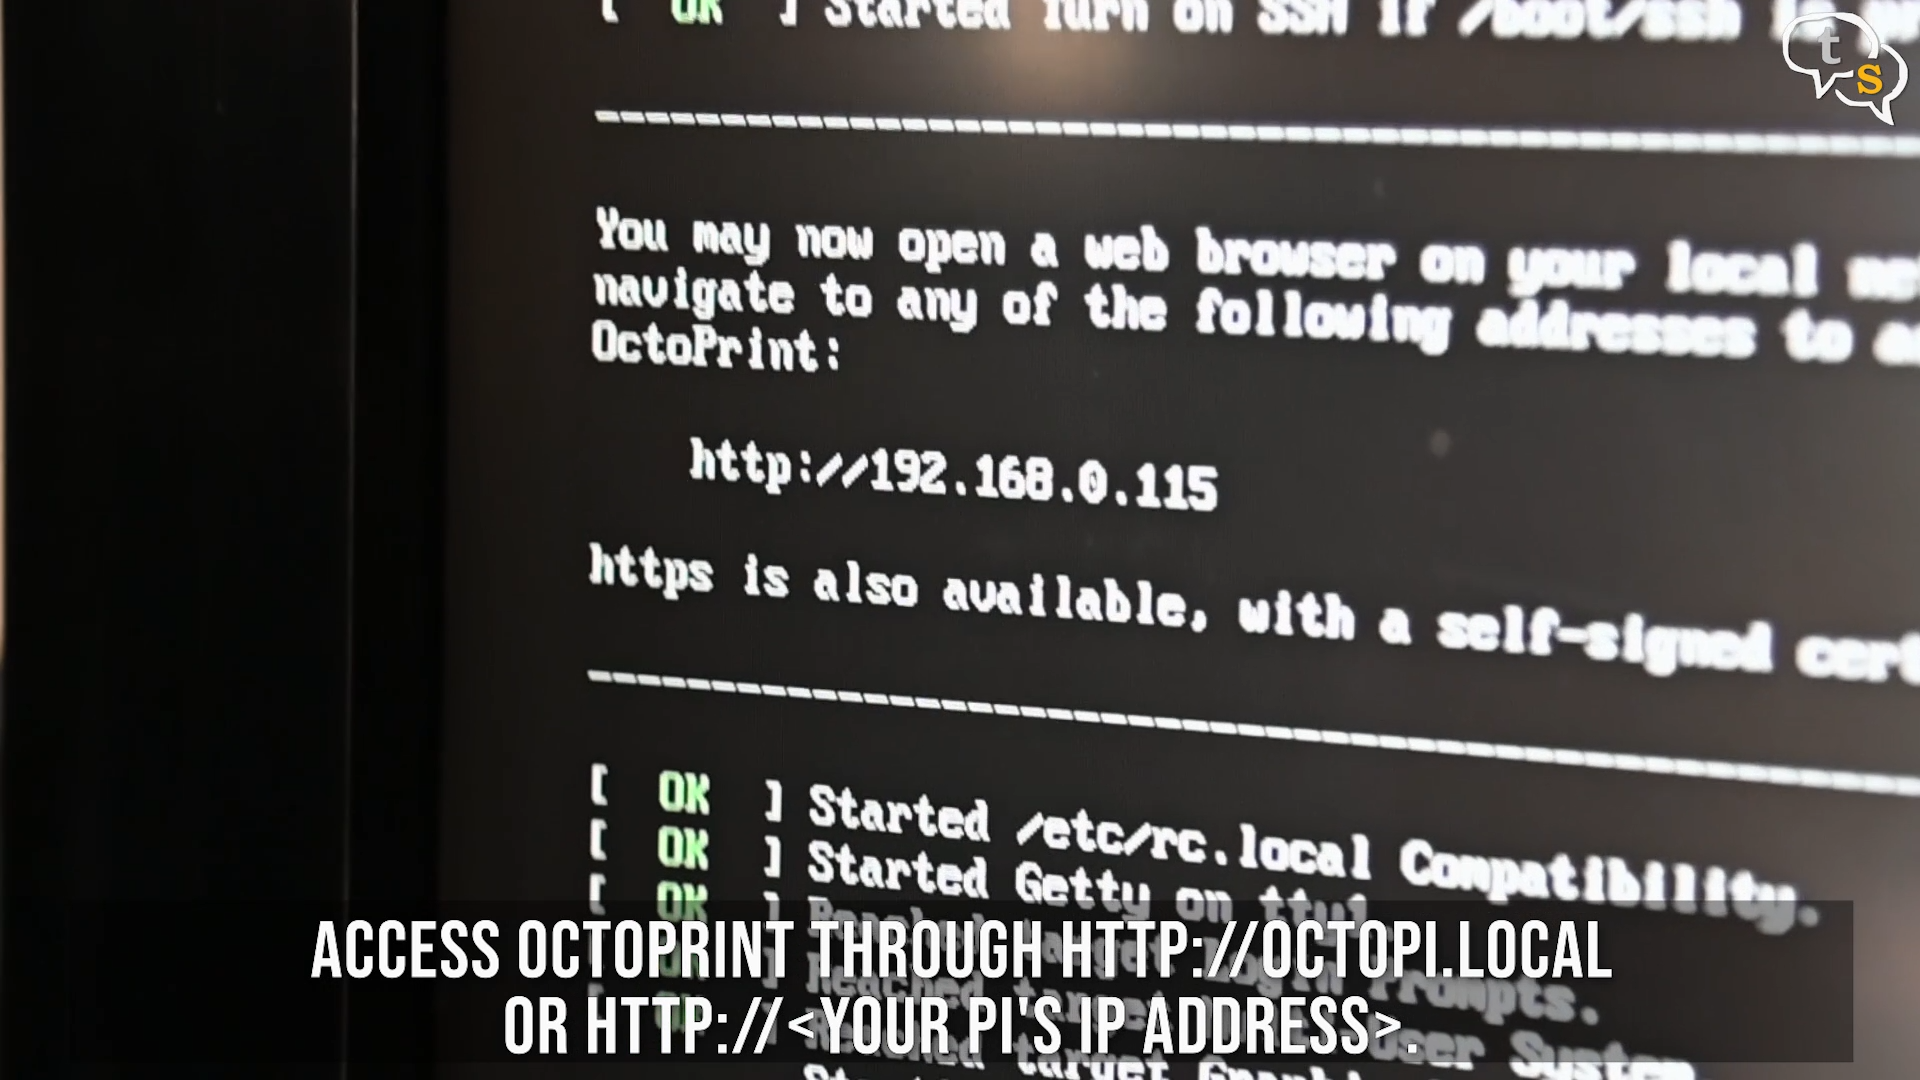
I had connected the device to a TV so as to view any instructions and it displays a url you would need to enter to access octoprint.
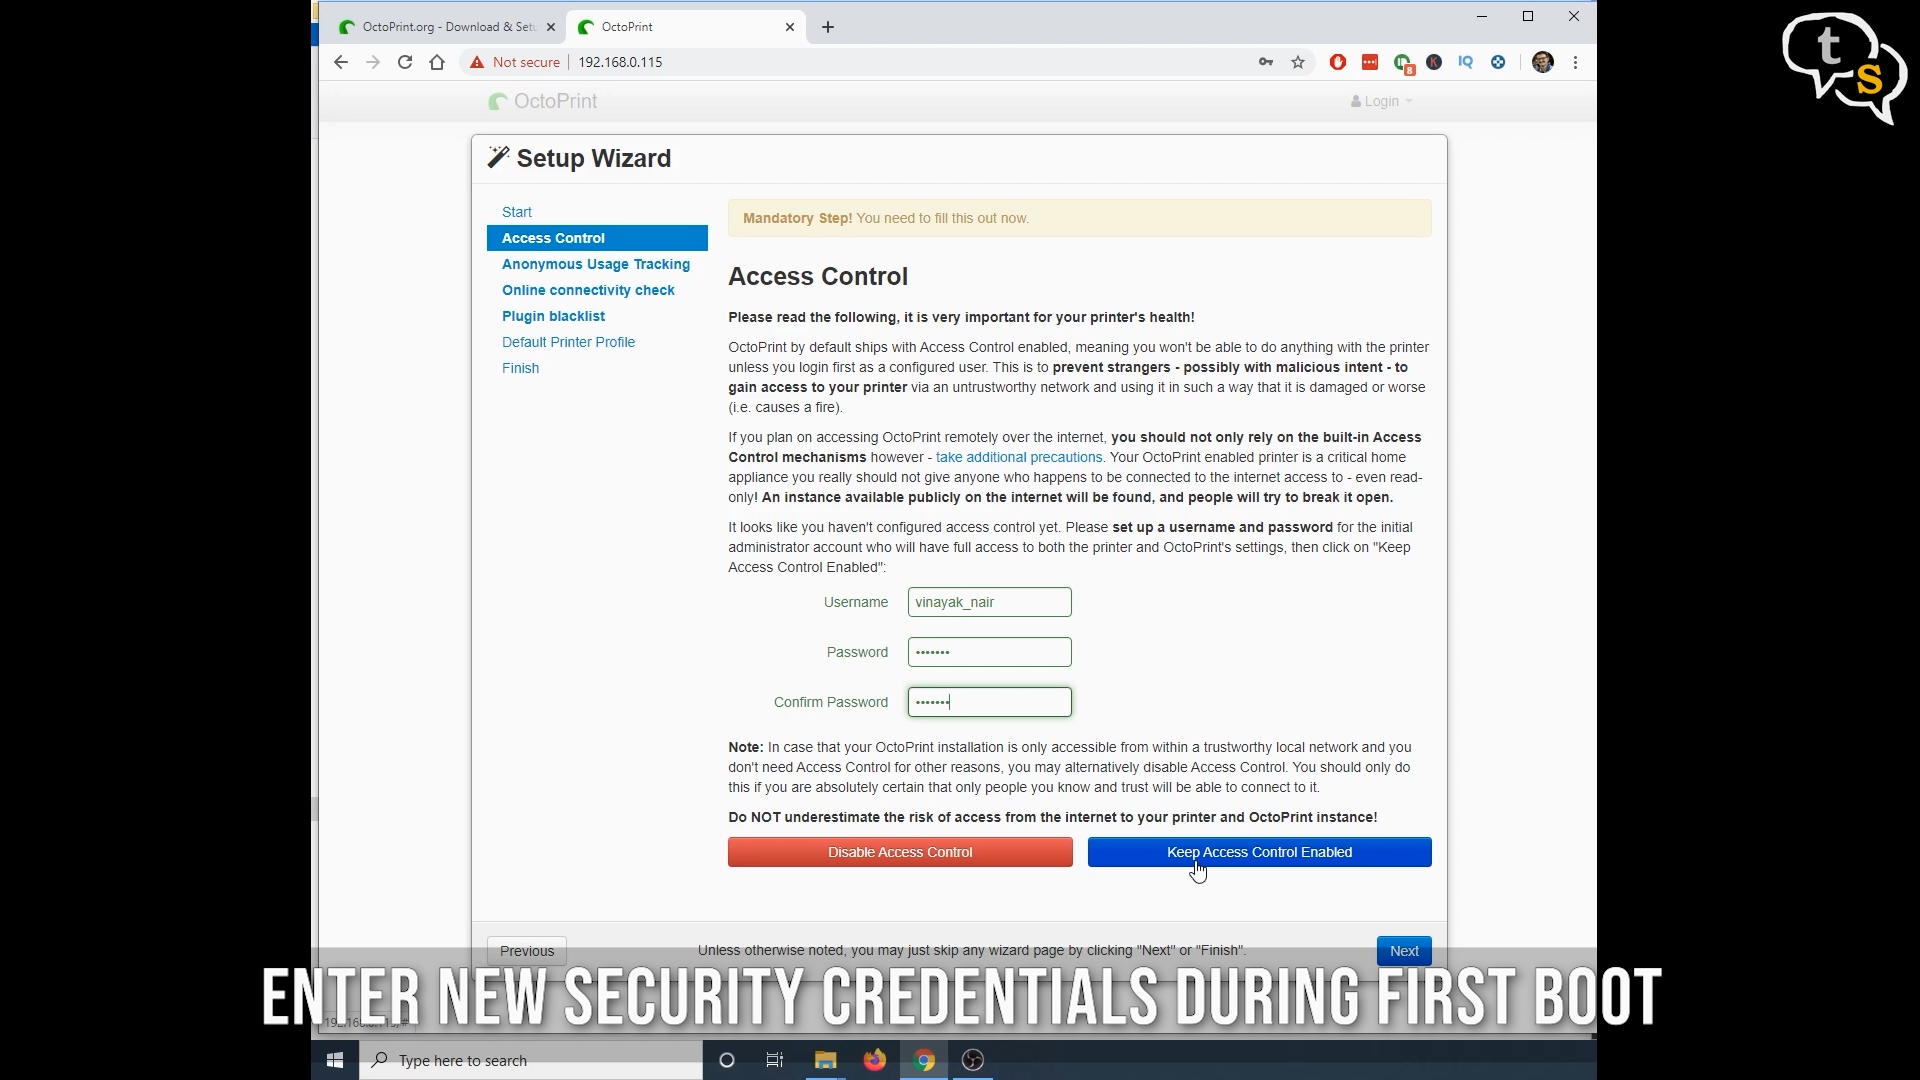
This was easy, on first start you will need to configure a username and password, and as i kept all settings at their defaults, hit next , next until done.
Now we are on the octoprint dashboard.
Not changing anything on the connection settings, just hit connect and we should now have access to the printer.
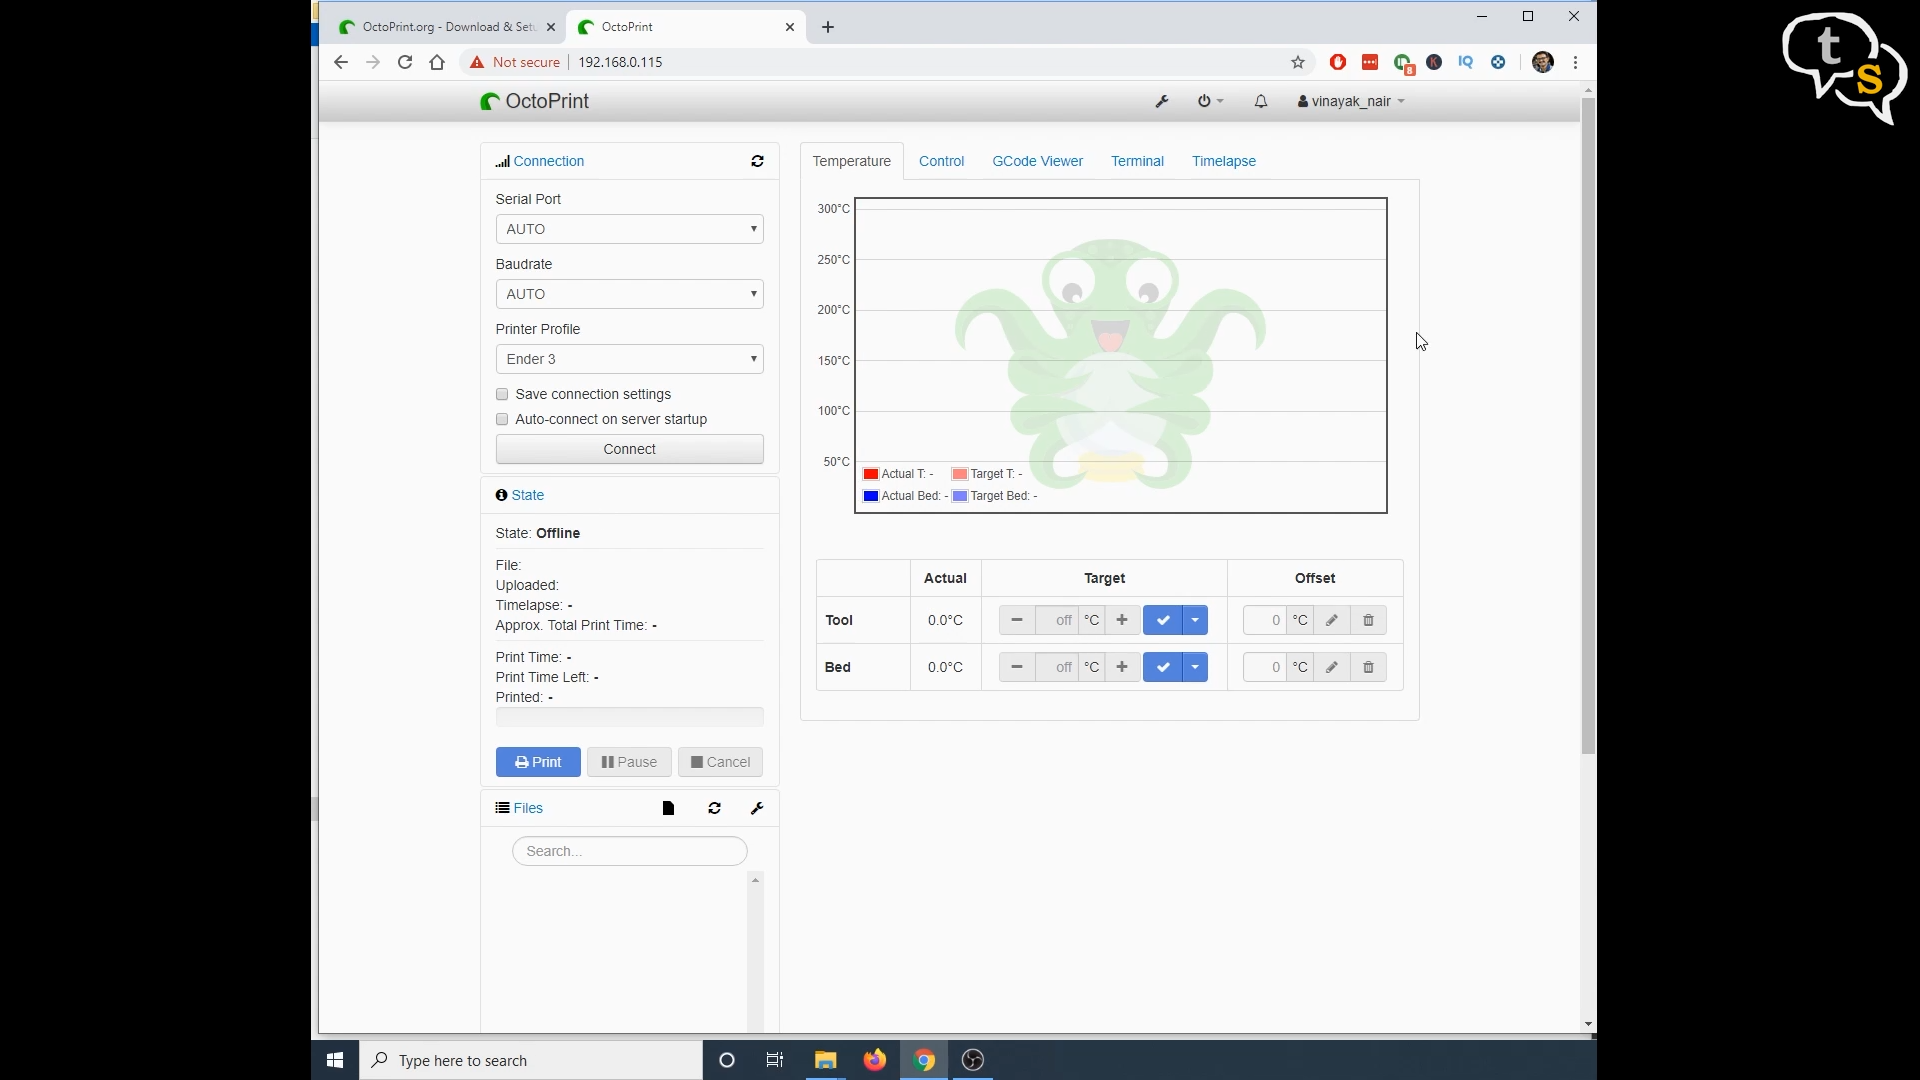
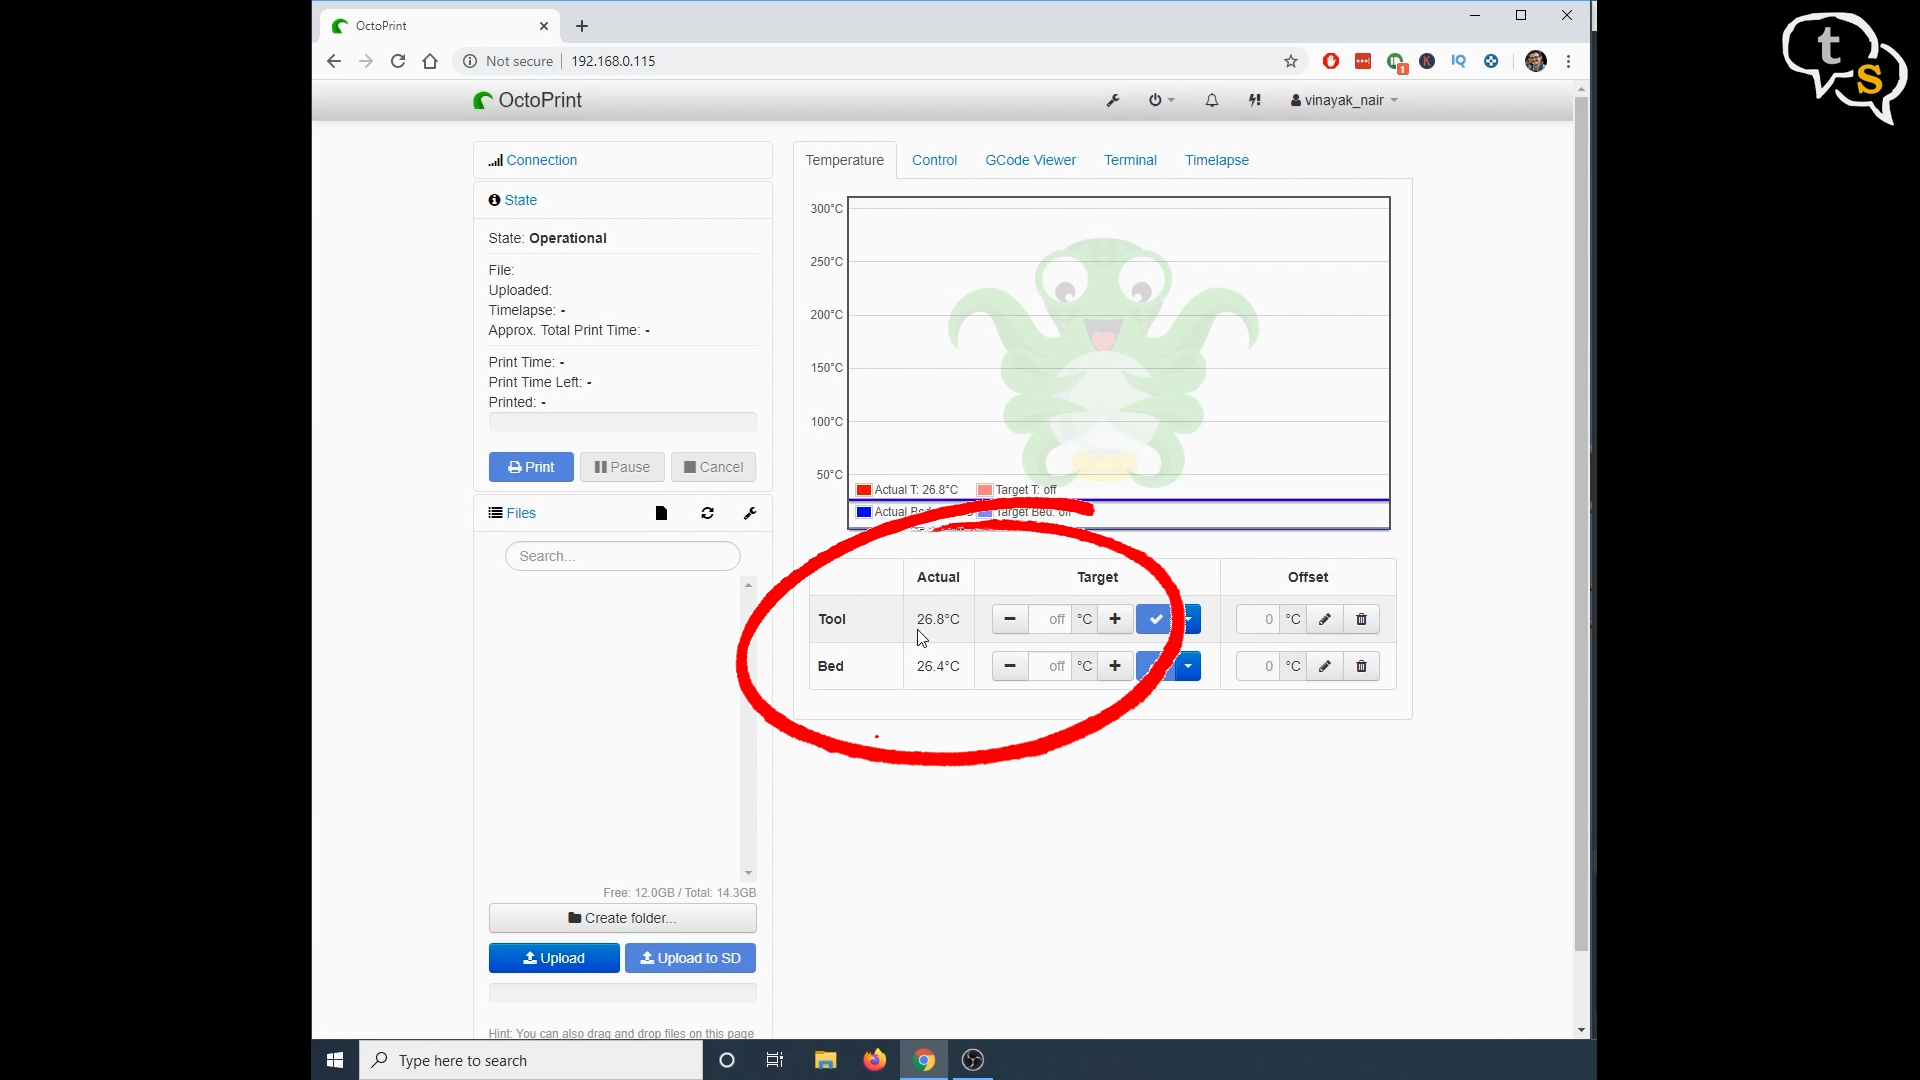
We now have real time readings of the temperature of the printer bed and extruder as visible here.
We can see the state of the printer if its printing, ready to print etc.
The files section allows loading up models and sending it directly to the printer.
Lets upload a file to print.
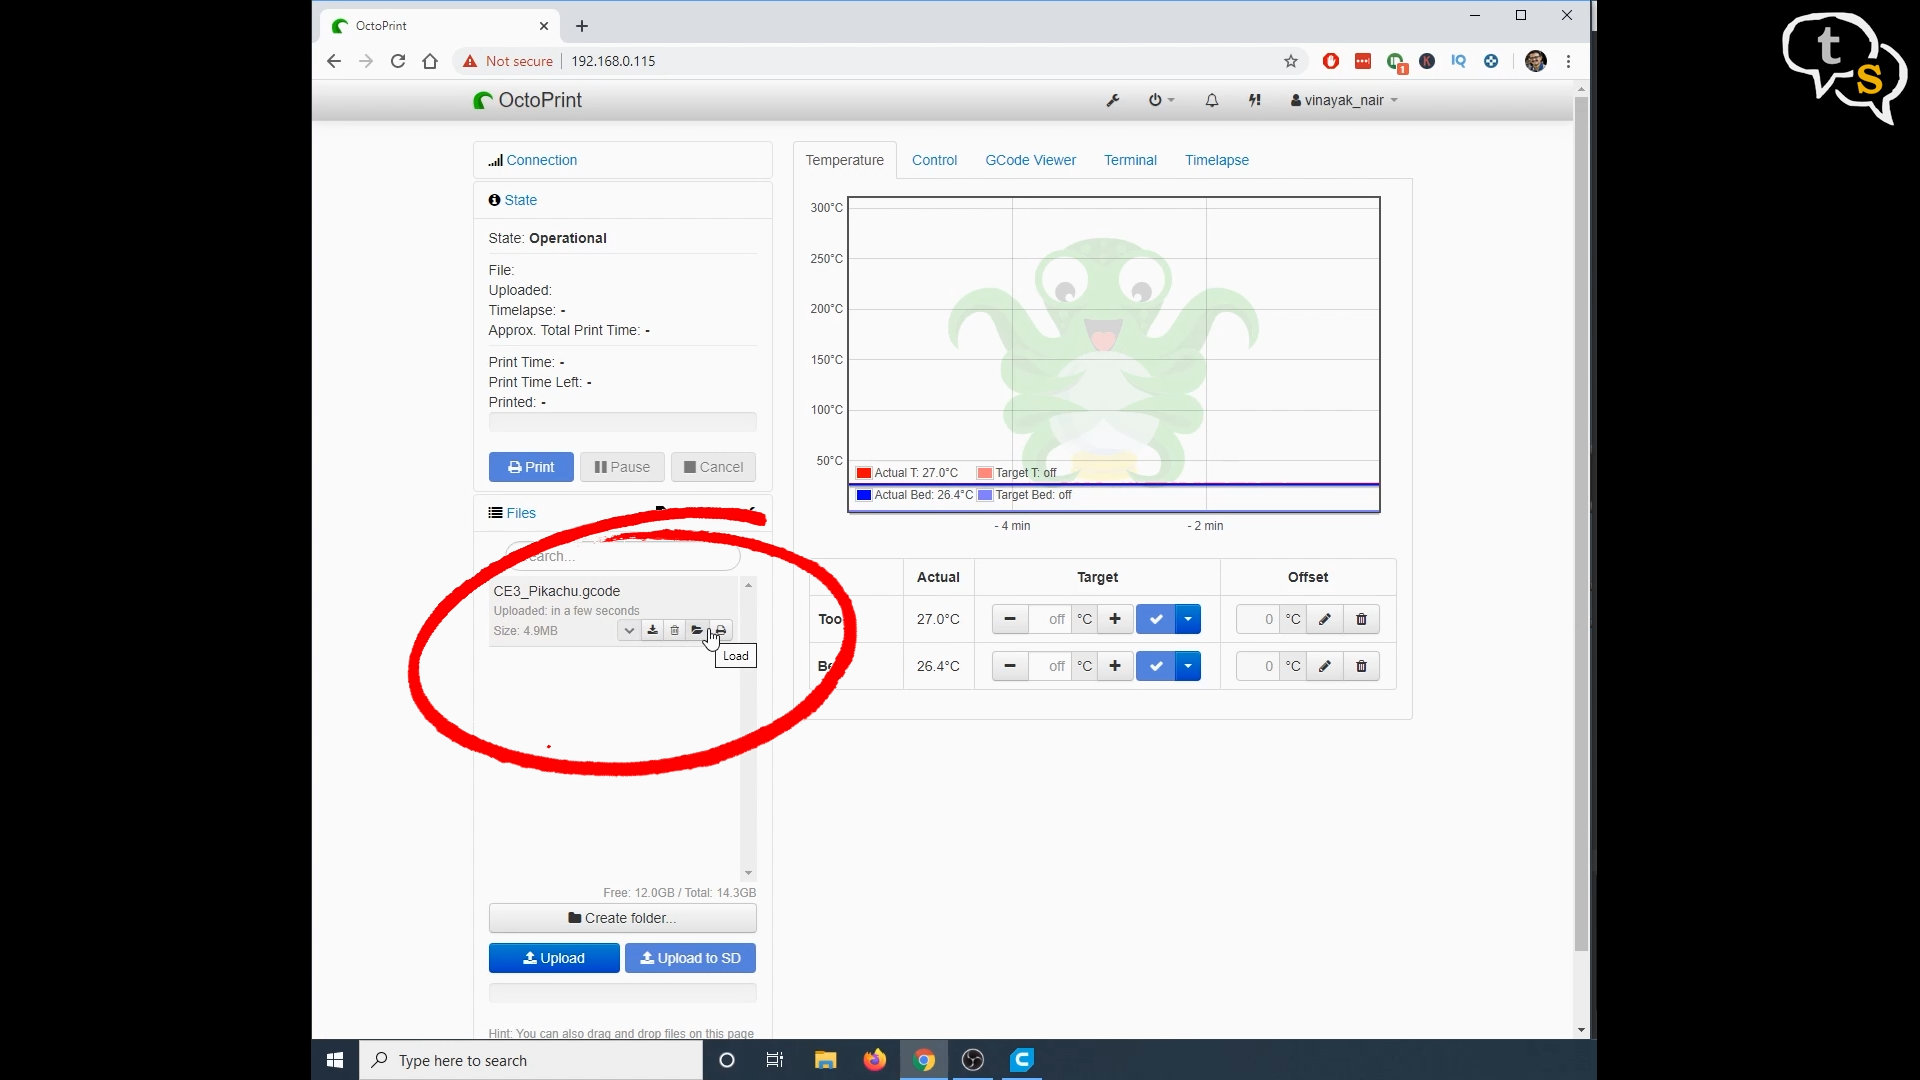
I have a pikachu model here, upload and it’s on the printer now.
We now have access to options next to the file, to download the file back to the system, delete off memory card, load and also load and print
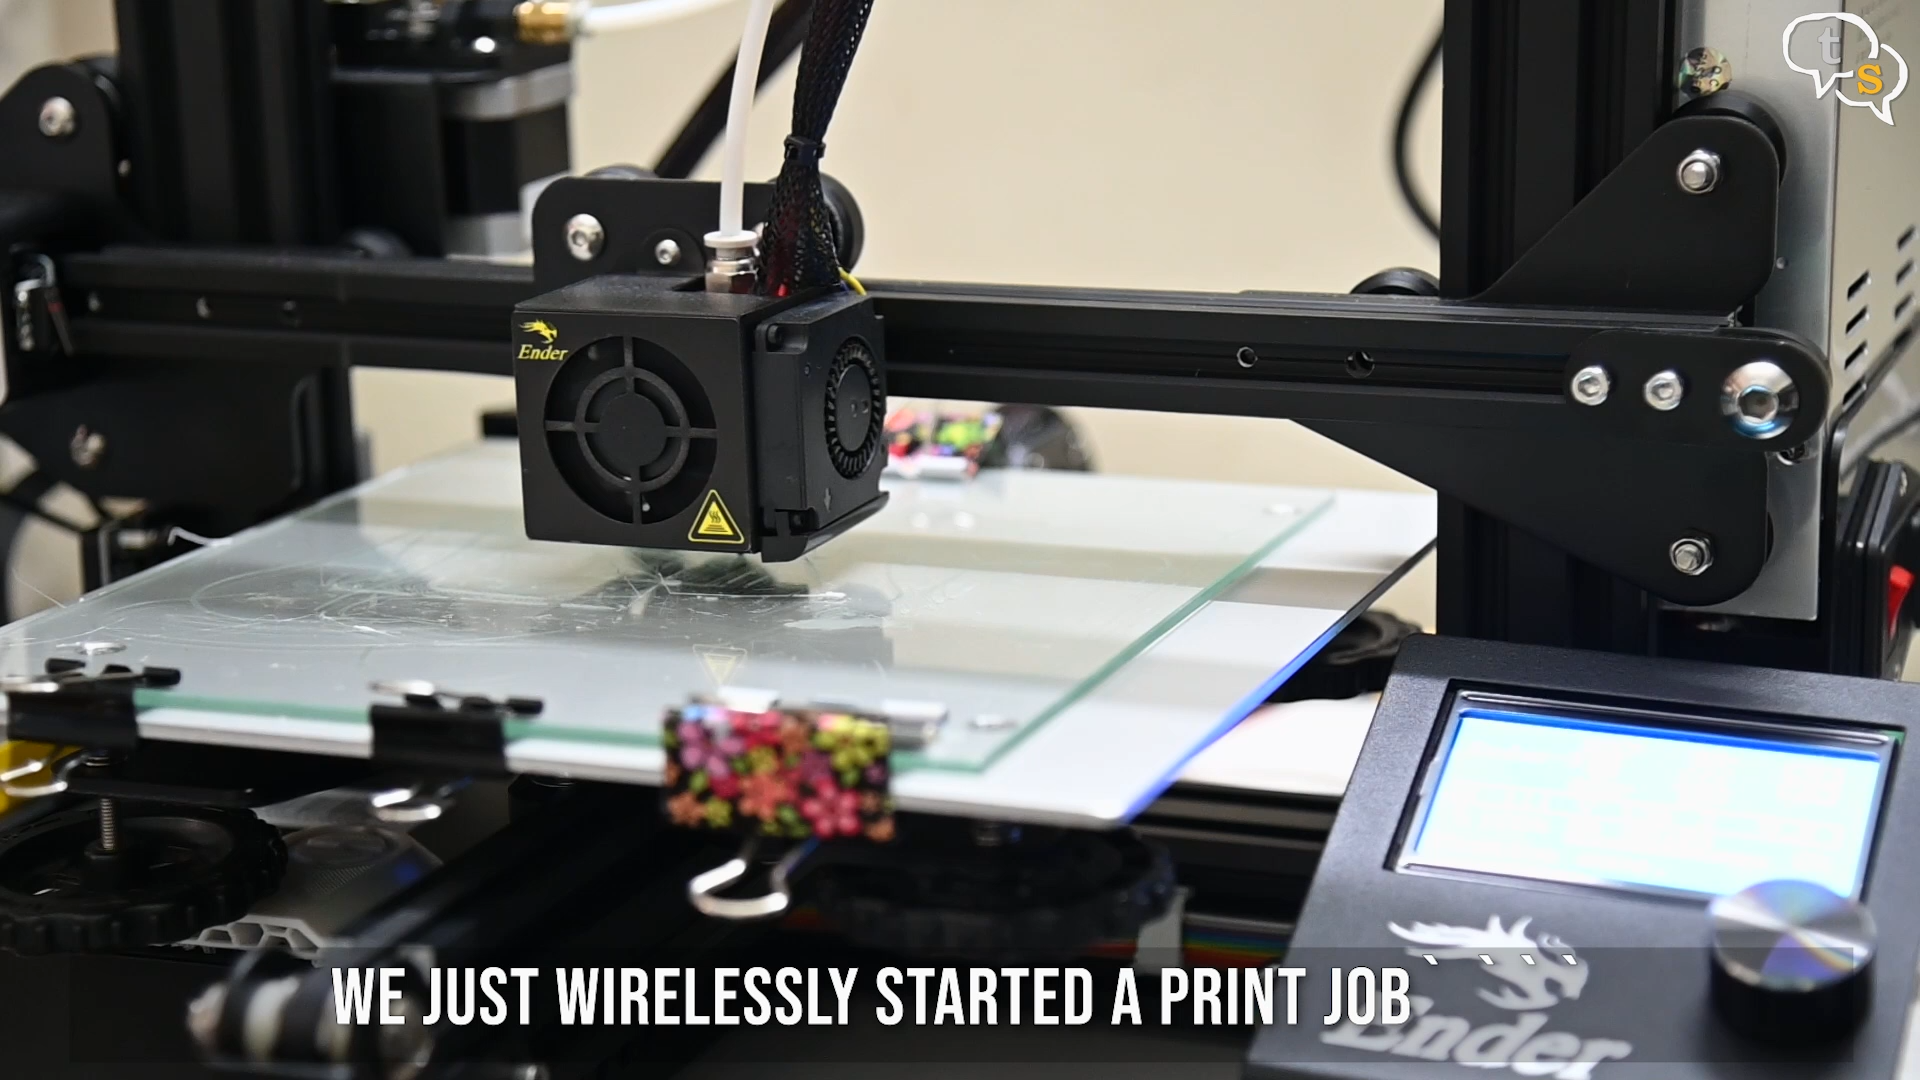
We’re looking to print so lets load and print .
Look at the temperatures of the bed and the extruder, it’s starting to go up.
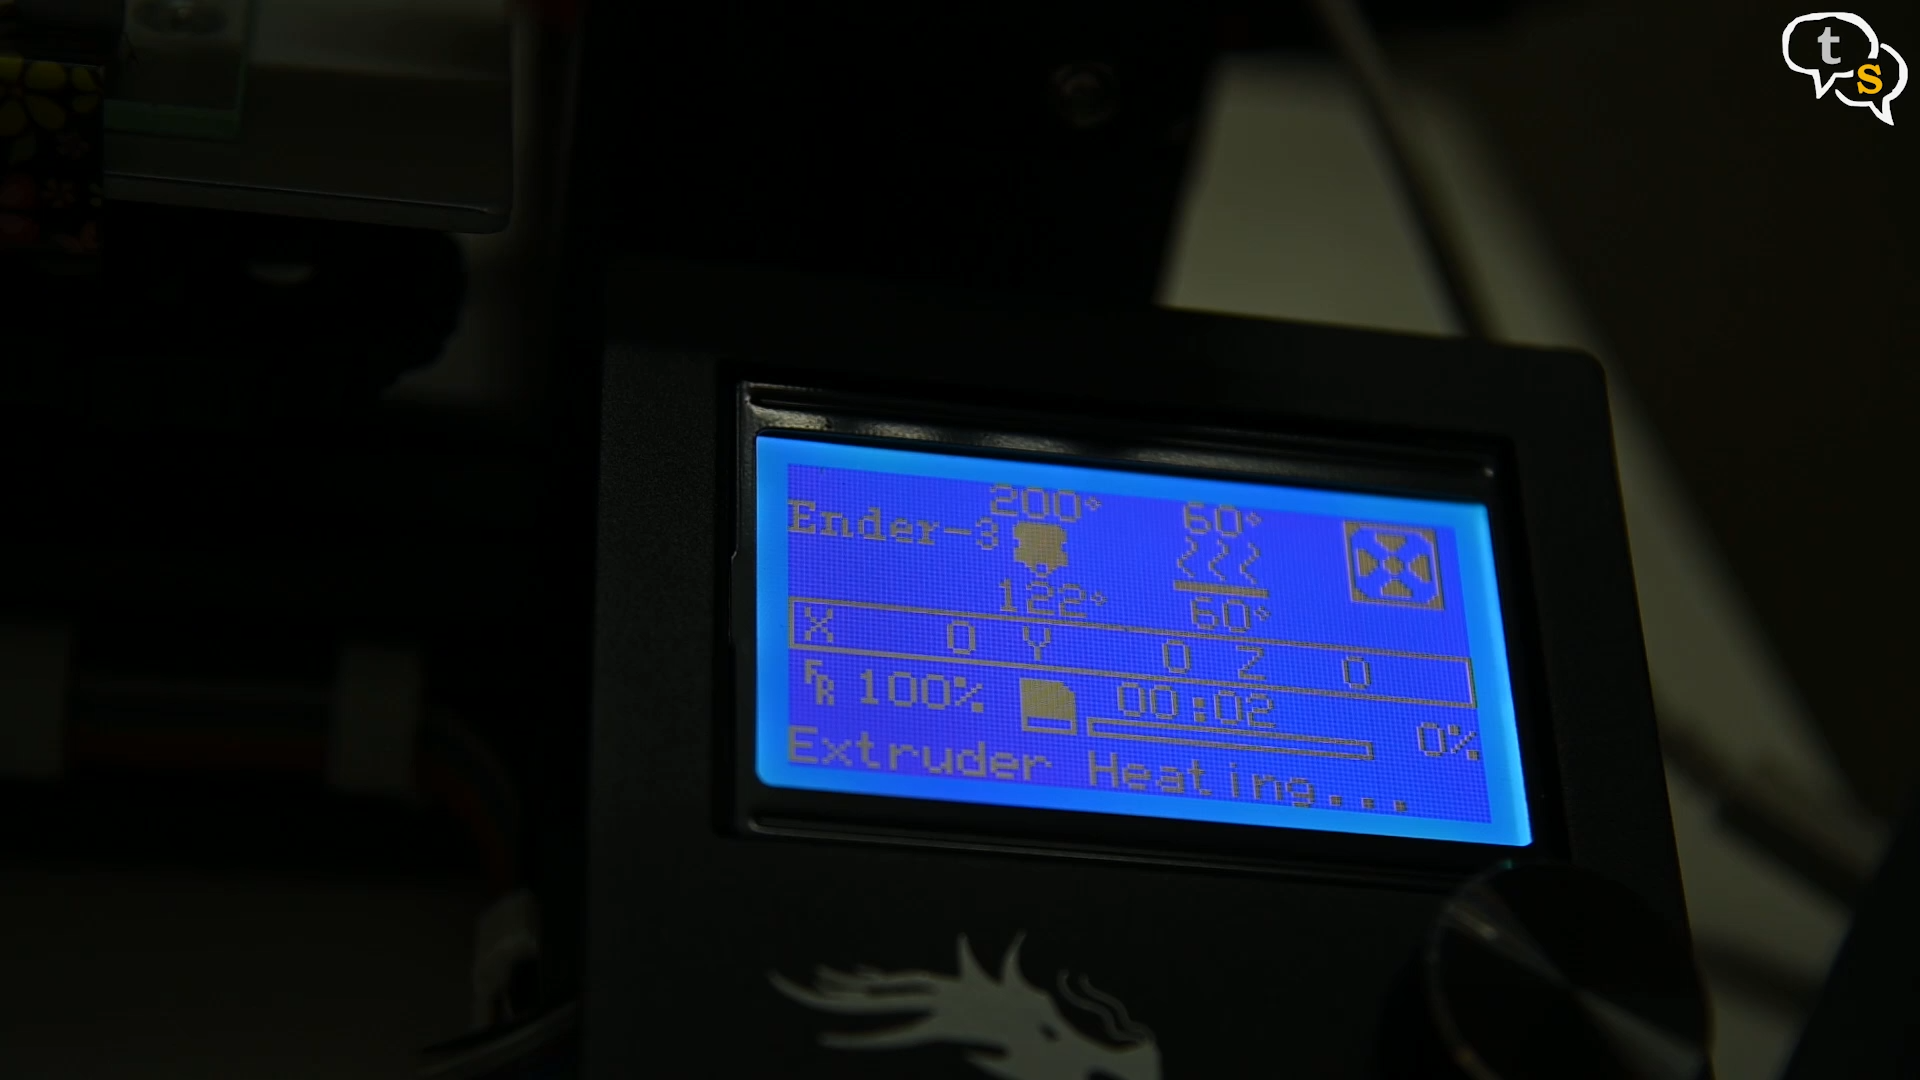
The bed heats up first and once it hits 60 degrees centigrade the extruder will start heating up to 200 degrees.
Once the temperature is reached the print starts.
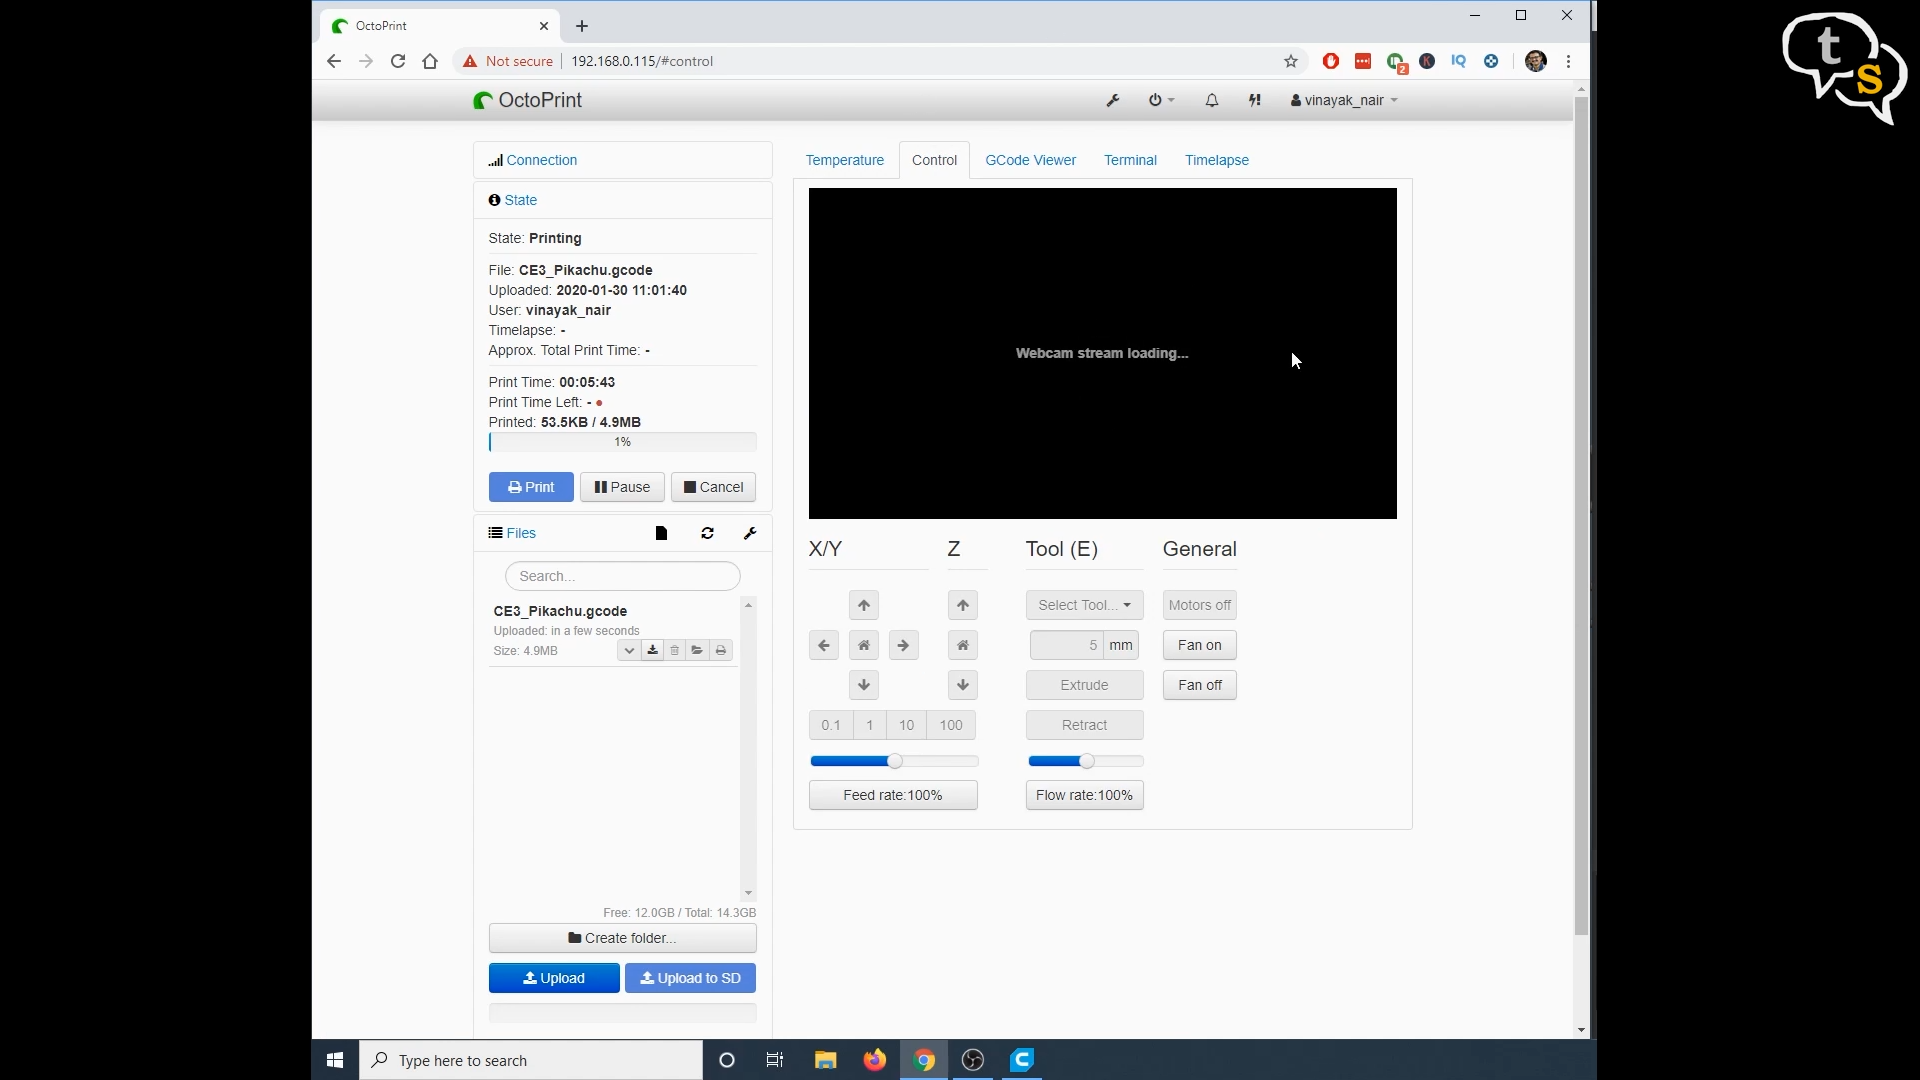
We have other tabs on the top, control tab shows the webcam feed and also the printer controls, to move the extruder and bed manually and also turn the fans on or off. I don’t have the picam, so I don’t get a video feed.
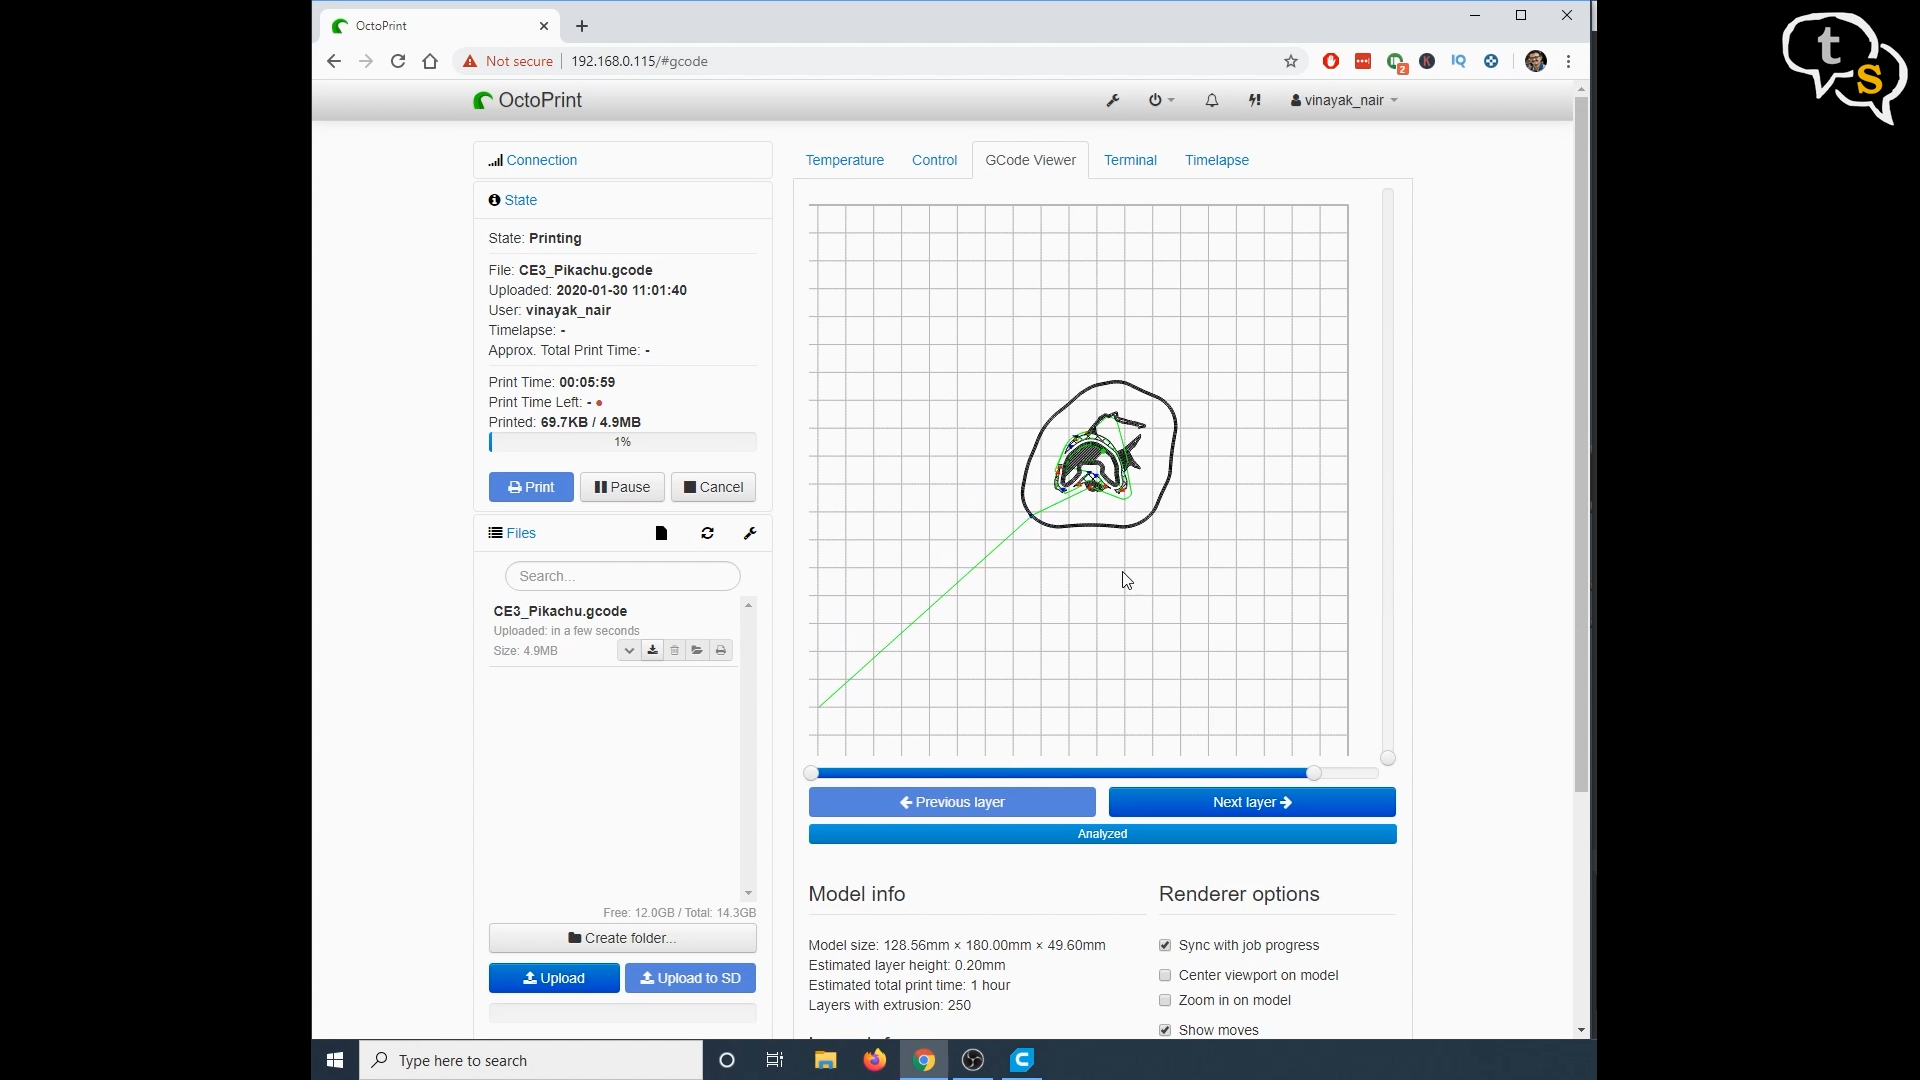
Gcode viewer is a cool tab, it shows the current layer being printed. We can also scrub forward and back and also up and down to see how the g-code or model data is being printed one layer at a time.
We also have access to the Octoprint interface on the mobile phone and all the features are accessible here.
Octoprint opens up a plethora of information and granular control of your 3d printer. Being able to not only monitor, but also control your printer from anywhere is a boon. I can now monitor the status of the print from office (yes i also work) and also control the printer as required. Earlier I had to manually copy the g-code files to the microSD card which i had to remove from the printer, copy on a computer and then insert back into the printer. Now i can wirelessly upload a file and start a print, not needing to be anywhere near the printer.
For these features and the peace of mind it provides, I would totally recommend this augmentation to your 3d printer.
So that’s the video, thank you for watching and see you all next time.