3dflyingbear.com website coupon: “G6YT10”
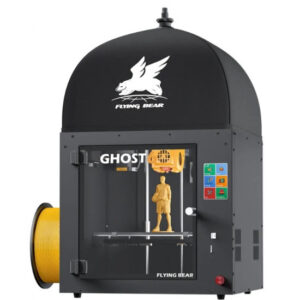
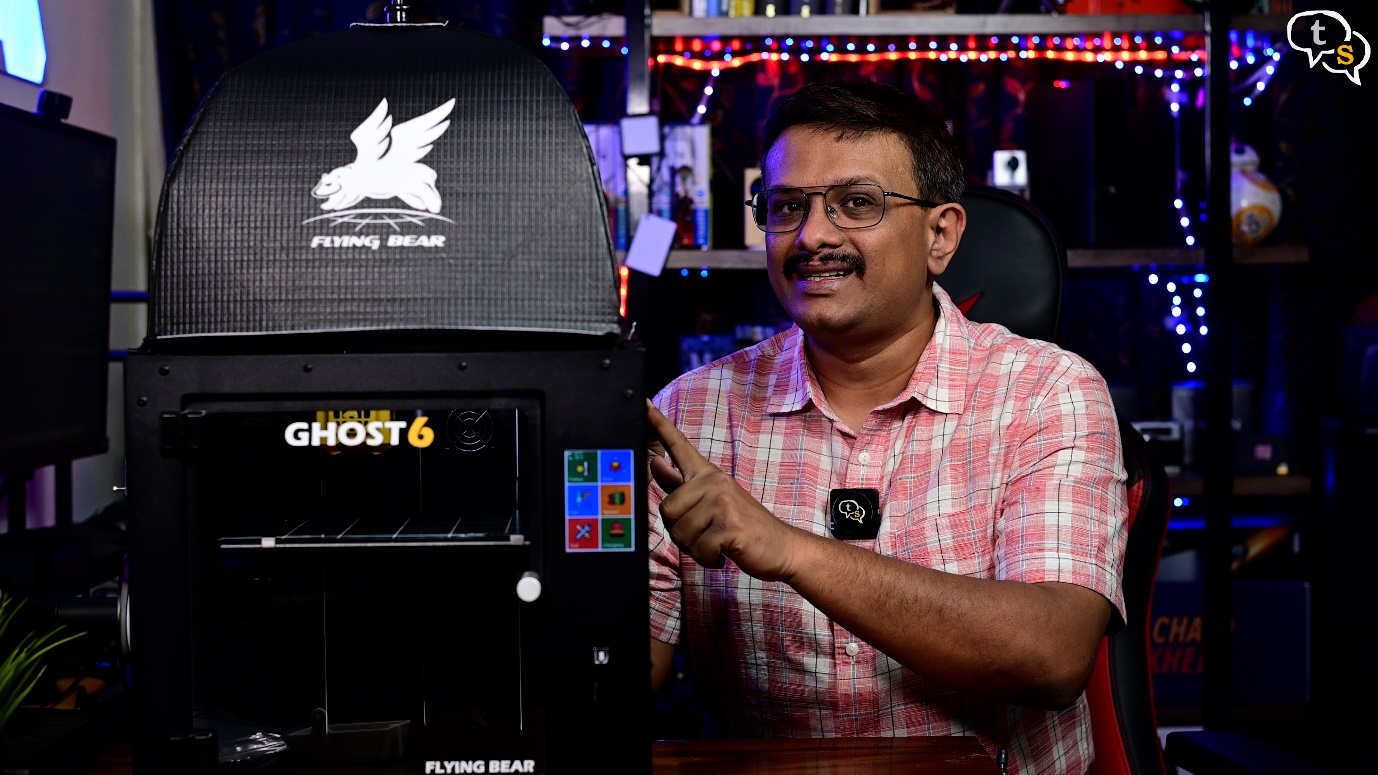
Today we’re unboxing the Flying bear Ghost 6, a FDM 3D printer. Let’s see what all we get in the box.
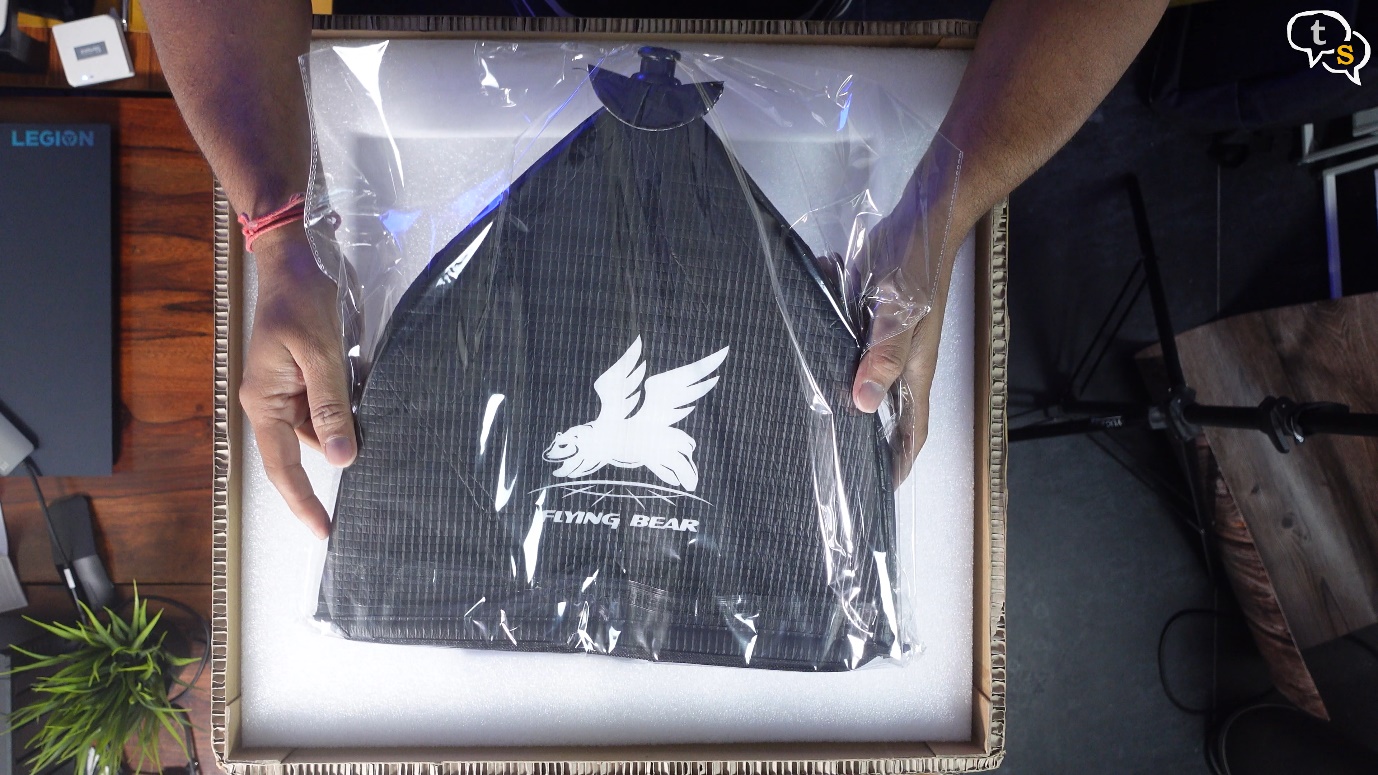
First off, we find the printer hood, which helps keep the temperature more consistent within the printer.

Here’s a flier with flying bears social media links.
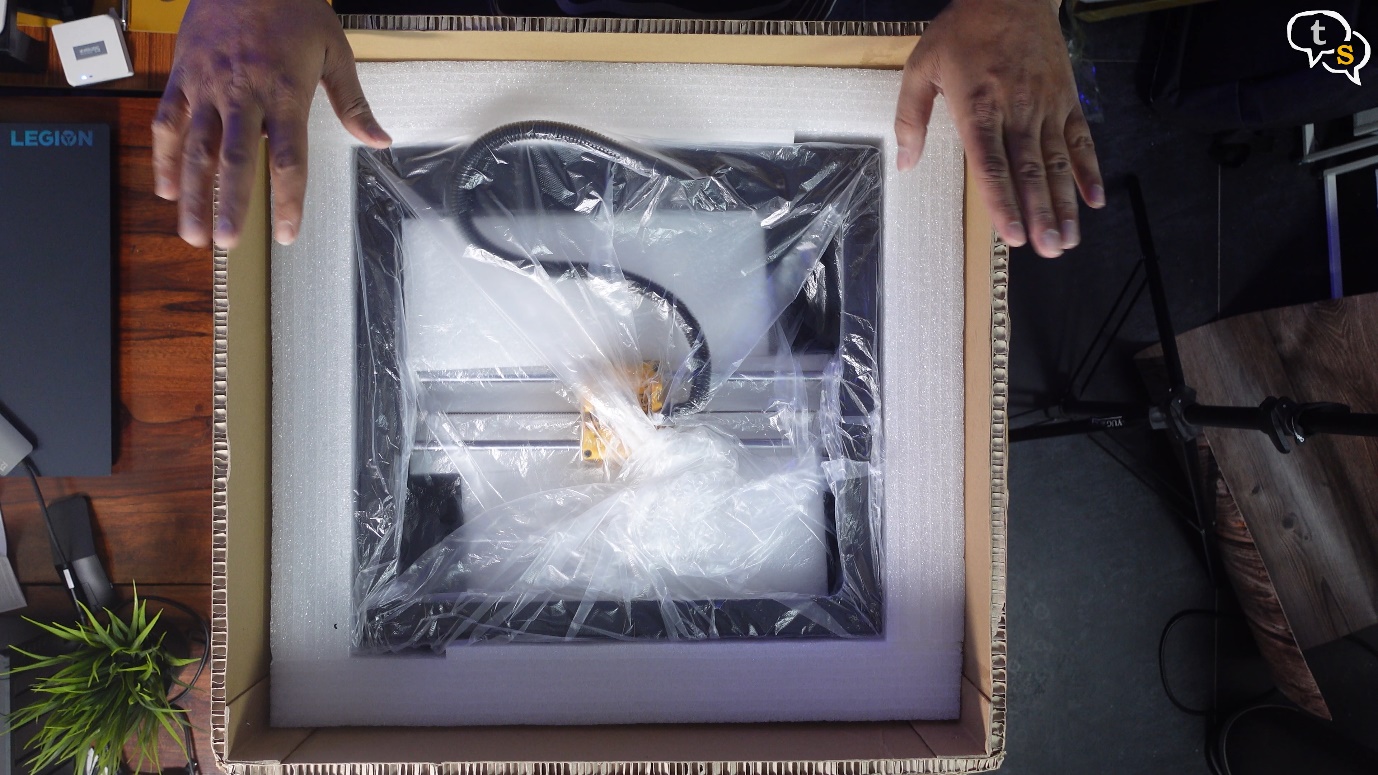
And here’s the printer,
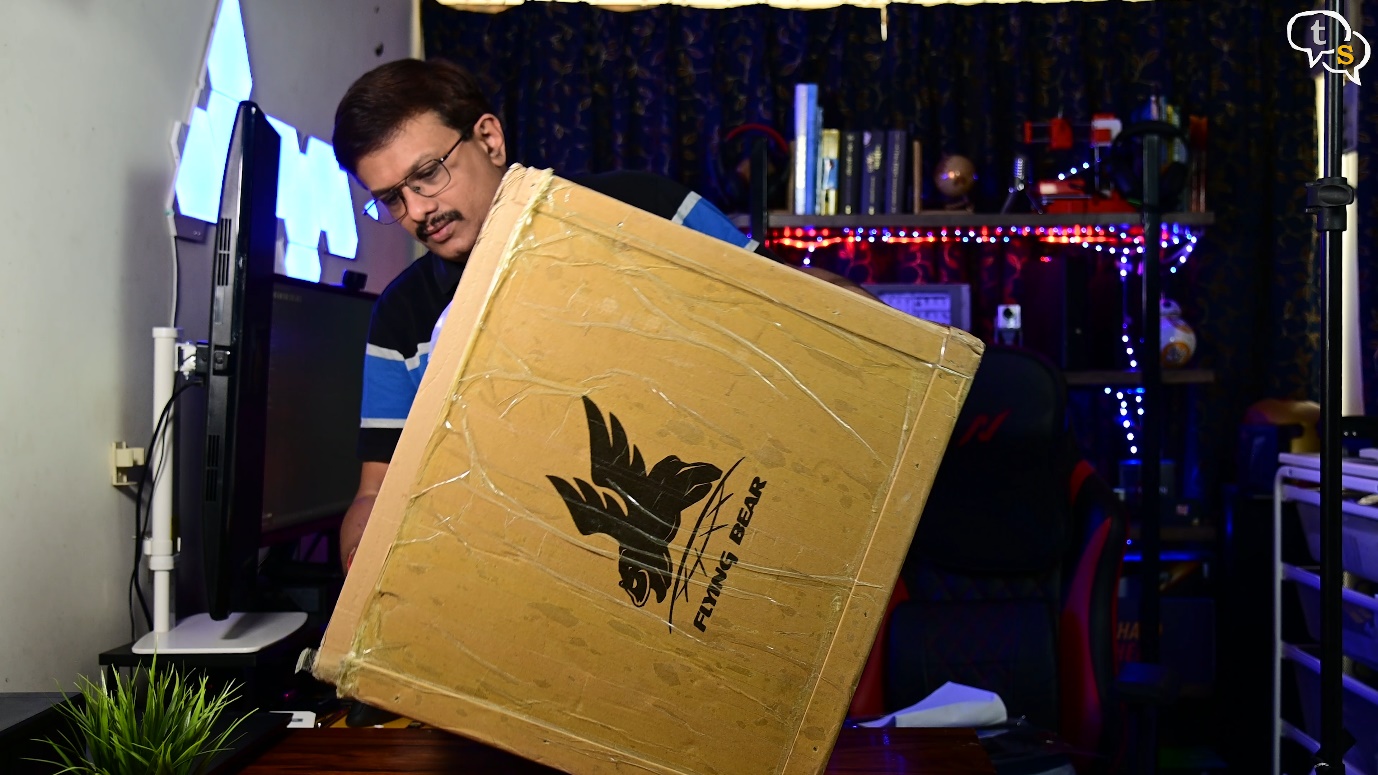
I’m looking for the best way to get the printer out of the box. I thought of titling the box sideways first and getting it out,
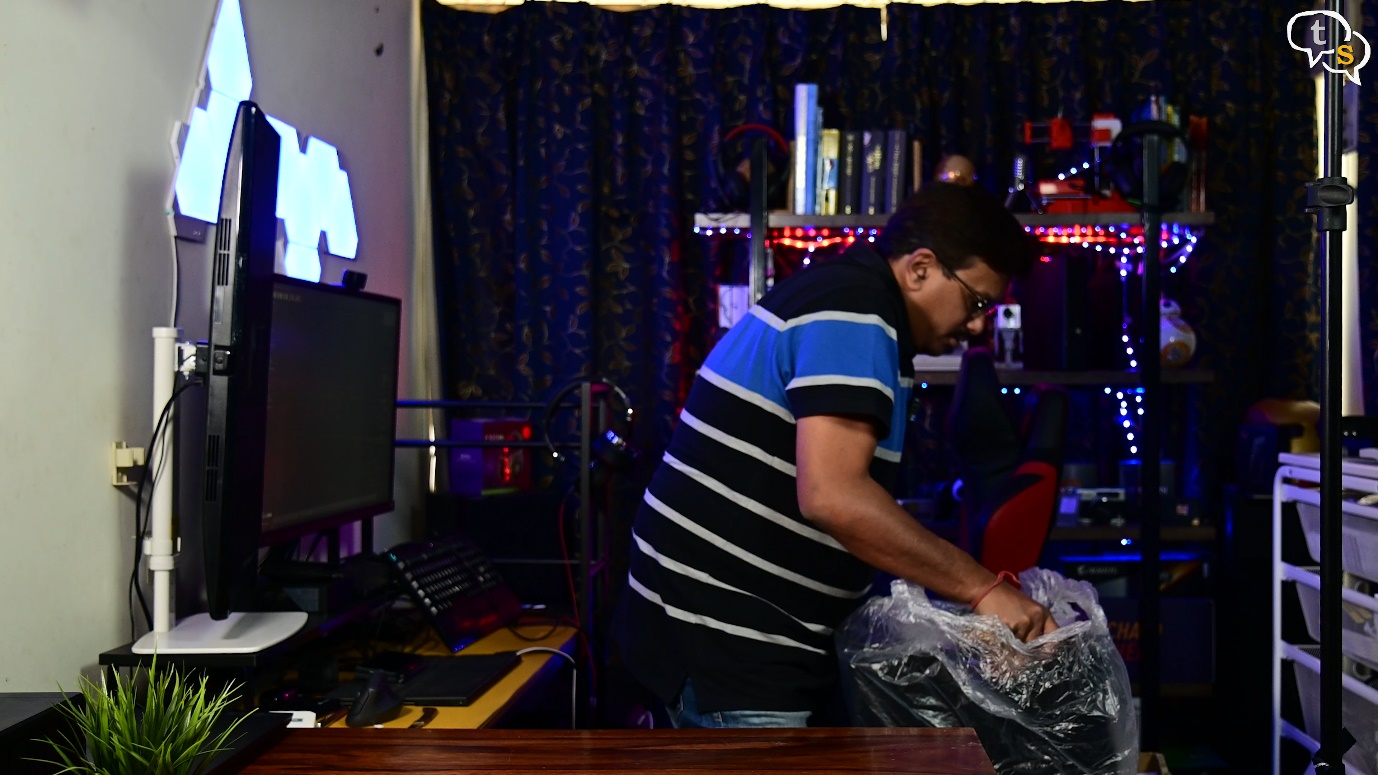
but the easiest method was to just pull the printer out from the top.
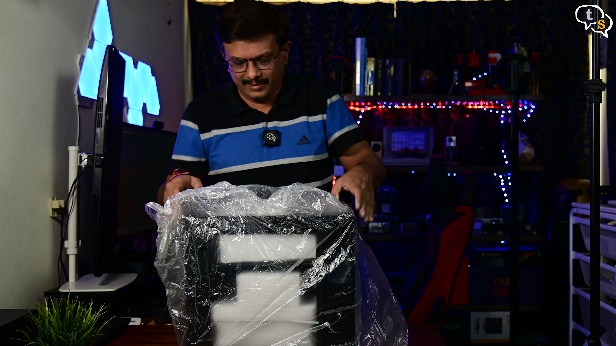
Lucky, it’s mostly put together with only a few parts to be added on.
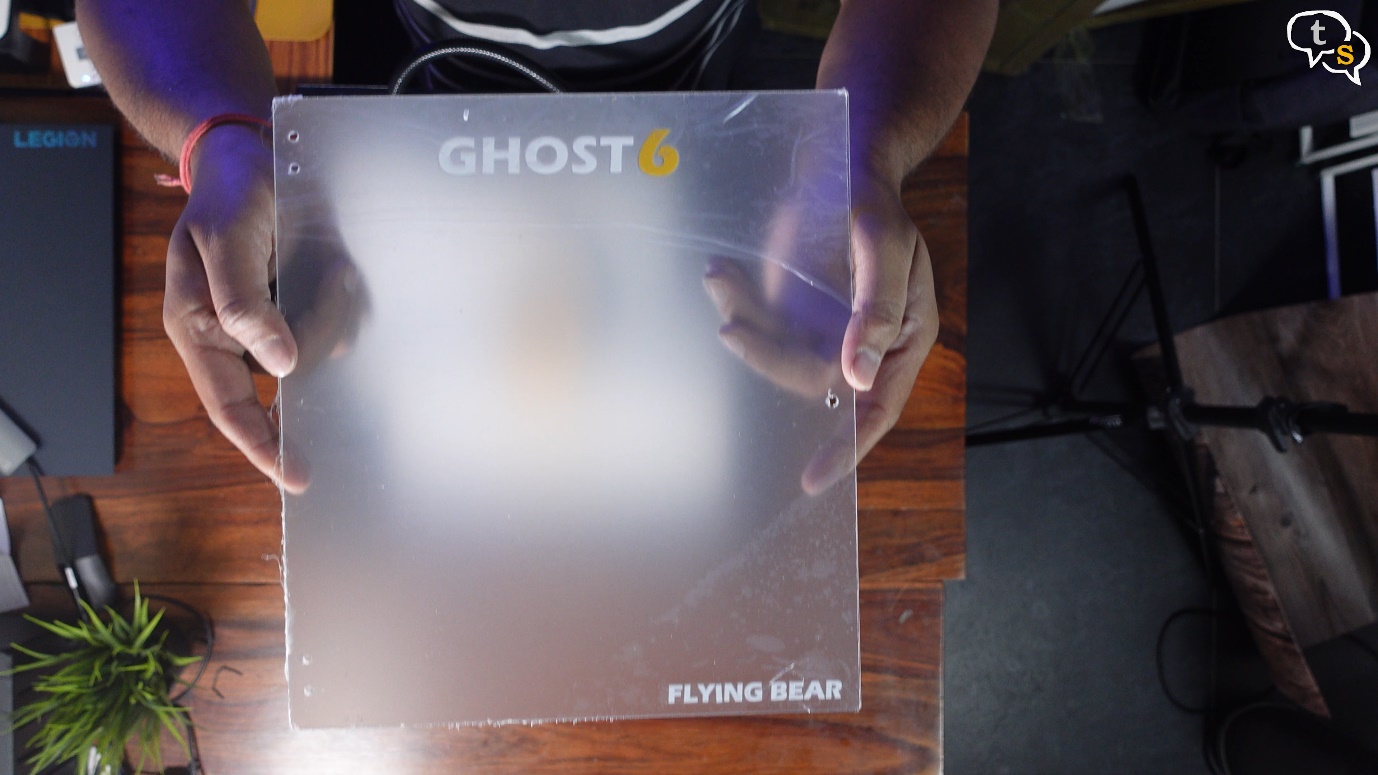
Here’s the Acrylic front door to the printer, I will be installing that later.
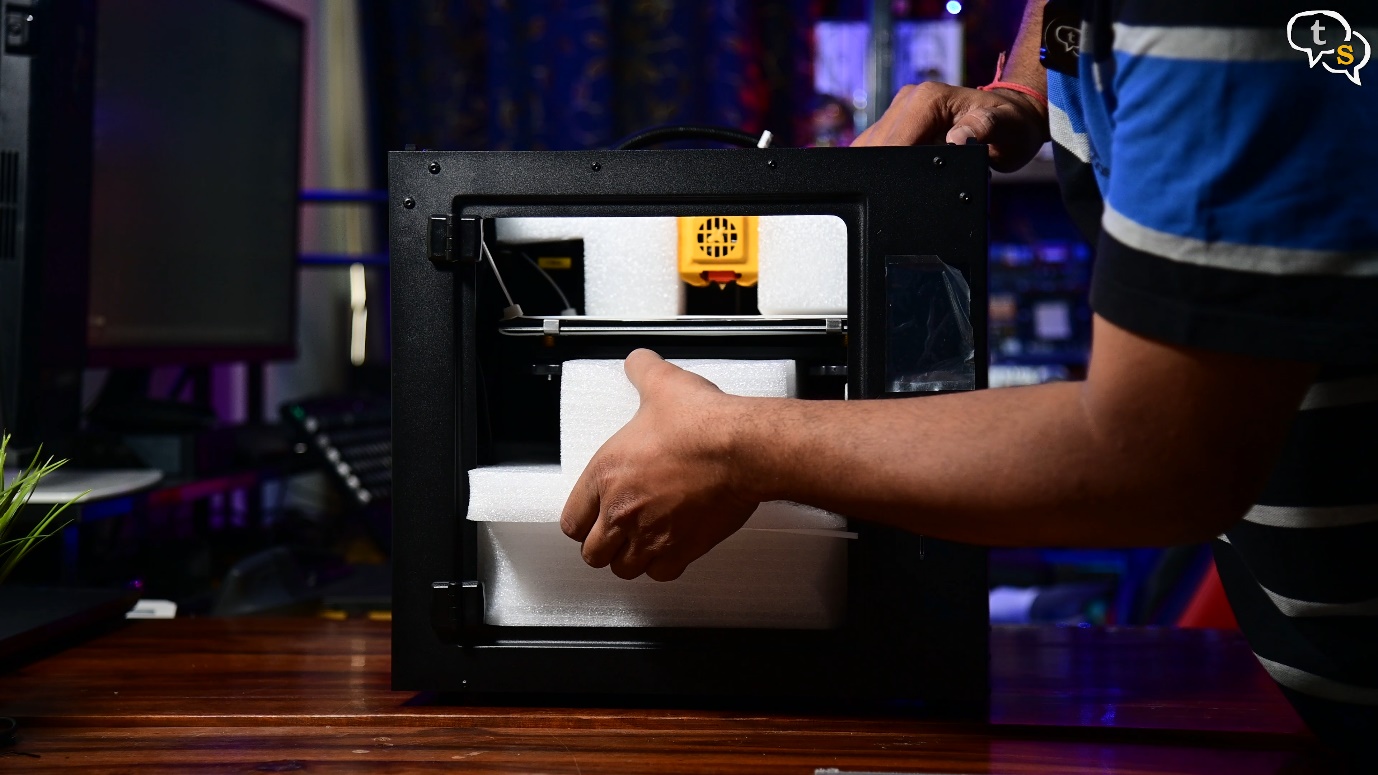
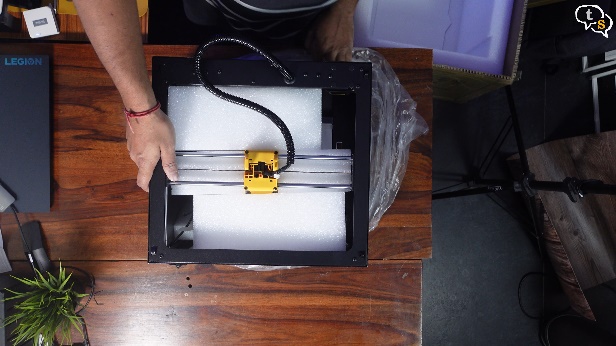
Get all the foam out, it’s well protected, with individual pieces for each section.
This foam contains the tools, manuals, screws etc.
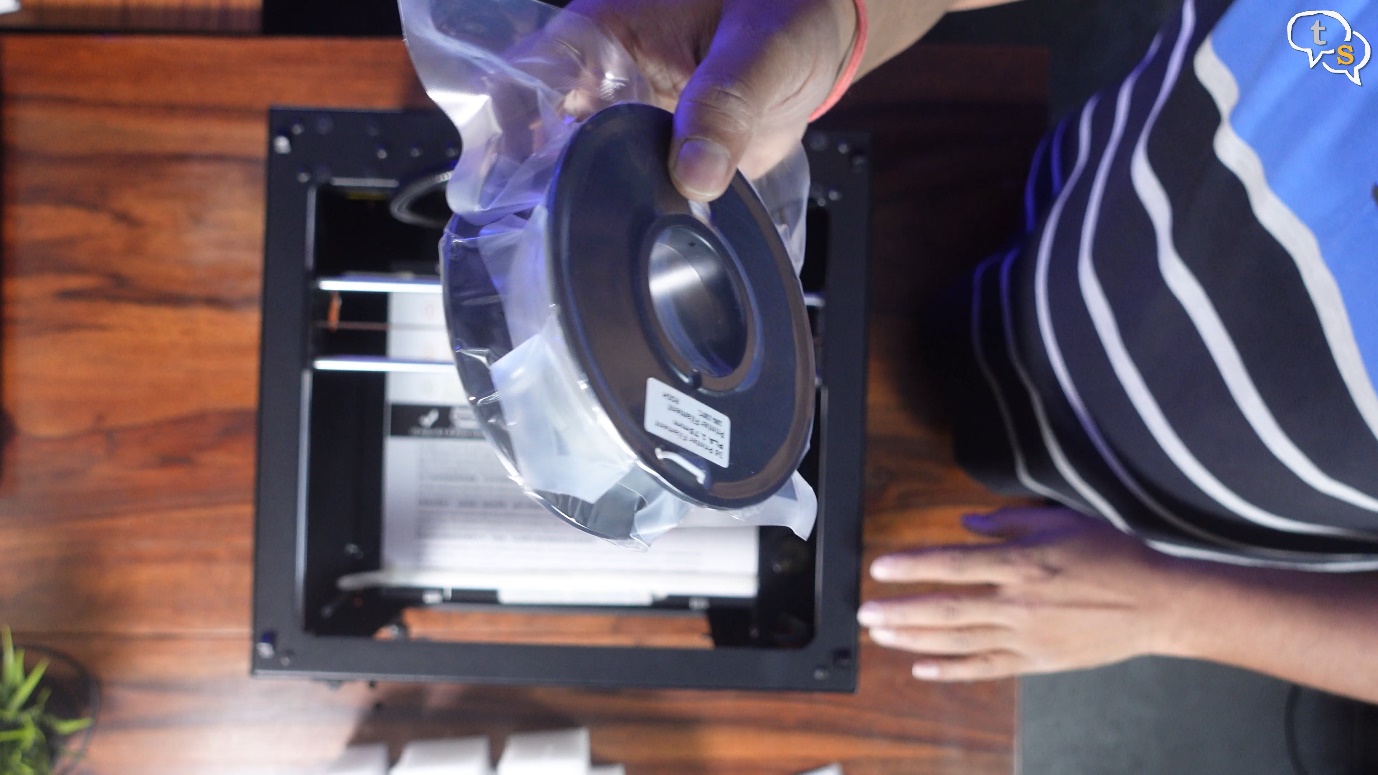
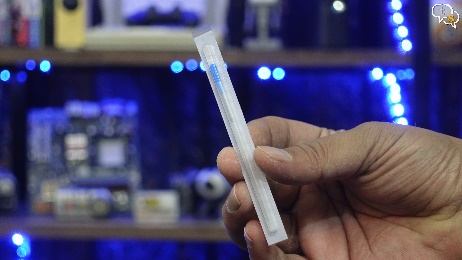
The printer comes with a tiny roll of filament, enough to get us started and test the printer.
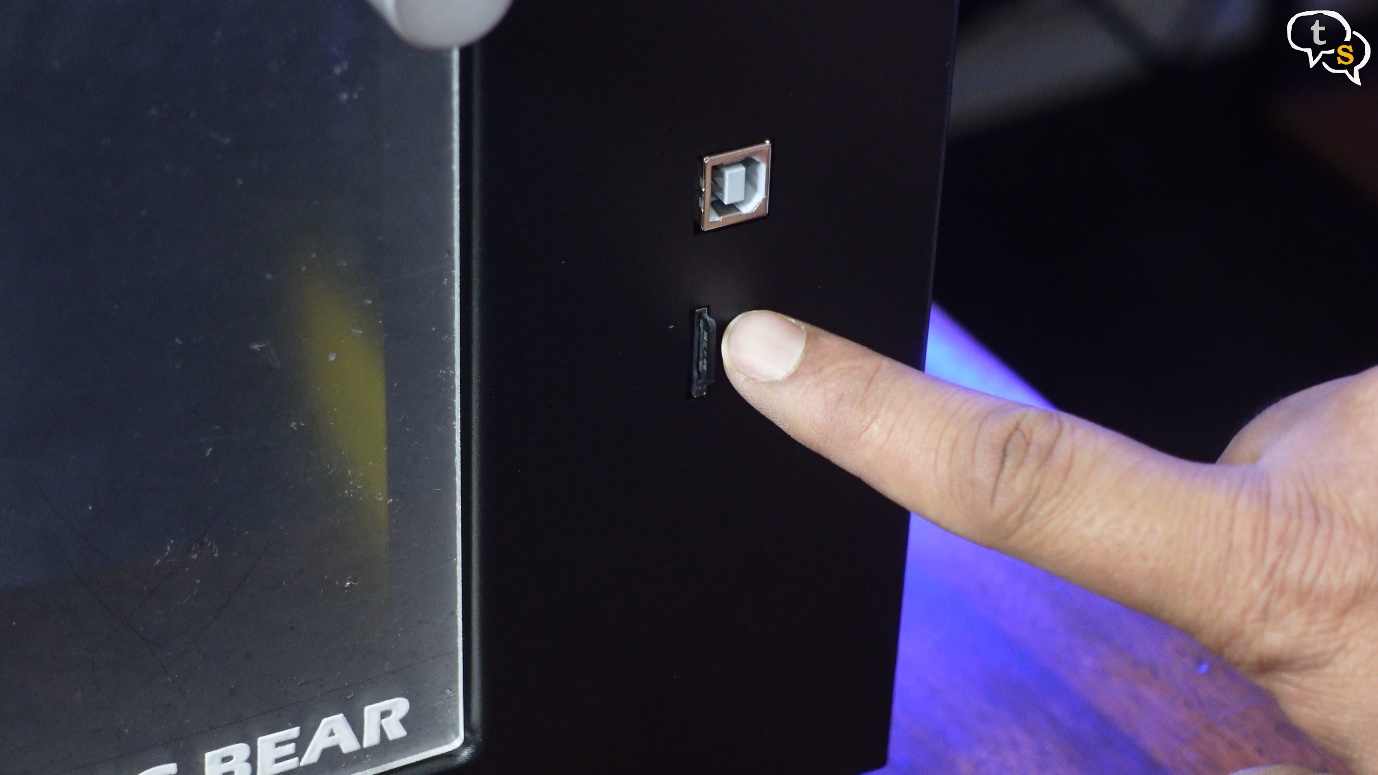
A usb-A to Usb-B cable is provided, for connected printing.
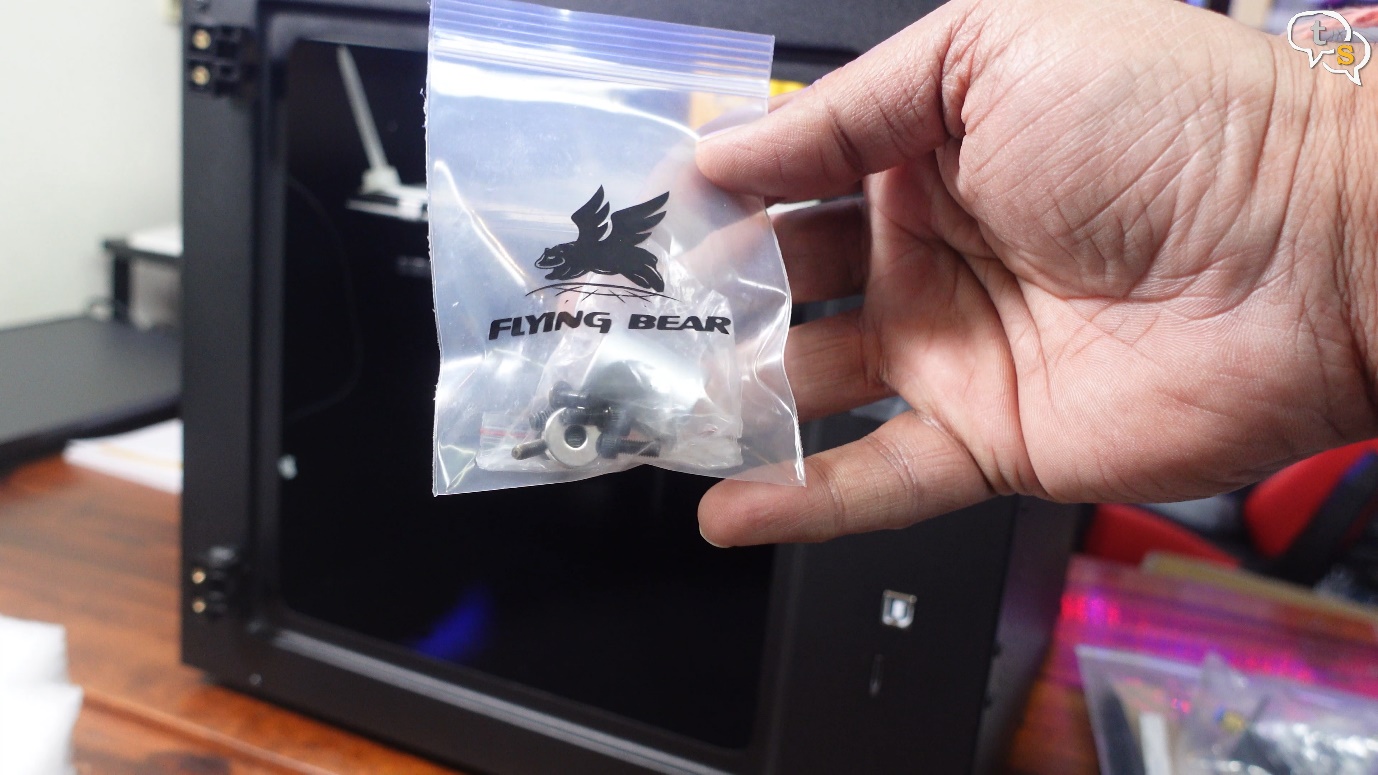
These are the tools, screws and
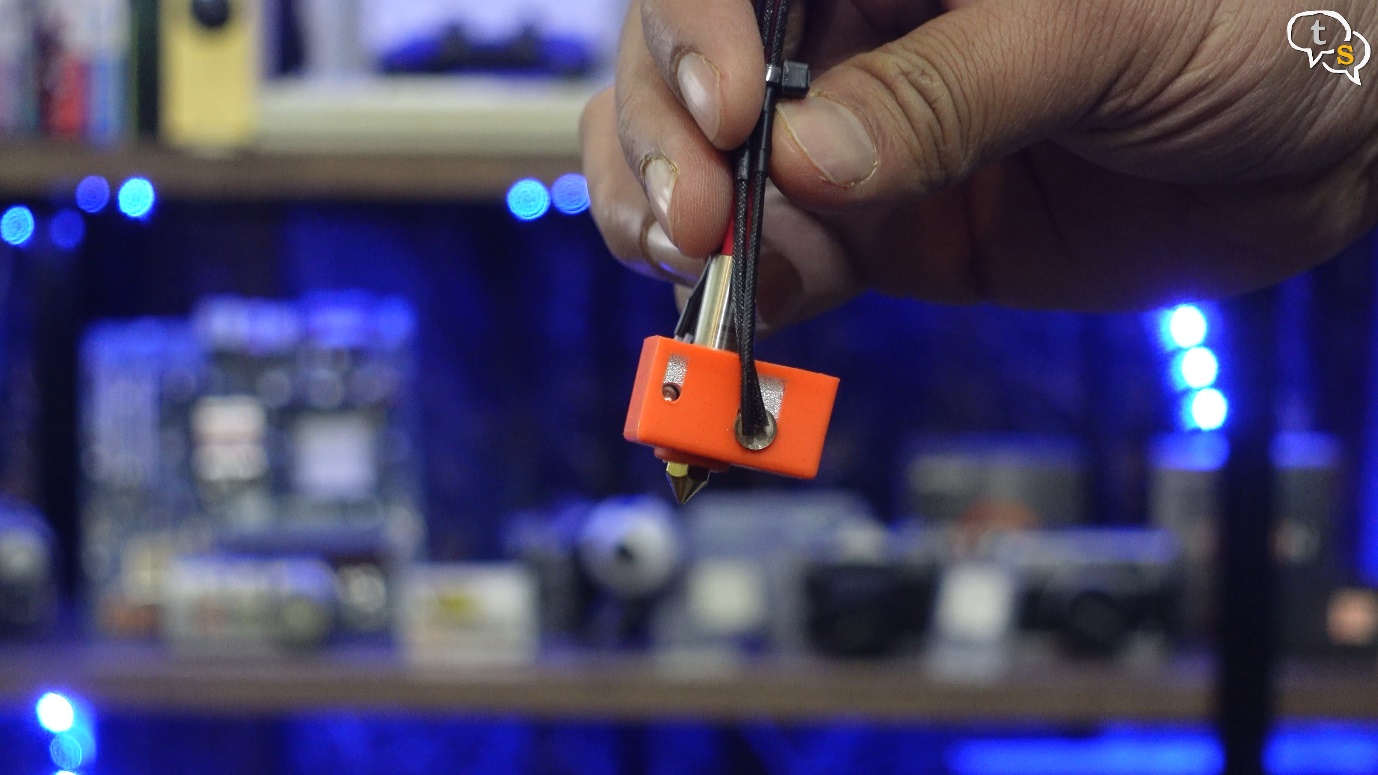
we have an extra nozzle included too. Nice.
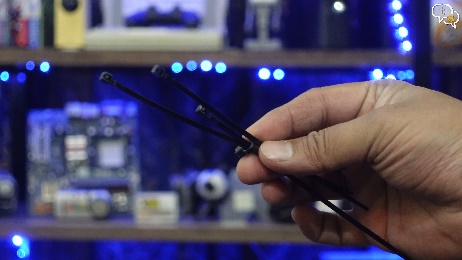
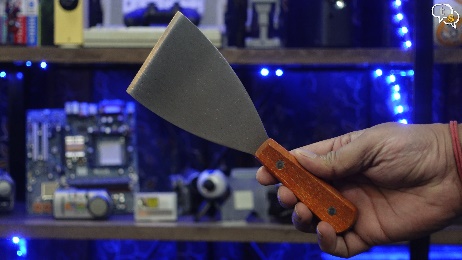
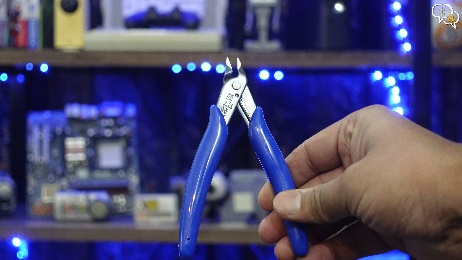
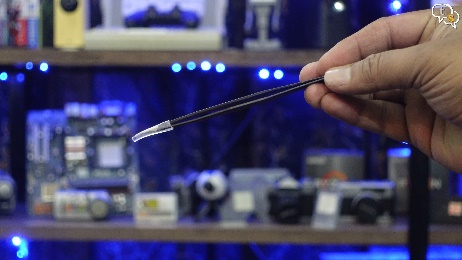
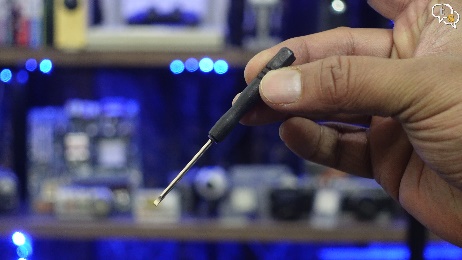
Zip ties, scraper, a cutter, tweezers, screwdriver, and a nozzle cleaning needle is also included.
Here’s the filament guide and this also includes the filament detection sensor.
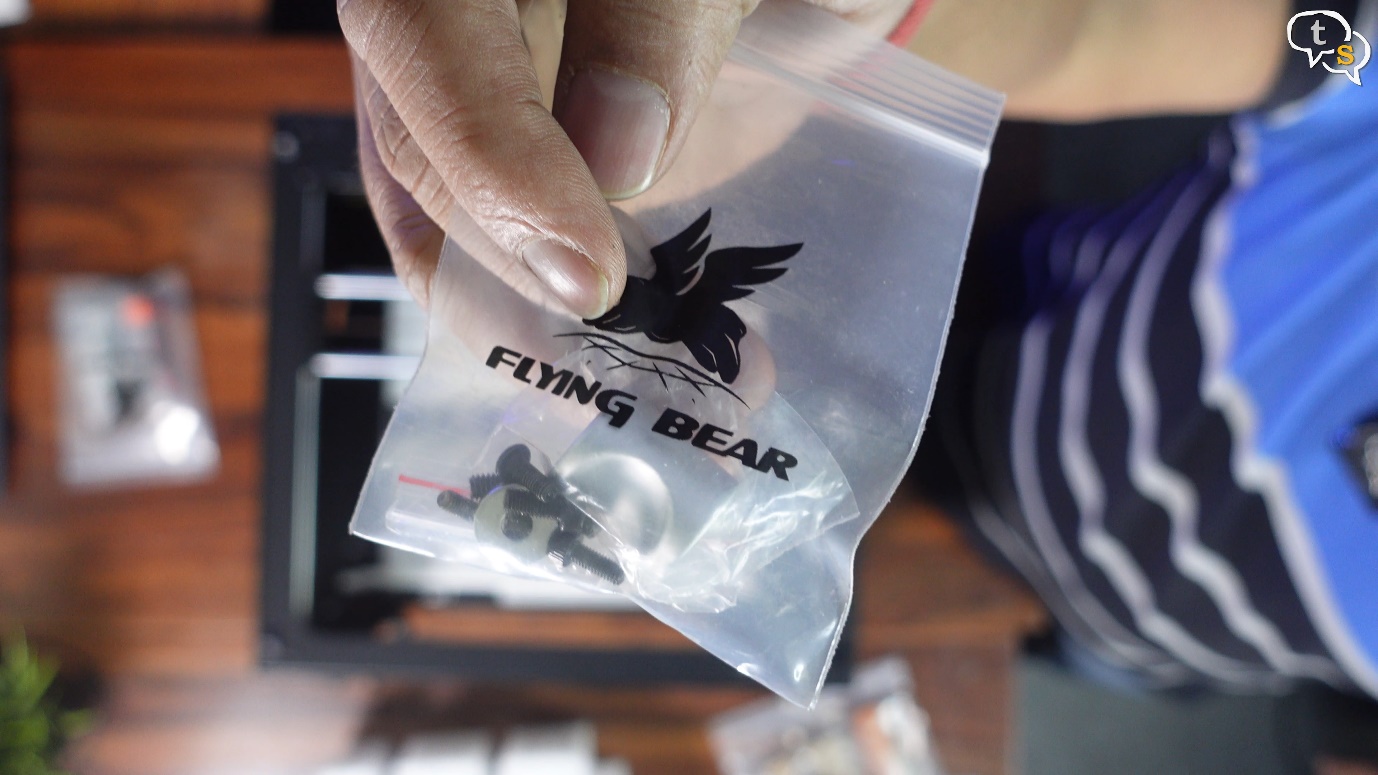
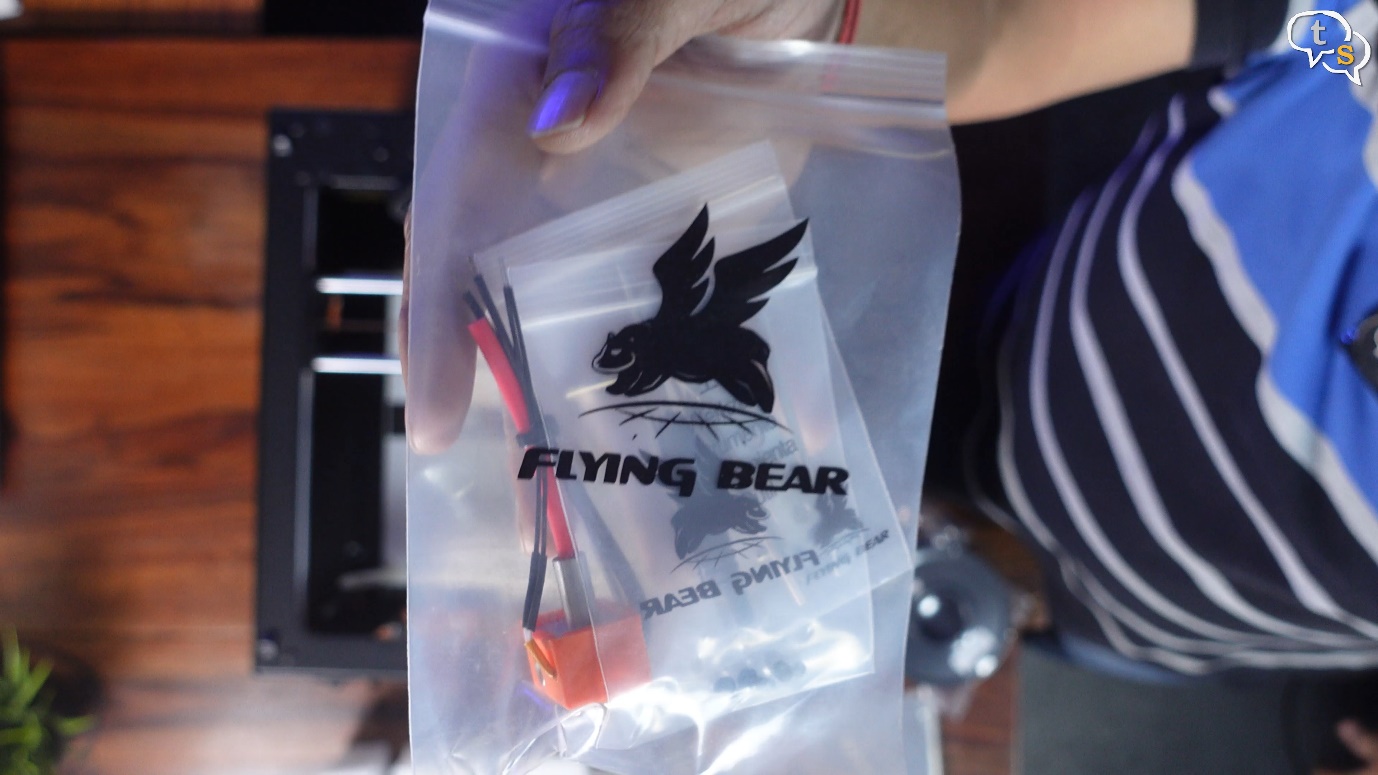
These are screws for the door and also included is the handle. I like the way everything is separated into bags for easy access.
Power cord, it has flat pins, so you might need a converter.
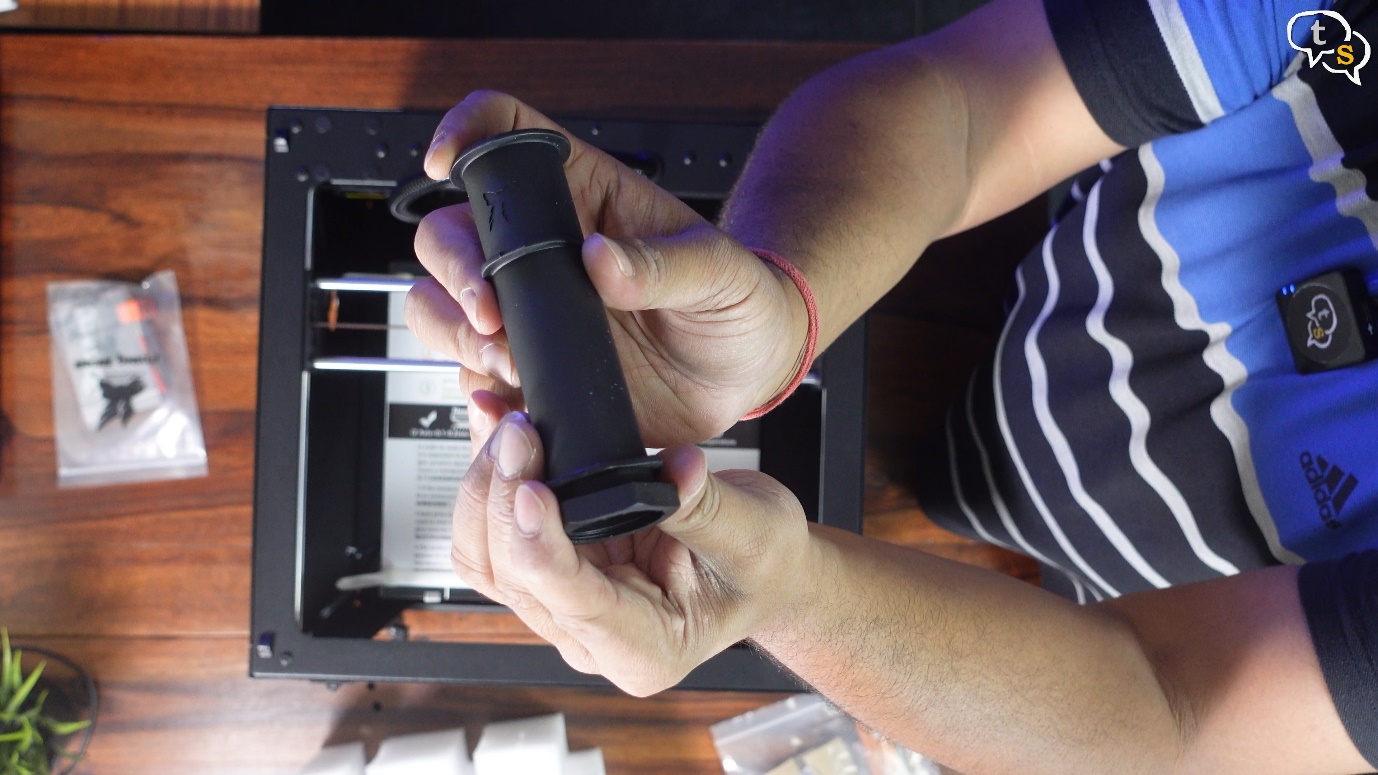
Filament holder, it unscrews like to ease installation onto the printer.
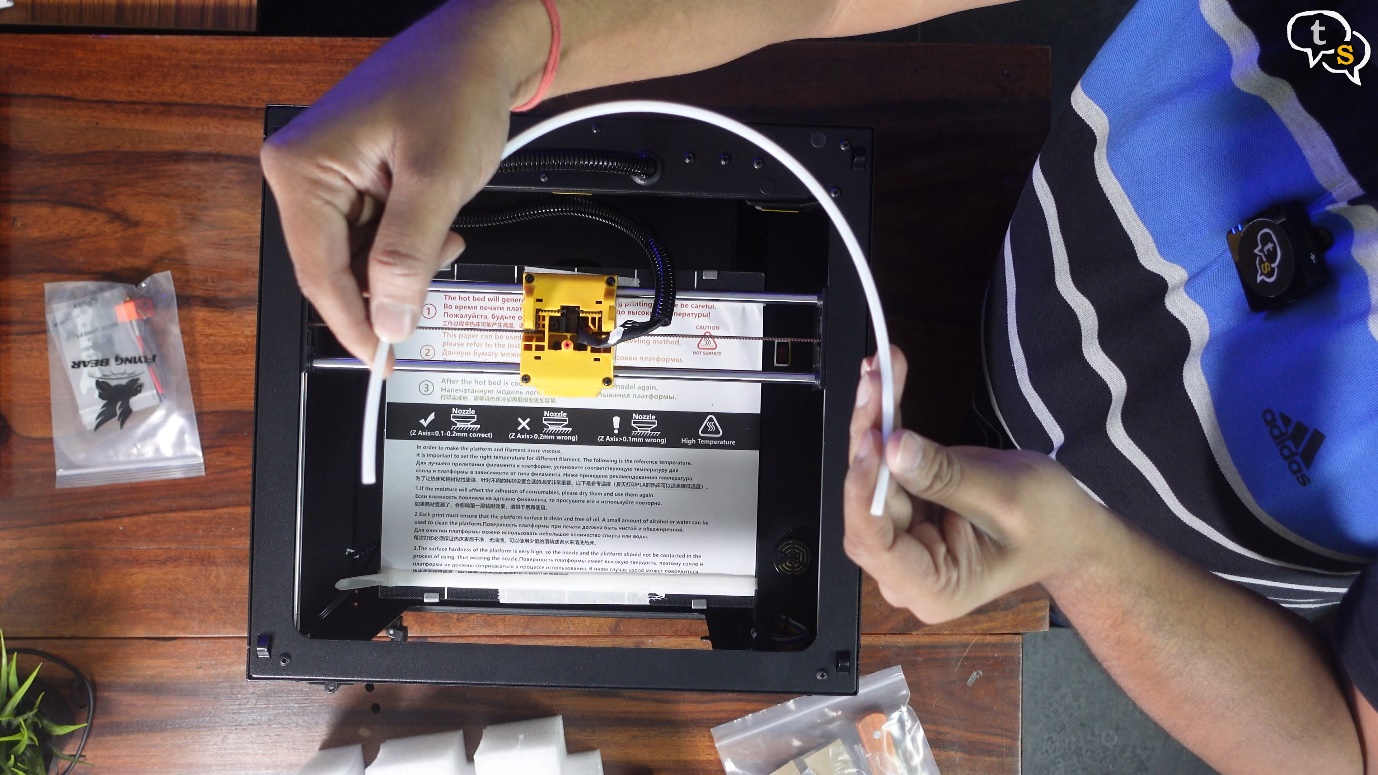
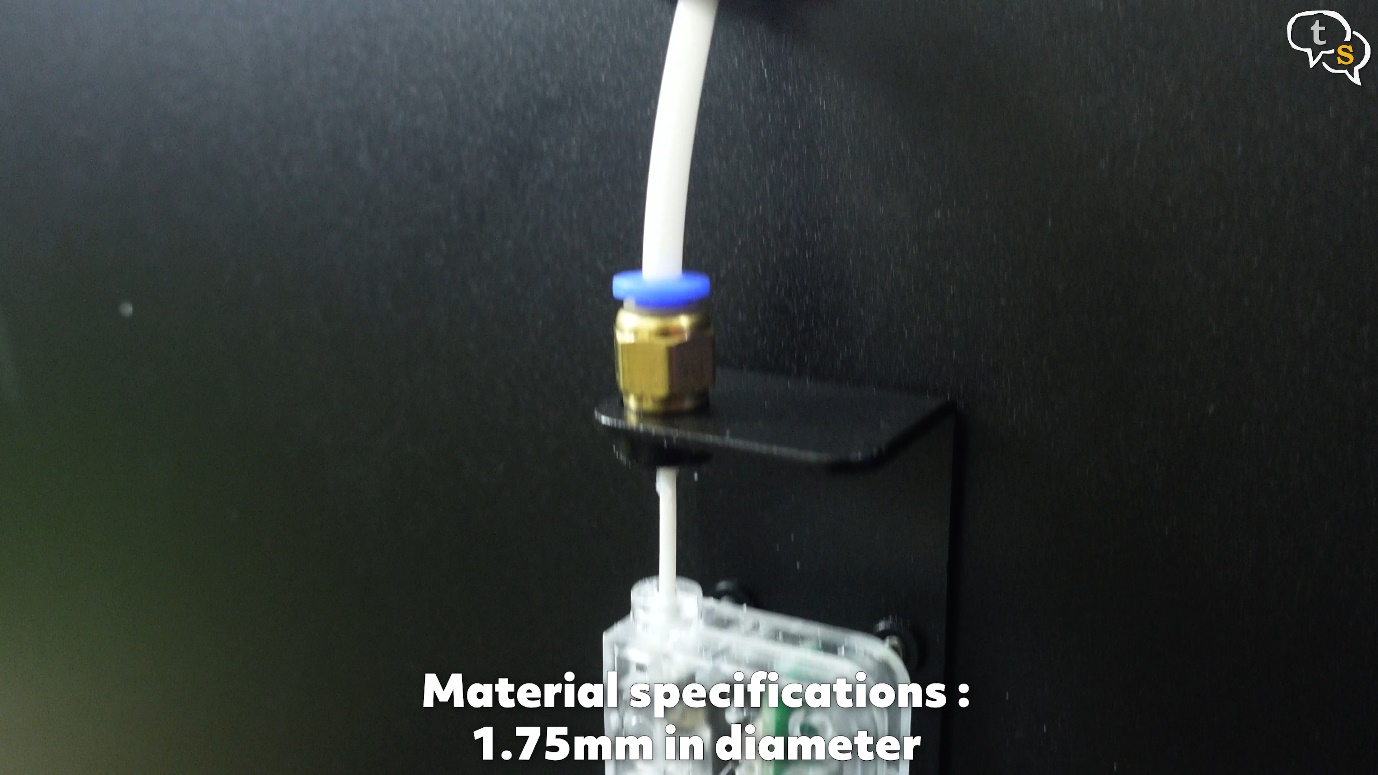
Teflon tube which guides the filament into the extruder.
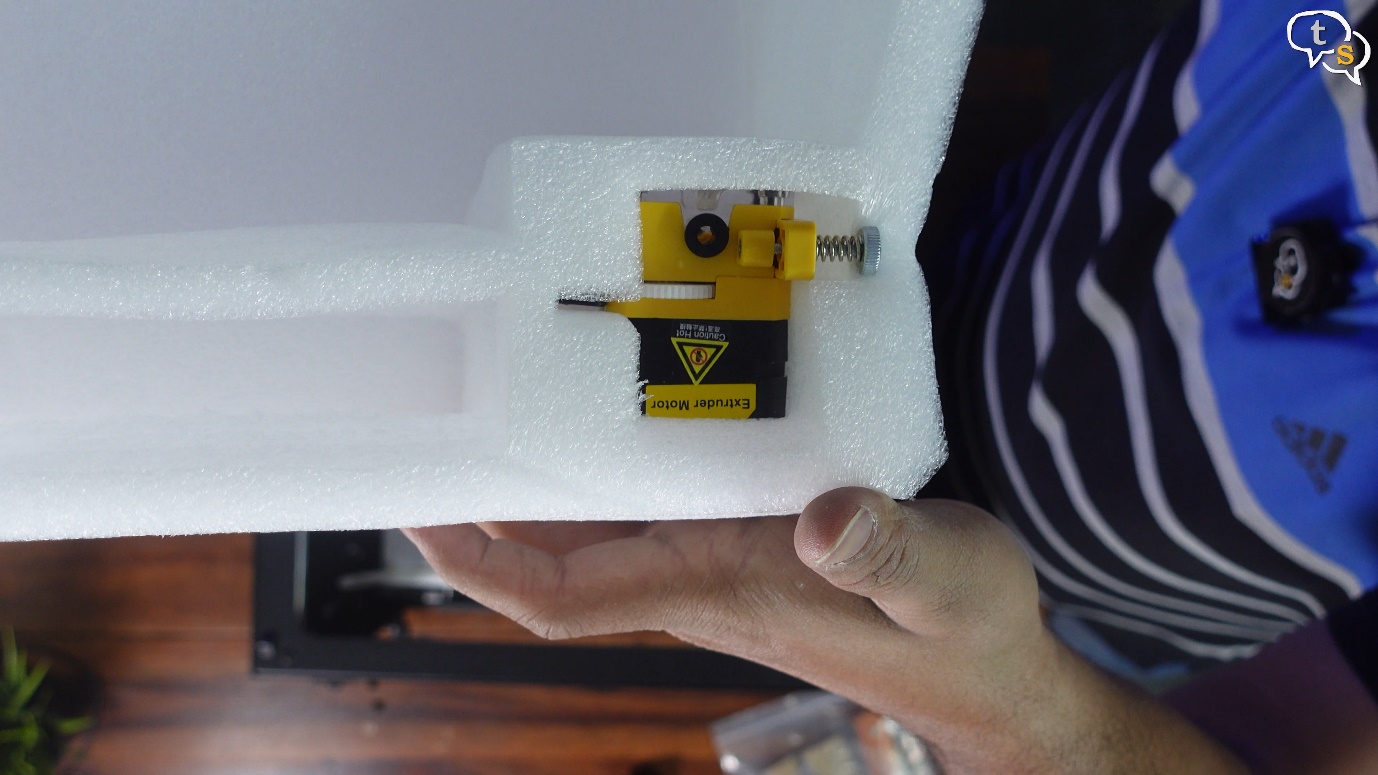
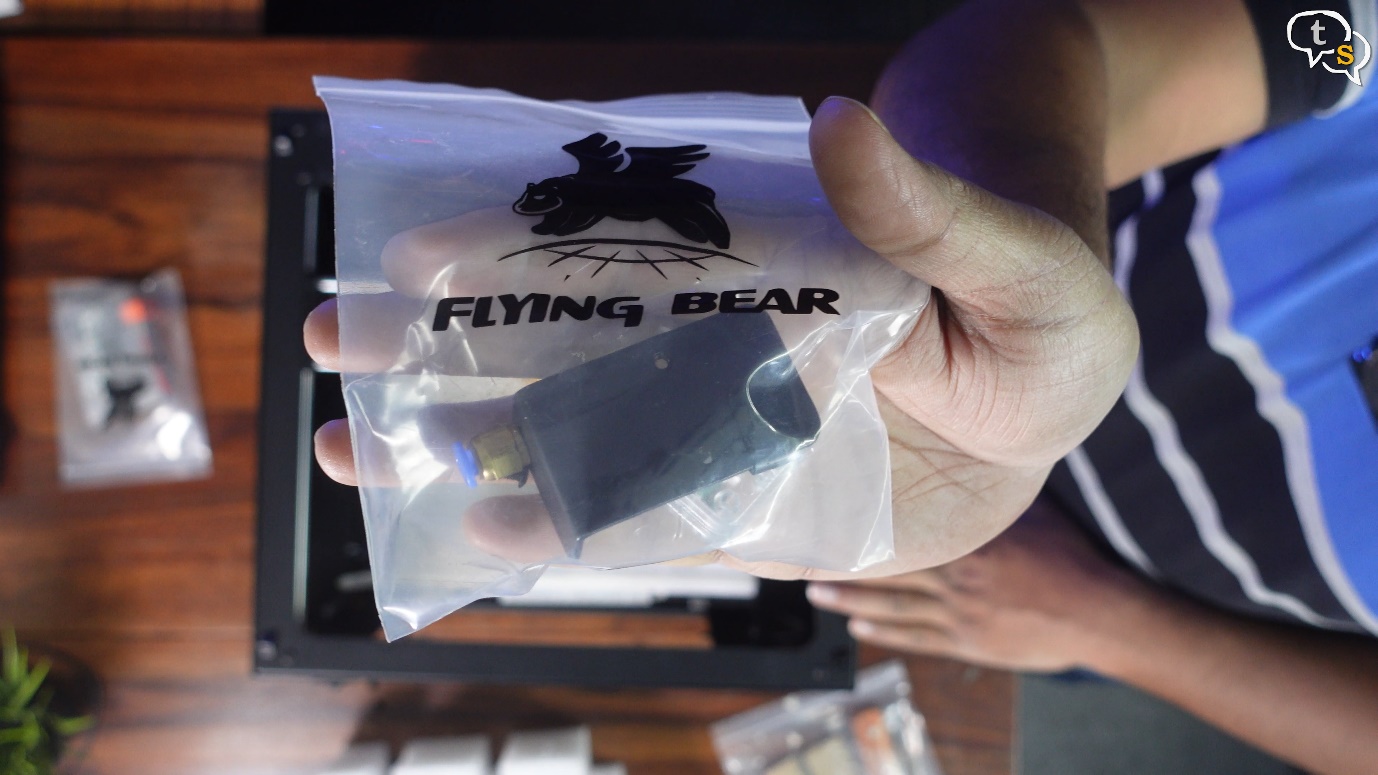
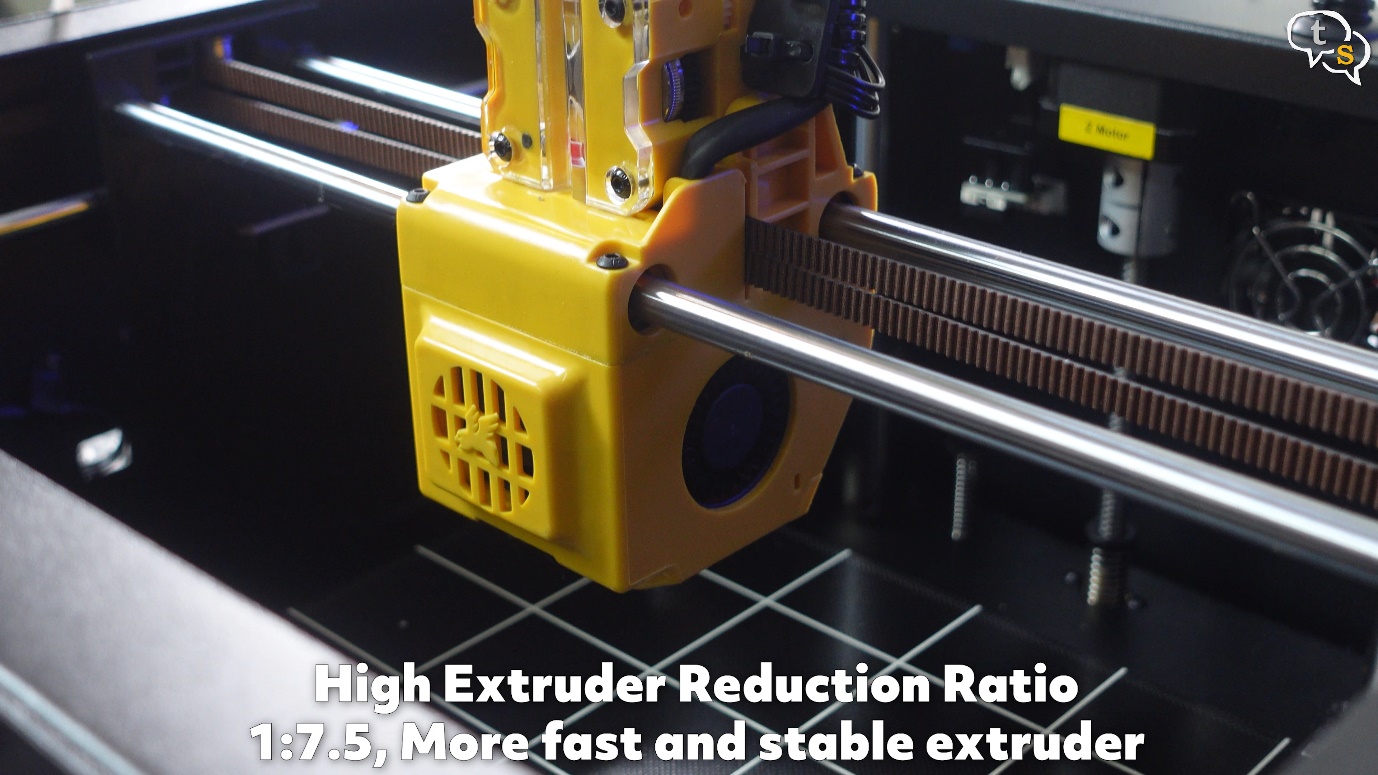
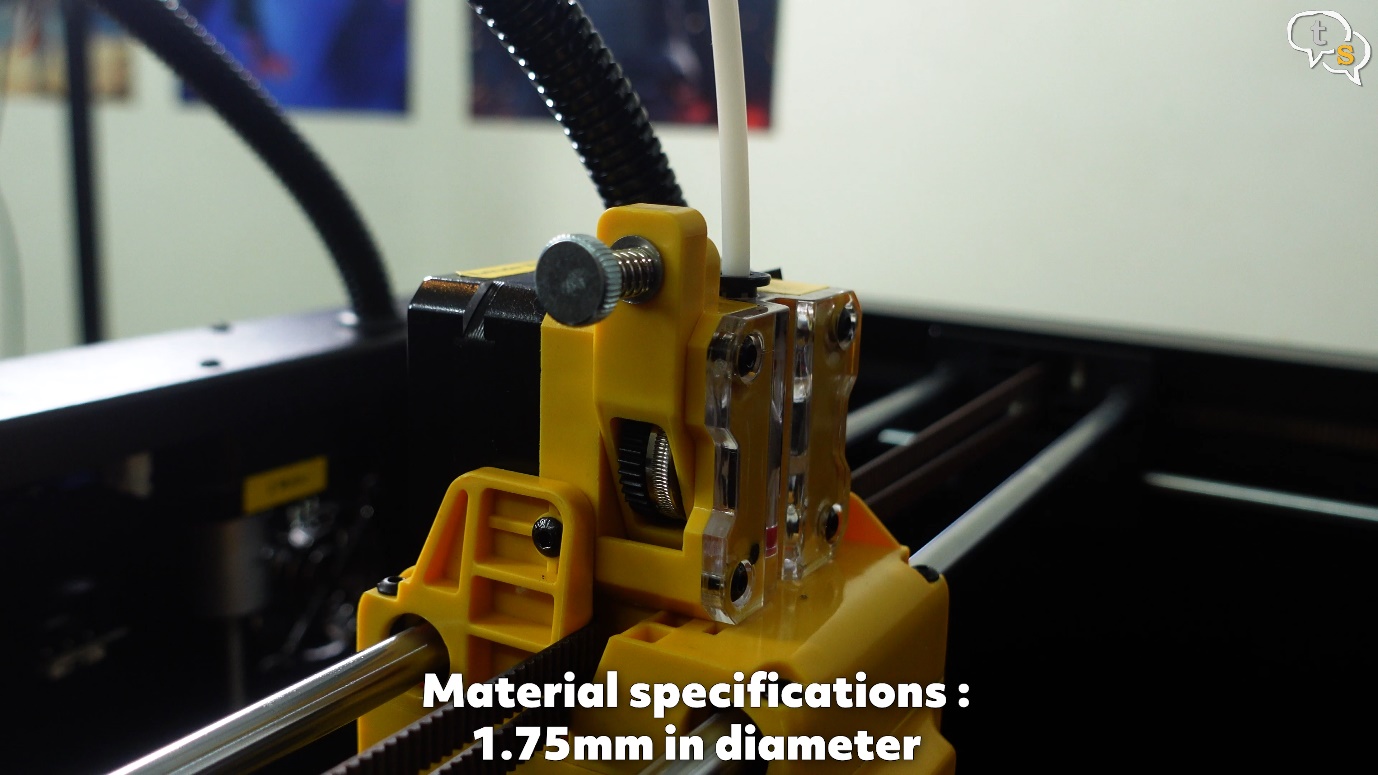
This is the extruder motor, which is a dual drive extruder.
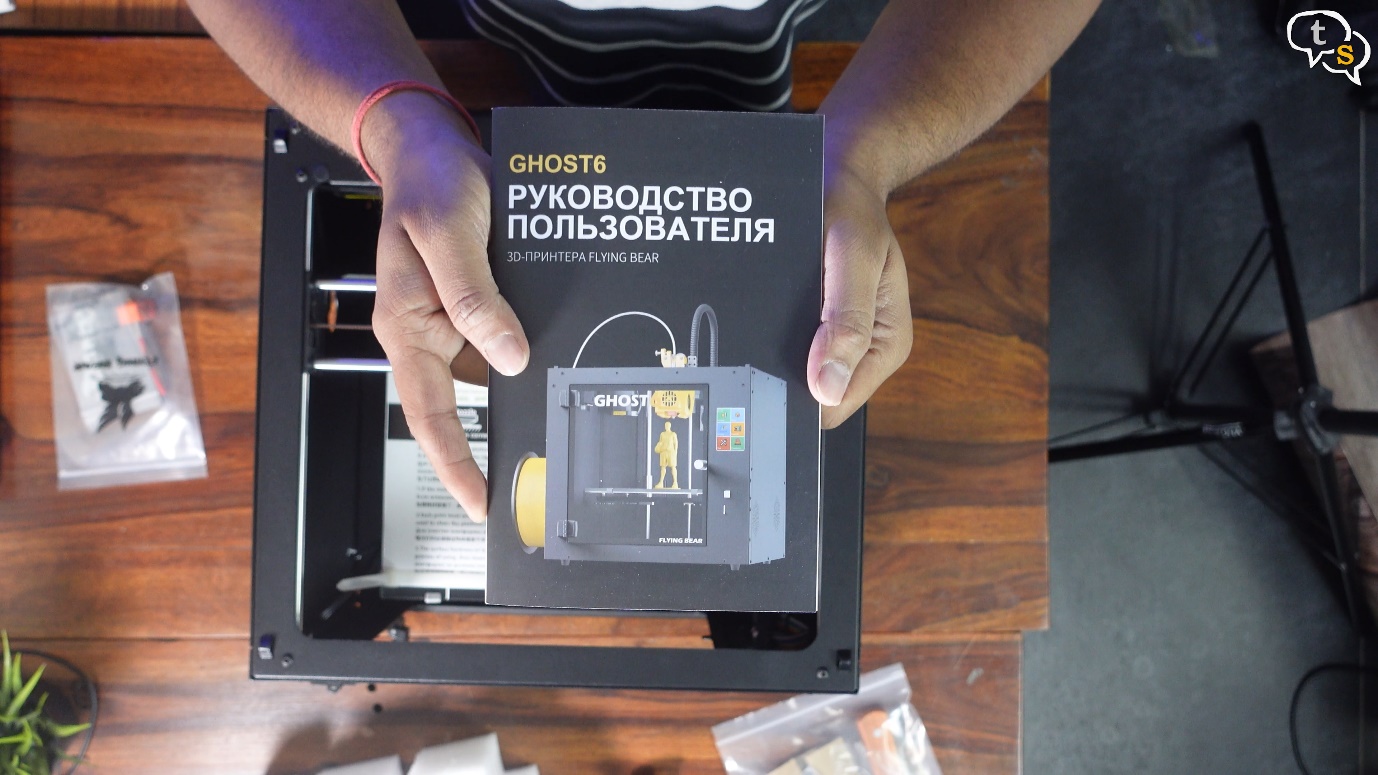
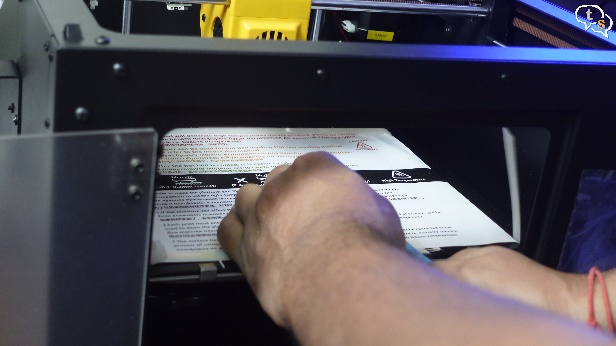
And here’s the manual, which is in russian.
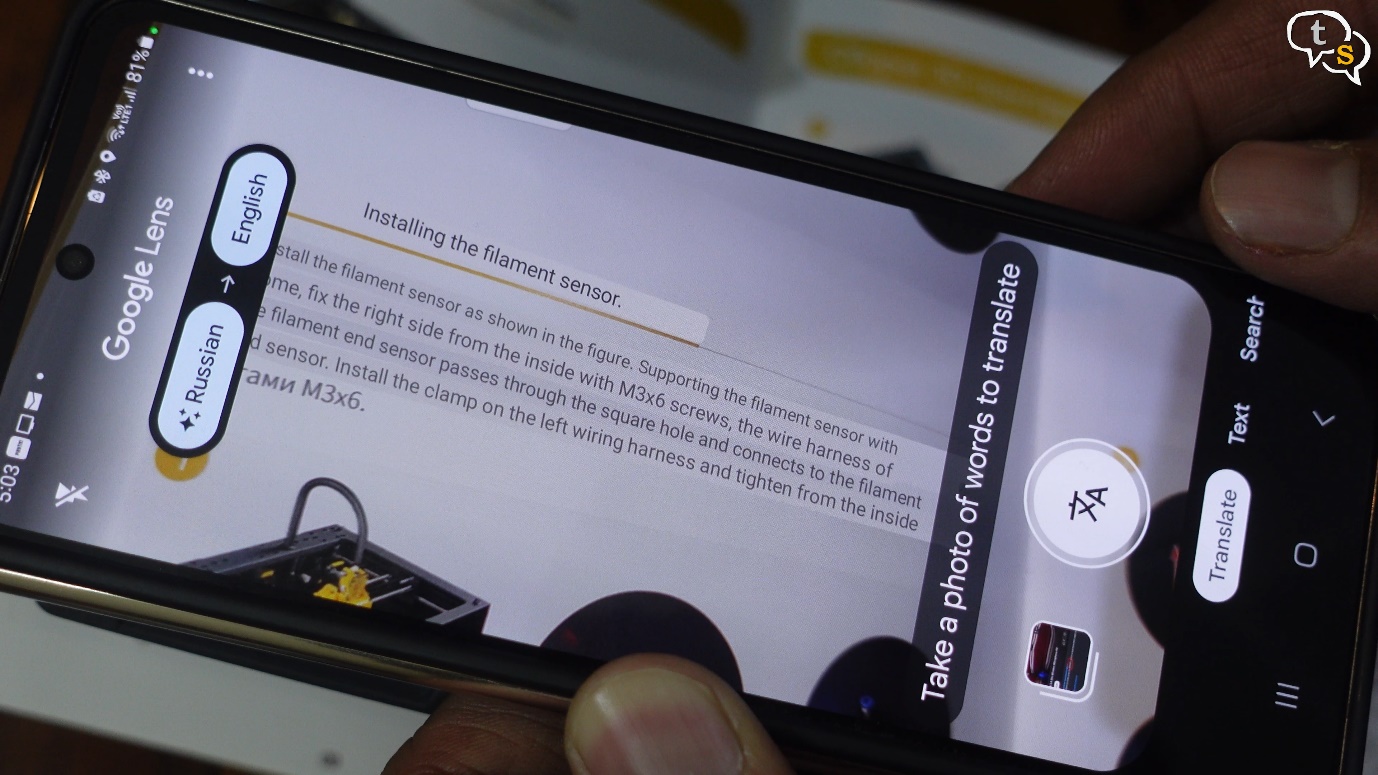
Thank god for google translate, if not I would not be able to make head or tail of this.
Let’s start setting up the printer, first with the acrylic door.
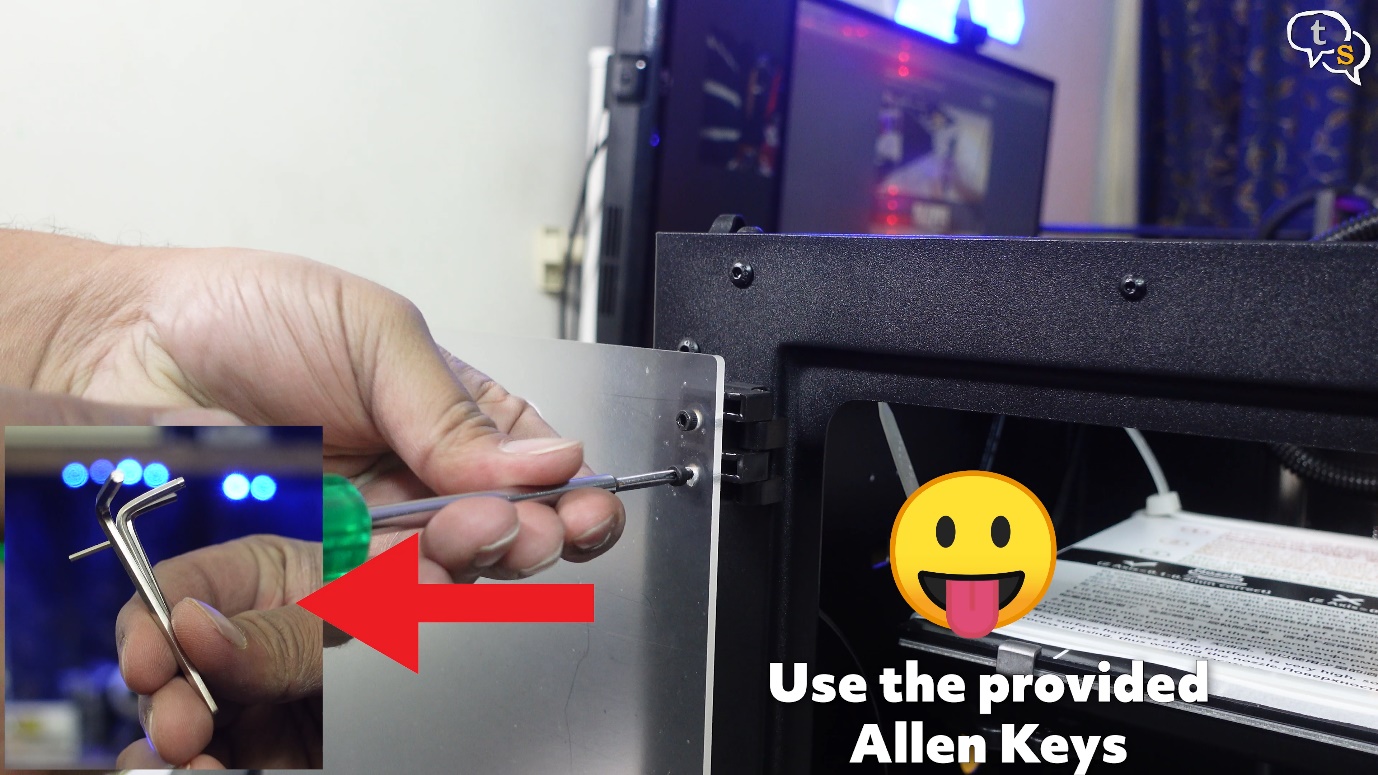
Screw the door onto the hinges provided on the printer,
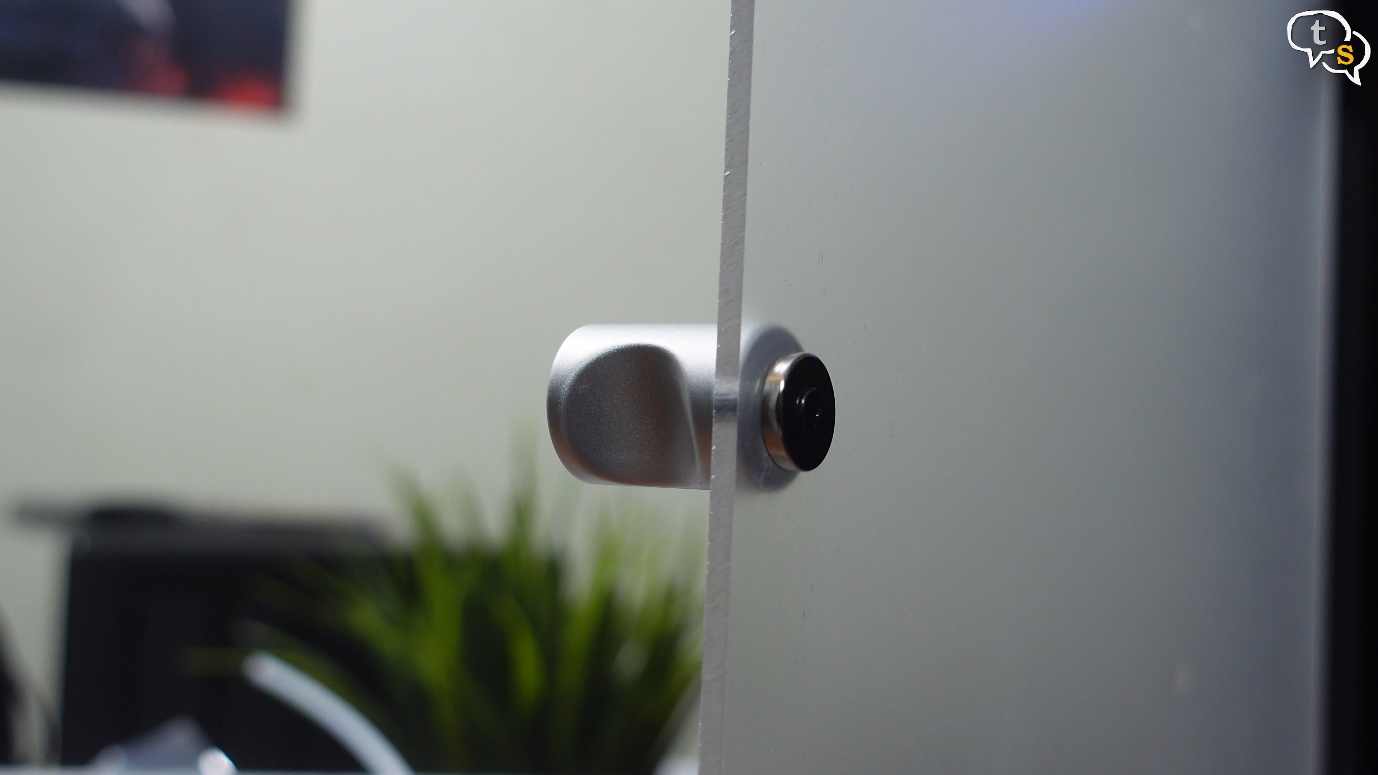
add the knob and the door’s done.
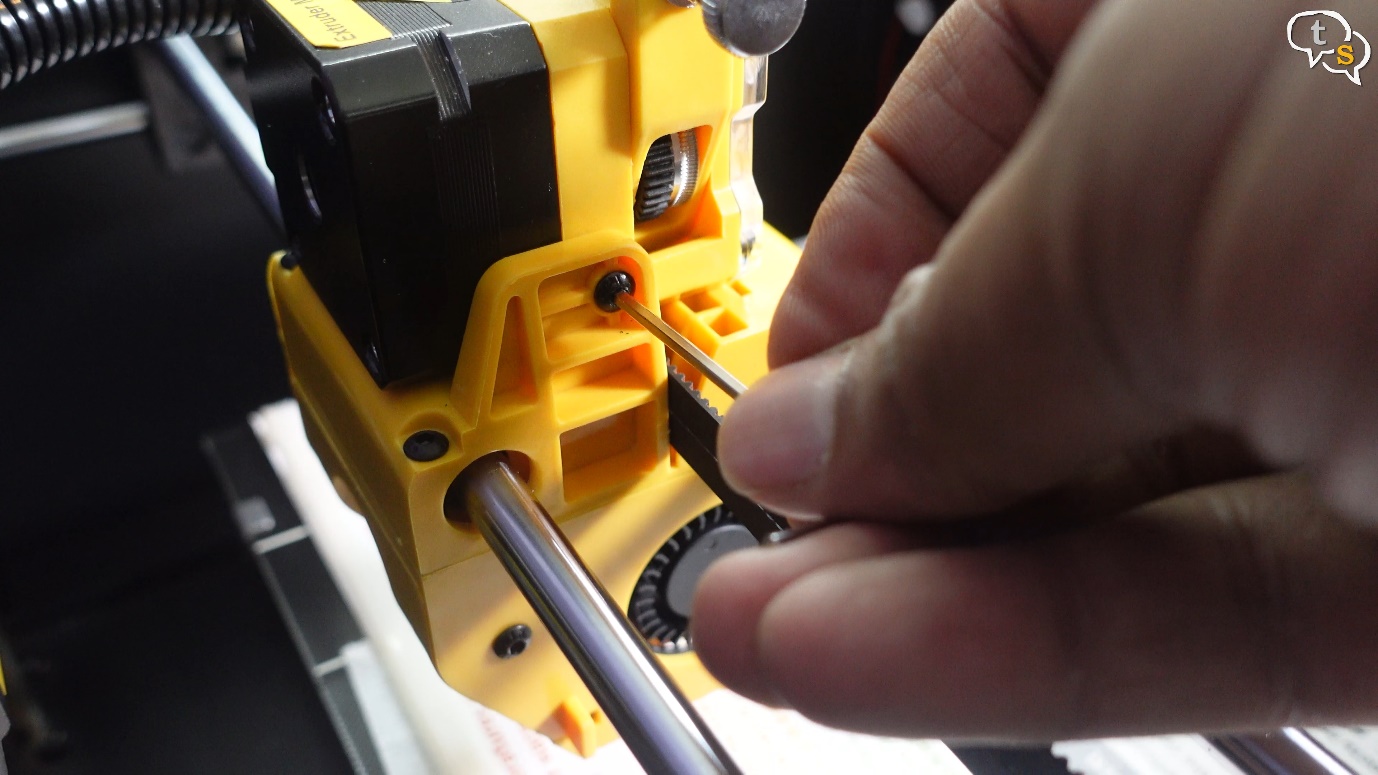
Use the provided Allen keys and not a screwdriver like I did.
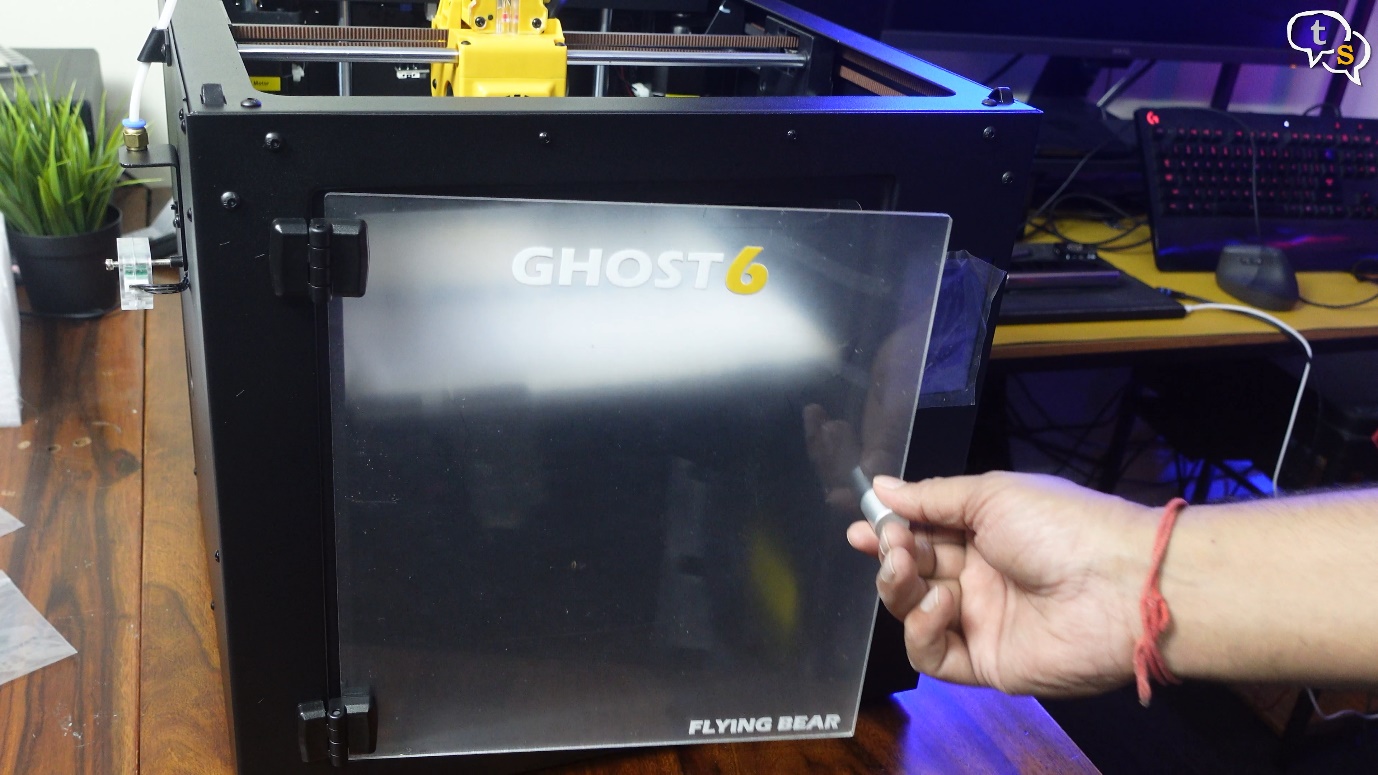
The magnet keeps the door shut nice and tight.
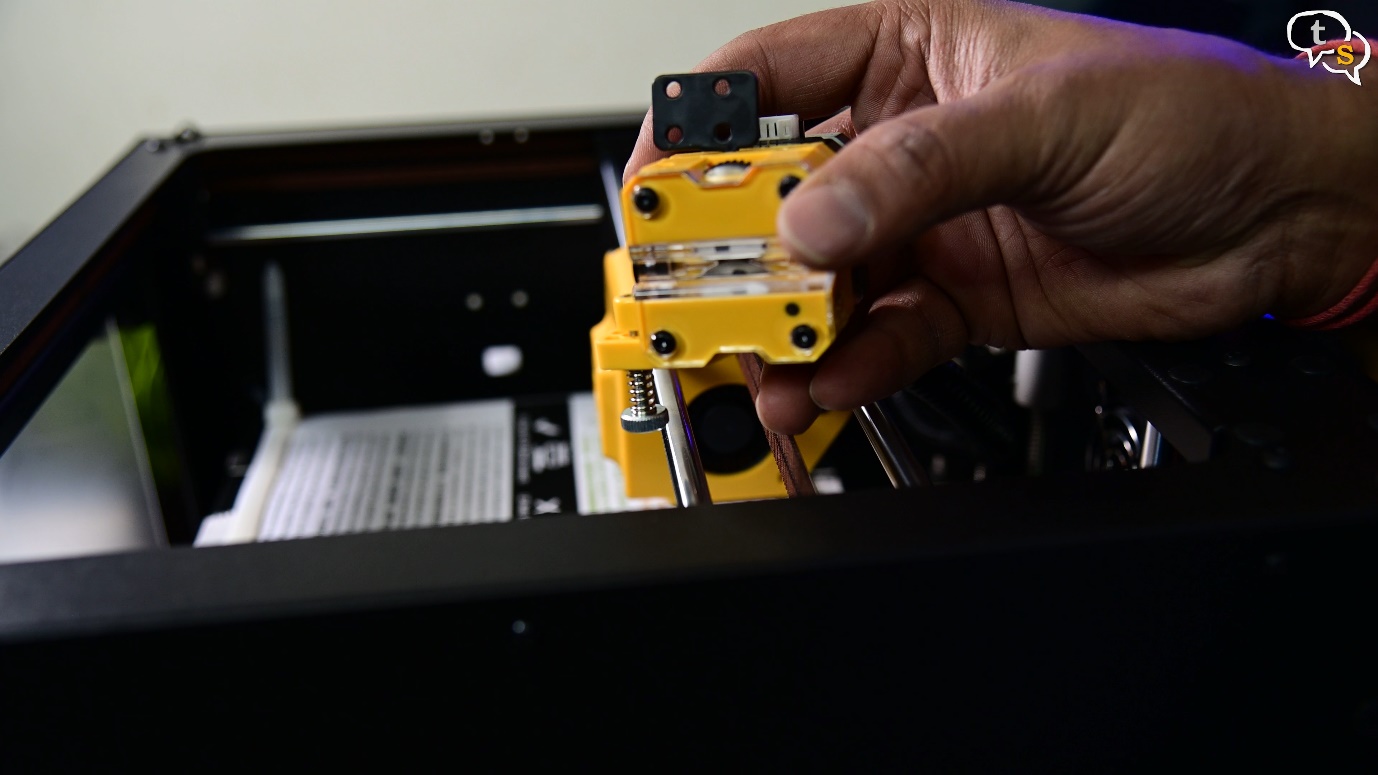
Now for the extruder motor.
We need to align the filament feed with the lower hotend,
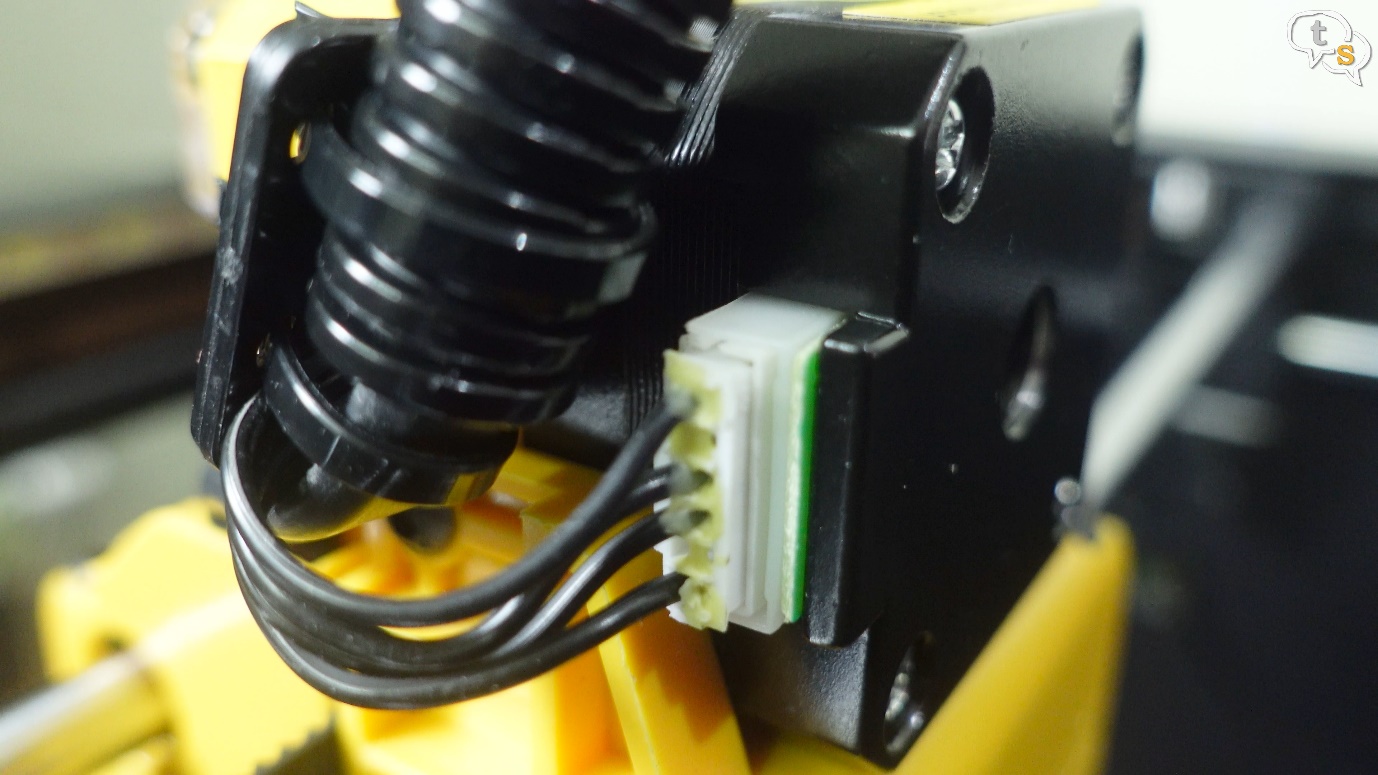
and this connector goes here.
Add the screws on two sides to secure it in place. Done.
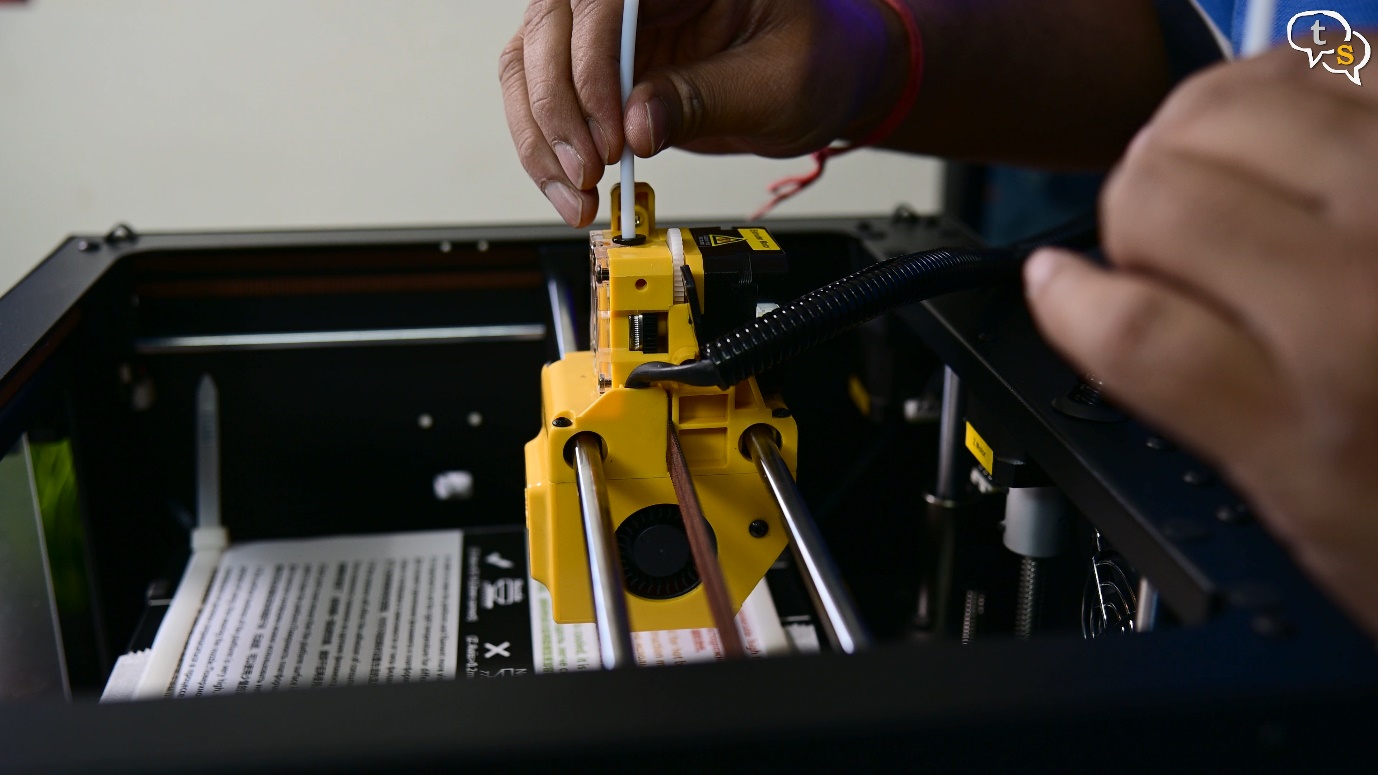
Now for the teflon tube, just push it in.
Secure the wires using the provided zip ties.
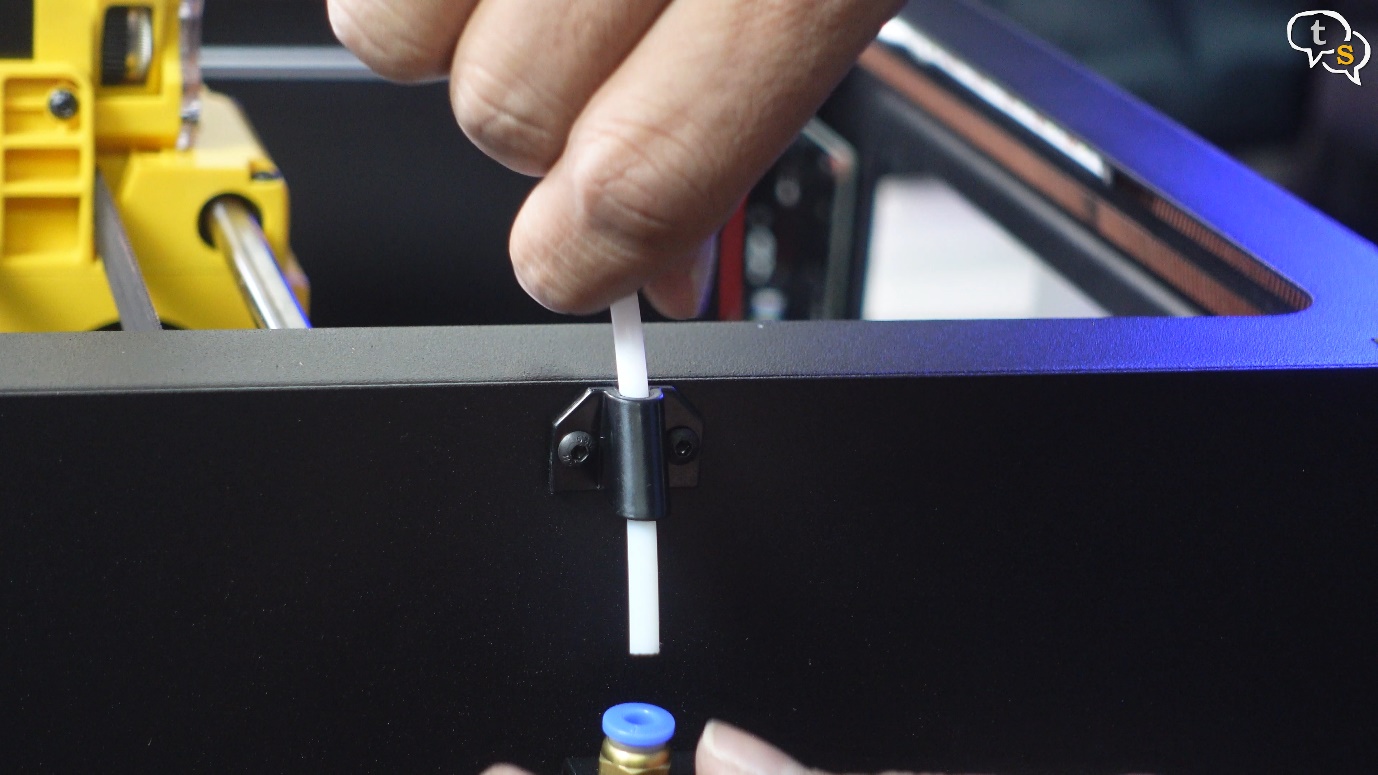
This little piece is used to guide the teflon tube into the filament holder, which I’m installing next.
You need to install the screws from within the printer and insert the teflon tube into the holder.
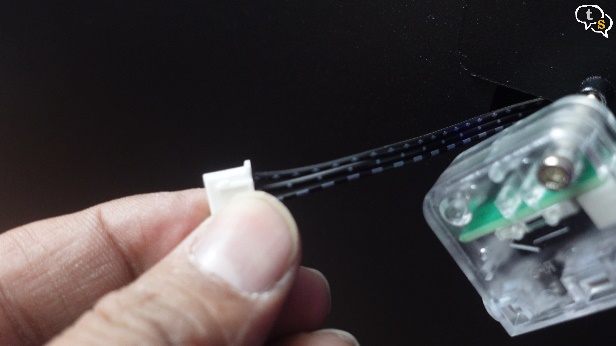
Guide the sensor wire out through the hole,
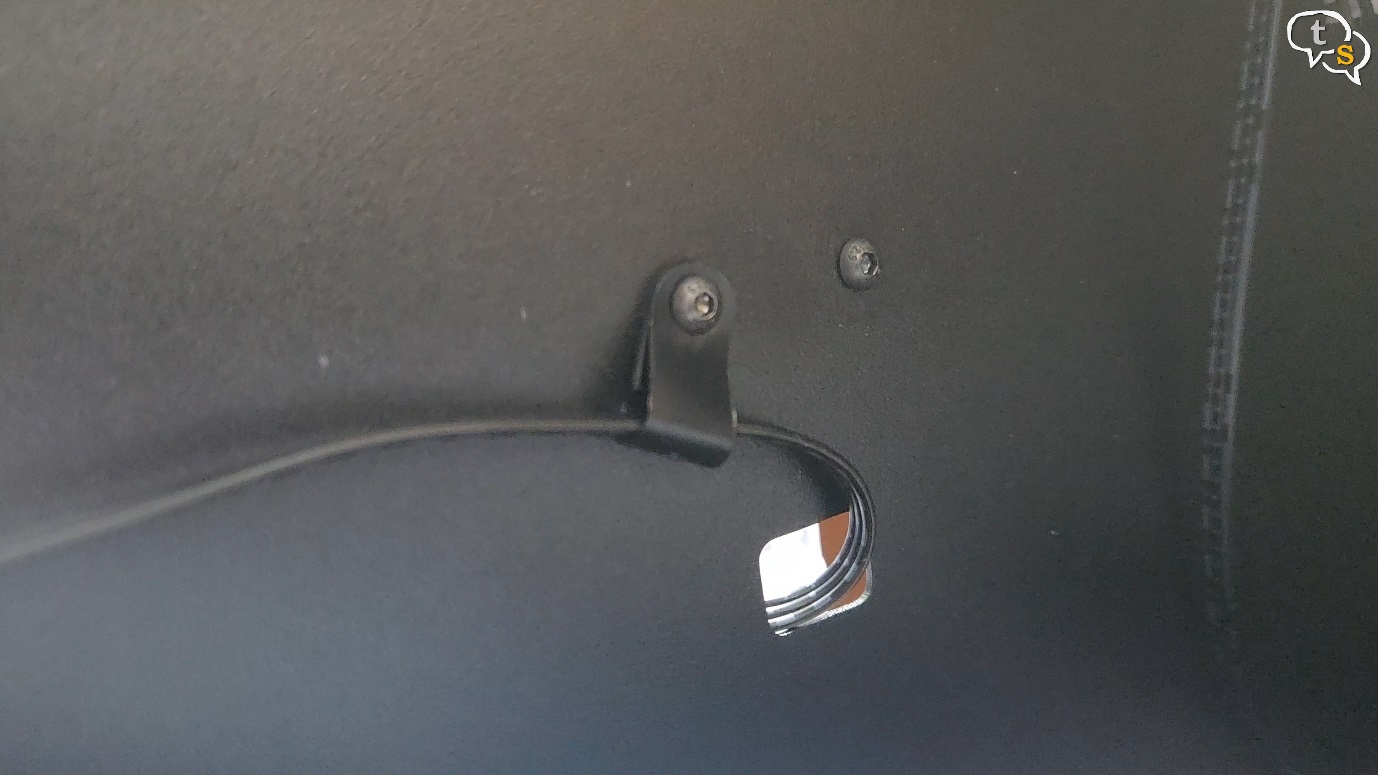
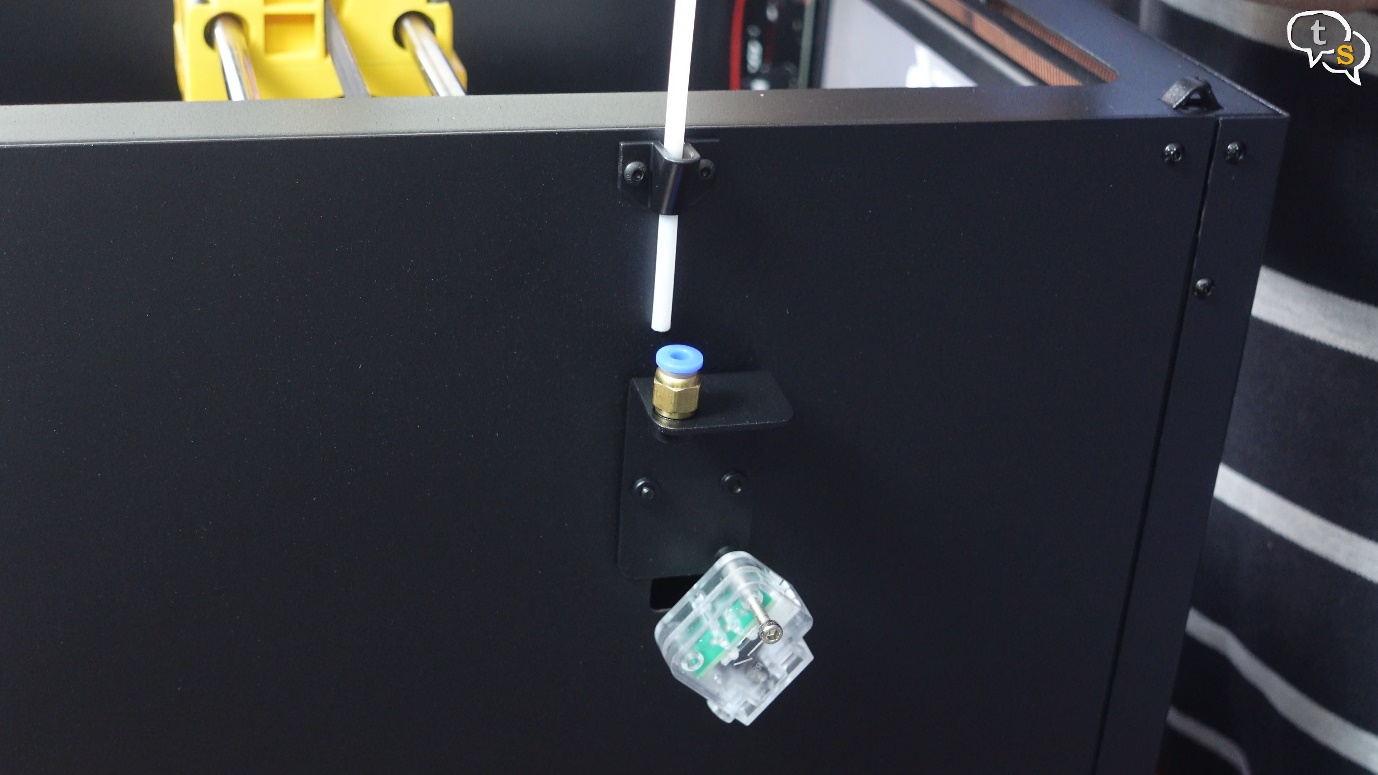
and make sure to fasten it to the printer body, using the clip provided.
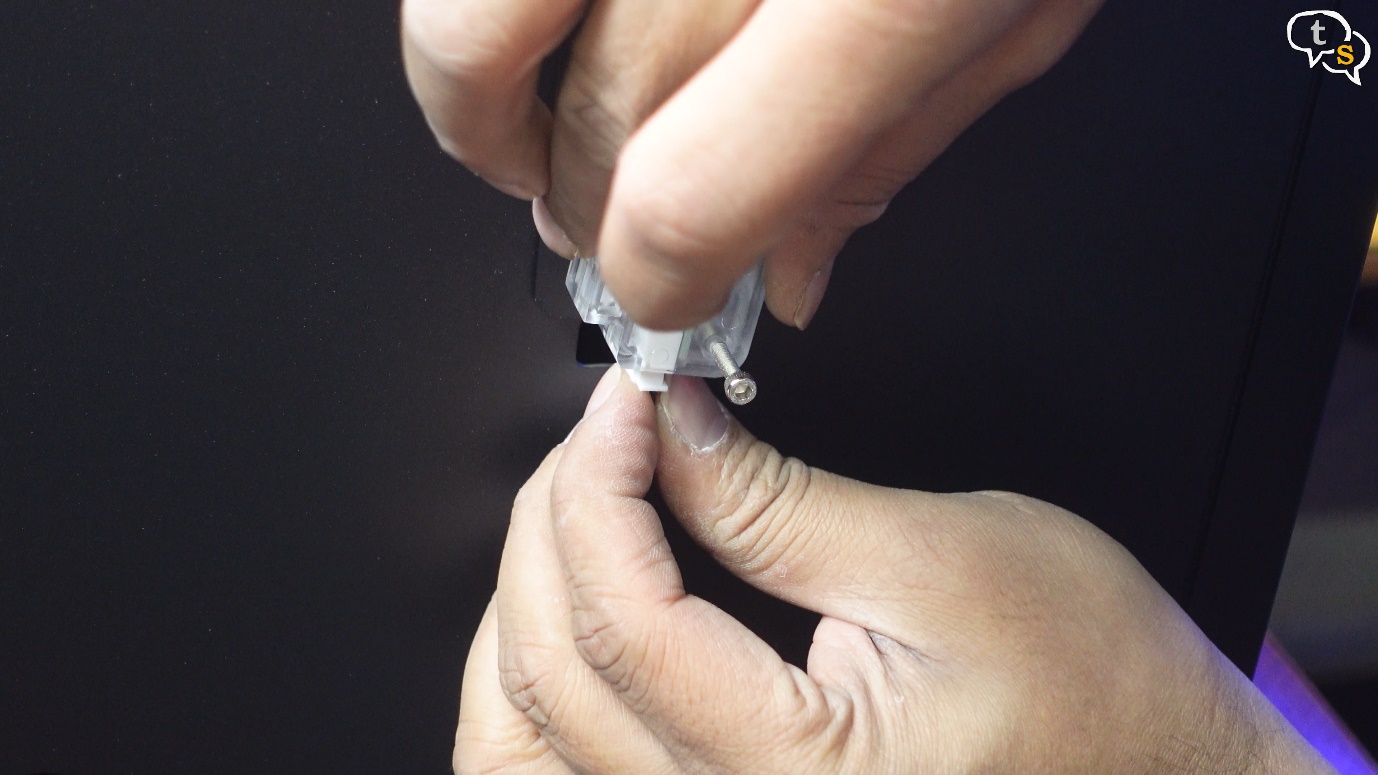
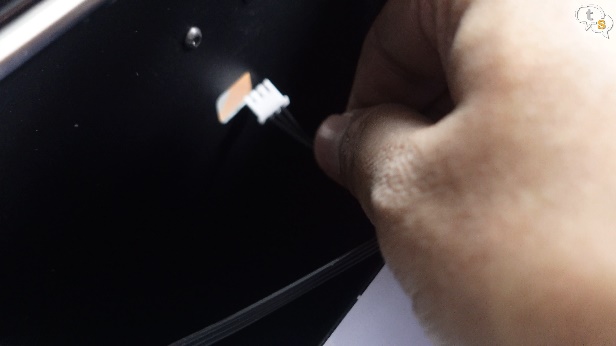
Attach the cable to the filament runout sensor.
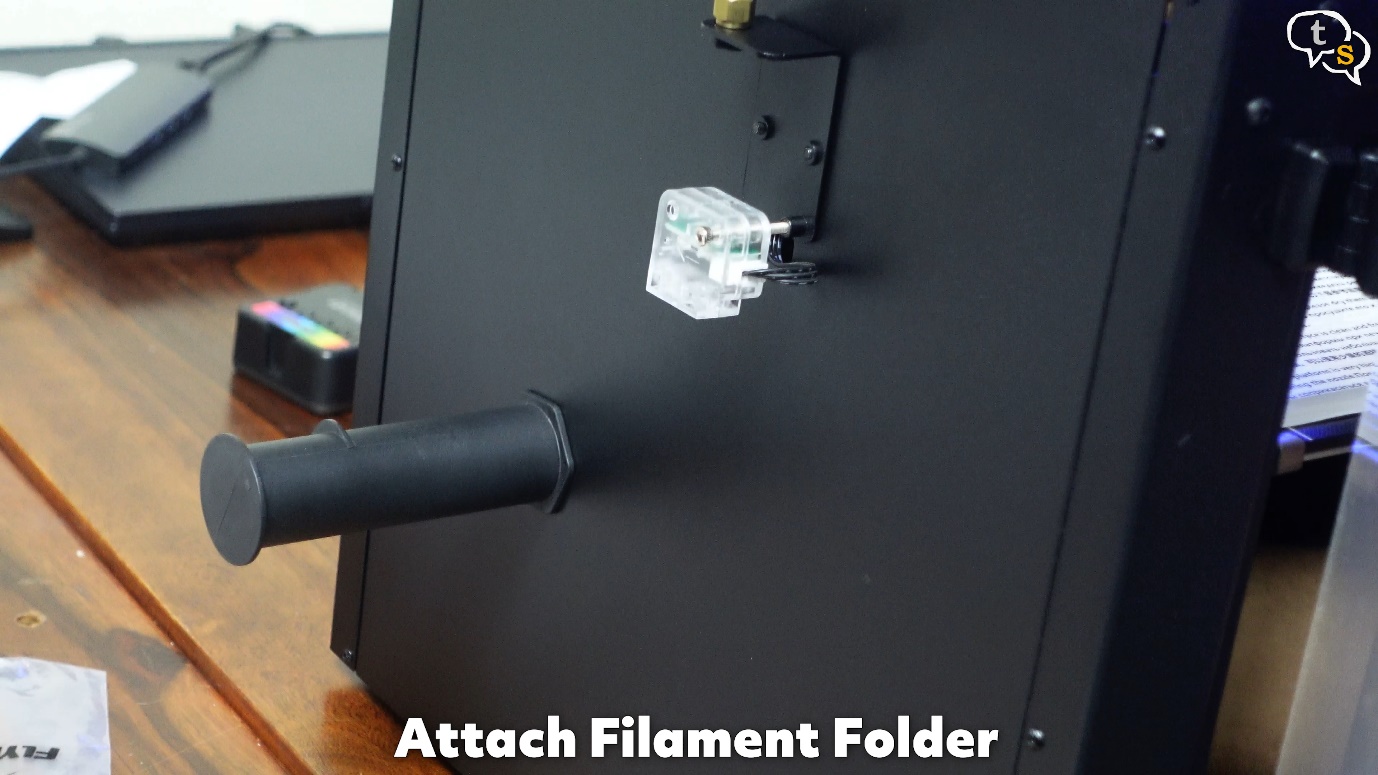
Attach filament holder.
Remove the protective sheet off the print bed, by clipping off the zip ties.
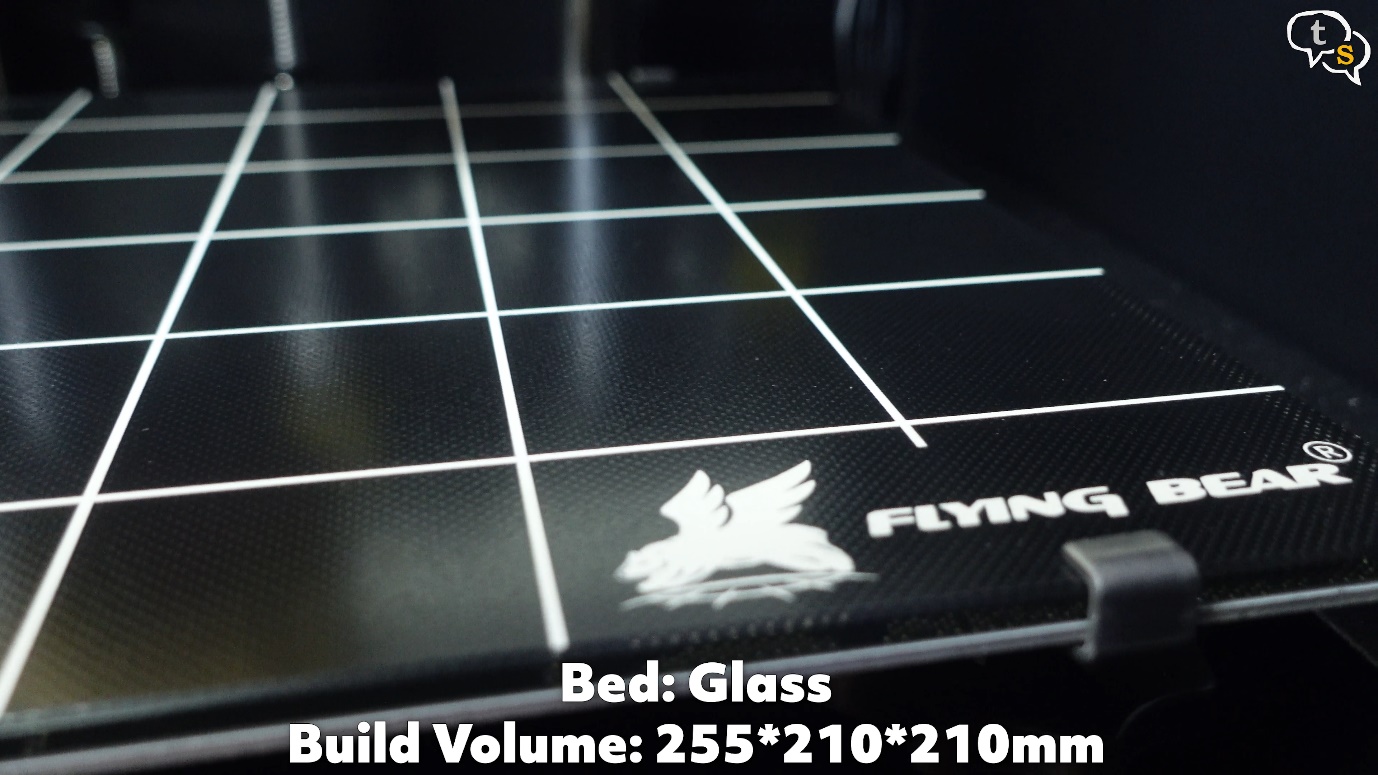
The bed is made of carborundum glass, and it has a build volume of 255 x 210 x 210 millimetres.
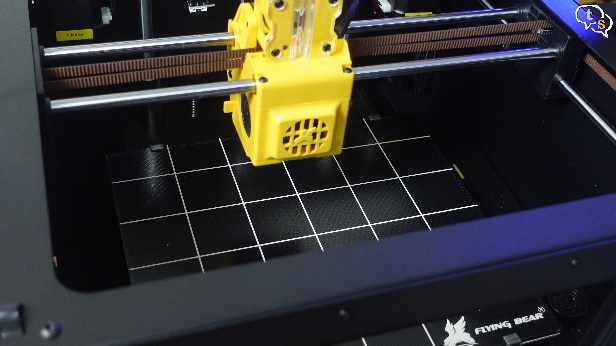
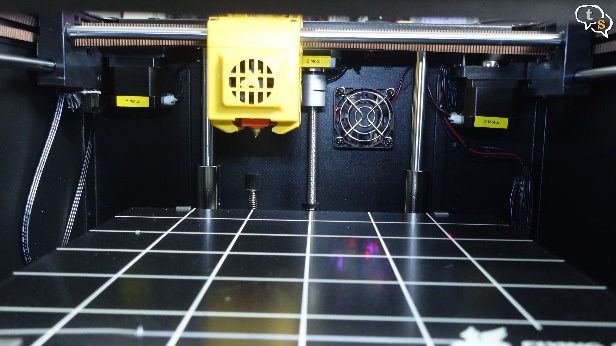
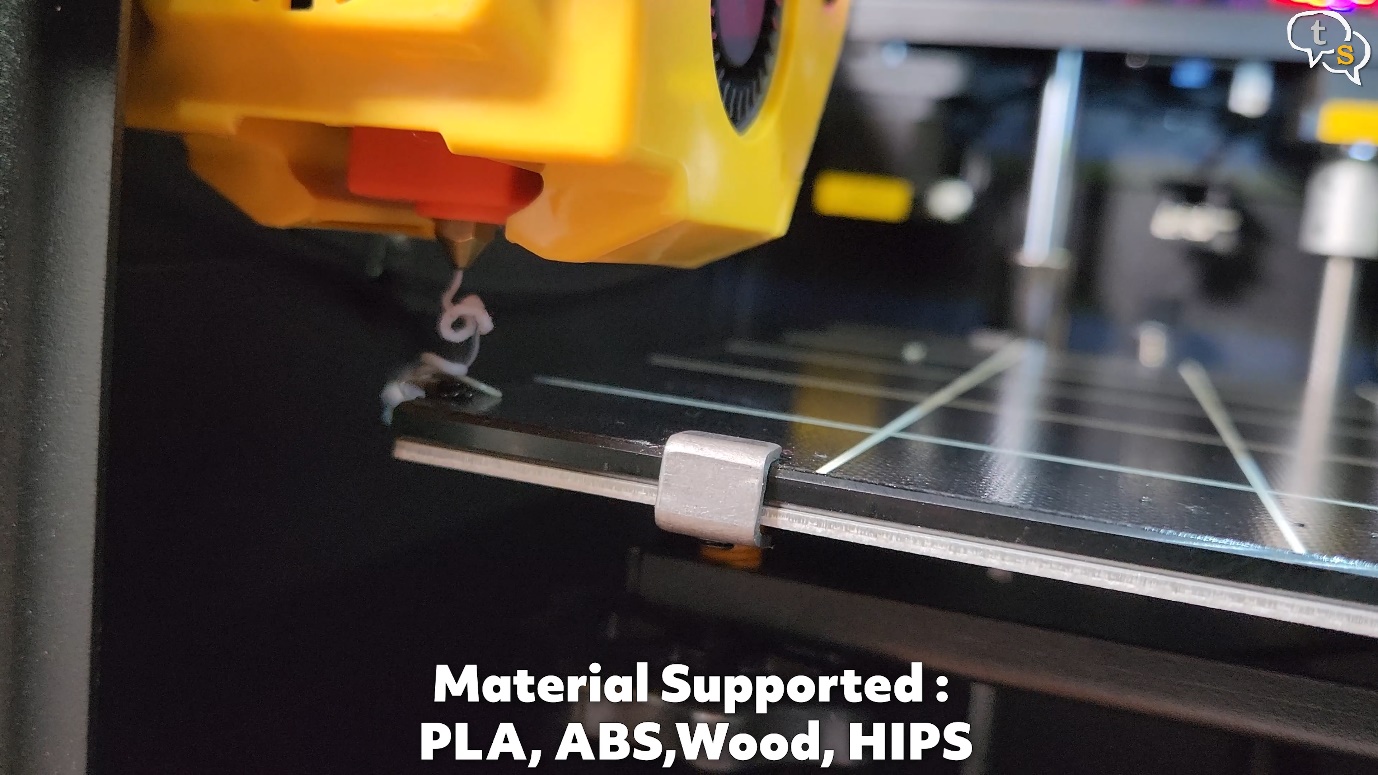
Here is the dual extruder, cooling fan, hotend and nozzle
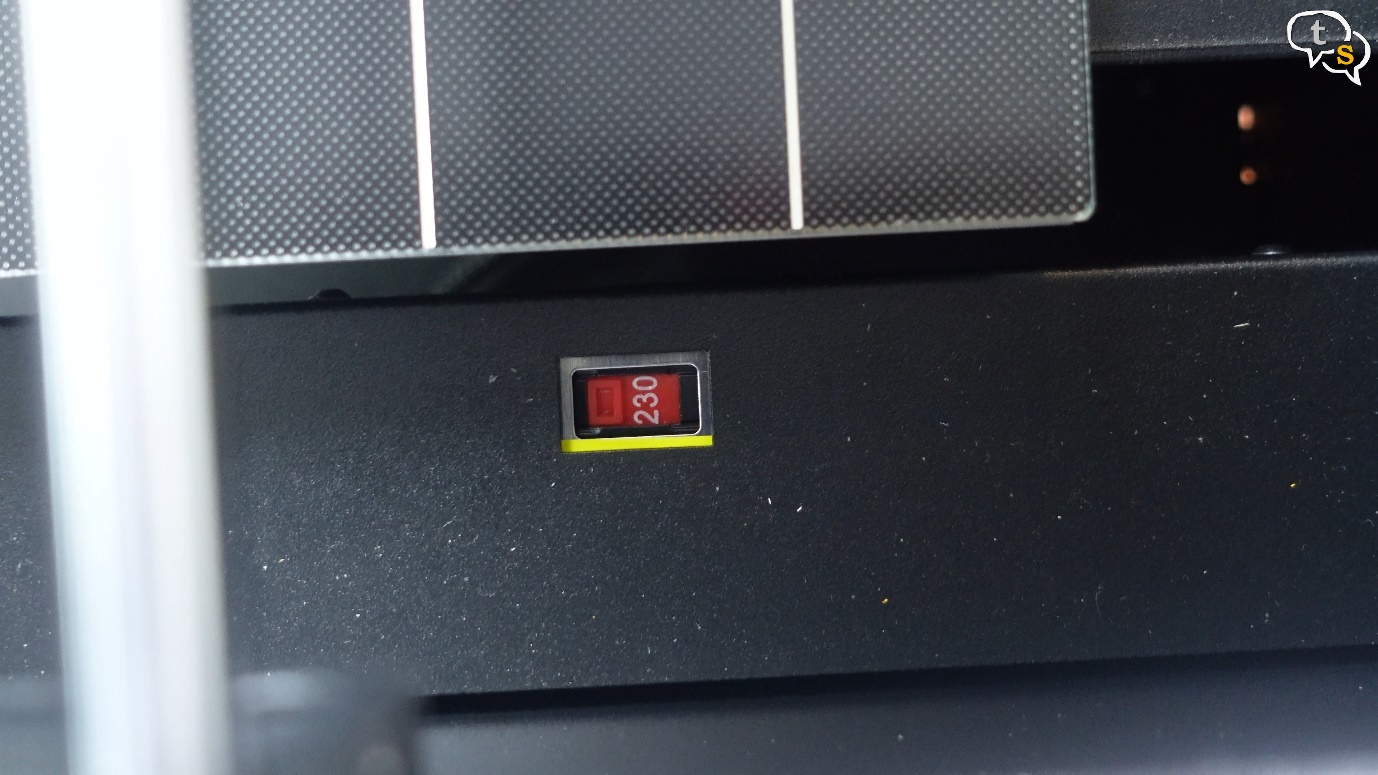
Make sure to set the correct voltage for your country. Mine is 230 volts.
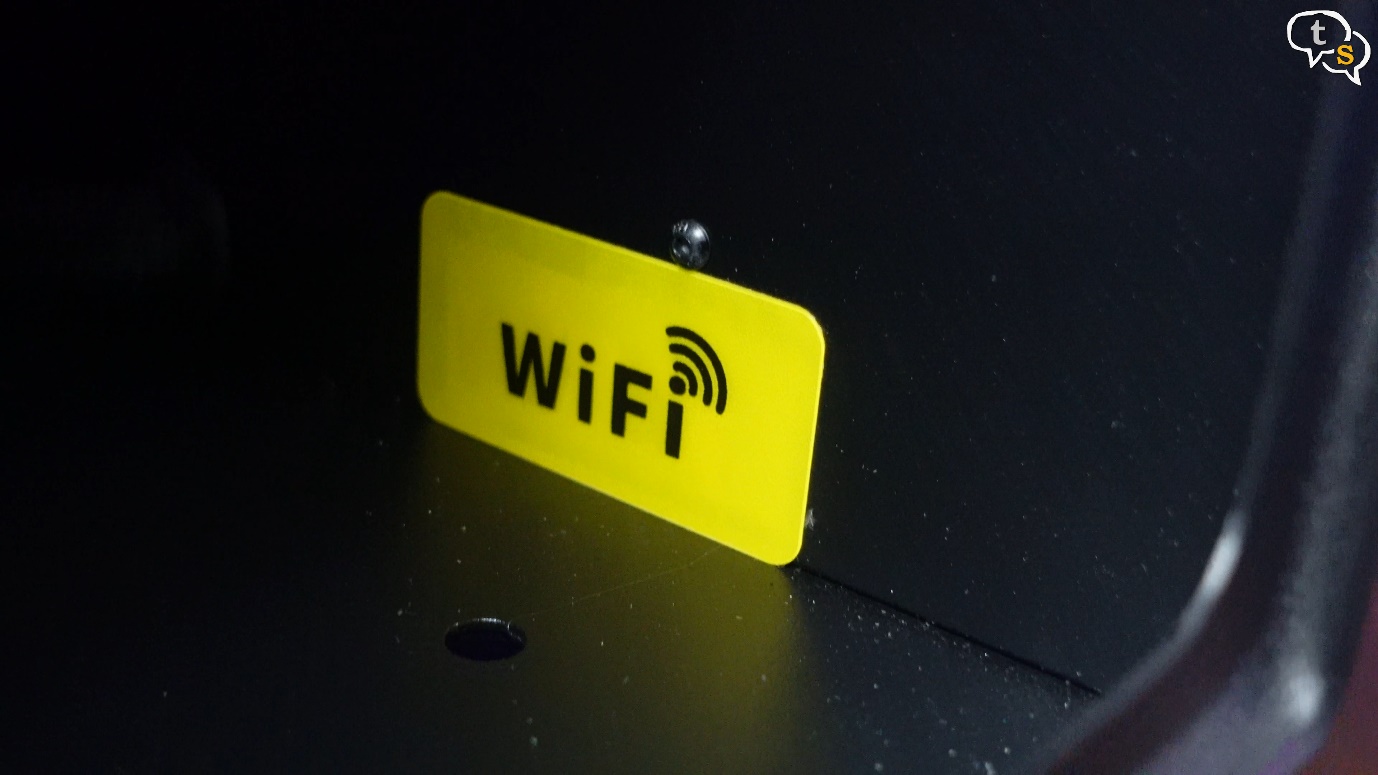
There’s even wifi connectivity support, I will have to see how to set it up.
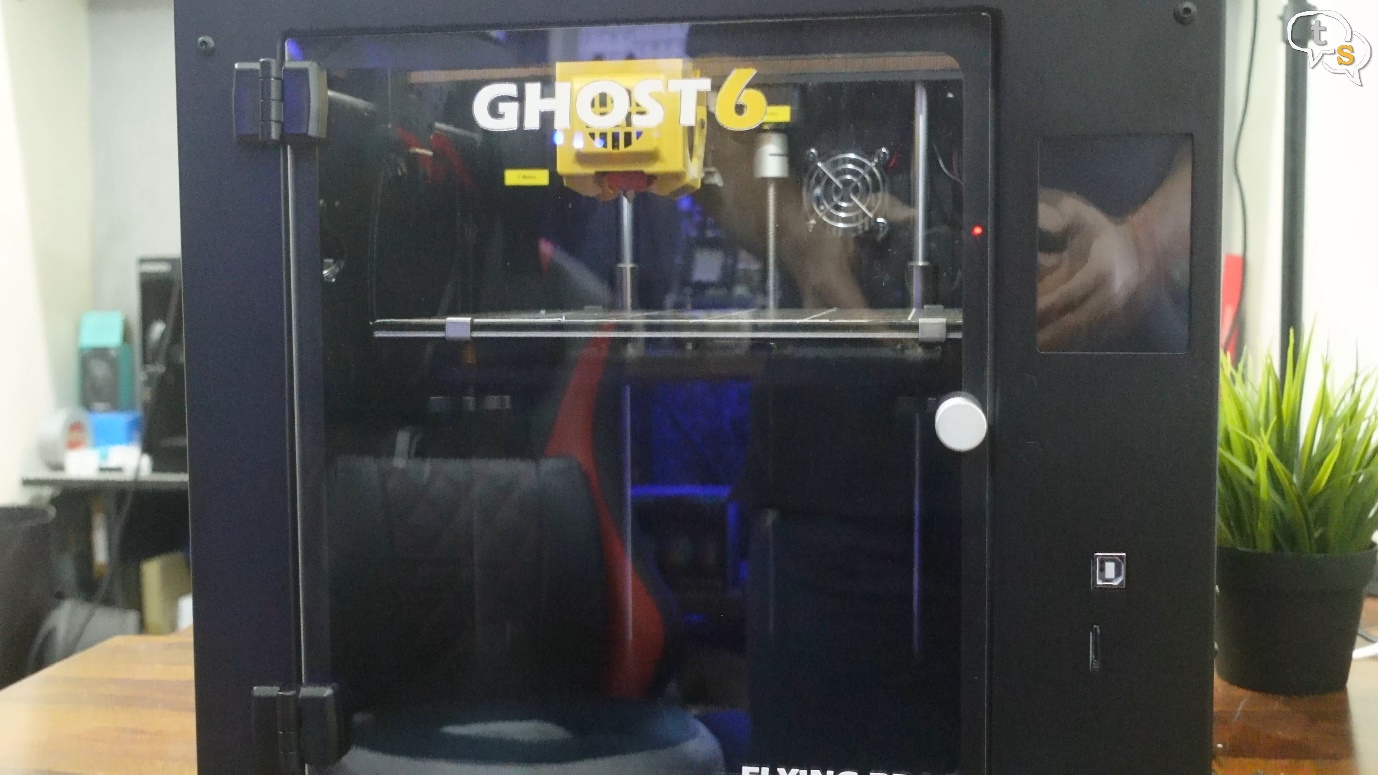
There the printer is ready.
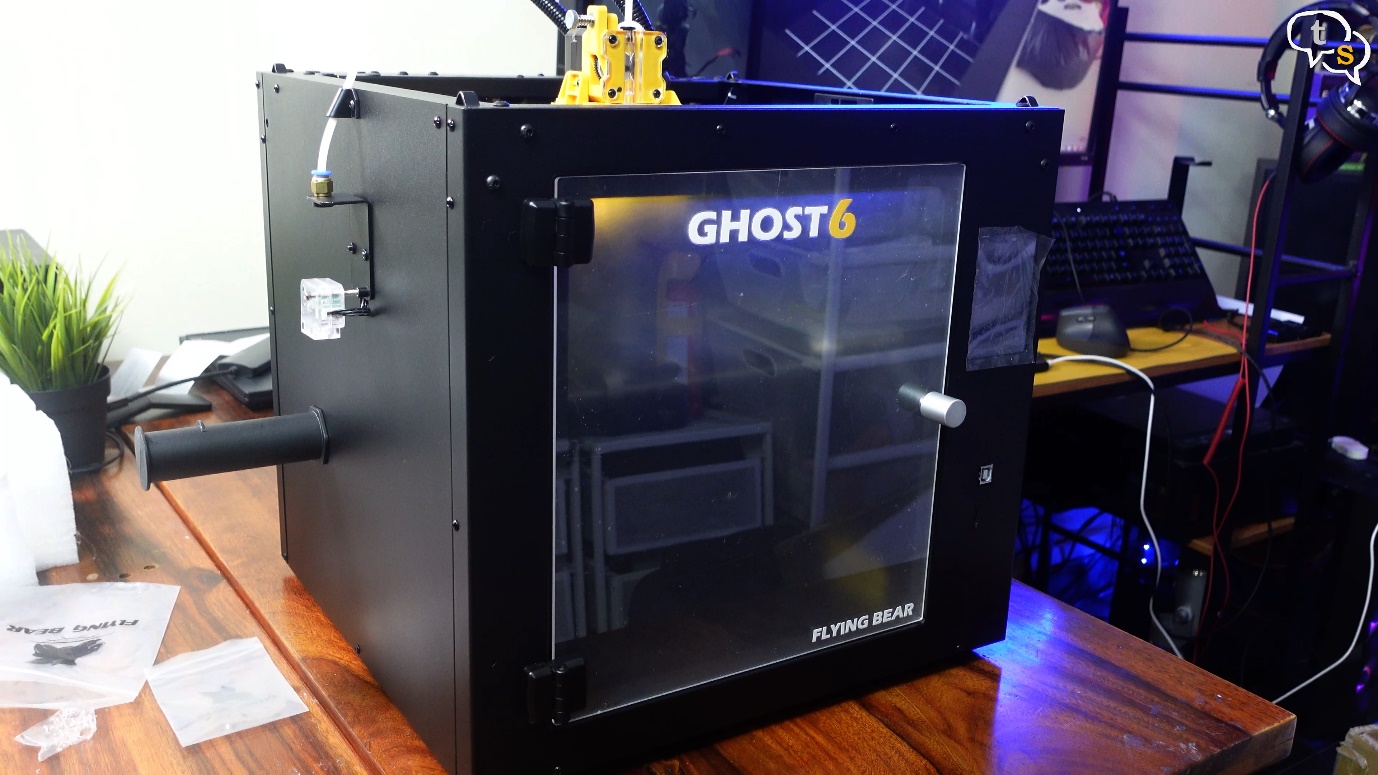
I was surprised how easy it was to put together, once I got a knack of what goes where. Looks really nice.
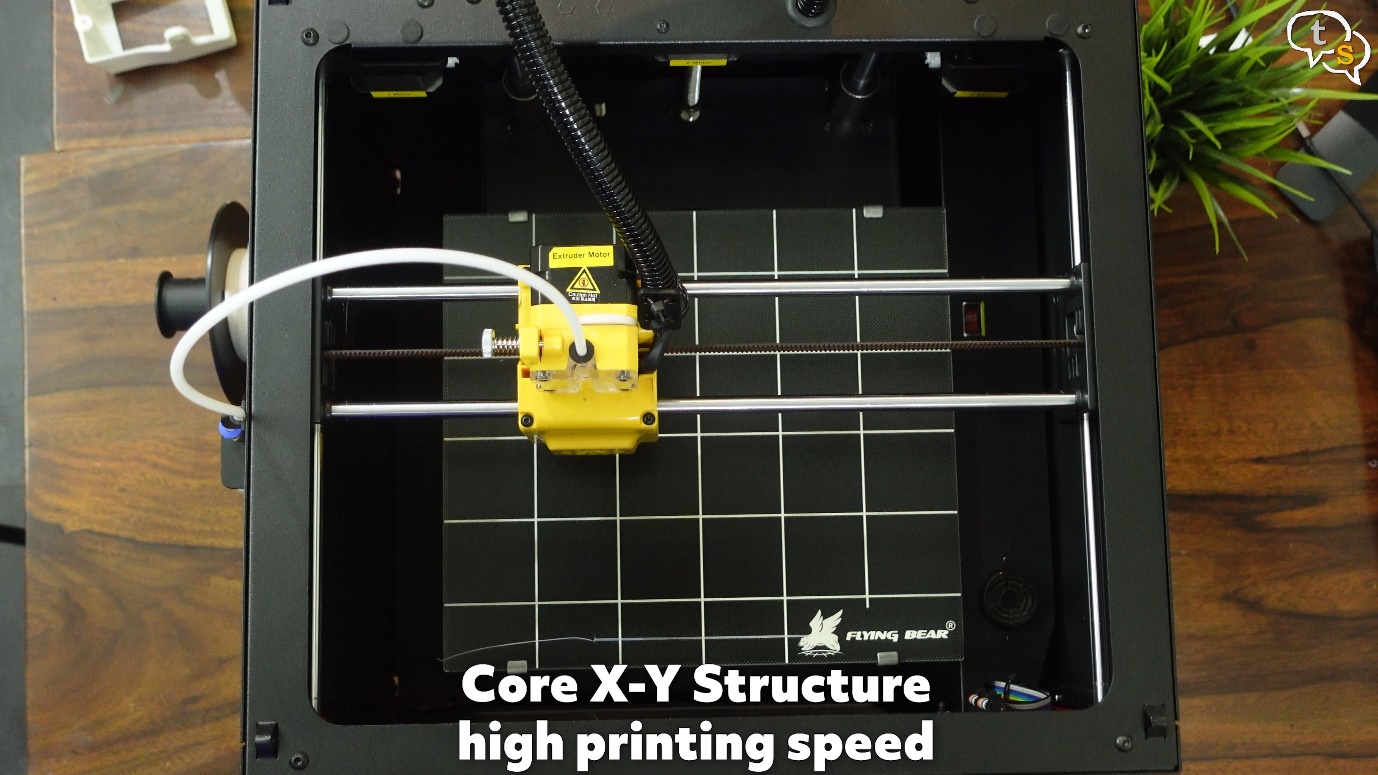
It has a core XY structure with linear rods.
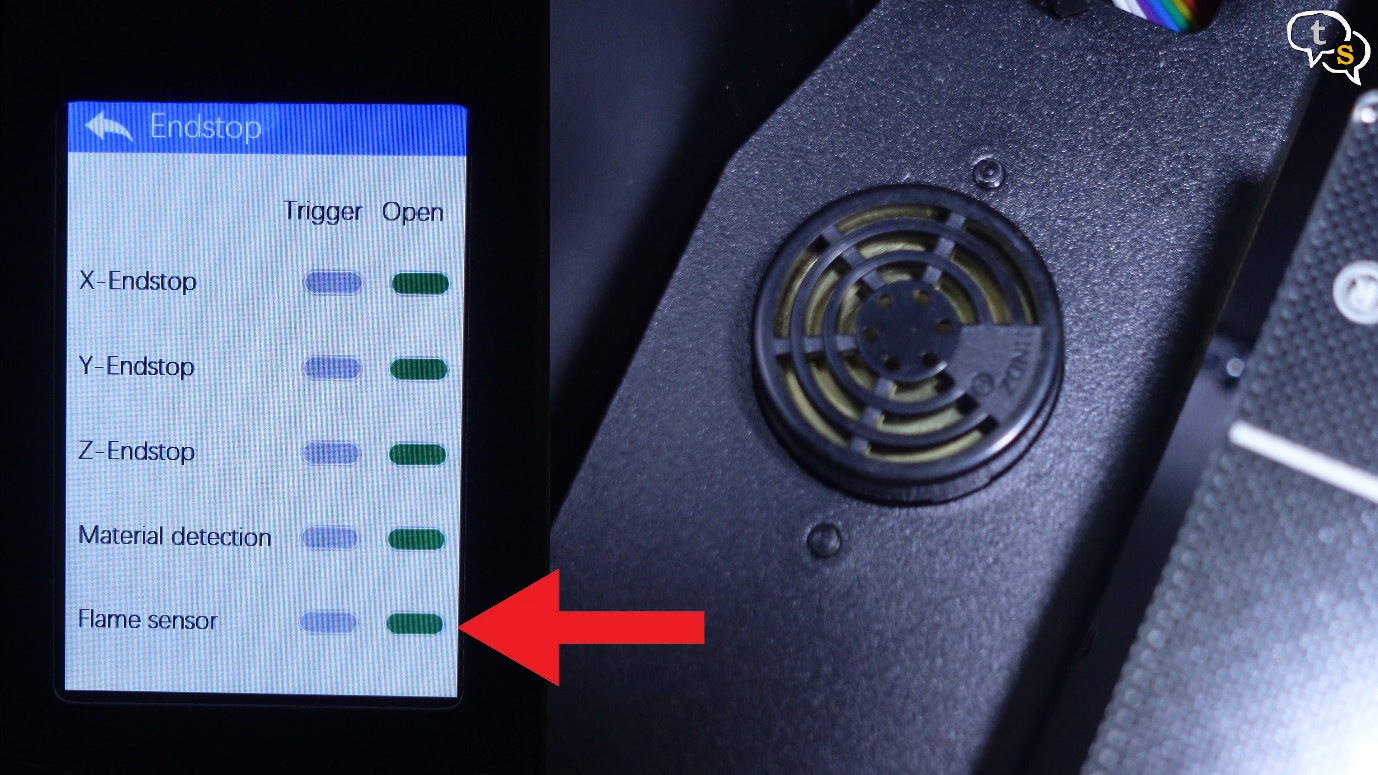
The printer is supposed to also have flame detection, and the machine will automatically sound the alarm and cut off the power supply if a fire occurs. This could happen if there’s no filament and the hotend keeps heating up.
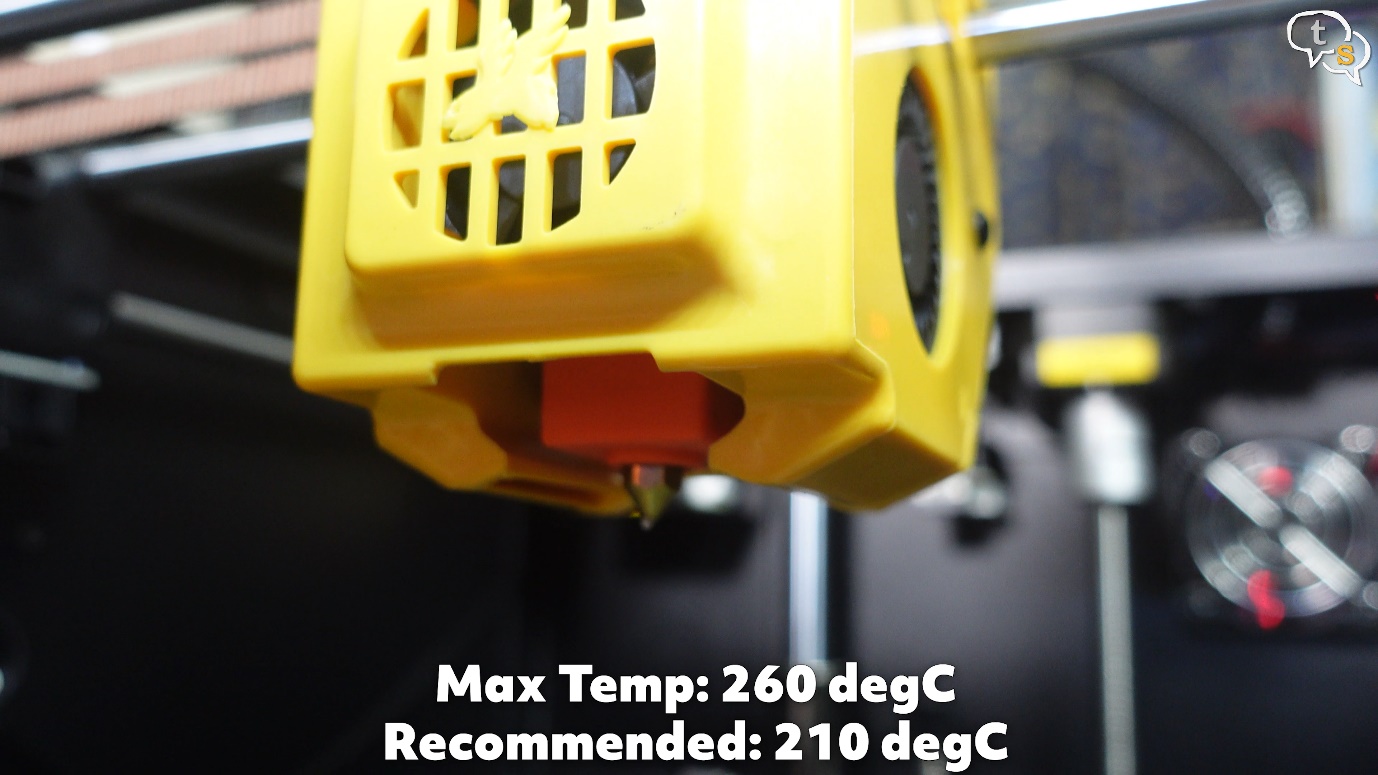
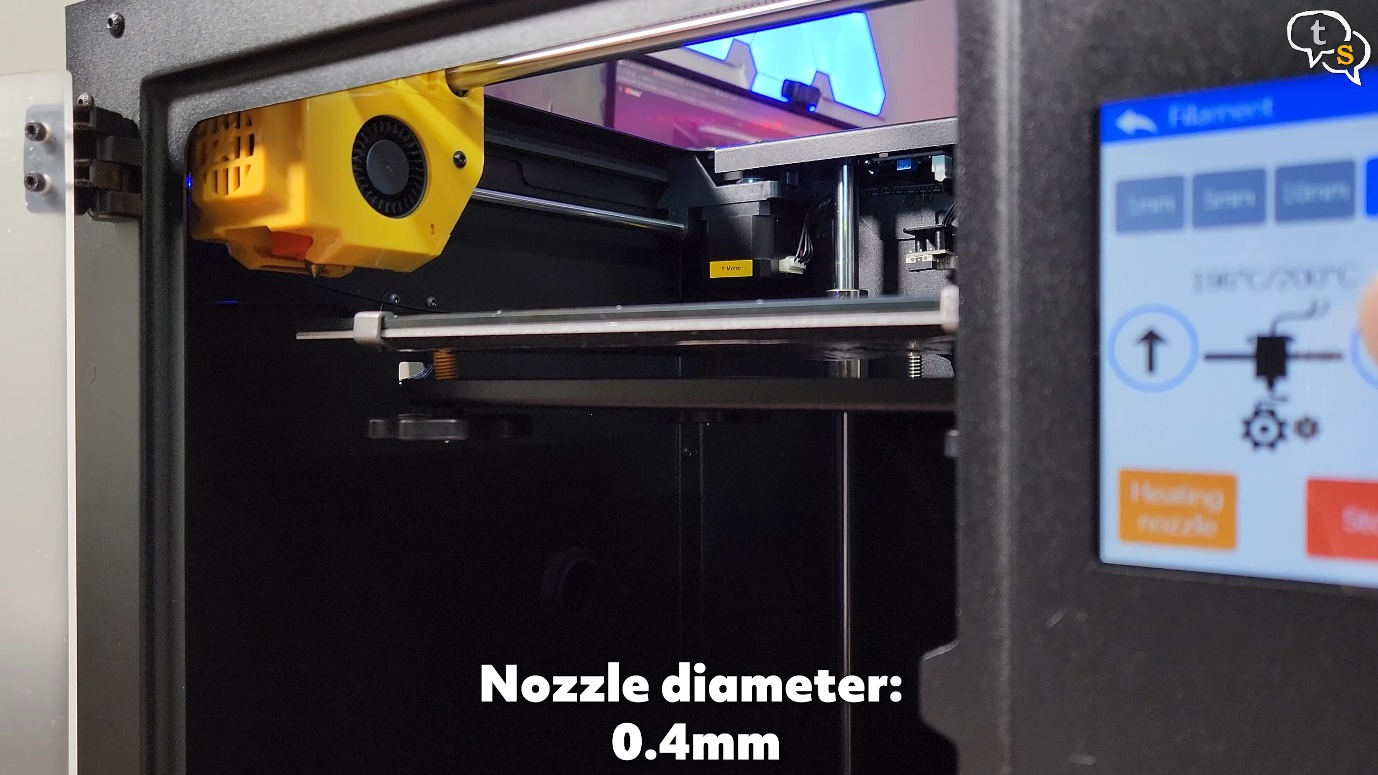
The hotend can heat up up-to 260 degrees celsius, which makes it capable of working with ABS.
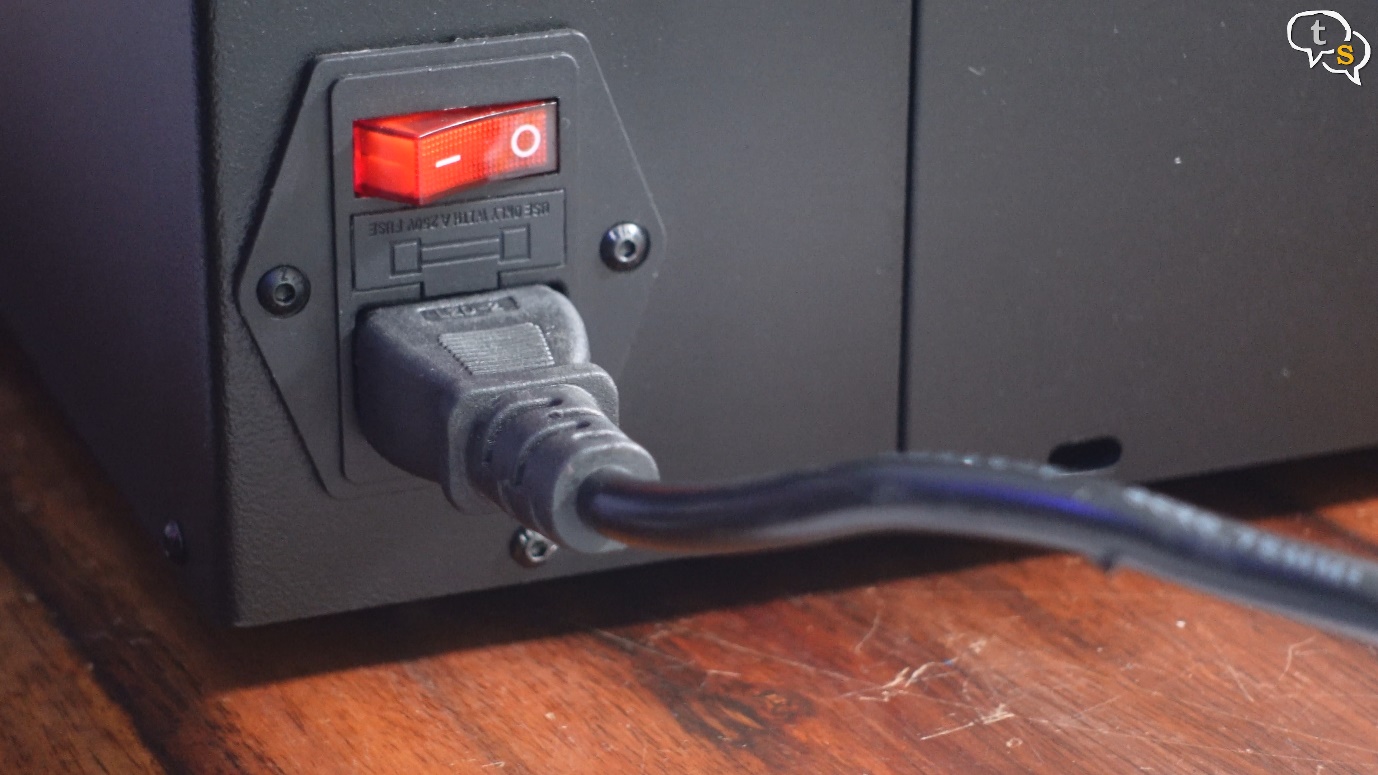
Here’s the power port, plug in and turn the printer on.
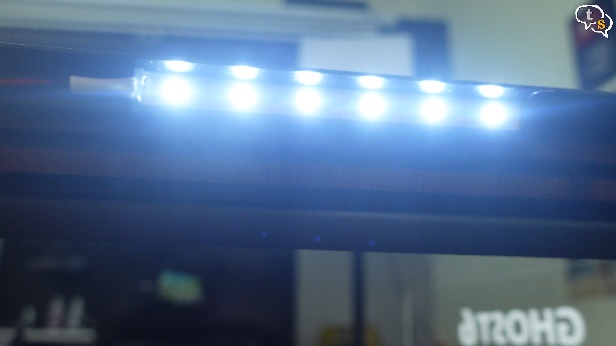
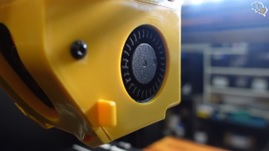
There are LEDs within which lights up the inside of the printer.
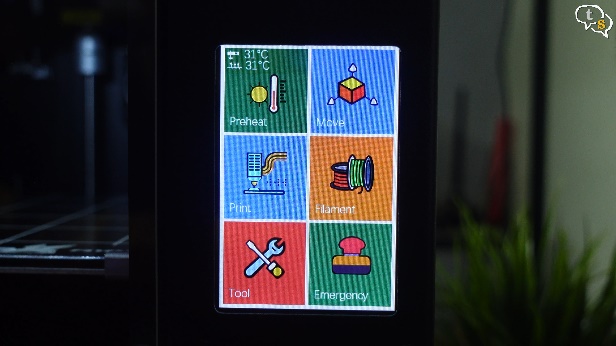
The printer boots up, and we are greeted by a colourful interface.
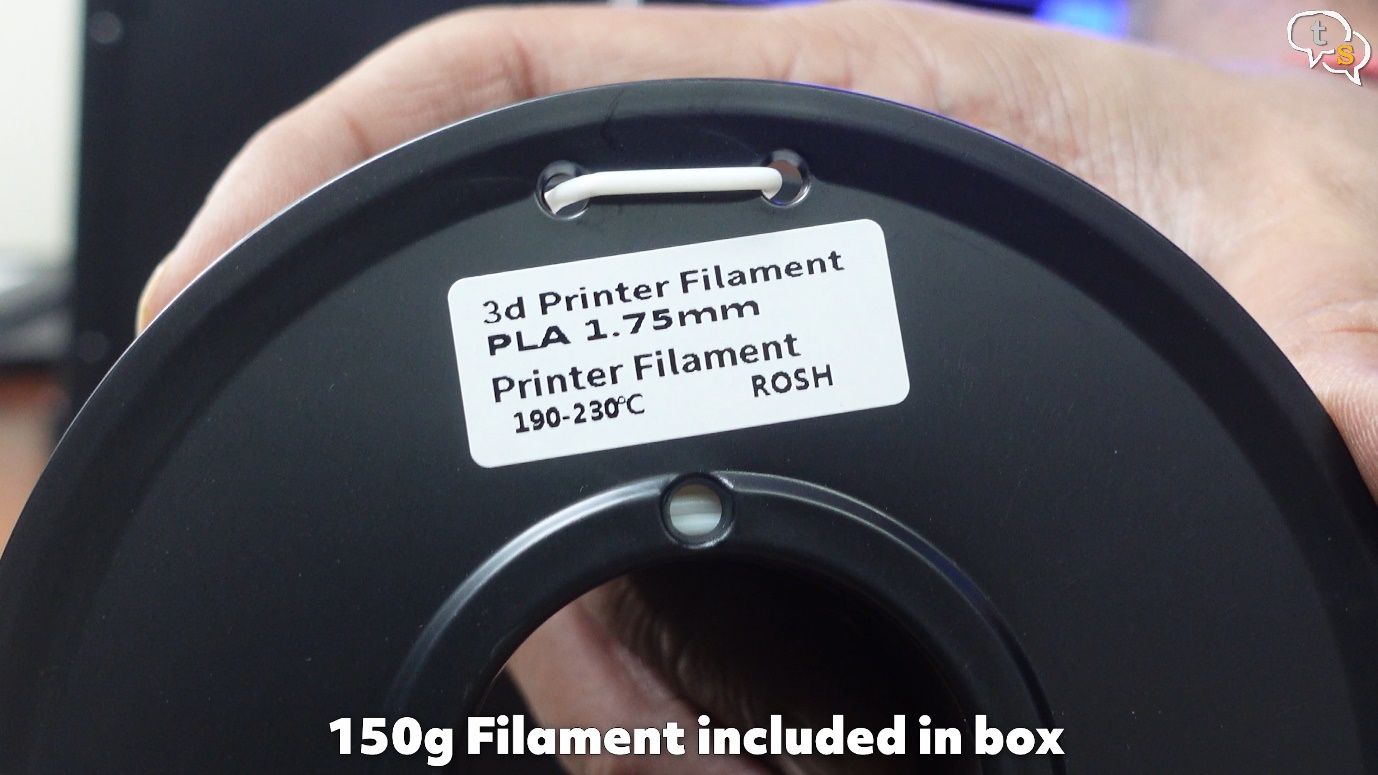
Here’s the PLA filament roll provided with the printer.
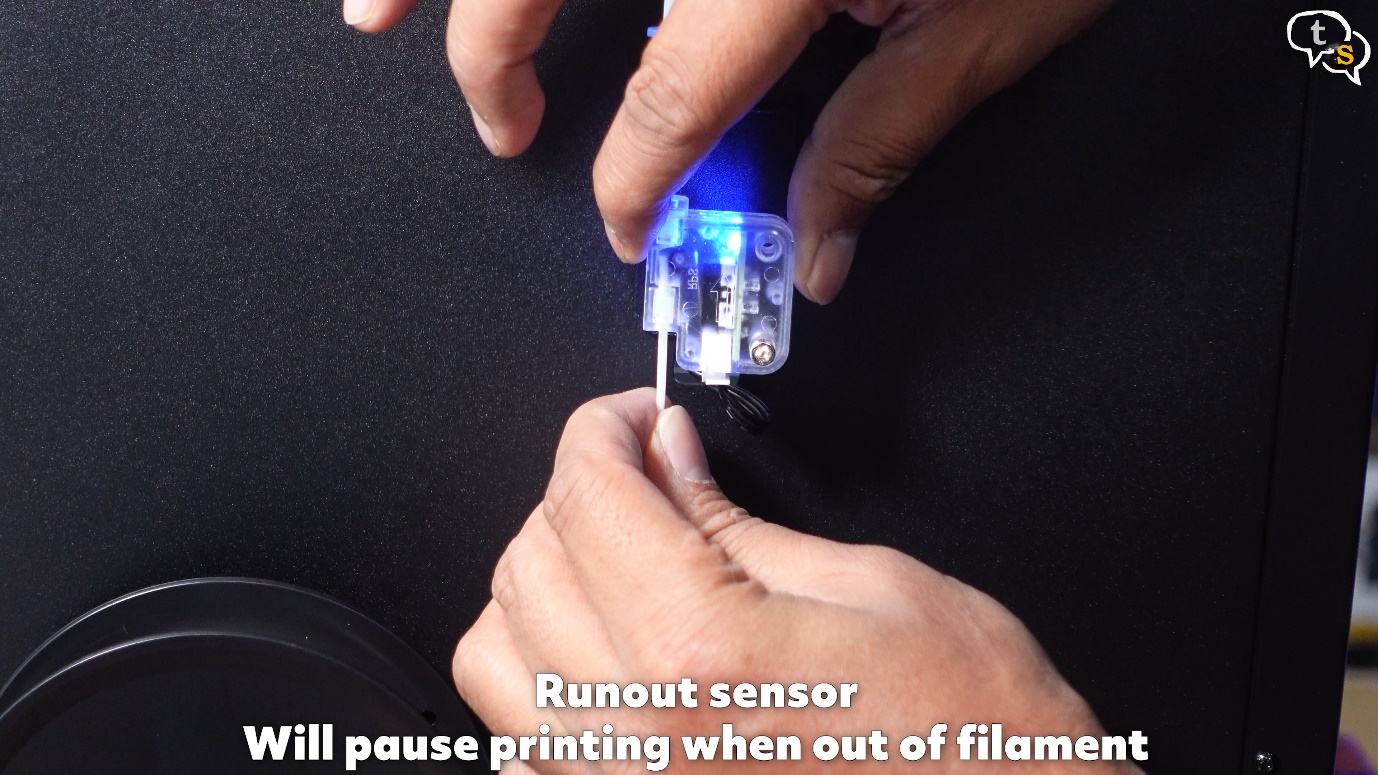
Run it through the filament runout sensor, we can see the blue light here whenever the filament is within, that displays that filament is present. The runout sensor would automatically pause the printer when out of filament or the filament breaks.
Now push it through the guide
and all the way to the extruder.
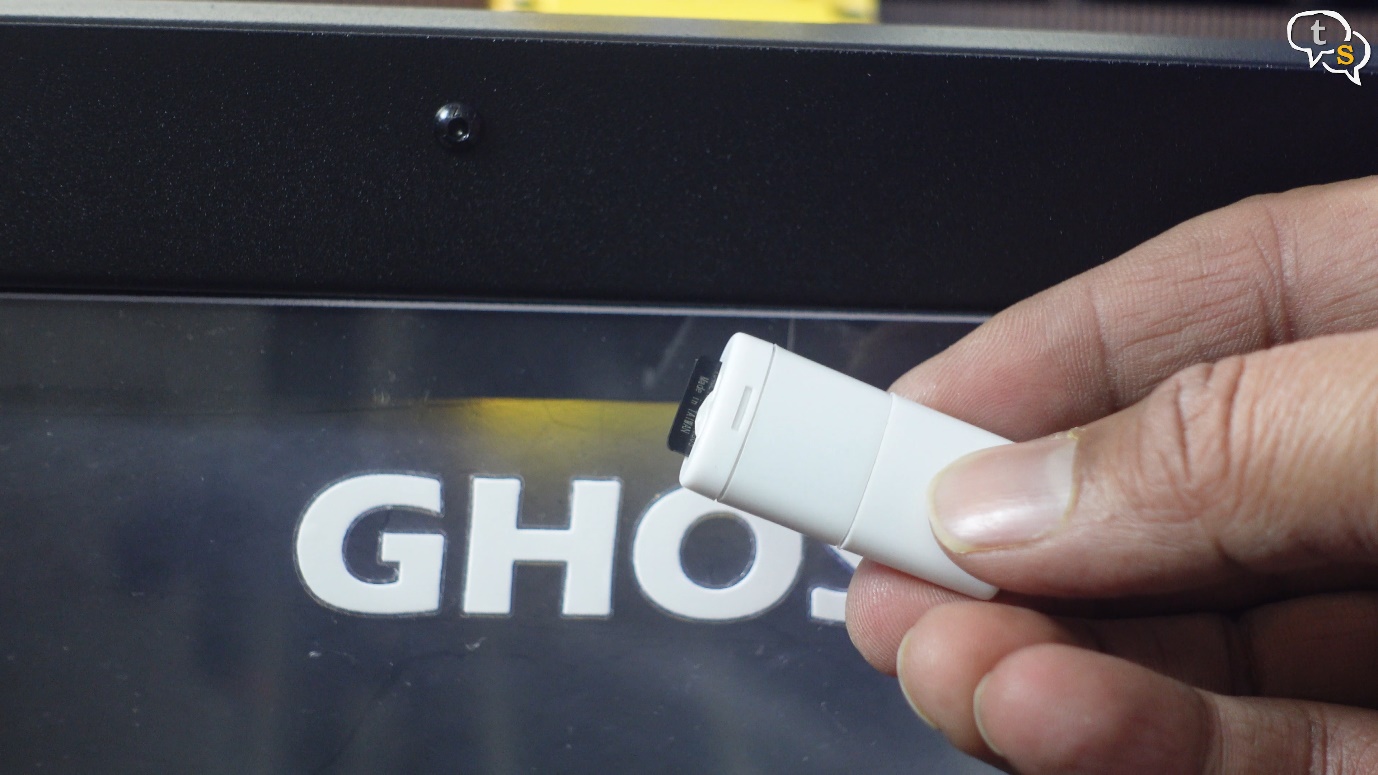
We need something to print, and the box comes with a micro-sd card included with a reader.
Remove the card and install it into the printer.
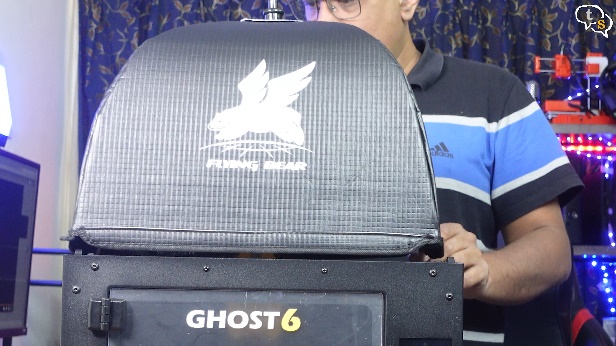
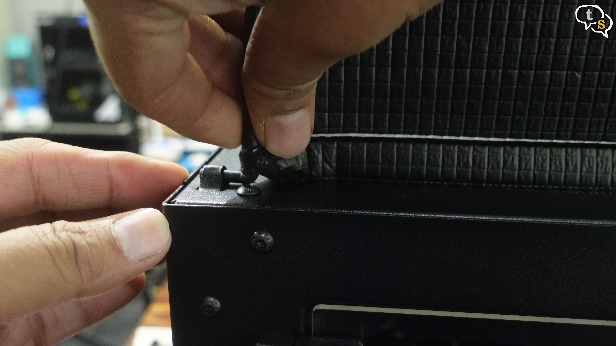
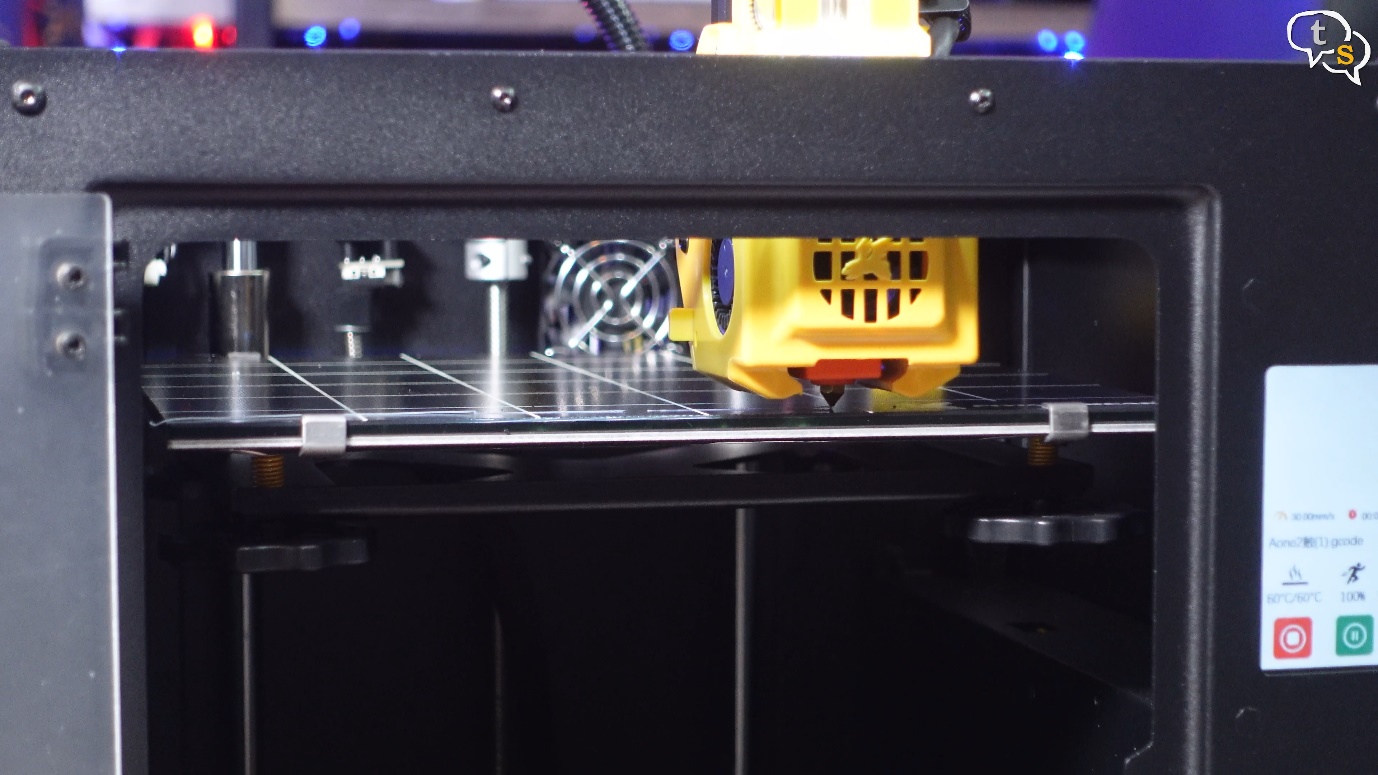
Let’s install the top, it has 4 pegs, one in each corner which need to be inserted into these holes on the printer.
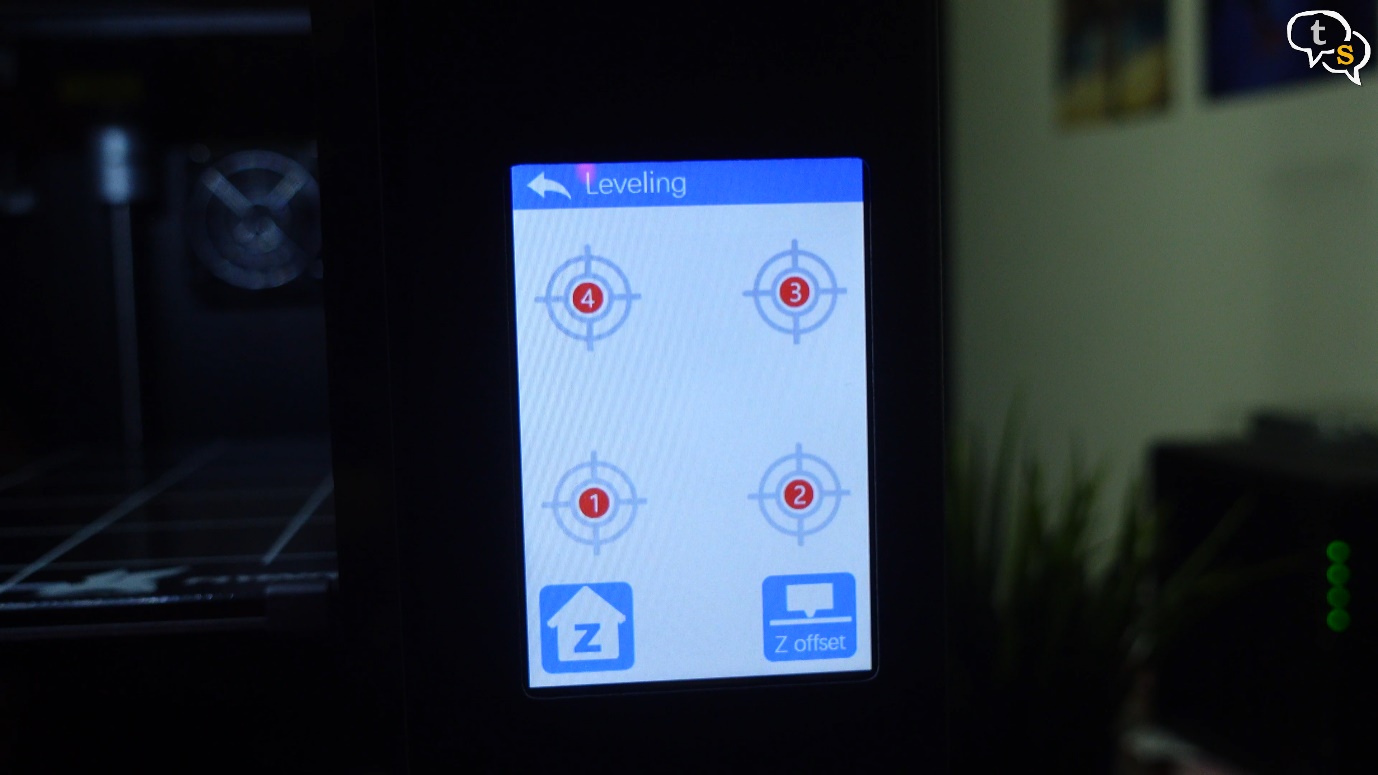
The Ghost 6 doesn’t have auto bed leveling so it requires us to use the old-fashioned corner leveling method. Initiate bed leveling using the menu
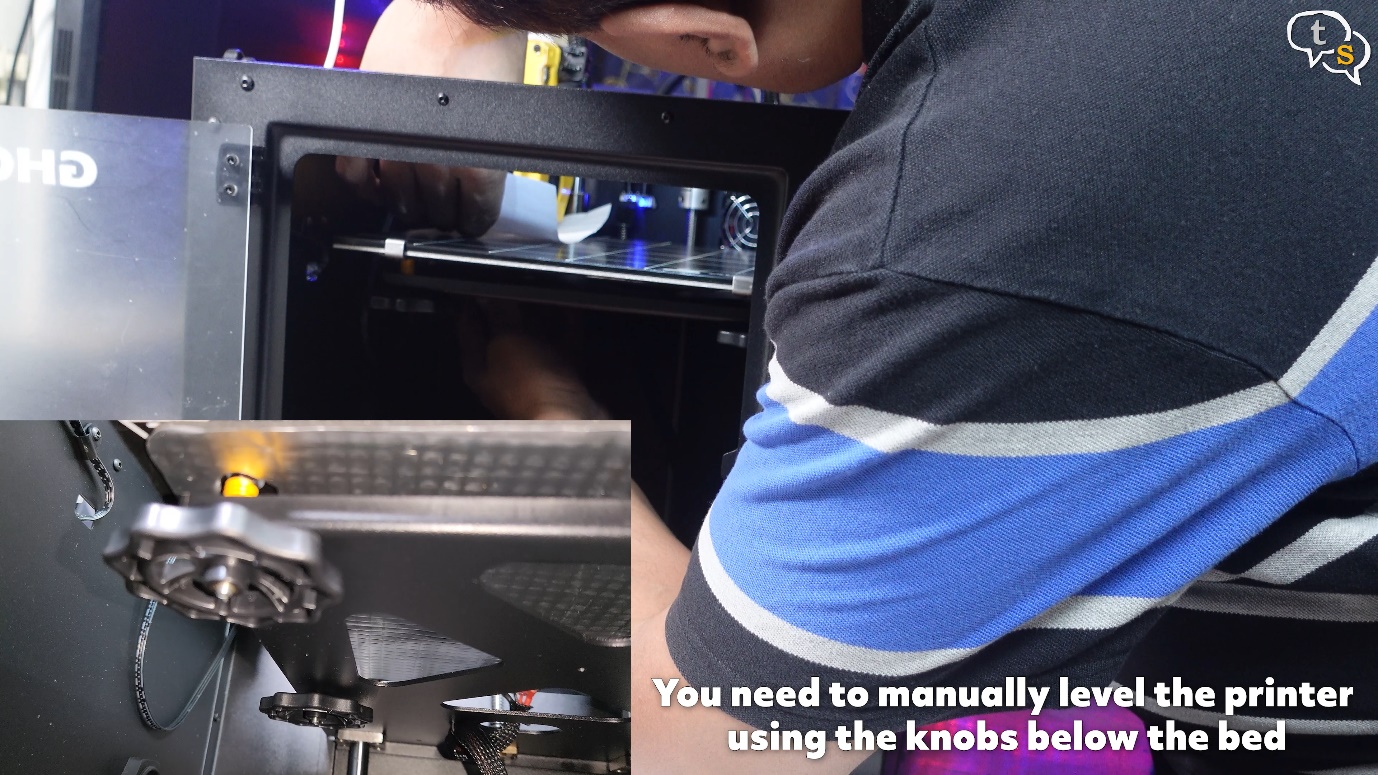
and using a sheet of paper, check for the appropriate resistance to know if it’s level.
Now to feed the filament through the extruder using the on screen controls.
Keep tapping on the down arrow, until we see filament come through. We can see the big gears rotating here pulling the filament in.
Filament is now visible, and now the printer is ready.
I’m printing a sample model present on the micro-sd card.
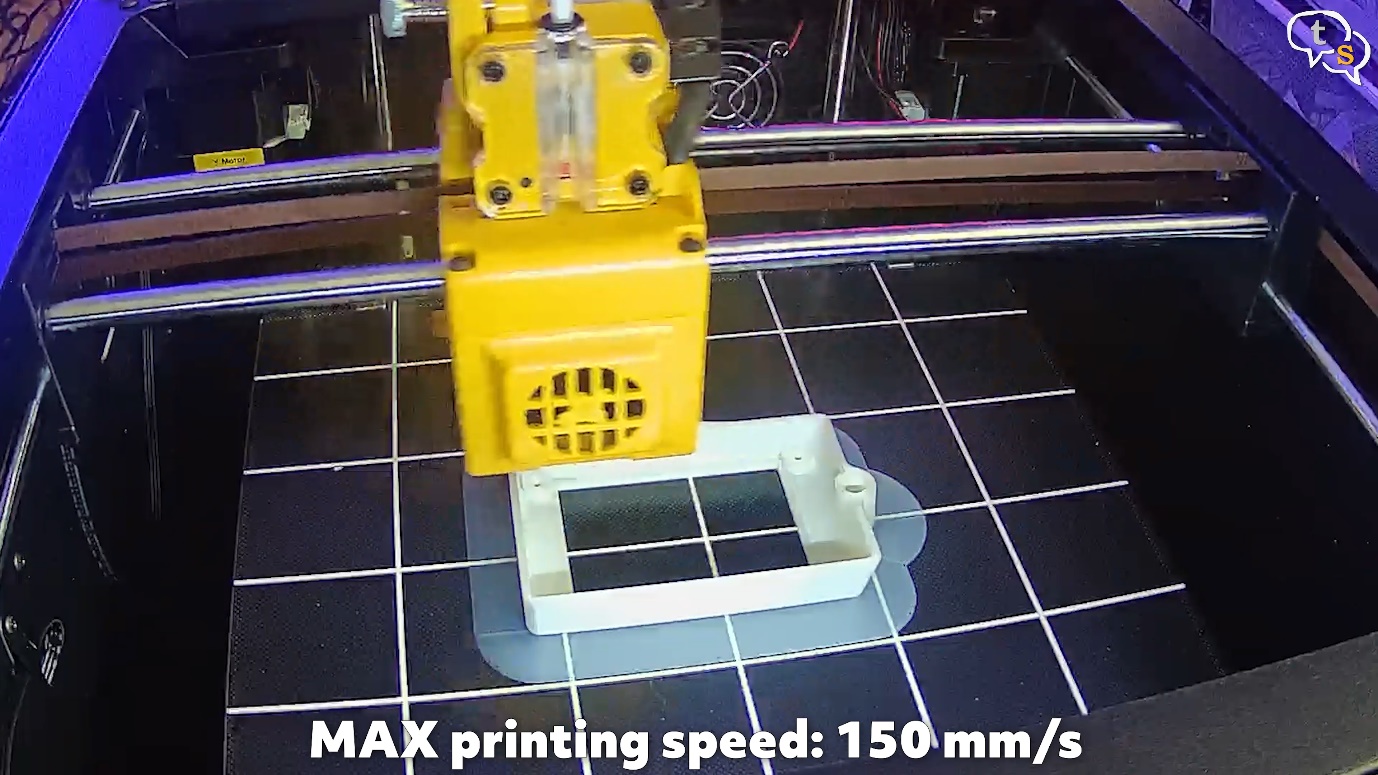
Wow it prints really fast, with a speed of 150mm per second it has to be.
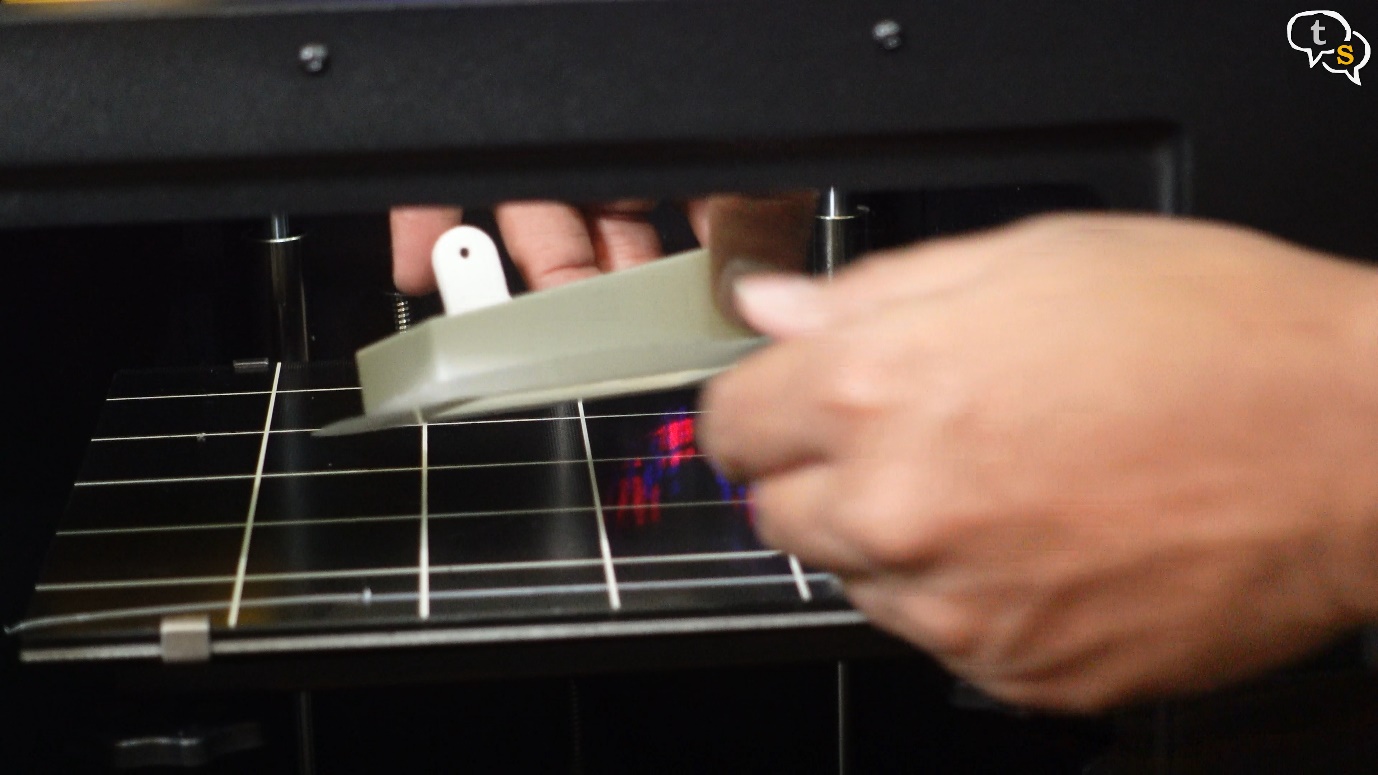
The print is done, and, oh , it comes off the bed so easily.
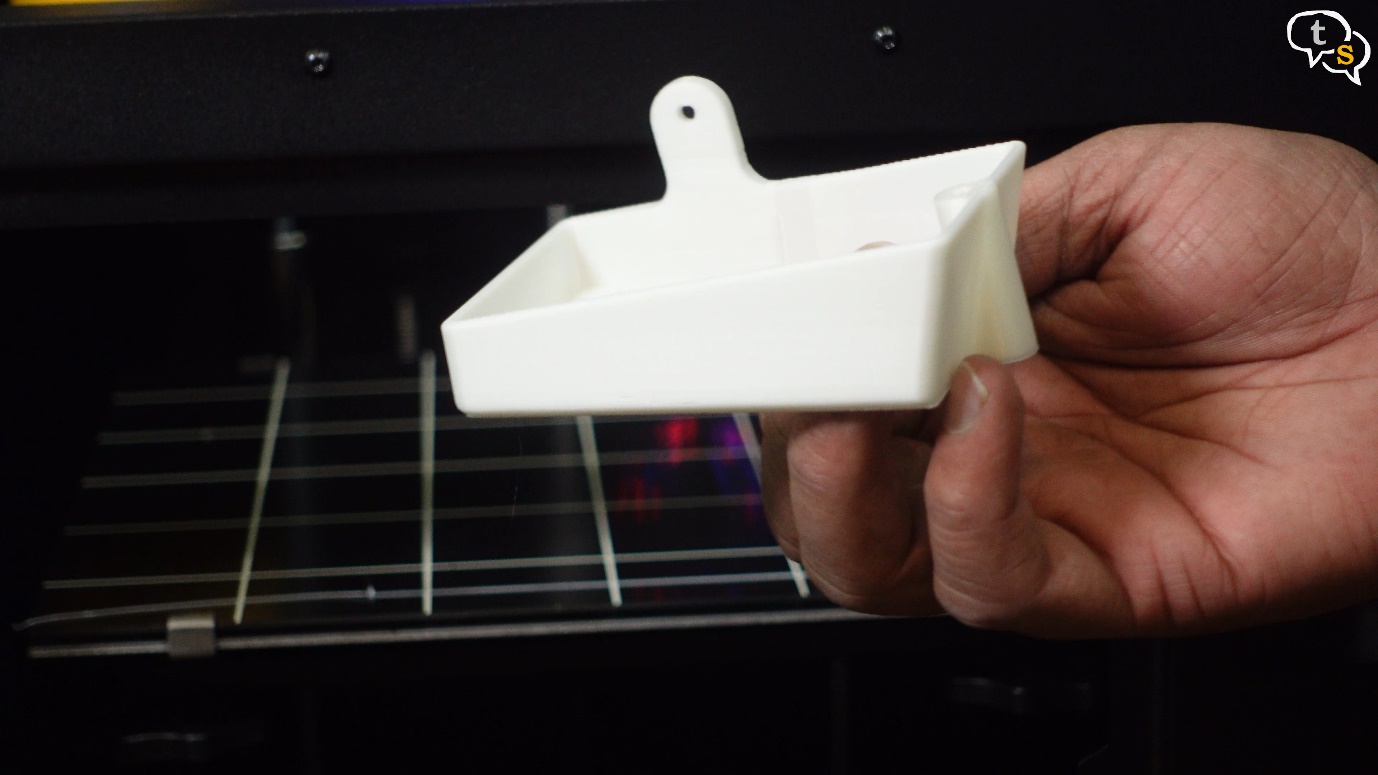
It has printed well, and it’s structurally strong too.
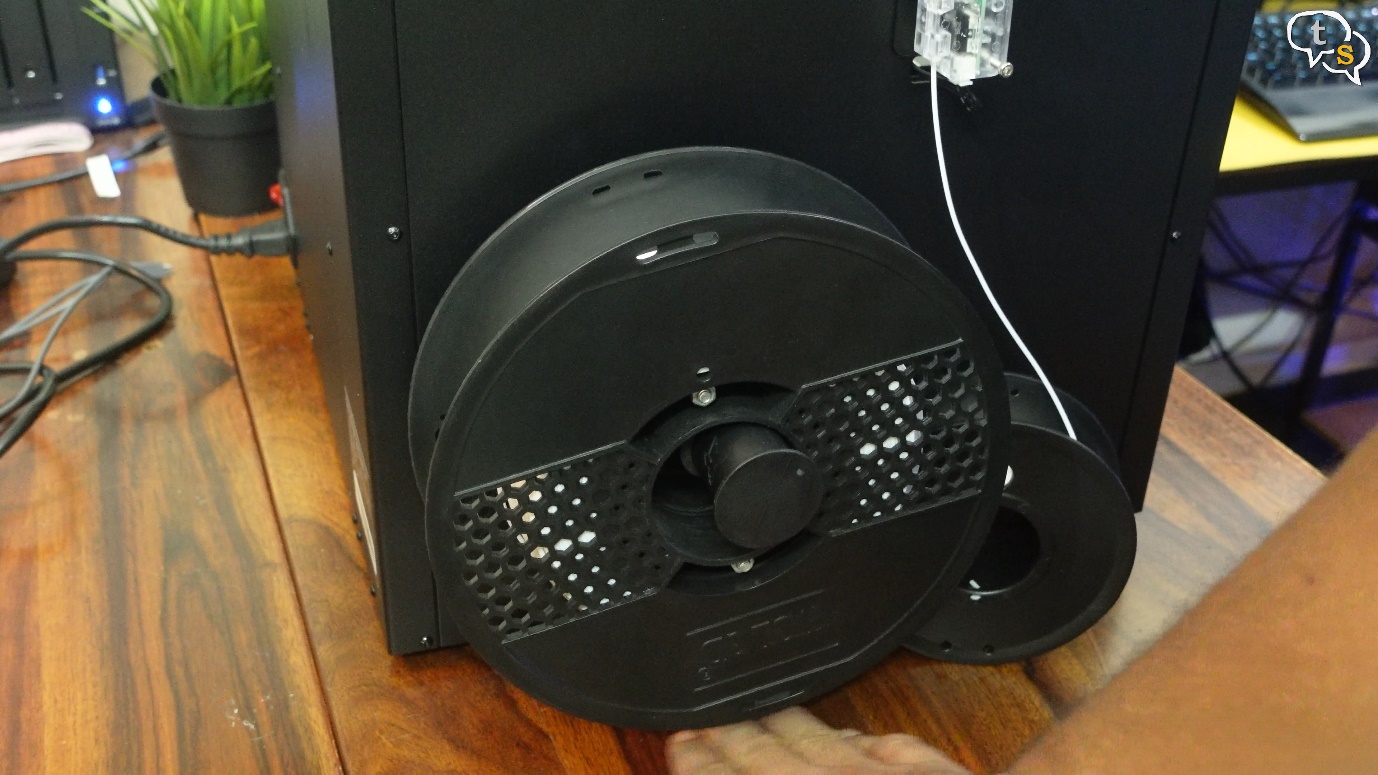
I wanted to make sure if a standard filament roll would fit on this holder, and we have ample space under for movement.
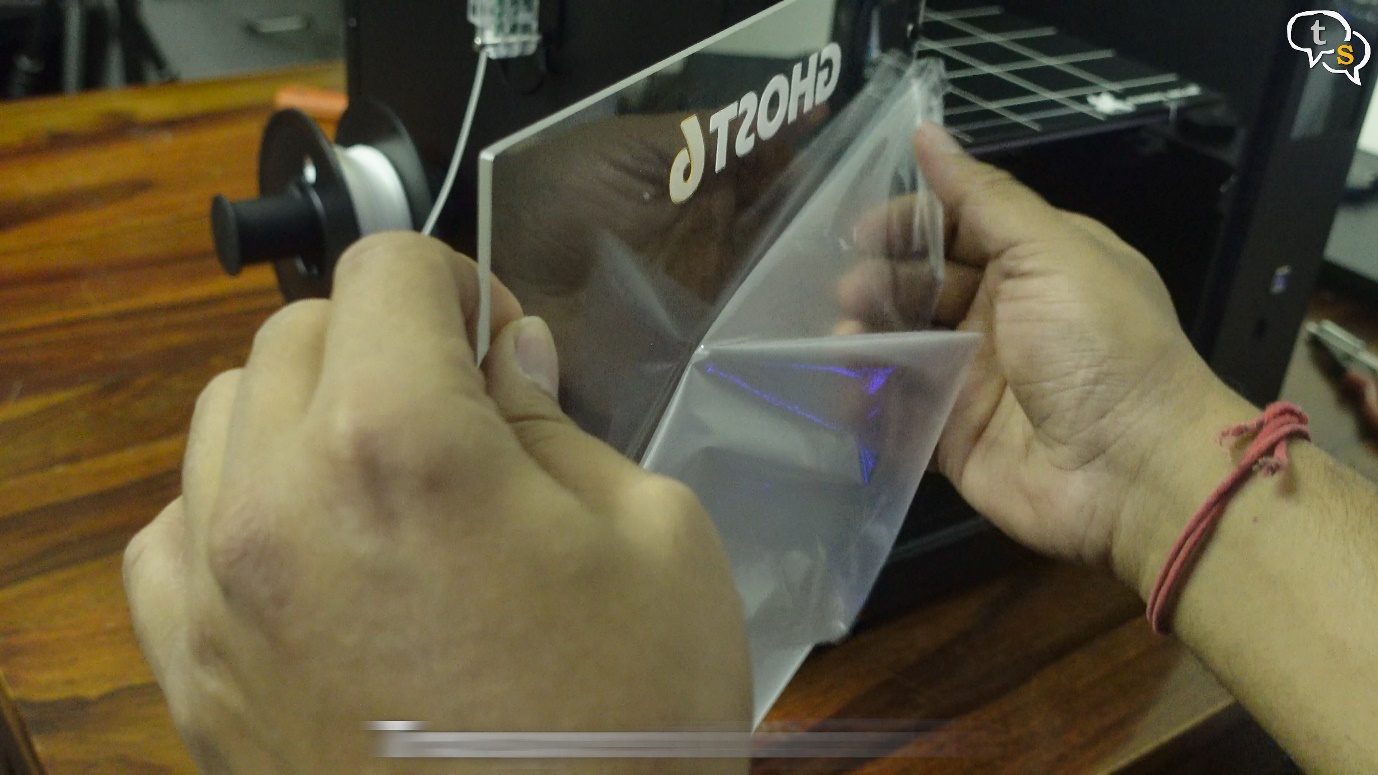
Also, I seem to have forgotten to remove the rear film off the acrylic door, it’s actually transparent. 🙂
This is how it looks.
Ok, now I really like the printer, It’s easy to put together as it comes mostly assembled. Print speed is quite good, the model printing in around 2 hours, is quite fast.
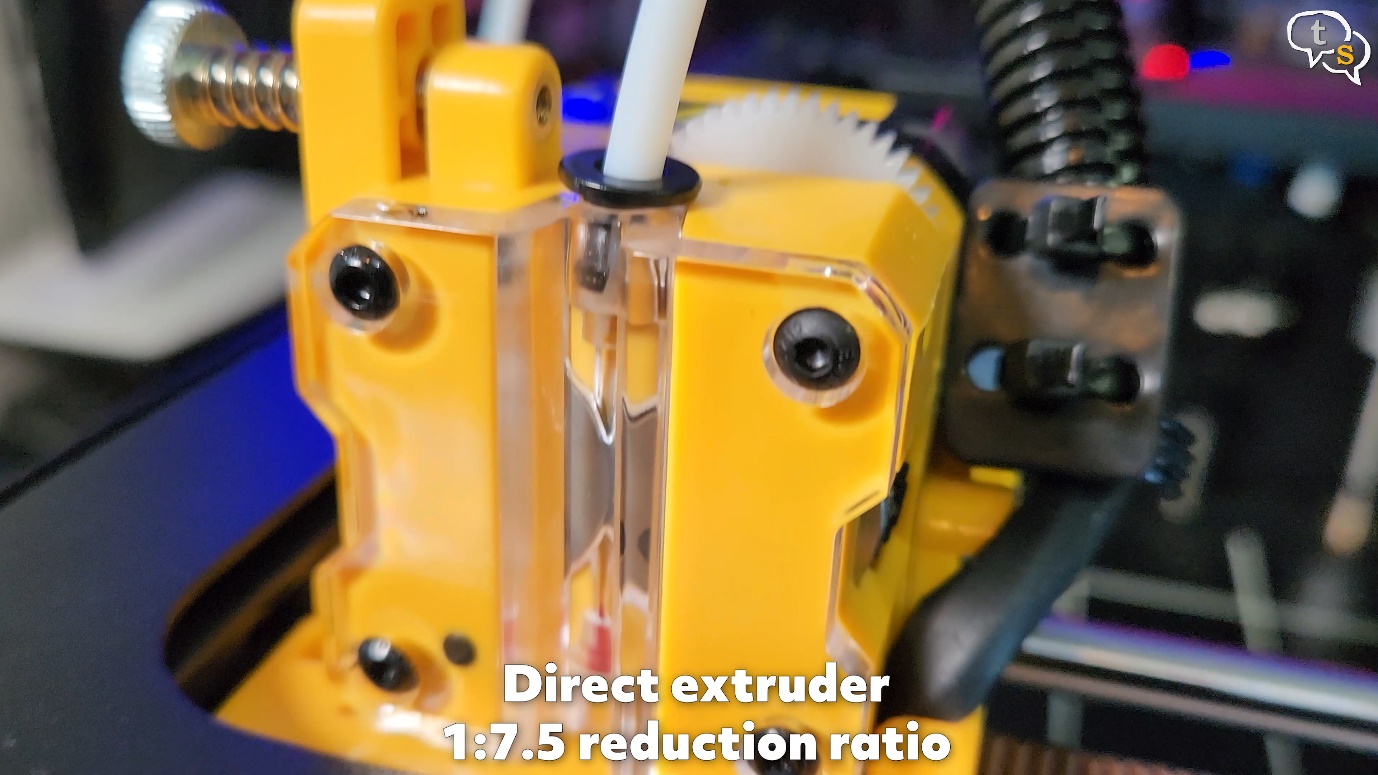
The dual extruder makes sure there’s no filament skipping when printing which is important for consistent lines.
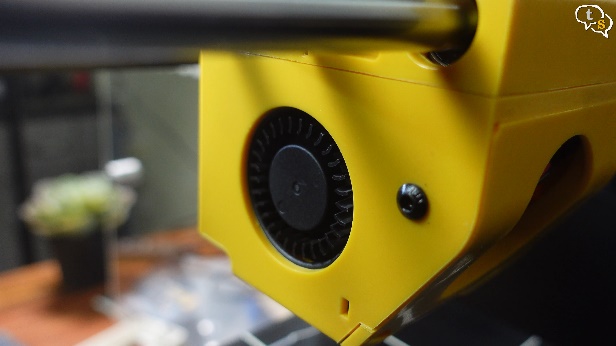
The dual active fans also do their job of making sure the model cools down fast enough to keep its shape.
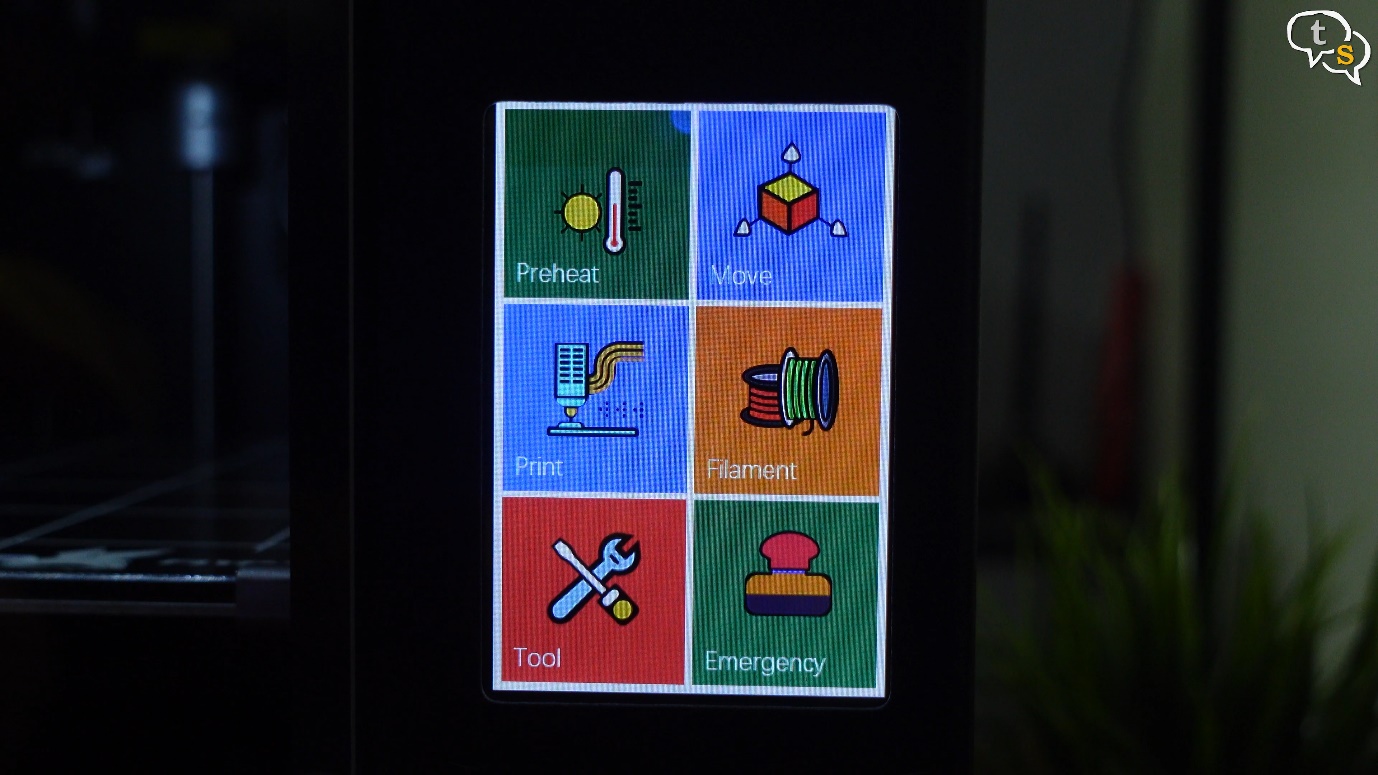
The touch screen interface is quite intuitive, and it should not take time to understand the options if you have 3D Printed before. First time hobbyists, make sure to go through the manual, preferably one in the language of your choice. I would have liked flying bear to have included an online version of the manual, which would have made it easier for me.
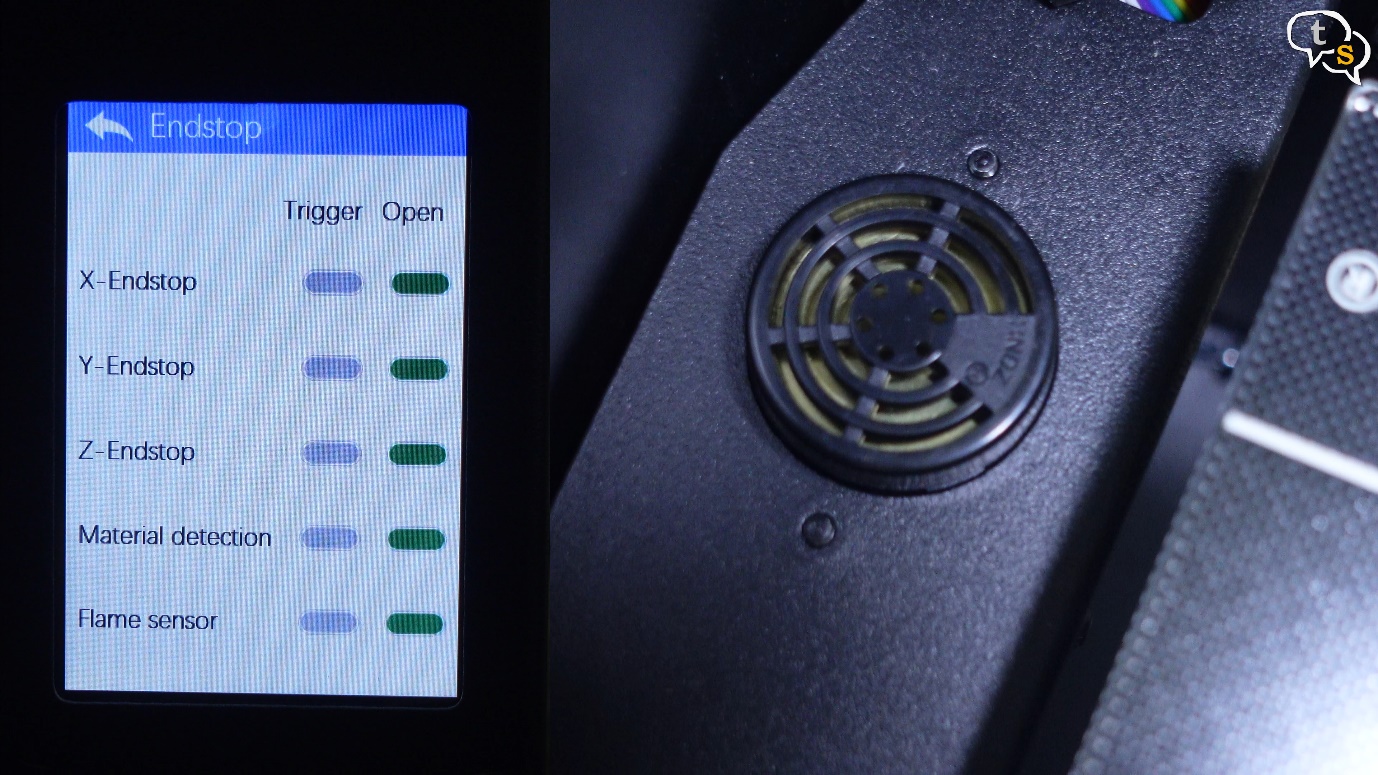
Fire detection is present, god forbid that happens, most printers nowadays have multiple fail-safes so thermal runaway is not common, but the feature being present is a plus.
The semi enclosed design is a plus for ABS printing which needs the ambient air to stay more consistent, so the top hood and the plexi glass door helps.
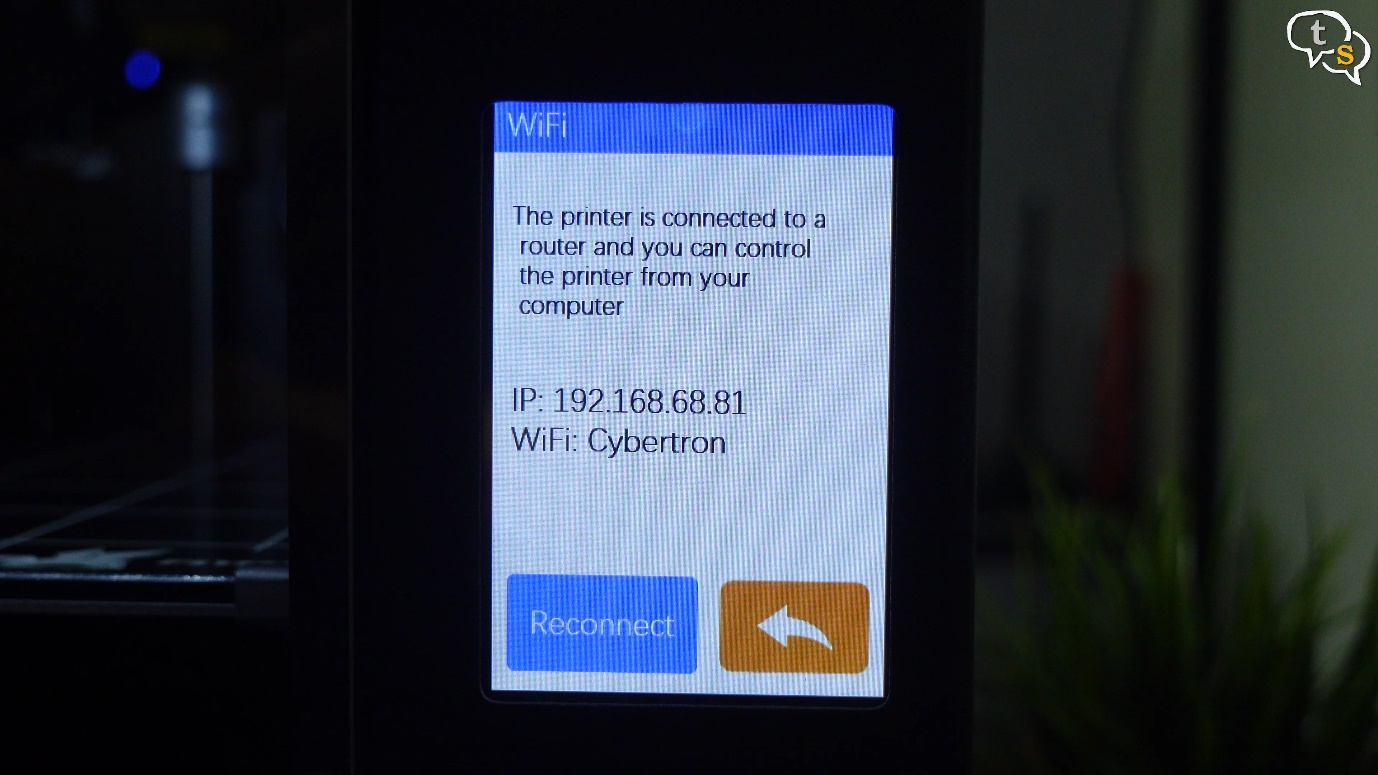
I tried connecting via Wi-fi but I couldn’t get to work via Ultimaker Cura 5.2.2
I’ve seen the price of the printer to be between 270 and 370 usd on multiple sites, if you can find it around 300, the price is quite competitive, but do note there is customs duty to be paid if importing to india. At this price point, it’s a good printer and you won’t be disappointed picking one up, especially if you’re just starting out into 3d Printing.
Do you have a 3d Printer at home, which one and why did you pick that certain model? Make sure to comment below.
Link to English Manual:
https://drive.google.com/drive/folders/1S6jUHvGn4IE2QkOM1R3vASzjqqMcLfiW