
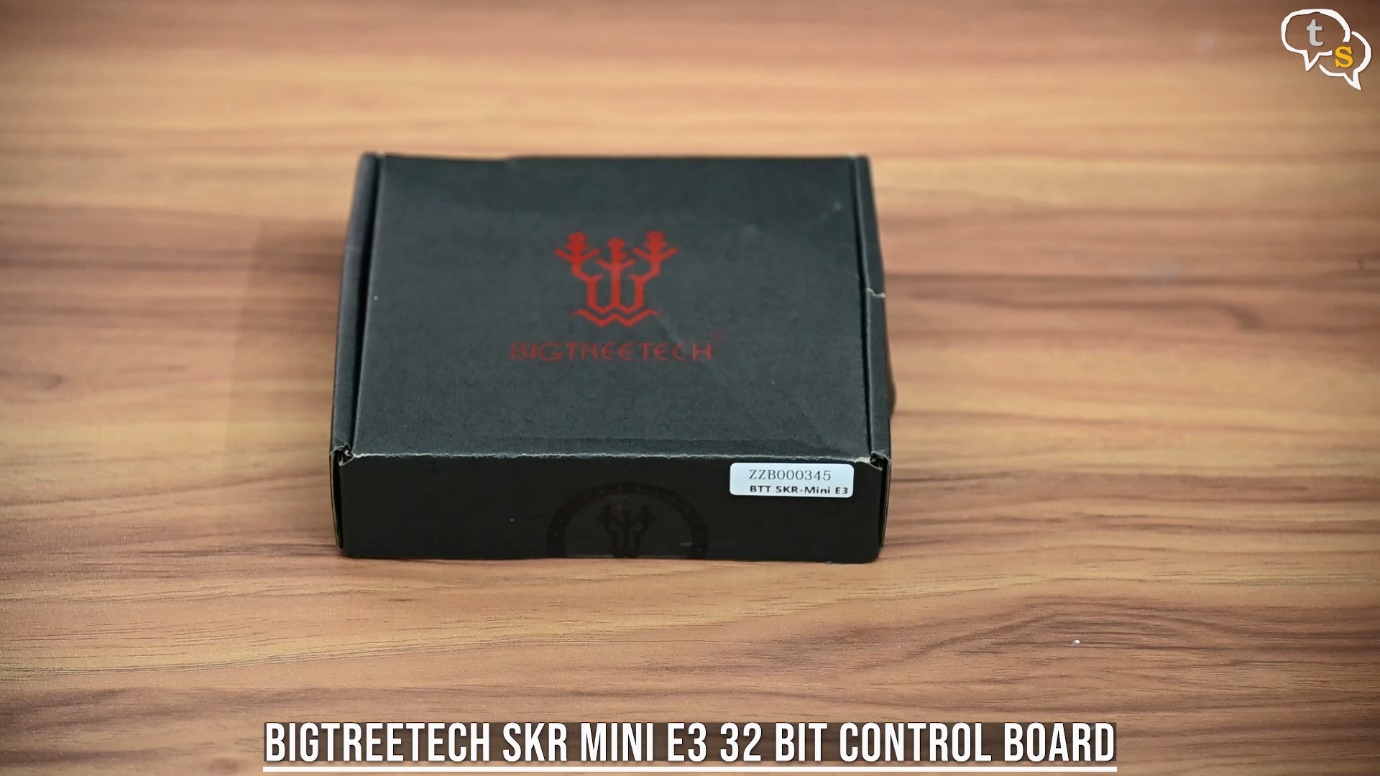
Here’s the SKR Mini E3, I purchased this off Biqu Bigtreetech’s website. It’s been sitting on the shelf since Mid-January, at last I got around to installing it .
Opening it up, we have heatsinks for the servo controllers, the main SKR Mini E3 controller board, a rubber ducky.
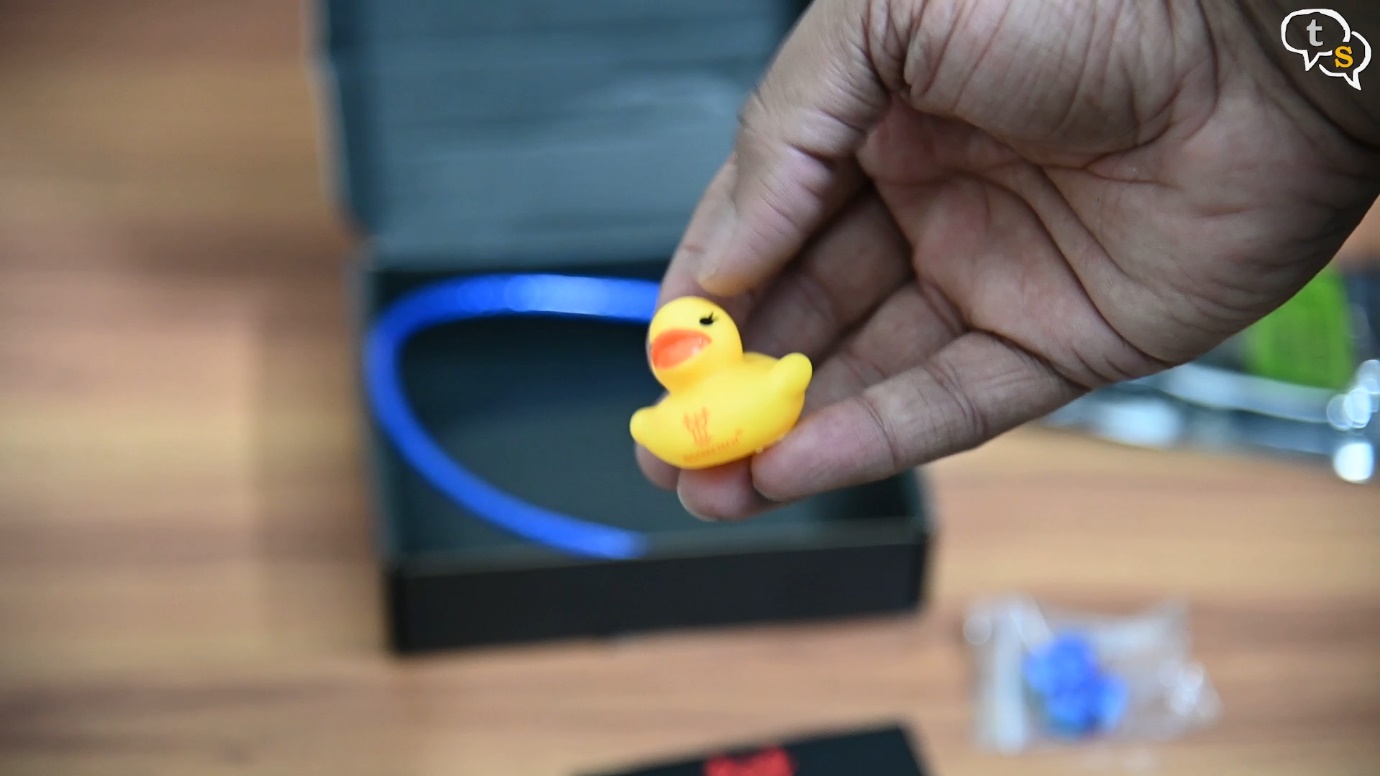
Bigtreetech places a rubber ducky in each order, just a fun addon, nothing to do with the actual product.
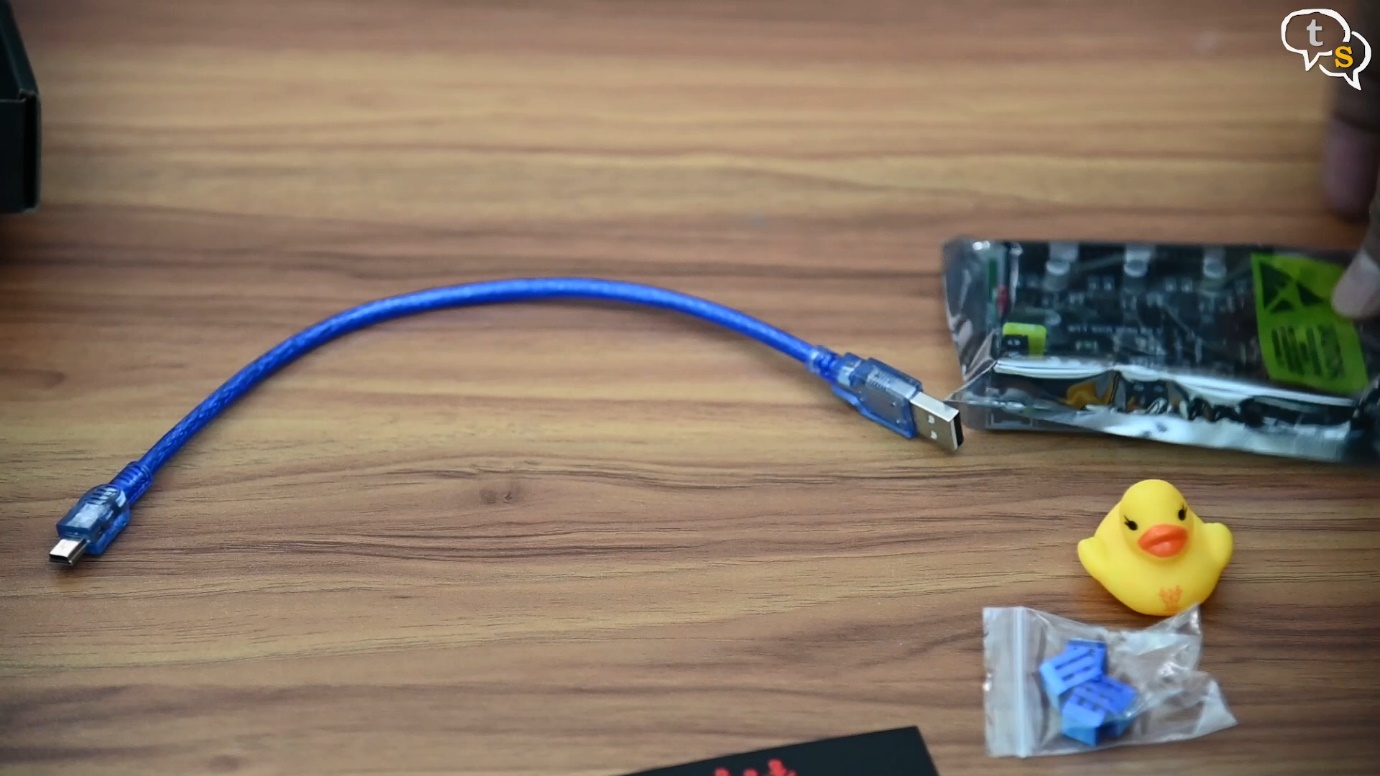
And a USB-A to USB-B cable to flash the firmware.
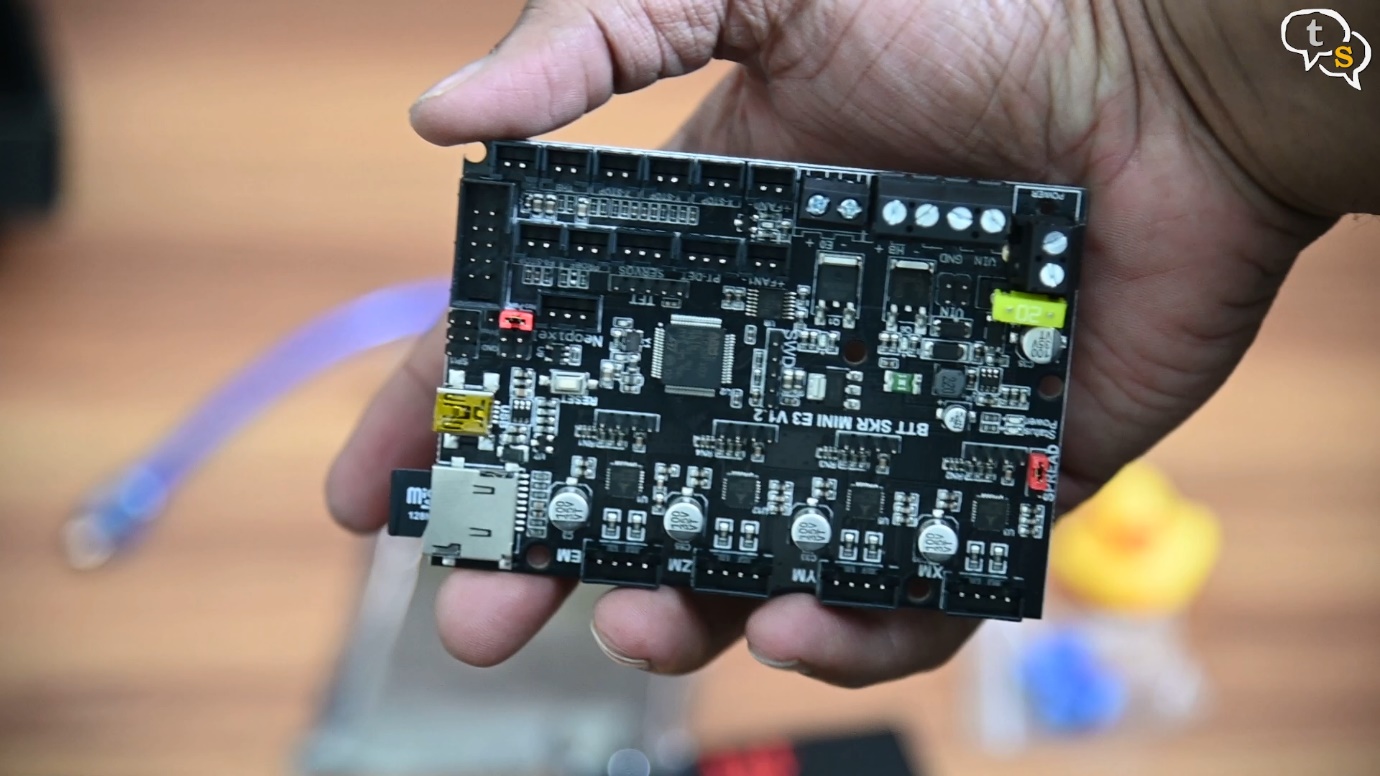
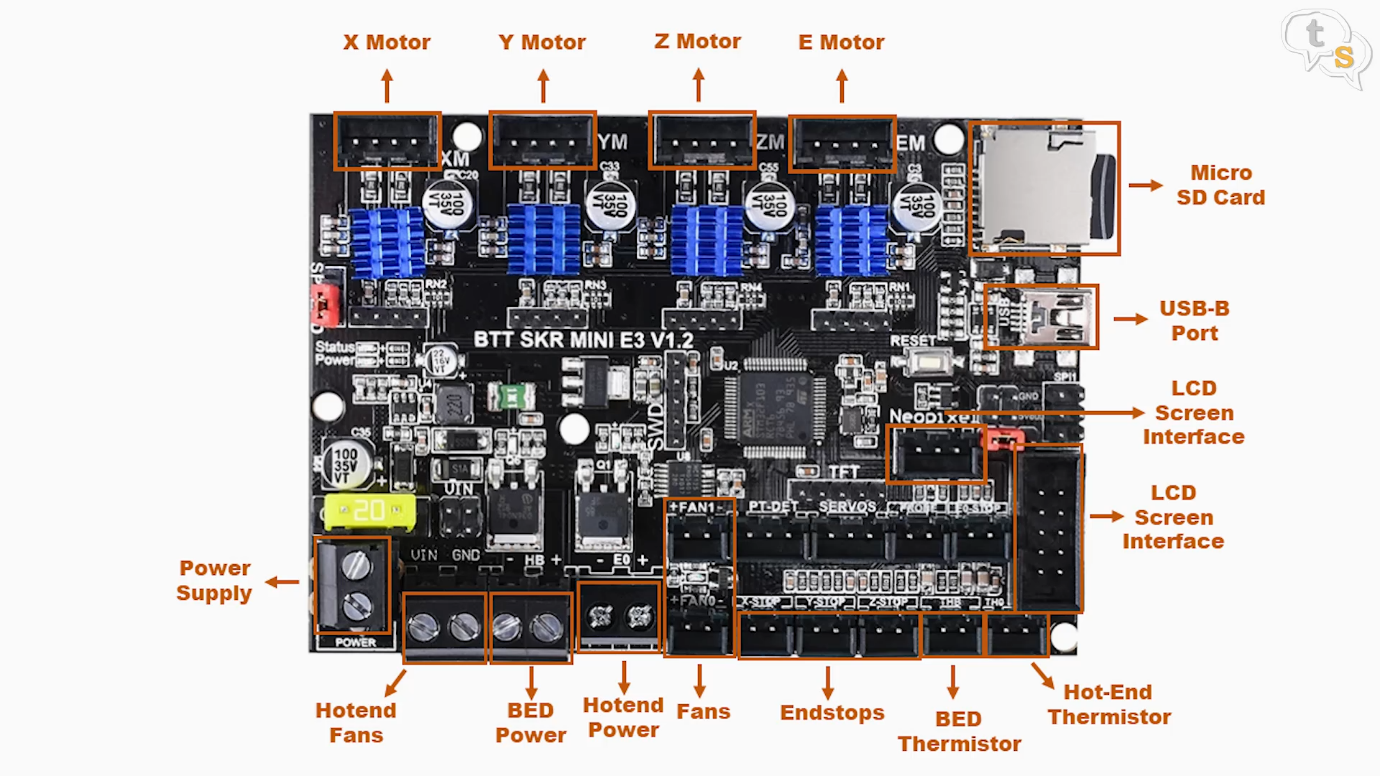
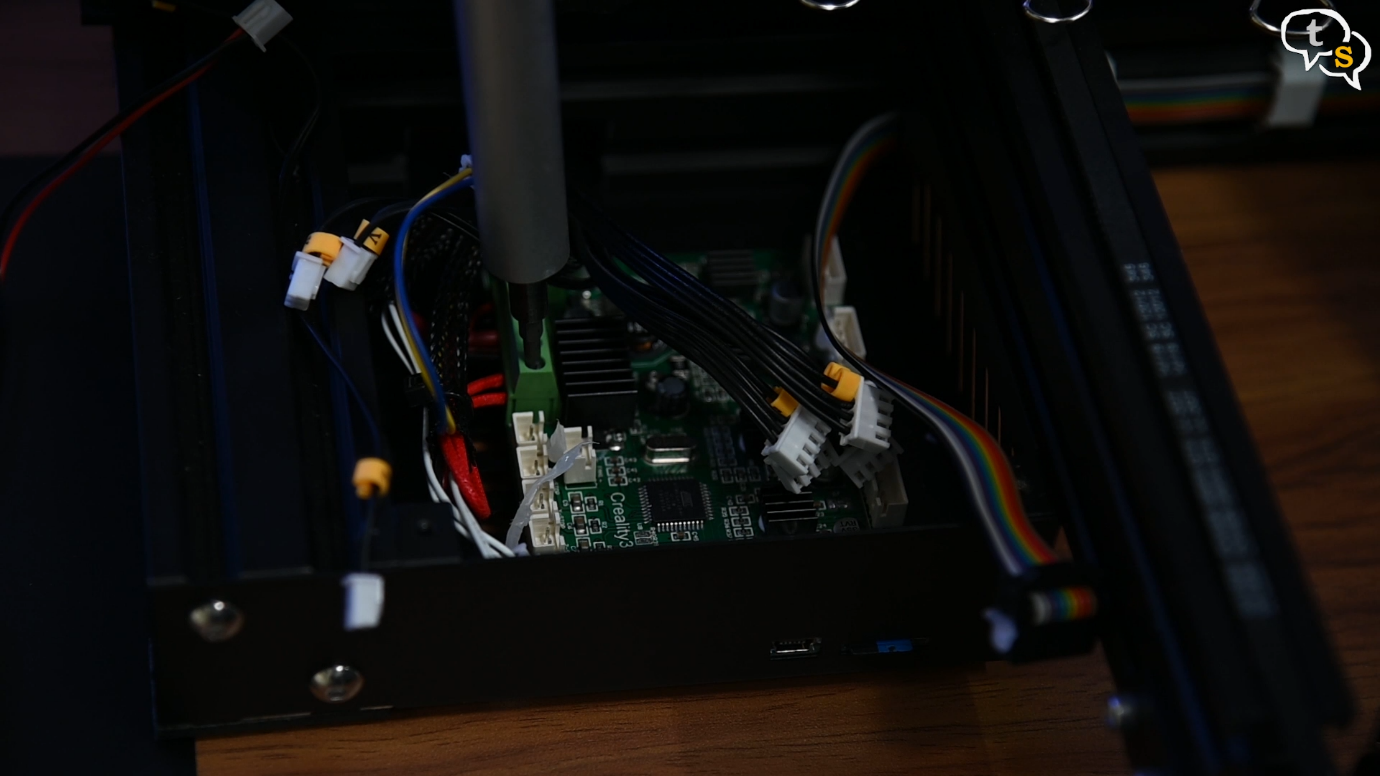
Here’s the board, it has the same form factor of the ender 3’s controller board.
The Creality board, included with the printer, has a dated 8-bit processor. It can’t always keep up with complex g-codes, which in reality I have had no problems with. But one area this controller helps is with the TMC 2209 stepper drivers, which quieten the stepper motors, substantially.
This board also has the Marlin 2.0 firmware, so no need to flash it, just replace the existing board, turn on the printer and you’re ready to start printing.
So why upgrade, well, the 8 bit boards could handle straight lines very well, but when it comes to more curved designs, the board needed more processing power, when it cannot process the data fast enough we have artifacting and degradation in the object shape.
And with 32-bit boards such as the SKR Mini E3 becoming more affordable, it becomes a no brainer.
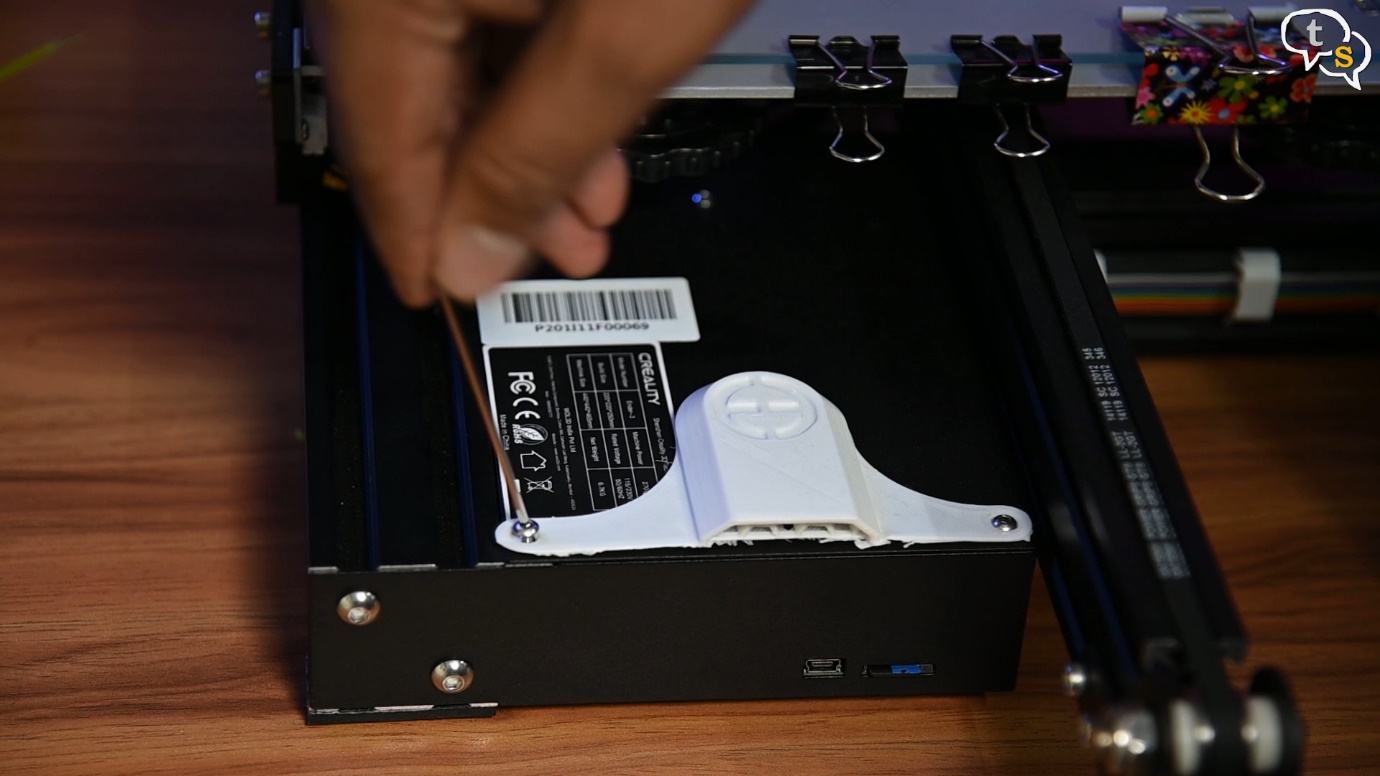
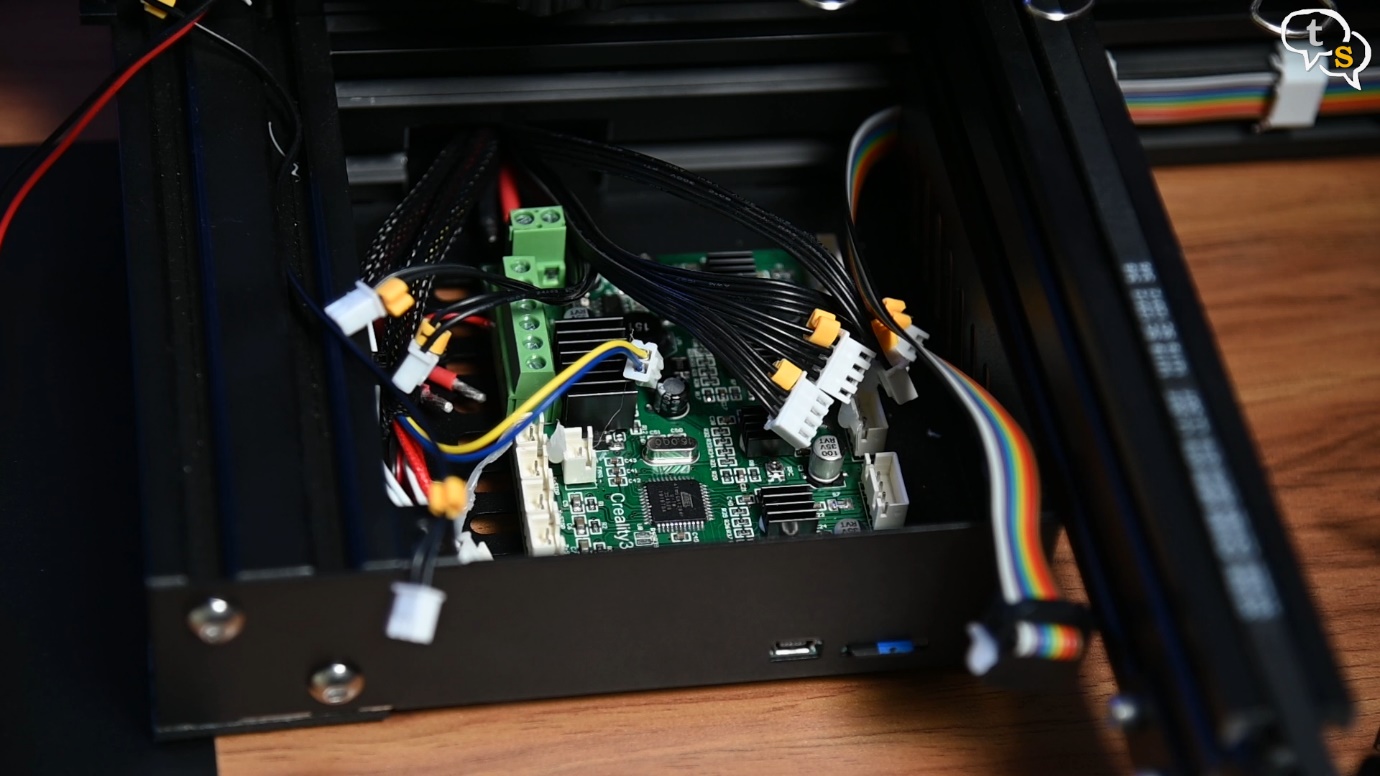
Before we can install the board, we need to remove the existing controller board, which is the Creality 3D v1.1.4 board.
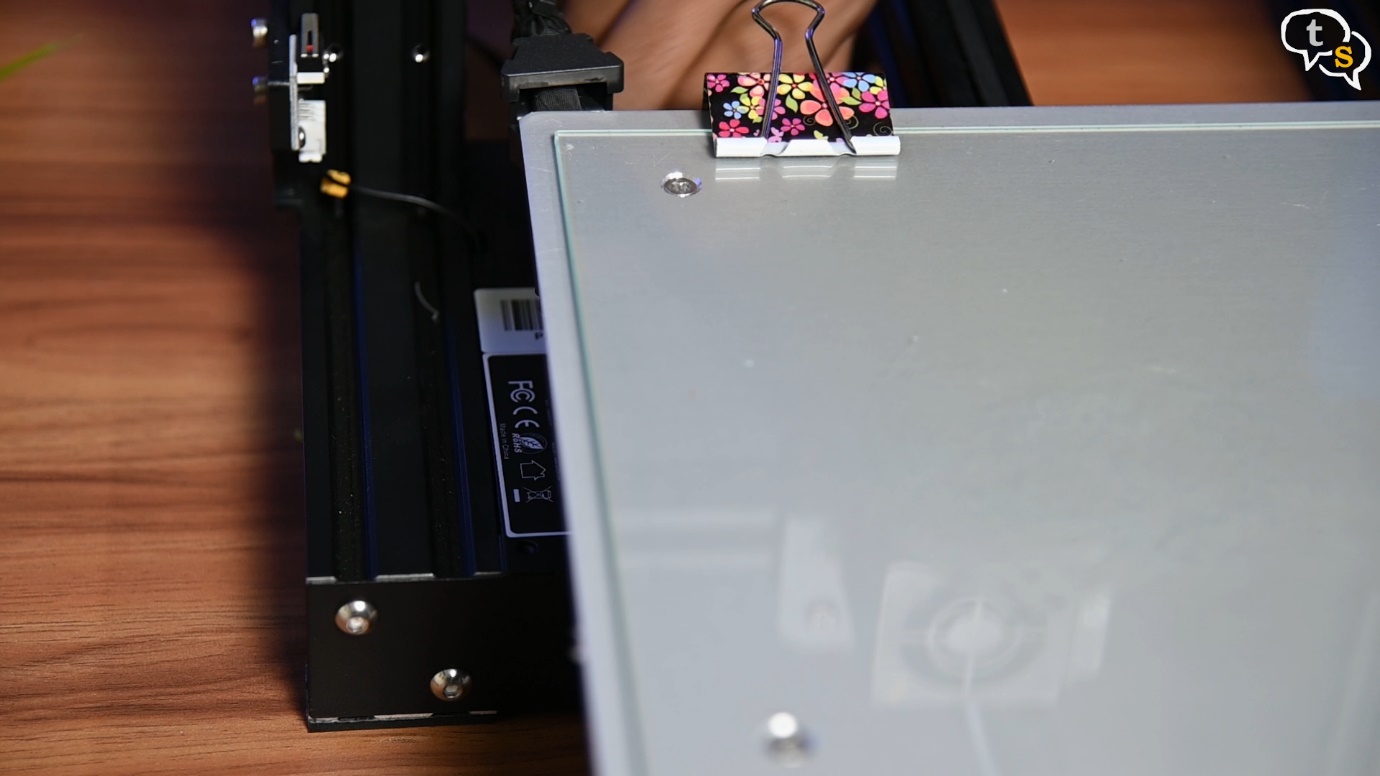
To remove the older board, we need to open up the case cover using the M4 Allen key provided with the printer. There are three bolts holding down the top plate two in the front and one in the rear.
I had added the fan shroud to the cover so that any filament does not drop in and block the fan.
So two in the front, and for the third, which is hidden by the bed, you will need to move it forward to access. You could use the Allen key horizontally, but this gives me more torque for easy removal.
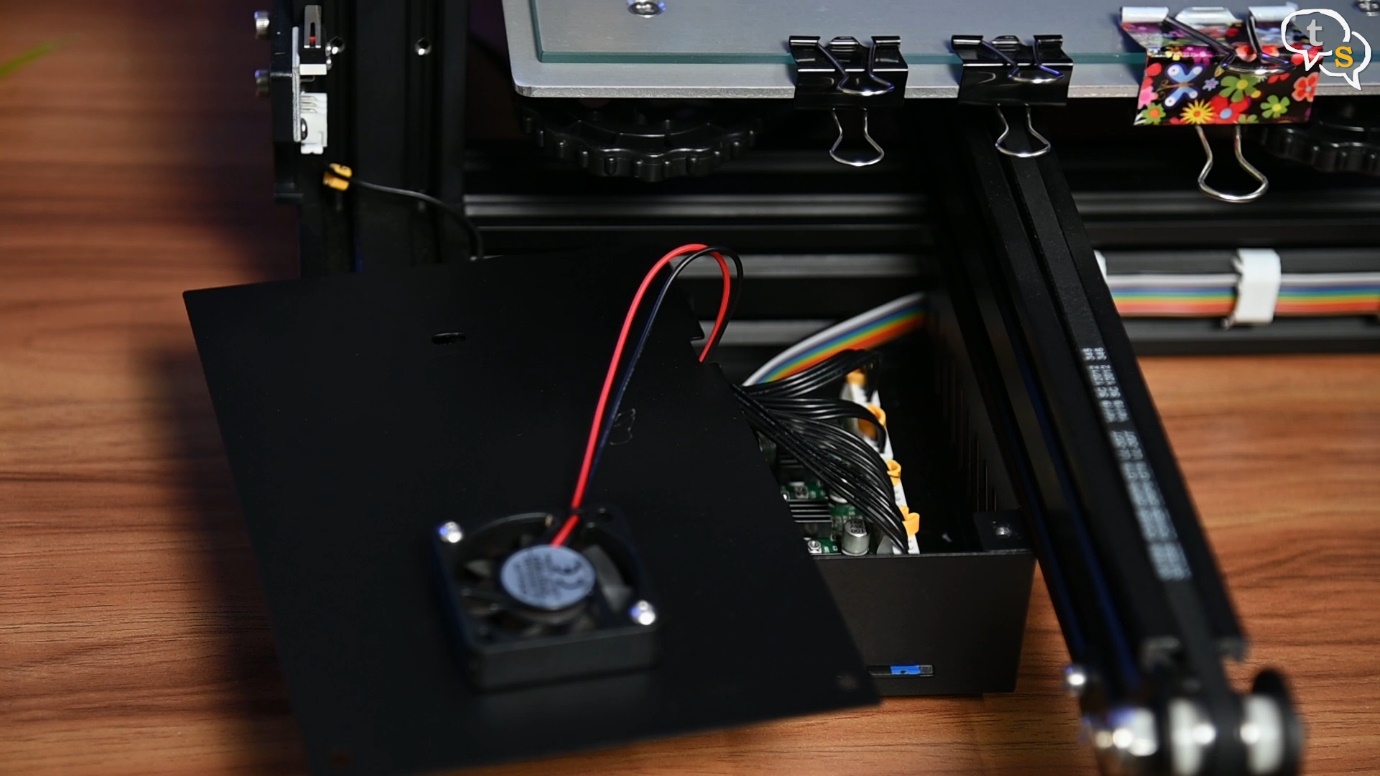
Once done we can remove the top cover, bring careful that you don’t damage the fan. Unplug the fan header off the board, so that you can place the cover safely aside.

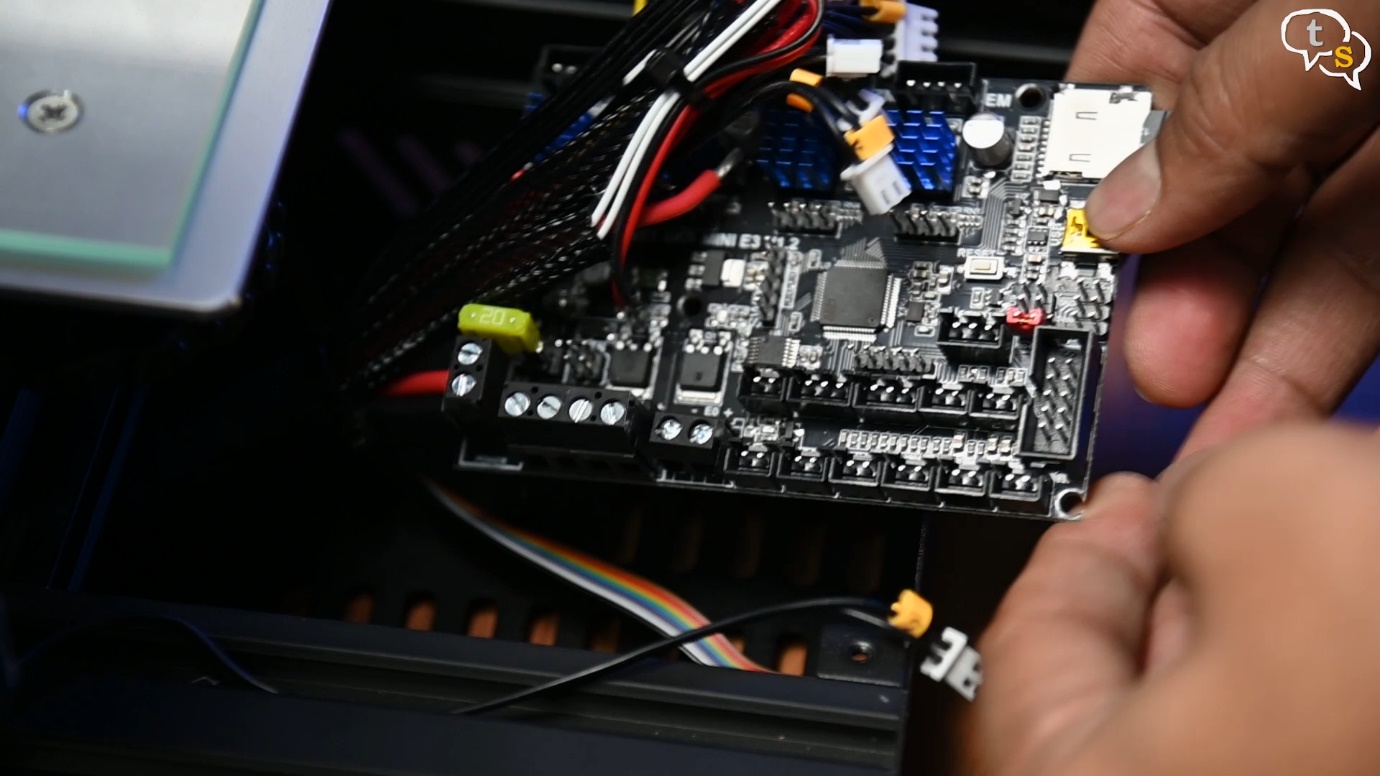
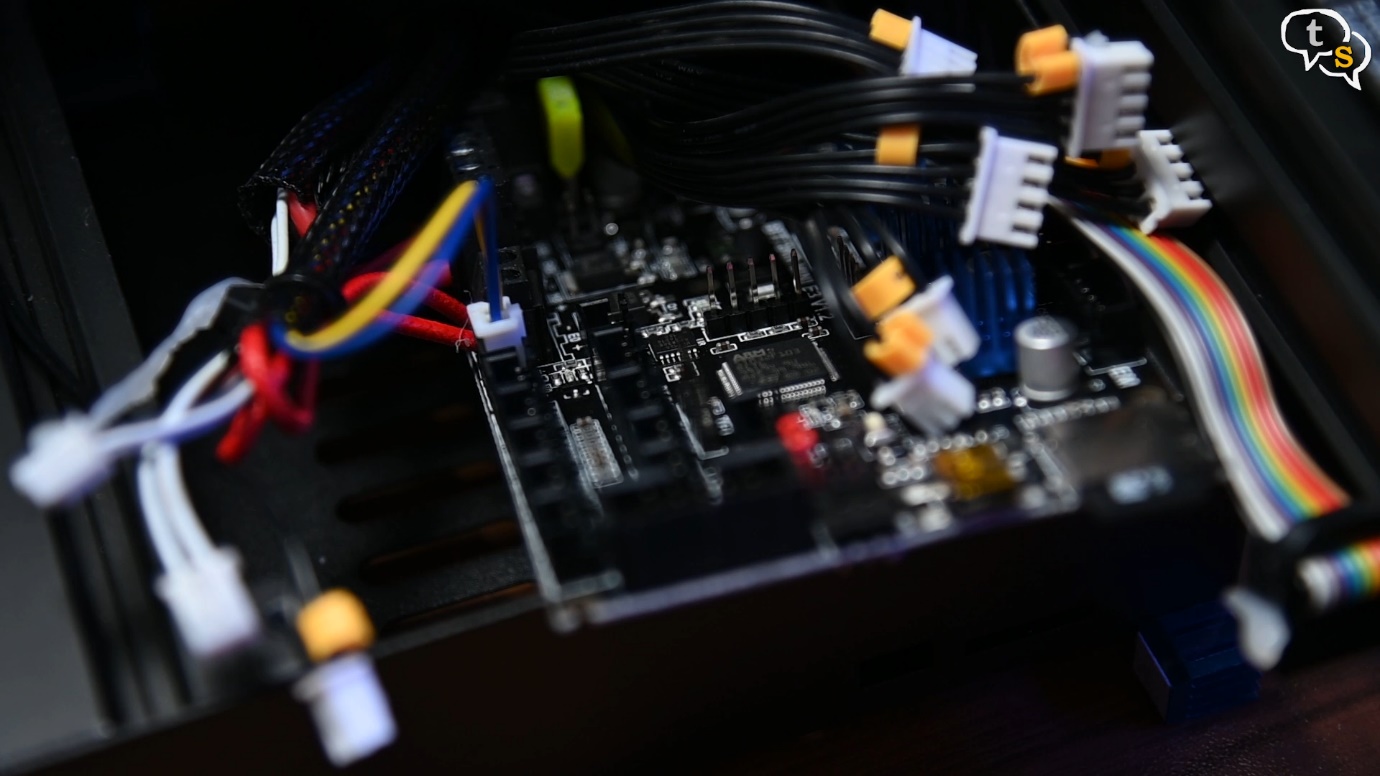
Now we need to unplug all the headers, the good part is that the headers are the same on the new SKR Mini S3 board.
My printer has the headers hot glued down, so if yours is too, be extra careful pulling them apart.
Now for the wire block connectors, these are generally block headers with screws used to hold the wires within.
Before you unscrew the wires, best to take a photograph of the connections.
Now we can proceed to unscrew the wires from the block.
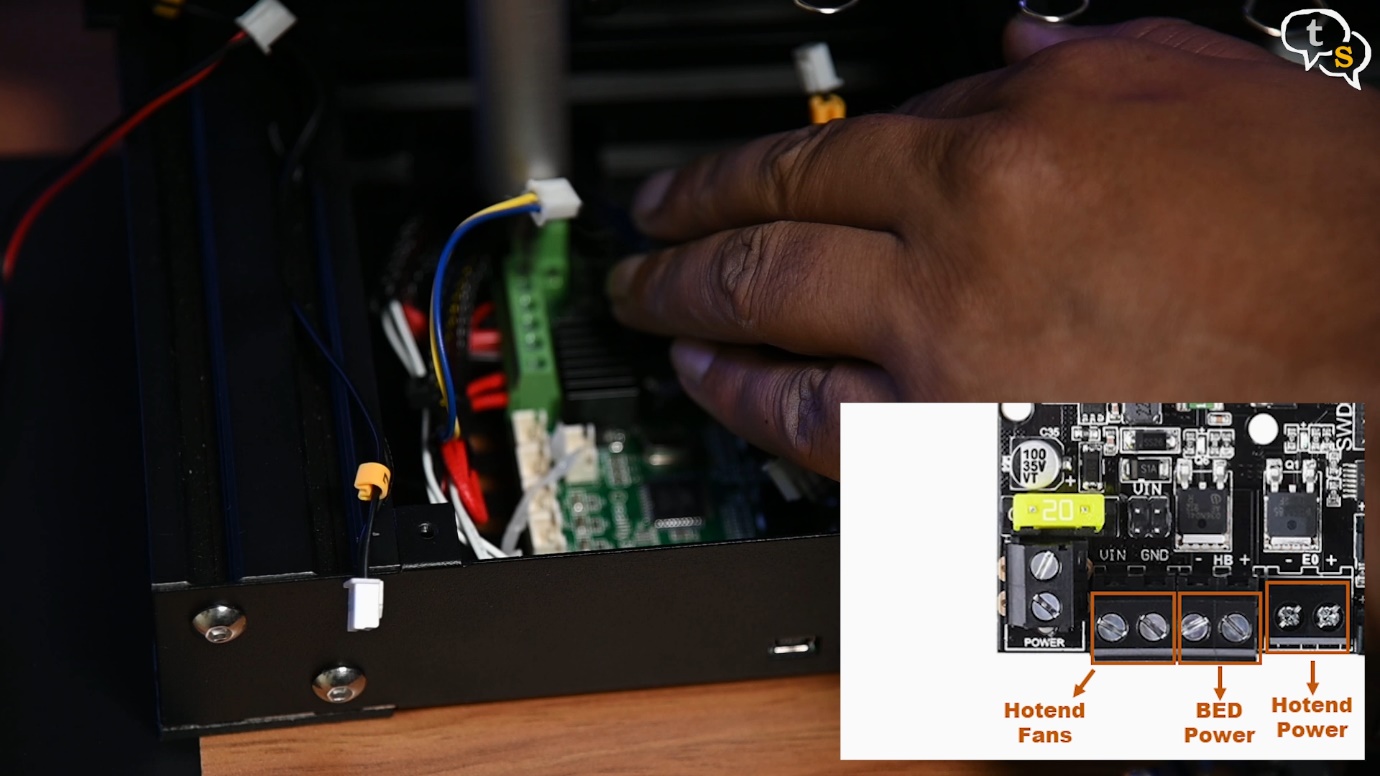
There are two sets, the one I’m unscrewing are the bed power, Hotend power and the fan header.
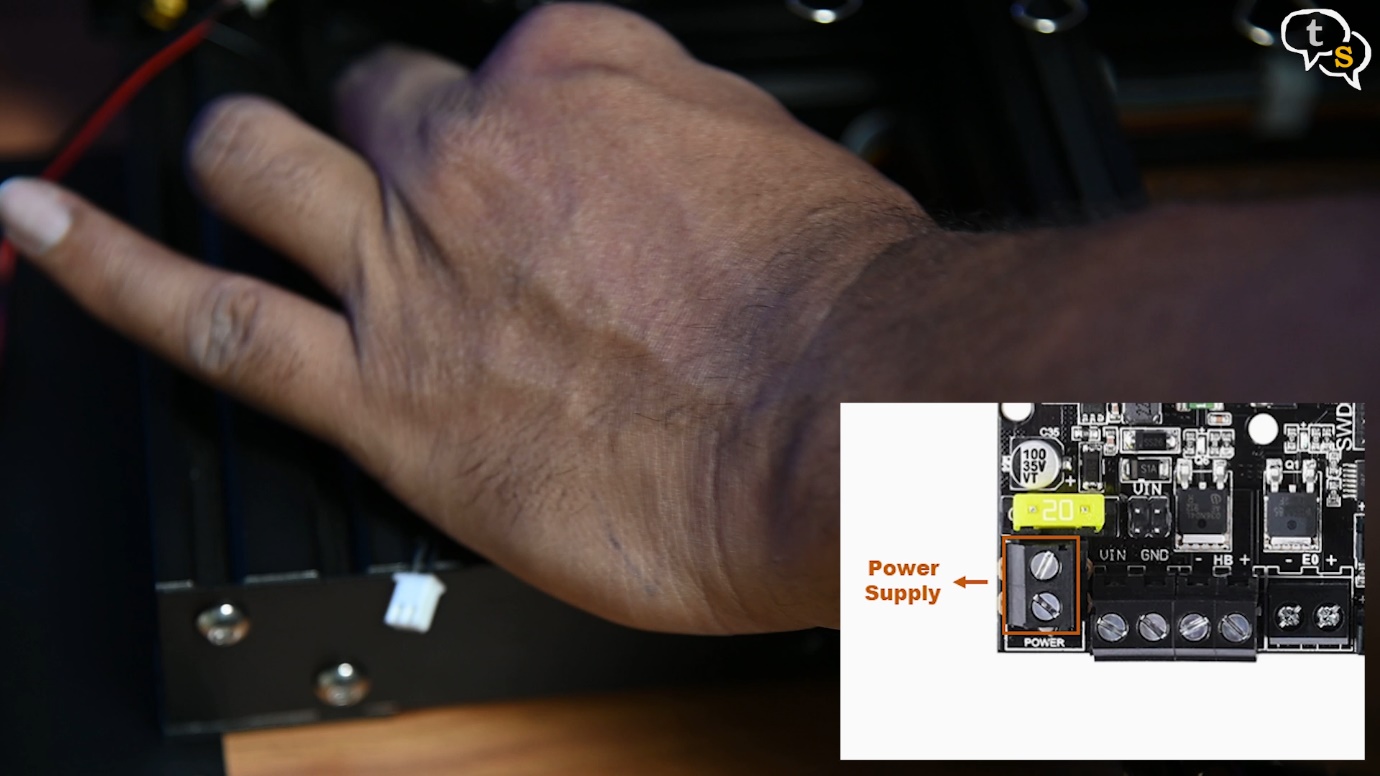
The one on the end is for the main power.
Now that we have all the headers and wires disconnected, we can unscrew the bolts holding down the board, there are 4 in total, three in the corners and one in the center. I almost missed the one in the center and was worried why the board was not popping off. Once done it popped off easily.
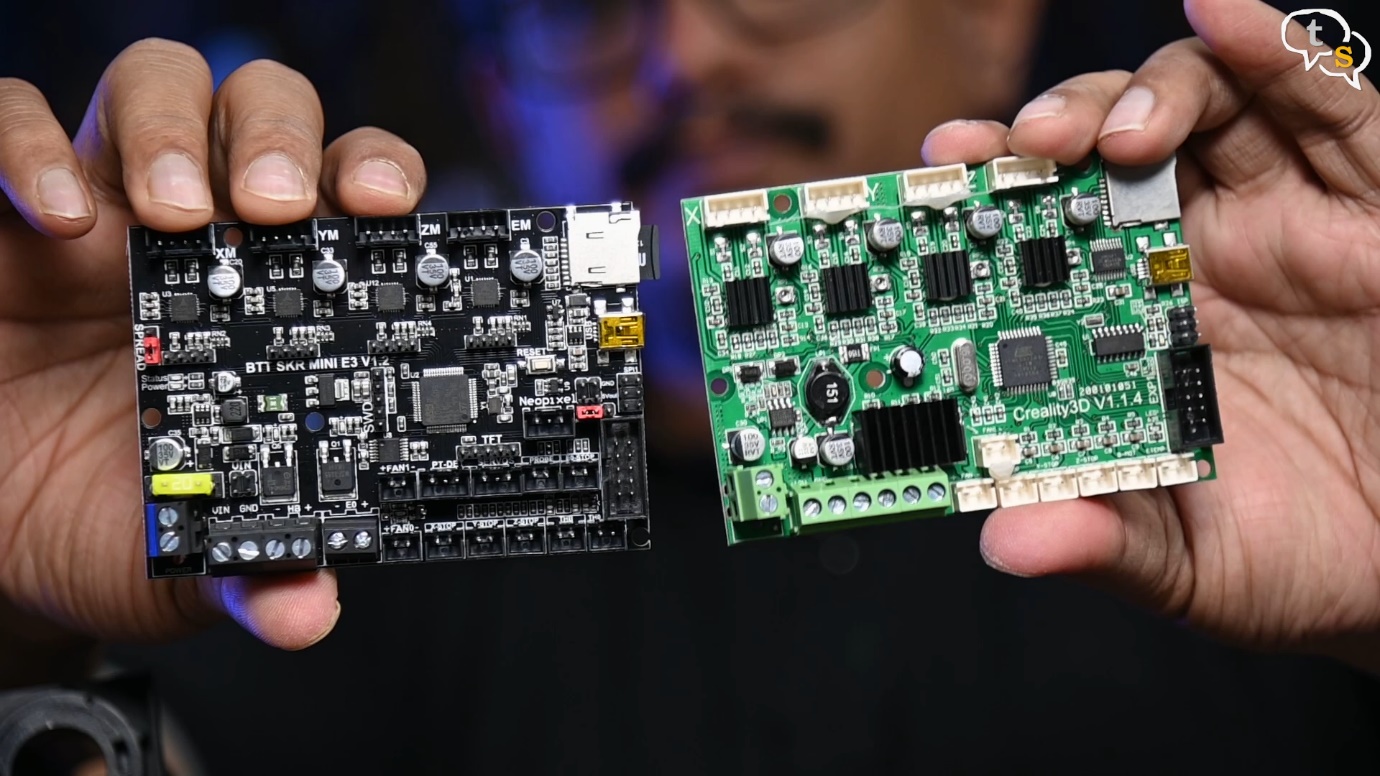
So here’s how the boards look next to each other.
Similar in design as it has to be installed in the same case.
The one in black is the new SKR Mini E3, and the green is the Creality3D board.
Nothing much to see on the back.

There are four aluminium heatsinks provided, I would suggest installing them first before placing the board in the case.
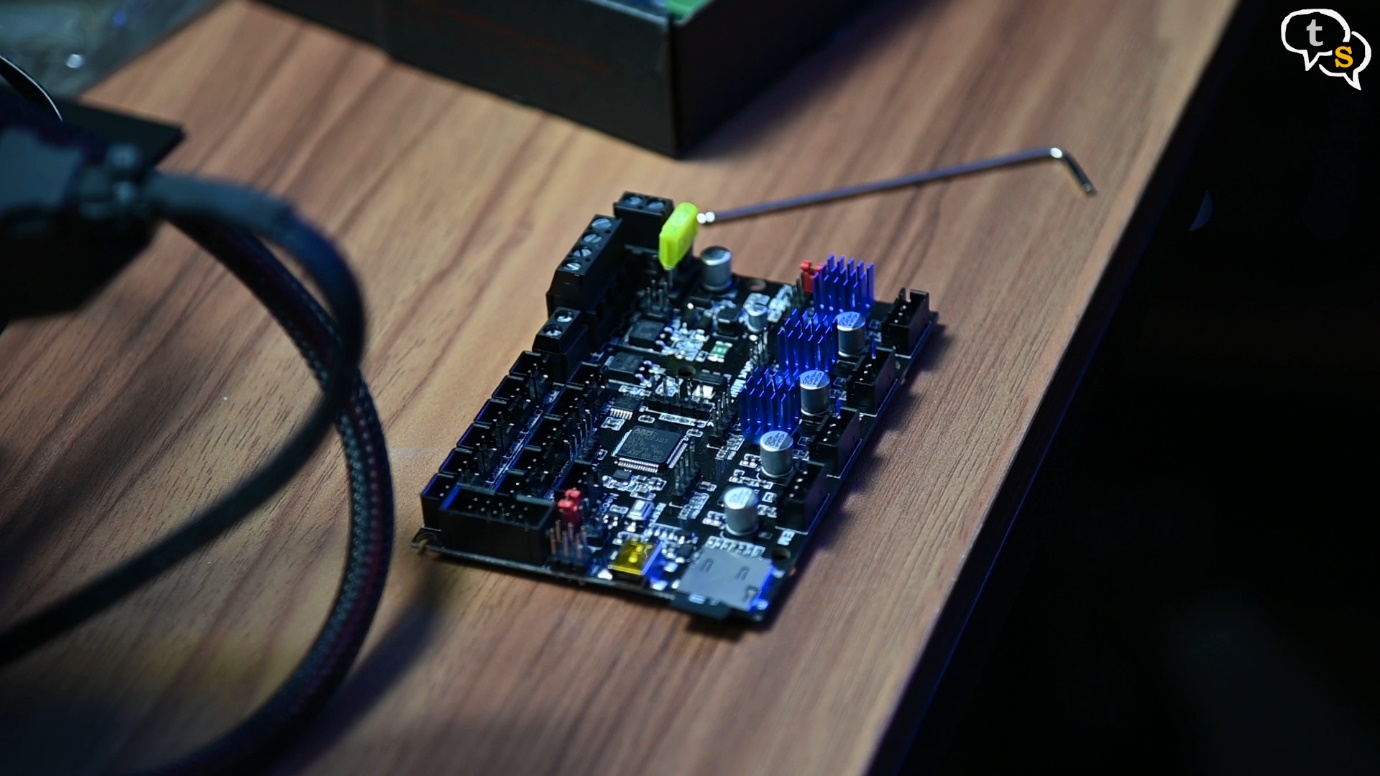
Peel off the tape below and stick onto the controller. These are 4 in a line, stick them and now you’re ready to install the board.
Being the same form factor and the wiring also being the same it is easy to install the board into the case.
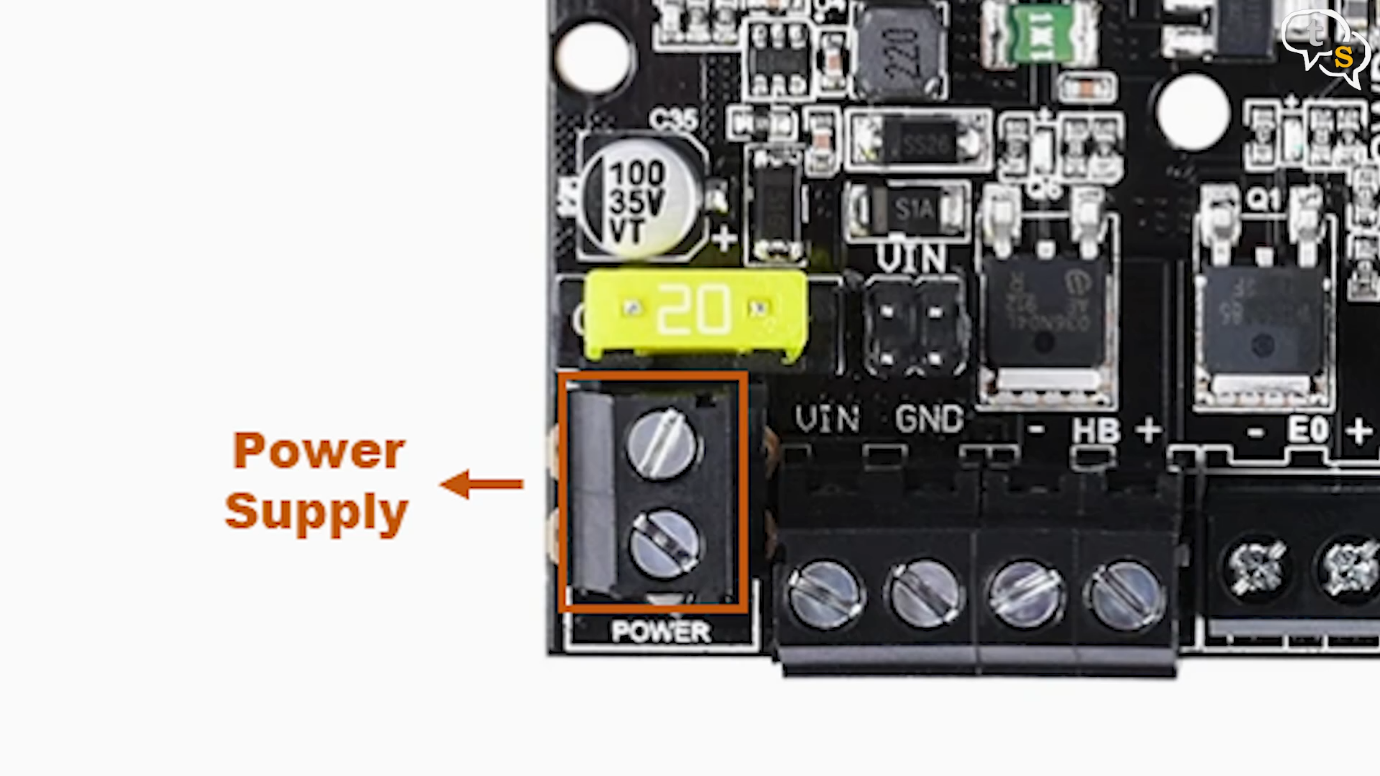
Before we install the board inside, it’s best to finish the wiring. I would suggest the main power first as it is at the rear of the board and won’t be accessible once it’s installed. Red to the right, and black to the left.
Then the remaining wires to the bigger terminal header we start with the red and black 18-gauge wires for the Hotend fans,
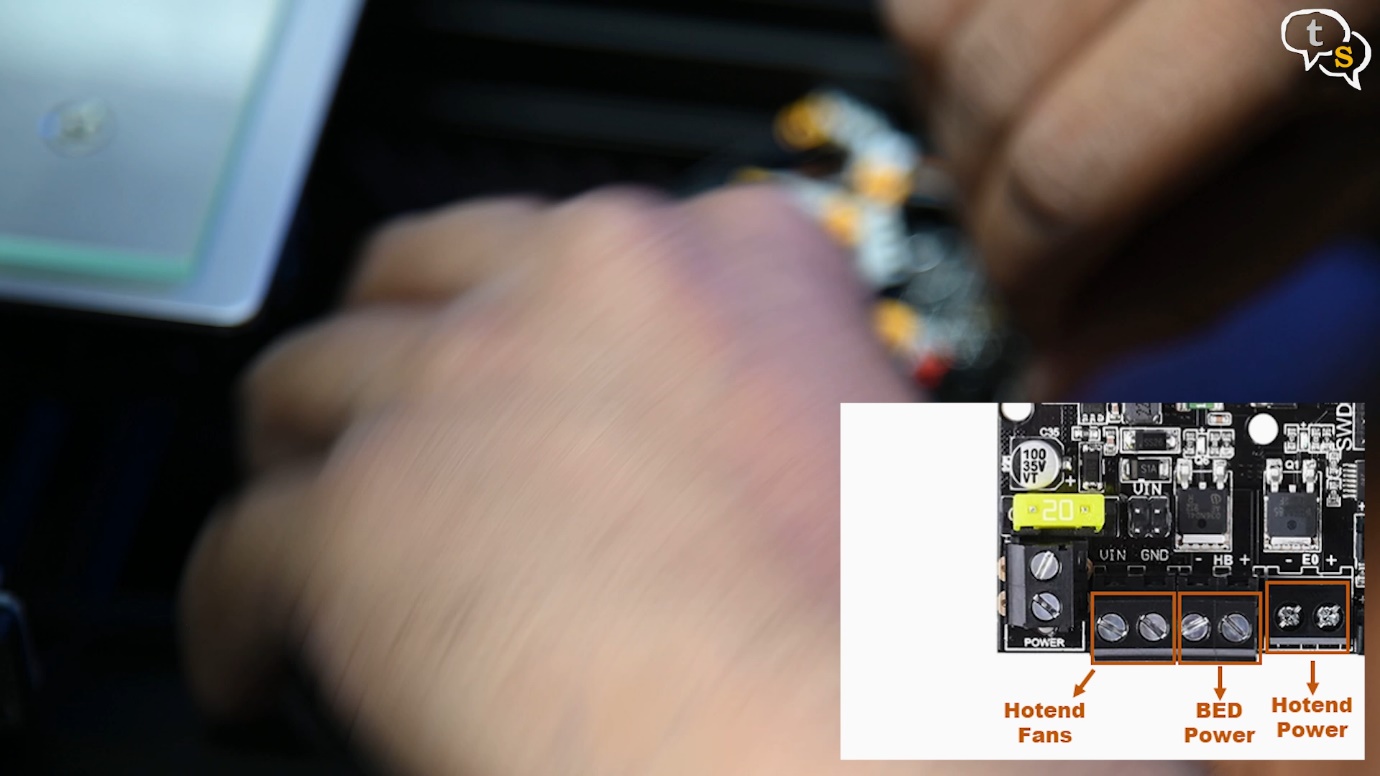
After that we have the 14 gauge wires for the bed power, next two more 14 gauge wires for the Hotend power.
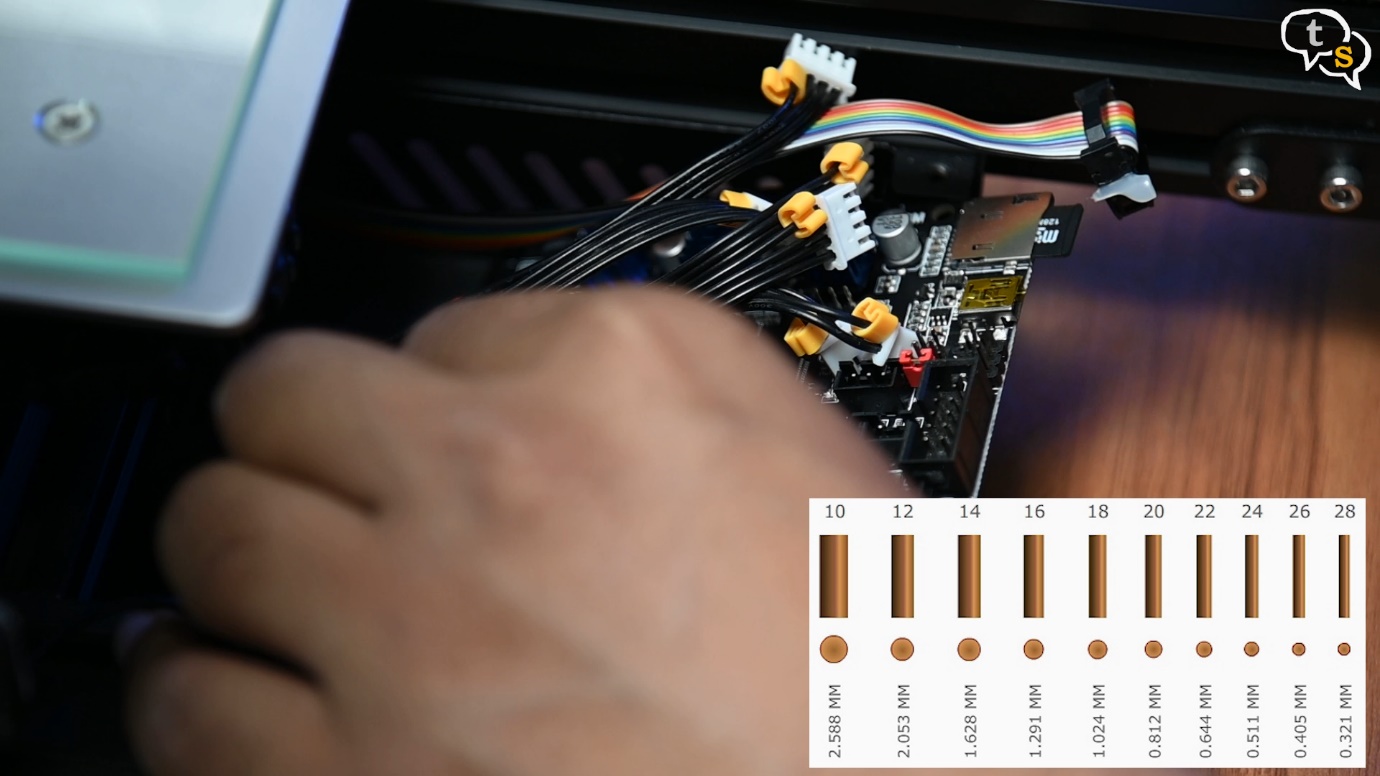
Here’s a tip, the larger the number, the thinner the wire. So, 18 gauge wires are actually thinner than the 14 gauge wires.
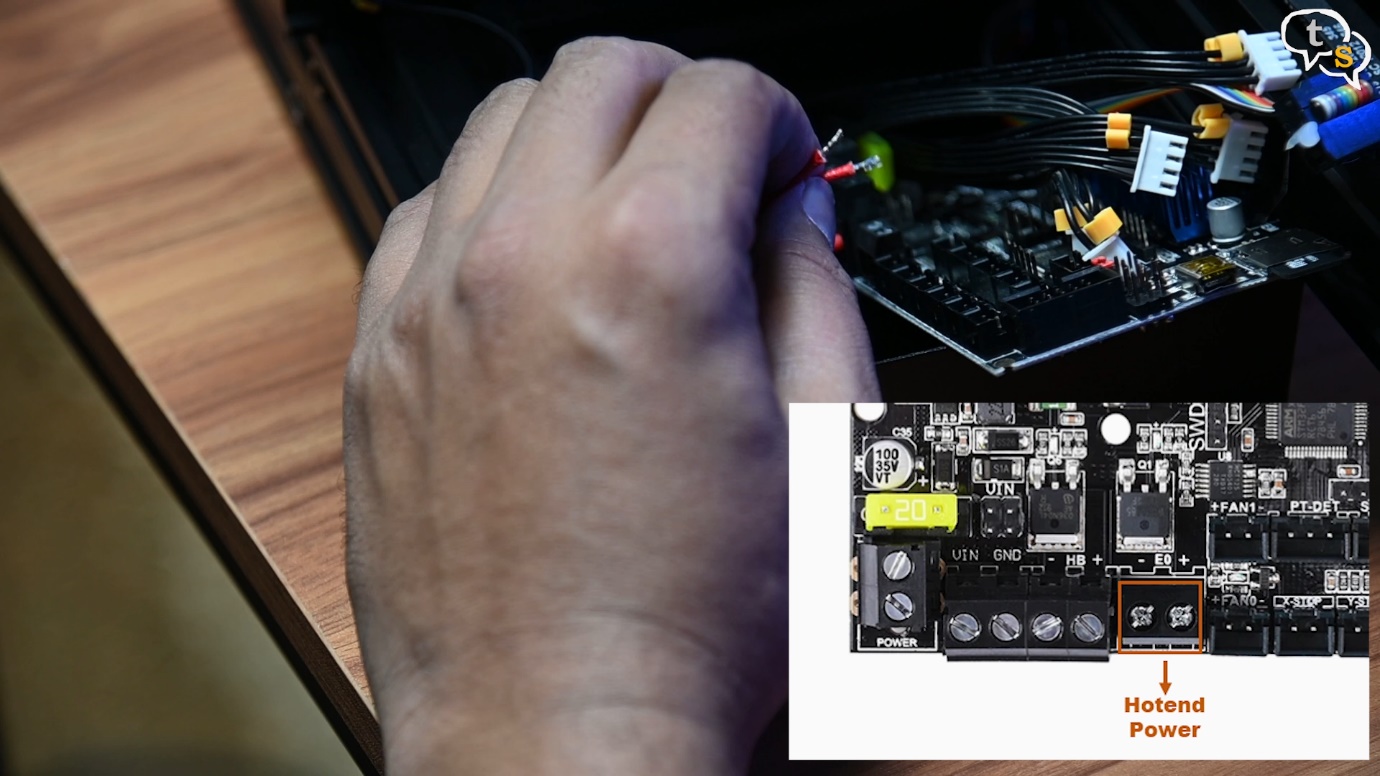
There are two more wires remaining which are the Hotend power, and are either both white or red. I have the red ones, these are non-polarized, so it can be connected either way.
Attached them, and next also attach the fans. The fan with blue and yellow wires are connected to FAN0, and the case fan is connected to FAN1.
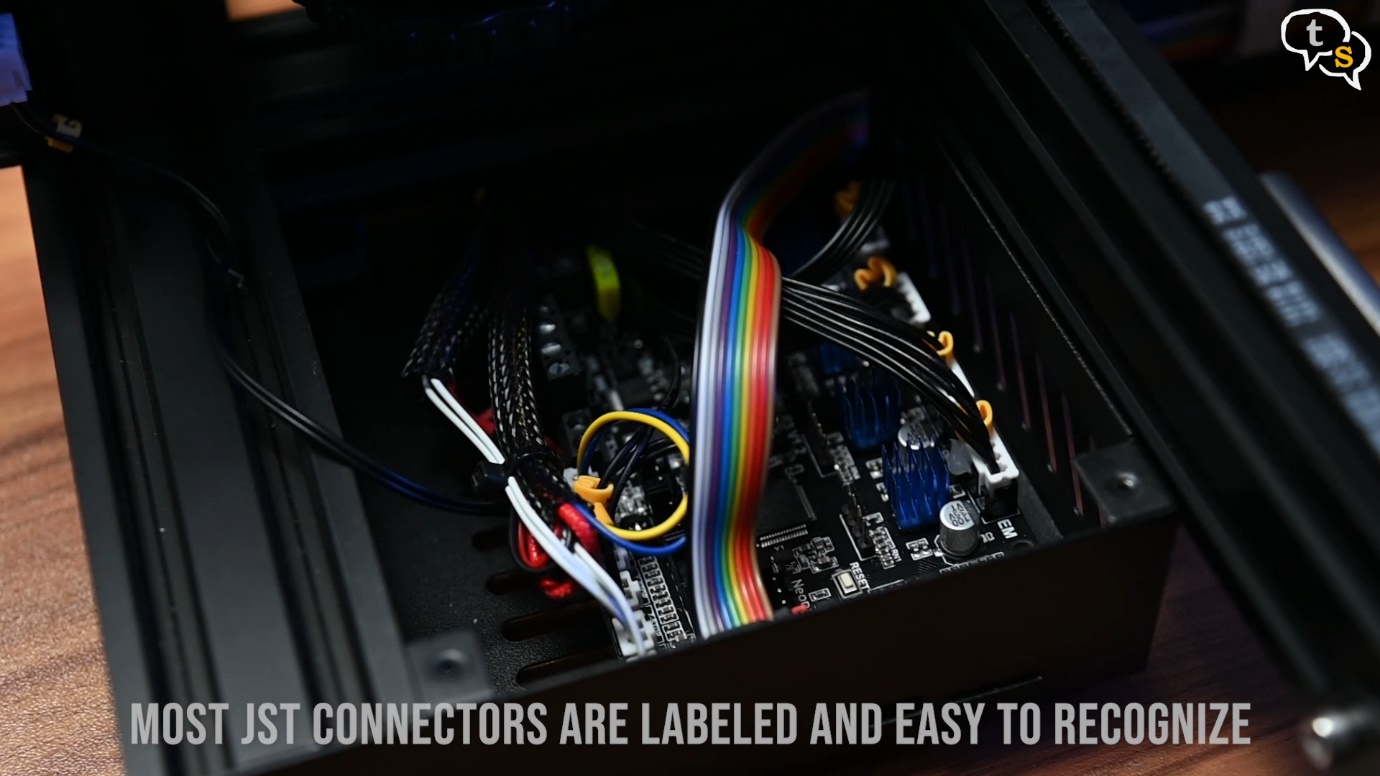
All other cables are the same as the original board, just connect each of the headers and also the LCD ribbon cable and we’re done.
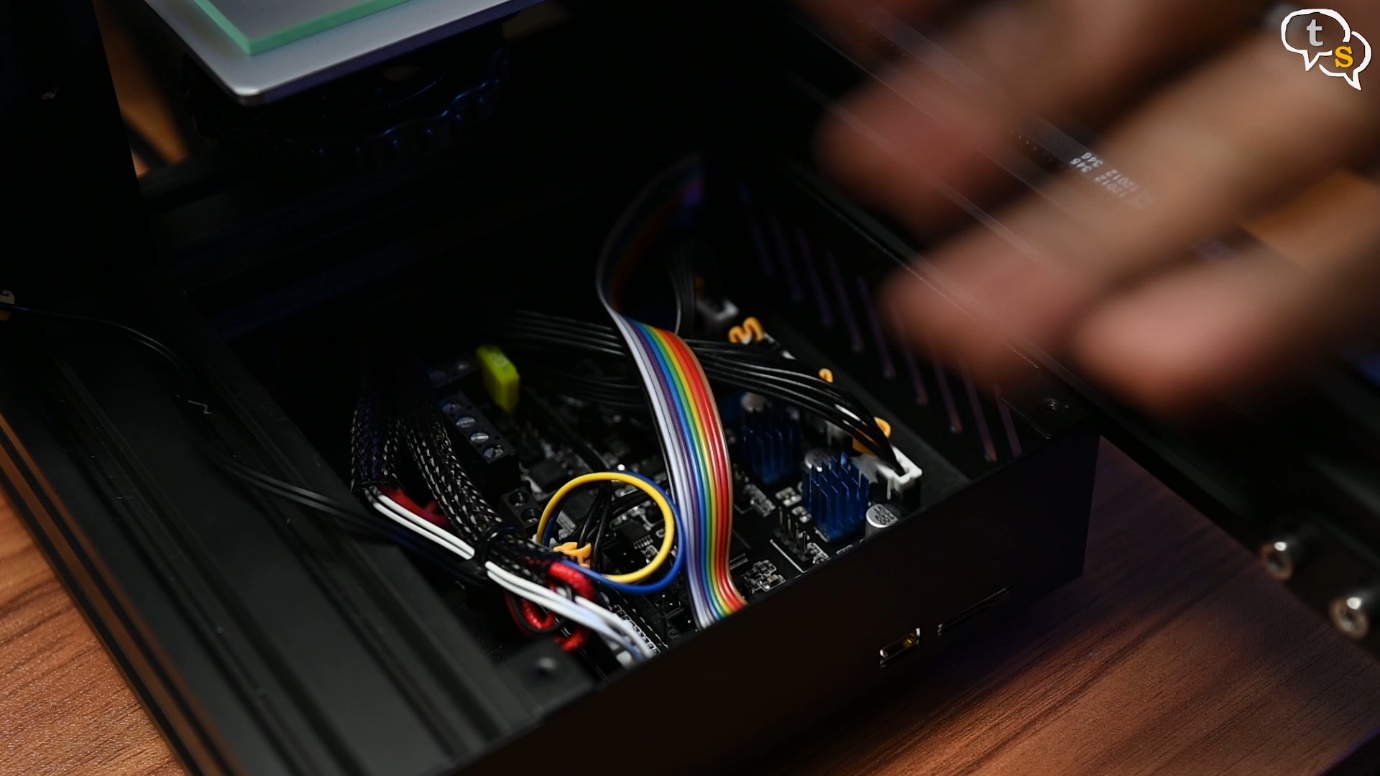
Now to install the board back into the case, use the same bolts from before to secure the board into the case.
Now that we have the board in the case, before we put the cover back on, we should do a test run. The SKR Mini E3 comes with Marlin 2.0 firmware preflashed so no need to flash the firmware ourselves.
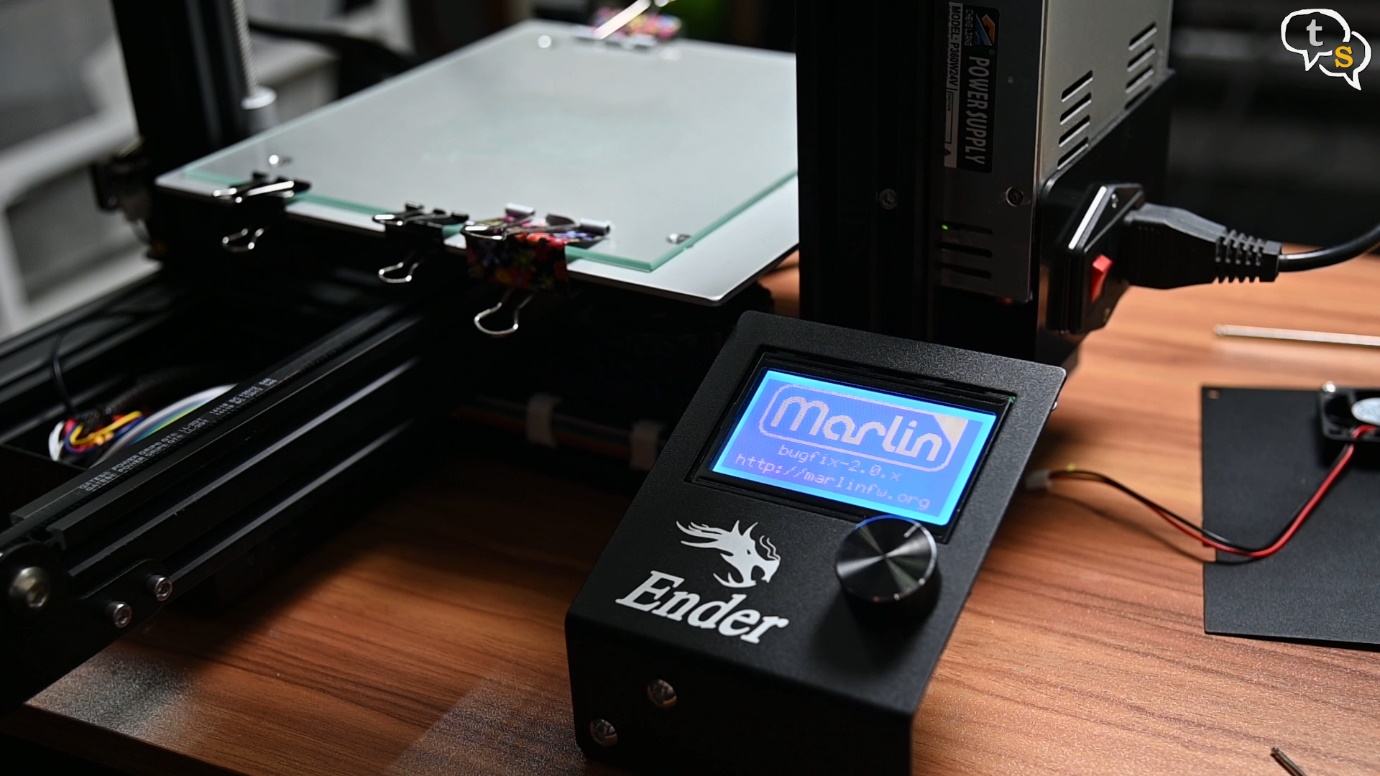
Moment of truth, turn the printer on, and ….. We’re booting into the marlin firmware. Cool.
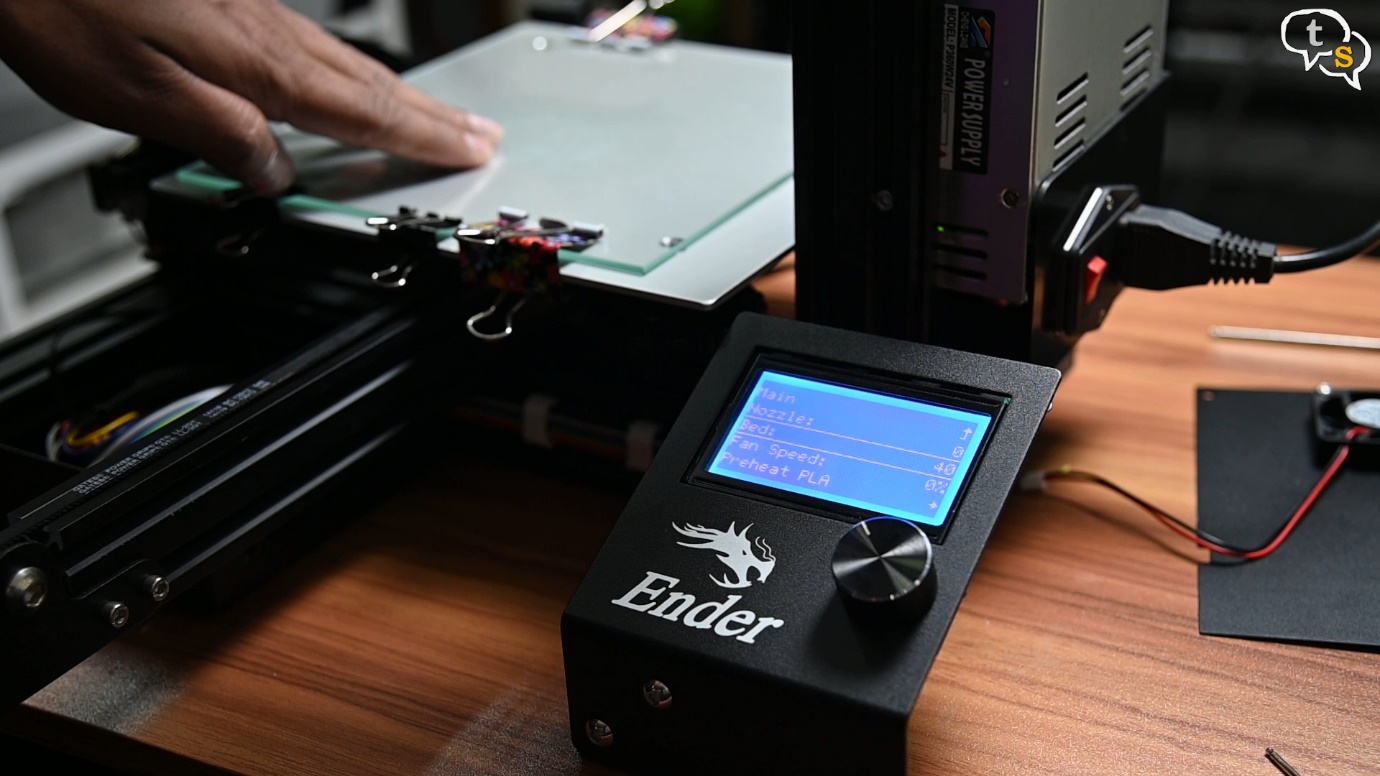
Let’s just test if everything was wired properly. Let’s set the bed temperature to maybe 40 degrees,
Seems to be warming up, so it’s working.
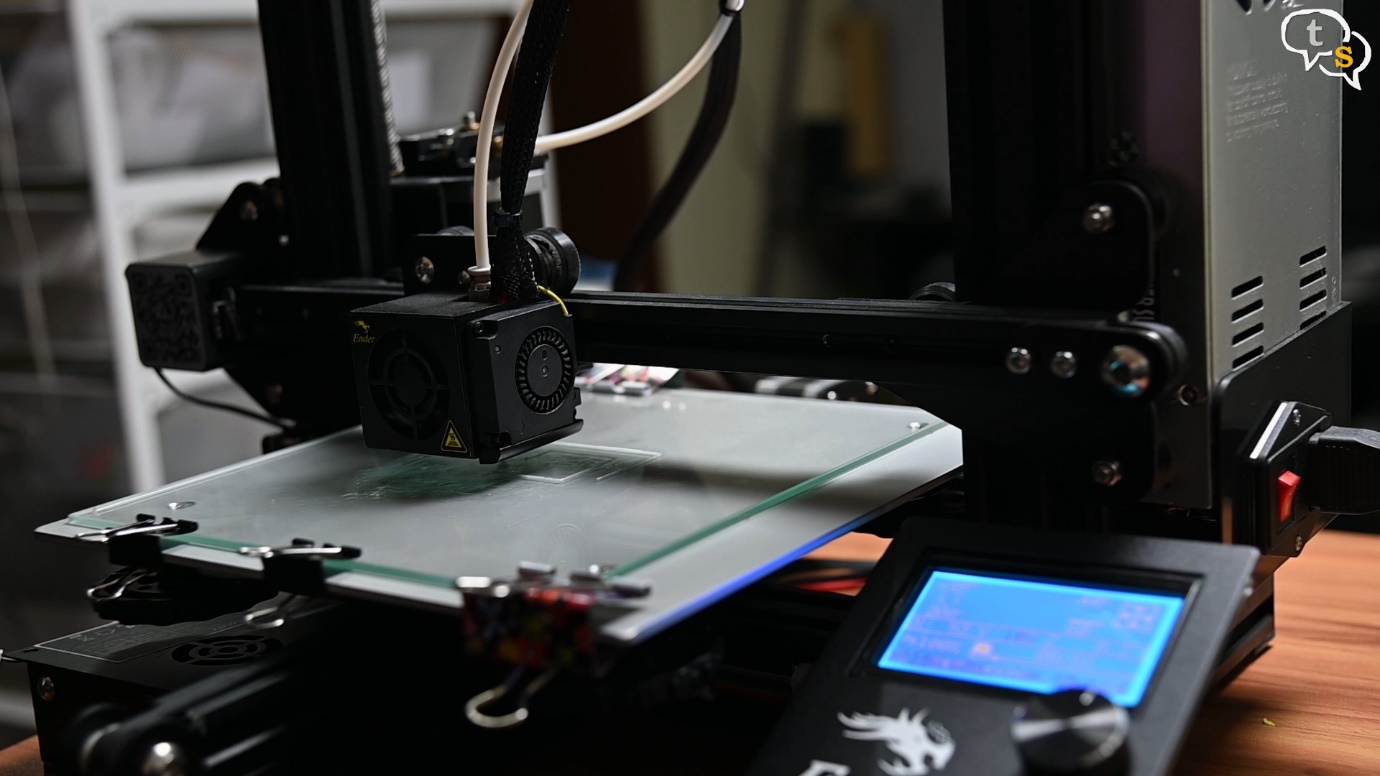
Let’s try a test print, wow, I can’t hear the servo motors at all. It’s just so quiet.
It seems to be homing correctly, and also the printing is sooo quiet.
Let’s close up the case and we’re done.
It should take around 10-15 minutes to change the boards, and the benefits to upgrading are just wonderful. The printer is so quiet now while printing, I don’t even know if it’s on or not. Support for probes such as the Bl-touch and filament runout protection are available, we can add those sensors easily in future as it is supported on the board and also the firmware has the code present. To add the features though, we will need to download, customize and flash the firmware to support the new features.
I’m quite happy that the installation went without a hitch, and the printer is back to printing ASAP.
There are stories of the firmware in the board not being up-to-date. So, if you are having problems check the firmware on the printer and on the git repository, if it’s old try compiling and flashing the new firmware. The firmware git can be found in the link below, the same is also available in the video description.
I found that the firmware was not the latest on my board but was only a few months older than the latest on GitHub.
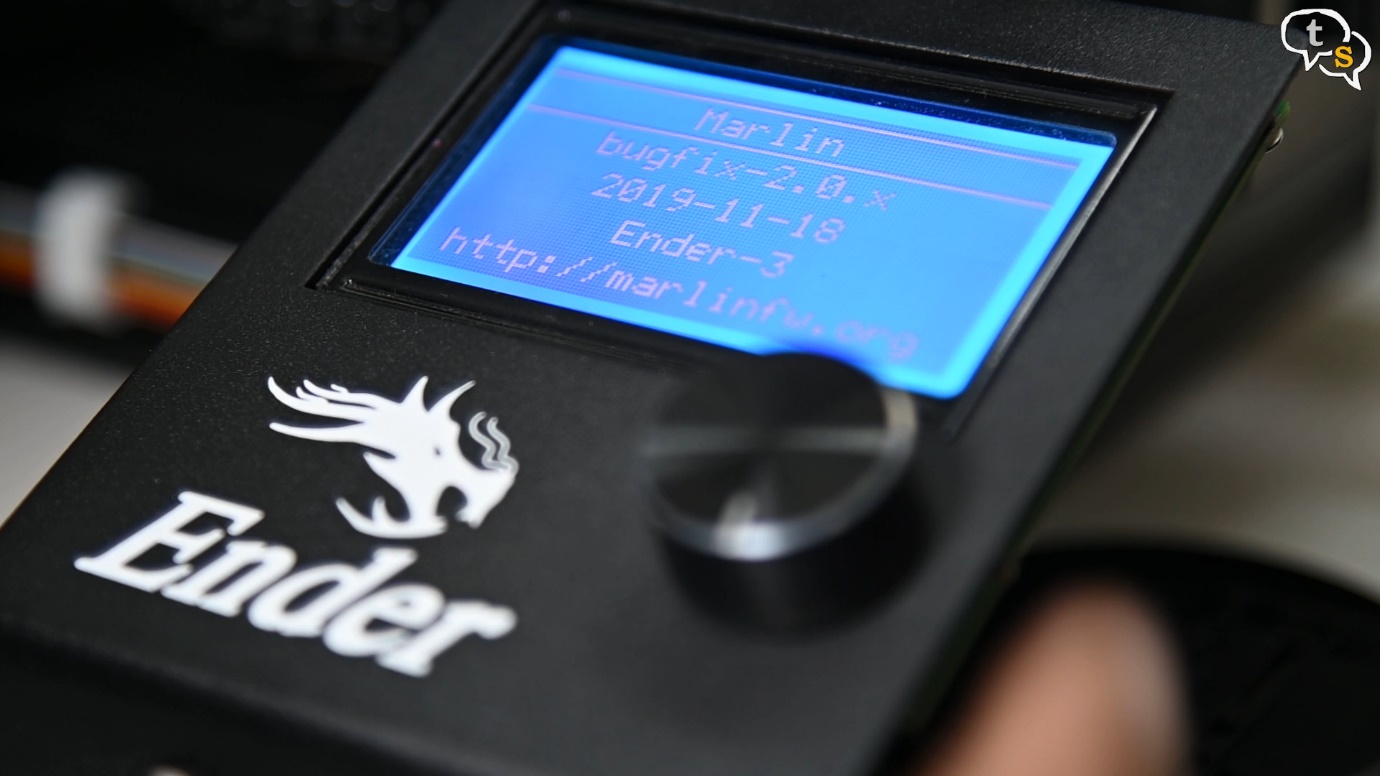
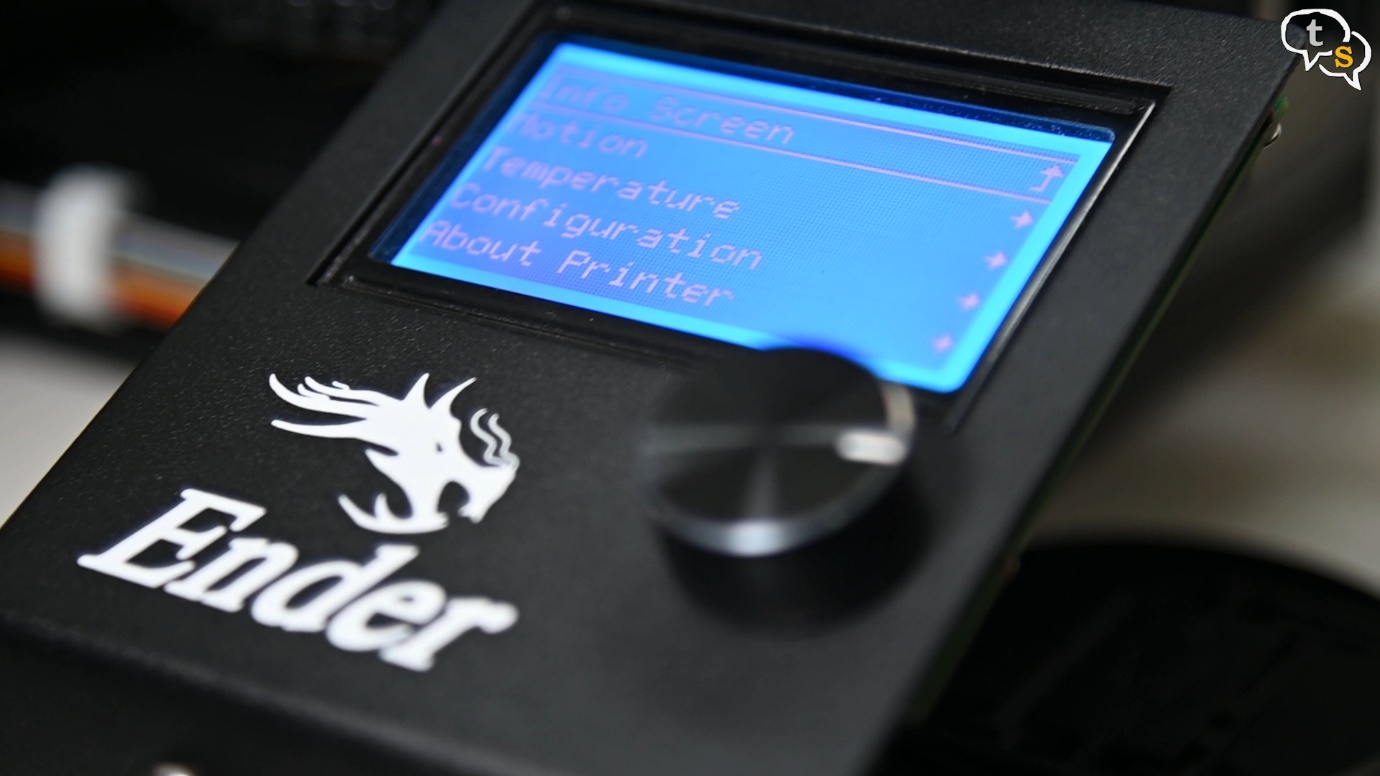
You can download the firmware, copy to your microSD card, when you power on your machine it will start flashing the firmware automatically. You can check the version in the printer information option.


2 thoughts on “Ender 3 32-bit controller board Upgrade”
Dale Fischer
(May 13, 2020 - 2:30 pm)Super good install info. I might get one if the TH3D EZABL will work with this board.
Do you have any info on installing the EZABL?
Please reply to my email. dalefhome@yahoo.com
Thank you for all you have dun
Dale Fischer
talkingstuff
(May 15, 2020 - 4:44 am)Hi, I haven’t worked with the TH3D EZABL, but have installed a BL-Touch instead.