Well drones have never been my strong suit, but when we have a drone designed by our very own IIT Mumbai under the name Drona Aviation, I couldn’t pass this over. So, let’s check this out.
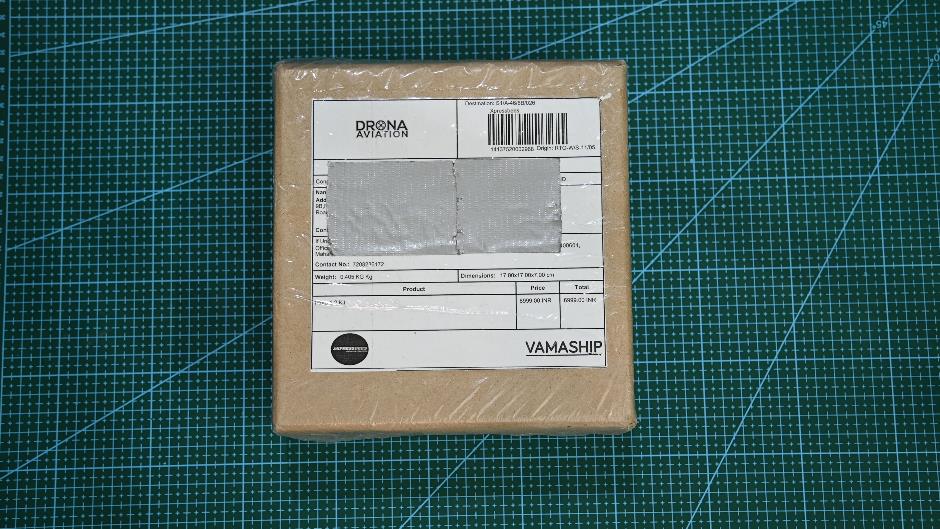
Here’s the package from Drona Aviation. Shipped via Vamaship, they’re taking the made in India tag quite seriously. Let’s open it up shall we.
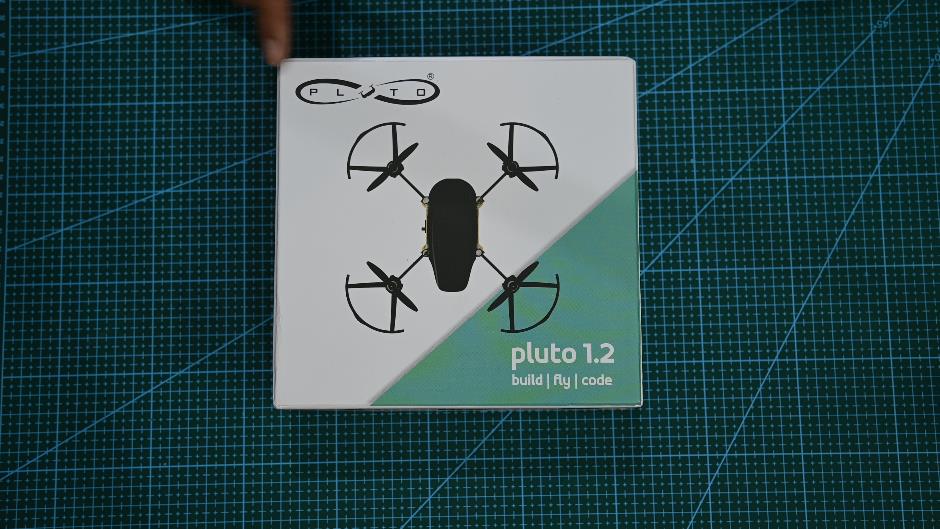
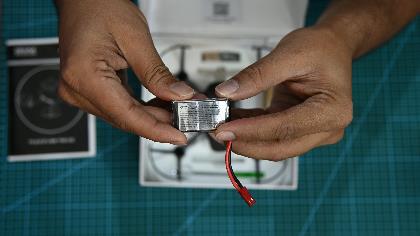
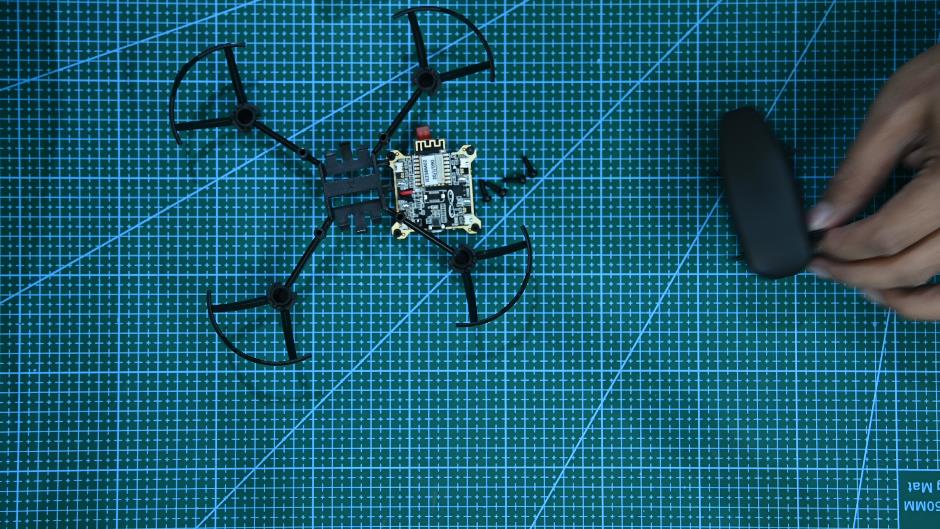
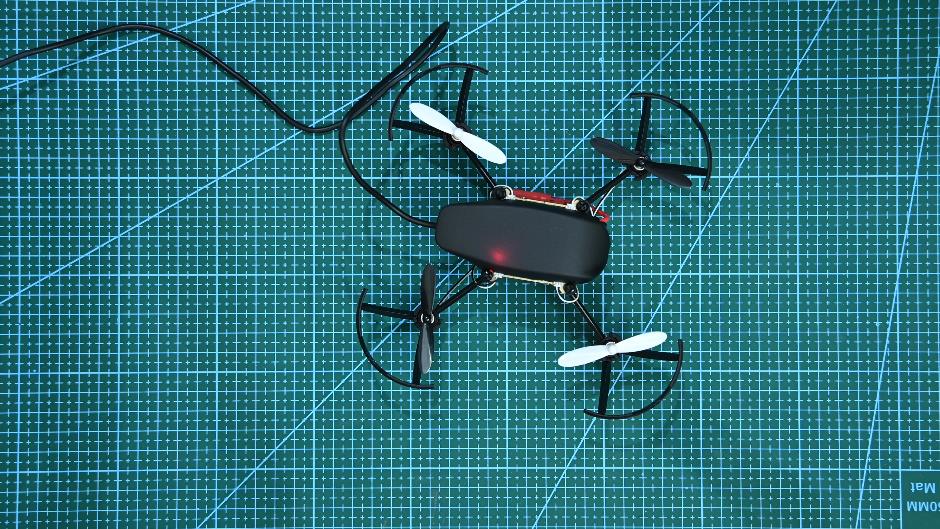
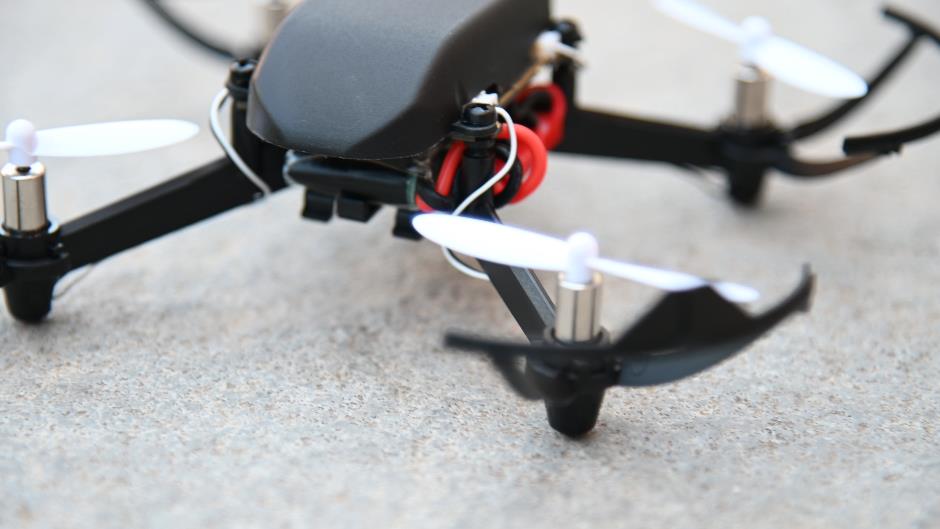
Here we are, this is the Pluto 1.2 drone. It comes in parts, hence the build moniker. This was developed in IIT Mumbai by Drona aviation. Works via Wi-Fi, it has a micro-USB port to charge the battery. Robust, I doubt that.
You control the drone using the Wi-Fi on your phone. 8 minutes of fly time and it weighs 0.05 Kg. Drone flying needs permissions and not all areas allow flying drones so check before you fly. I think drones that have a payload of 250 grams or have cameras are more under scrutiny than these models, but better safe than sorry.
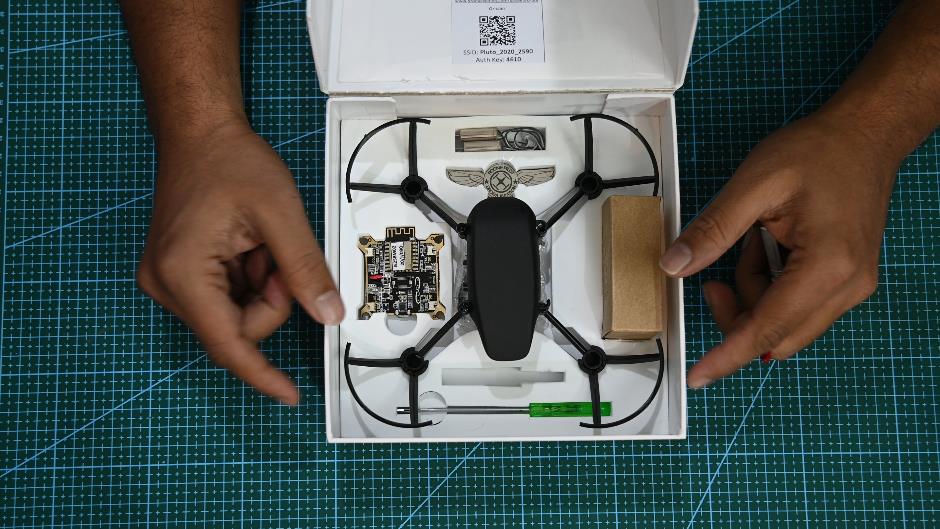
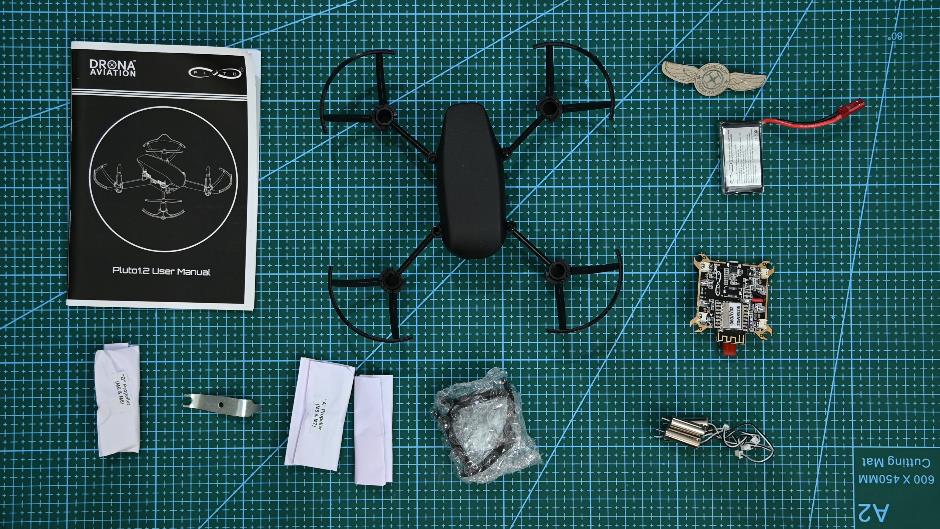
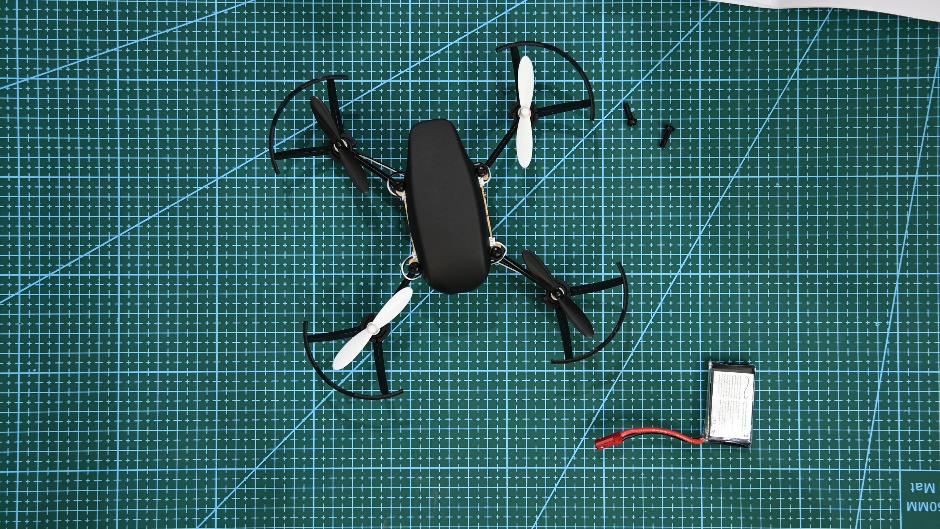
Let’s open up the box, the parts are laid out quite nicely.
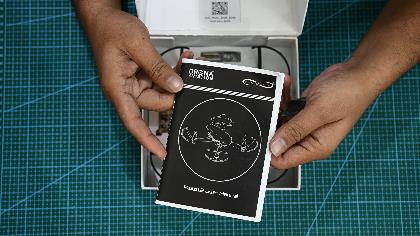
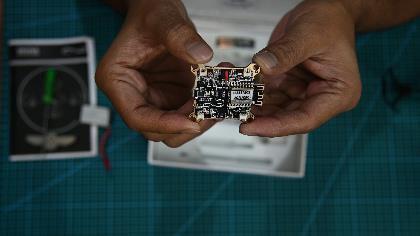
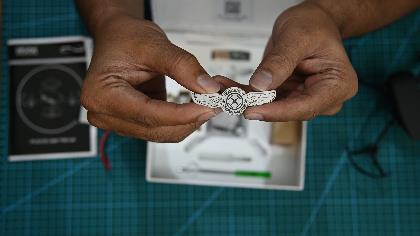
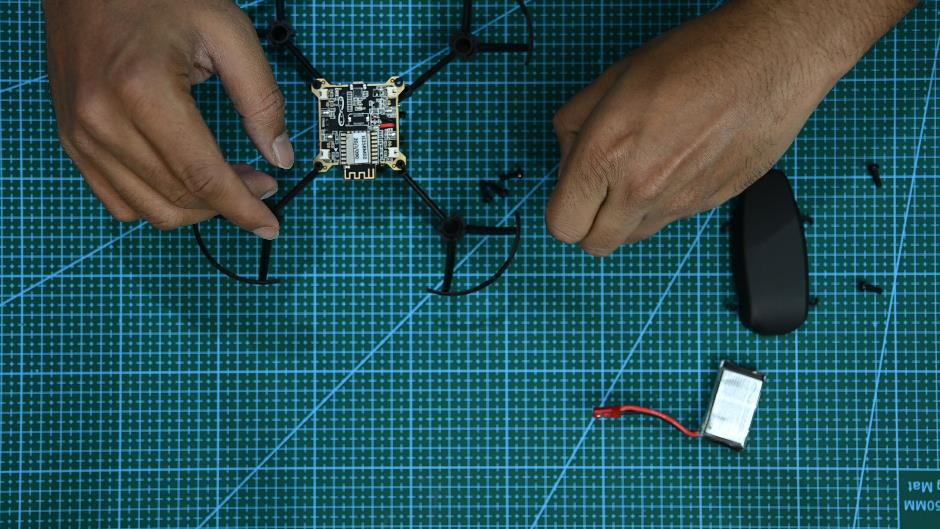
In the box we have a manual, the frame with canopy, a battery, the Primus V4 flight controller board, a rookie pilot badge, motors, extra propeller guards, propeller tool, and propellers.
The drone is not overly complex and can be put together relatively easily.
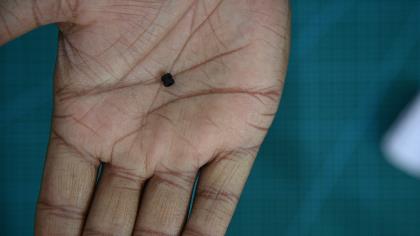
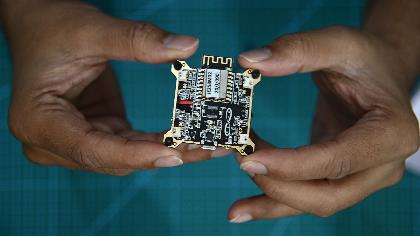
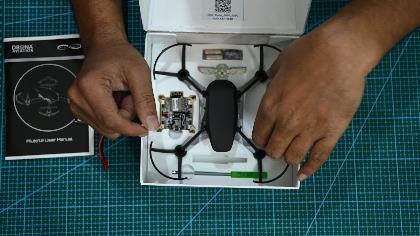
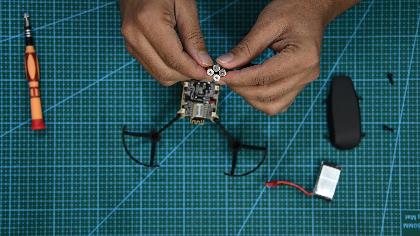
So first we have the flight controller, we install rubber dampers on the four corners, these are the dampers which would help with vibrations.
One for each corner.
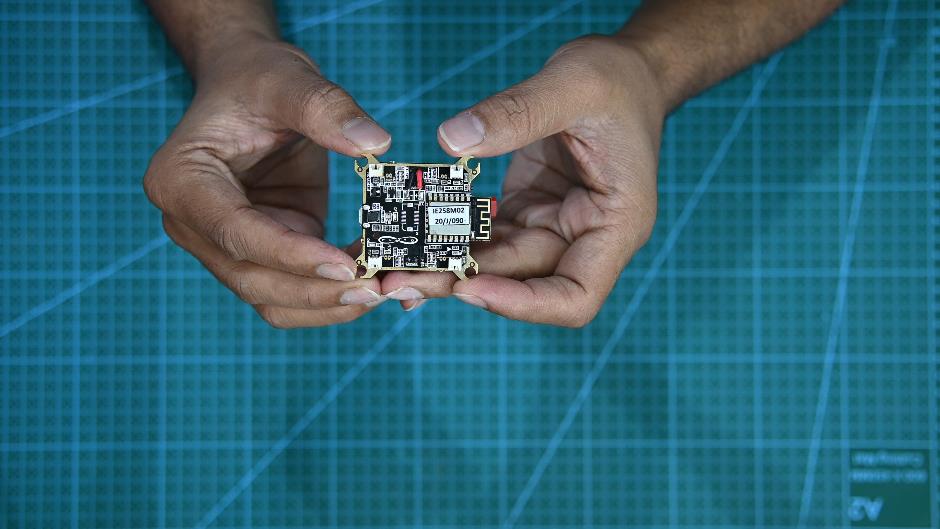
Notice this arrow, this is the front of the board which would align with the arrow pointing to the front on the frame.
Remove the canopy off the frame.
This is the arrow I was talking about. That’s pointing to the front.
Match the arrows and screw the board down to the frame, don’t tighten it down completely as yet leave a little slack.
Done
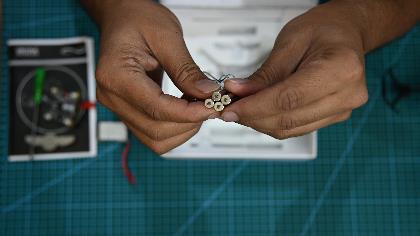
Now to add the motor’s, run the connector wire through the opening provided and line it up with the connectors on the board.
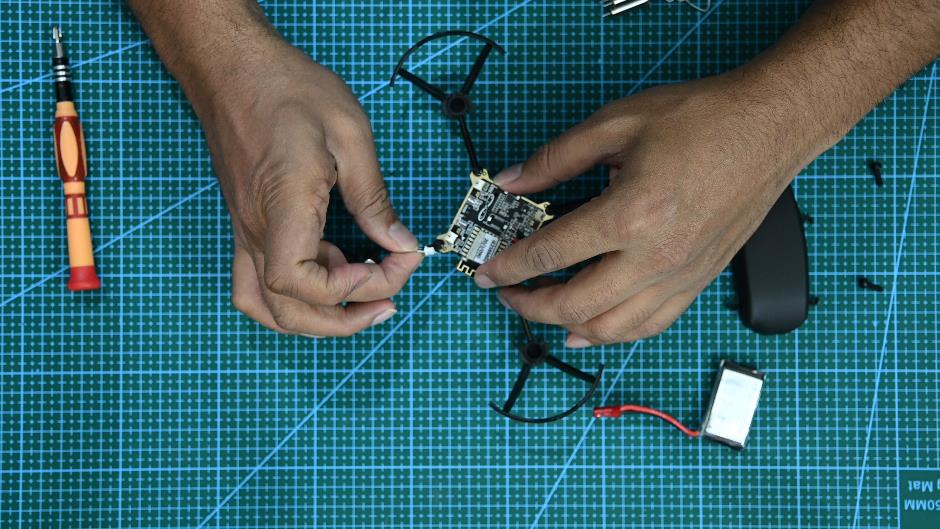
Do it for the other 3 motors too and run the wire though the groove provided to keep it neat and out of the way of the propellers.
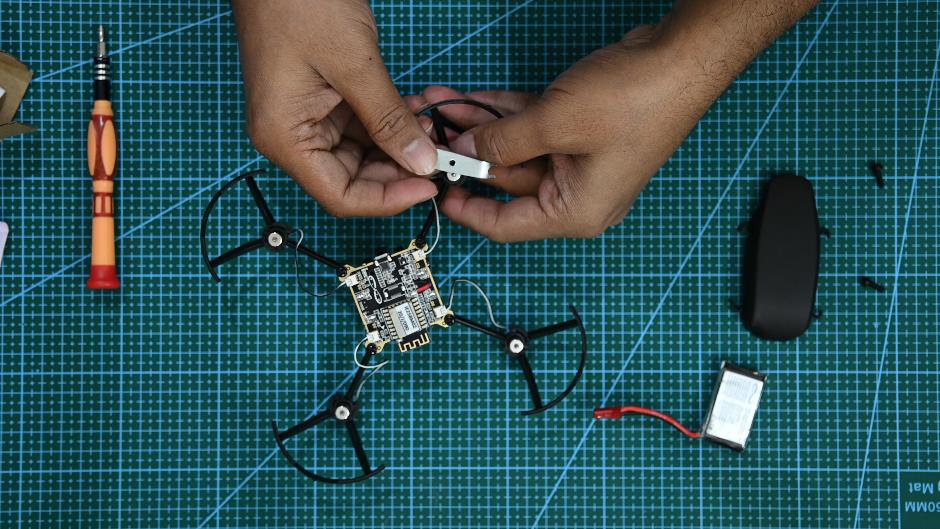
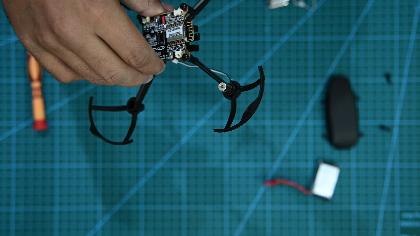
Using the prop tool, push down on the motors into the socket, the same for the remaining, this ensures the motors are mounted properly and won’t pop off during flight.
I kind of managed to keep the wires within the sockets, don’t judge me.
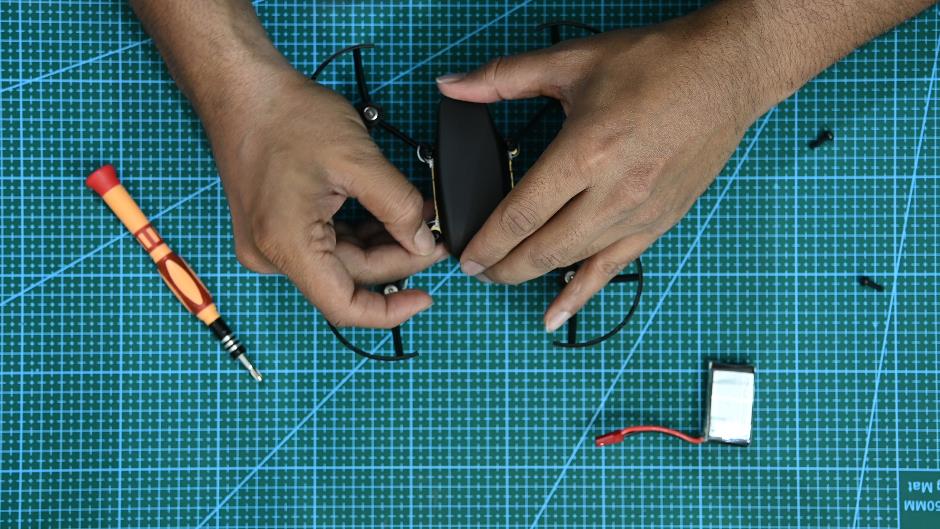
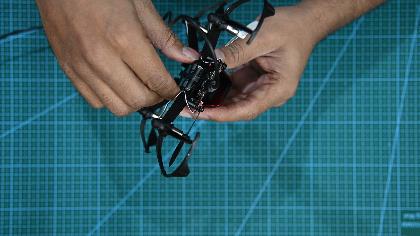
The canopy has hooks which would wiggle in between the screws and damper. So, flex it and install between and then tighten the screws.
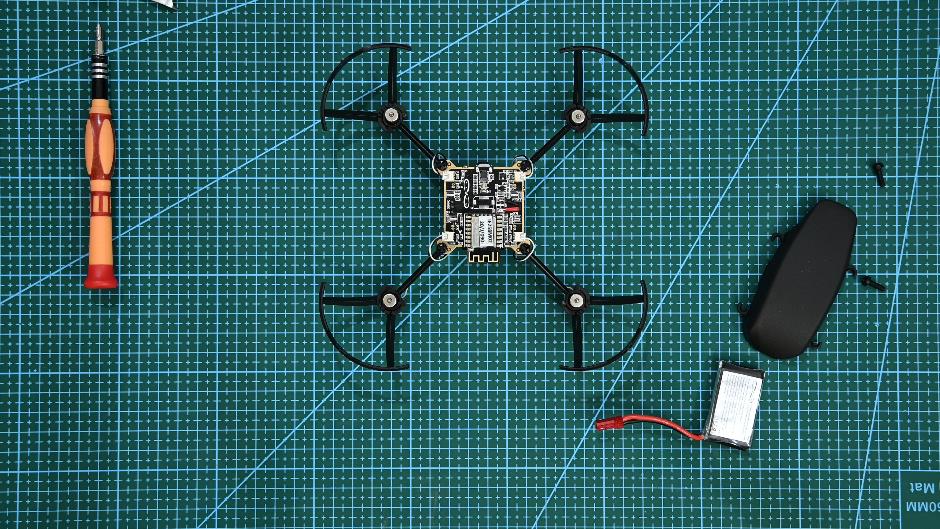
Propellers are of two types A and B, make sure which one goes where and attach them to the motors.
It’s basically from the front ABBA when reading left to right.

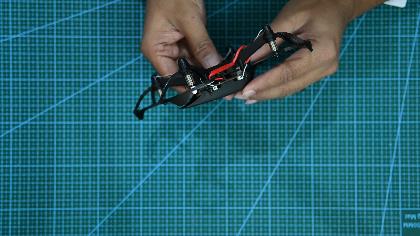
And now for the battery, slide it in from the front and connect it to the board. The frame has a hook to keep the battery connector in place.
A micro-USB port is available at the back to charge up the battery so let’s do that first.
We have a red led light up indicating it’s charging.
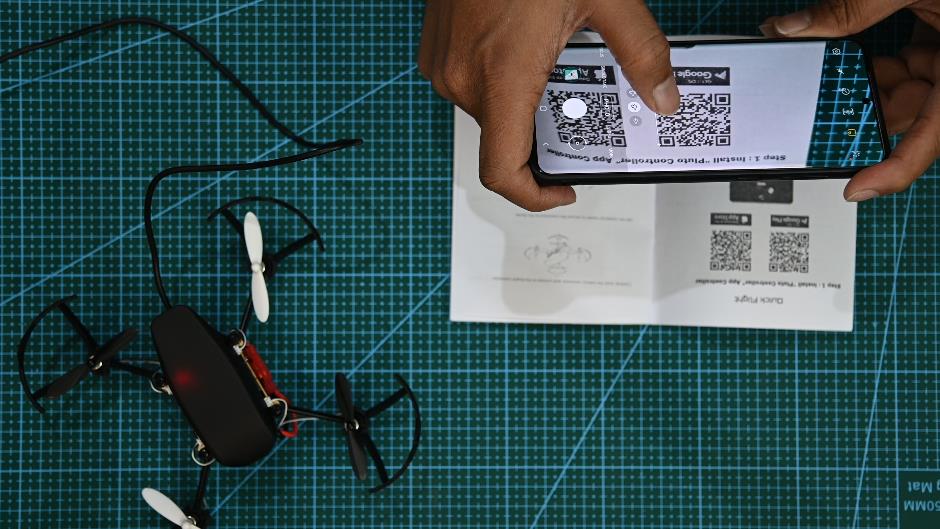
Let’s install the app, scan the QR code and install. If you can’t scan the QR code install Pluto controller app. Now we’re in. Give yourself a nickname for the app and if you want to insert your own custom code check the I’m a developer option. I’m leaving it in normal mode for now.
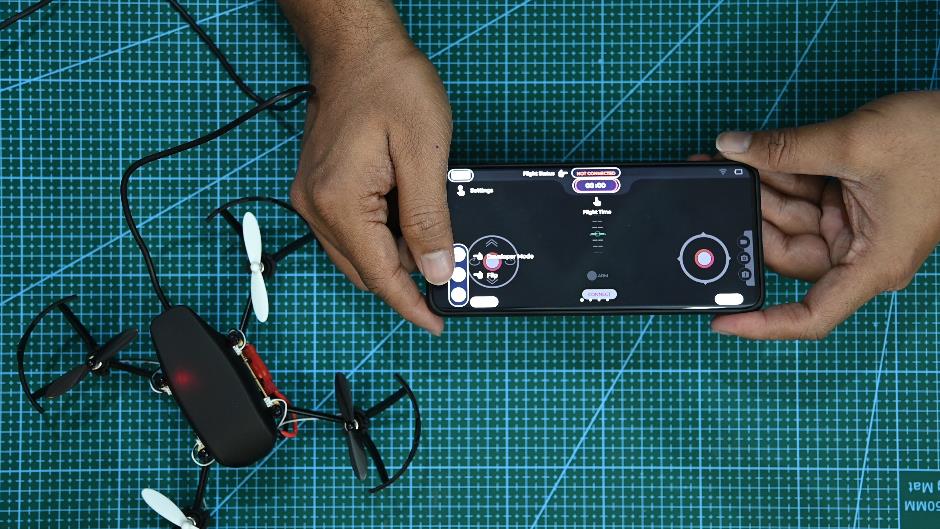
This is how the controls are. We have touch based pitch and yaw controls or you could also use the phones accelerometers to control it. On the right is the front back, left right movement options.
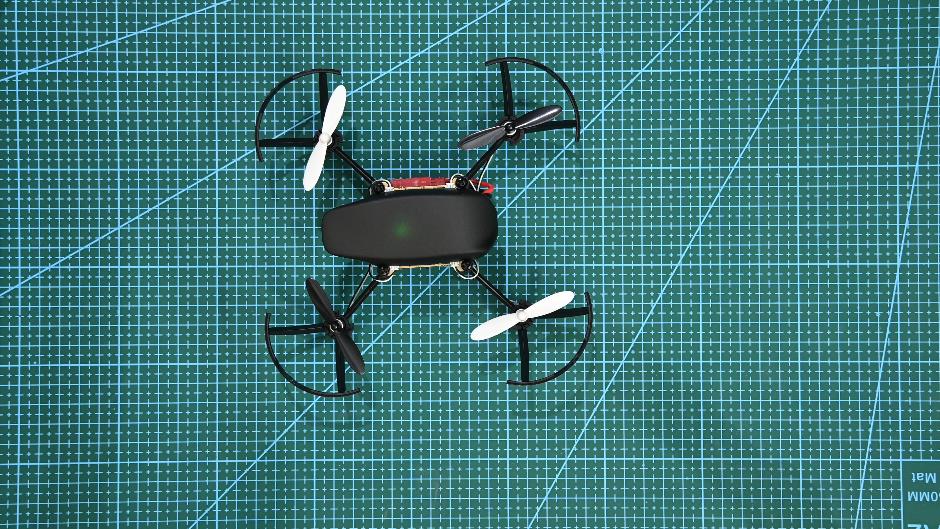
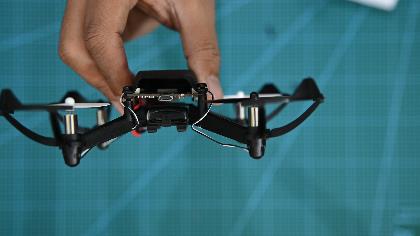
A switch on the side is used to turn the drone on or off. The LED turns green when on. Connect to the drone Wi-Fi, get the Wi-Fi password by registering online using the link provided on the inside of the box.
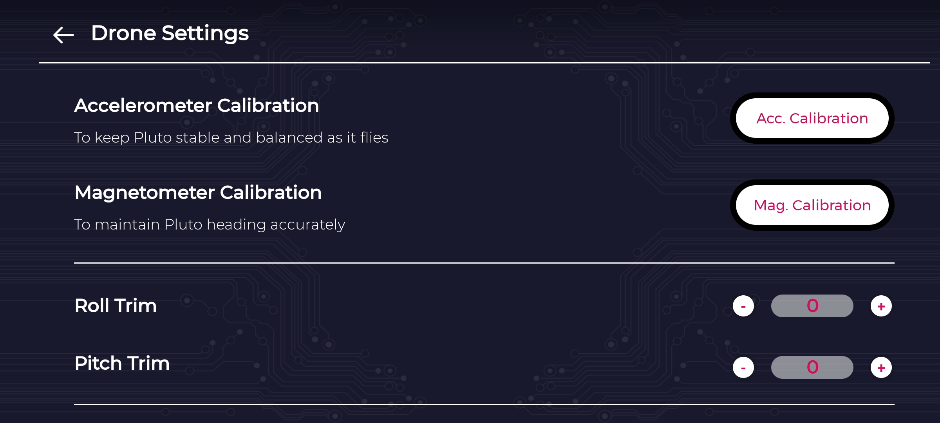
We need to calibrate the accelerometer and the magnetometer so do that, now let’s check the motors.
1,2,3,4 and now all of them. Looks good.
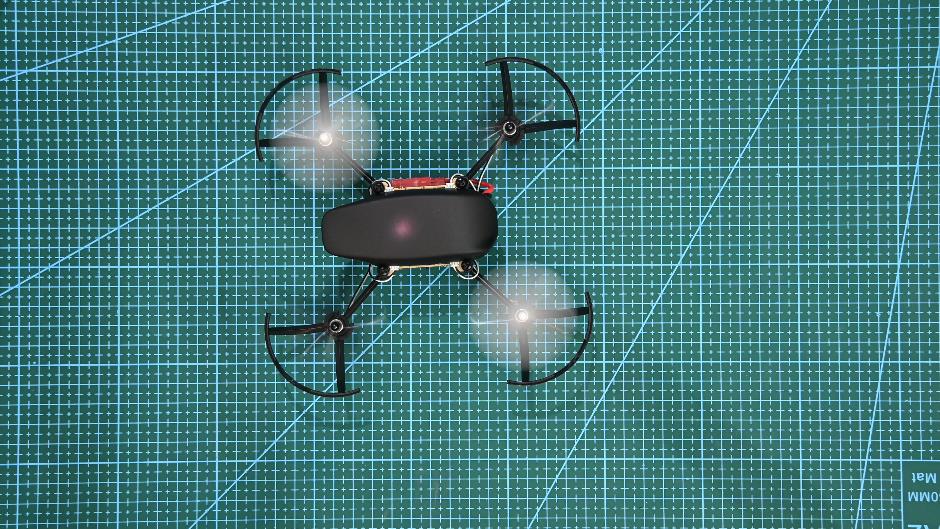
The drone looks quite cool.
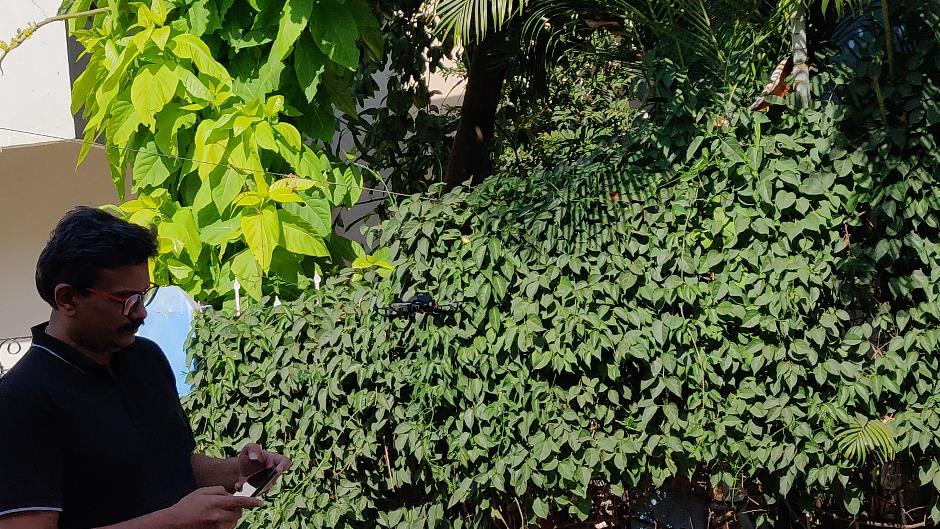
Look at that lift, it just flew up quite fast.
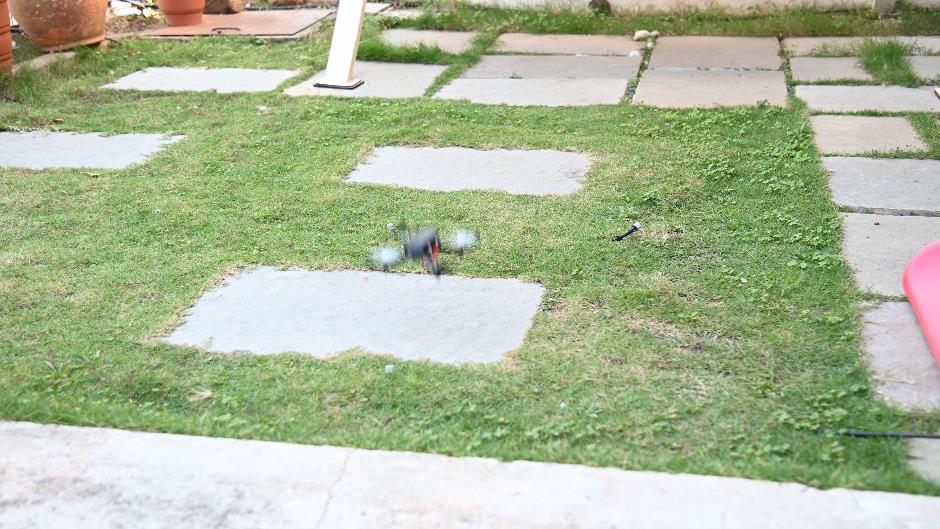
It doesn’t hover in one place and a little gust would move it from its place. You will need to keep a very sharp eye as the drone would suddenly be pushed while flying, sending it crash landing into other people’s houses.
It’s best if you have a large open area to fly. The propellers are not very strong, and the guards don’t help keep it safe. I broke two already. You do get 2 more replacements in the box, so hope we learn to fly before that.
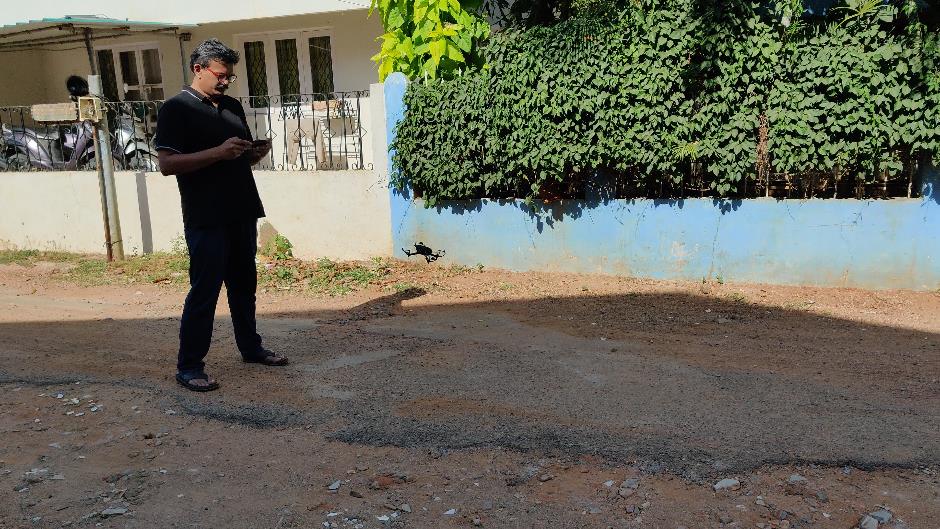
The controls via the phone takes a bit getting used to, but once you manage to, it’s quite fun to fly. But it does have a steep learning curve.
The drone was quite fun to put together and also fly.
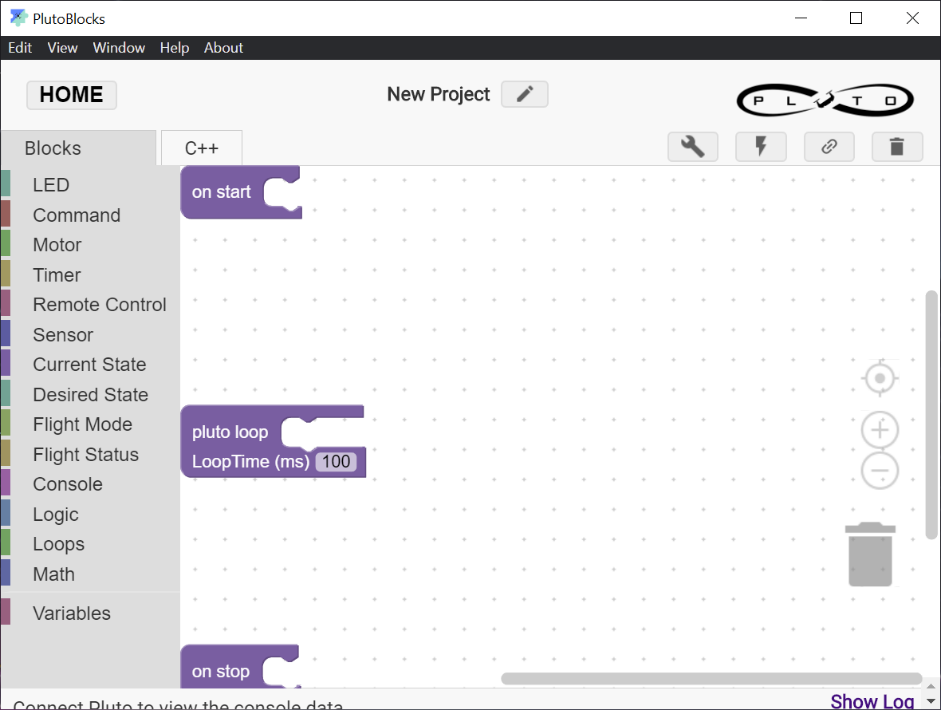
Using the Cygnus IDE you can make your own enhancements modifications to the code via Pluto blocks if you’re into it. Controls, you should understand that the external factors also affect the performance of the drone, not that it could hover in one place properly, but it could be attributed to it being blown around as it’s quite light. Also make sure to calibrate the accelerometer and magnetometer before flying. Control range also looked good; I didn’t fly it too high in fear of losing it, but I could fly it quite a distance away with no signal loss.
A great starter project for kids and adults alike, but I would like the propellers to be stronger or the propeller guards to be 360 degrees around. It could hamper the performance though, so that might be the reason it is designed that way. So better to add more propellers to the box is my suggestion to Drona aviation.
A higher end model the Pluto X is also available which is crash resistant and also has a camera.
If you like to tinker then give this a try, if you want something stable and ready to fly maybe you’ll have to look elsewhere.
That was it, if you have any questions do write into me at tech@talkingstuff.net or WhatsApp me at 9652578833.