I had replaced my cabinet fans earlier, which did allow for better airflow within, but I did notice that my CPU was still not within reasonable cooling ranges, The fans were ramping up less, but in CPU intensive tasks, they were quite noticeably speeding up. Not content in leaving the CPU running at those high temperatures,
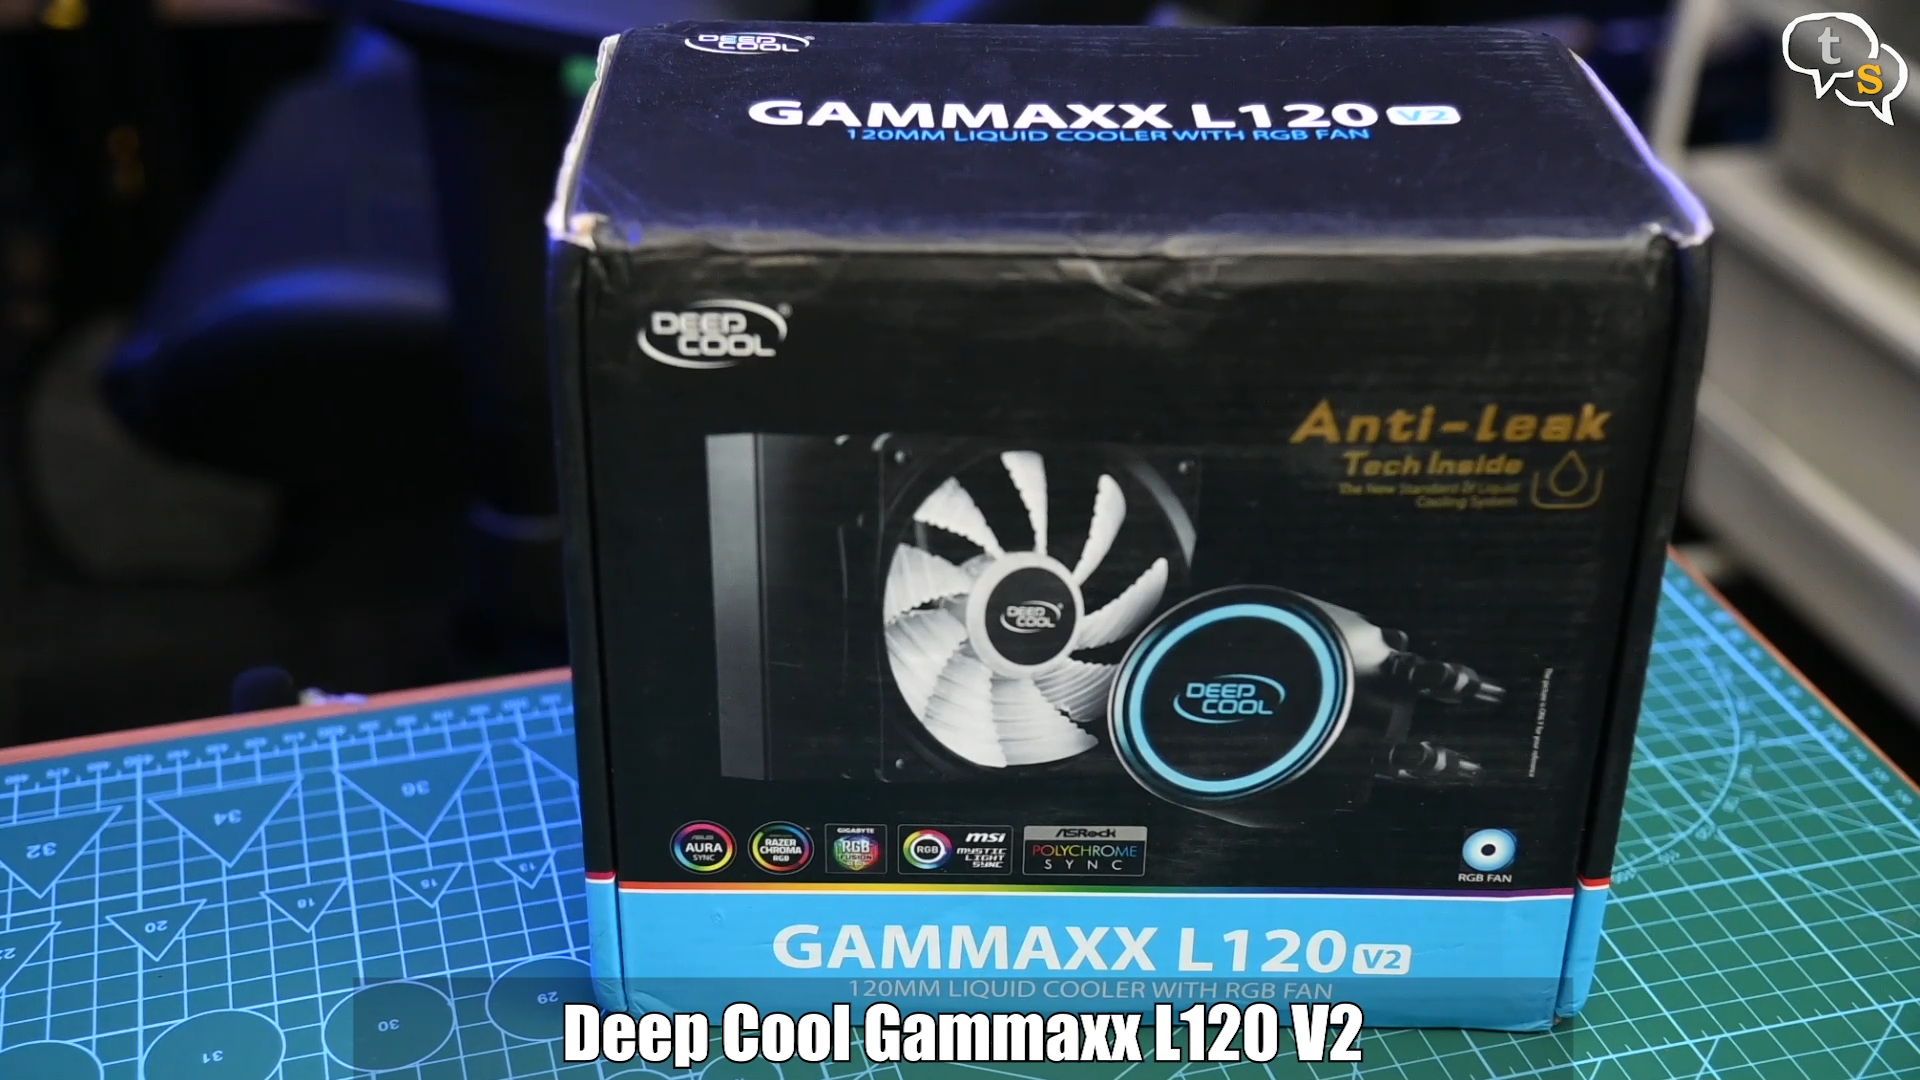
I purchased this, the Deep Cool Gammaxx L120 V2 RGB. Let’s install this AIO and test if the temperatures are more controlled or even lower.
We have here the DeepCool Gammaxx L120 V2 AIO or “ALL in one cooler”, which is a liquid CPU cooler. The AIO combines a water block, radiator, tubes, fans, fittings, and pump into 1 sleek package.
As the L120 name suggests I have the 120mm fan/rad combination and also RGB to boot, to keep temperatures down and also make the system look cooler.
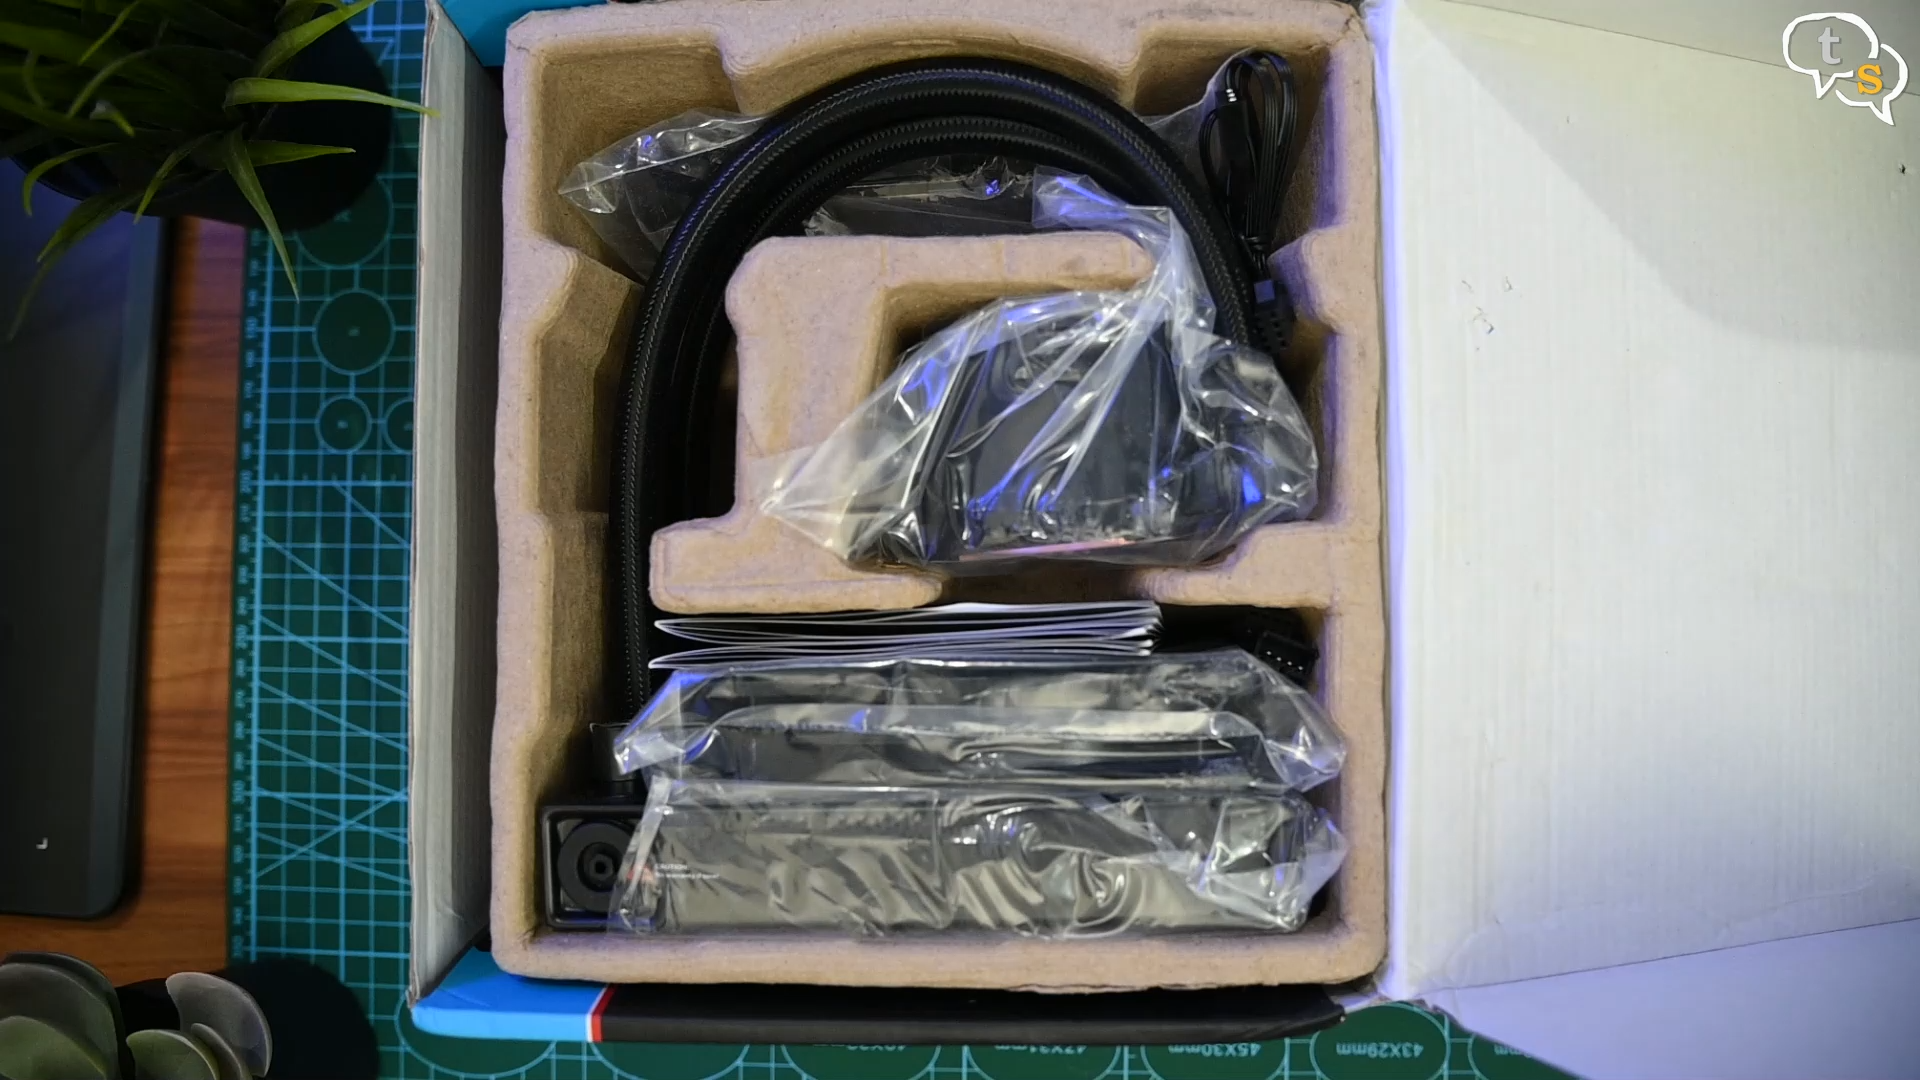
Quite neatly packed and well protected. Here’s the manual, this one I will have to read more carefully as this is my first AIO.
Let me just empty these out onto the table, it would be easier to show everything.
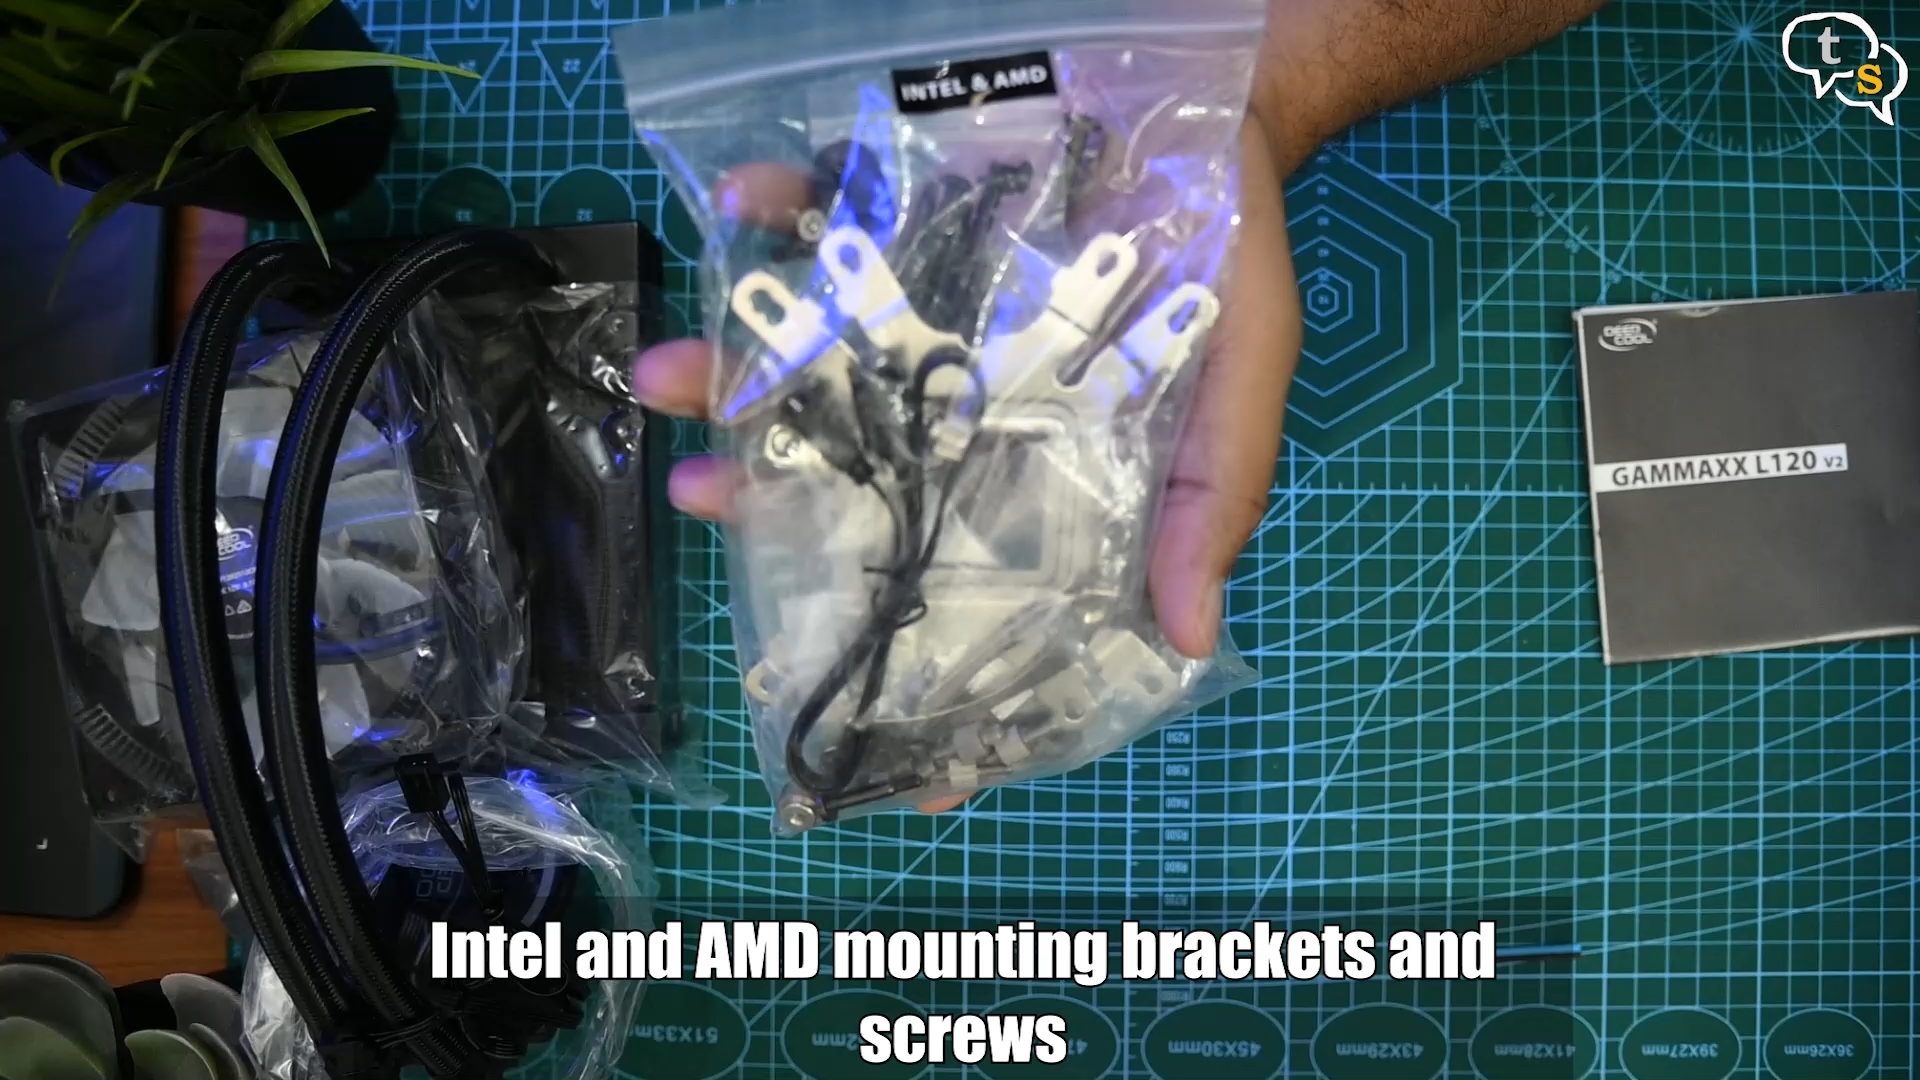
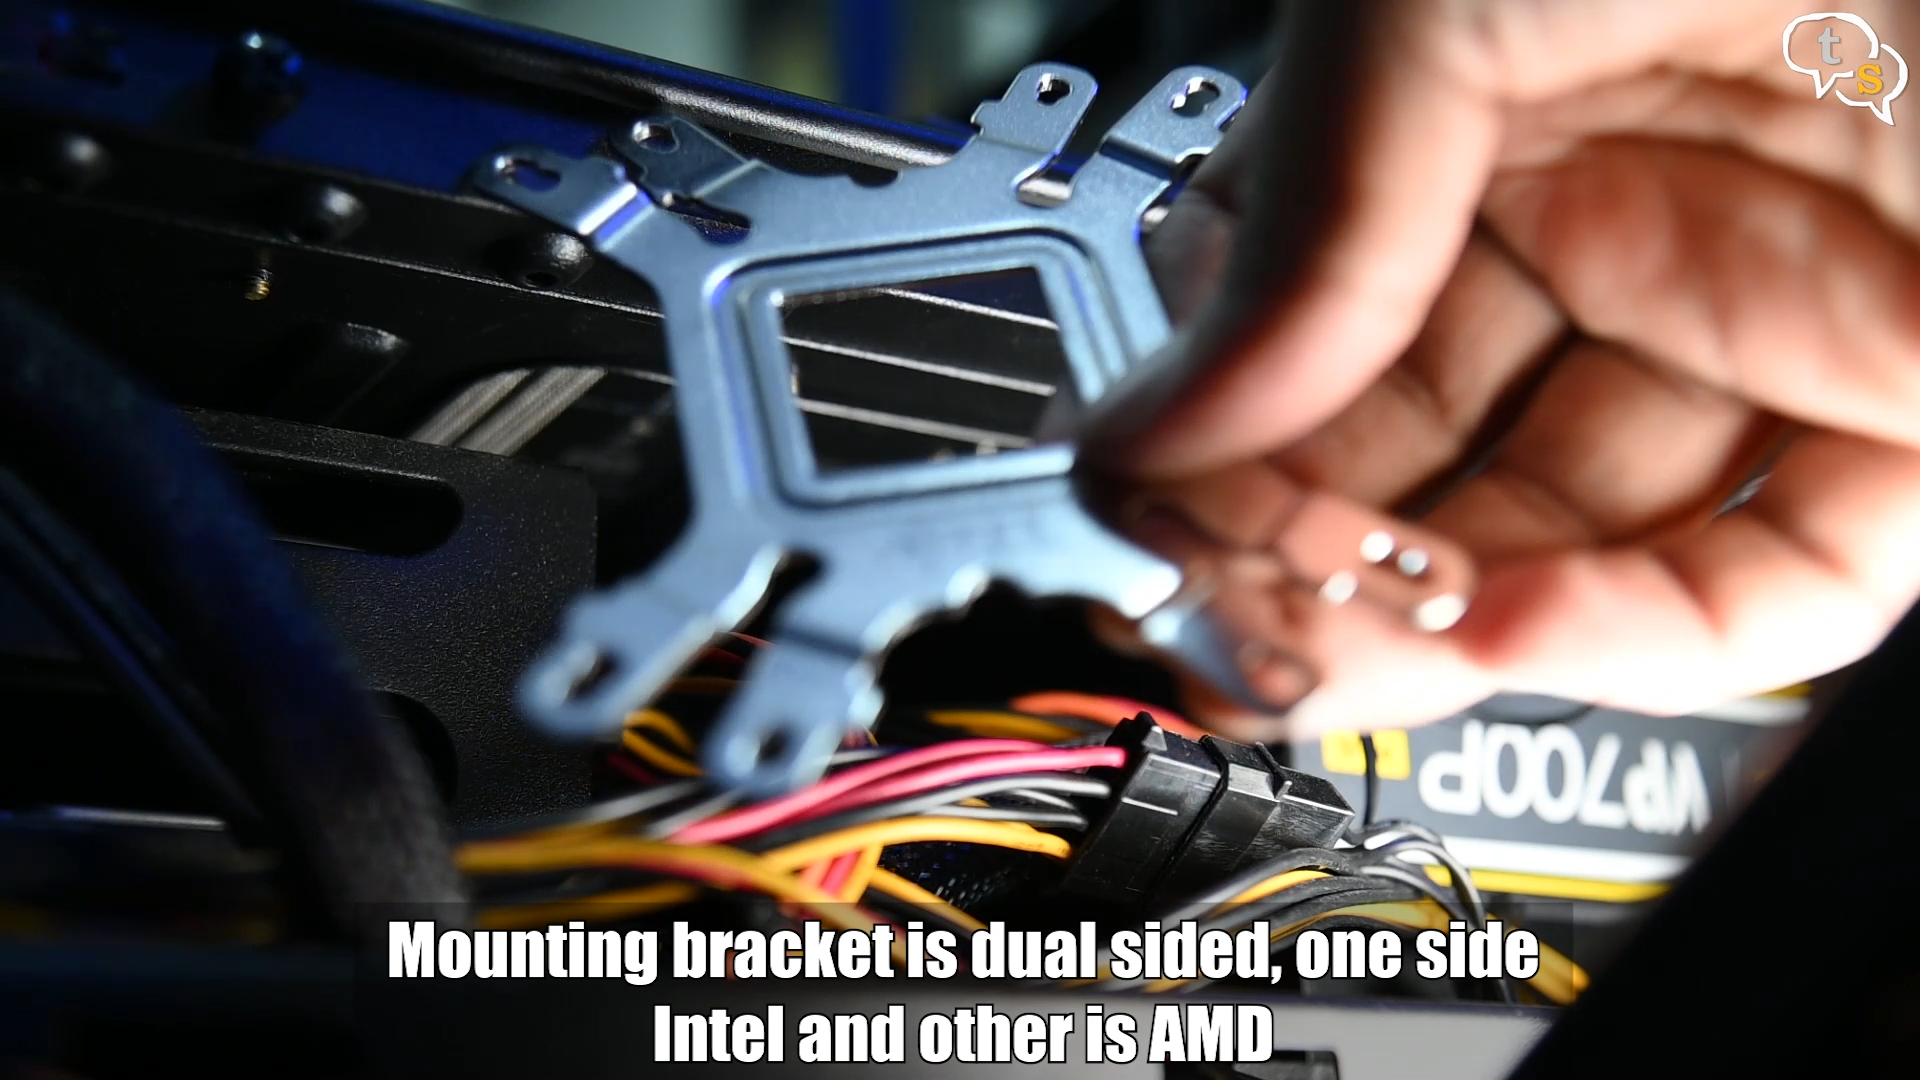
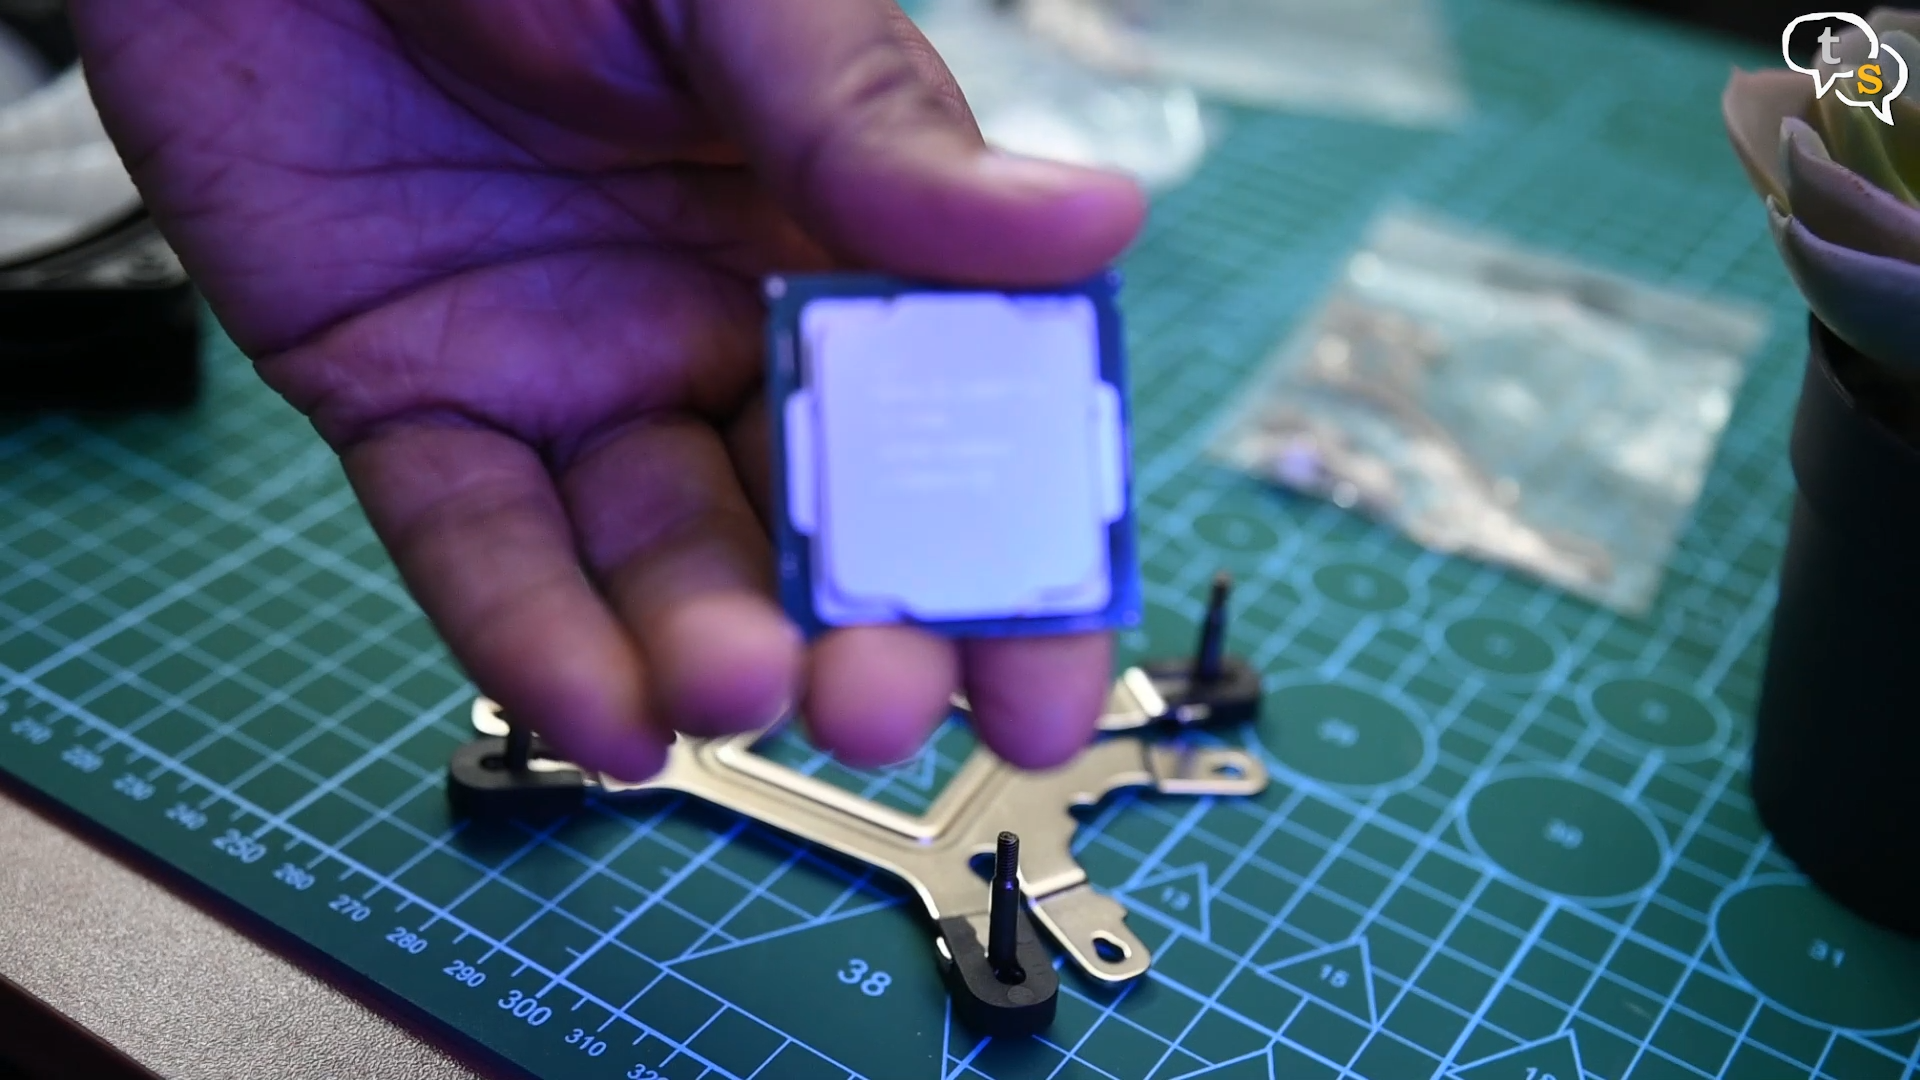
Here are the mounting brackets, the pack has brackets for both Intel and AMD motherboards. Here’s the one I’m using, I have a Core i7 7700, which uses the LGA 1151 Socket. Each socket type uses different screws so read the manual very carefully.
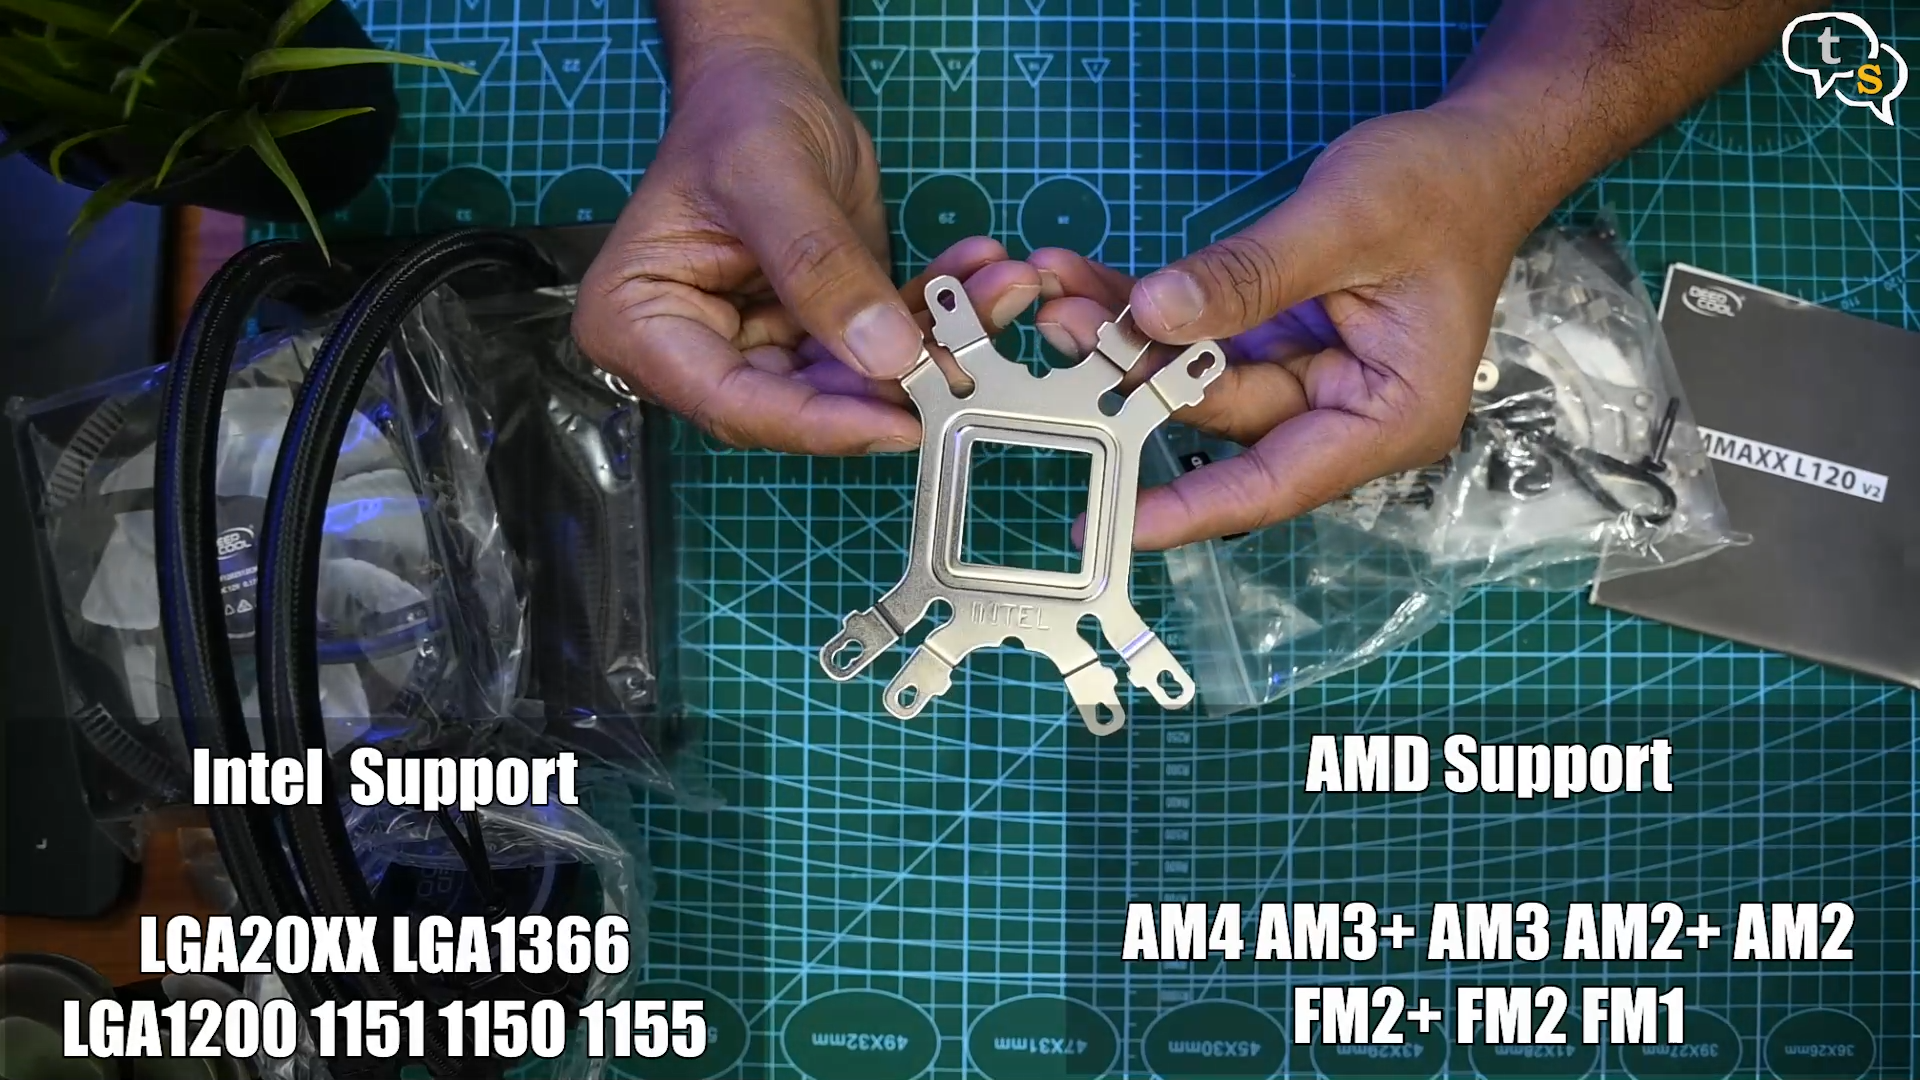
One direction it works on Intel motherboard, and the other side AMD.
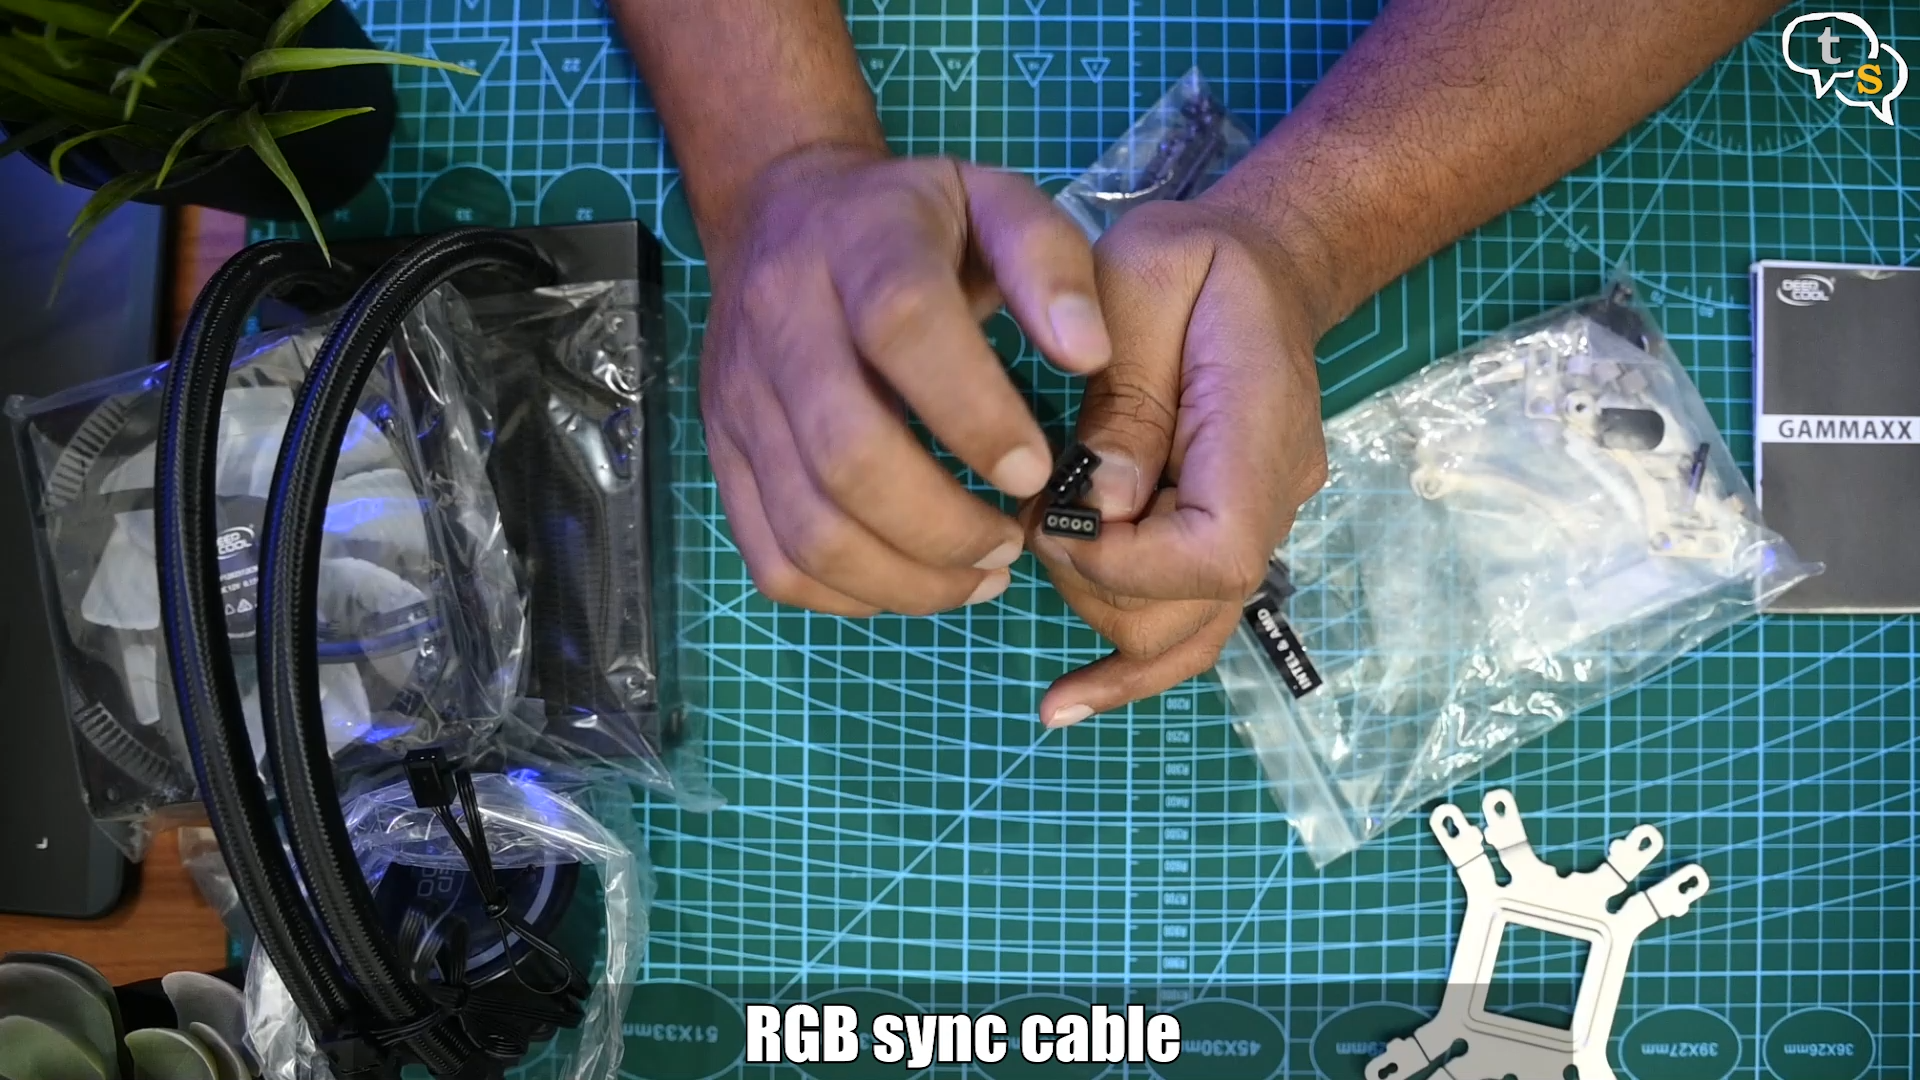
What’s this, ok this a RGB connector, the cooler supports RGB, so this cable provided is used to convert between RGB connector types. One side is clip on and the other looks like the one which would work with my Asus Aura Sync RGB header.
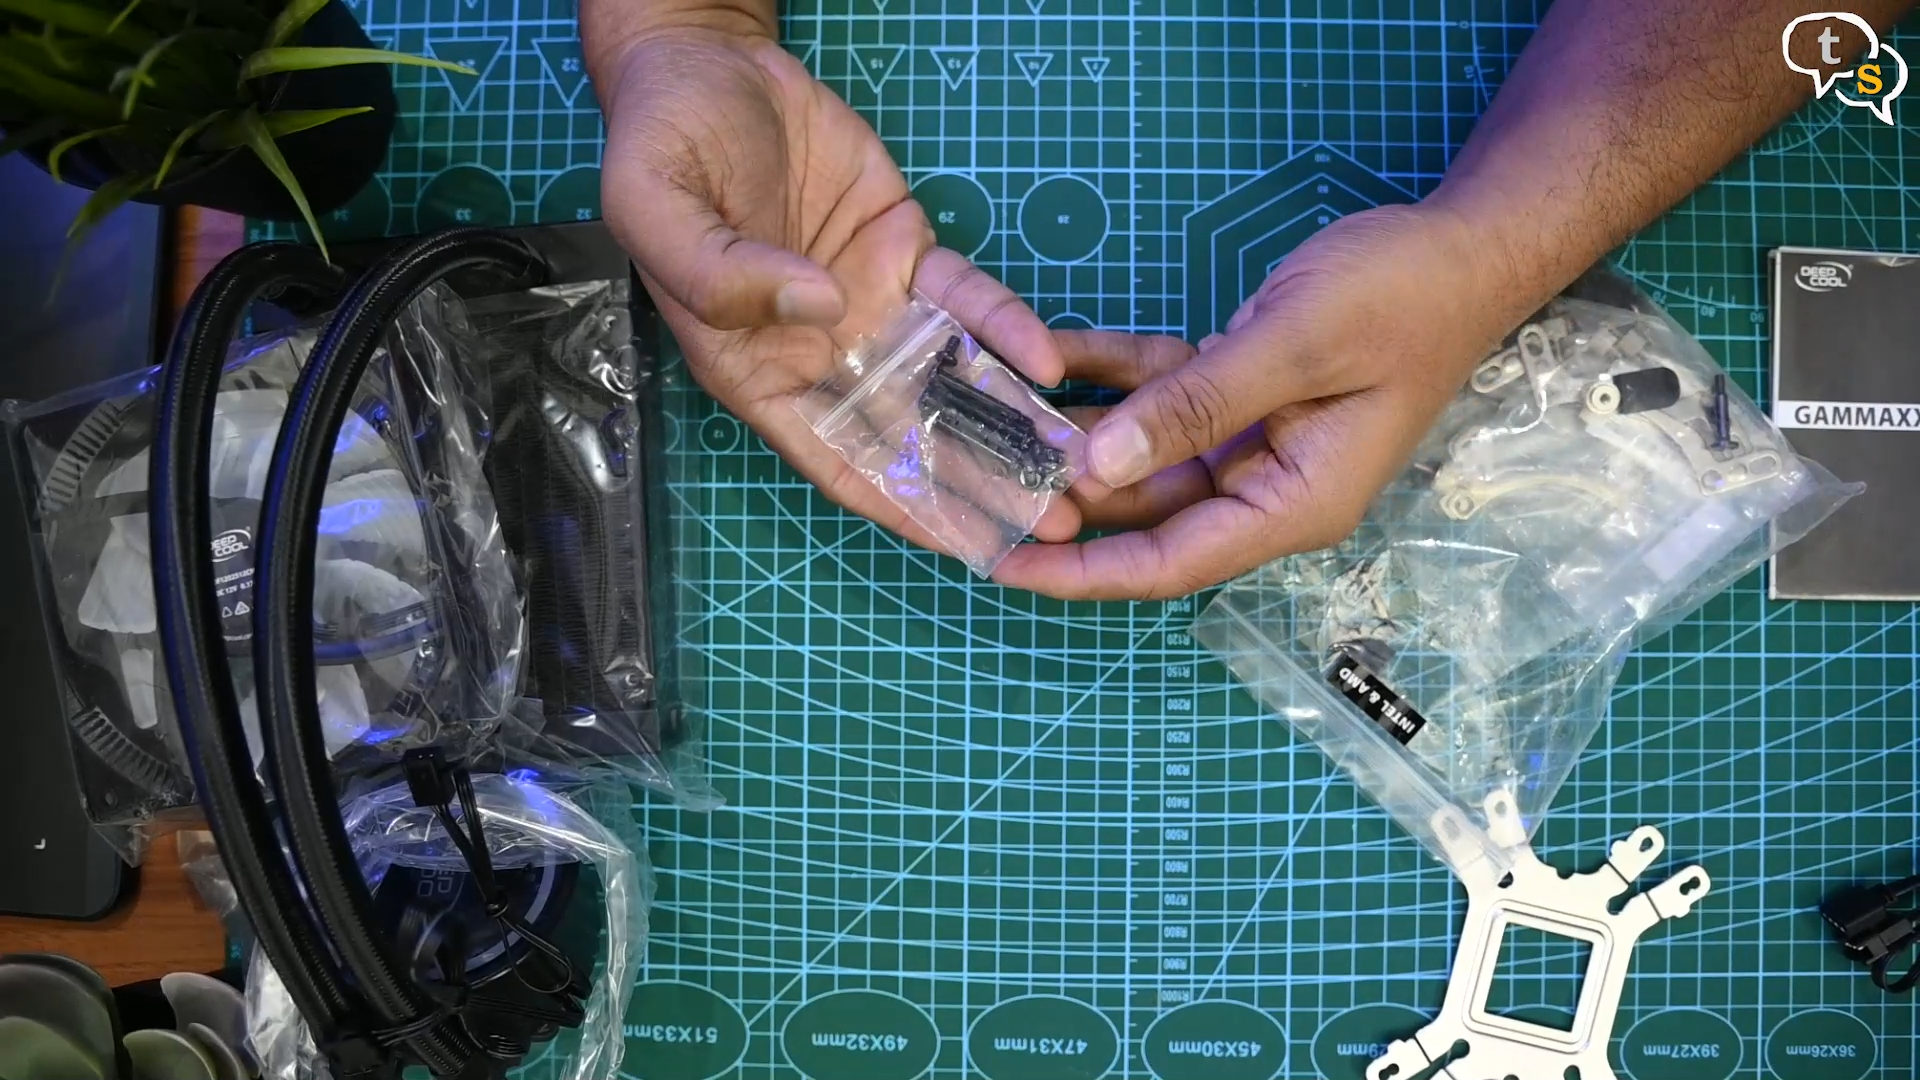
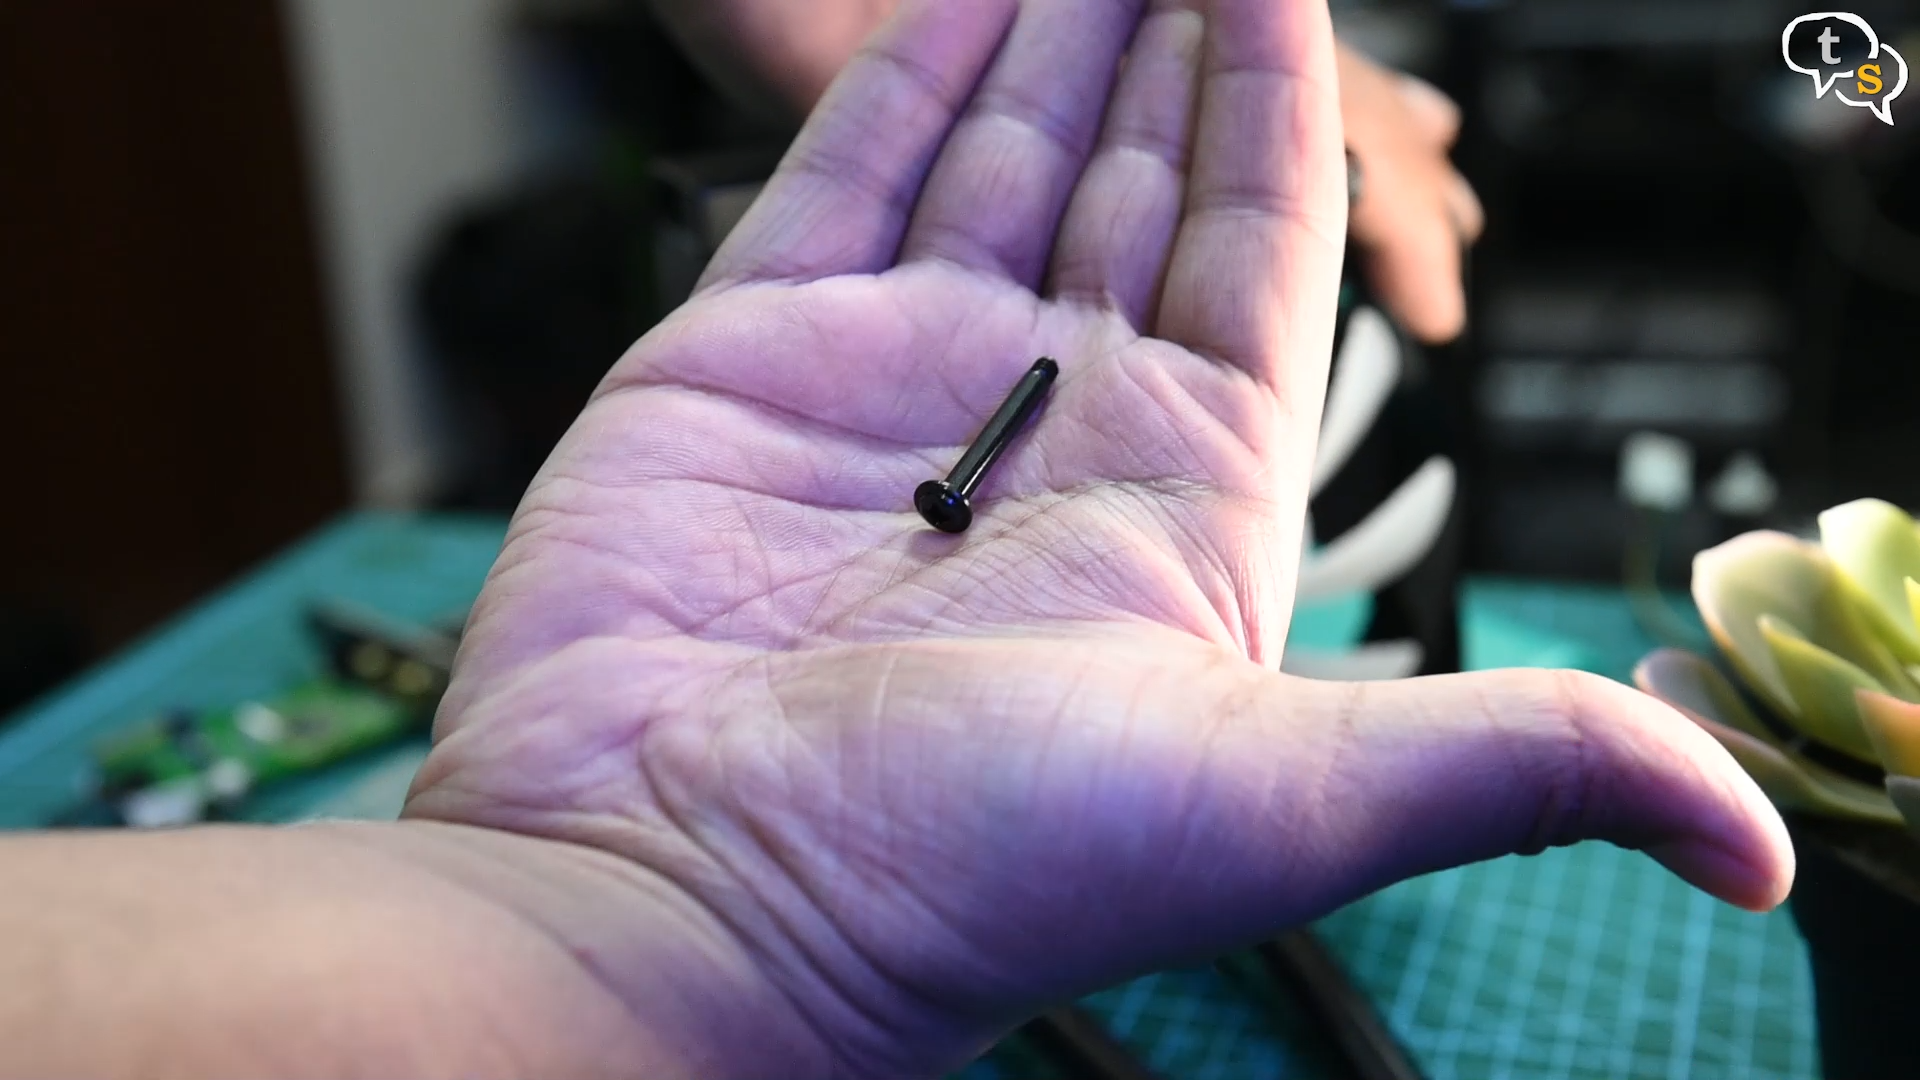
Screws, long ones are used to mount the fan to the radiator, and the small one is used to mount the radiator to the cabinet.
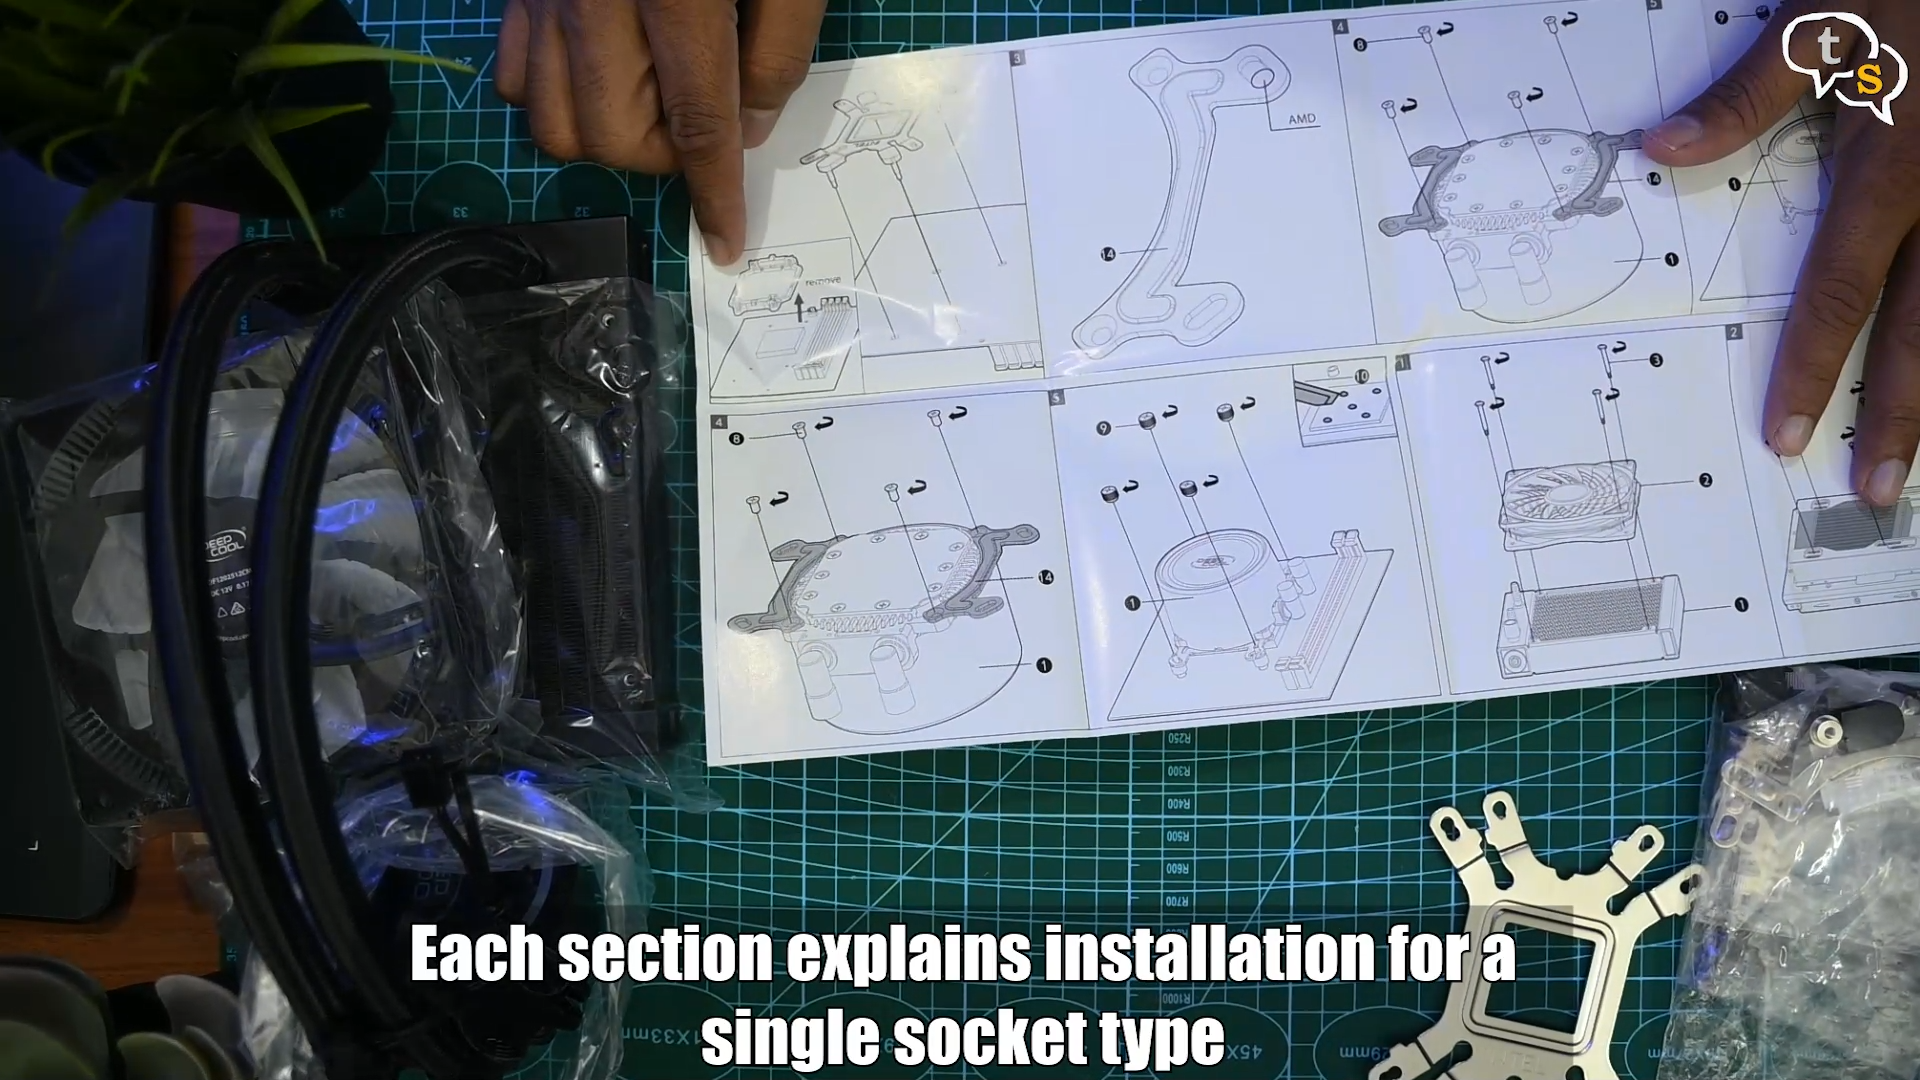
Let’s get a good look at the manual, it’s all in picture form and was a bit confusing in the beginning, as all instructions are on a single page.
I managed to understand which mounting bracket and screws I needed for my motherboard and continued on.
Here’s the AIO combo of the pump and radiator.
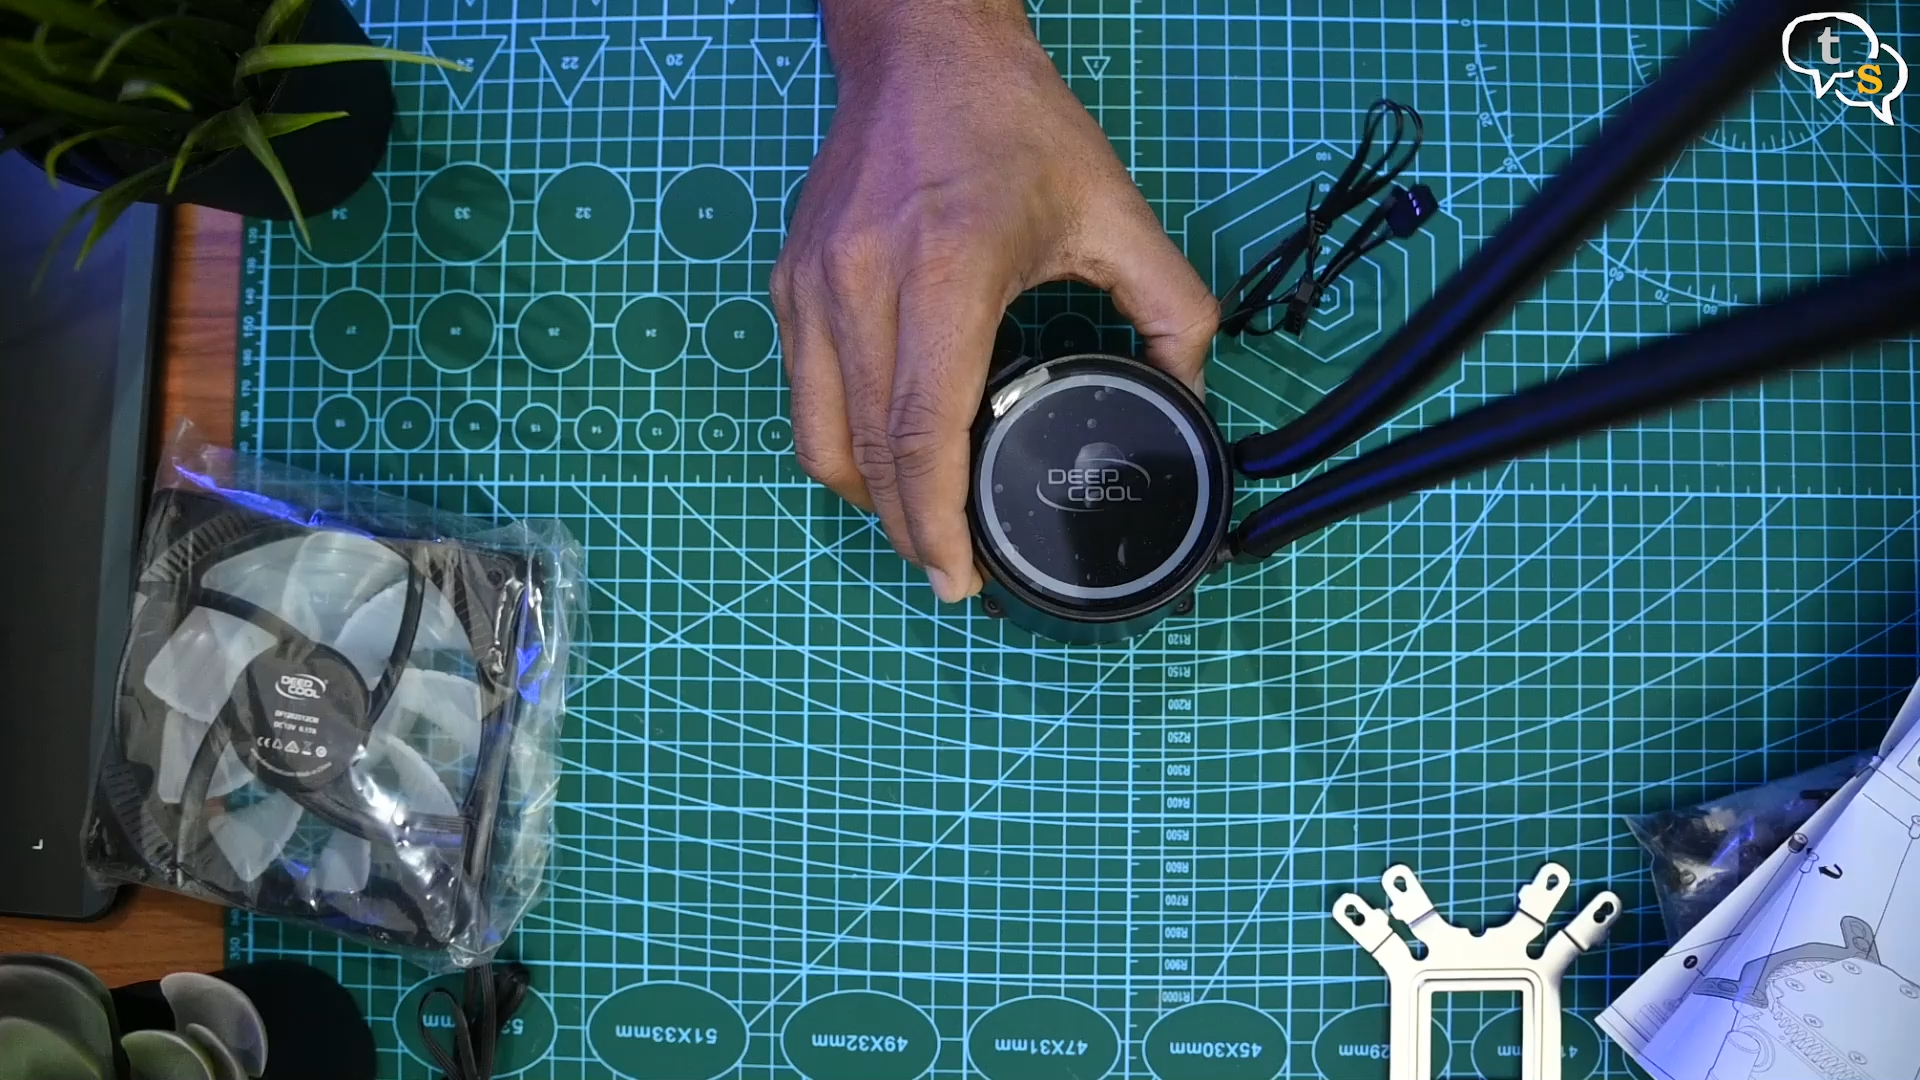
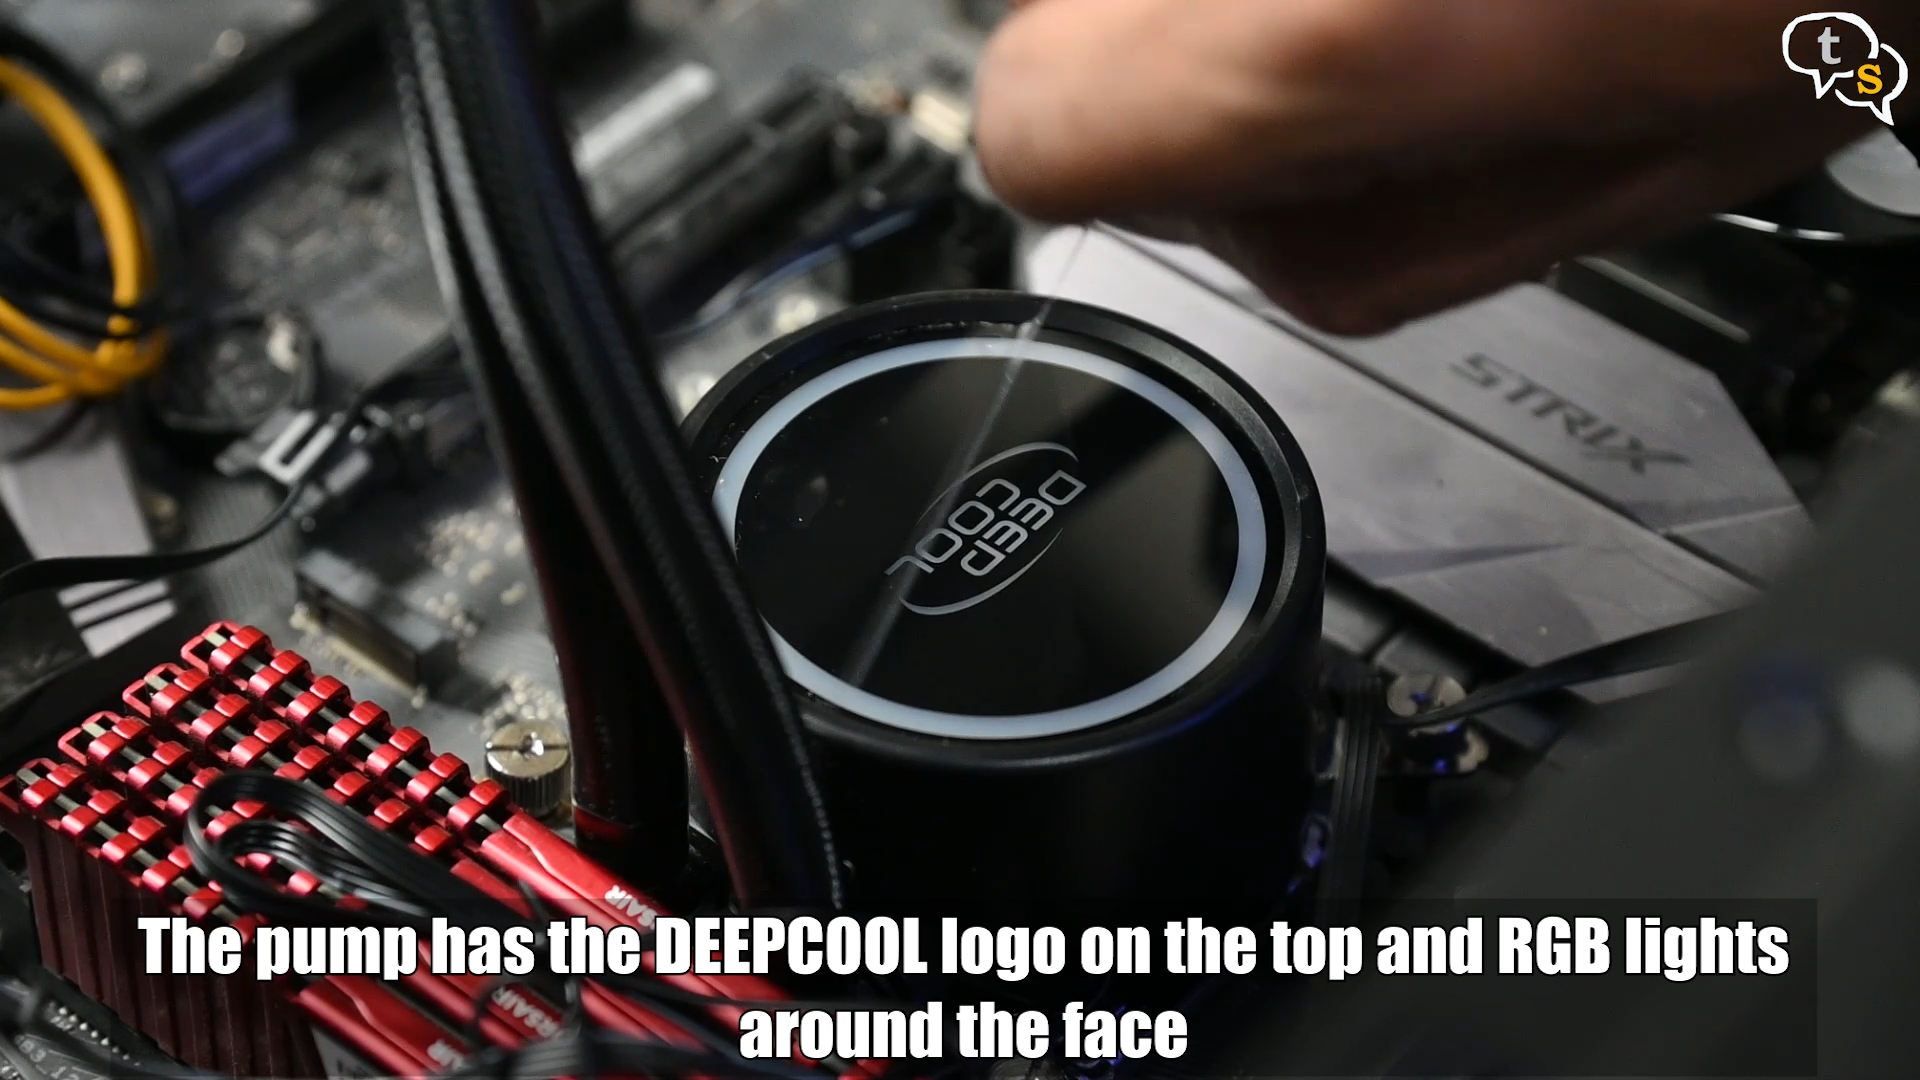
Here’s the pump with the deep cool branding. The AIO makes water cooling much easier for people who don’t want to get into the hassle of building their own custom loop. These are people who don’t have time to tinker around with custom cooling setups and actually need their computers for work, like me.
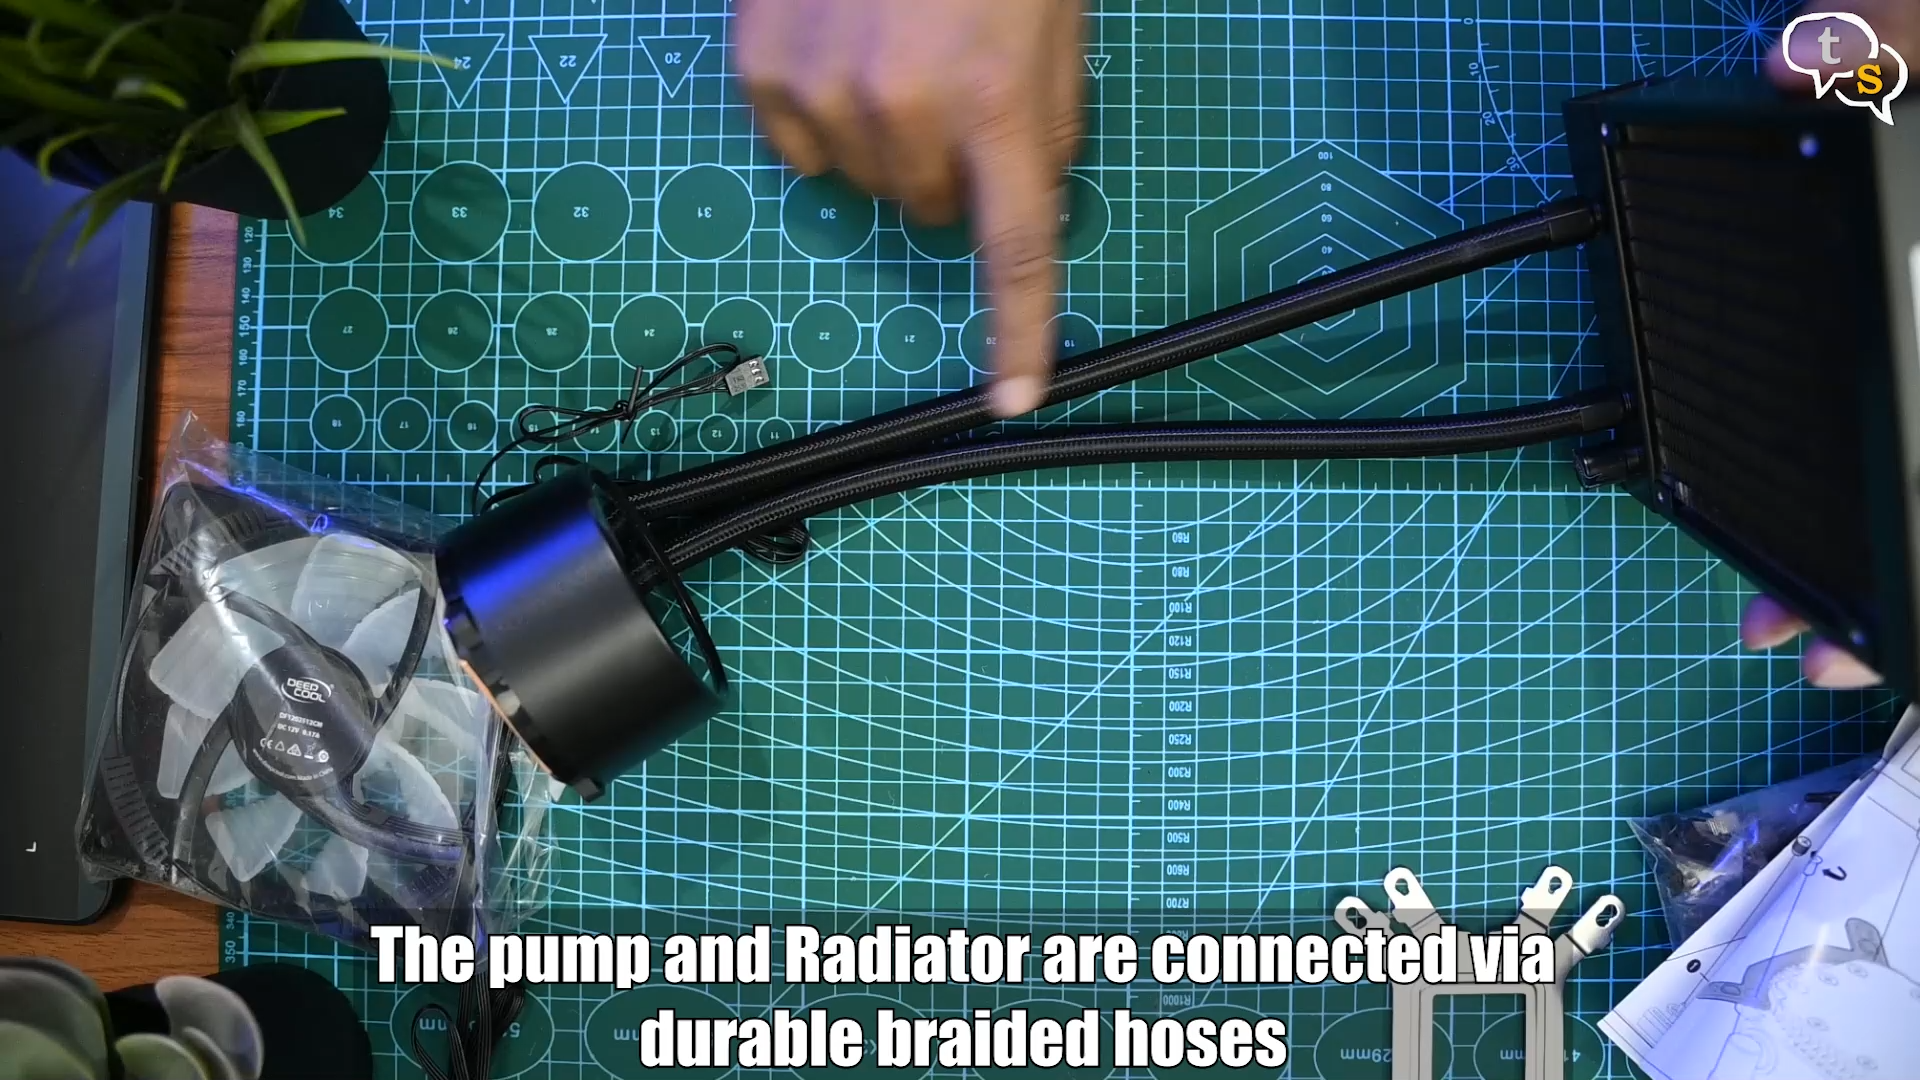
They’re connected using braided tubes which contain a liquid coolant, which is a combination of metals and some other liquid other than water.
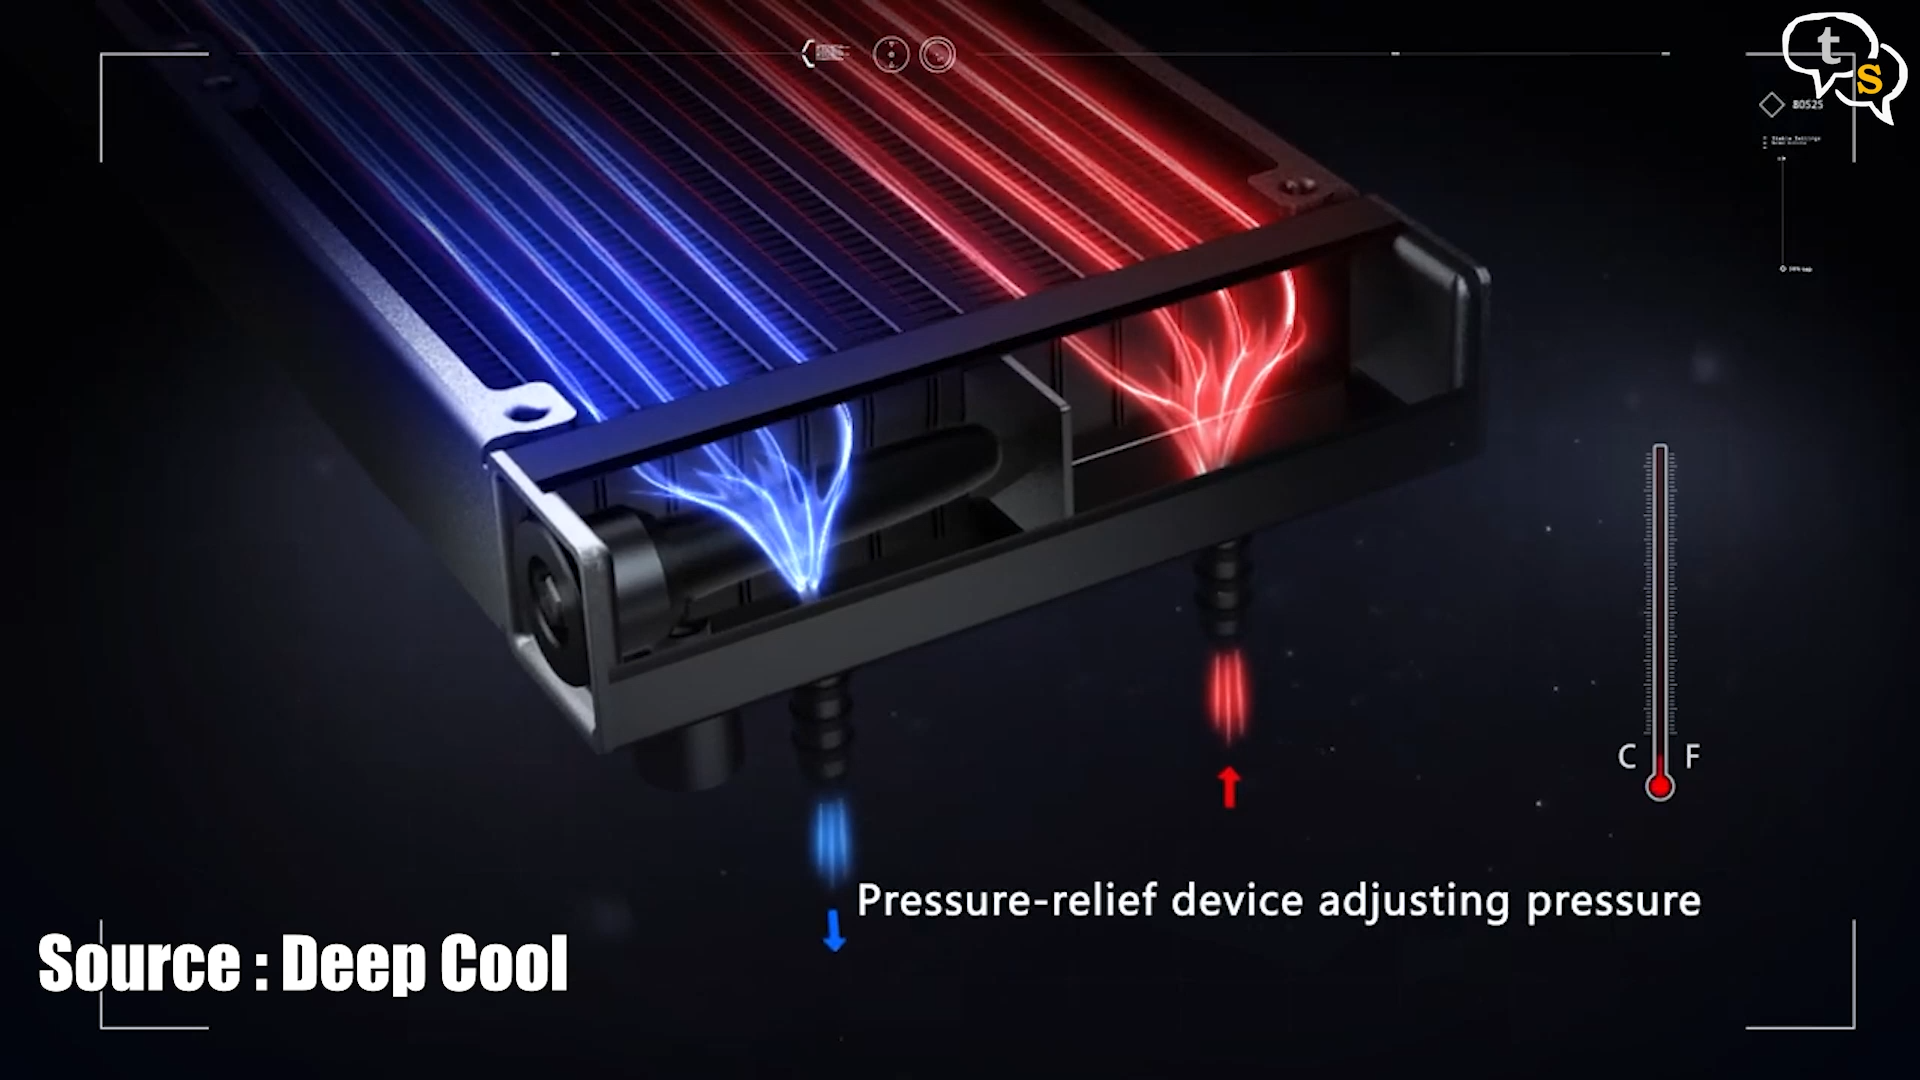
Deep Cool has a new anti leak technology, which have the tubes be able to release pressure when necessary. Hope I never see it leak.
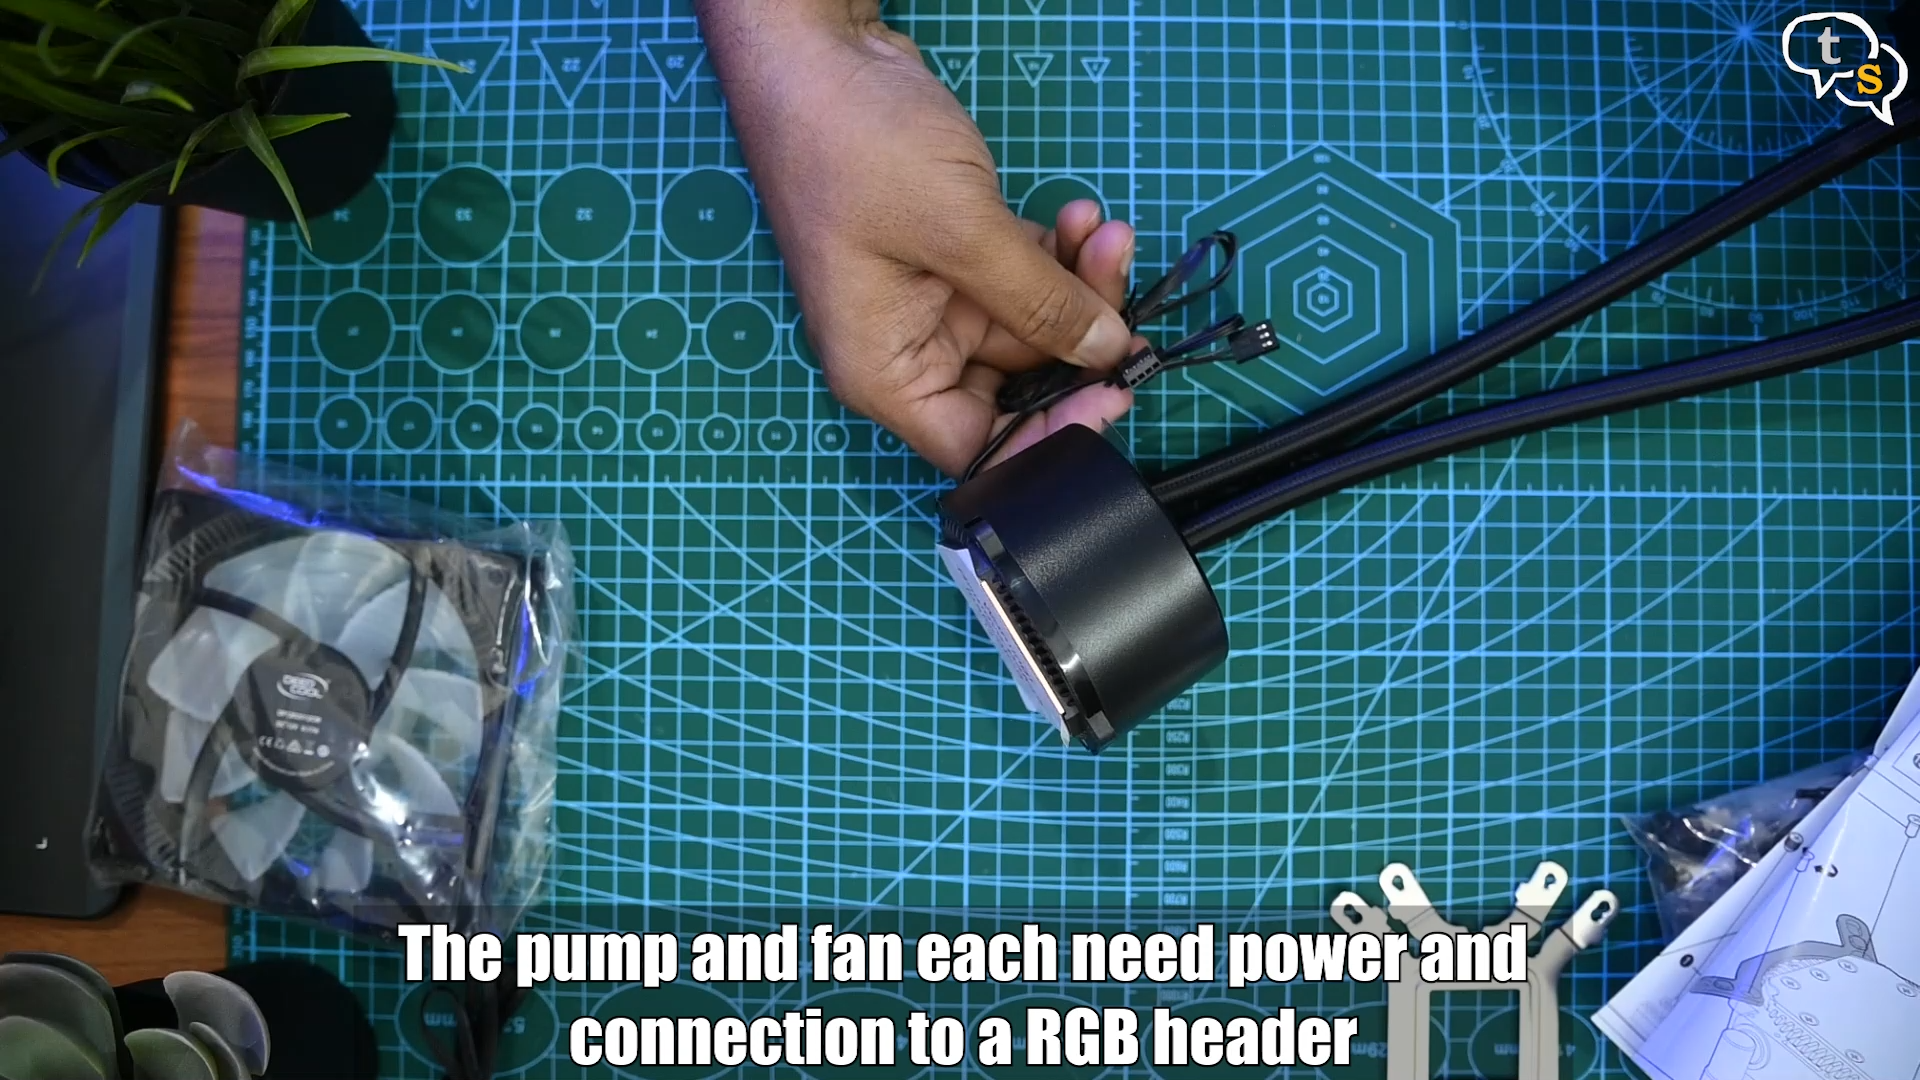
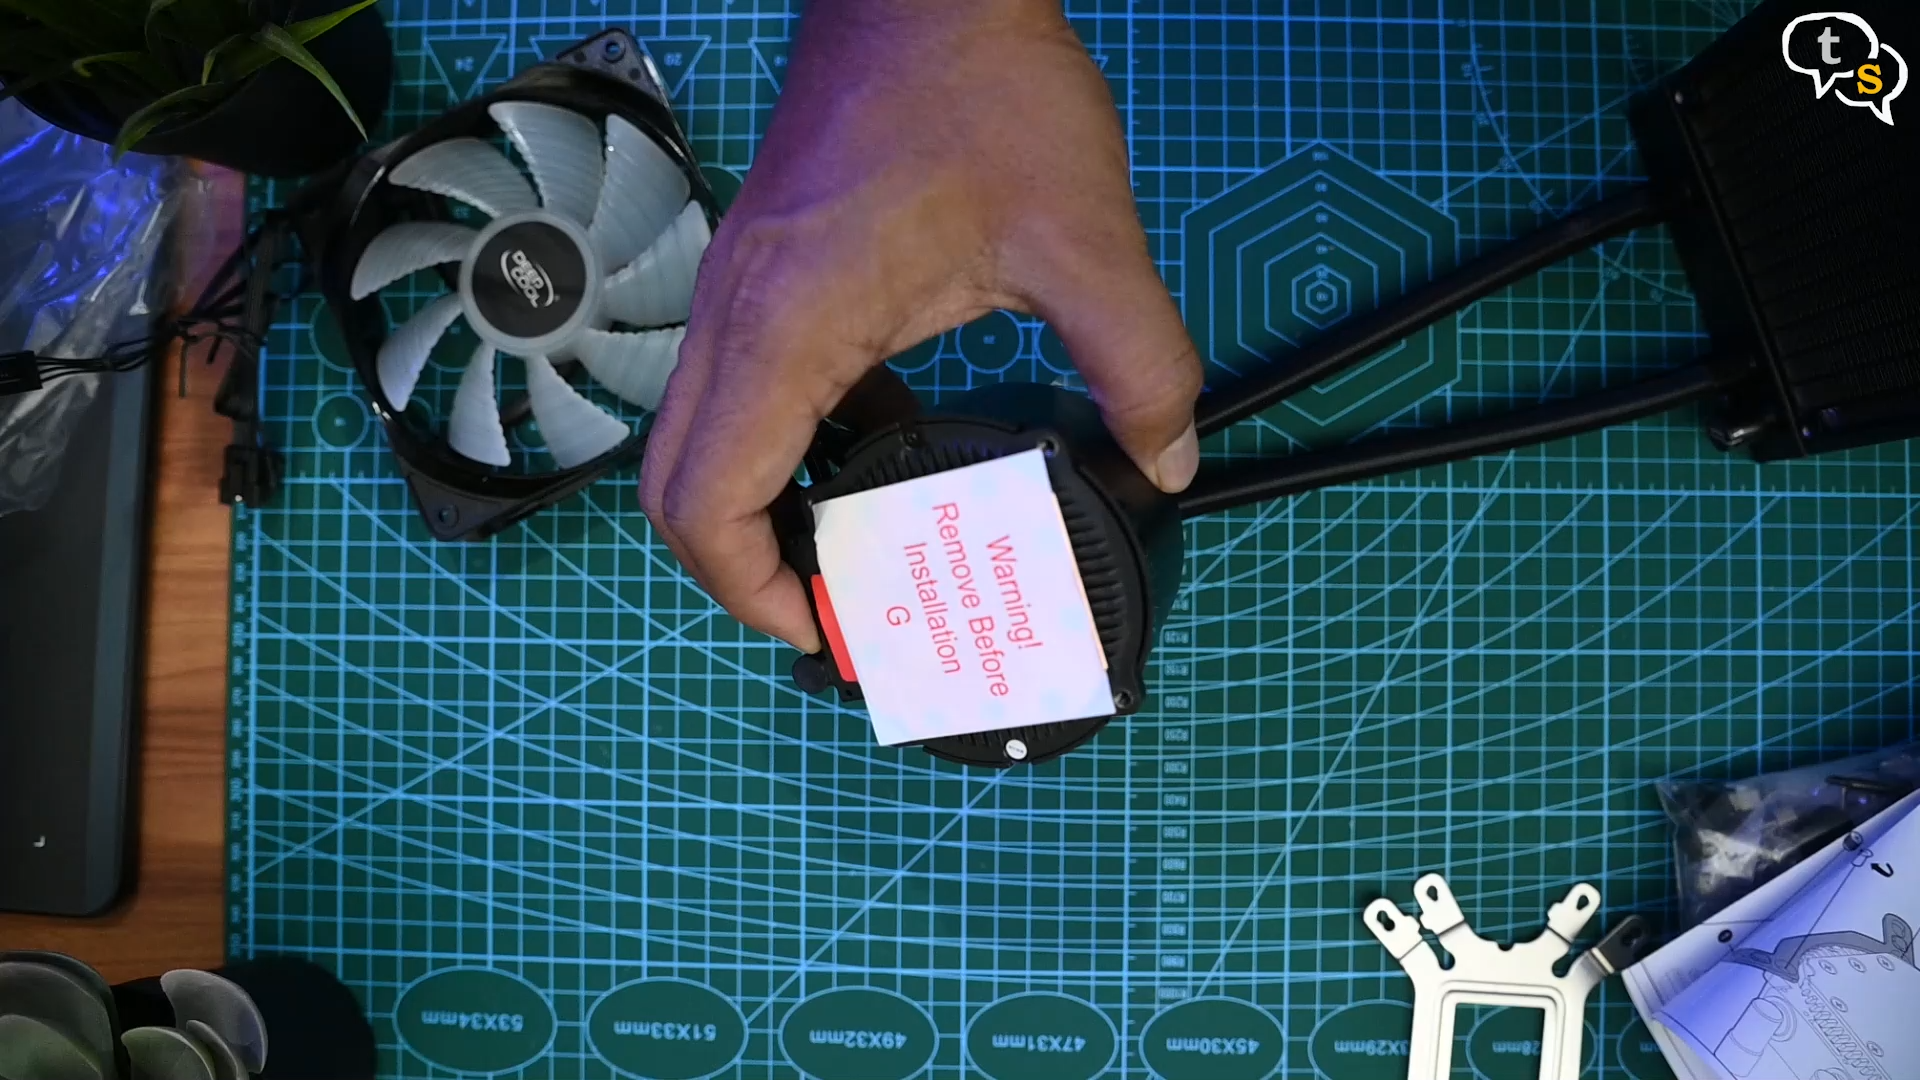
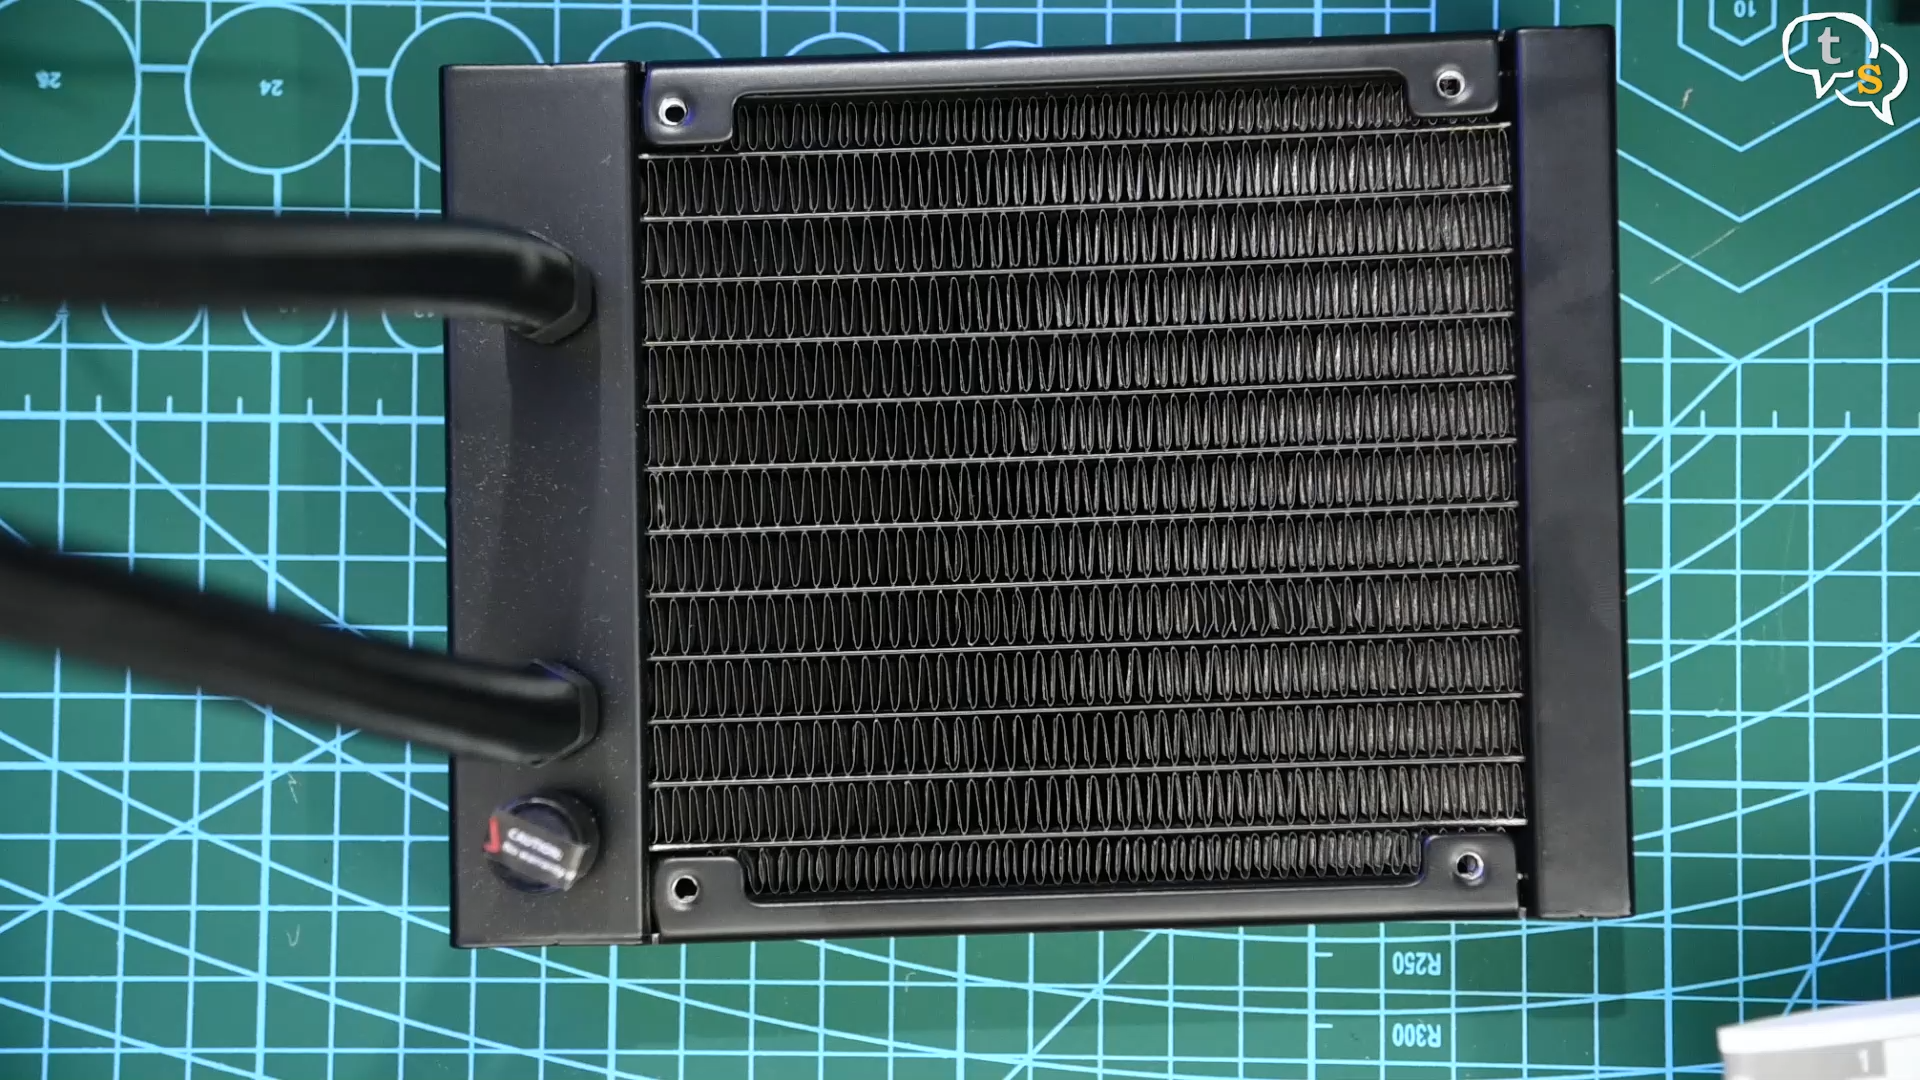
This block also has pwm power and RGB connectors available on it. The Pump is rated at 2400 RPM. Here’s the rad, and here’s a warranty void if removed sticker, a similar sticker on the side. AIO’s are generally not user serviceable, so better not to open it.
The pump has a large copper contact area below it, which should help transfer heat from the CPU more optimally.
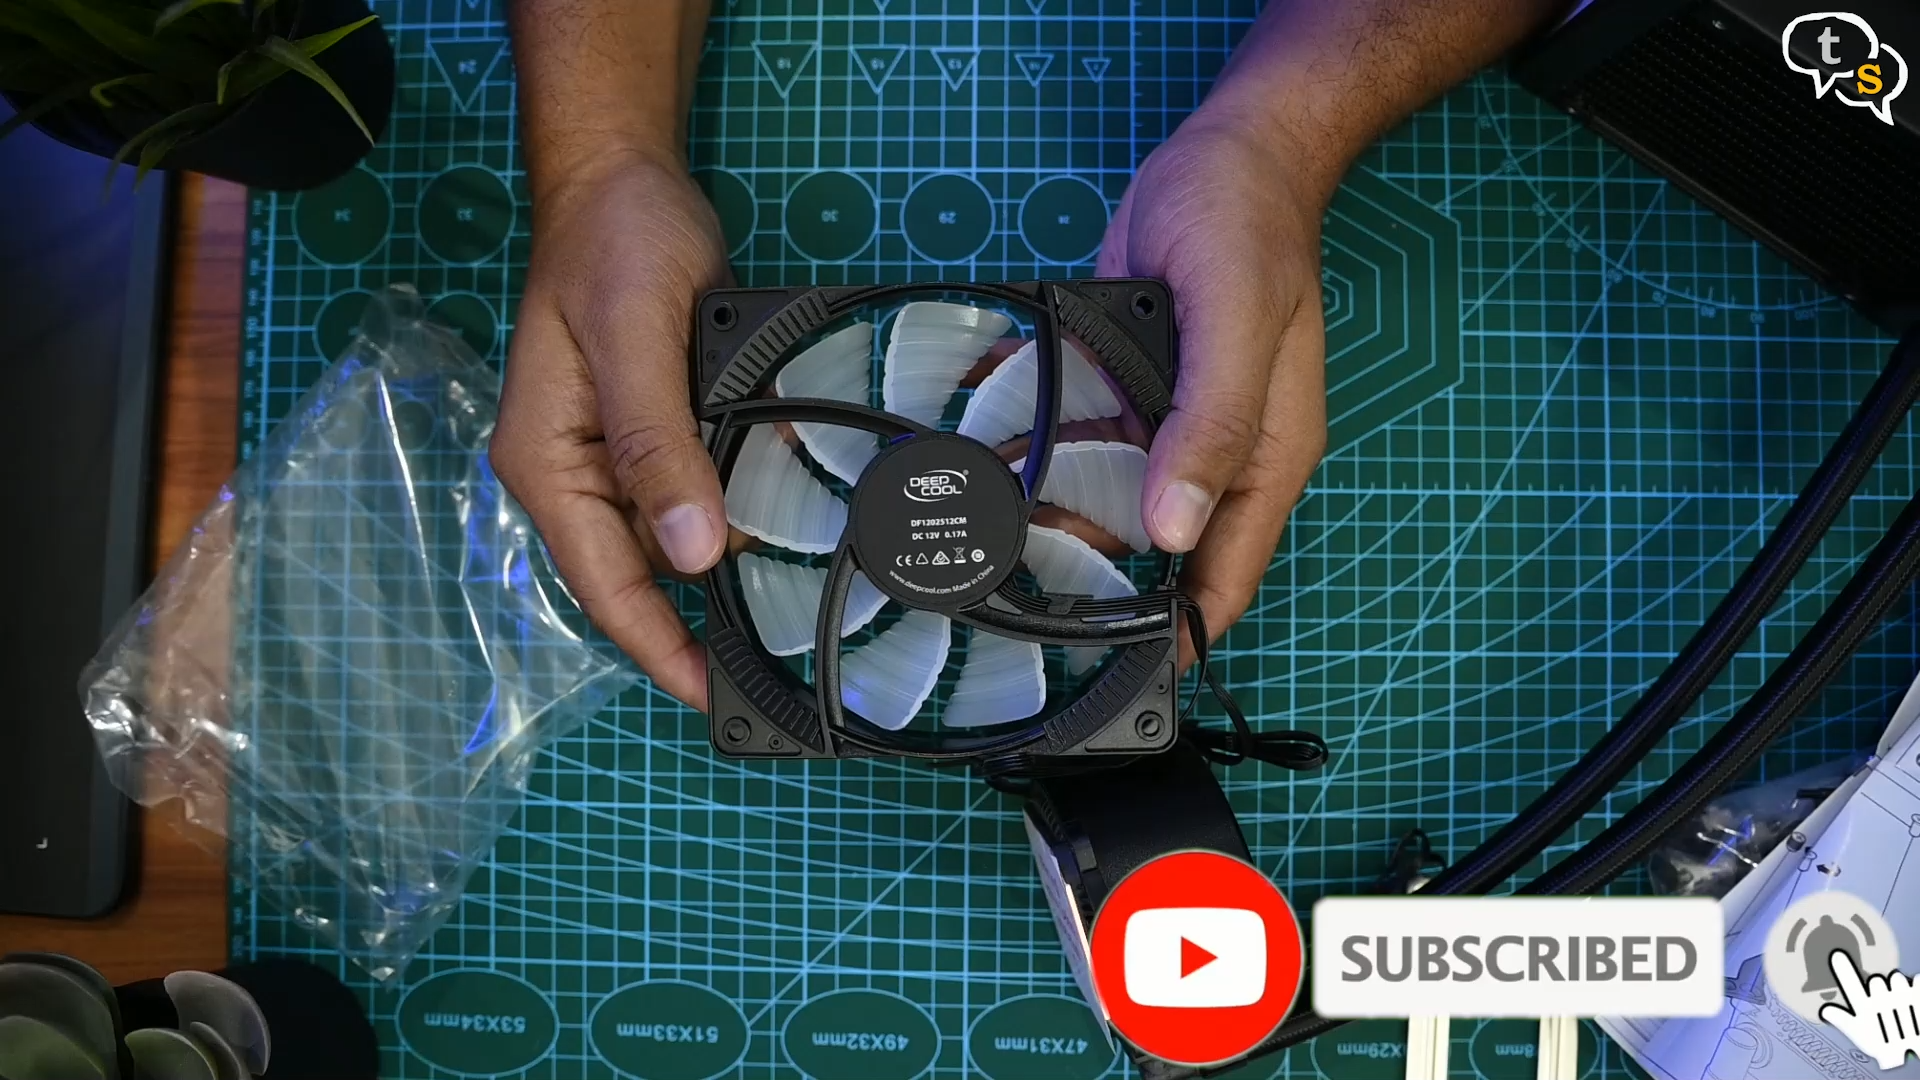
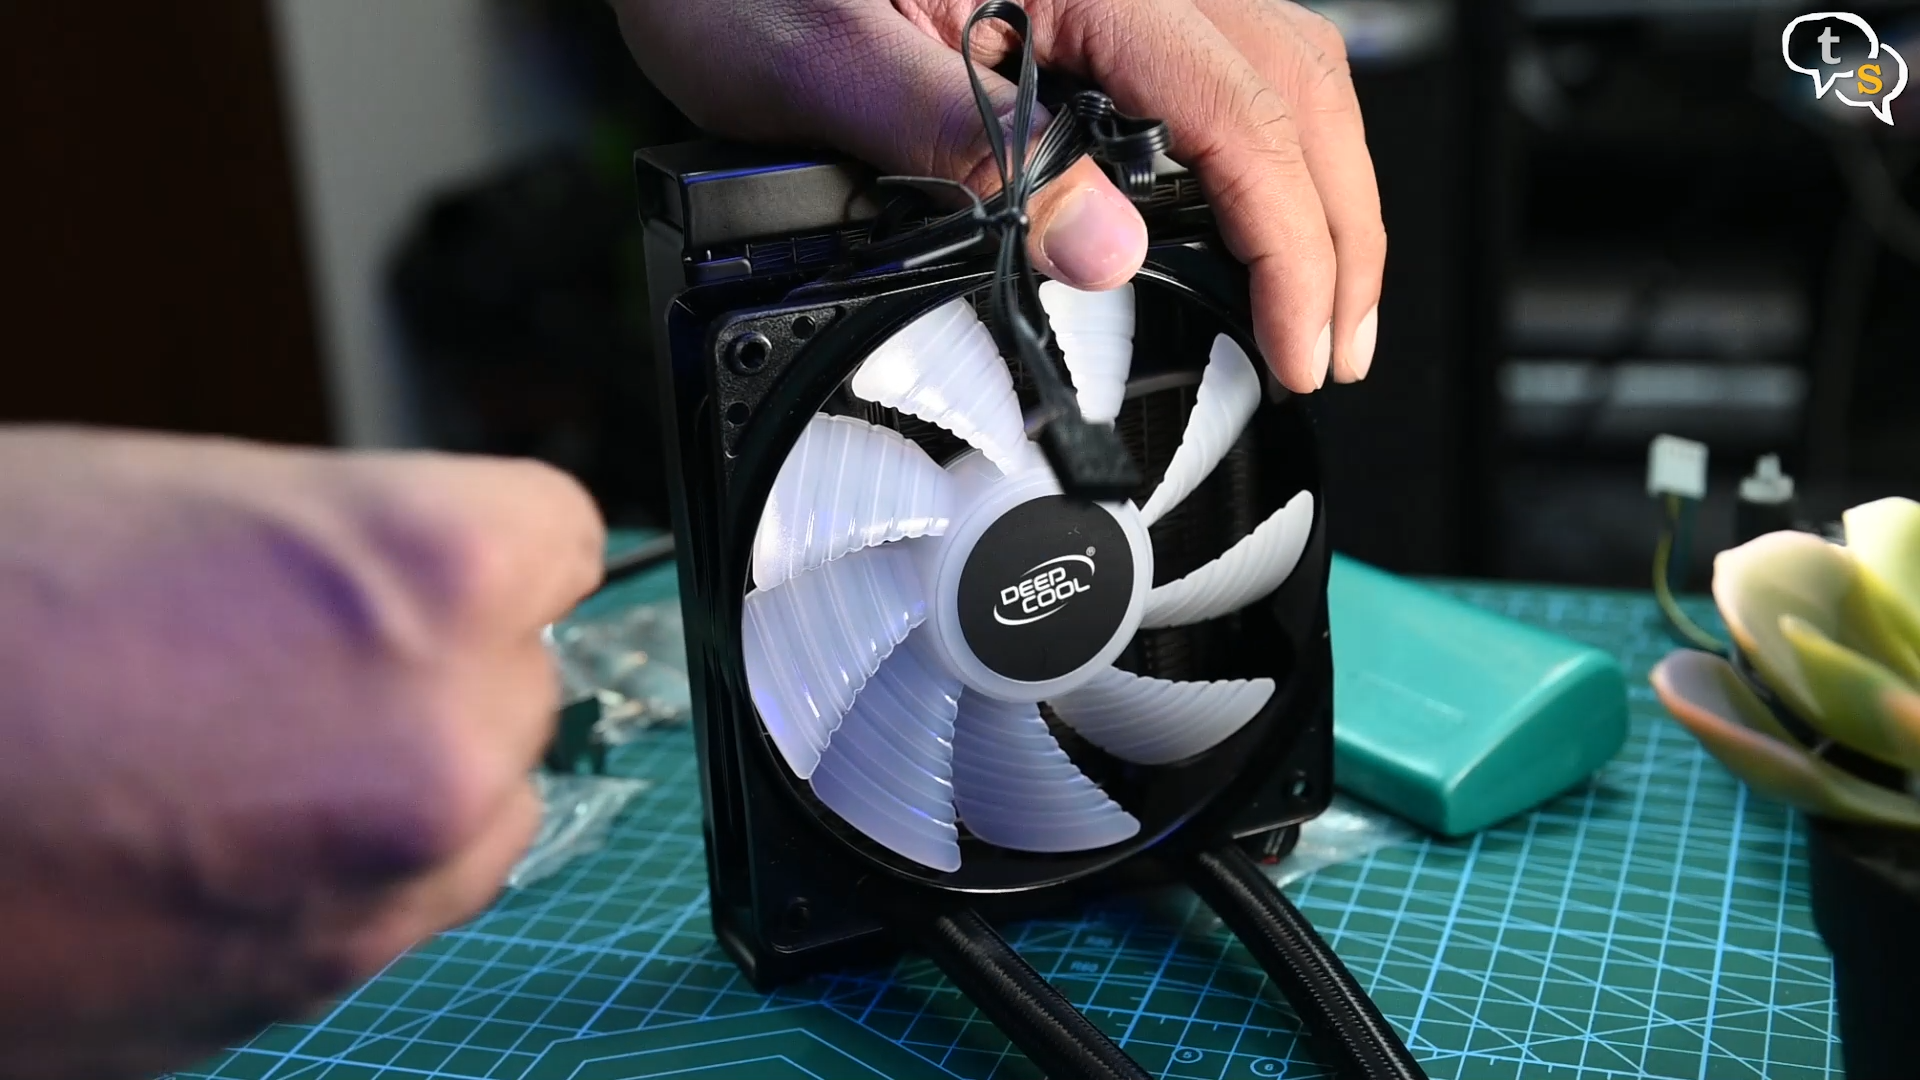
Here’s the included fan, it has a diameter of 120mm. It has RGB elements too. It can attach either to the front or back of the radiator in either a push or pull configuration.
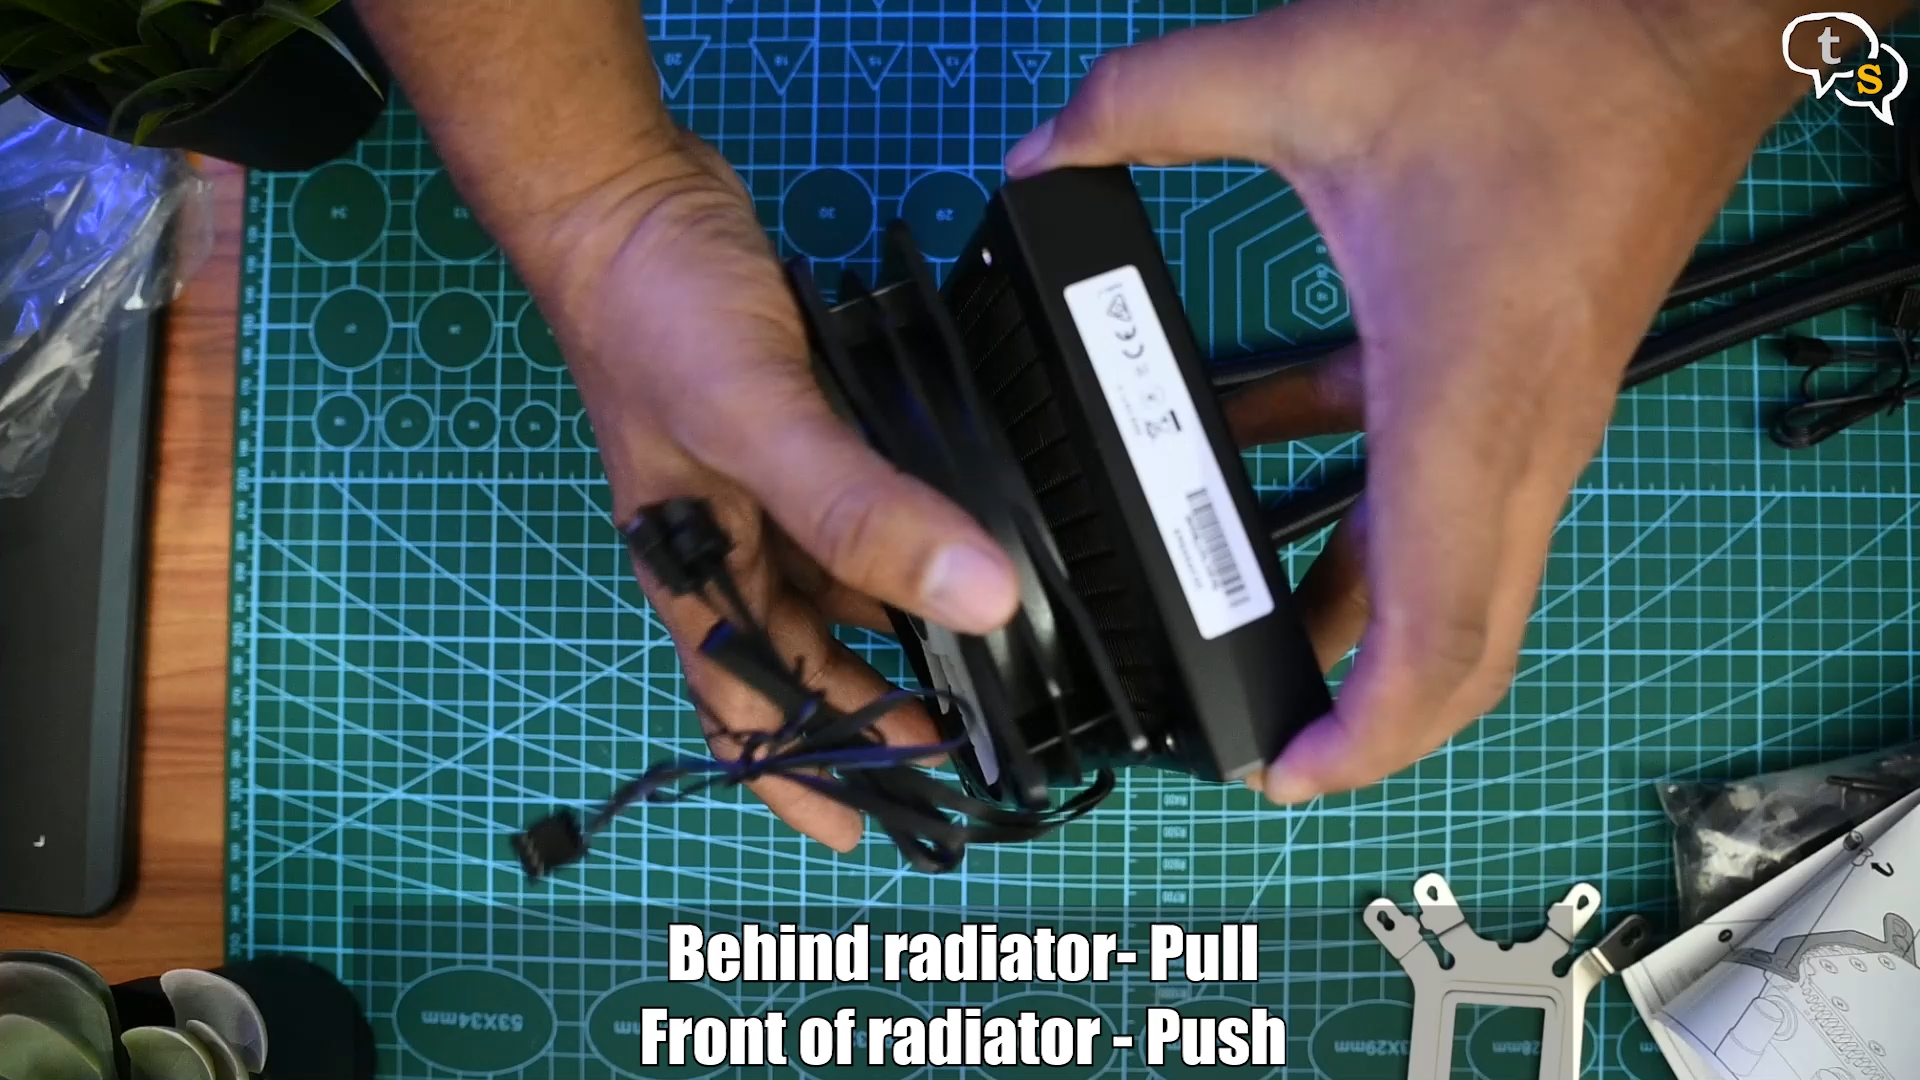
So this is pull, and the other side is push or exhaust the air. It has a rated speed between 500-1800 RPM
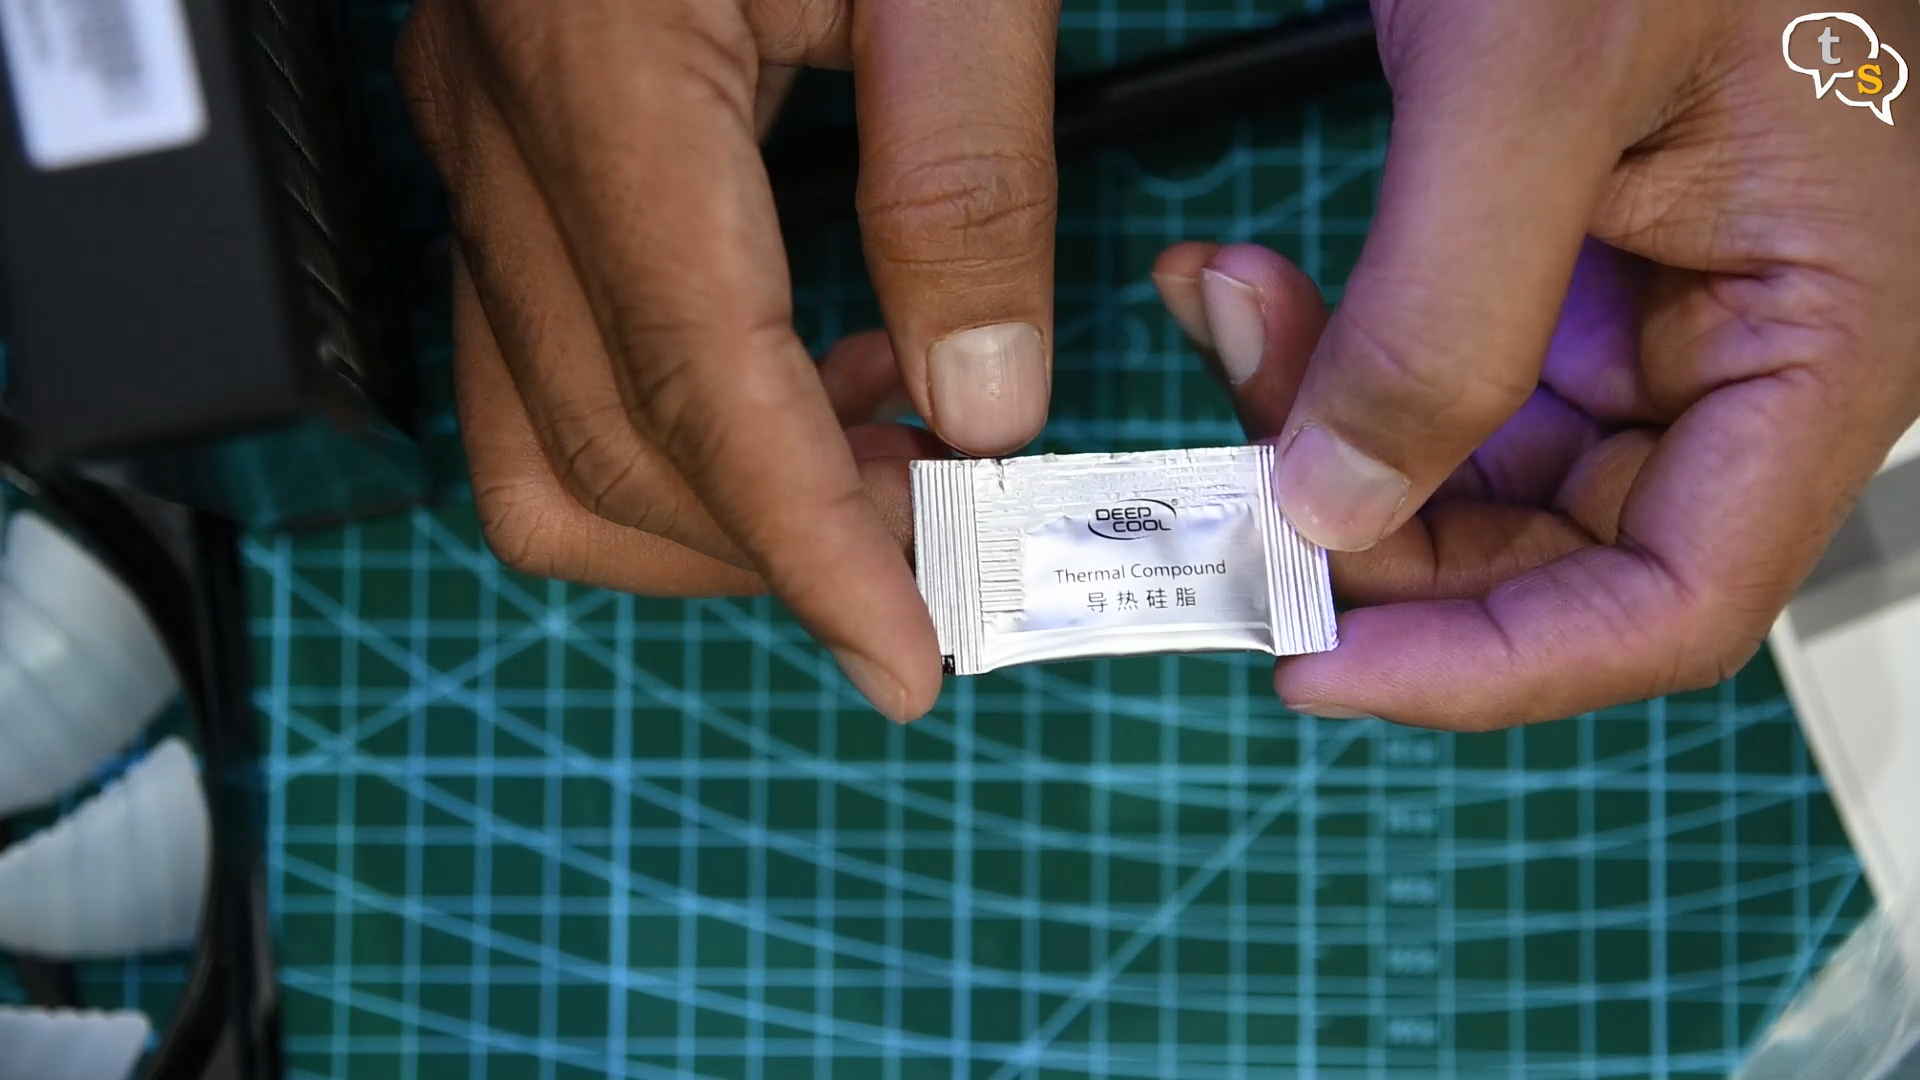
Also included in the box is a small packet of thermal paste, which is nice as not everyone has thermal paste lying around and this is adequate enough to install the AIO twice over if necessary.
I’am installing the fan with the logo side up, this pulls the air into the radiator.
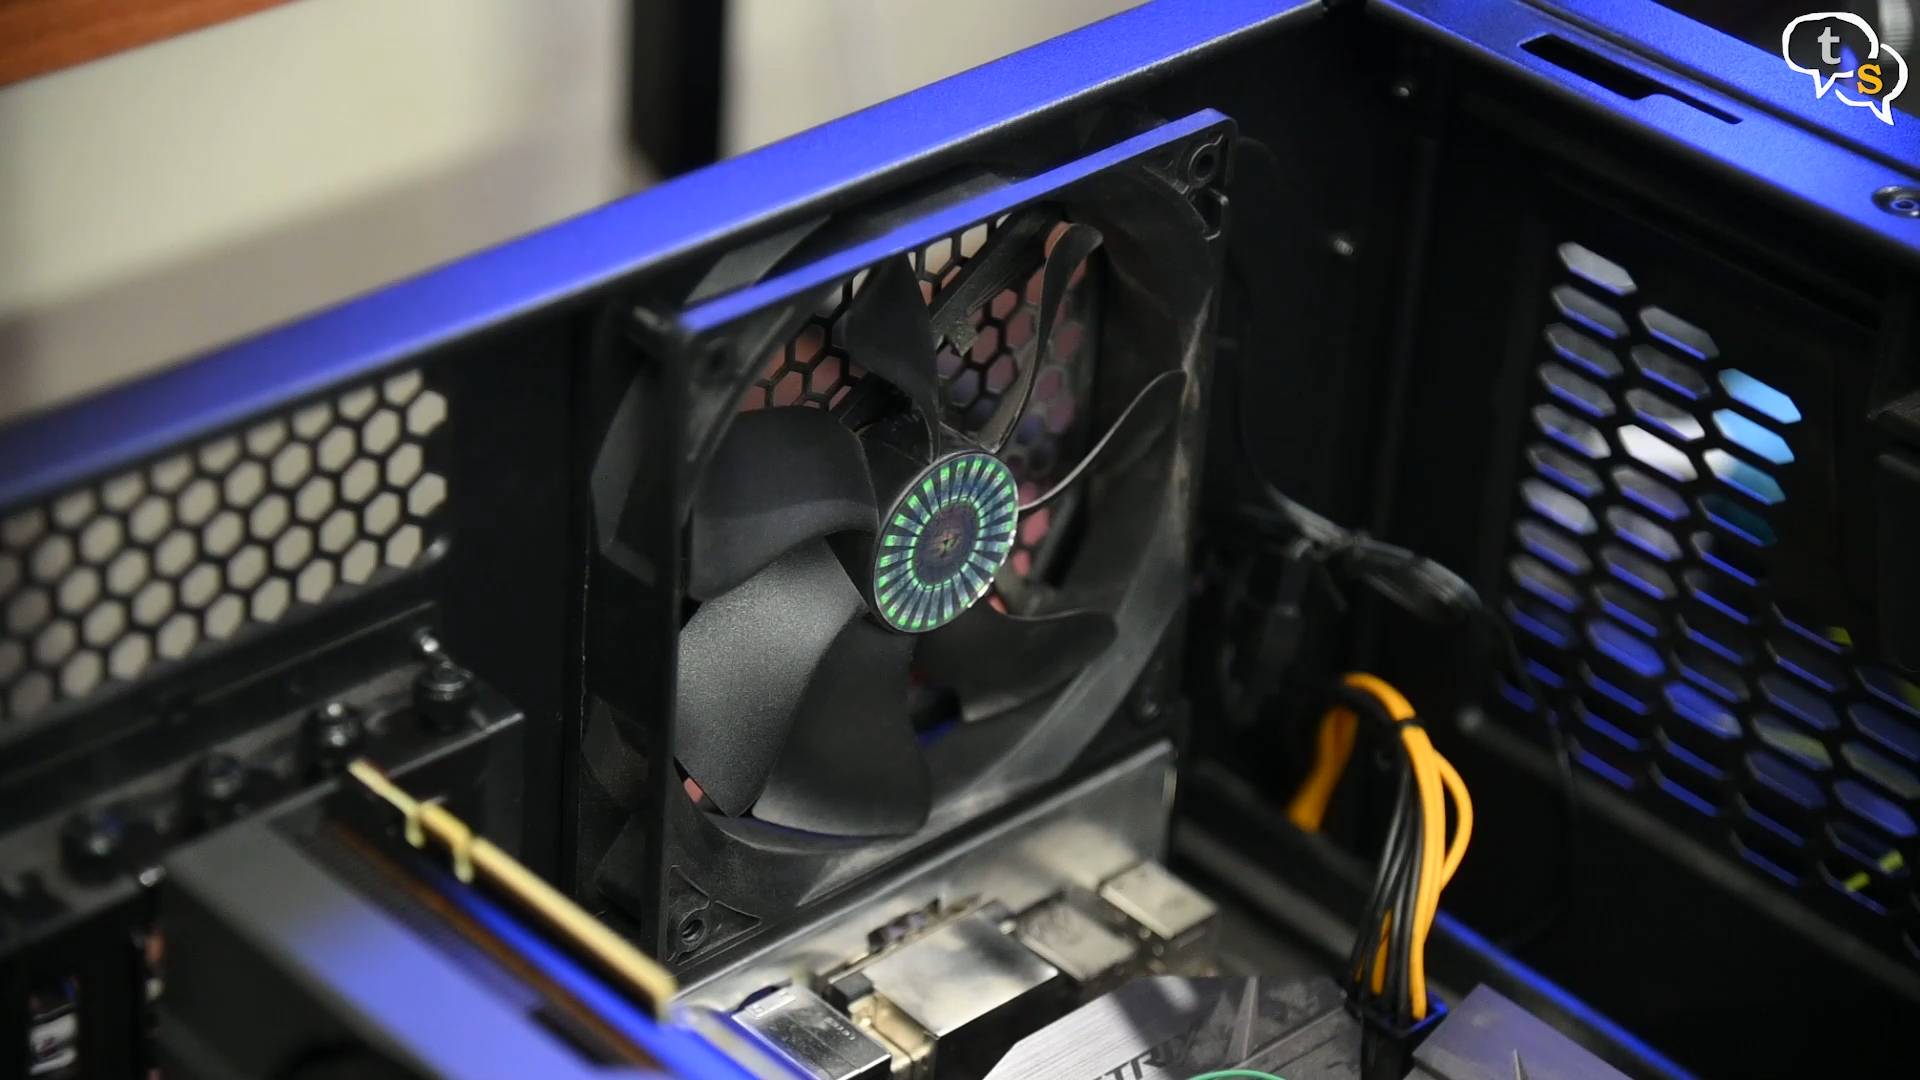
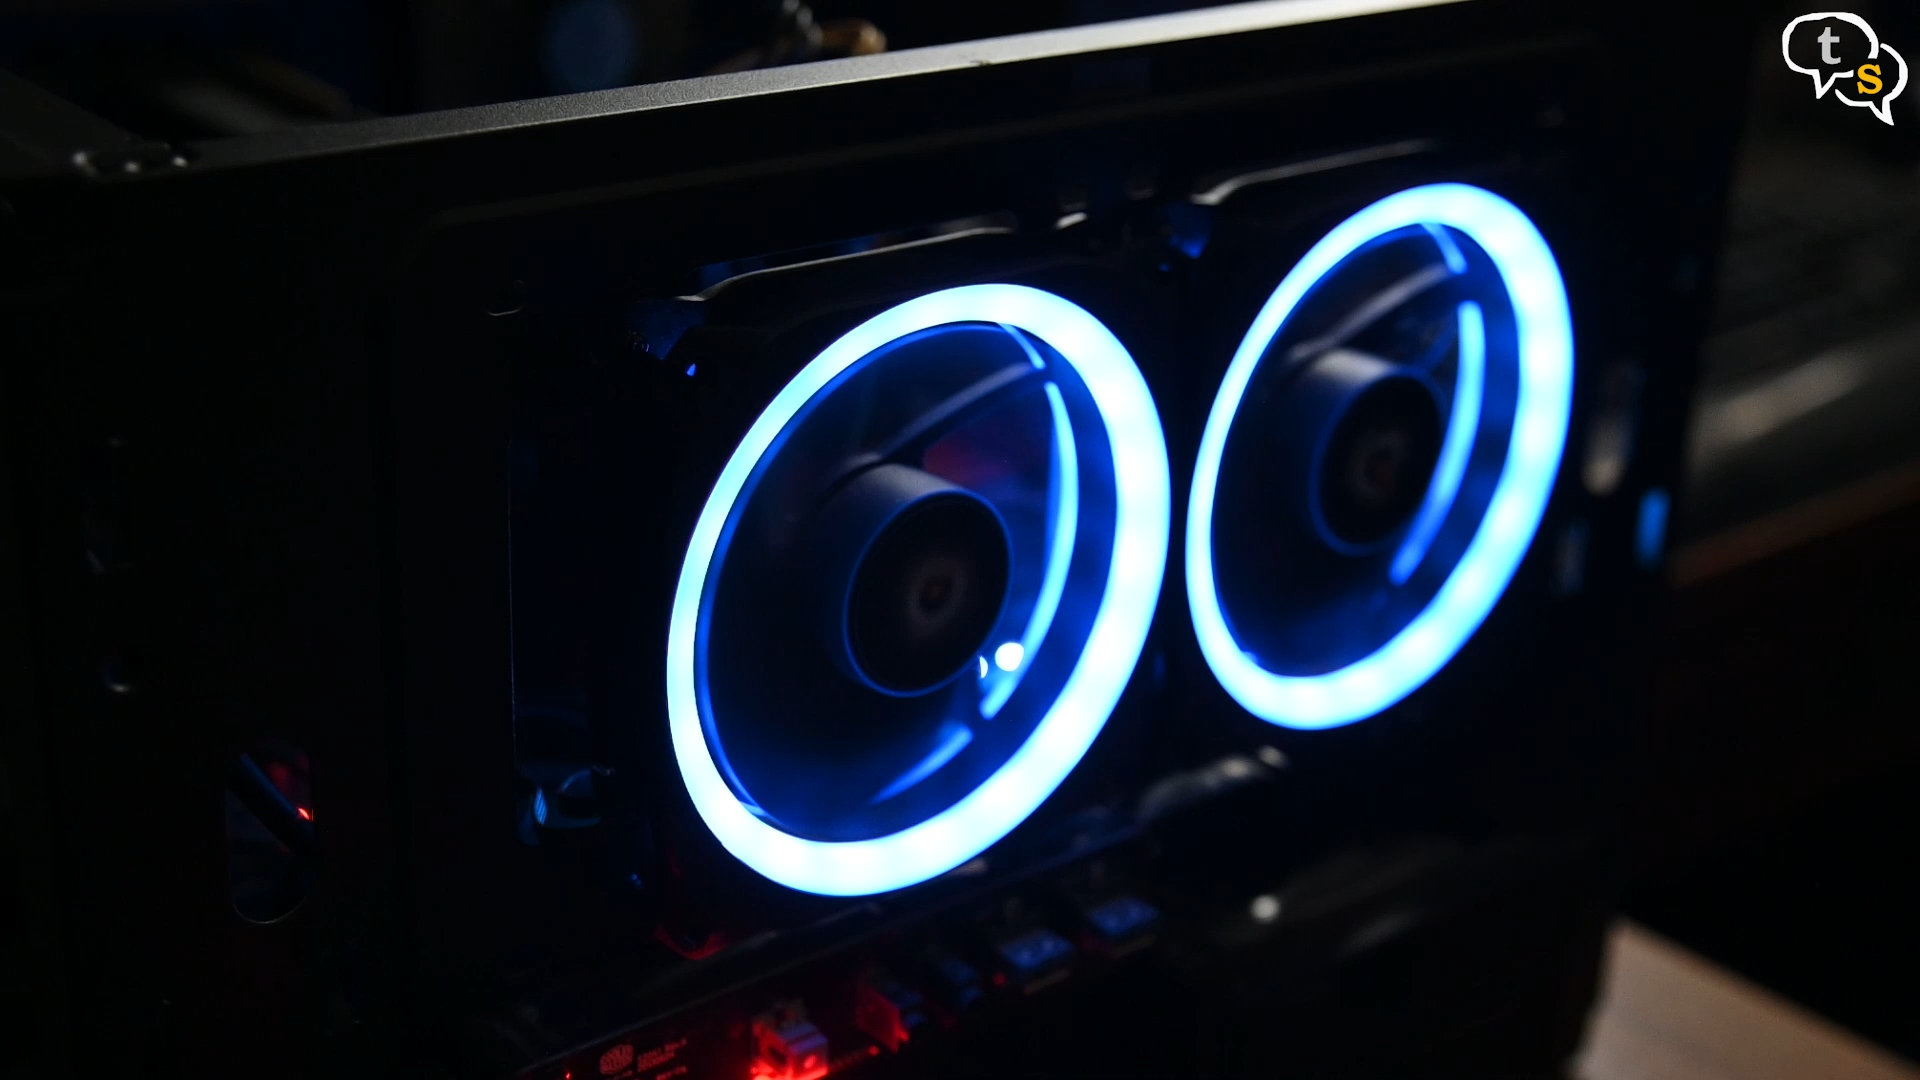
I’ll be replacing this 120 mm fan, this fan did help with airflow, but the CPU needed a more dedicated cooling.
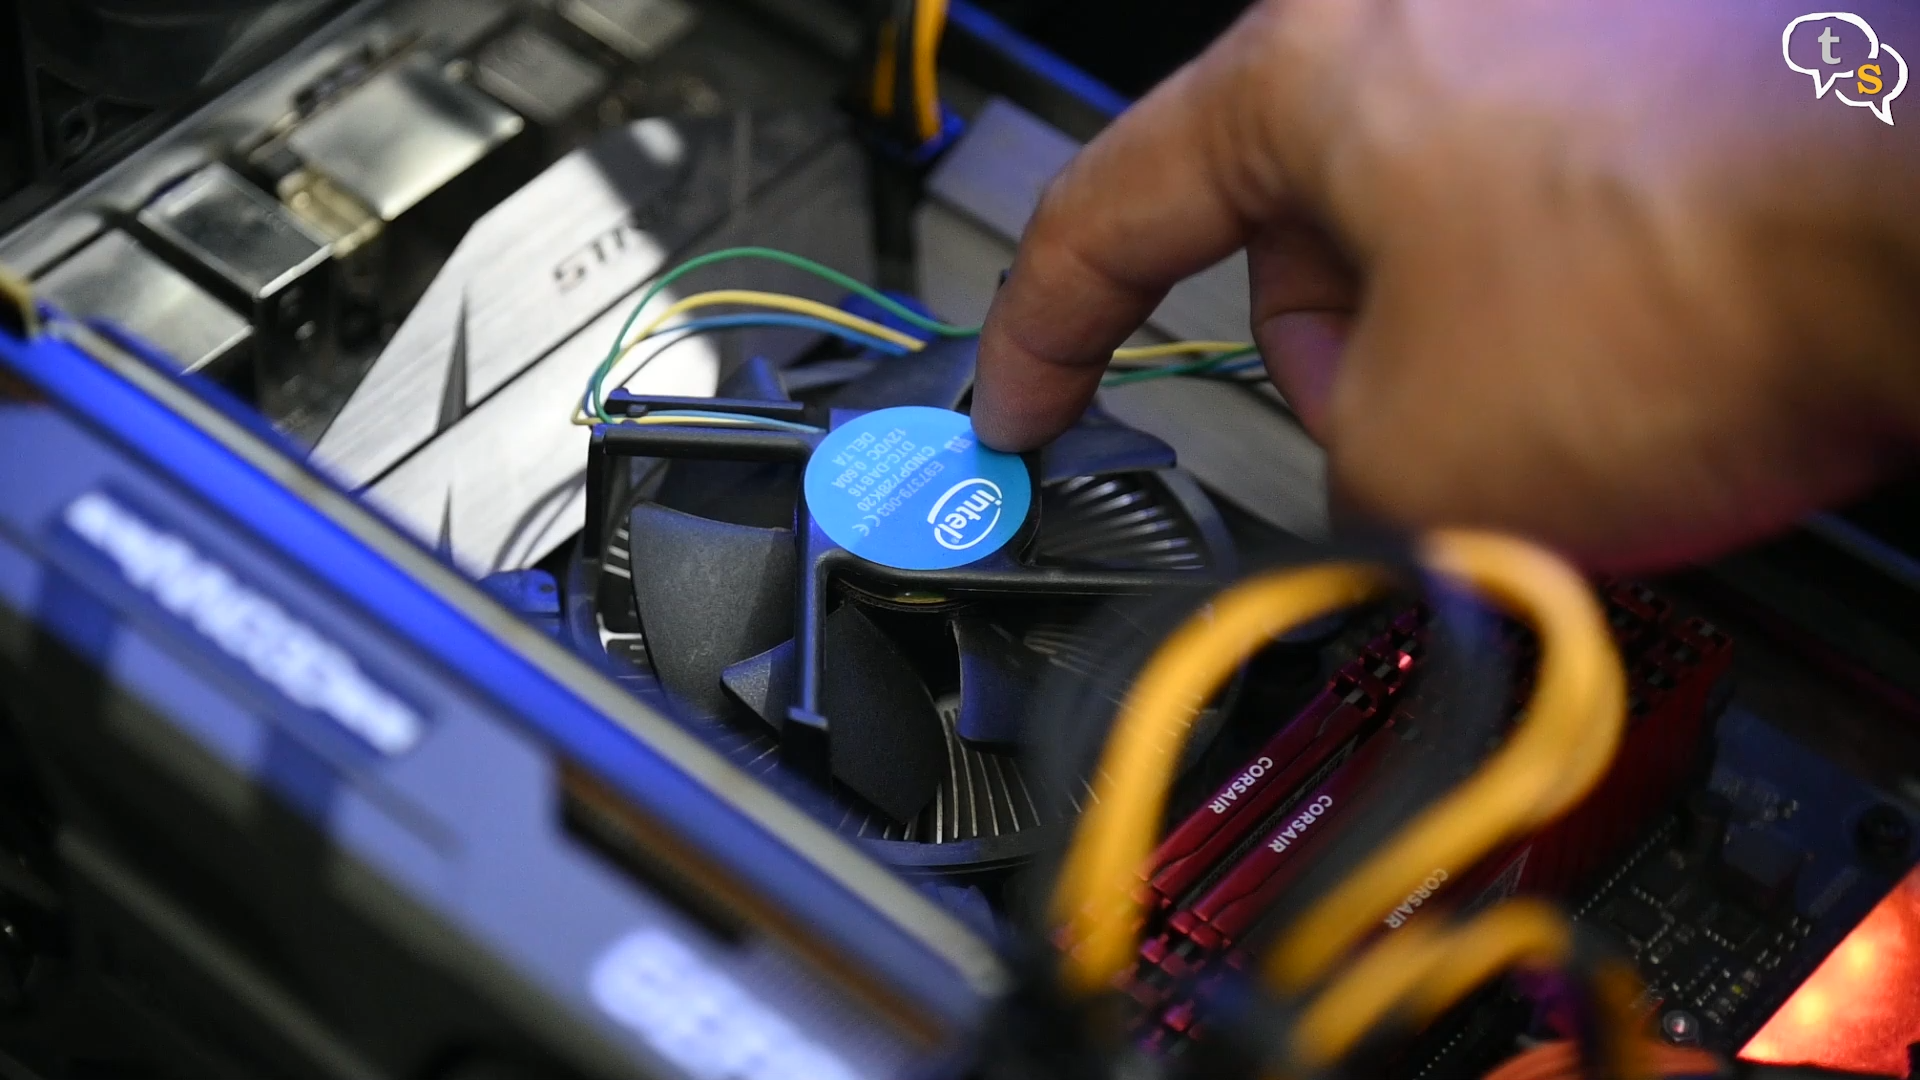
This is my CPU, it’s using the stock Intel cooler.
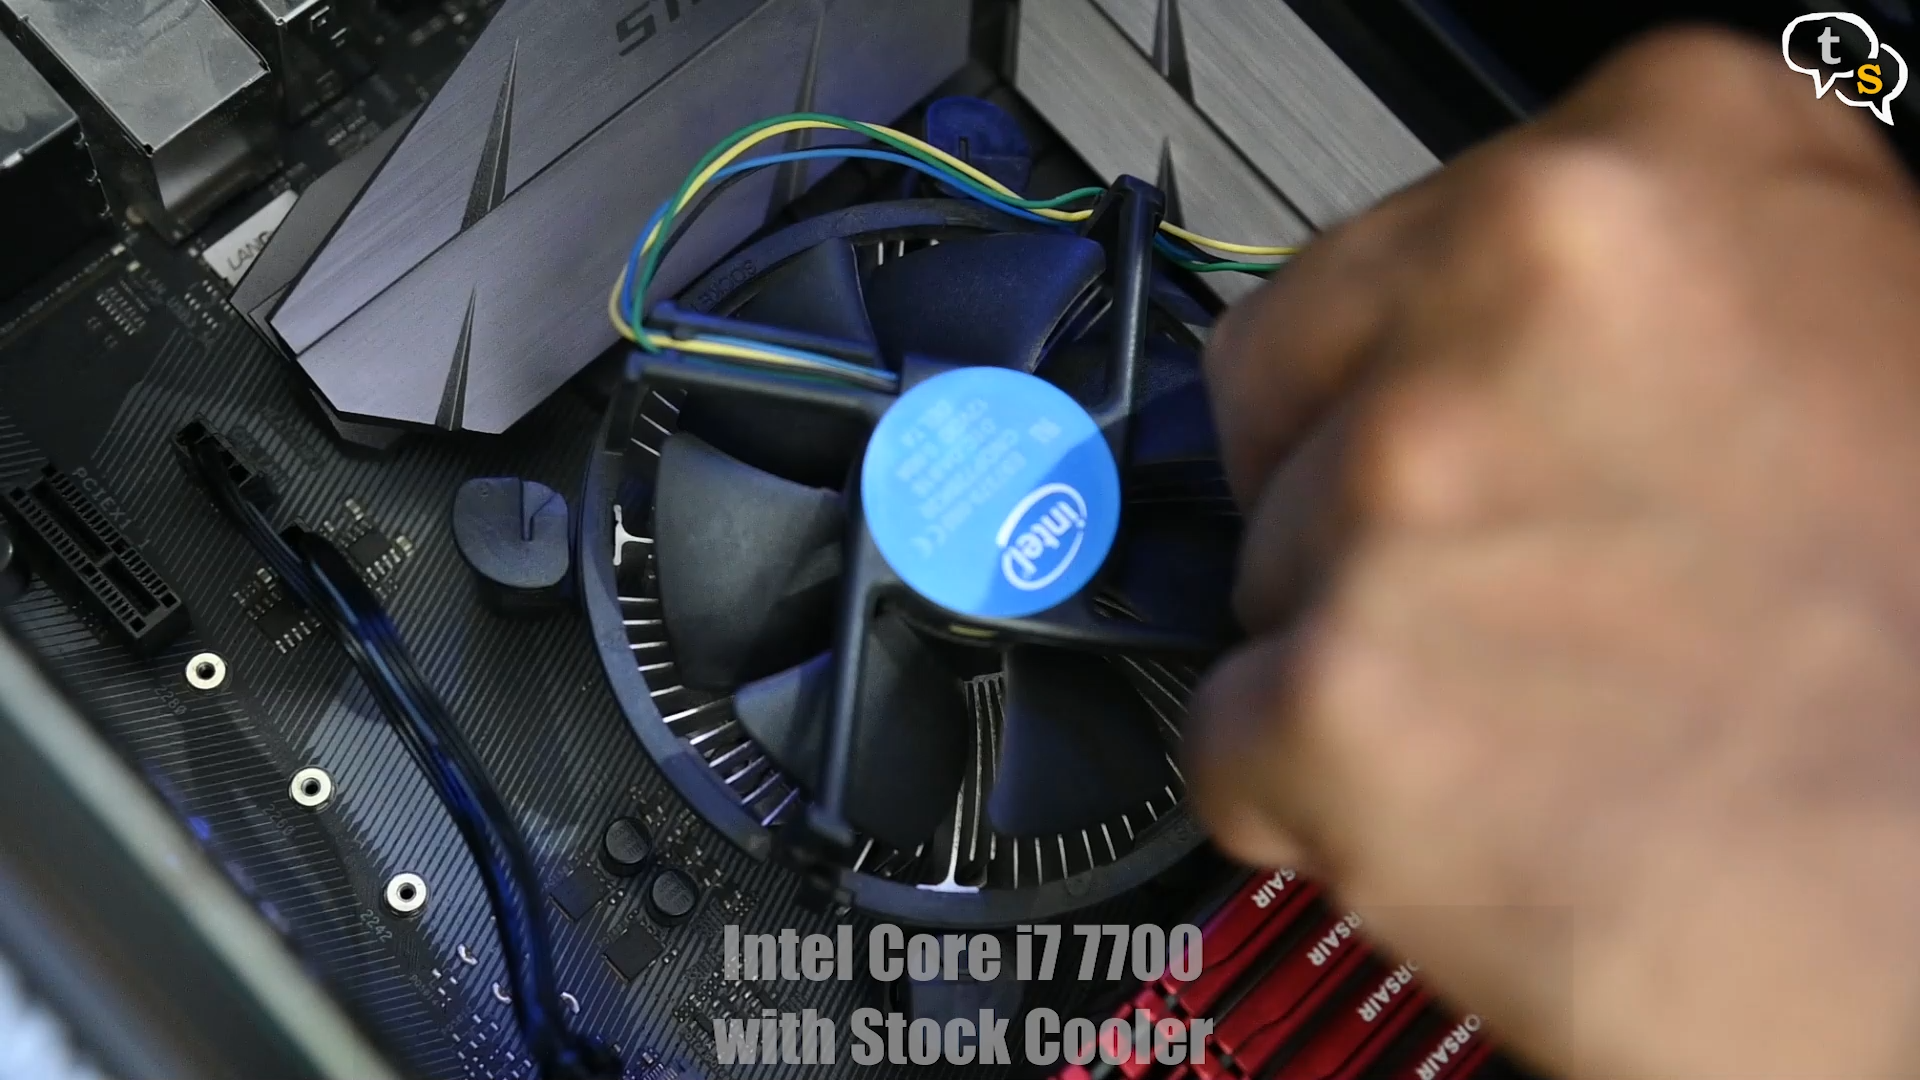
We need to replace this, so I’m unplugging the fan power header, unscrewing the fasteners and the stock cooler comes off quite easily.
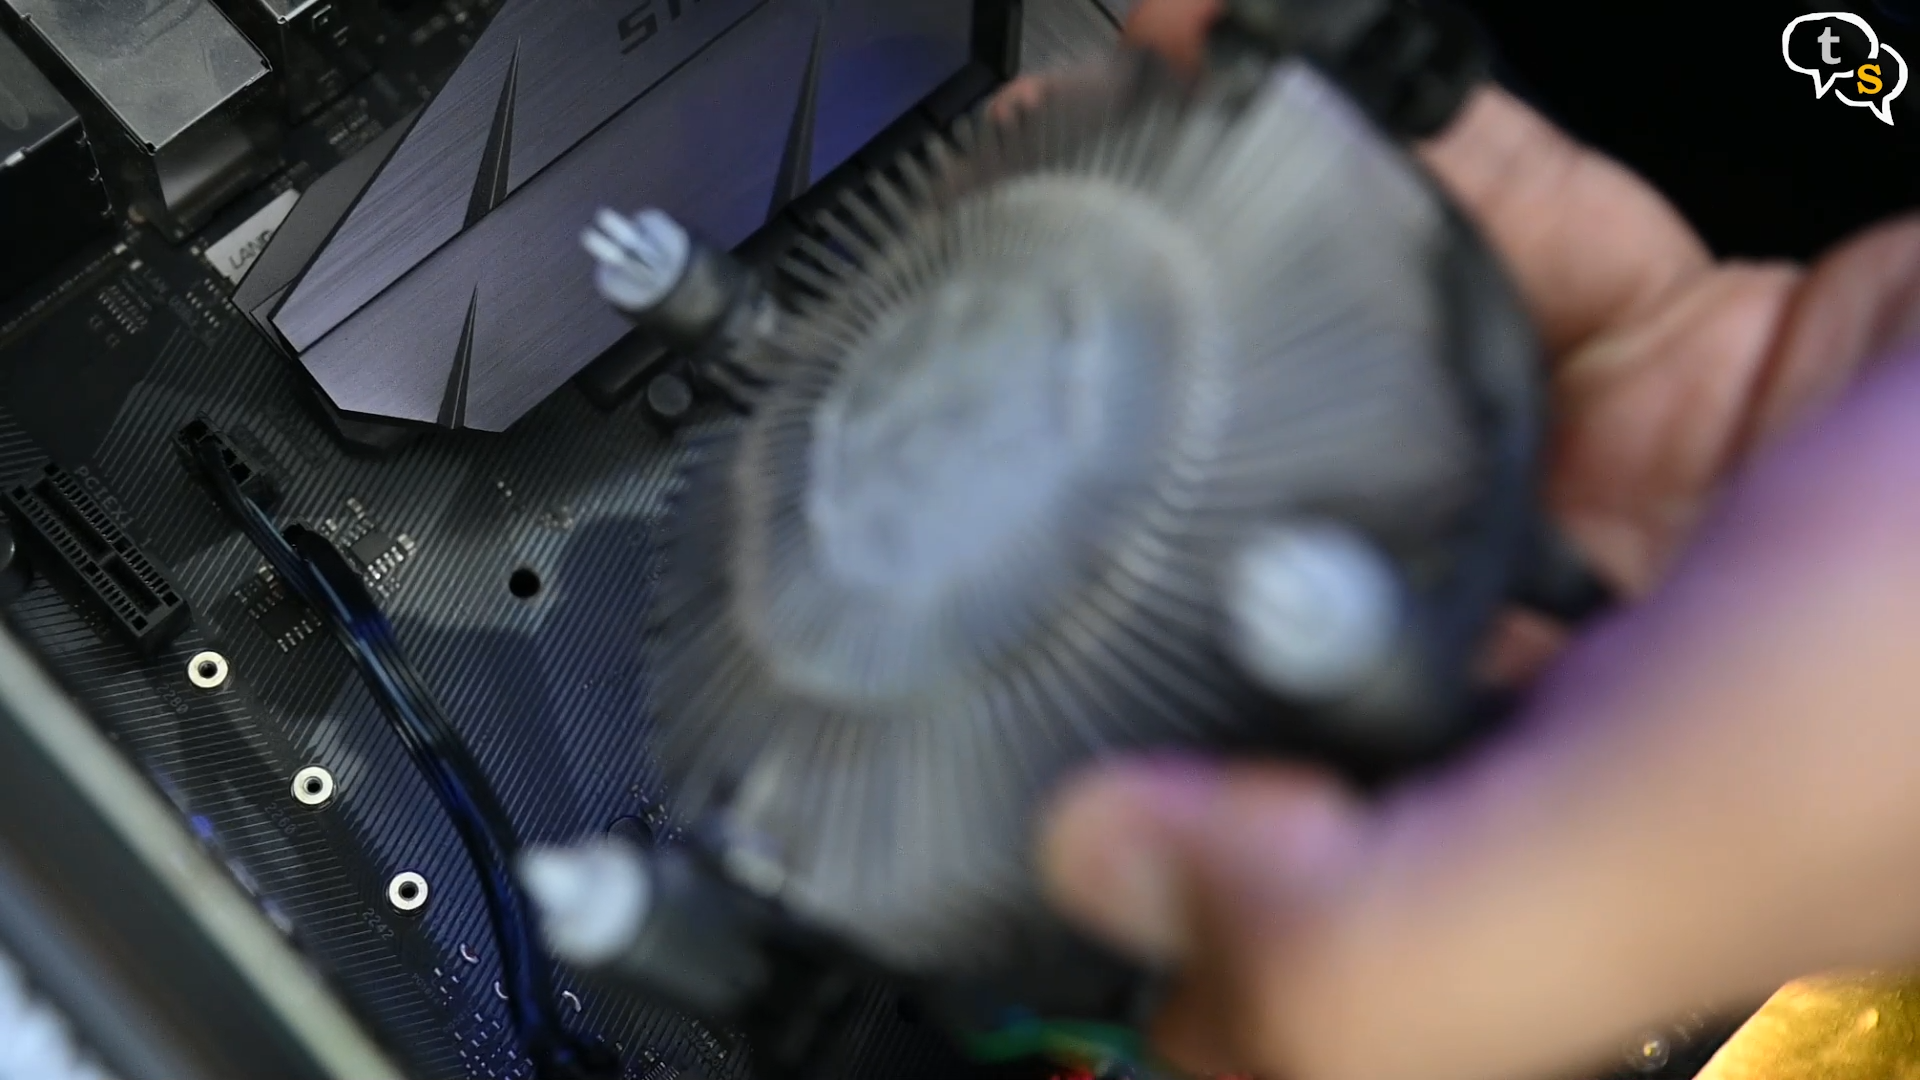
It will be held down due to the existing thermal paste, a little force and it comes off.

There you go, and here’s the CPU with thermal paste on it’s face. These holes here are where the new pump would mount, so we need to get the mounting bracket all setup.
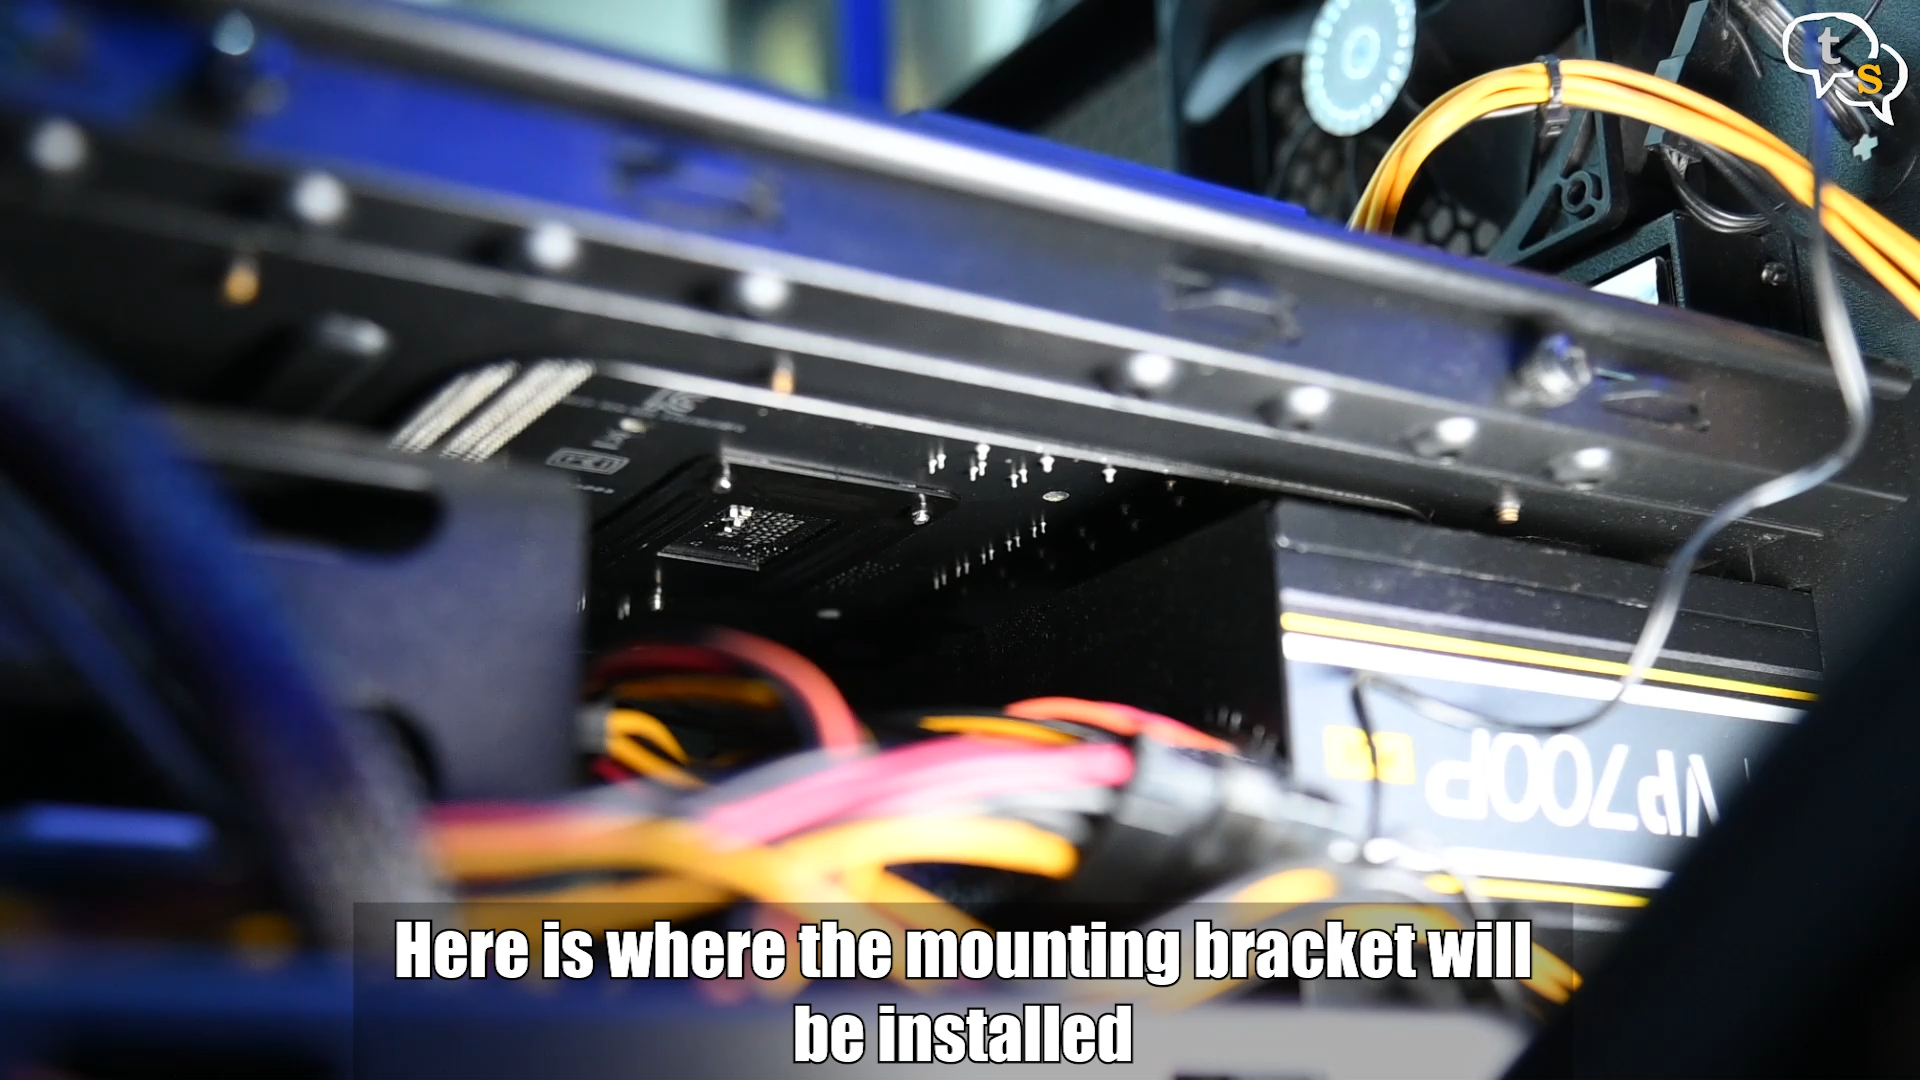
This is the underside of the motherboard, I thought I would need to remove the whole thing, but luckily this section is accessible. This is the bracket we’re using, which goes under here. As my motherboard is lying flat, I ‘am accessing it from below, but if you are using a tower cabinet, it will be accessible from behind or in other words the opposite side.

Setup the mounting bracket, add the long screws and plastic bushes onto the correct branch, one of them is socket 1151 and the other is LGA 1366. It’s ready to install.
Intel
LGA20XX/LGA1366/LGA1200/1151/1150/1155
AMD
AM4/AM3+/AM3/AM2+/AM2/FM2+/FM2/FM1
We do need to clean up the existing thermal paste off the CPU, we use some Isopropyl alcohol to clean the face, gently. Now it’s its shiny self again.
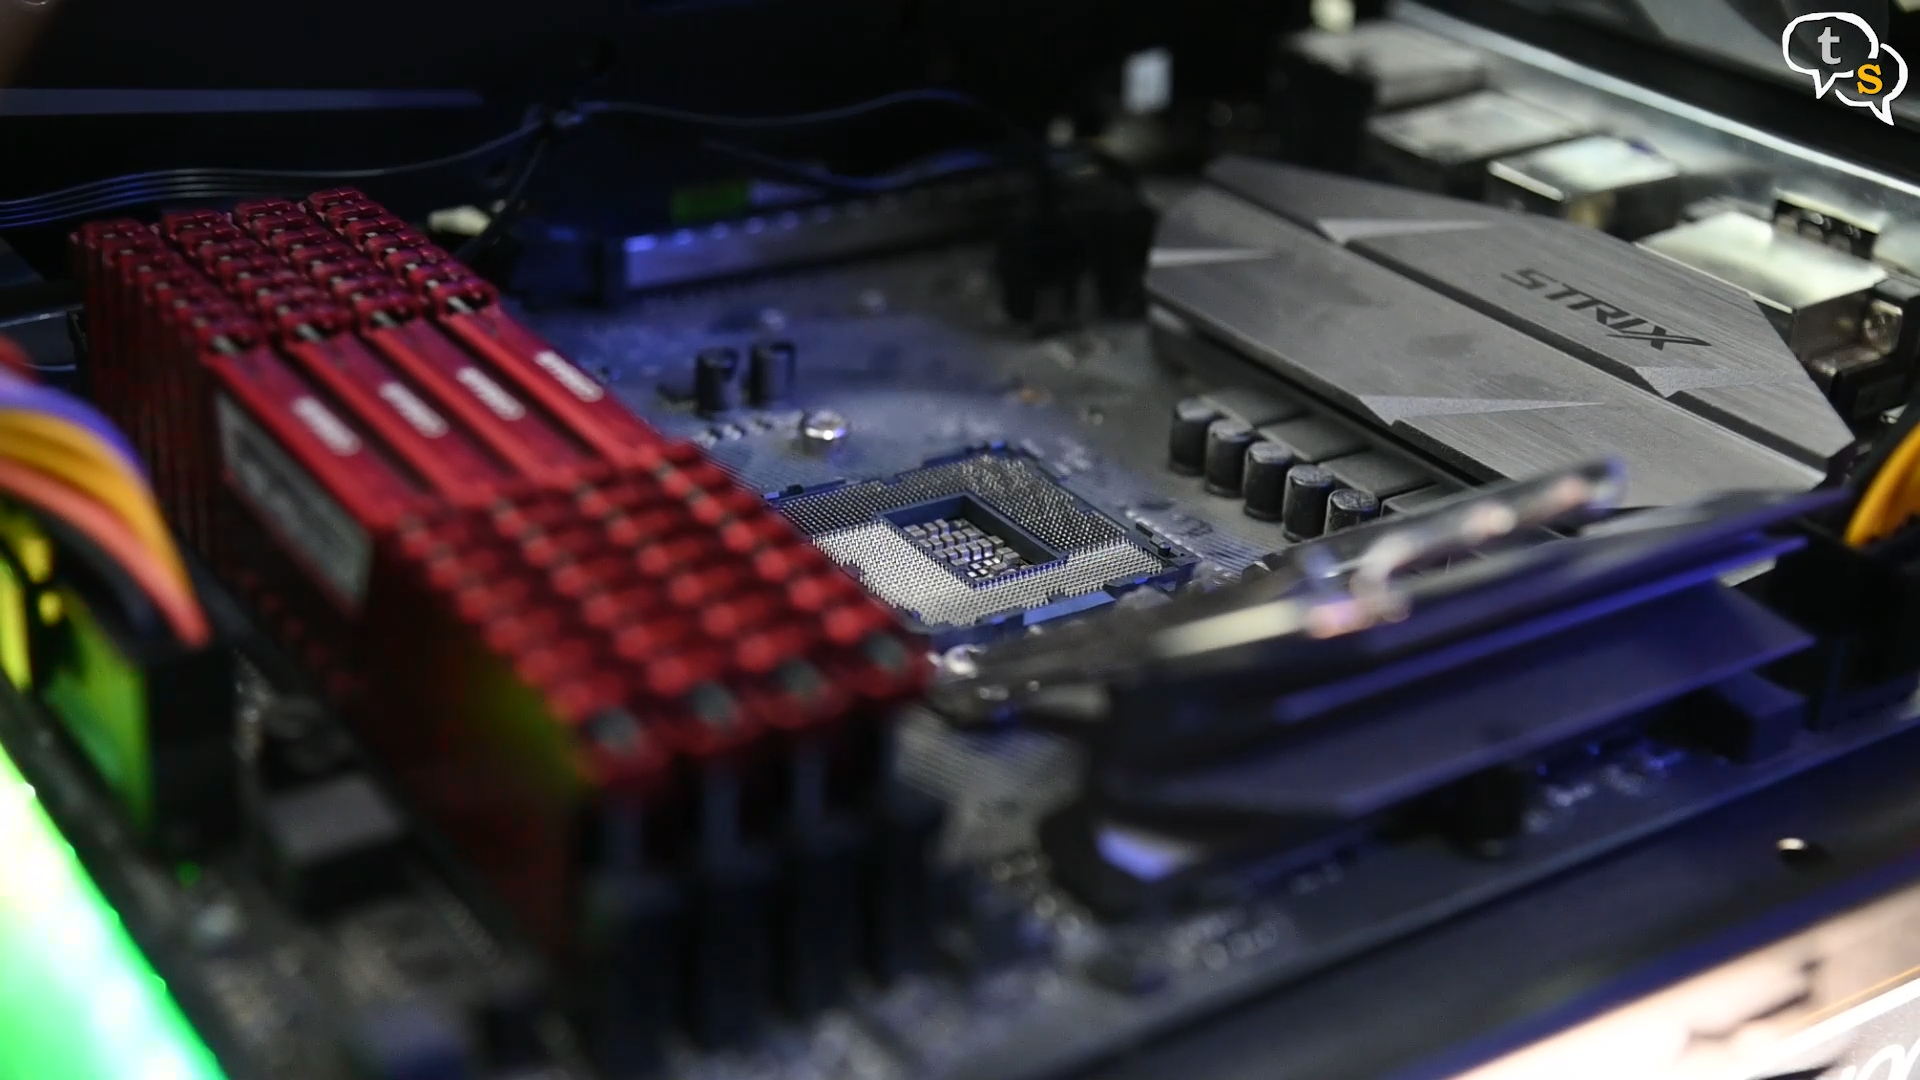
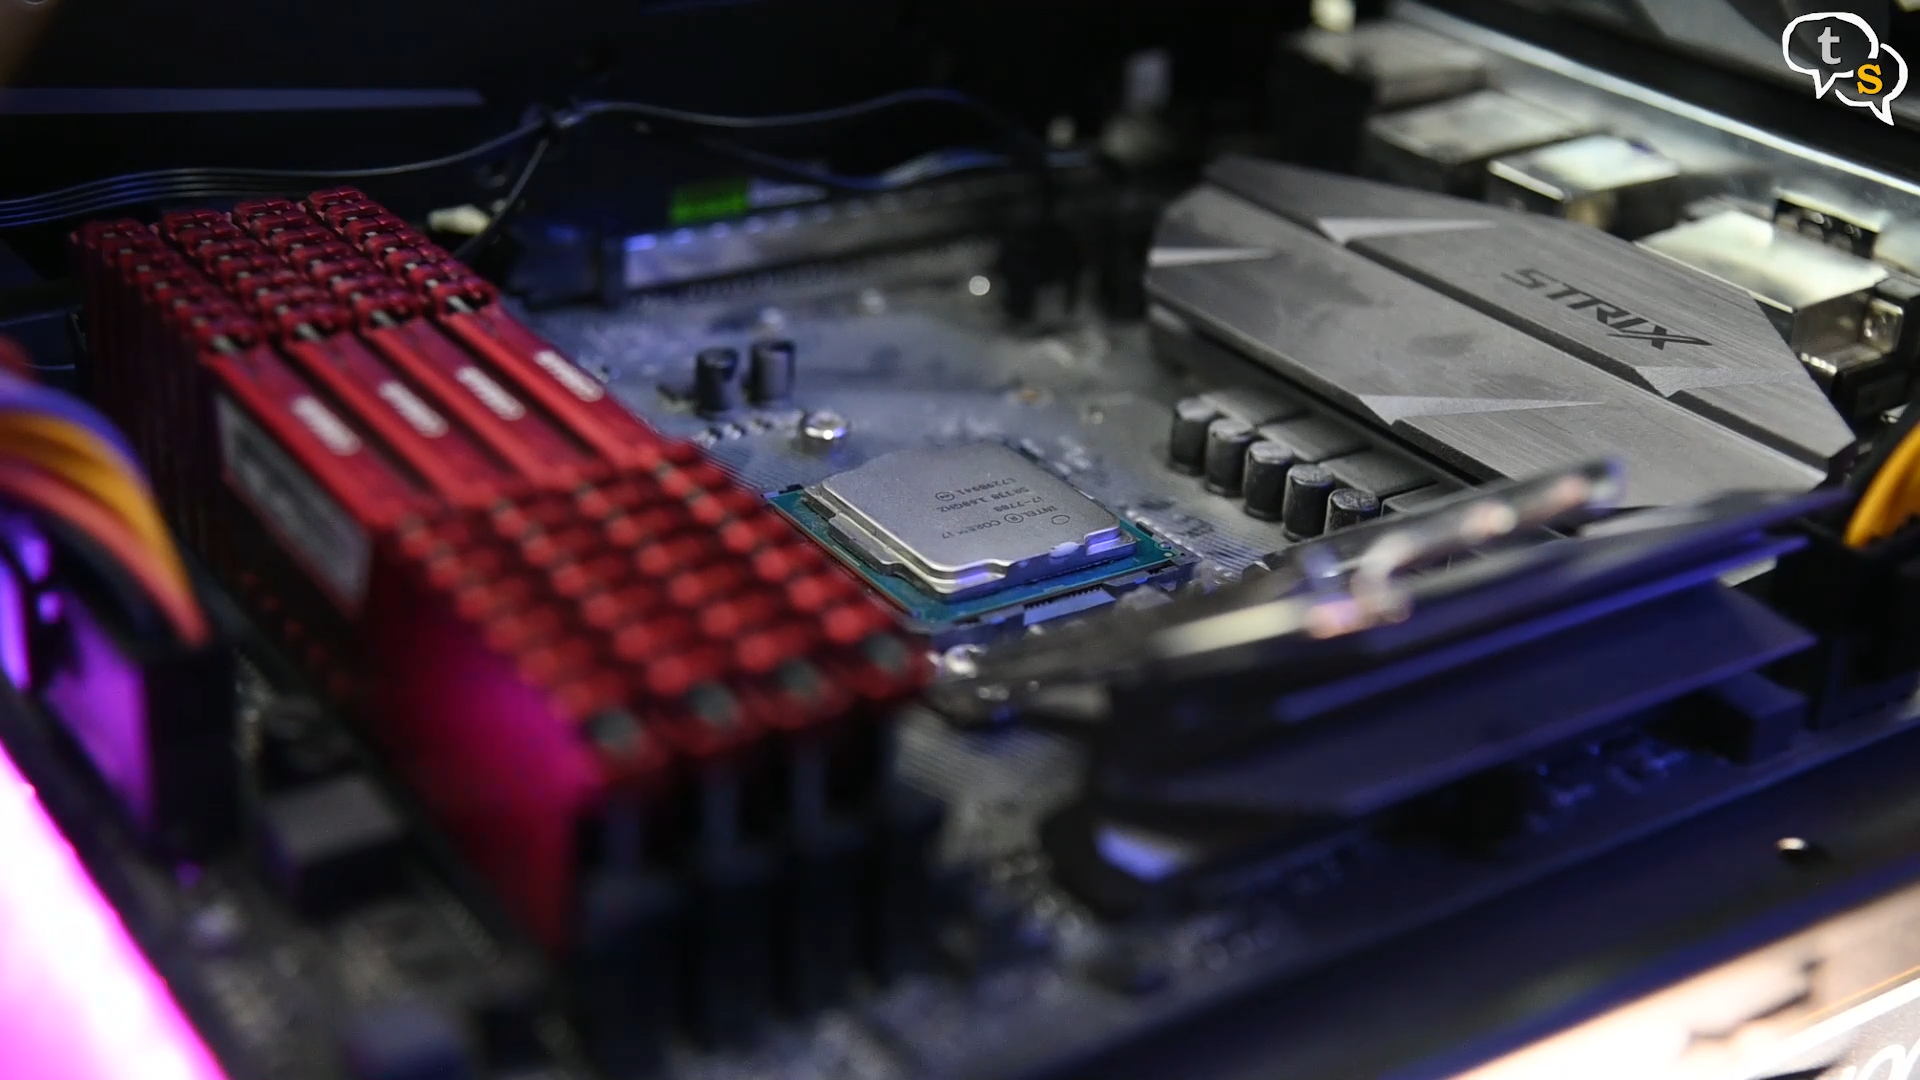
Install it back into its socket and lock it in place.
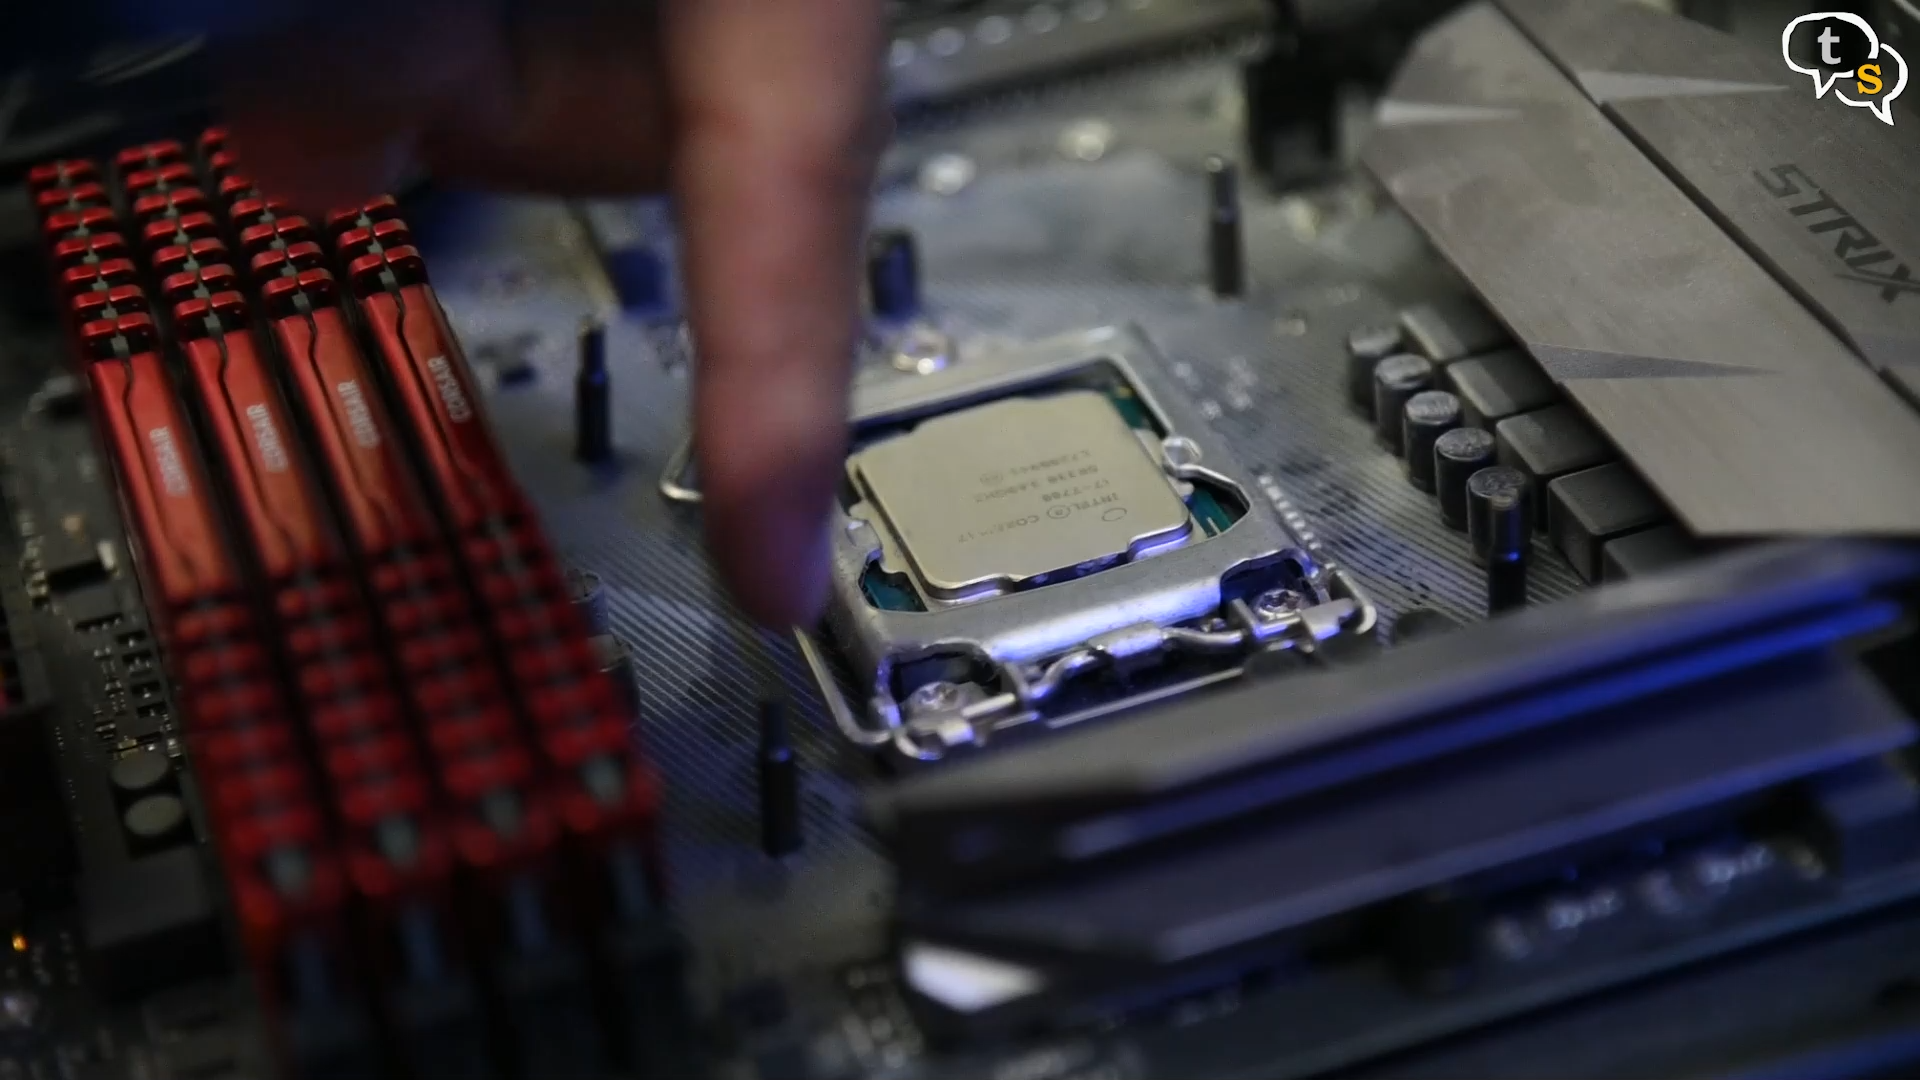
I have installed the mounting bracket from below the motherboard and this is how the screws look from above.

We now need to add these brackets to the AIO pump, and I found that the socket 1151 install needs the thumb screws to lock the pump down. Look for the small depression on each of the brackets, these are to be facing away from the pump and would allow the mounting screw to lie plush in line with the bracket.
Next we mount the fan, as I had said earlier, I will be installing it in a push configuration which pushes air through the rad exhausting it out of the cabinet. The air flowing across the fins of the radiator help cool the water being pumped into and out. This water is cycled through the loop to transfer the heat off the CPU.
Using the long screws provided we install the fans onto the radiator. Install all four and we’re ready to mount it into the cabinet.
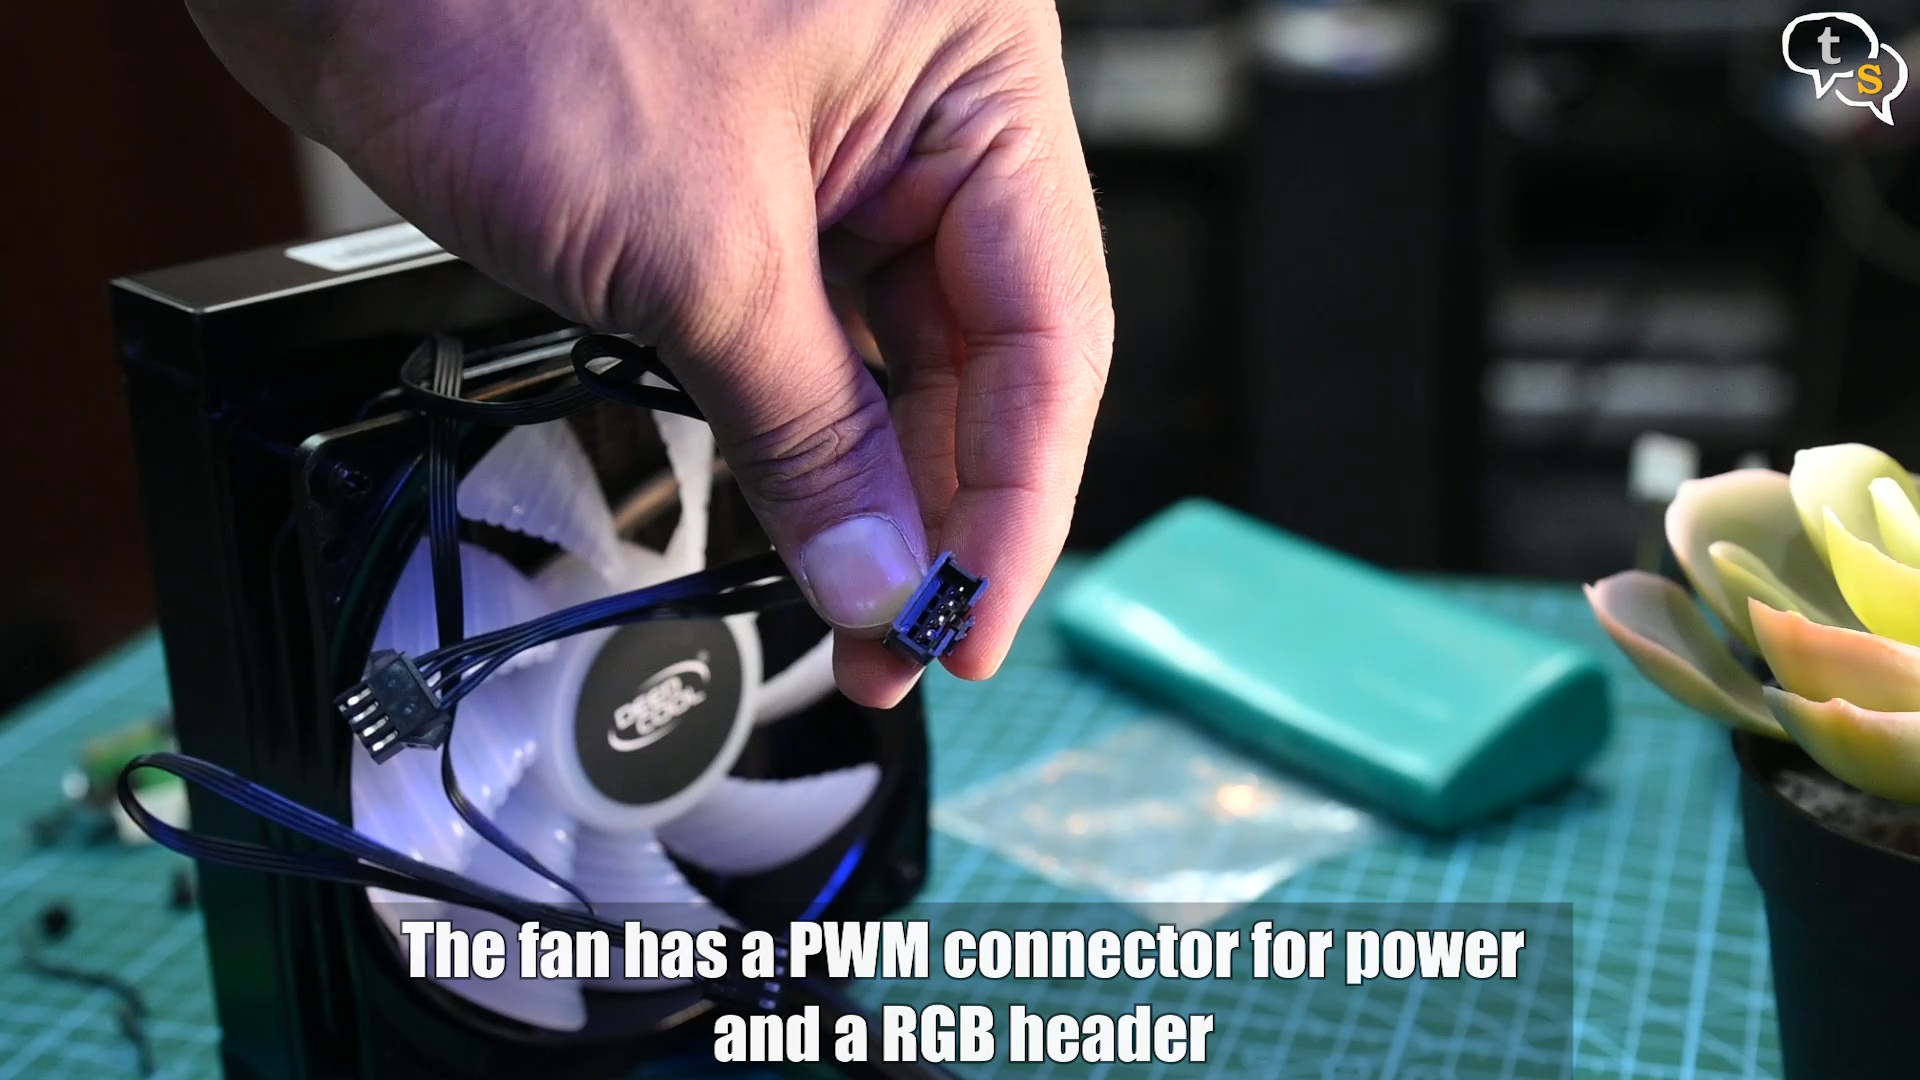
This is the PWM power connector which allows controlling the speed of the fan, between 500 and 1800 RPM. The other connector is a RGB header, not a standard header I have seen before.
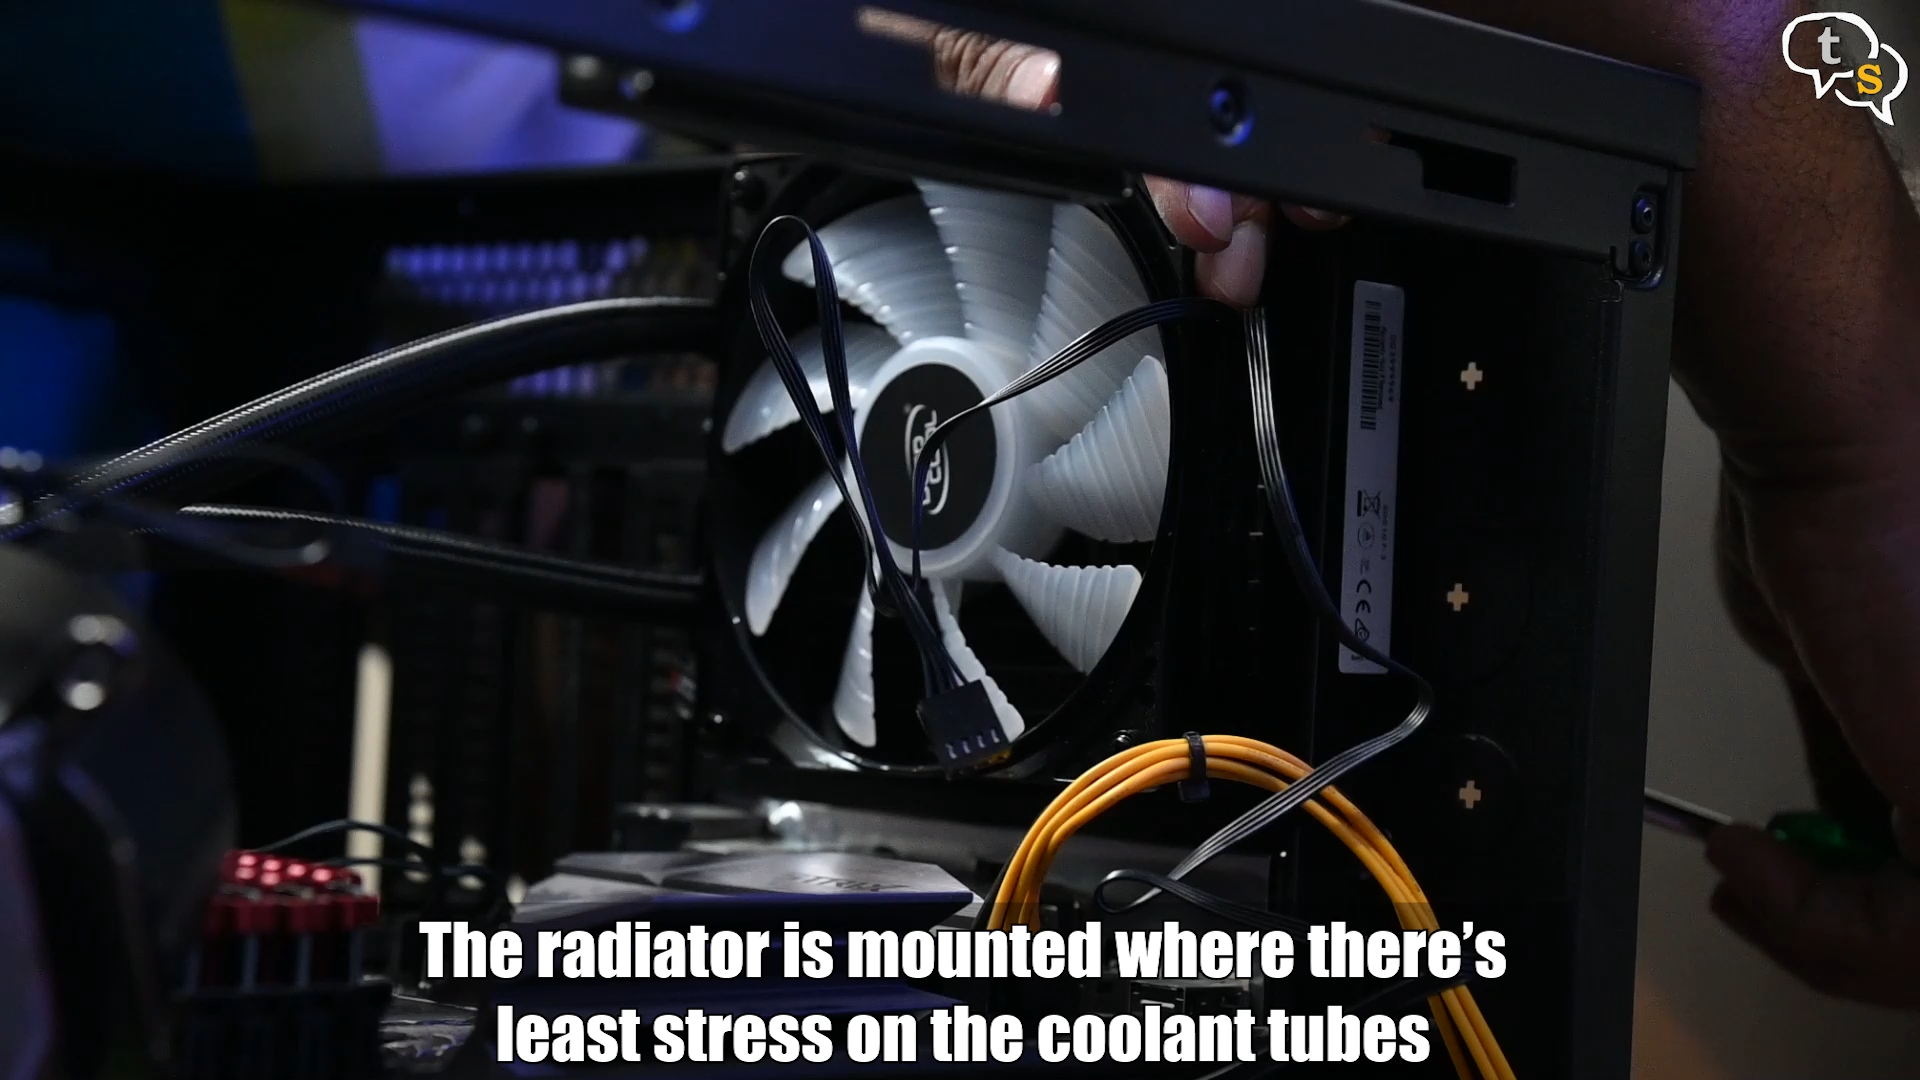
This orientation looked to be the best within the cabinet to install the radiator, with no stress on the tubes. Happy with the position, I install the screws to mount the radiator in place.
4 screws and we’re done.
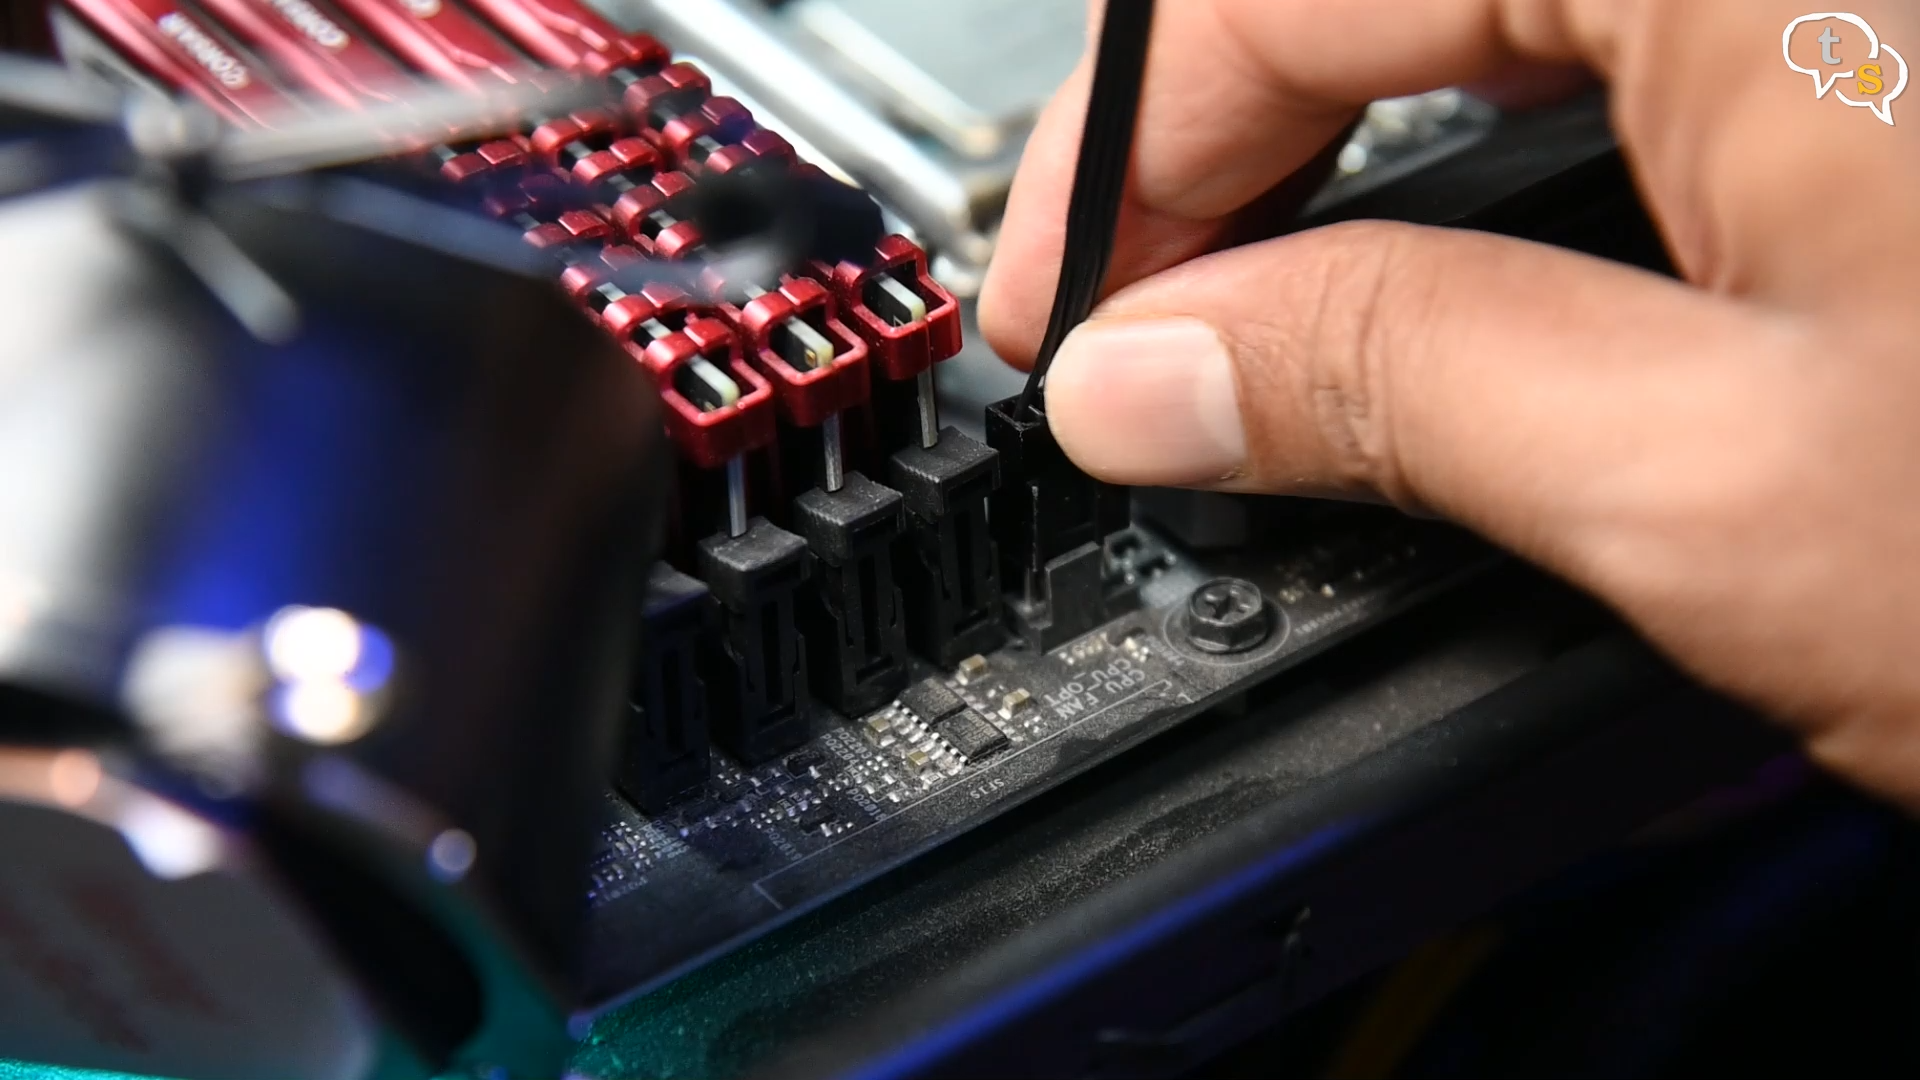
Connect the fan header to the CPU fan header on the motherboard.
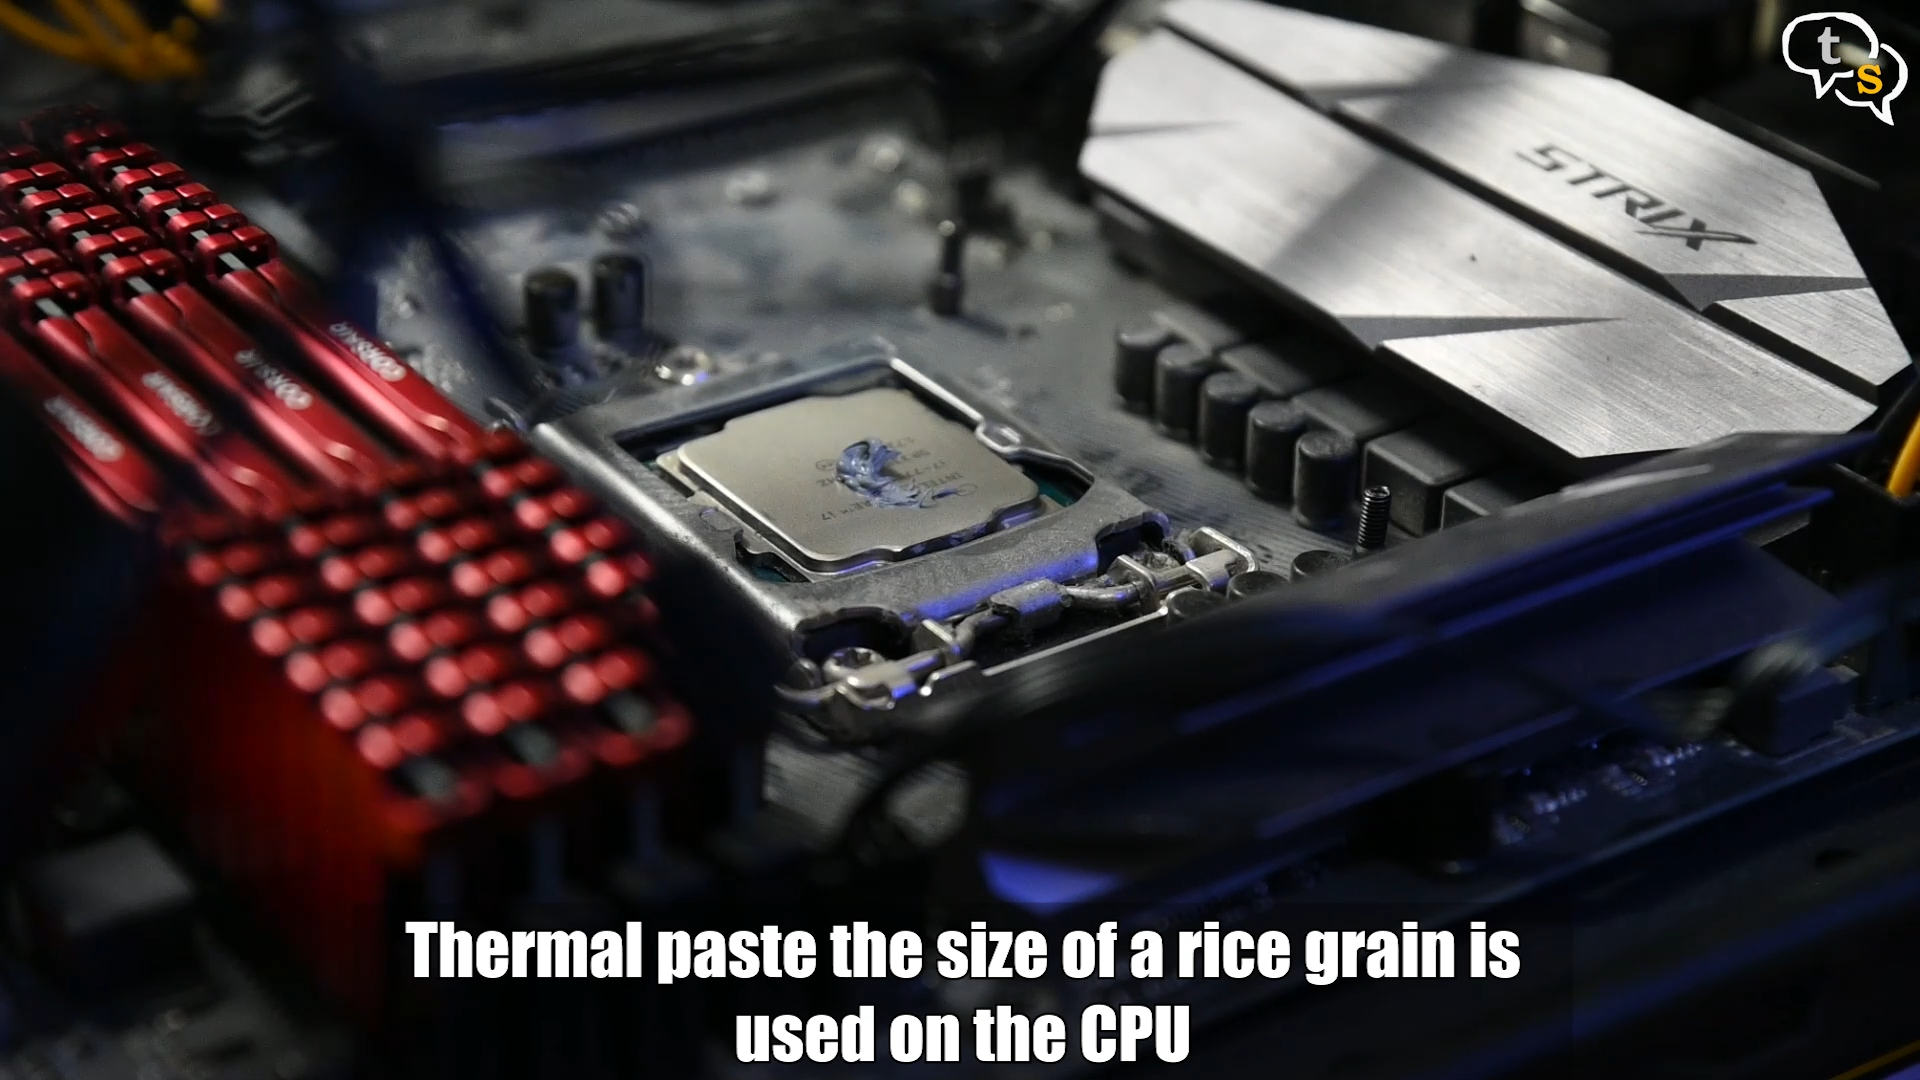
Now for the CPU, add some thermal paste onto the face, the size of a grain of rice is the general measure.
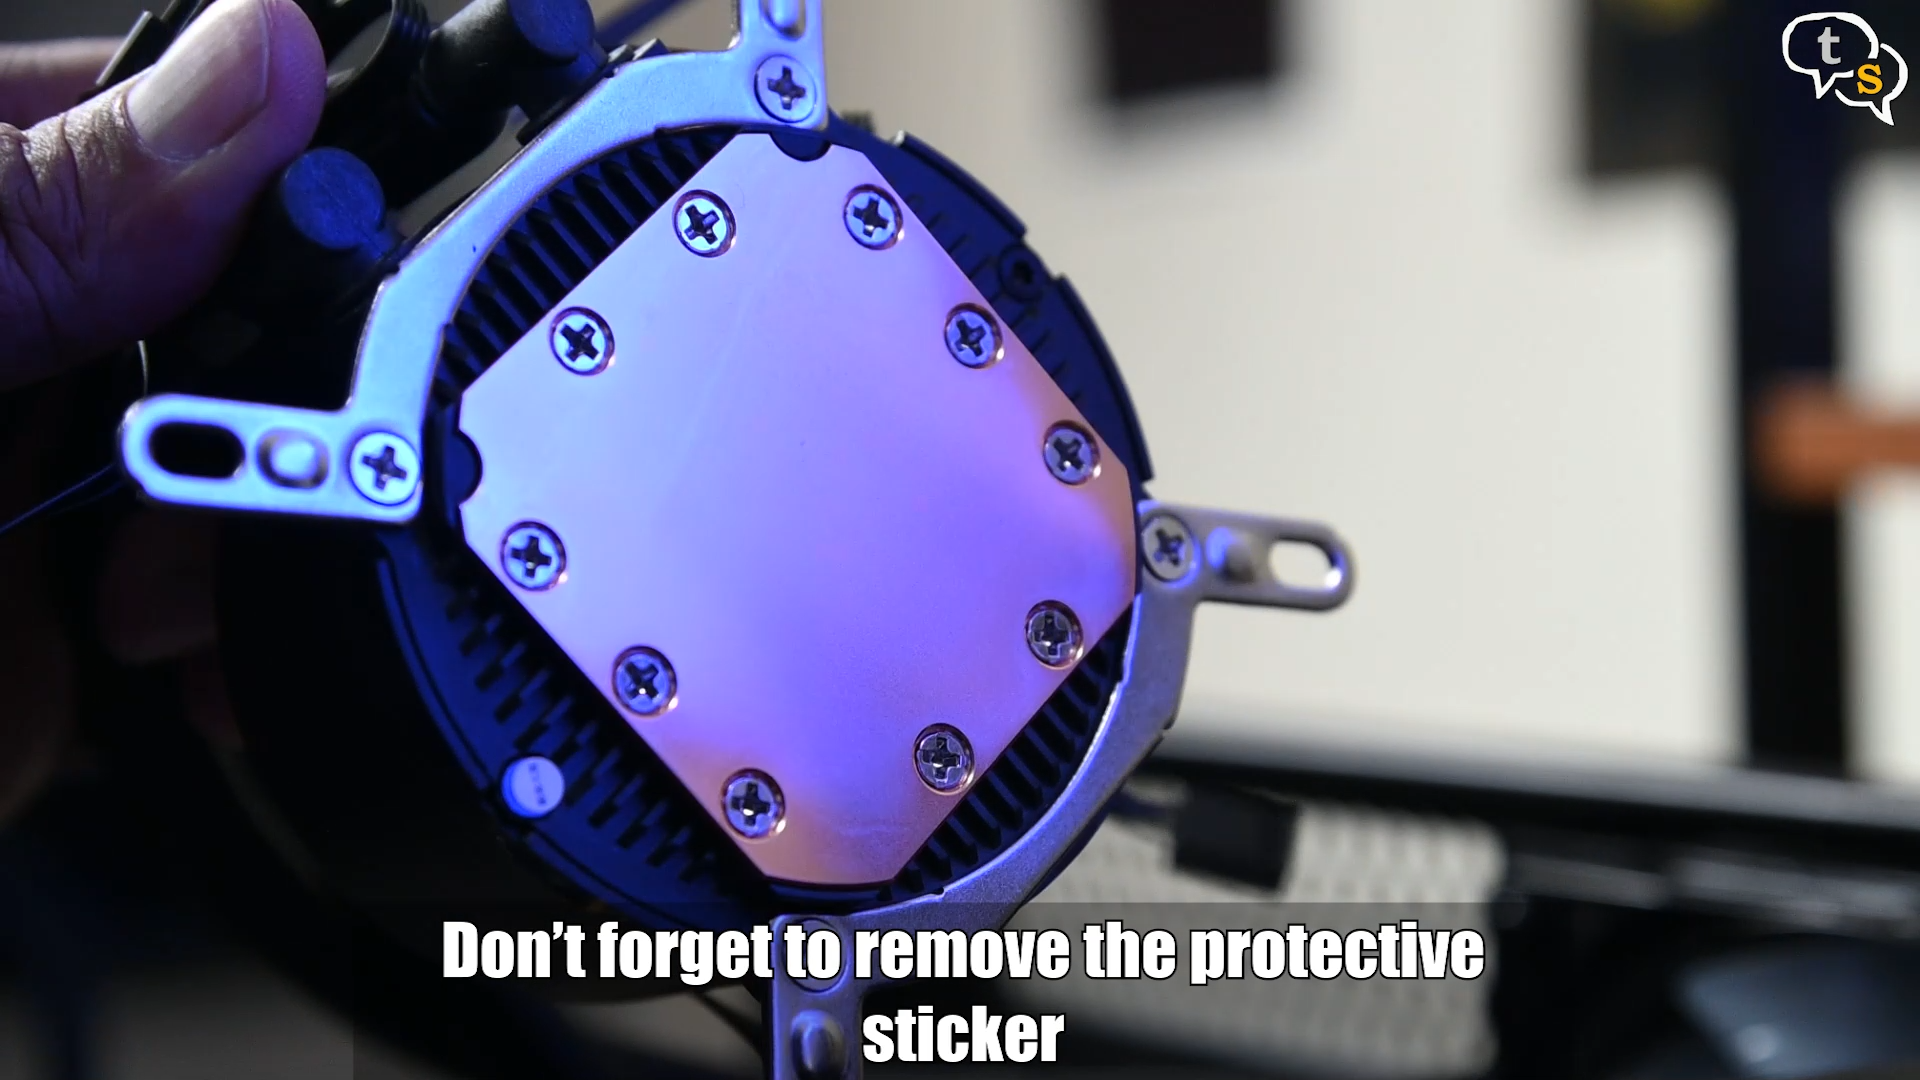
Remove the protective sticker off the bottom of the pump and use the thumb screws to mount it over the CPU. Tighten the screws and the pump installation is done.
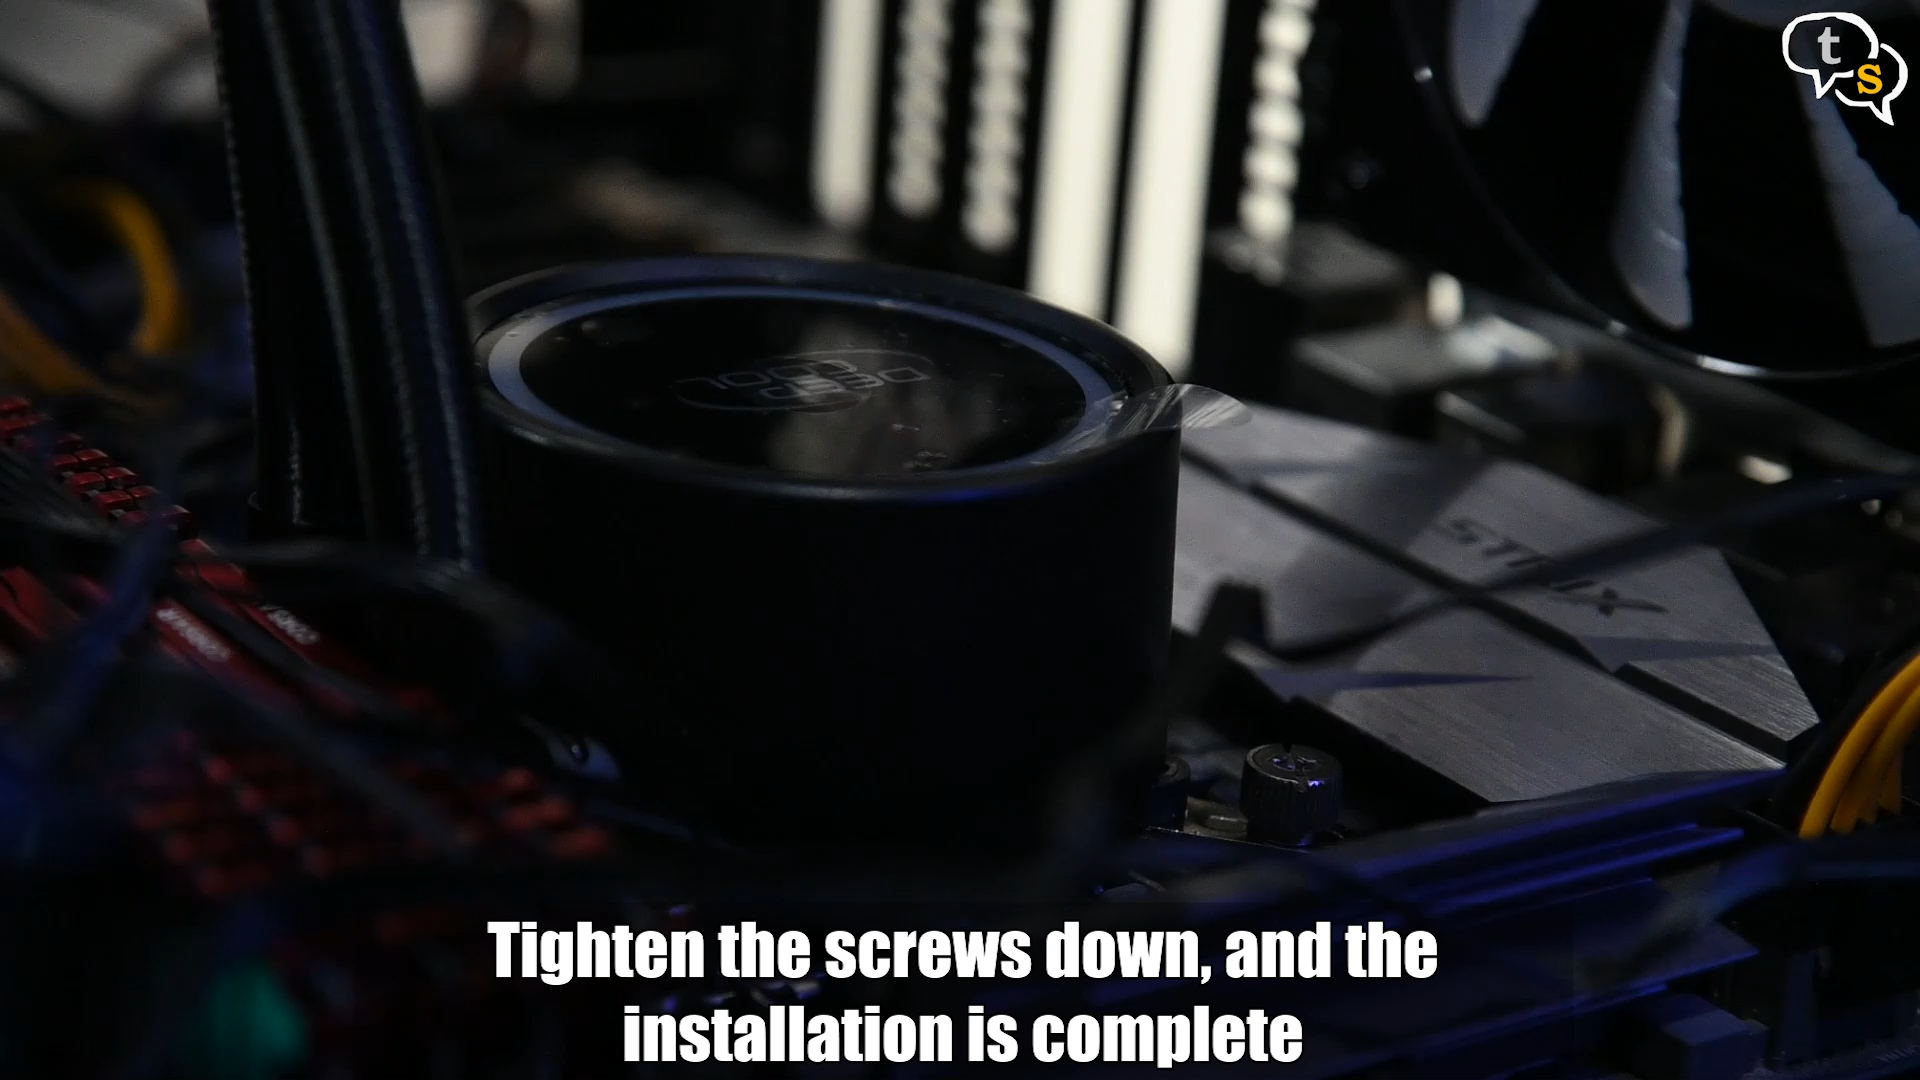
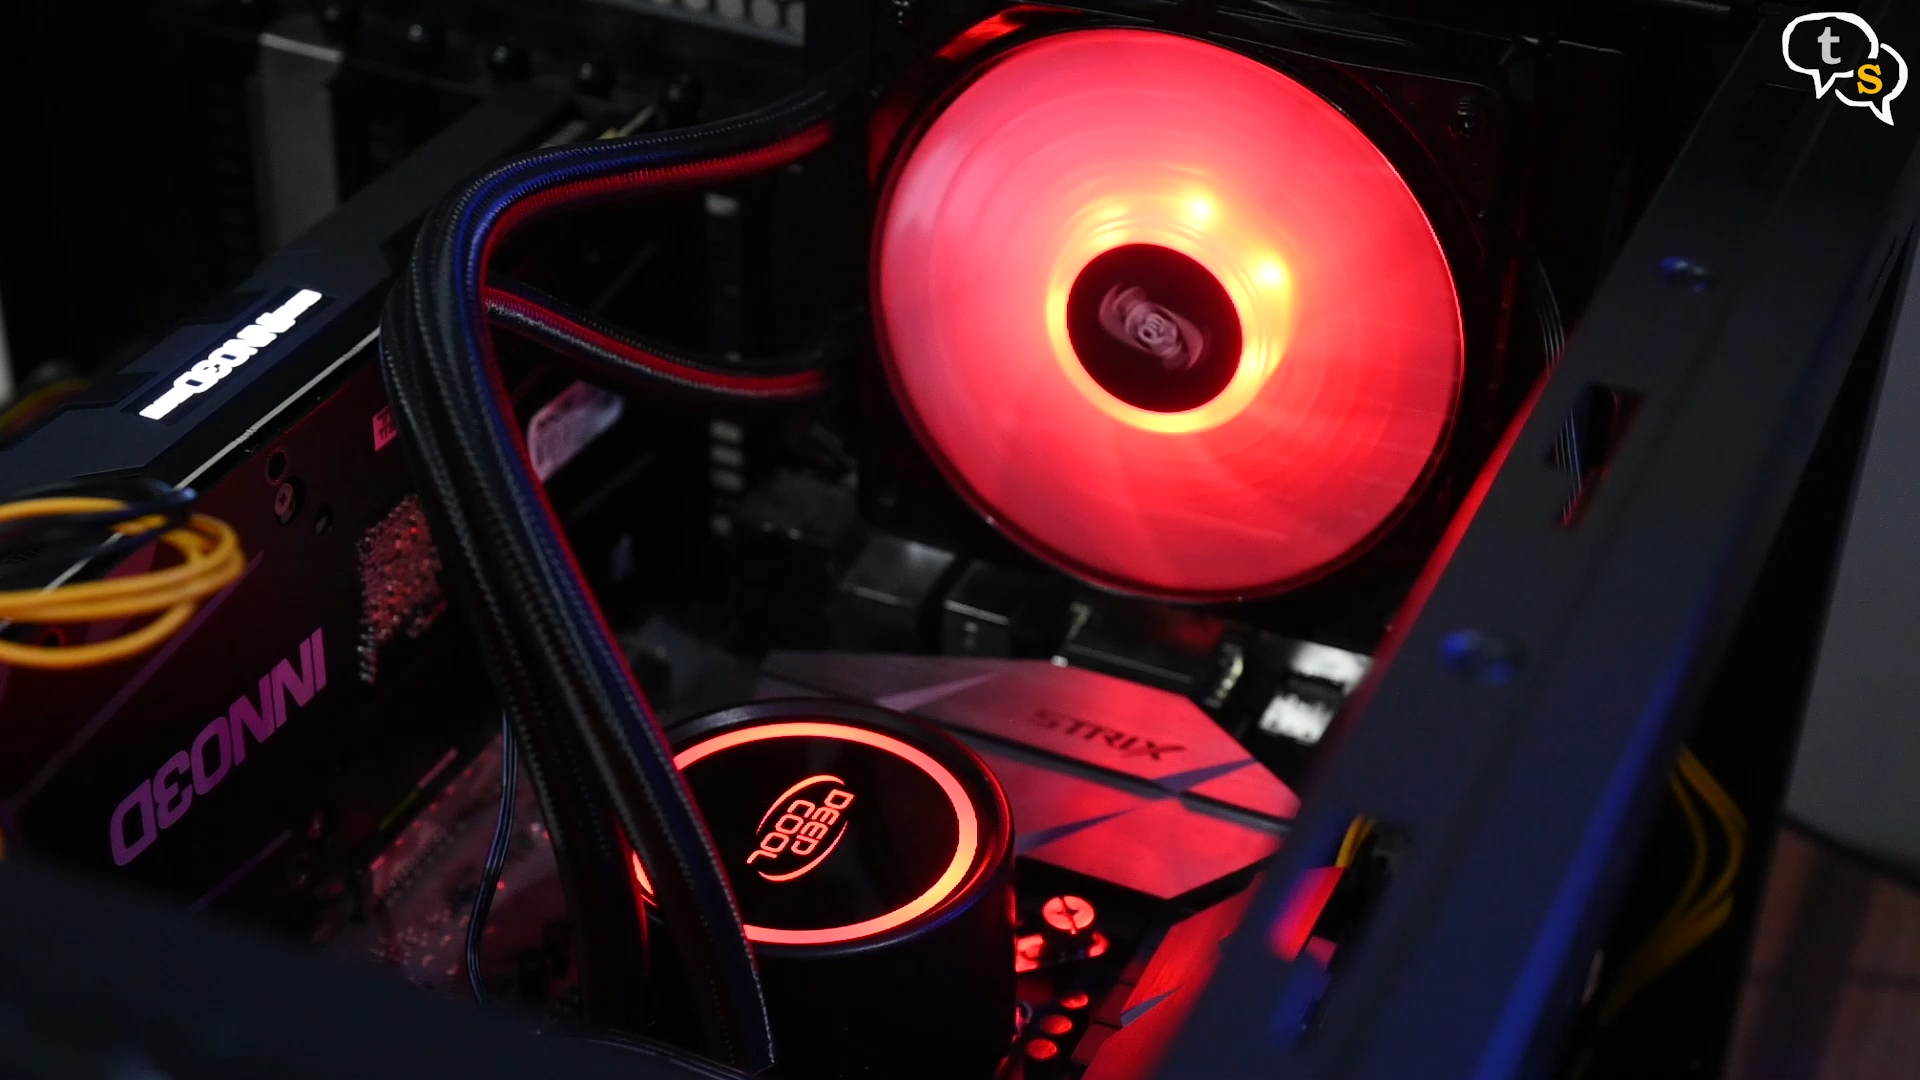
This is how the install looks.
Let’s get the plastic film off the pump face. The pump needs power too so connect the fan power to a fan header on the motherboard.
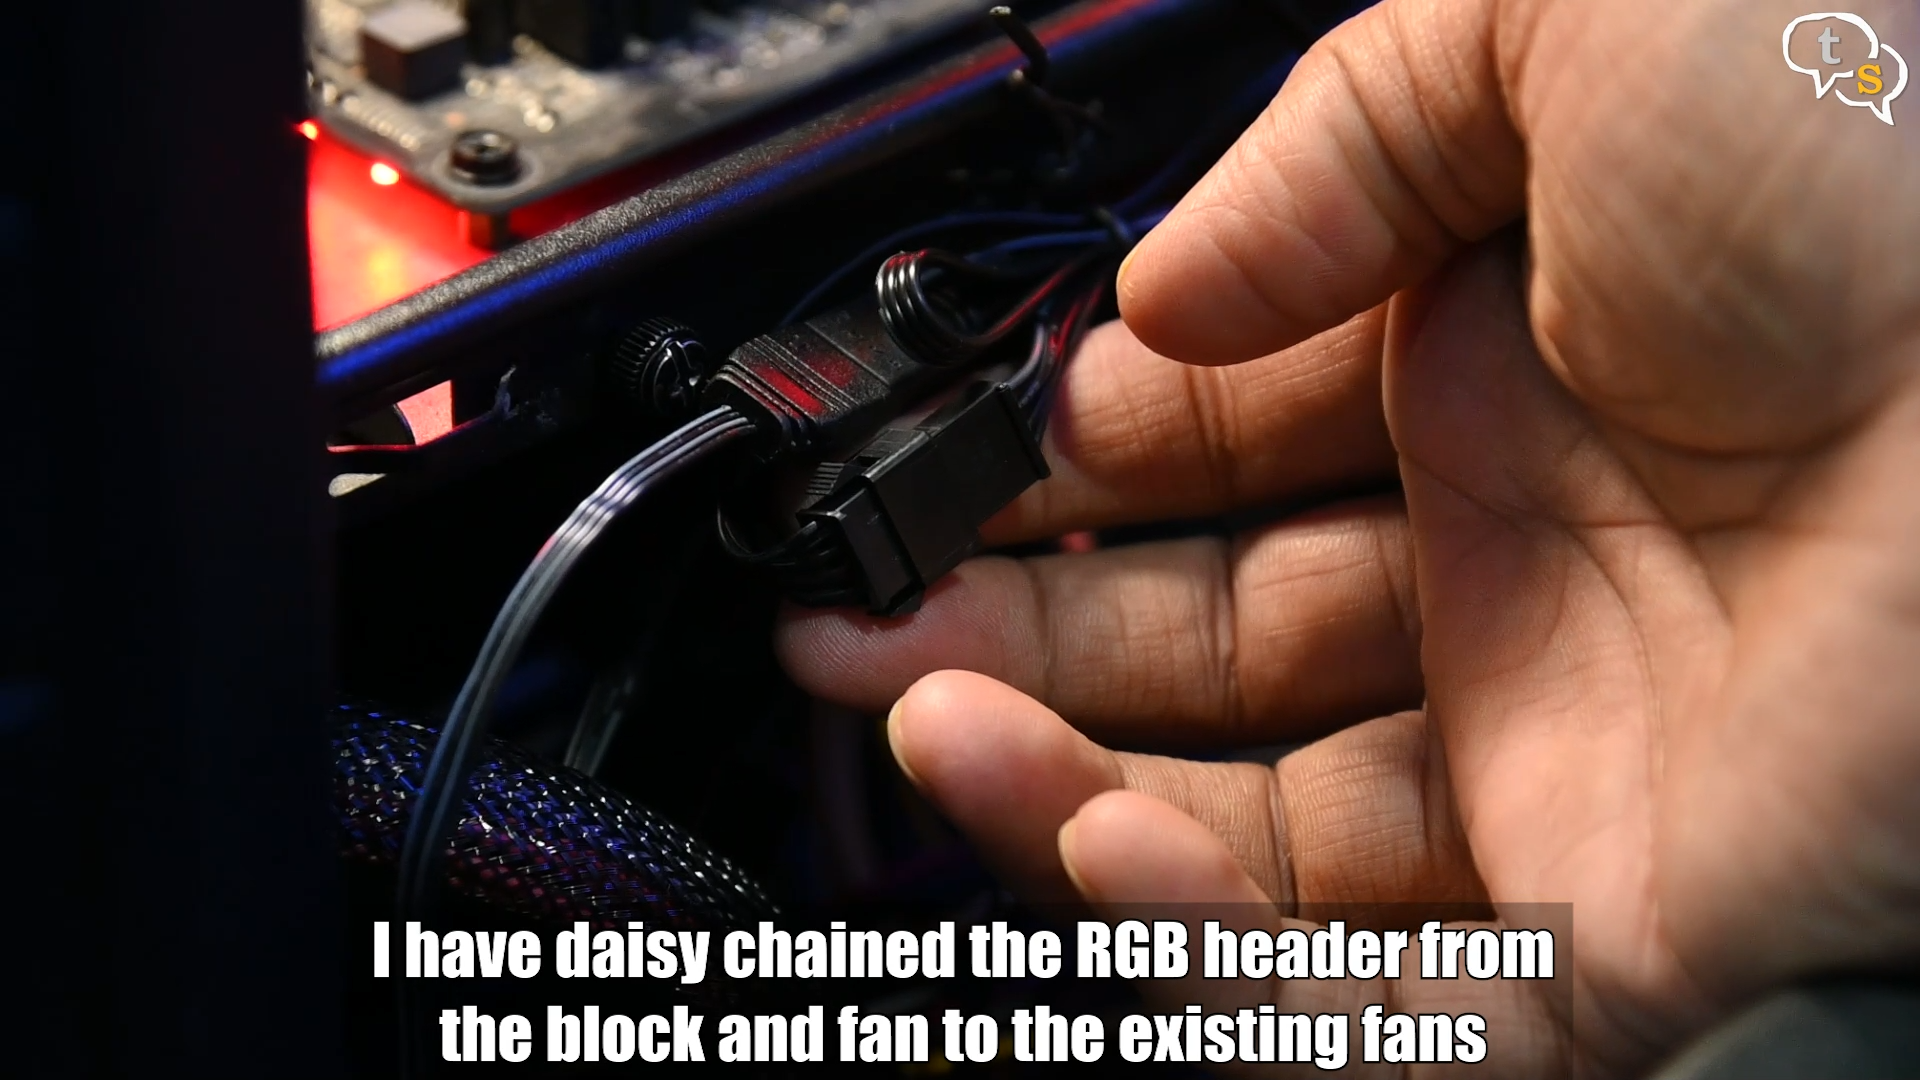
I have daisy chained the RGB connectors between the front case fans and itself, so that they are in sync and can be controlled via the Aura Sync software. I needed this converter, which is provided, to connect to the existing fans RGB headers.
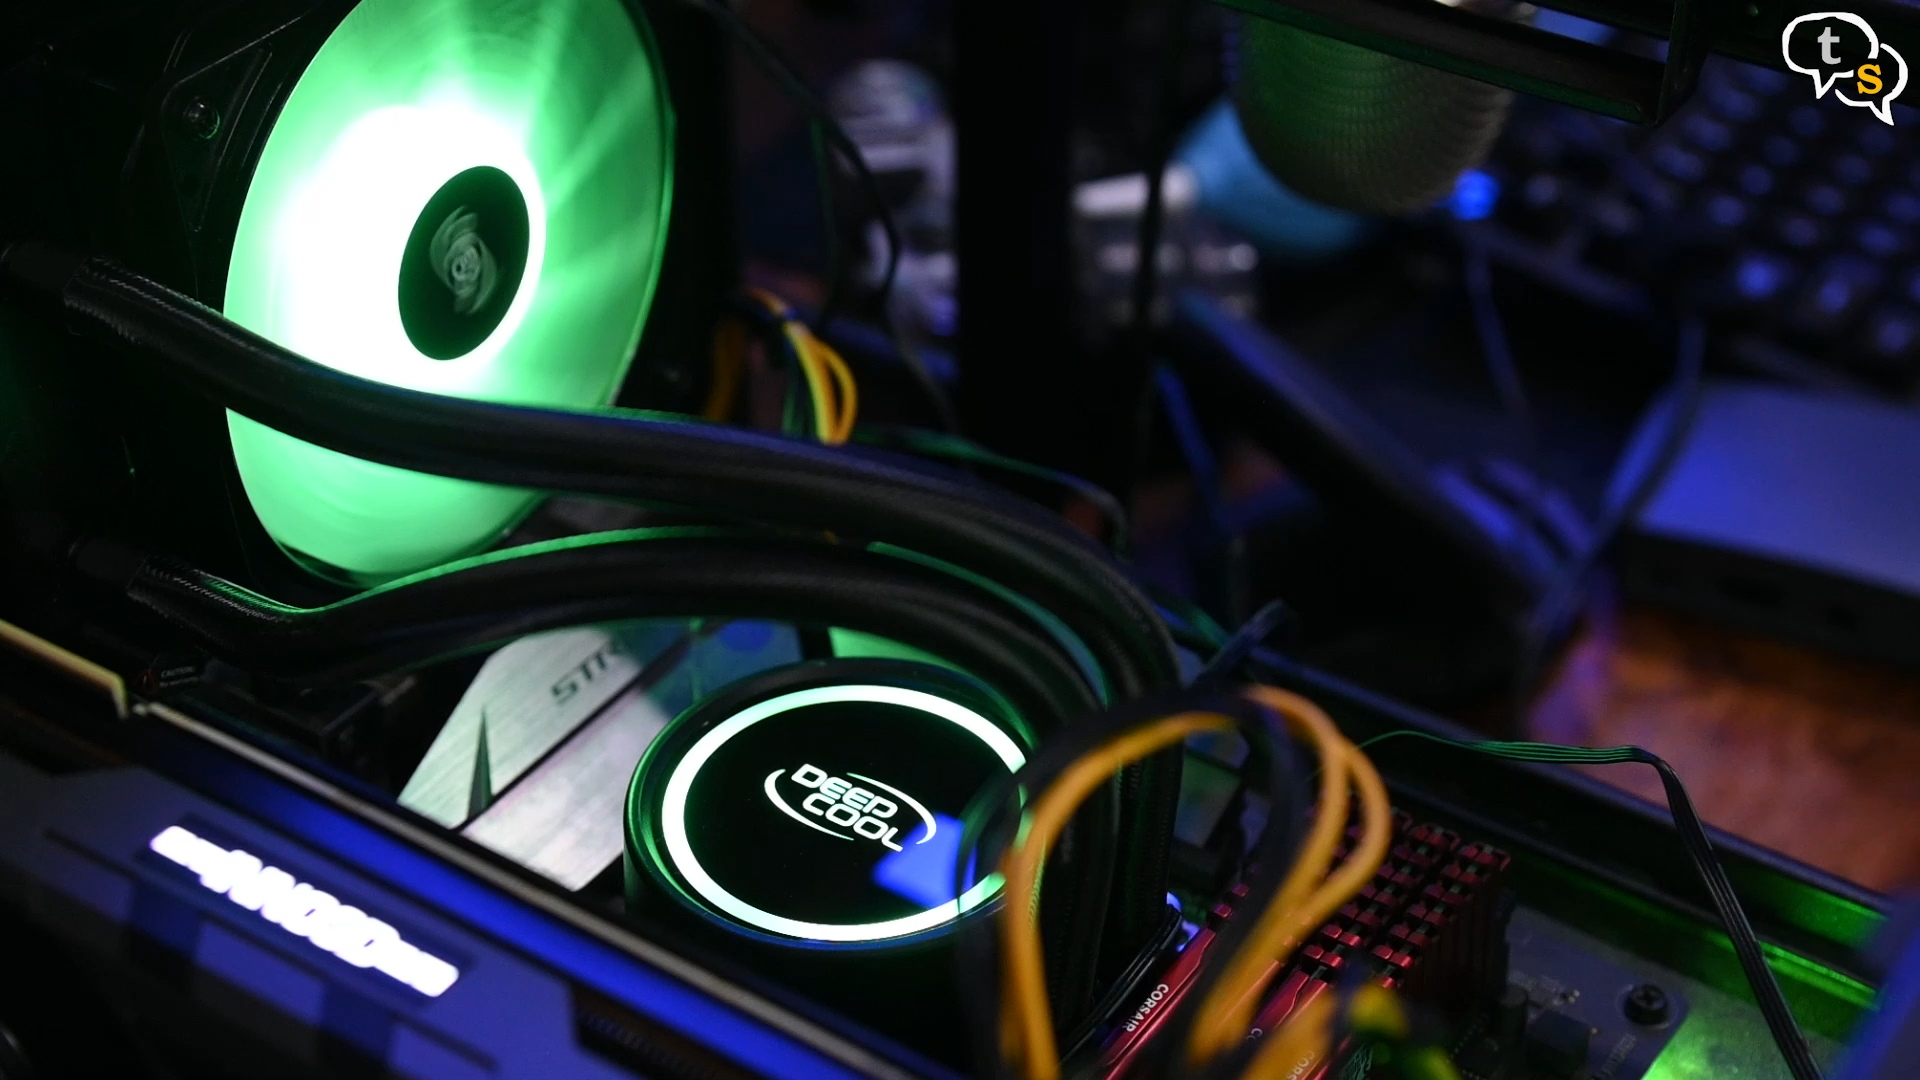
And this is how it looks, and how the software can be used to control the colours and effects on both the fan and the pump block.
Now the main reason we installed the AIO. Let’s check the temperatures, on how they were and how much better the AIO managed to lower them.
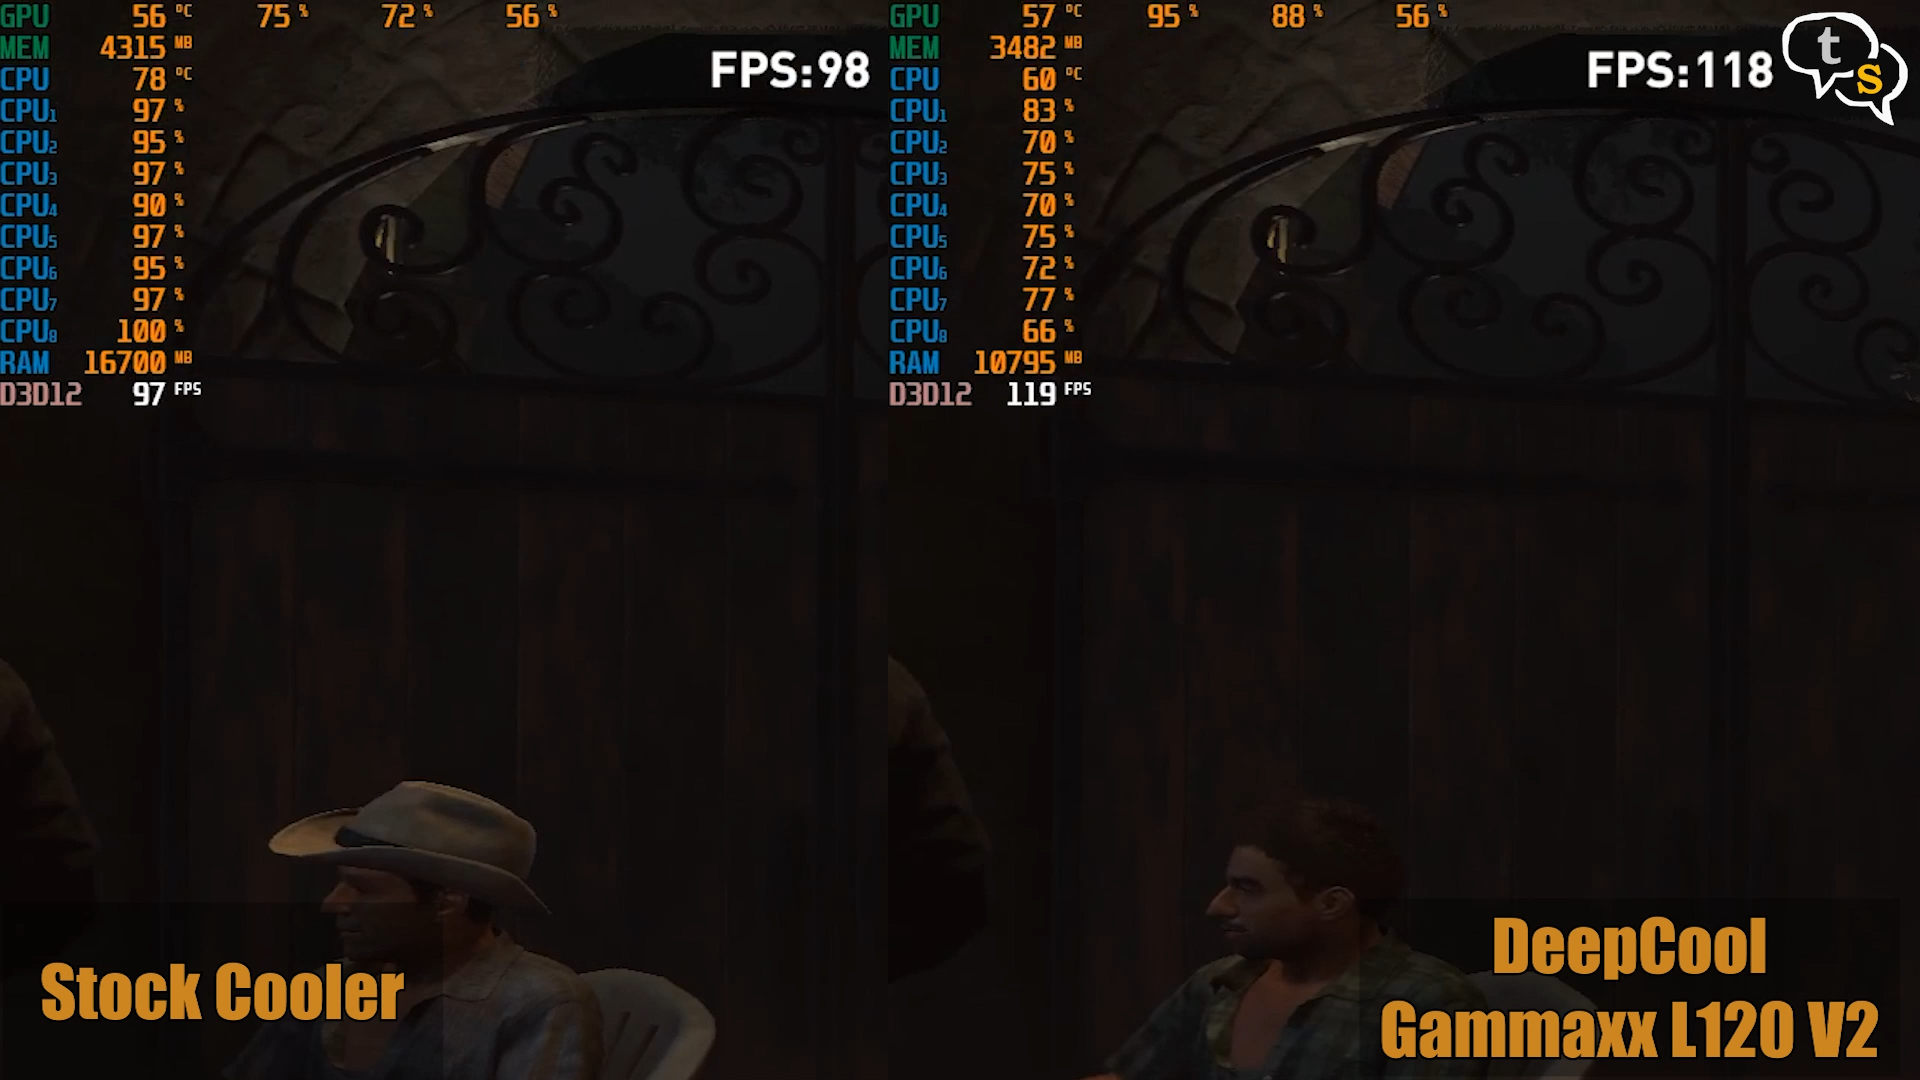
Starting with the Shadow of the Tomb Raider benchmark, wow, the temperatures look to be almost 20 degrees lower. It’s fluctuating, but at the very least looks to be 10 degrees lower than stock cooling, but mostly hovering around a 15-18 degrees difference.
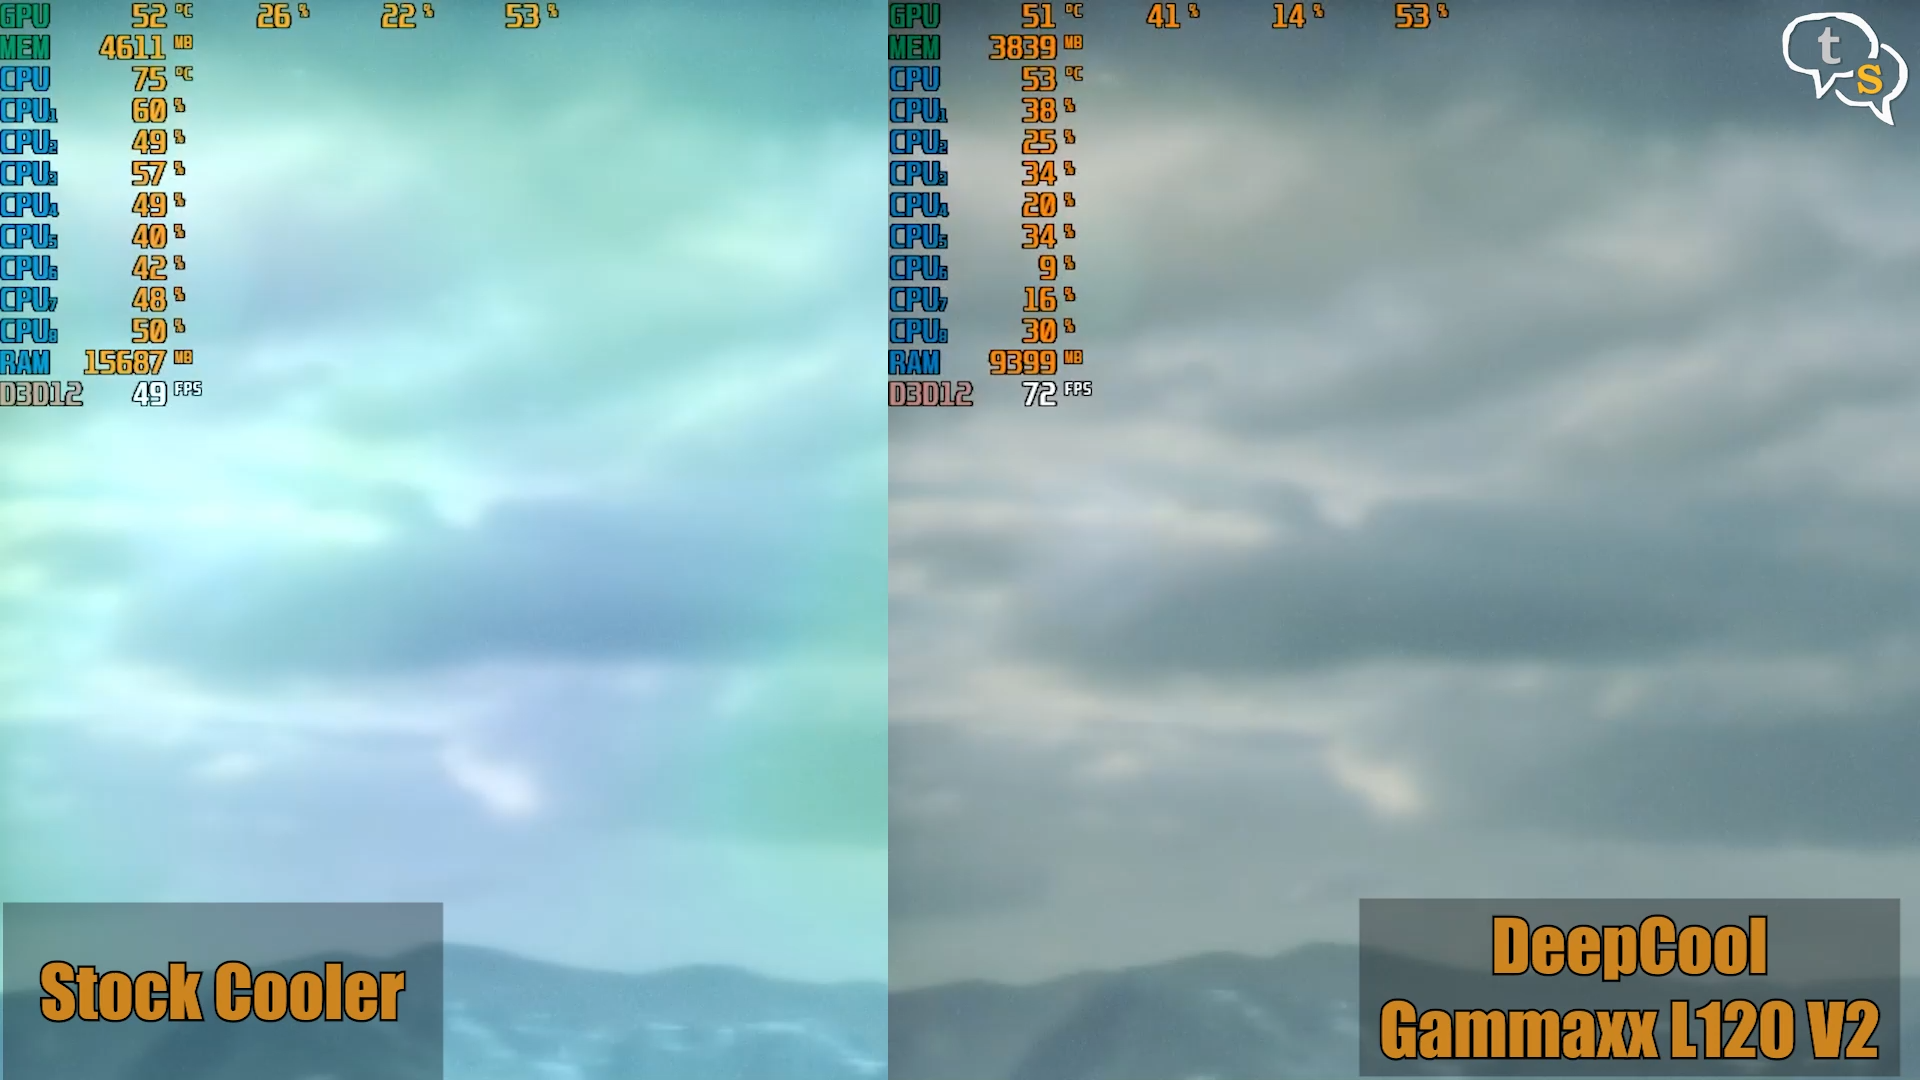
Rise of the Tomb Raider, similar numbers around 15 degrees cooler using an AIO. The frame rates look to be higher too, and the CPU cores are not reaching 100 % utilization.
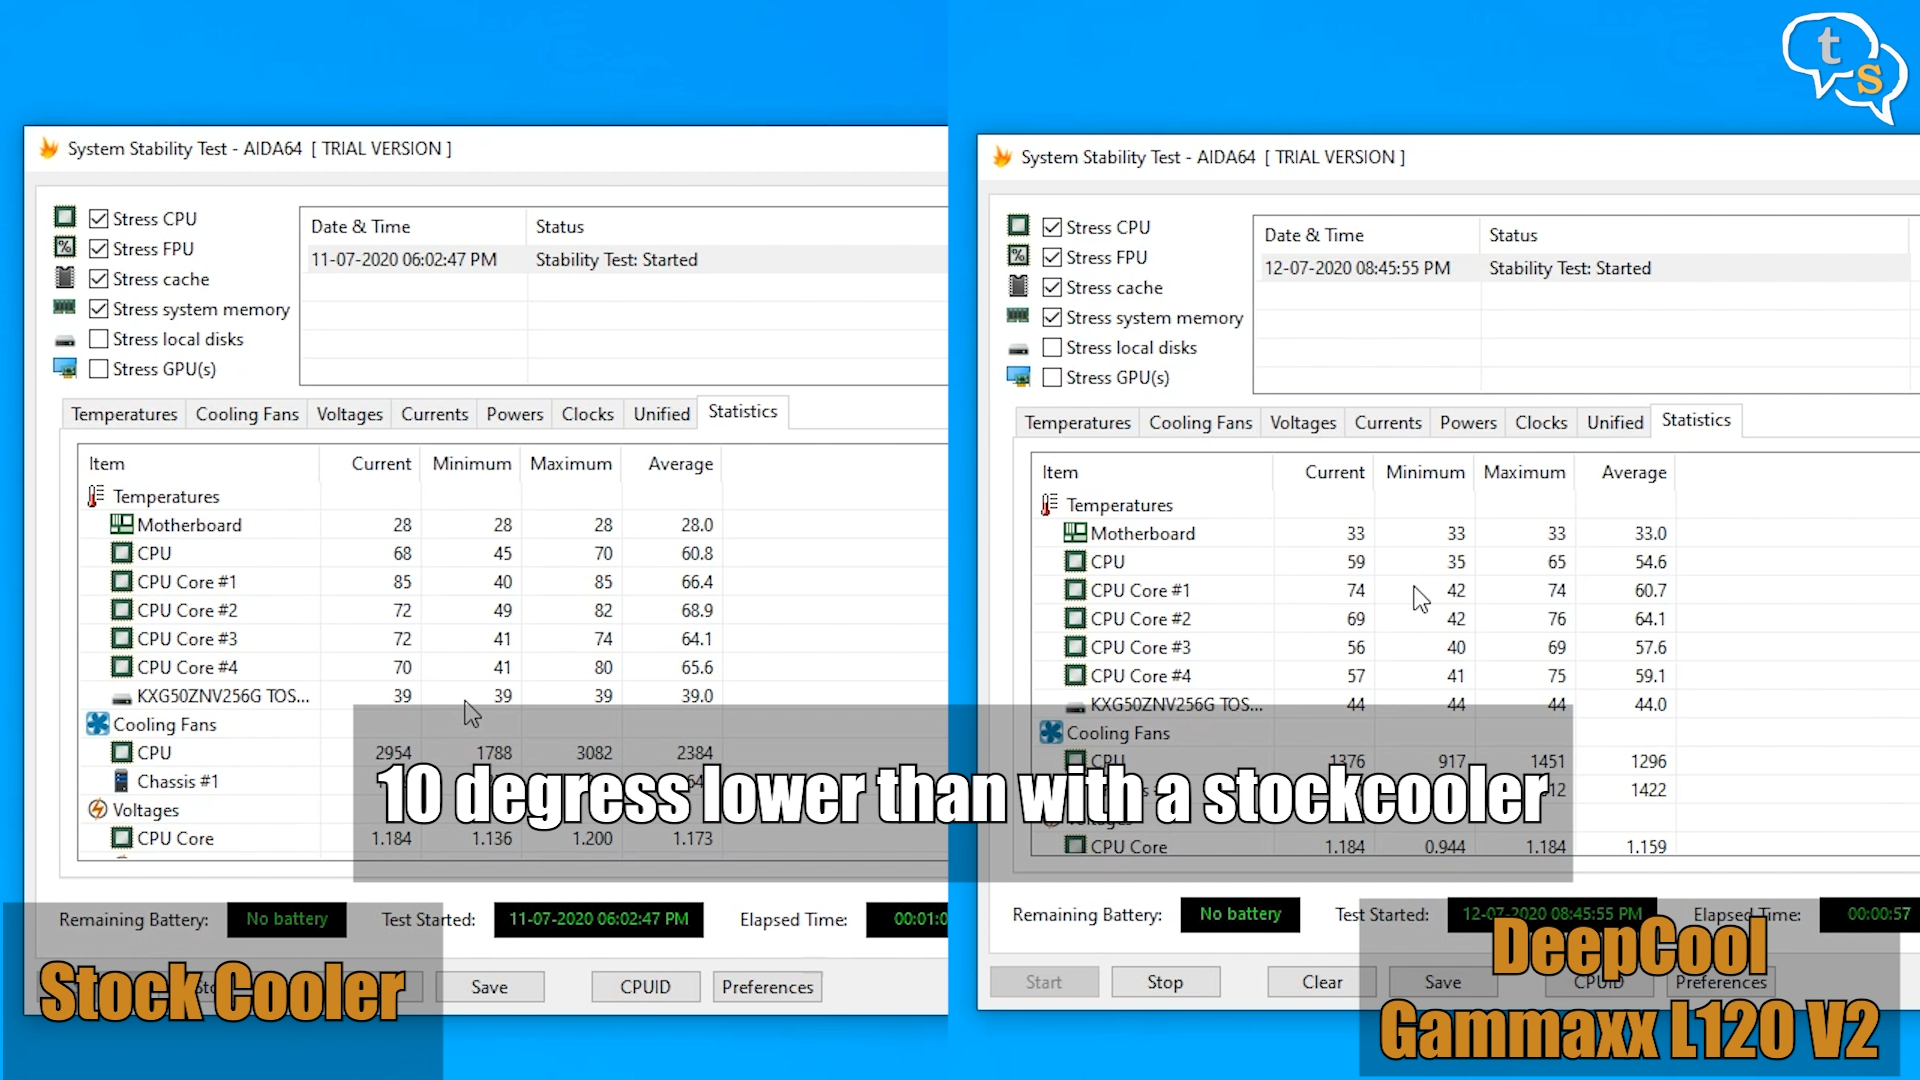
AIDA-64 stress test also shows an improvement, the AIO cooled CPU looks to be running way cooler, even check out per core temperatures and you will notice it’s quite low. After a minute of running the stock cooled CPU has crossed 70 degrees on the cores, but the AIO cooled processor has only one breaching the 70 mark, the rest nice and cool. Combined CPU temperature, there looks to be at least a 10-degree difference.
I was sceptical if the AIO would even help with the CPU temperature, what surprised me was how well it worked. I picked only a single fan radiator as I had room for only one fan, and I had recently installed the Antec Spark 120, which you can find the review here.
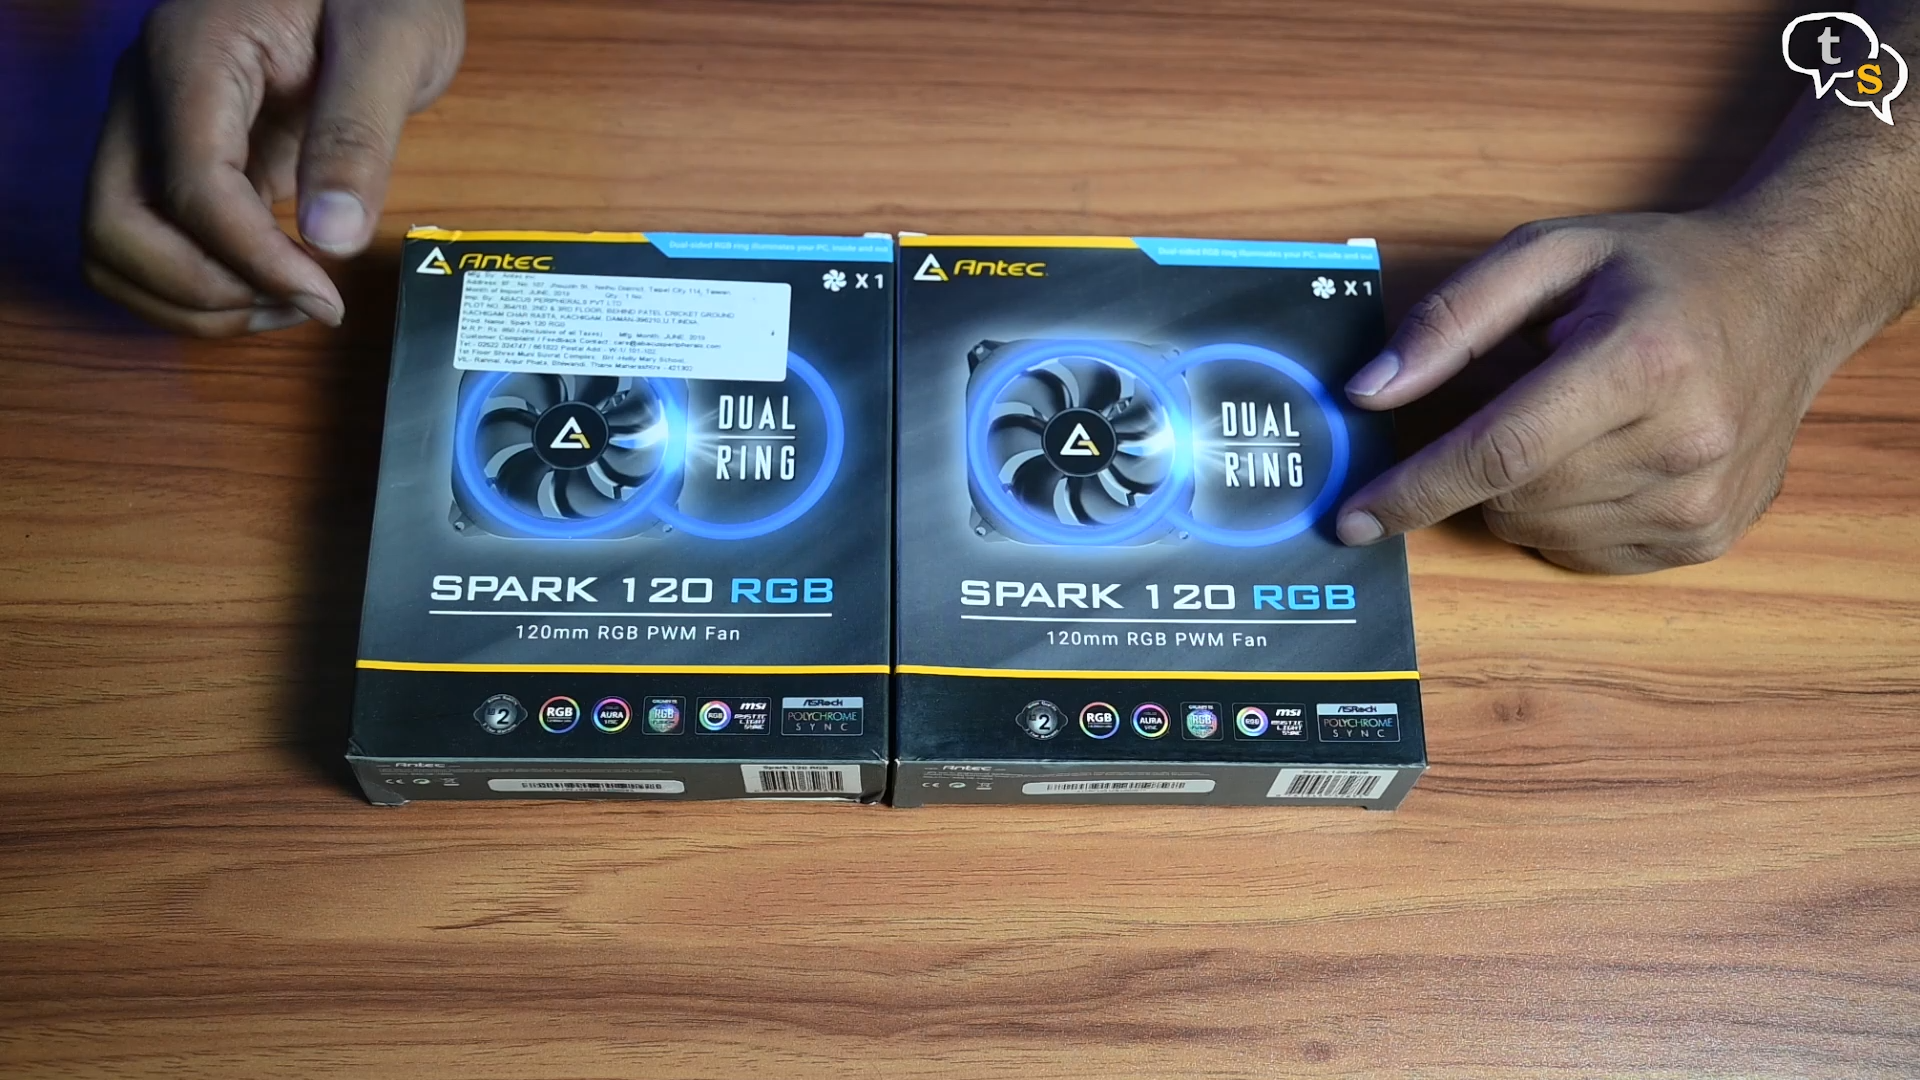 The Spark was allowing for better cabinet airflow, so the GPU was benefiting off that, so didn’t want to change it. The AIO allowed for a cooling solution targeted only at the CPU which was the only component showing high temperatures. It helped, with a wide margin, is incredibly quiet too during operation, and has RGB to boot. It can sync with all major RGB standards including ASUS AURA SYNC, ASRock POLYCHROME SYNC, GIGABYTE RGB FUSION and MSI MYSTIC LIGHT.
If you are on the lookout for an AIO solution the DeepCool Gammaxx L120 V2 will not disappoint, it’s a great option without hurting the wallet.
If you have any questions do write in to us at tech@talkingstuff.net or WhatsApp us at 9652578833.
Vinayak Nair is a self-confessed geek from the days when computer memory was measured in Kilobytes. I create YouTube videos on 3D Printing, DIY Projects, Everyday tech reviews and also delve into gaming.