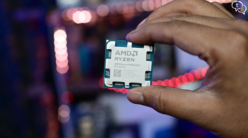
Upgrading to a more powerful Ryzen 7 5800X from a Ryzen 5 3600 the cooling needs would increase due to the higher TDP. So, to make sure the temperatures are kept controlled I installed the DeepCool GamerStorm Castle 240 V2 AIO. That was a mouthful, but was it worth it? Find out in this video.
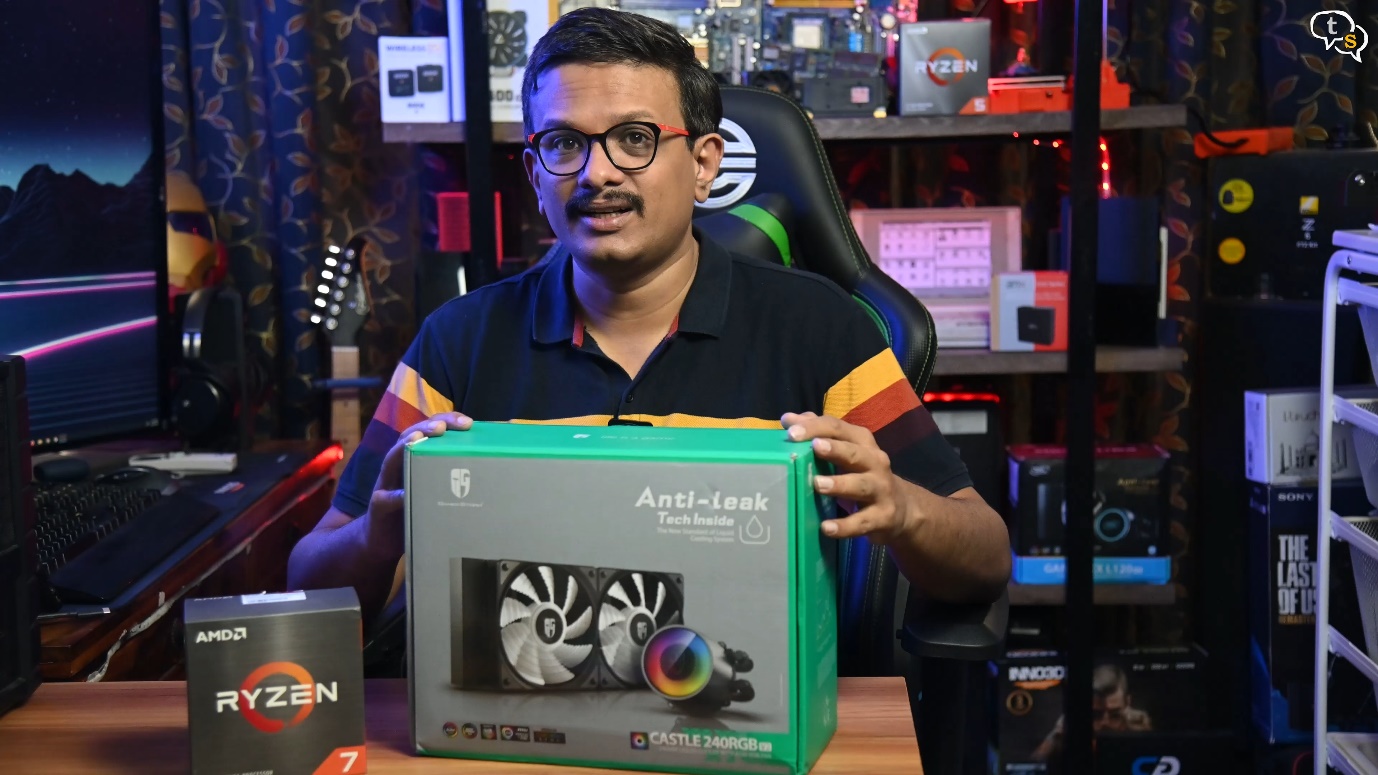
I have here the Deepcool Gamerstorm Castle 240 V2 AIO. An AIO is an All in One Cooler solution which uses liquid to cool your CPU. The AIO combines a water block, radiator, tubes, fans, fittings, and pump into 1 sleek package.
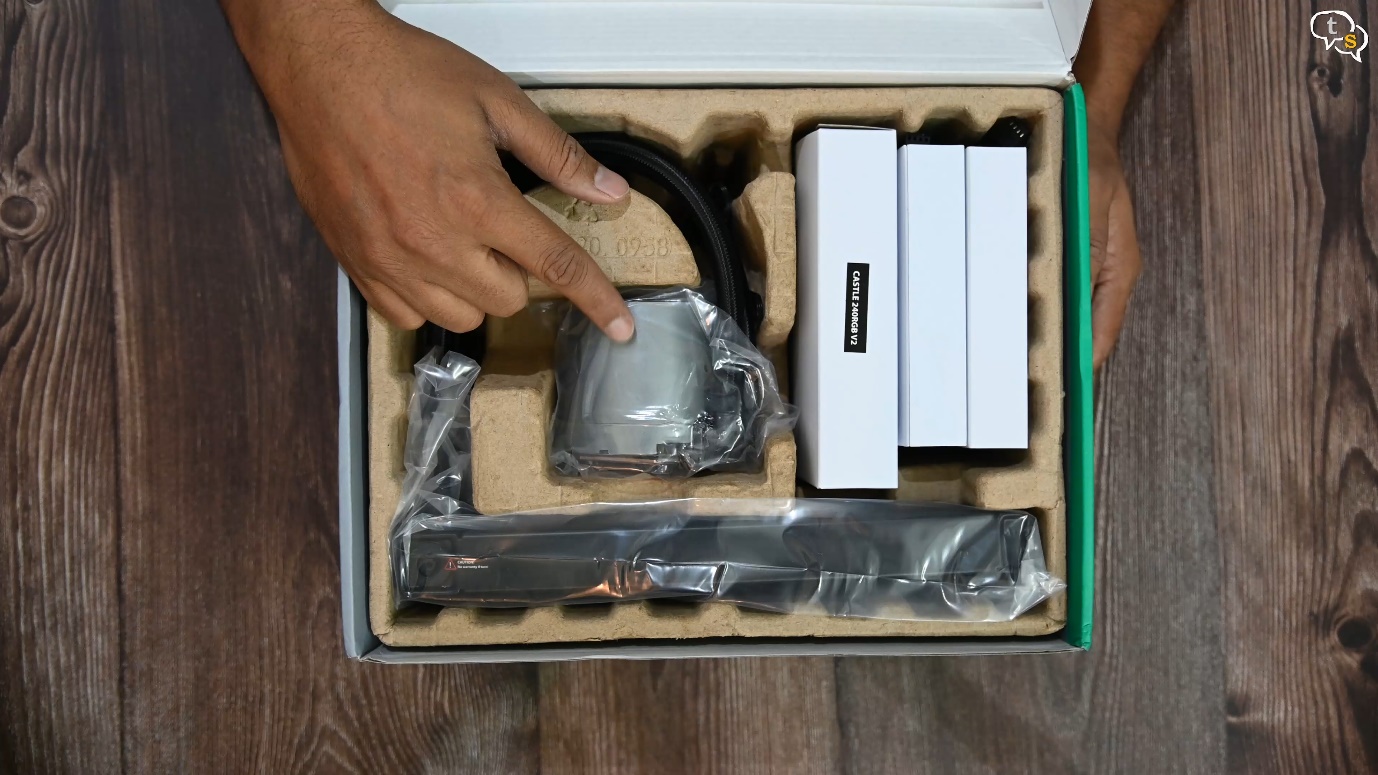
I had a L120 earlier which as the name suggests has a 120mm radiator and effectively only one 120mm fan. The castle 240 has a 240 mm radiator and two fans. The fans and the pump support ARGB and can be controlled by most big brand RGB sync software.
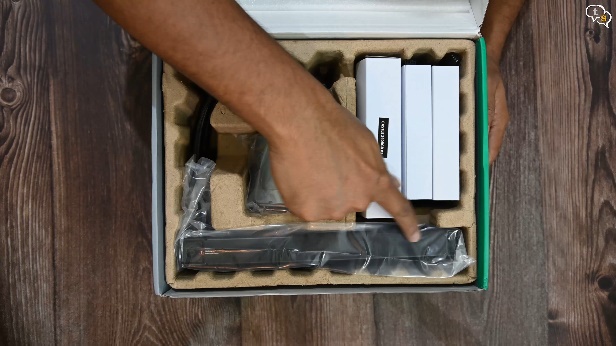

This is the 240 mm radiator which is pre-connected to a pump. This kit is great for System Builders who want water cooling without the hassle of running custom water loops.
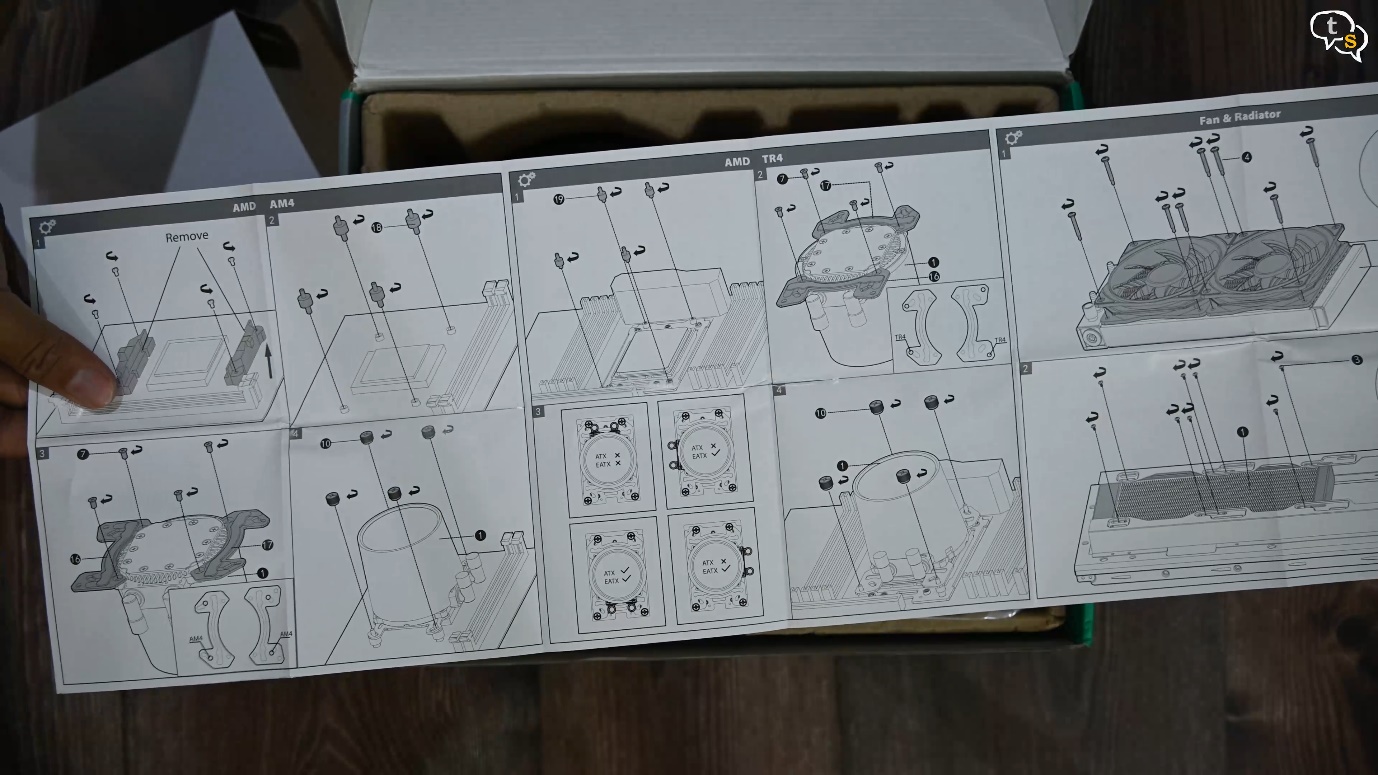
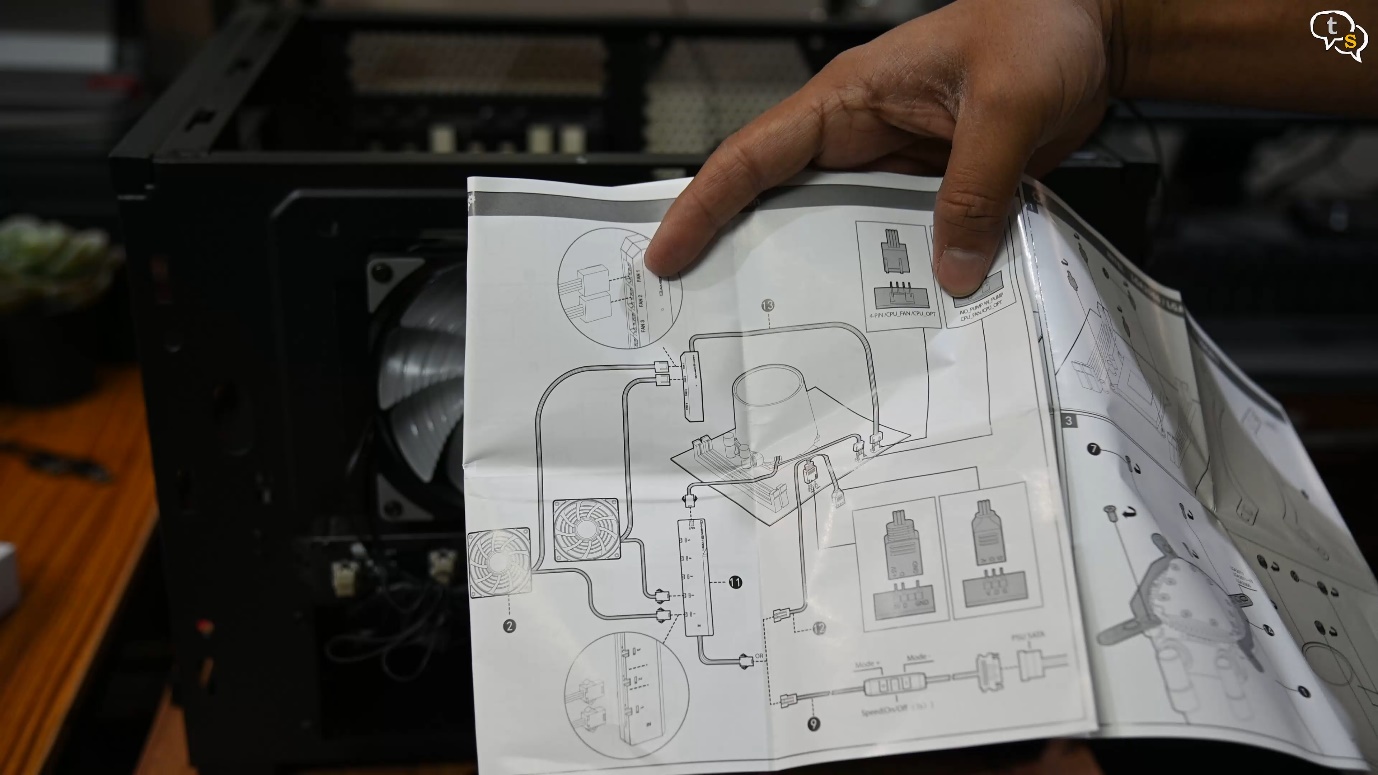
Ah, here’s the manual, important as there’s a lot in this box.
Very pictorial, which is both a boon and a curse. Find your CPU and mount type and follow the instructions. I have an AM4 socket which is for AMD, INTEL has their LGA socket type and the mount would be different.
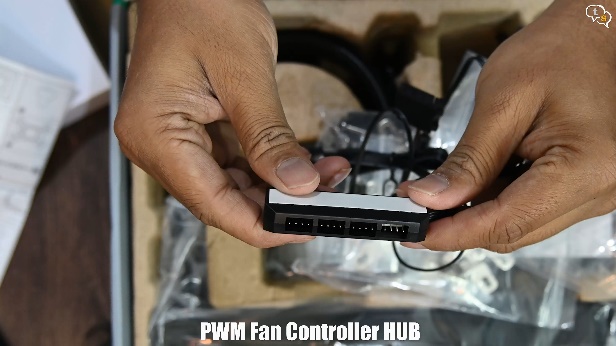
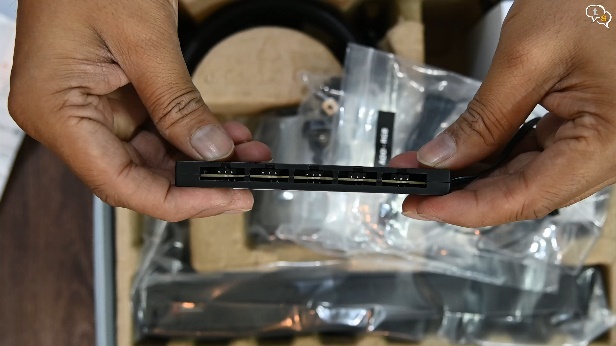
We have two included hubs. One to connect the fans PWM control and the other for ARGB to control the colours. It’s great that we have these hubs included in the box.
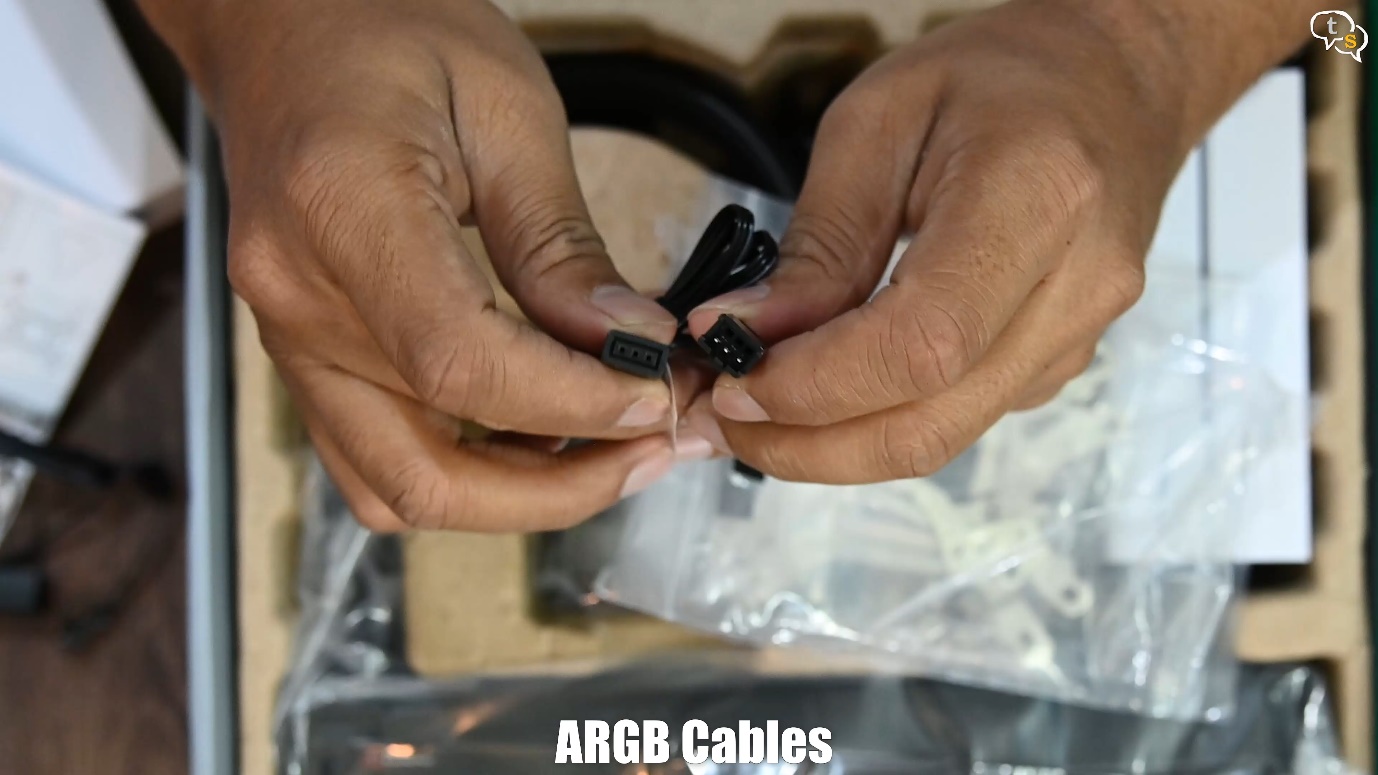
These are some conversion adapter cables between types of ARGB headers as the cooler uses a custom header.
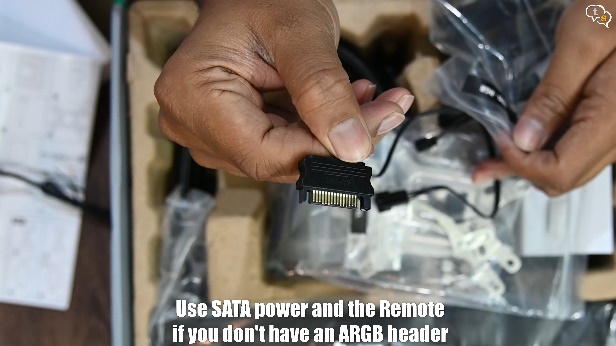

If you don’t have an ARGB header you can use this SATA connector for power and install the remote instead.

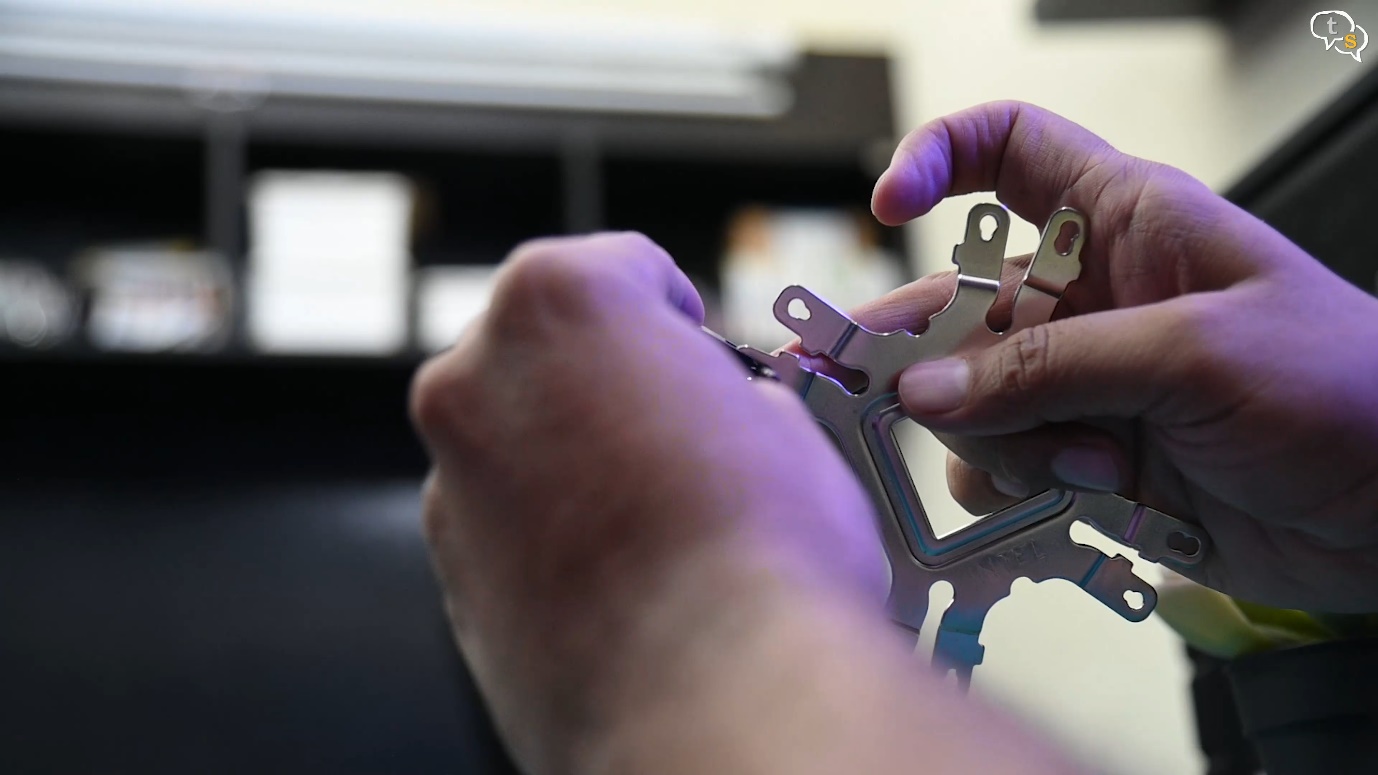
Here are the mounting brackets, the pack has brackets for both Intel and AMD motherboards. Here’s the one I’m using. I have an AM4 socket, each socket type uses different screws so read the manual very carefully. This mounting plate is intel on one side and AMD on the other.
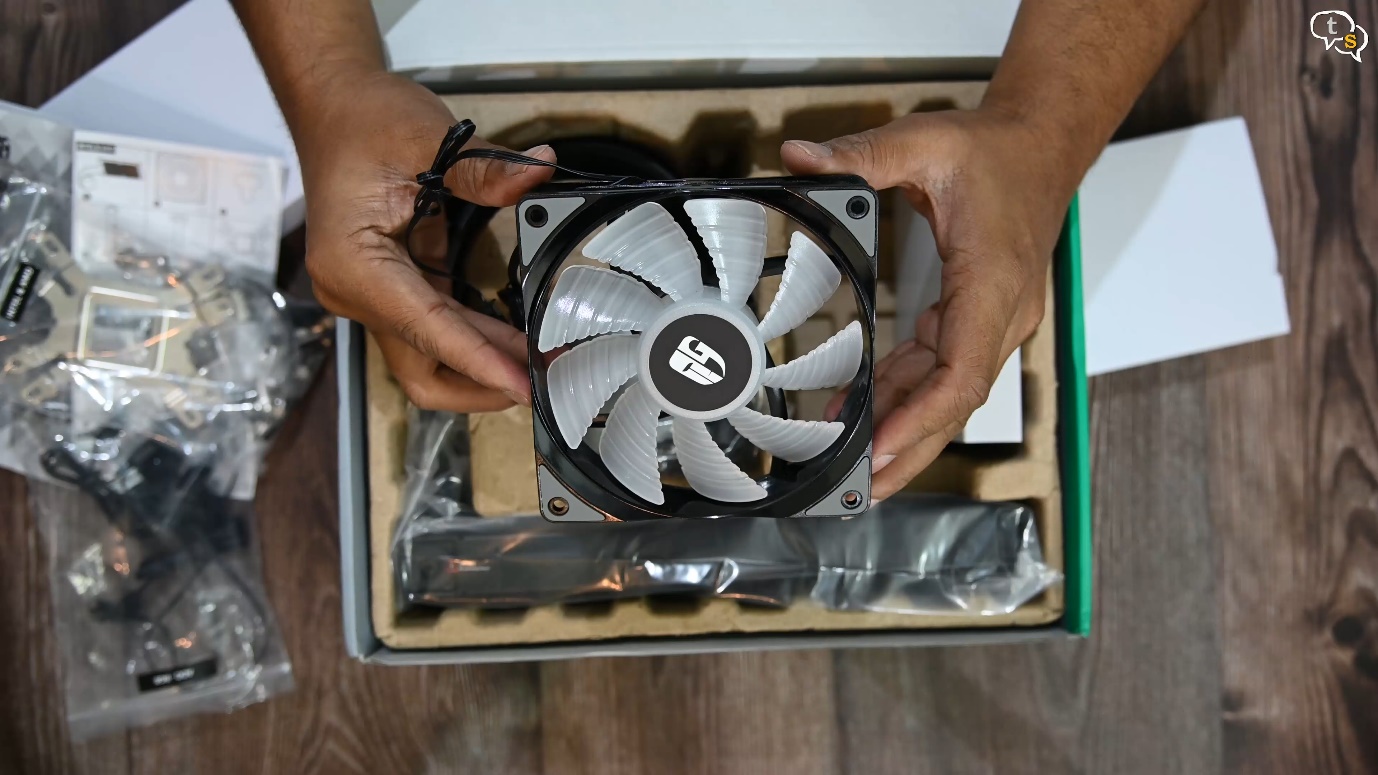
Here’s the provided fan, the rubber on the screw holes would dampen the sounds caused by vibrations. Here’s the PWM connector for powering the fan and the other is an ARGB header.
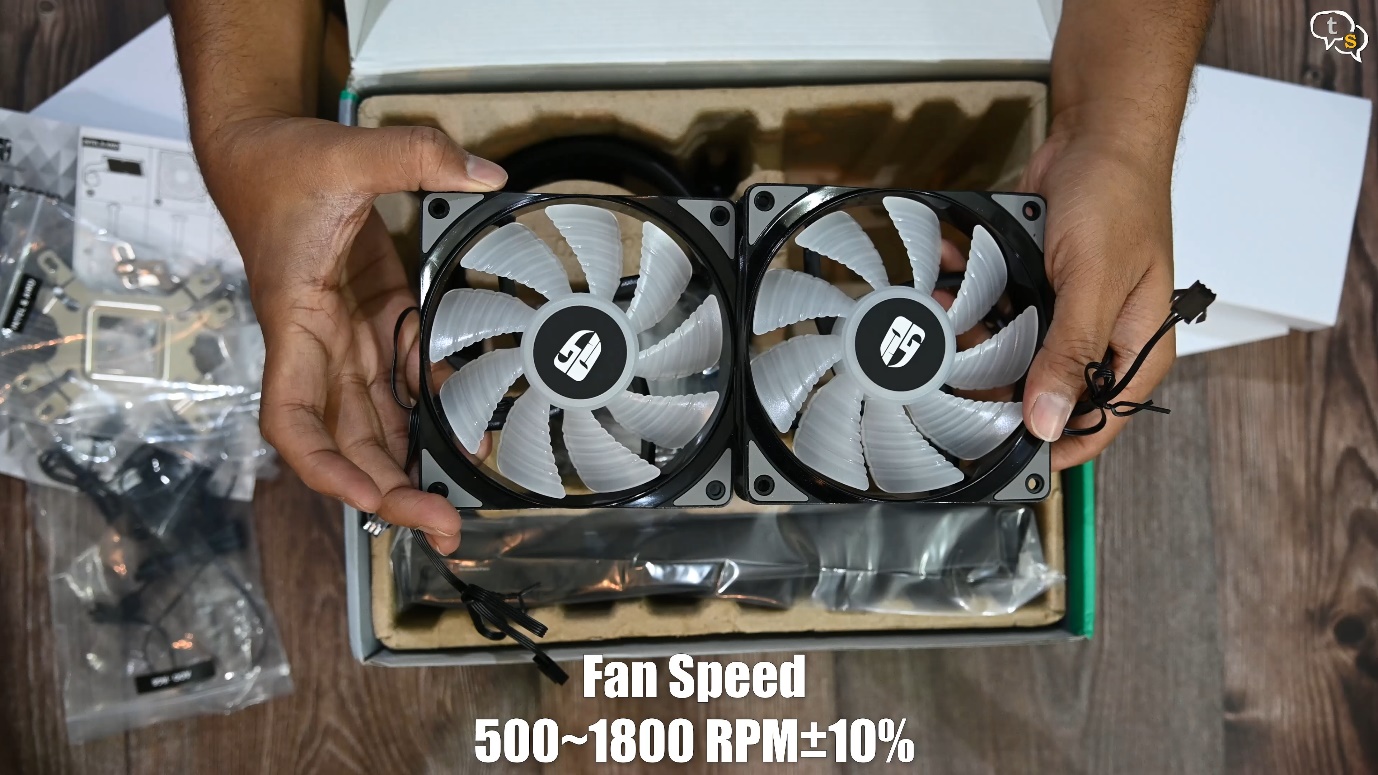
We are provided two in the box as we have a 240 mm radiator which is 2x 120mm.

Here’s the radiator which would cool the liquid as it passes through, the fans are installed onto it.
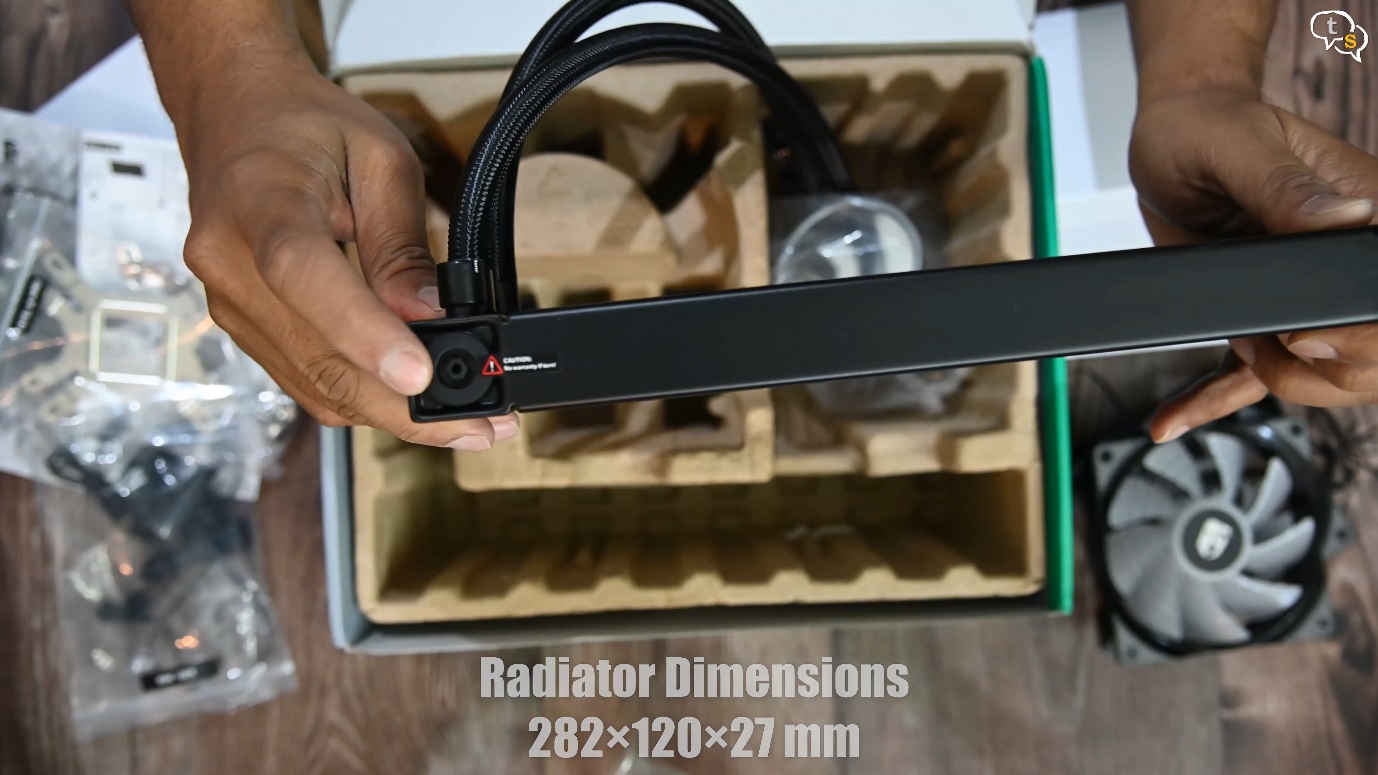
We have a warranty void if removed sticker here, this could be the inlet for the liquid during manufacturing. AIO’s are generally not user serviceable, so better not to open it.
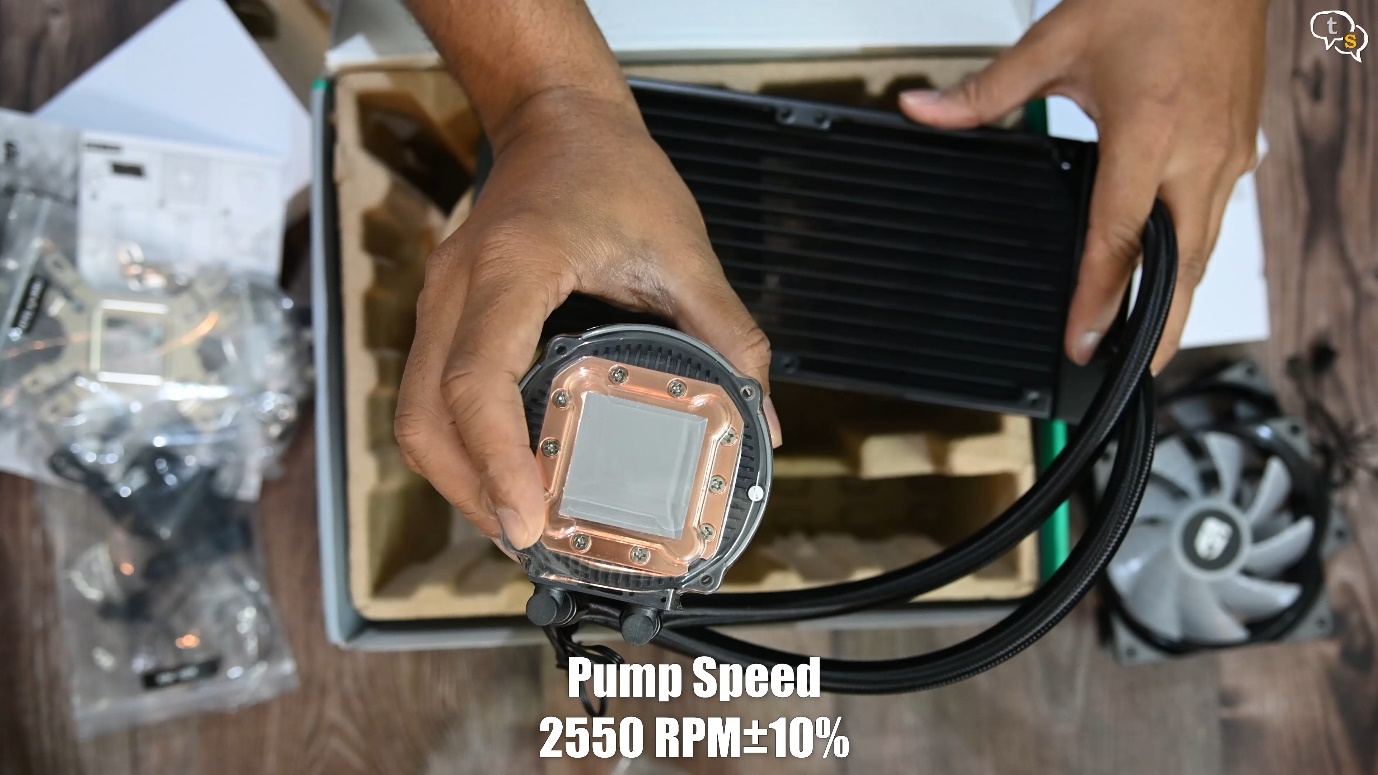
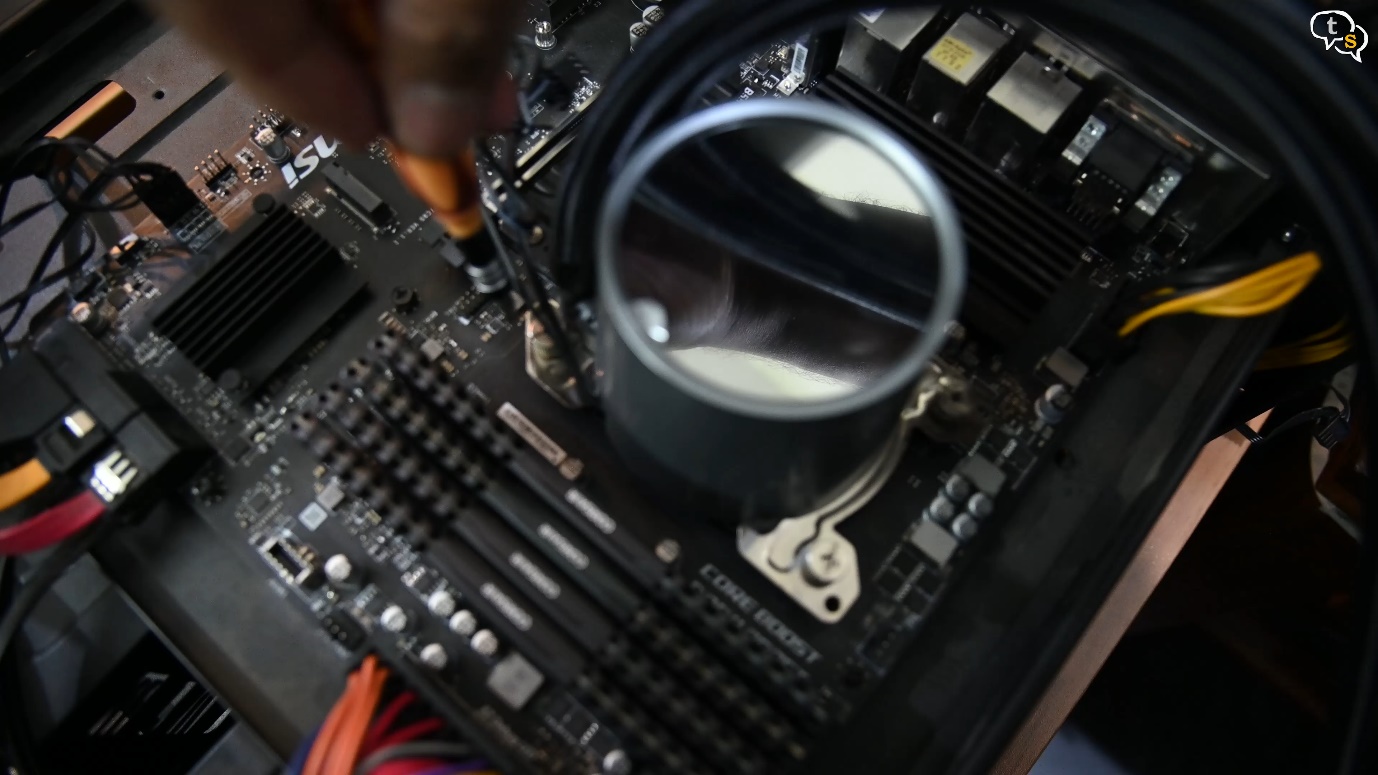
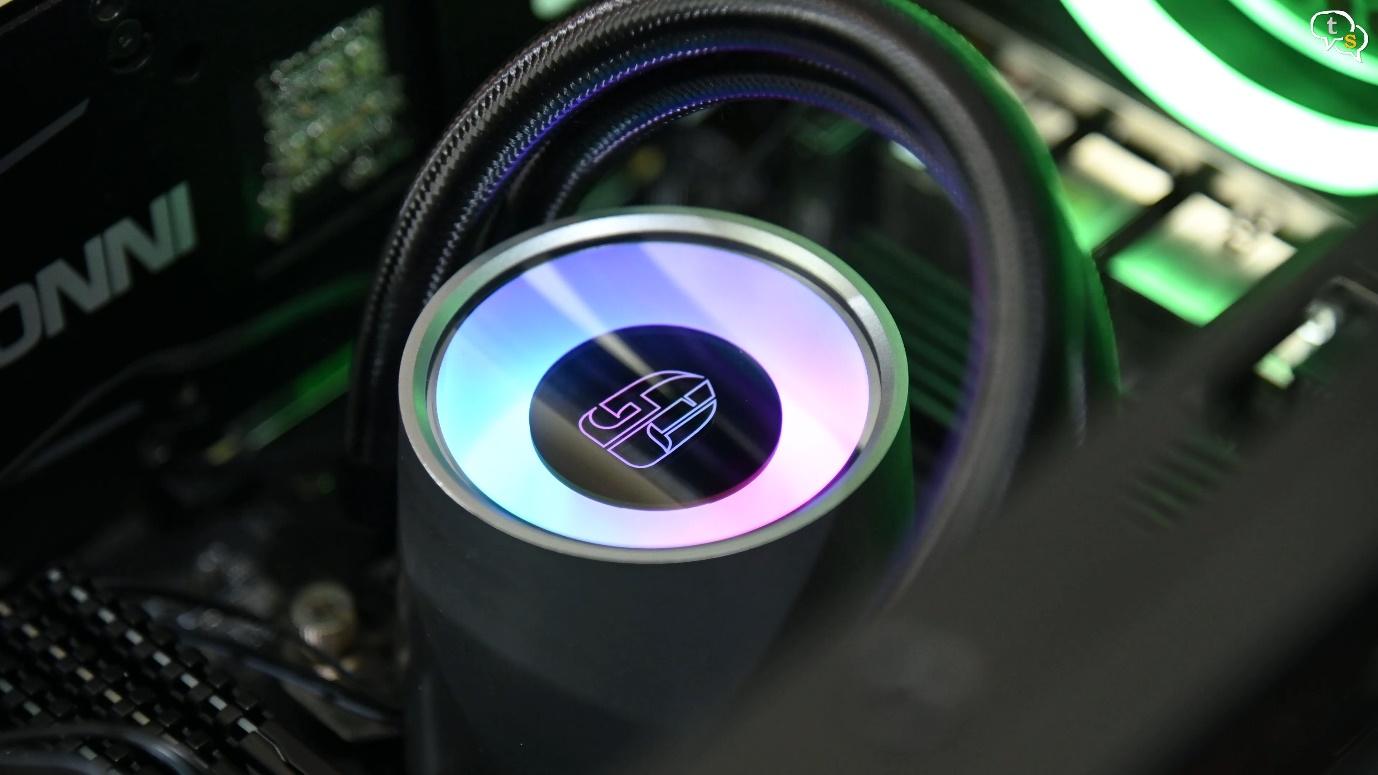
Here’s the pump with pre applied thermal paste. The pump has a large copper contact area below it, which should help transfer heat from the CPU more optimally.
The AIO makes water cooling much easier for people who don’t want to get into the hassle of building their own custom loops. These are people who don’t have time to tinker around with custom cooling setups and actually need their computers for work, ASAP.
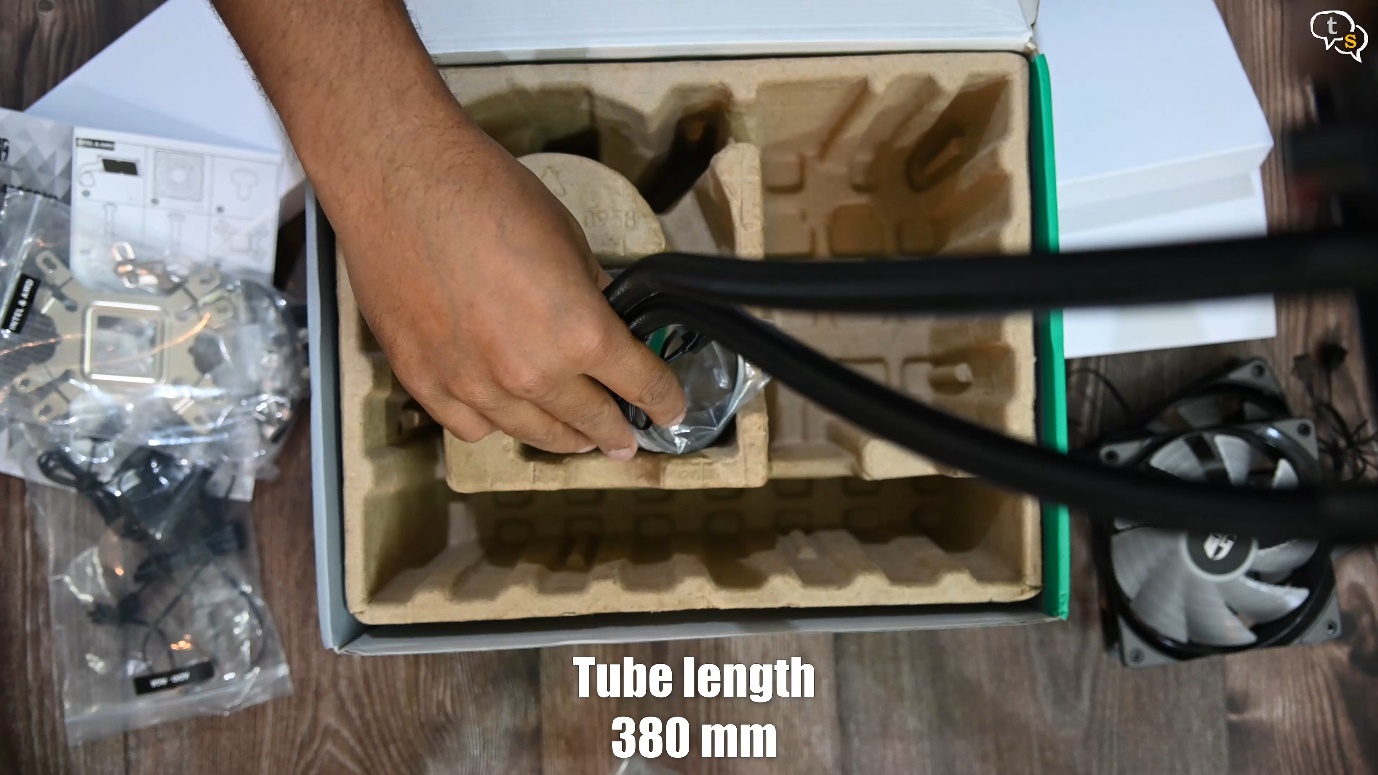
They’re connected using braided tubes which contain a liquid coolant. Deep Cool has an anti leak technology, which has the tubes be able to release pressure when necessary. Hope i never see it leak.
Setup the mounting bracket, add the long screws and plastic bushes onto the correct branch, we need AM4 for AMD.
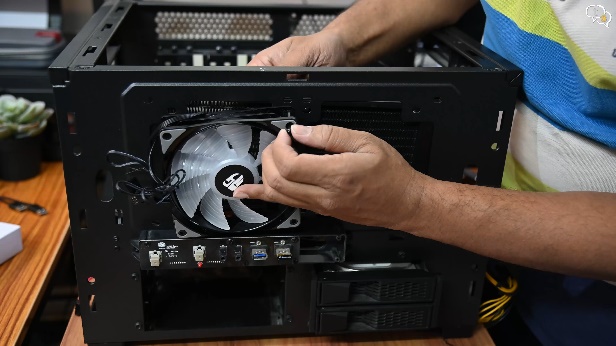
Currently I’m using a 120mm AIO or liquid cooler which could work but as the 5800x is a higher TDP processor which is 105 Watts as compared to only 65 watts on the 3600, I’m replacing the AIO with the new one.
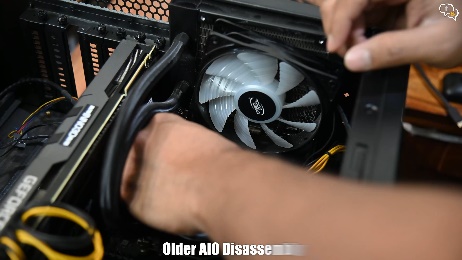
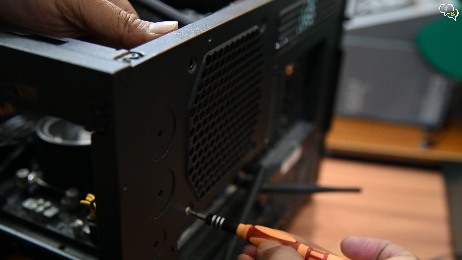
Let’s begin the AIO teardown, we first remove the fan, next the radiator and finally the AIO pump.
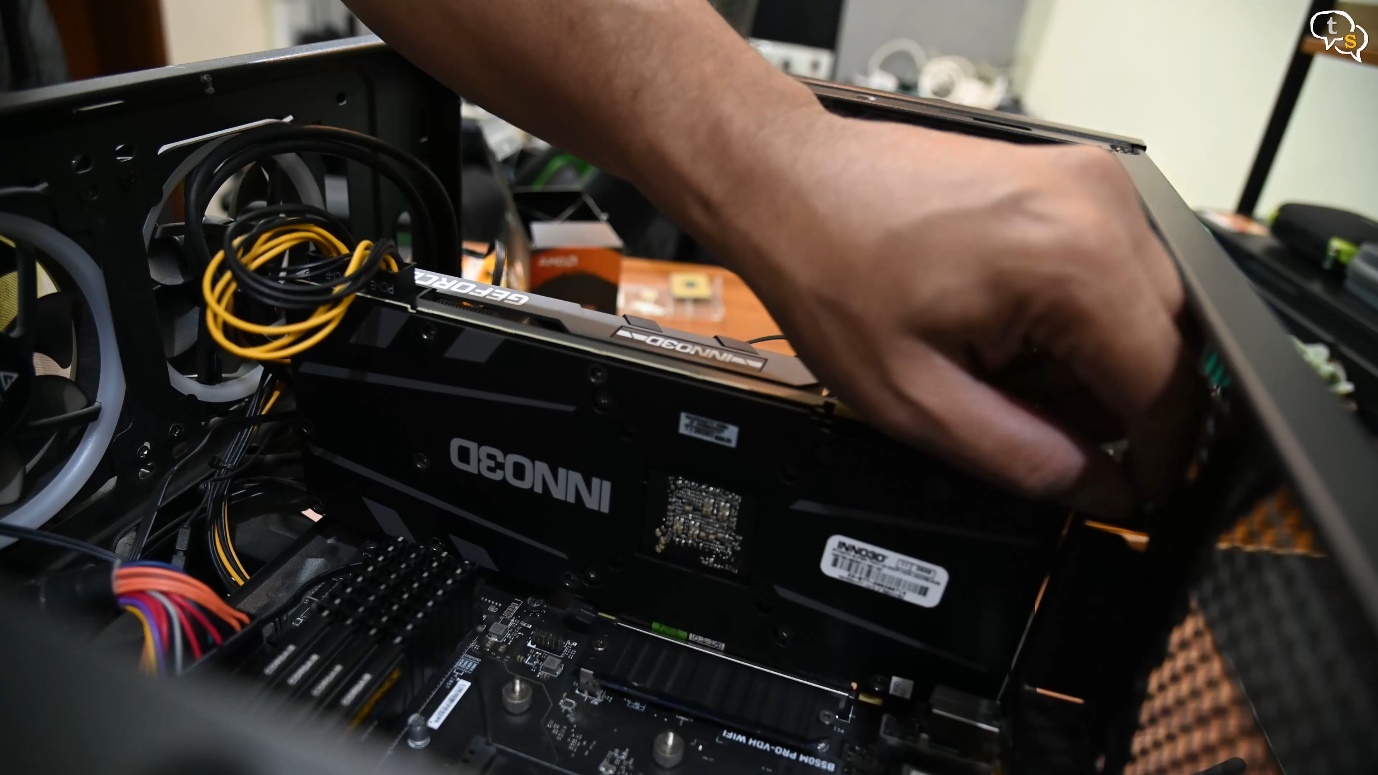
Also remove the graphic card for more space to work within.
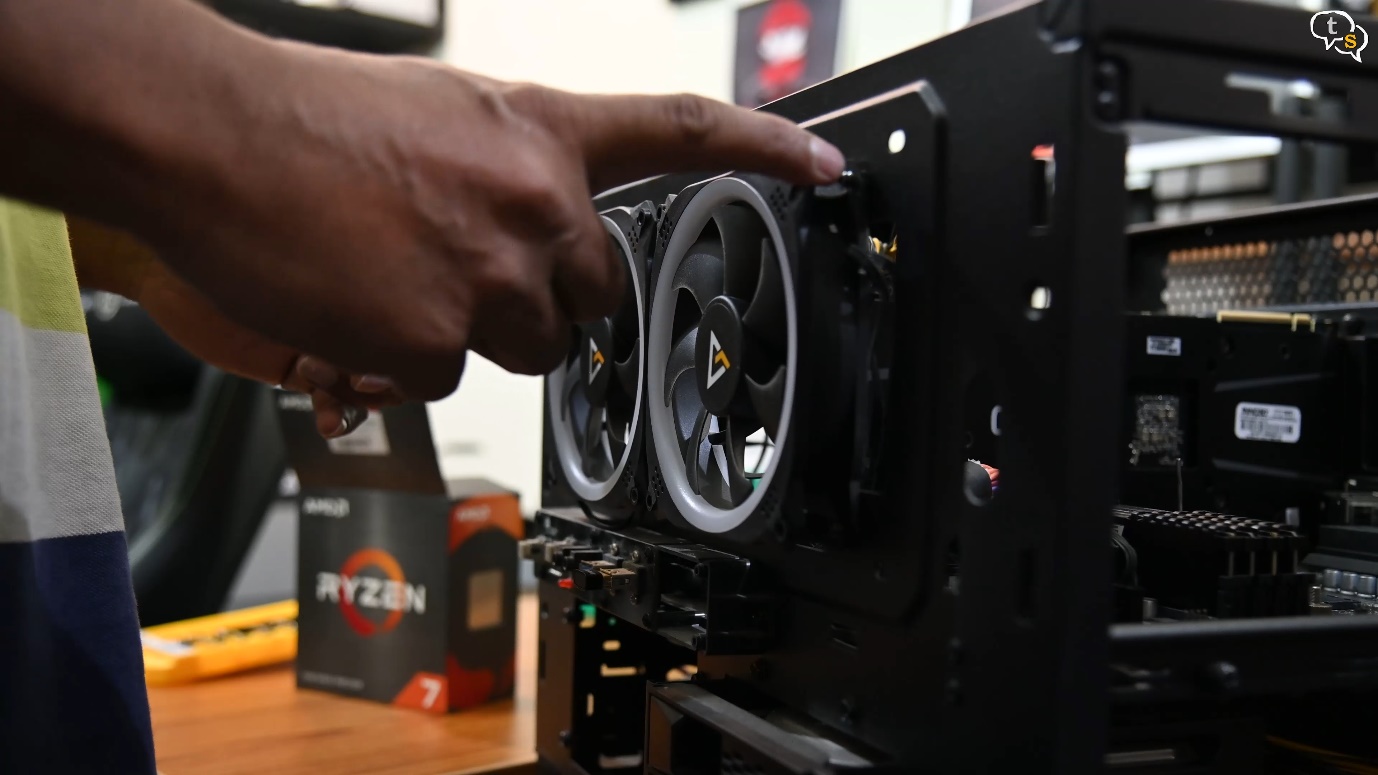
These front intake fans need to be uninstalled and replaced with the radiator and it’s fans.
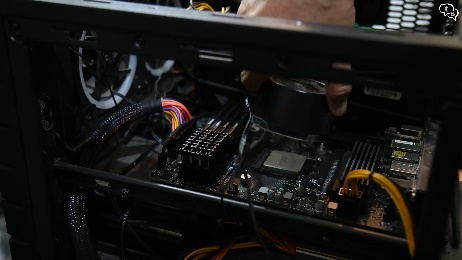
Done now the system is ready for the new AIO.
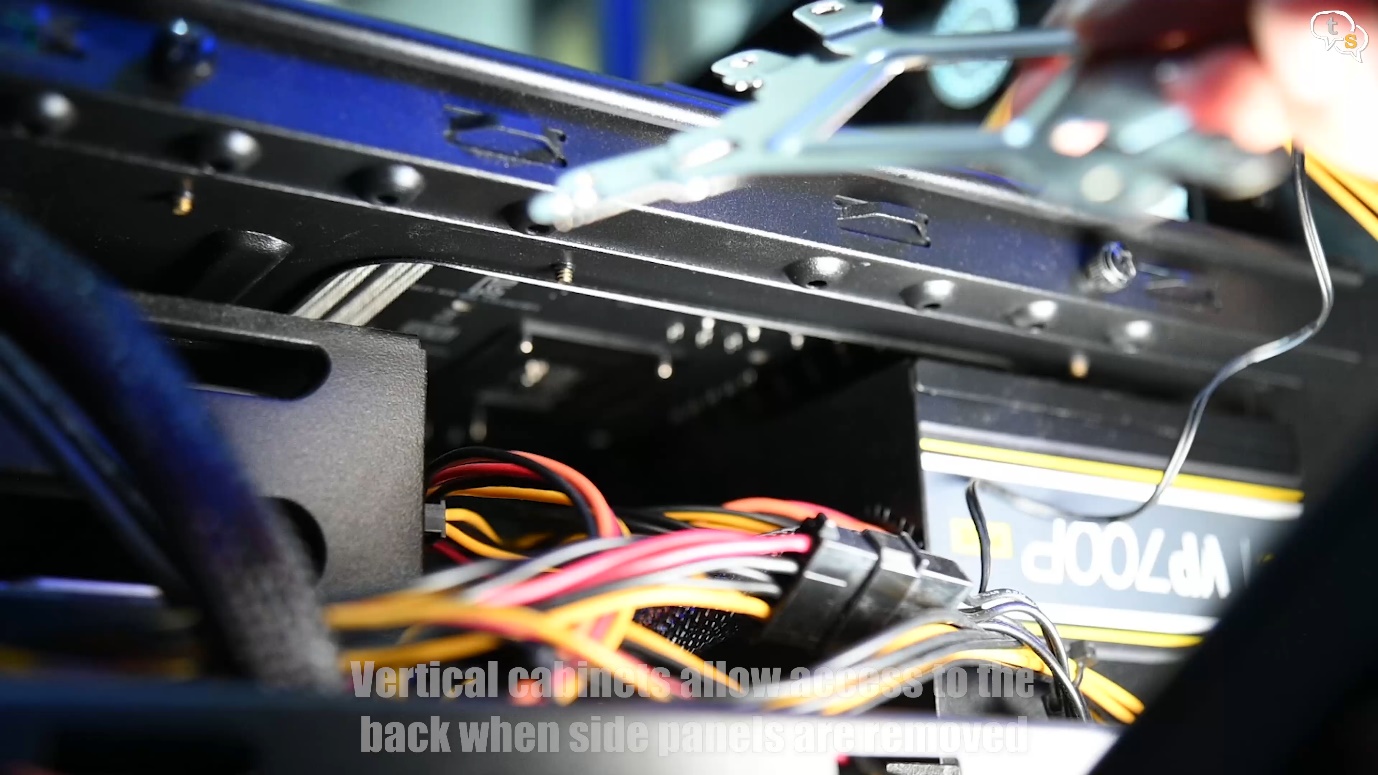
Get the mounting bracket ready and install it from behind the motherboard, as my cabinet is horizontal, I need to install it from the bottom.
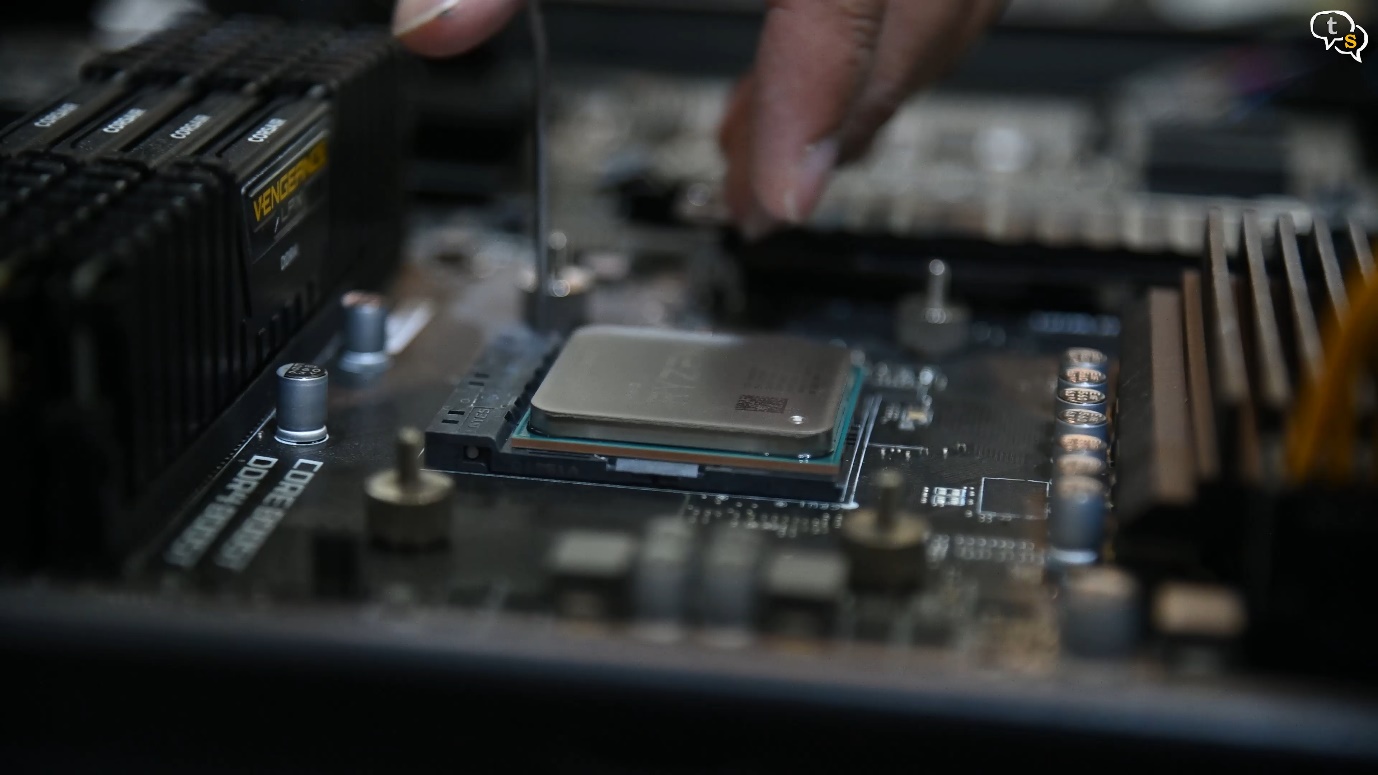
We place the 5800x into the CPU socket matching the triangle mark with the one on the socket. Clamp the lever down and the processor is installed.
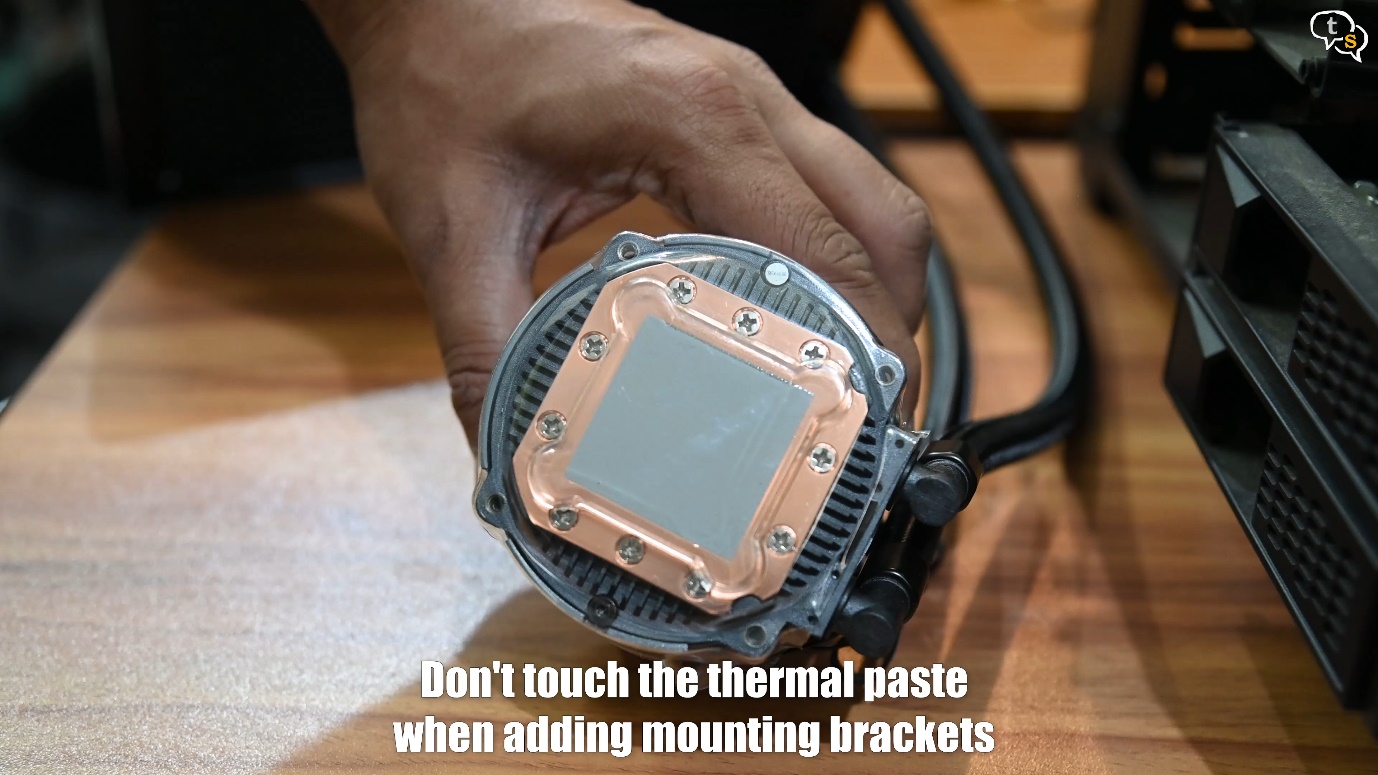
The AIO has pre applied thermal paste, be careful to not touch it while adding these brackets to the AIO pump.
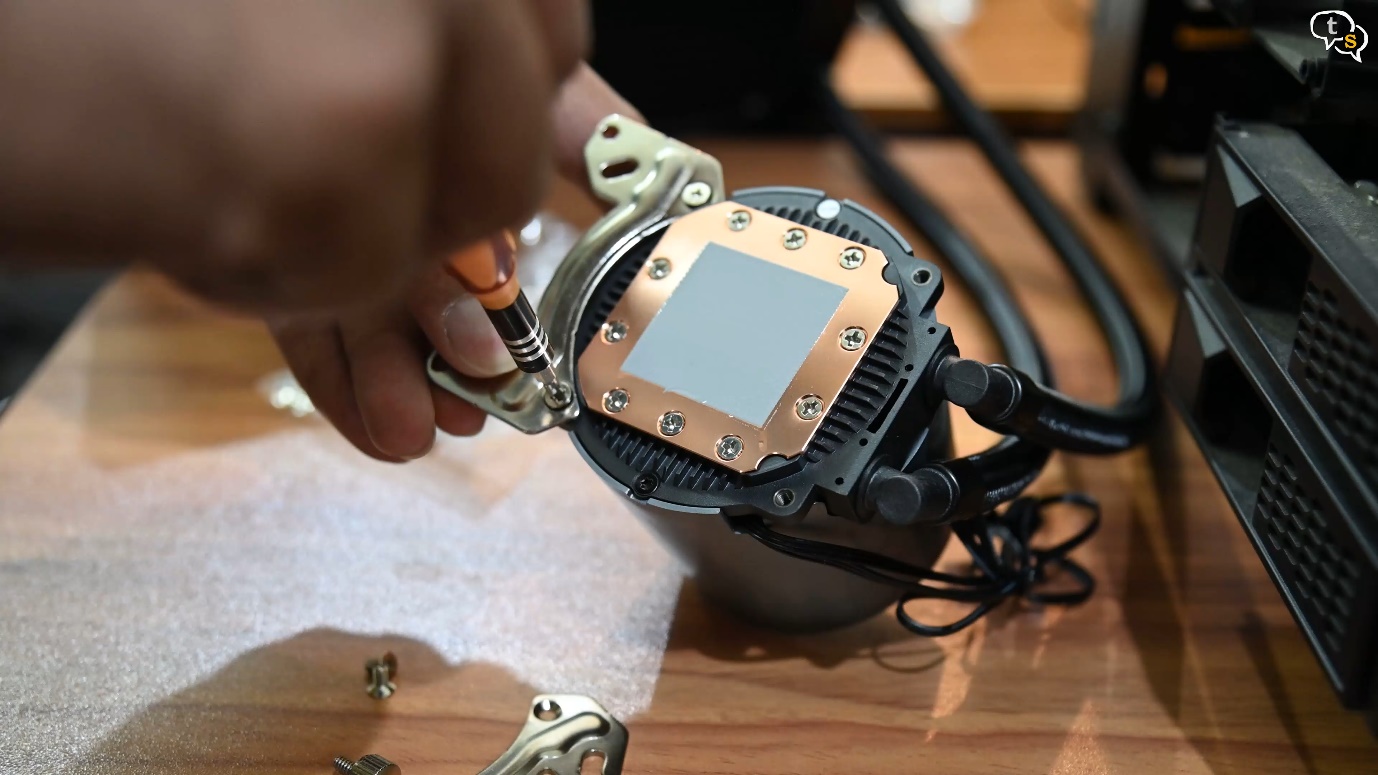
Look for the small depression on each of the brackets, these are to be facing away from the pump and would allow the mounting screw to lie plush in line with the bracket.
Install over the CPU and screw it down.
Pump is ready, now we know how far we can pull at the tubes while we install the radiator and fans.
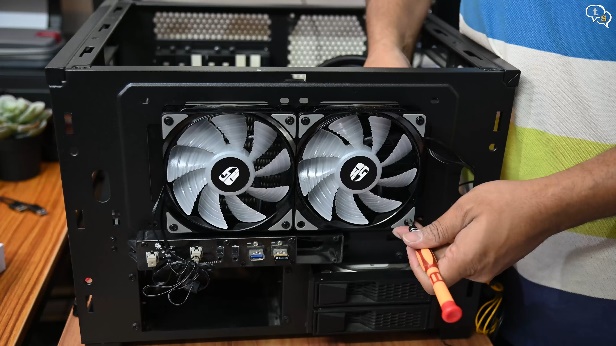
Here’s where I’m installing the radiator and the fans would mount from the front. We use these long screws to mount the fans on the radiator.
Now for the connections.
We use the provided hubs to make the appropriate connections.
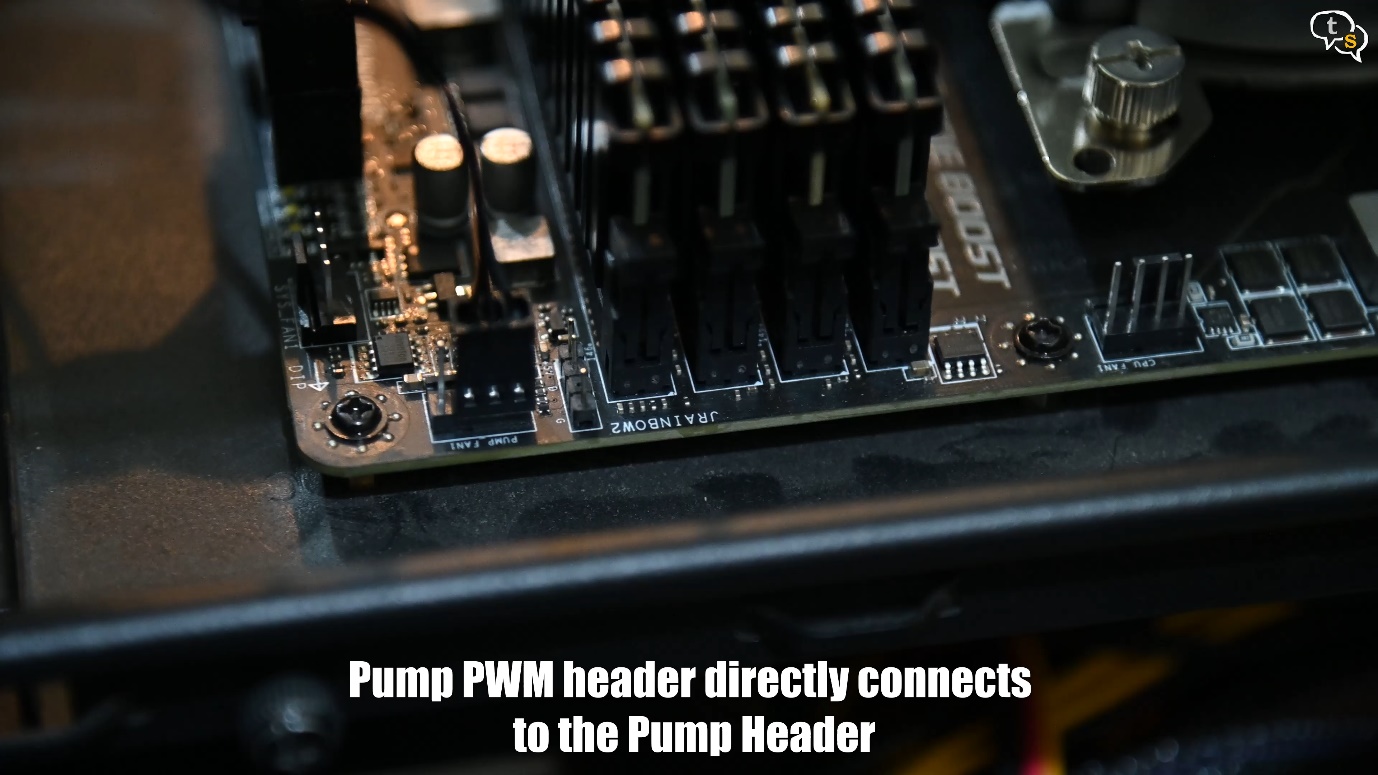
The pump fan header directly goes into the pump header on the motherboard.
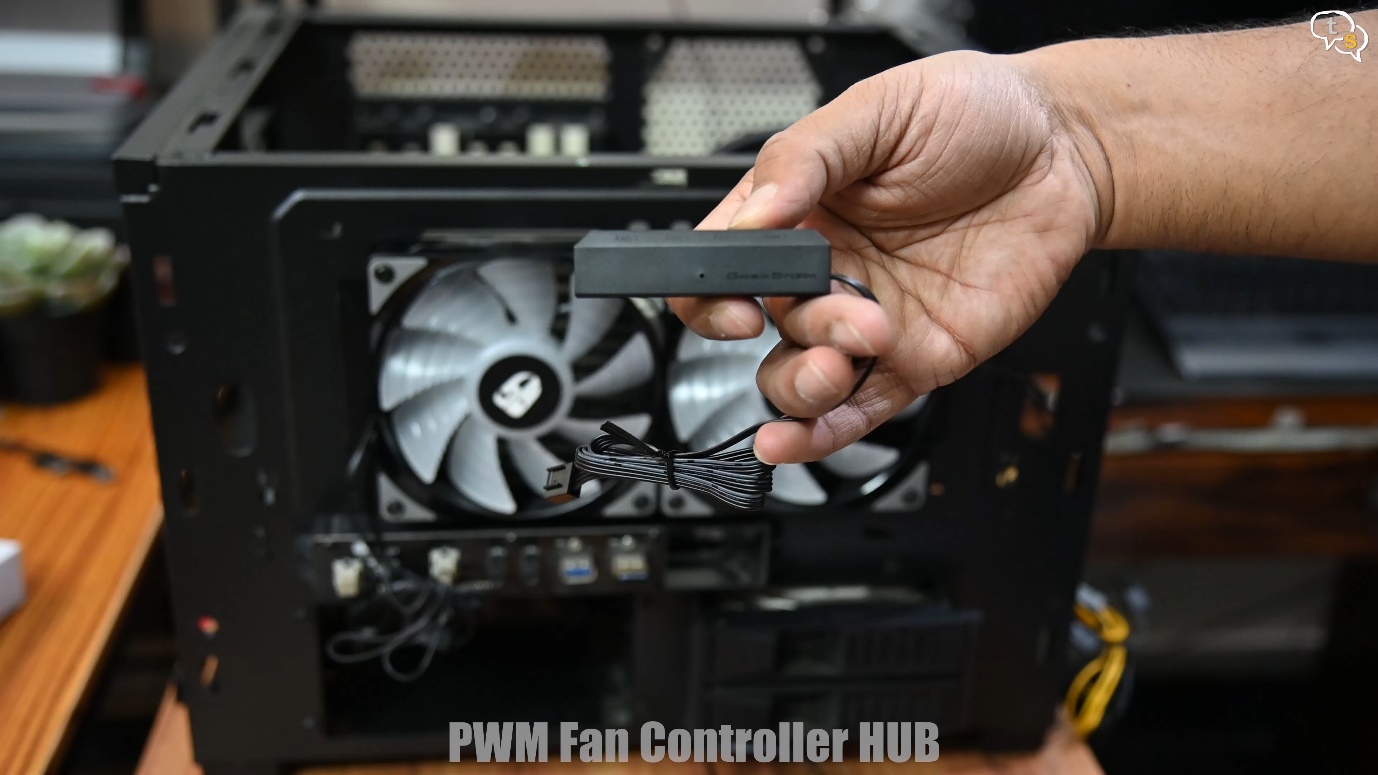
This is the PWM fan speed controller, we have two fans in our AIO which need to be connected into this controller.
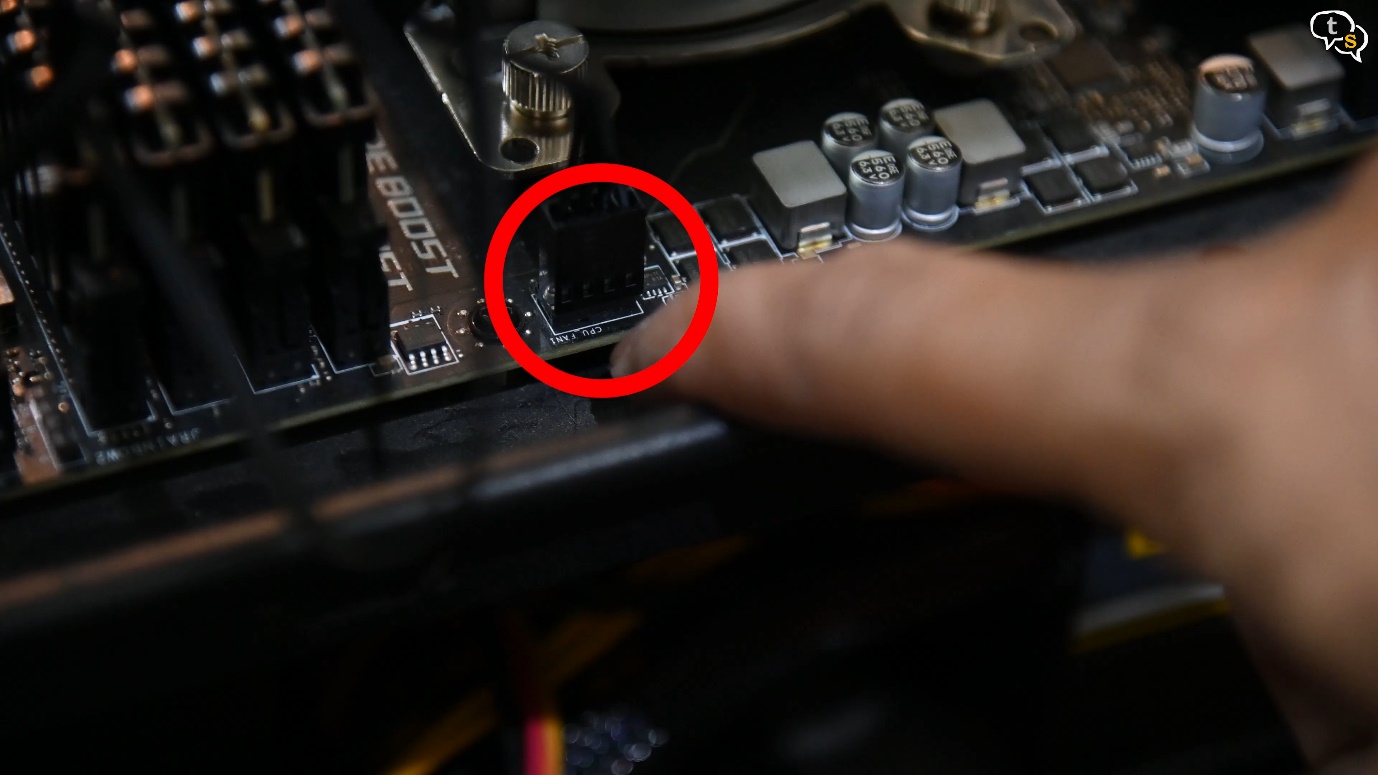
And the output goes to the pwm CPU header. This keeps both fans at the same speed, we have an option to connect upto three fans to this controller.
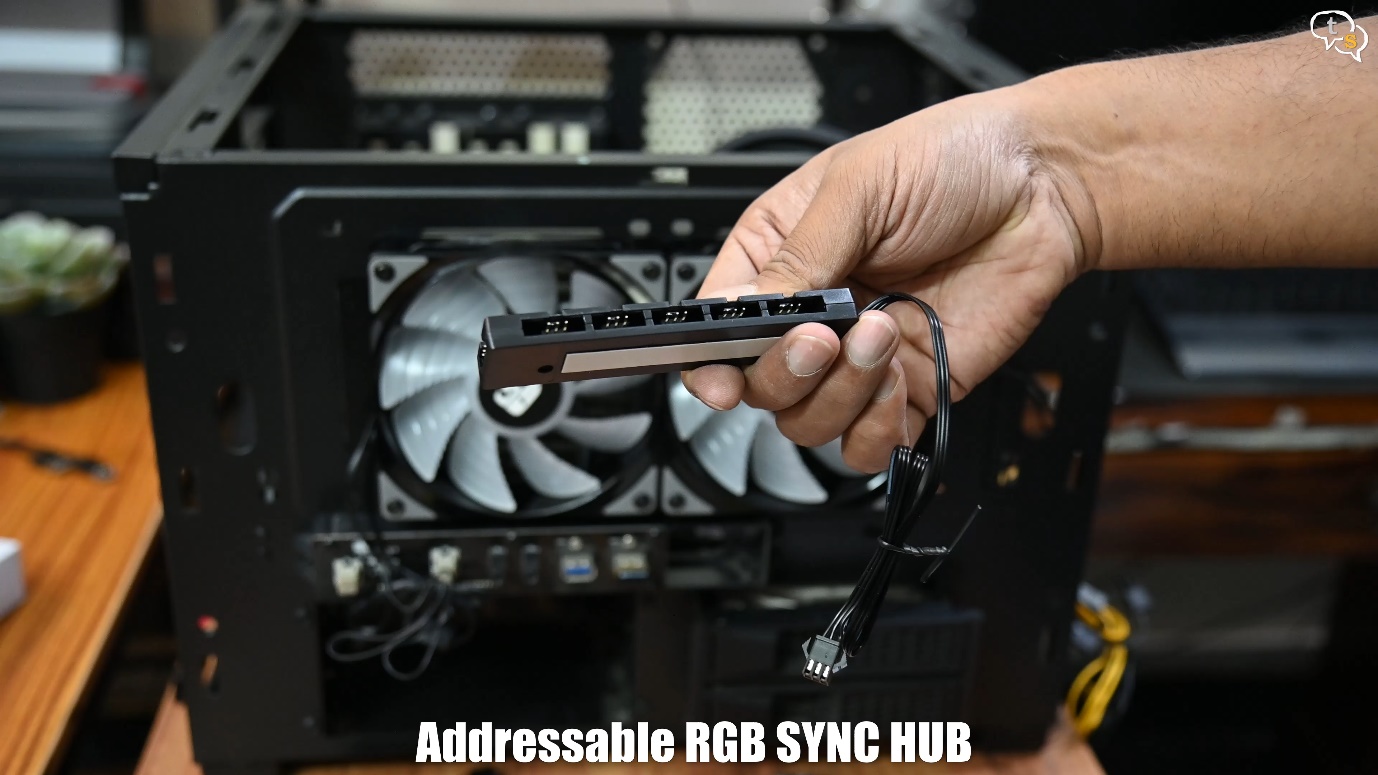
Next is the RGB hub which allows the fans to sync to the same color scheme and animations and allows to connect more fans to one ARGB header. These fans use a custom connector which is why the hub is necessary else the fans generally can daisy chain between them.
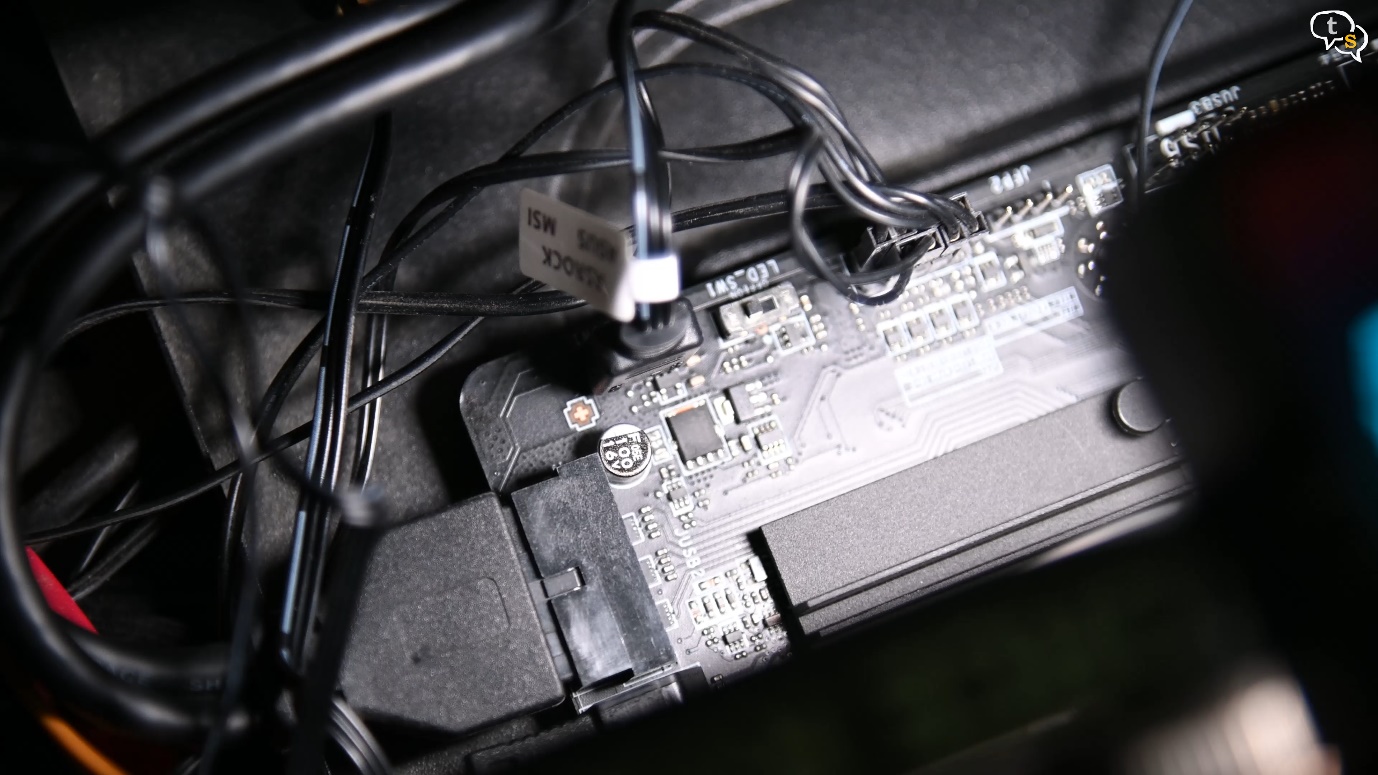
Connect the RGB headers to the controller, and the controller to the ARGB header on the motherboard, also marked jrainbow one or two.
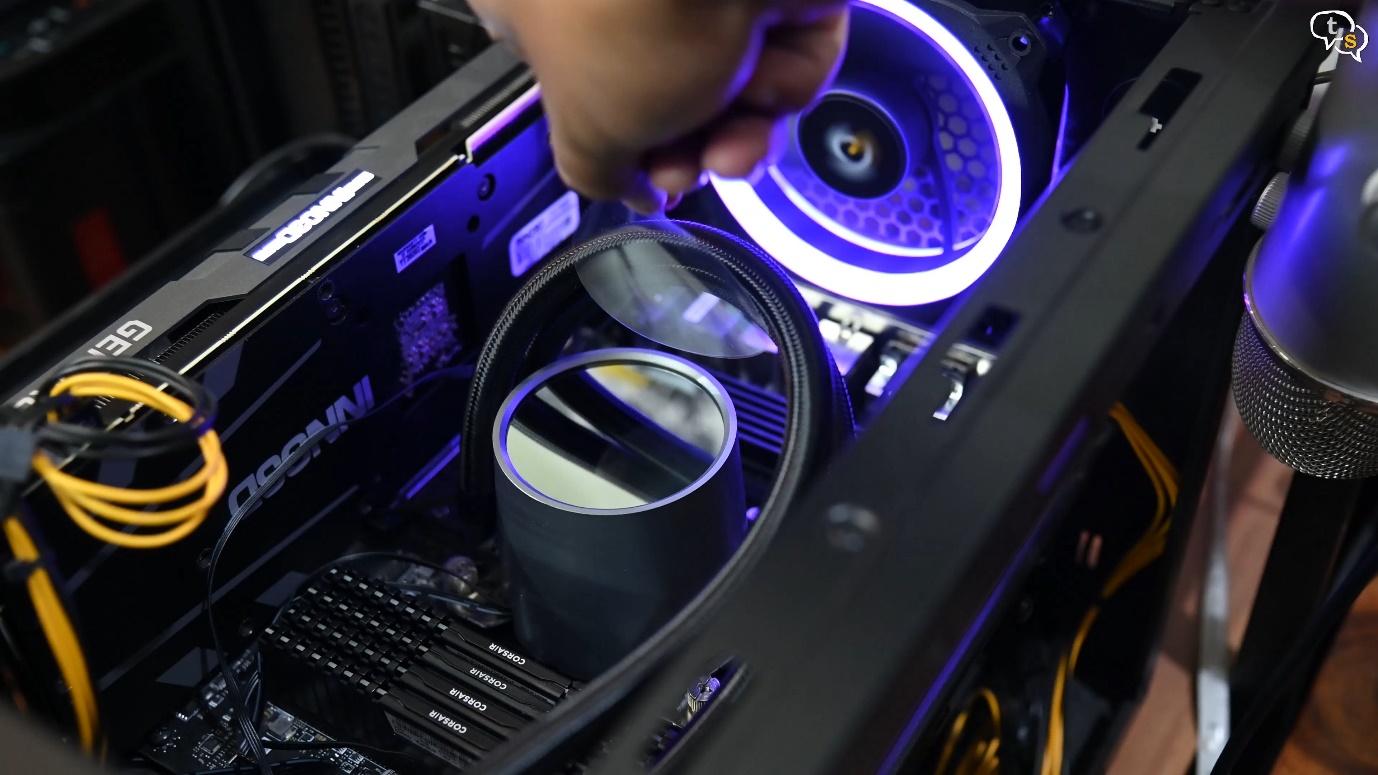
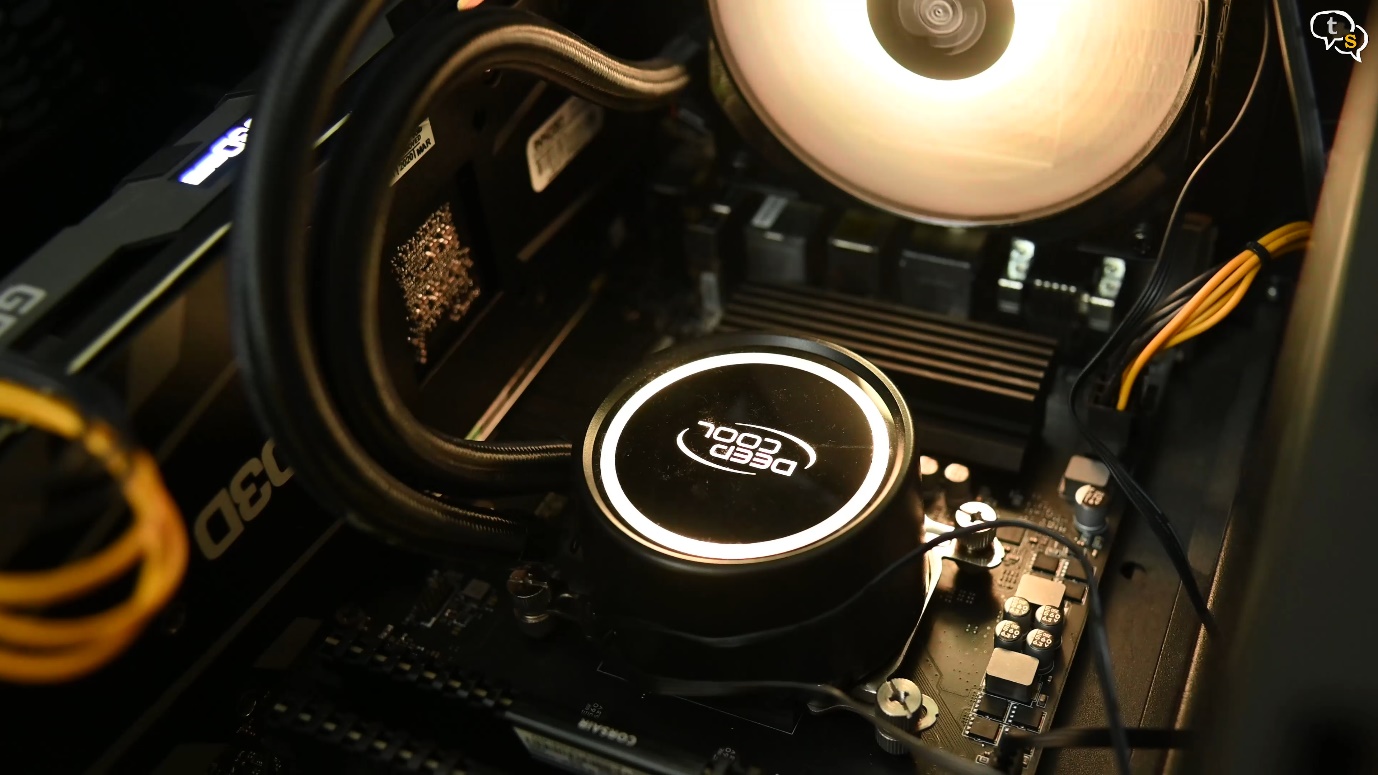
Now let’s peel off the plastic film on the pump and boot the system up.
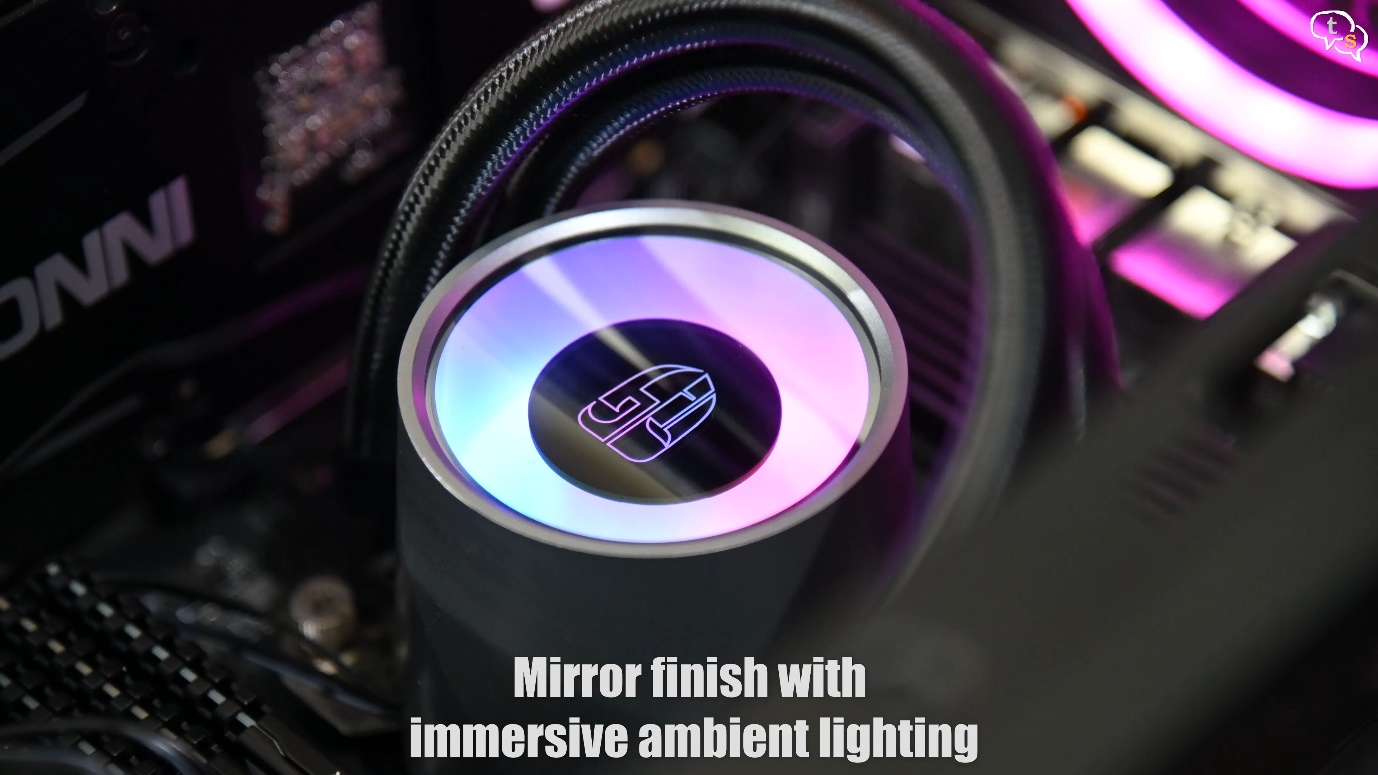
The pump and the fans support ARGB effects which can be controlled using the corresponding RGB software as per the motherboard manufacturer.
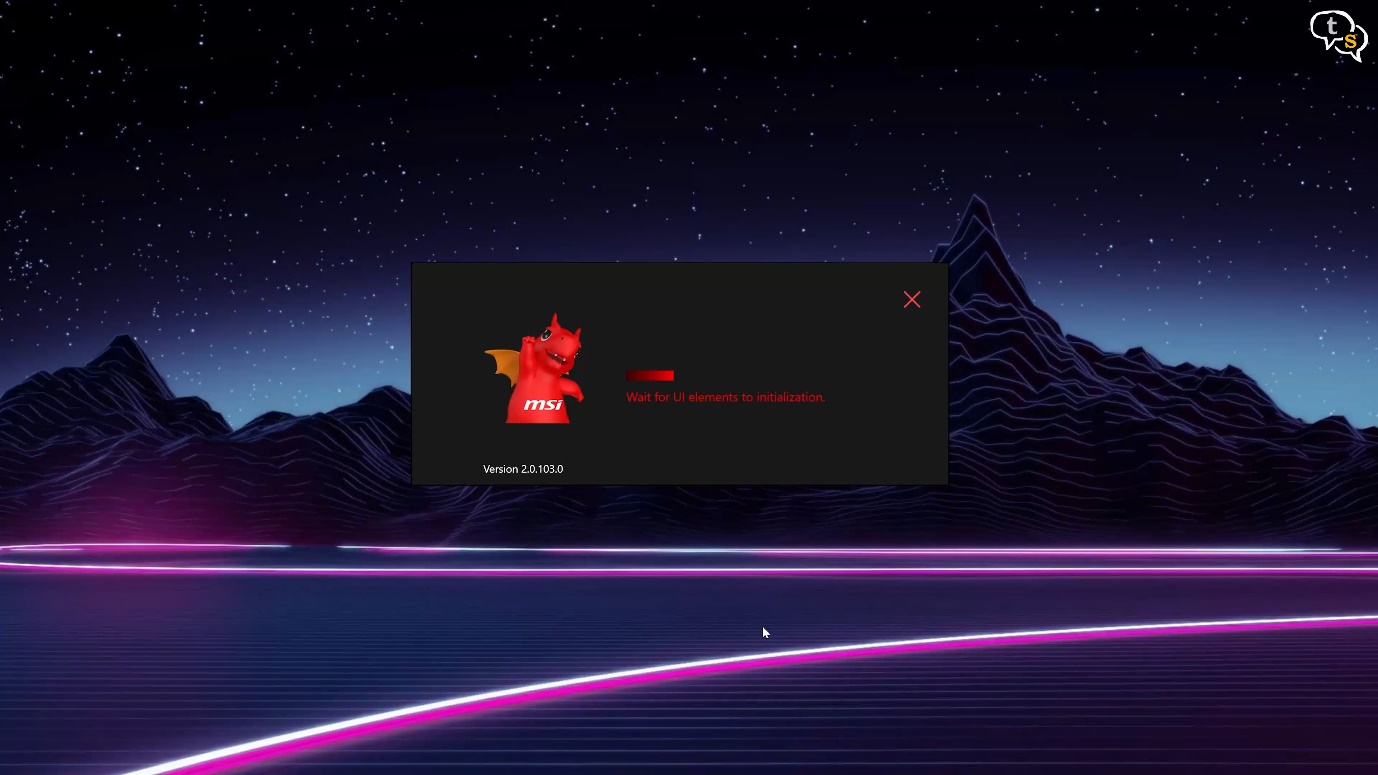
I use dragon centre as I have a MSI motherboard.
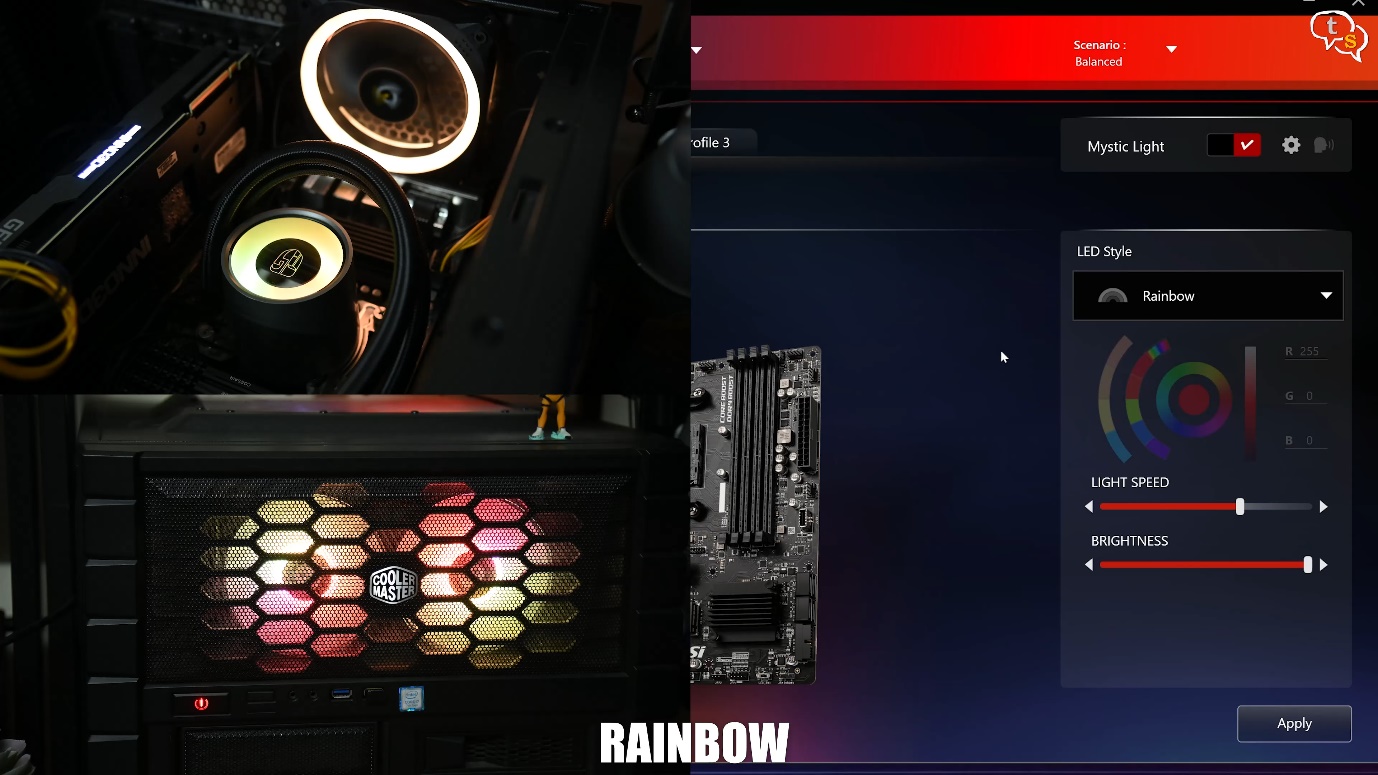
These are few of the effects available.
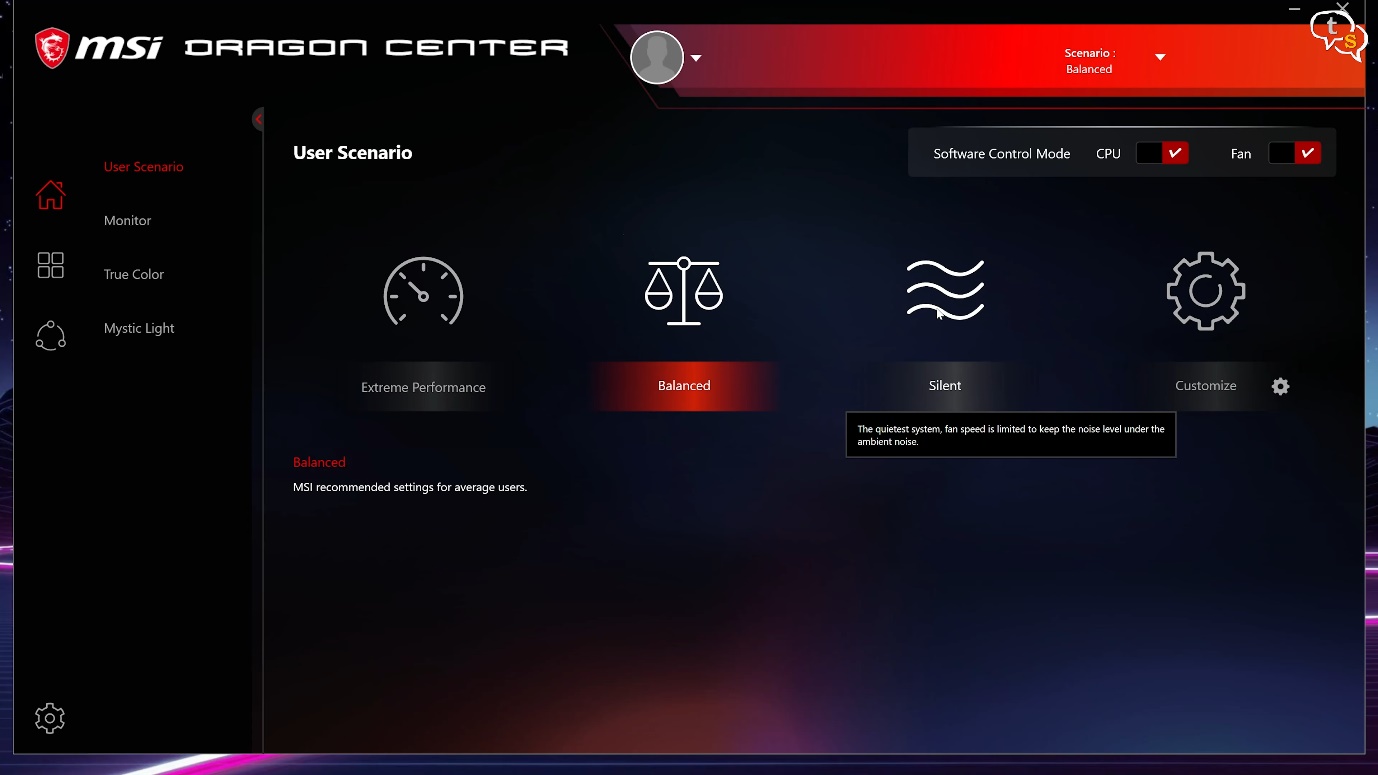
We can also run multiple fan profiles as per the task being performed, if we need the system to be silent, especially during time we record videos we can use the silent mode (Watch video to hear the sounds).
Balanced is good if we have standard workloads and the system ramps up the fans as necessary, (Watch video to hear the sounds). This is the mode I run my system at.
Extreme performance is for users who have overclocked the system and want it running at the highest performance, this ramps up the fans to their top speed and makes the highest noise.
The pump is relatively quiet, and it’s more the fans on the radiator that makes the maximum noise as they ramp up and down.
That aside, we installed the cooler to keep our CPU cool, so let’s check the temps while running some processor intensive tasks.
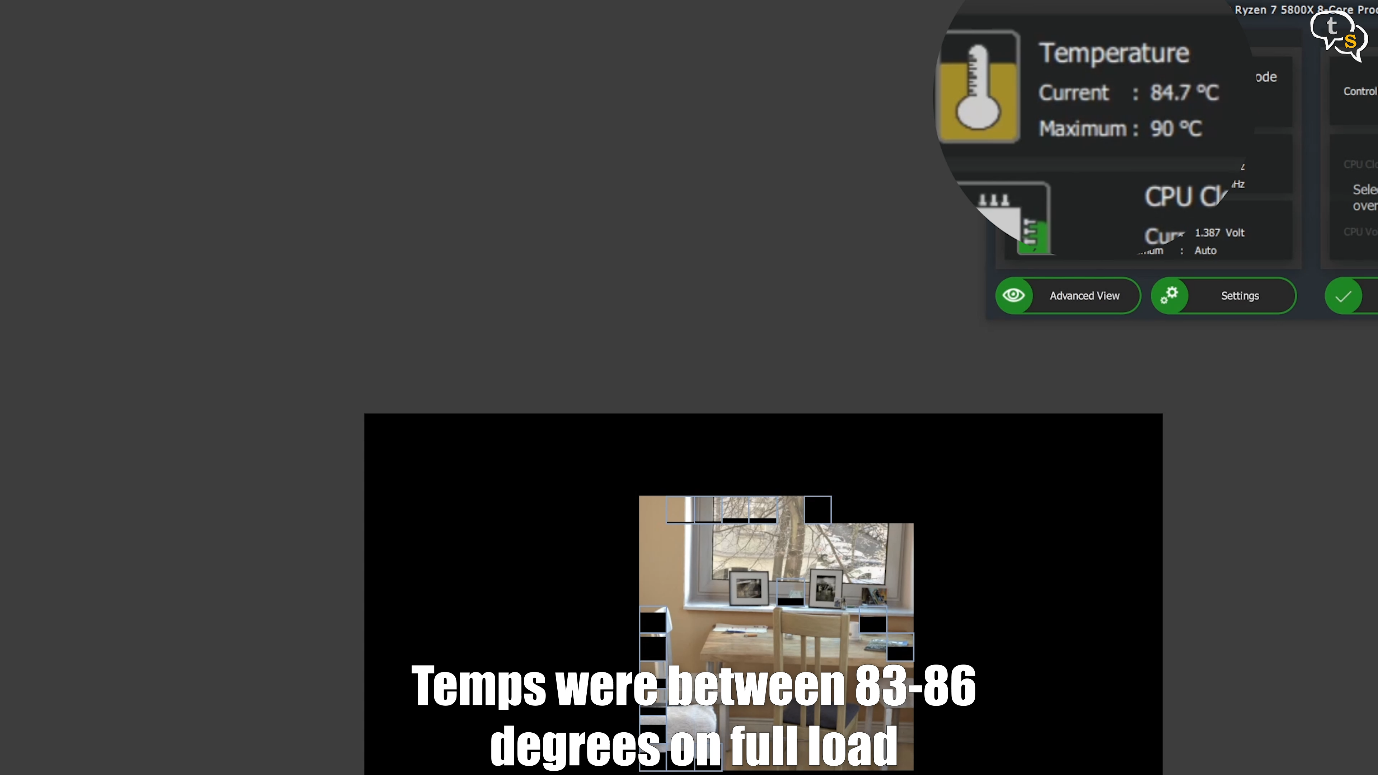
Here’s Cinebench R23 temperatures reach their max as the CPU is utilized predominantly hitting 83-84 degrees, once the tests were done the temps dropped down to 43 C degrees in a few seconds.
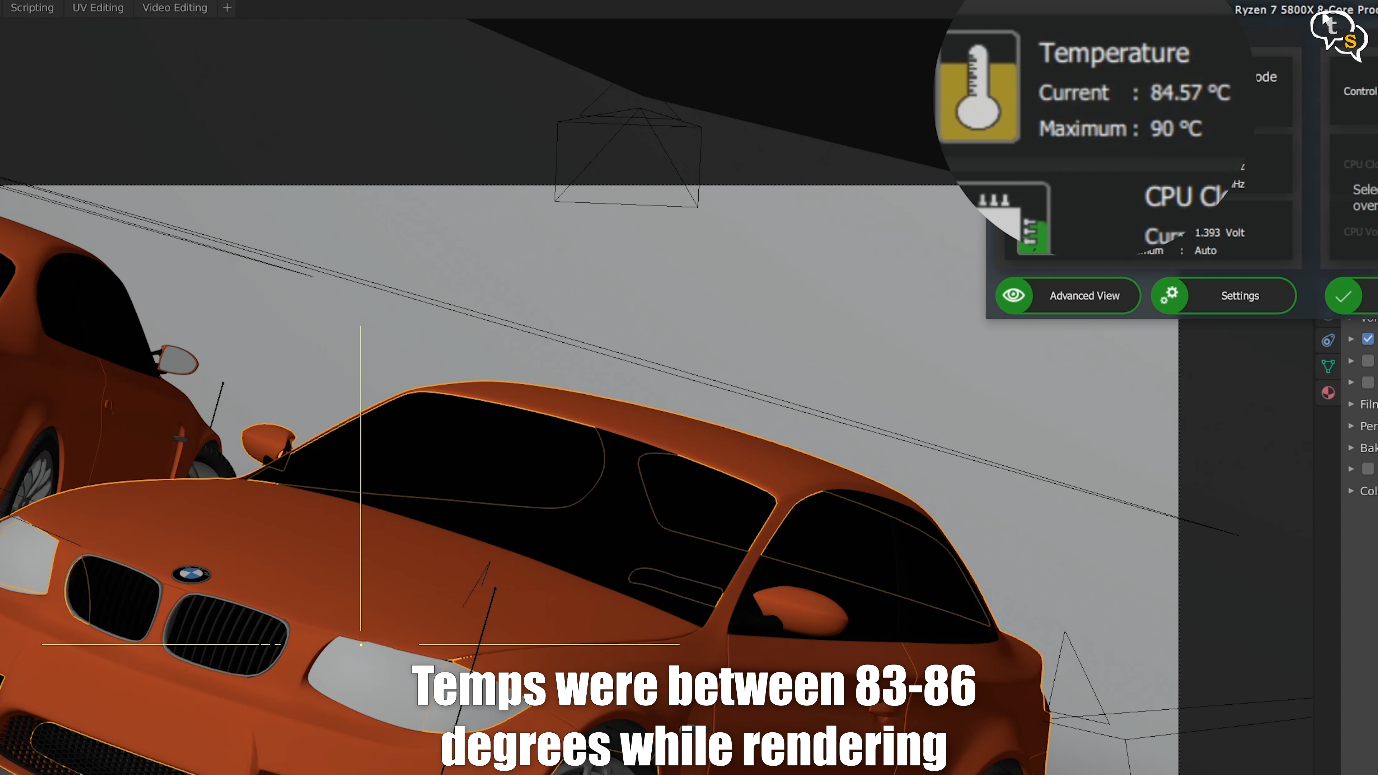
Blender BMW scene render also saw the CPU temperatures rise, hitting a max of 84-85 degrees centigrade.
Gaming is more GPU bound, but let’s have a look at the temperatures
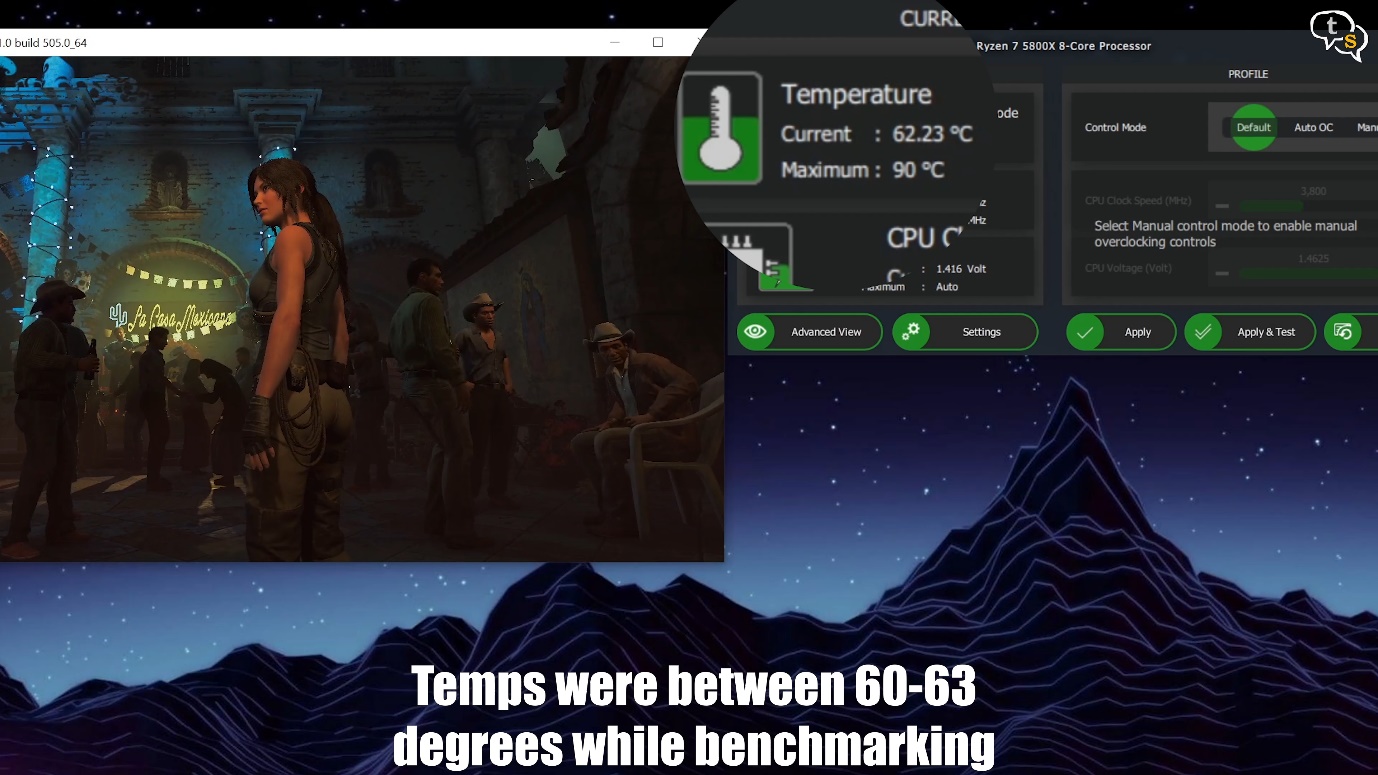
Shadow of the tomb raider temps were low as the CPU is loaded lower than the GPU. 62 degrees centigrade is not low but is lower than the full blown CPU centric tests.
3d mark tests
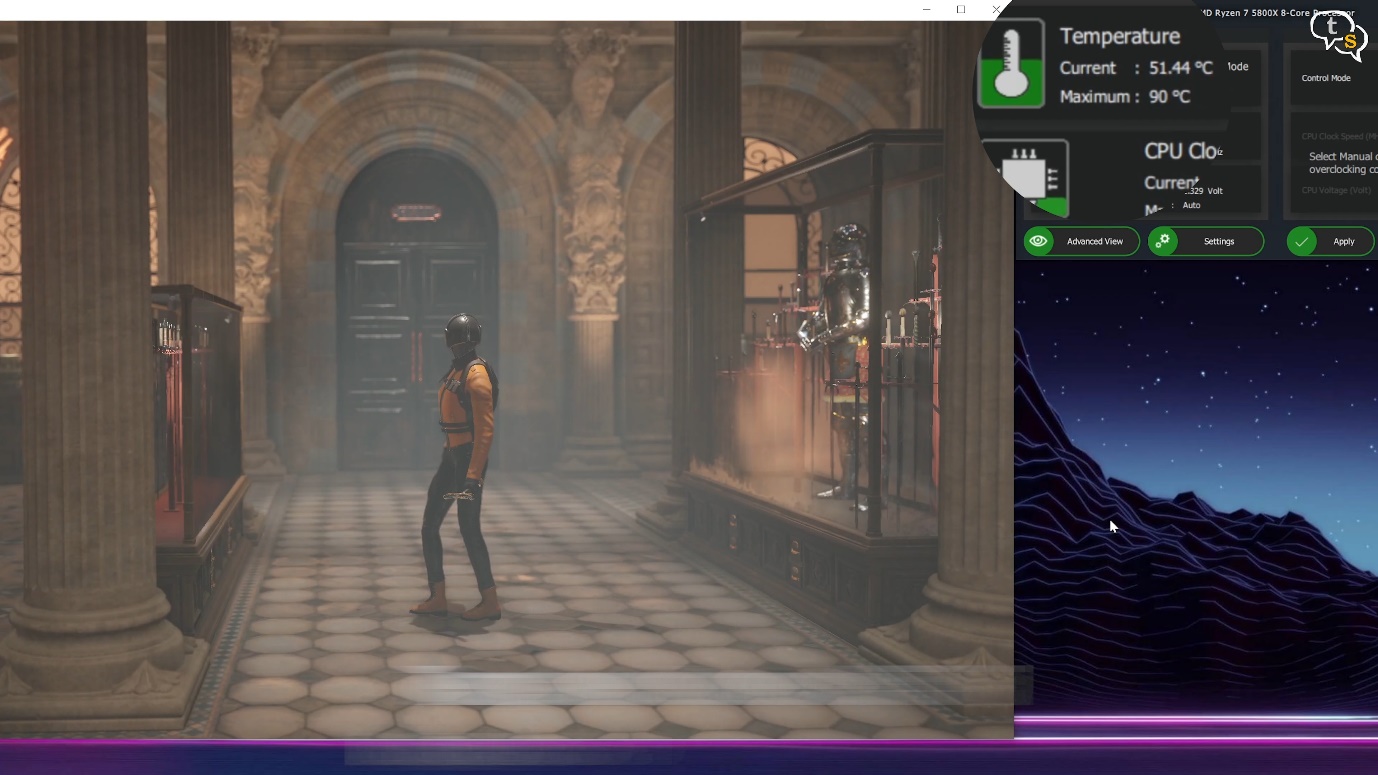
Time spy is more gaming centric benchmarking so the CPU is quite low in temperature hitting the 51 degrees mark.
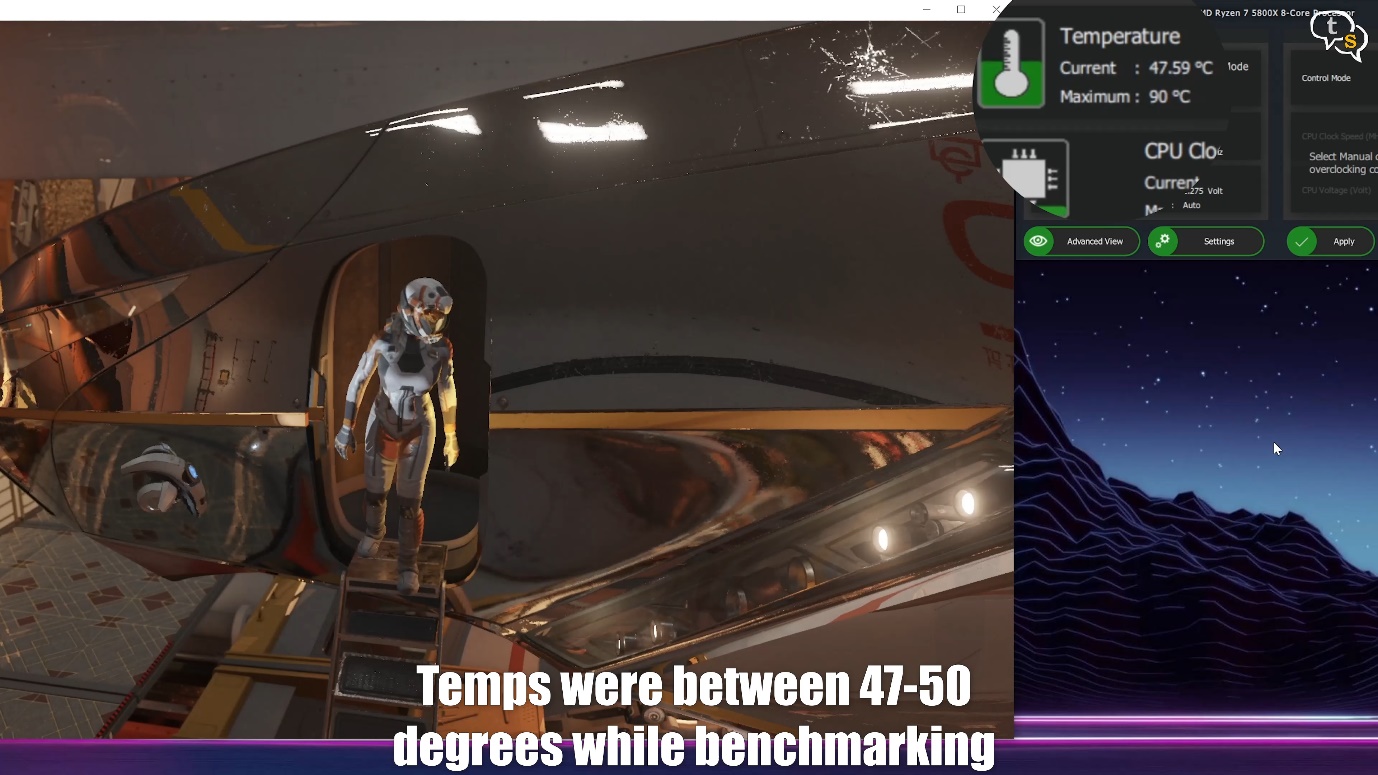
Port Royale similarly is more GPU bound and the temperatures are lower at 47 degrees, with raytracing enabled I expected more.
The AIO is doing a great job keeping the temperatures low, the only time it closes in on the 90’s is during Cinebench or the blender rendering tests where the processor is running all out at it’s highest speed. The processor would run well upto 90 degrees centigrade without any thermal throttling, the AIO looks to be able to keep it under the 90-degree mark. Standard use the temp’s are quite controlled with temperatures crossing 70 degrees only when loading up the game or between levels, once within the game the temperatures are around 40-50 degrees. If I had used my older 120mm AIO it would have heated up quite a bit, the Gamerstorm castle 240 V2 does manage to maintain low temperatures which I’m happy about. I’m not overclocking the processor, so I don’t expect temperatures that high. There are methods to undervolt the processor and get better temps, but I’m fine with how it is right now.