I have been printing on FDM or fused deposition modelling 3D printers for years now and I wanted to get my feet wet into SLA printing. SLA printers are starting to get more affordable now and I have the Anycubic photon mono 4k with me, so let’s see what the advantages and disadvantages are with SLA 3D printing.
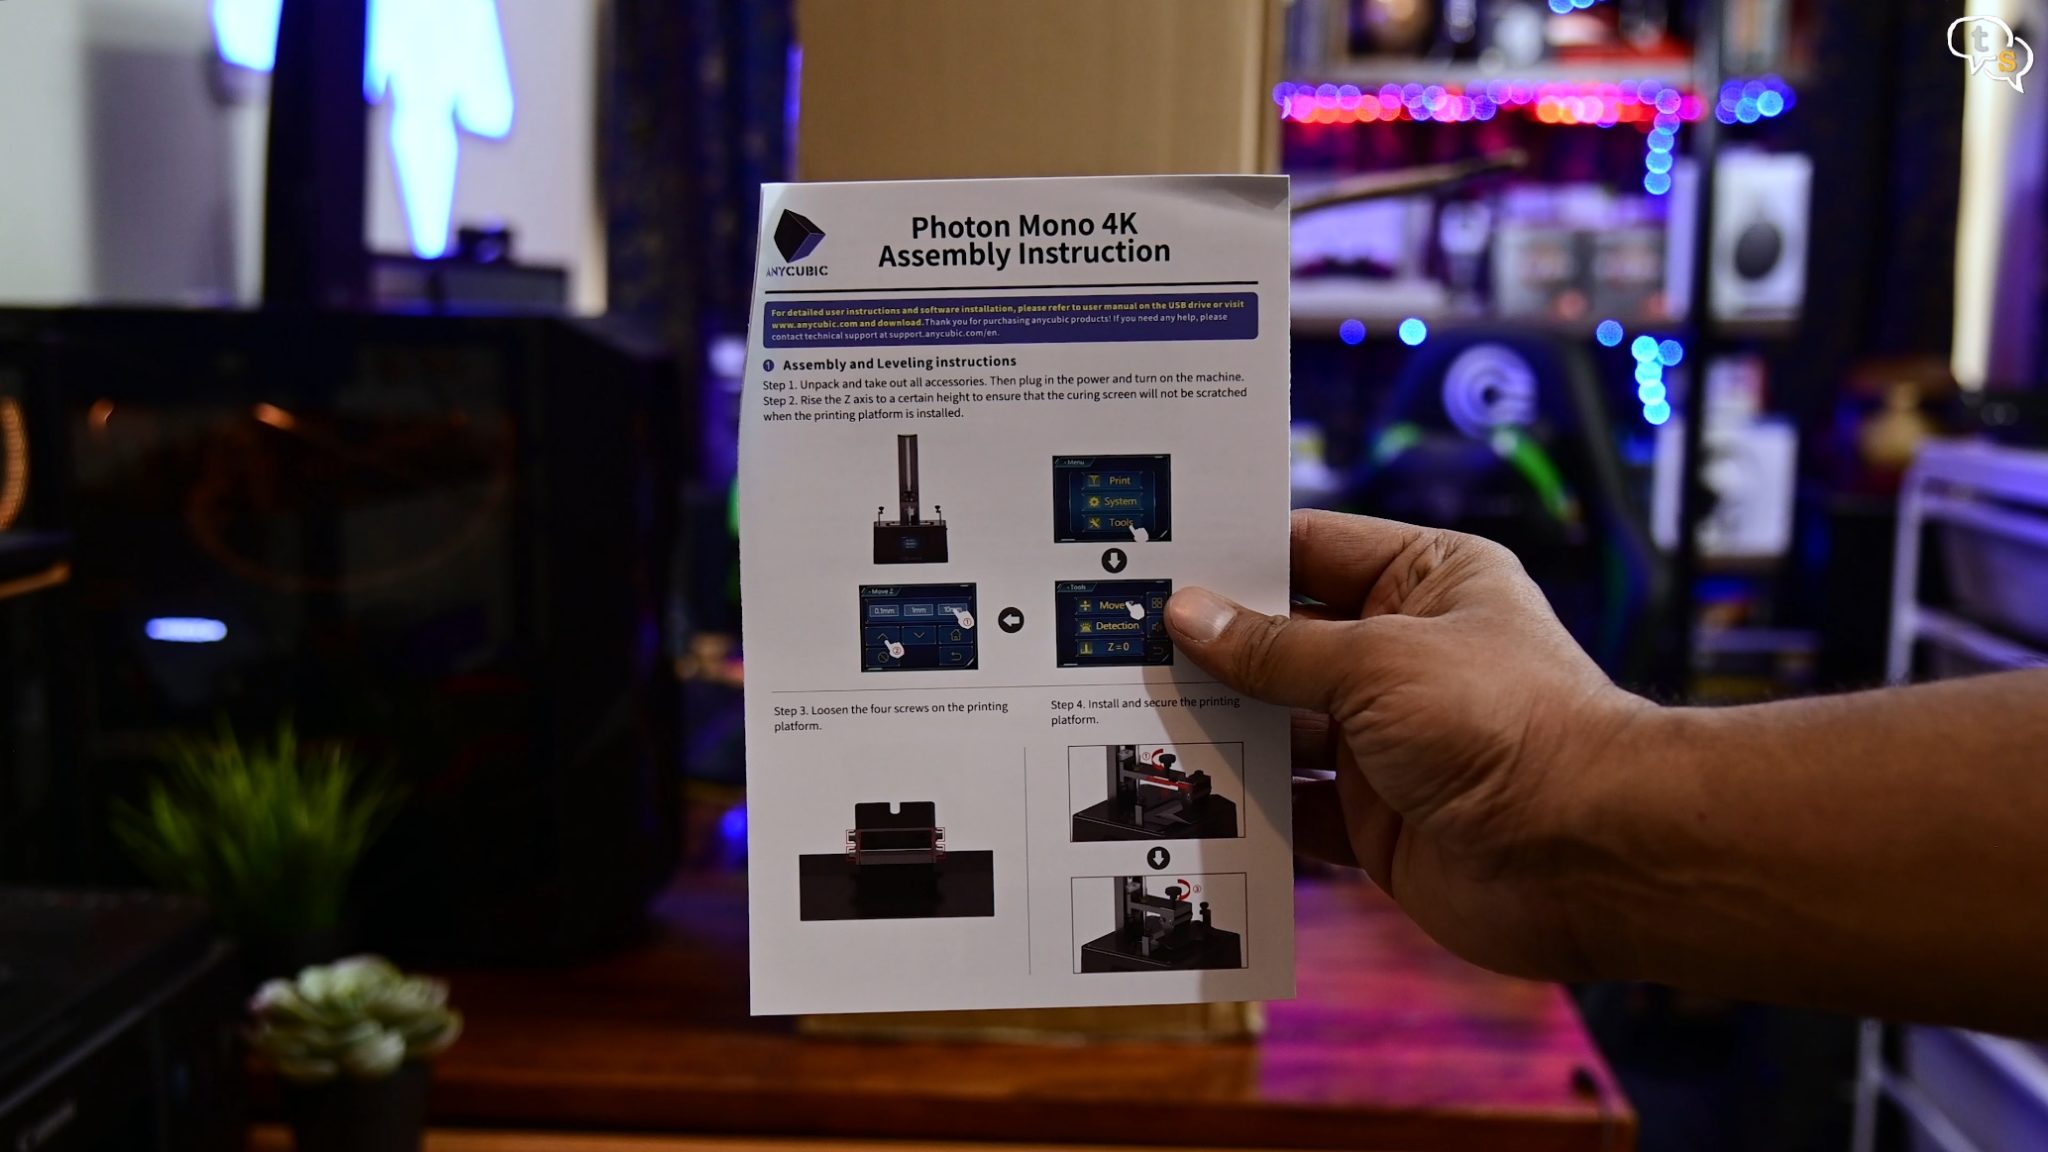
I have here the Anycubic Photon Mono 4k SLA 3d printer. Let’s see what we get in the box. Instruction leaflets and a manual.
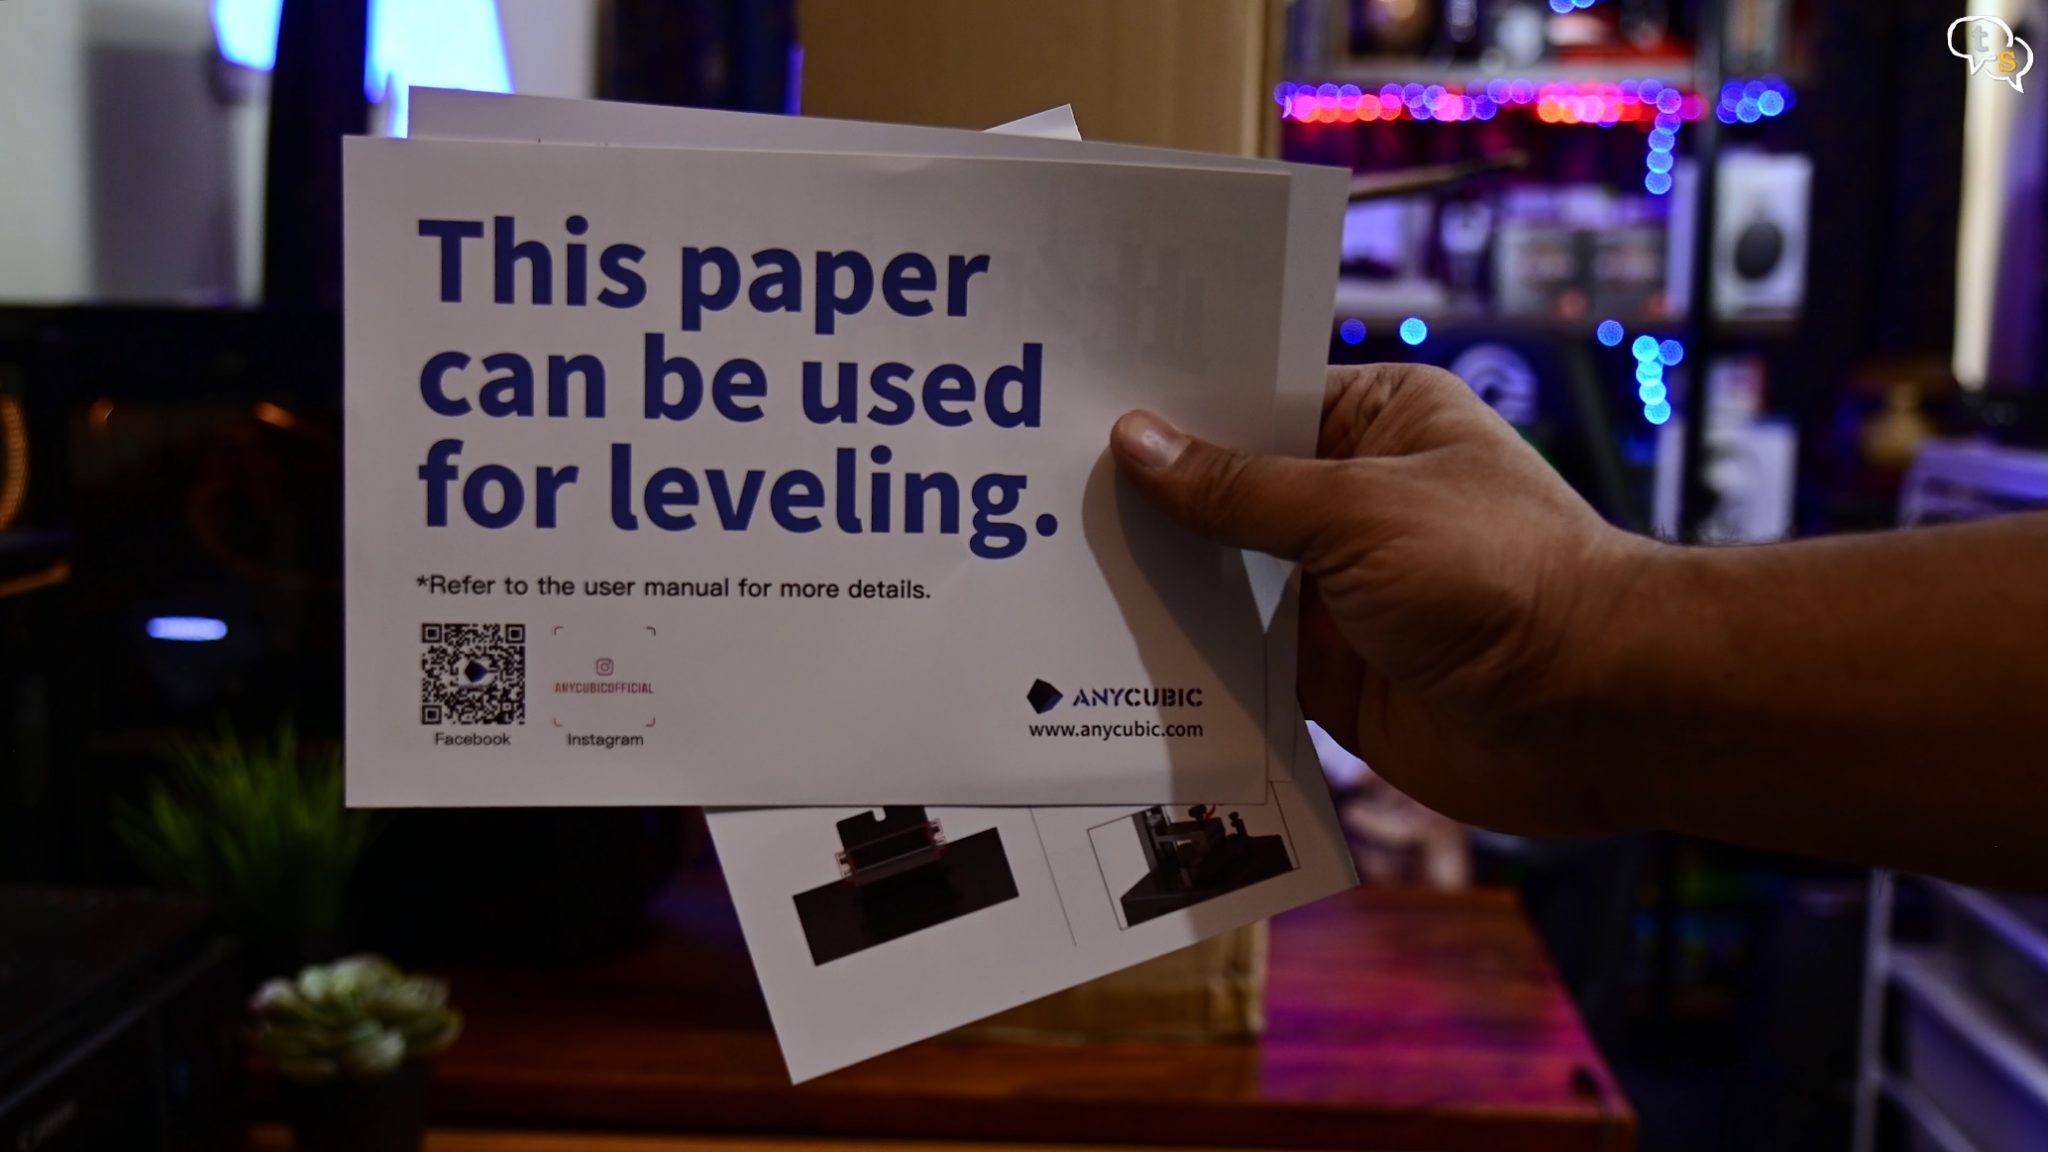
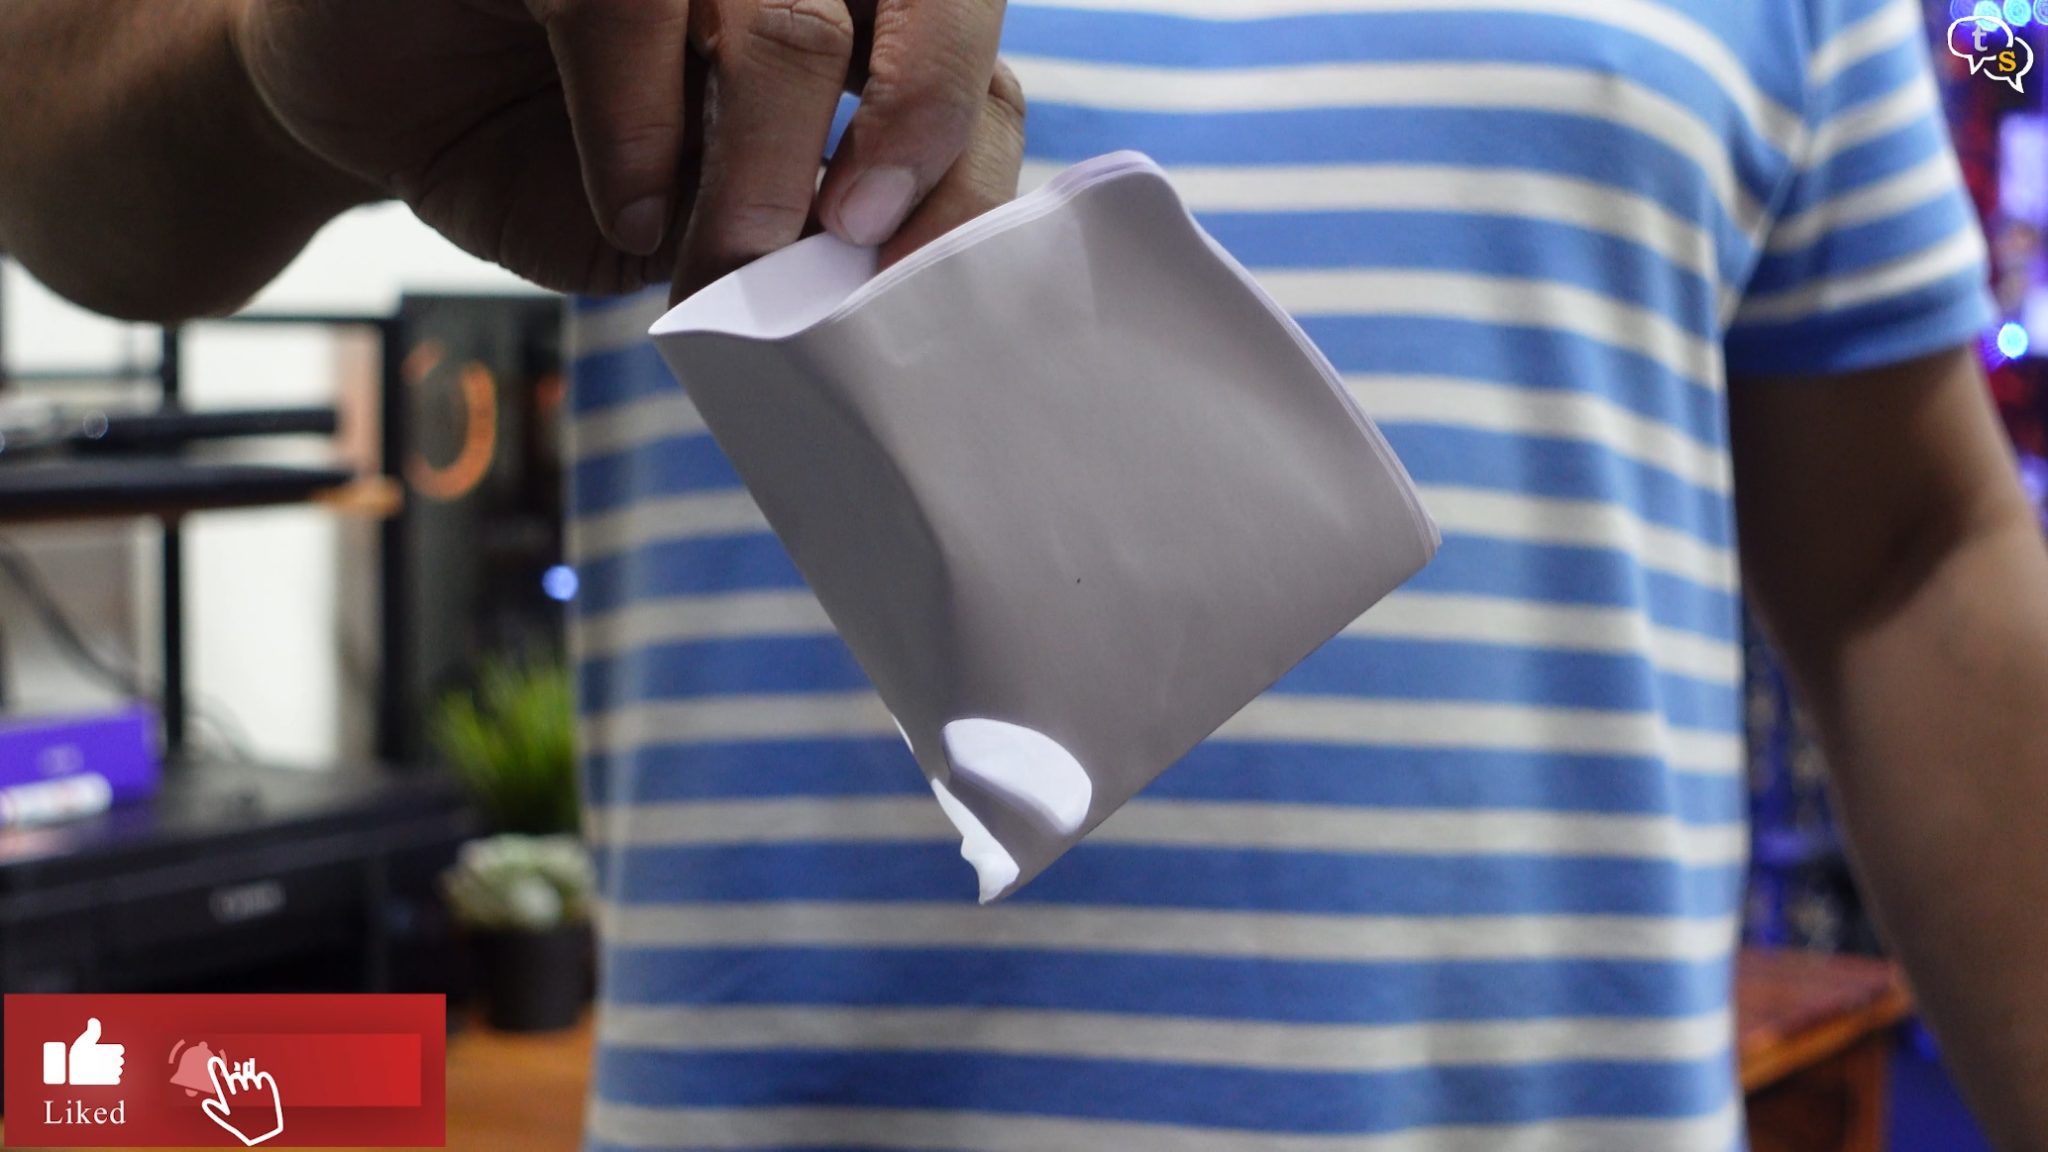
This sheet can be used to level the print platform which has to be installed separately.
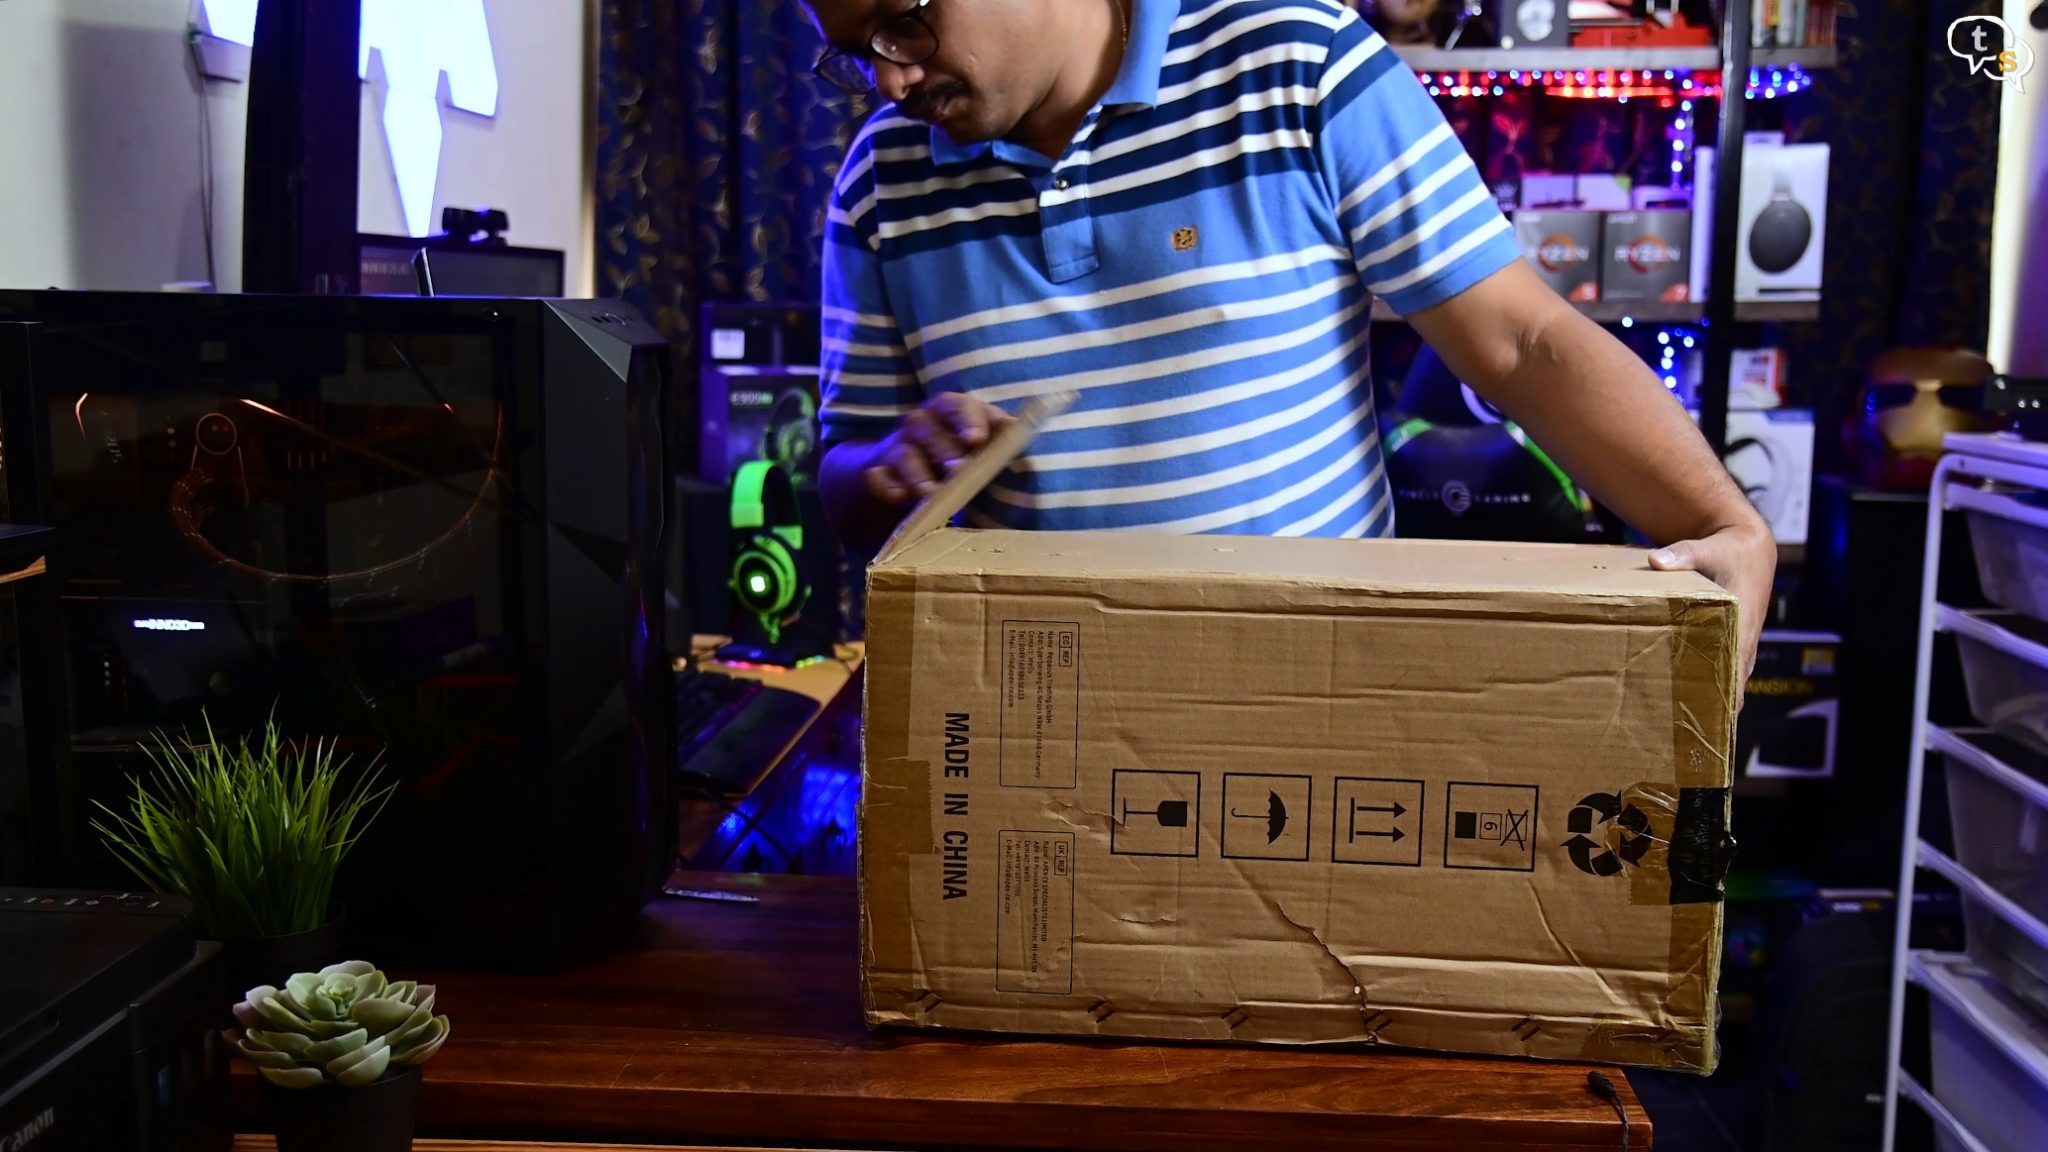
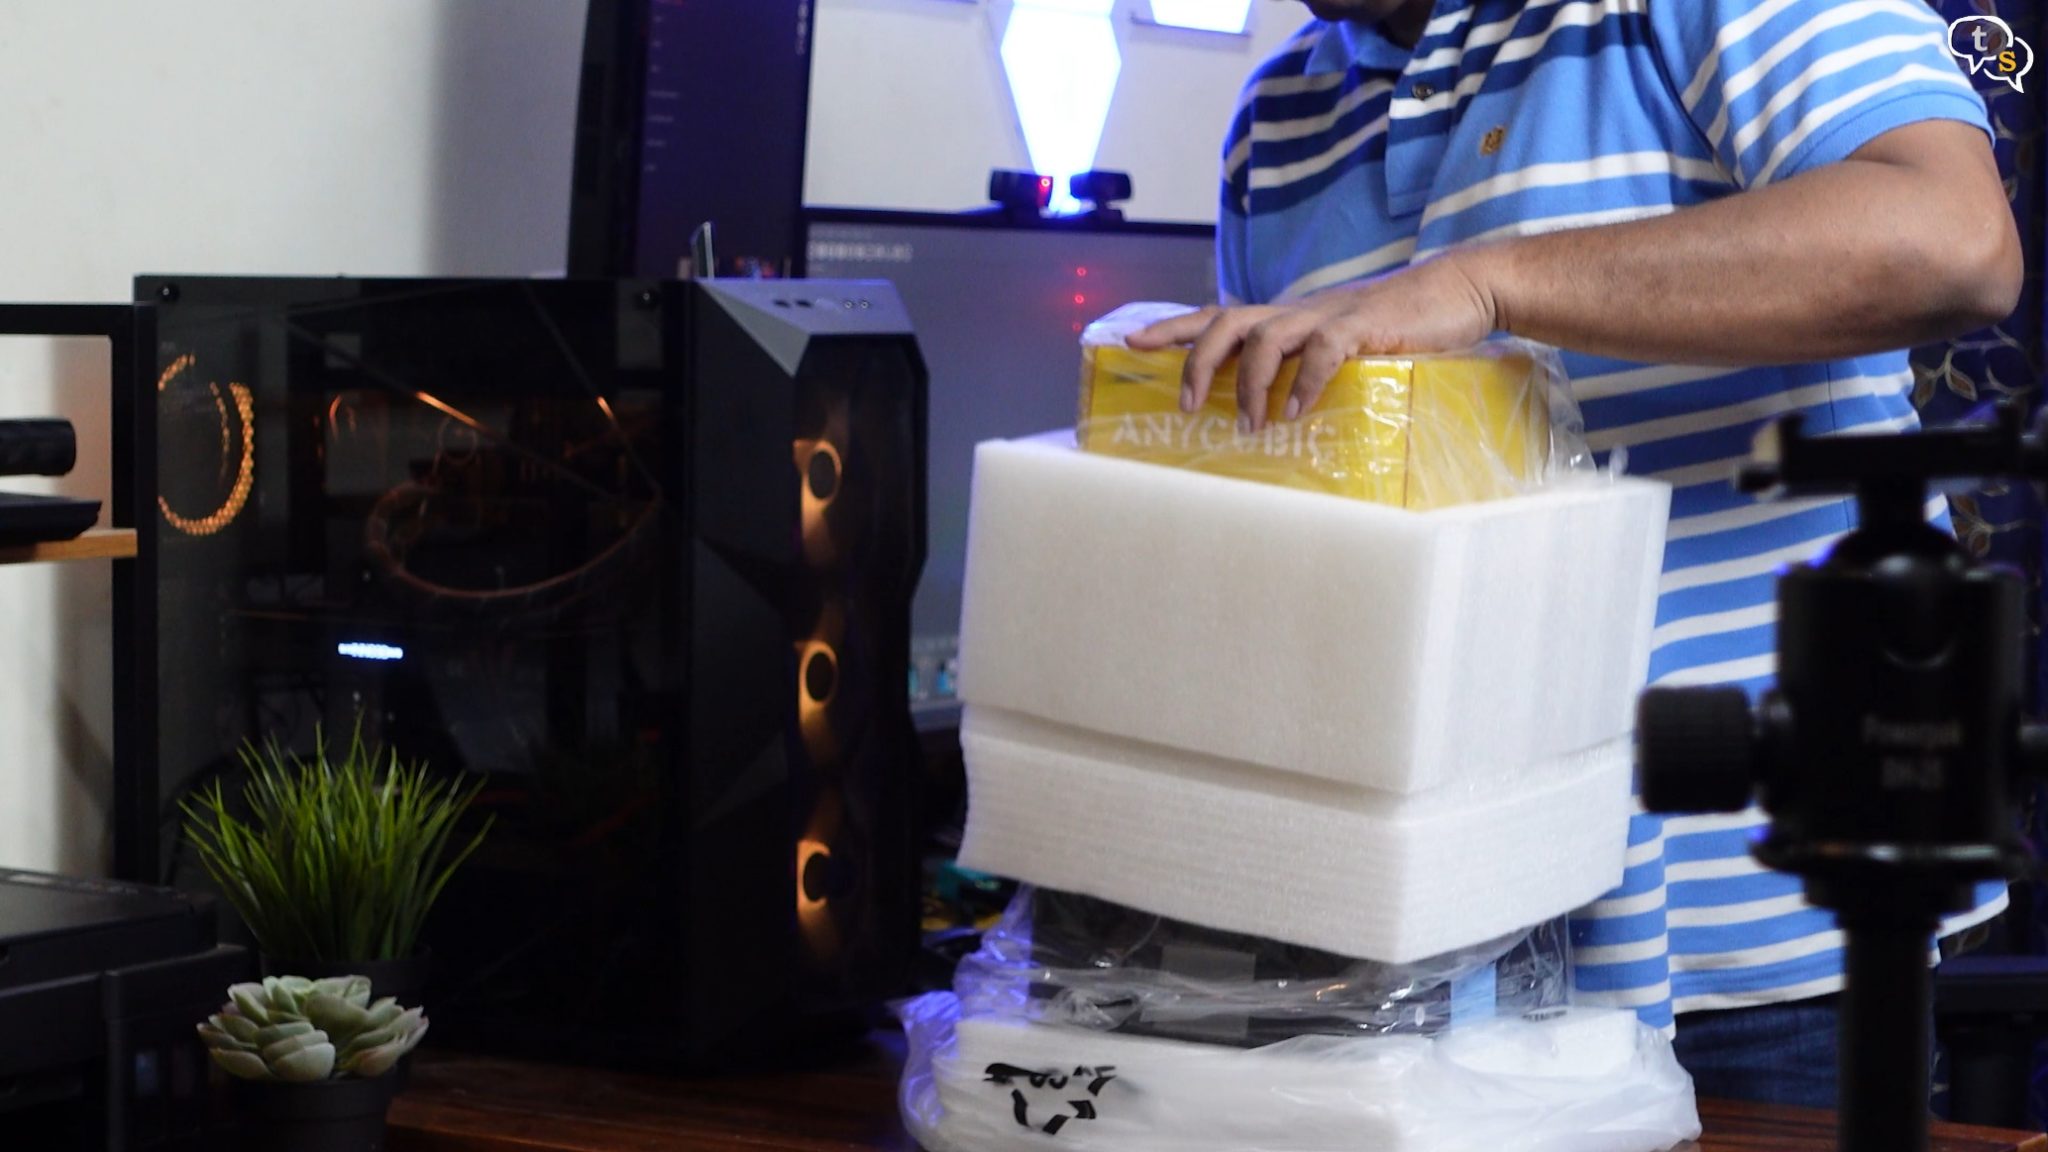
Opening the bottom of the box we can get the printer out in one go without having to lift it out of the box.

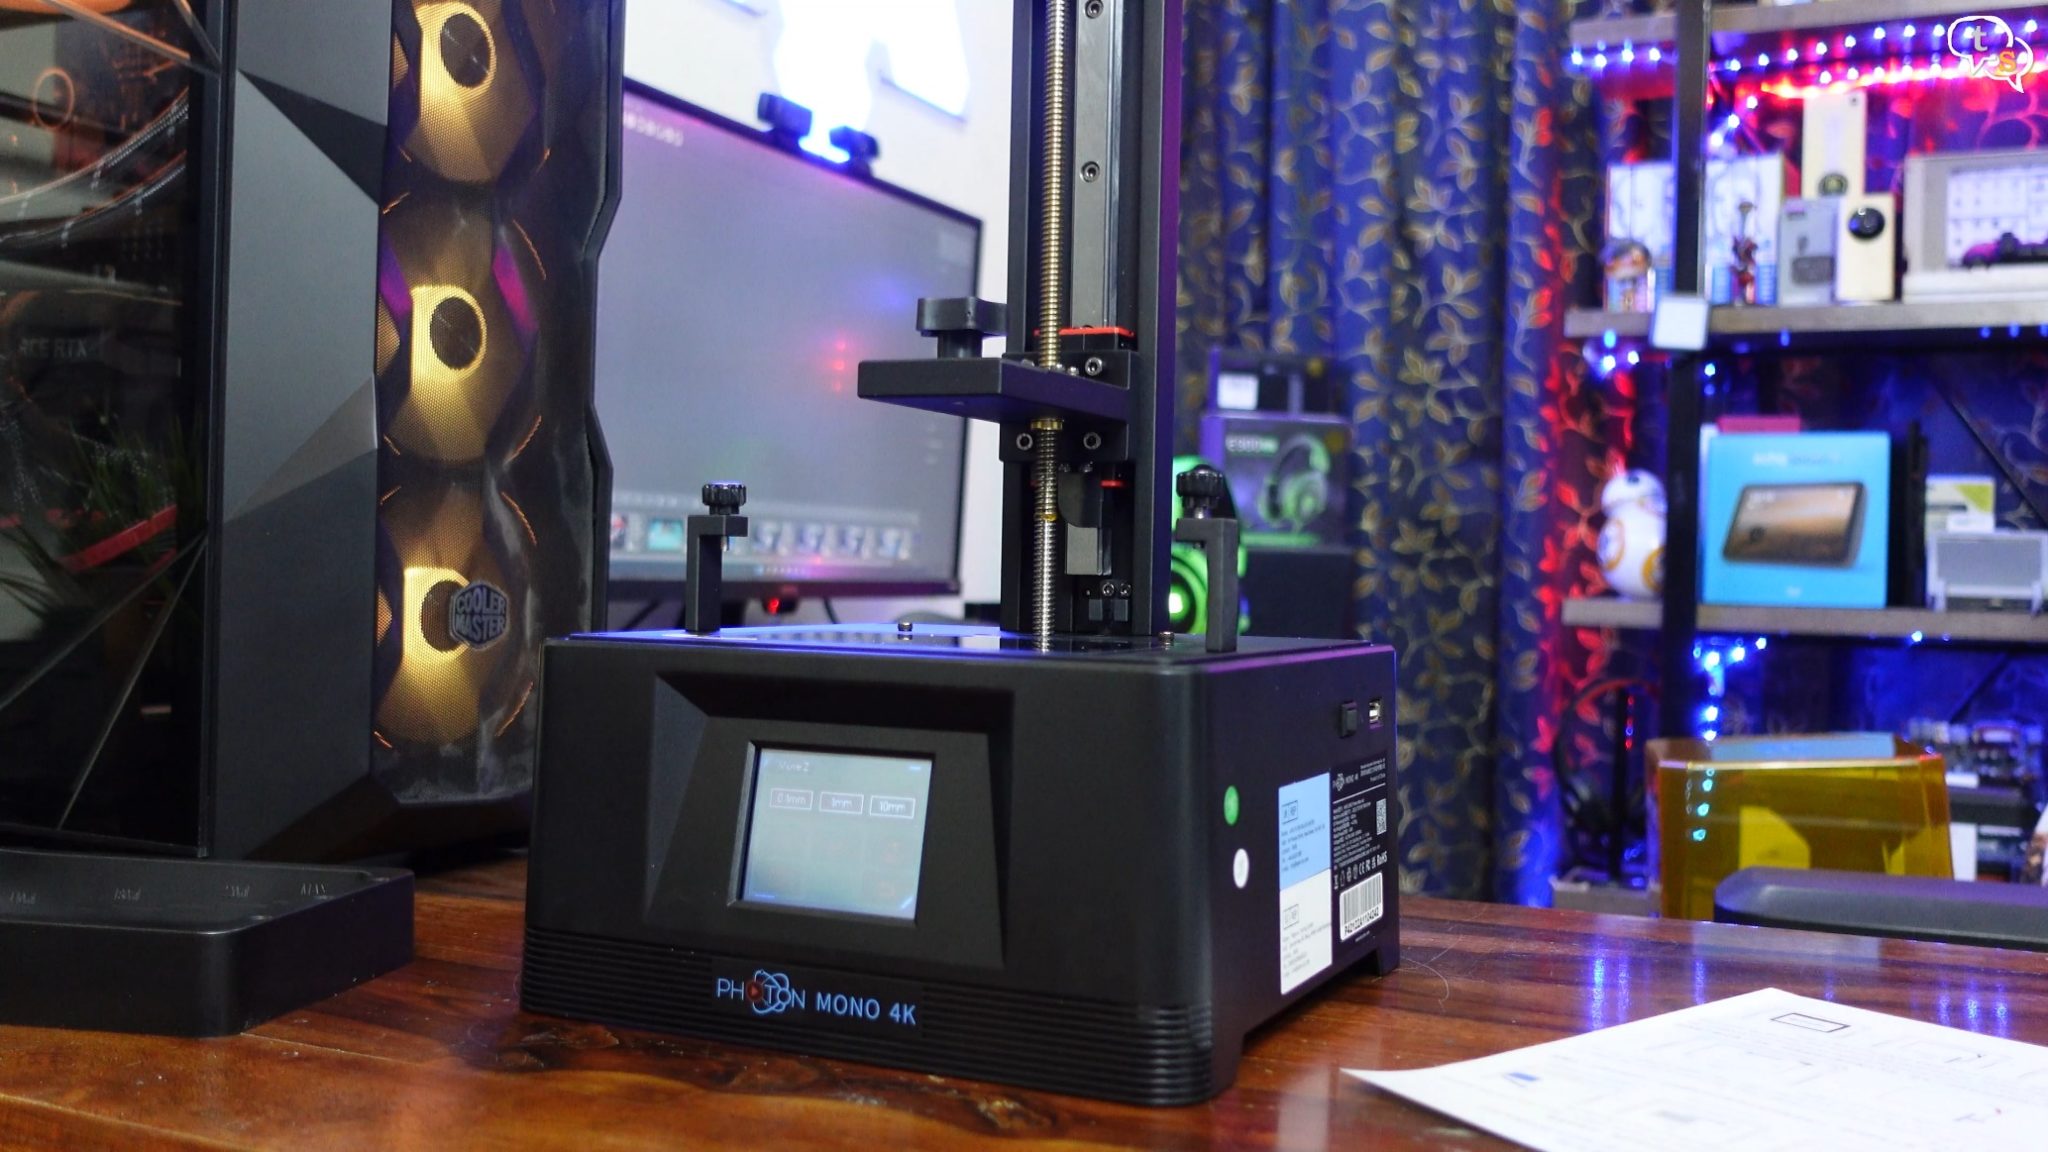
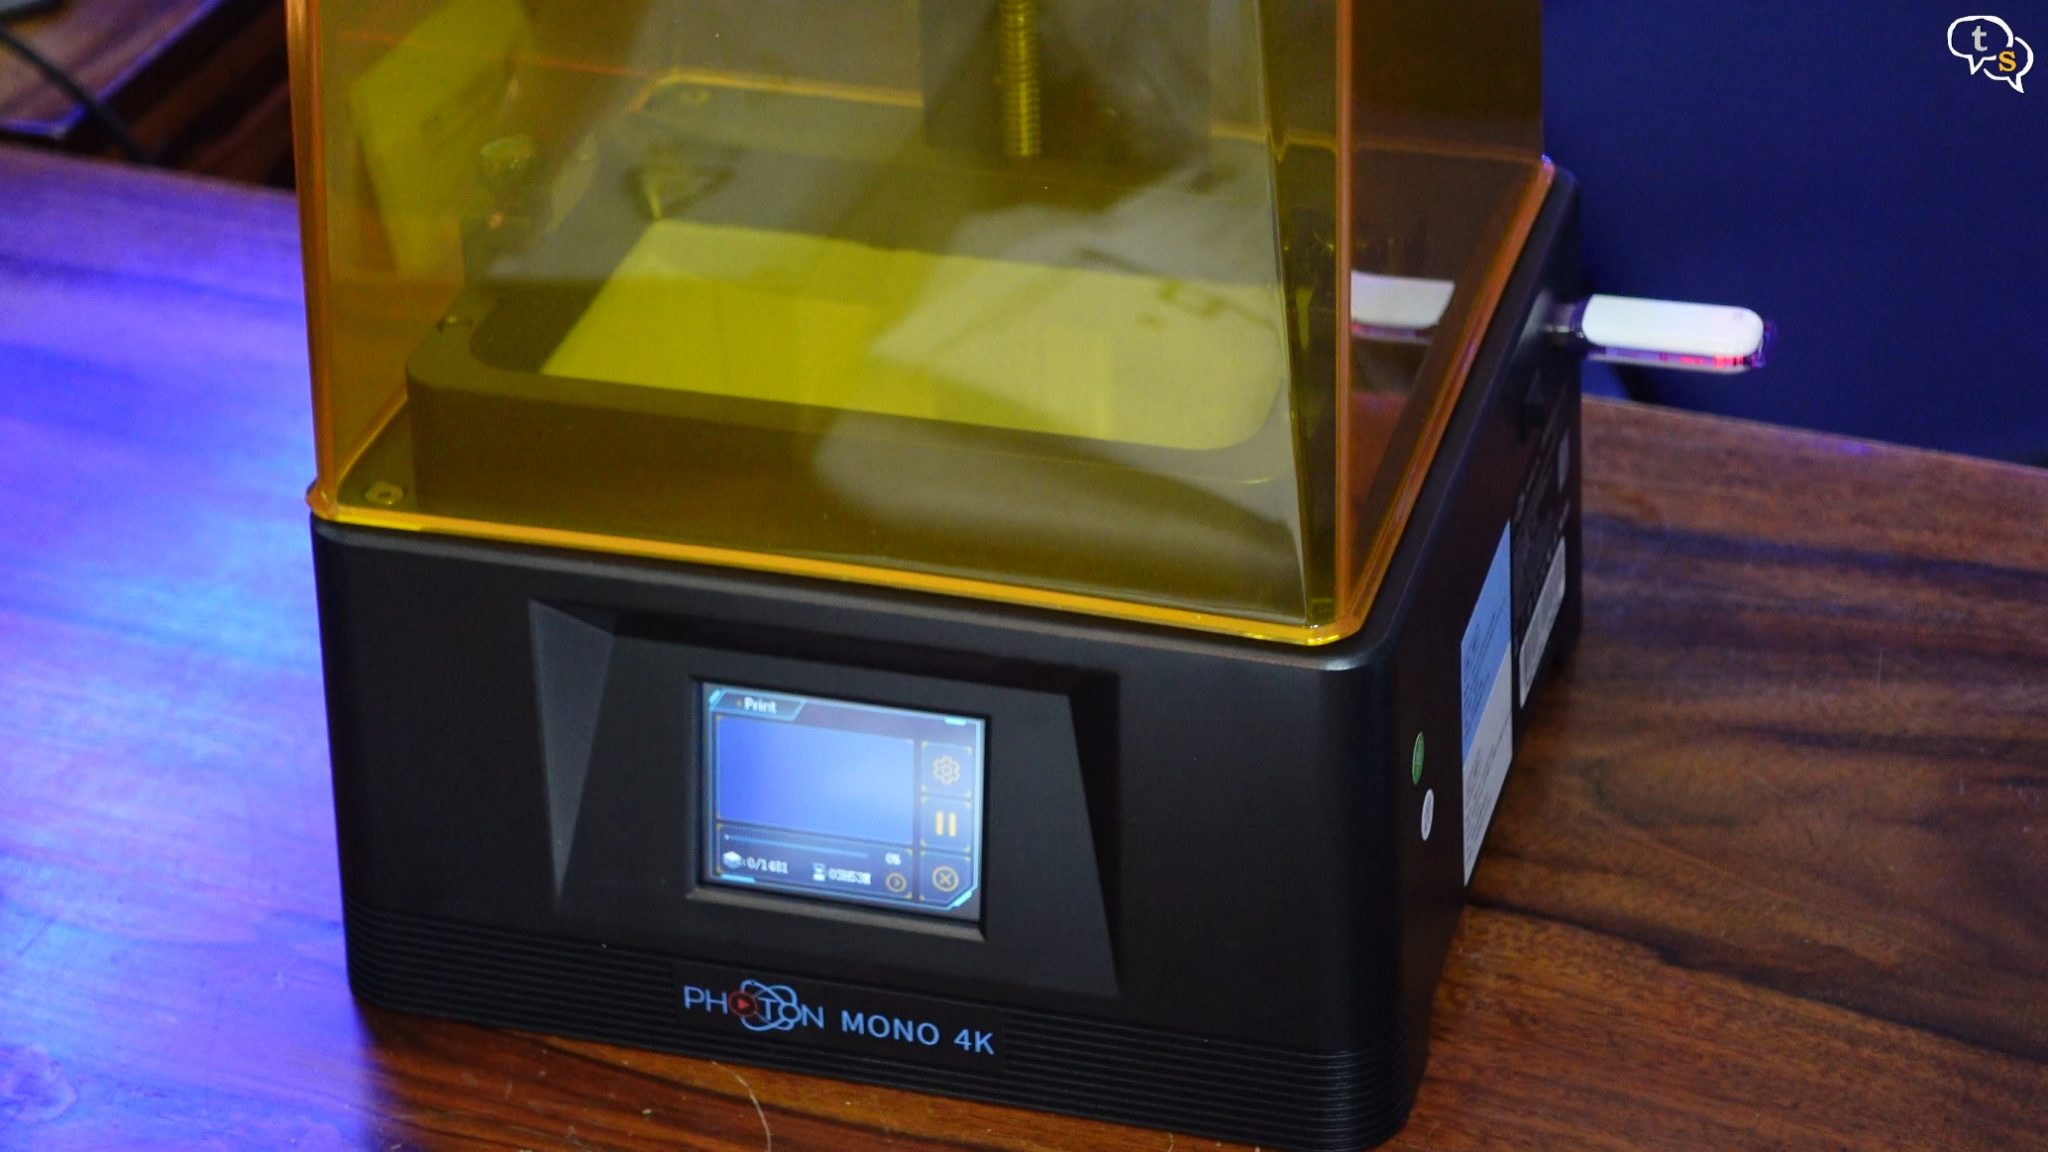
Here we are, the Anycubic photon mono 4k.
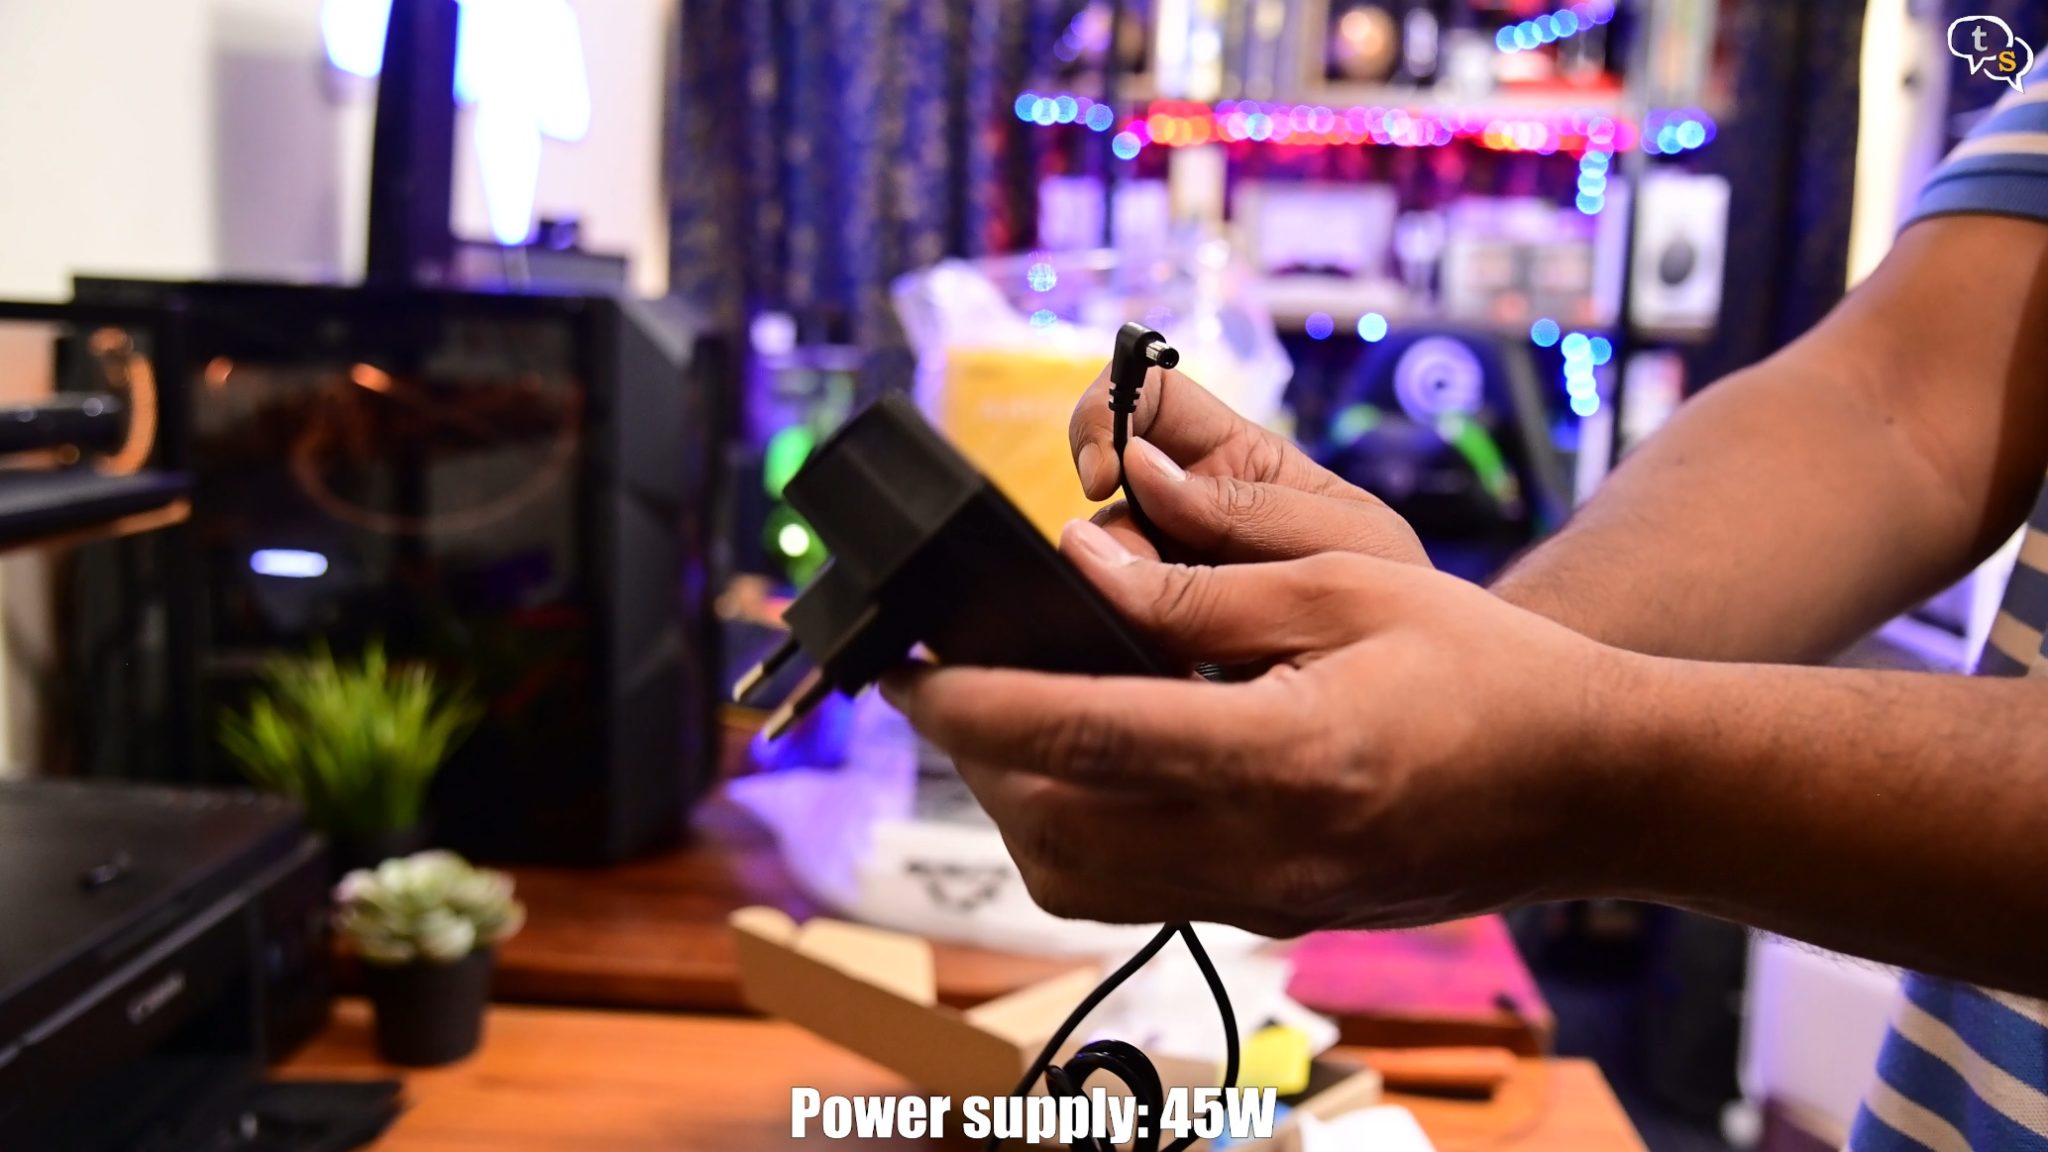
This is the power adapter provided which has a barrel port.
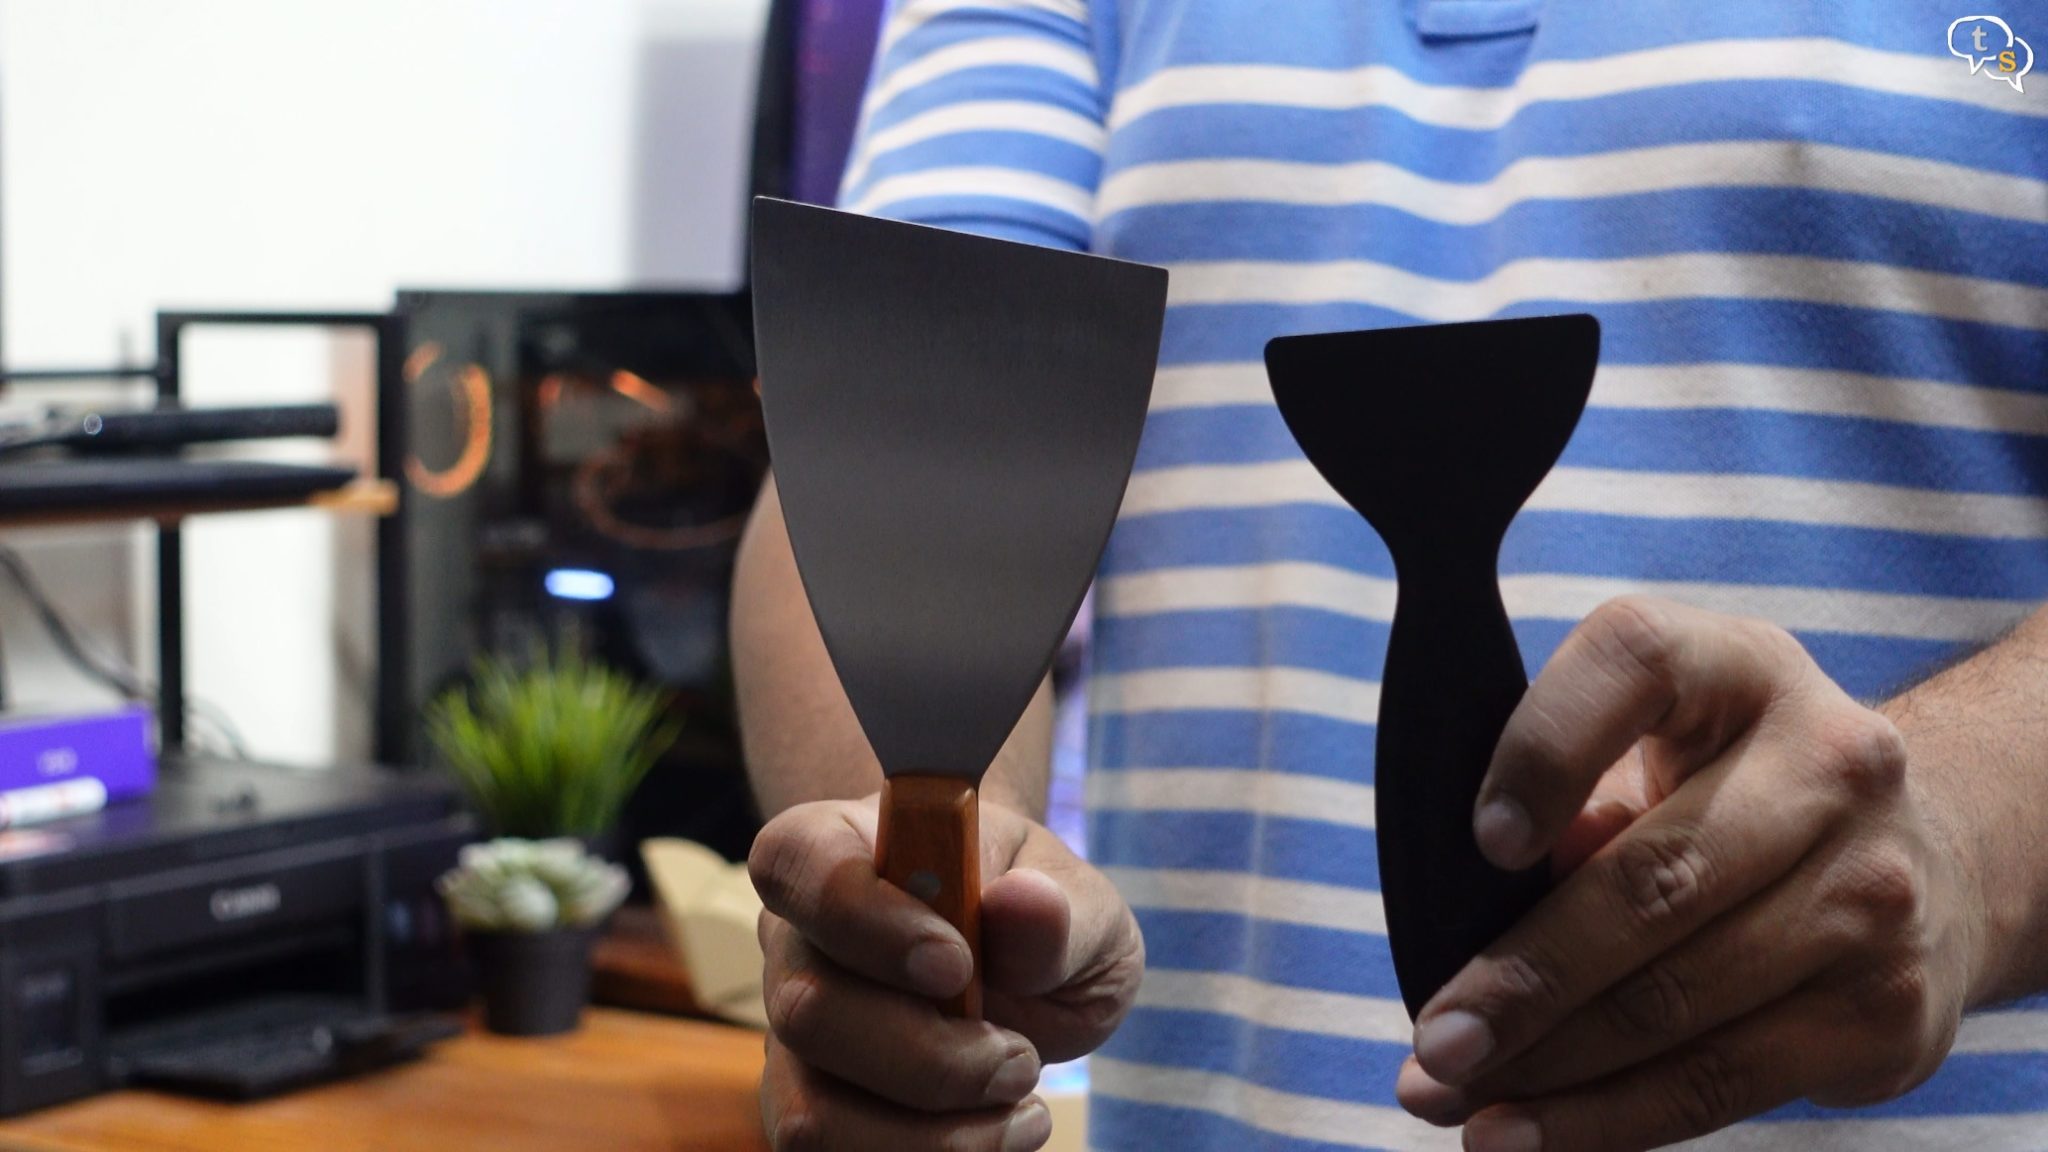
Two spatulas, metal for the print platform and plastic for the resin vat and other soft areas.
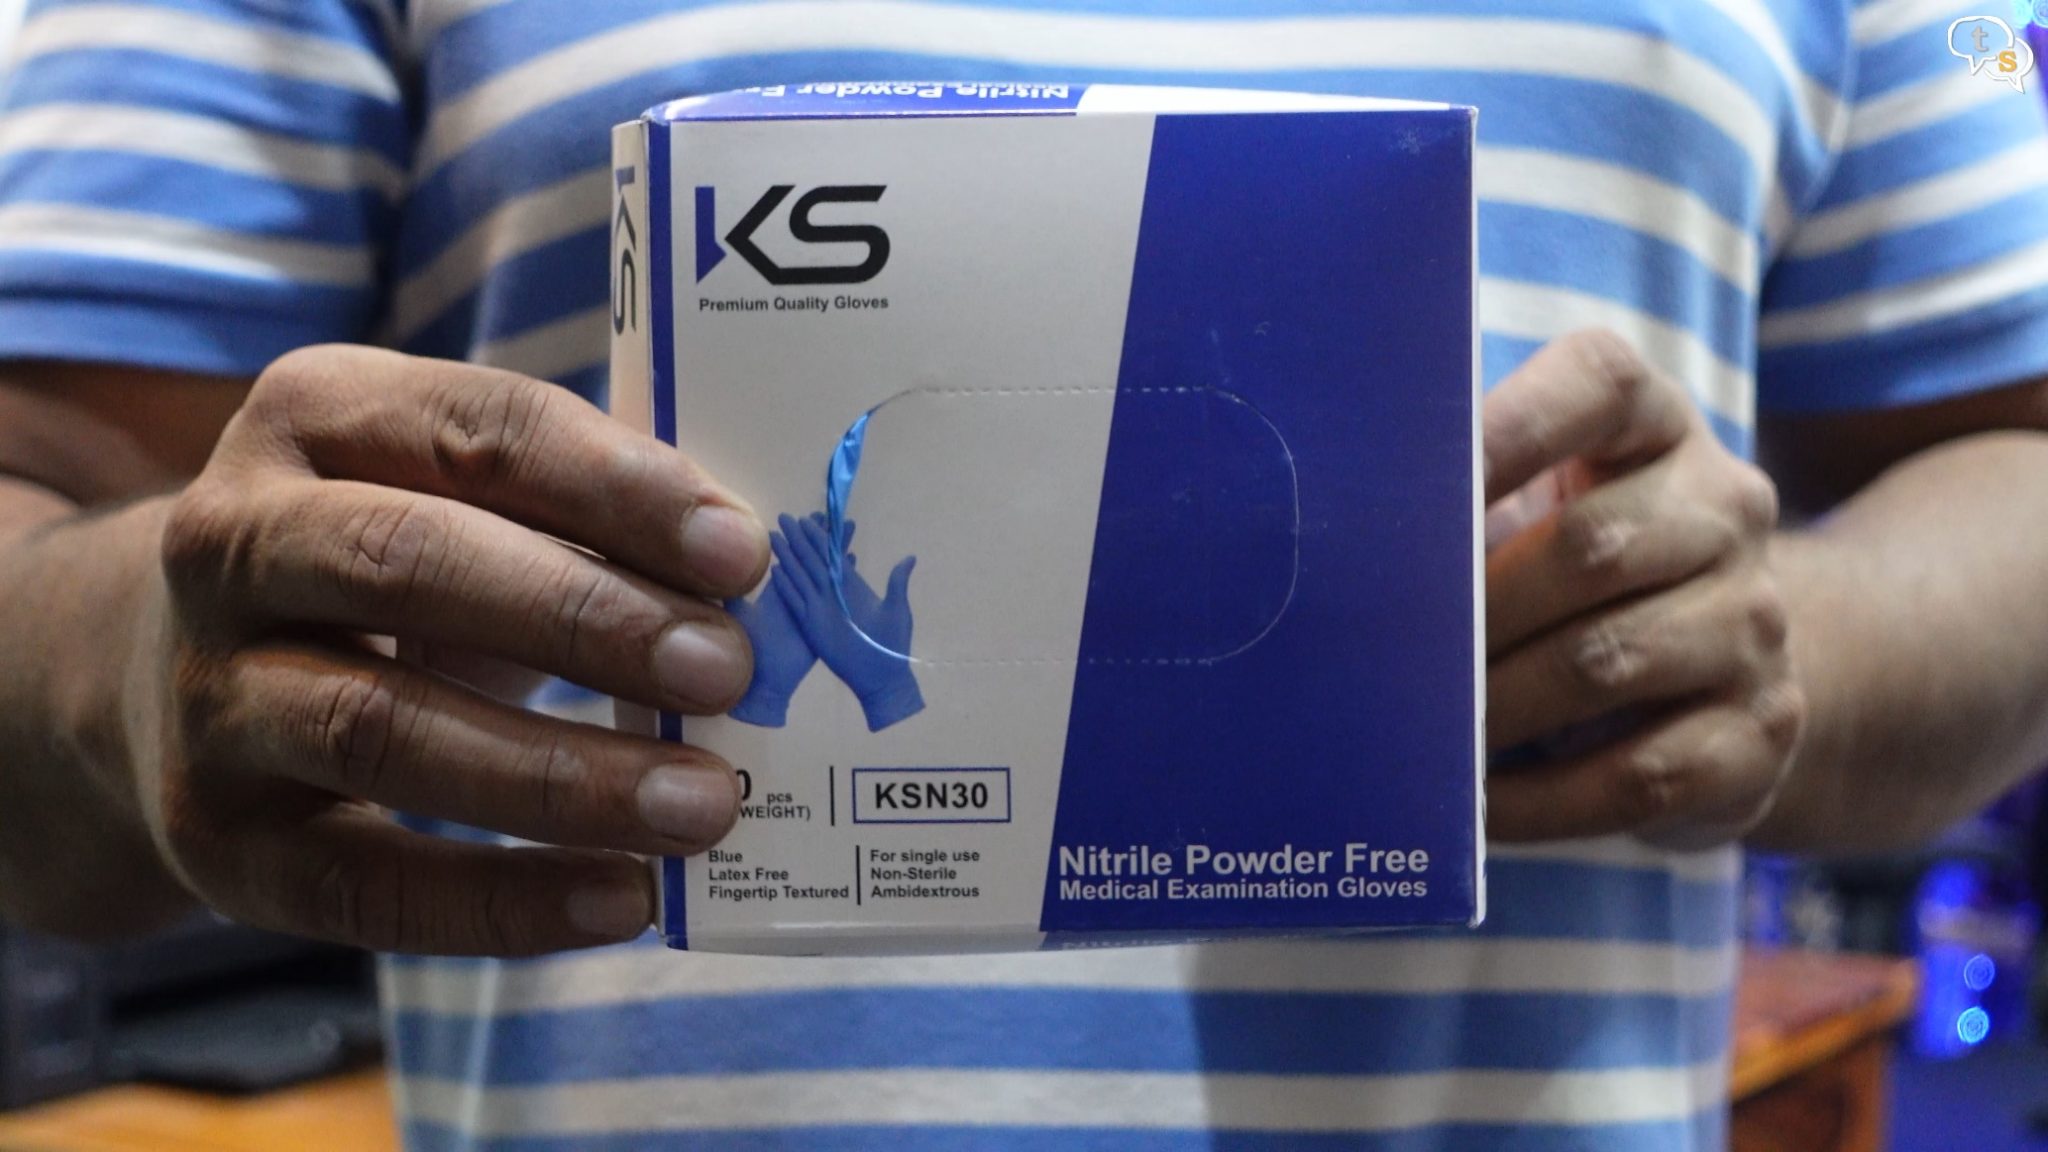
Nitrile gloves, as the resin is toxic, we need to use gloves to protect ourselves. I purchased a whole pack as I will need more than two pairs.

I also picked up a pair of safety goggles, to protect my eyes.
Funnels are provided to ease pouring excess resin out of the vat back into the resin bottle.
A screen protector to stick over the UV display.
Ok, now for the printer. On top is the UV blocking transparent cover to protect us from any stray UV light.
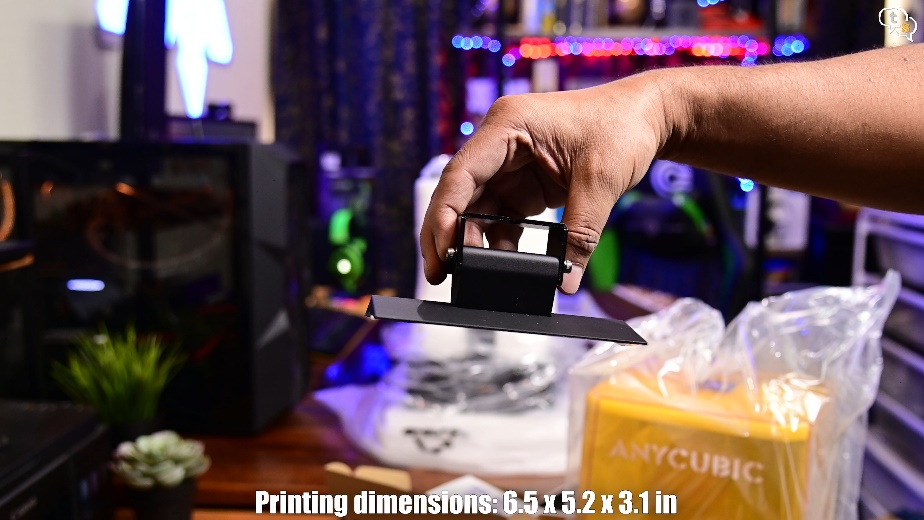

Ah, this is the printing platform. Made of metal and the prints adhere to it upside down as the UV resin cures. We have lines on the metal below which allows for better resin adhesion.
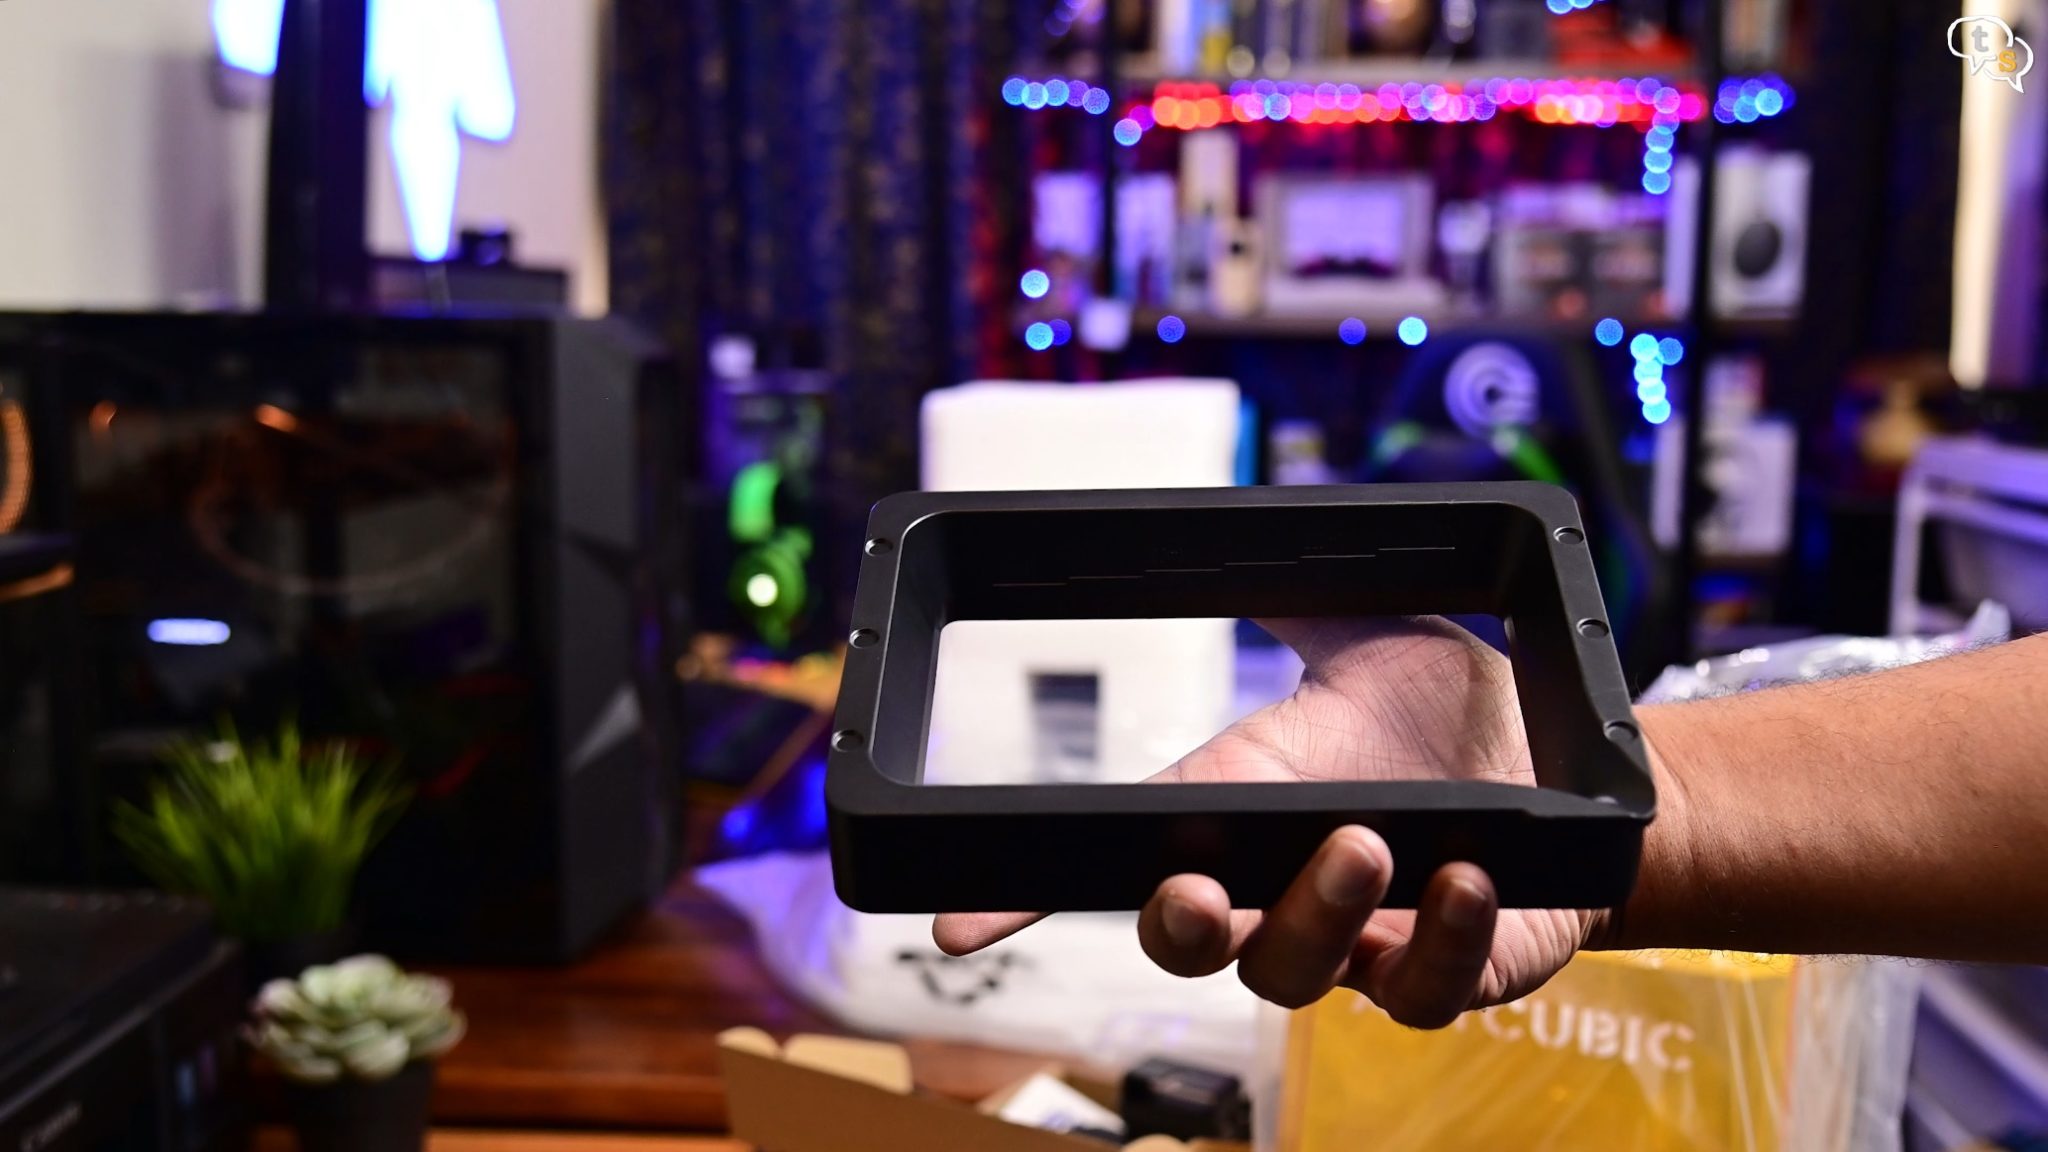
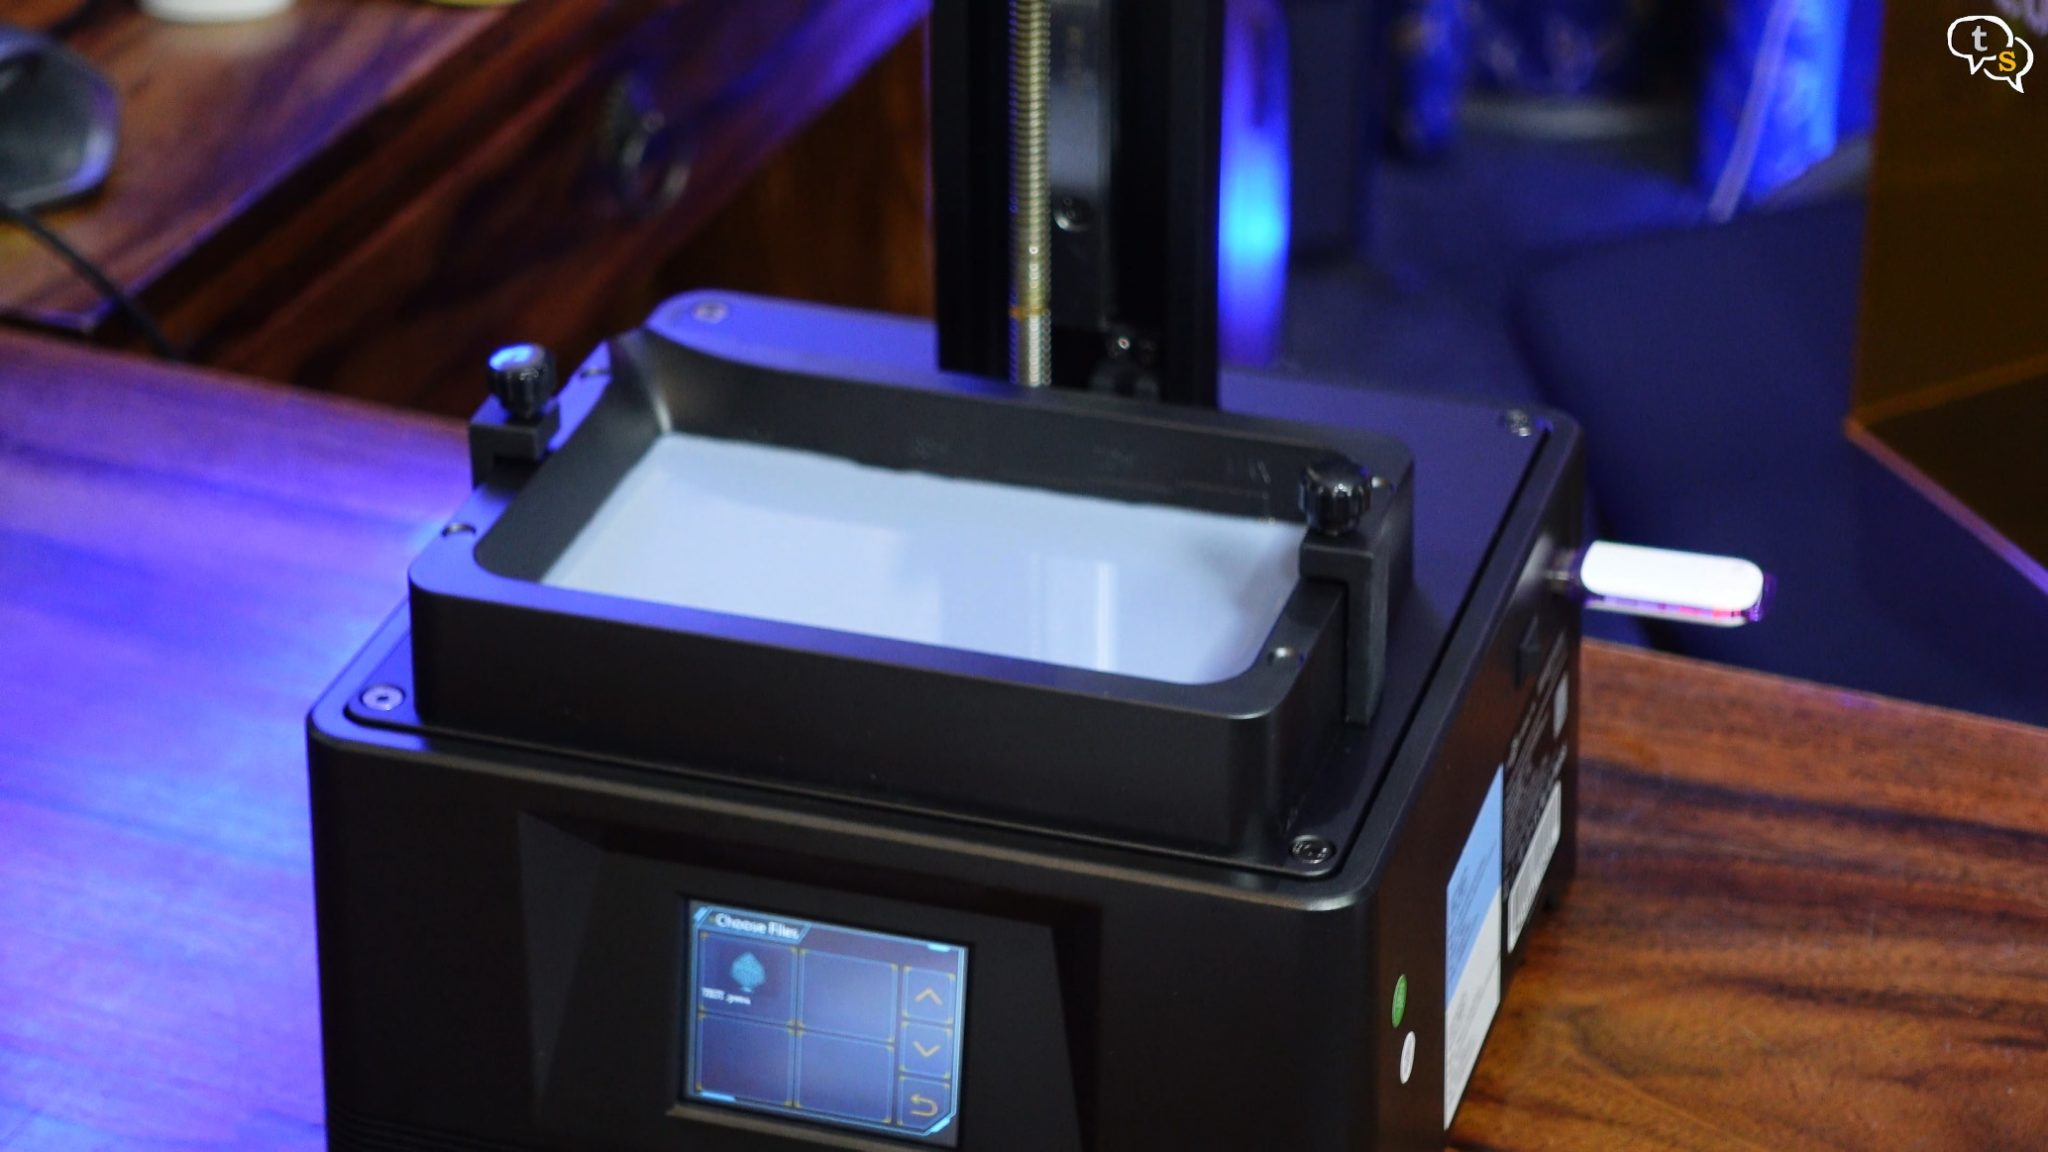
Next we have the resin vat, this is where we pour the resin.
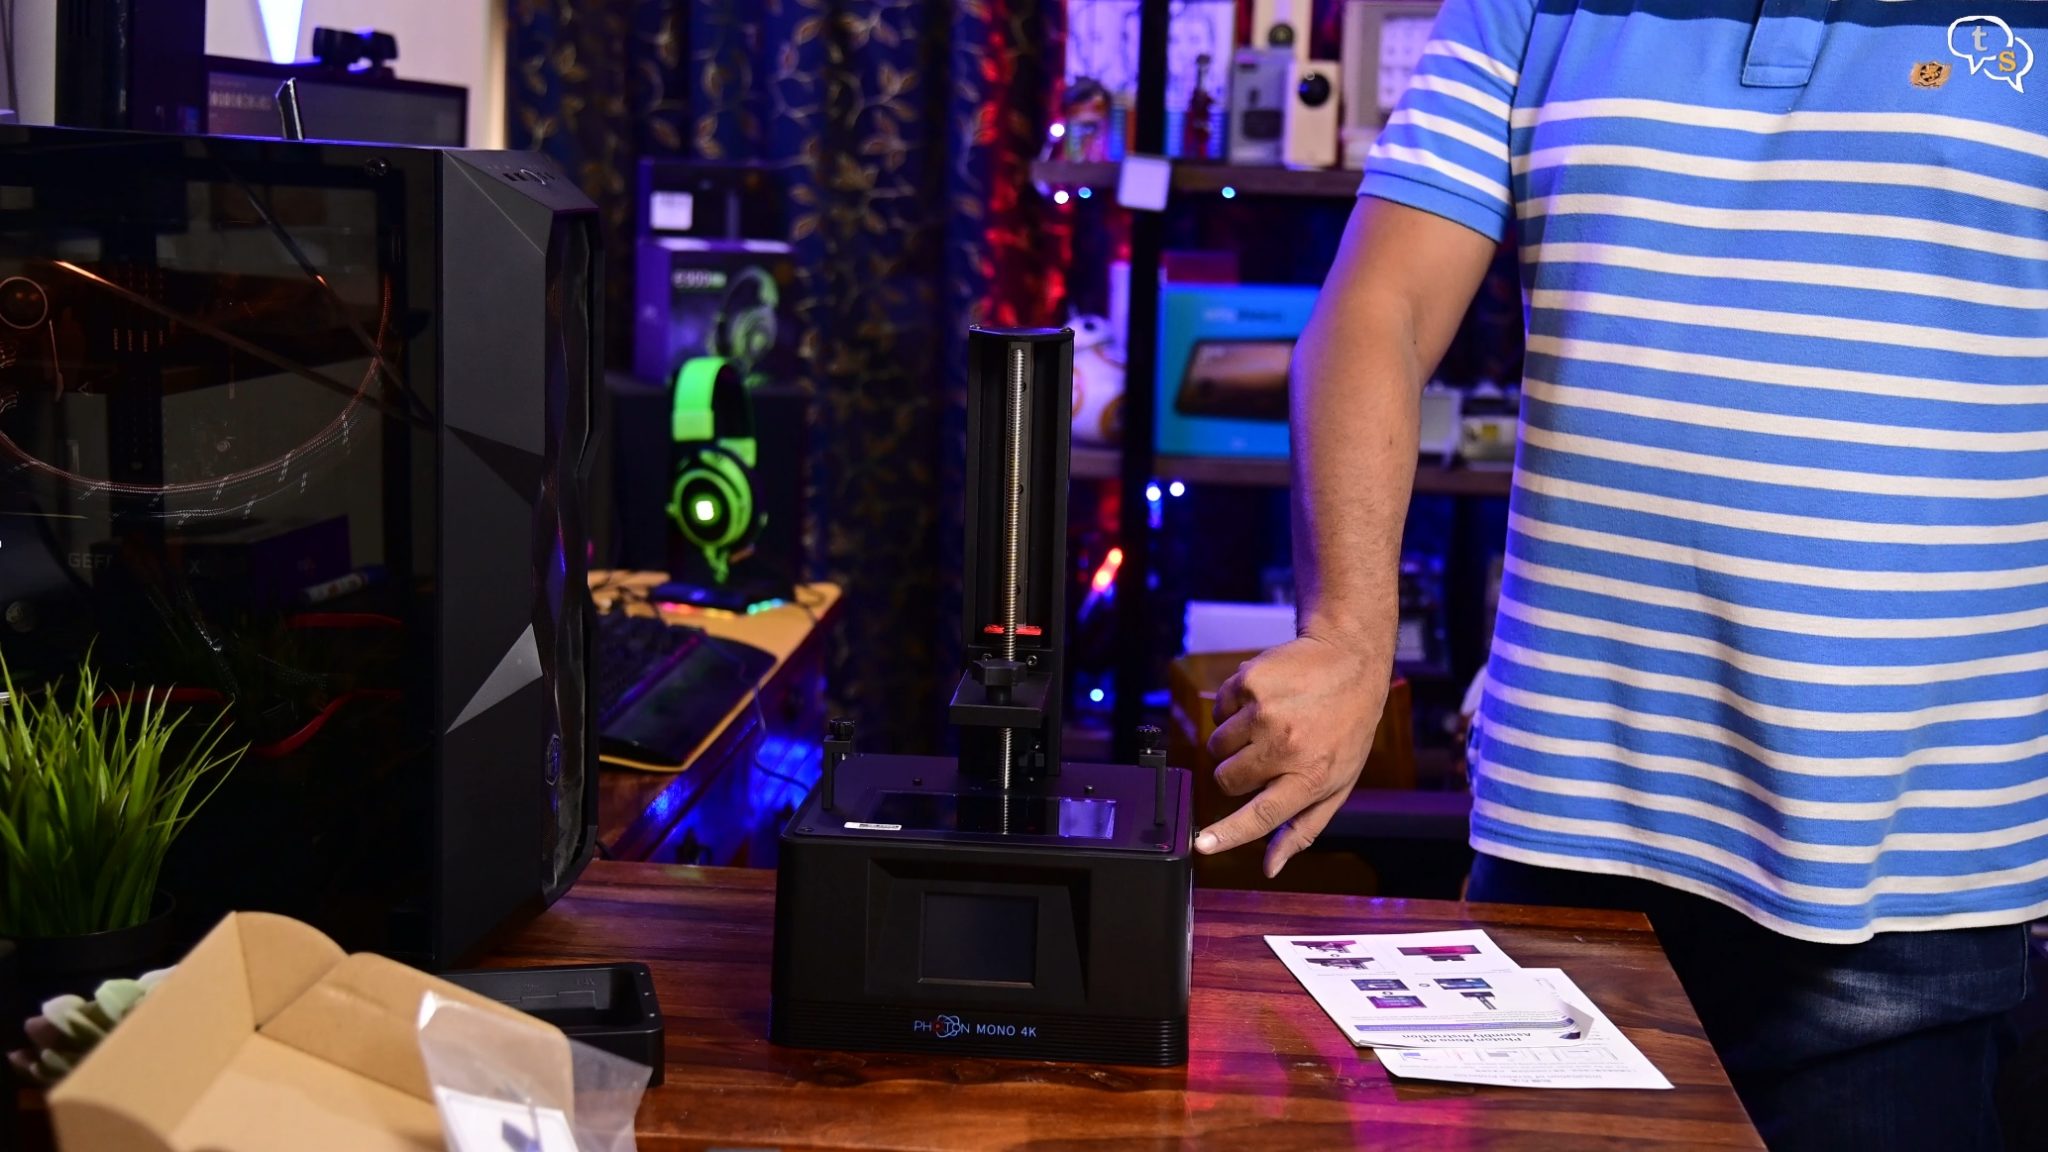
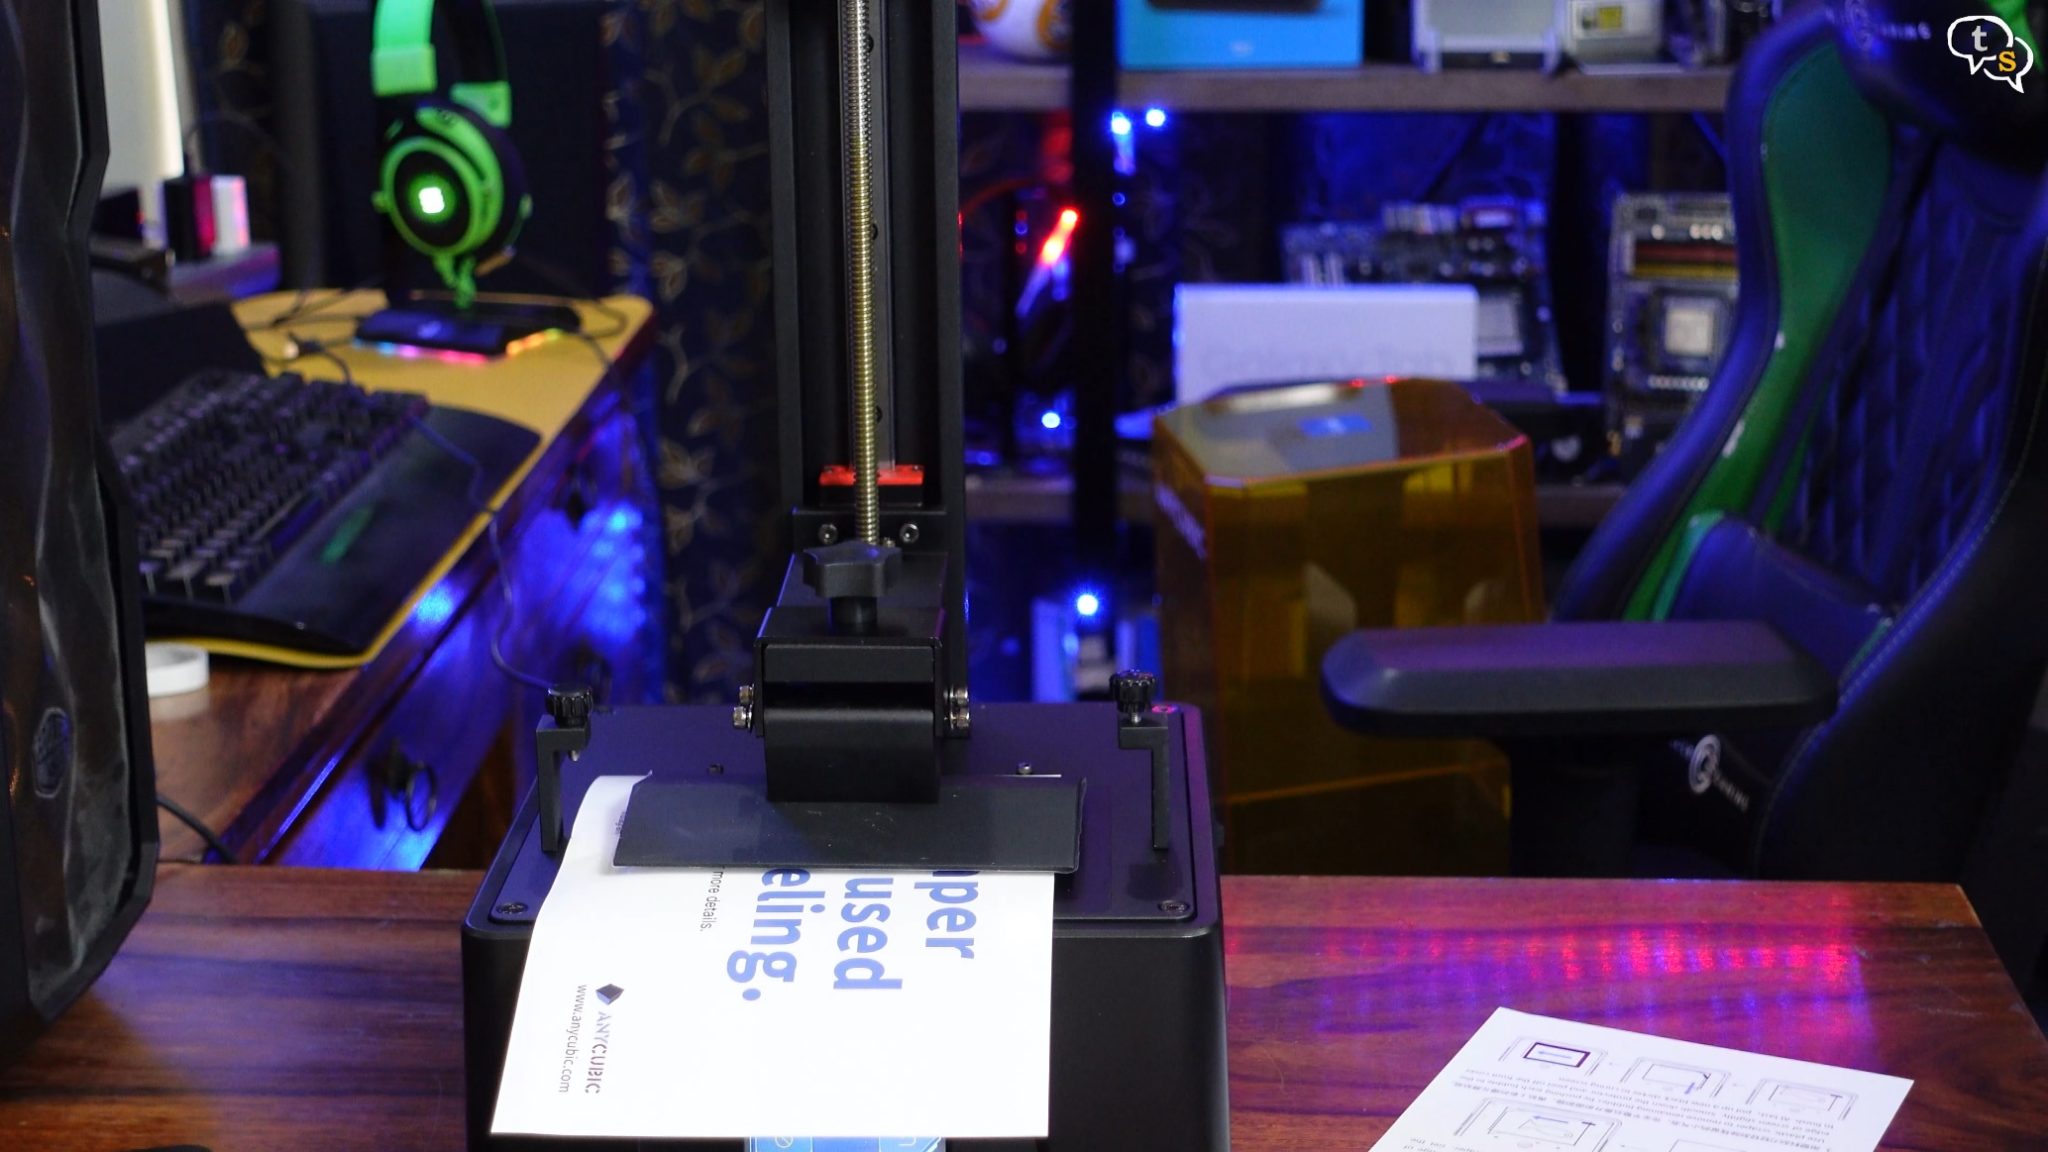
This is the main printer body, and the printer comes mostly fully assembled, with only the build plate and resin vat separate. This is understandable as the build plate needs to be levelled and the vat can just be slid on and screwed down.
Turn it on and it’s ready.
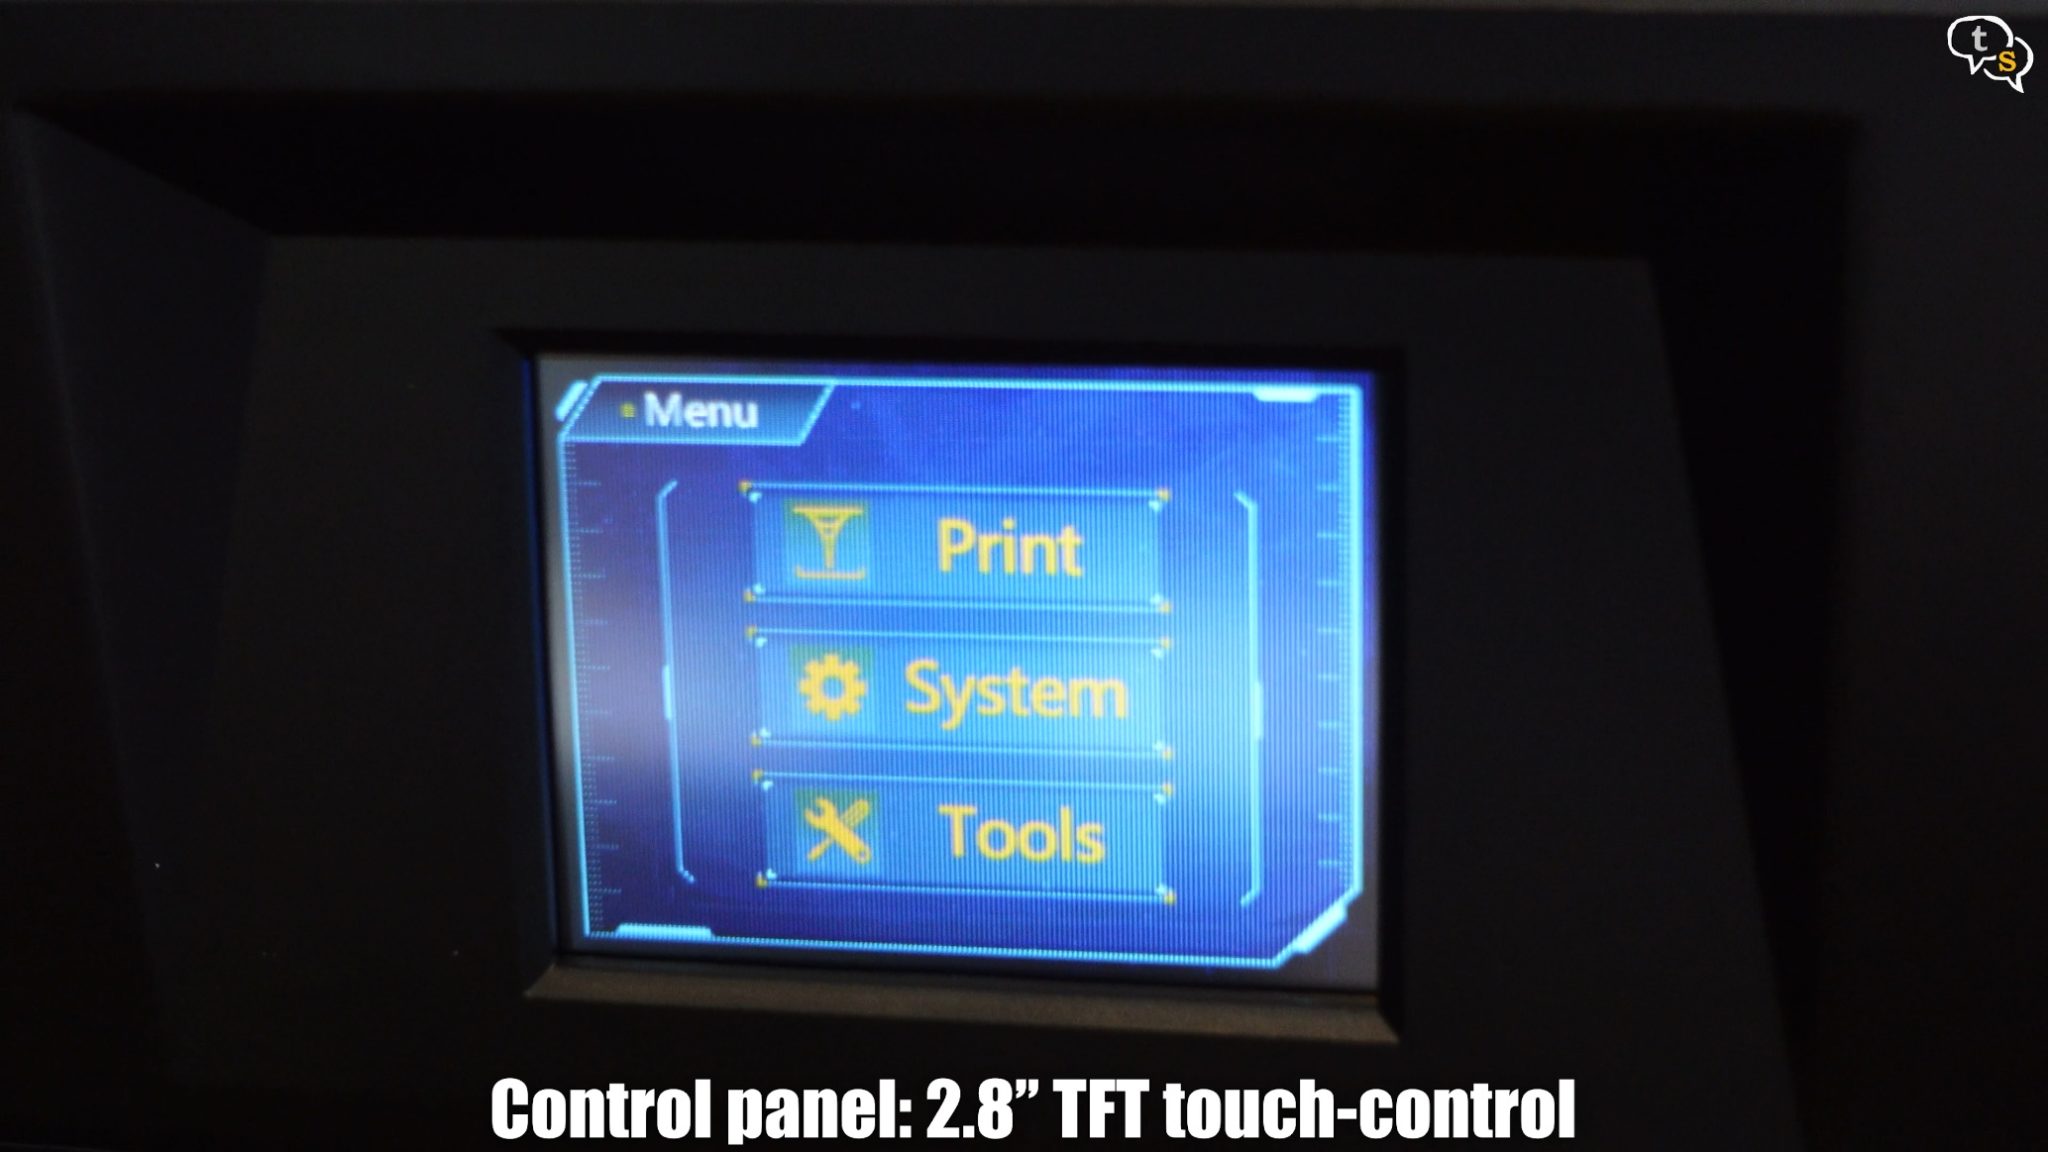
The control panel is a 2.8 inch TFT touch screen.
It’s pretty responsive.
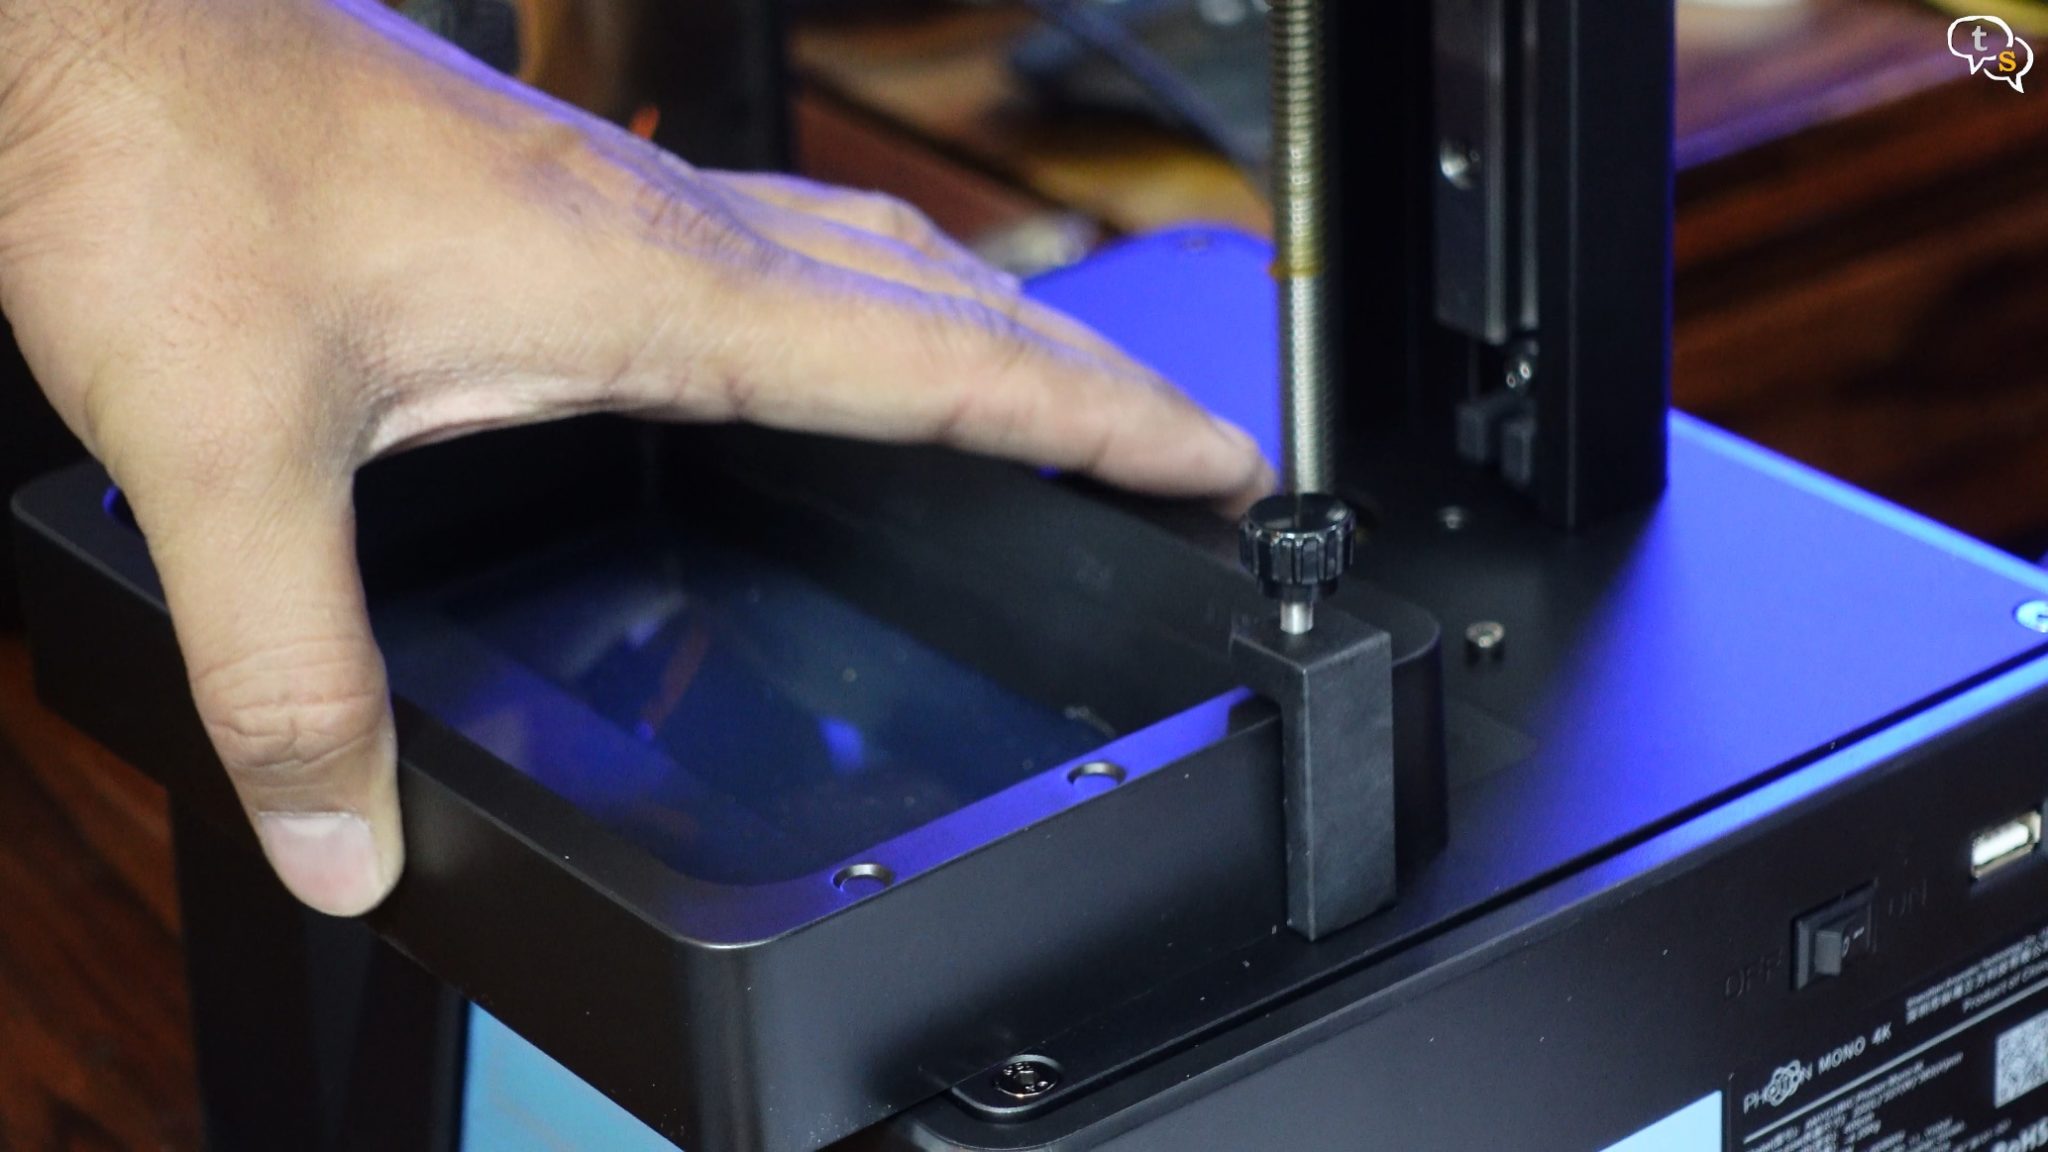
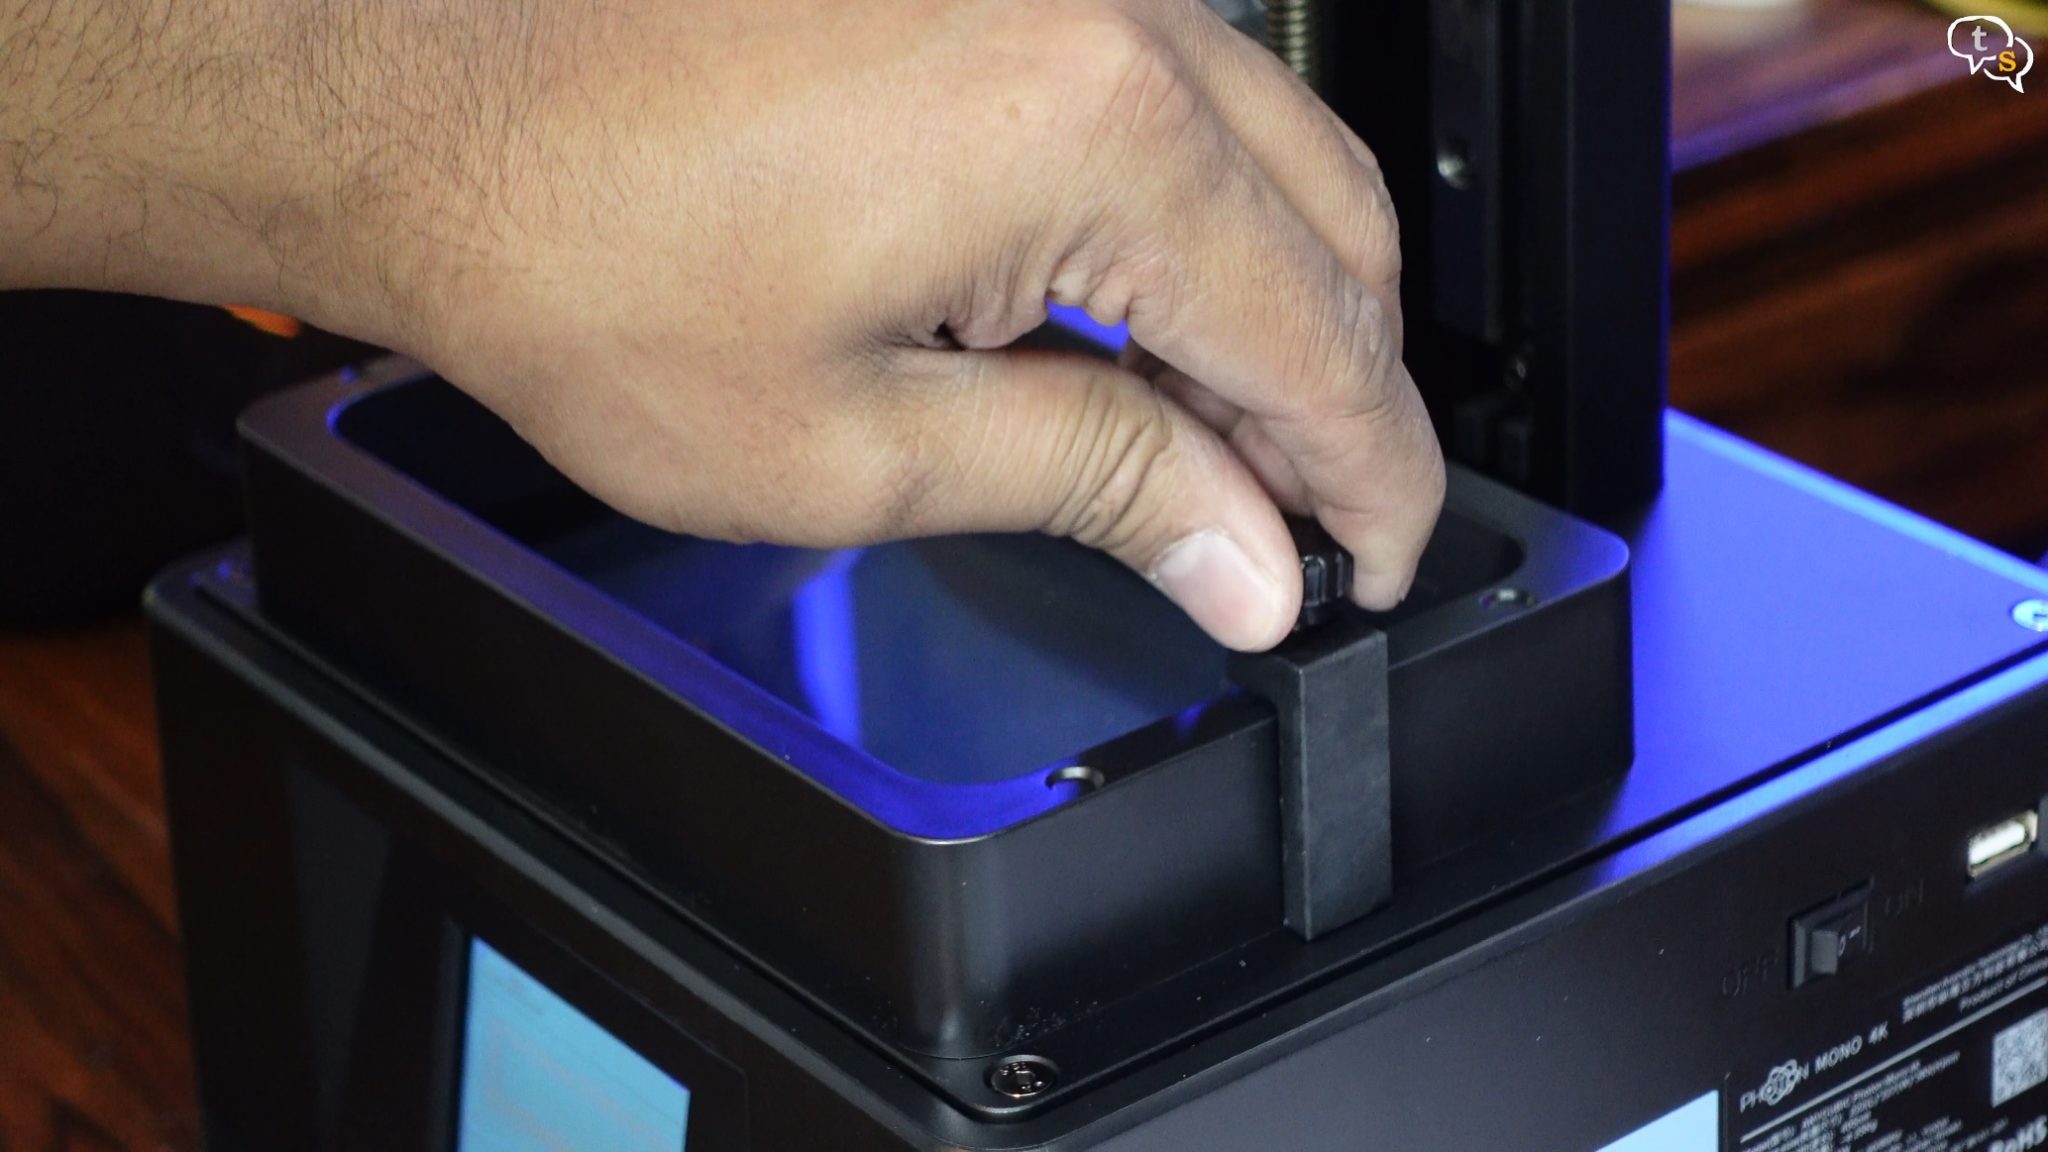
I’ll need to move the print platform mount up to install the print platform and level it.
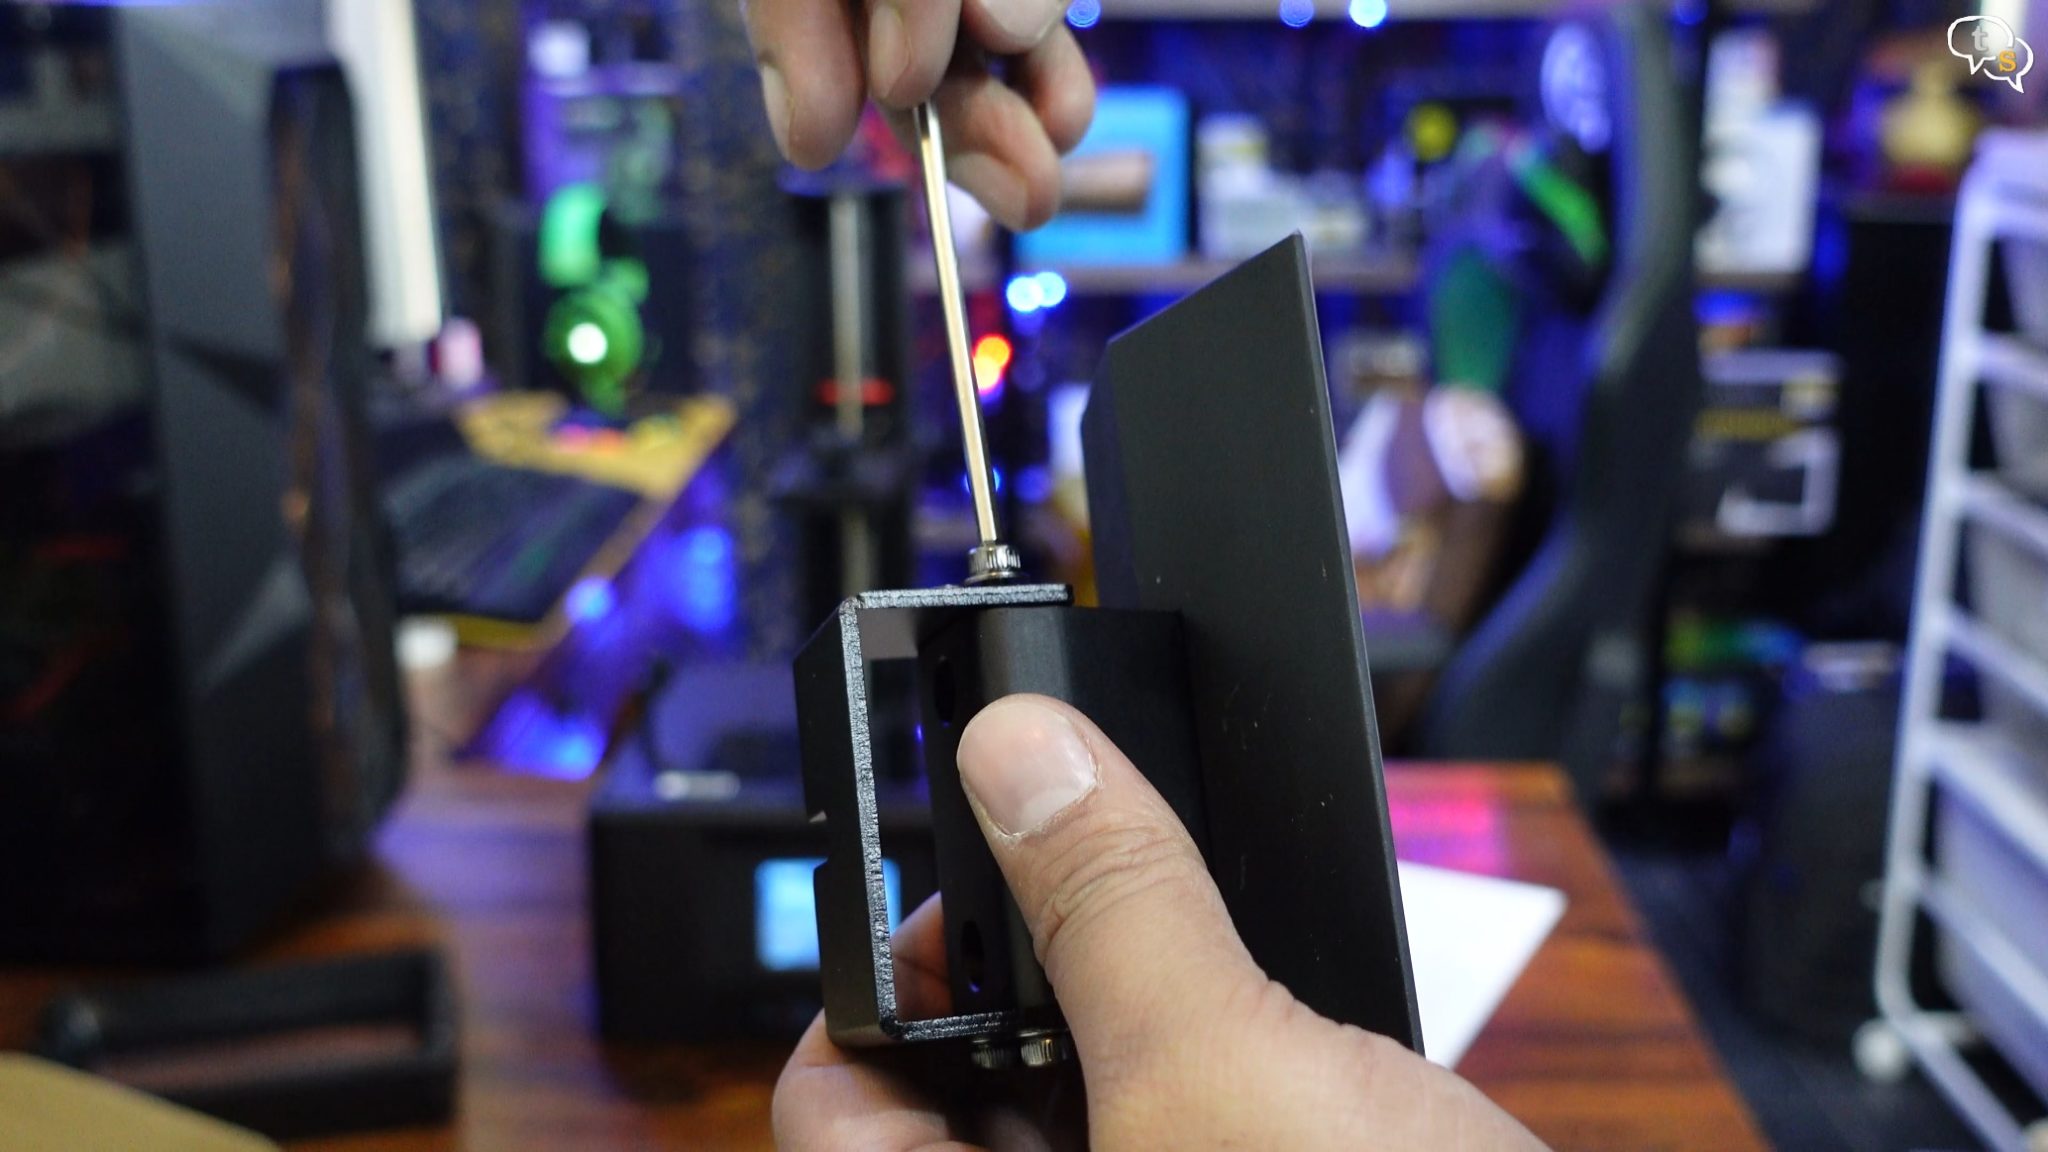
We need to loosen these bolts using the Allen key provided, not completely just enough that the plate moves.
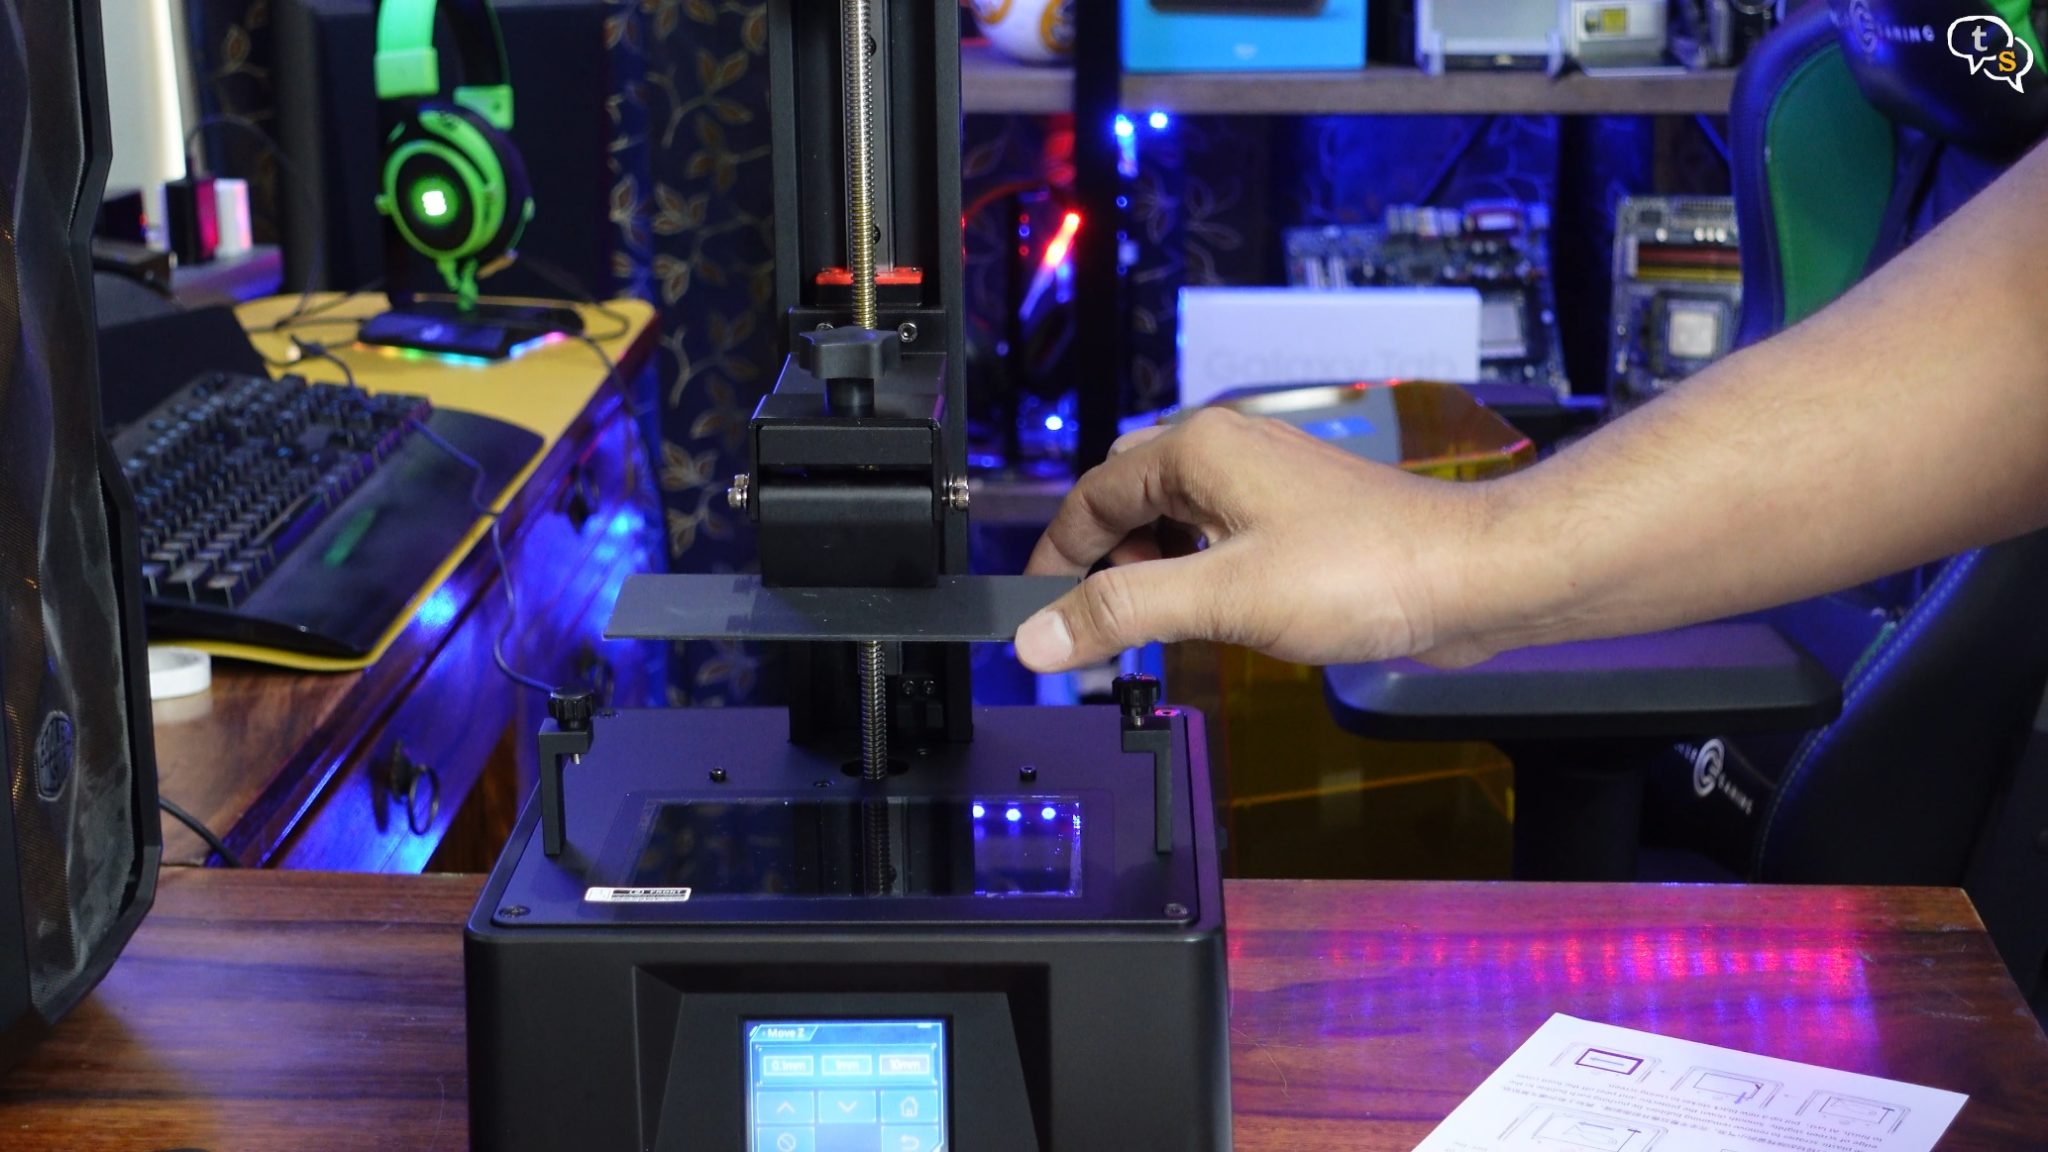
Mount the platform, you can see that the plate is loose.
Using the provided paper, we place it on the print bed above the display. Now we home the print platform, which moves all the way down.
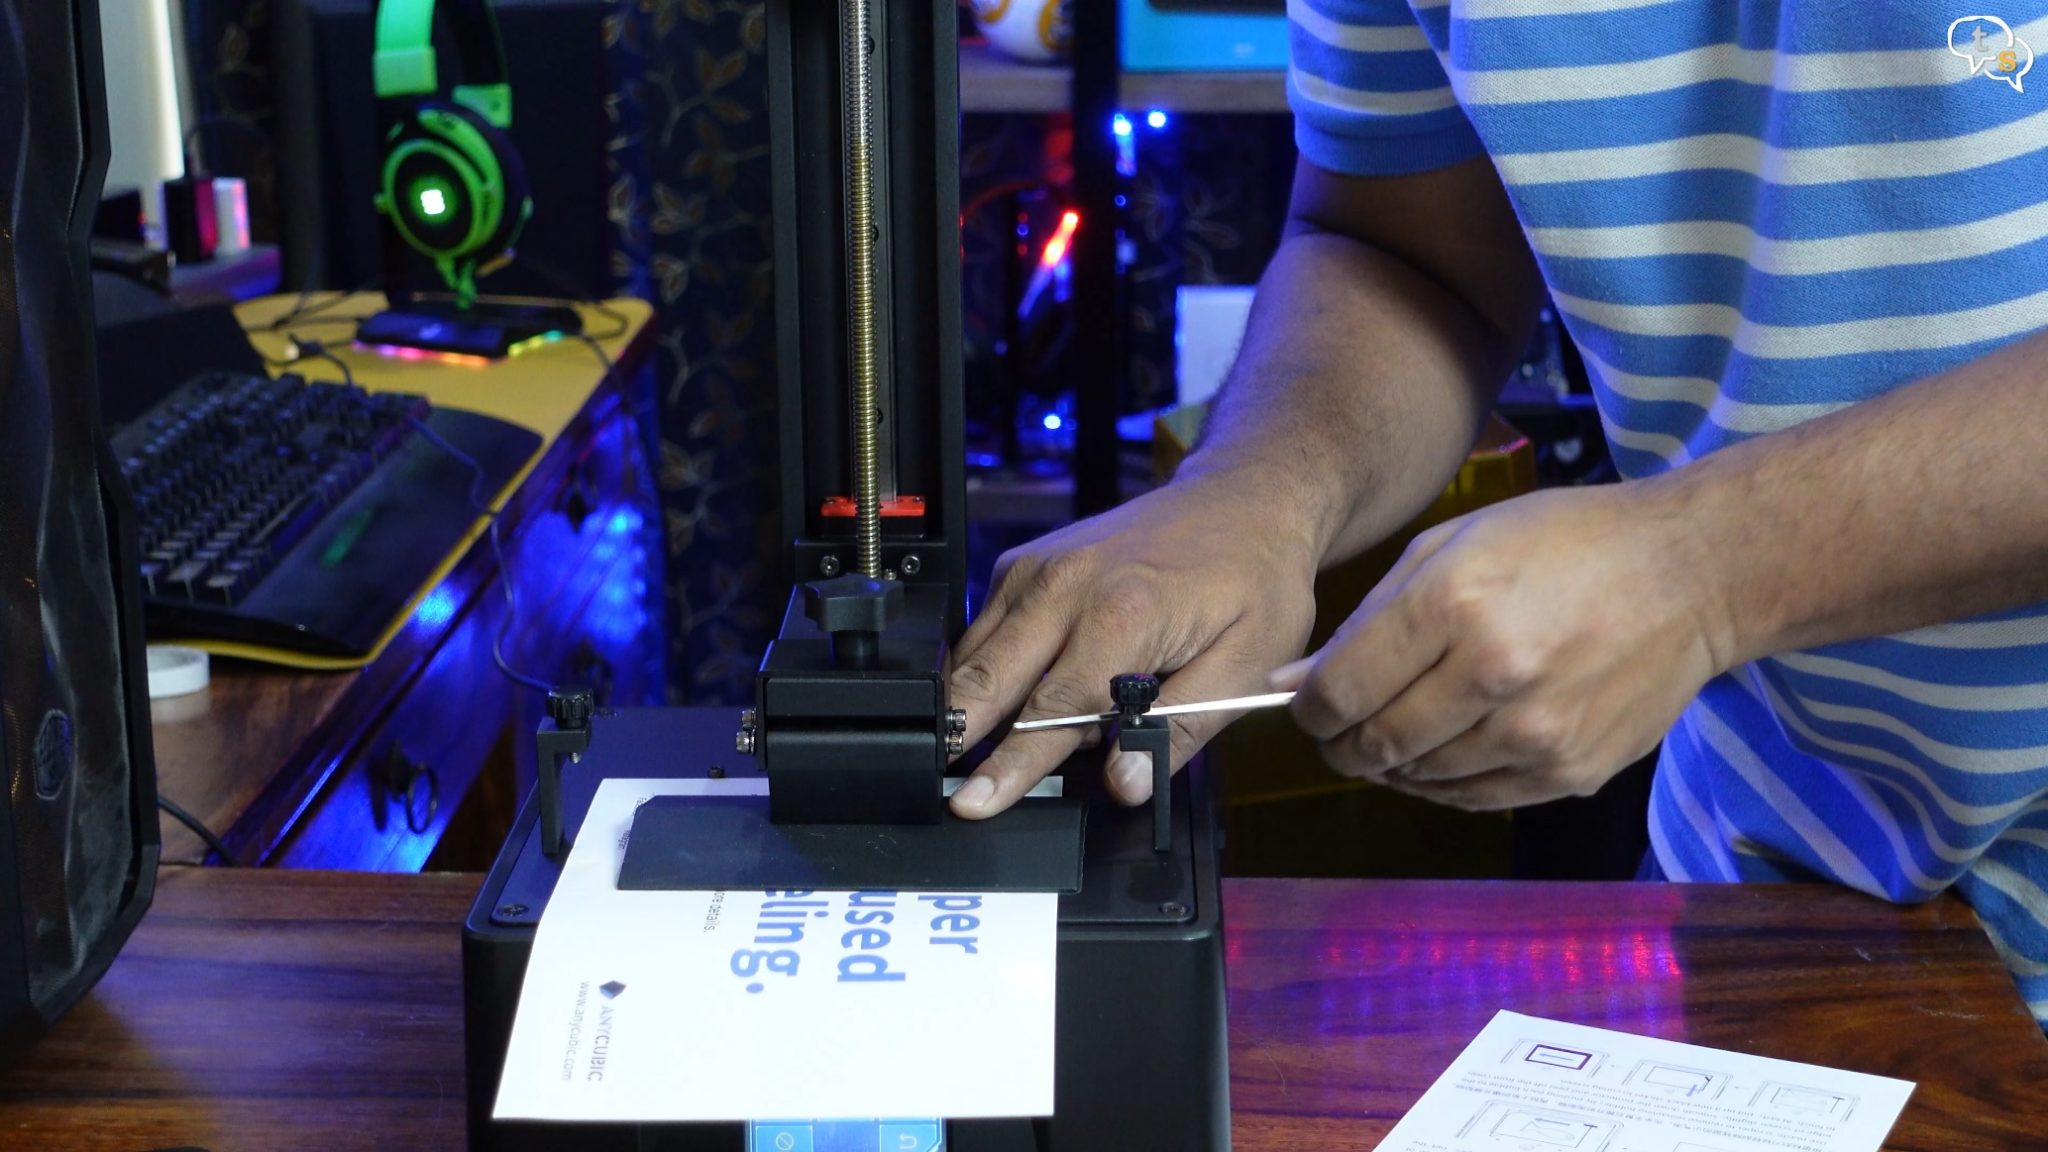
Once it touches the bottom and stops, tighten the bolts.
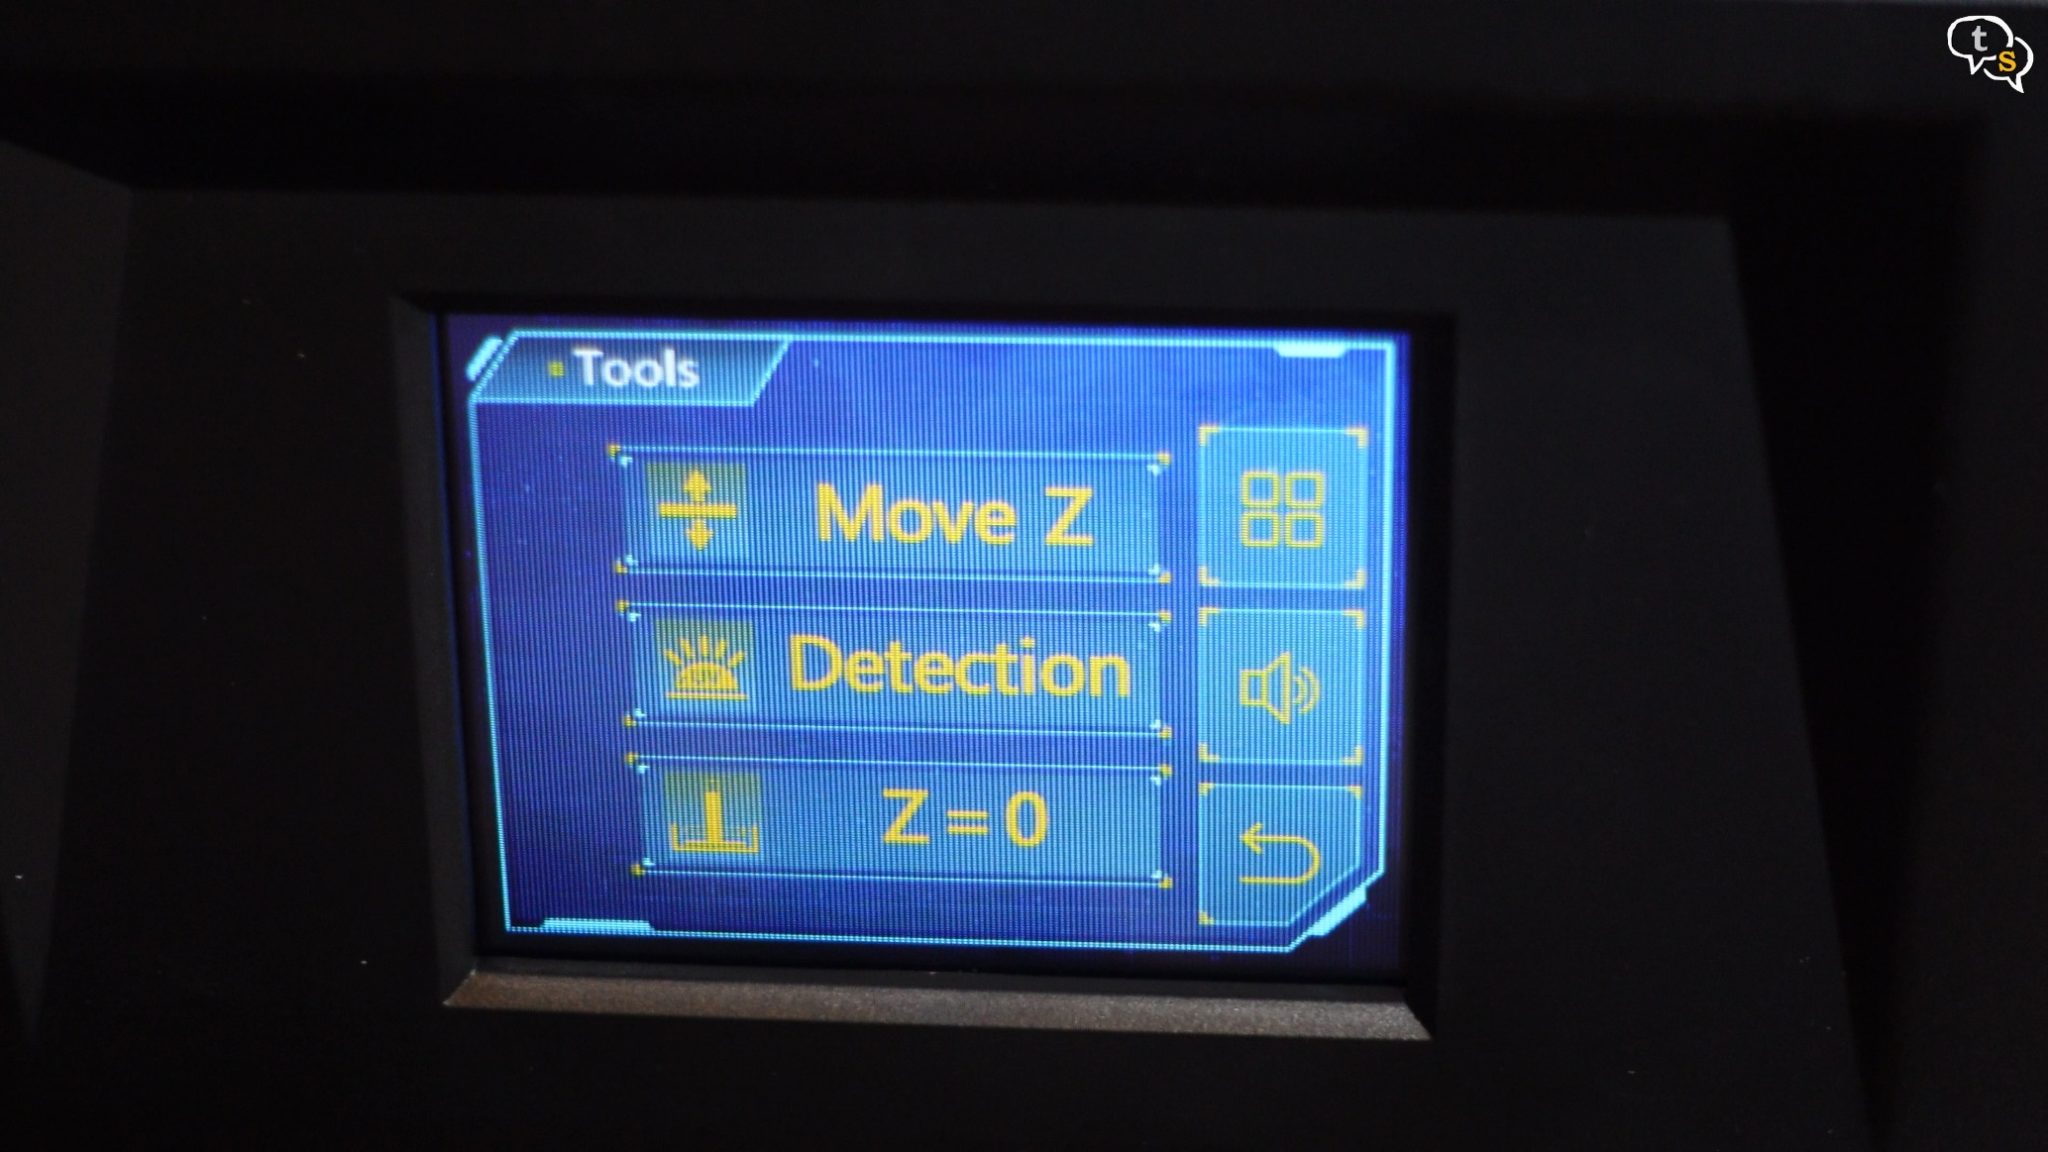
Set Z=0 via the touchscreen indicating this the lowest level the plate should move down. The print platform is now levelled.
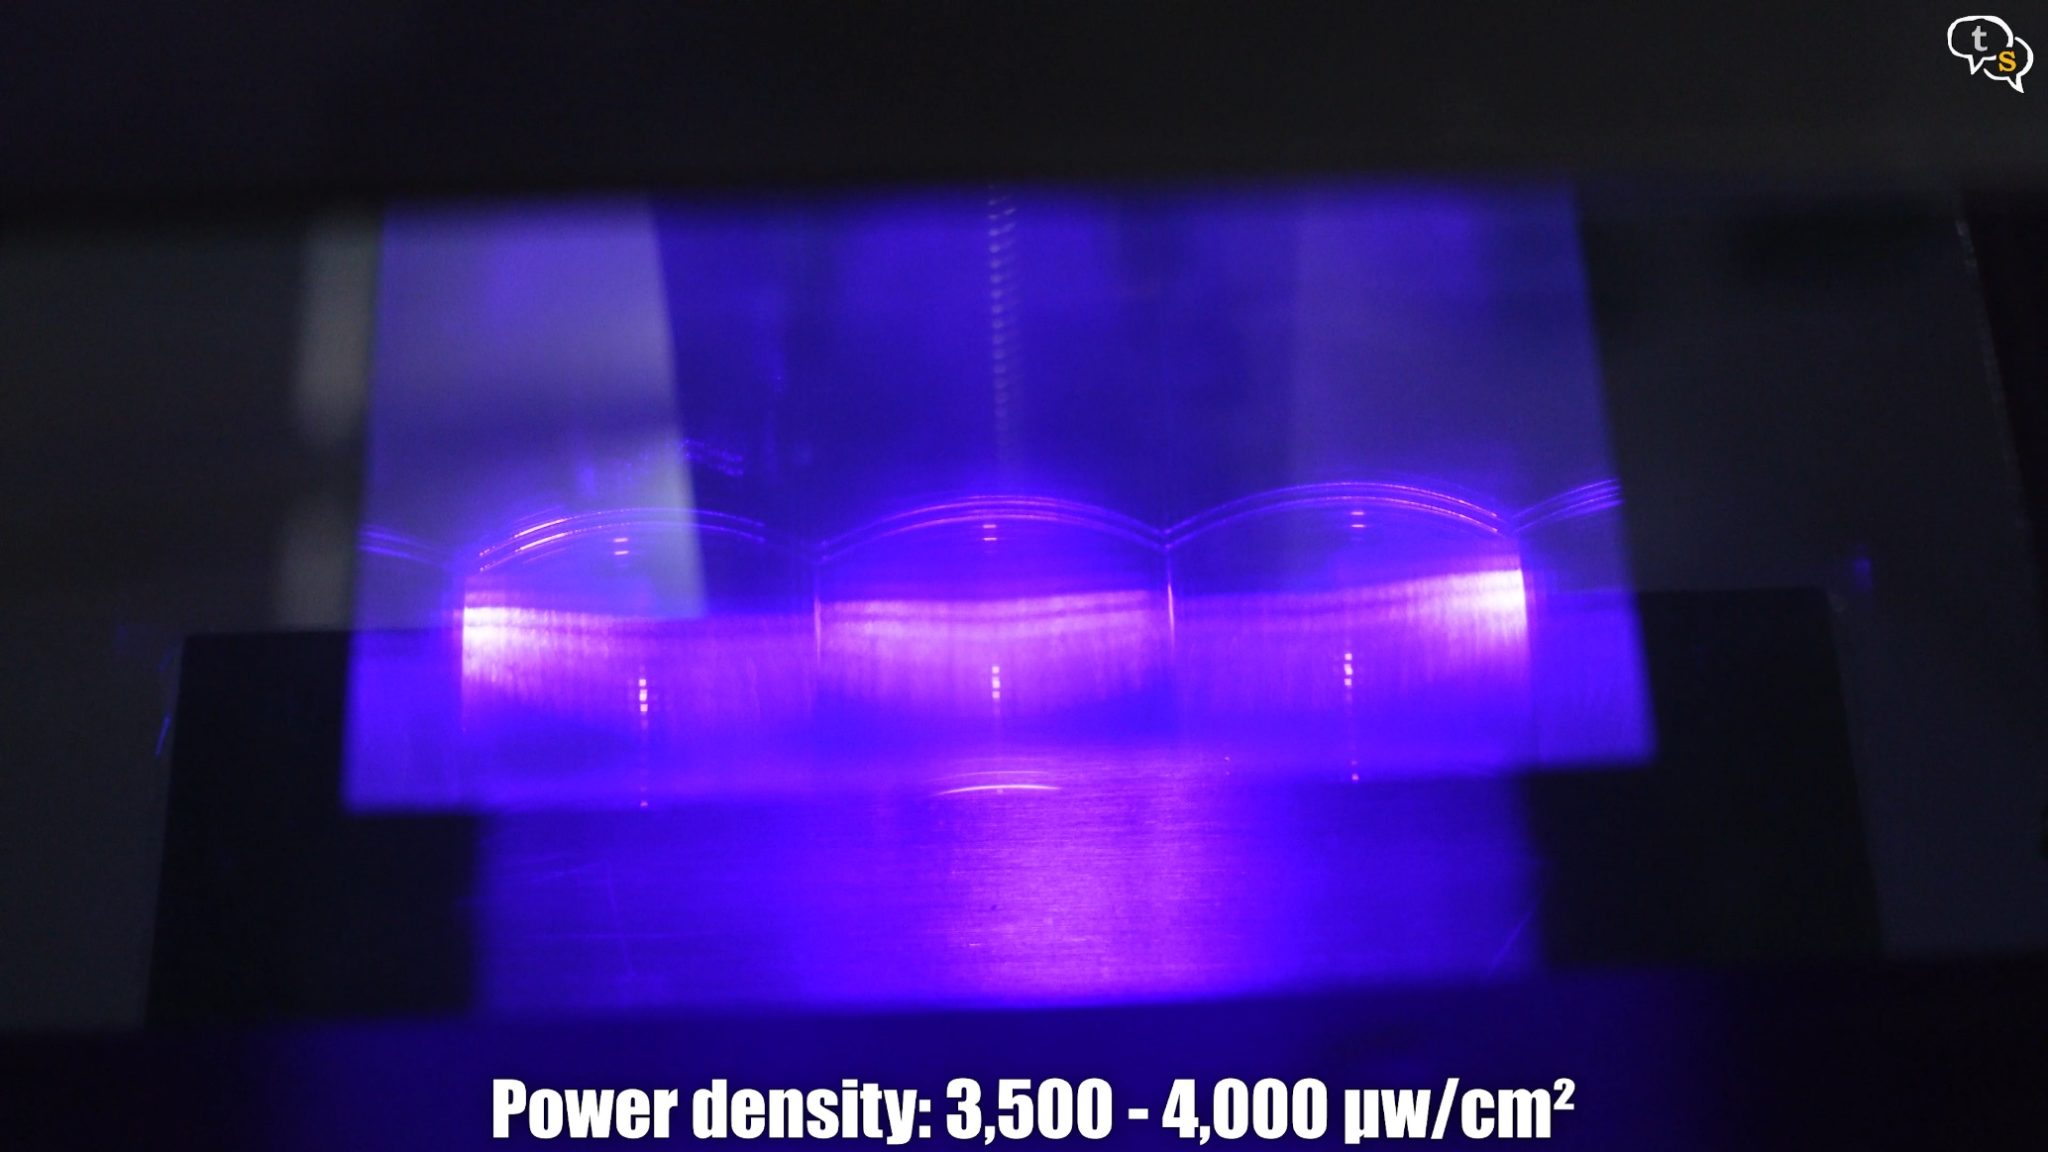
Raise the platform and now we can also run a quick test to see if the UV lamps are working and all three patterns are displayed, so they’re working.
Now for the resin Vat, loosen the screws on the two sides.
Slide in the VAT and screw it down to lock it in place.
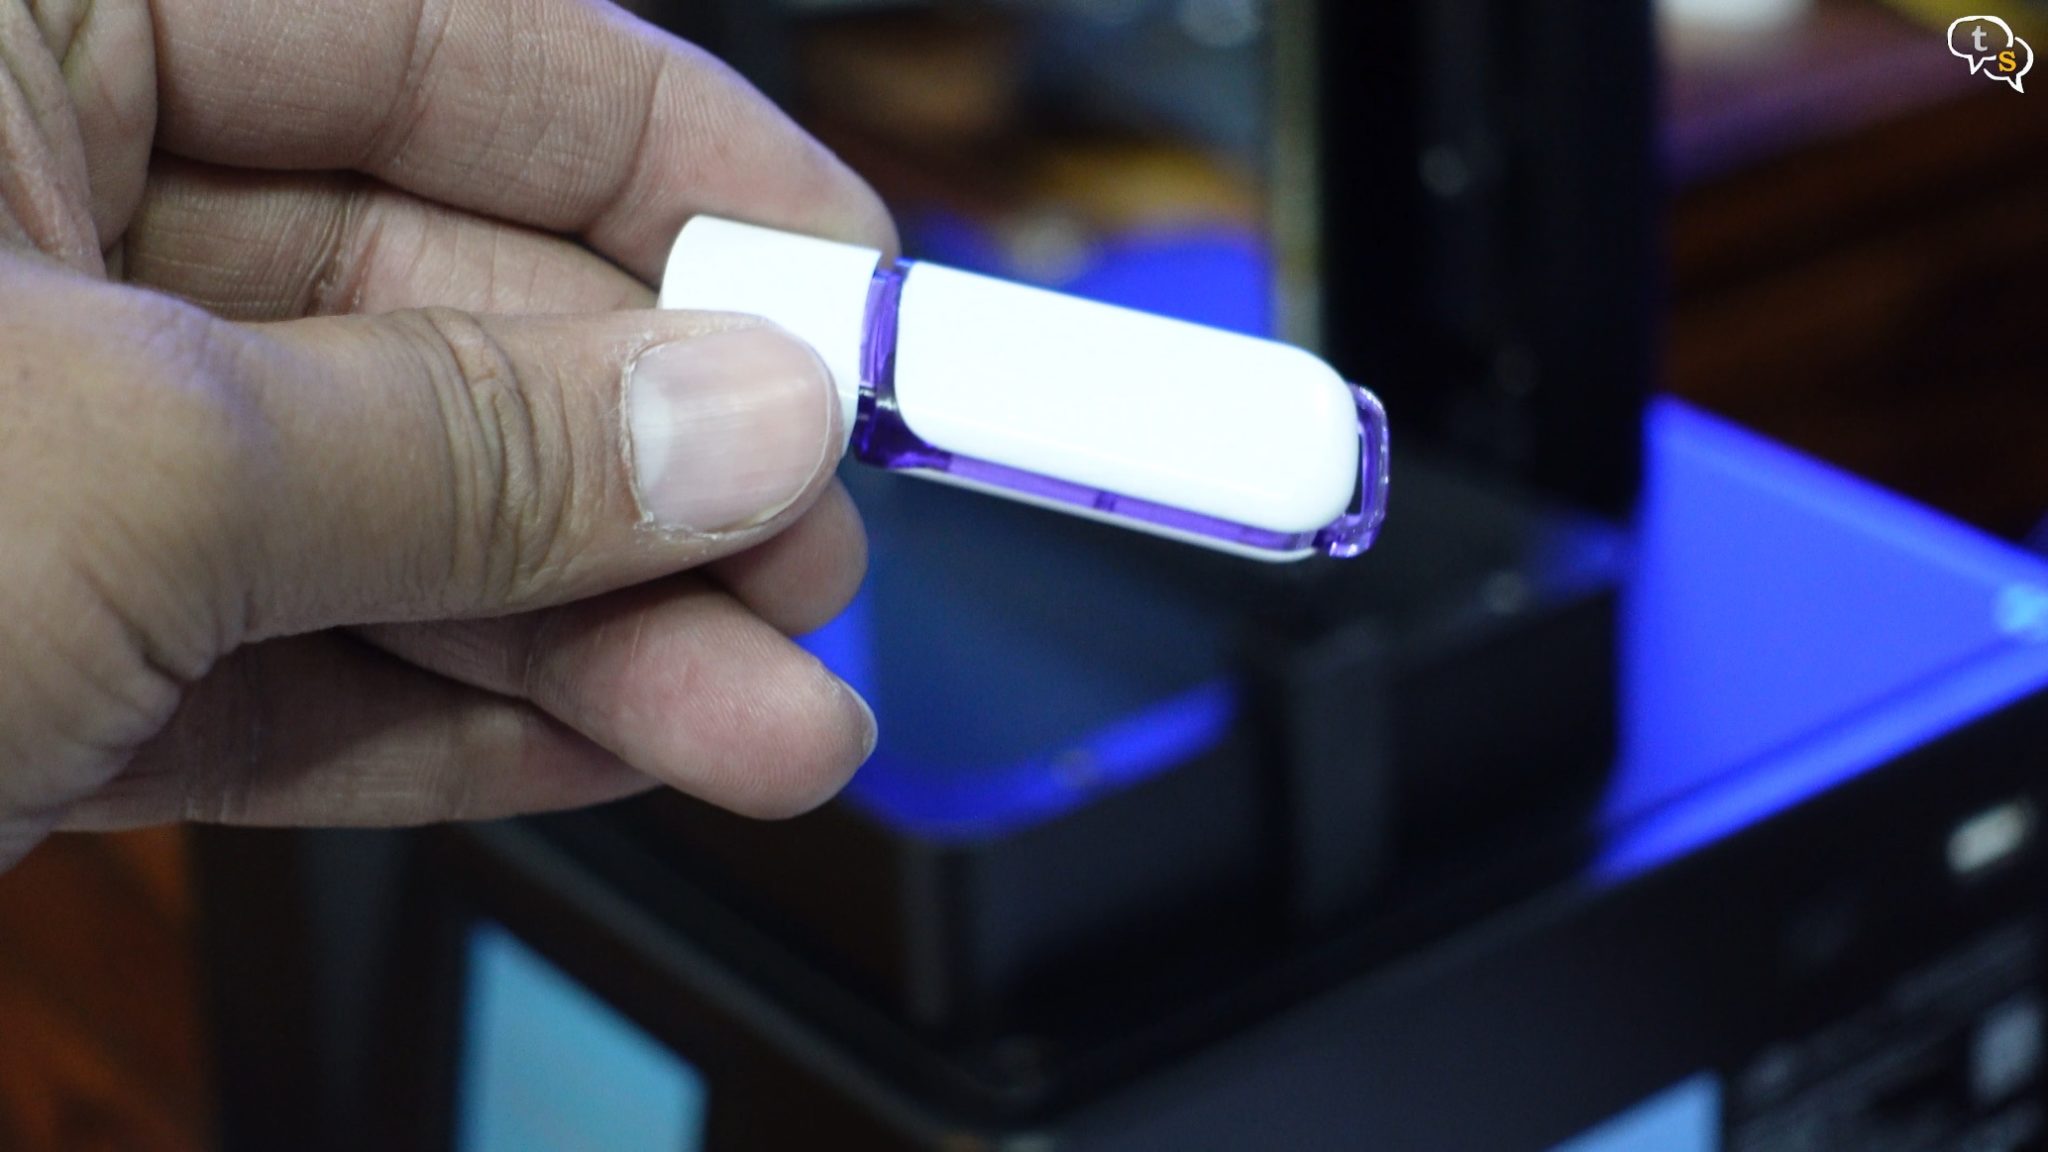
We are provided a USB pendrive with some documentation and a test 3d model to print.
Insert it into the USB port on the side, and also place the top cover onto the printer.
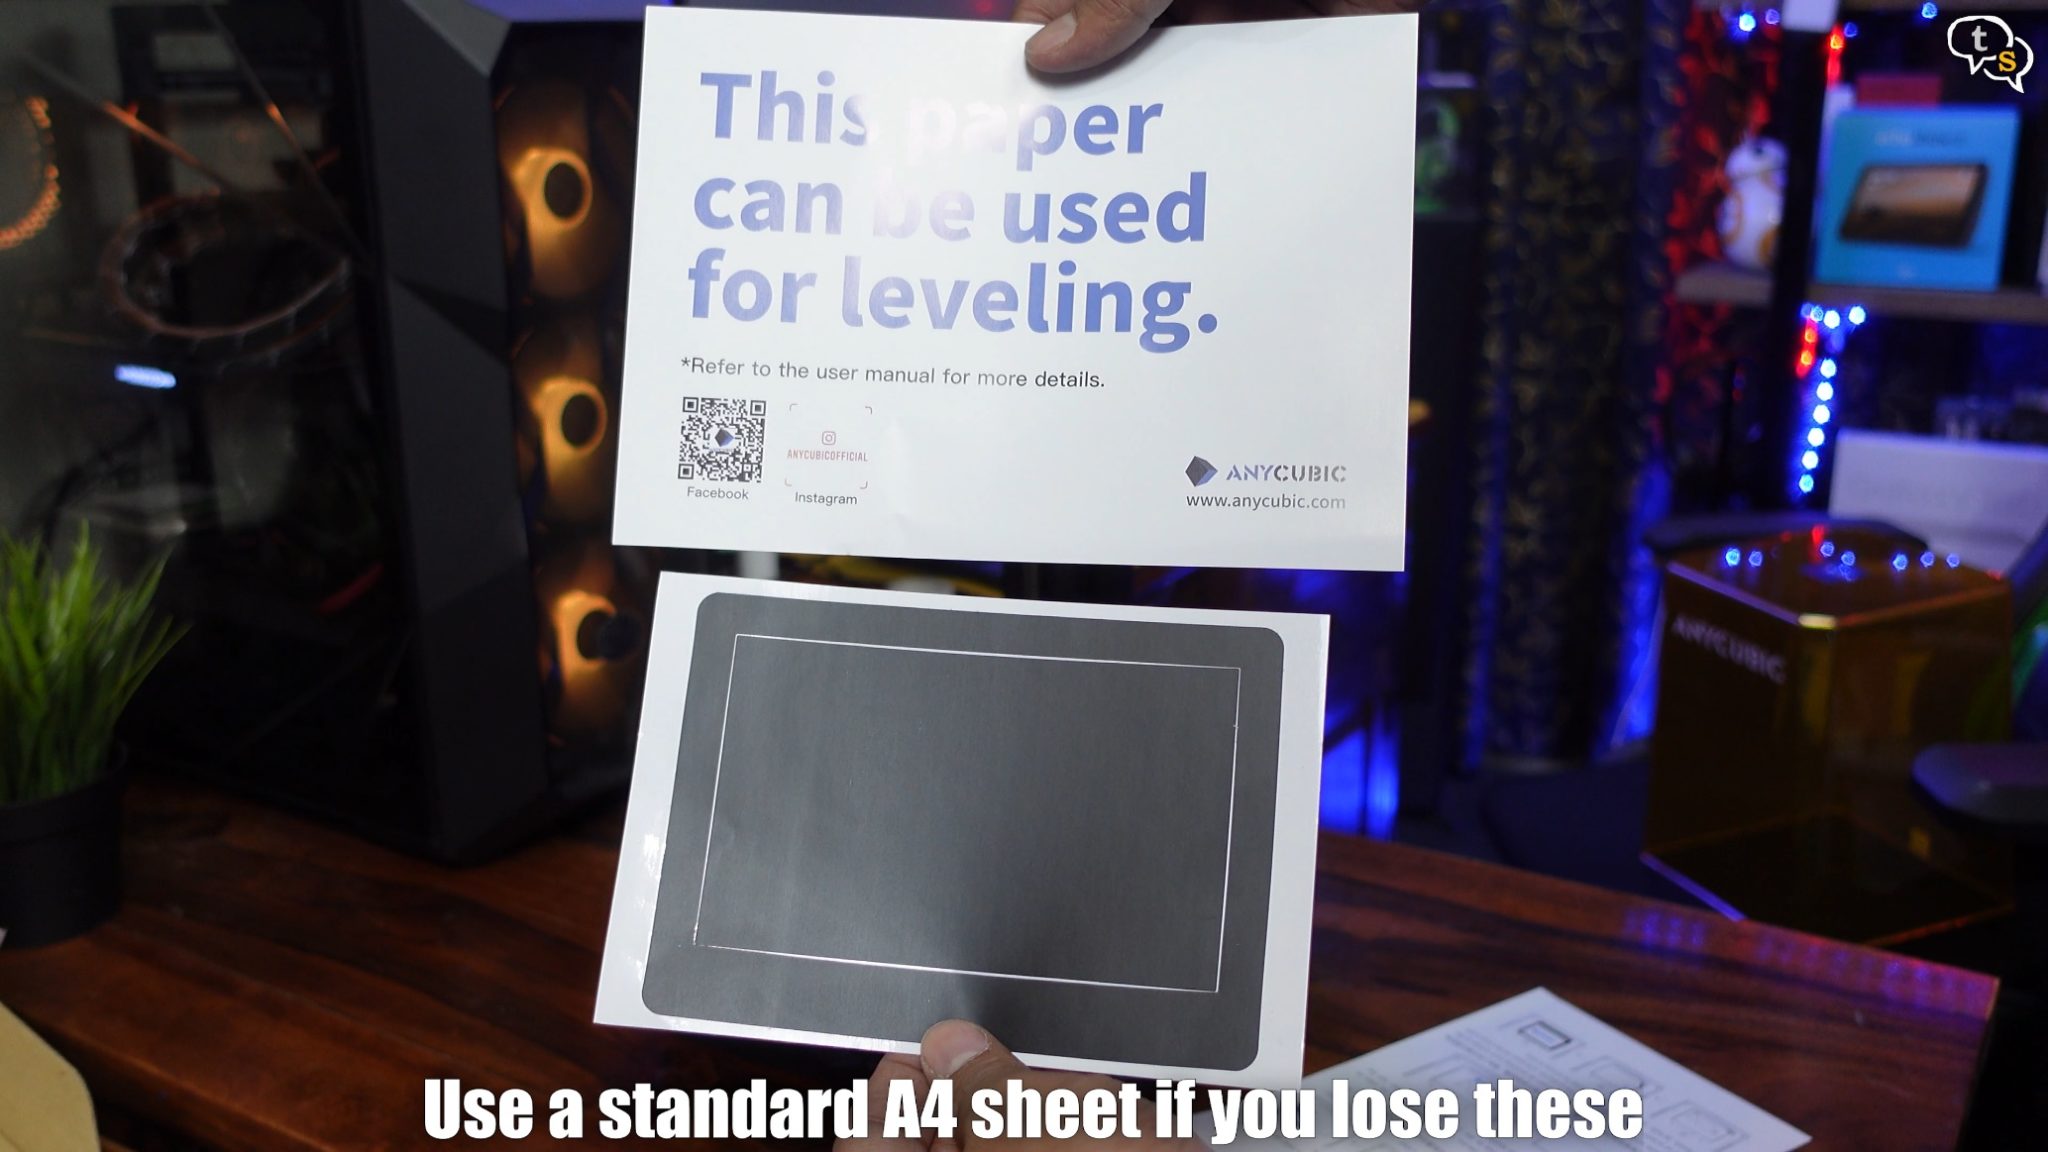
We can use either of these sheets to level the print platform, but if we dont have these we can use an A4 size paper instead.
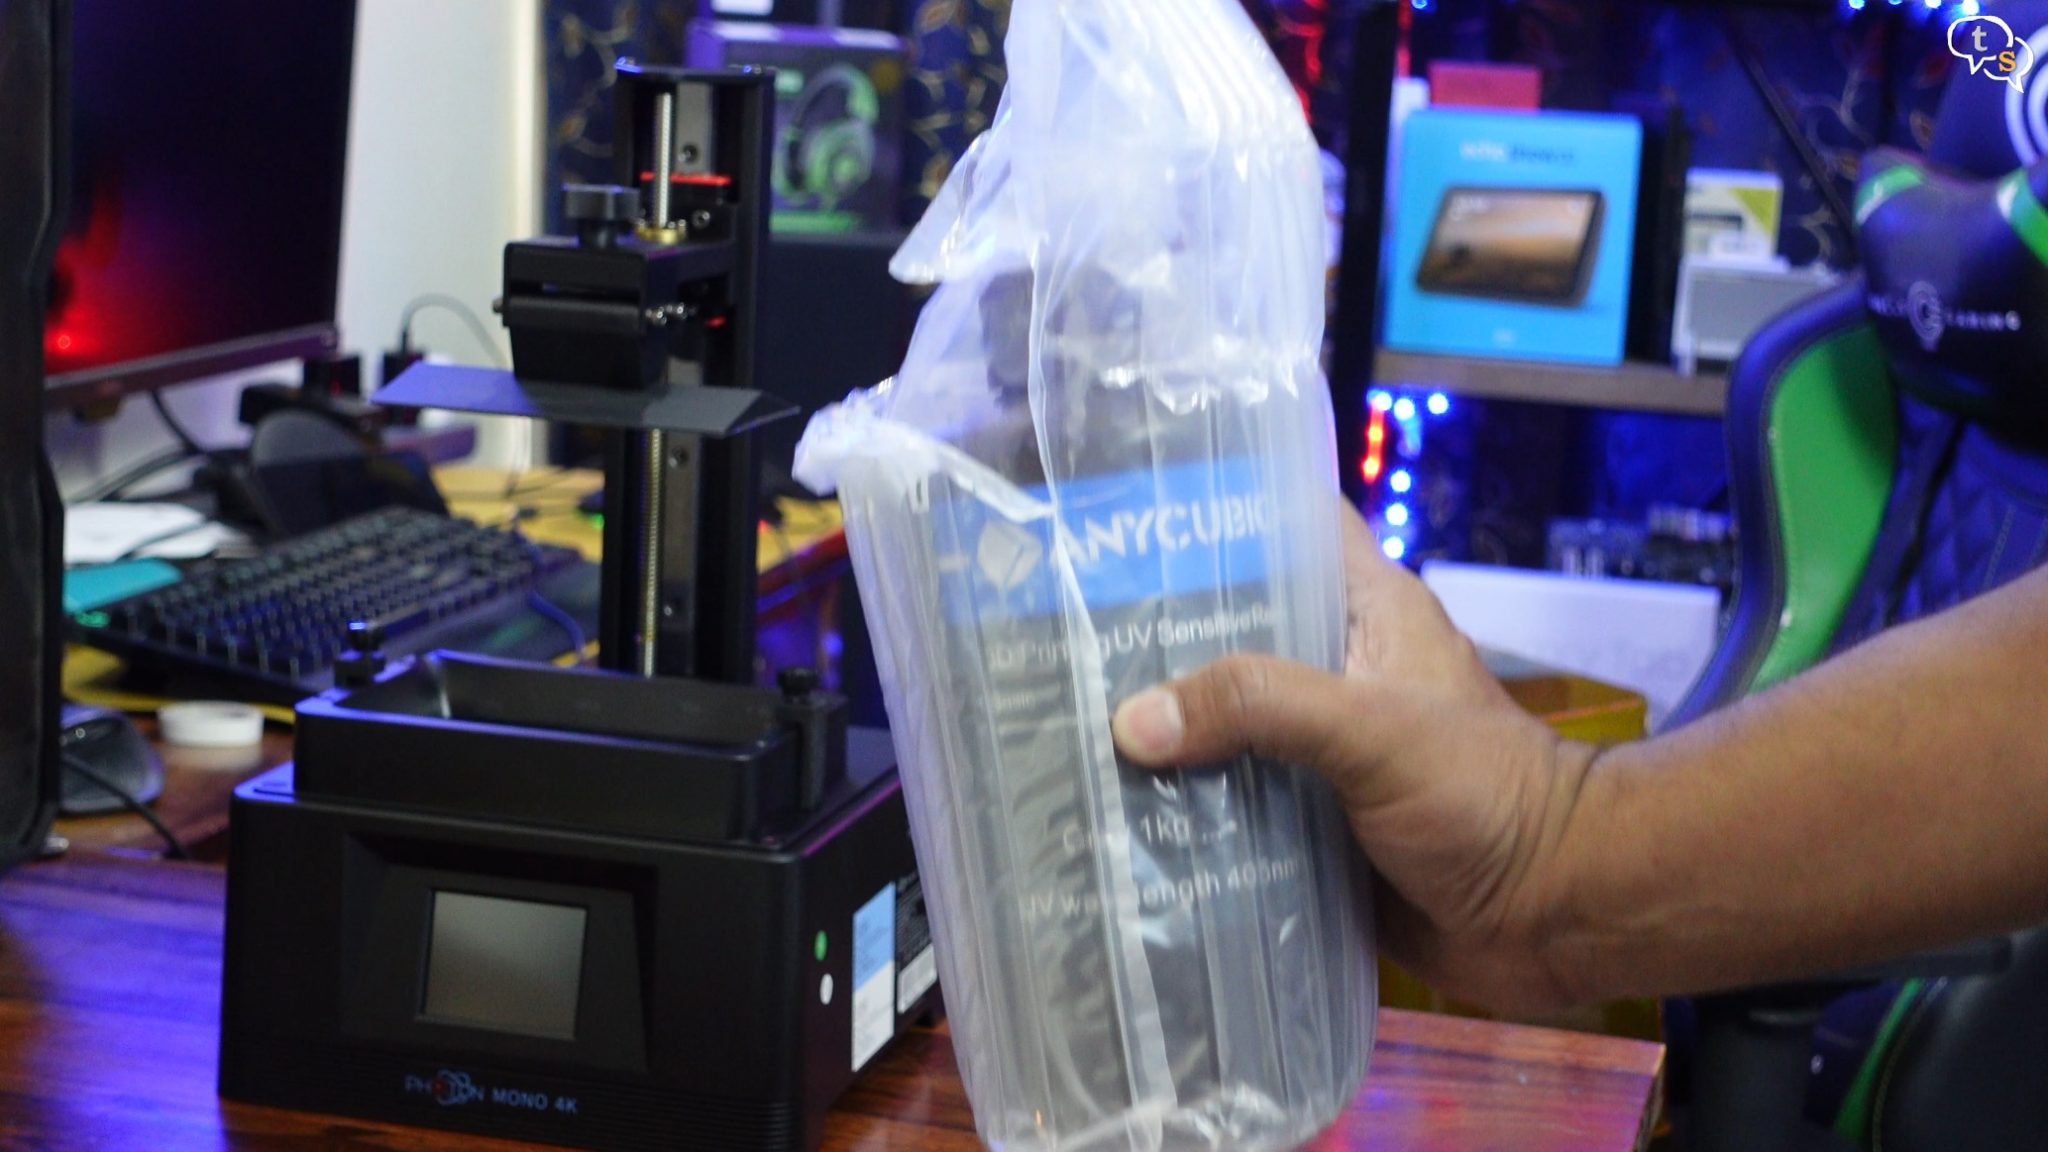
This is how the resin is generally shipped, to protect the bottle from damage and the bottle also has a dark colour which protects the resin from external sunlight.
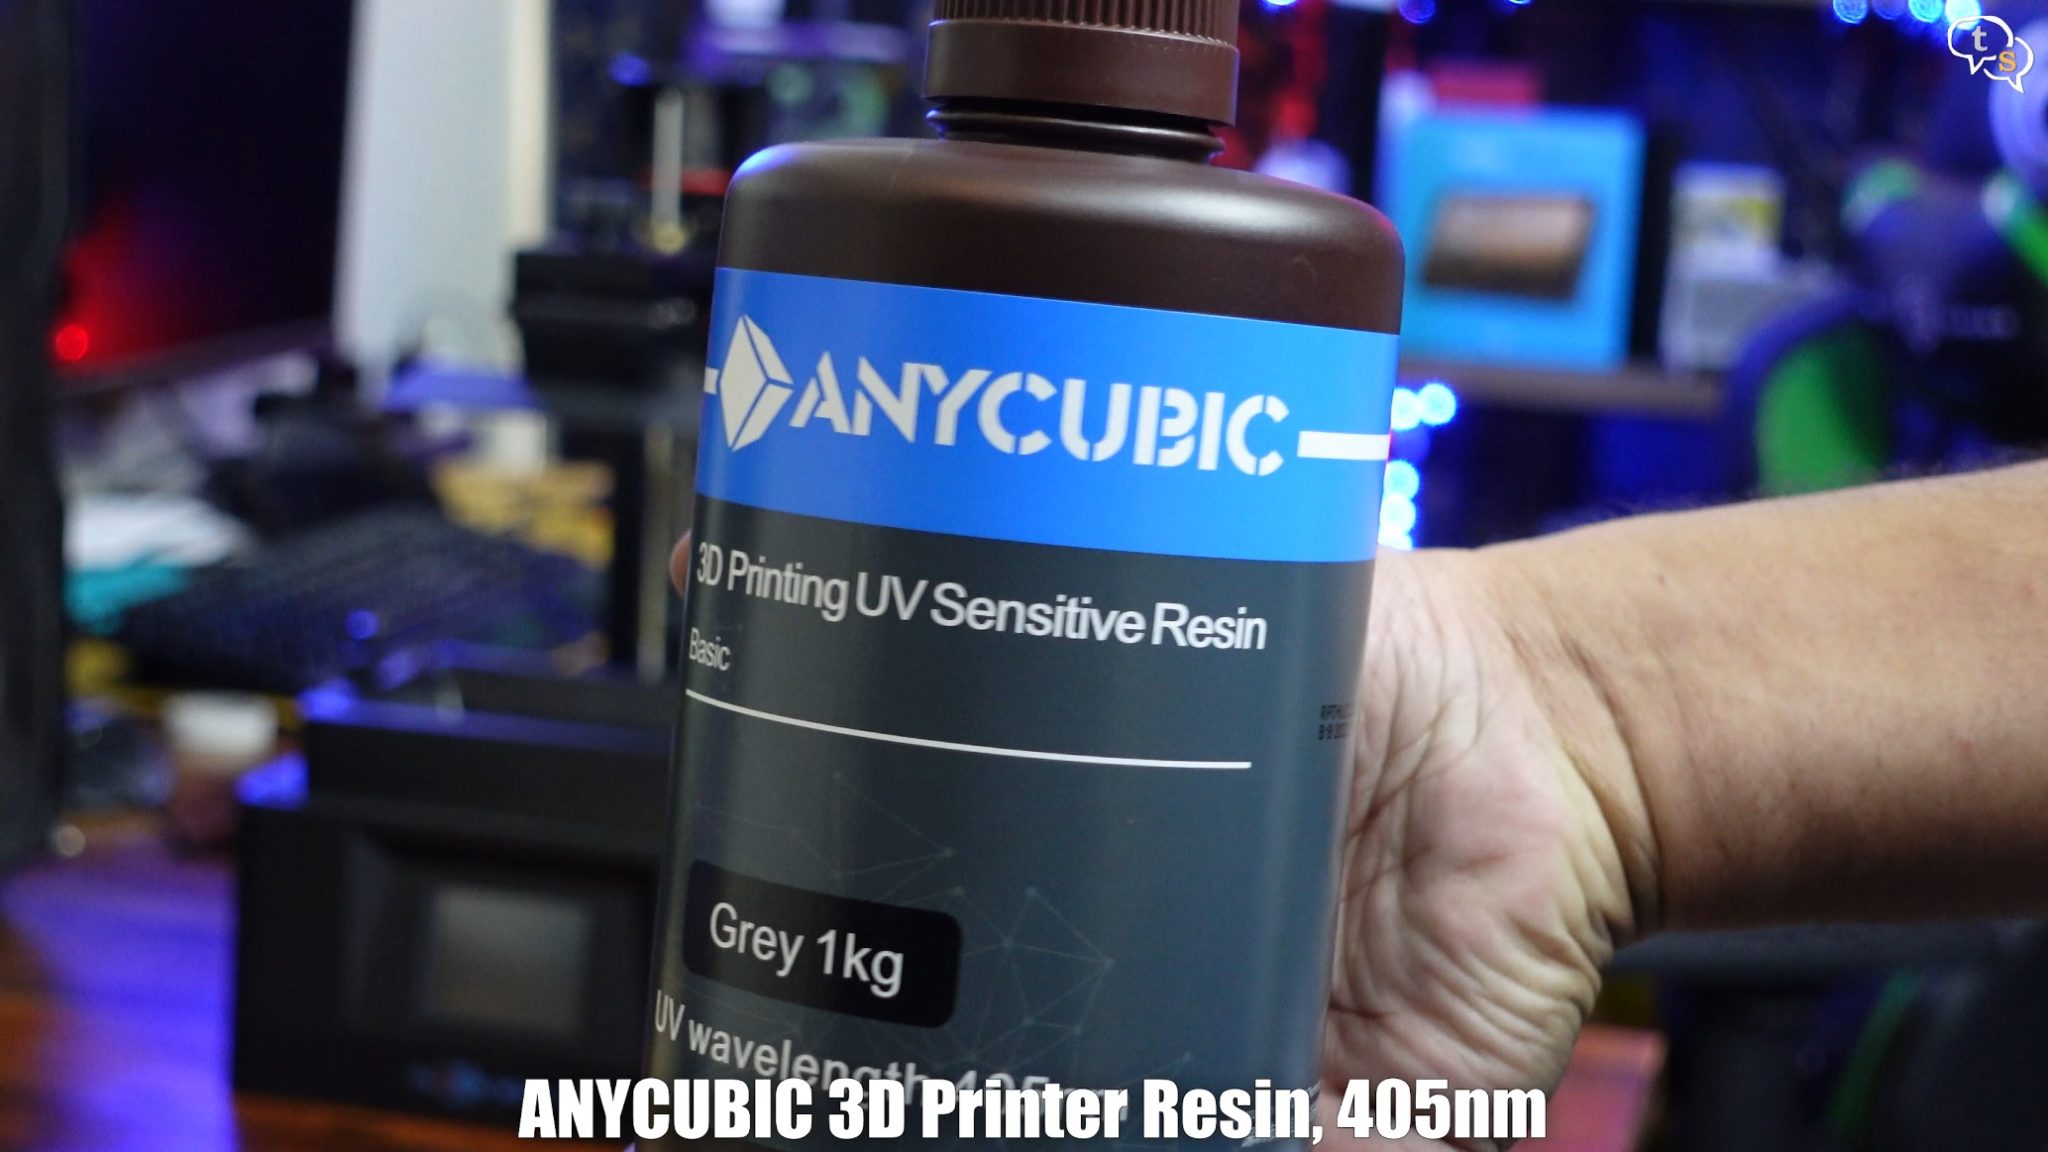
I have a 1kg grey resin from Anycubic. Resin needs to be purchased separately and is not included in the box.
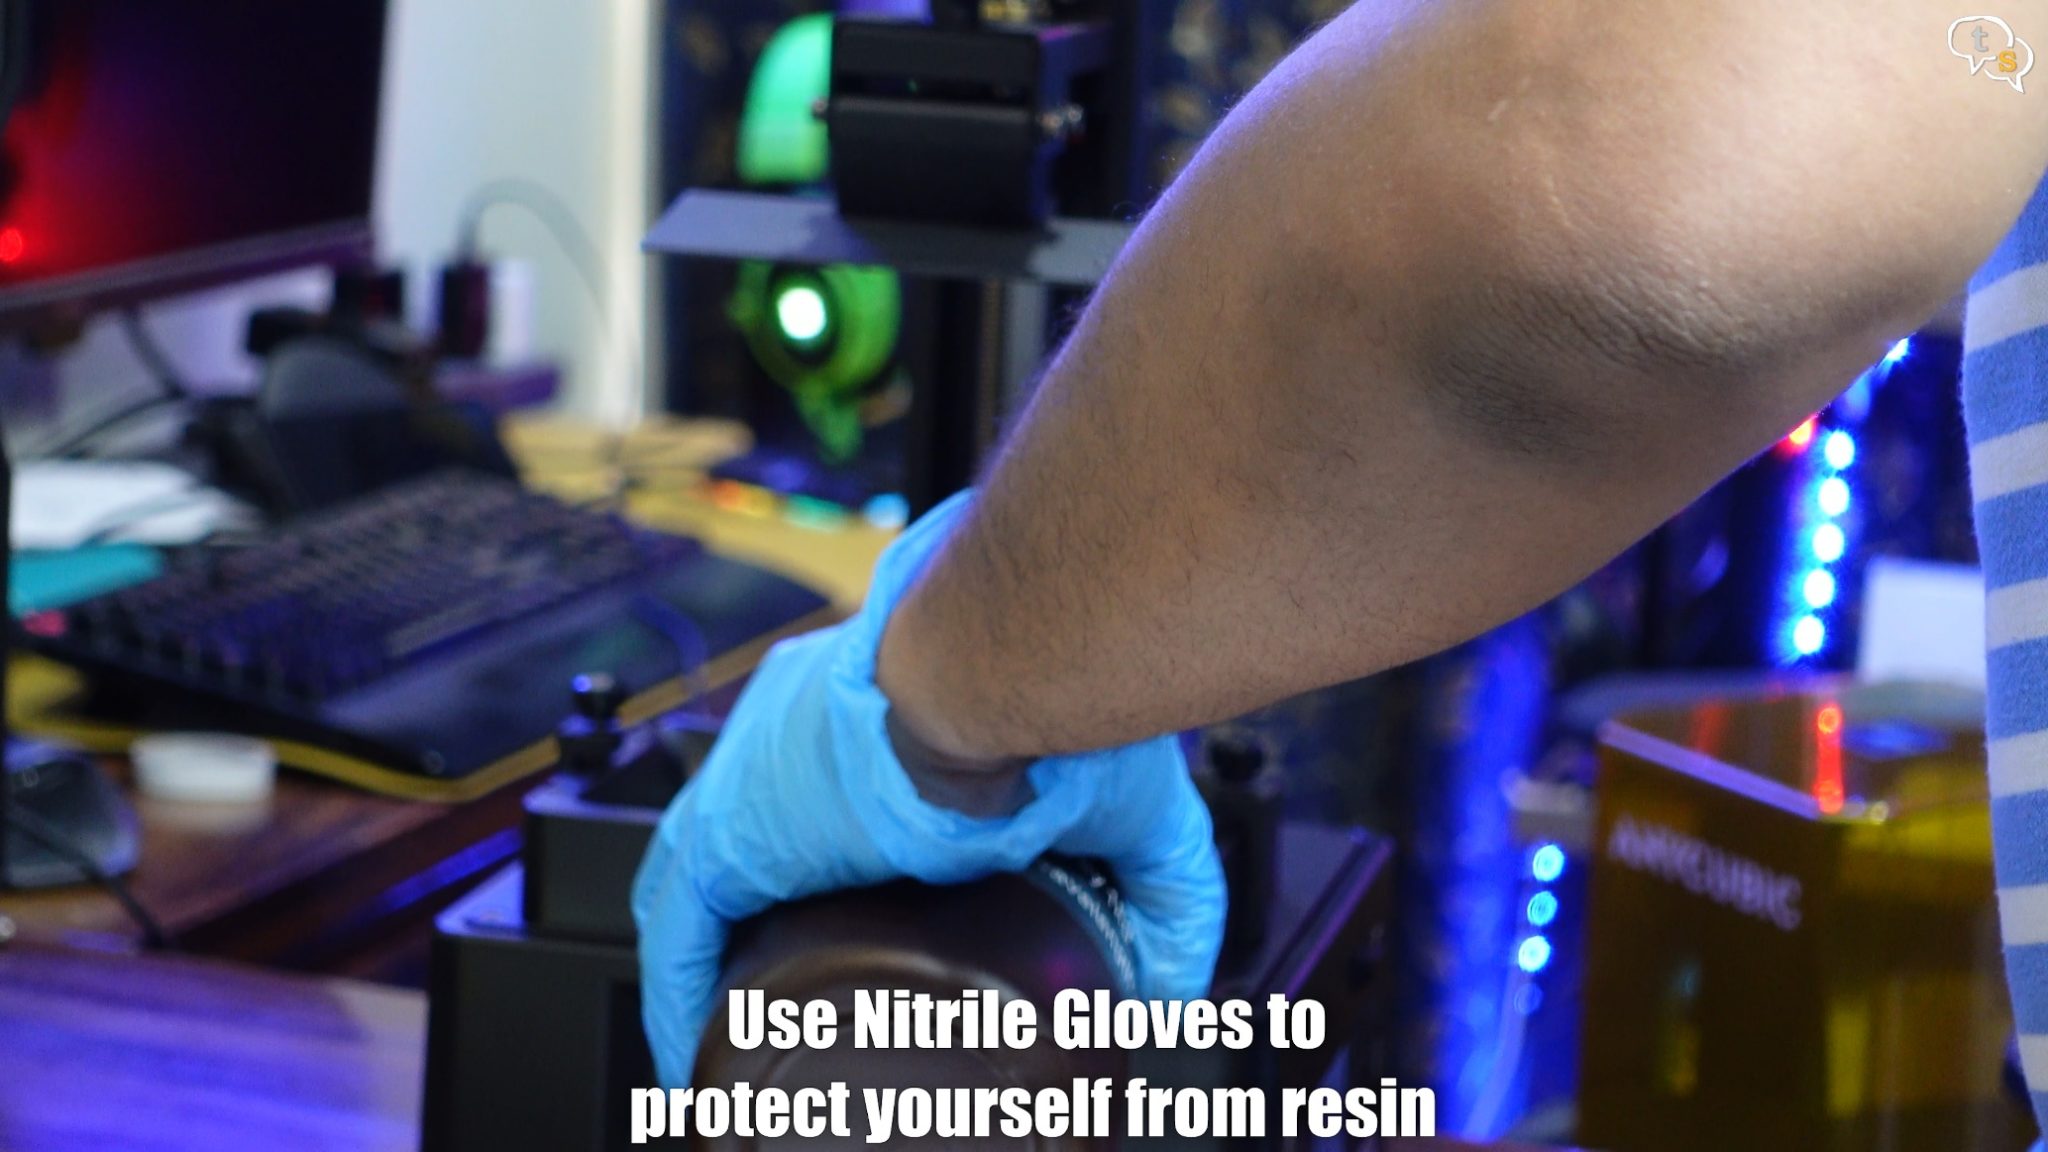
Now to get the printer ready to print, wear nitrile gloves before working with resin.
I poured in around 180 ml of resin, there are markings within the vat to help measure.
Ok, we’re ready now.
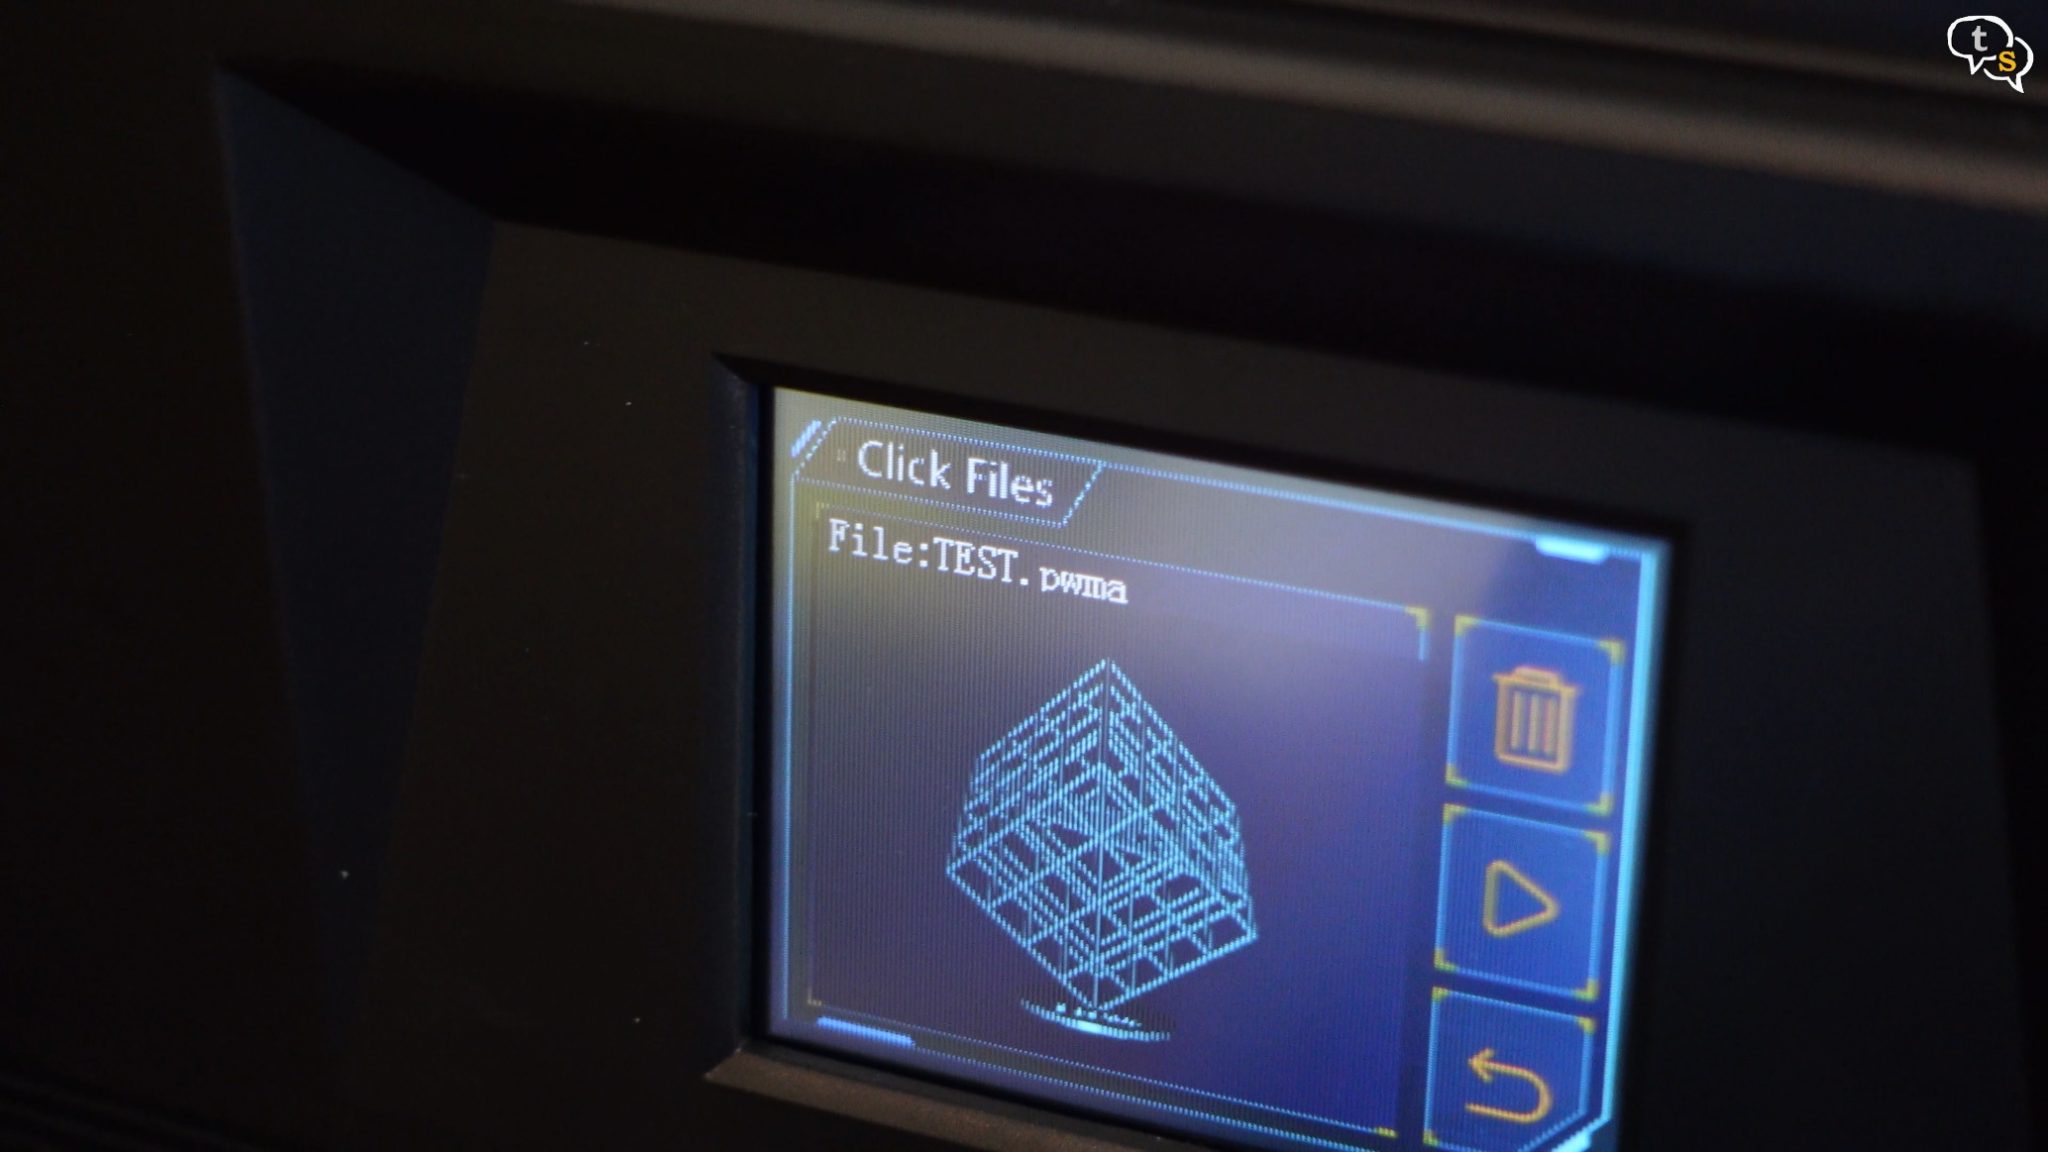
Select print and there is only one test model in the pen drive, I like that it gives an image preview. Tap on the image and hit play.
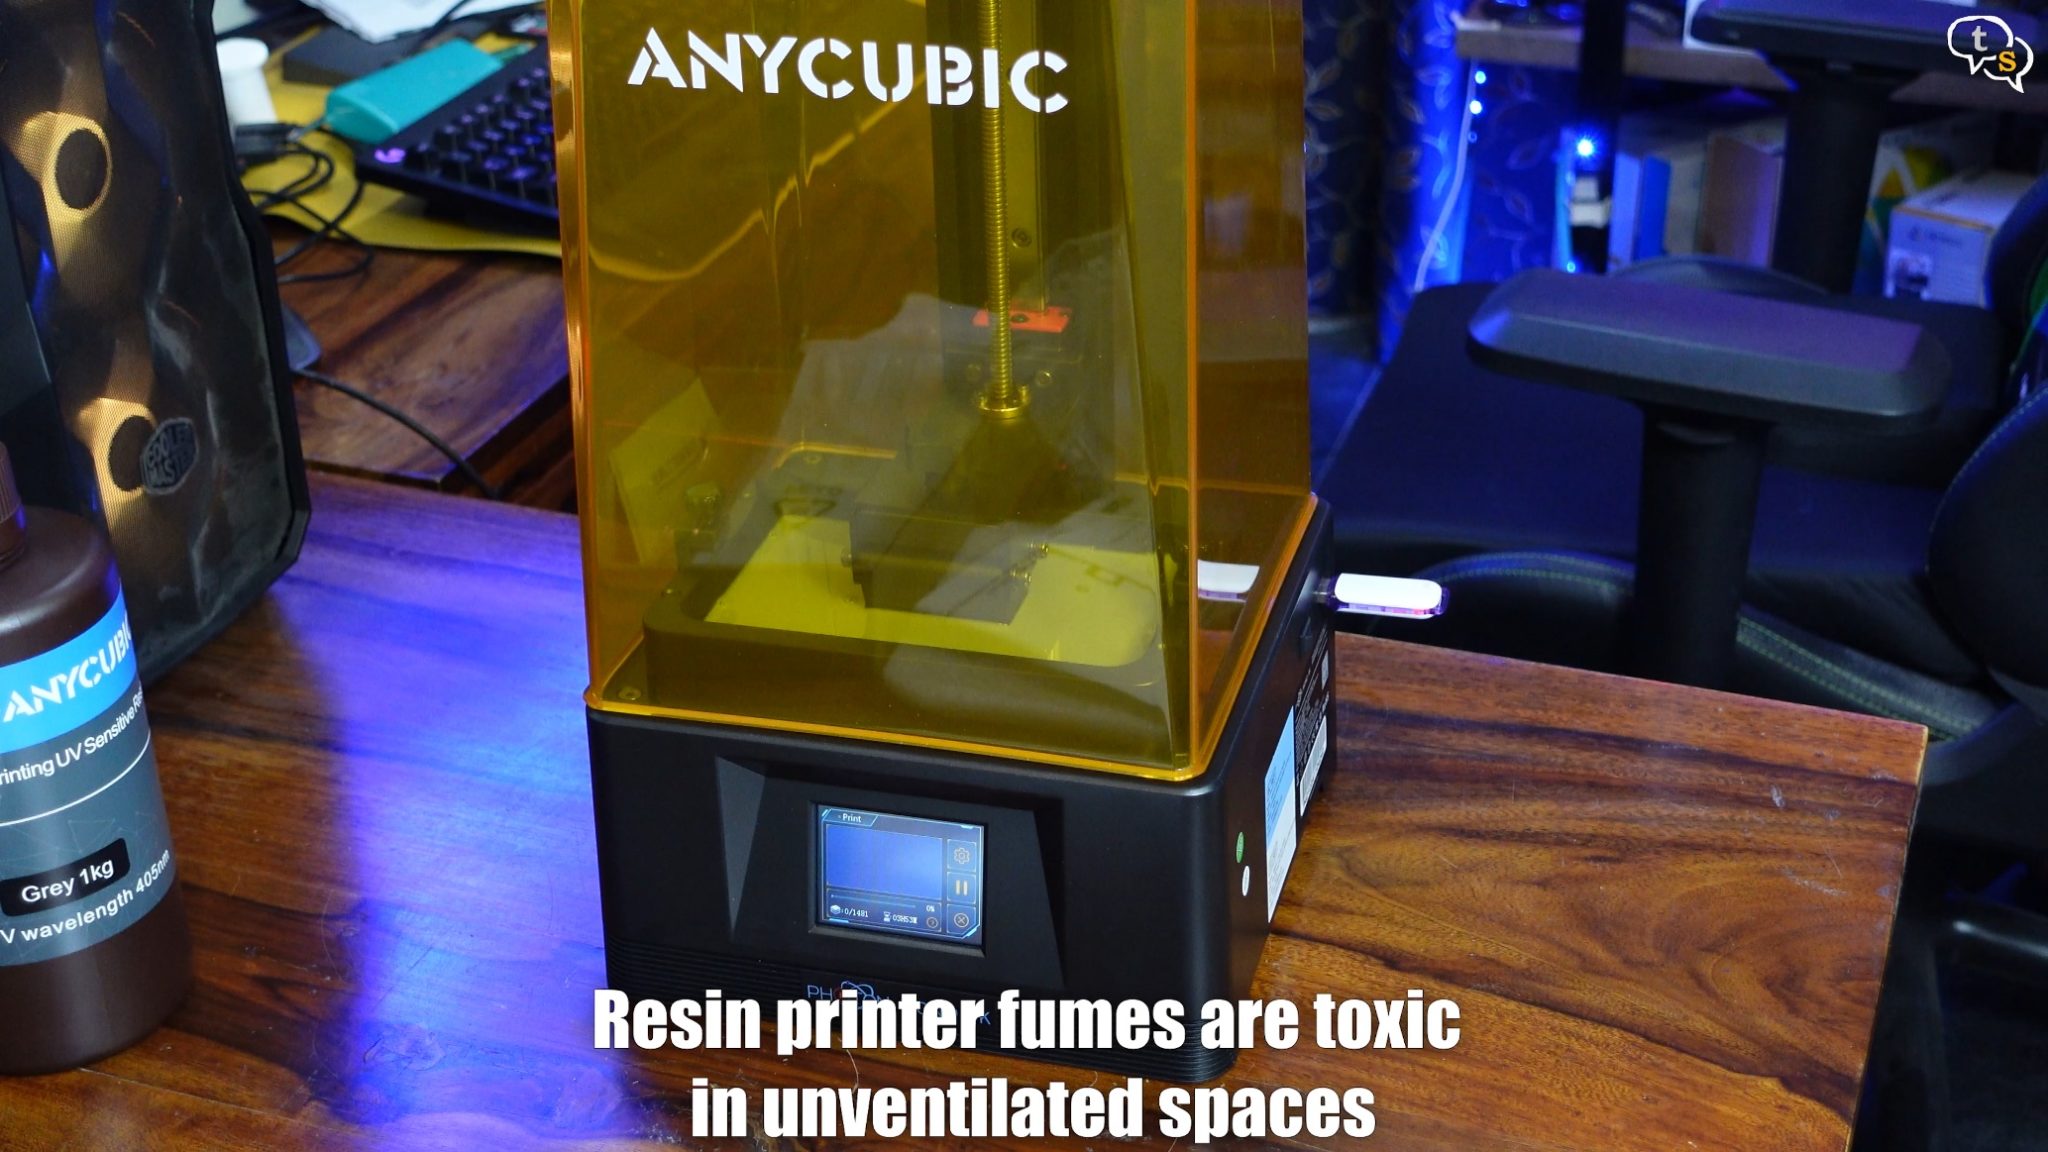
The printer has a sensor which prevents it from printing if the top cover is not installed as displayed on screen. There is a setting to disable the need for the cover, but it’s not recommended. Place the cover on and it starts printing. Resin fumes are dangerous so make sure to print in a well ventilated room. My room and house was stinking of resin.
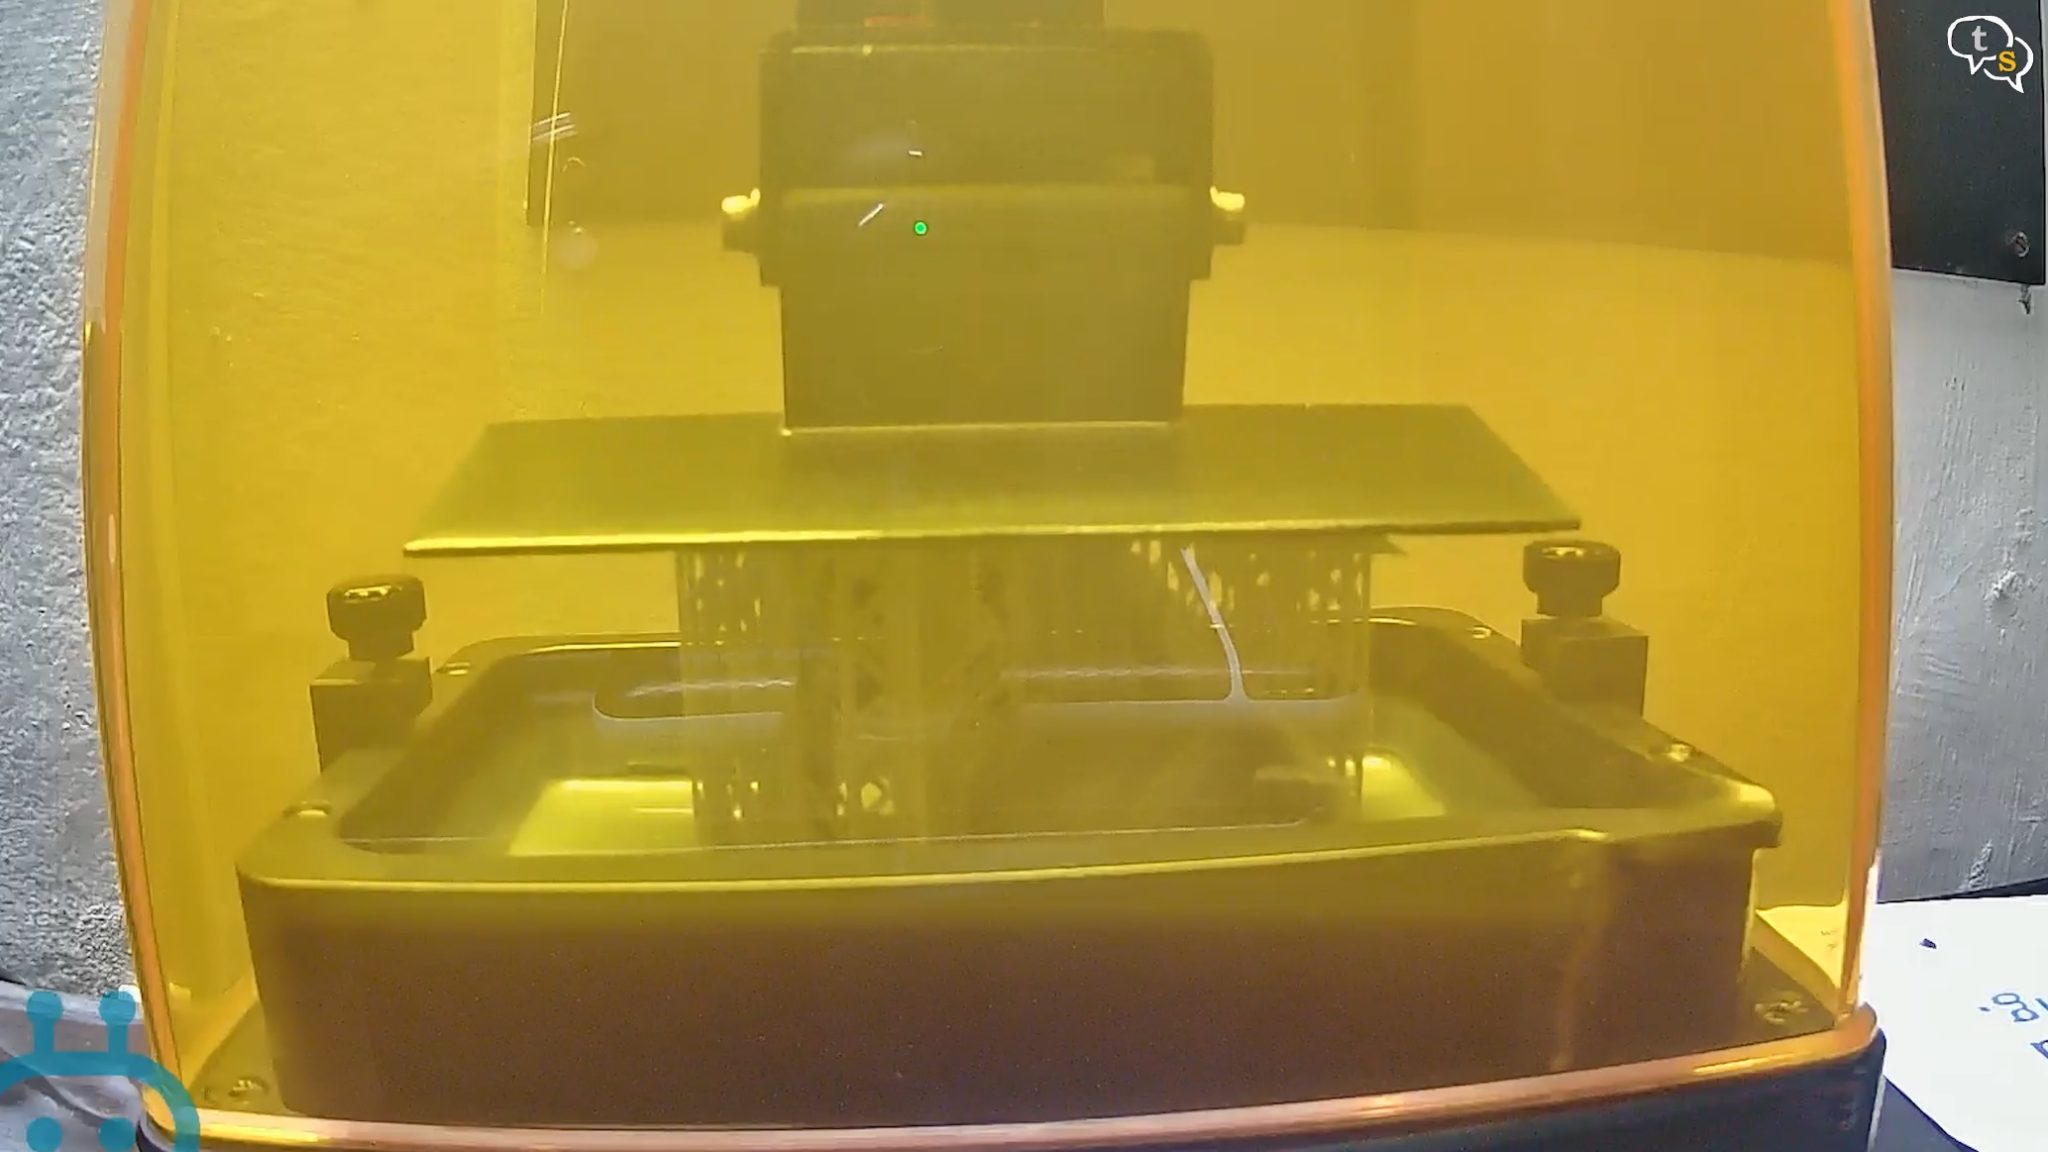
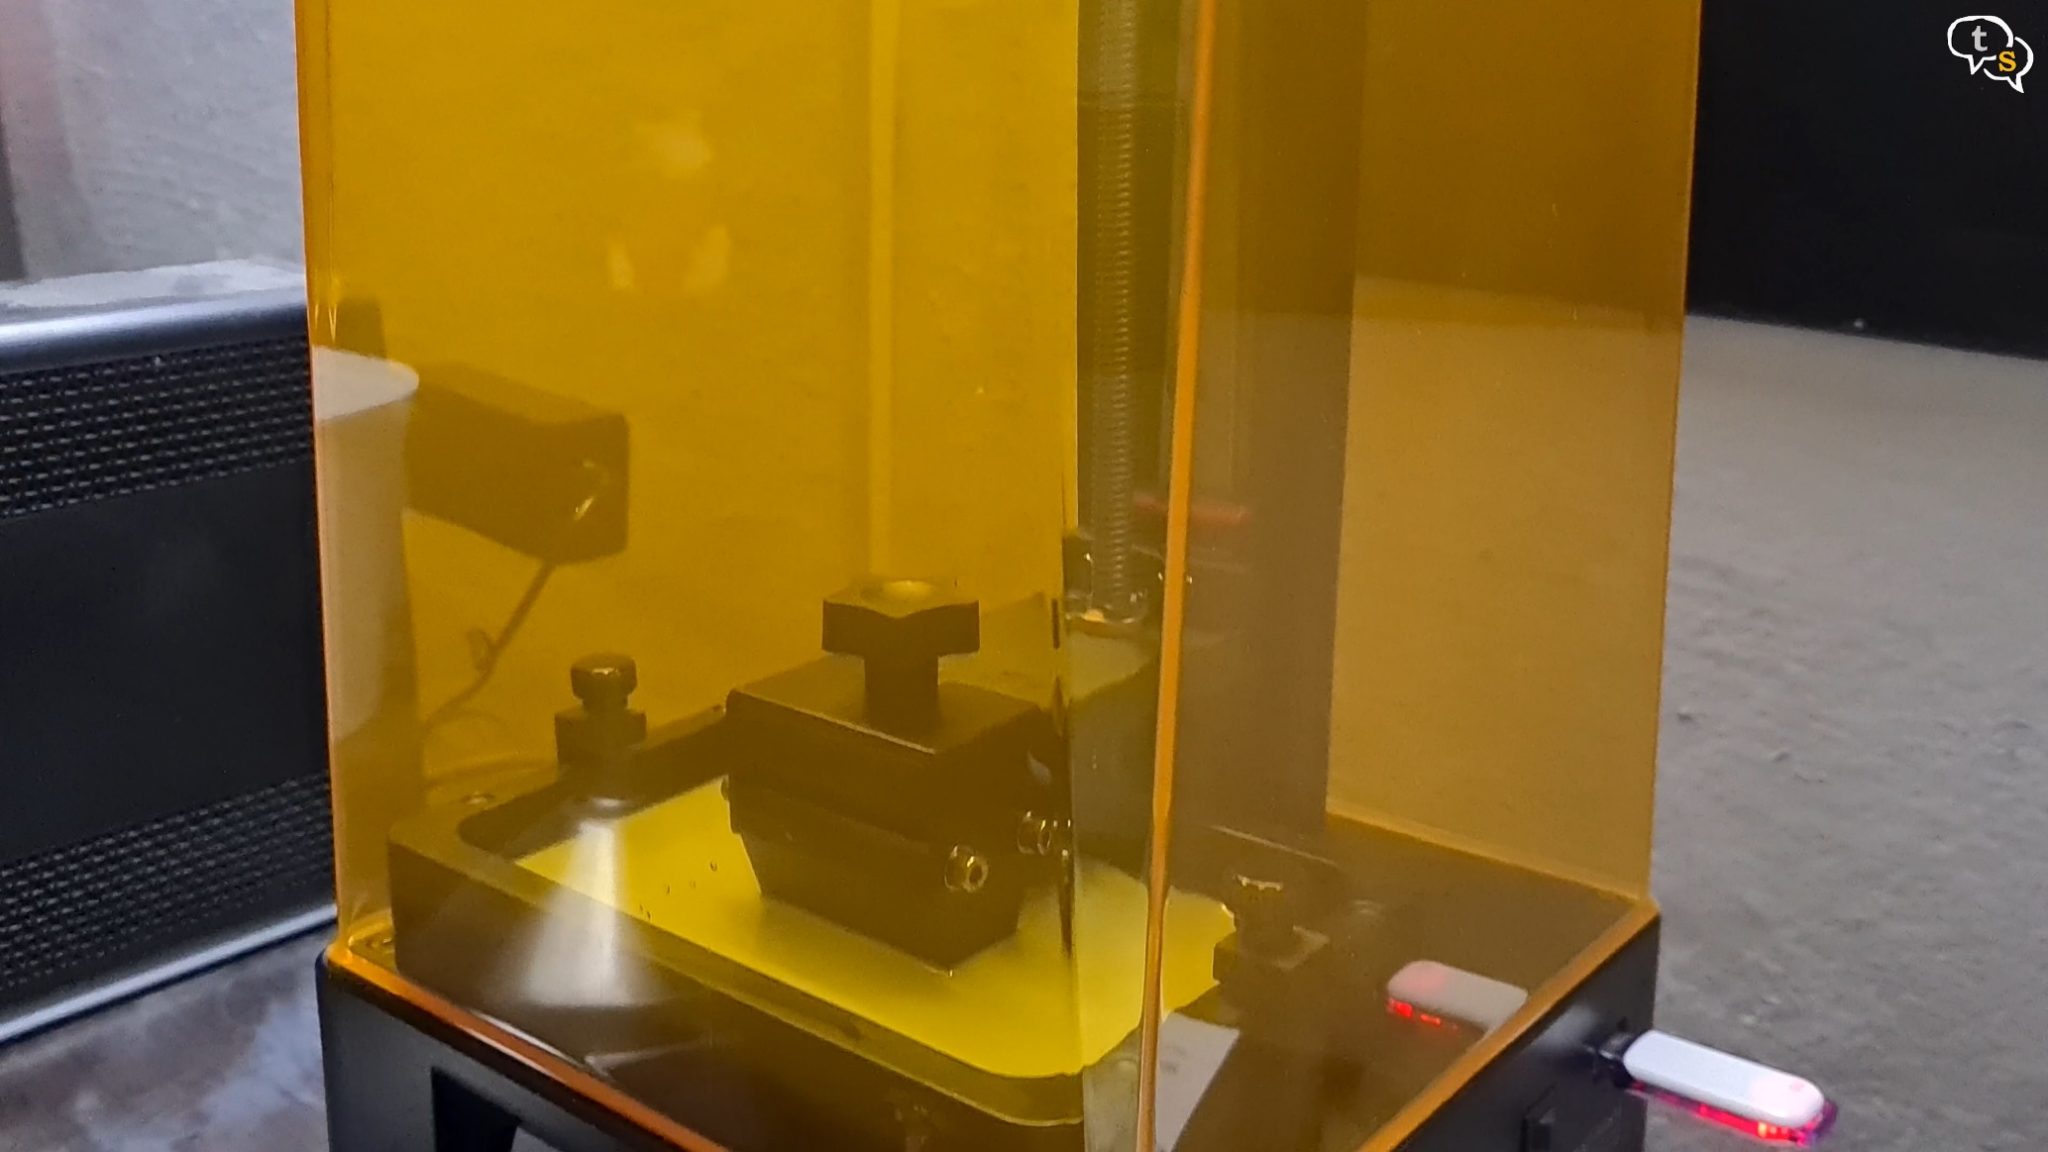
The print platform dips down into the resin vat, and the UV screen below displays an image which is one print layer, which hardens the resin and this sticks to the plate as it moves up.
The image keeps changing as per the model and this process continues until the whole print is done. The printer is very silent, it has a fanless design and the only sound you hear is the motor dipping the platform into the VAT. It’s that quiet.
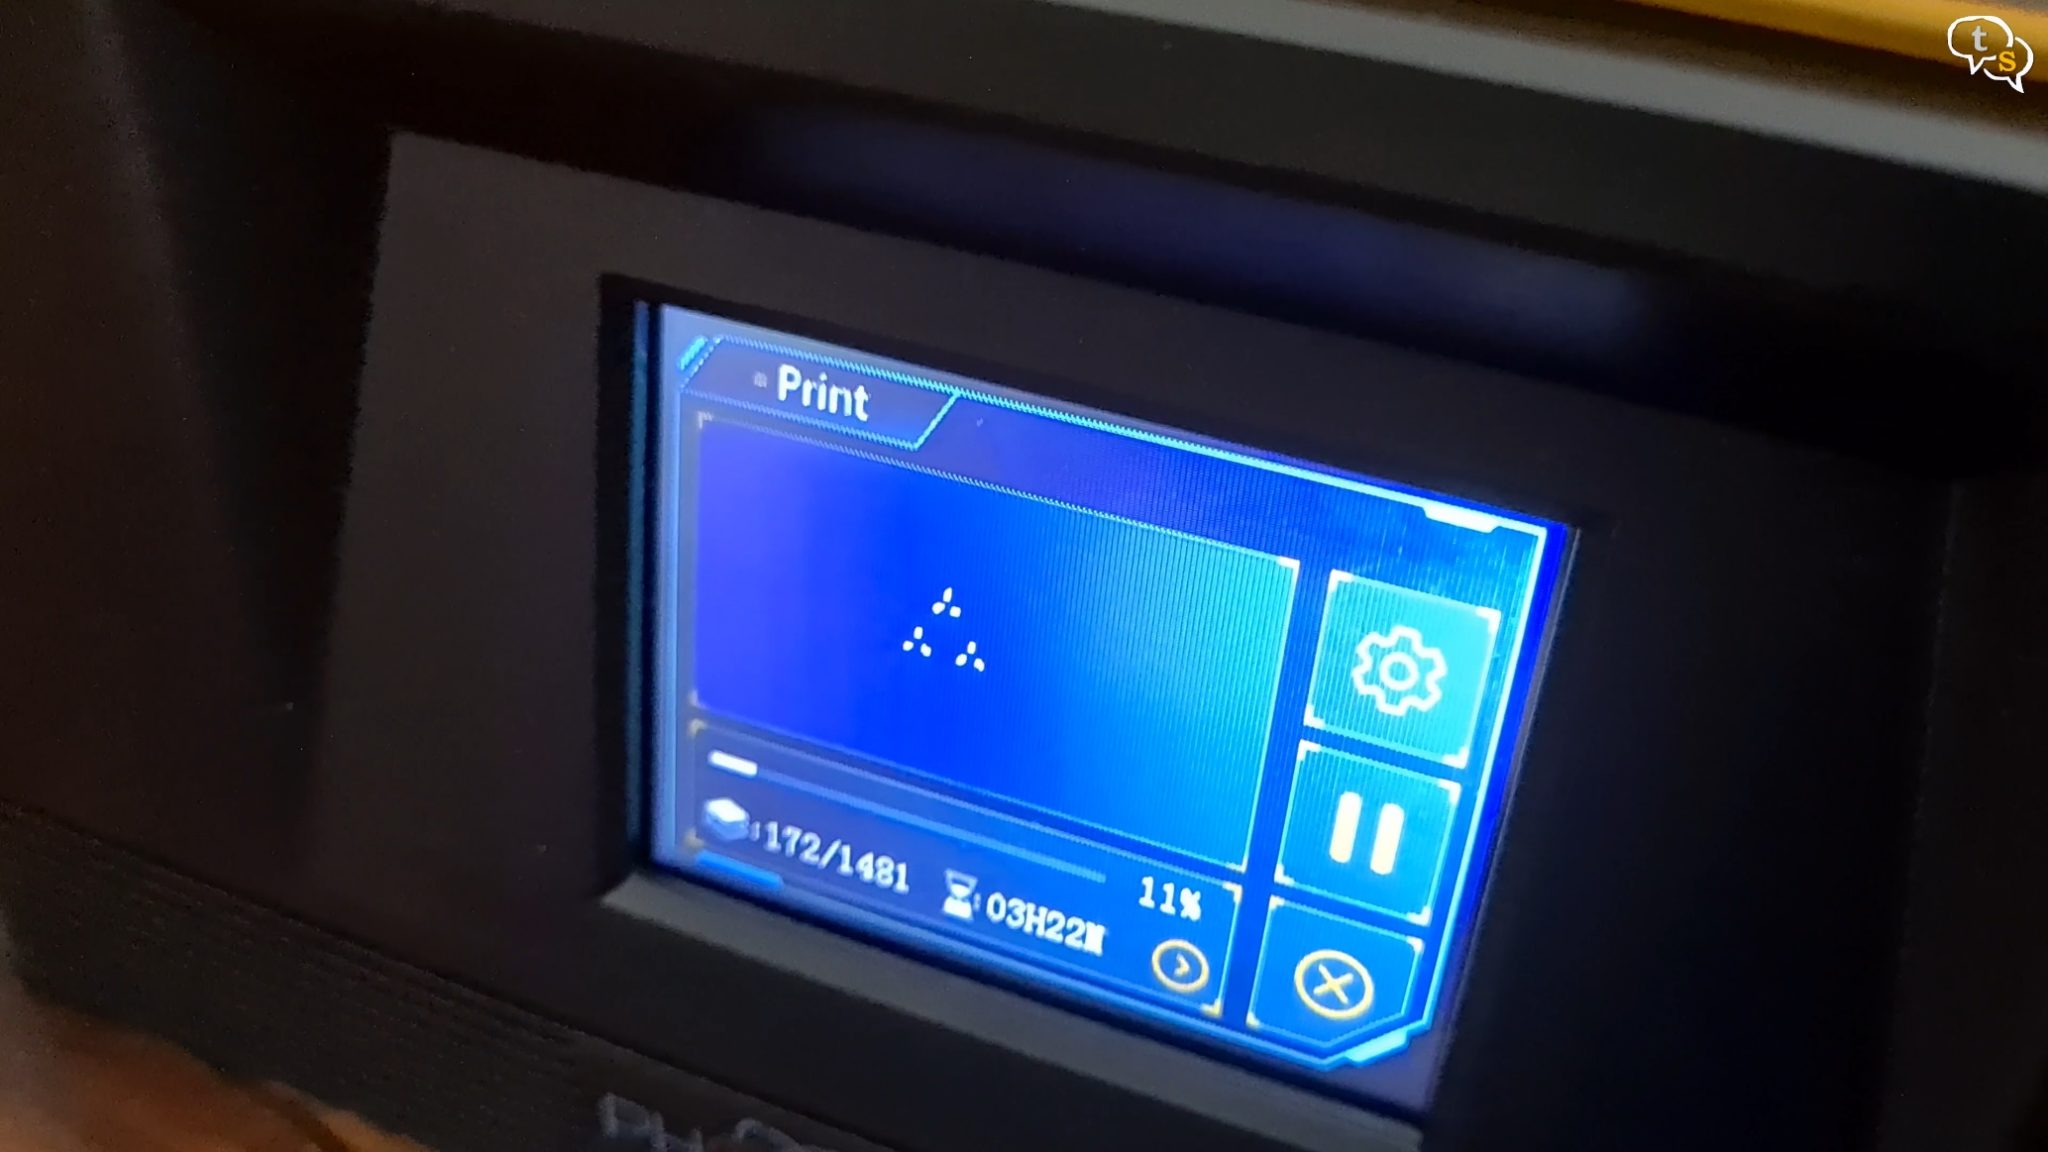
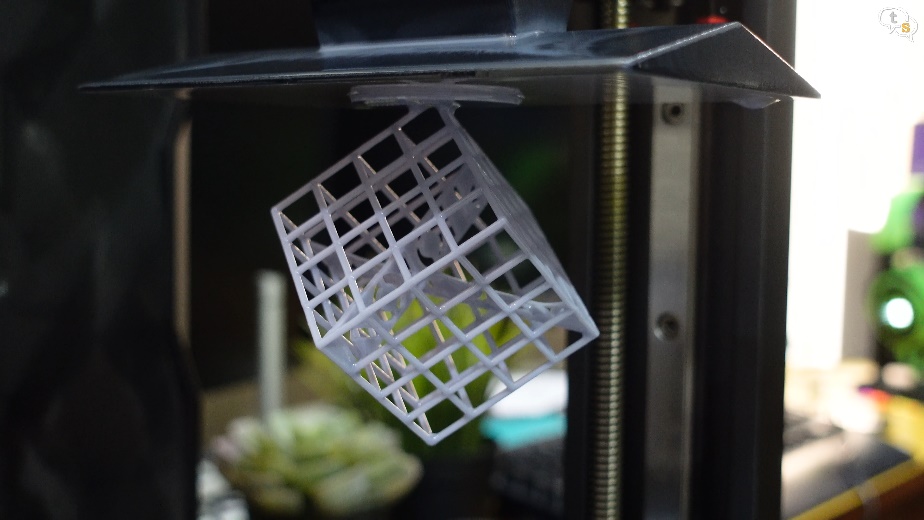
This is how another layer looks, this is layer 172 of 1481.
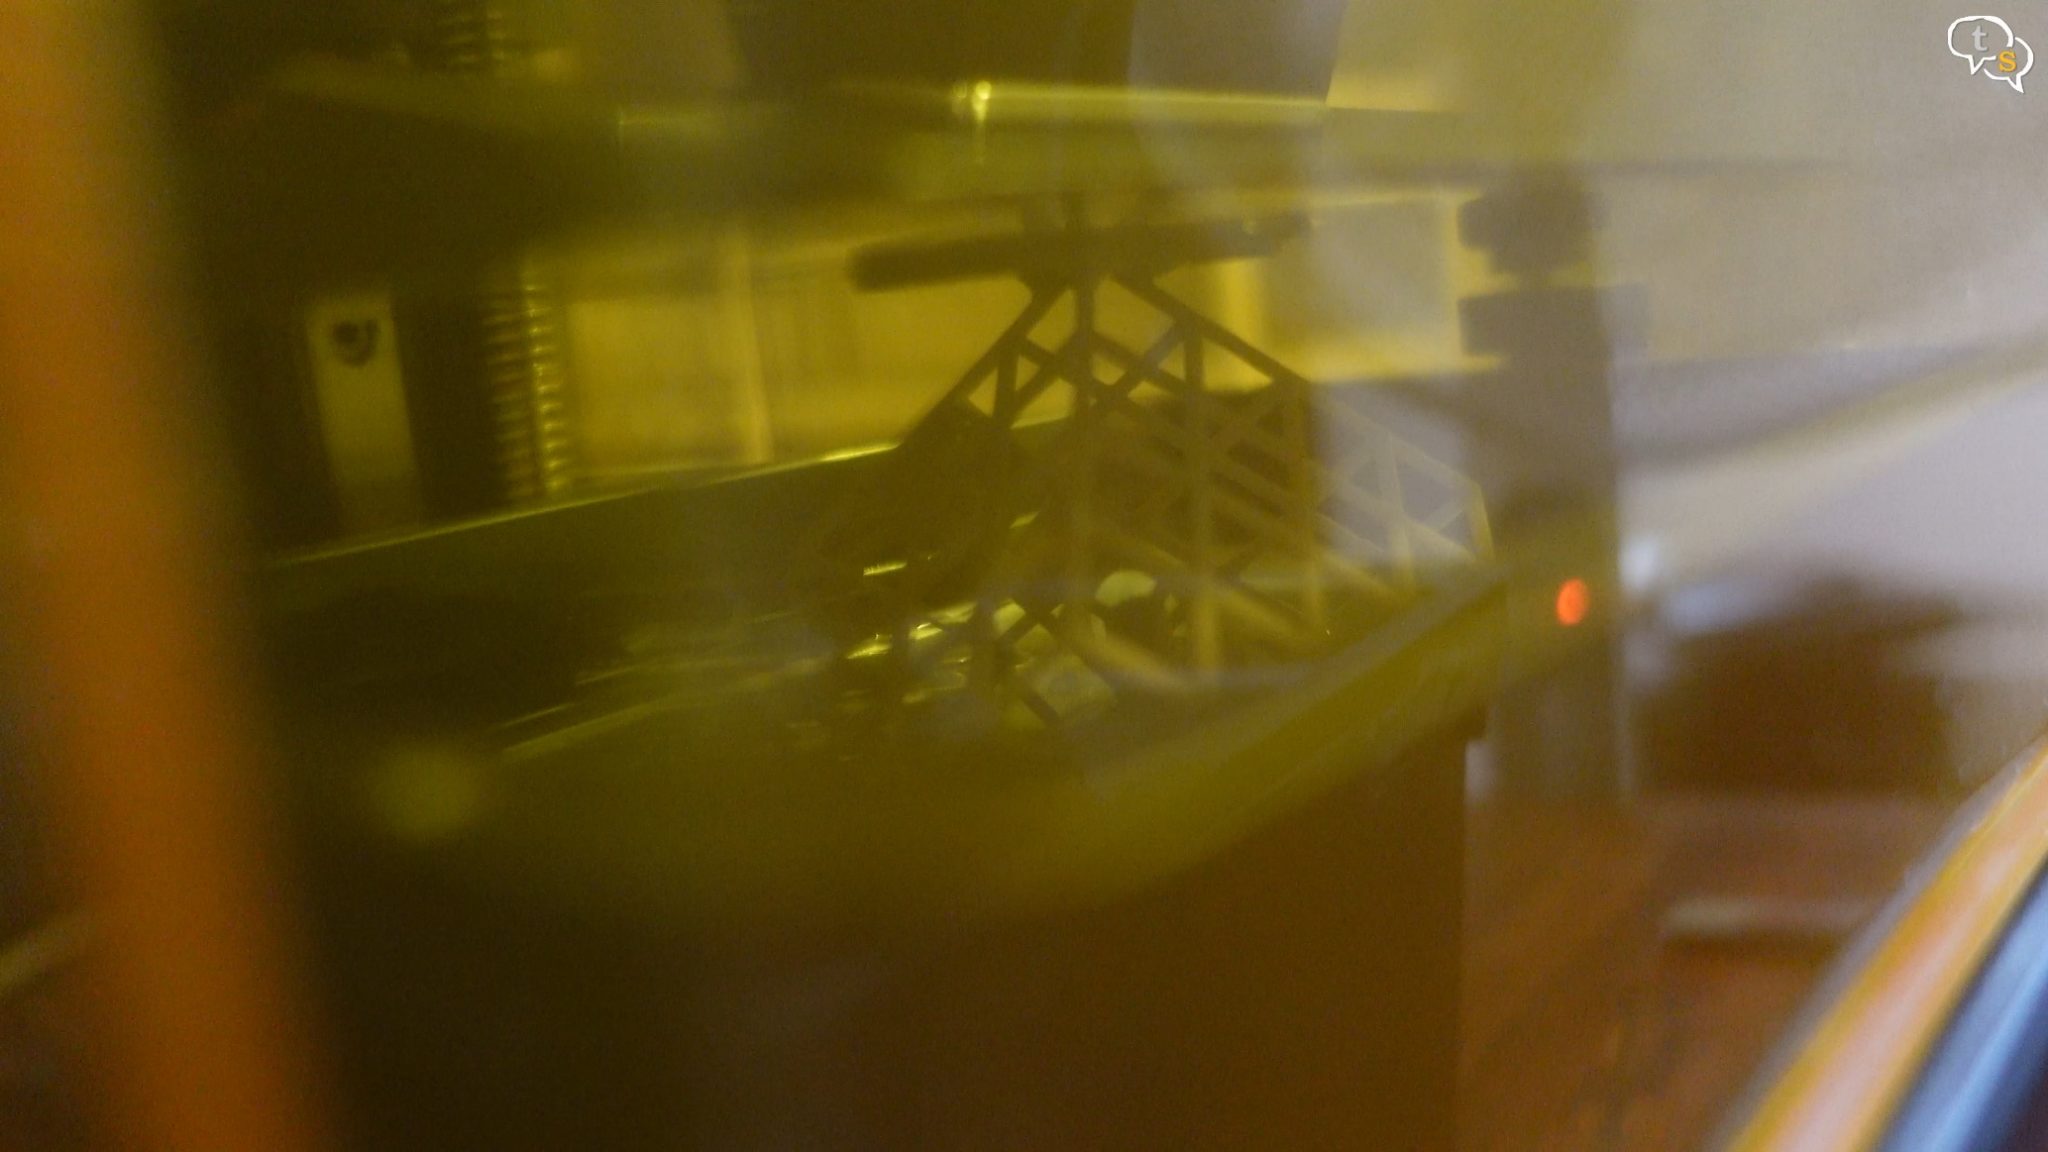
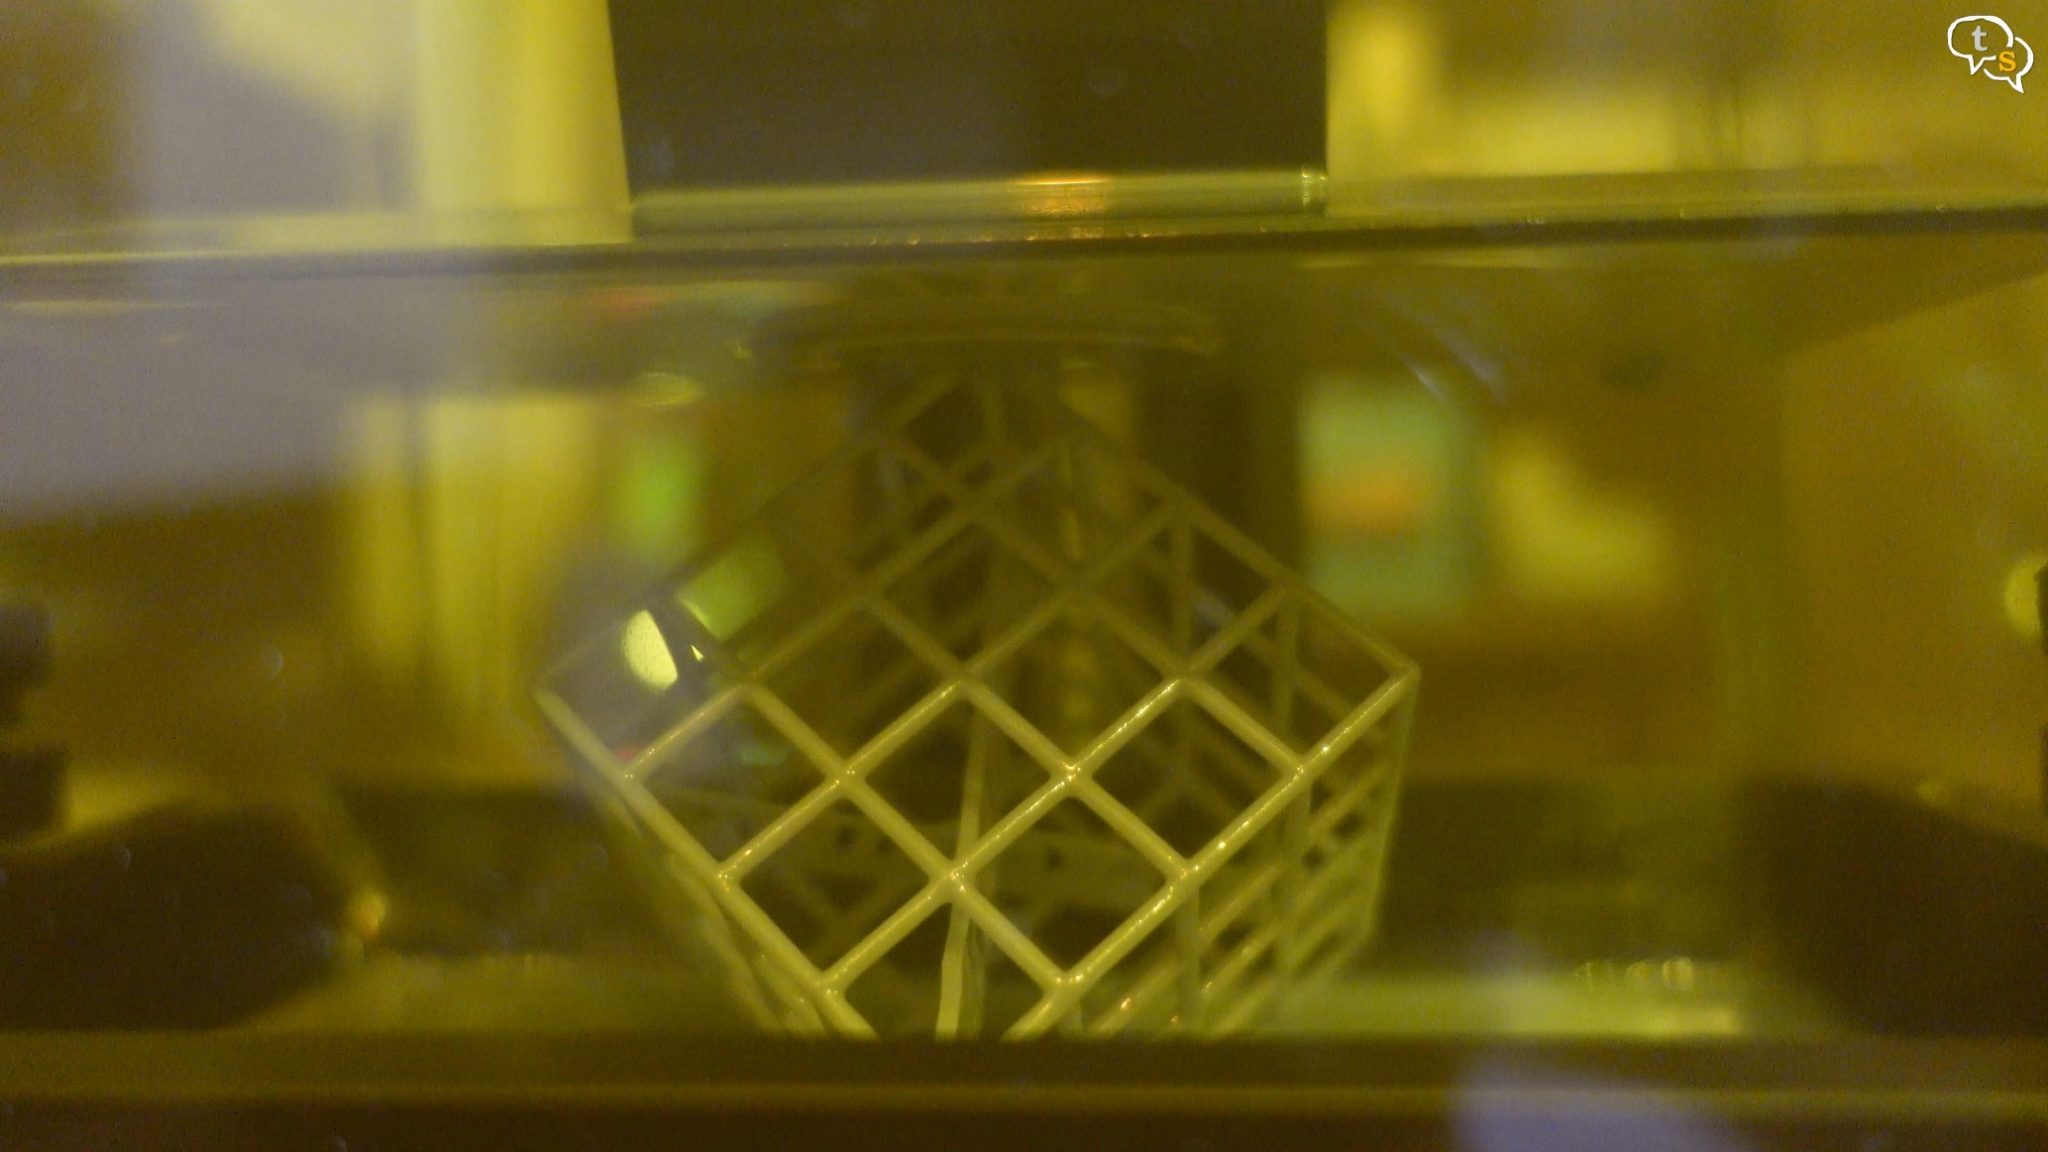
Couple of hours later, the model is visible. I don’t like that the initial print is within the vat and there’s no way to see if it’s printing properly.
If there is a way to make a transparent resin vat or a window to monitor the print from the beginning a lot of time would be saved.
The print came out well, and the next step is to clean it in isopropyl alcohol.
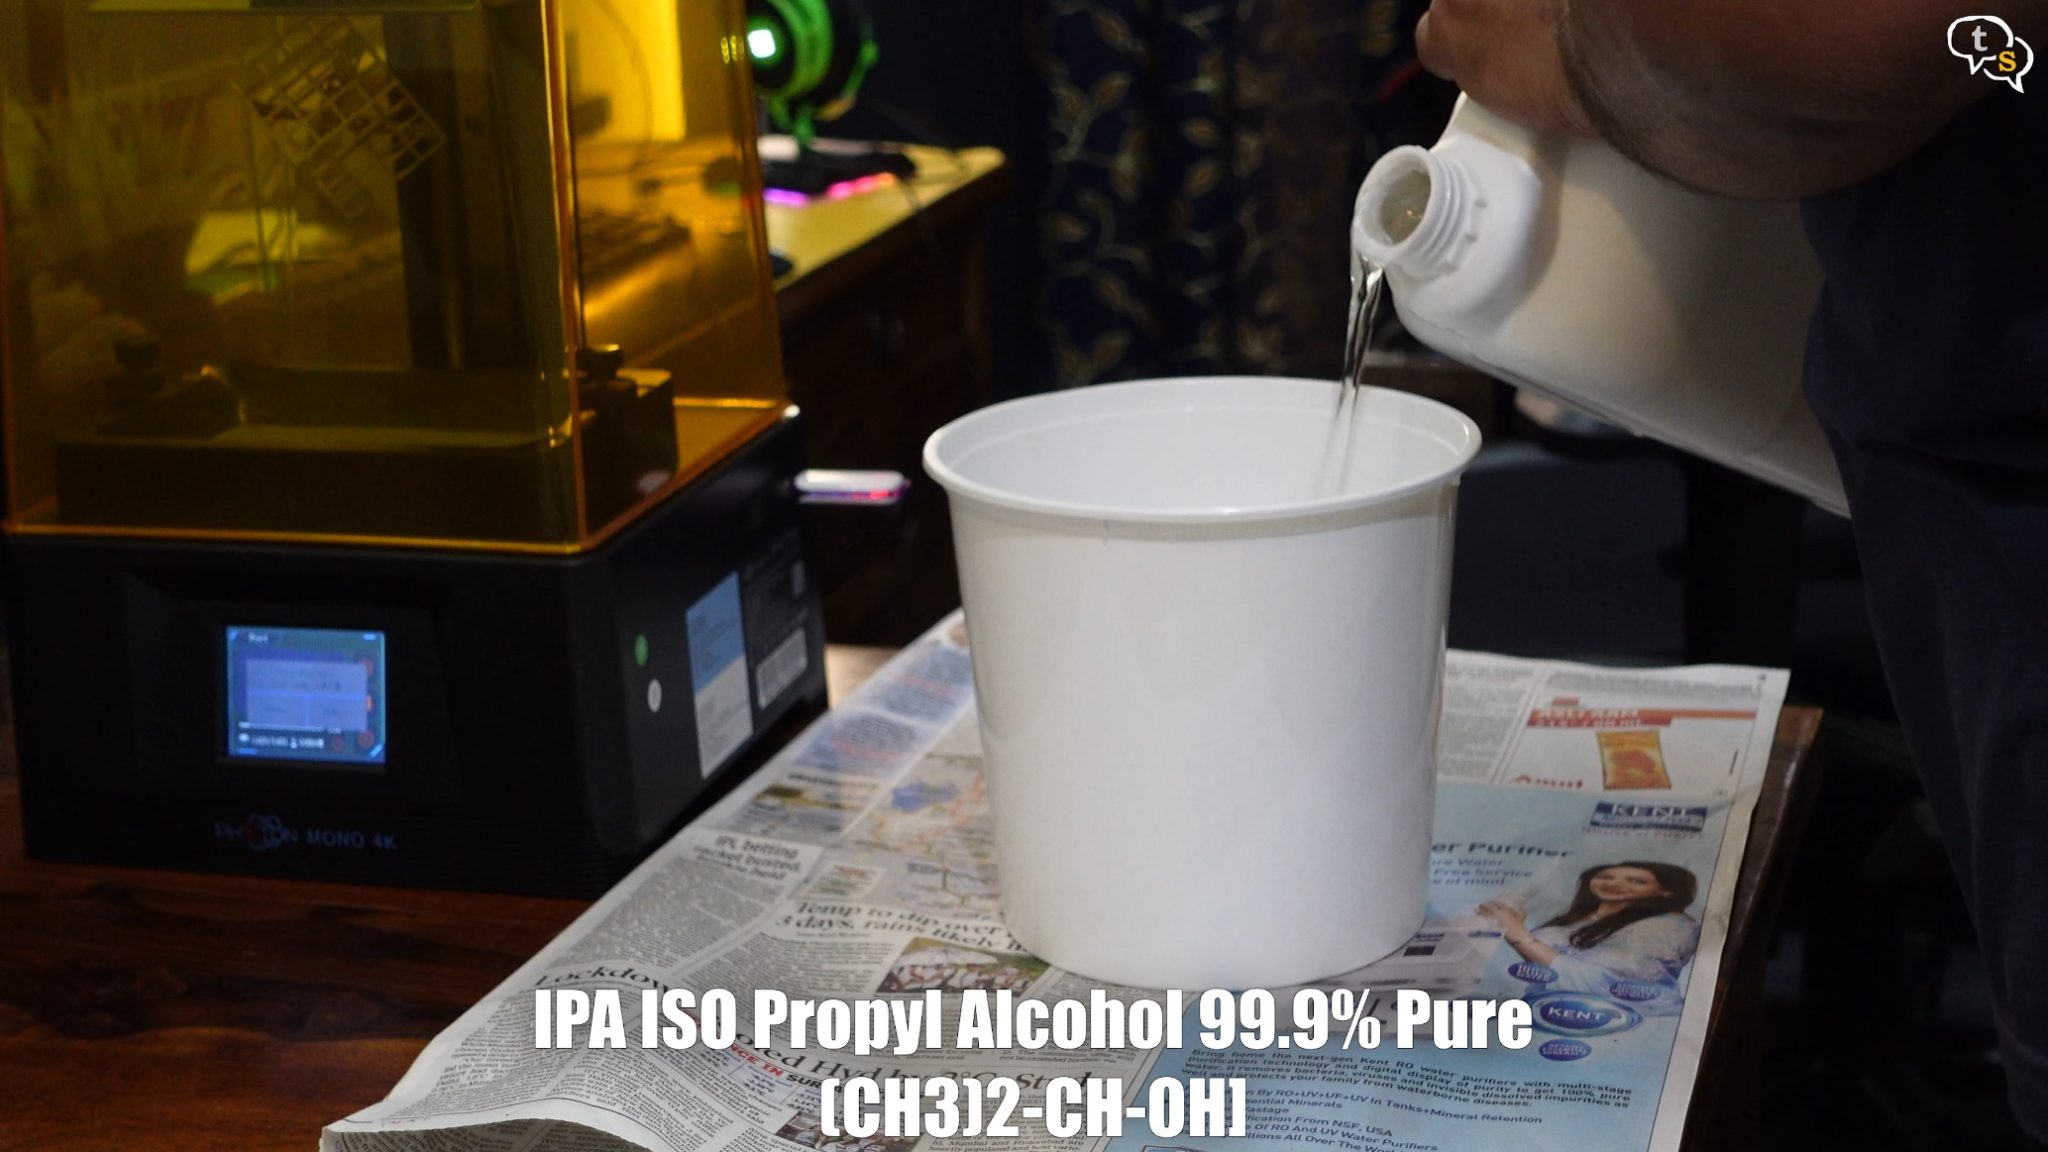
I purchased a 5-litre bottle as I will be printing more.
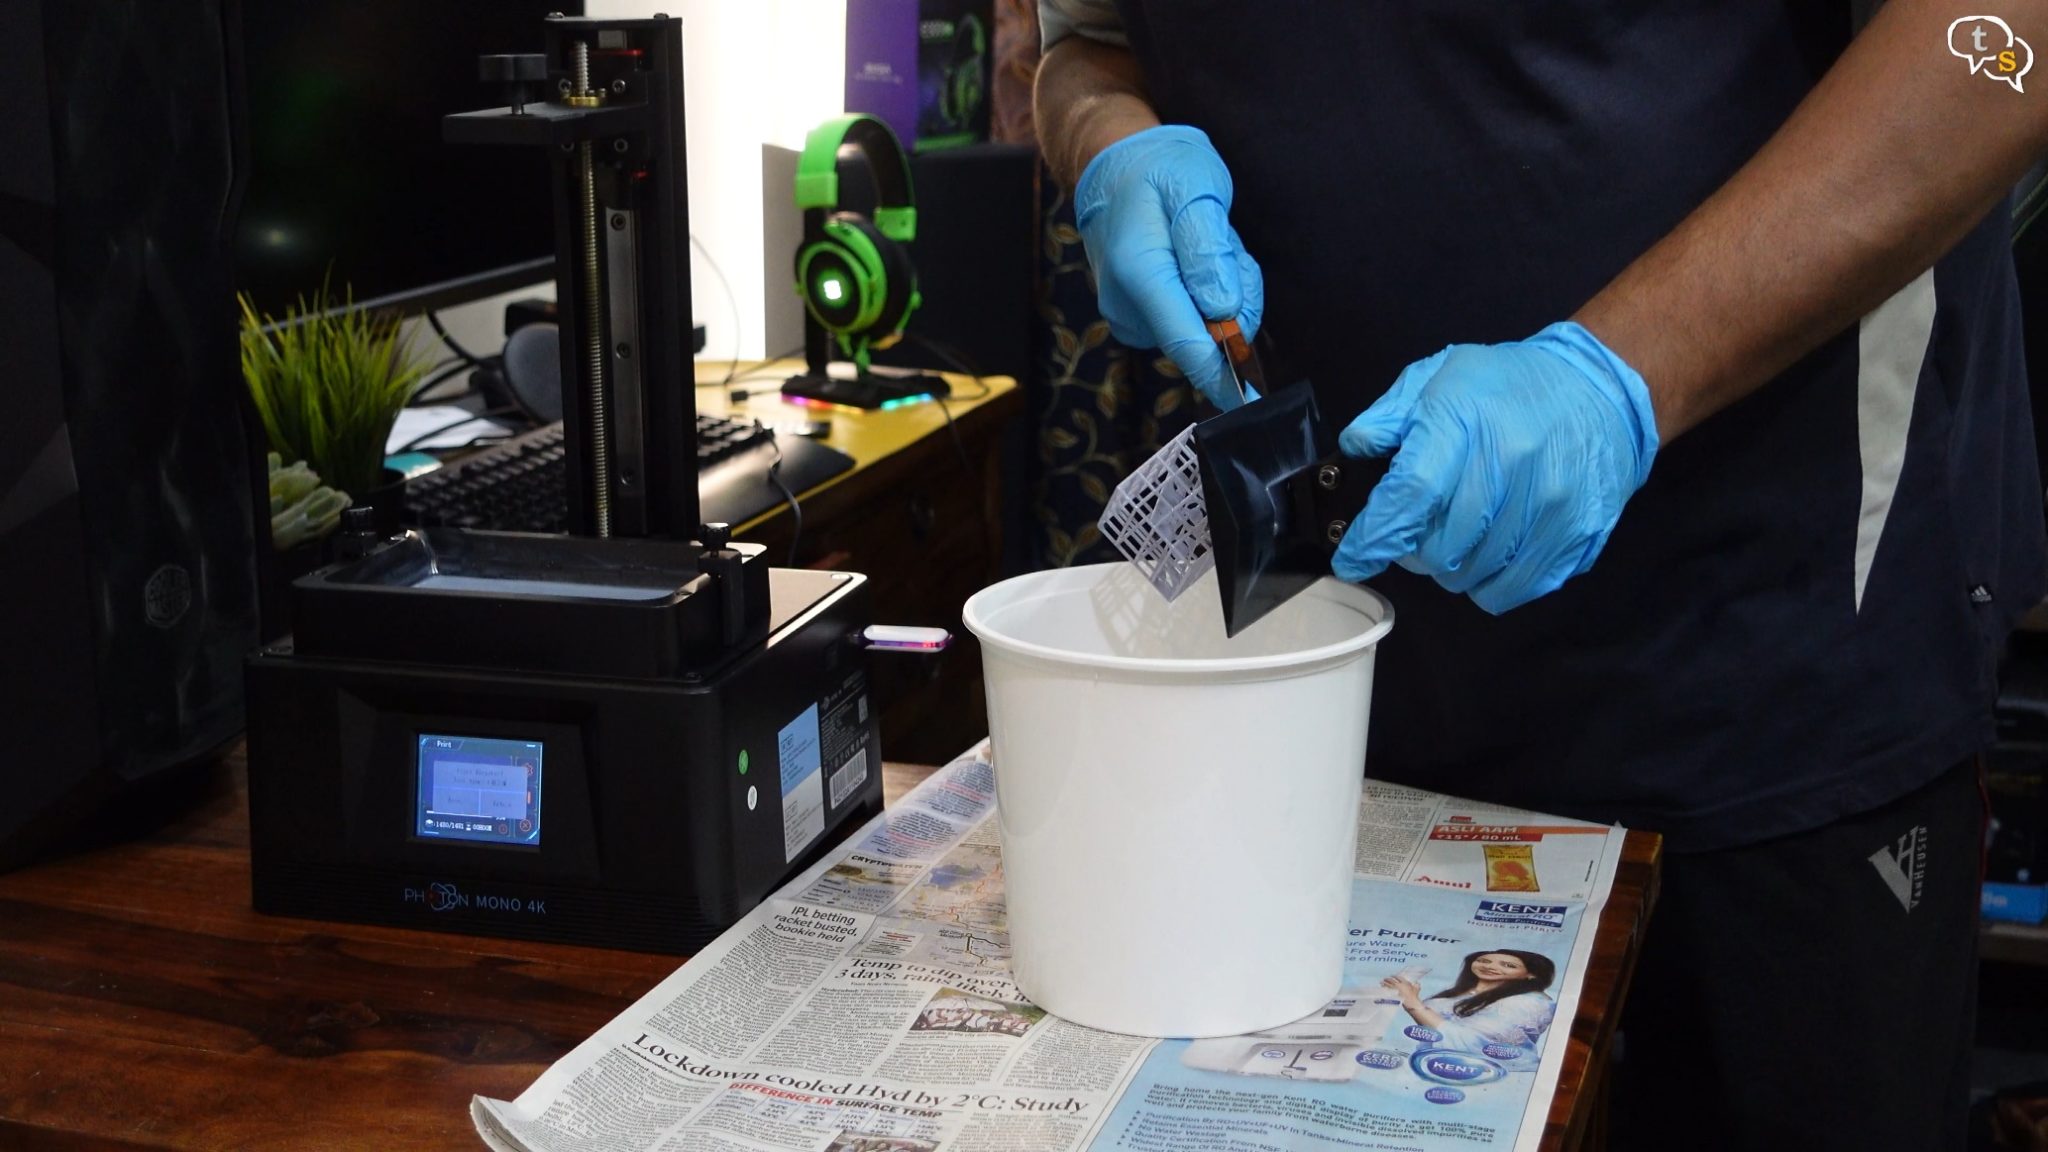
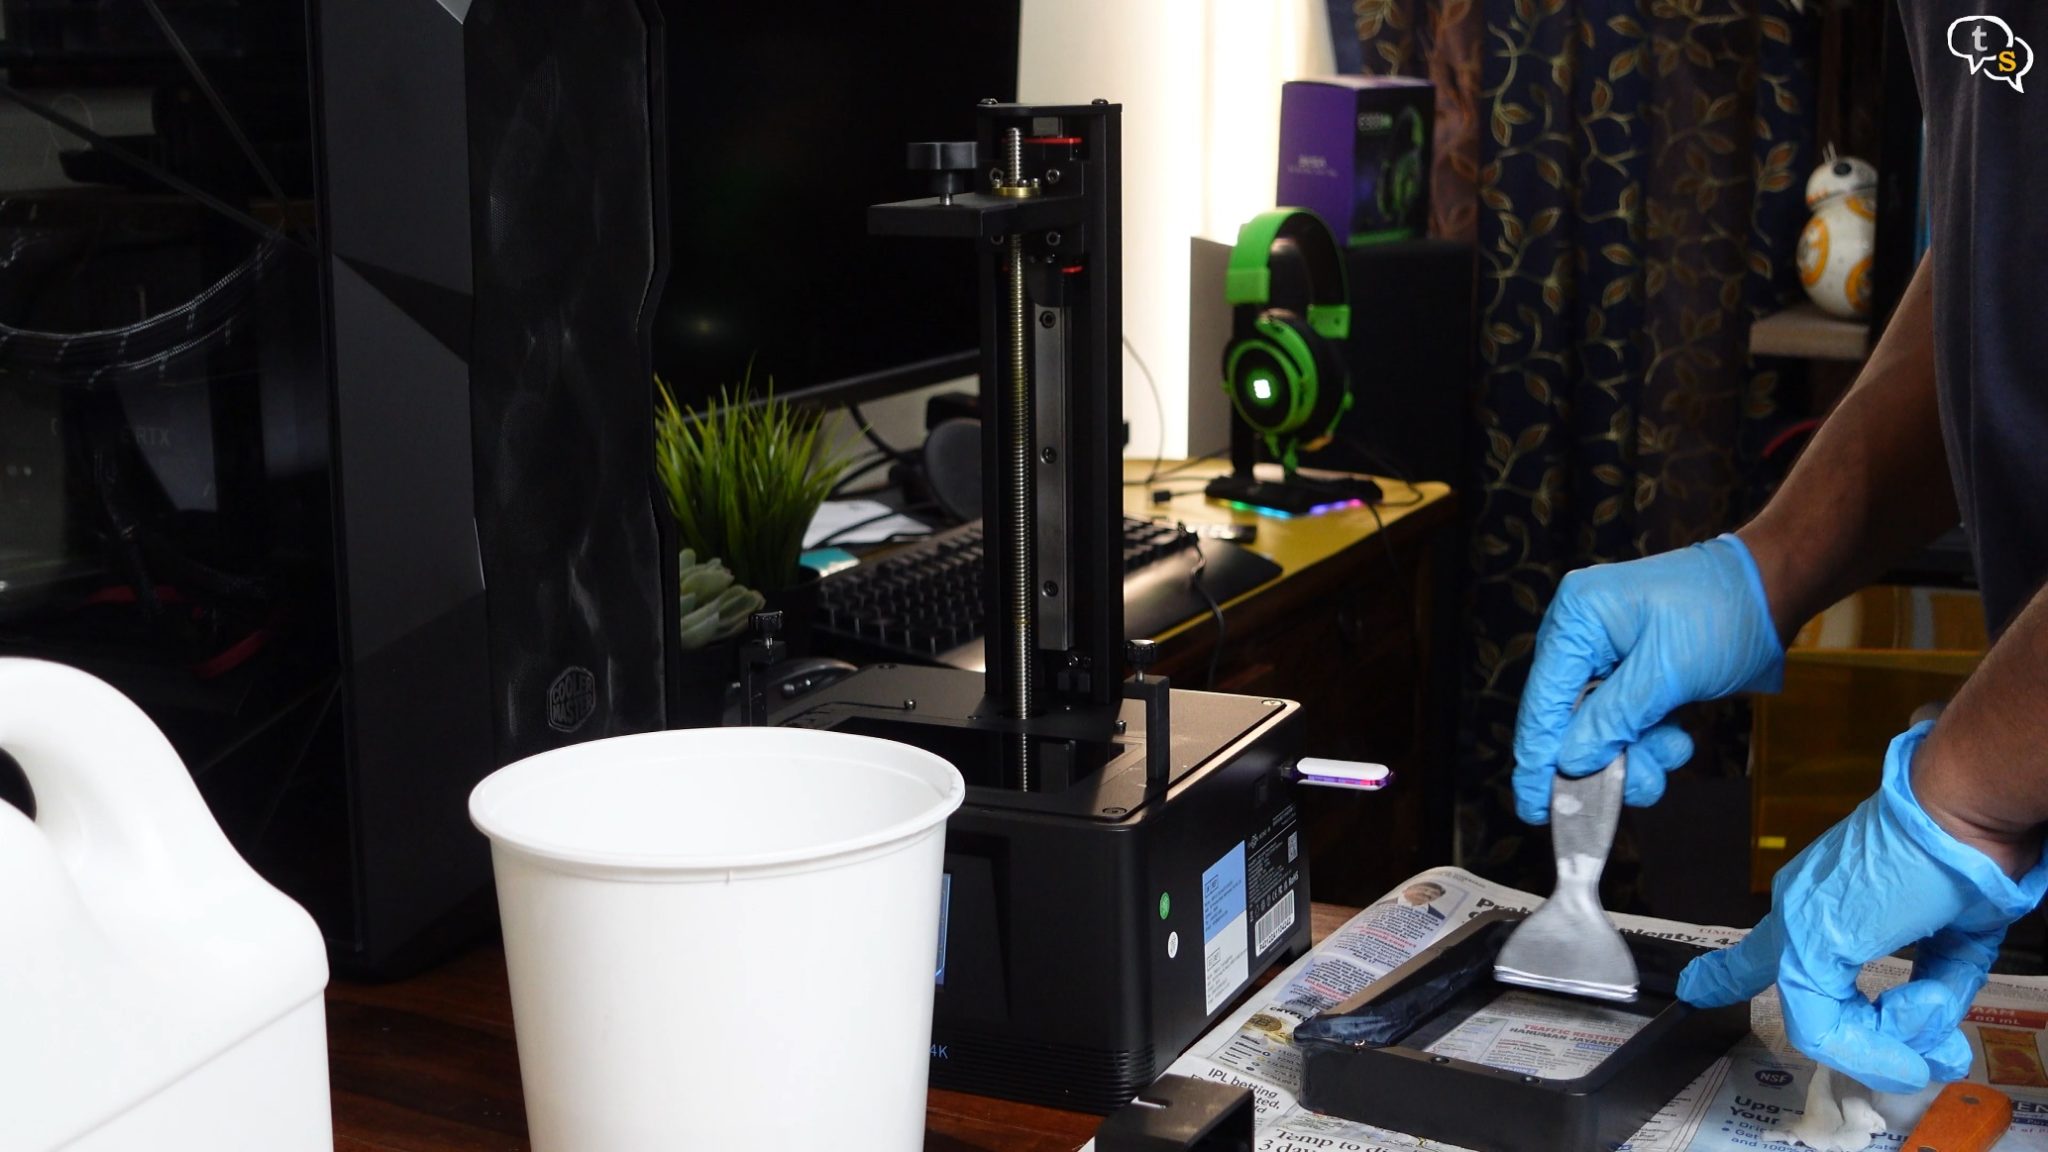
I’m using a small container to hold the isopropyl alcohol, and using the metal spatula, push the print into the container.

Here’s the print after it’s cleaned. There’s still more to do, but a clean-up is required as there is resin still present in the VAT.
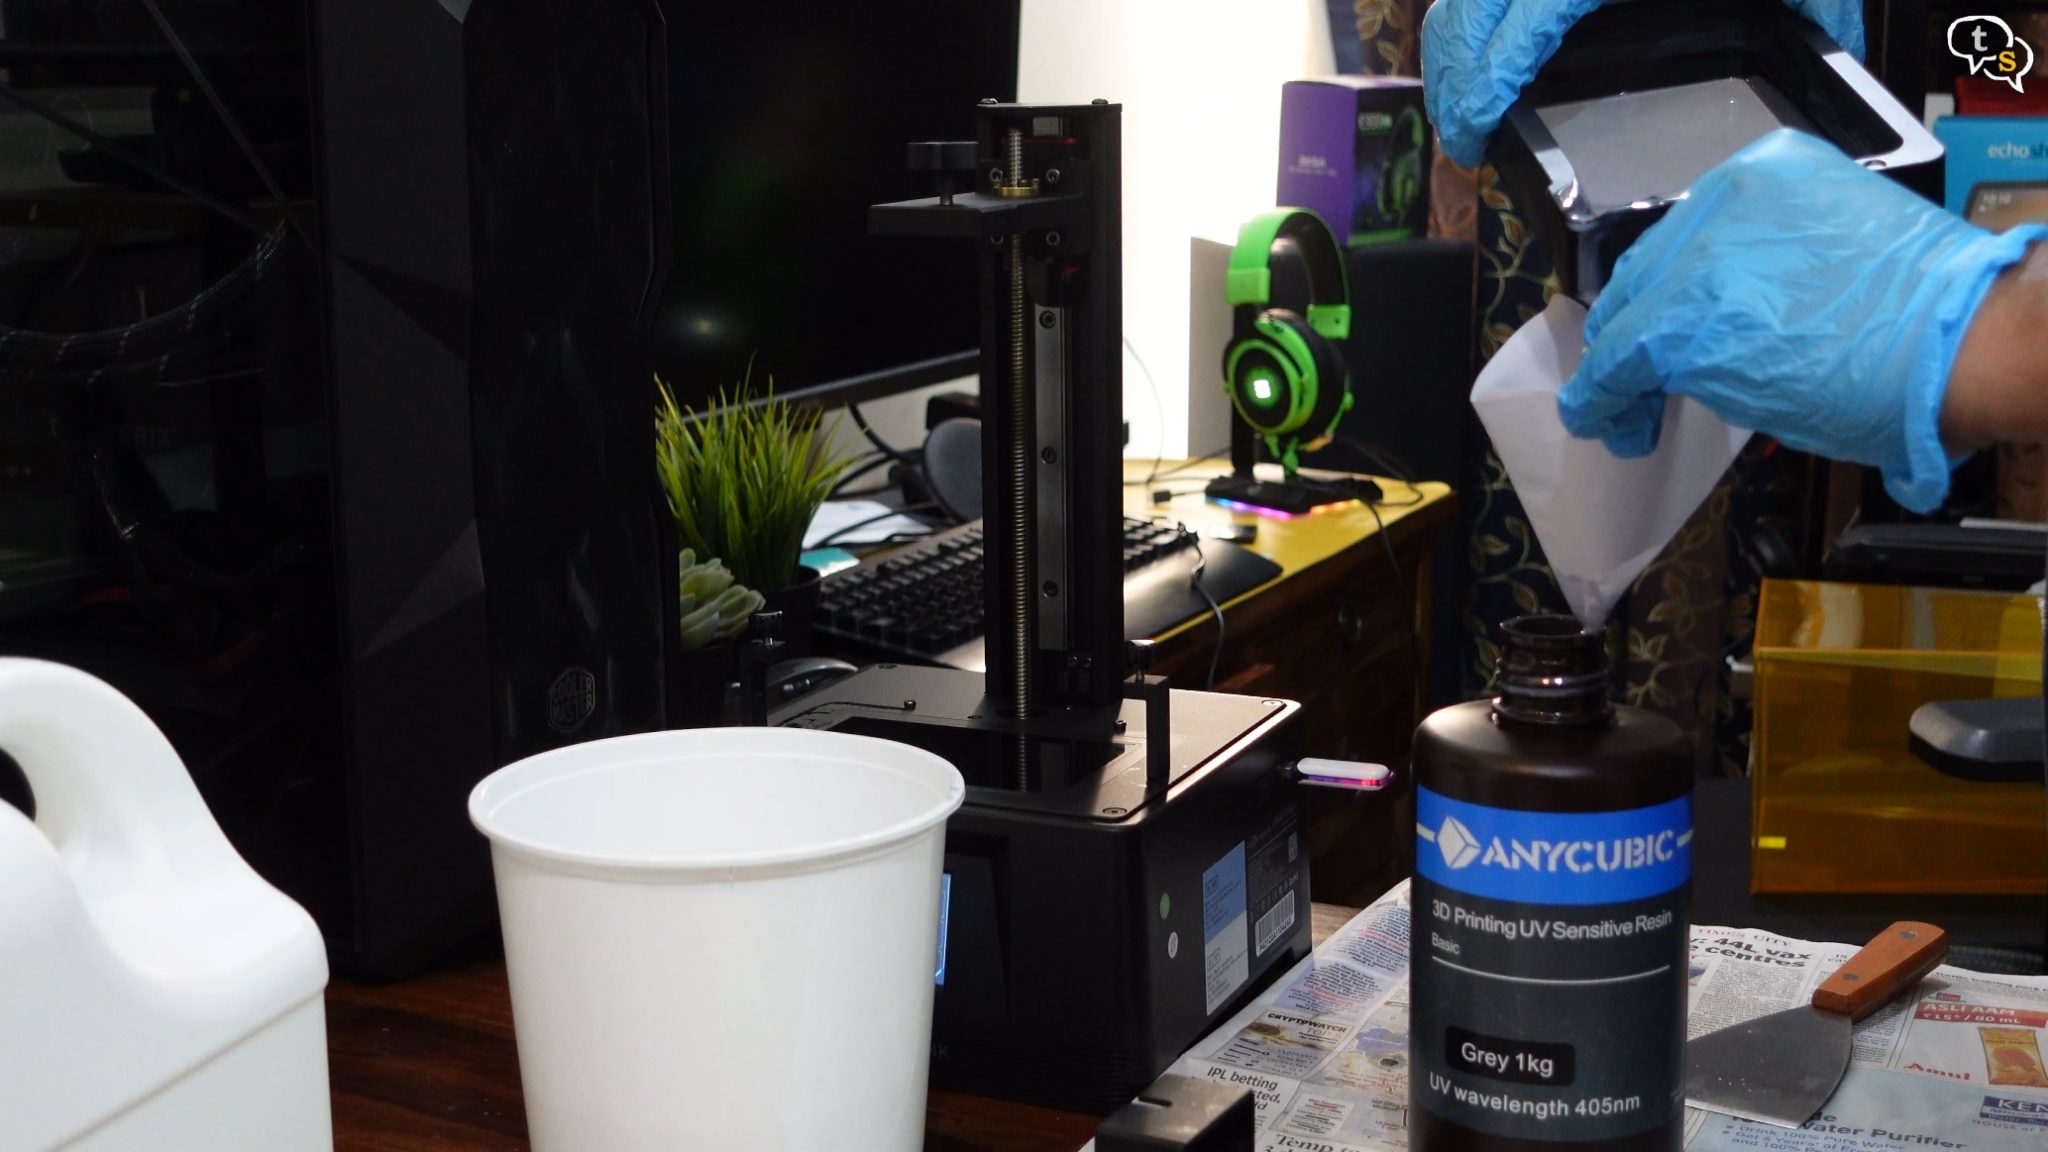
Using the provided paper funnel, I empty the existing resin into the bottle. The funnel has a filter so that the solid cured resin doesn’t get into the bottle.
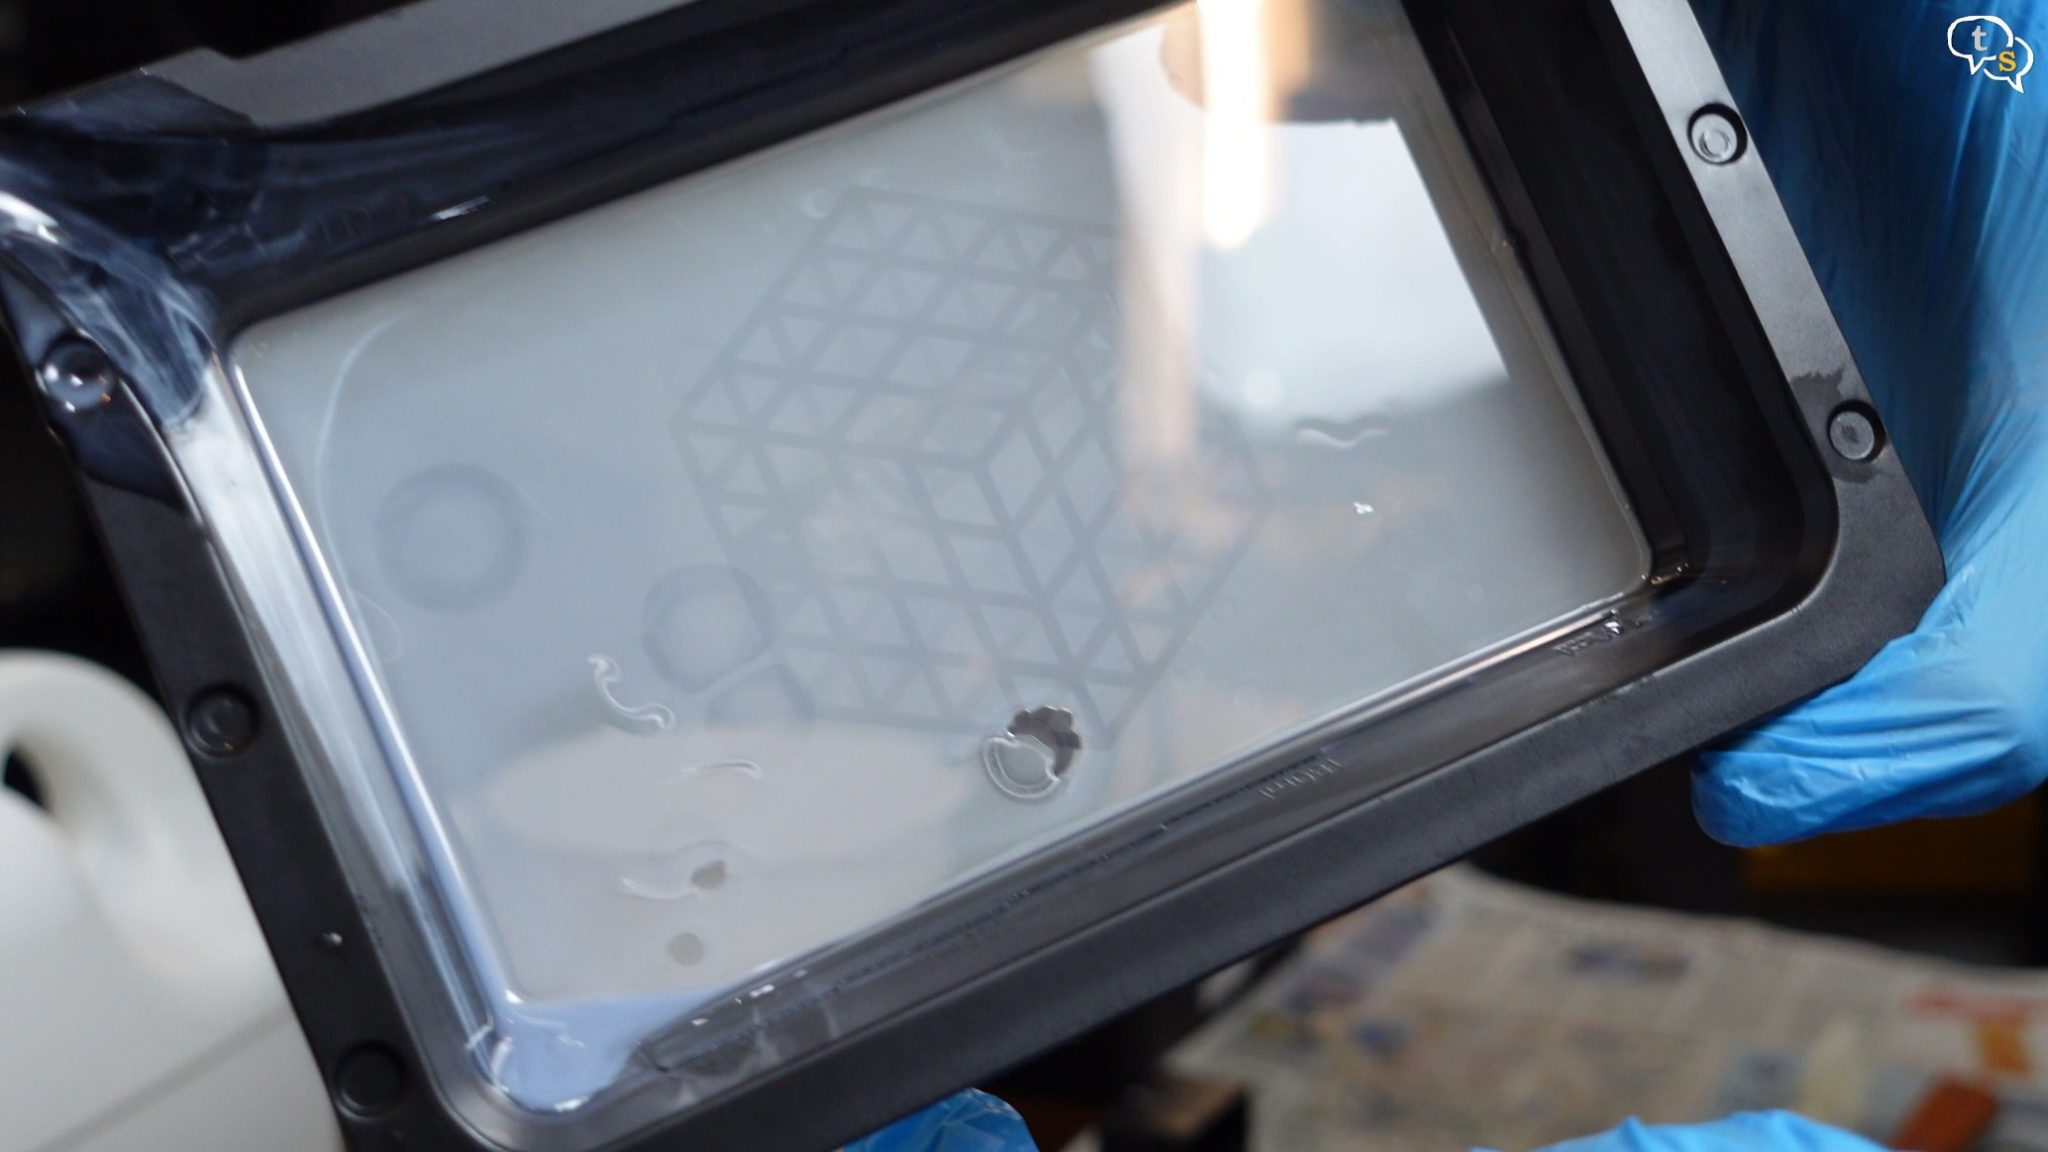
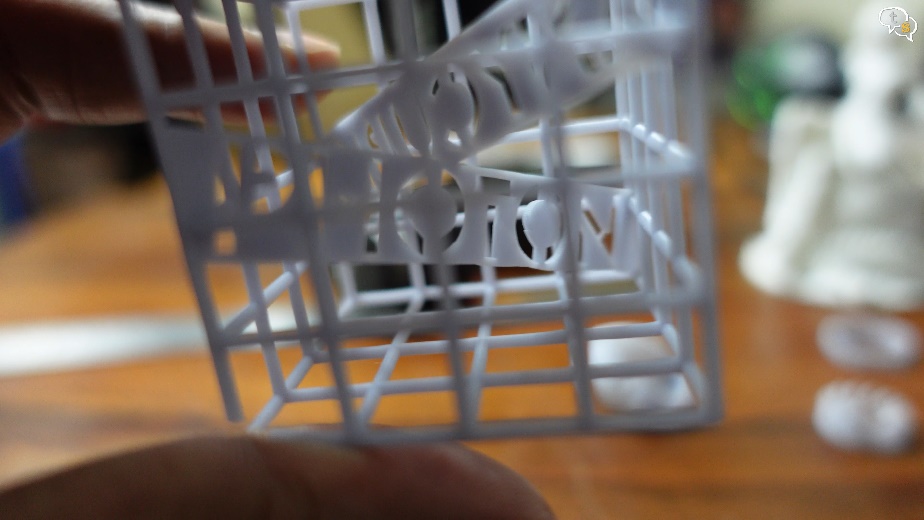
We can see the design within the VAT, we need to clean this up to get it ready for another print. Use the plastic spatula to do so, as it will prevent scratches on the bottom of the vat.
A little isopropyl alcohol helps with the cleaning, but make sure to clean all the alcohol off as it could hinder prints sticking to the plate.
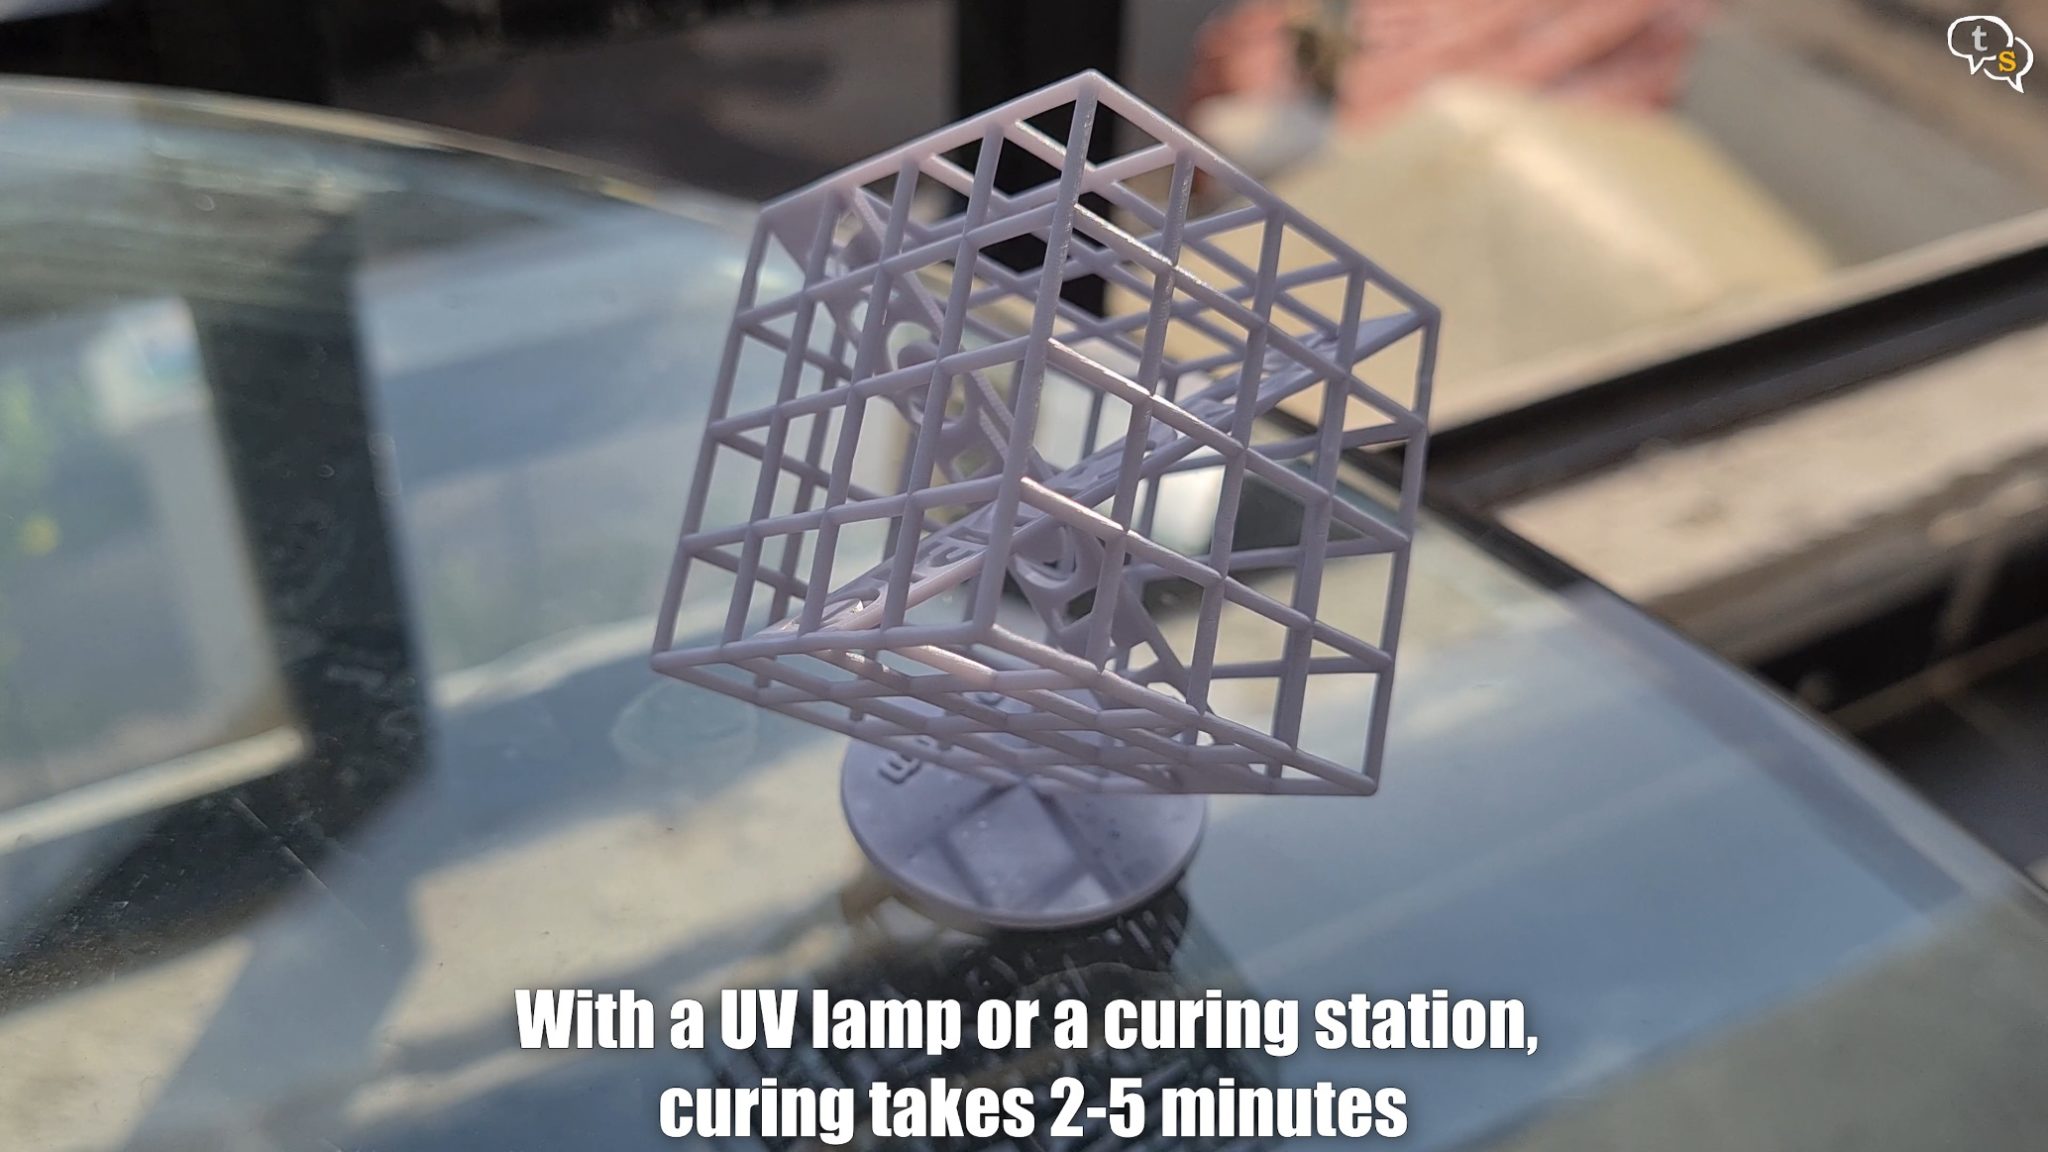
The resin is still soft and needs to be cured using UV light, I don’t have a UV curing station so I used the next best thing, Sunlight.
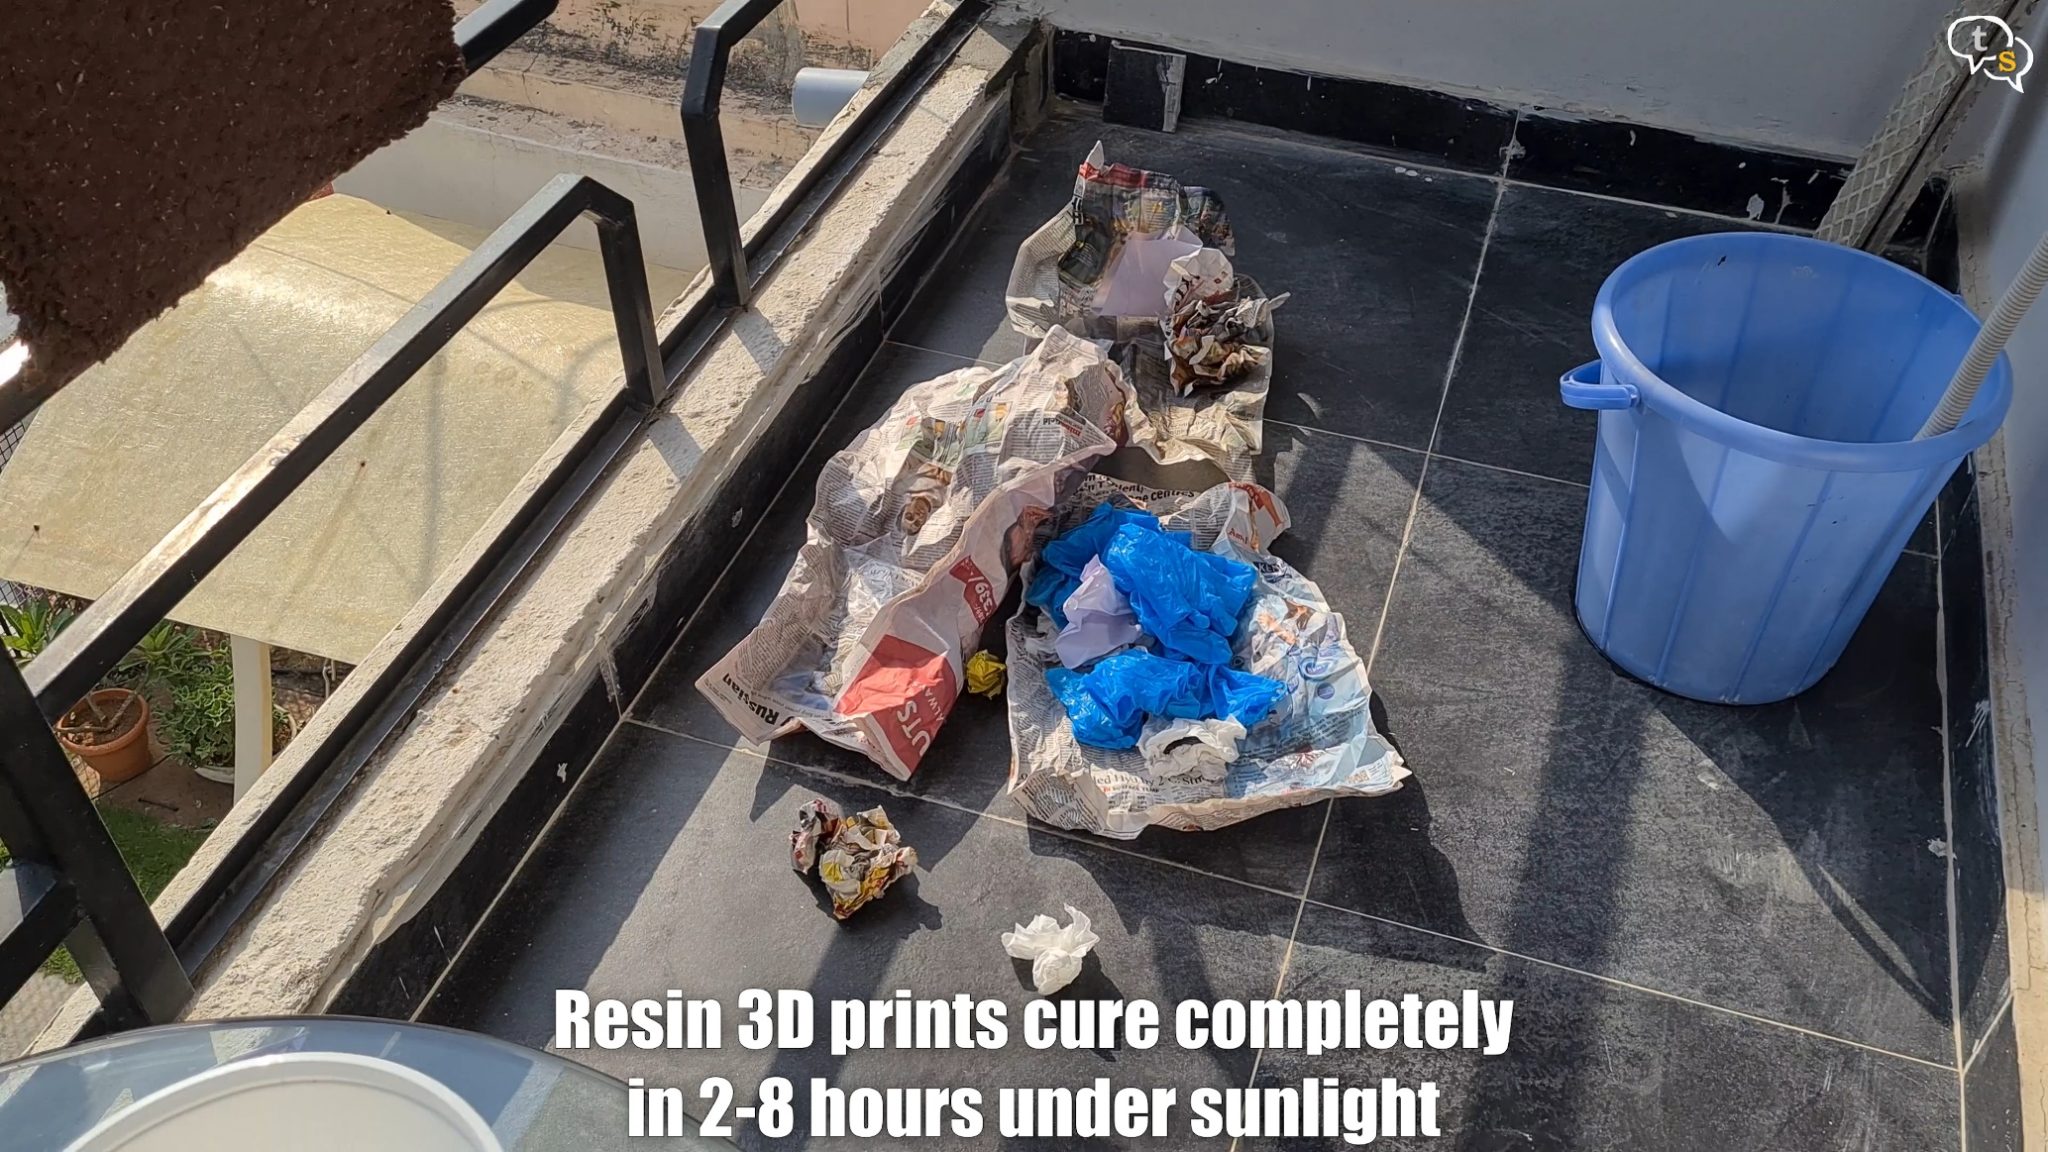
I’m also curing the wastepaper and gloves before disposal as once cured the resin is not toxic anymore.
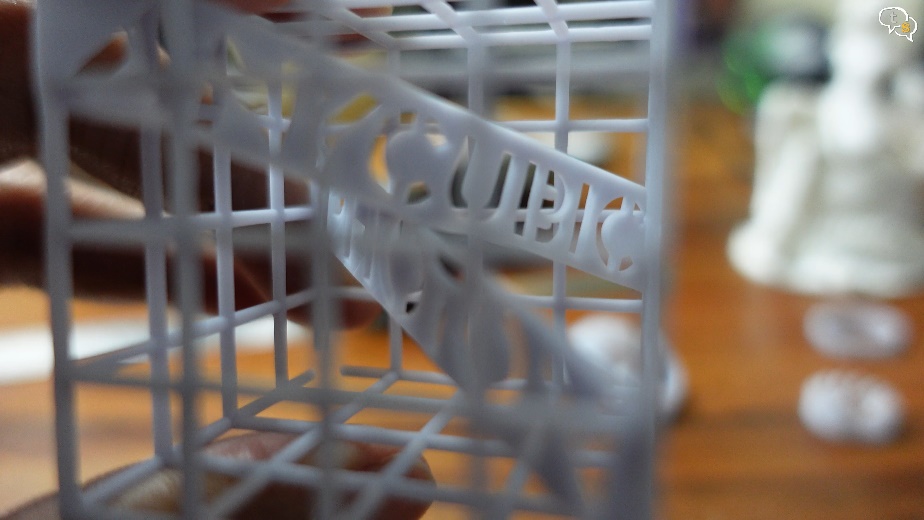
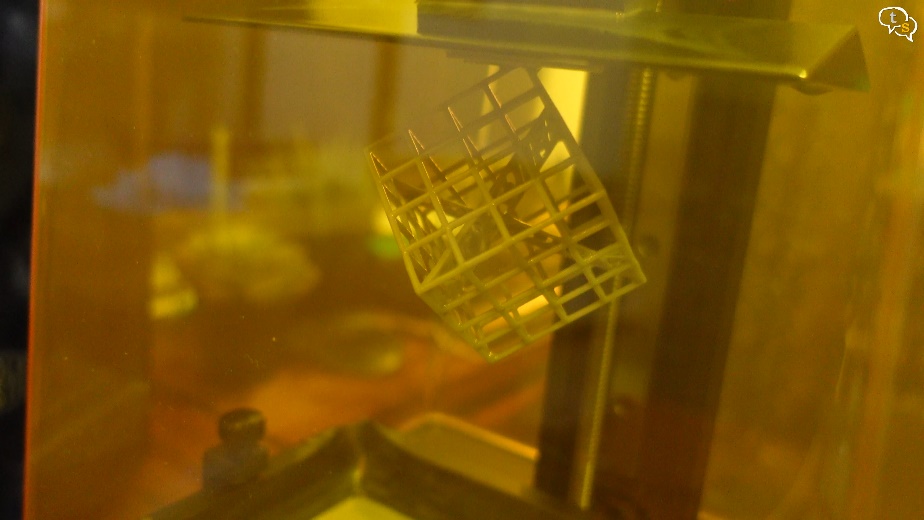
The cube is quite detailed, and it has the text Anycubic and photon within.
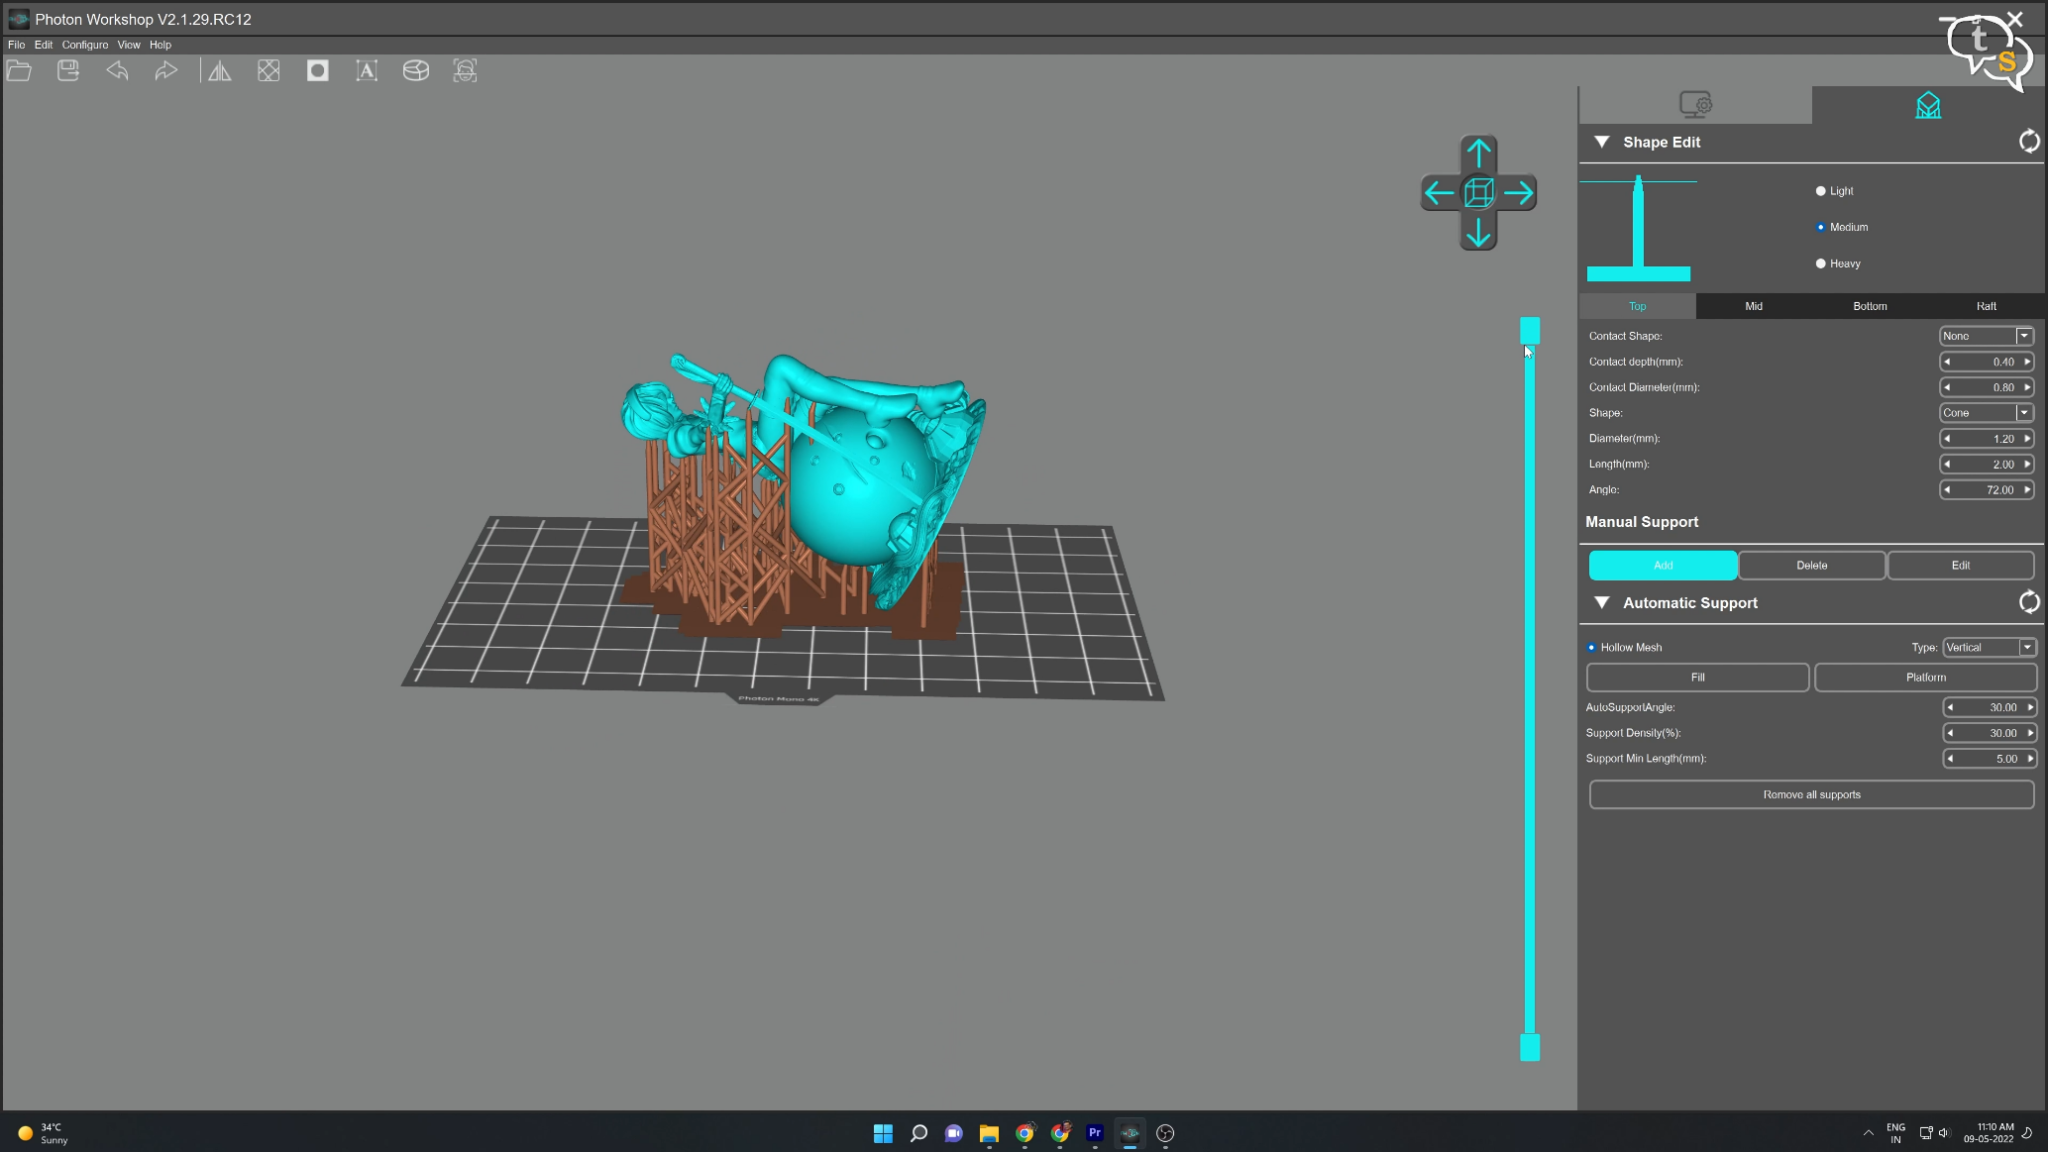
I wanted to make a custom print and I went with a model of 2B from Nier automata. I’m using the Photon workshop by Anycubic to slice the models.

Add supports and once sliced we can see a preview of how the screen will display the UV light to cure the resin layer by layer.
I have now moved the printer to another location, it’s still not the best but still better than where it was earlier.
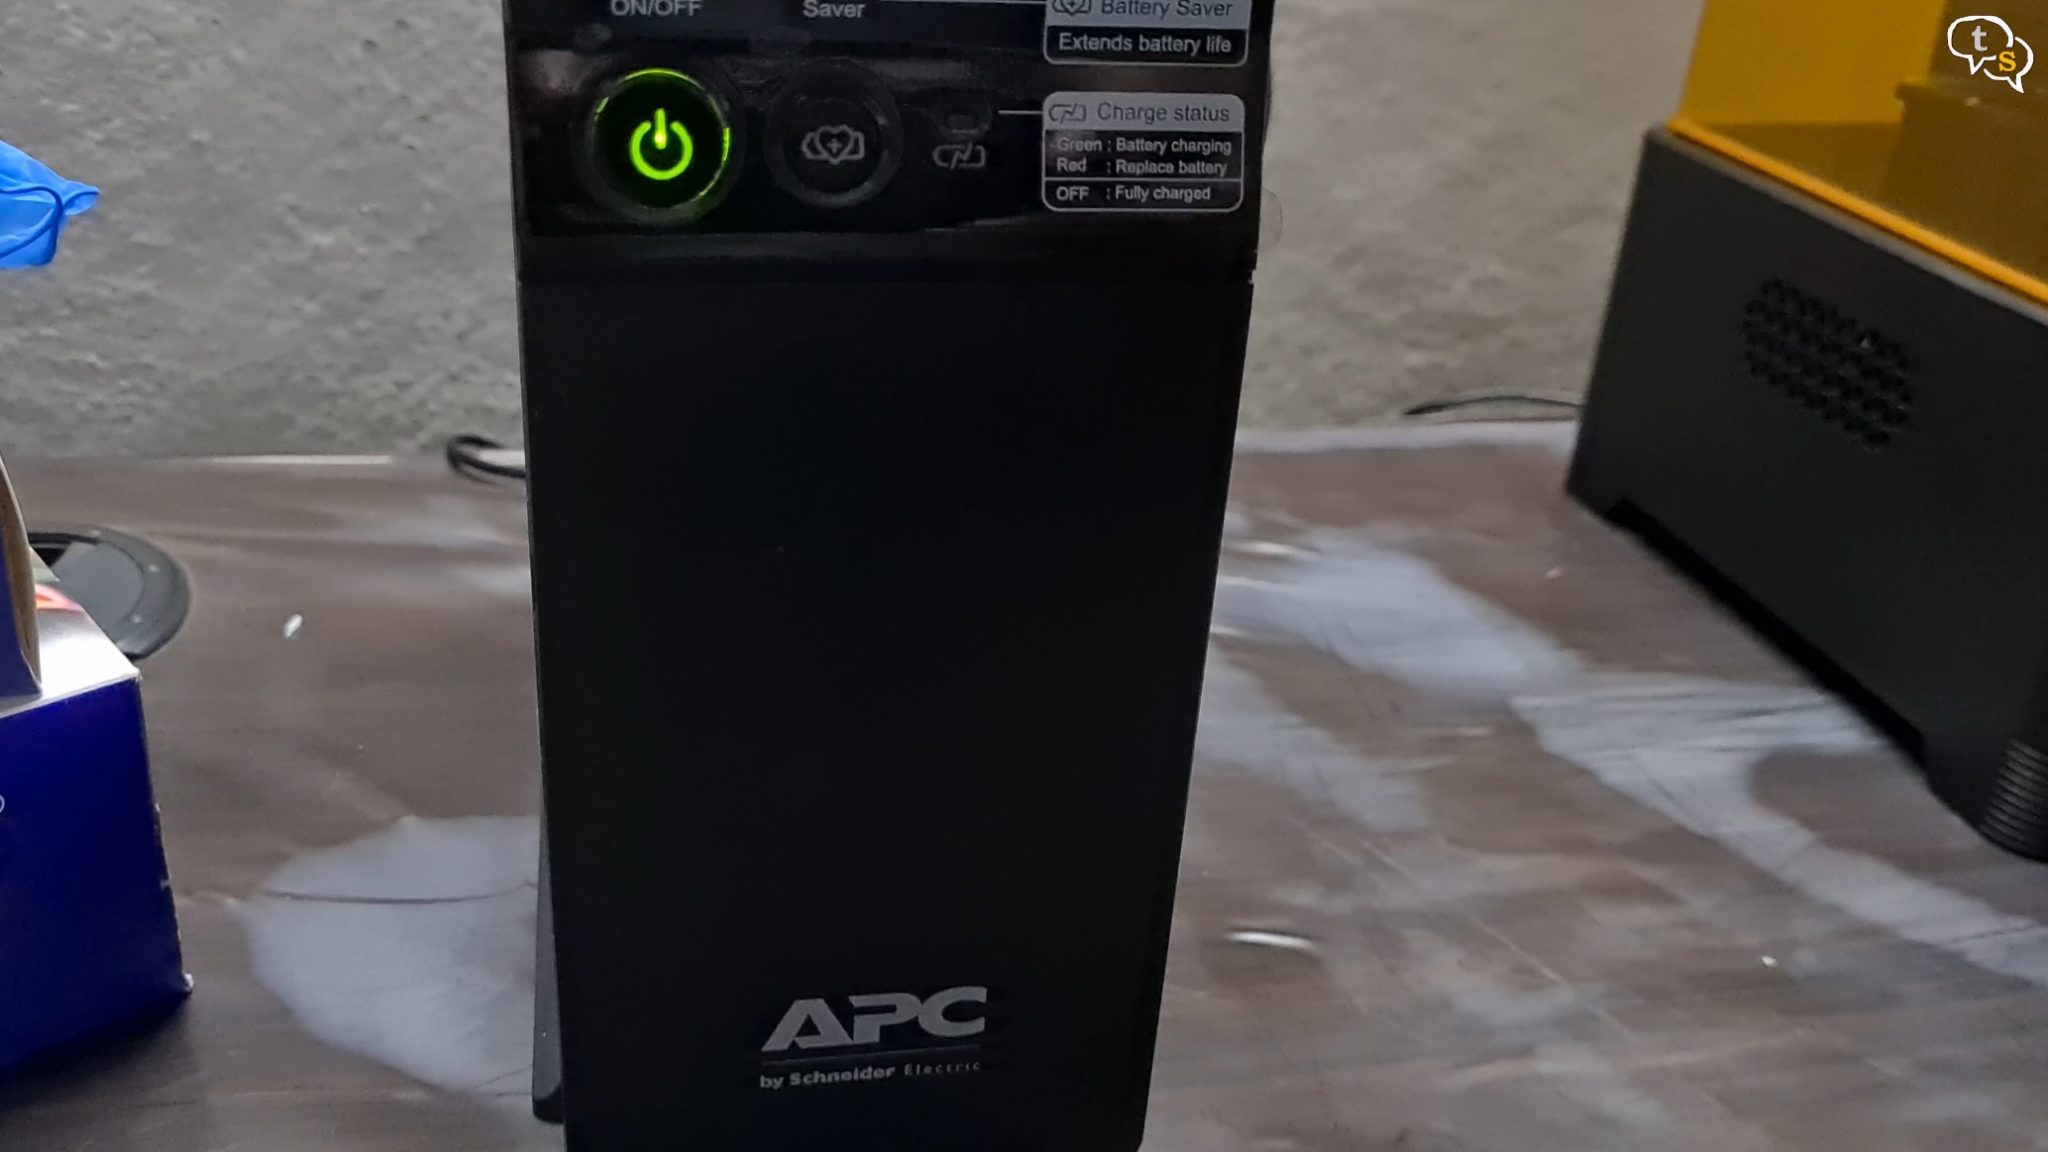
I also added a UPS as these are long prints and any power outage will fail the printing process. The marks on the table are water damage marks and not resin.
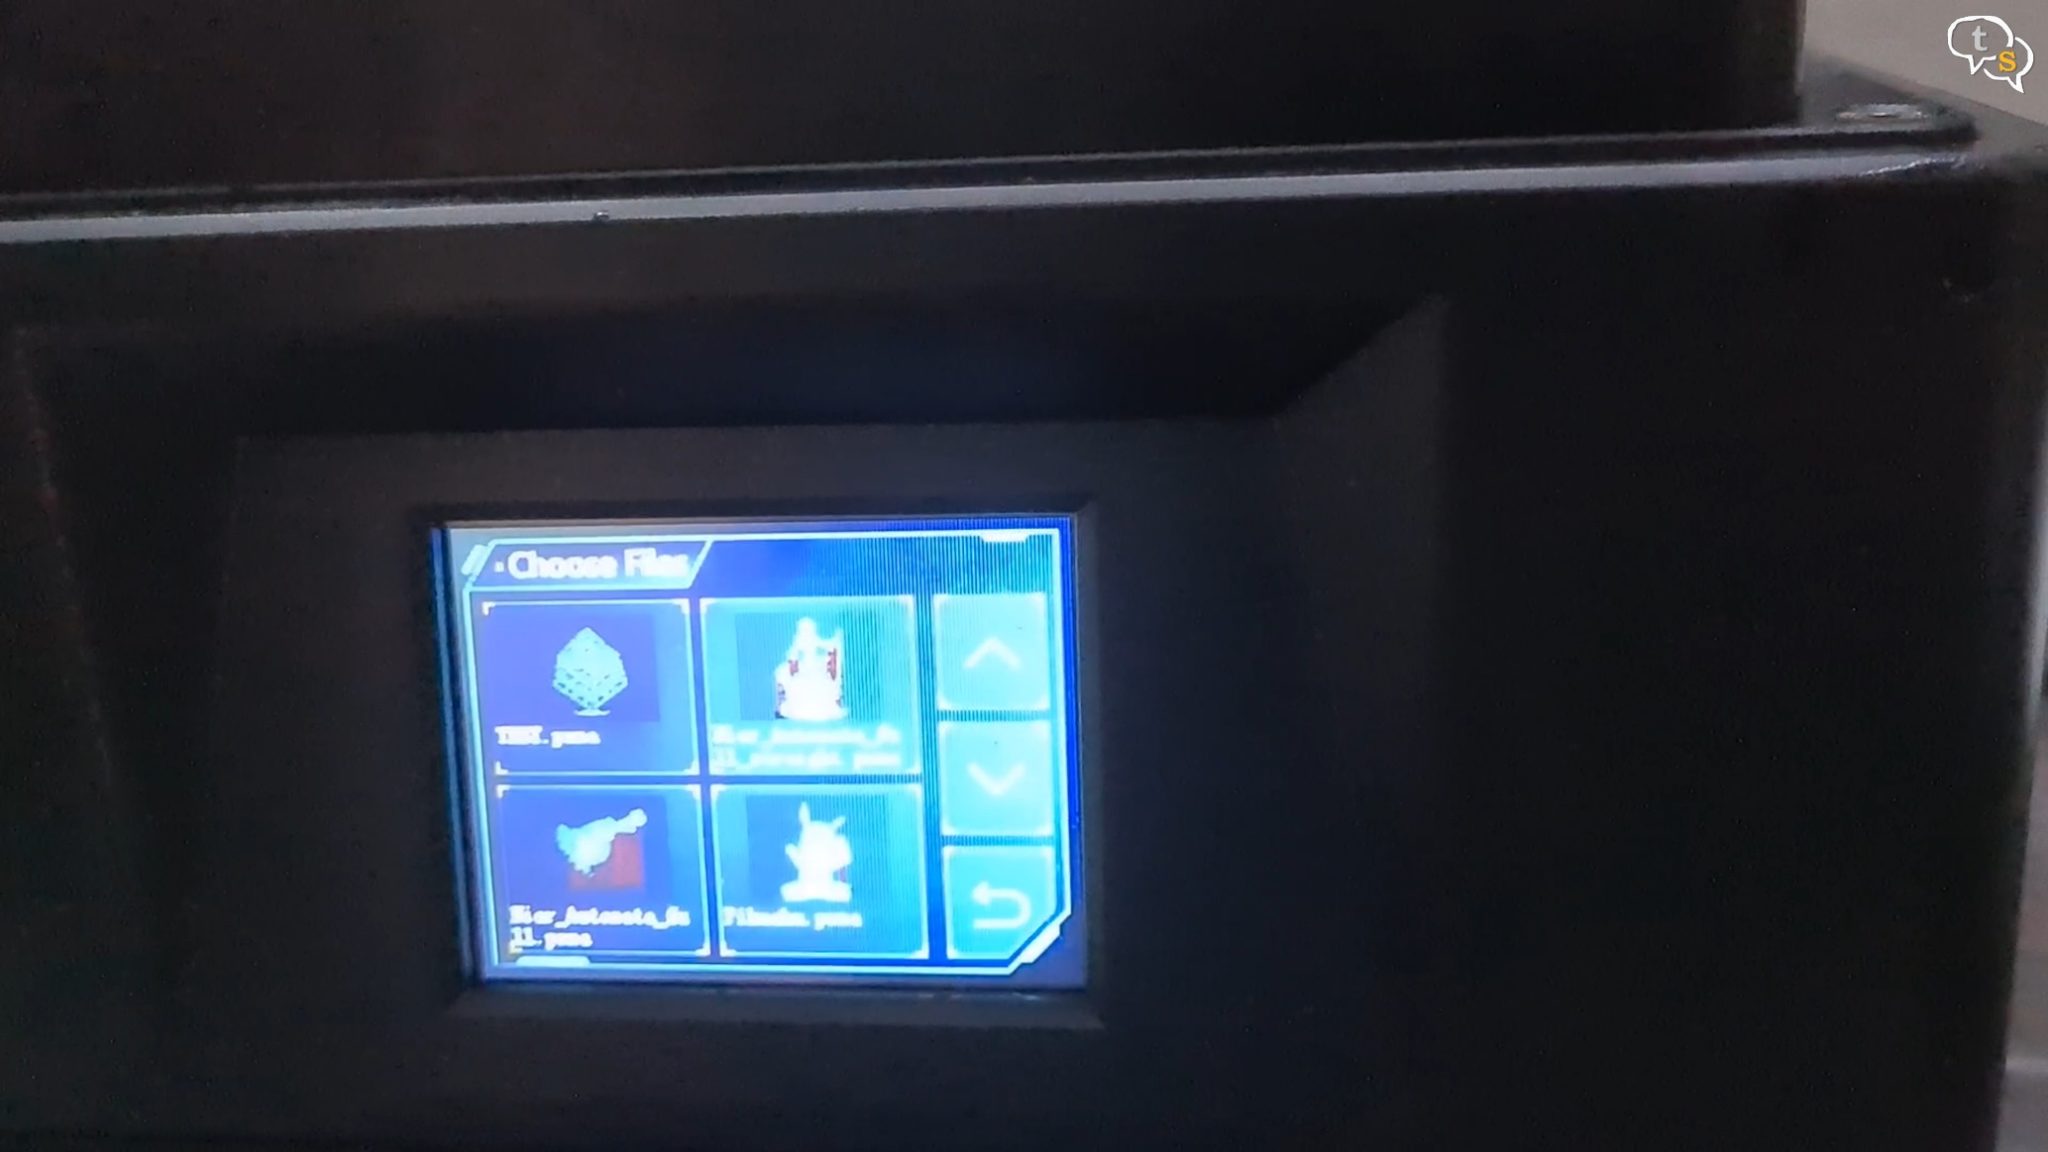
Copy the model onto a pen drive and we can see the models on the display, tap on the model you want to print and hit play.
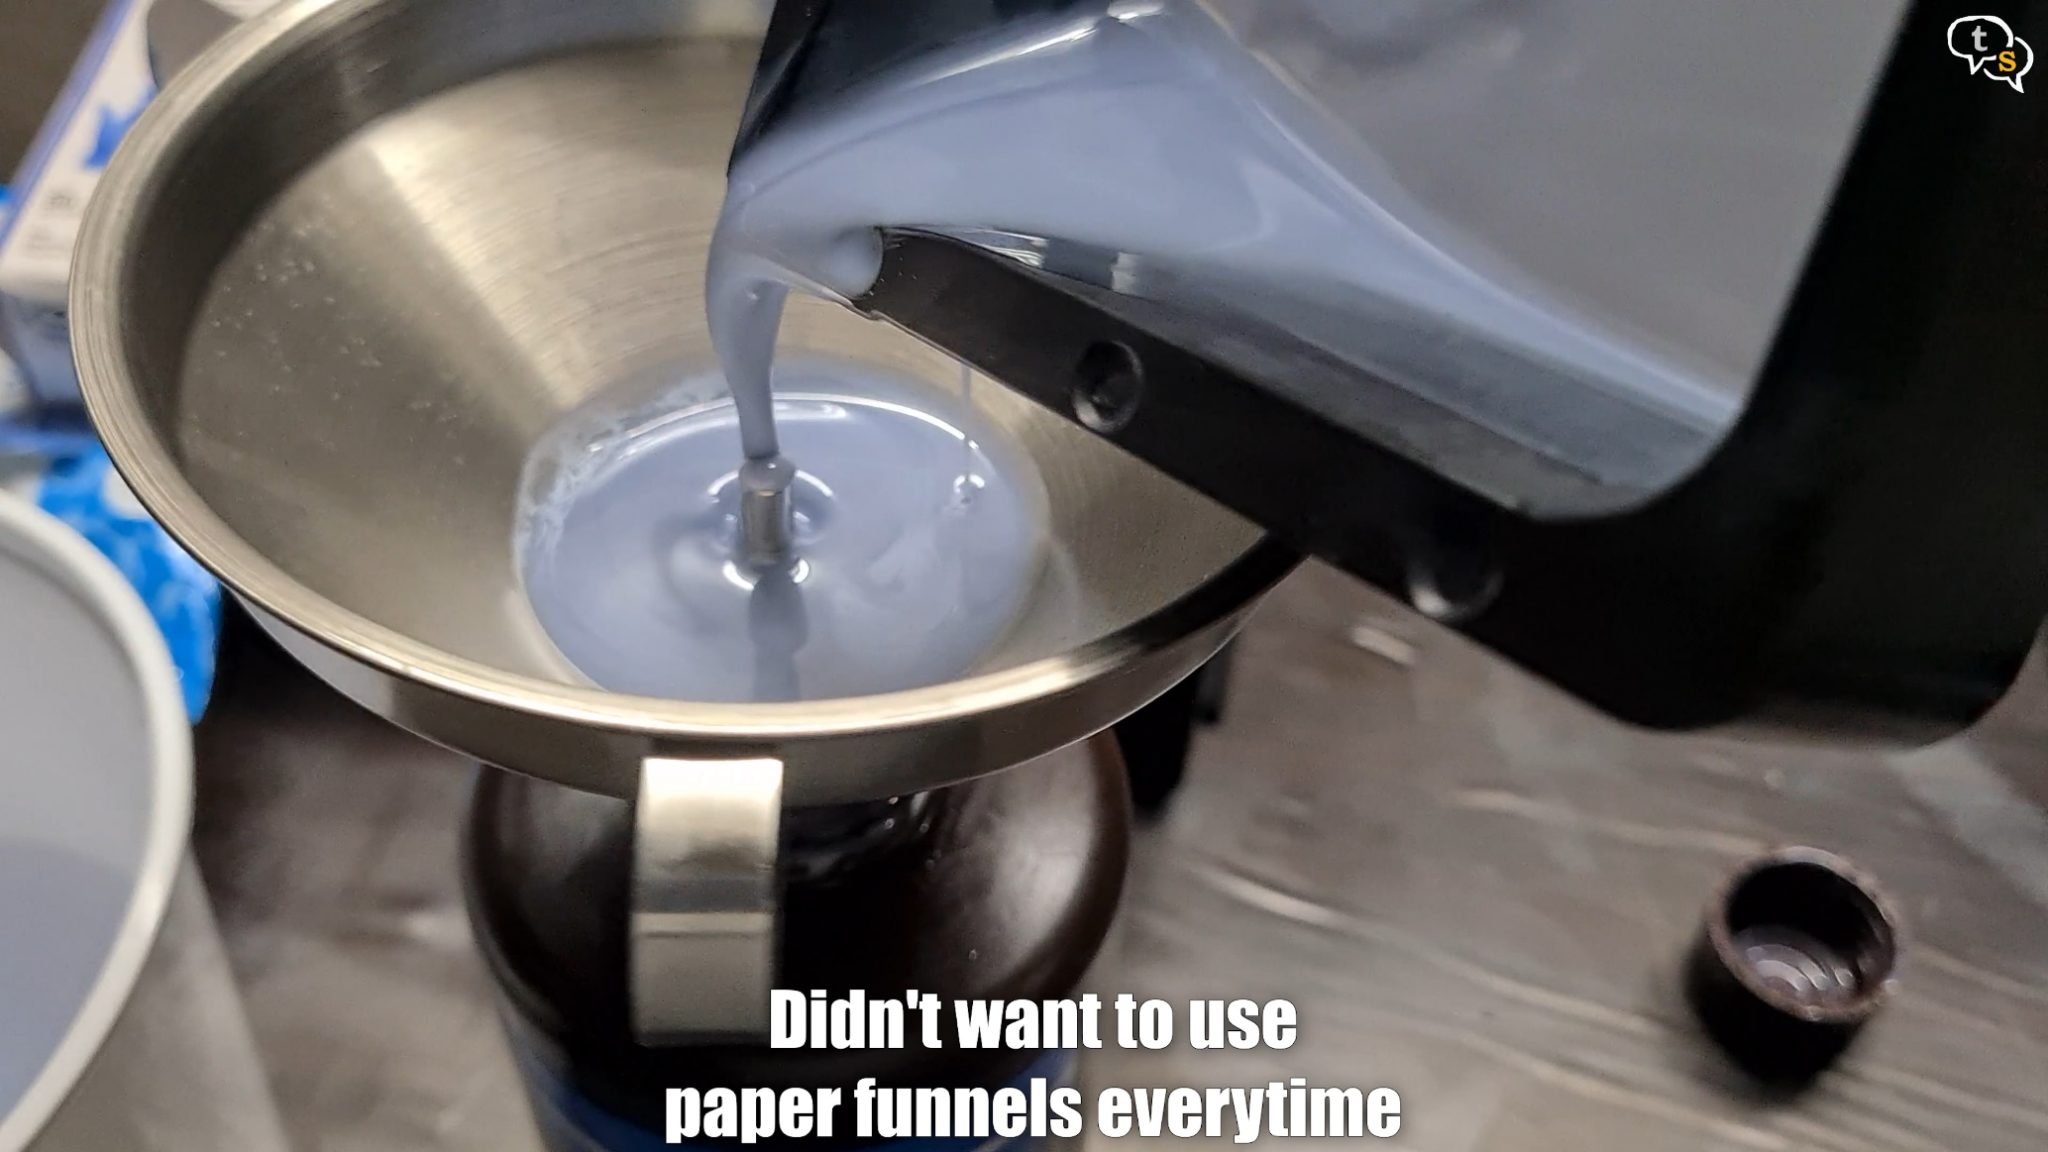
I’m using a metal funnel with an inbuilt strainer to drain the resin into the bottle. Makes it much easier.
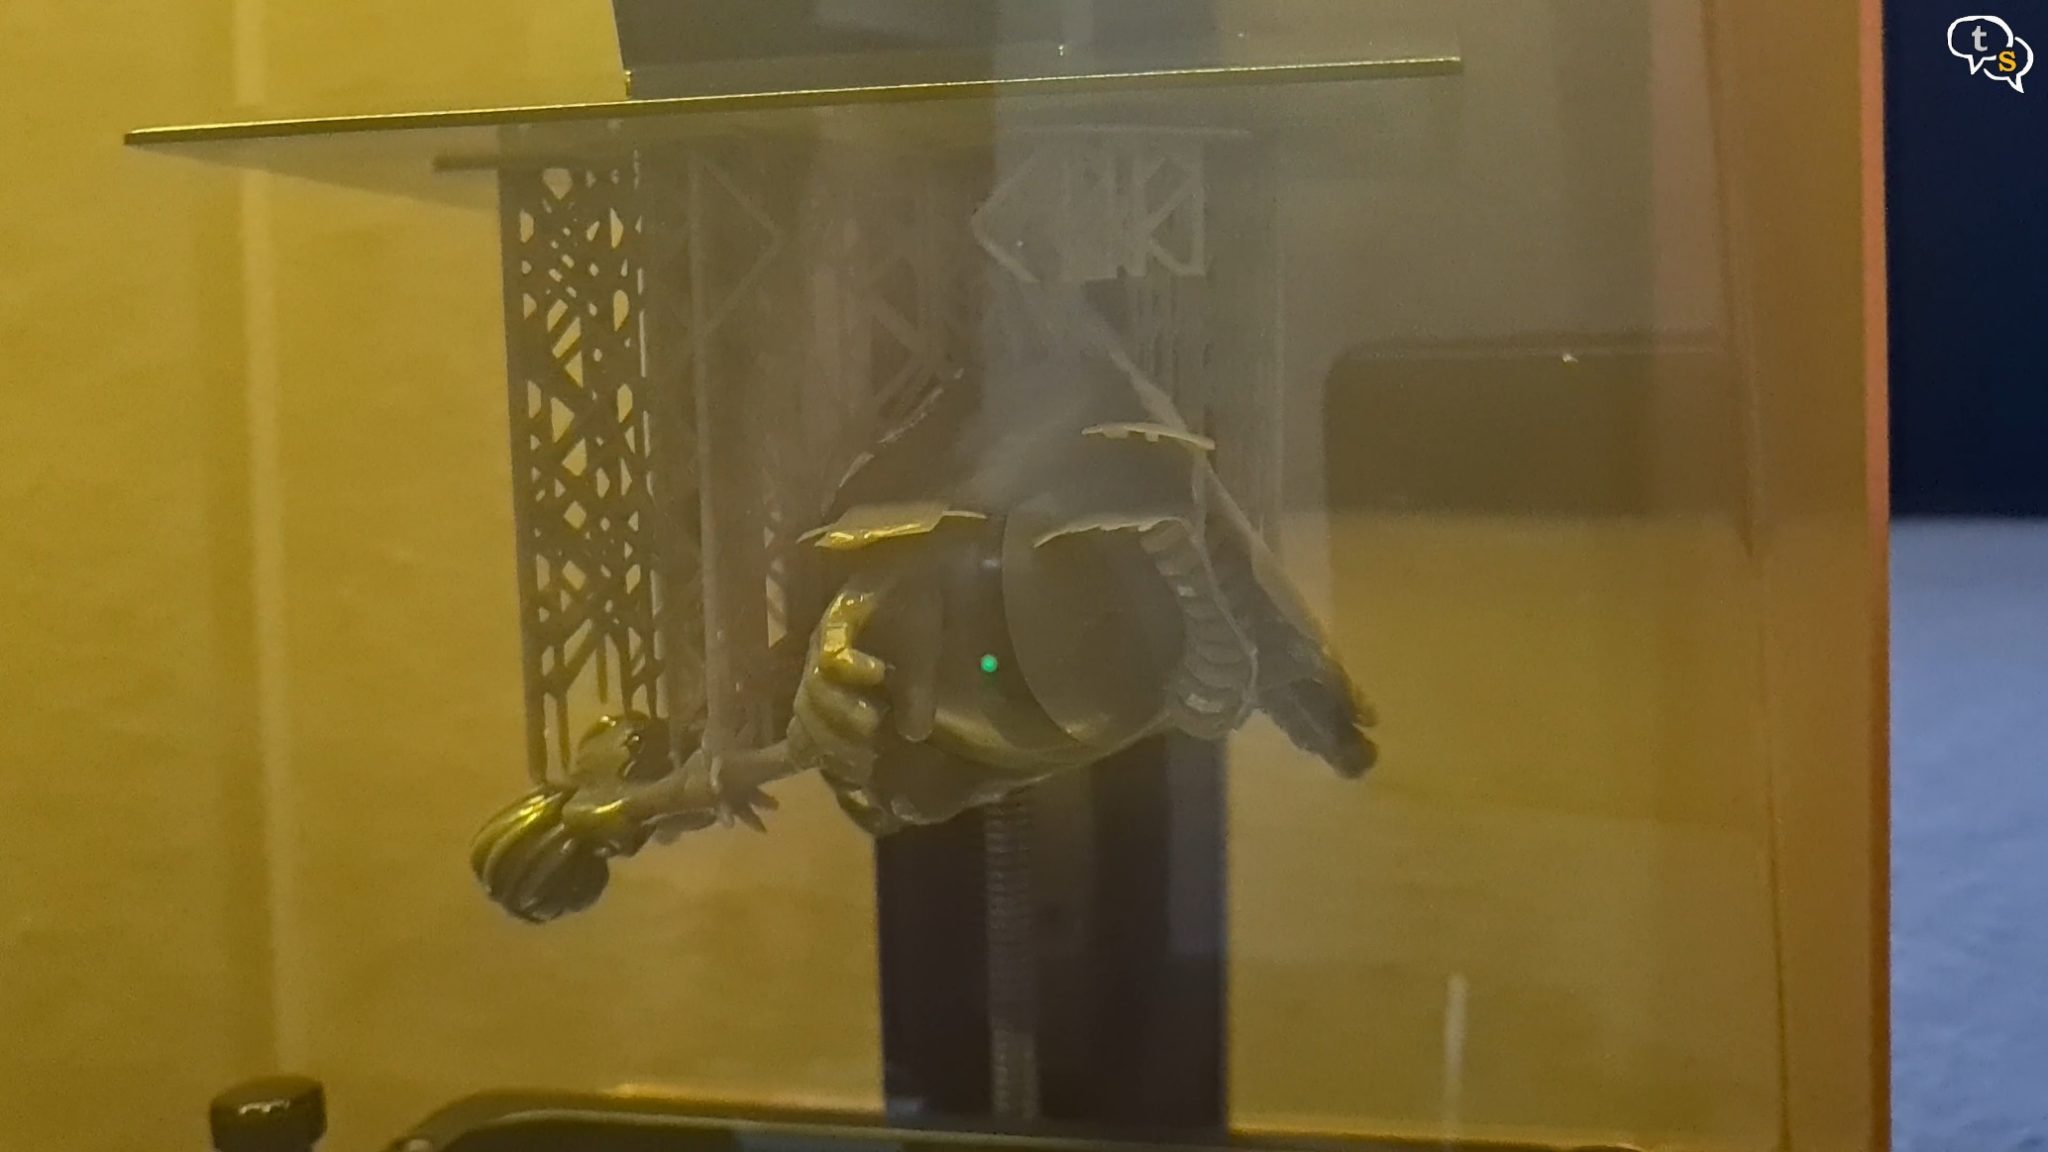
The model is sitting out in the sunlight to cure. Once cured it’s easy to remove the supports.
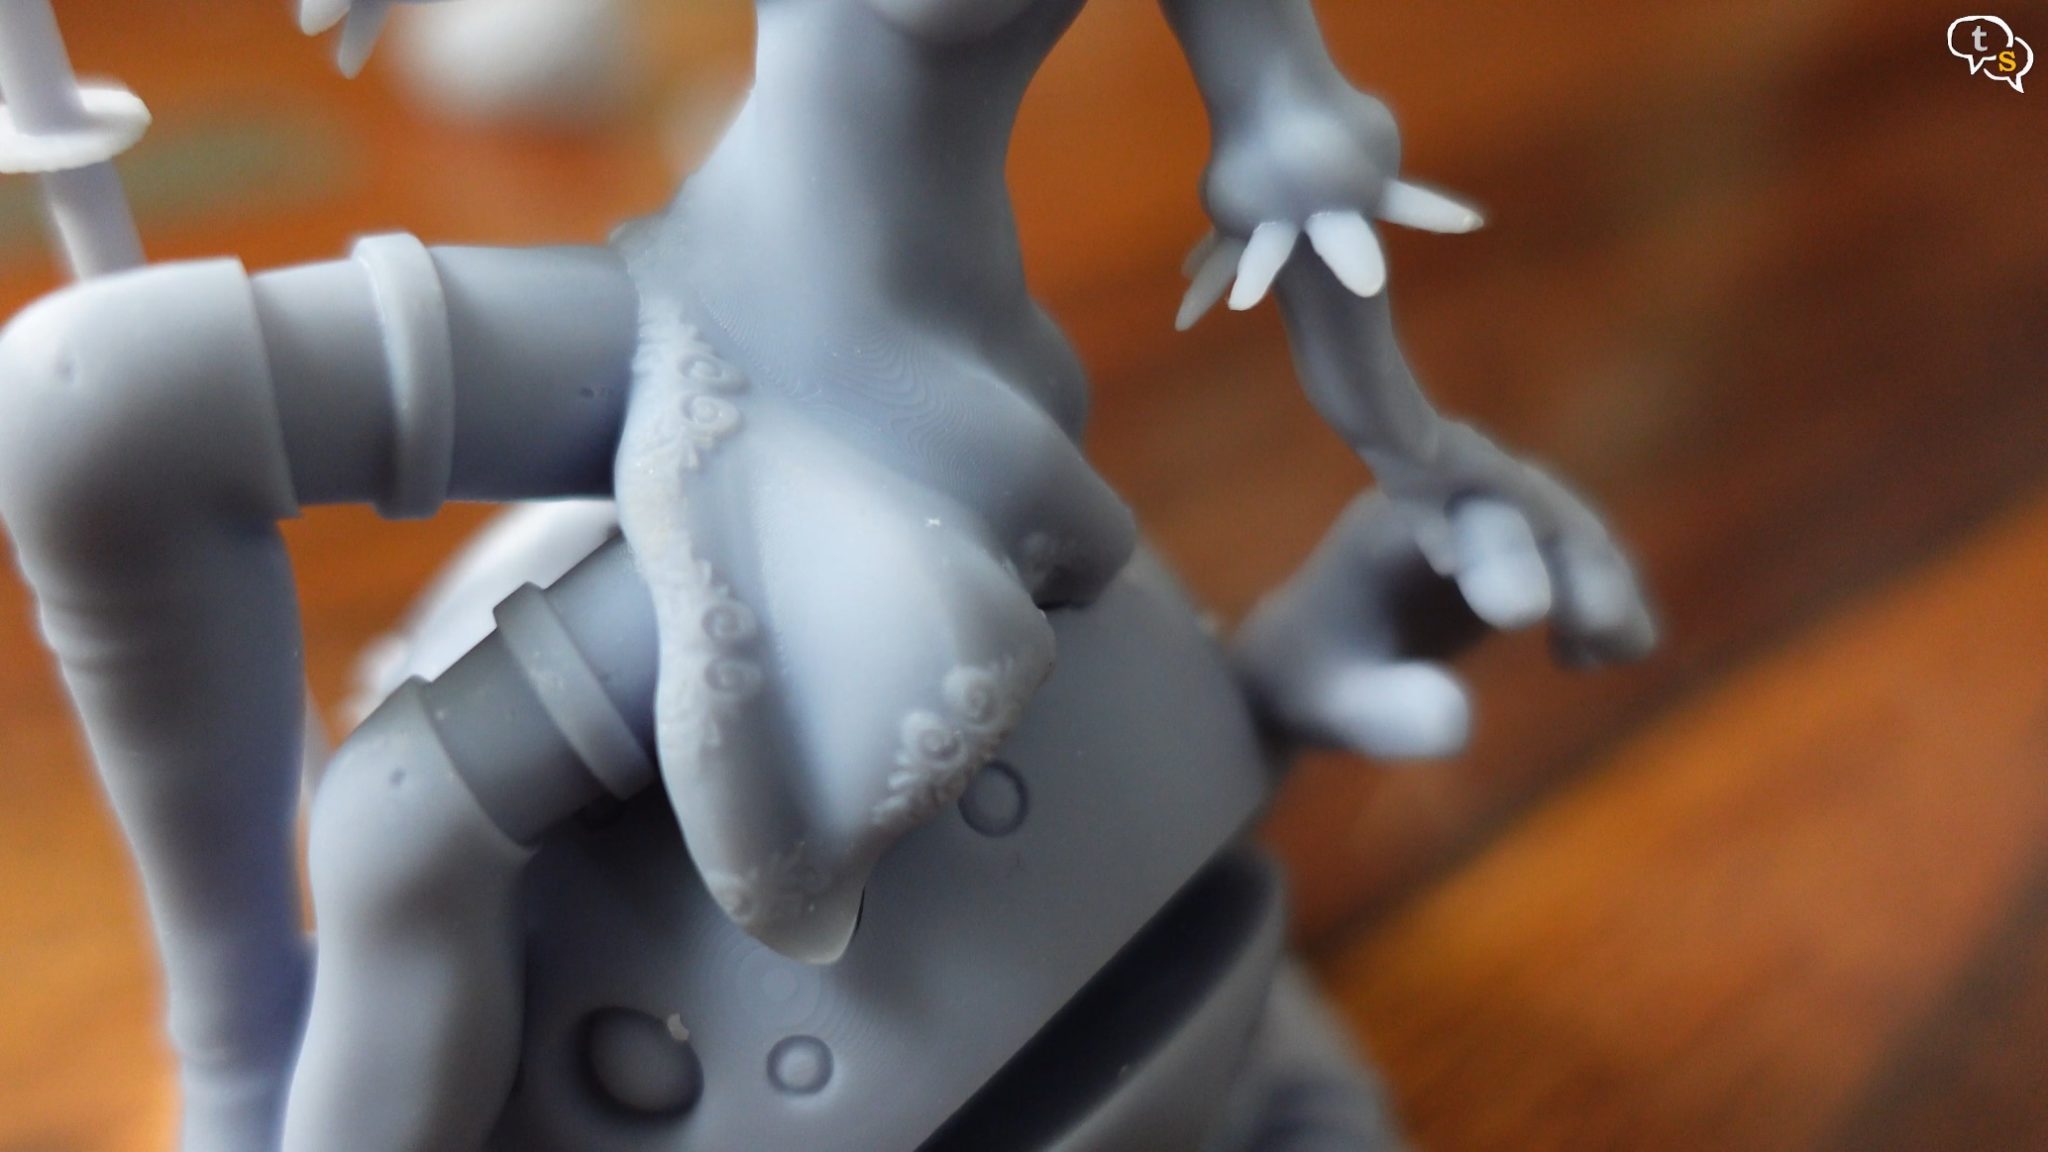
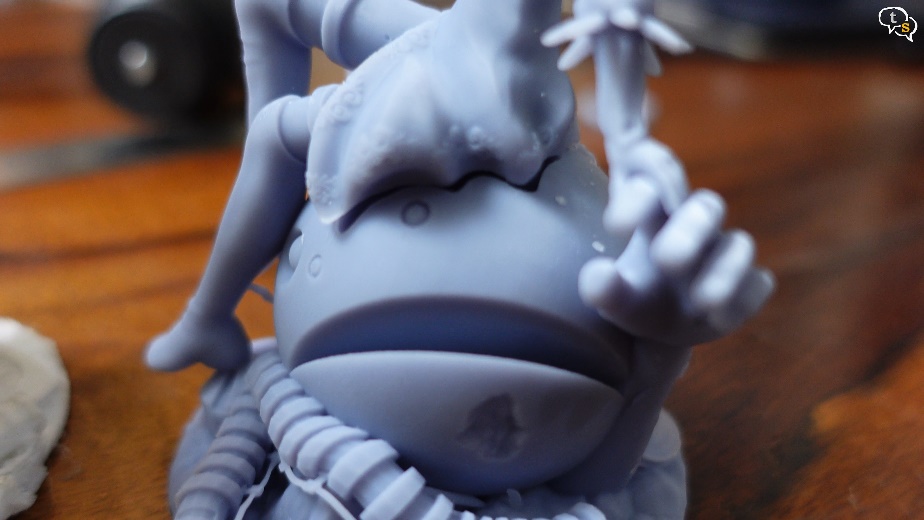
The details off the 4k screen is really visible, the hands are clearly separate, and the whole model is smooth.
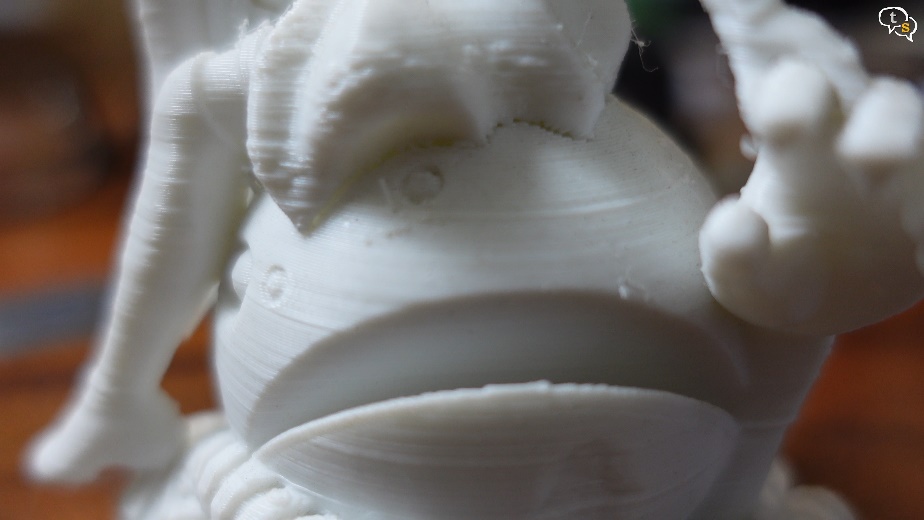
This is how the FDM model looks, and this is the smooth model from the SLA printer.
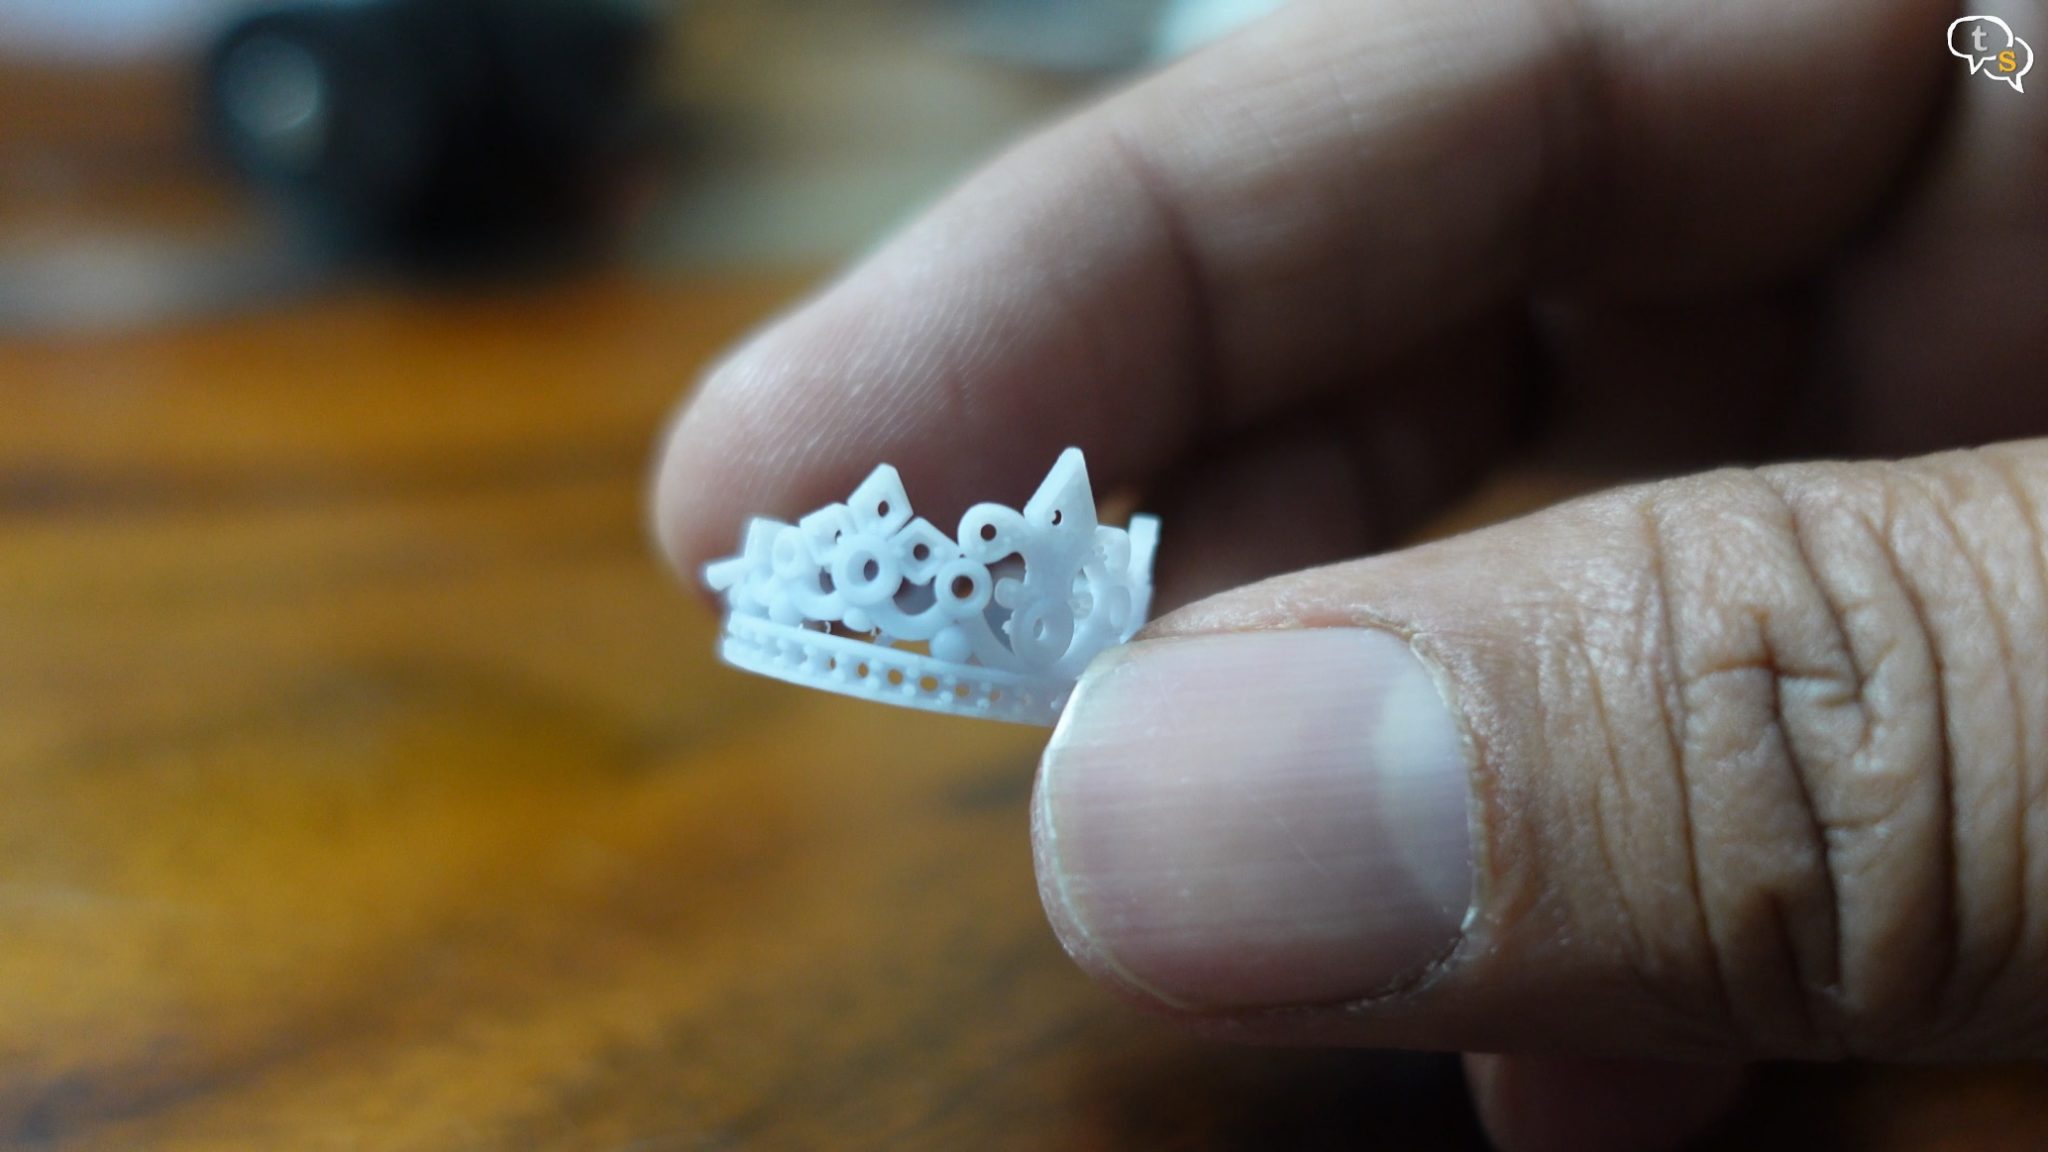
SLA printers are also used to prototype jewellery and you can see the minute details in these prints. These can also be used as casts for final production.
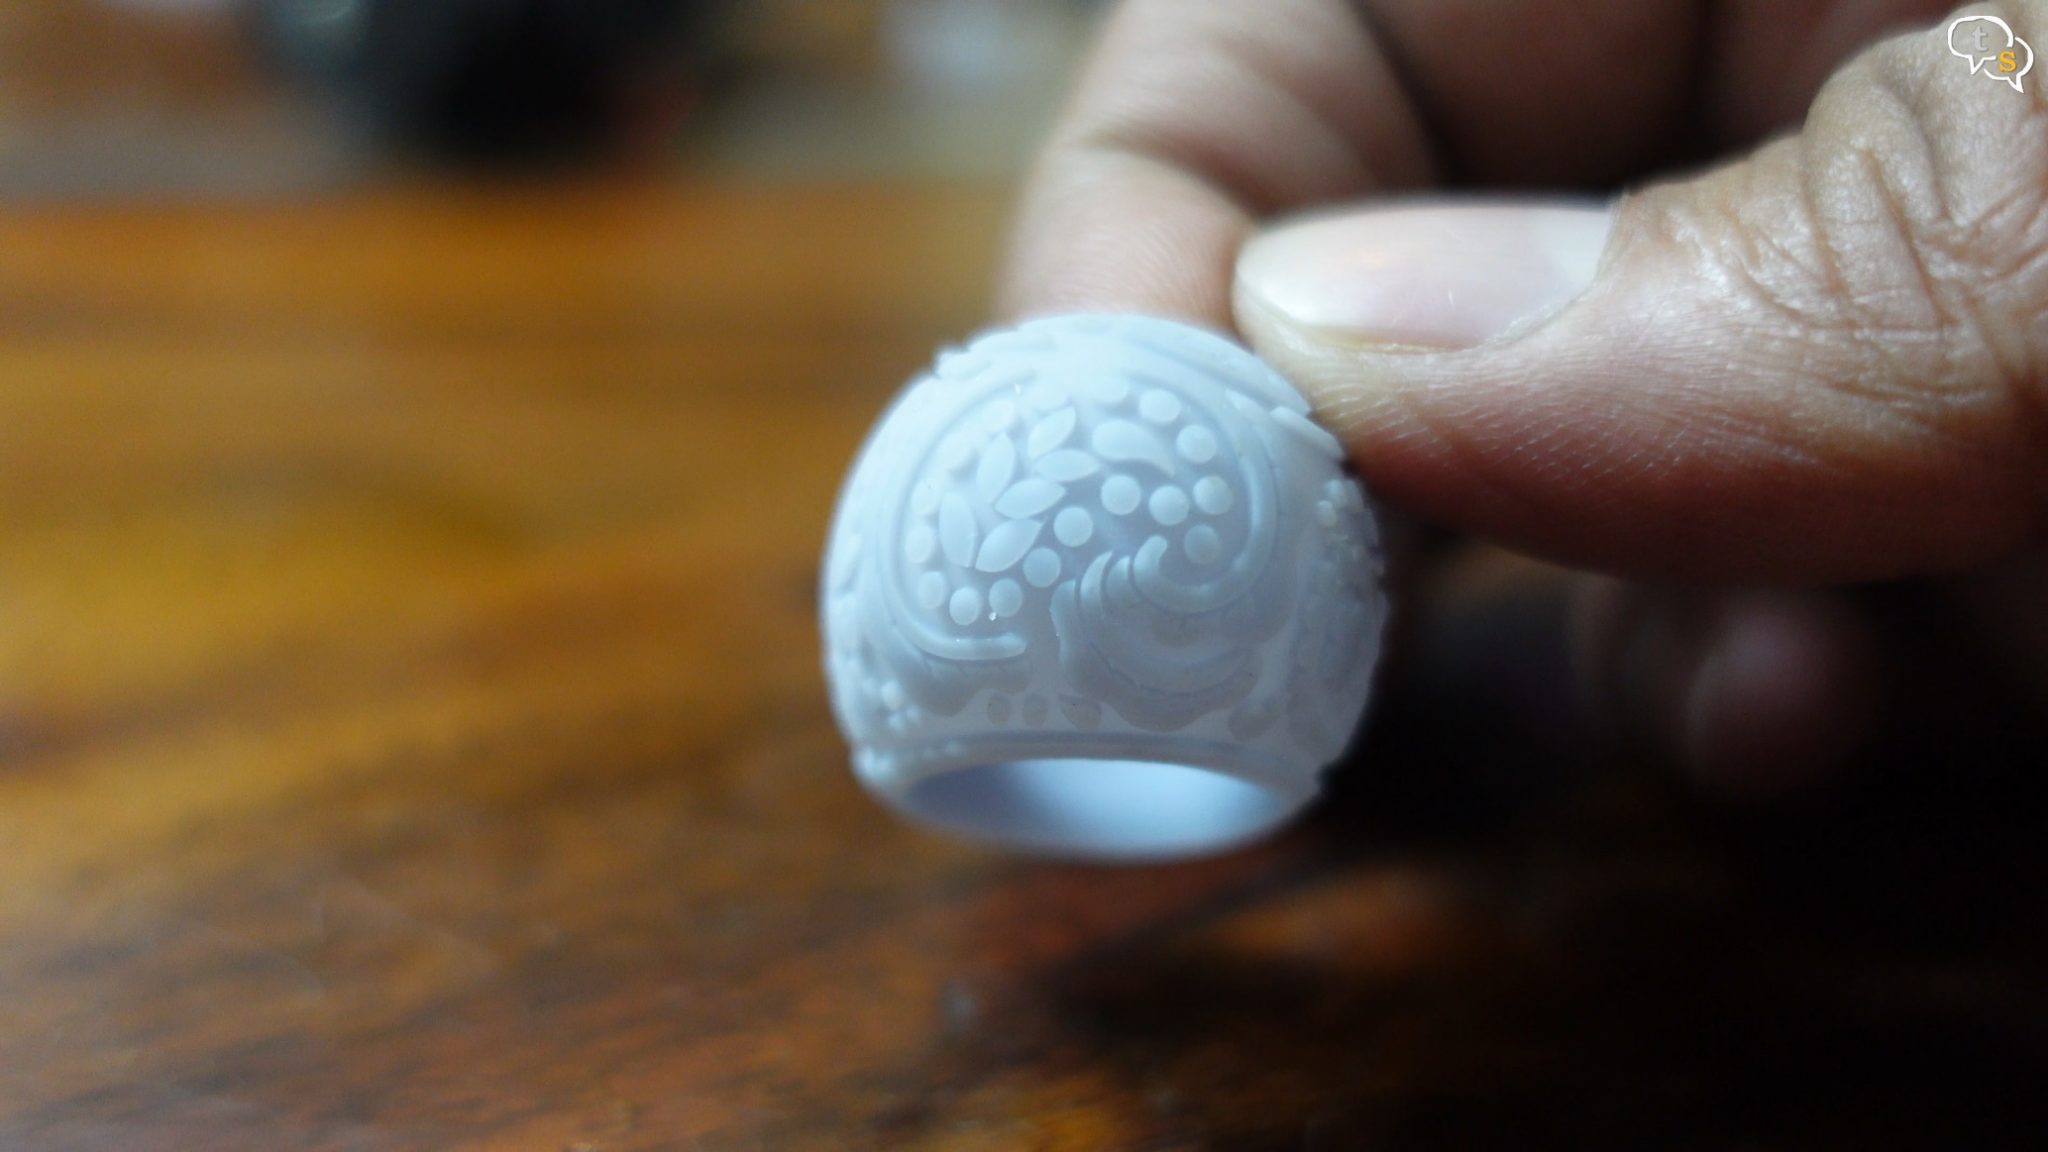
With 3D printing, jewellery designers can produce designs that would be incredibly difficult to hand carve in the traditional manner.
I still have to learn a lot about SLA 3d printing, about the best way to orient the model for best adhesion and more. I’m still happy I managed to get a few successful prints including a few fails, but as I keep tinkering, I will learn more. SLA prints are very detailed and prints much faster than FDM. As one layer is cured at a time you could have one or even 6 models at once and it would still take the same time to print. FDM printers as they have to move the extruder to every section, the time starts to add up. One disadvantage is the size of the prints, yes there are bigger SLA printers, but they cost a lot more. We can get around a 1.7-liter print size or as Anycubic say the size of a mini rugby ball. FDM 3D printing is less messy as compared to SLA, and the time to next print is almost instantaneous in FDM. Remove model and start print, but in SLA you need to clean the Vat and the print platform before initiating another print which does take time. For small, detailed prints nothing beats SLA printing and the Mono 4k having a 4K screen enables even more details. The 2k model costs just a little lower, so don’t make that mistake and make sure you get the 4K model.