I have a cool new Cpu cooler by Alseye, it comes all assembled and has a neat trick up it’s sleeve. Let’s unbox it and check it out.
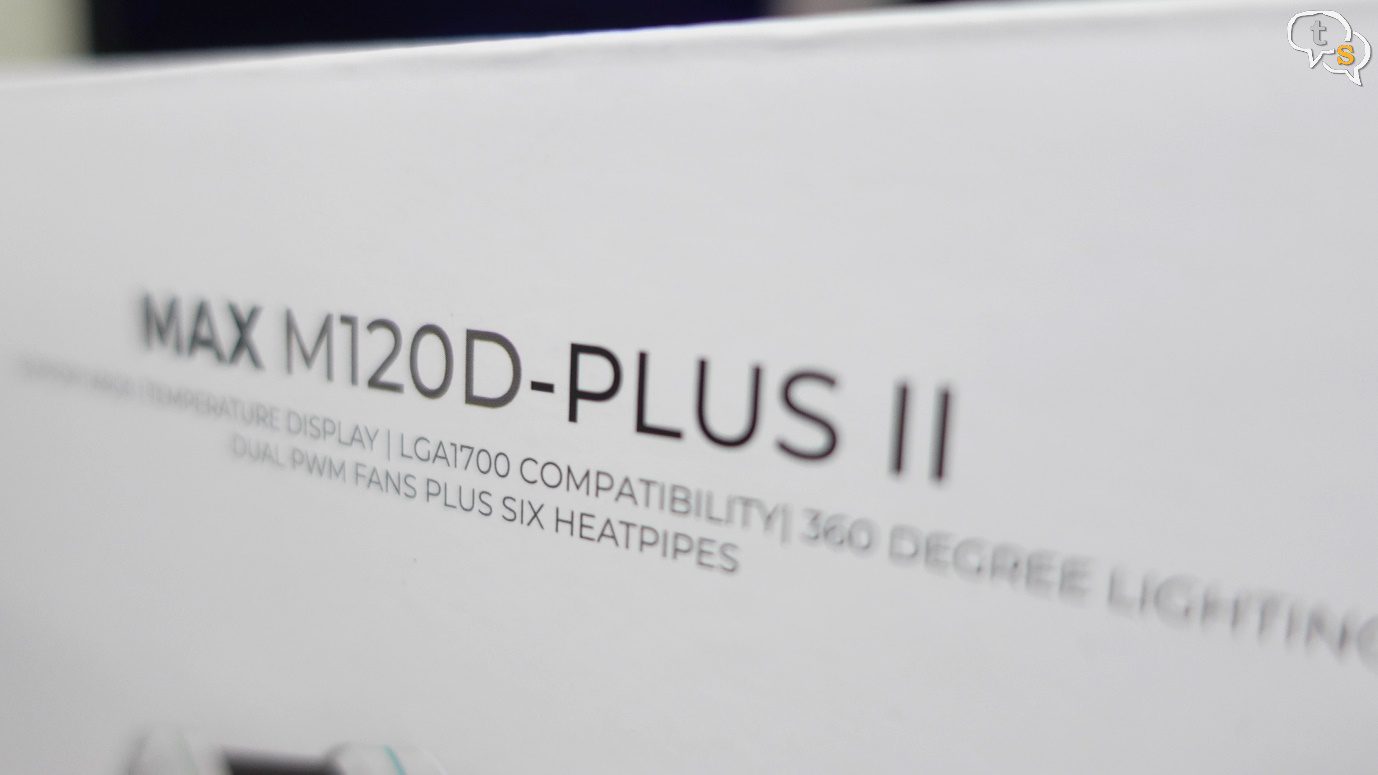
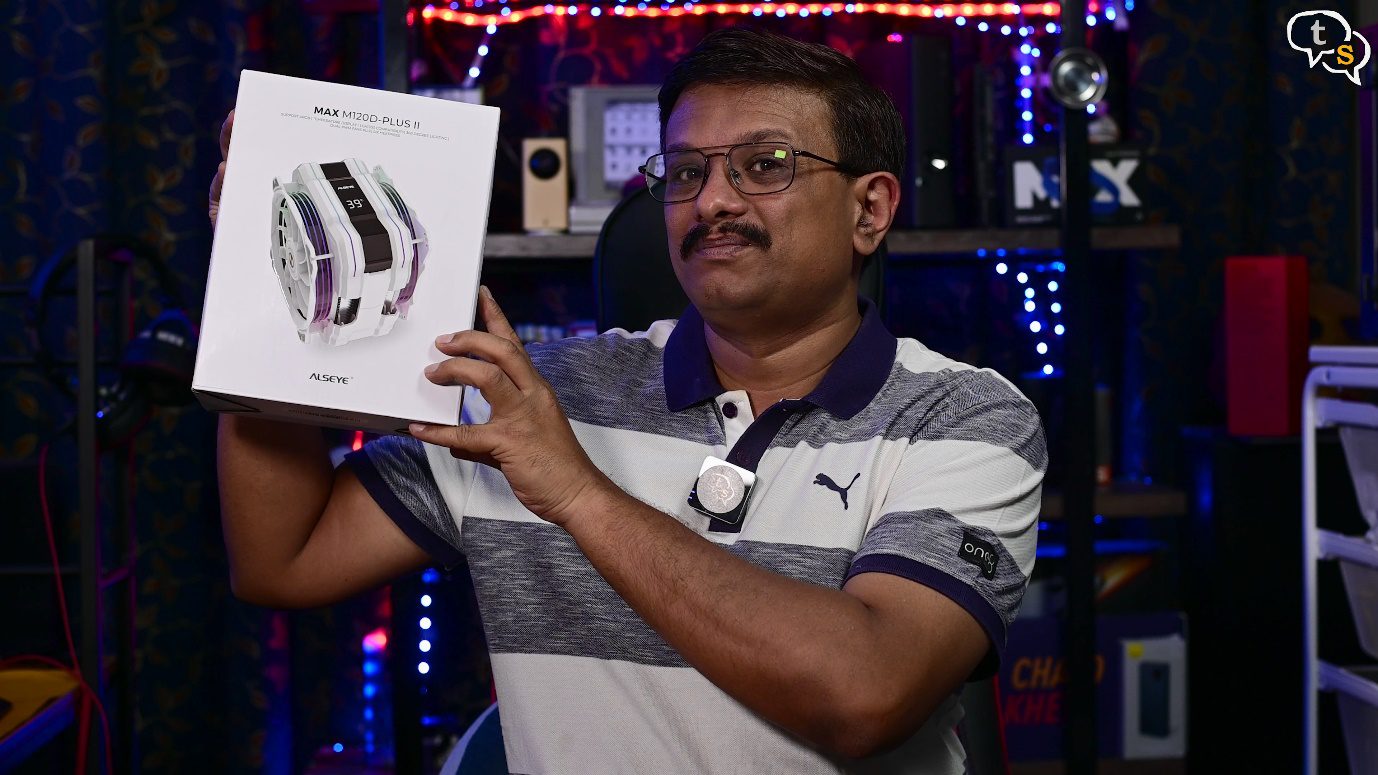
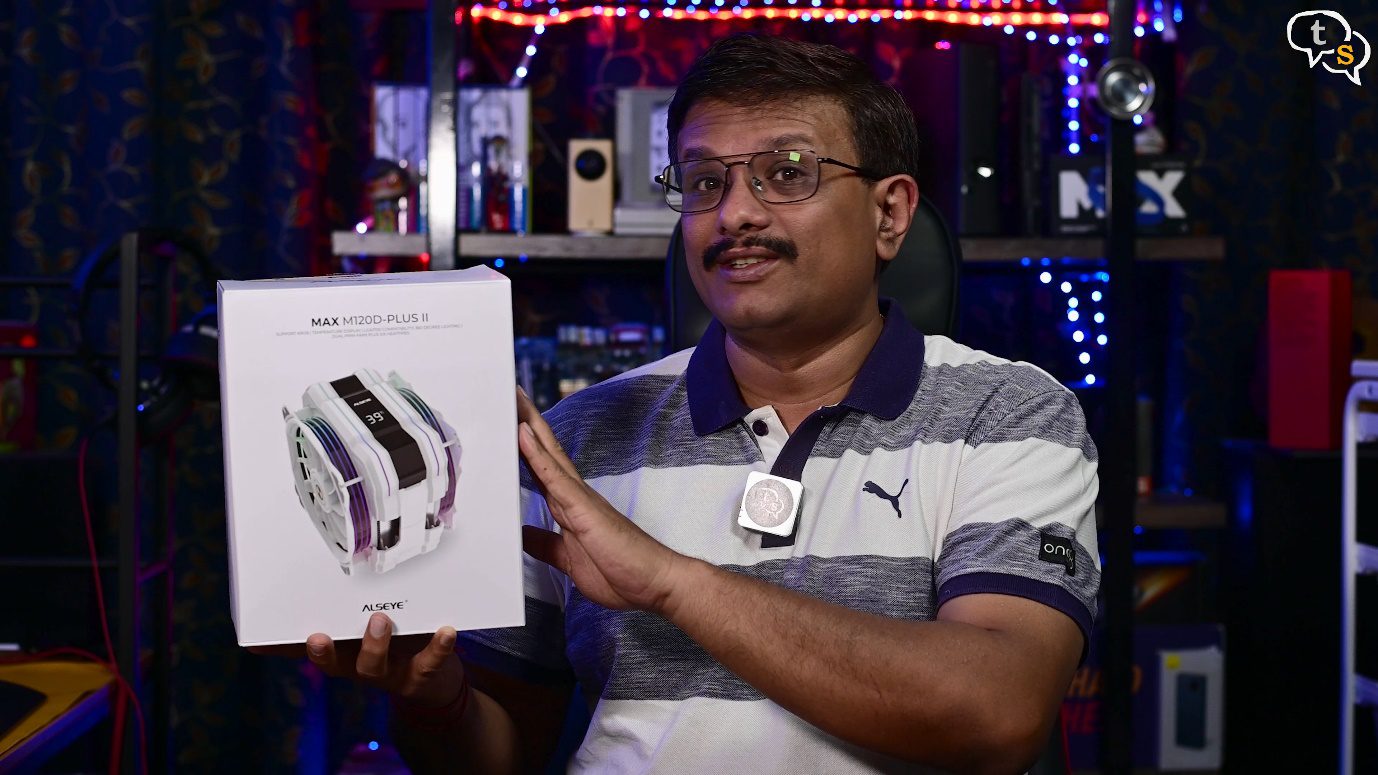
This is the Alseye Max M120D- plus II, try saying that again fast. It has ARGB lighting, temperature display, LGA 1700 compatibility, dual pwm fans and six heat pipes.
Platforms supported are, LGA 1700/ 1200/115x,2011,2066/1366 on intel and AM5/AM4 on AMD.
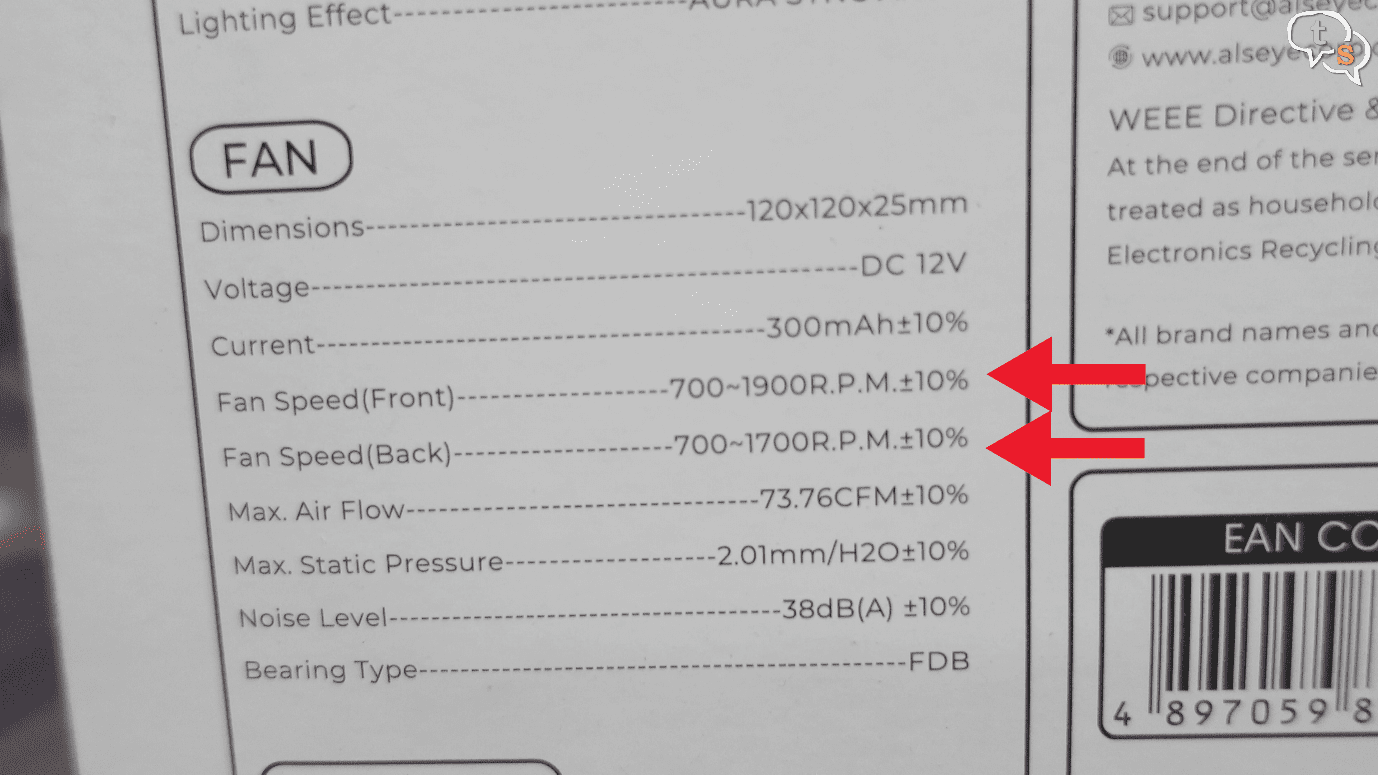
There are two fans, and each seems to have different max speeds. The bearing type is FDB or fluid dynamic bearing.
The cooler has 6 heat pipes.
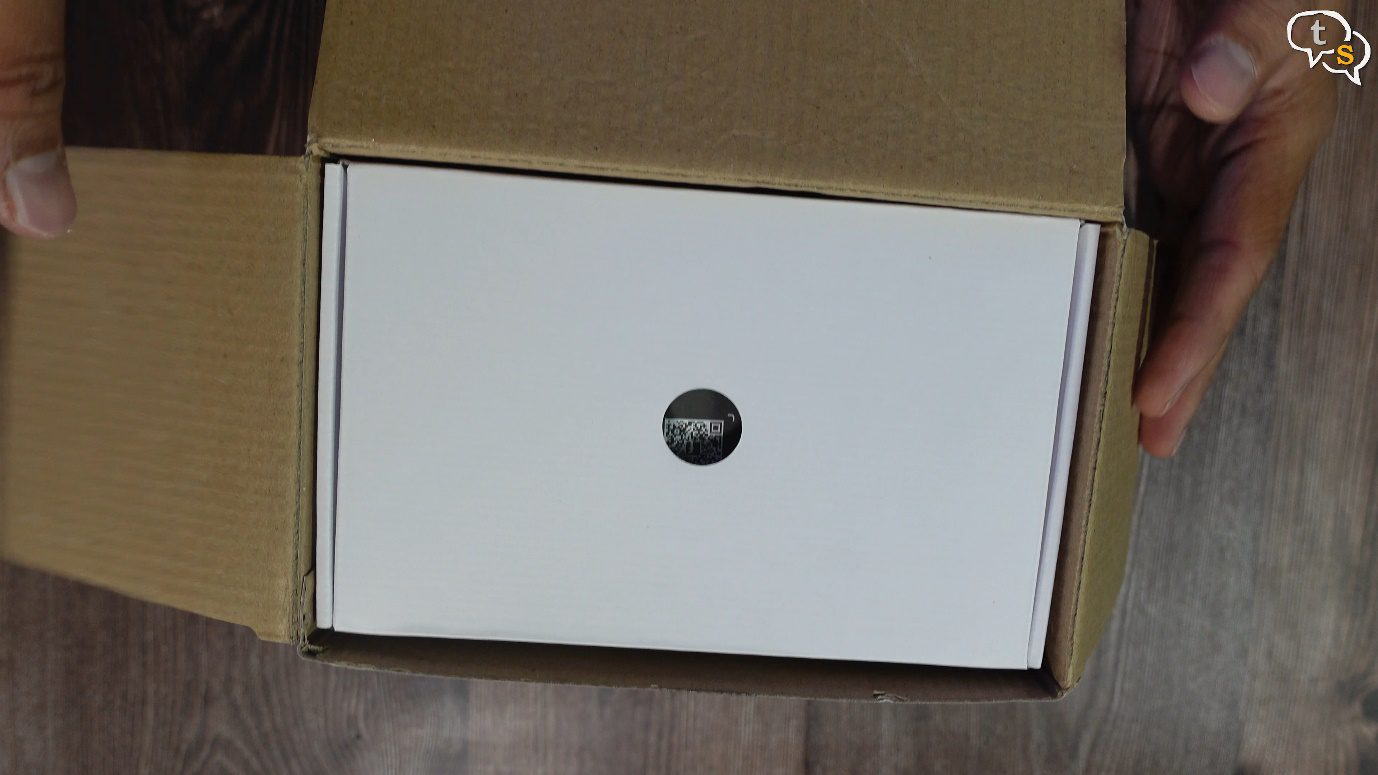
Let’s start unboxing, on top we have a box of accessories,
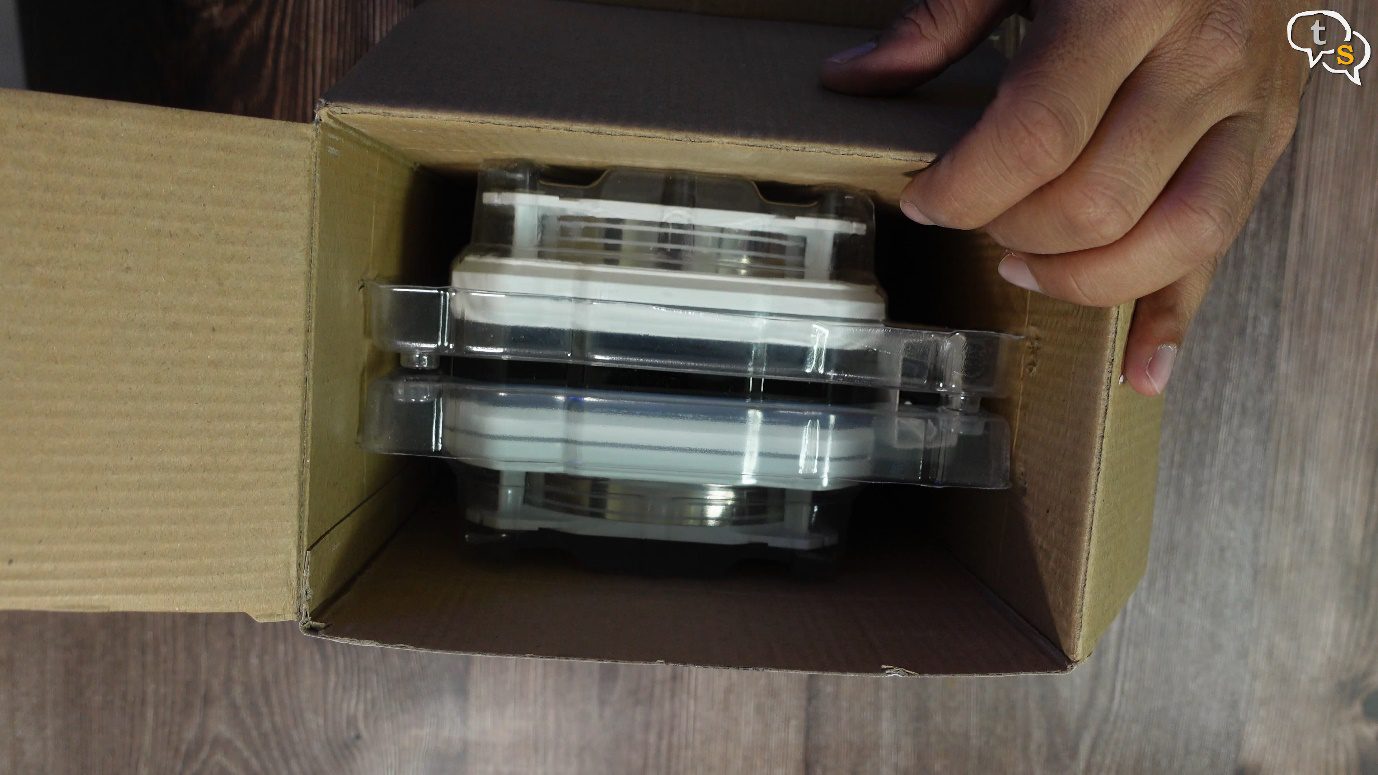
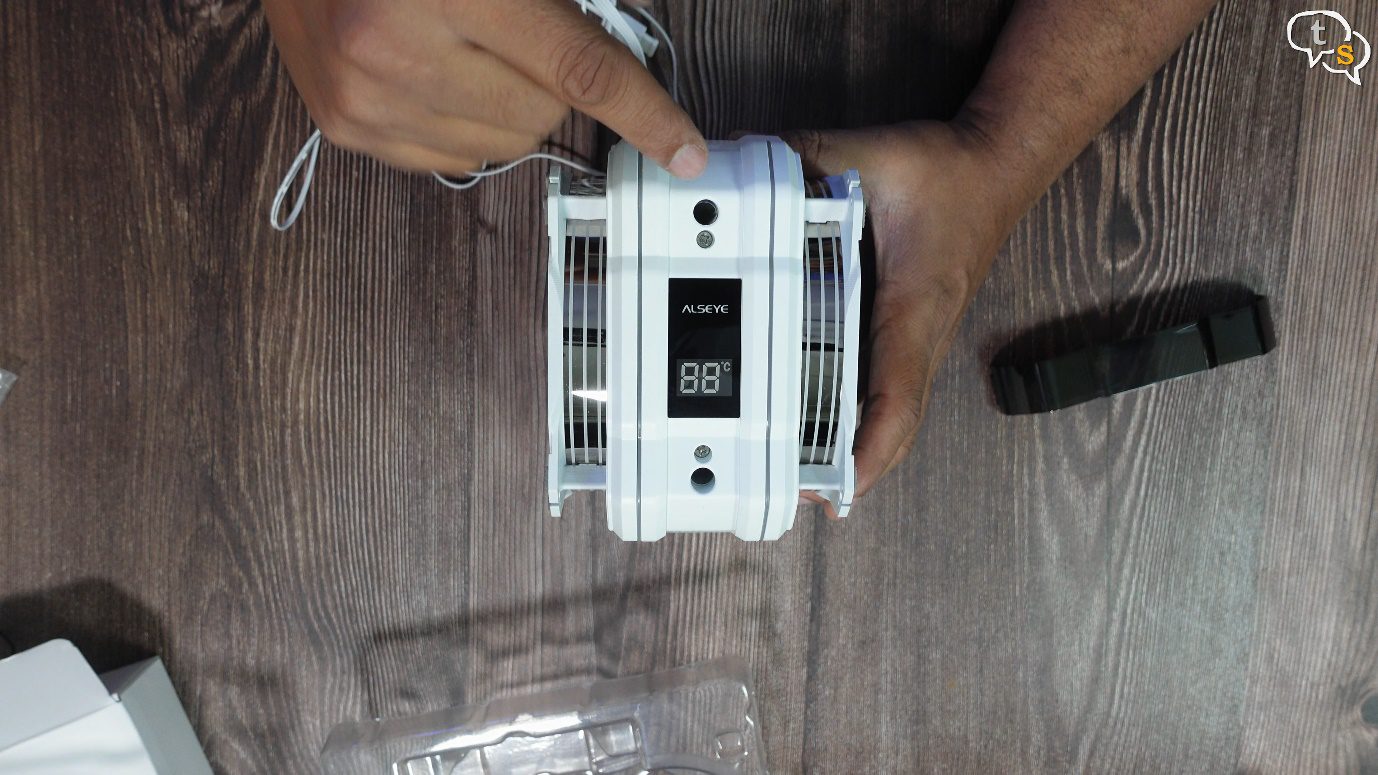
and under that is the cooler all assembled.
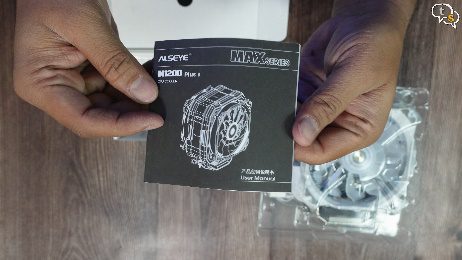
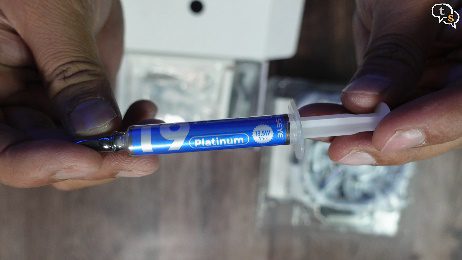
We have a little manual. A tube of T9 platinum thermal paste with a spatula. This thermal paste is by alseye themselves.
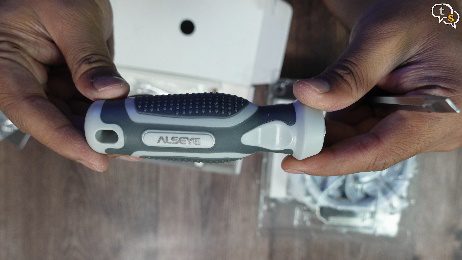
A screwdriver is included, with a reversible top. It has both Philips and a flat head. Moderately good.
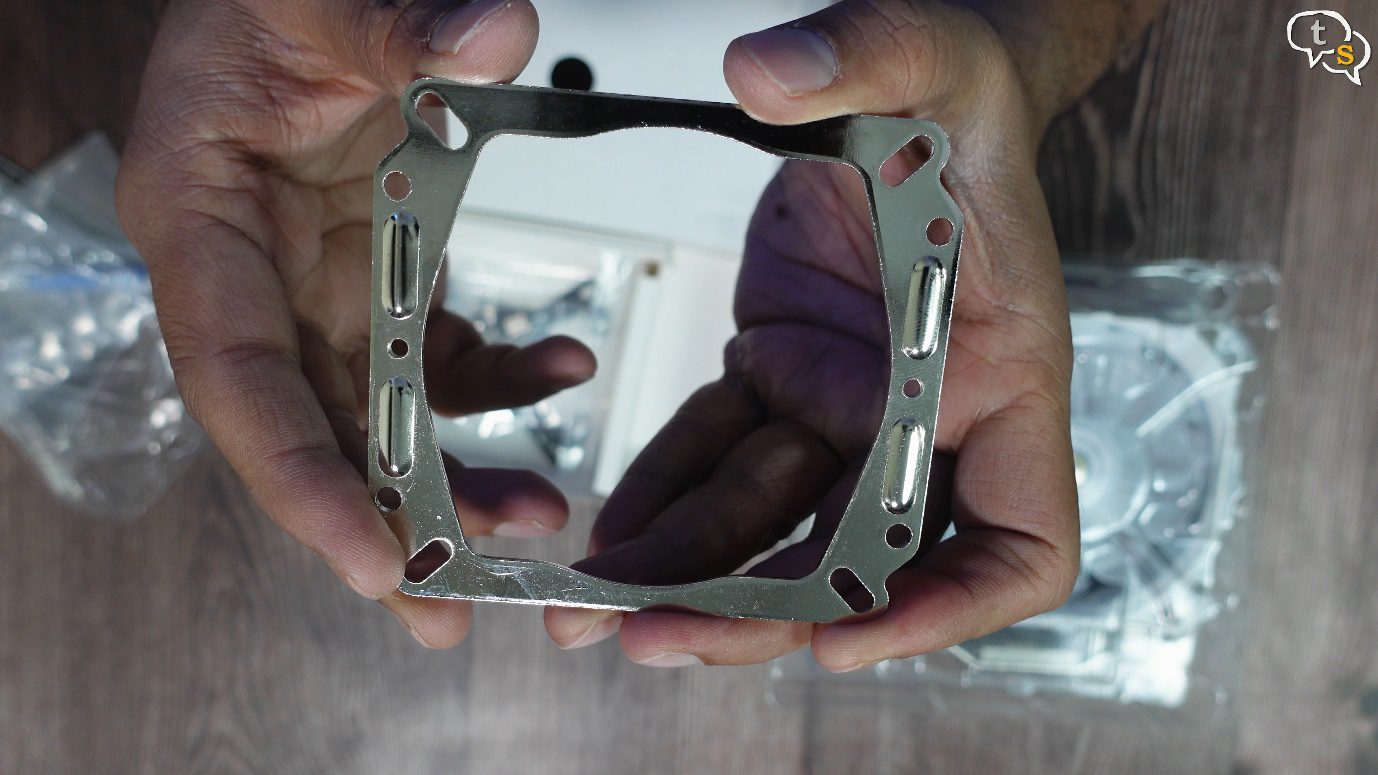
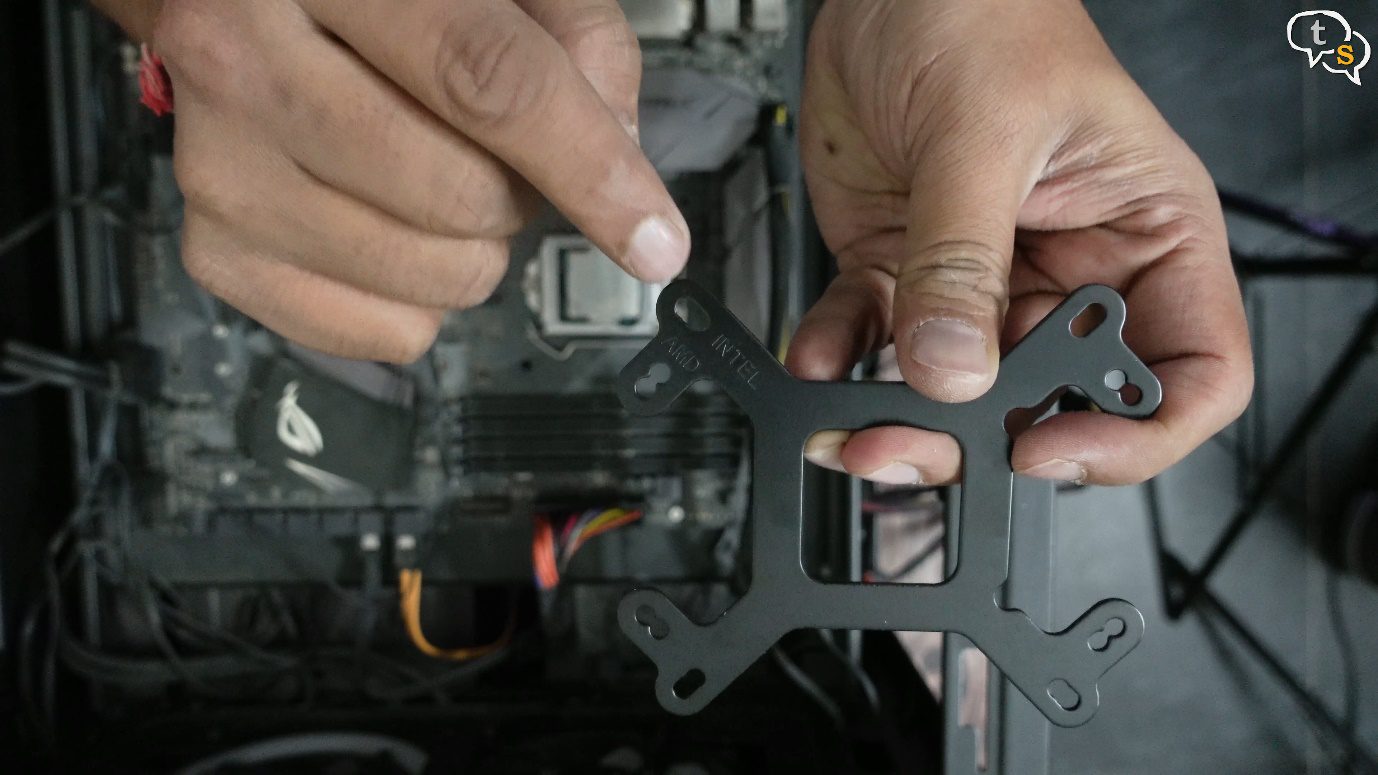
These are the mounting hardware. This is the plate that the fan would screw onto. It supports both intel and AM4.
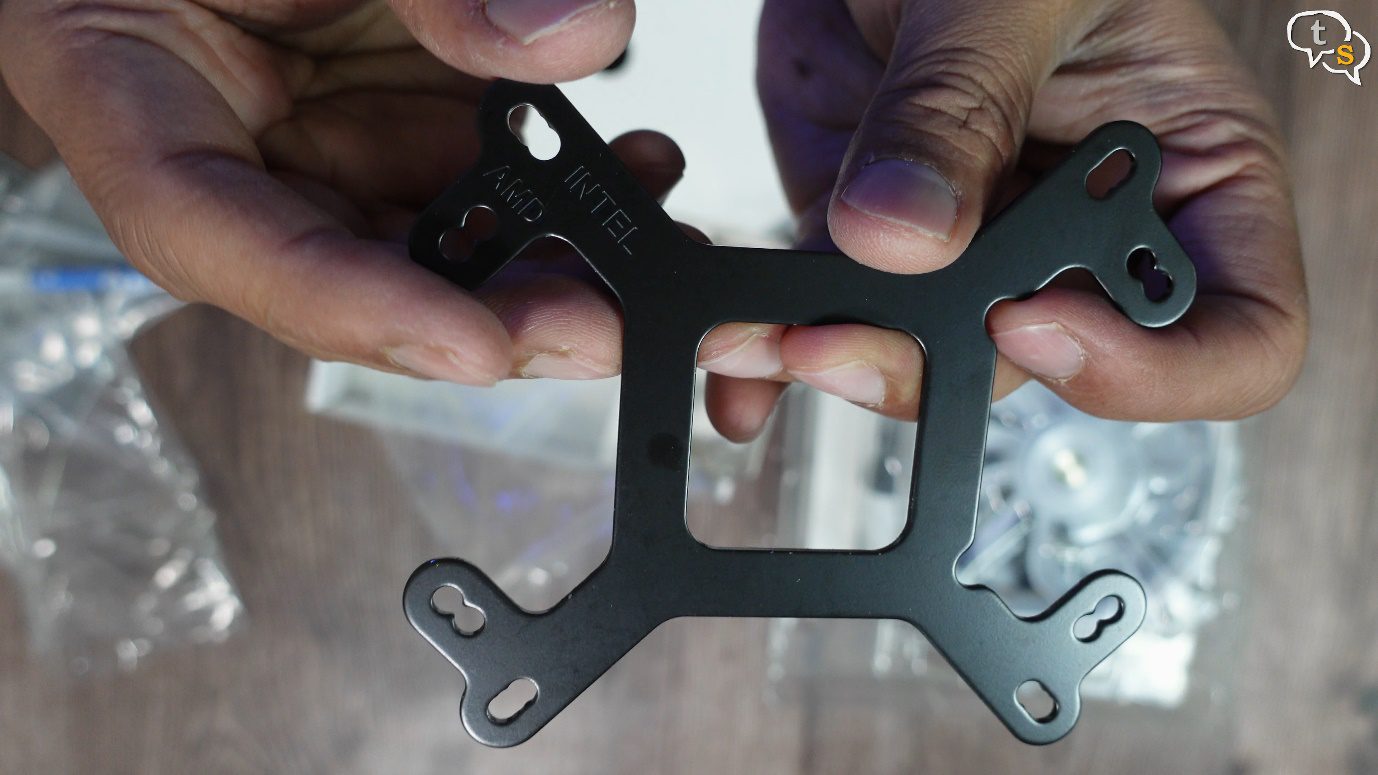
This is the plate that goes behind the motherboard, which similarly supports both intel and AMD. This makes it much easier to install.
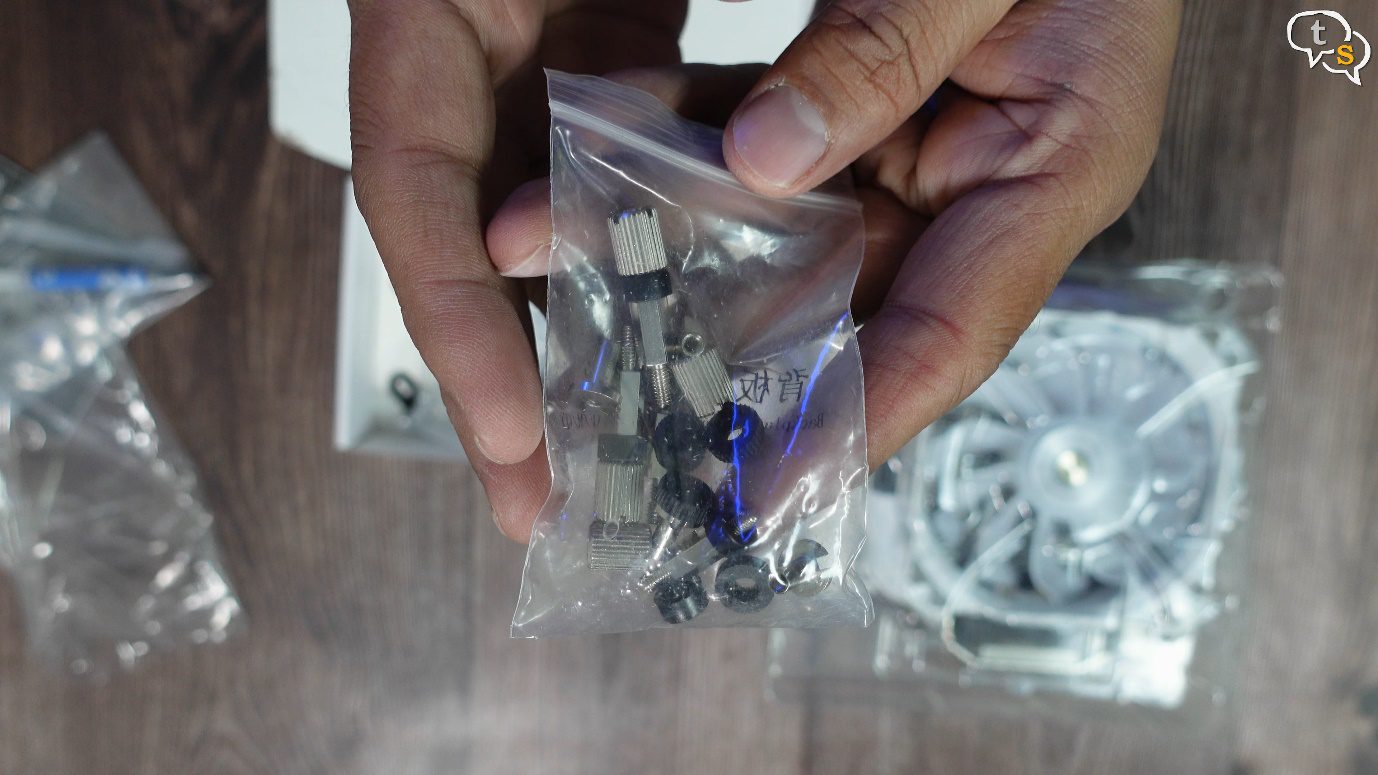
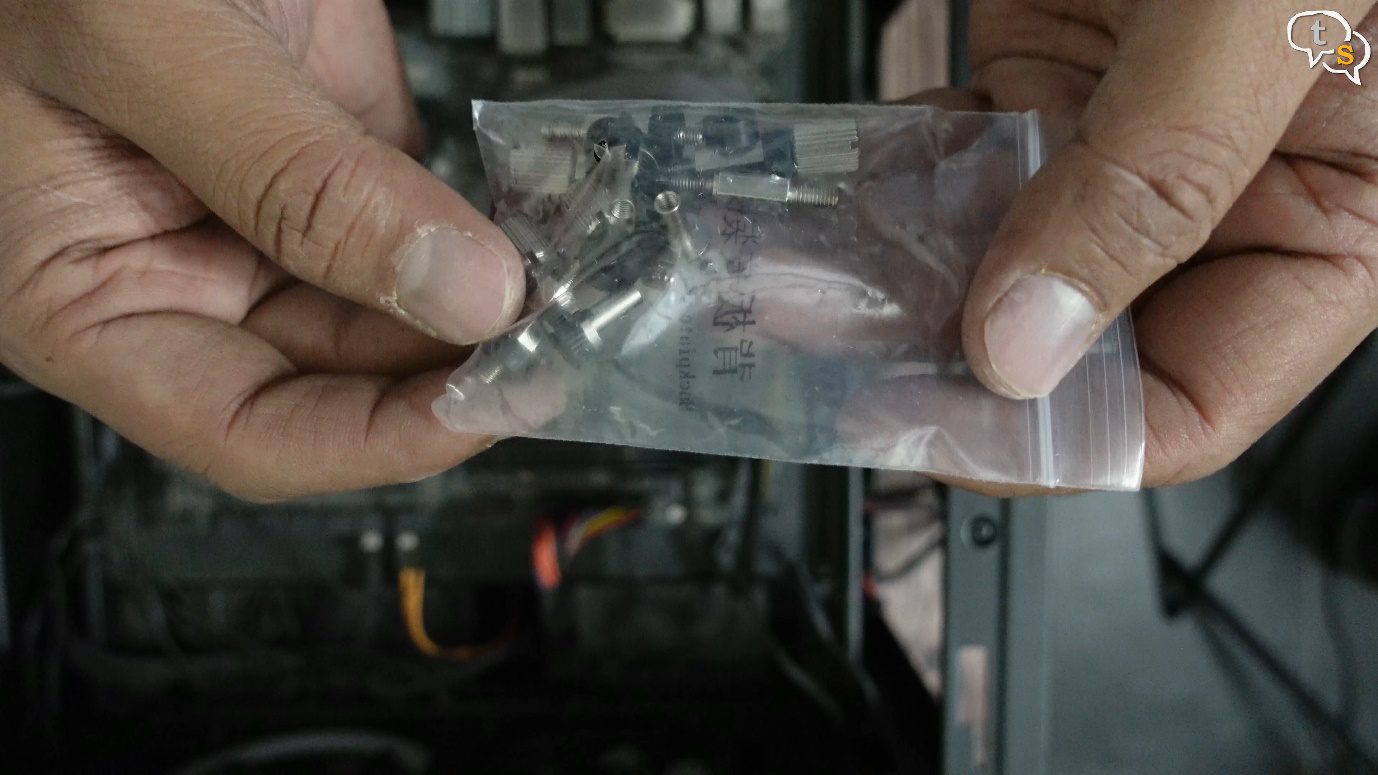
A bag of screws and other mounting accessories.
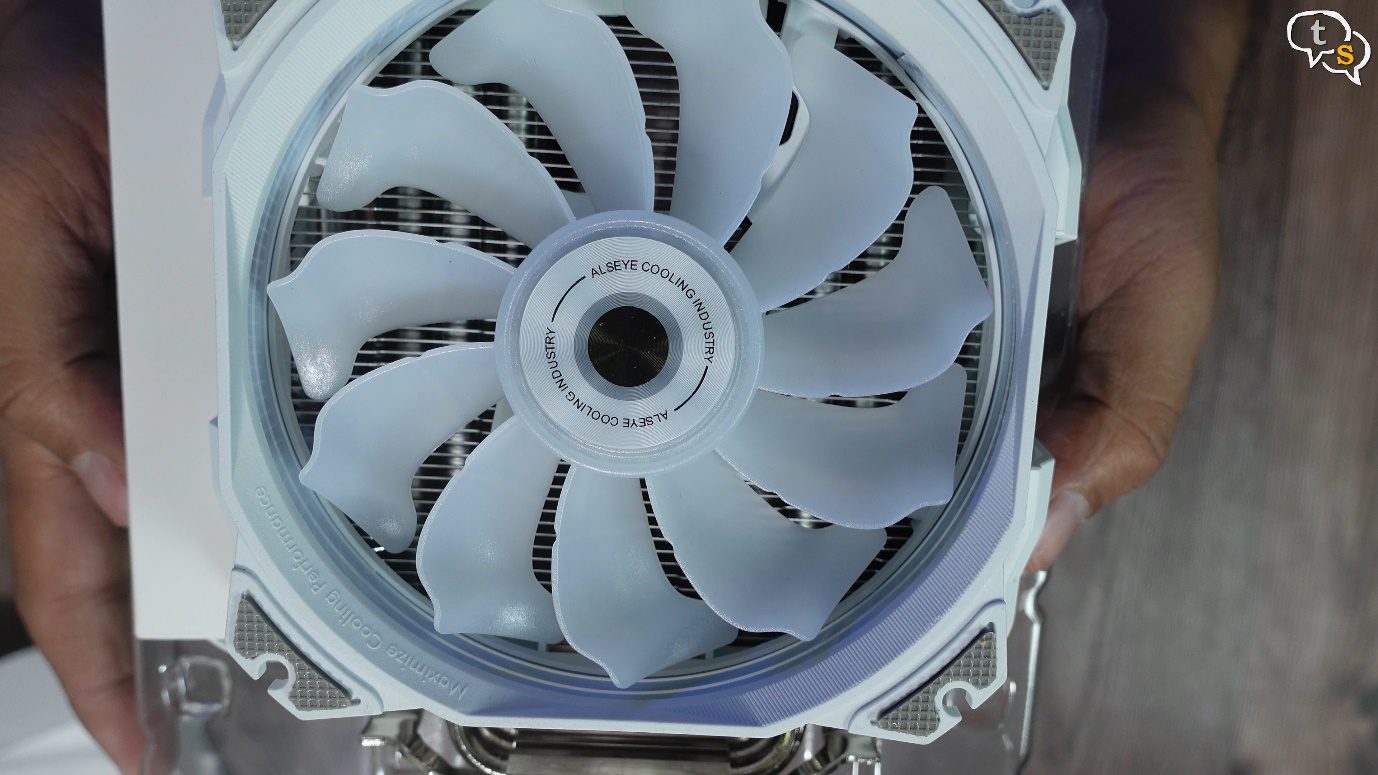
Now for the cooler itself. Here we are, this is the fan on the front, it’s by Alseye themselves. Quite smooth. Maximum cooling performance.
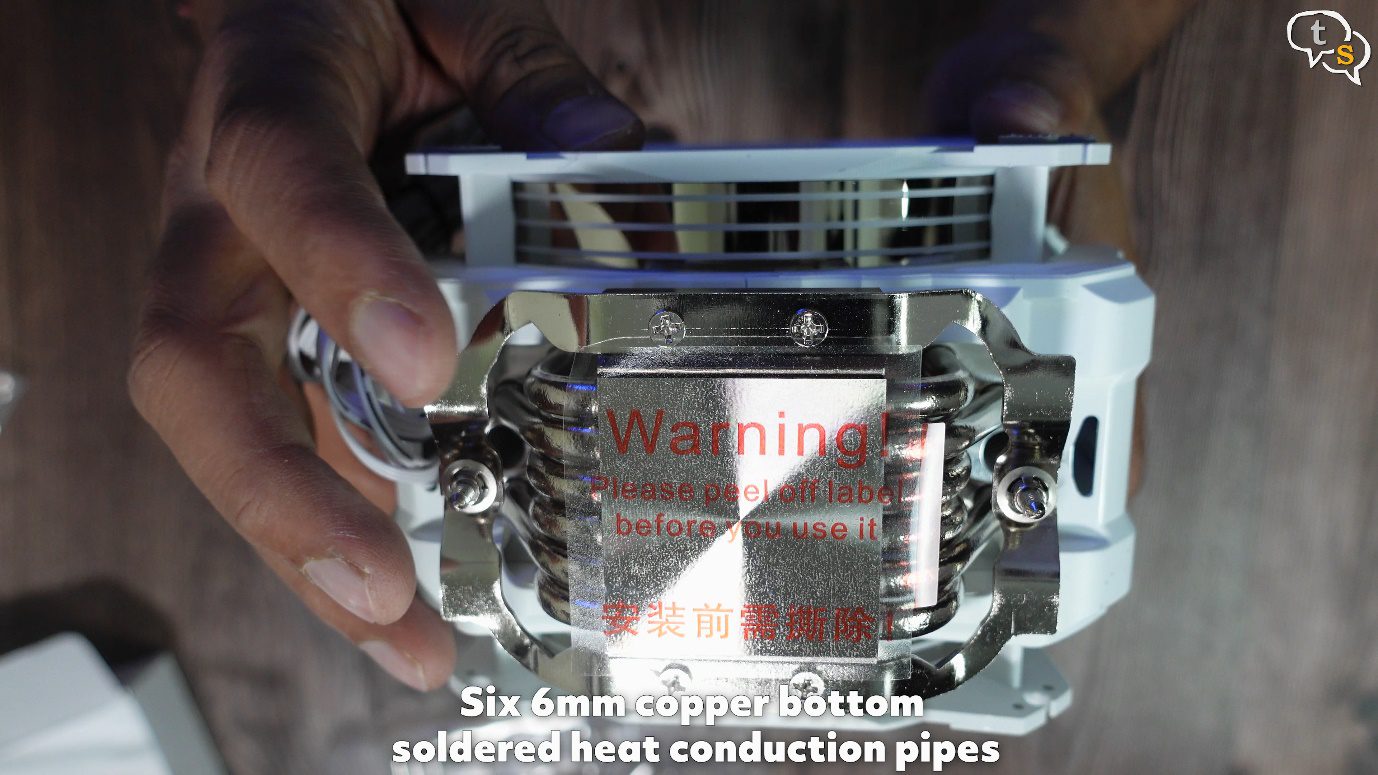
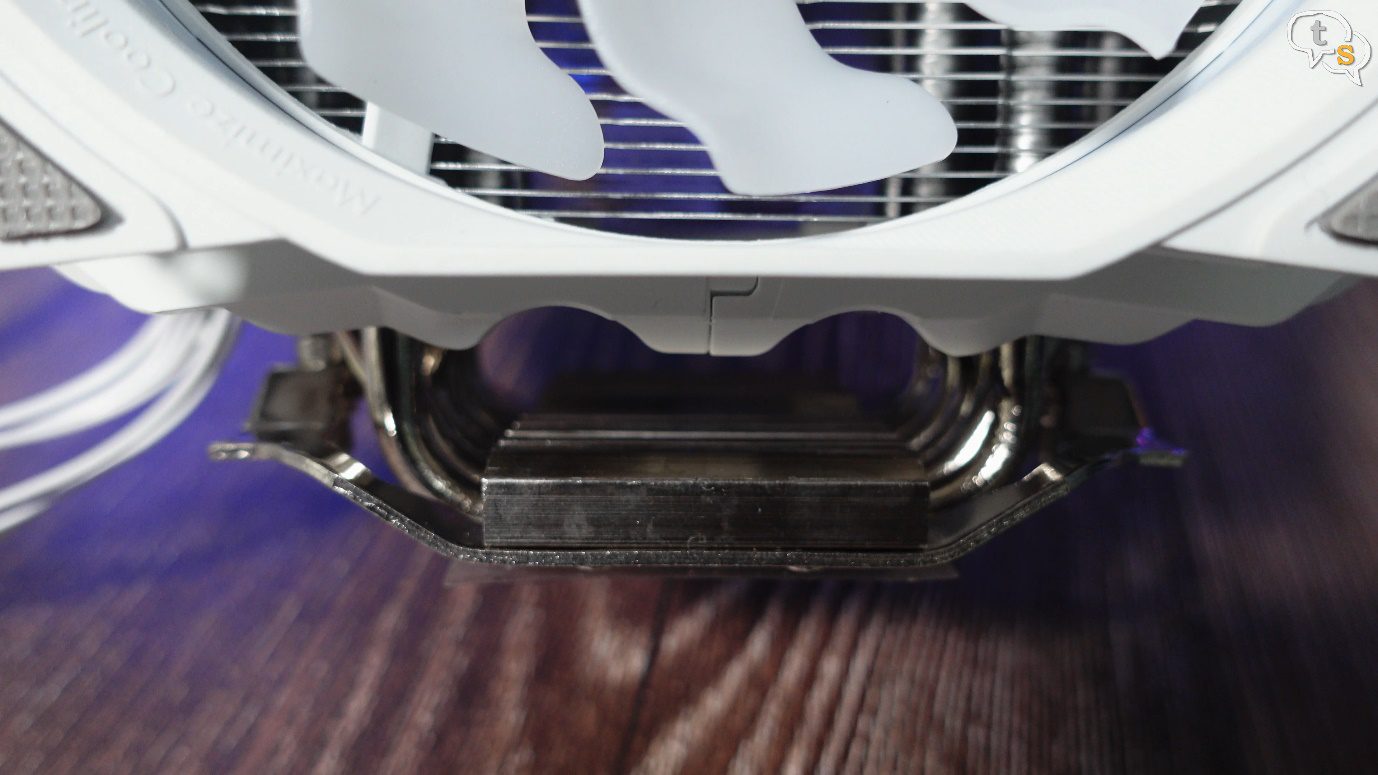
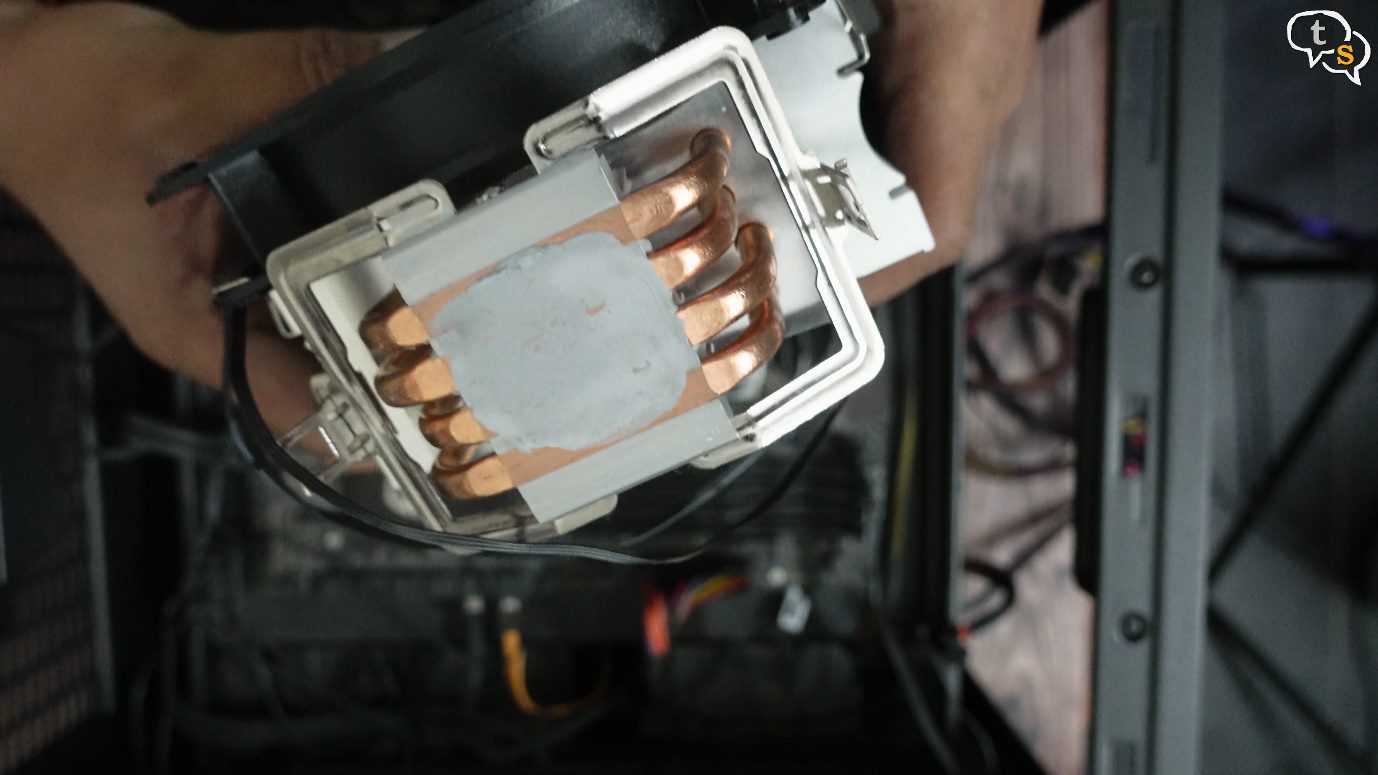
Below is the contact plate and we can see the heatpipes. There’s a sticker which needs to be removed before installation. They say it’s mirror finished copper, but why does it look like aluminium.
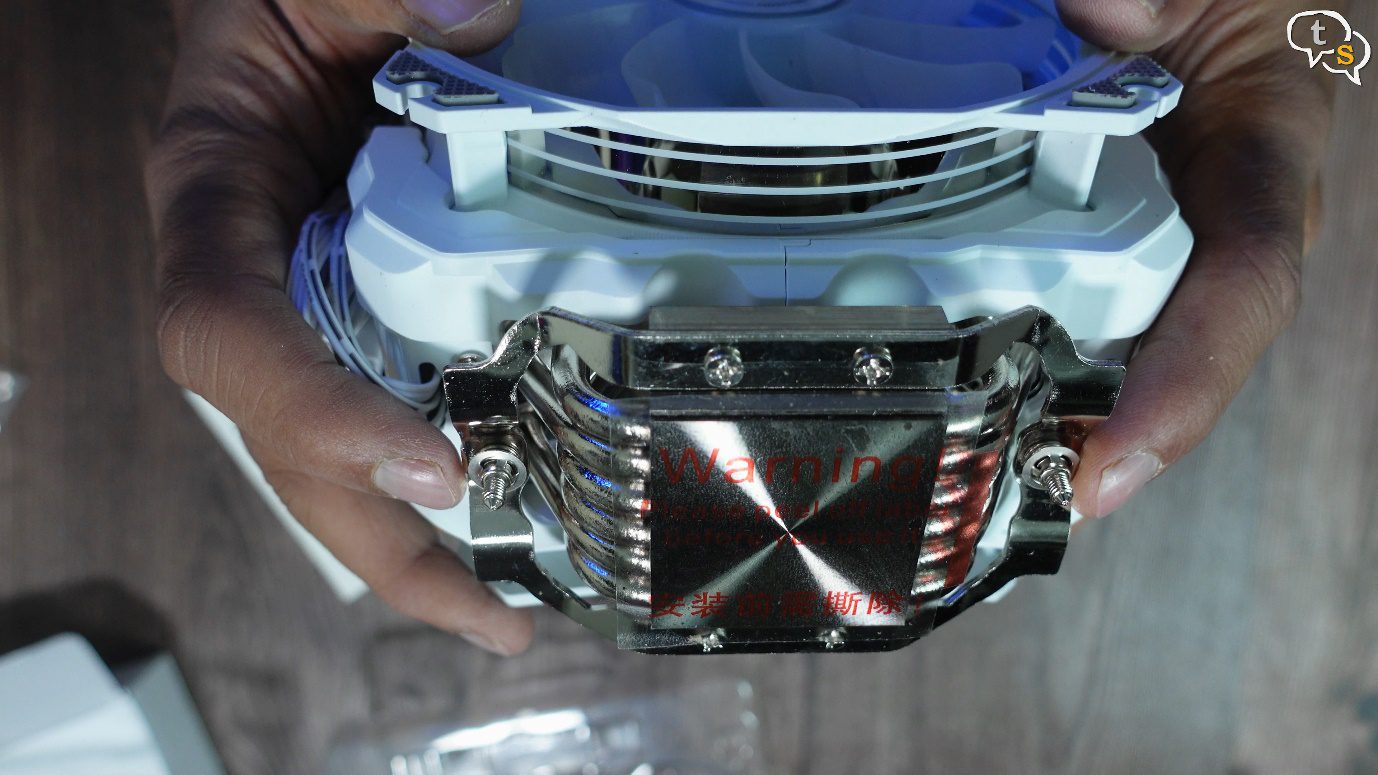
These two screws here screw into the mounting plate. The fans thankfully come preinstalled, I hate installing fans on air cpu-coolers.
We can see the fins from the side.
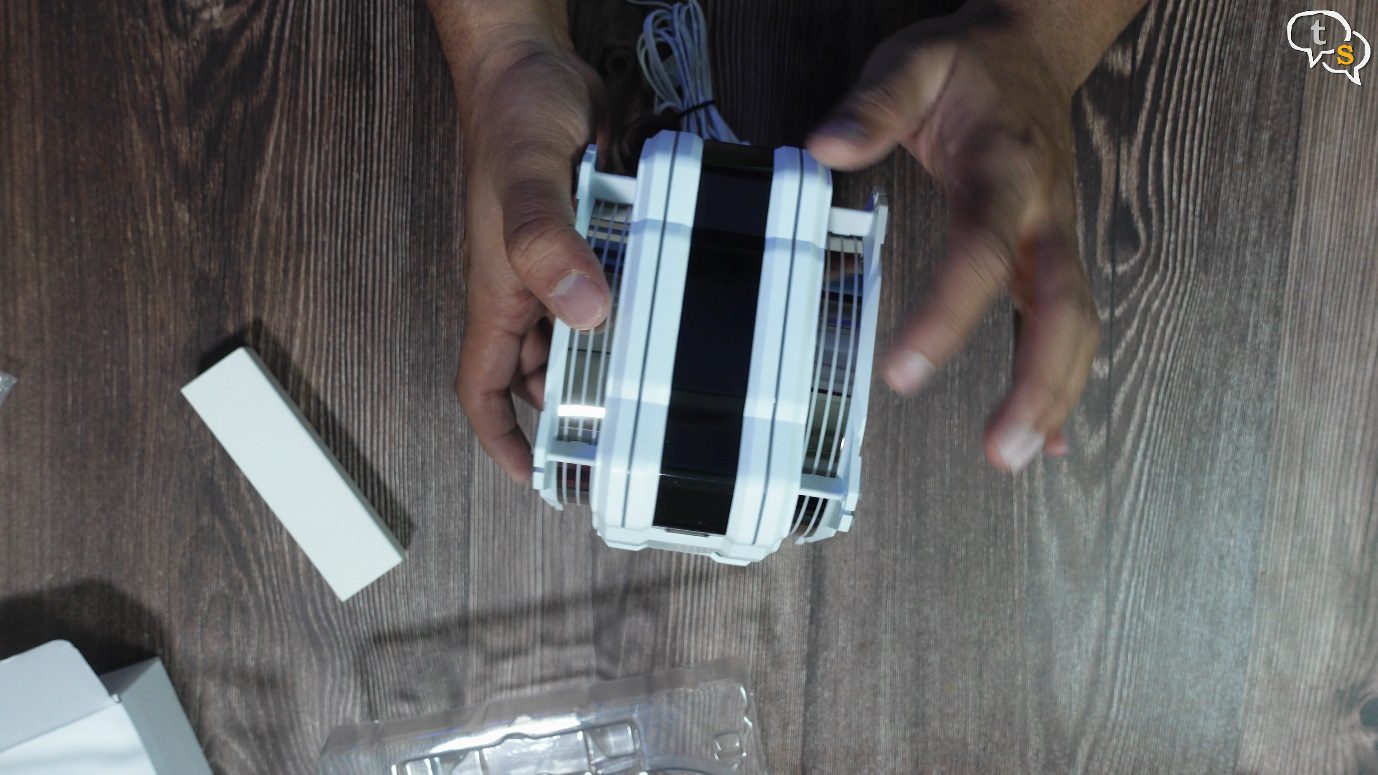
This is where the display is supposed to be. It has this dark transparent plastic cover.
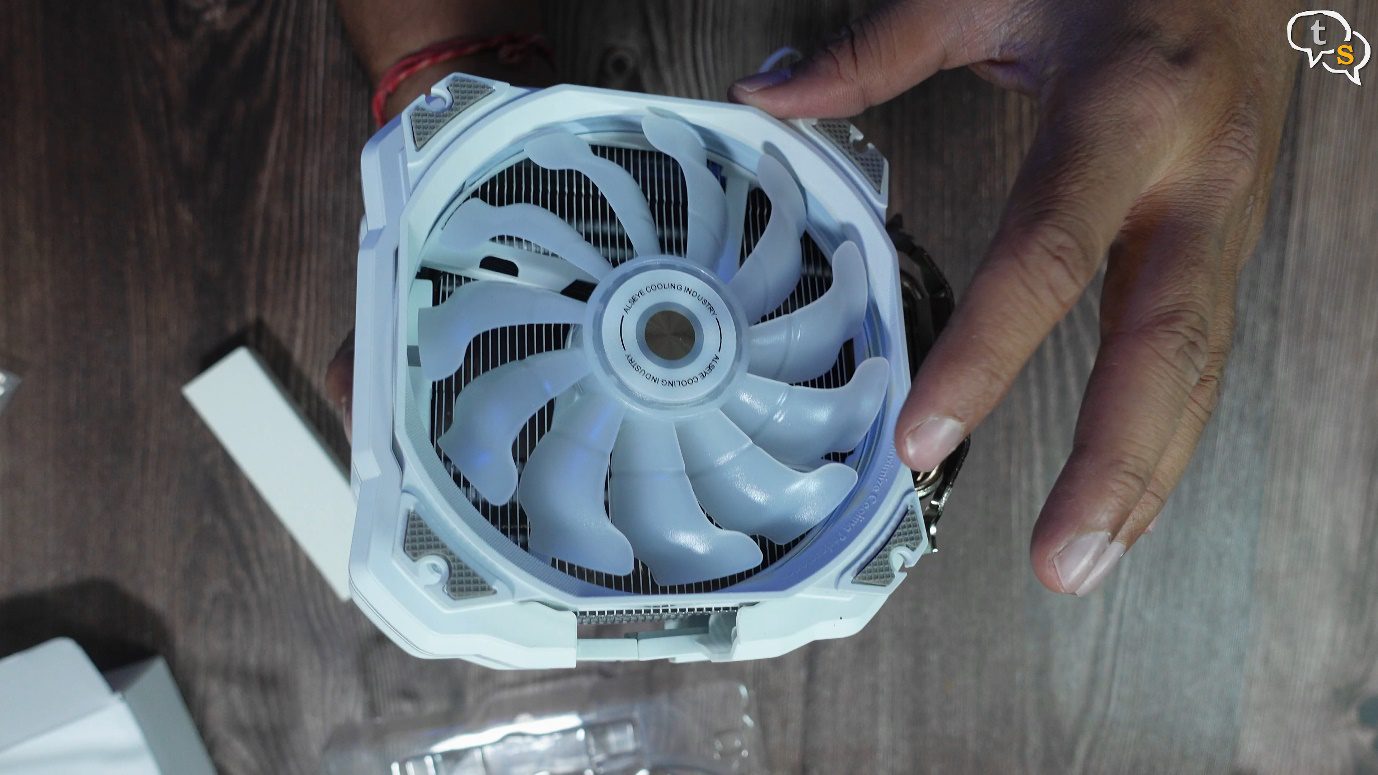
Here are the fans, the RGB led’s are within.
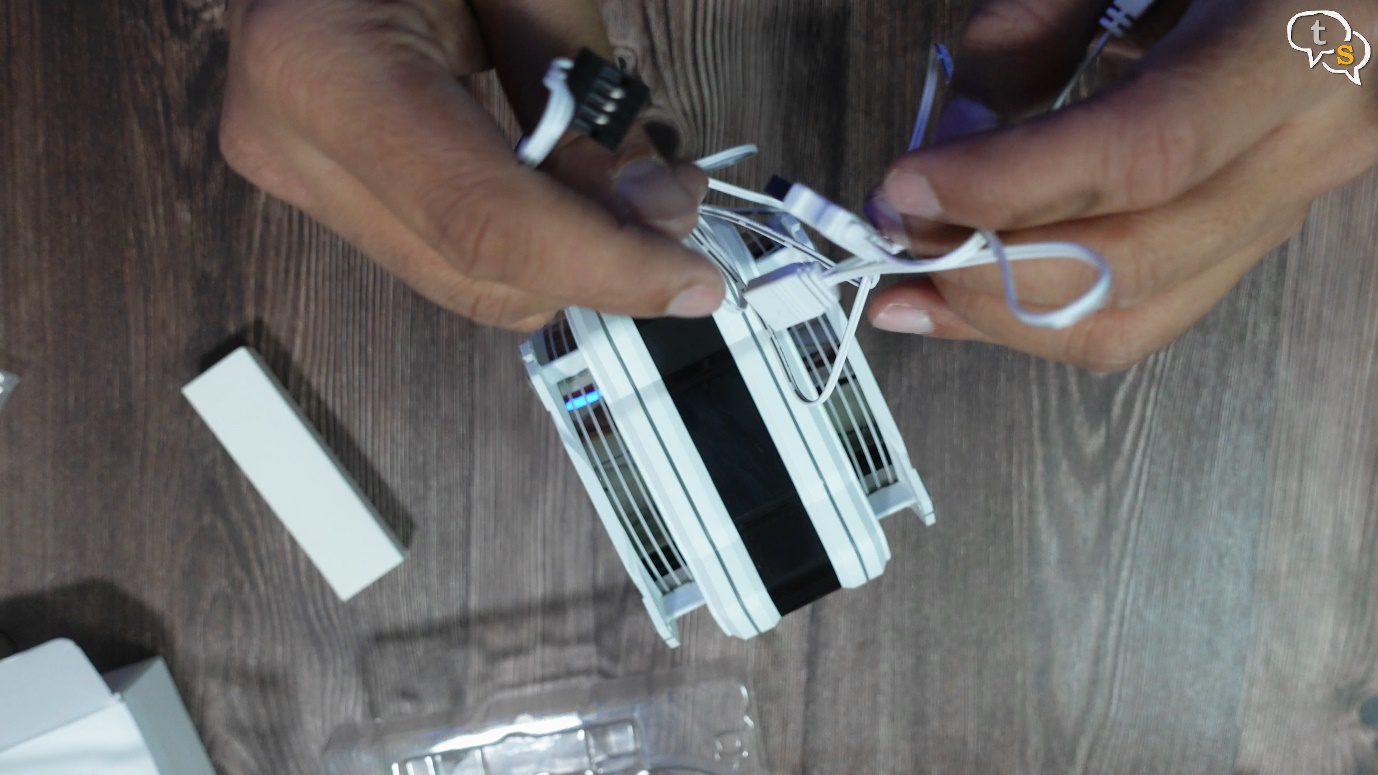
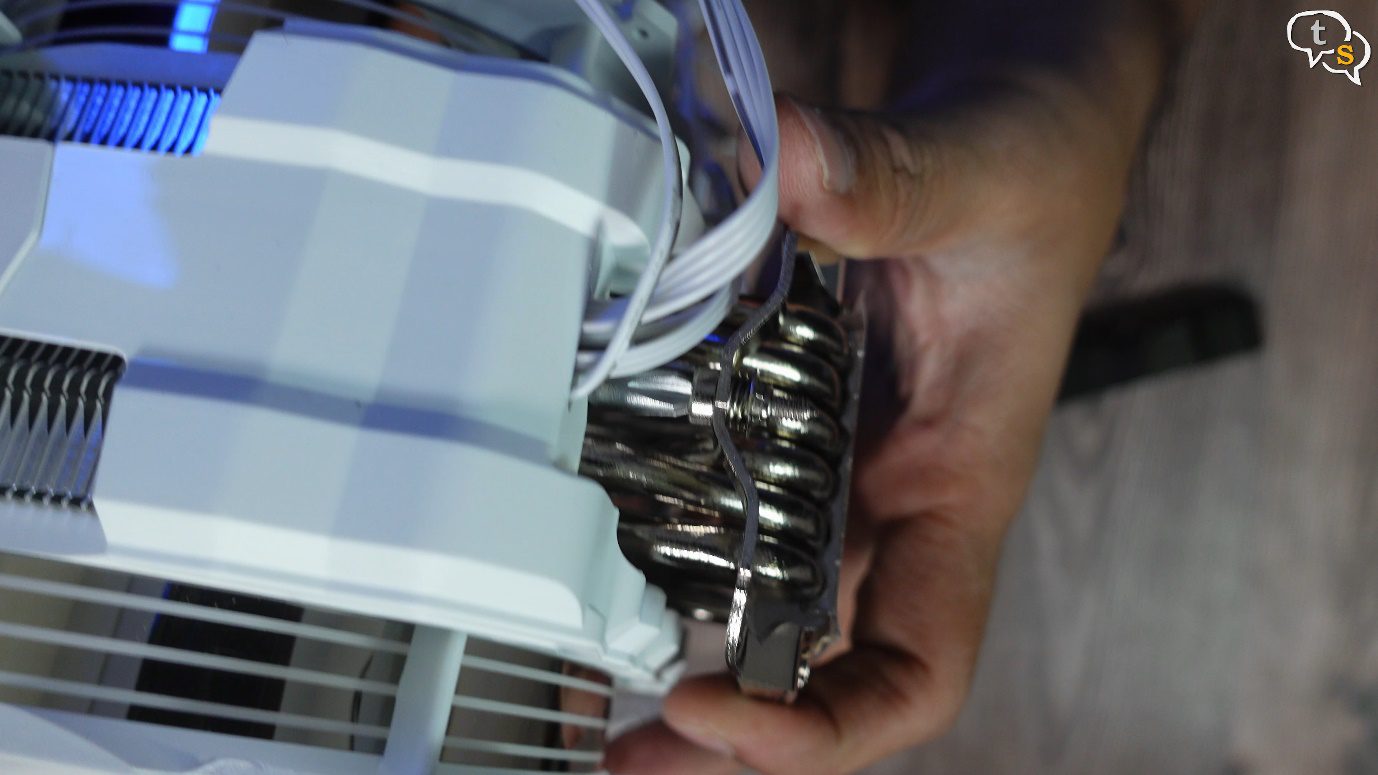
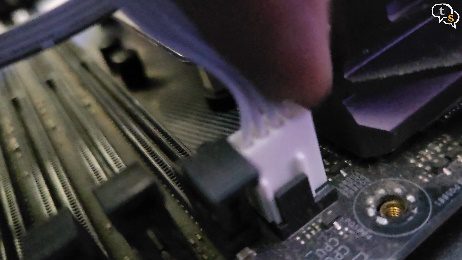
This bundle of wires are required for control of the fans and also power and light up the RGB.
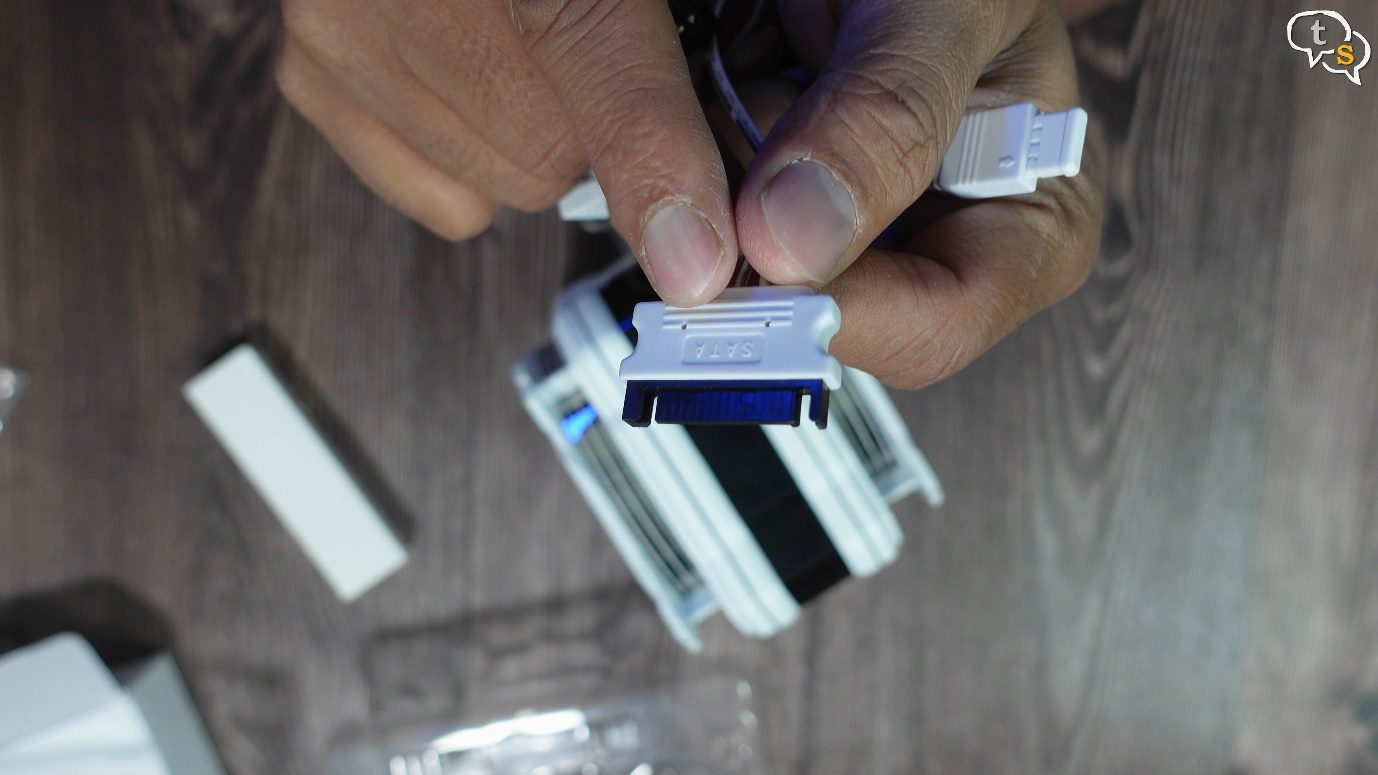
It needs SATA power too, might be because of all this lighting.
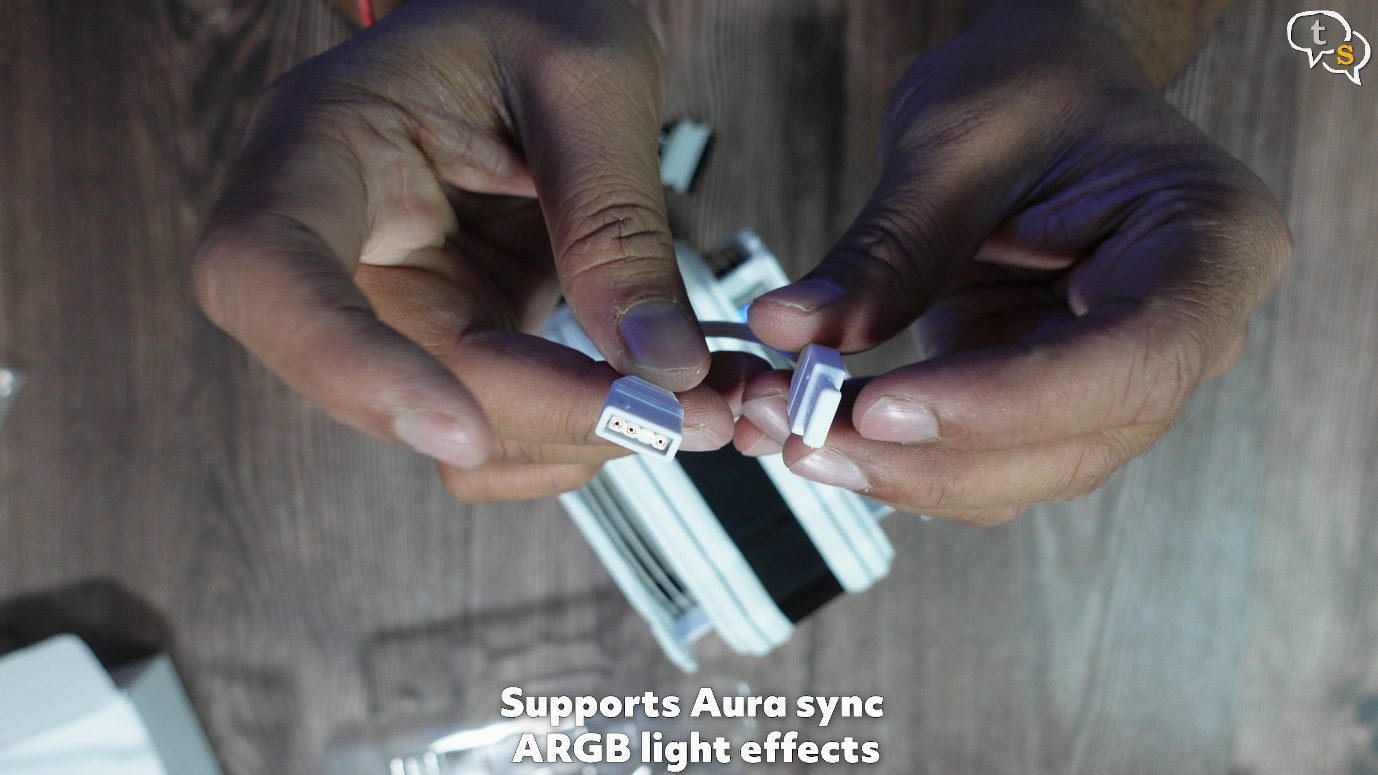
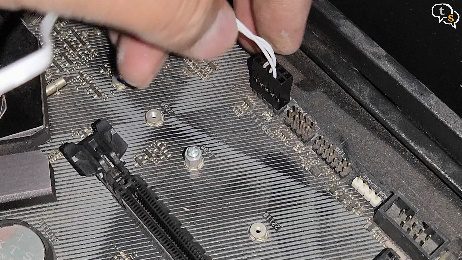
This is an ARGB header if you want to sync the fan colors with the rest of your system.
This one is male, and we have a female connector too, in order to be able to daisy chain more RGB headers.
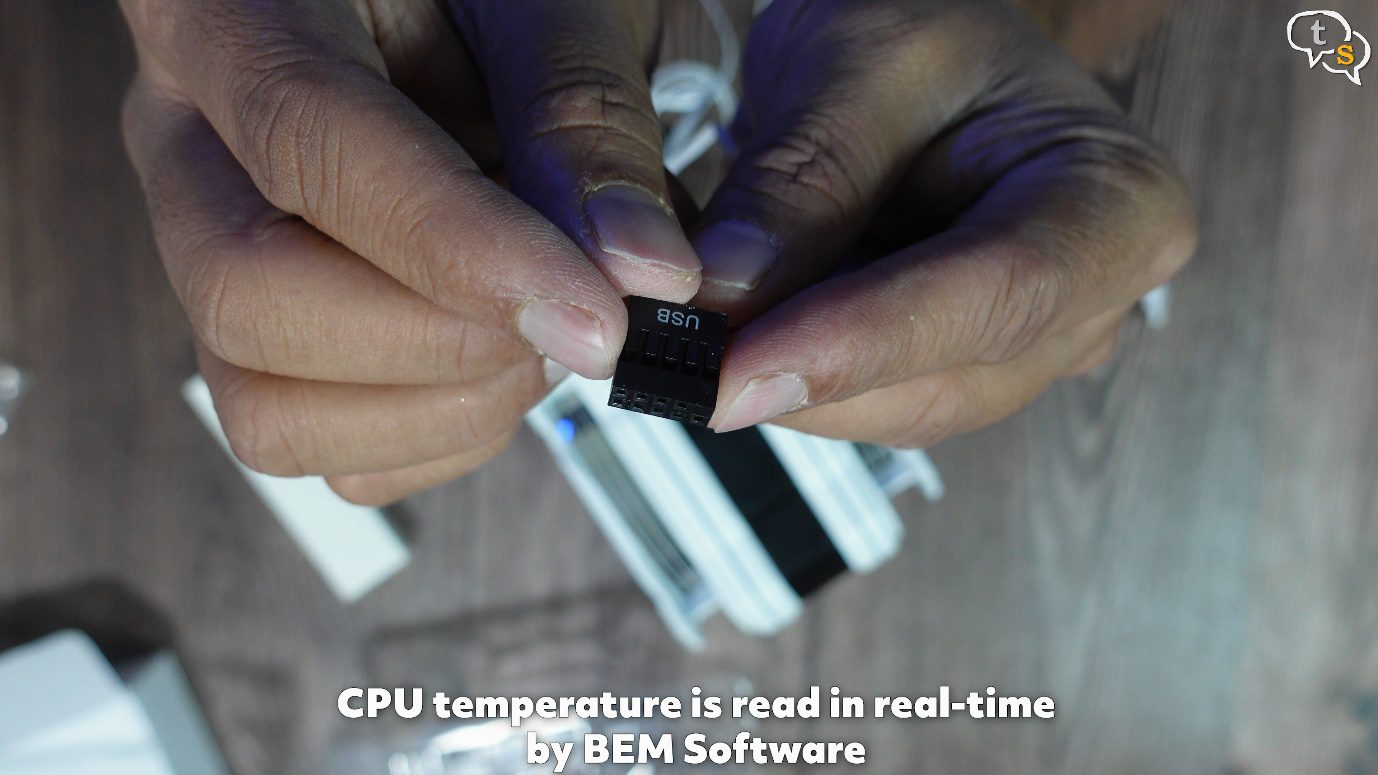
This USB connector might be how it reads the temperature from the monitor software.

PWM fan header, only one so both fans are controlled by this one header.
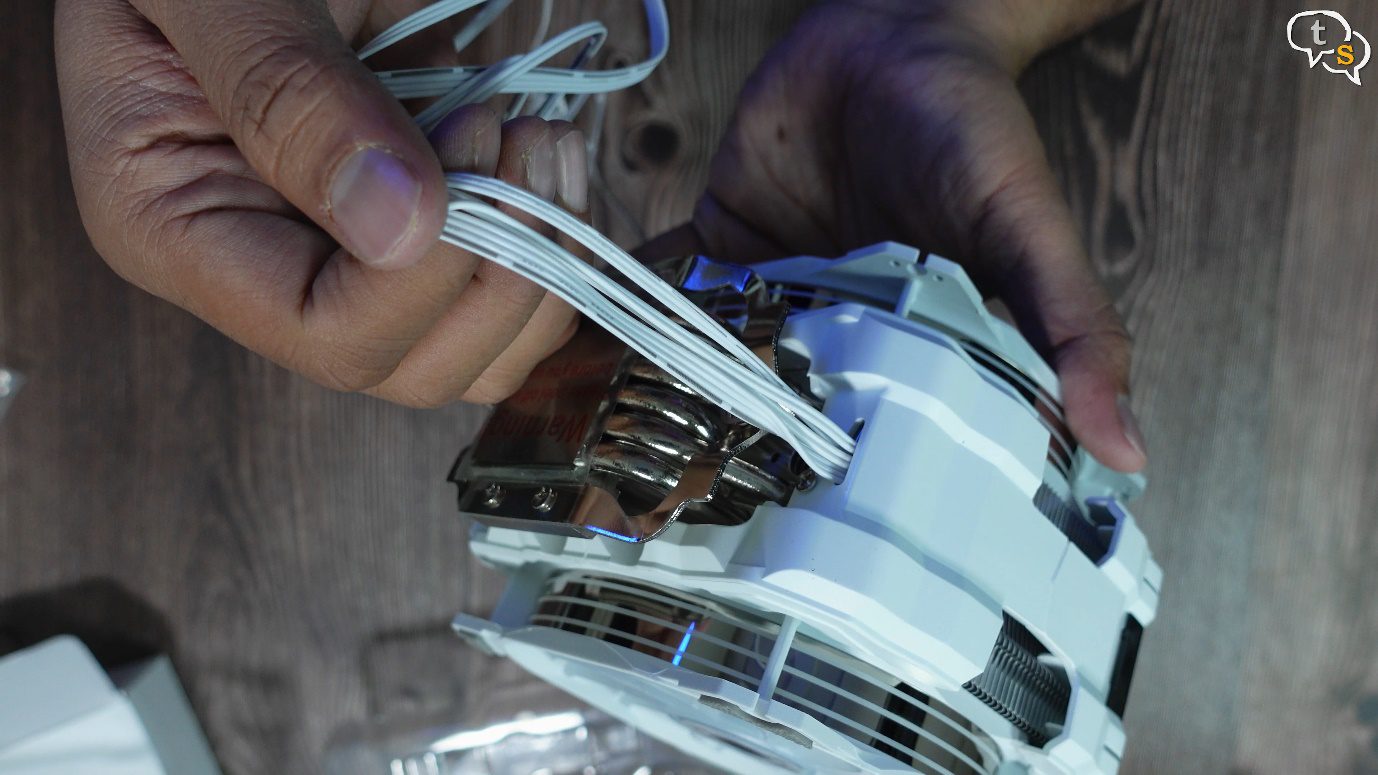
All the wires come out from here.
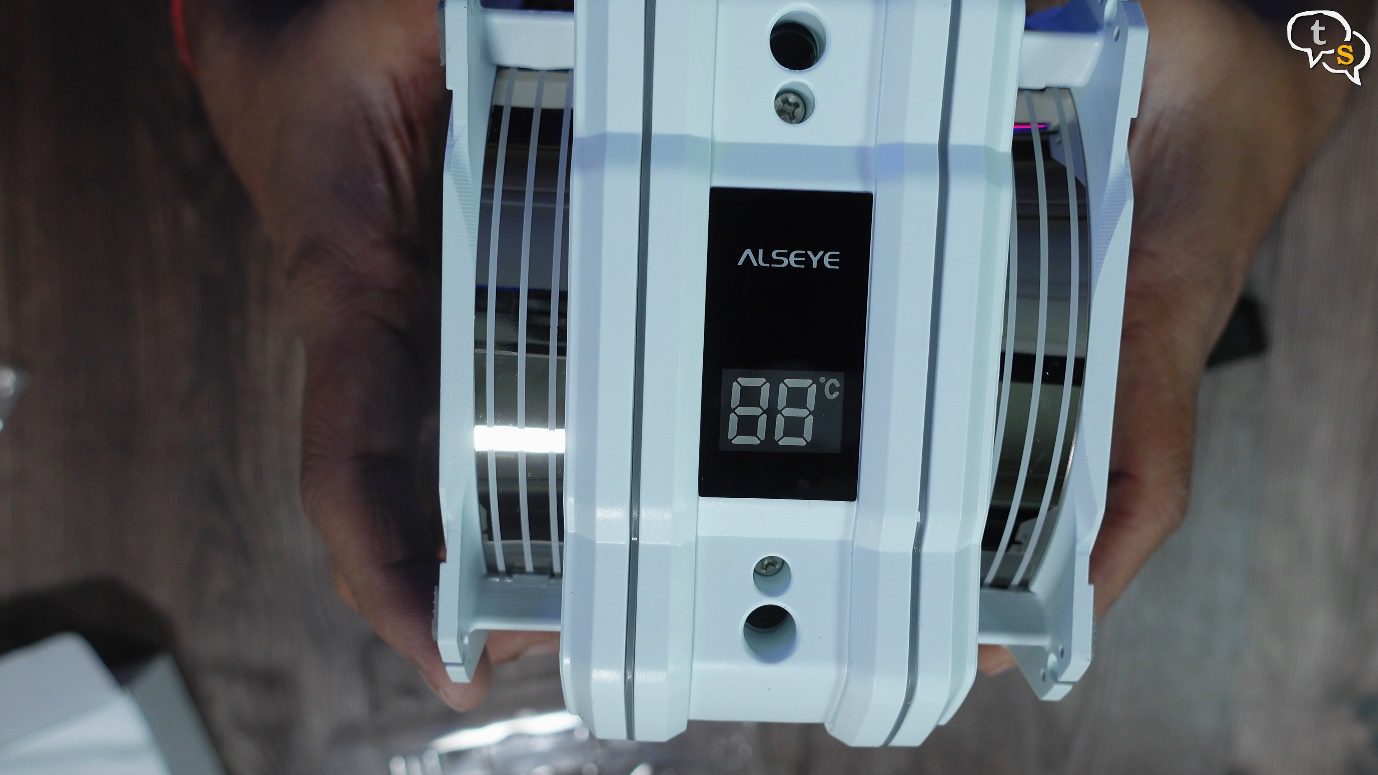
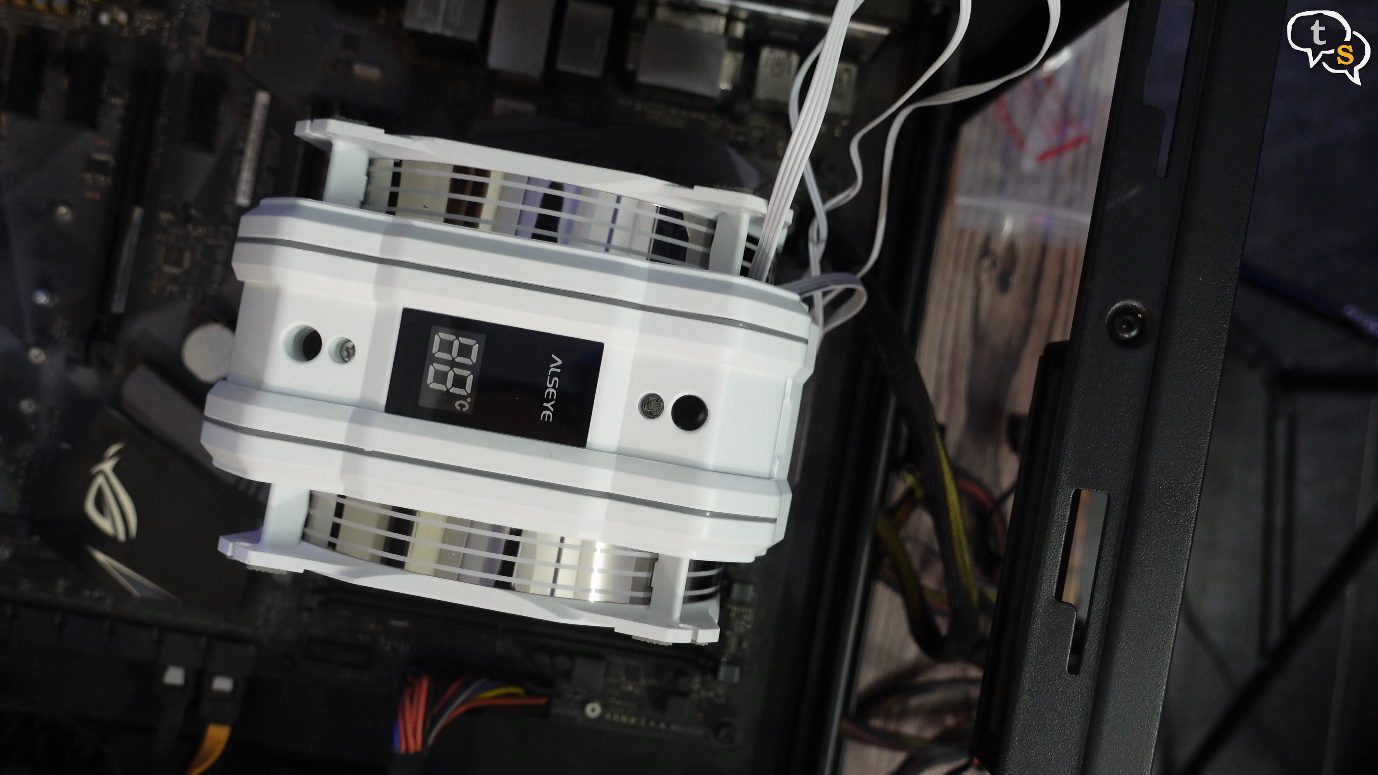
Let’s get this plate off, and we have the Alseye branding and also the temperature display.
These holes here is how we would access the screws at the bottom.
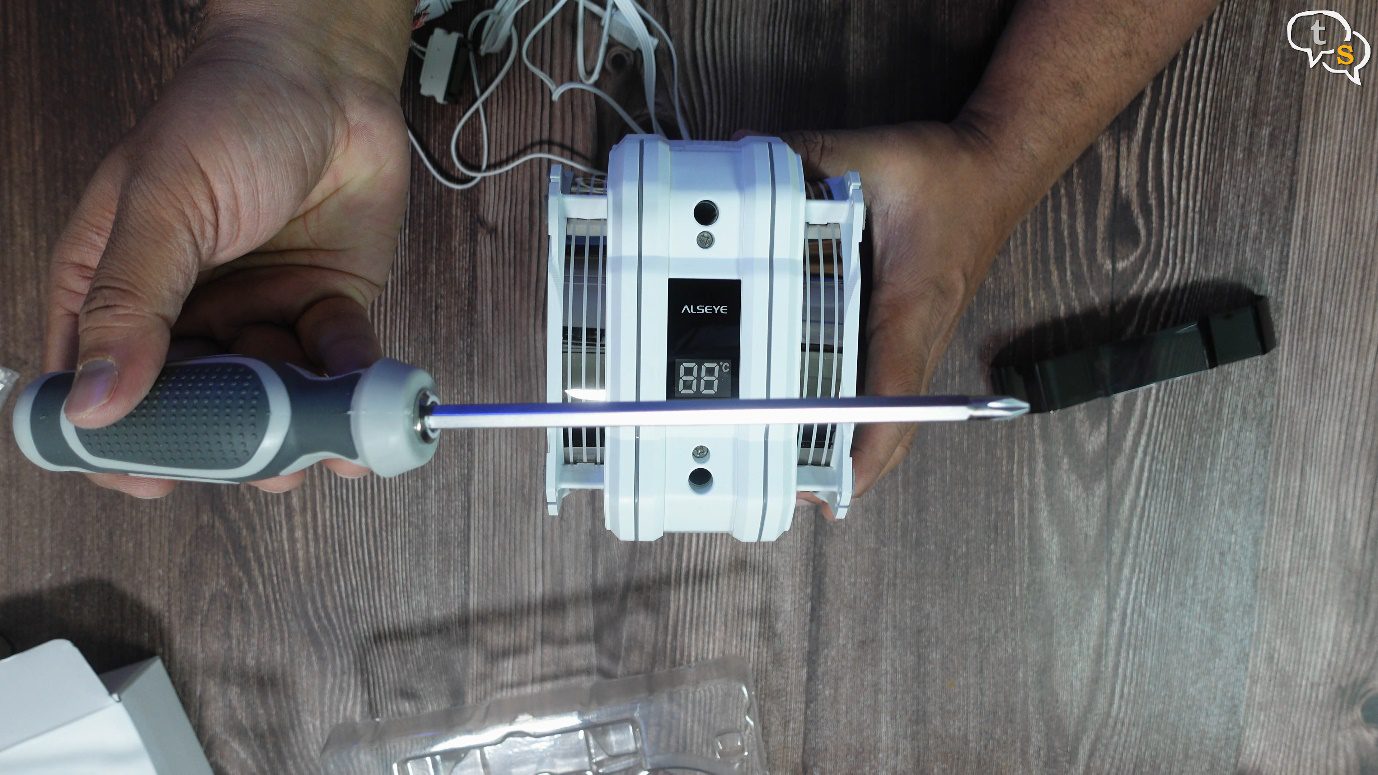
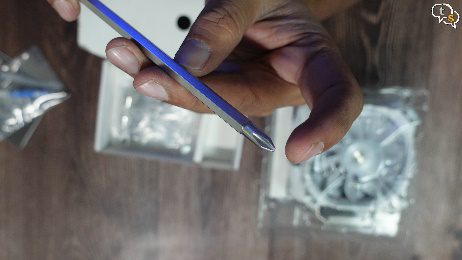
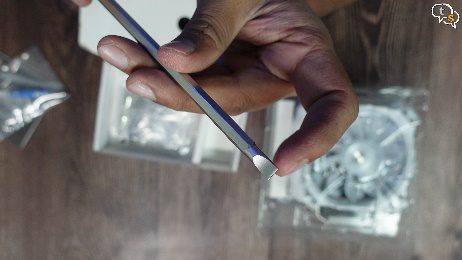
This screwdriver is provided which can reach the screws at the bottom of the cooler.
These screws.
There’s a heatsink right above the contact plate too.
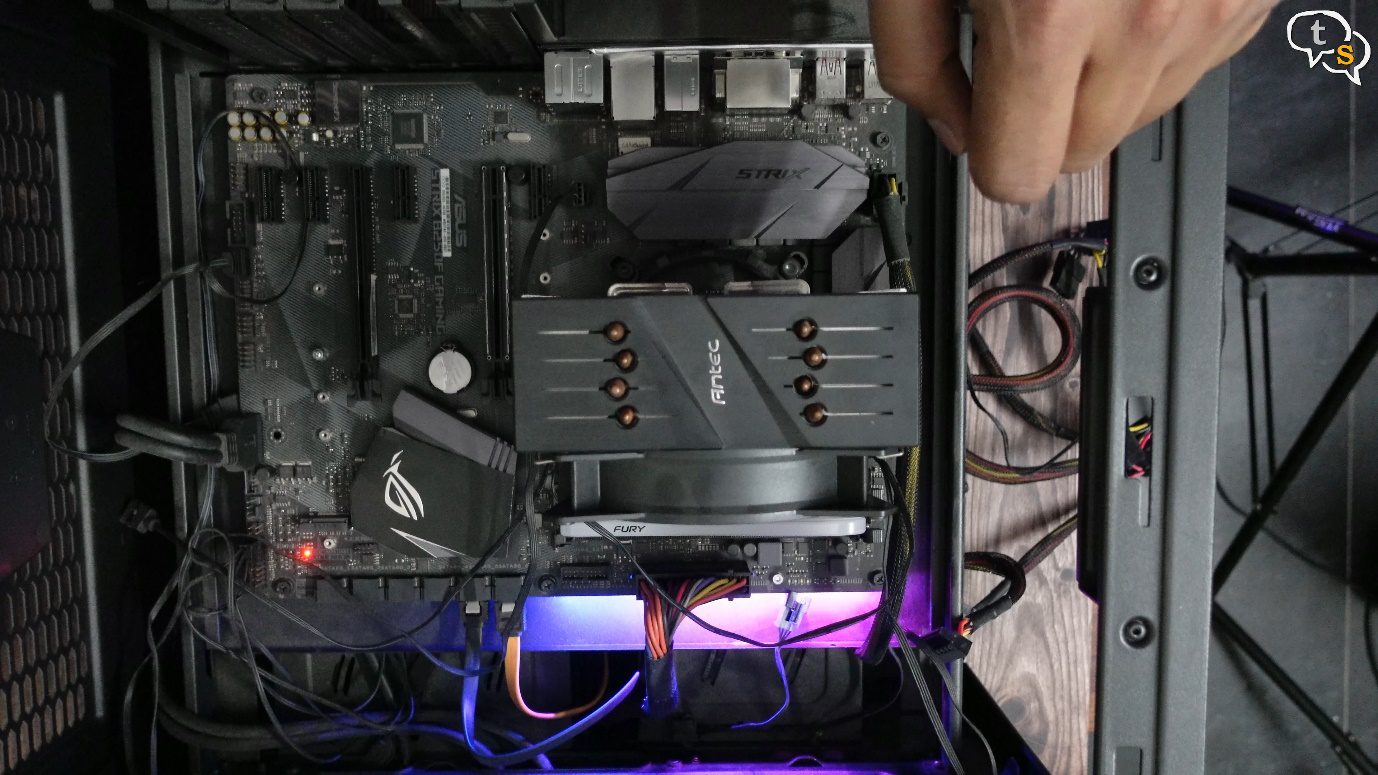
Now to get installing, as I didn’t want to disturb my main system, I’m using this one.
It’s a core i7 7700, with 16gb ram and I was using it as a NAS until I purchased a real one.
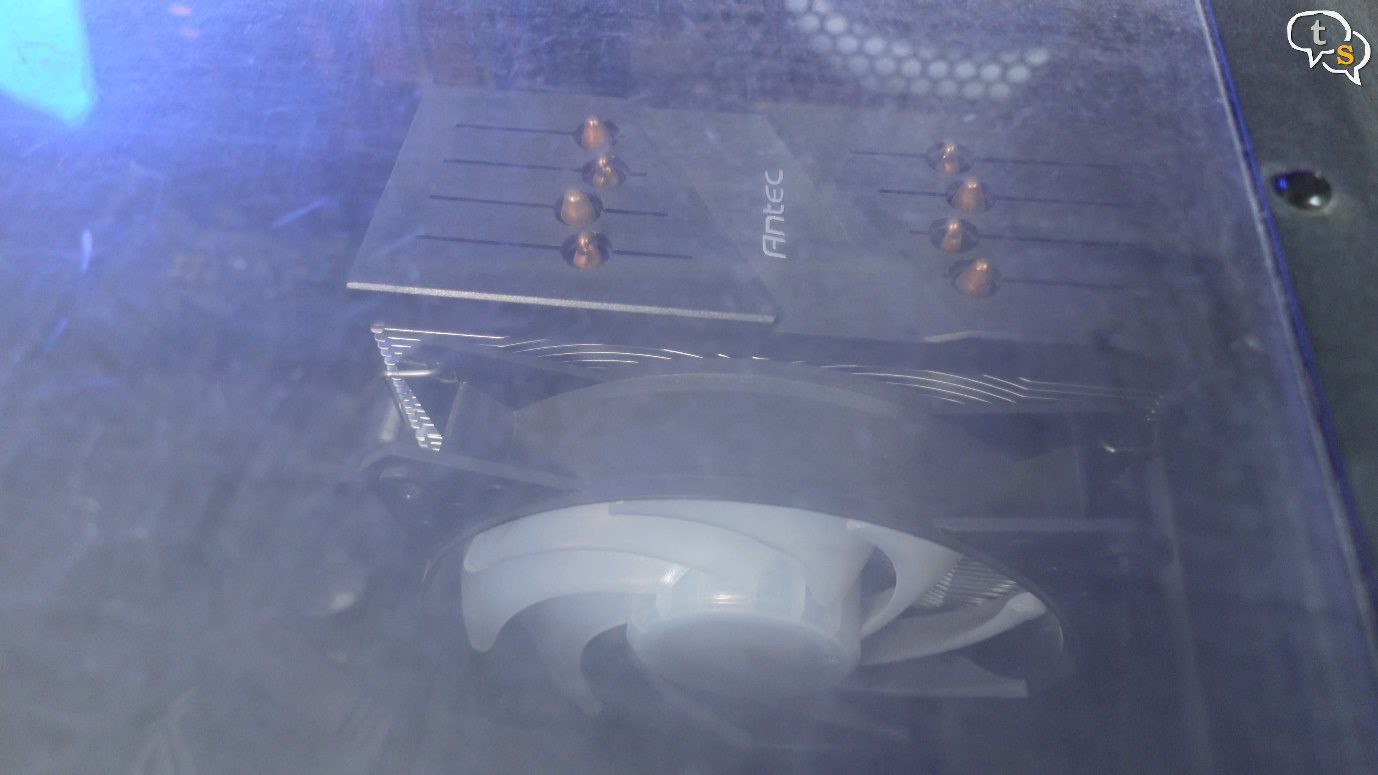
I have an Antec a400 CPU cooler within.
Let’s get the top cover off.
This cooler has a single fan.
Before we change the cooler, let’s get the baseline temps off the Antec.
I’m running Cinebench R23
Here are the system specs.
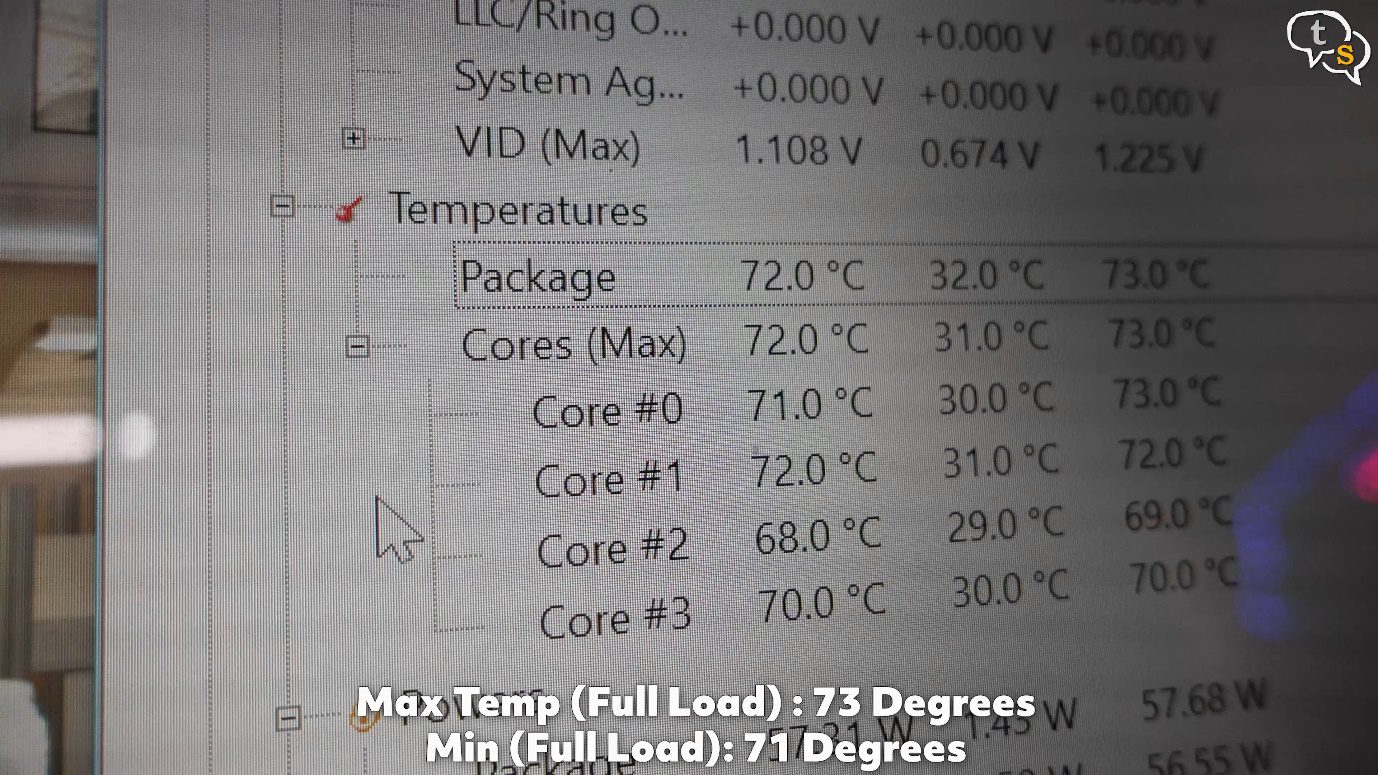
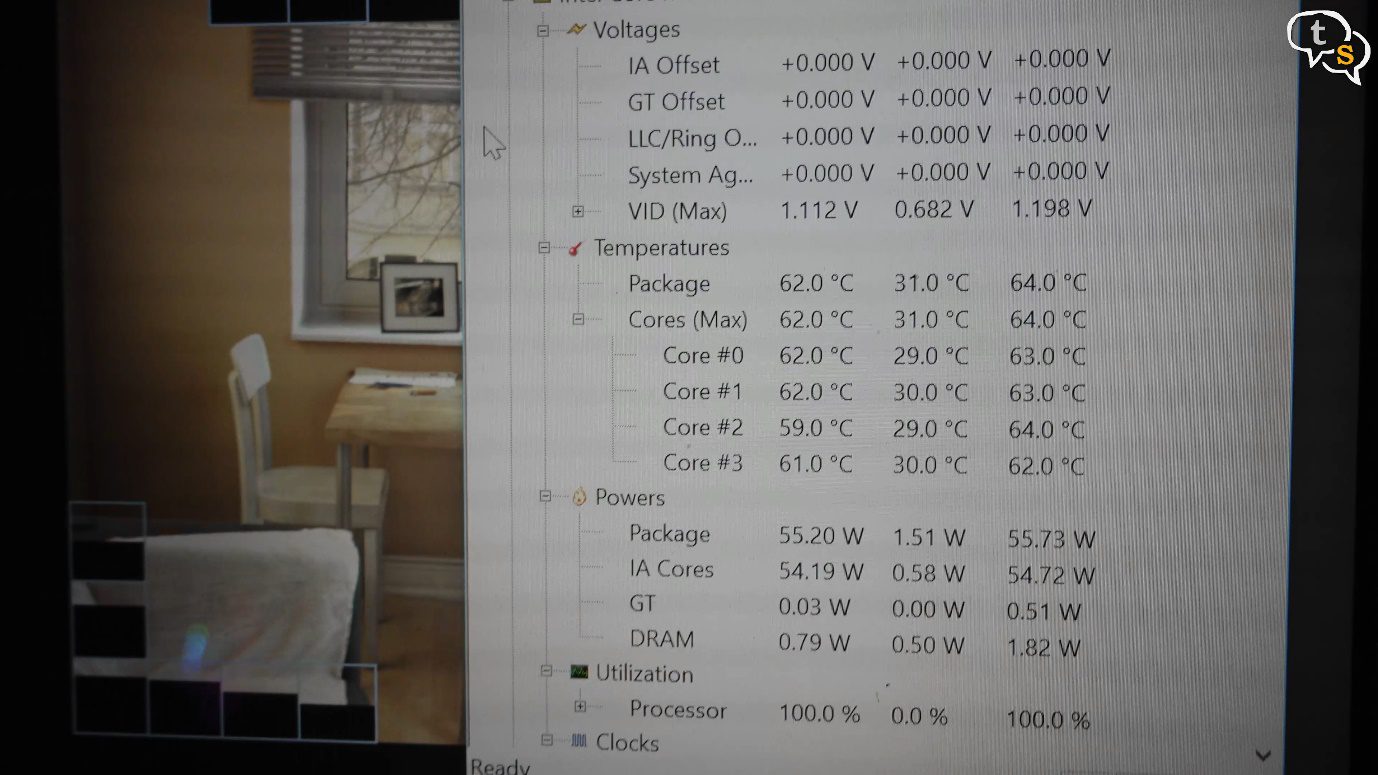
We are getting around 73 degrees centigrade at max, but it seems to be hovering around 71 degrees.
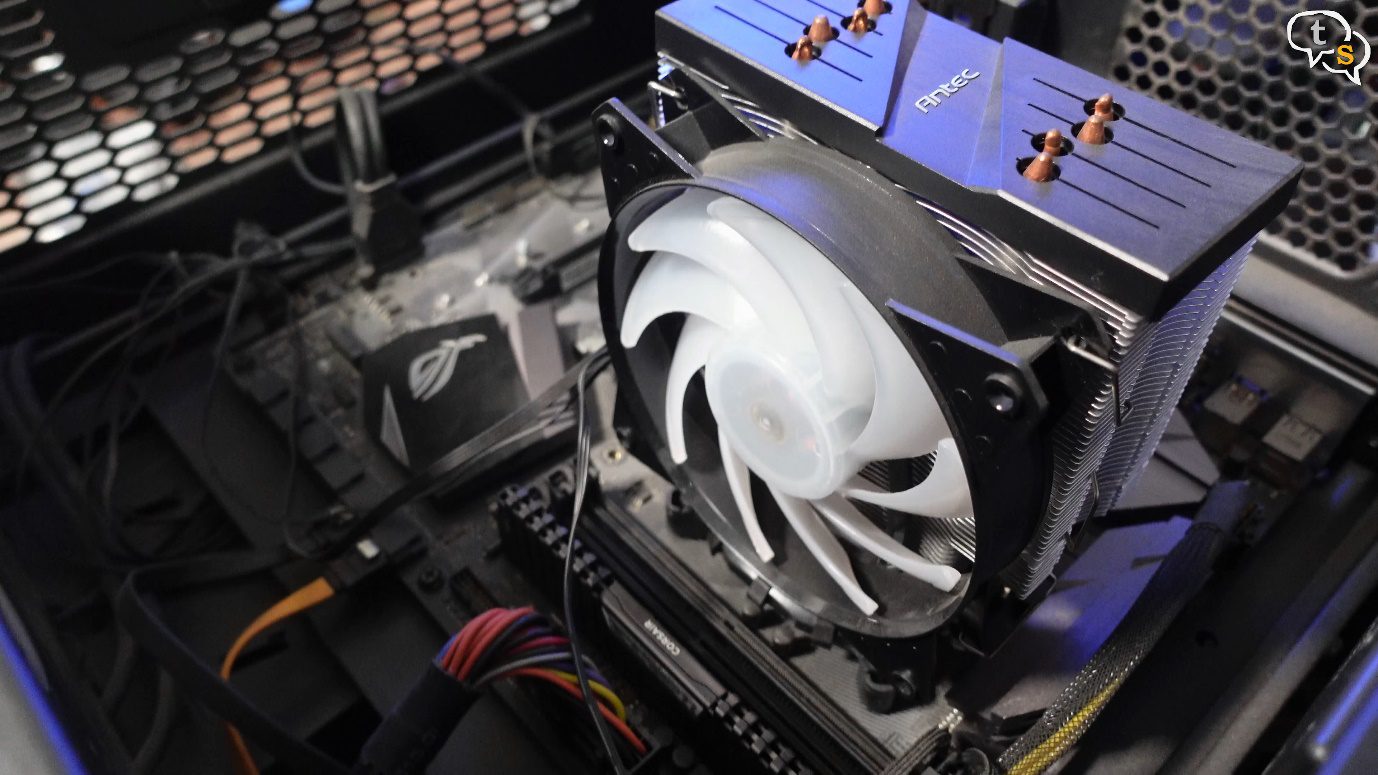
Now that we have the baseline temp, let’s remove the Antec cooler and install the Alseye m120D.
Hold the clip on the side and slide the cooler off the mount. Make sure to disconnect the fan and RGB headers off the motherboard. This is how the thermal paste spread under the contact plate. It came off easily as I had just run Cinebench and it was still warm.
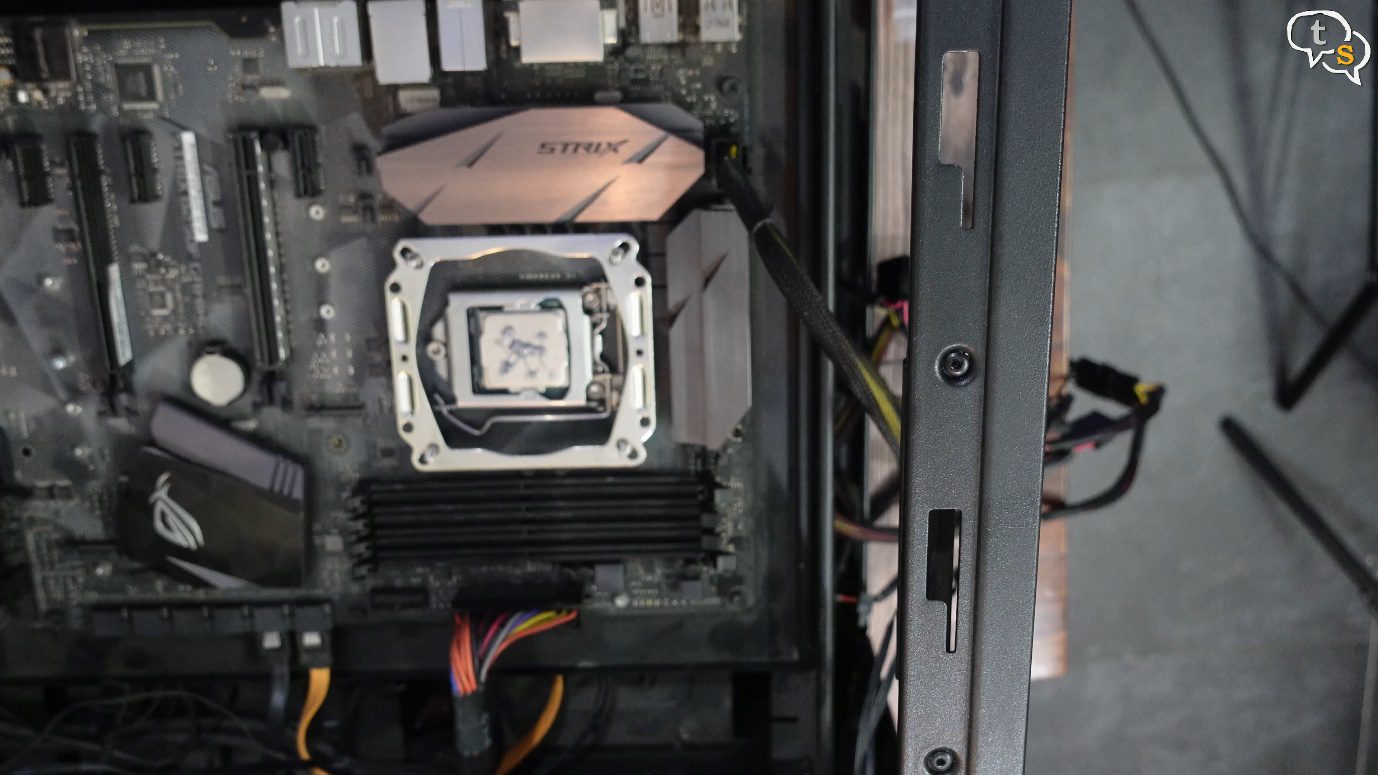
Now for the new cooler, this is the plate that goes below the motherboard. As per the CPU you’re installing this on, find the appropriate holes. As my cpu is lga 151x the holes on the edges are what I’ll be using.
We need these mounting accessories.
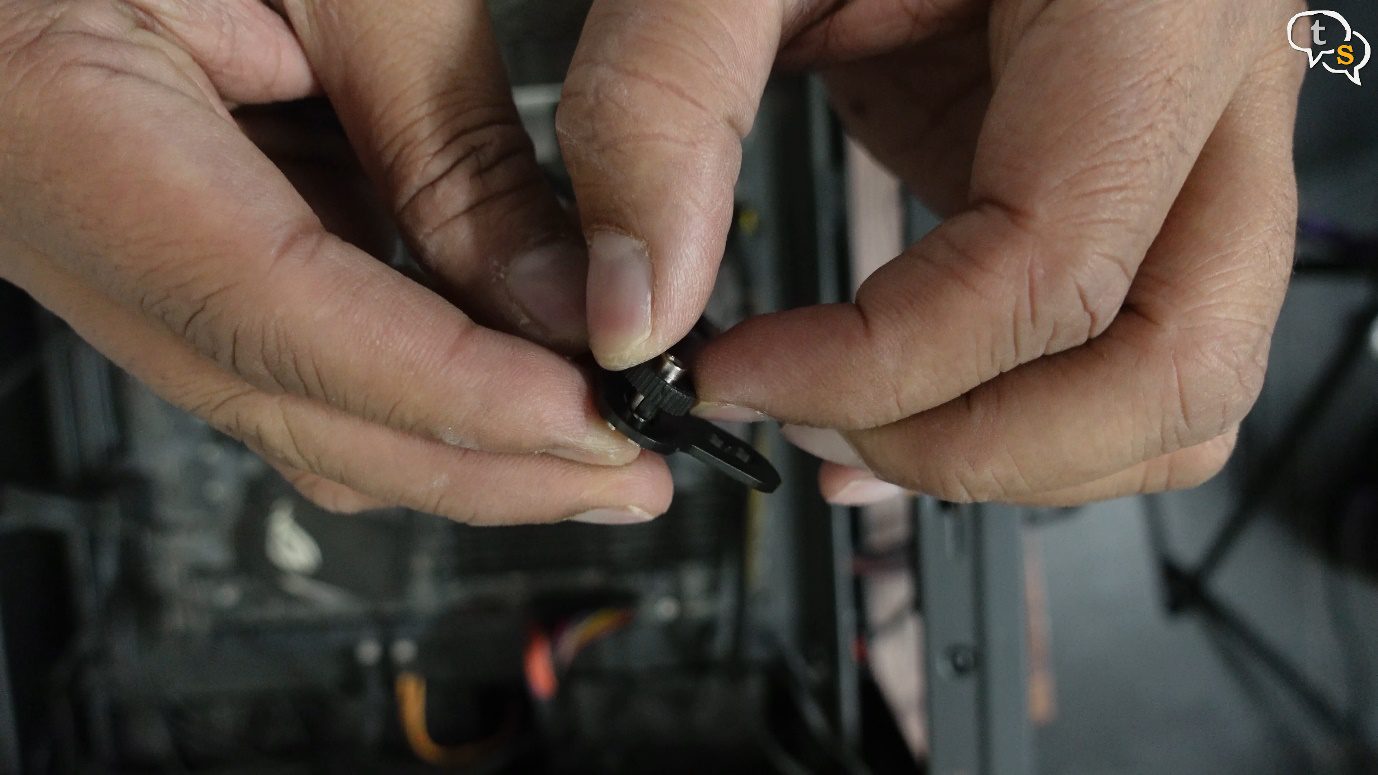
We have these screws which has threading within, add a plastic washer between it and the plate. Do this for all four. This is very irritating as these kept falling off and I had to do it a hundred times. The plastic washers need to slot into the screw below.
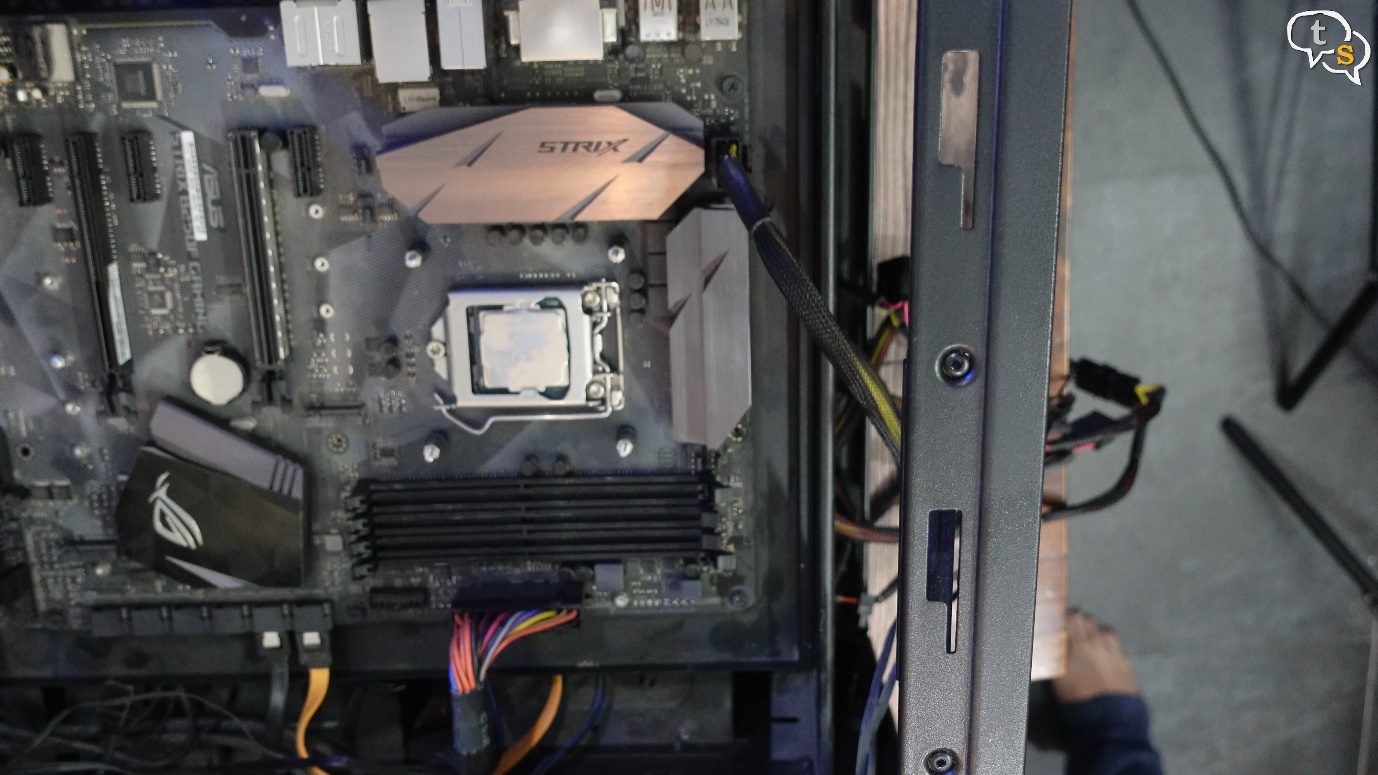
Finally, I managed to screw in the top mounting screws which would hold the mounting plate.
Add a little thermal paste.
Screw these thumb screws onto the top mounting screws.
Now for the cooler, these screws below, they correspond to the holes on the mounting plate, align and using the screwdriver provided, mount the cooler.
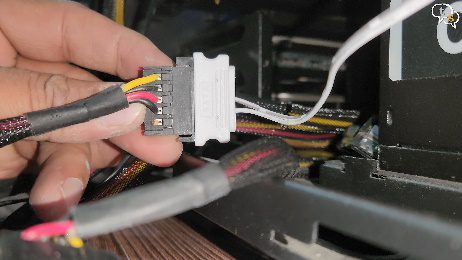
Connect the pwm header to CPU fan, connect the usb header, provide sata power. Im not connecting the ARGB header as I don’t have one on this motherboard.
Now we’re ready to boot up.
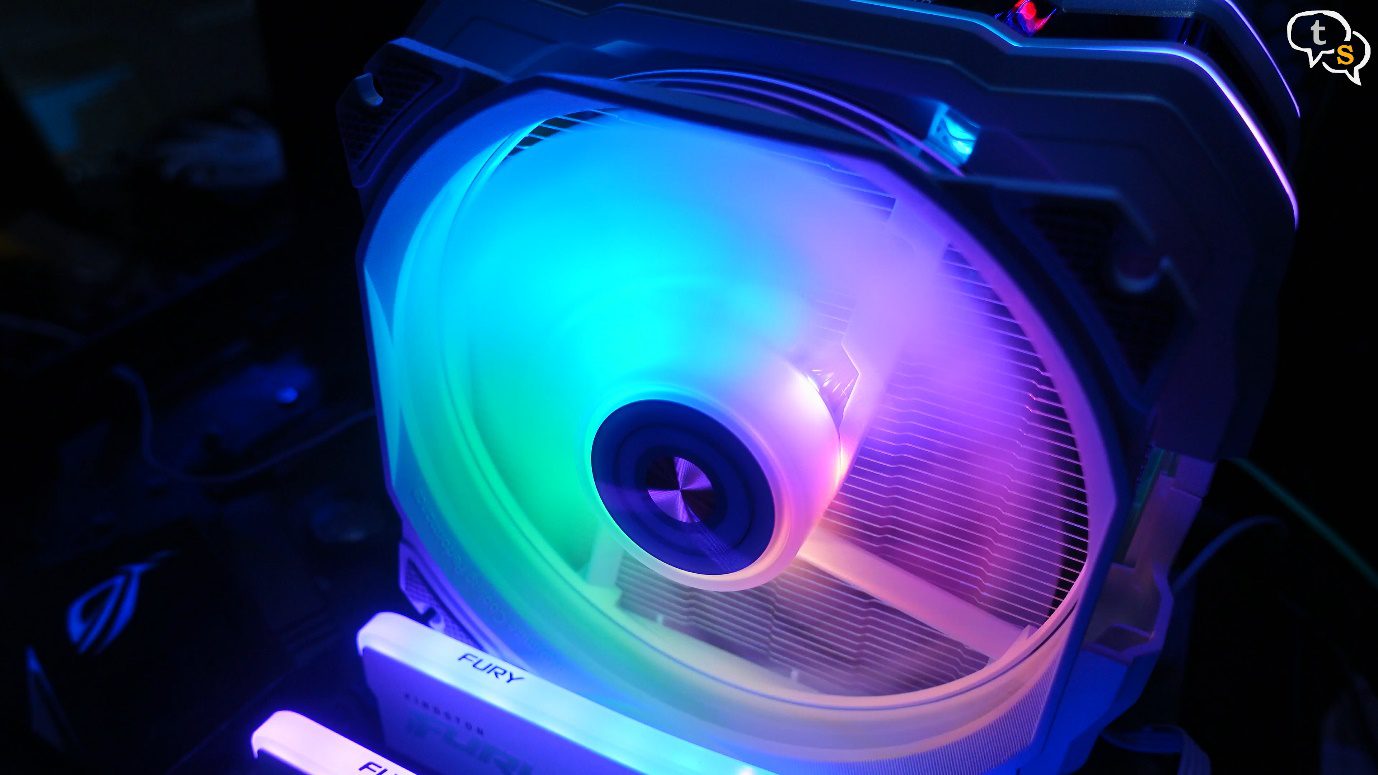
Once you power the system on you will notice that the RGB lights up, it is just not controllable.
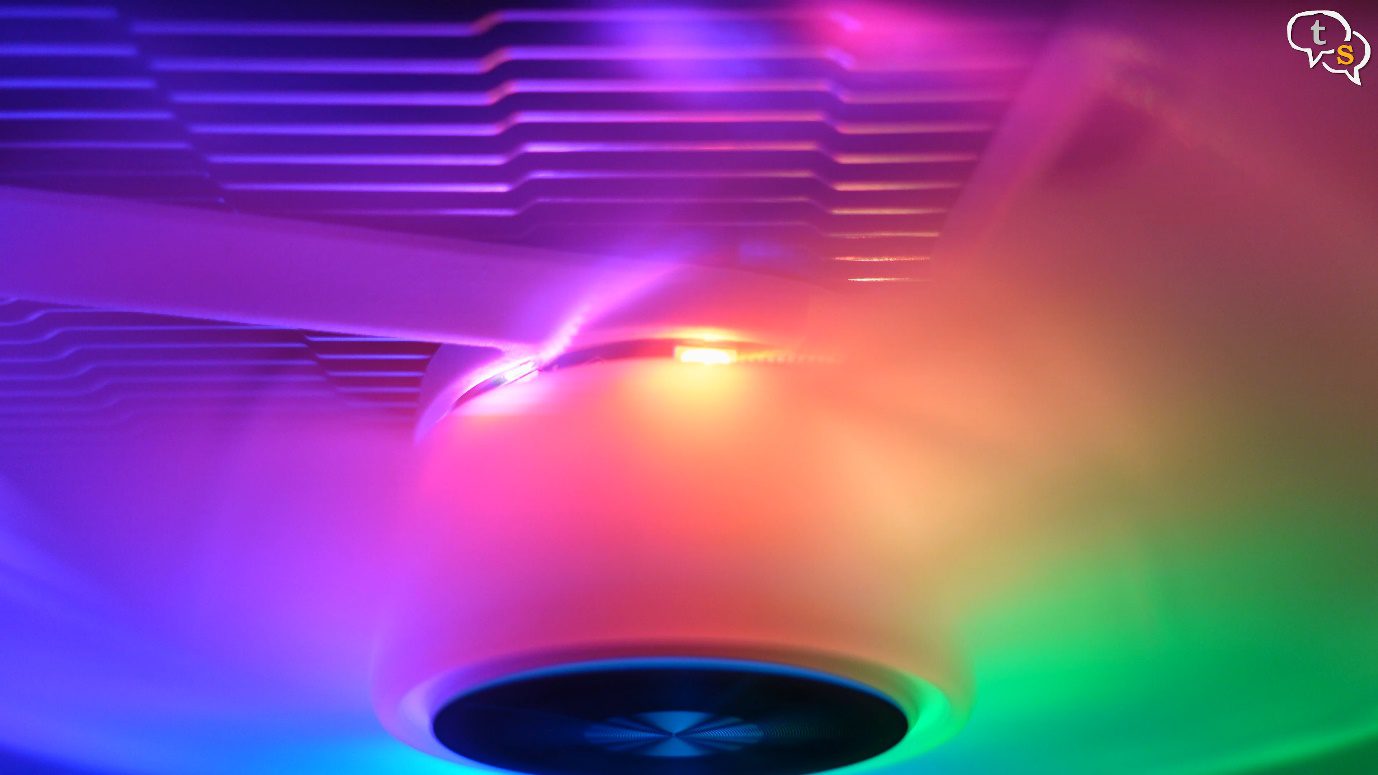
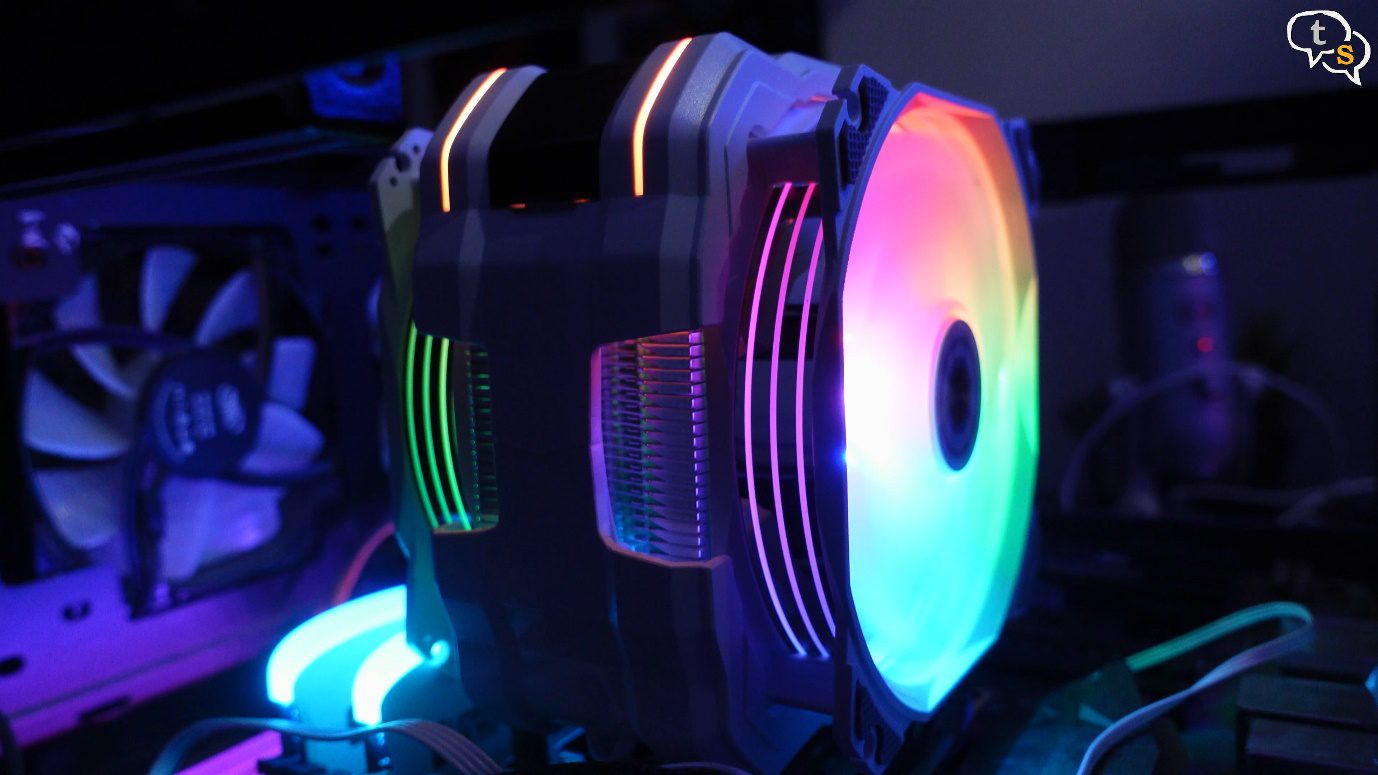
The RGB colors on the cooler look really beautiful. Here’s how the LED’s light up within.
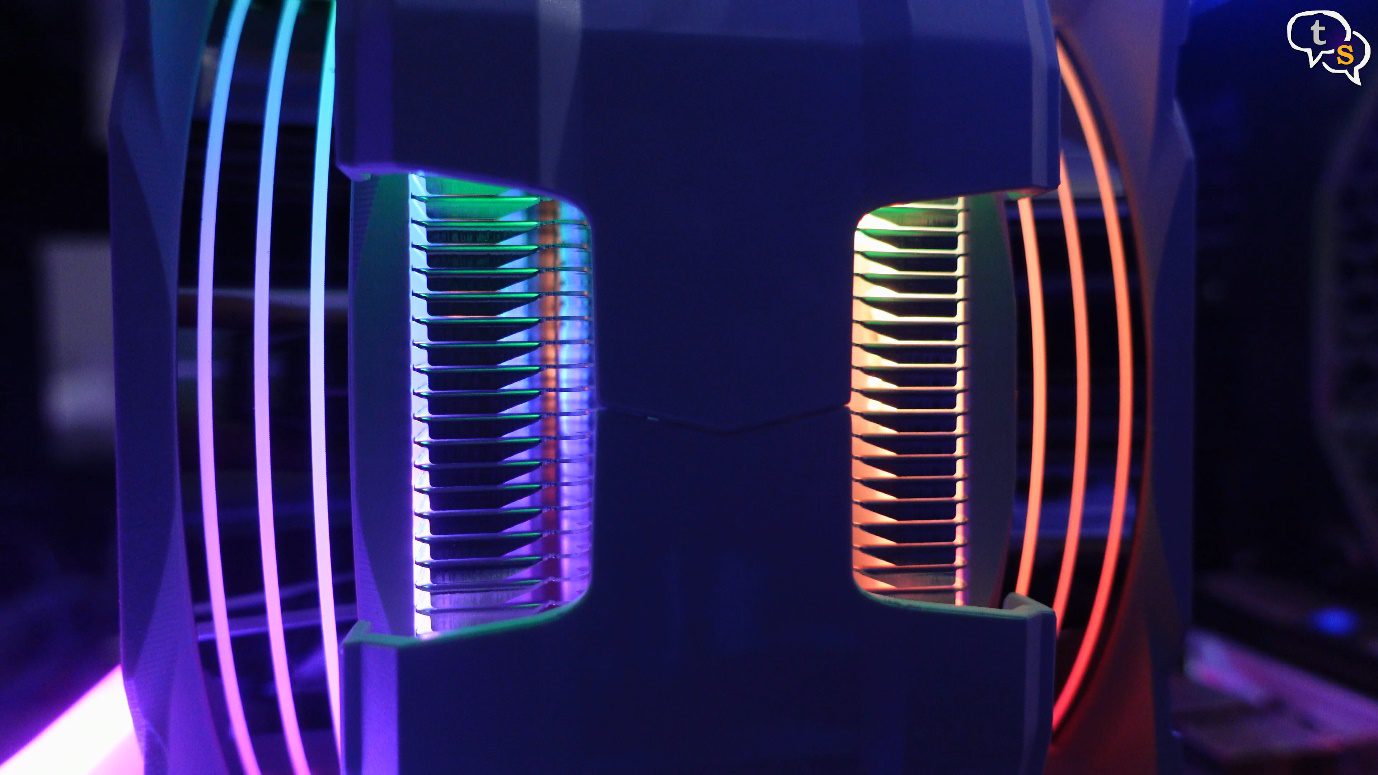
The fins are also visible through these cutouts on the side.
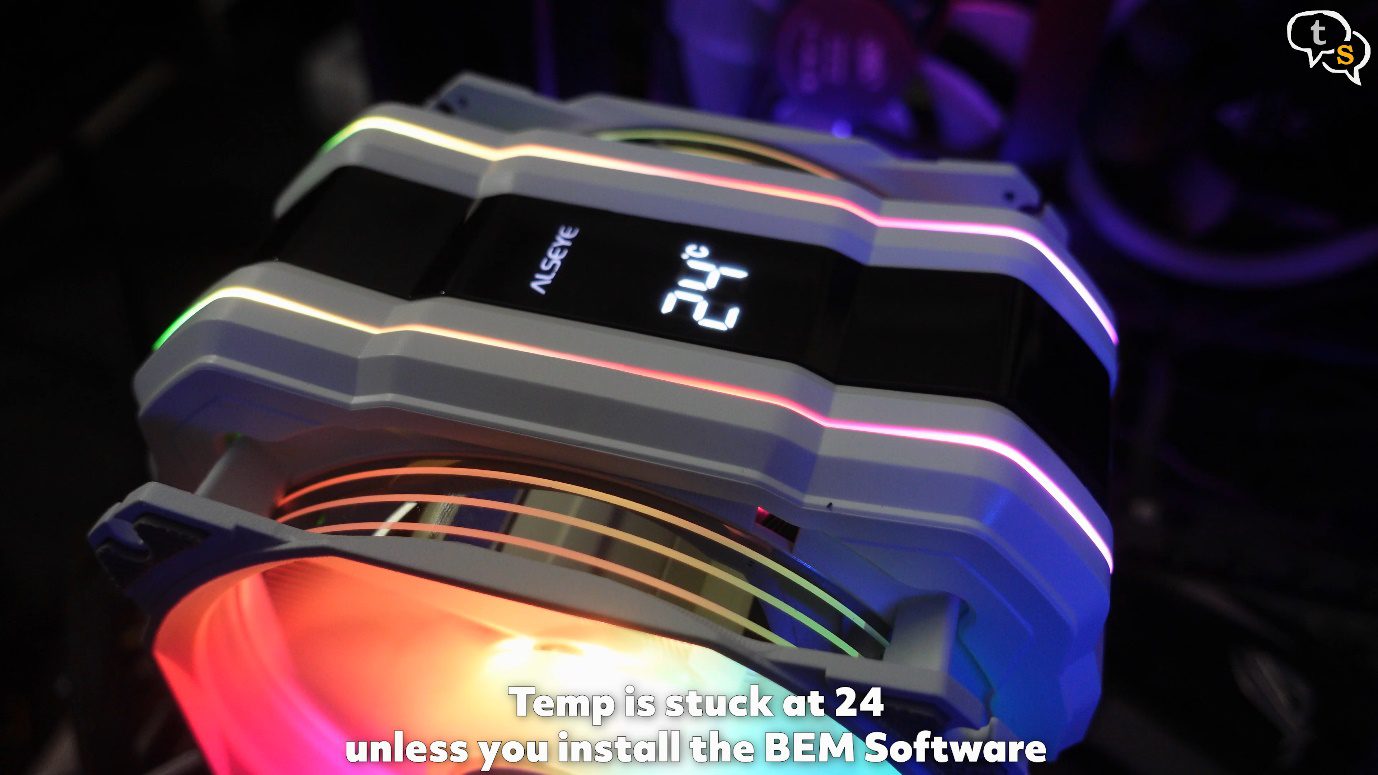
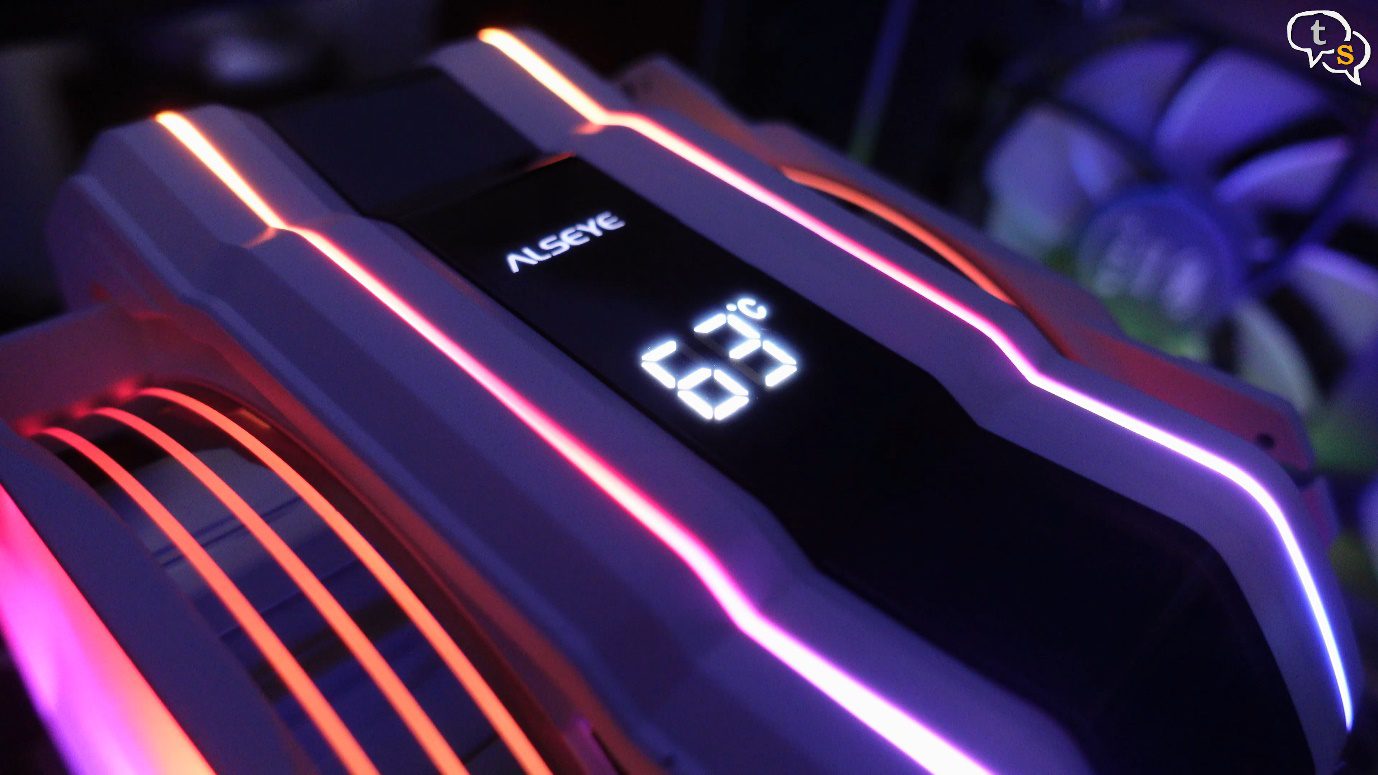
The temperature reading is stuck at 24, that’s because we need to install the monitor software on the PC.
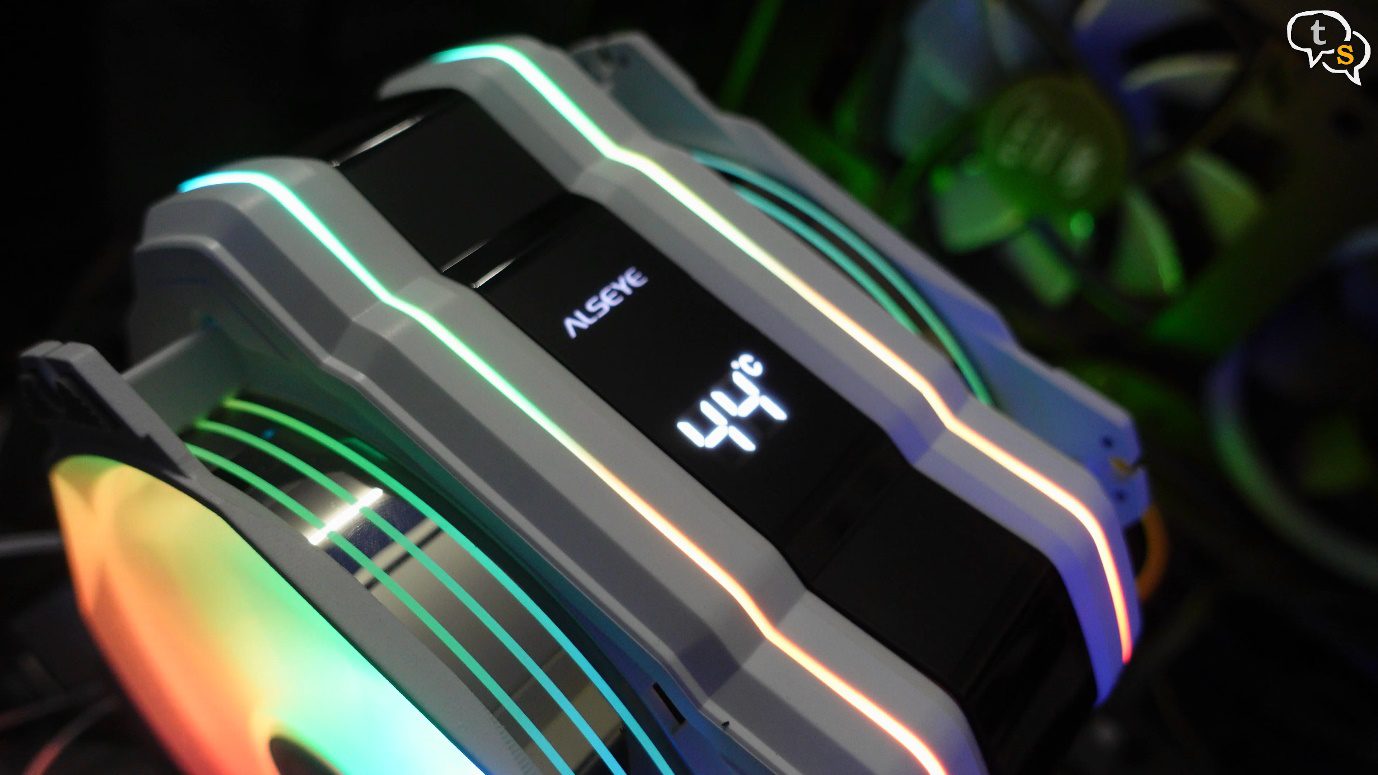
Once that’s done, values now change. These are idle temps, and are comparable to what’s shown on a hardware monitor.
I’m loading Cinebench r23 and running a multi-core test.
The temps are starting to go up. It reached a max of 65 but hovered more around 62.
Once Cinebench is stopped the cooler slowly reaches its idle temps.
The Cooler works well, and kept my CPU under 70 degrees, even under Cinebench r23.
It was pretty easy to put together except for one part, installing the plate under the motherboard. Ahh, it’s really annoying, and having that black little plastic piece slot into the metal screw. It kept moving and it kept falling off. Once I got through that phase the remaining part was easy. Alseye should try to make the mounting easier. The cooler with its dual fan design did work a bit better than my Antec a400, keeping the cpu under 65 degrees on full load. The processor is a Core i7 7700 so not very demanding in the first place. So the temps were good. 12th gen and 13th gen intel and amd’s ryzen 7 and 9 might not be easy to keep reigned down as these processors get really hot. Can’t find the max wattage the cooler can handle, but I feel it’s good enough for up-to mid range processors. Found the wattage to be up to 180 watts on amazon.
The design is really nice, and I love the fact that you don’t have to add the fans yourself.
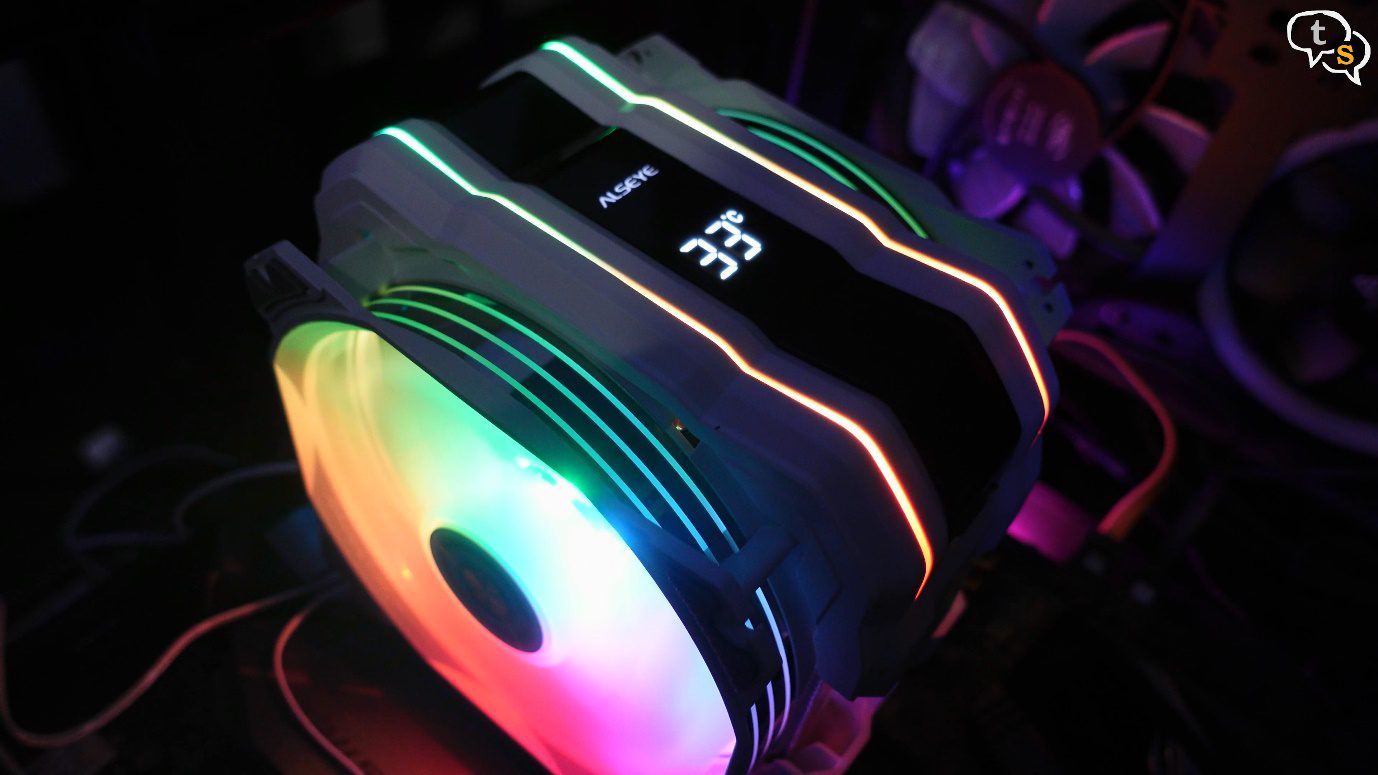
The temperature display is quite responsive, changing in time with what was being displayed on hardware monitor. I don’t think it measures the temp itself and relies on the software to read the temps and send them to display, and you need the BEM monitor software for the temperature to be displayed other than only 24 degrees.
We don’t need to connect the ARGB header, and the RGB colors started to cycle as soon as it was powered on. You will need to connect it if you want to sync the colors with the rest of the PC.
The Cooler worked well, kept my CPU temps in check, and would recommend it for CPU’s mid-range and under. More powerful CPU’s might overwhelm it and the aluminium contact plate might not be as good as copper. Also don’t try overclocking. The fan did clear my RAM module, the one on the slot closest to the cooler. This being RGB Ram is a bit taller than usual, and there’s just enough gap on this motherboard. It looks really cool when all lit up.
So, what do you guys think, do you have a cooler by Alseye? Which air CPU cooler would you recommend at this price point? Make sure to comment below. Links can be found in the description.