This is one Epic build, all the best hardware I can afford, lets put this system together.
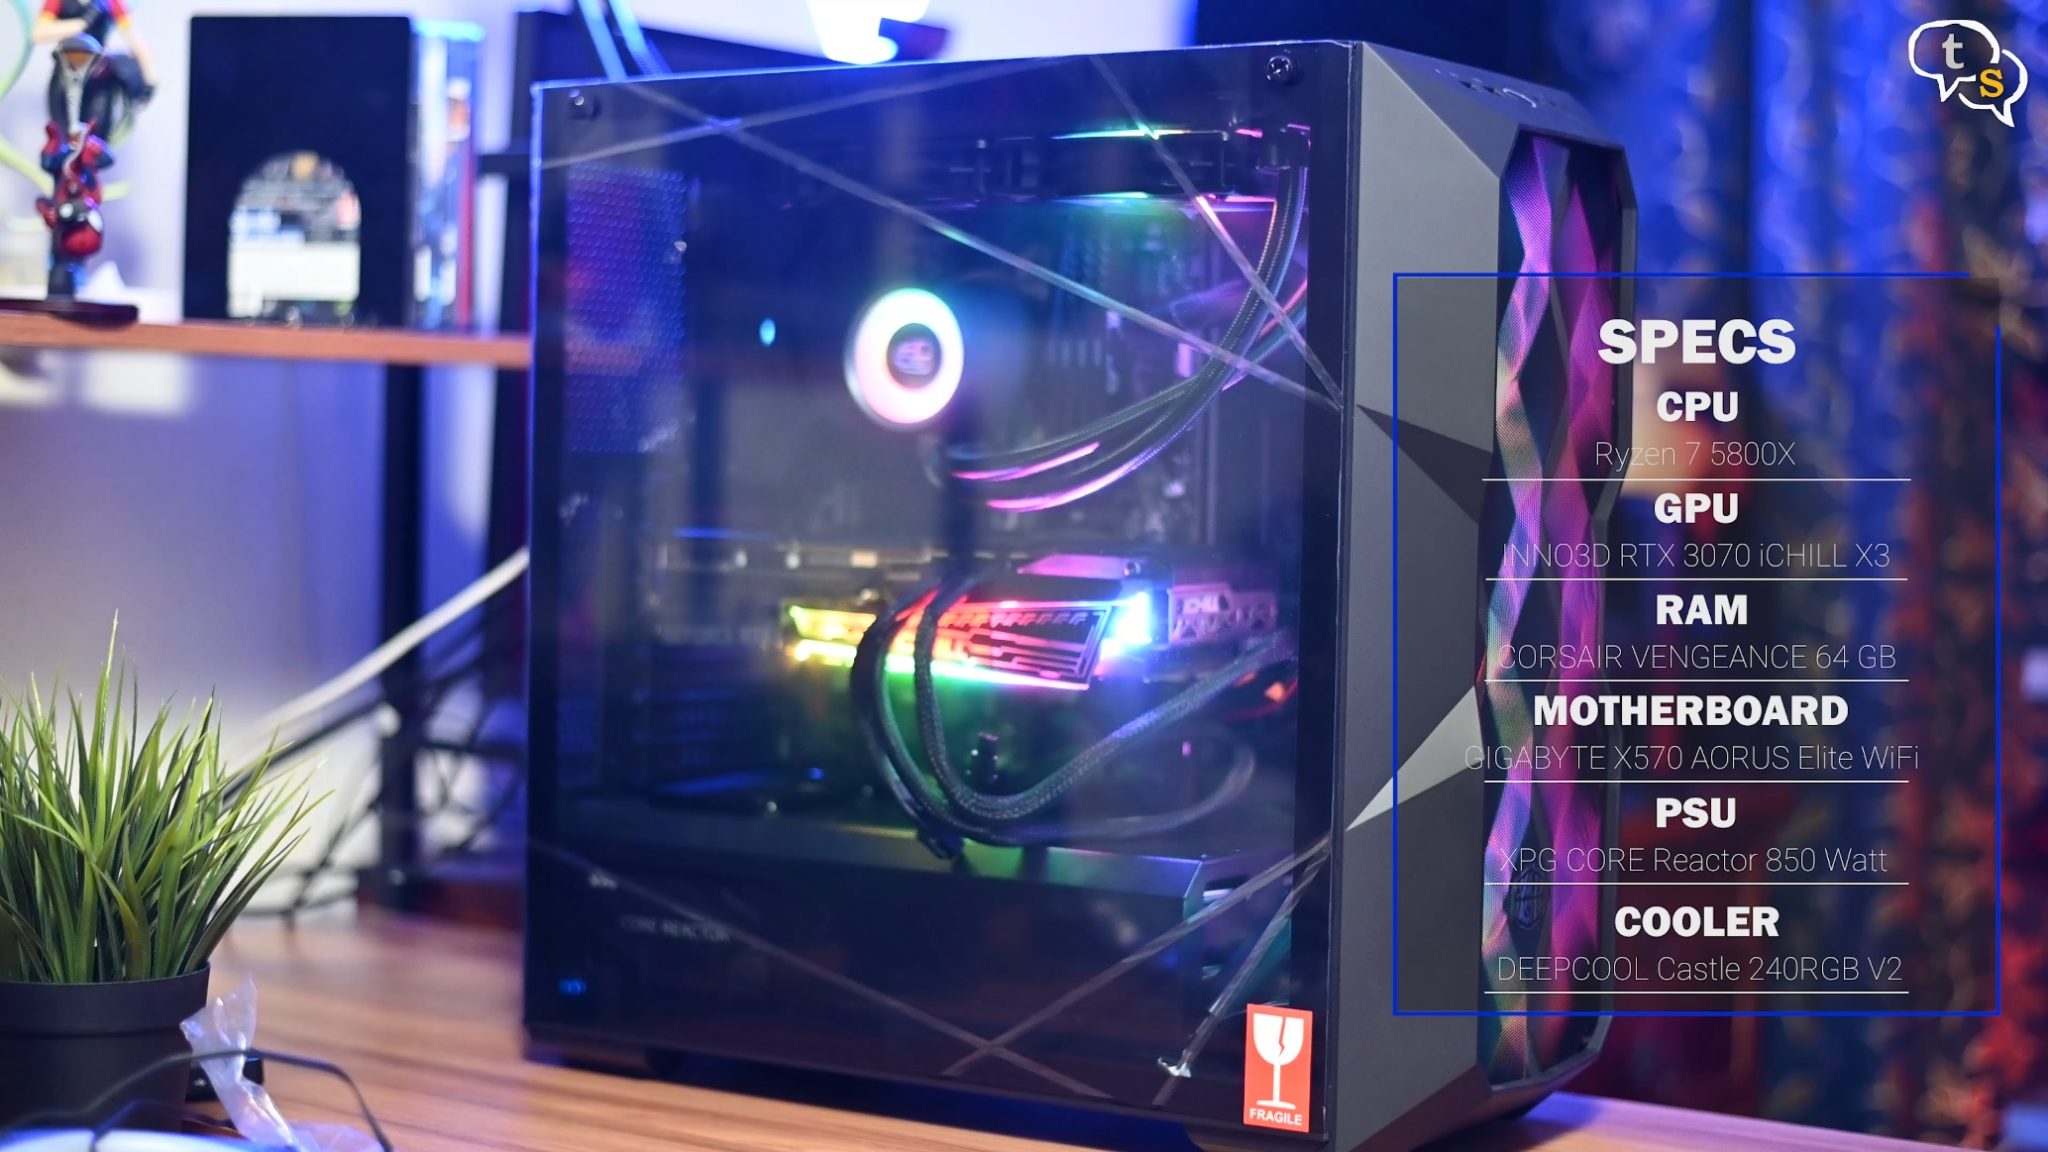
System configuration is as follows:
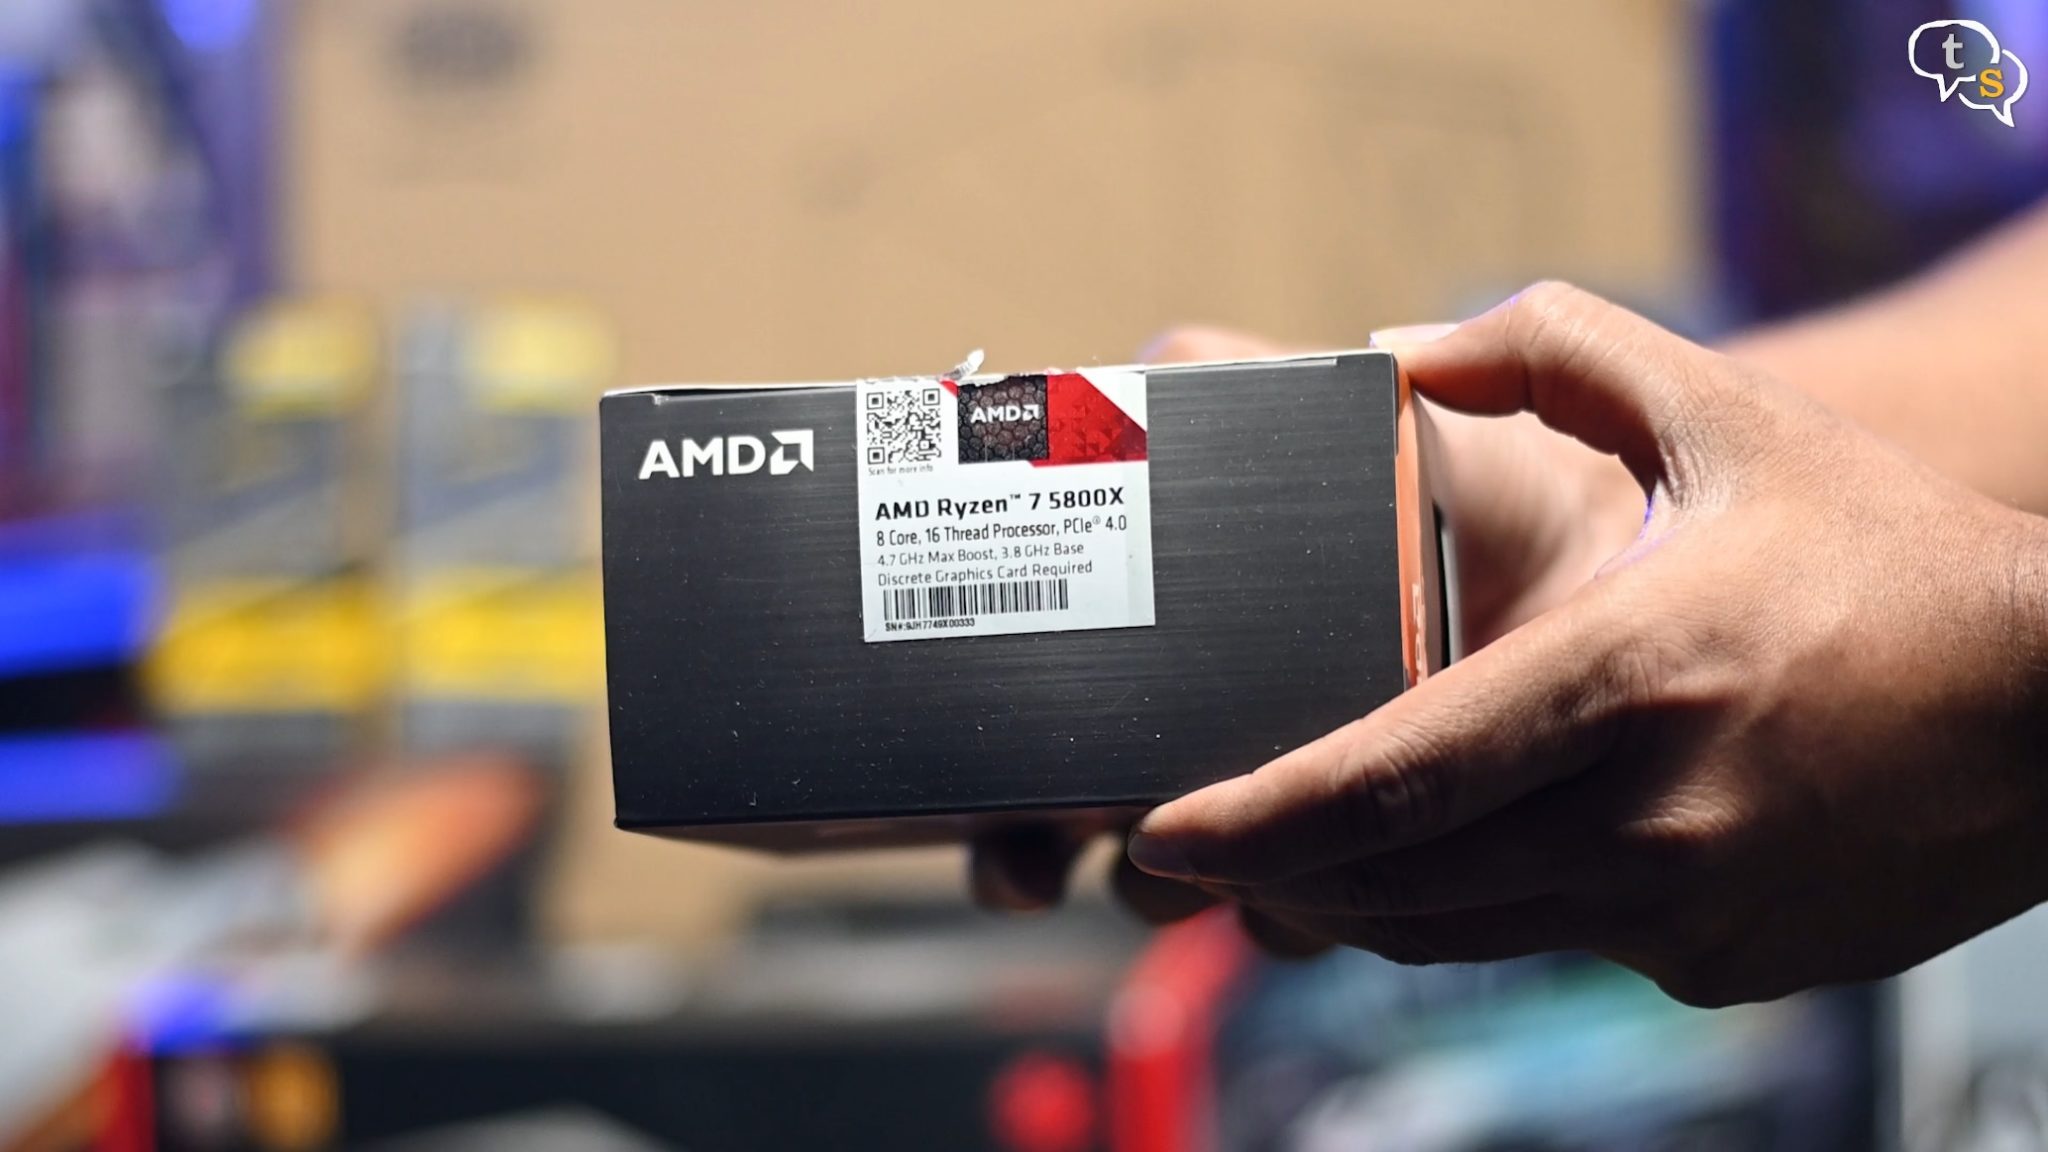
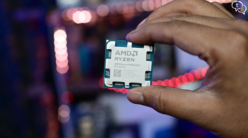
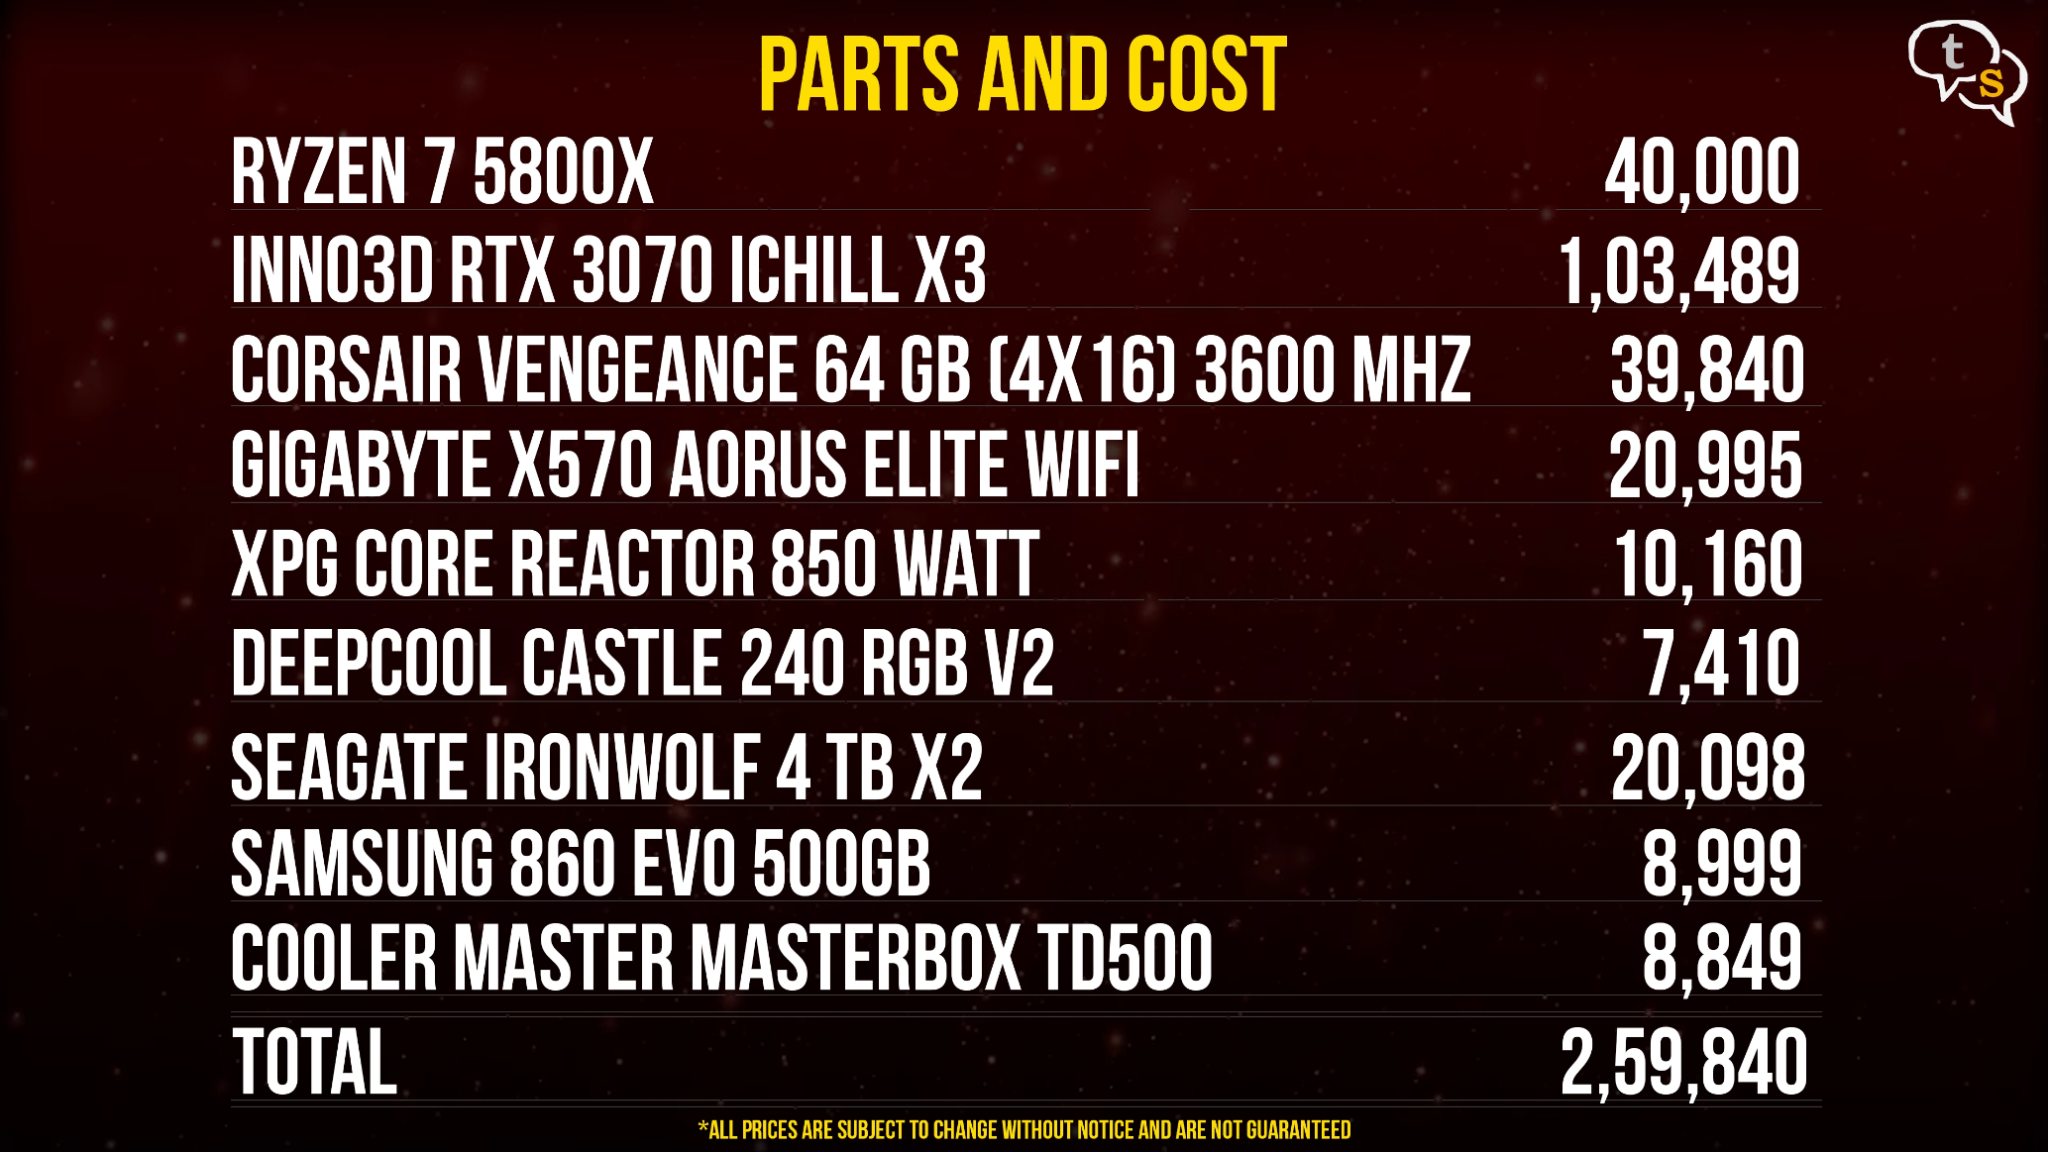
CPU – AMD Ryzen 7 5800X
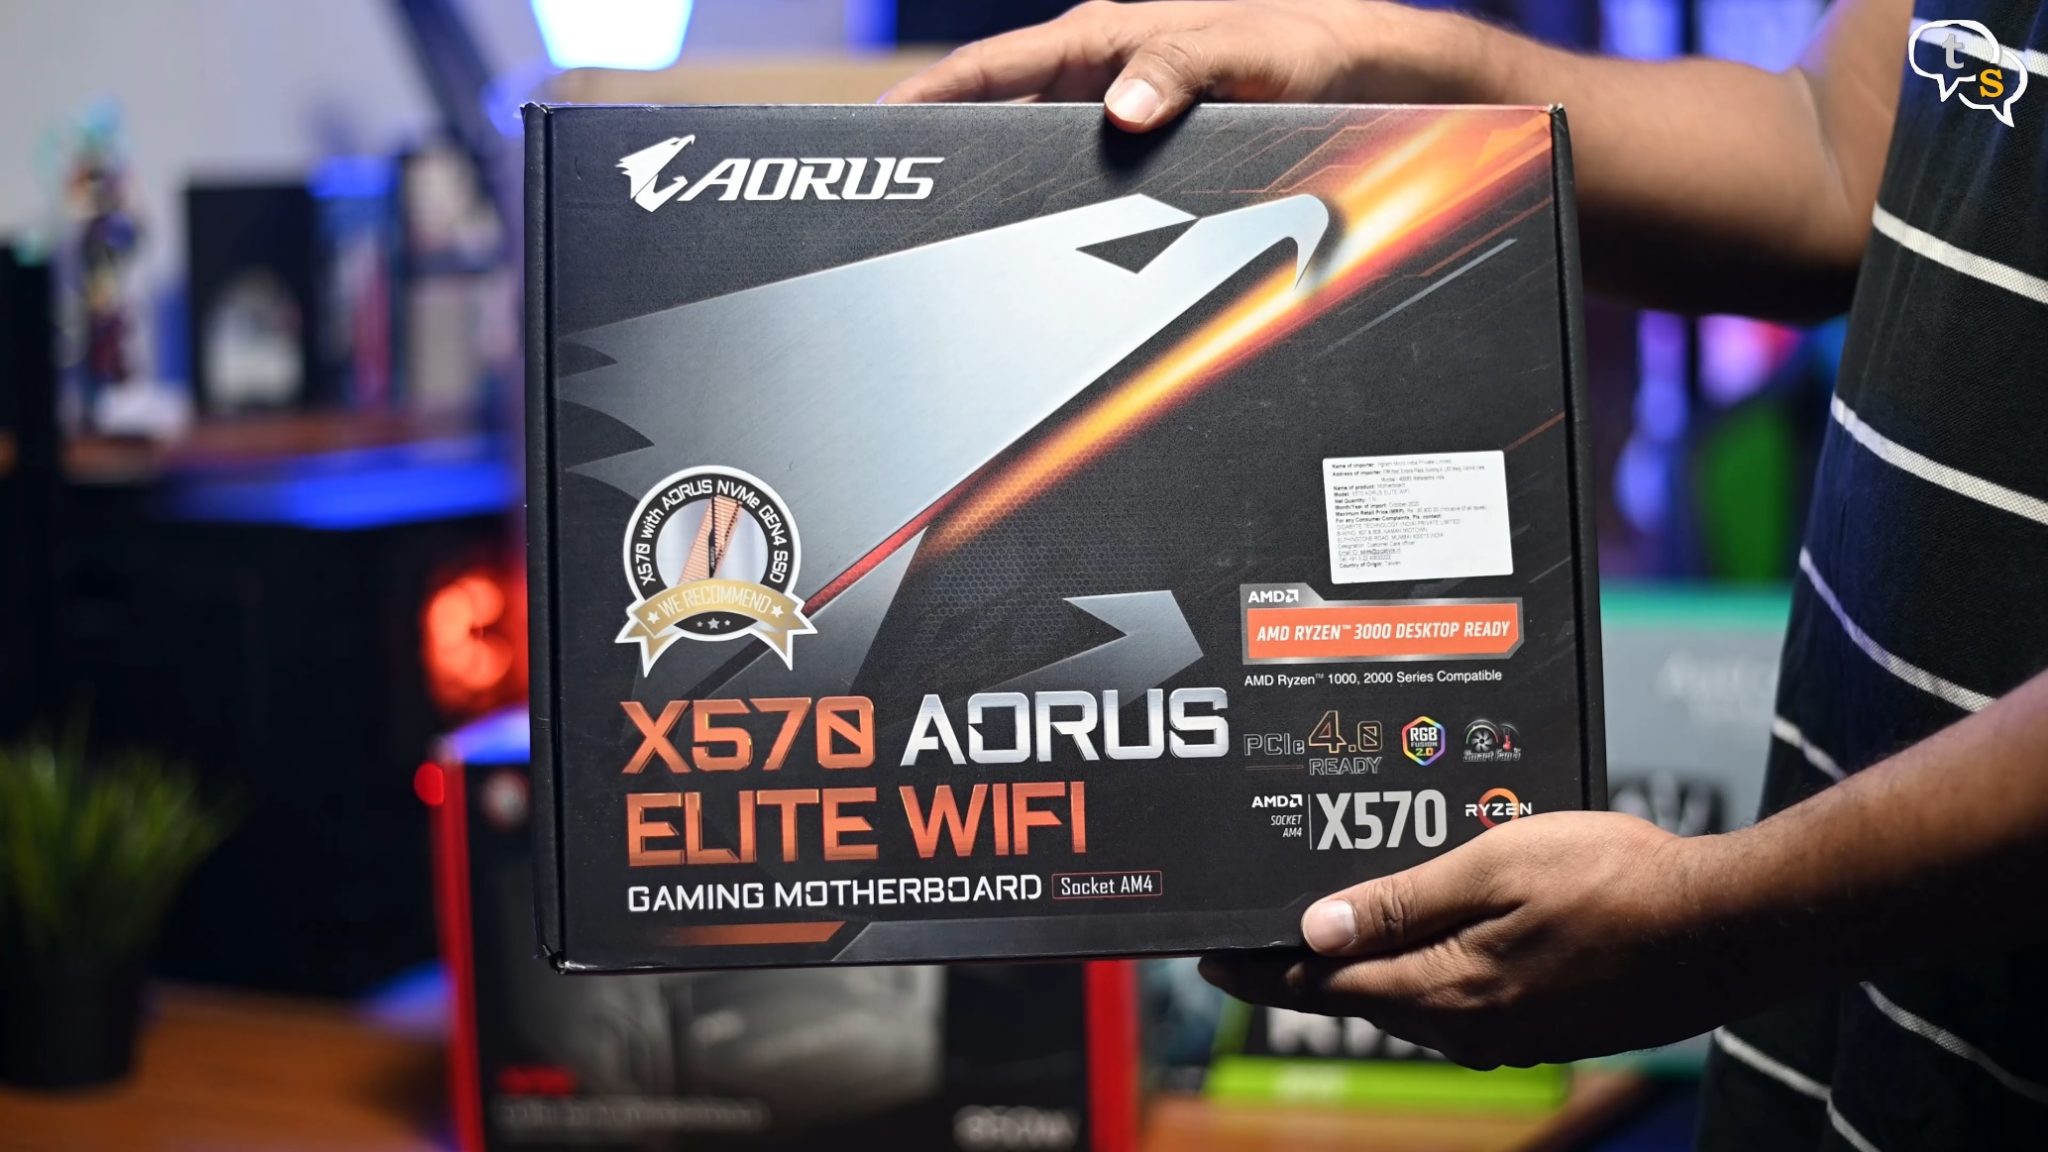
Motherboard – Gigabyte X570 Aorus Elite Wi-Fi
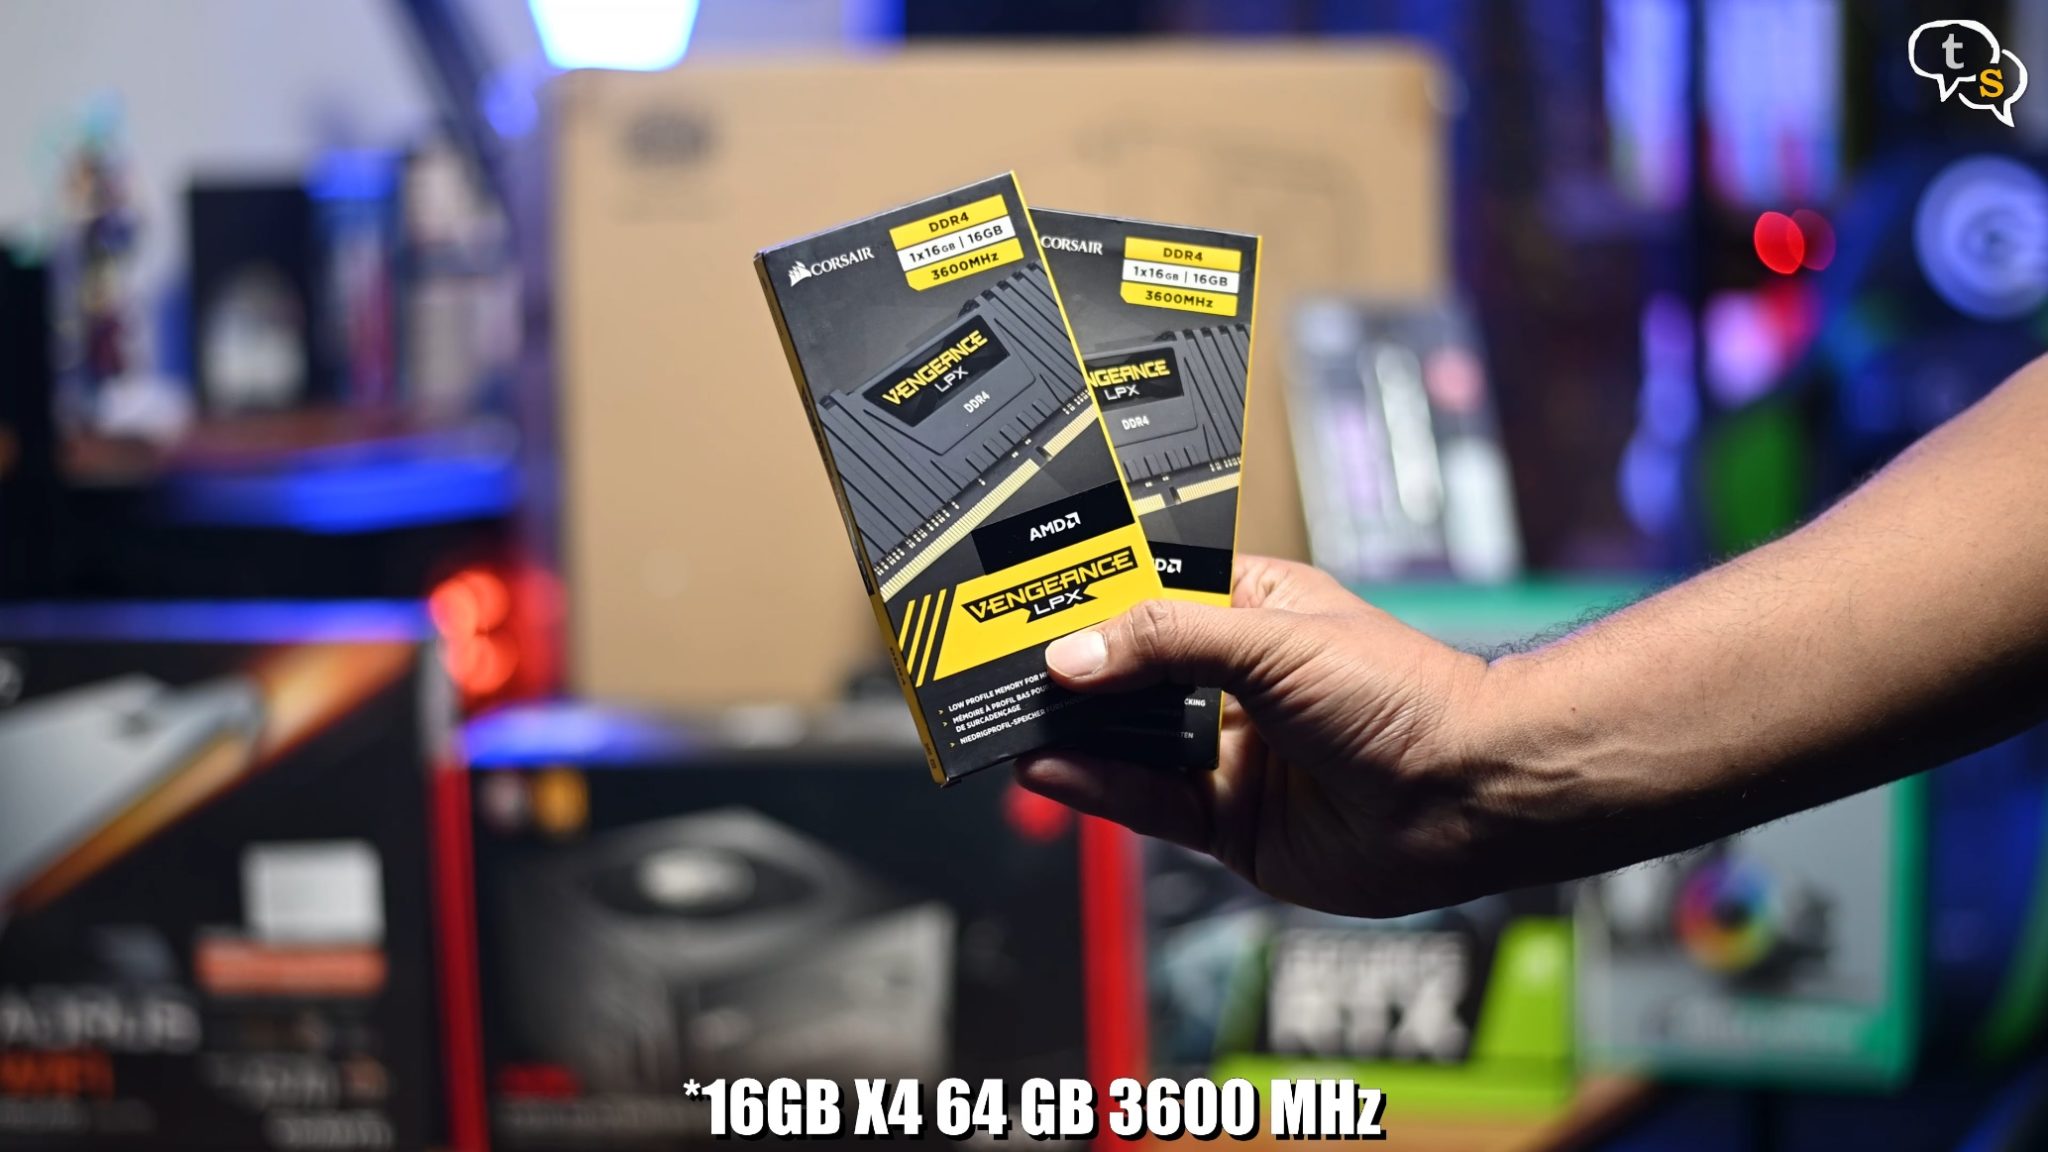
RAM – Corsair Vengeance 16GB X 4
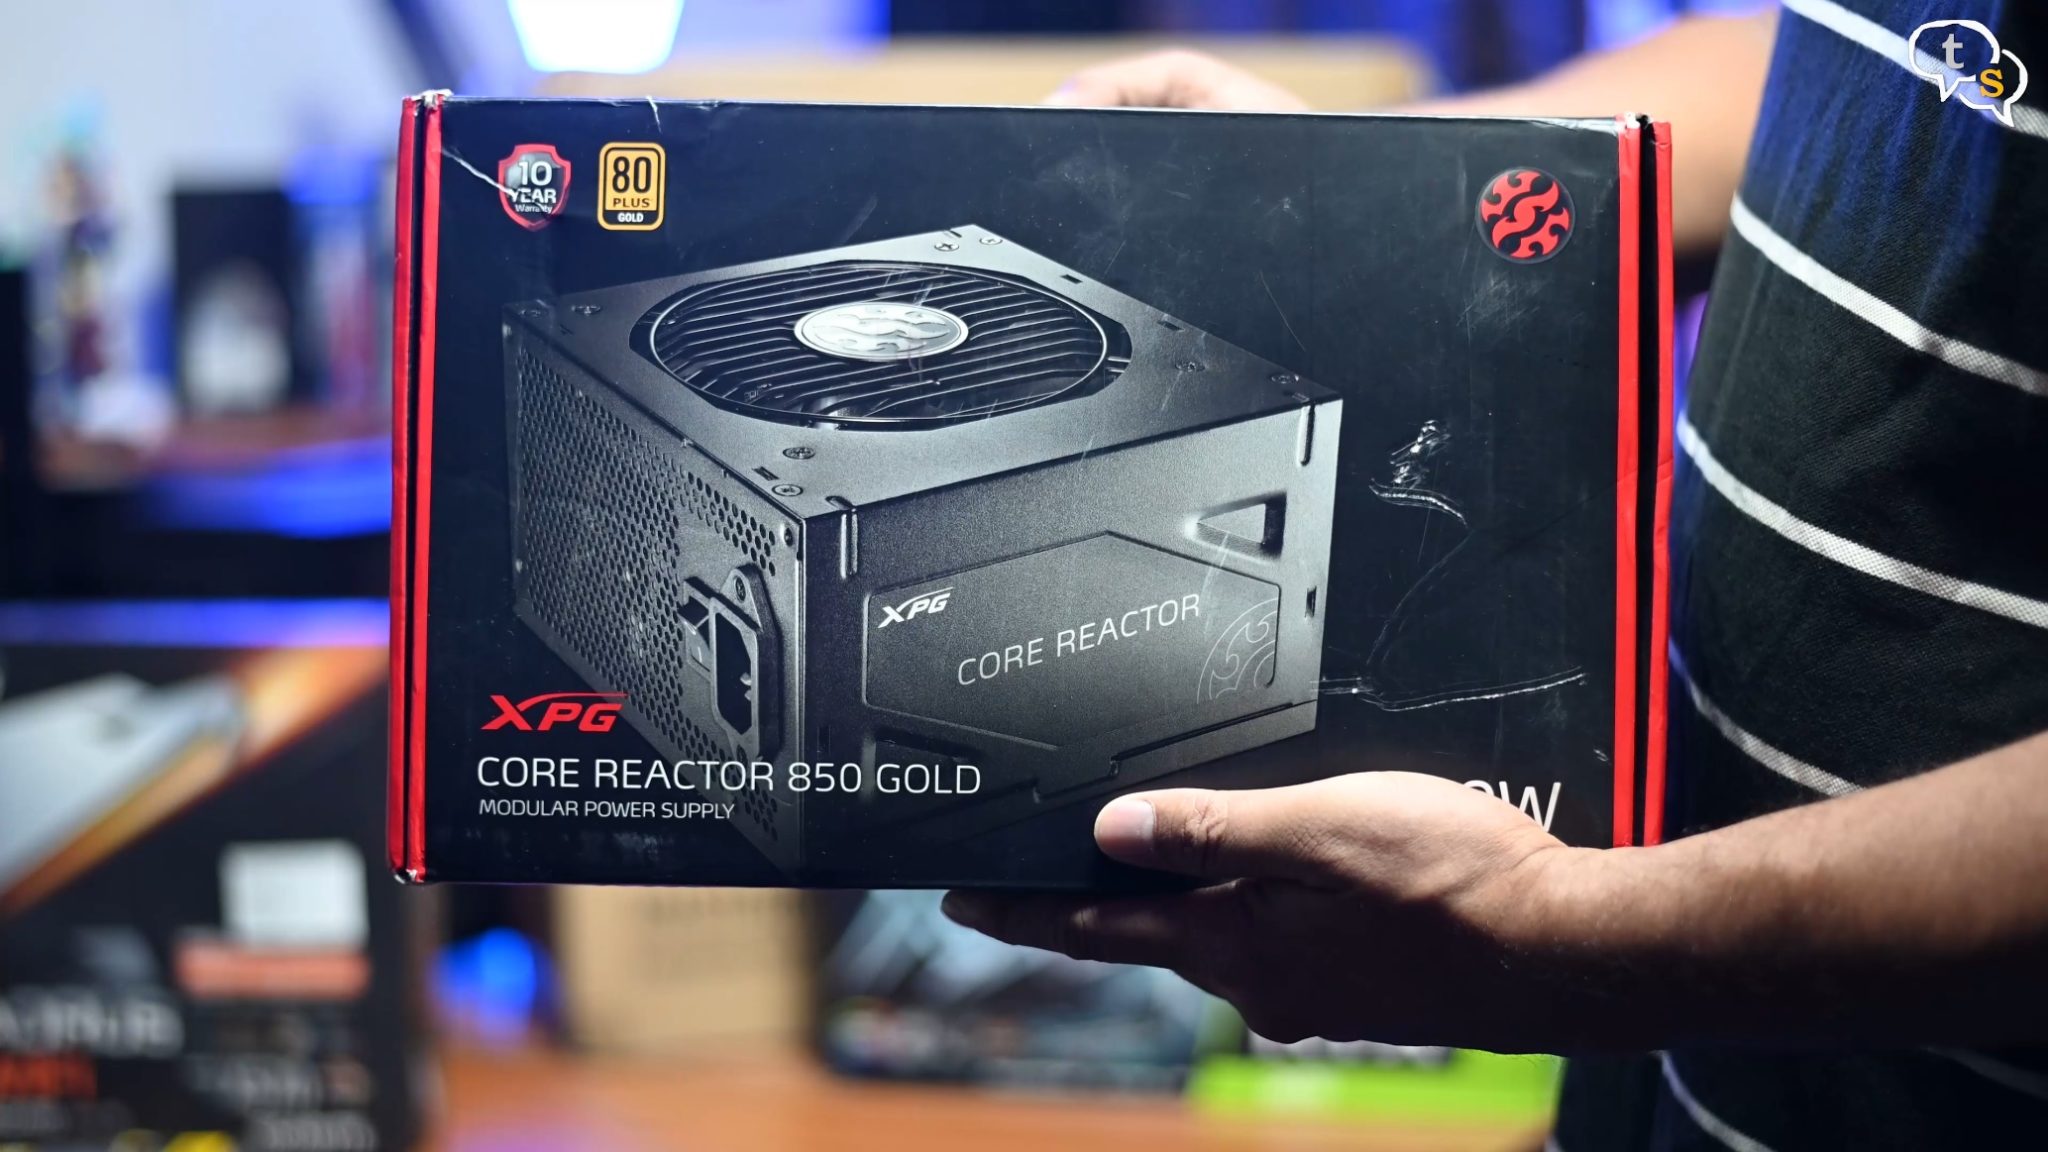
Power Supply Unit – XPG Core Reactor 850 Gold
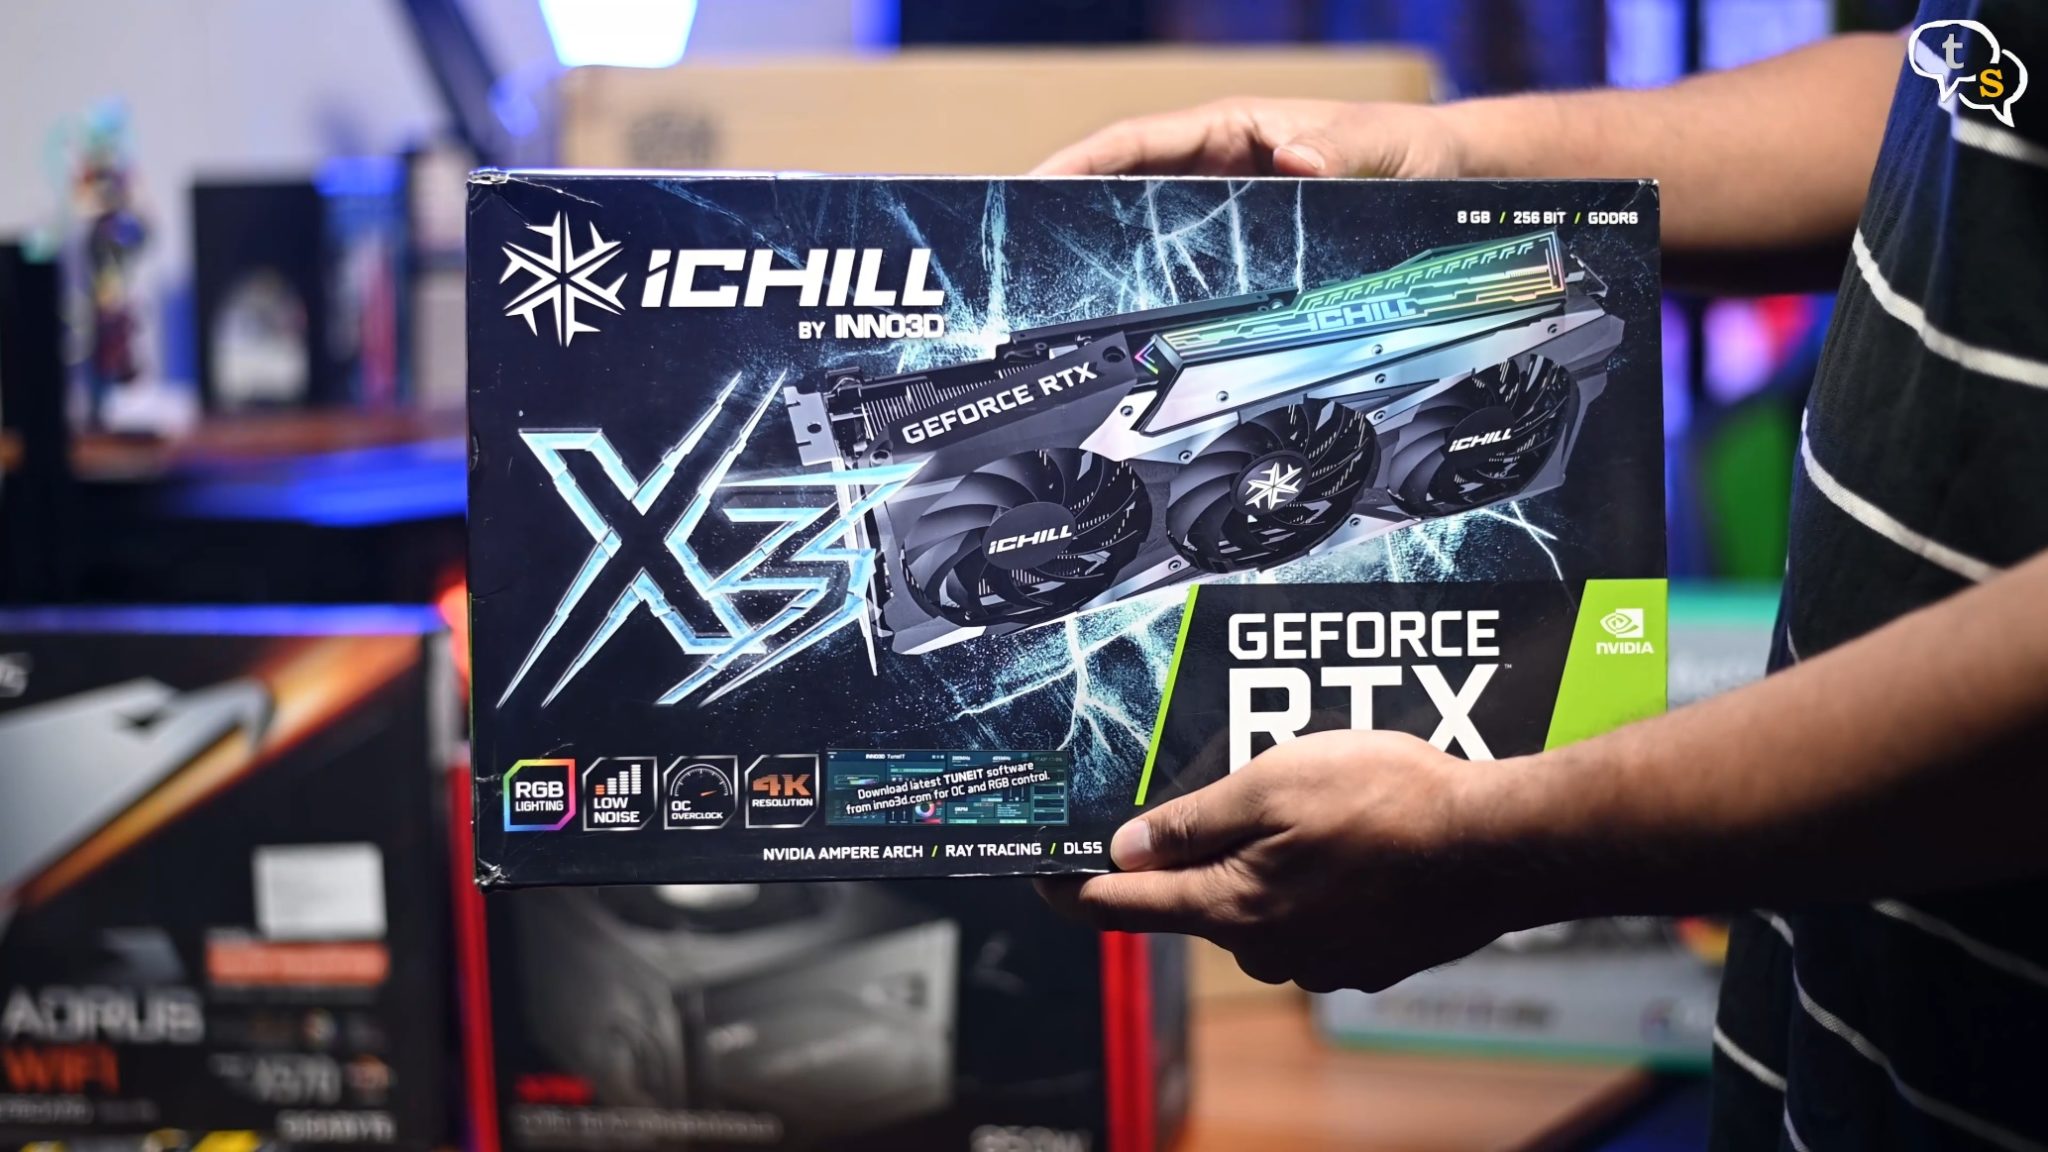
GPU – Inno3D RTX 3070 iCHILL X3
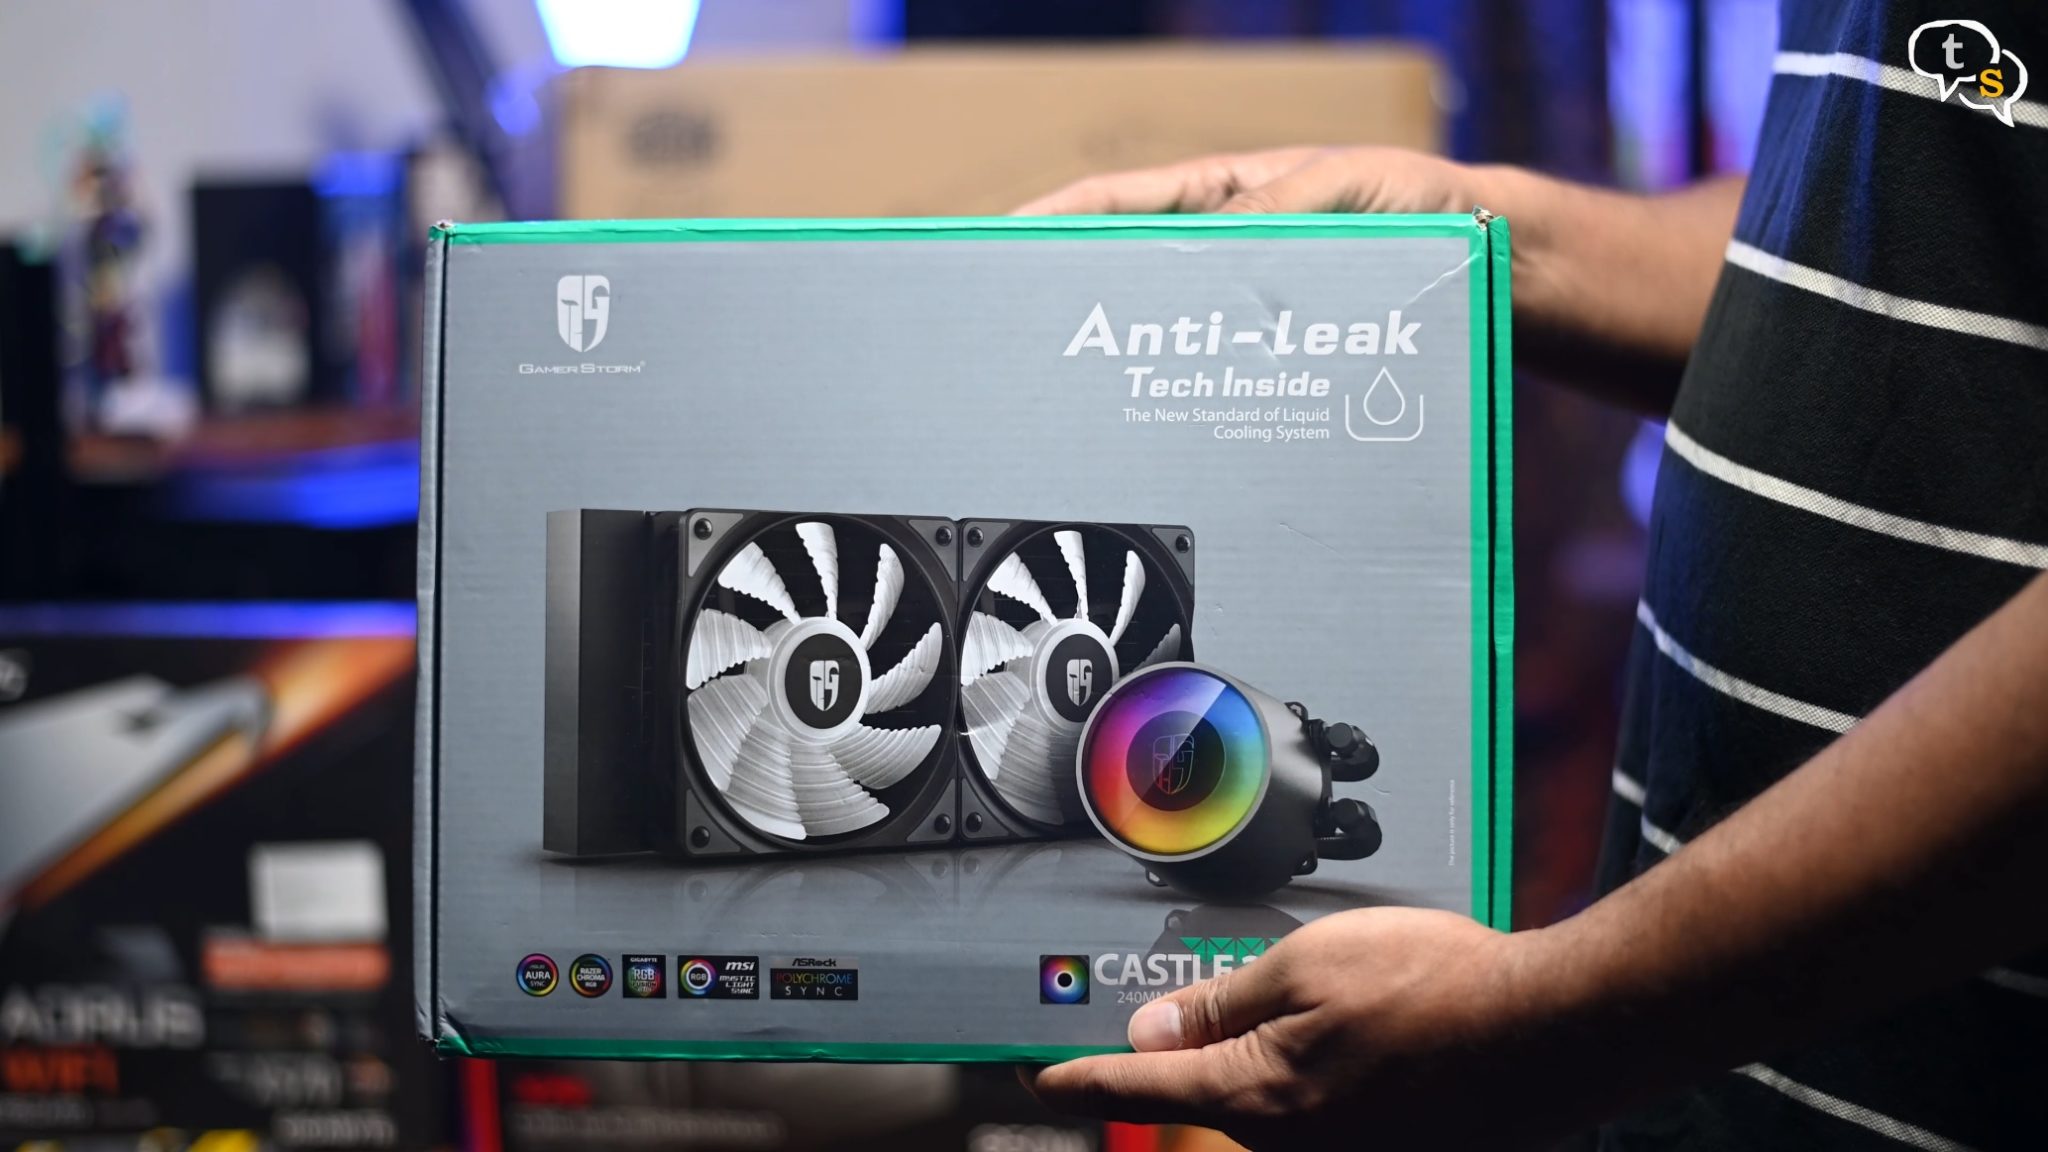
AIO – DeepCool GamerStorm Castle 240 RGB V2
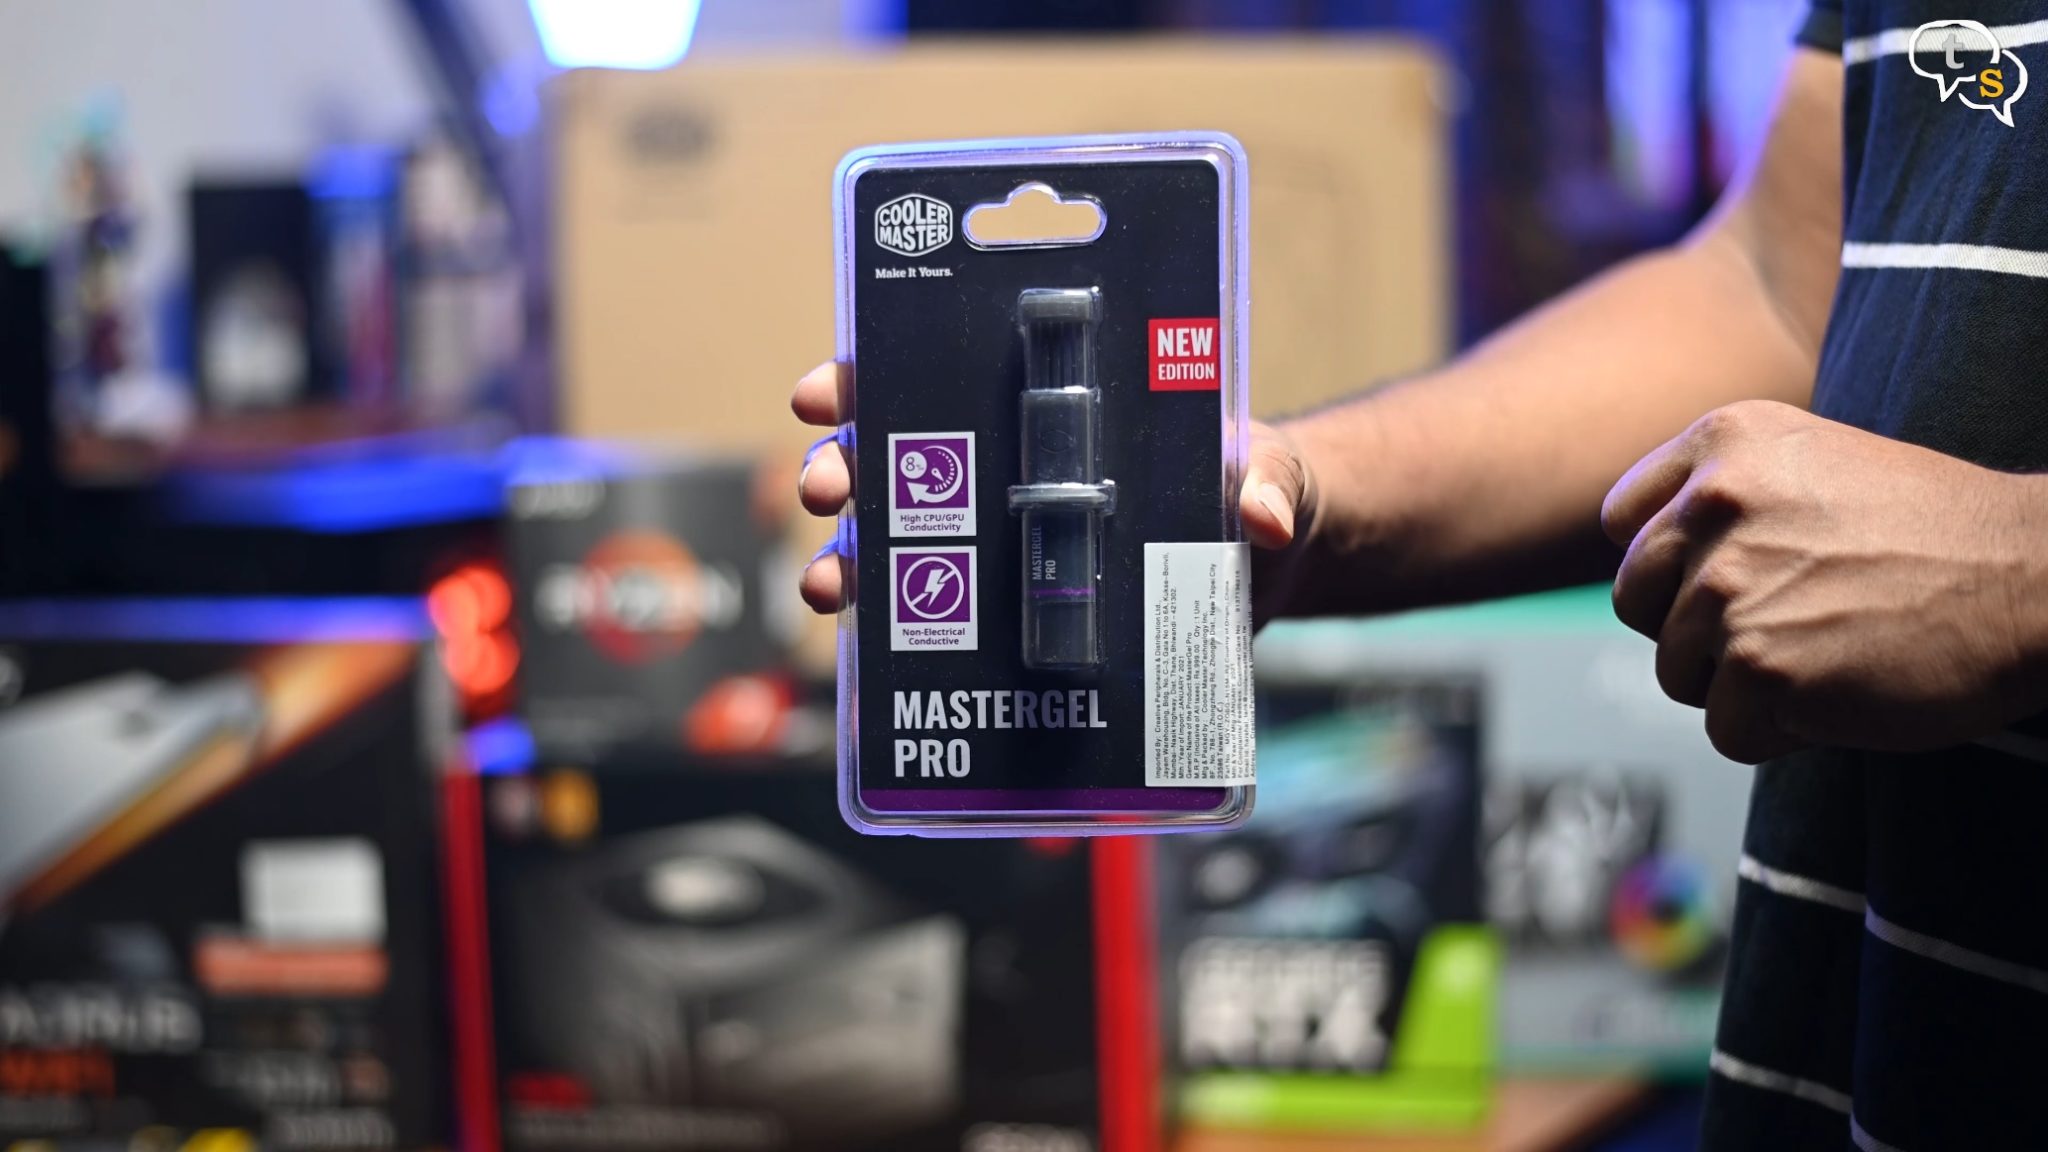
Thermal Paste – CoolerMaster MasterGel PRO
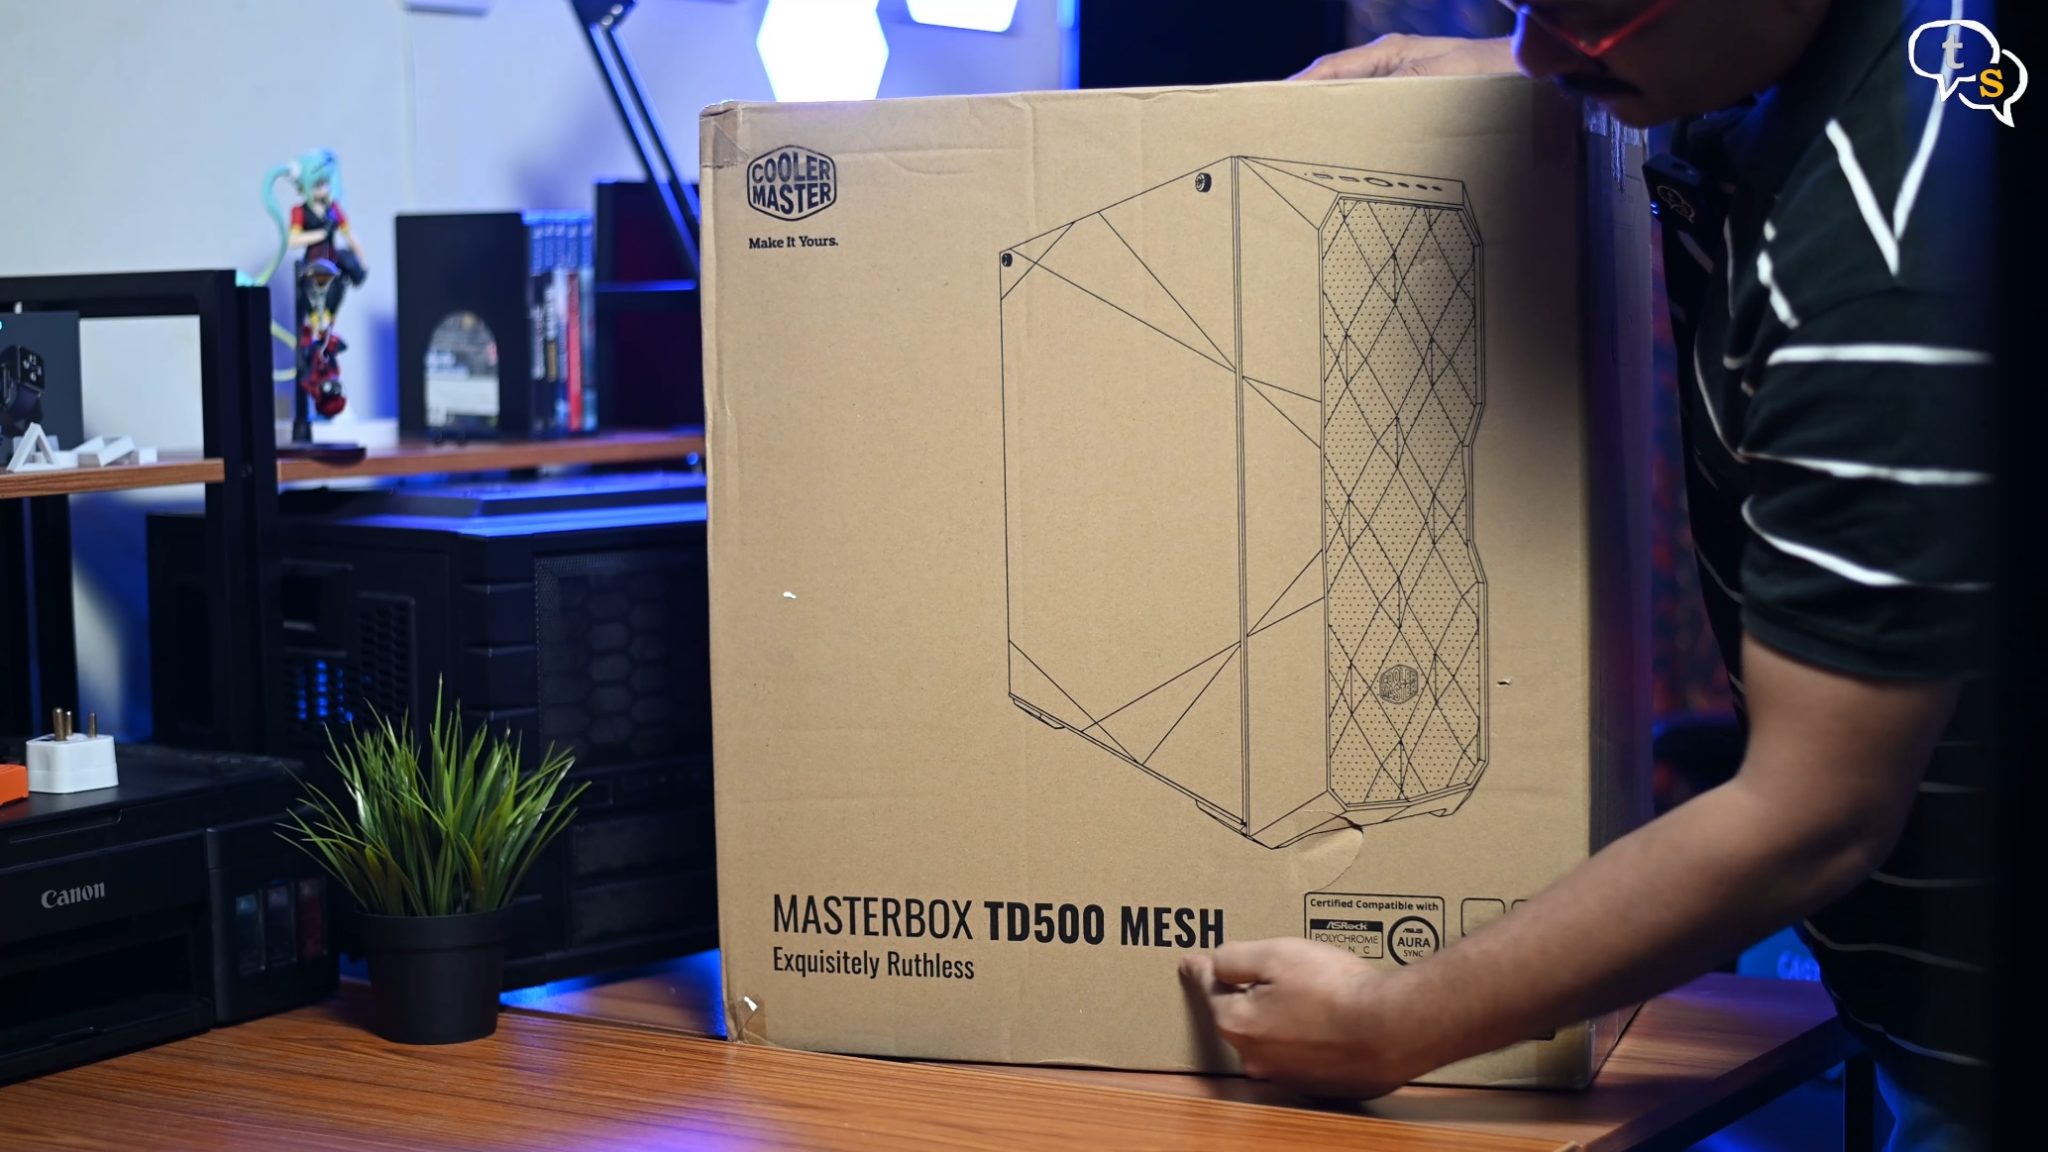
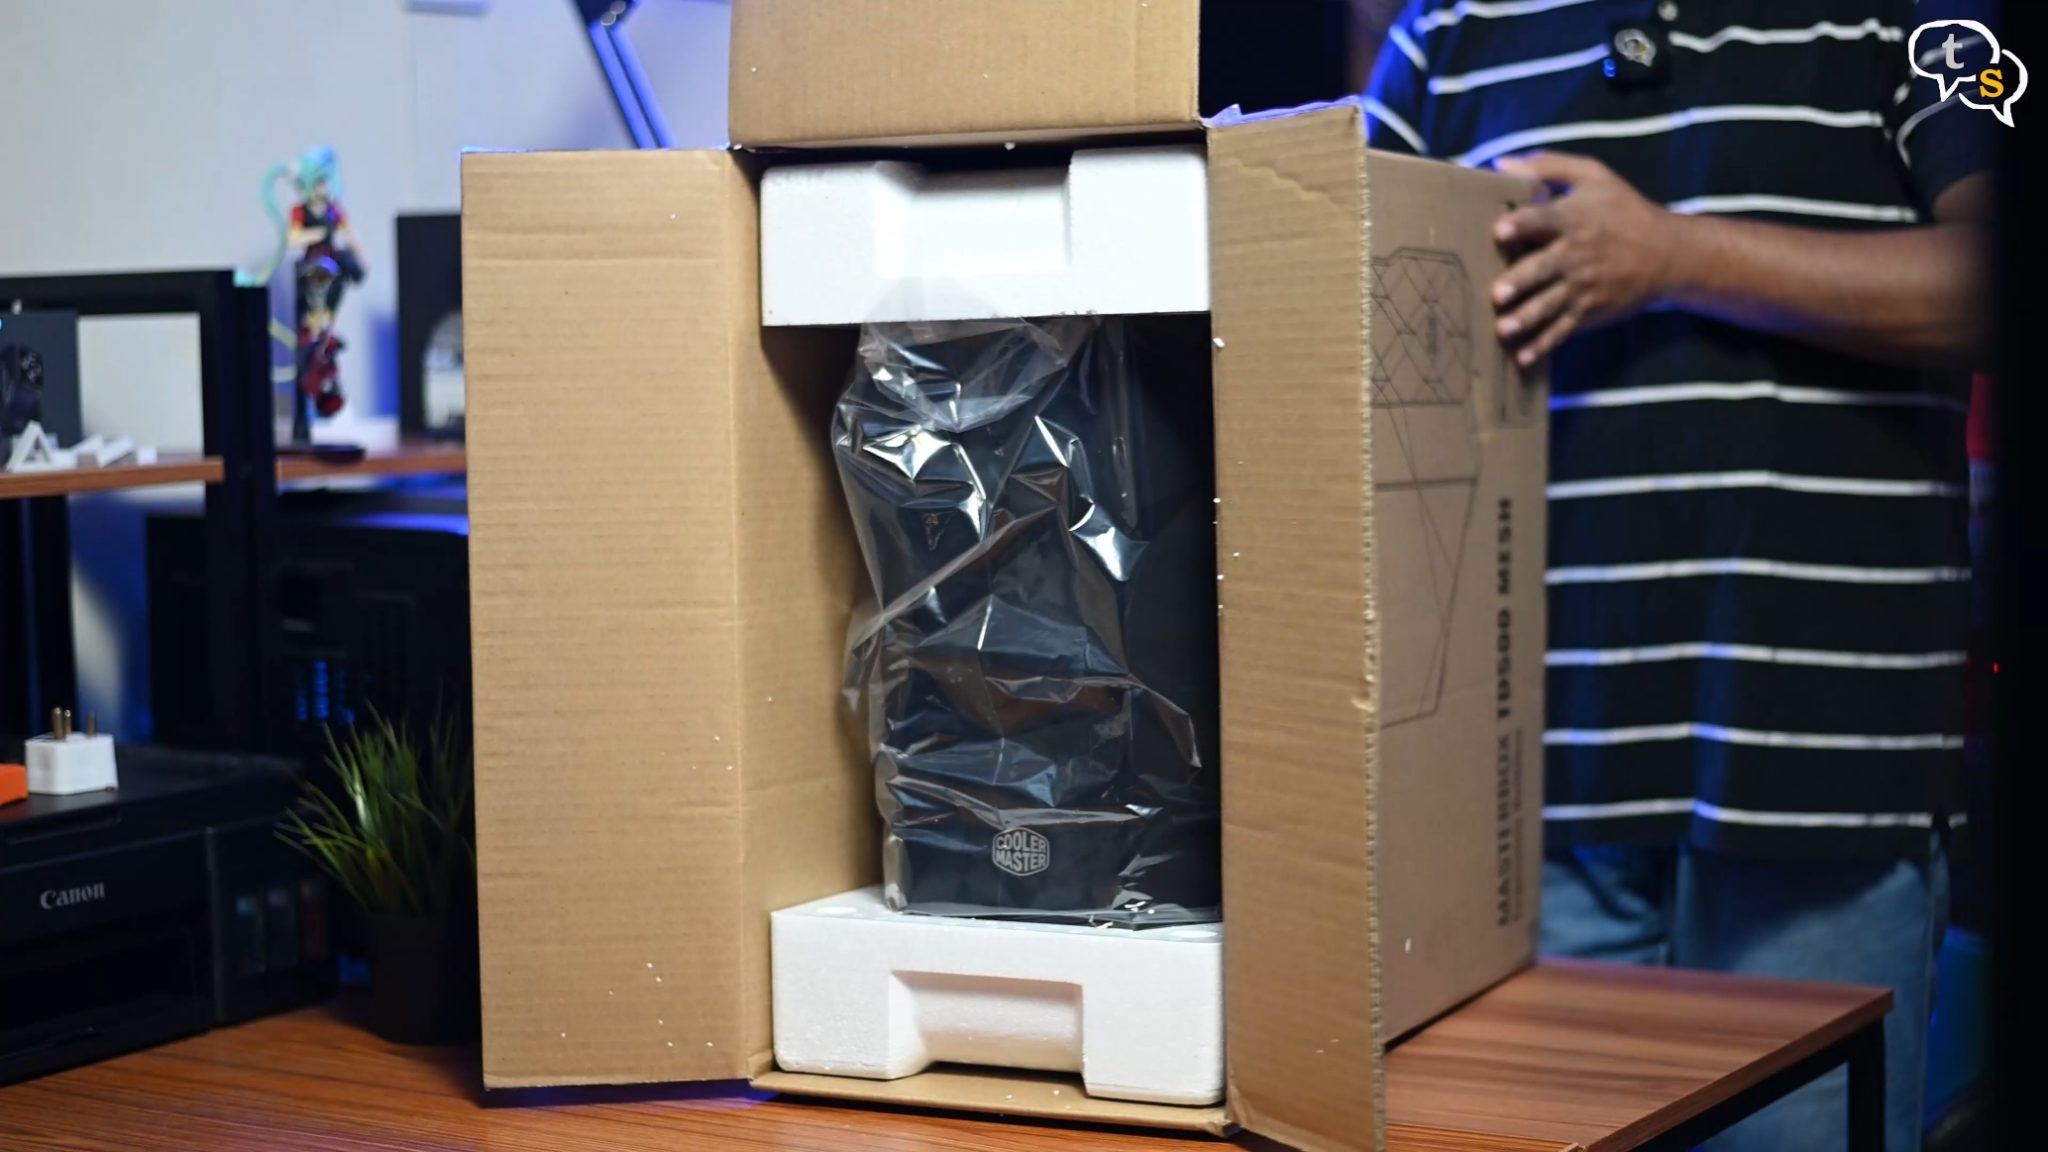
First off, let’s open up the cabinet box, the reason for this build. This is the Masterbox TD500 Mesh by Cooler master.
I have the black variant, it is also available in white.
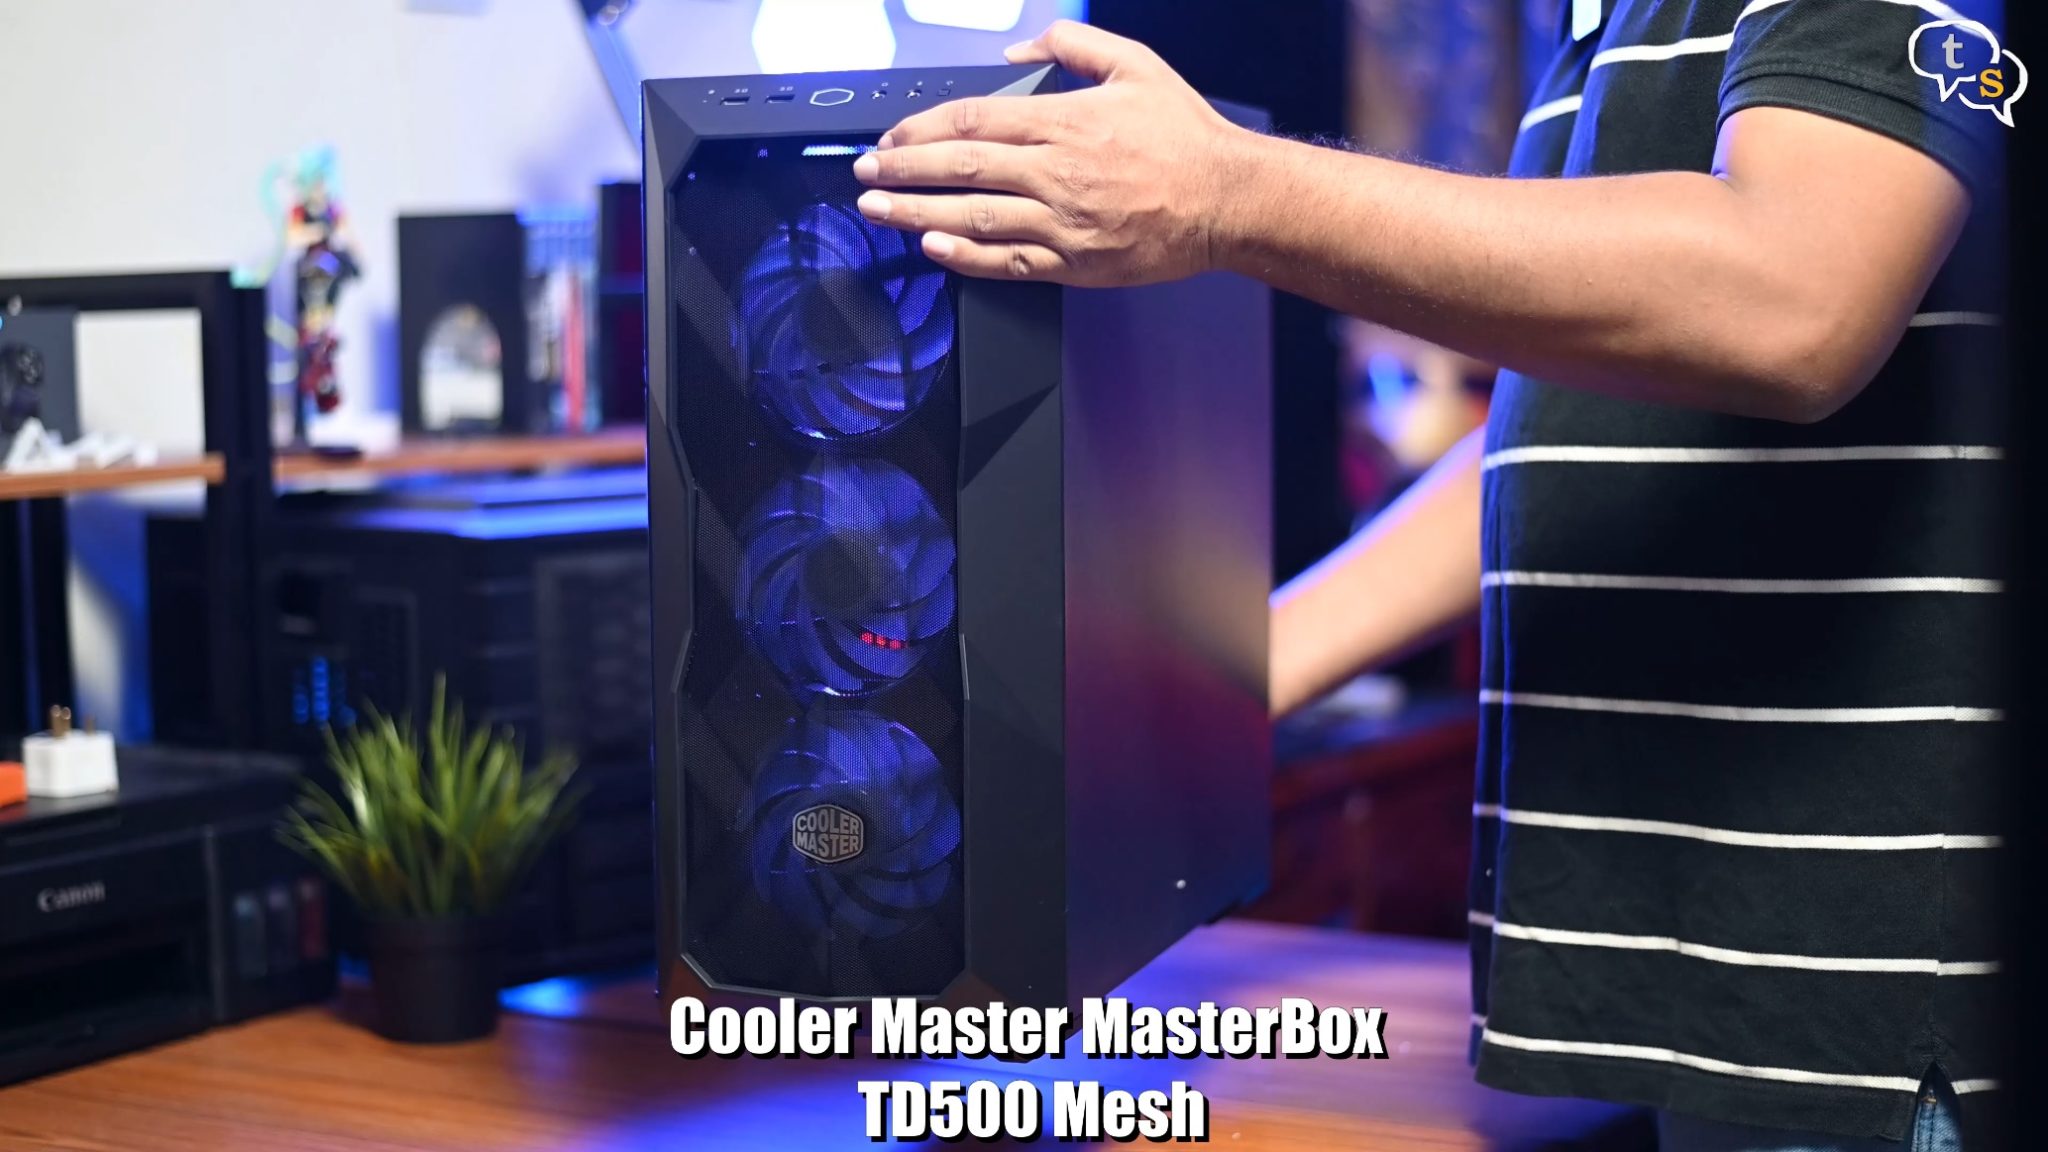
This case has a bit more space as compared to my cooler master HAF XB EVO which would allow for bigger graphic cards and better airflow.
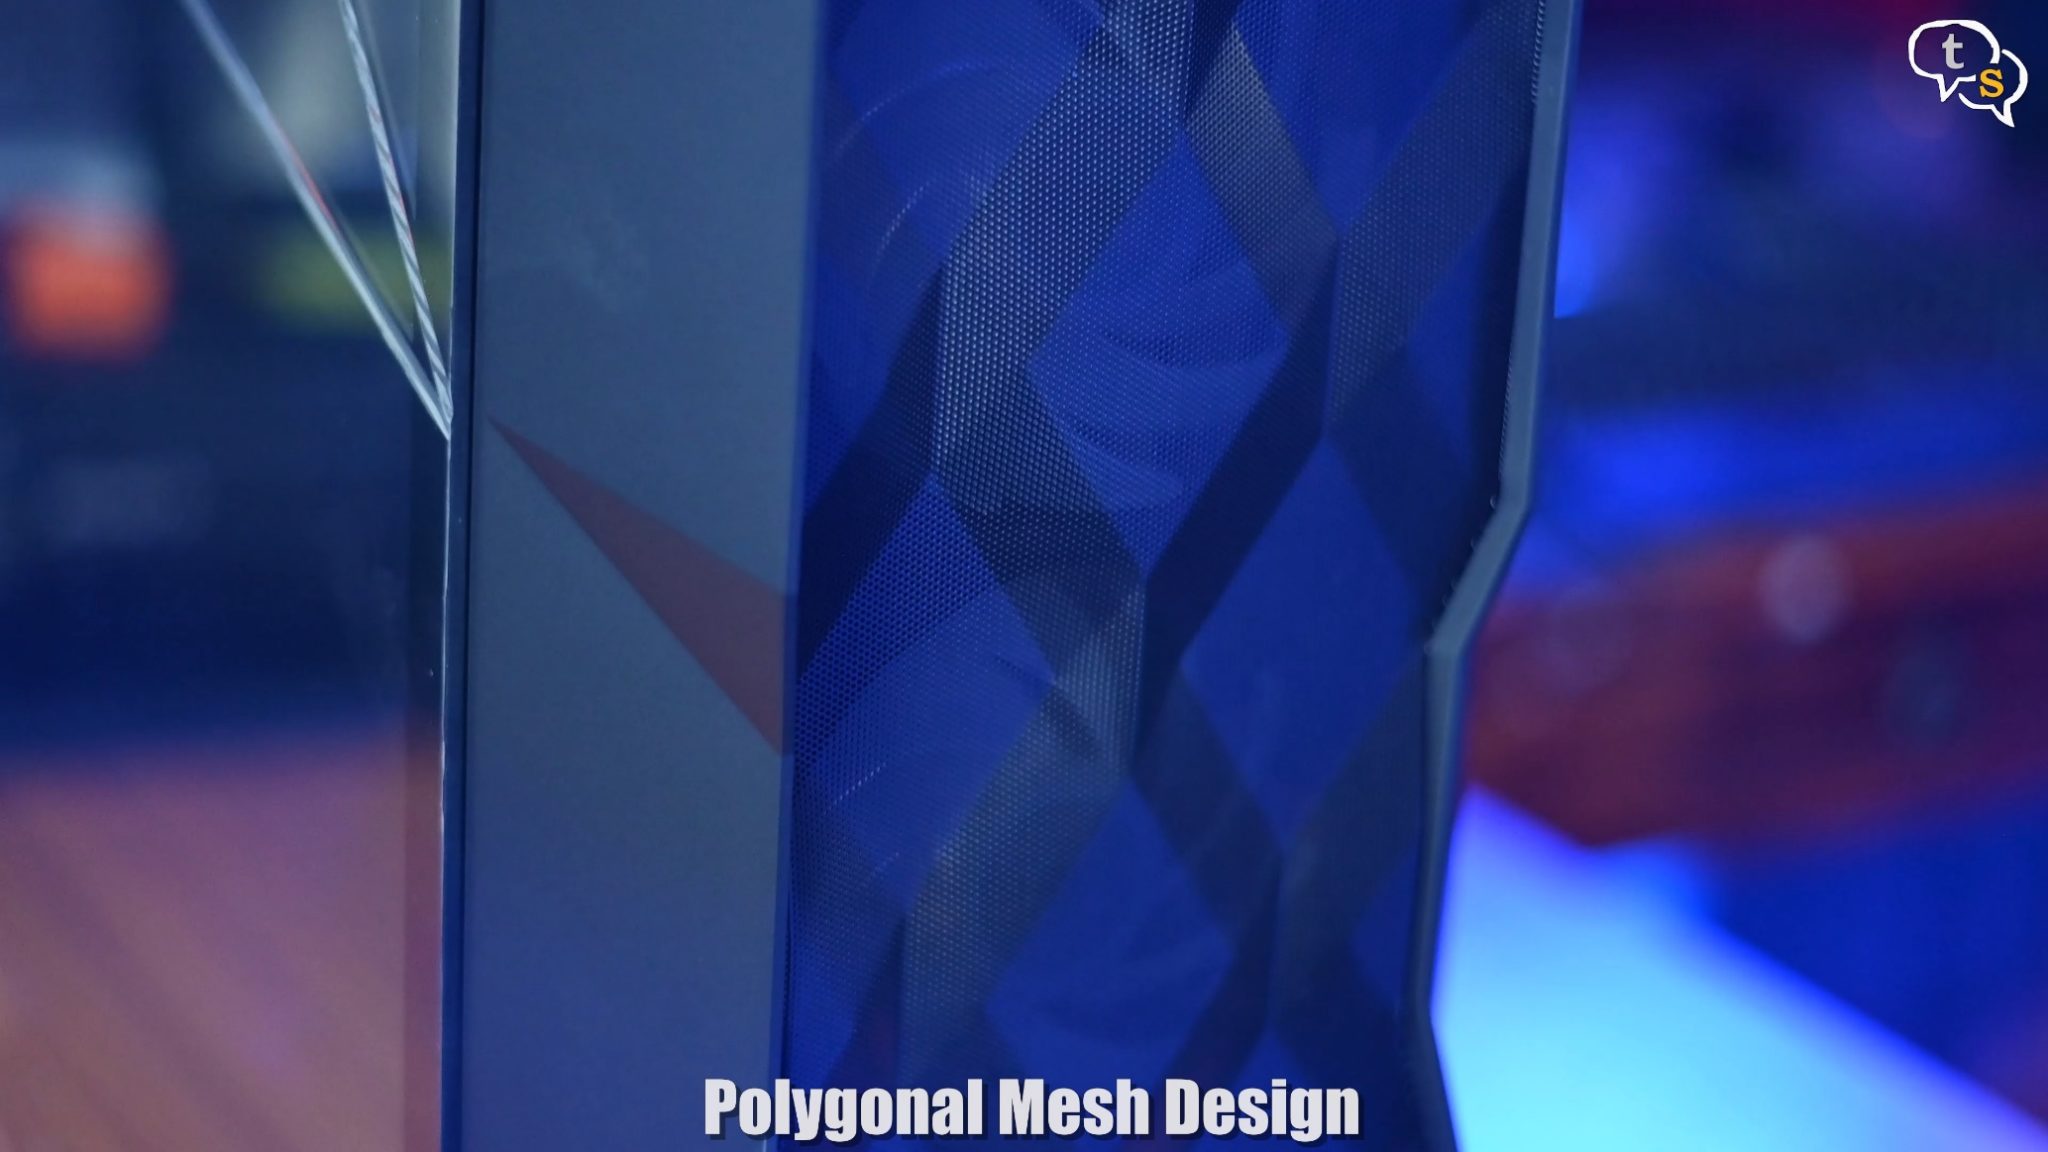
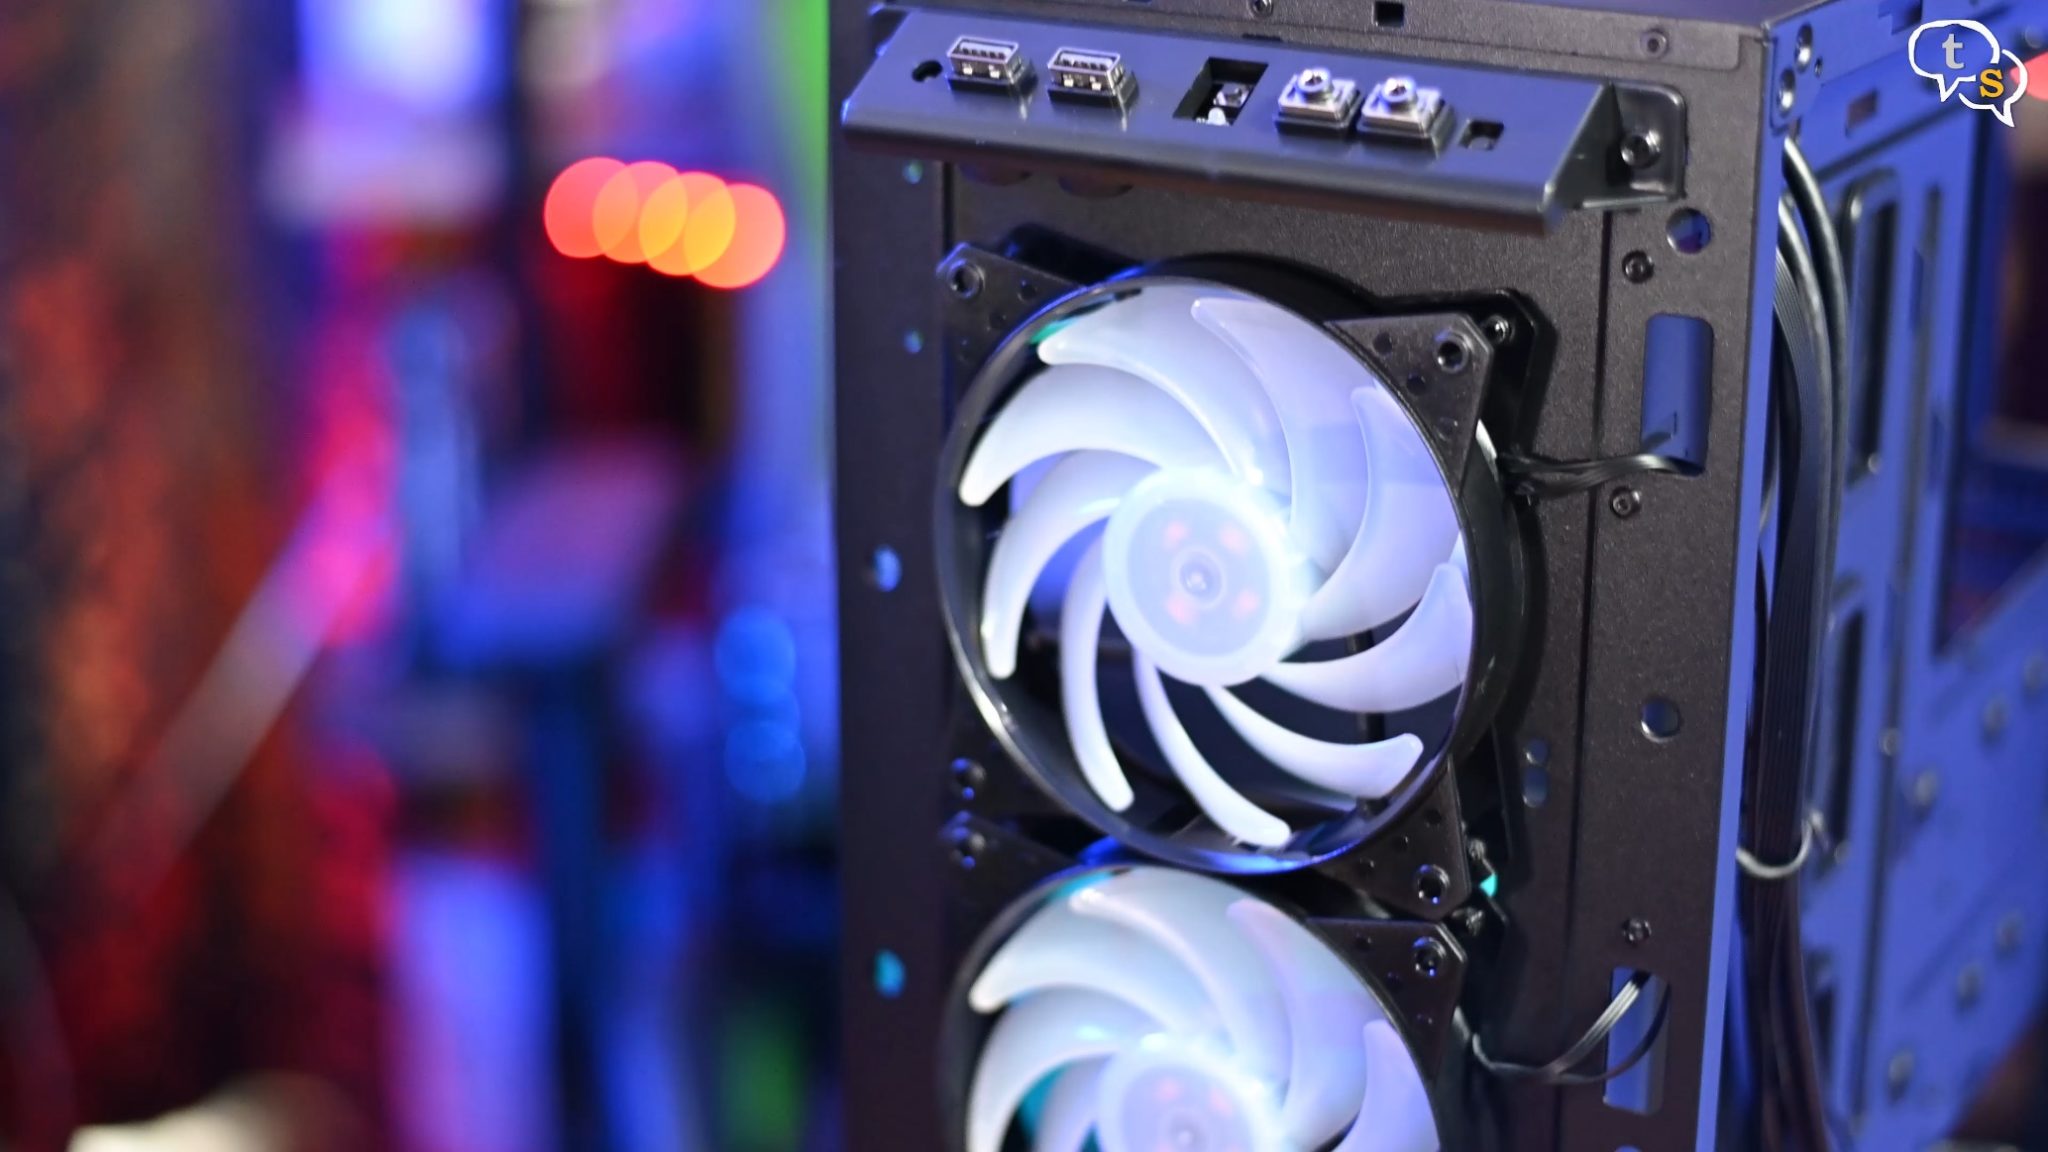
The TD500 comes with three ARGB fans preinstalled, which is nice. The mesh in front has a unique shape, looks like a diamond pattern and the design seems to flow around the case the sides.
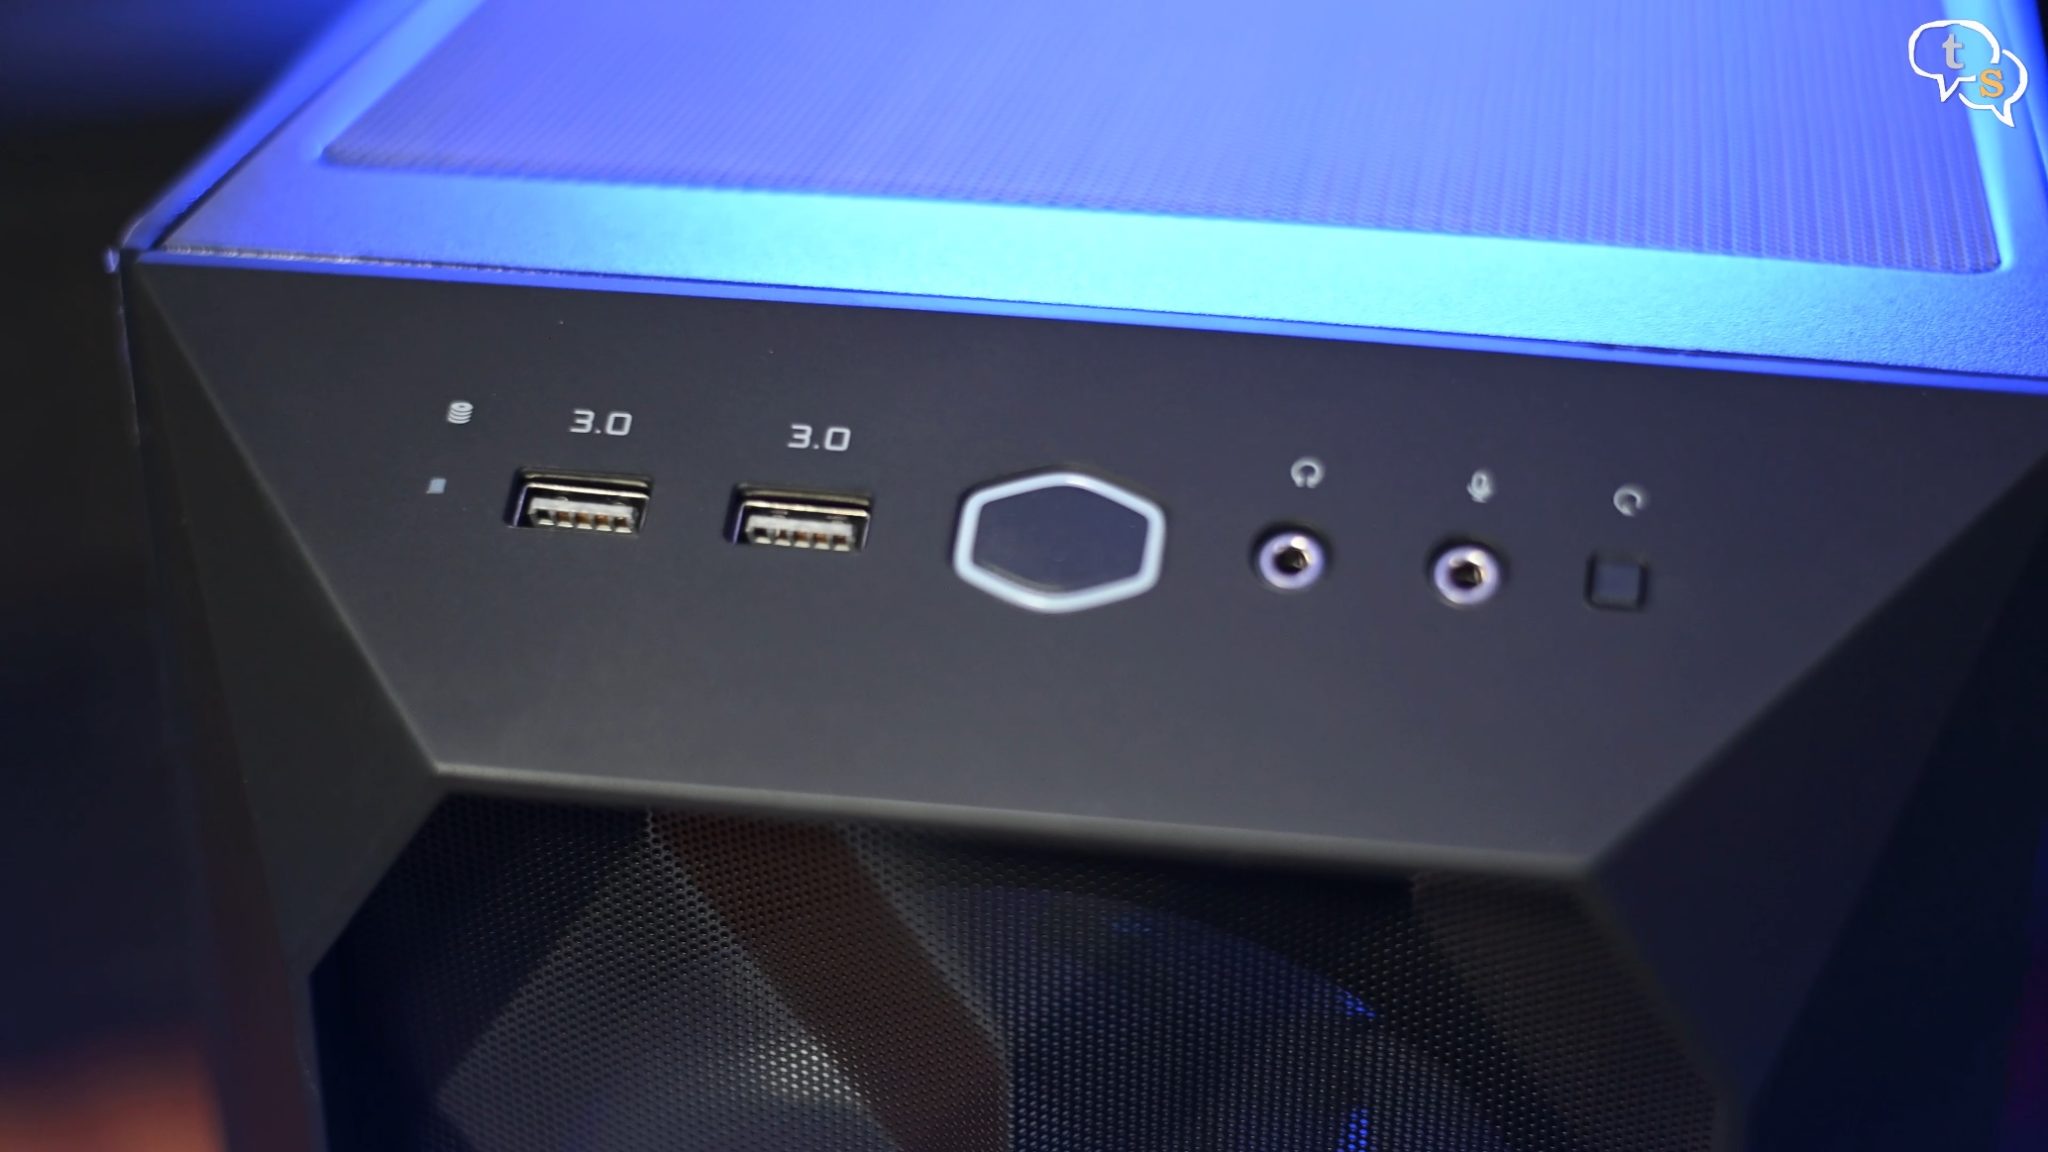
The top front has an HDD led, two USB 3.0 ports, a pretty clickey power button audio in and out and a small recessed reset button. This makes hitting the reset button by mistake harder.
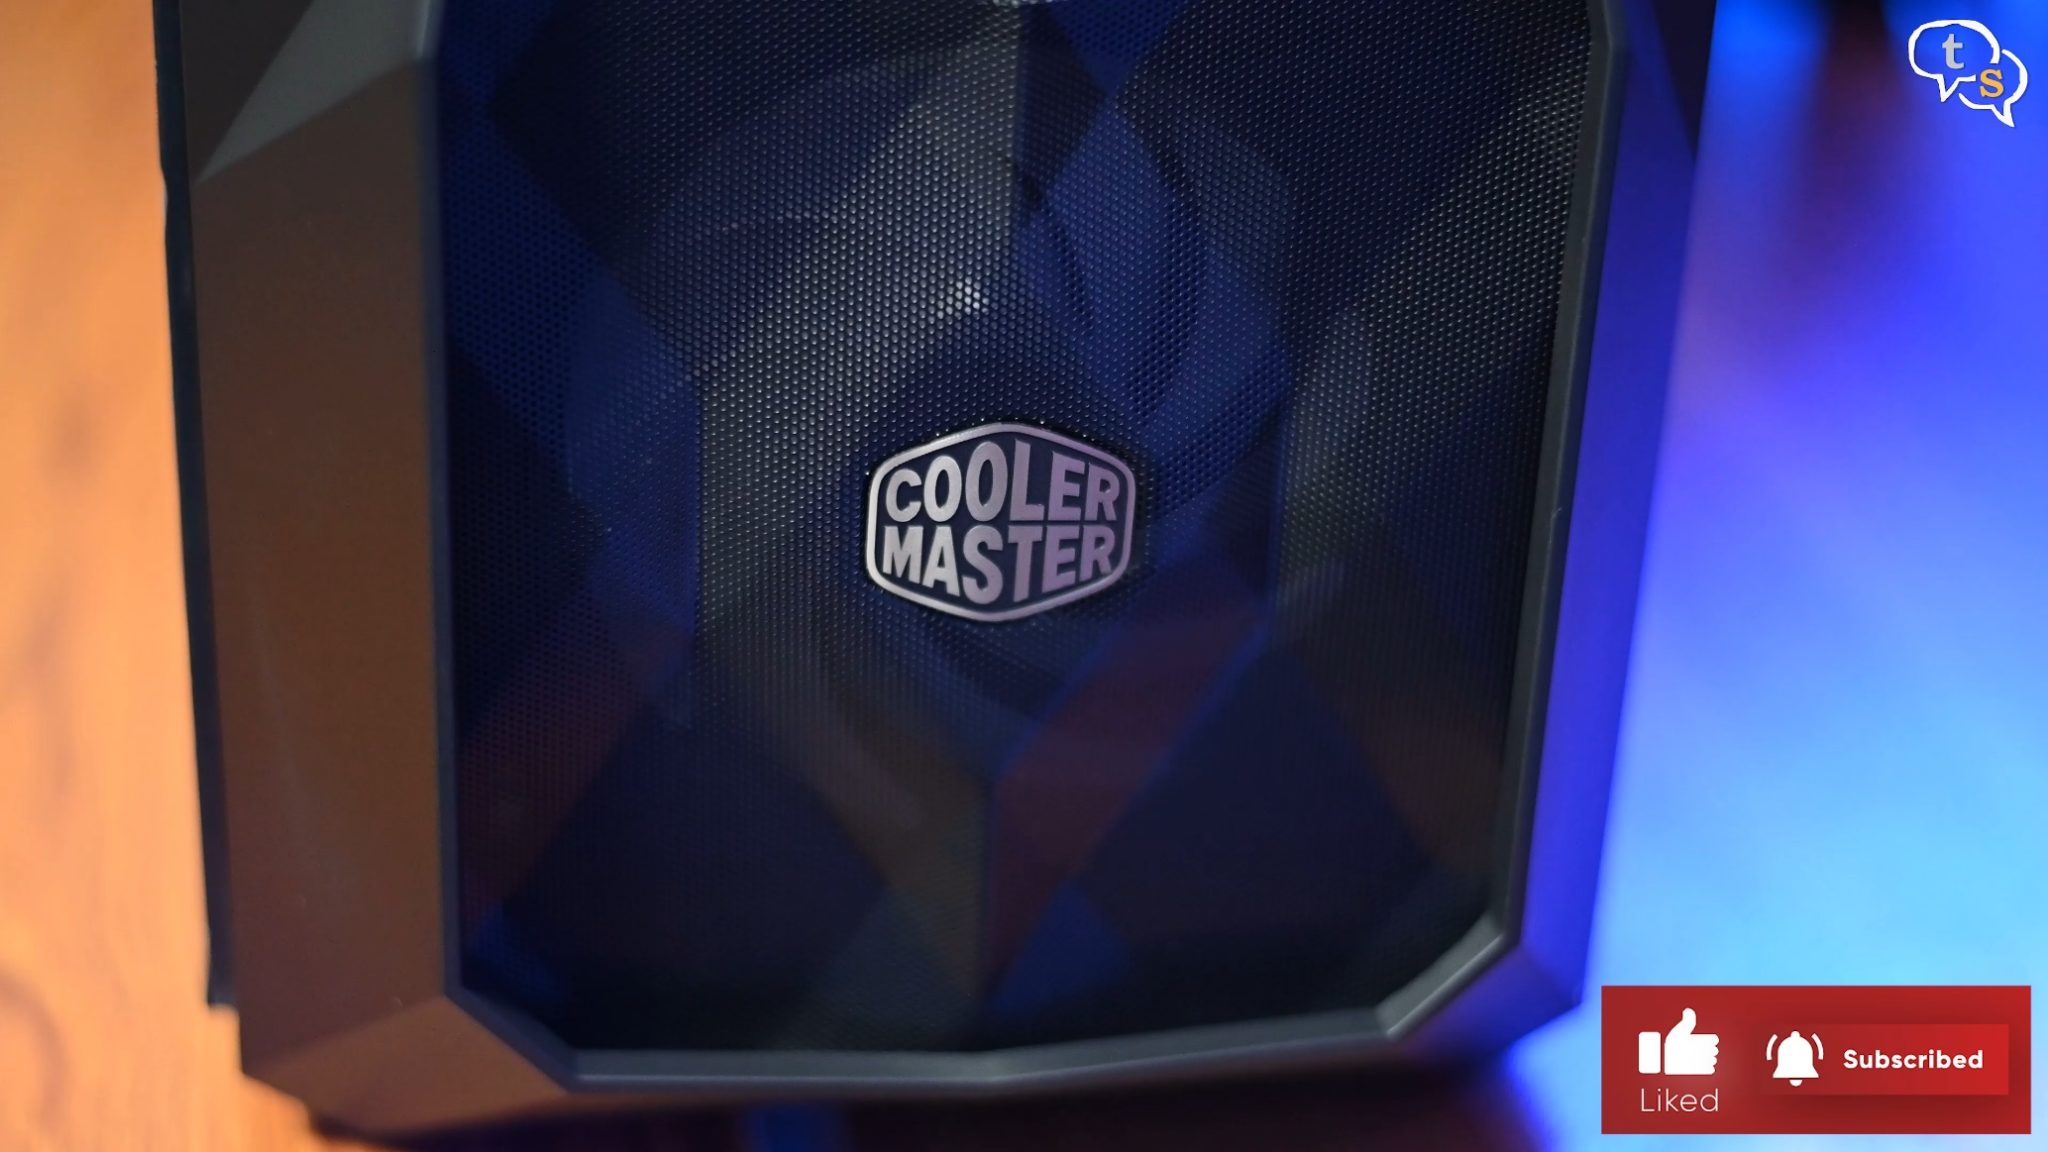
We have a CoolerMaster logo at the bottom, and the three fans in front are visible through the mesh.
We have a tempered glass panel on the side with grooves on it which aligns with the front of the case for a flowing design.
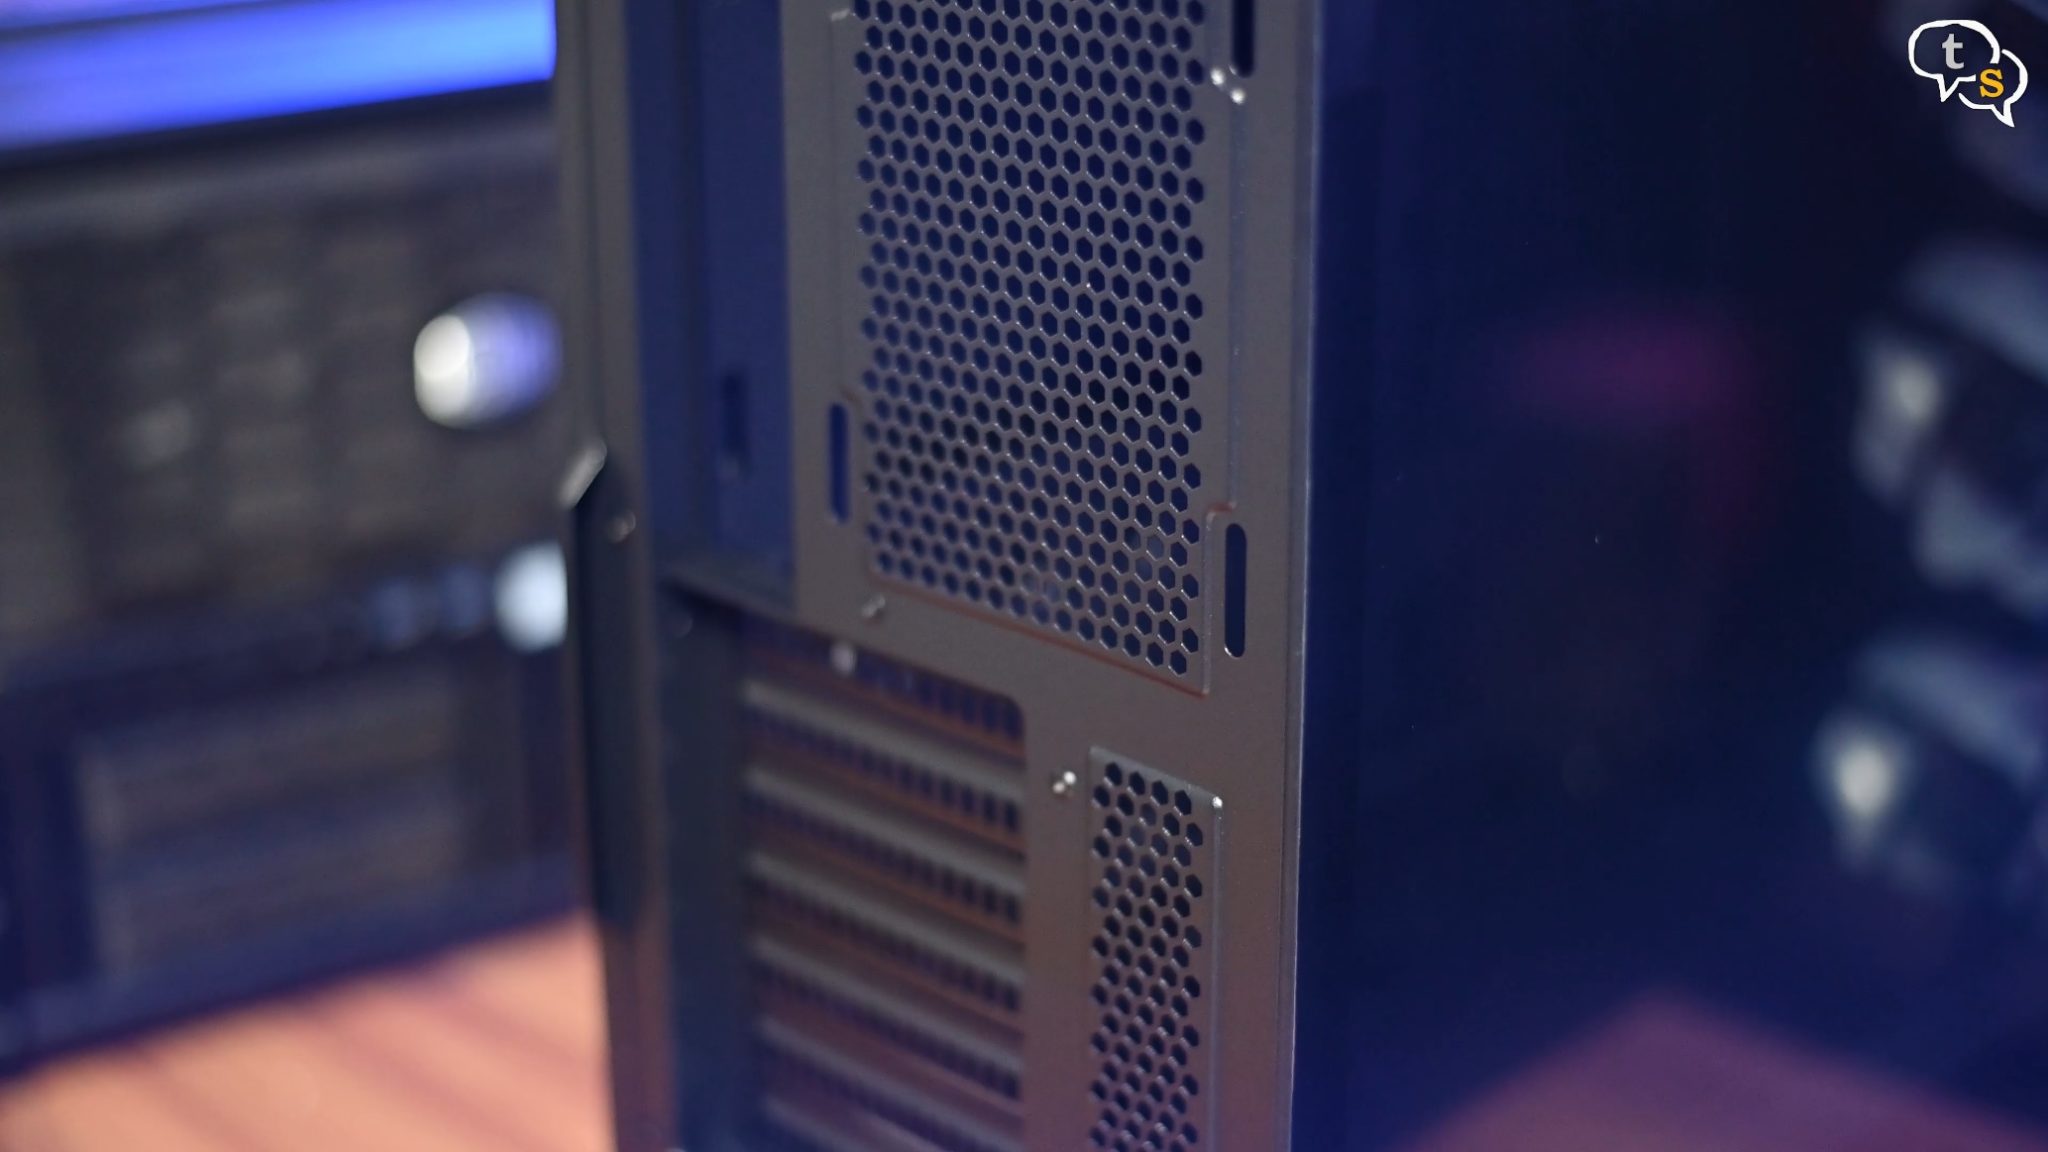
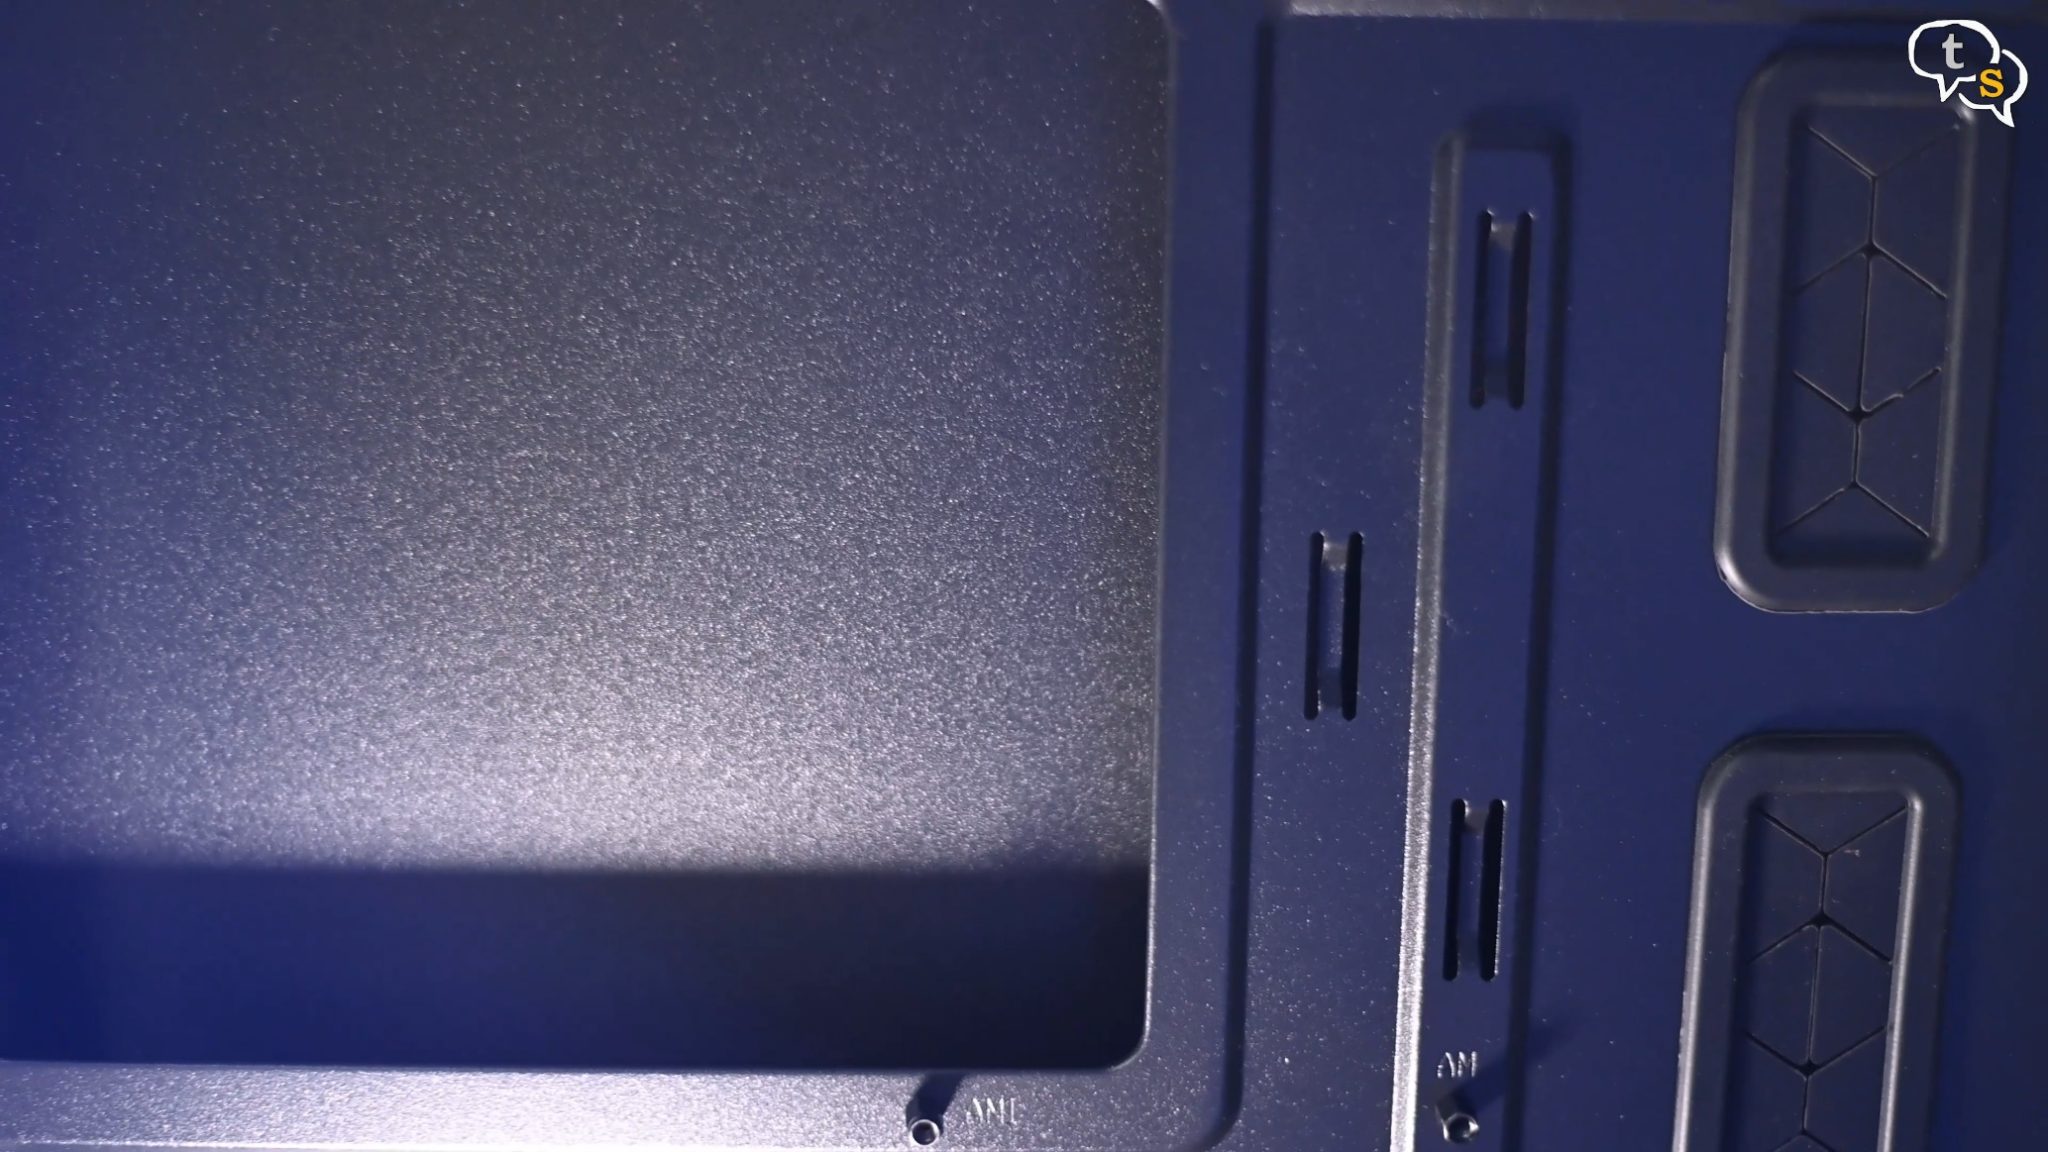
The rear of the case has the standard sections for the motherboard io shield and the expansion slots, each having protective covers.
At the bottom is the PSU bay with mounting holes.
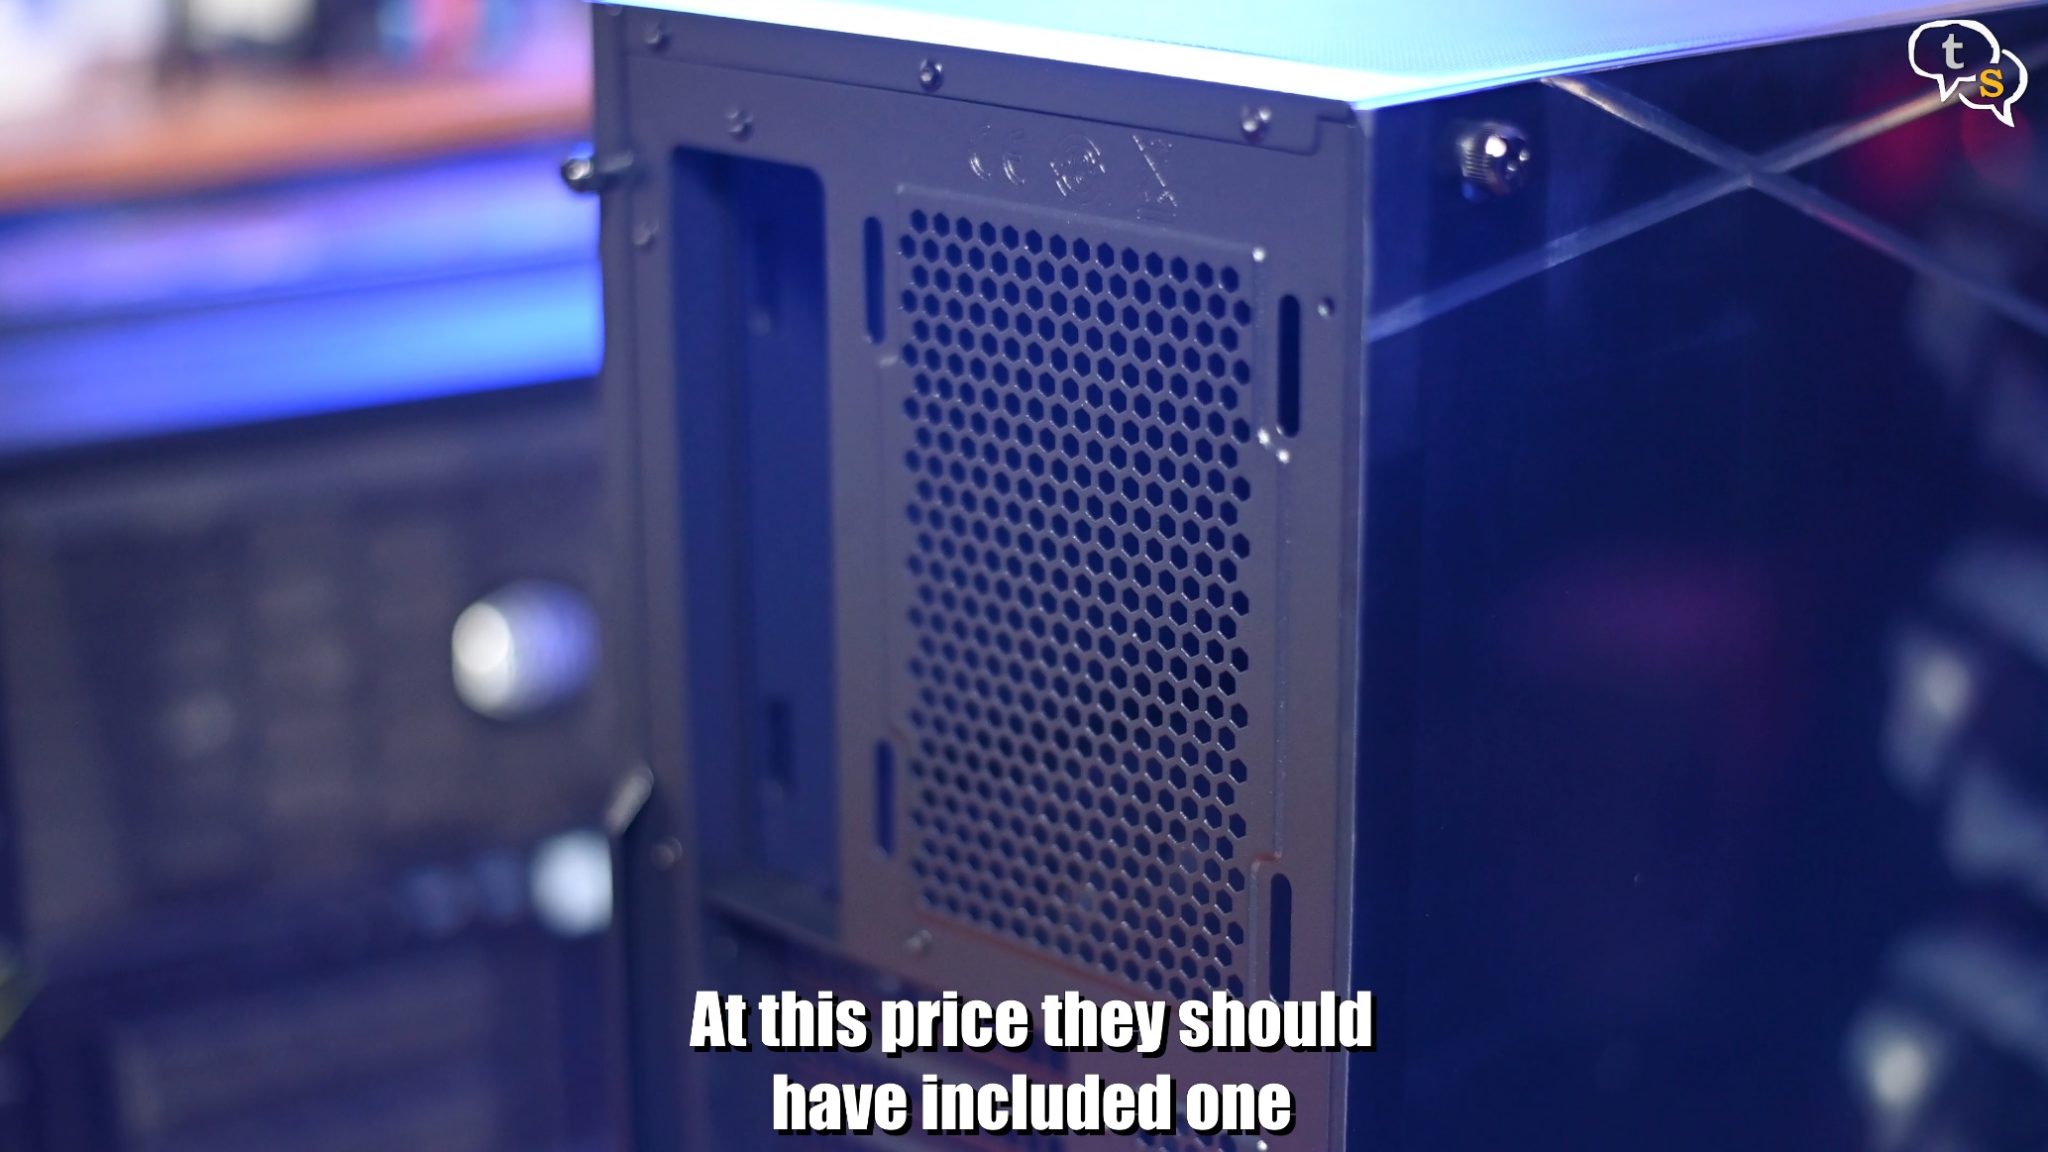
A 120 mm fan mount is present on top right, but no fan is included. At this price it should have been included.
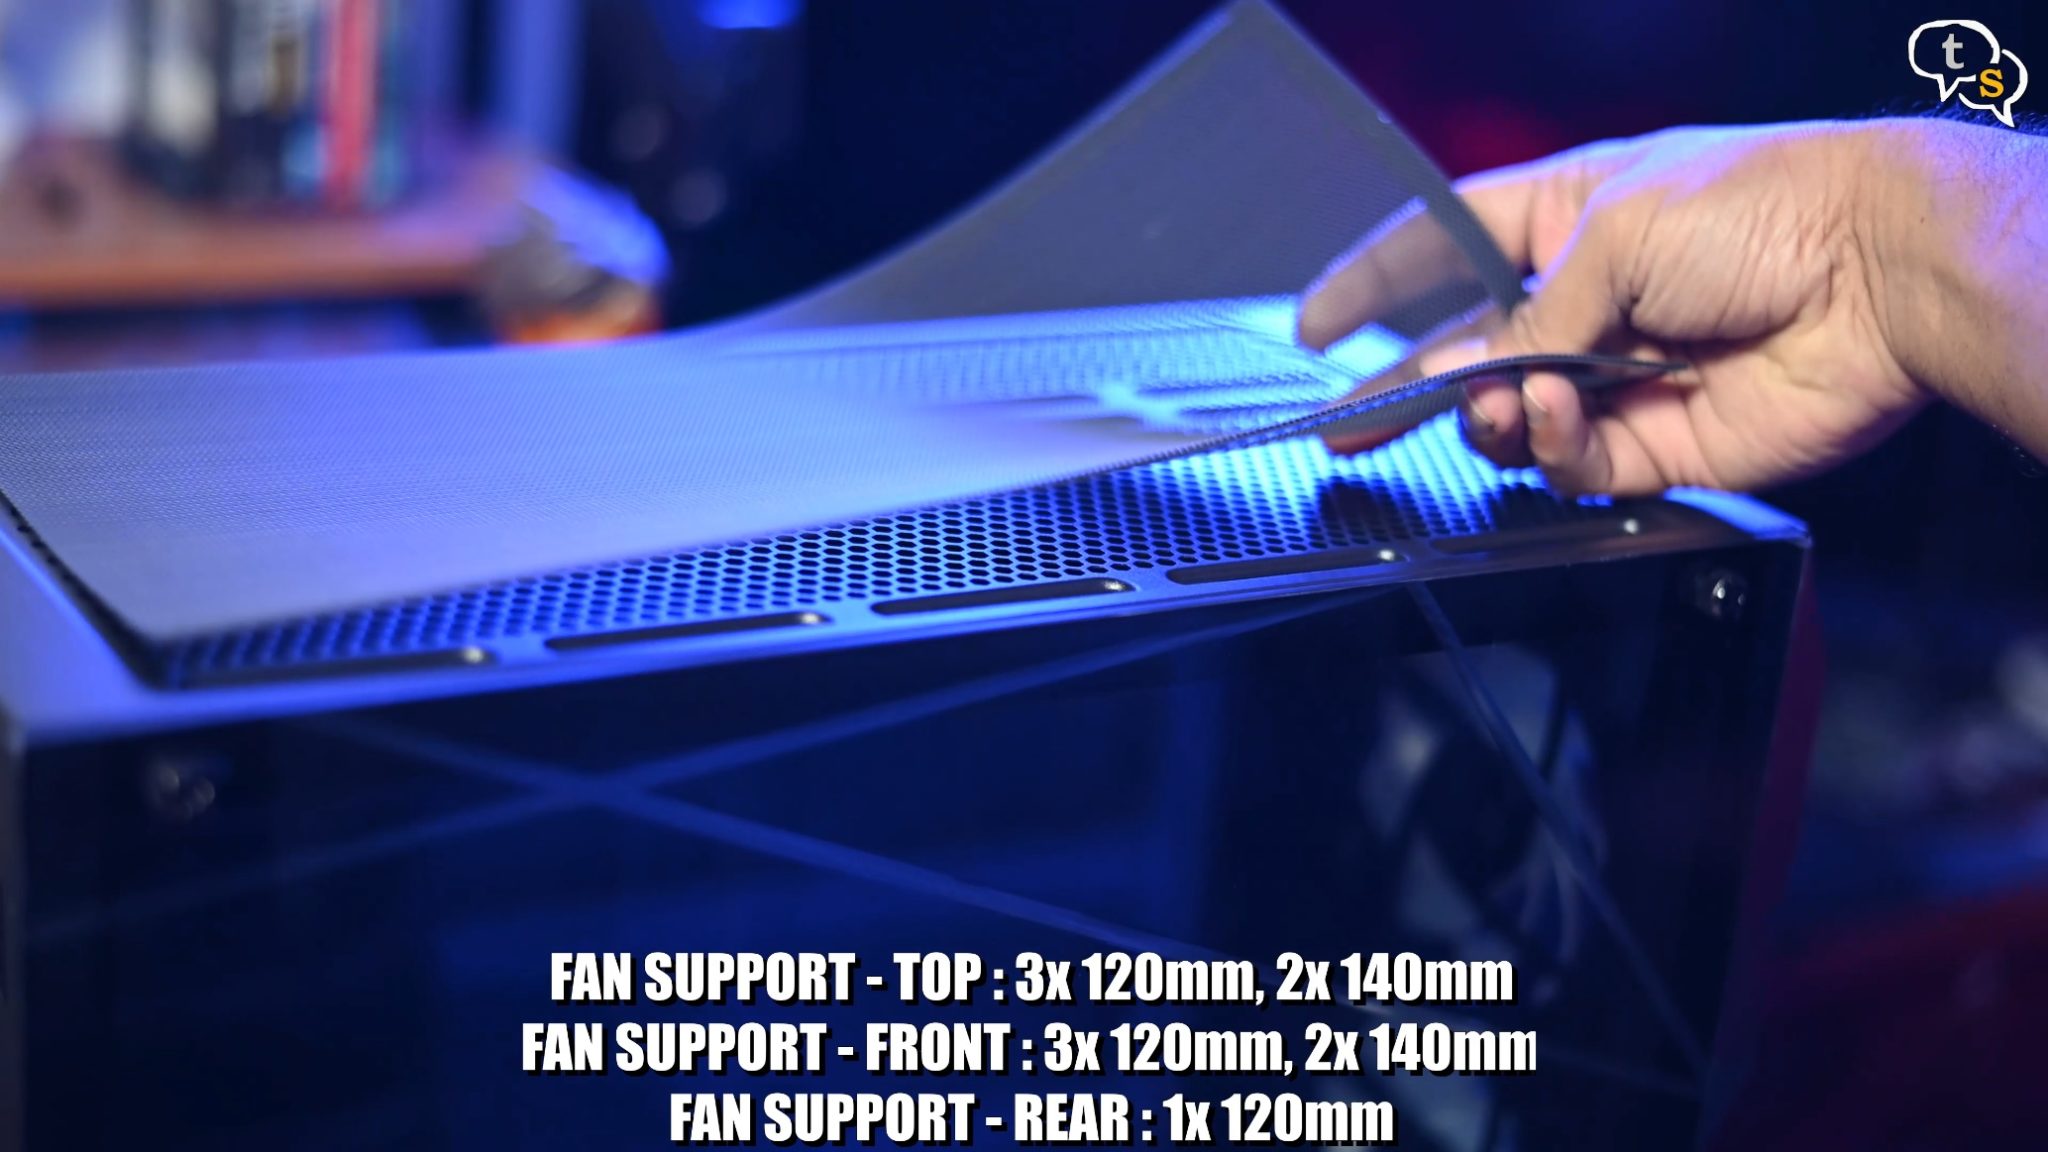
On top of the case we have a large magnetic dust cover with holes below for two 120mm or 140mm fans. I will be installing a 240mm radiator here.
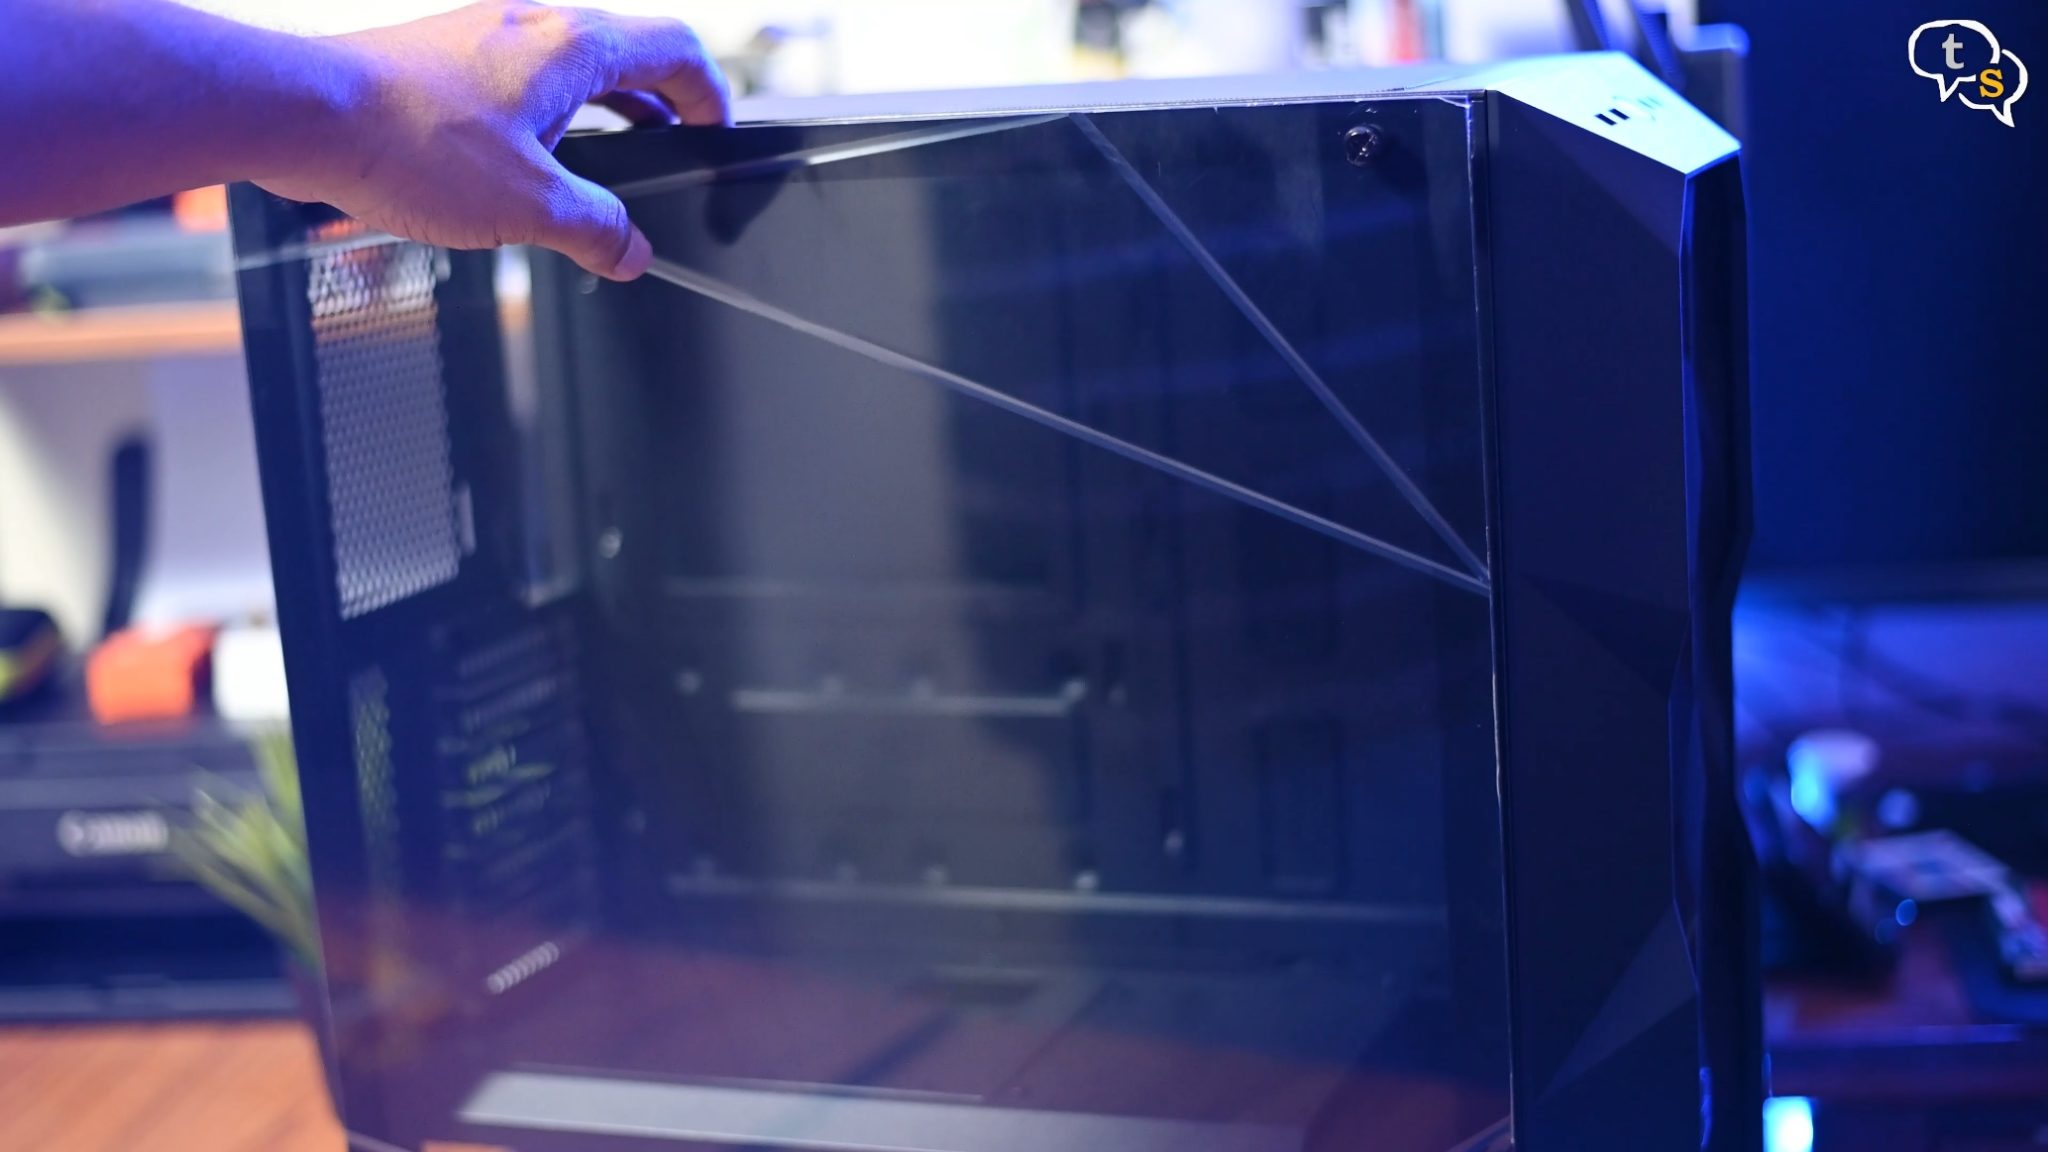
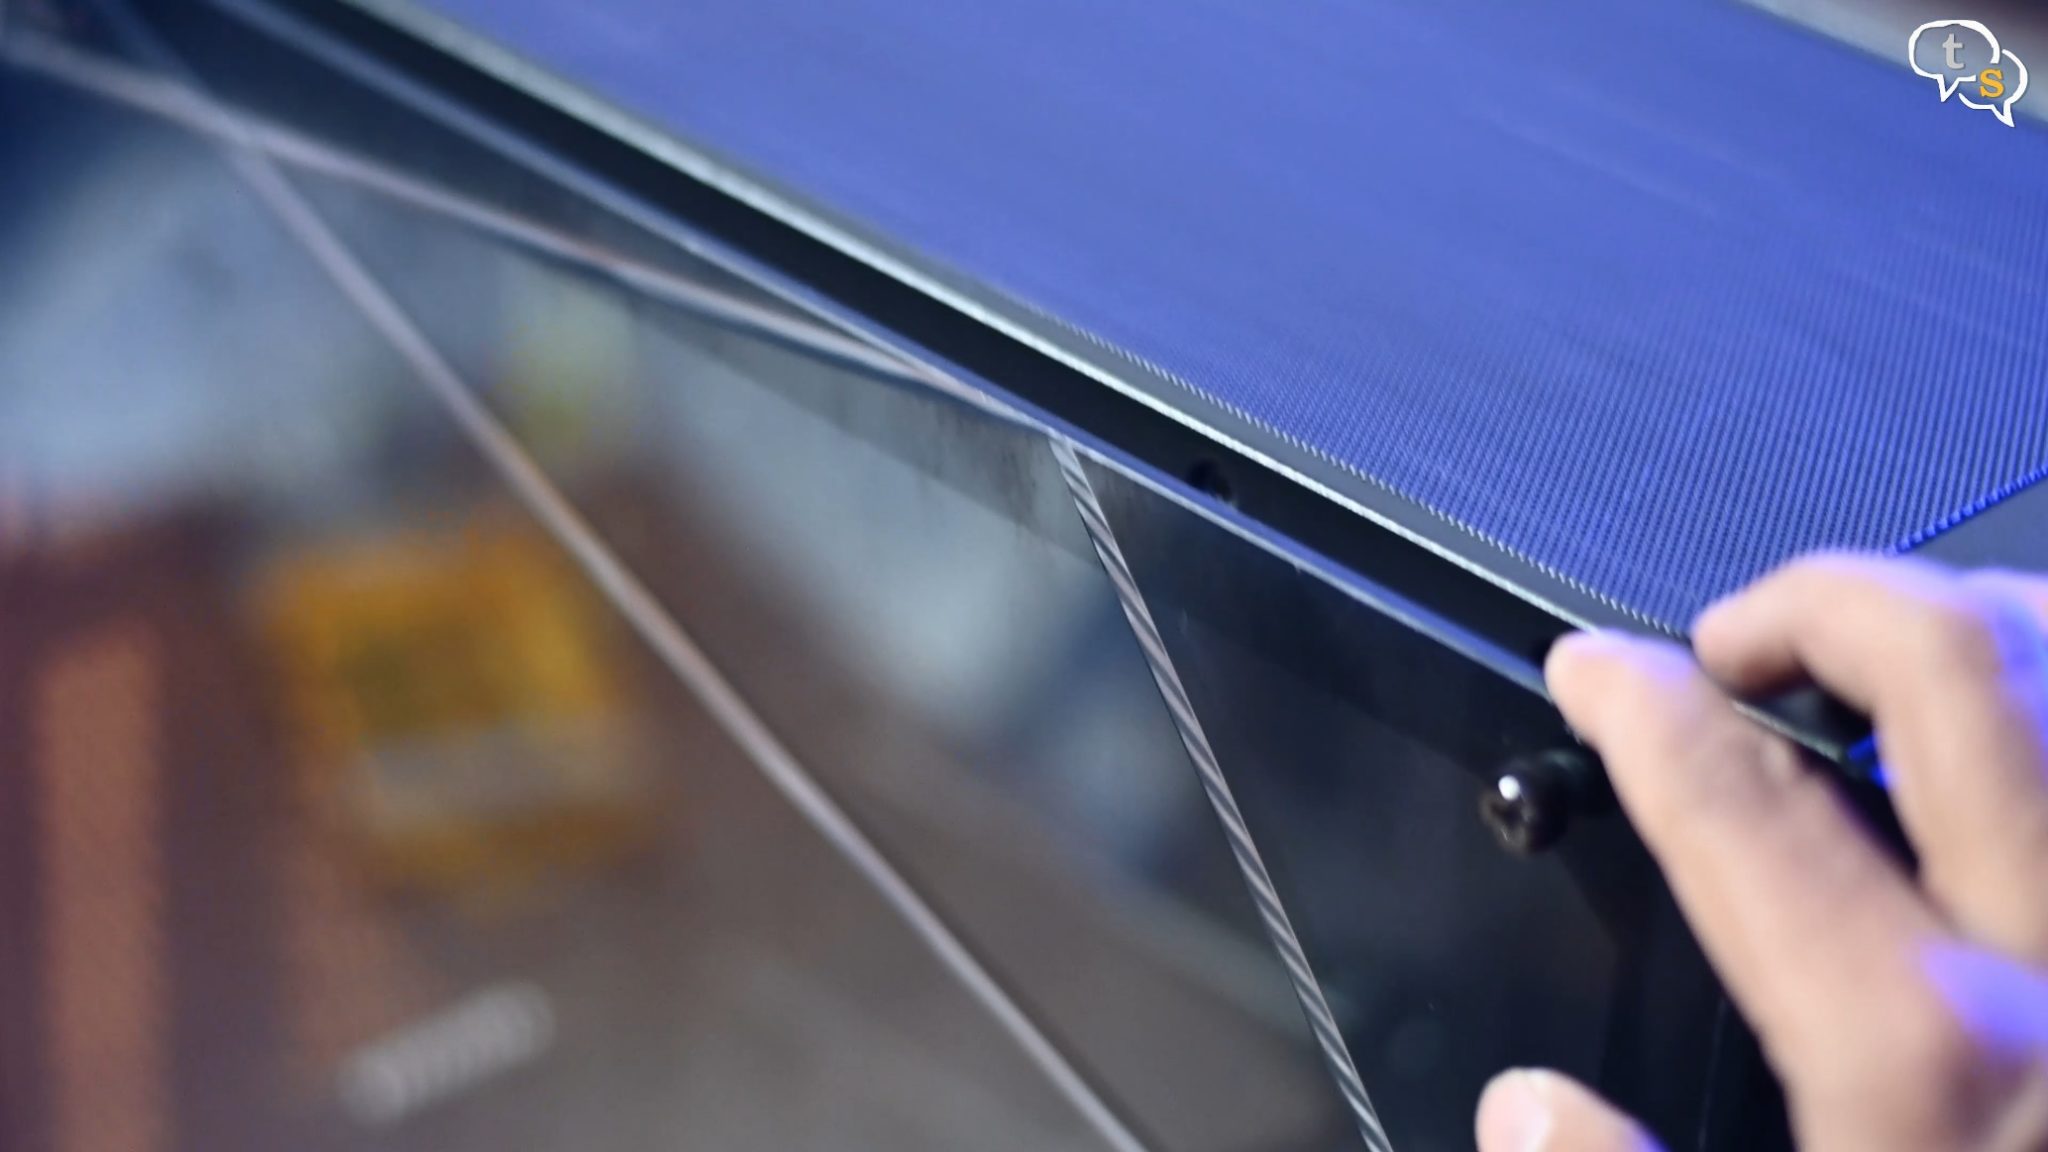
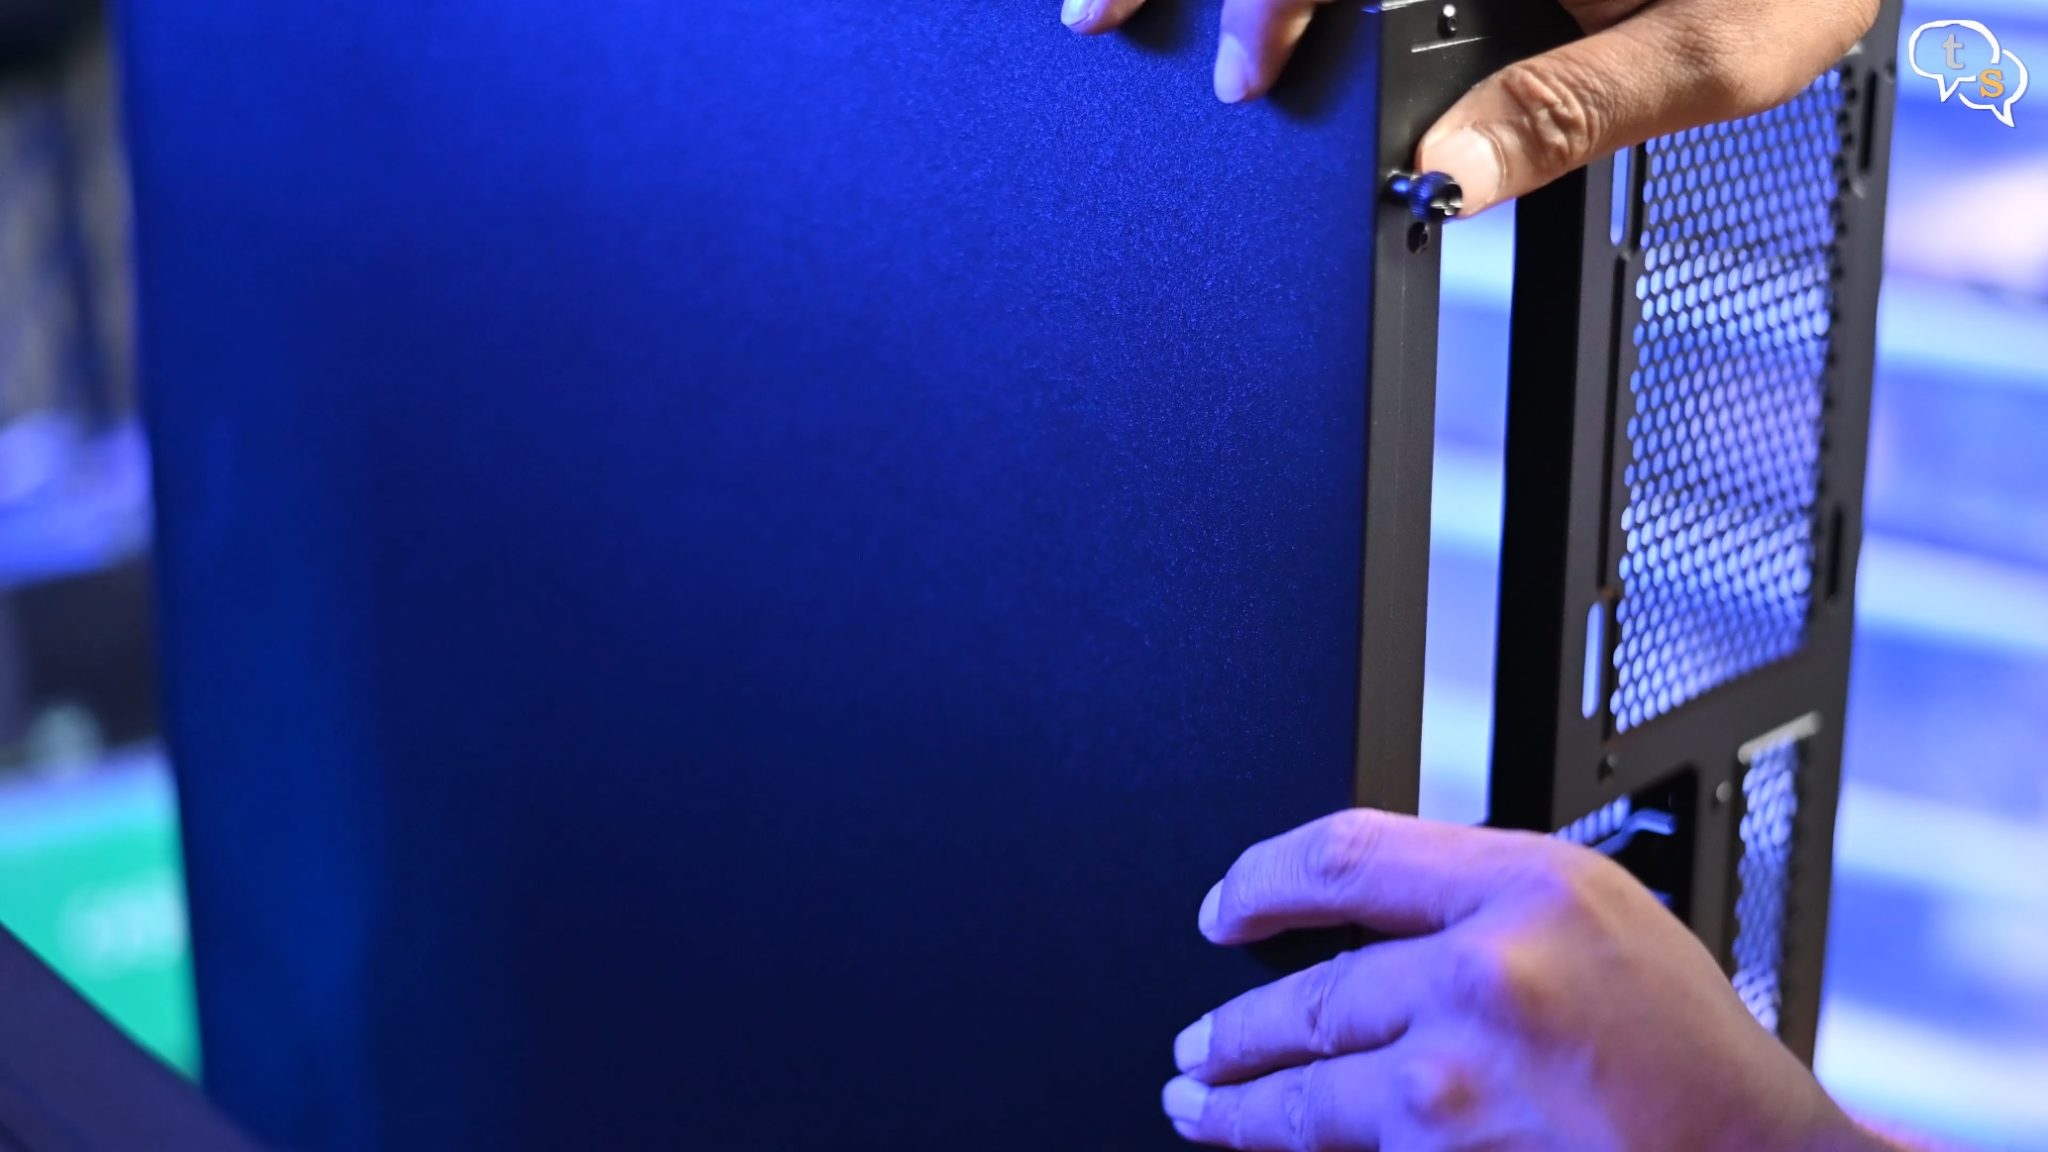
The glass panel is secured on the bottom, it hooks on at the bottom of the case here and the thumb screws are secured within the glass, which is great as we won’t lose the screws that way.
The glass won’t just fall off when unscrewed, which is great as this is heavy and is glass.
Just pick it off the groove and here it is.
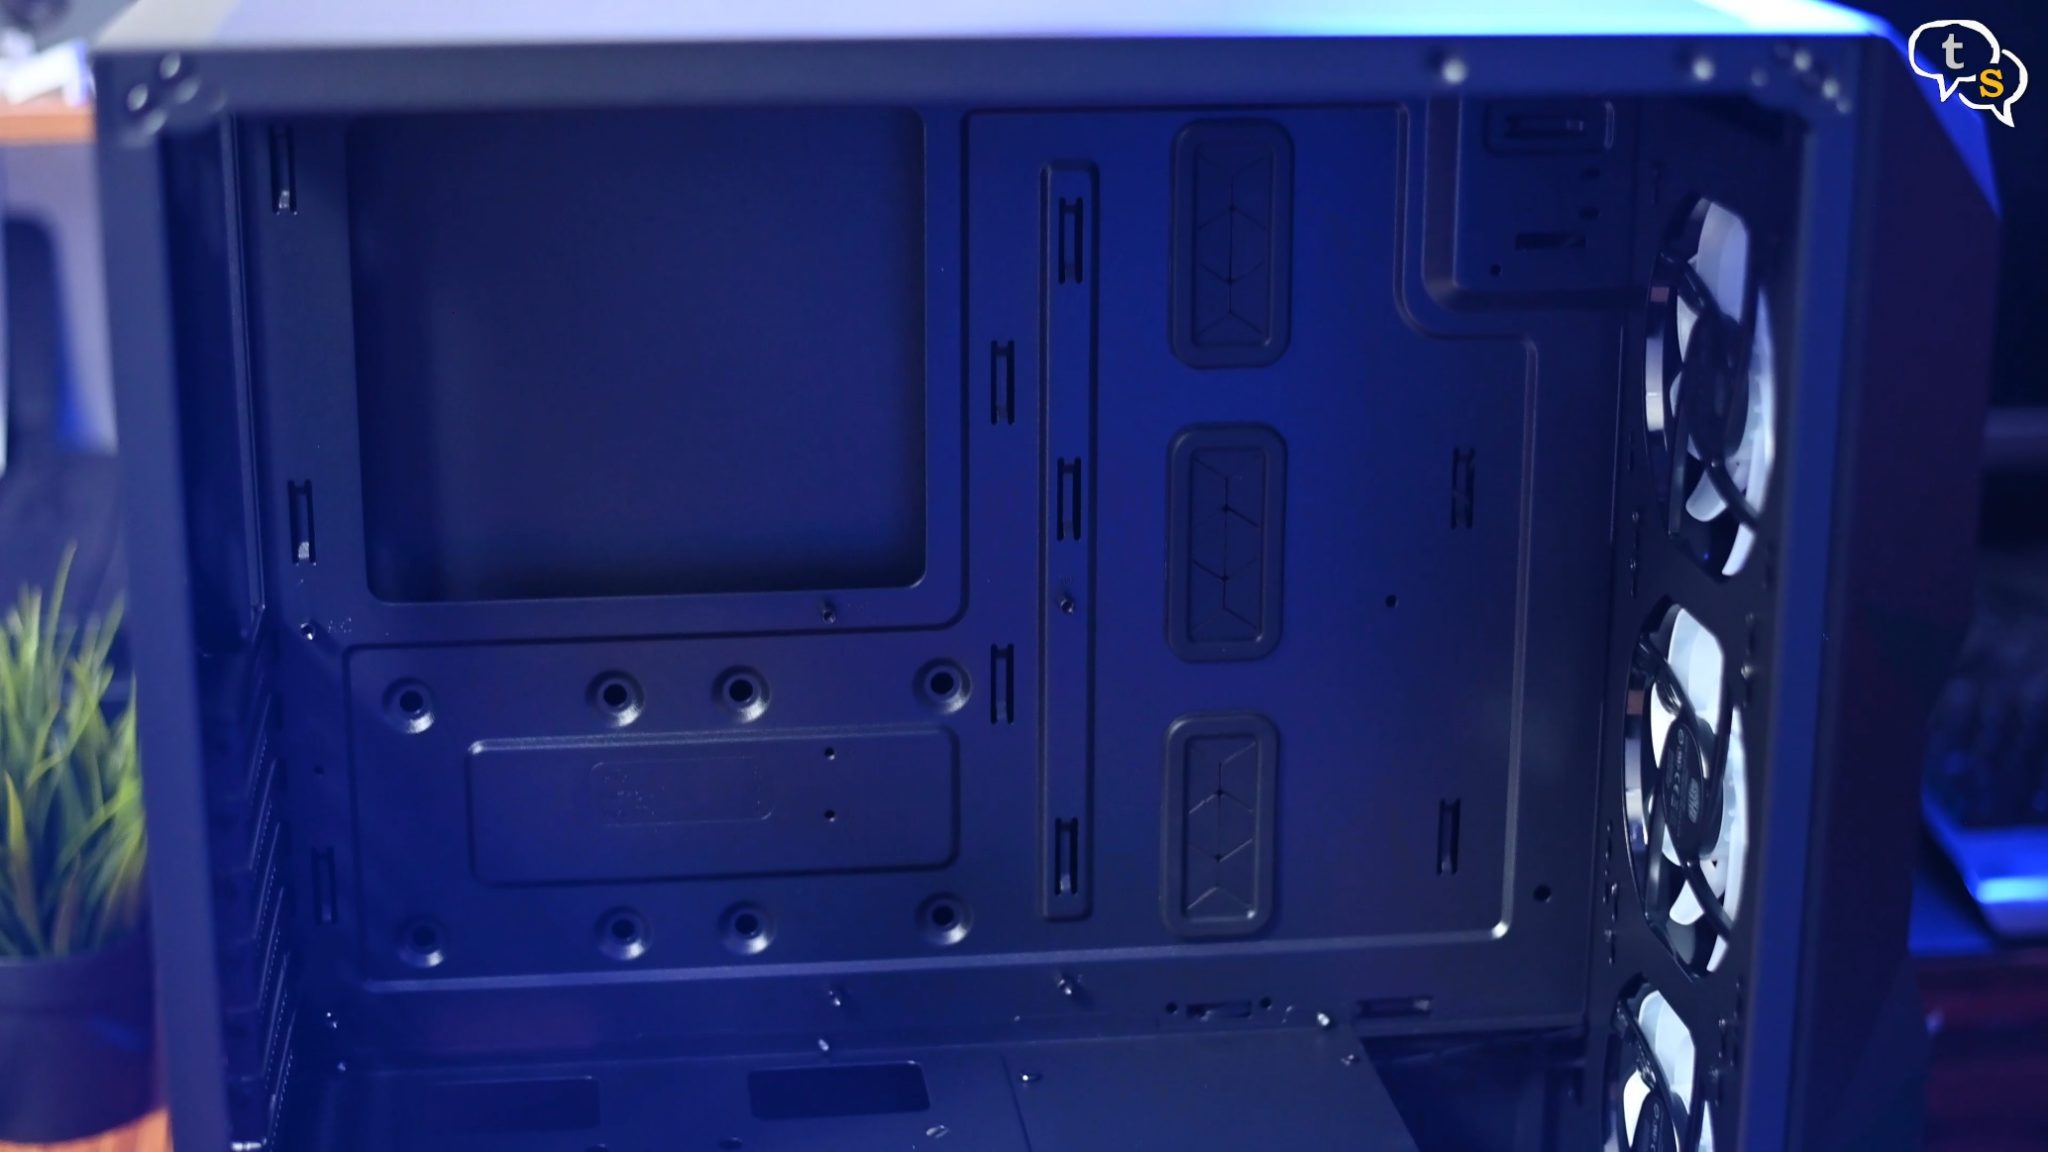
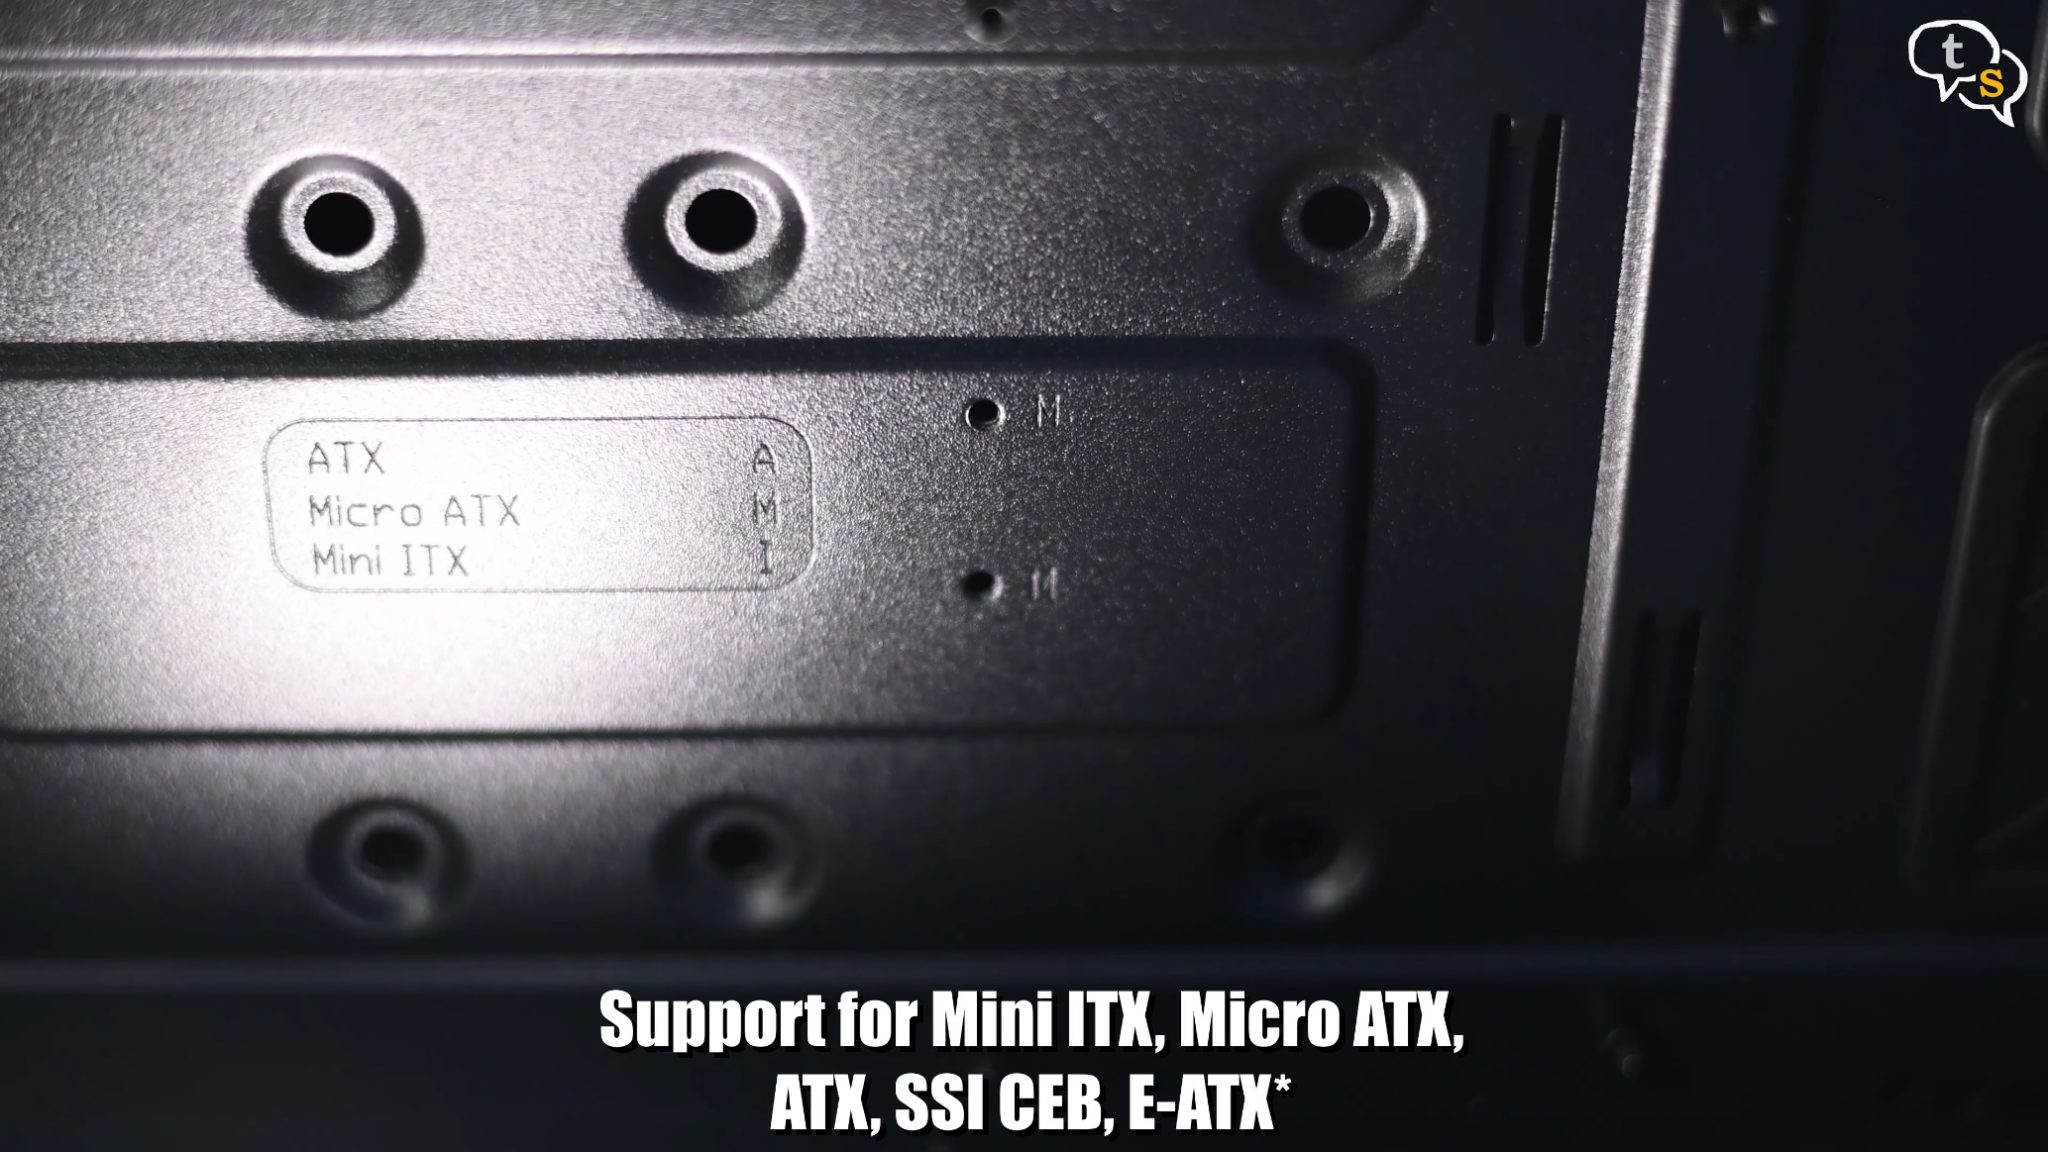
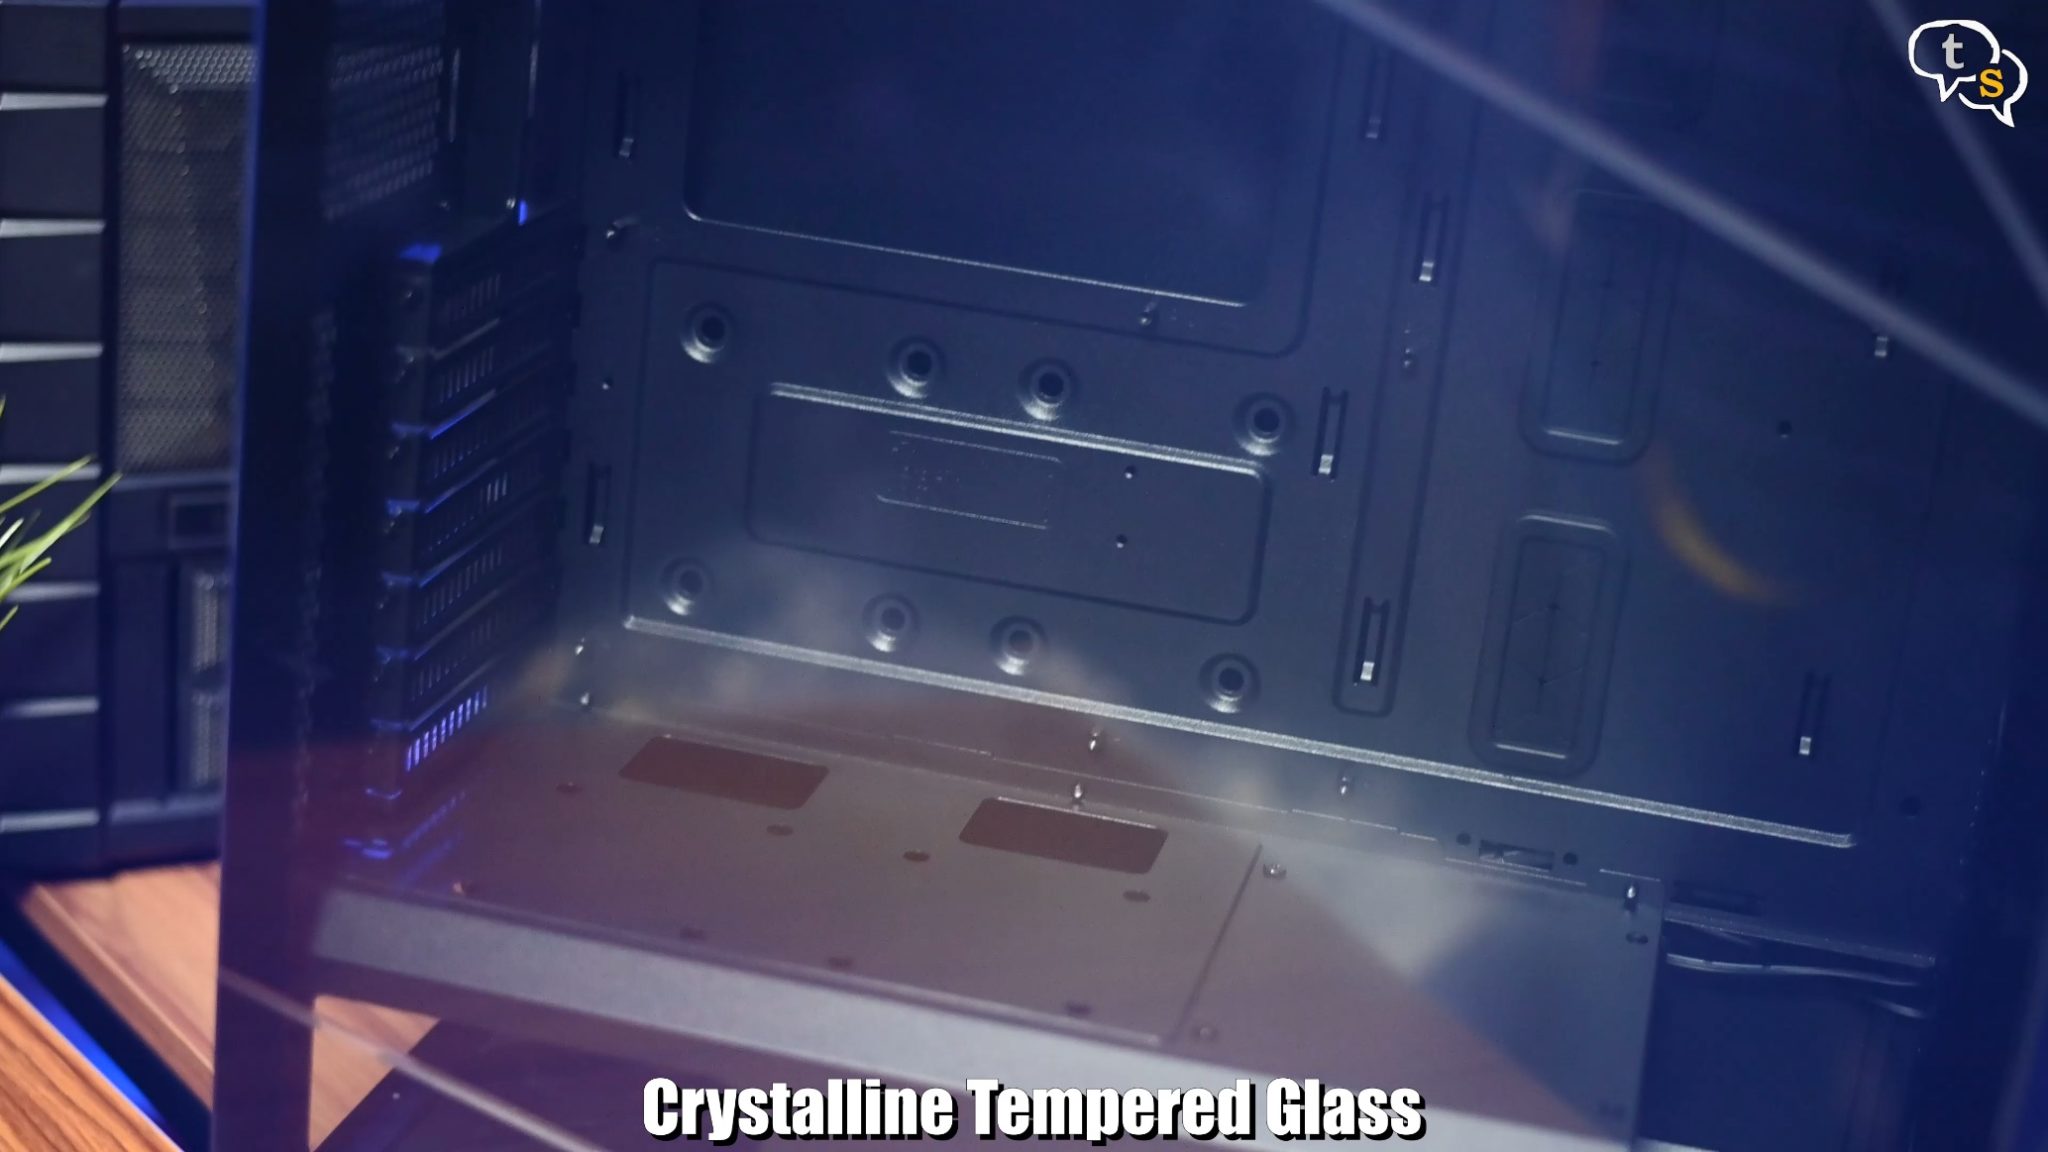
The inside is spacious with support for ATX, micro ATX and Mini ITX motherboard.
Rubber grommets are present to allow to run cables through for cable management.

This is how the fans look on the inside.
A nice little touch is the screw holding the side panel in place where the thumb screw is meant to stay in place on the side panel after detaching it from the body.
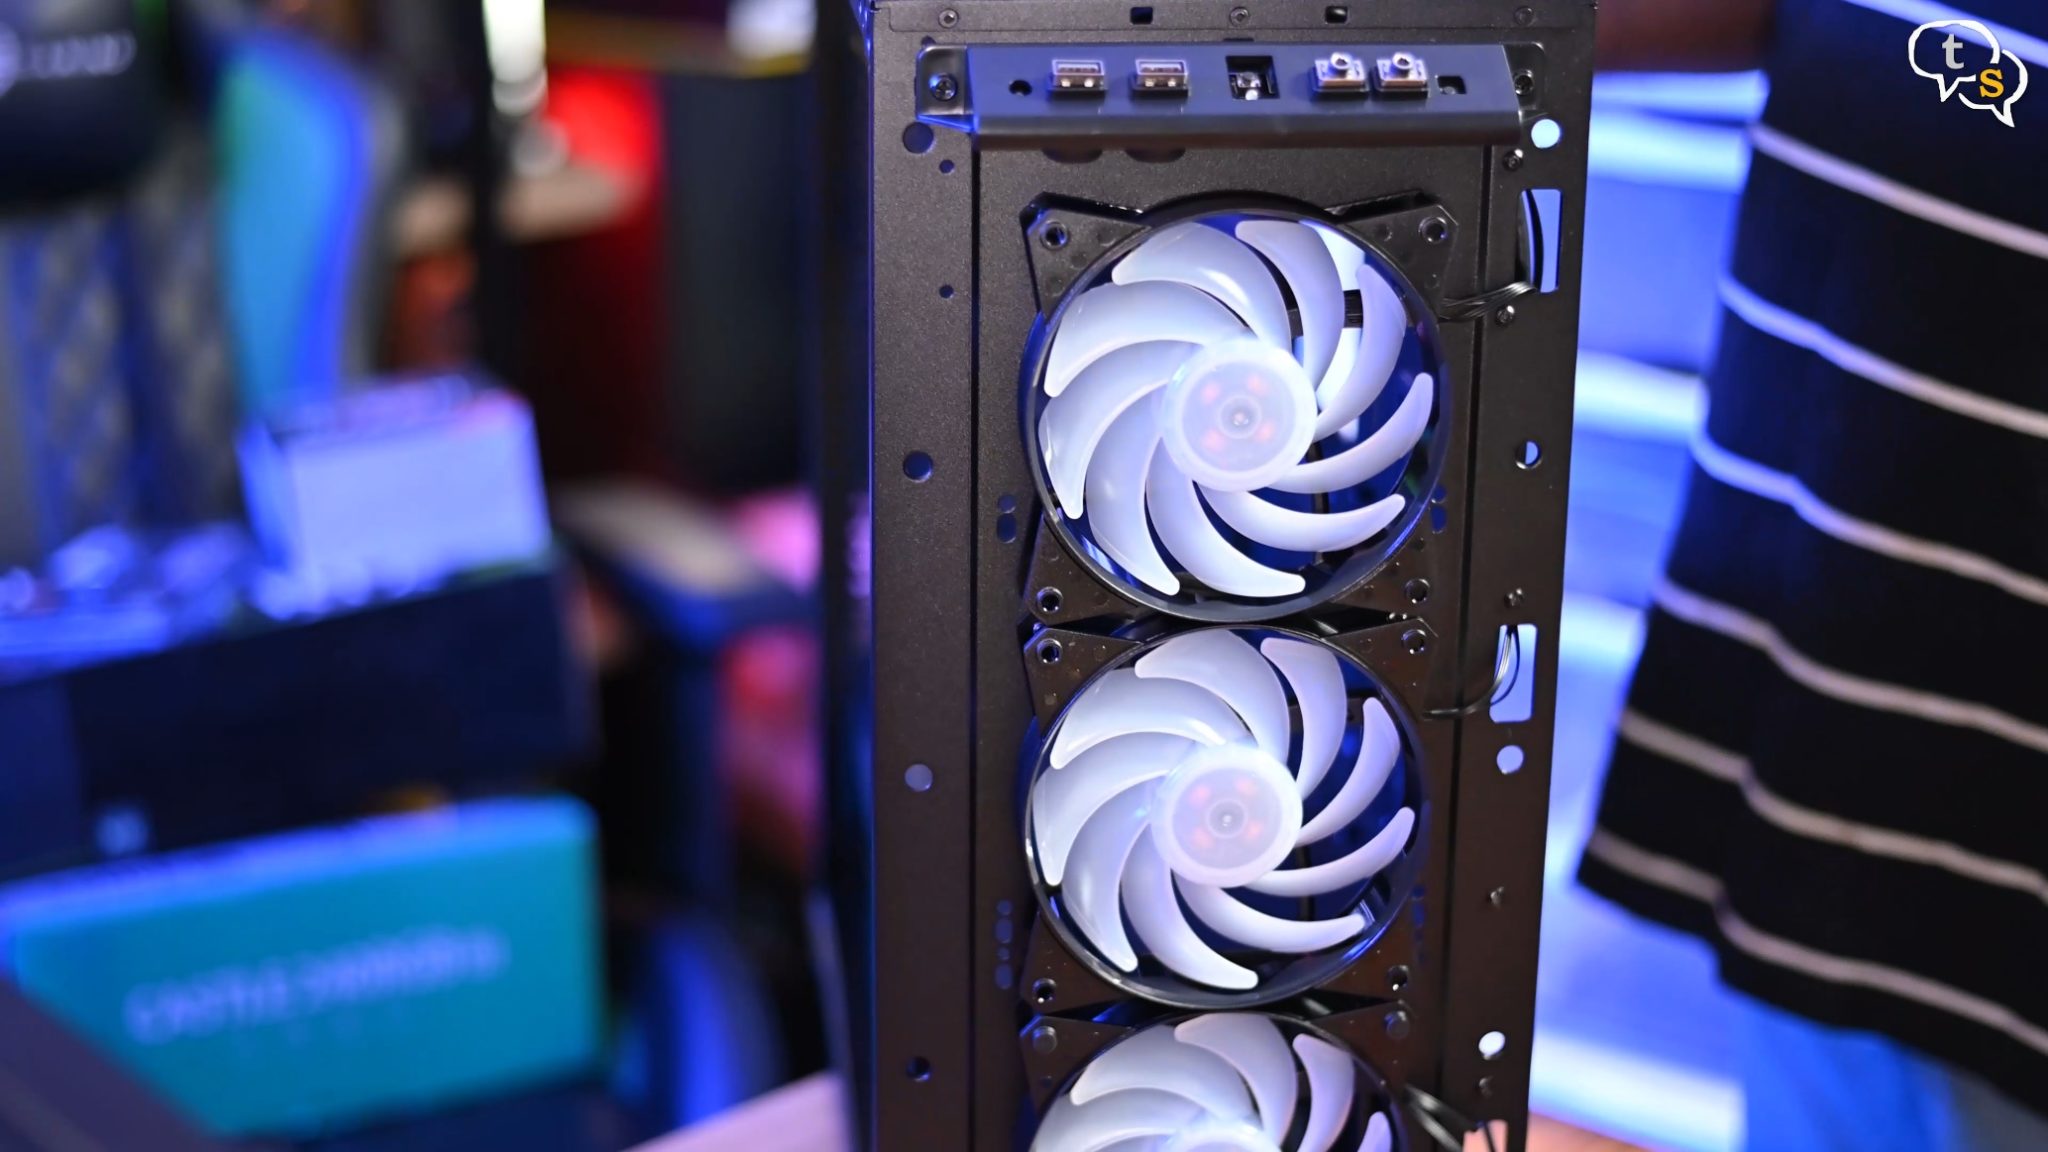
The front of the case pops off with a firm tug allowing access to the fans if you want to replace them. The front IO is separate from the cover so no worries of disconnecting anything when opening it.
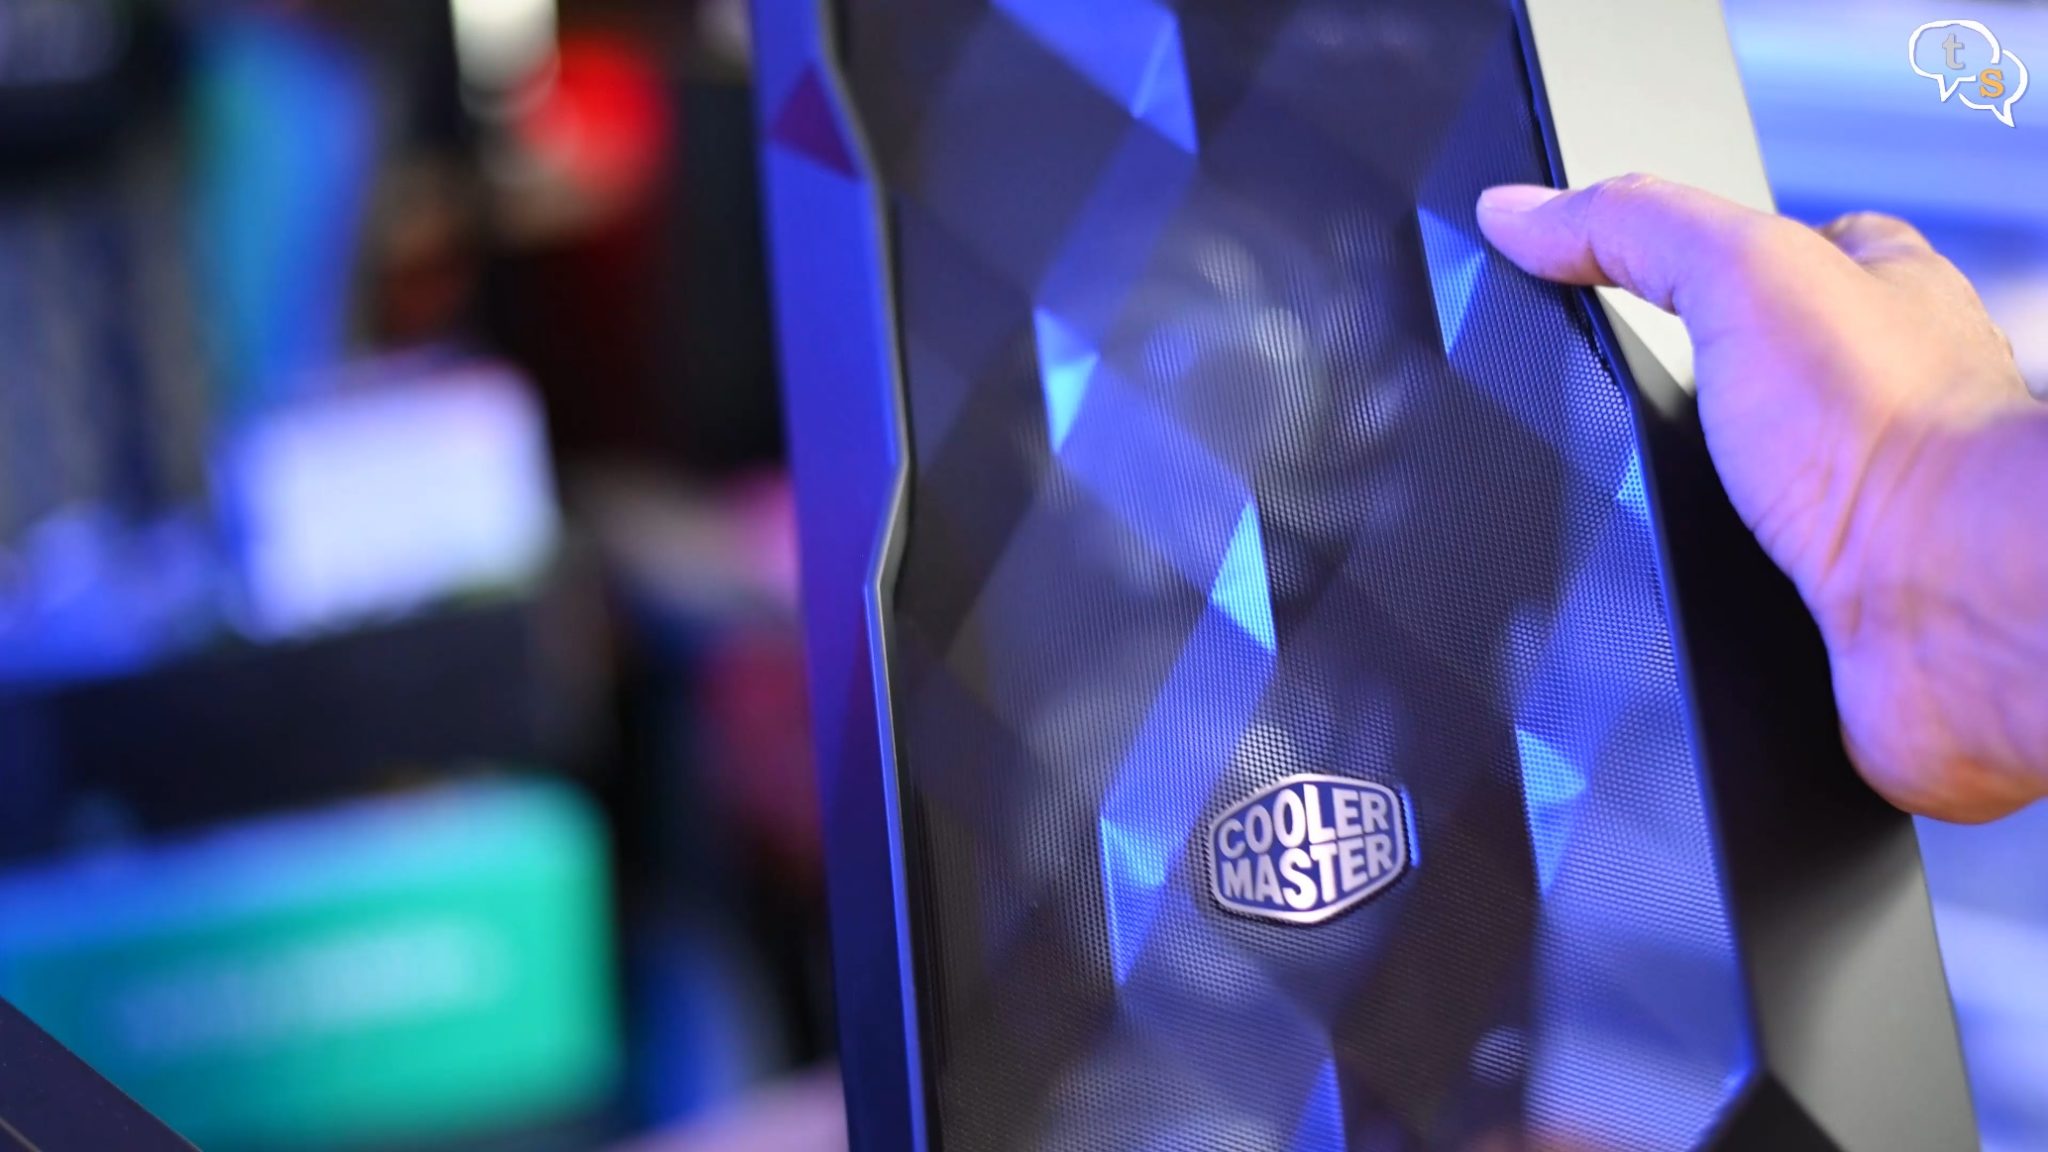
The mesh looks really cool when the light hits it, can’t wait to see how it reflects RGB light.
Fans, and how the IO looks once the front cover is off.
 This is the back of the case.
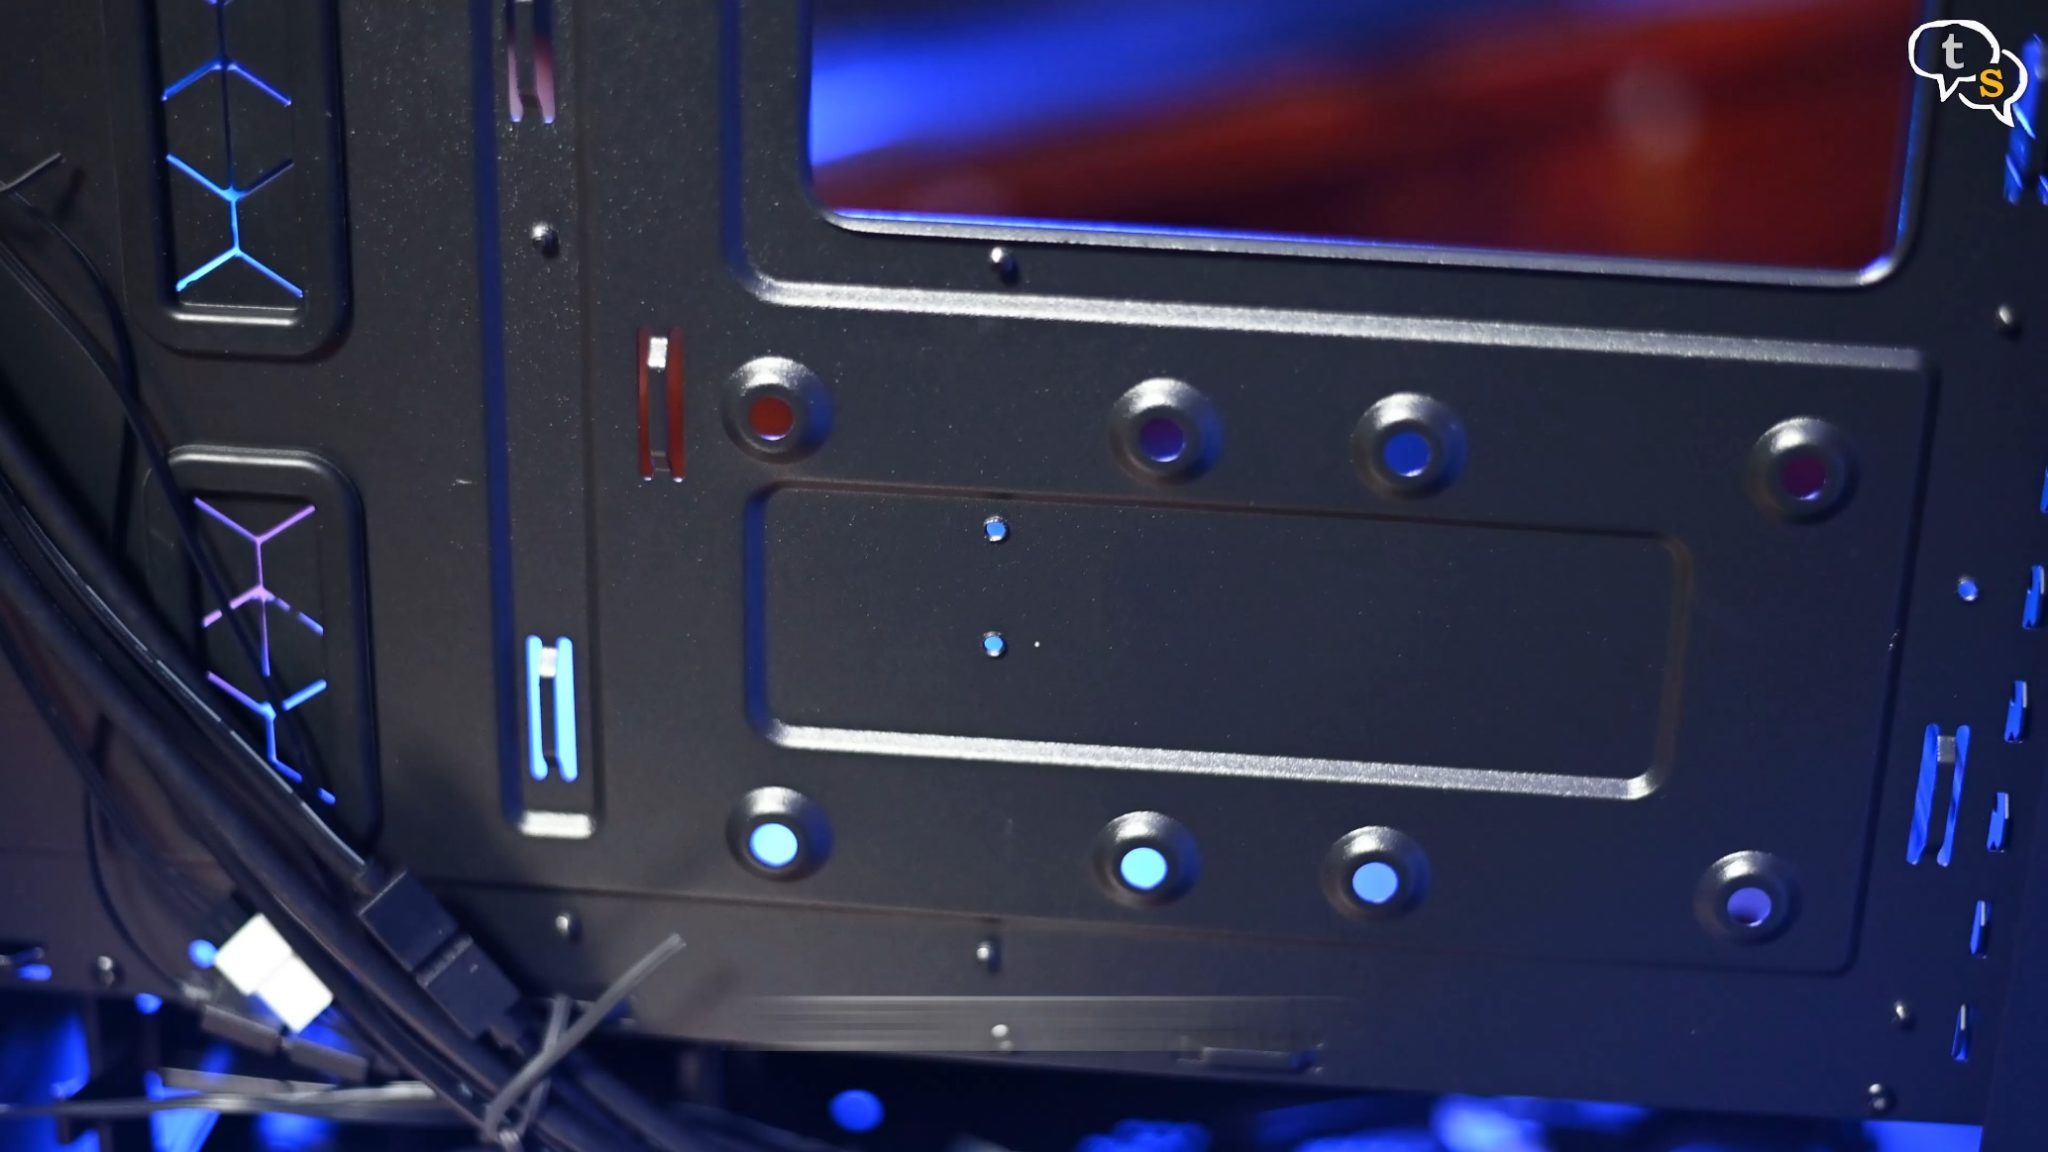
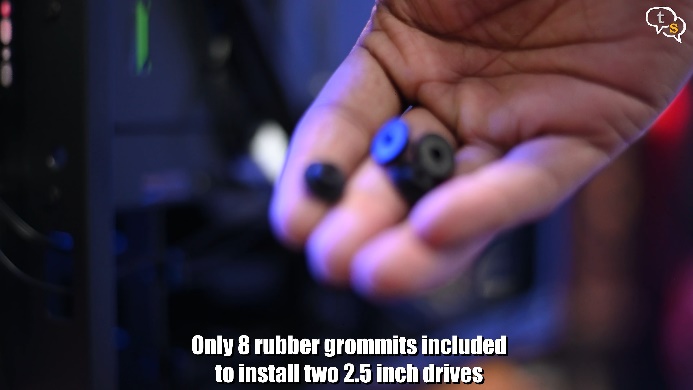
These holes are to mount 2.5 inch drives, the case does come with rubber grommets but only eight of them meaning you can only mount two 2.5 inch drives.
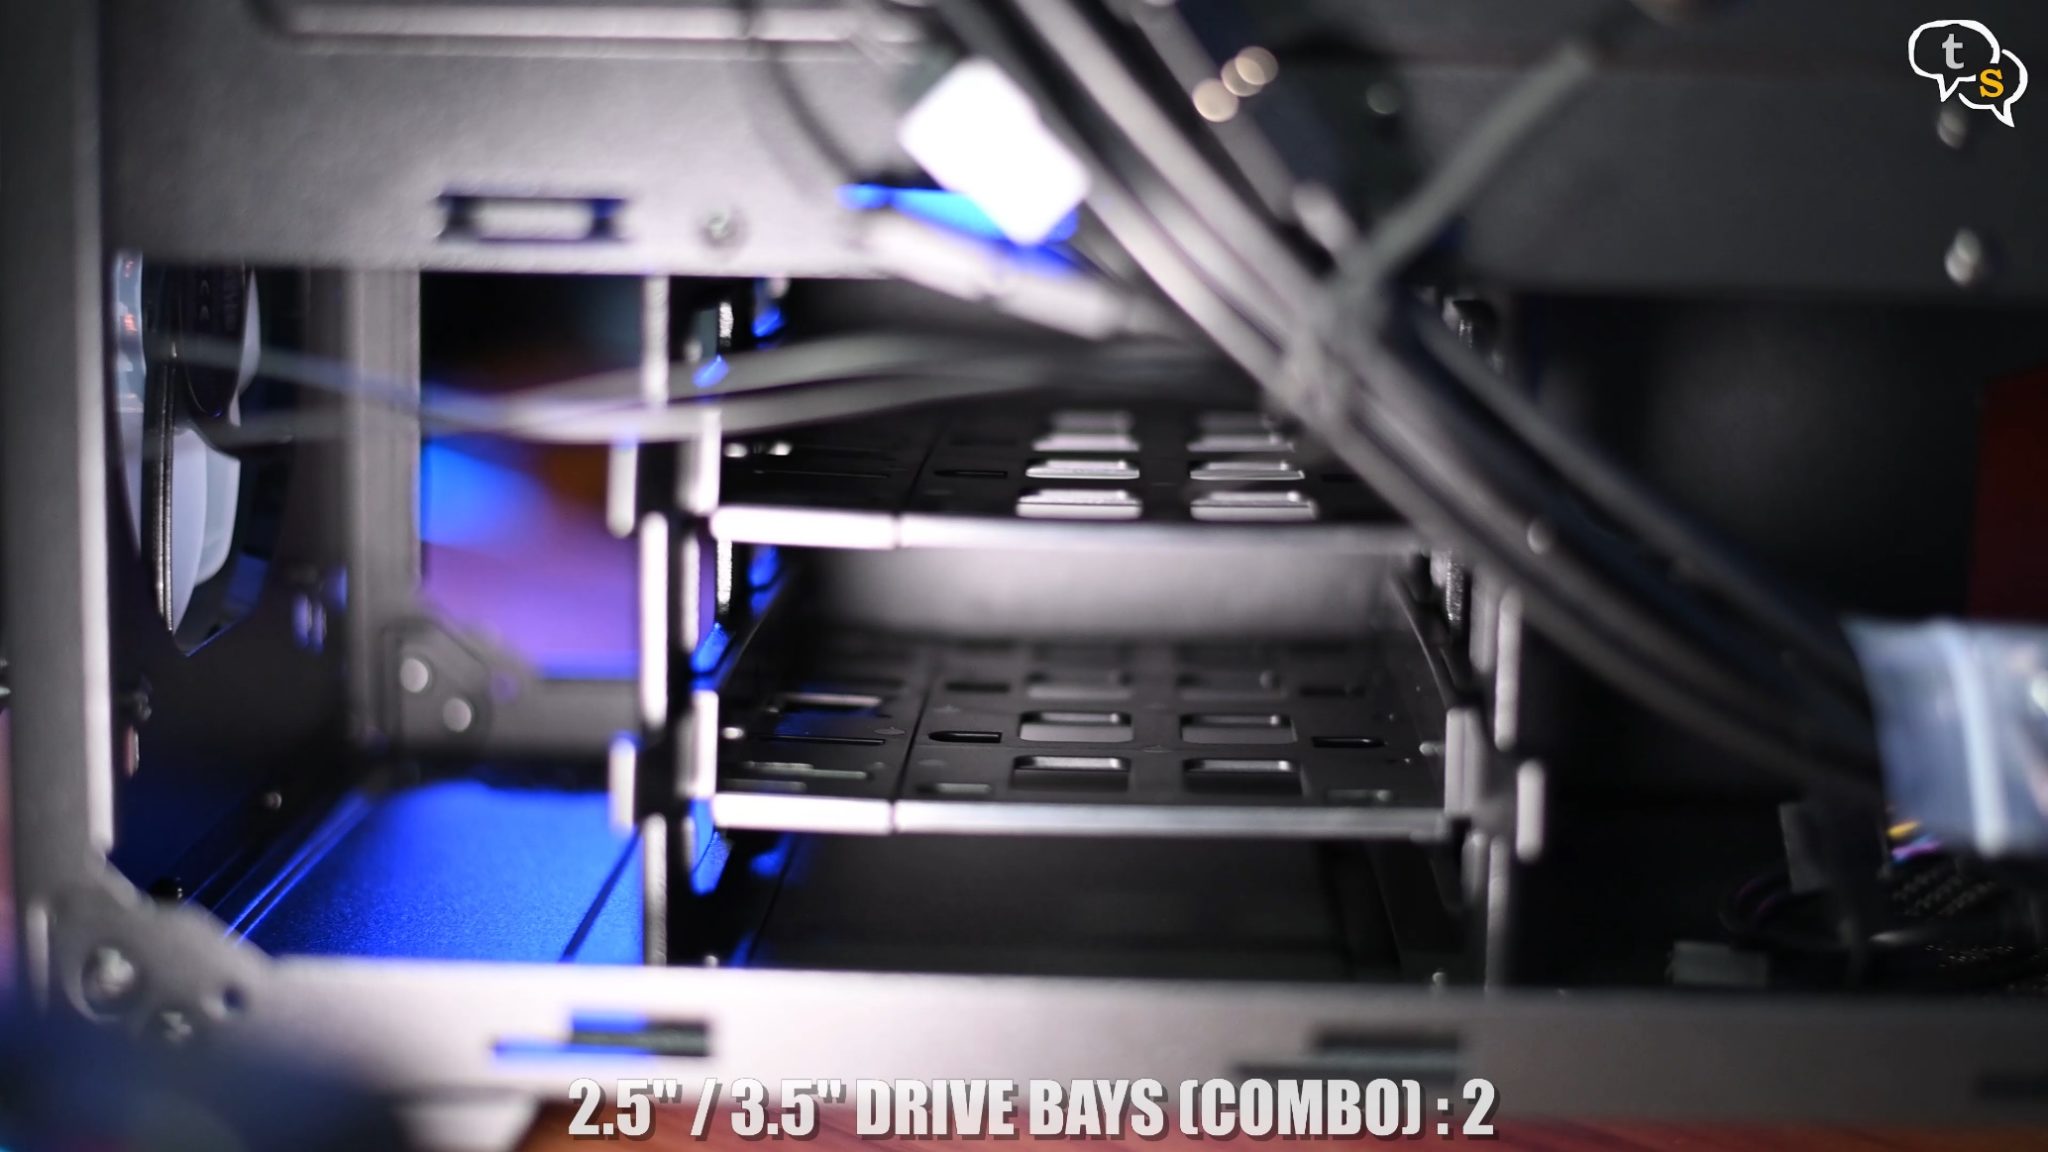
We have two 3.5 inch hard drive bays right next to the PSU.
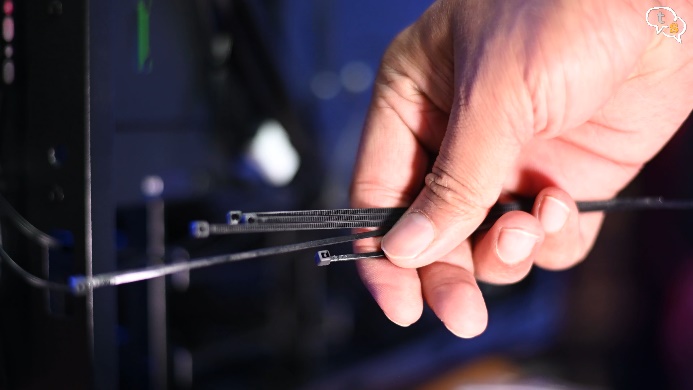
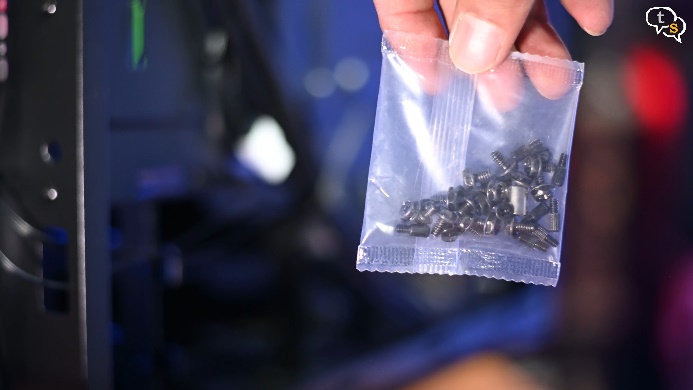
In the box we have zip ties and screws, and these are the rubber grommets for 2.5 inch drives.
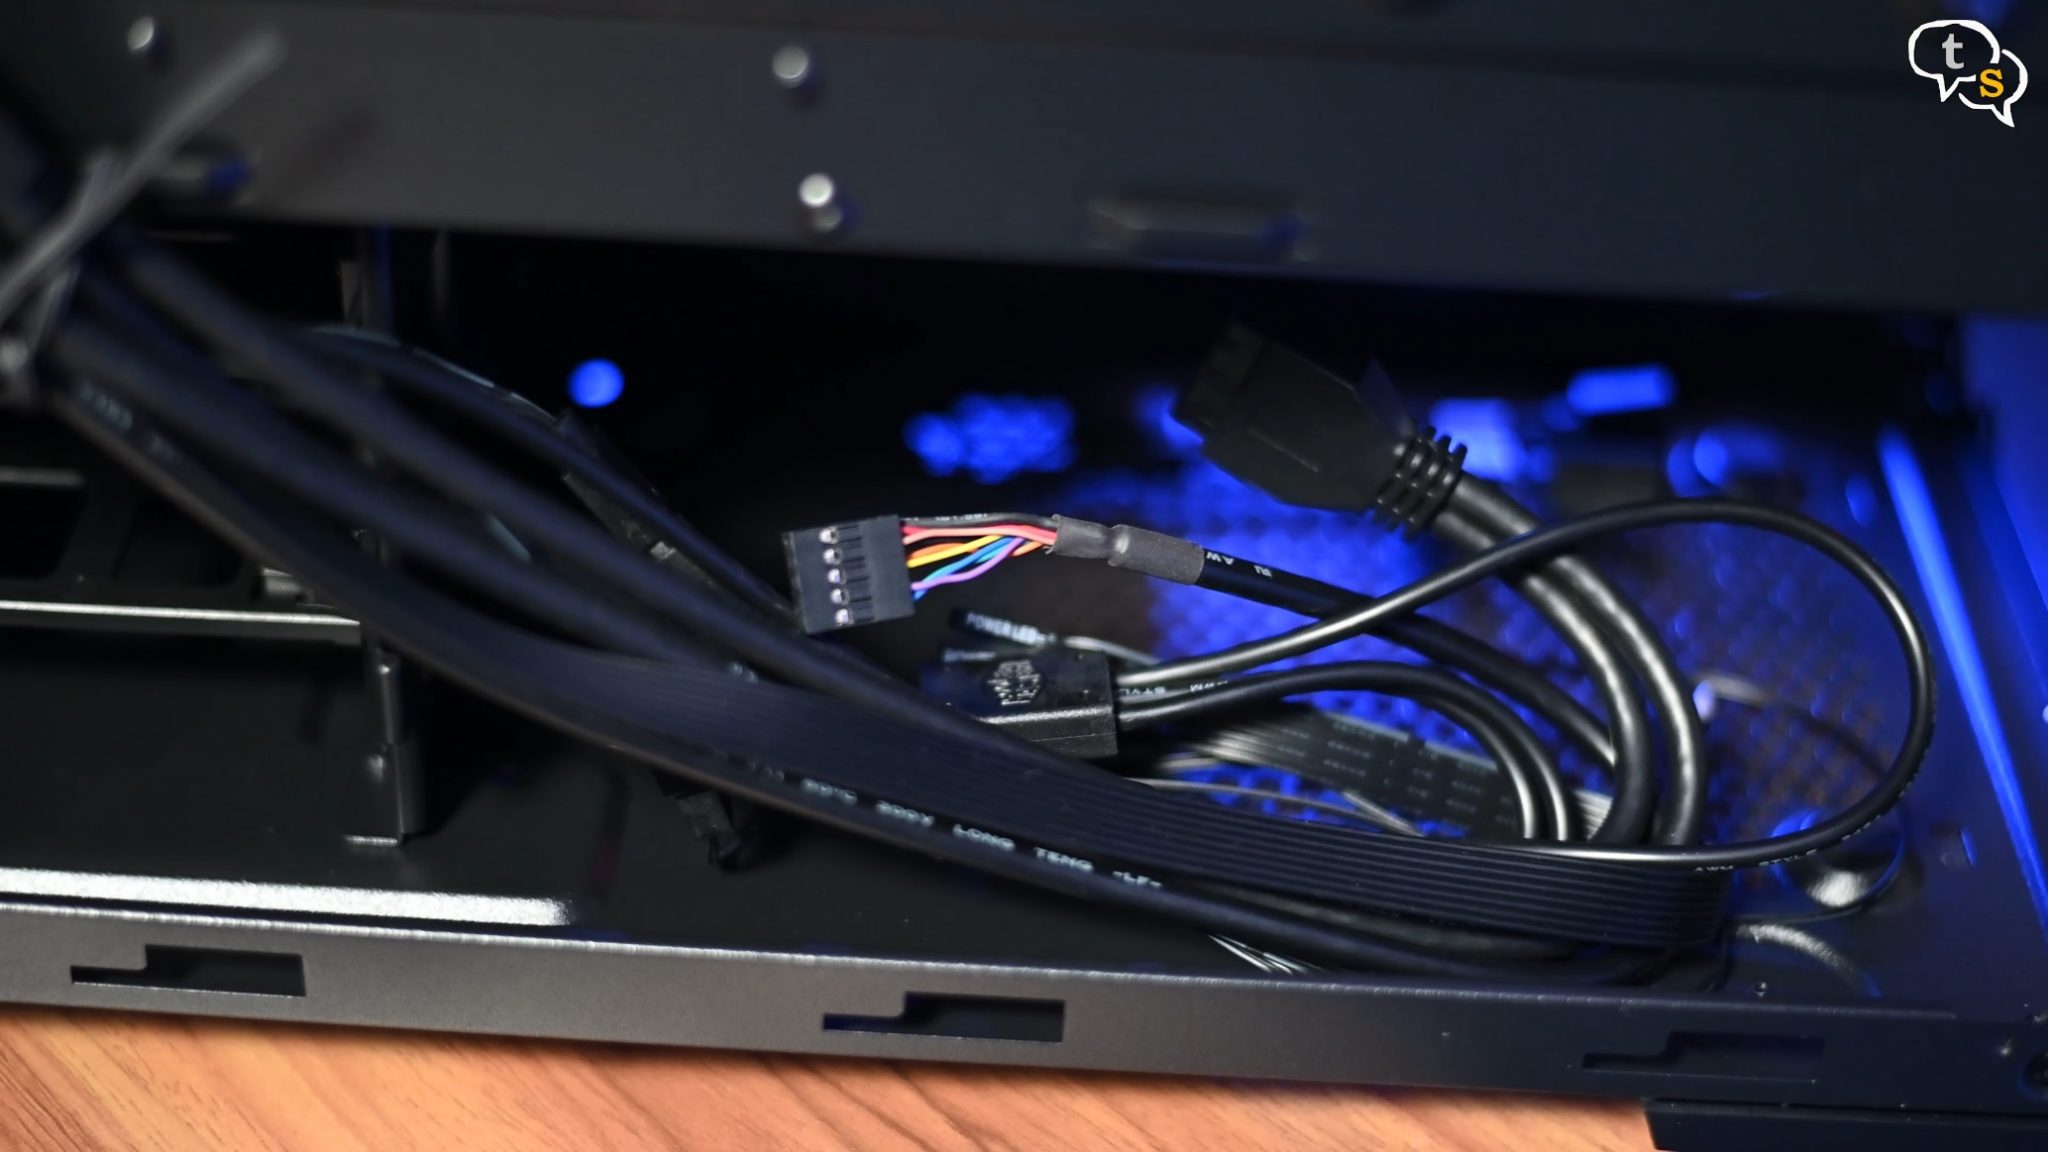
Cables for front io, RGB and fan control are present within.
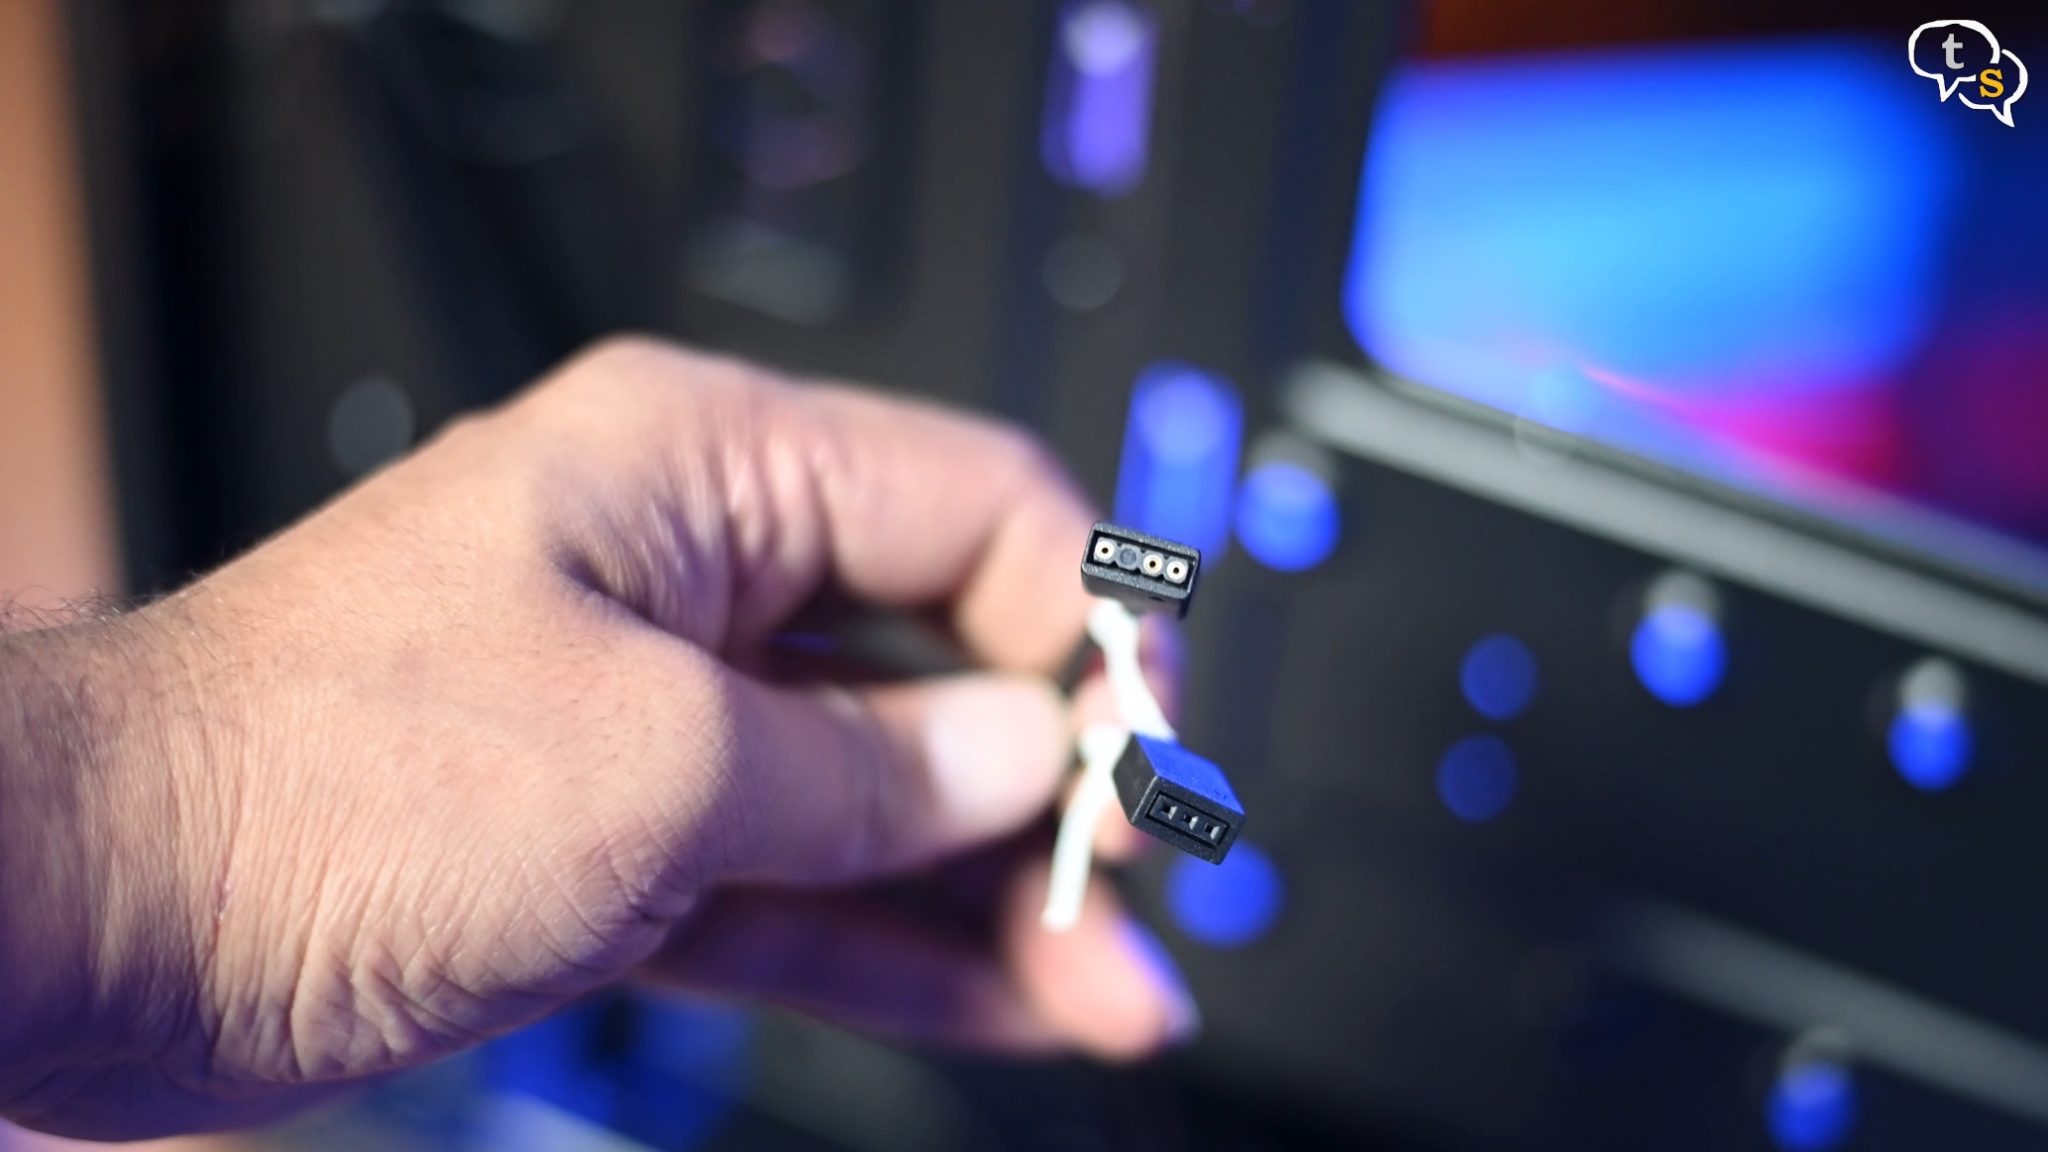
This is the fans ARGB header,
and this is for front USB.

This is the back, we have rubber grommets for cable management and hooks for zip ties.
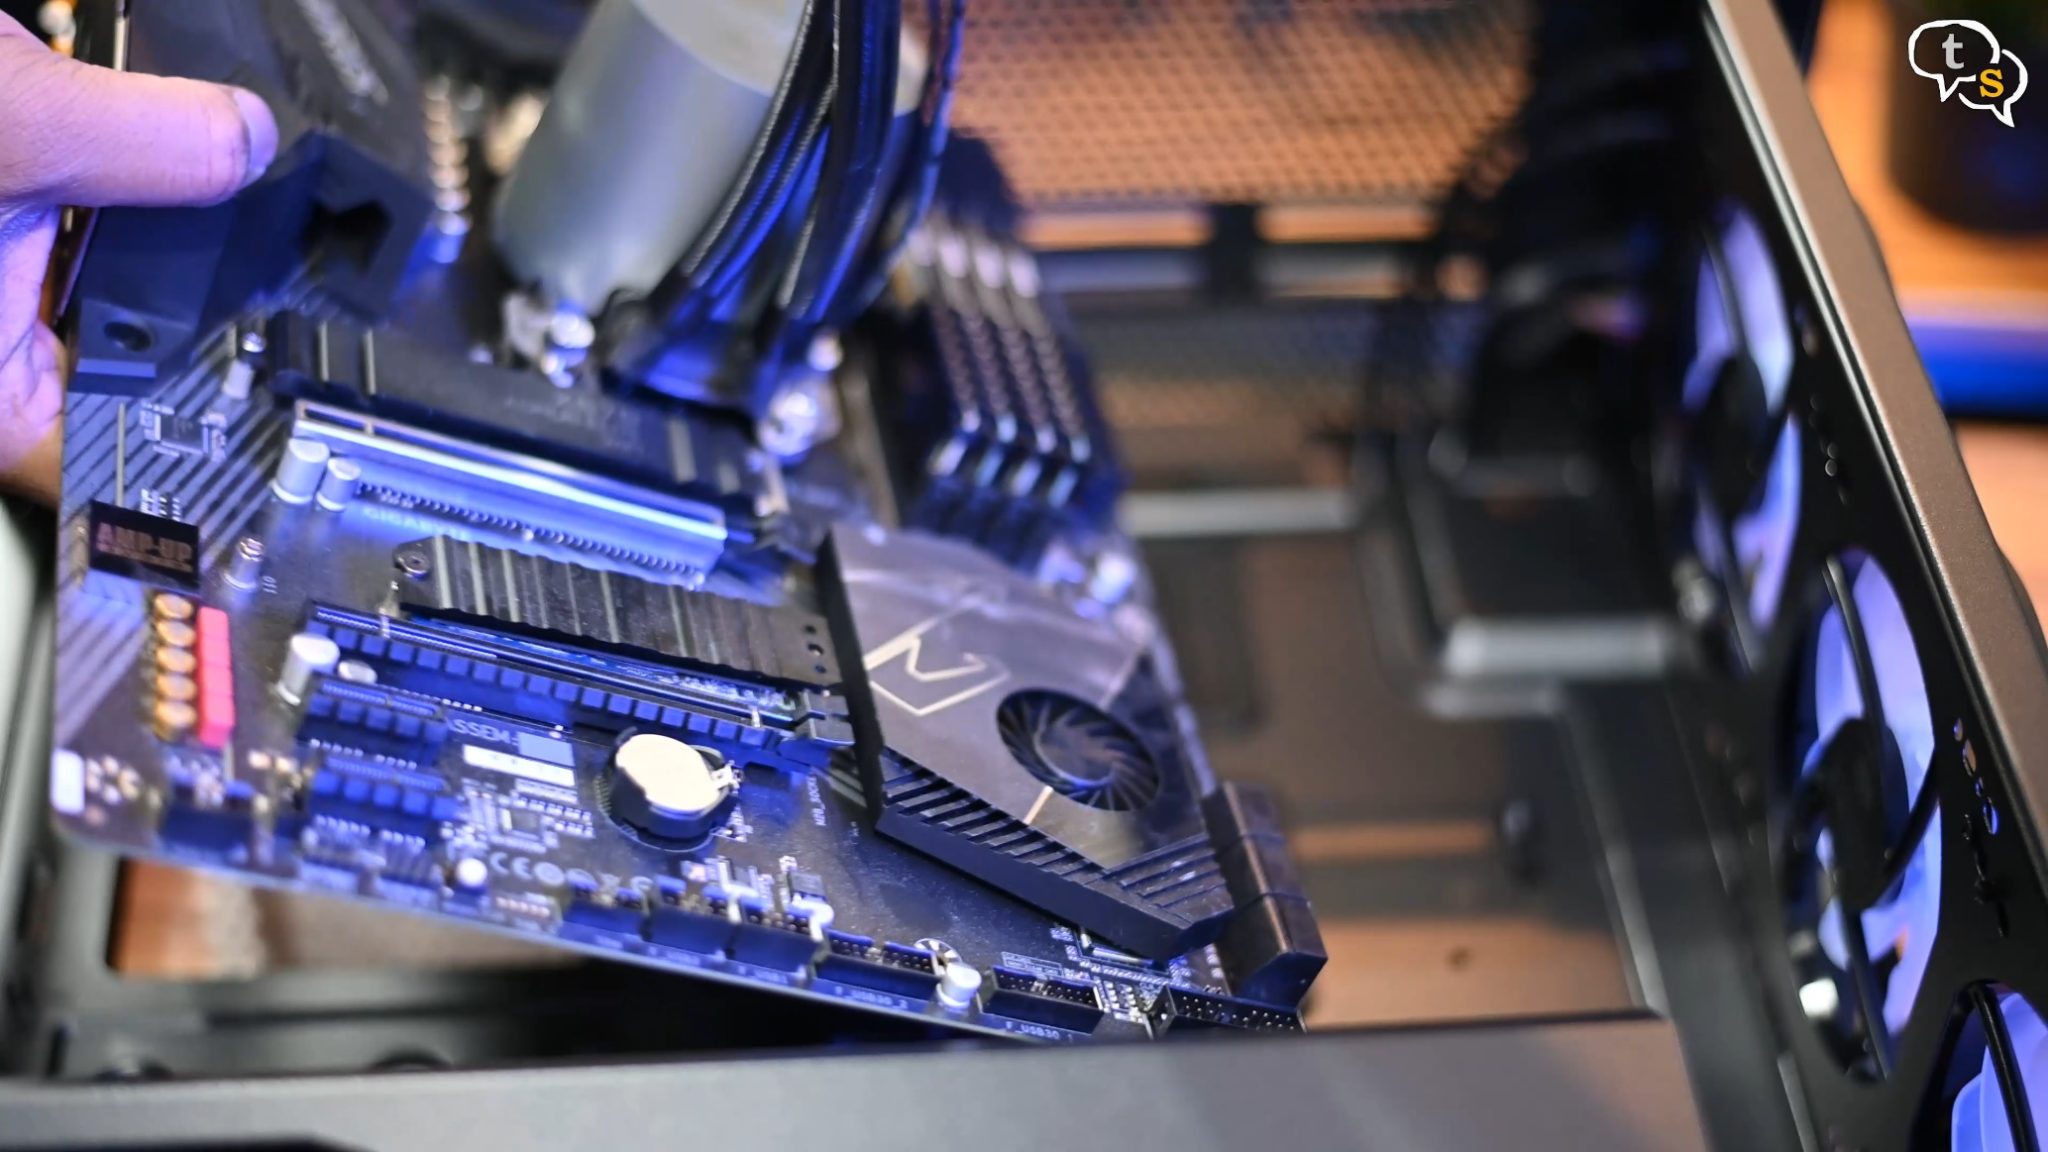
As I’m transplanting the motherboard out of the older case, I left the AIO installed.
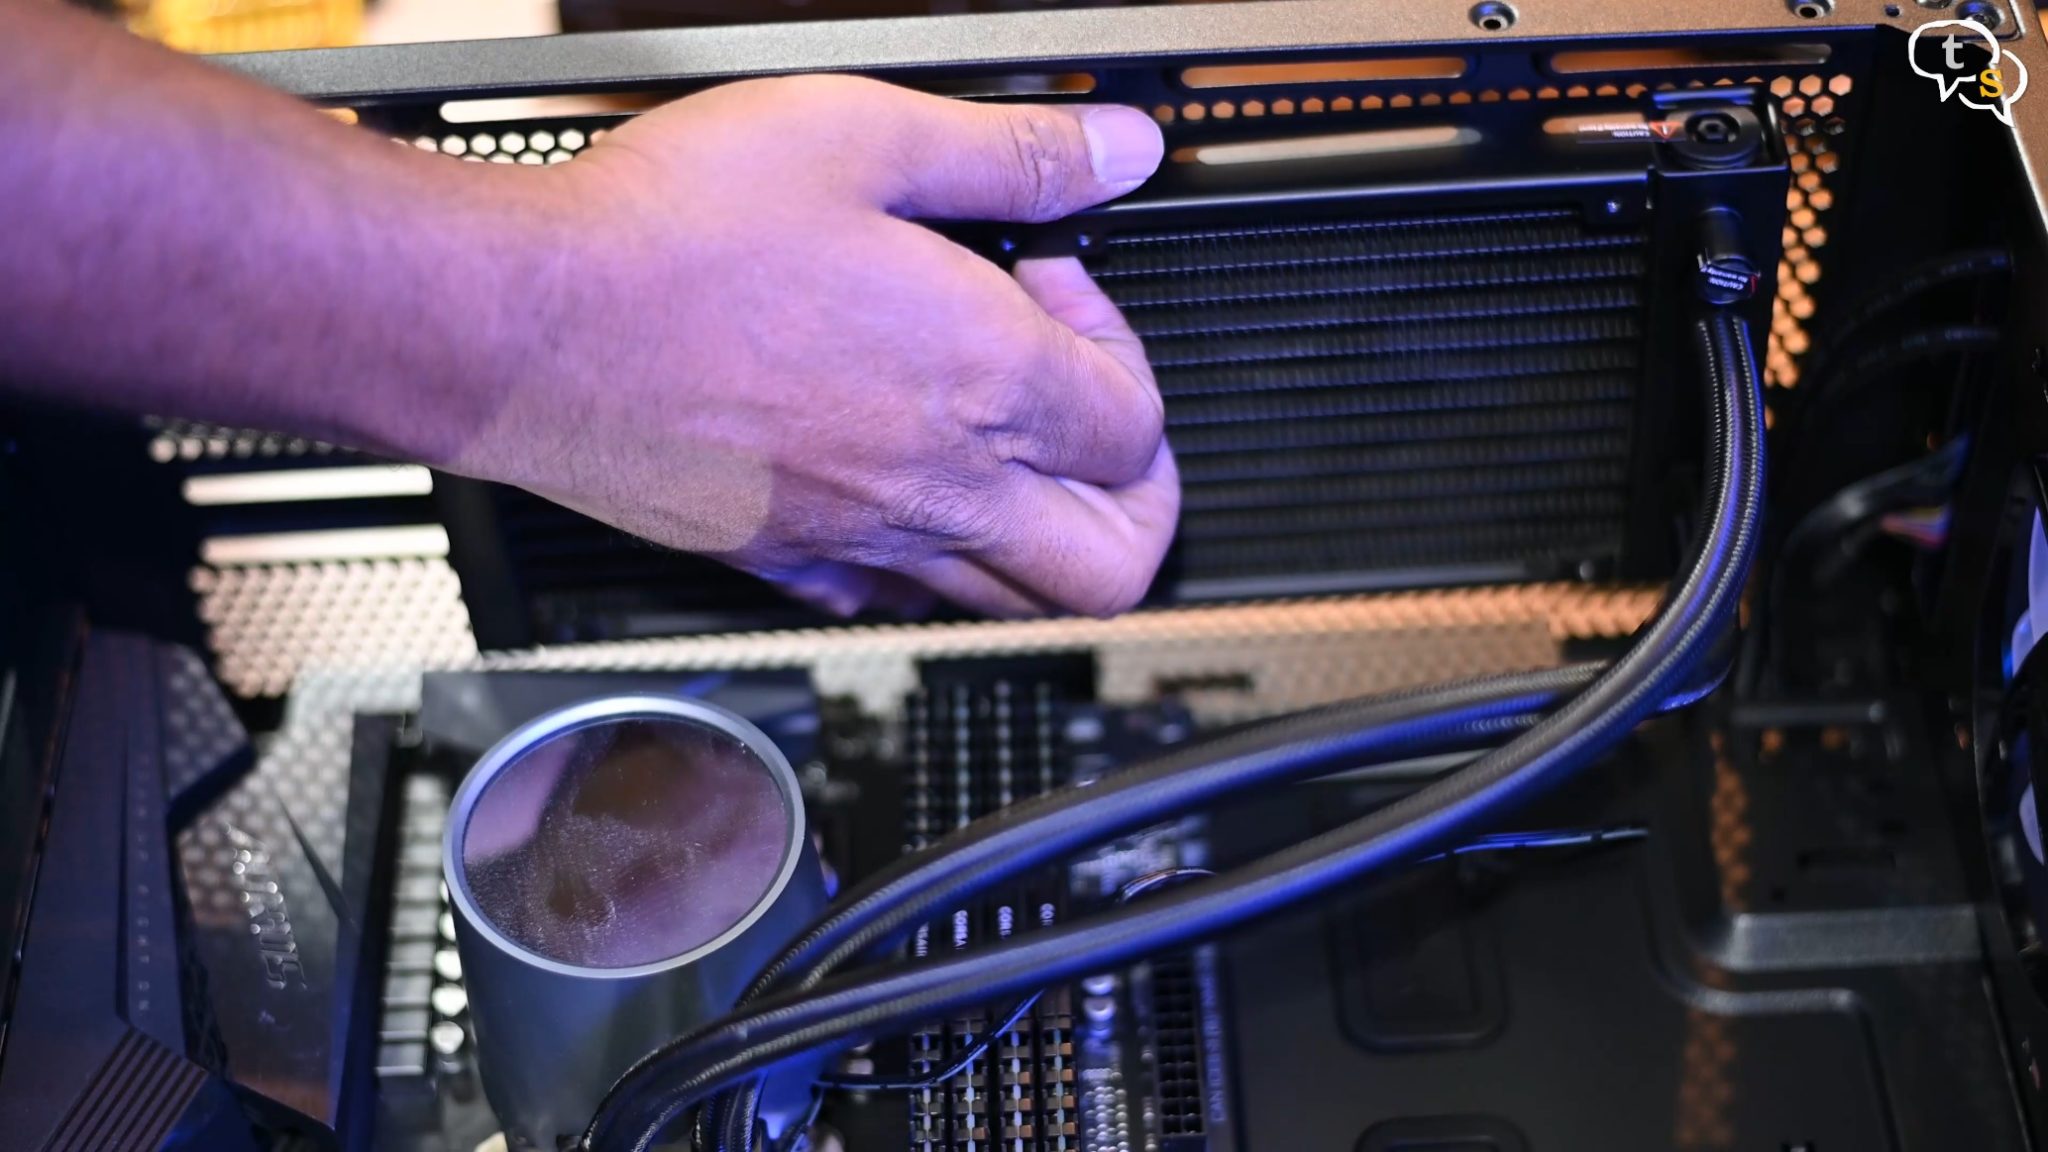
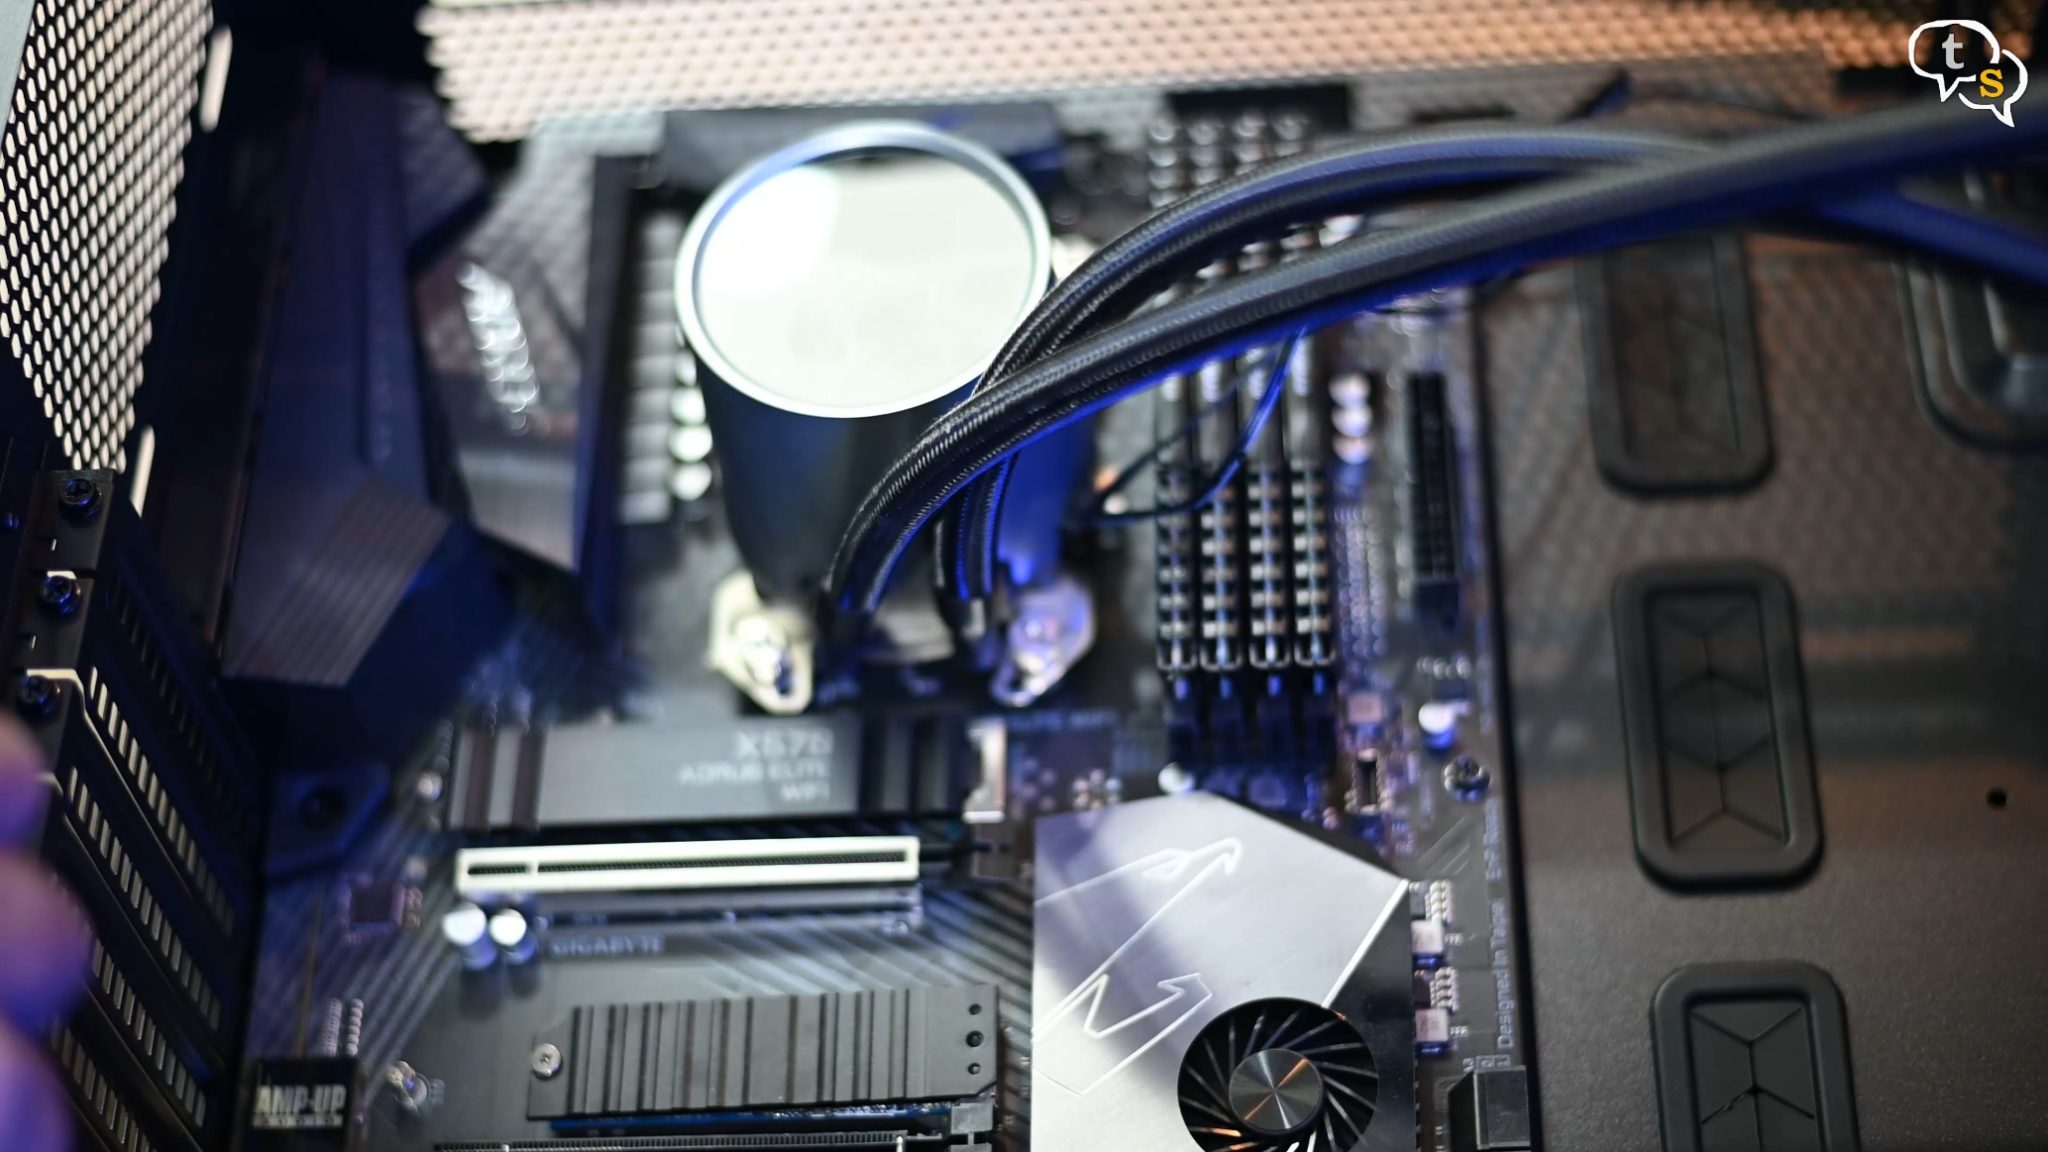
I will be mounting the AIO from above. There’s enough clearance between the motherboard and the top. But once the fans come in it would block the top area.
Screw down the motherboard to the case.
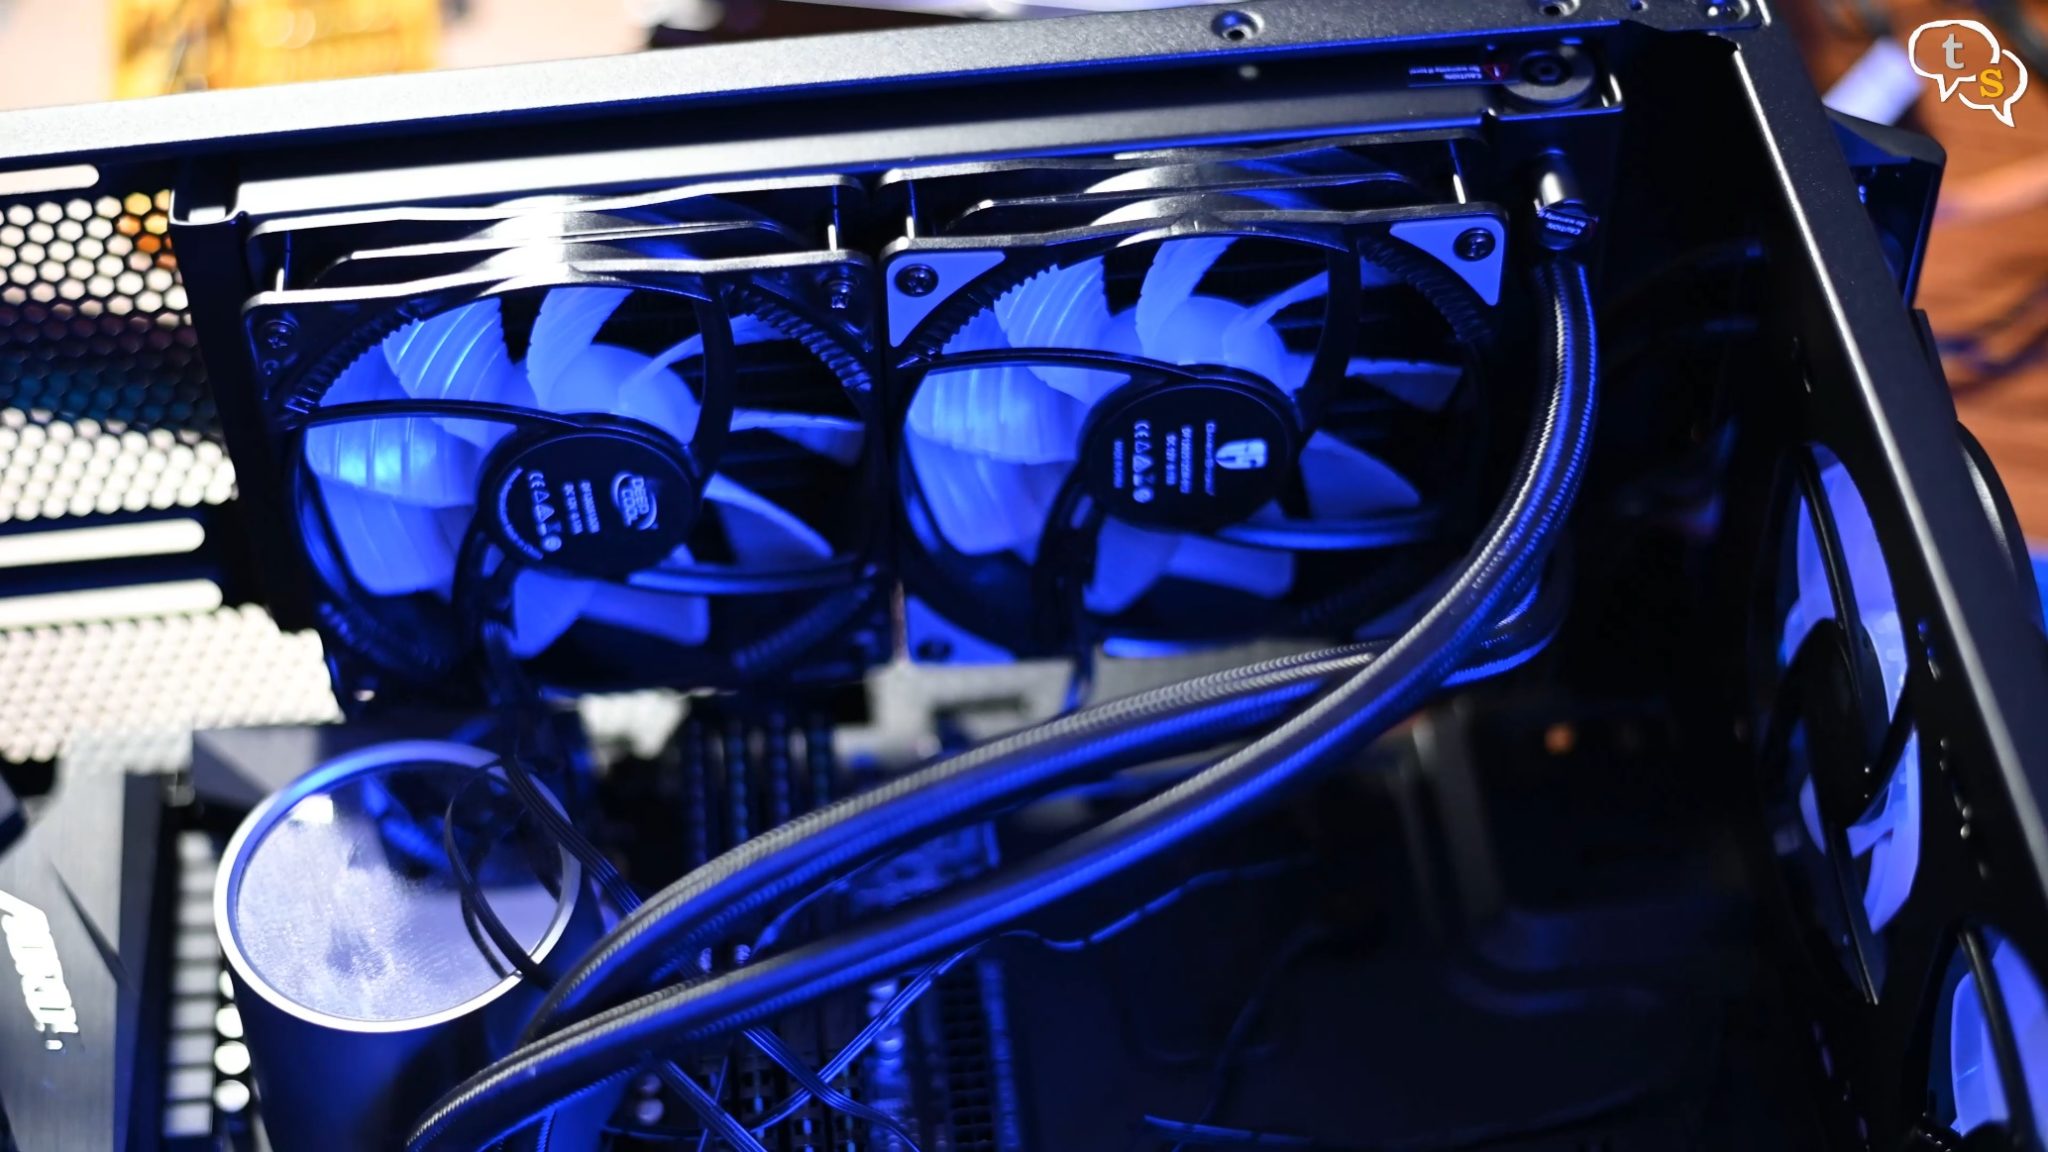
Mount the radiator and the fans onto it.
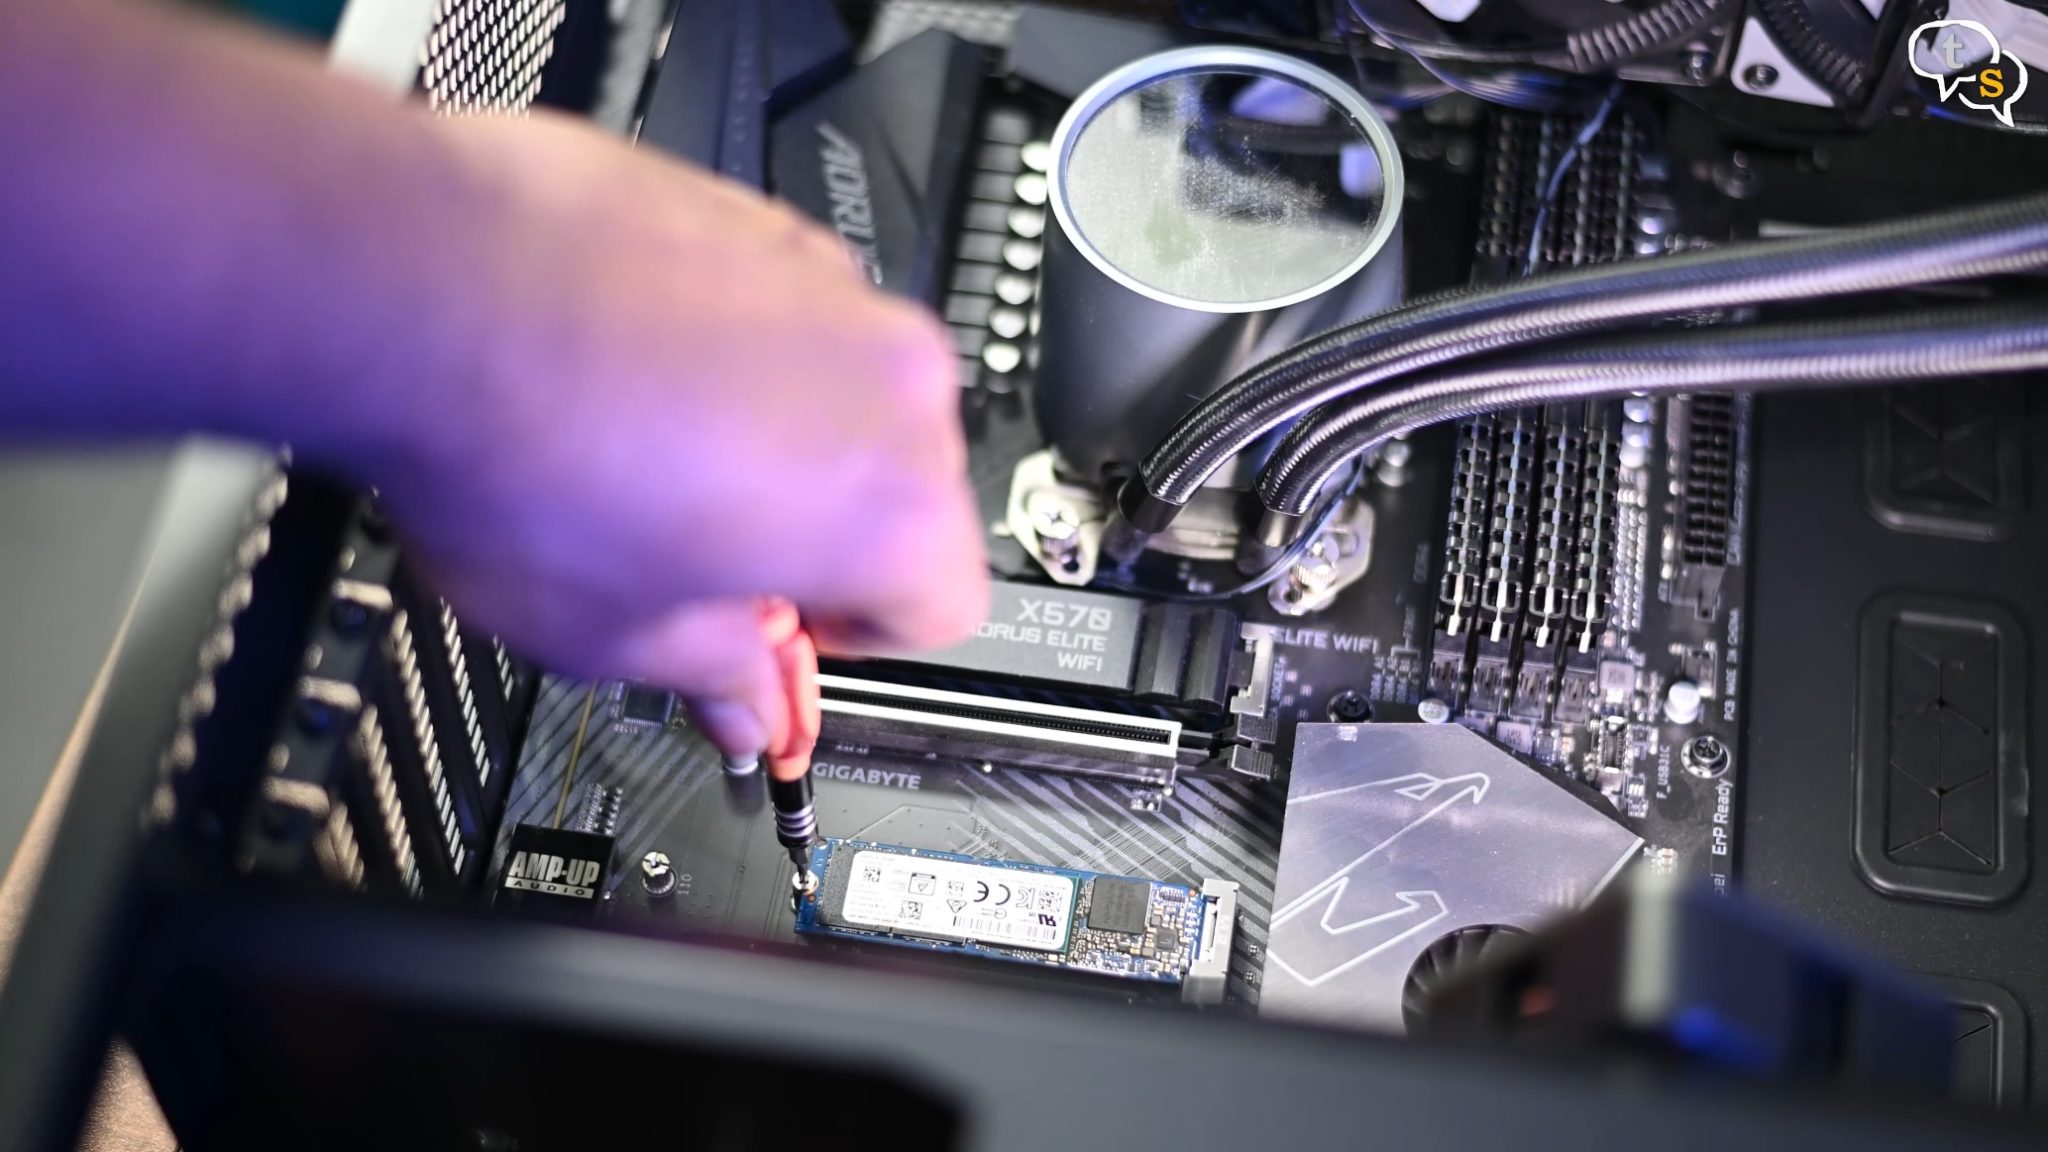
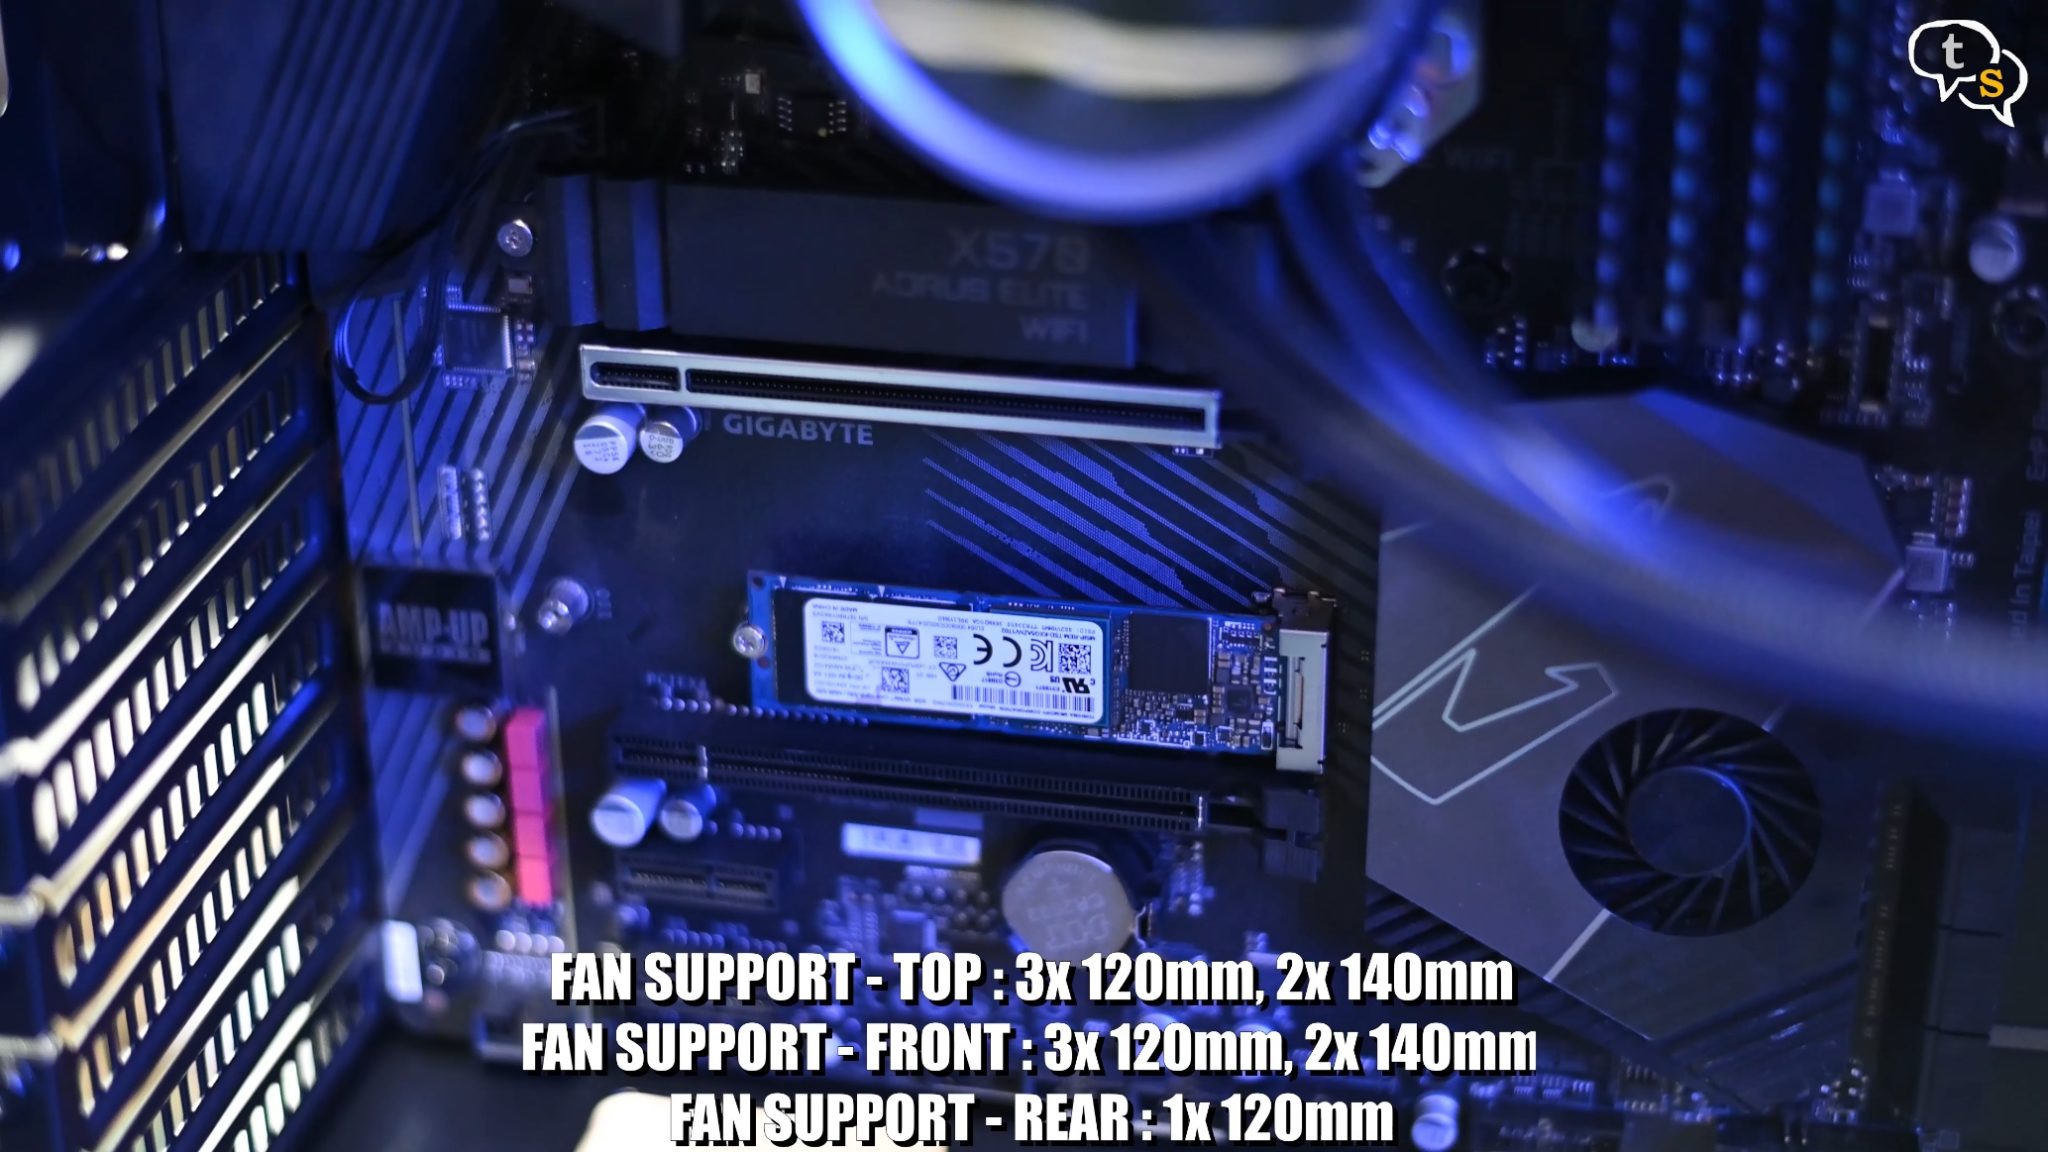
Mount the m.2 ssd.
This is how it’s inside and how much space the rad and fans take from the top.
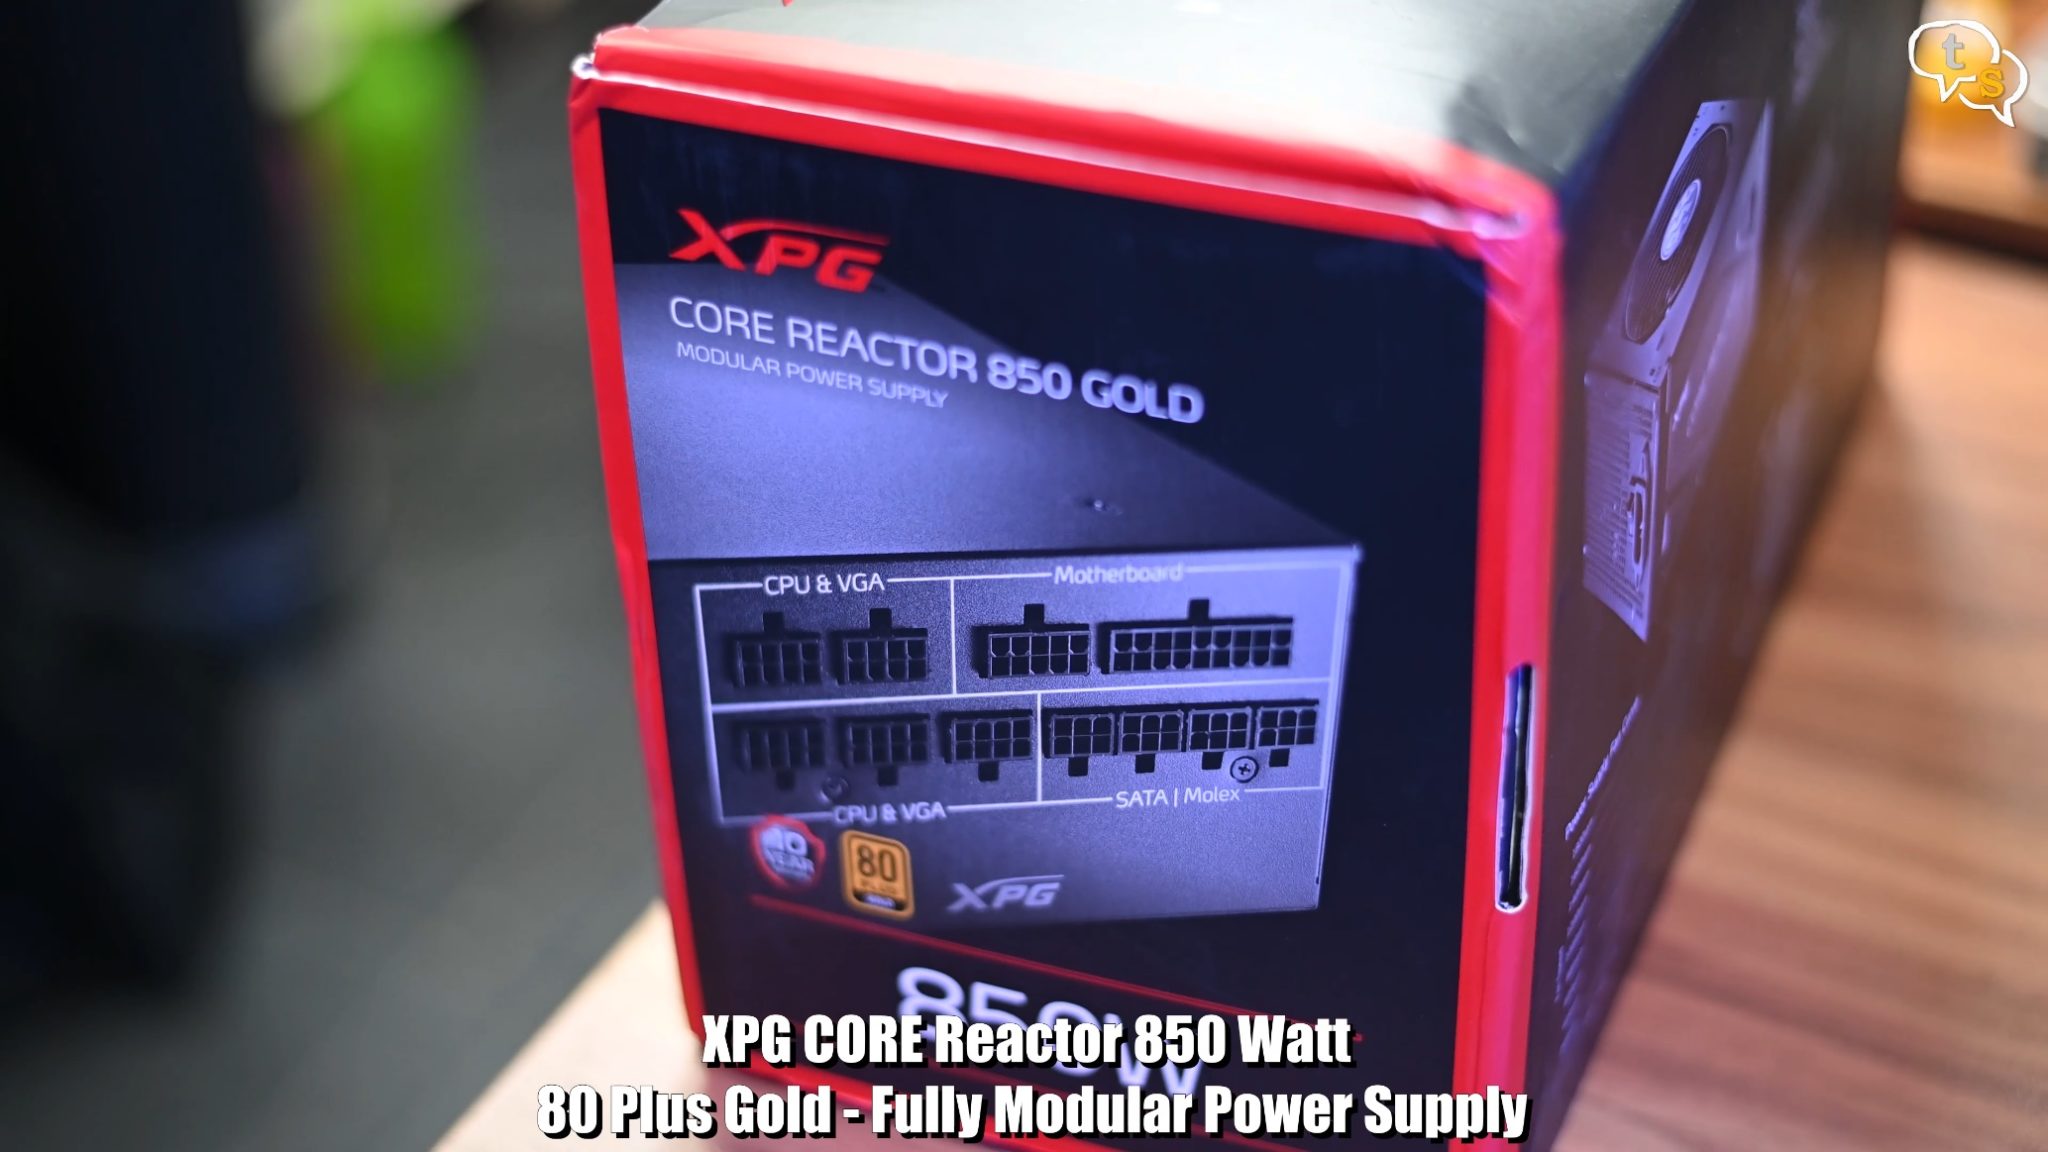
Next is the power supply, I have the XPG 850 watt 80+ gold PSU as I have powerful hardware. I would need to make sure to supply enough power to the components.
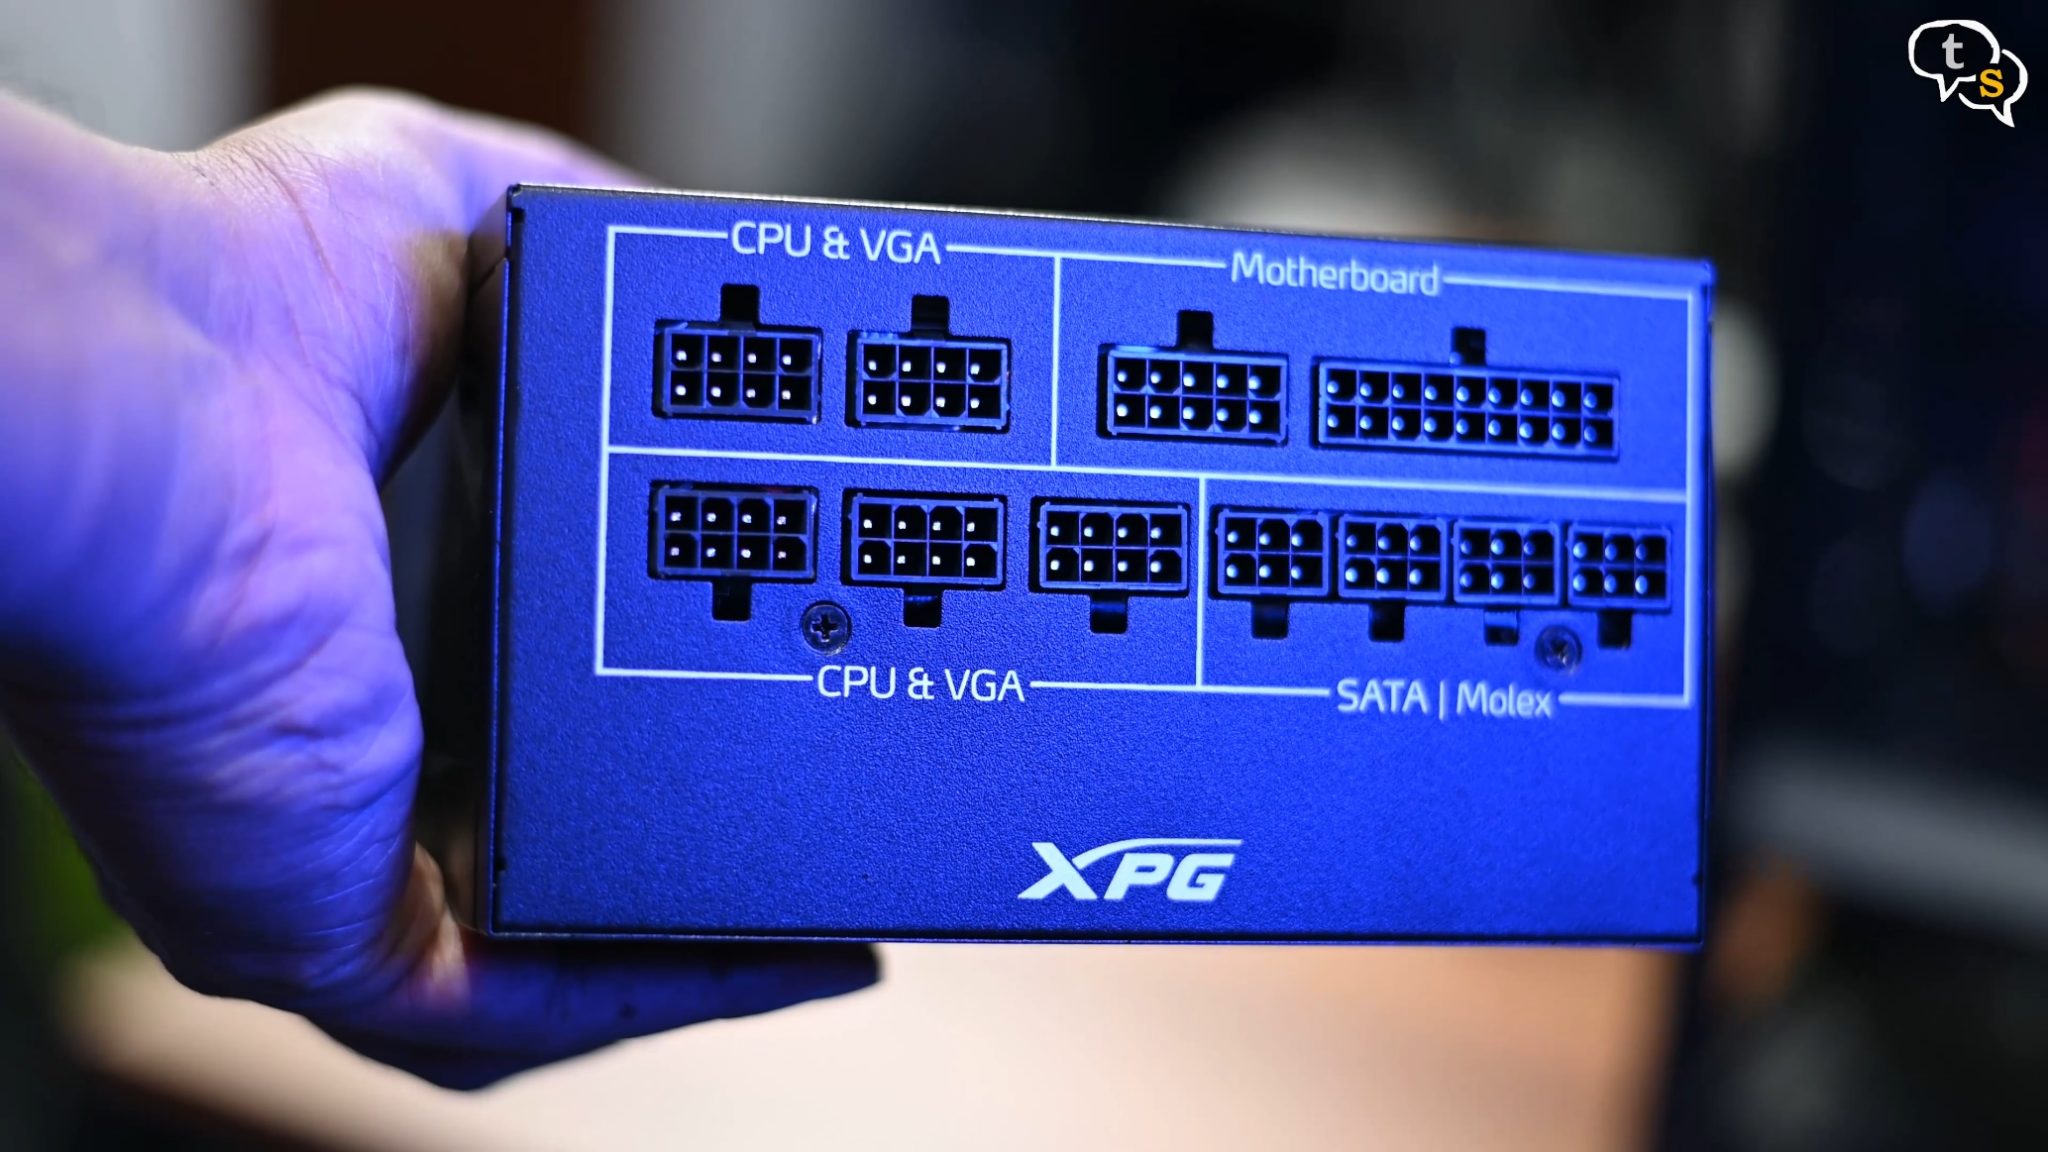
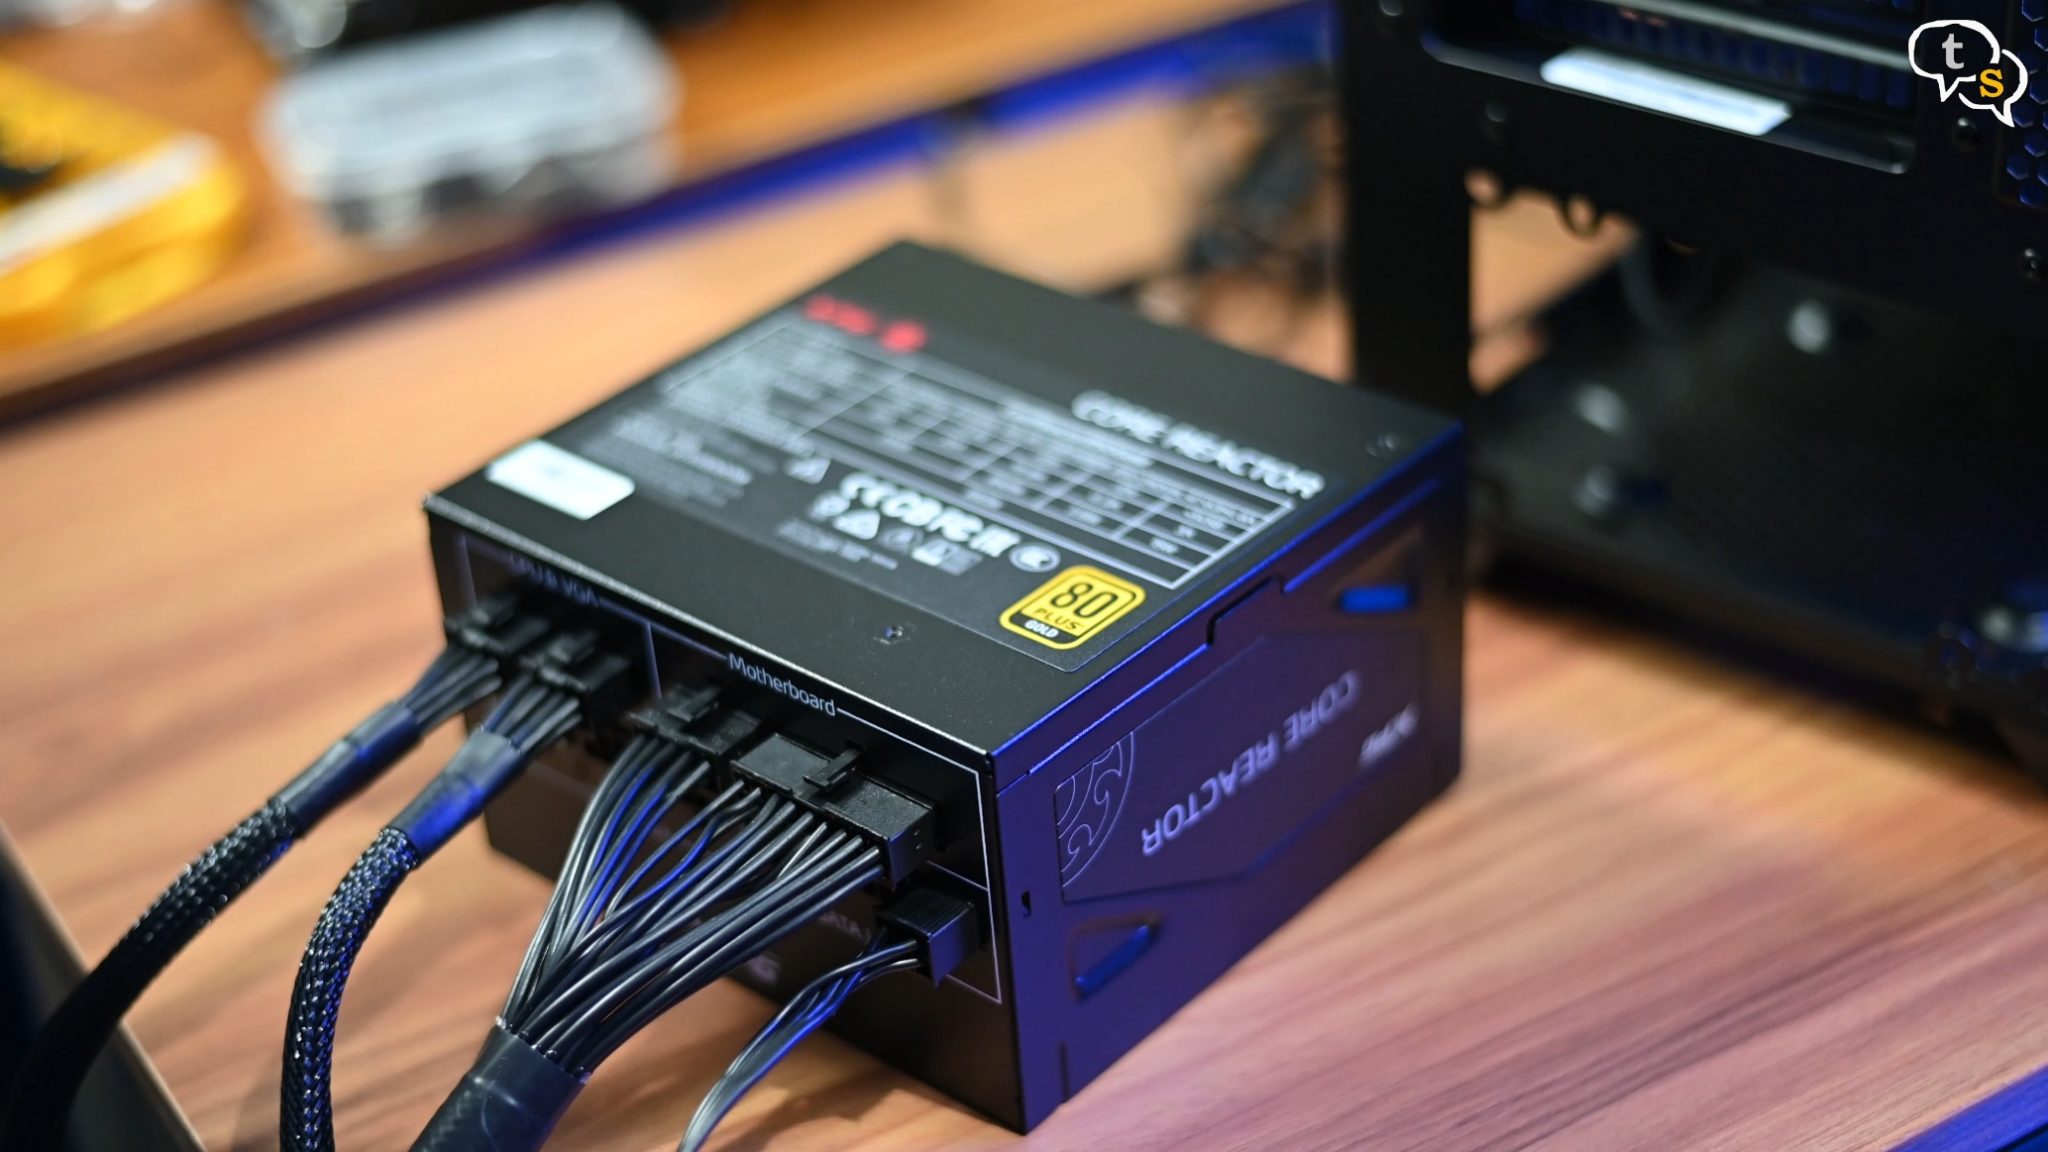
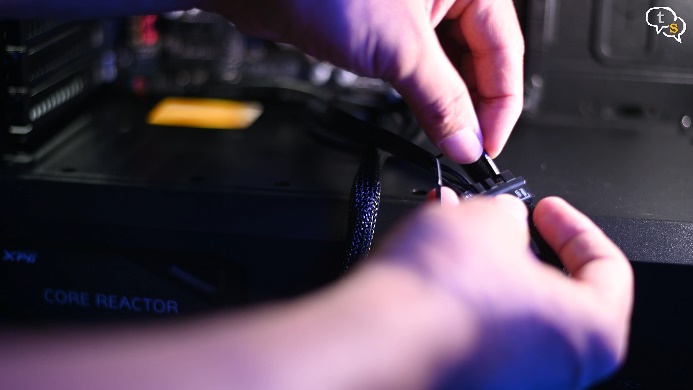
The PSU is modular which allows us to choose which cables we need to connect. Don’t need everything, just plug in what you need.
24 pin power is necessary and so is CPU power, I have four SATA drives so will need SATA power, and of course I need to power the GPU so two eight pin power cables are required.
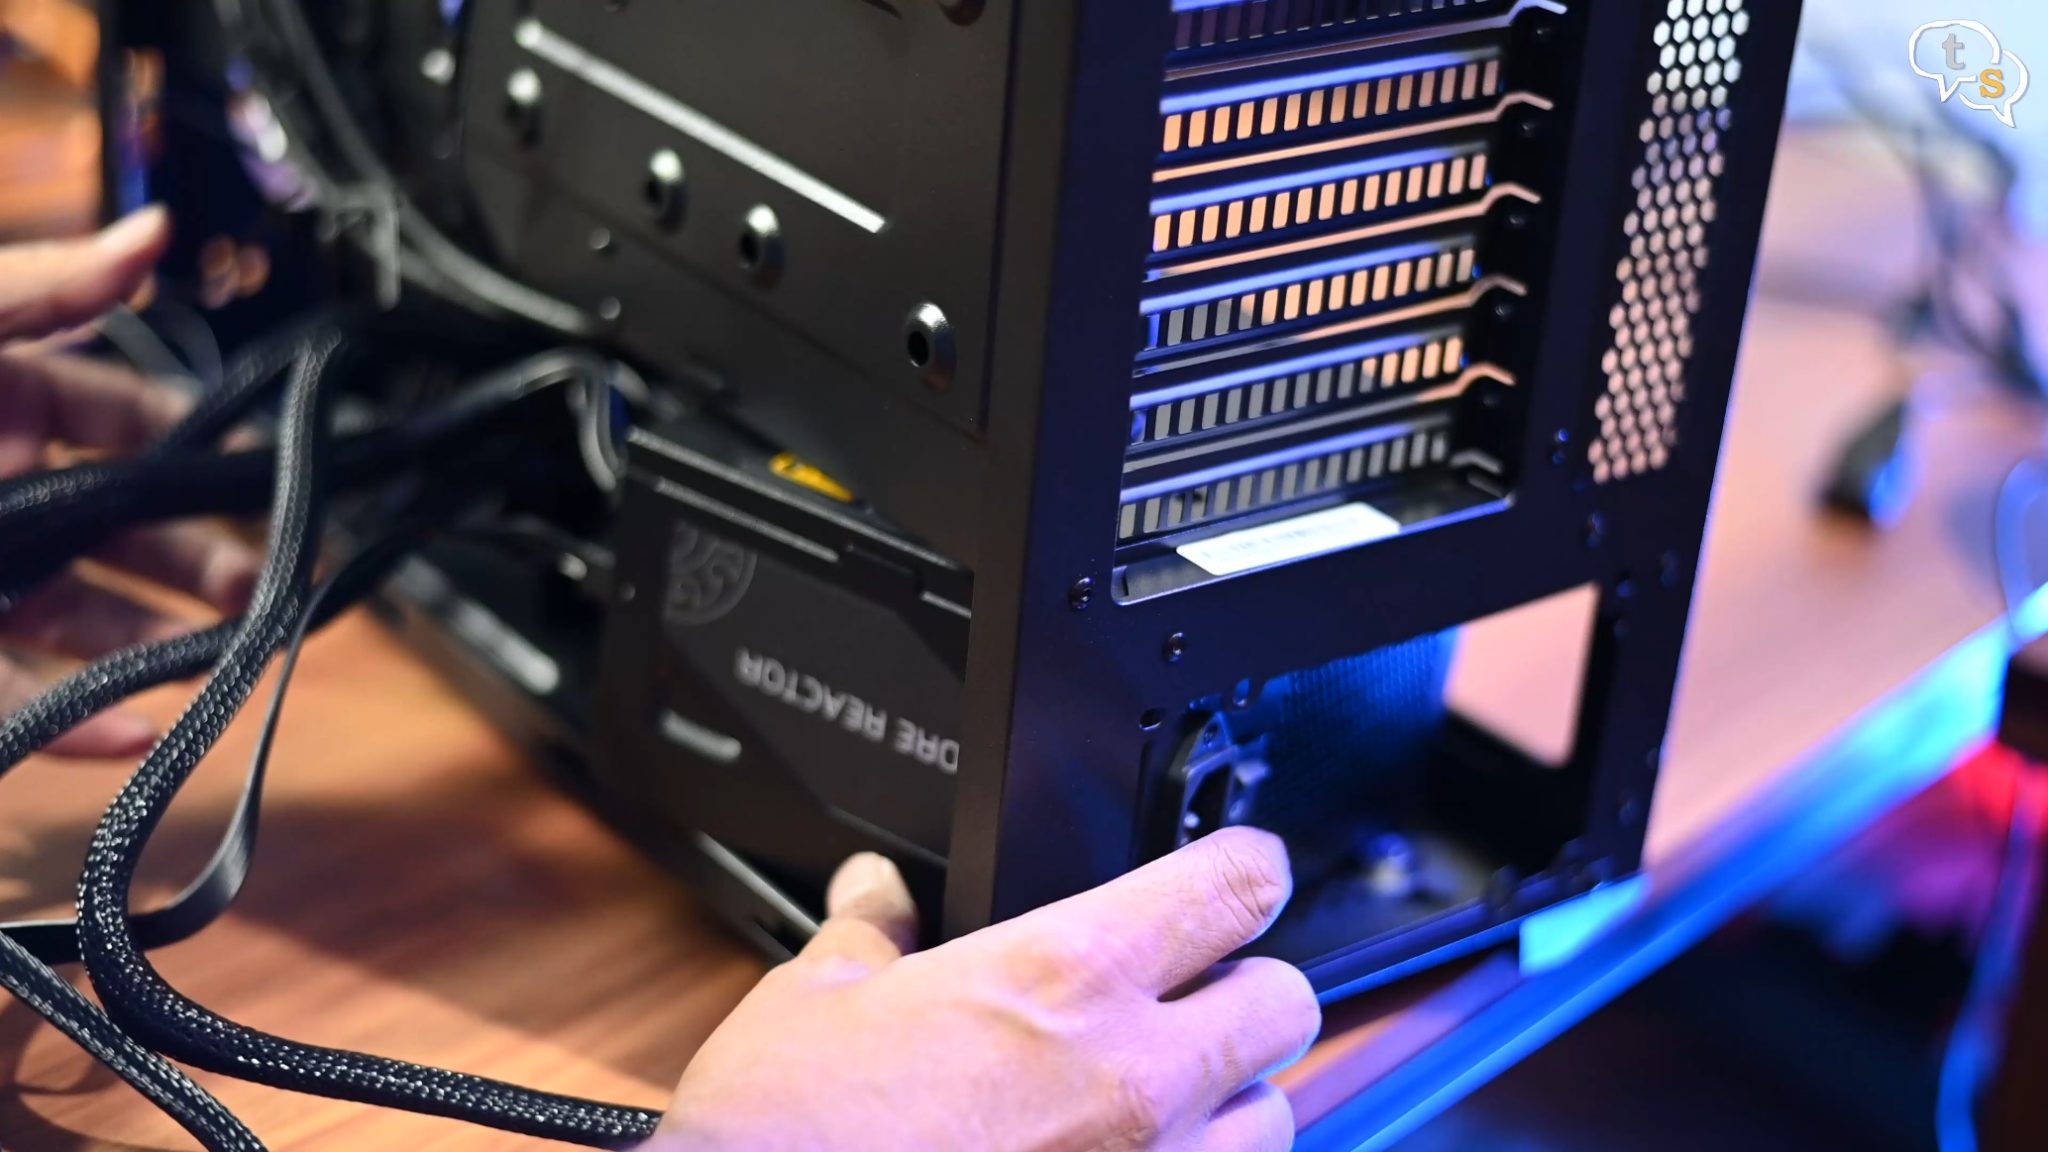
Slide in the power supply within the case, I would have liked a removable cover at the back for the PSU, but this one doesn’t have it.
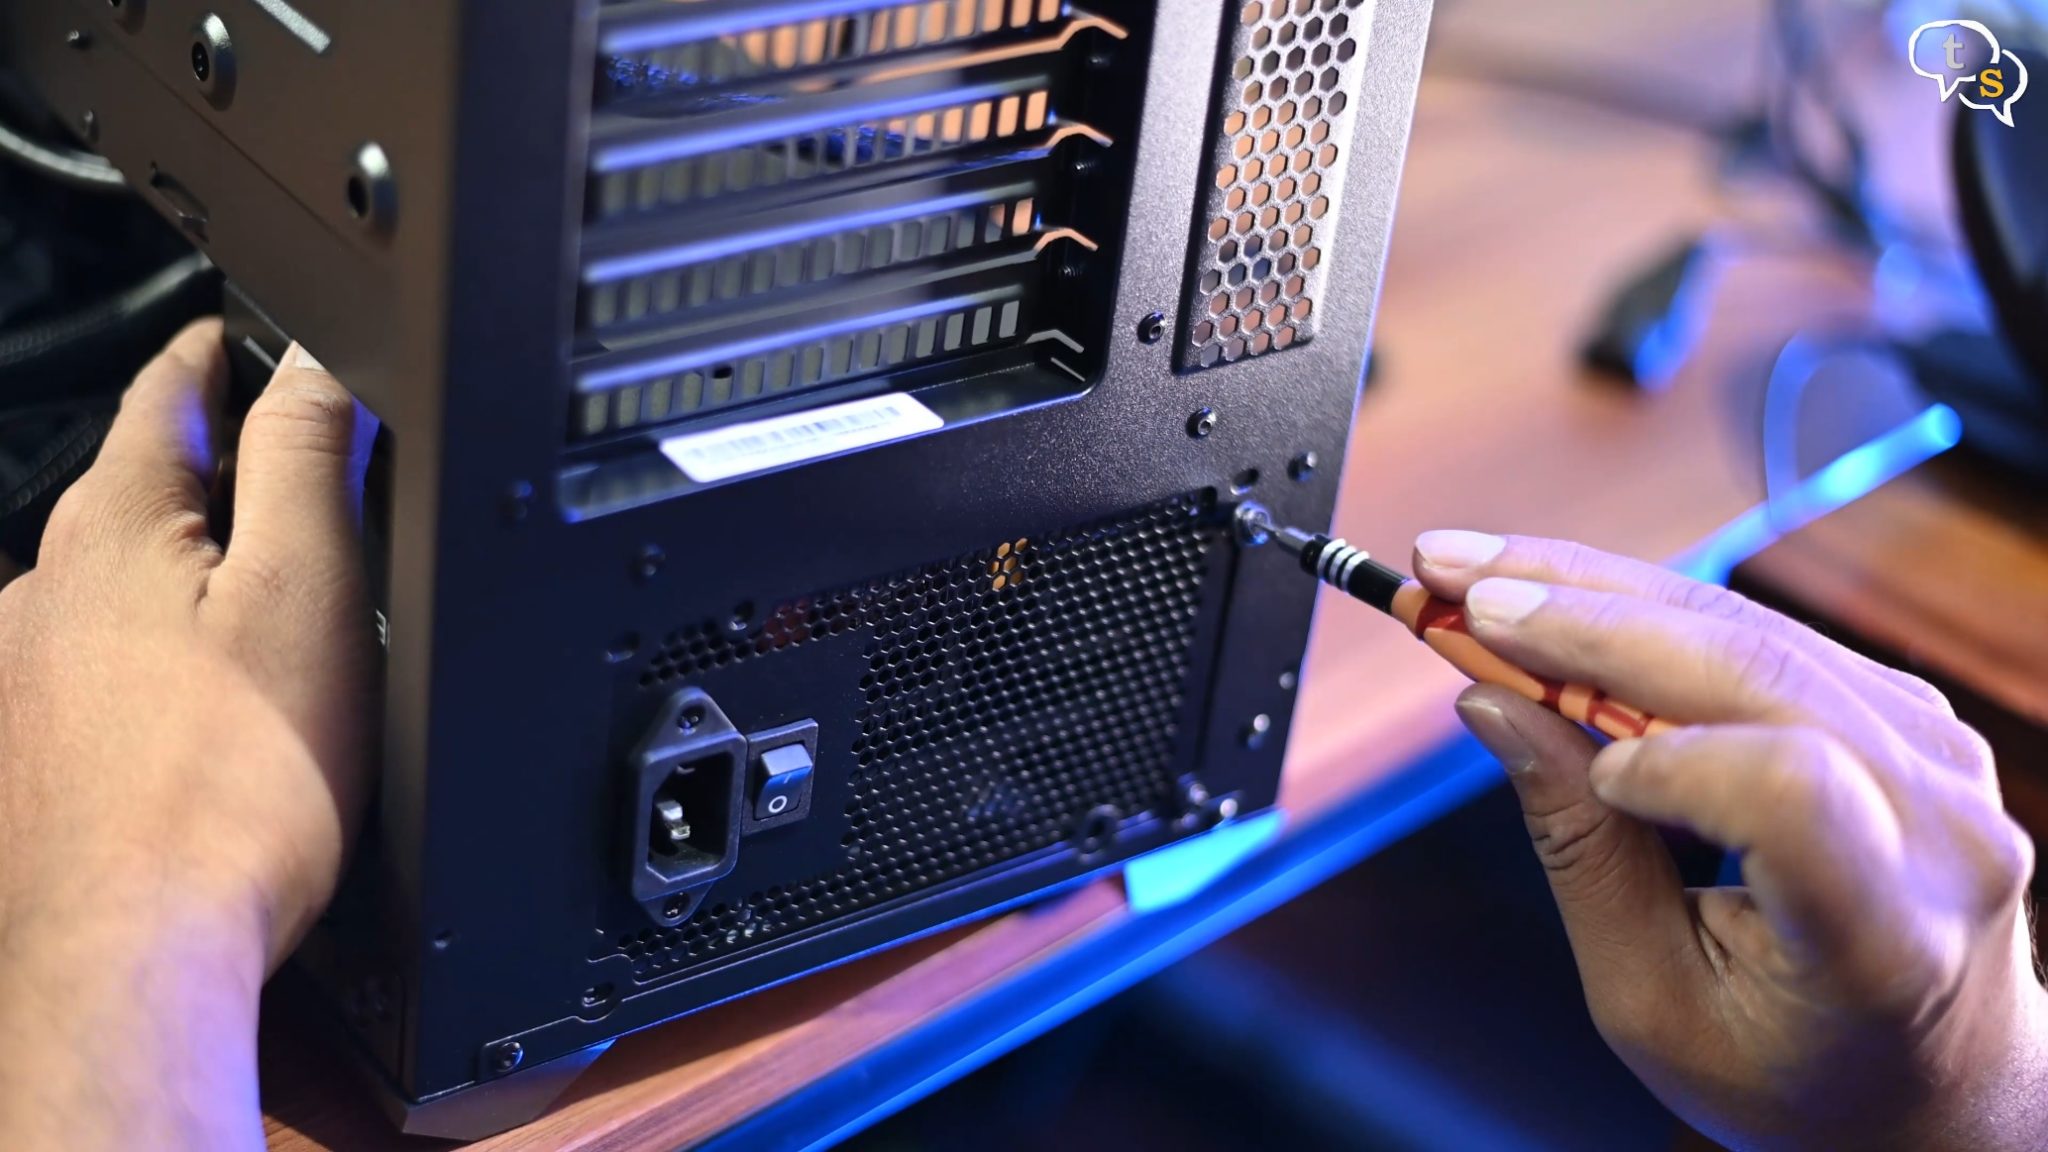
So mounting it down now.
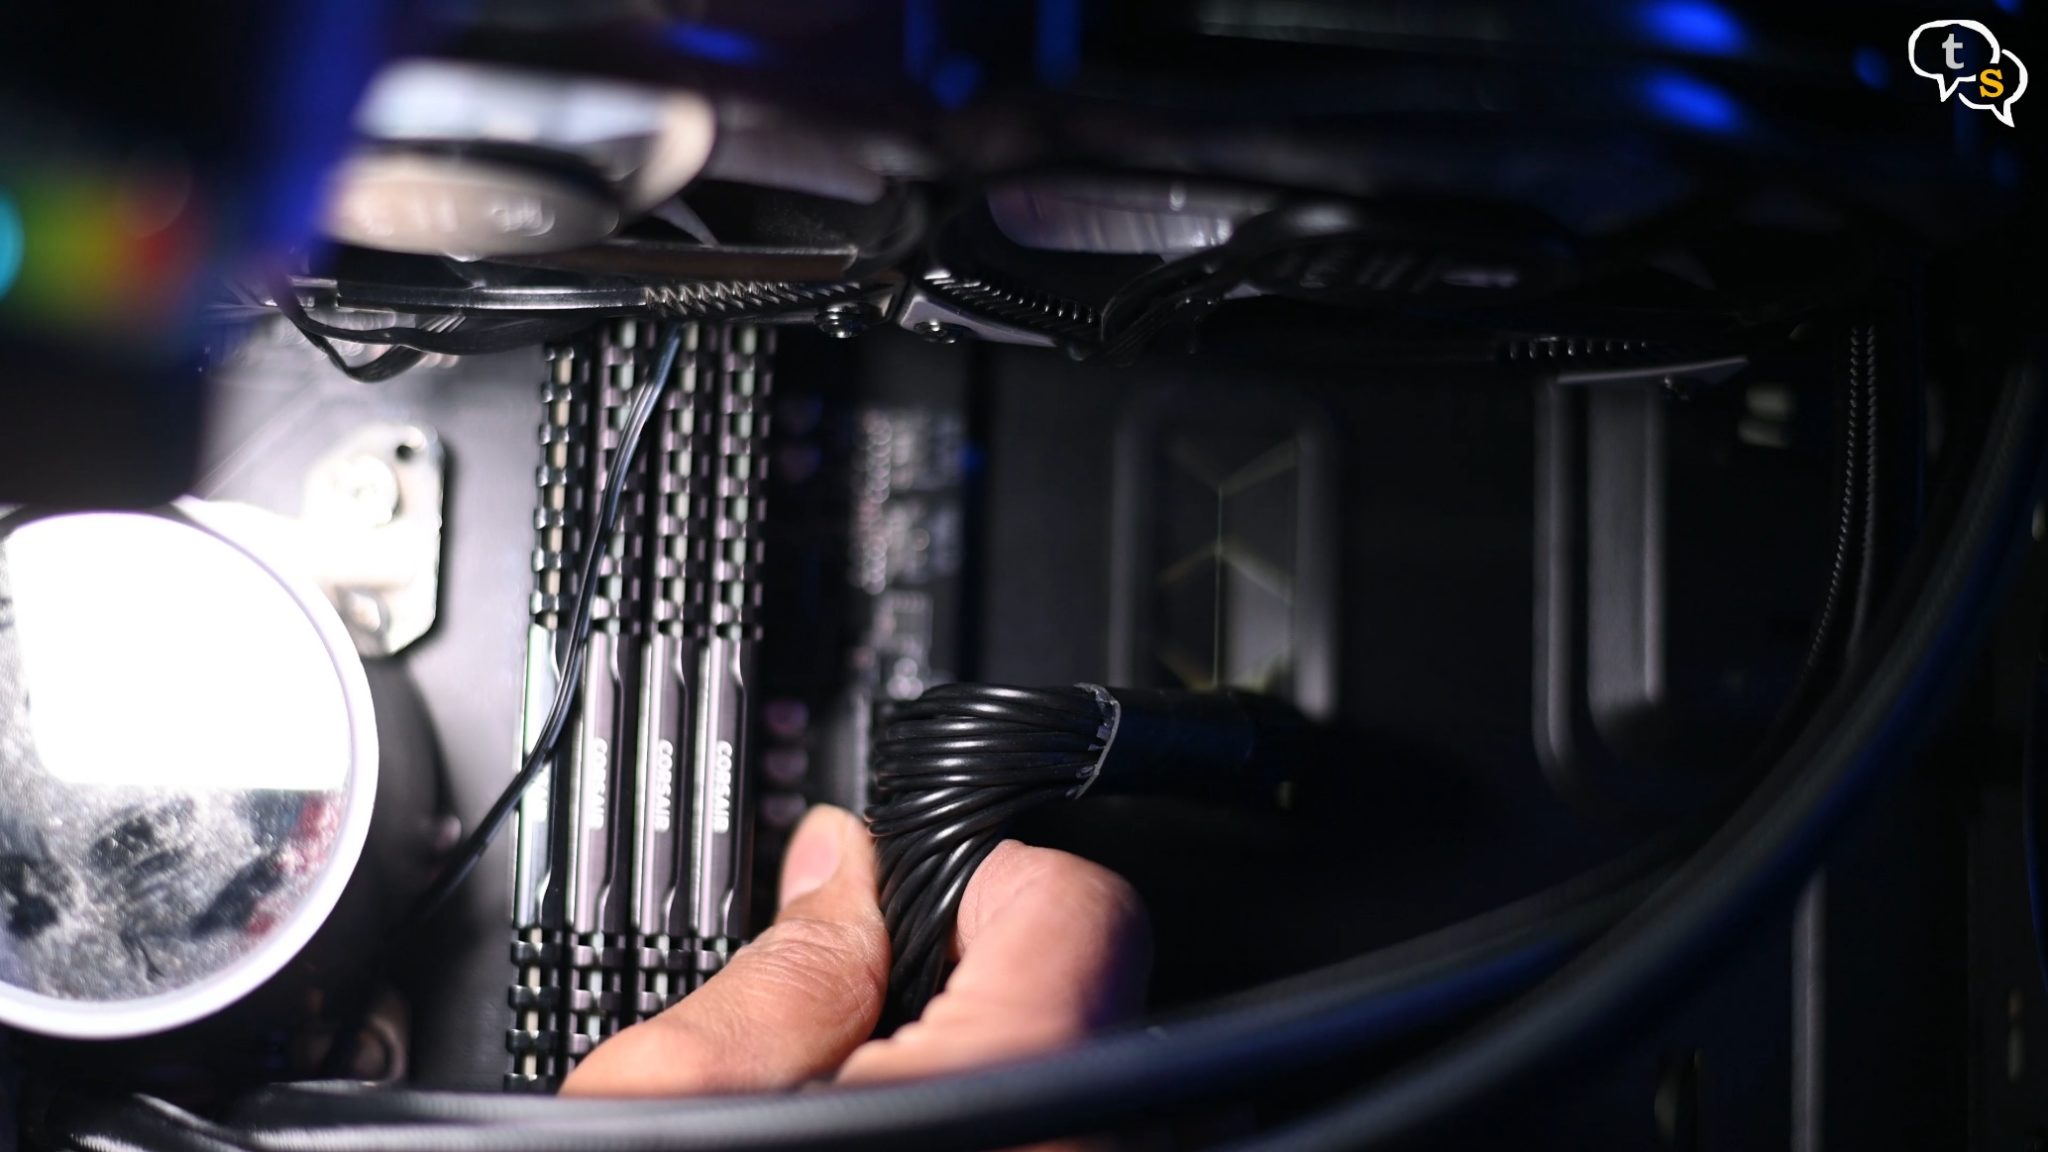
Plug in 24 pin power,
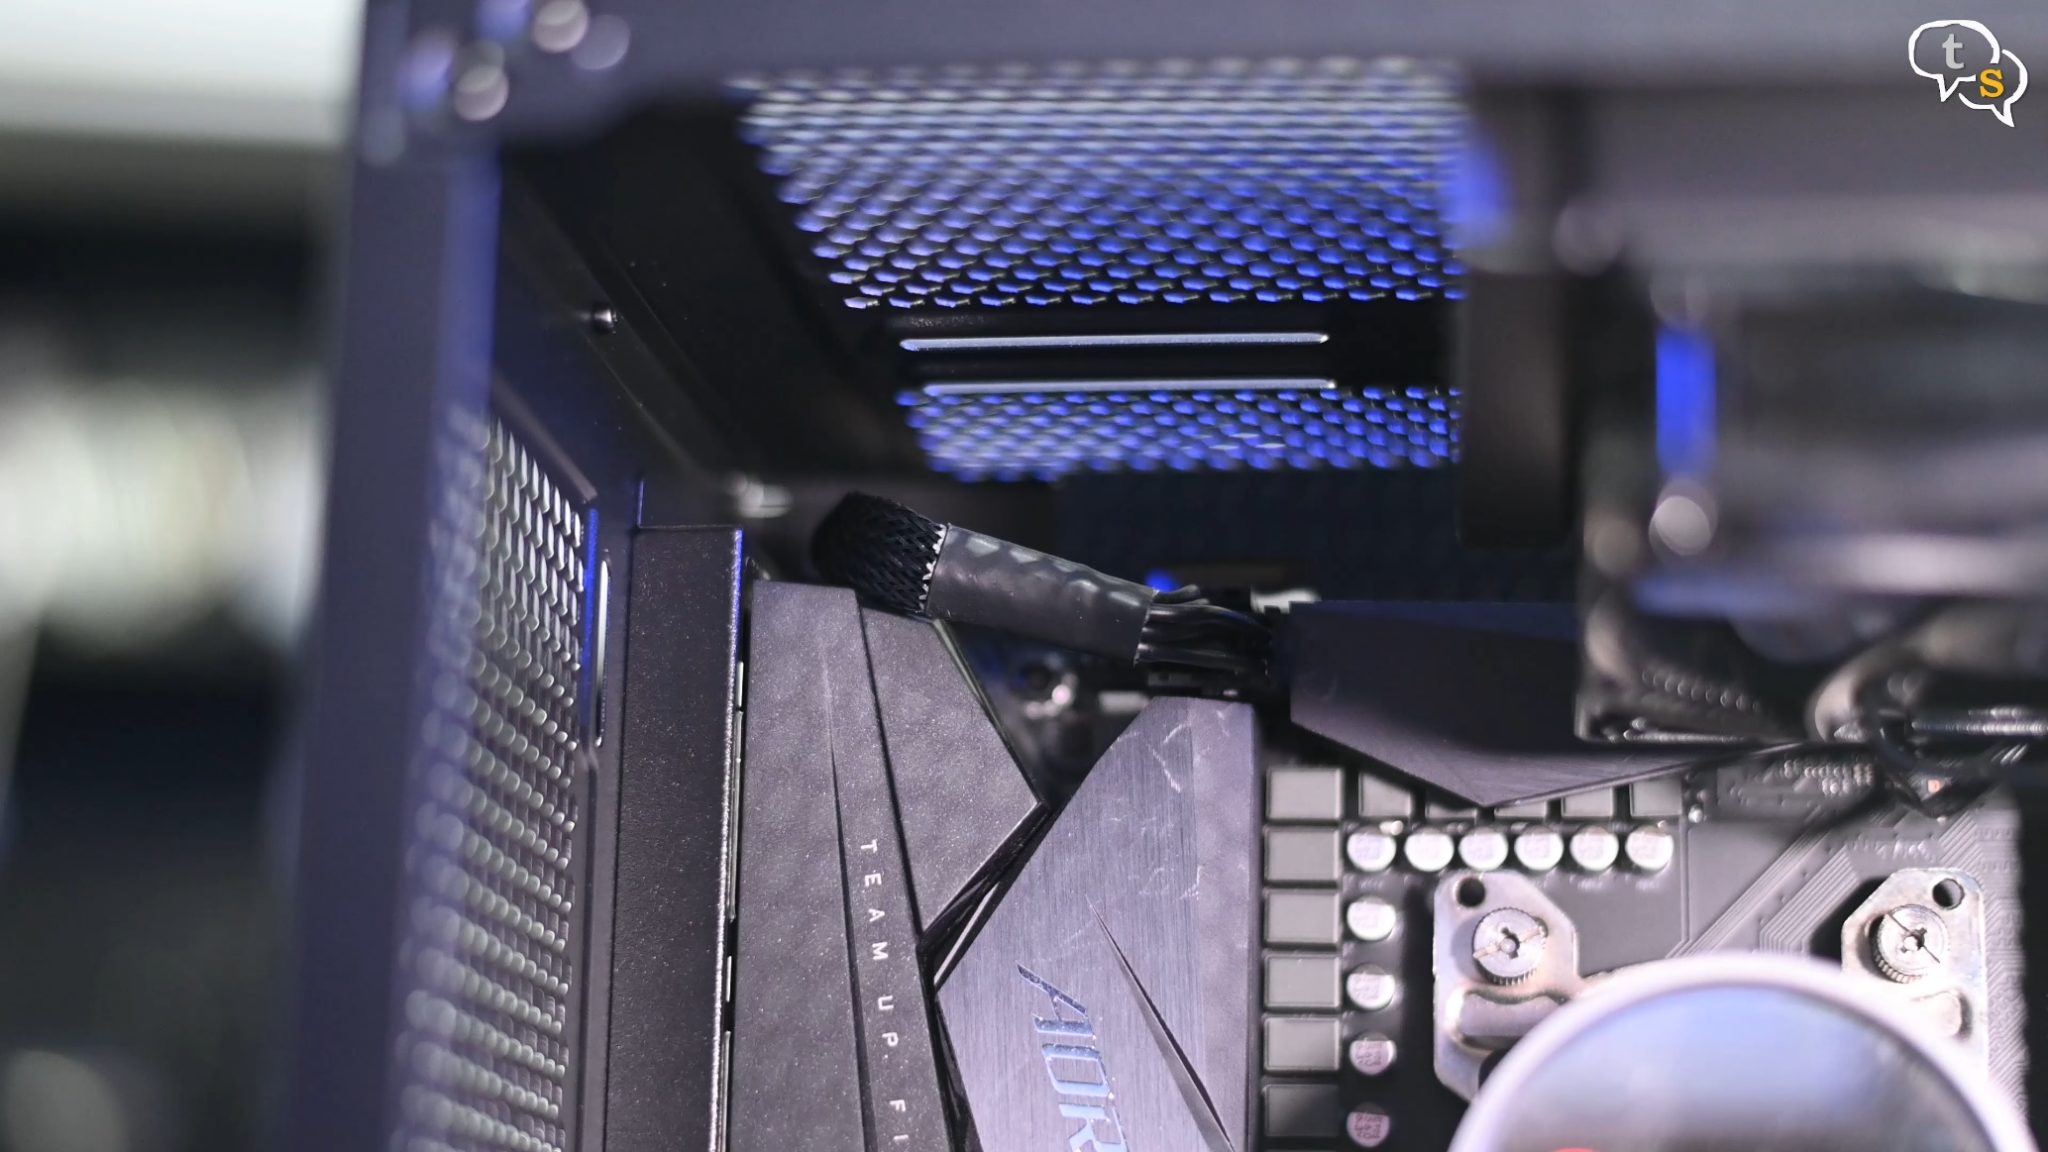
CPU power. There’s enough space to access these ports even after the motherboard is mounted.
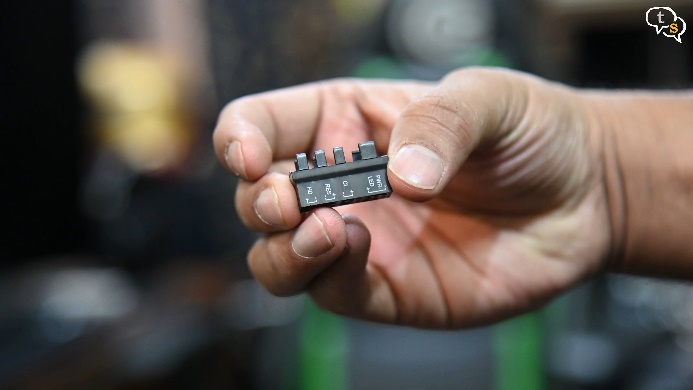
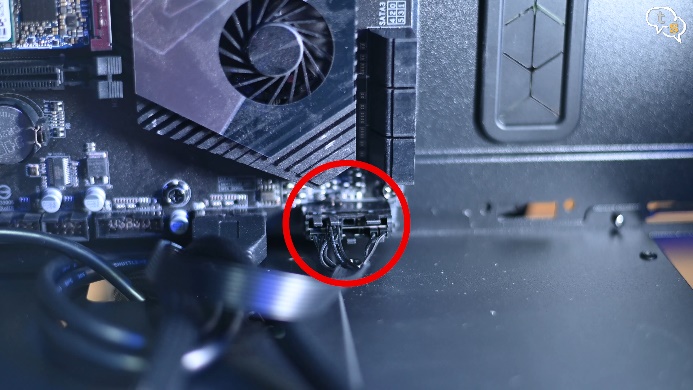
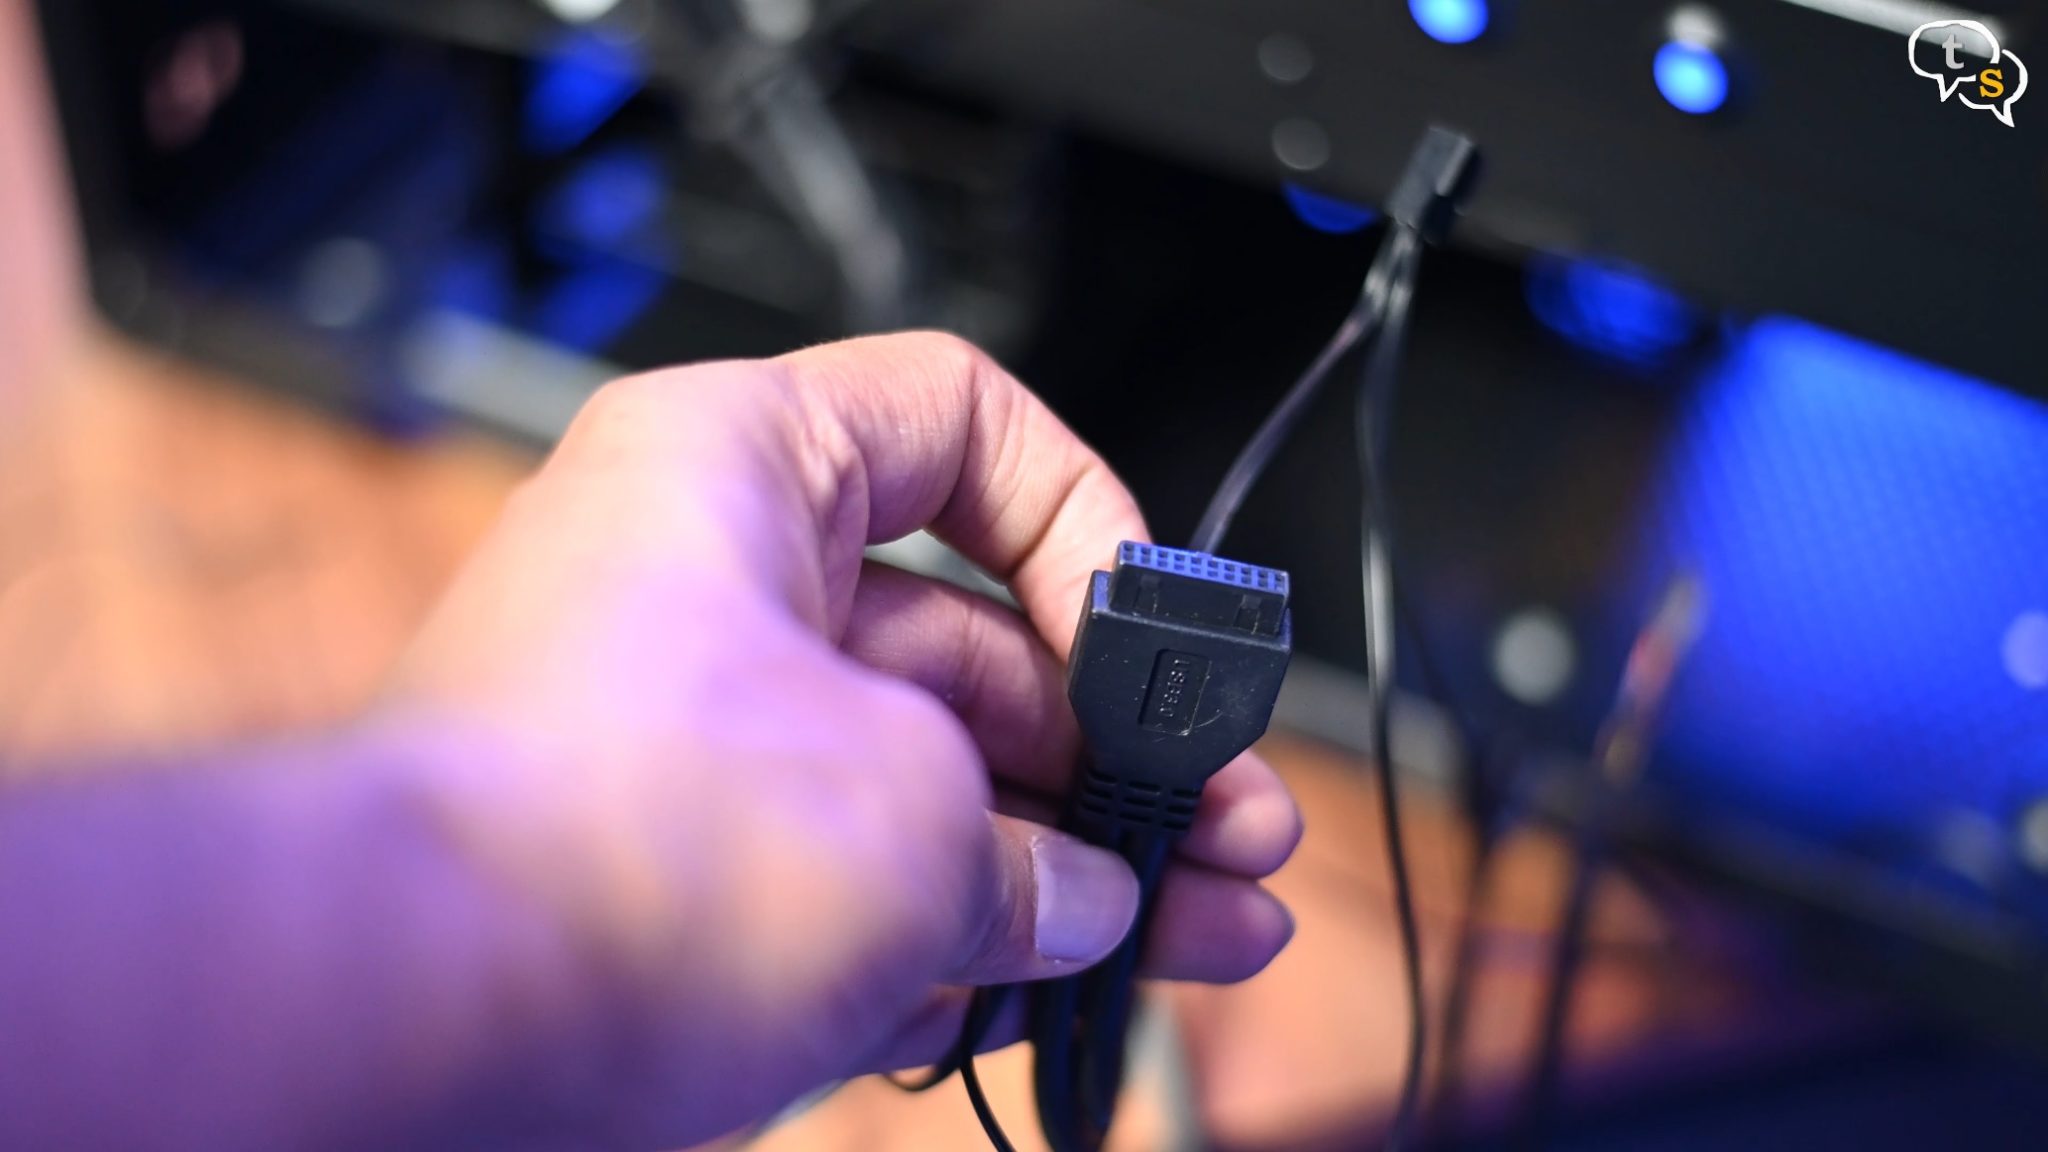
Gigabyte provides this cool little adapter for the front panel connectors, making it much easier to put together.
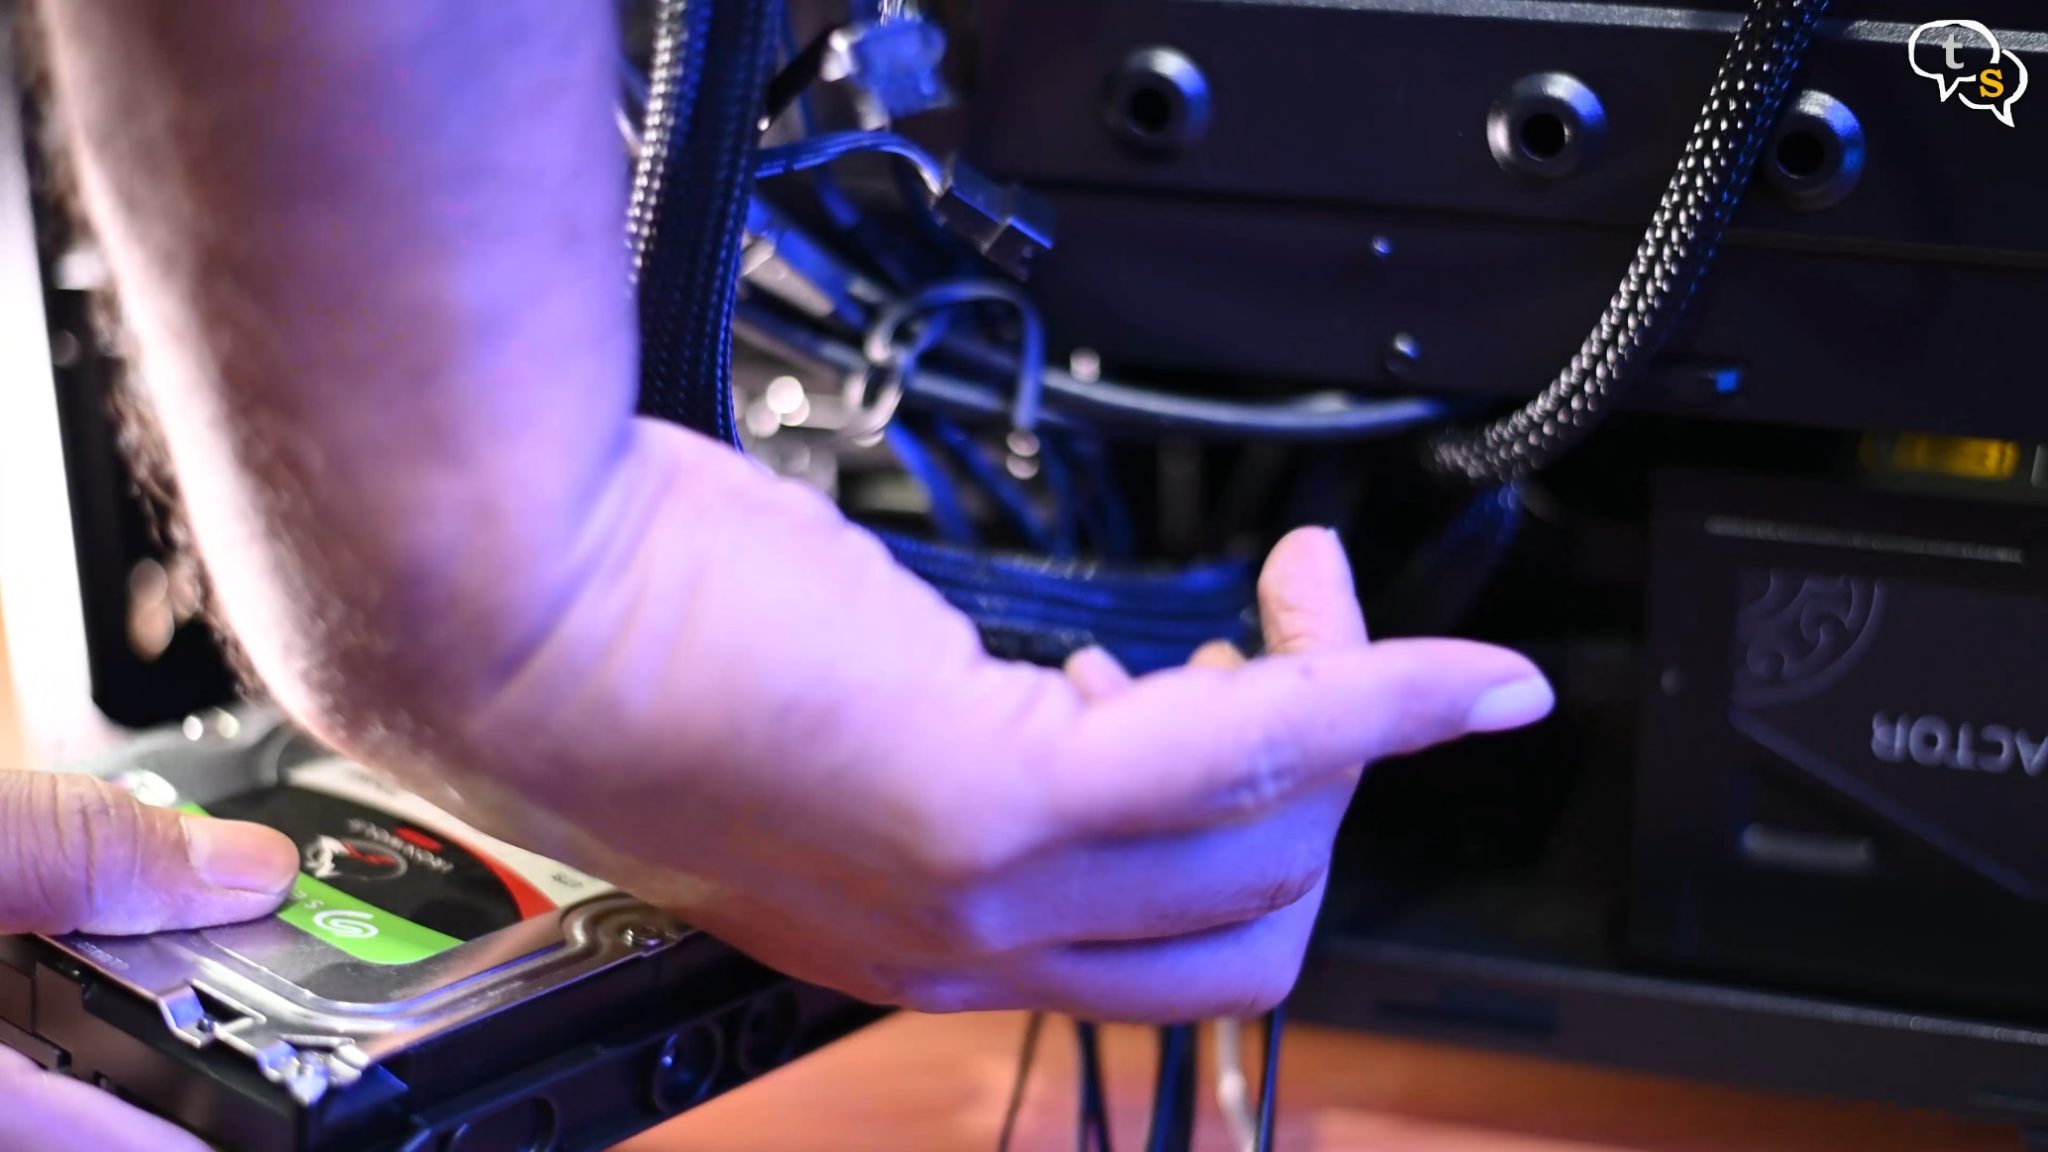
Now for the Hard Drives, yes I have three as SSD’s are still quite expensive.
Slide these trays out by holding the sides, install the drive, and slide it back in.
Same for drive number two.
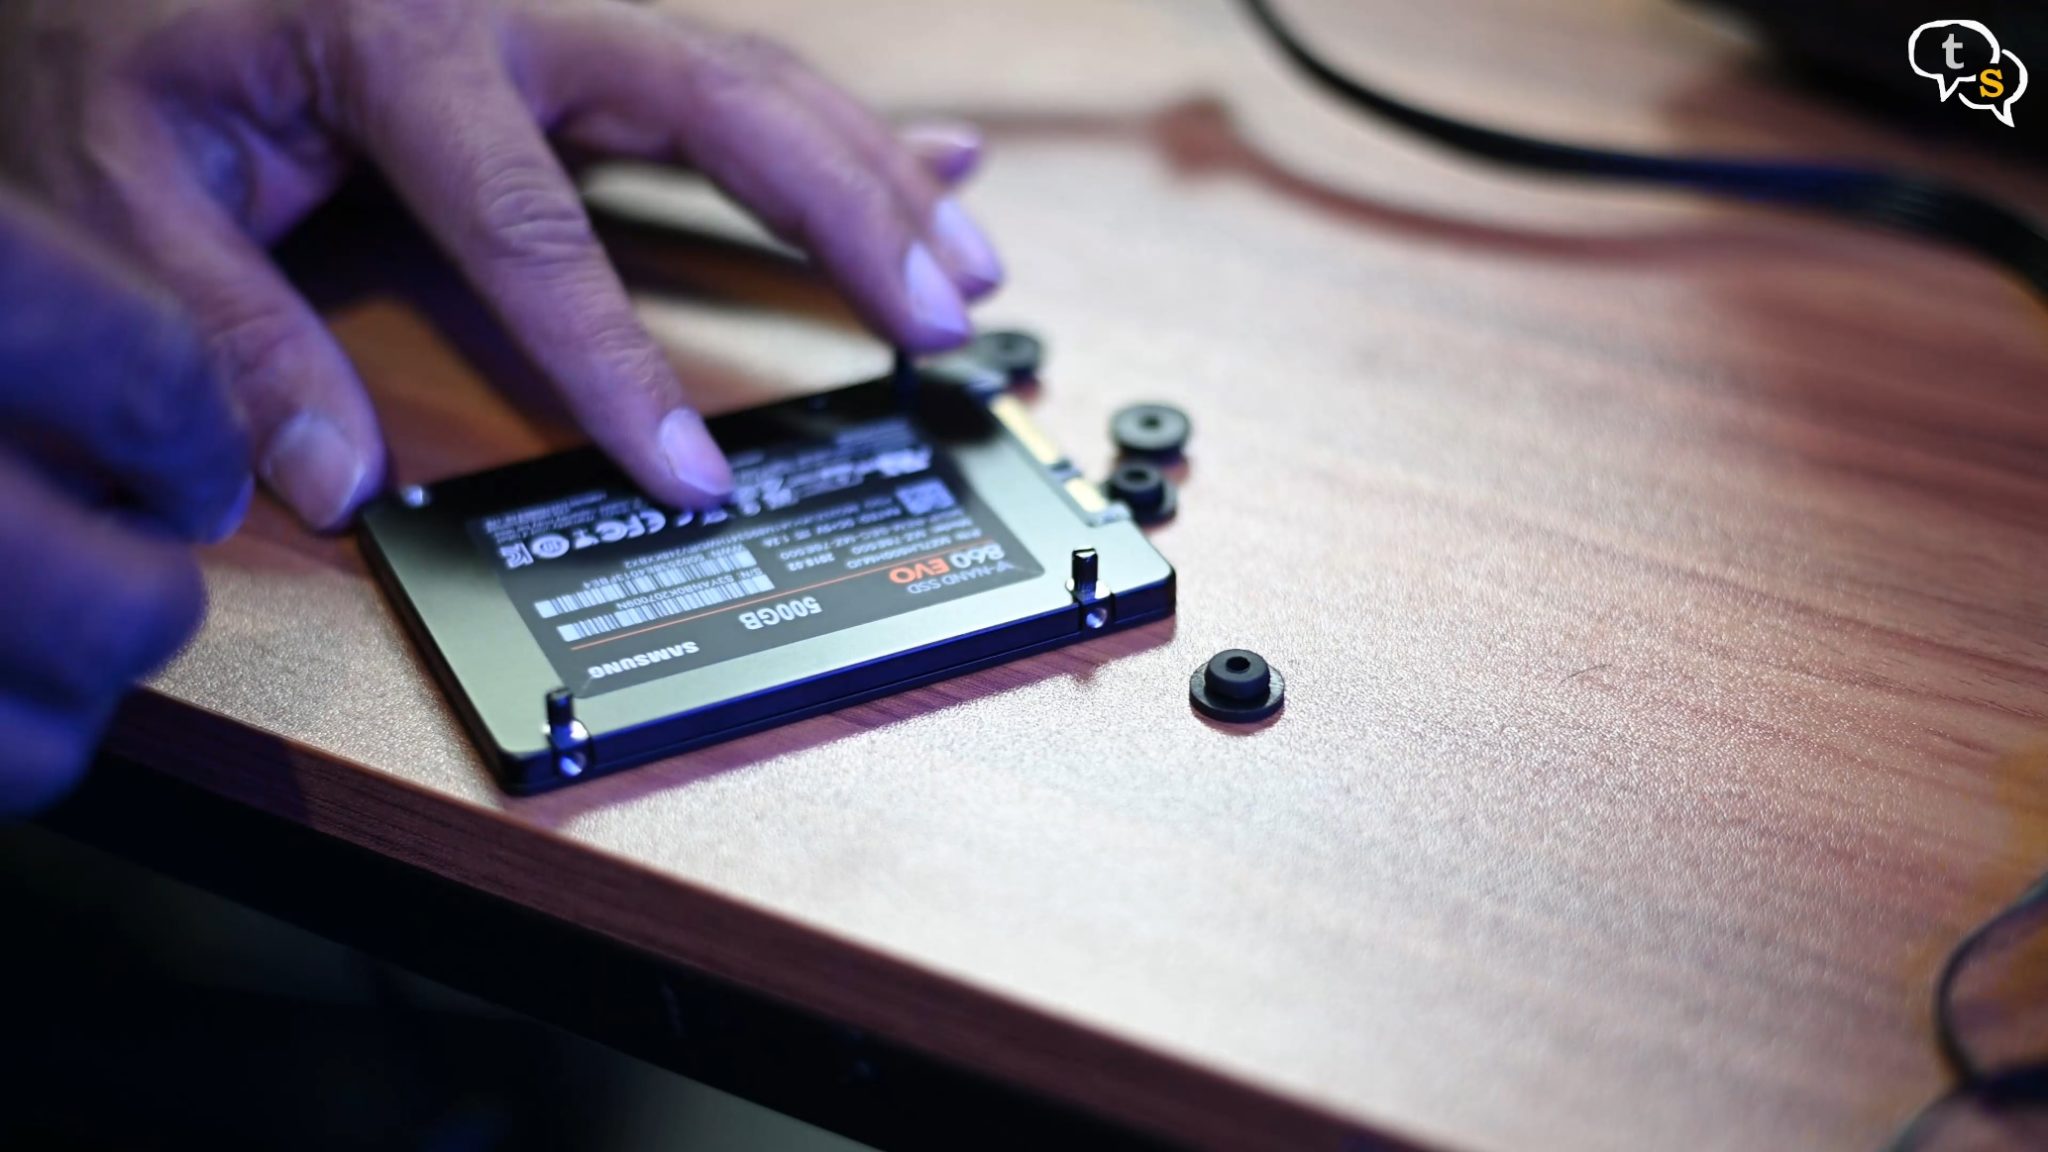
Now for the SSD, I have a 500 GB boot drive. We have these metal pins that screw into your drive and then we can use the rubber grommets to mount the drive onto the case.
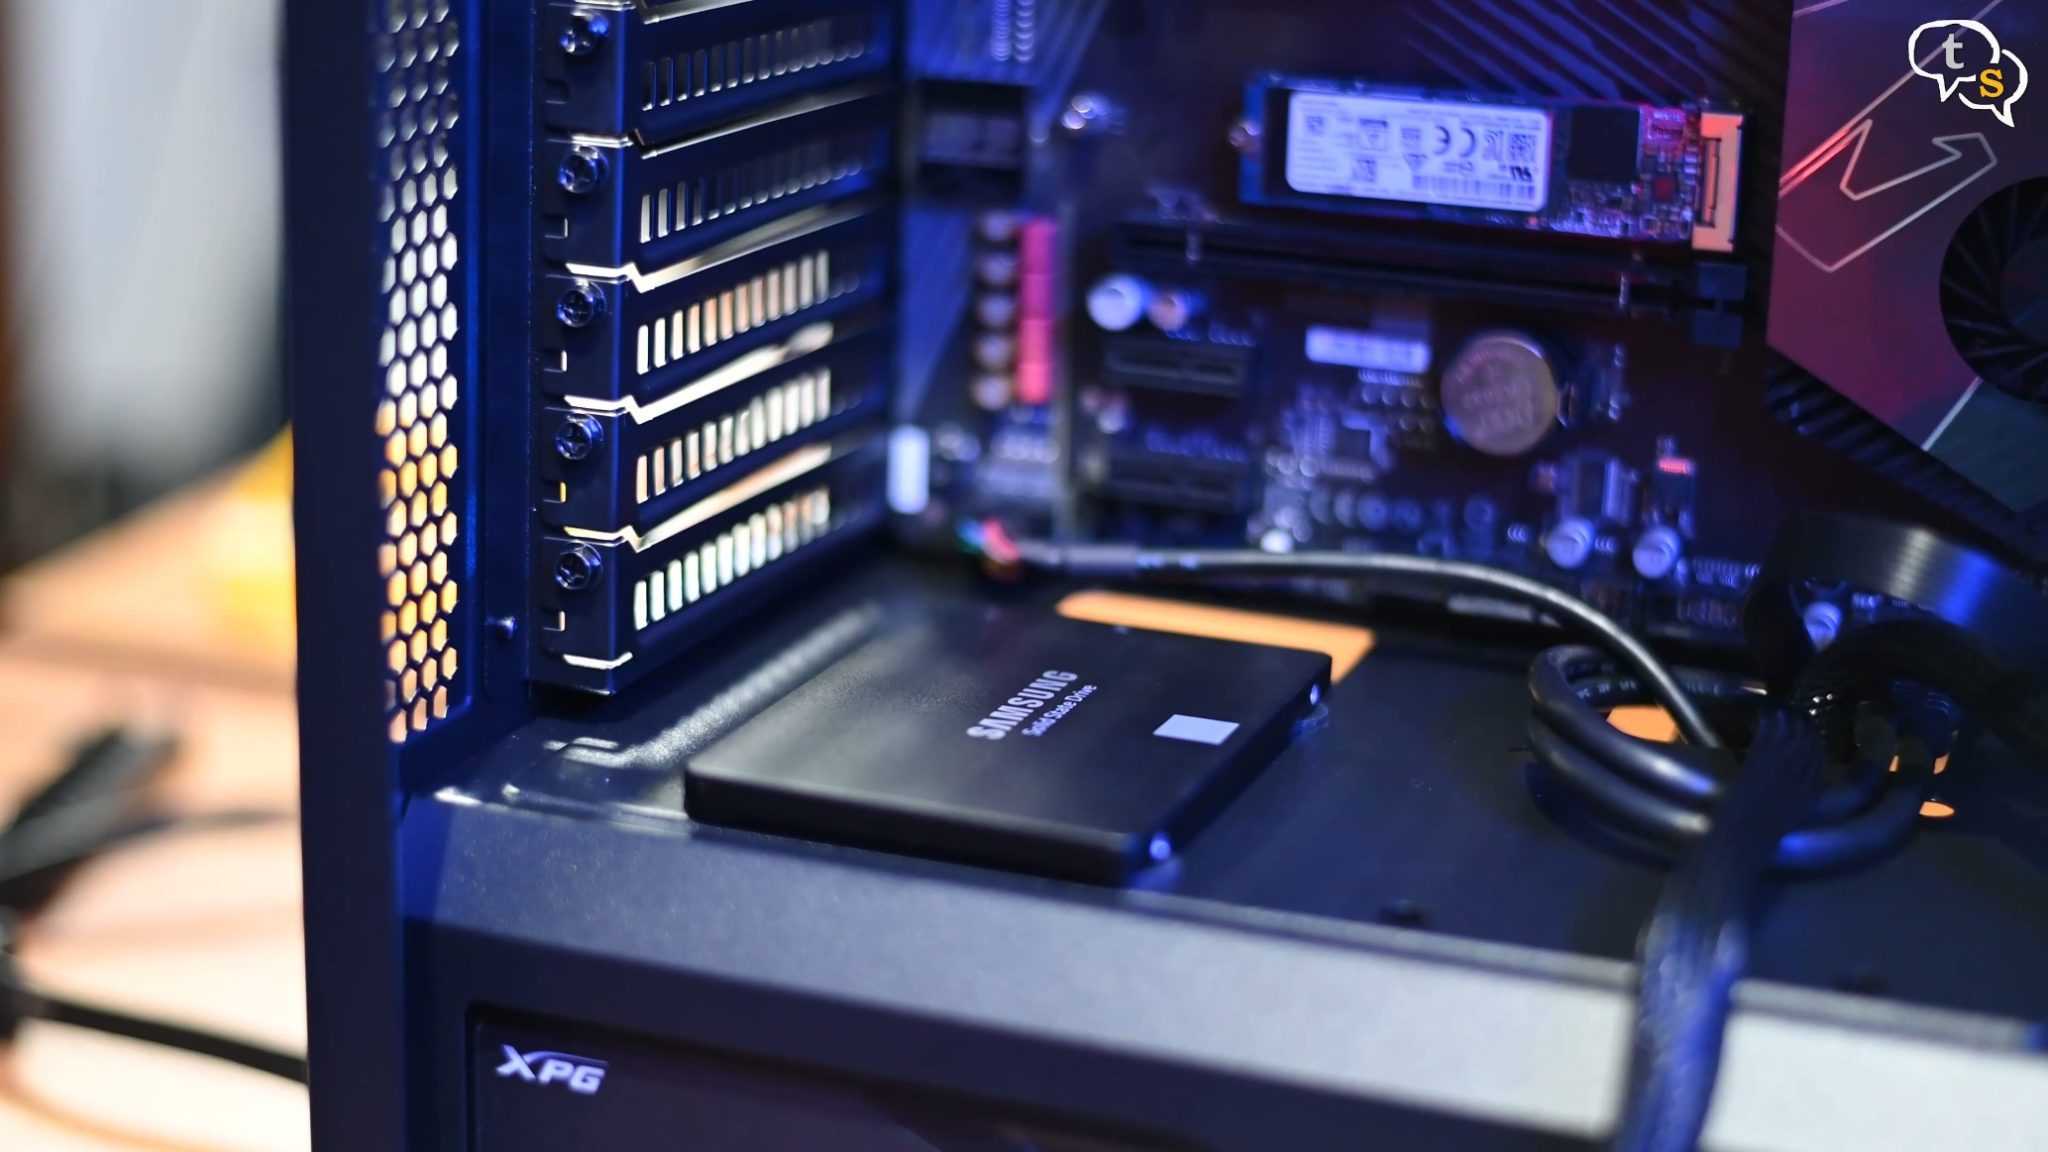
I’m mounting the drive in the front for better airflow.
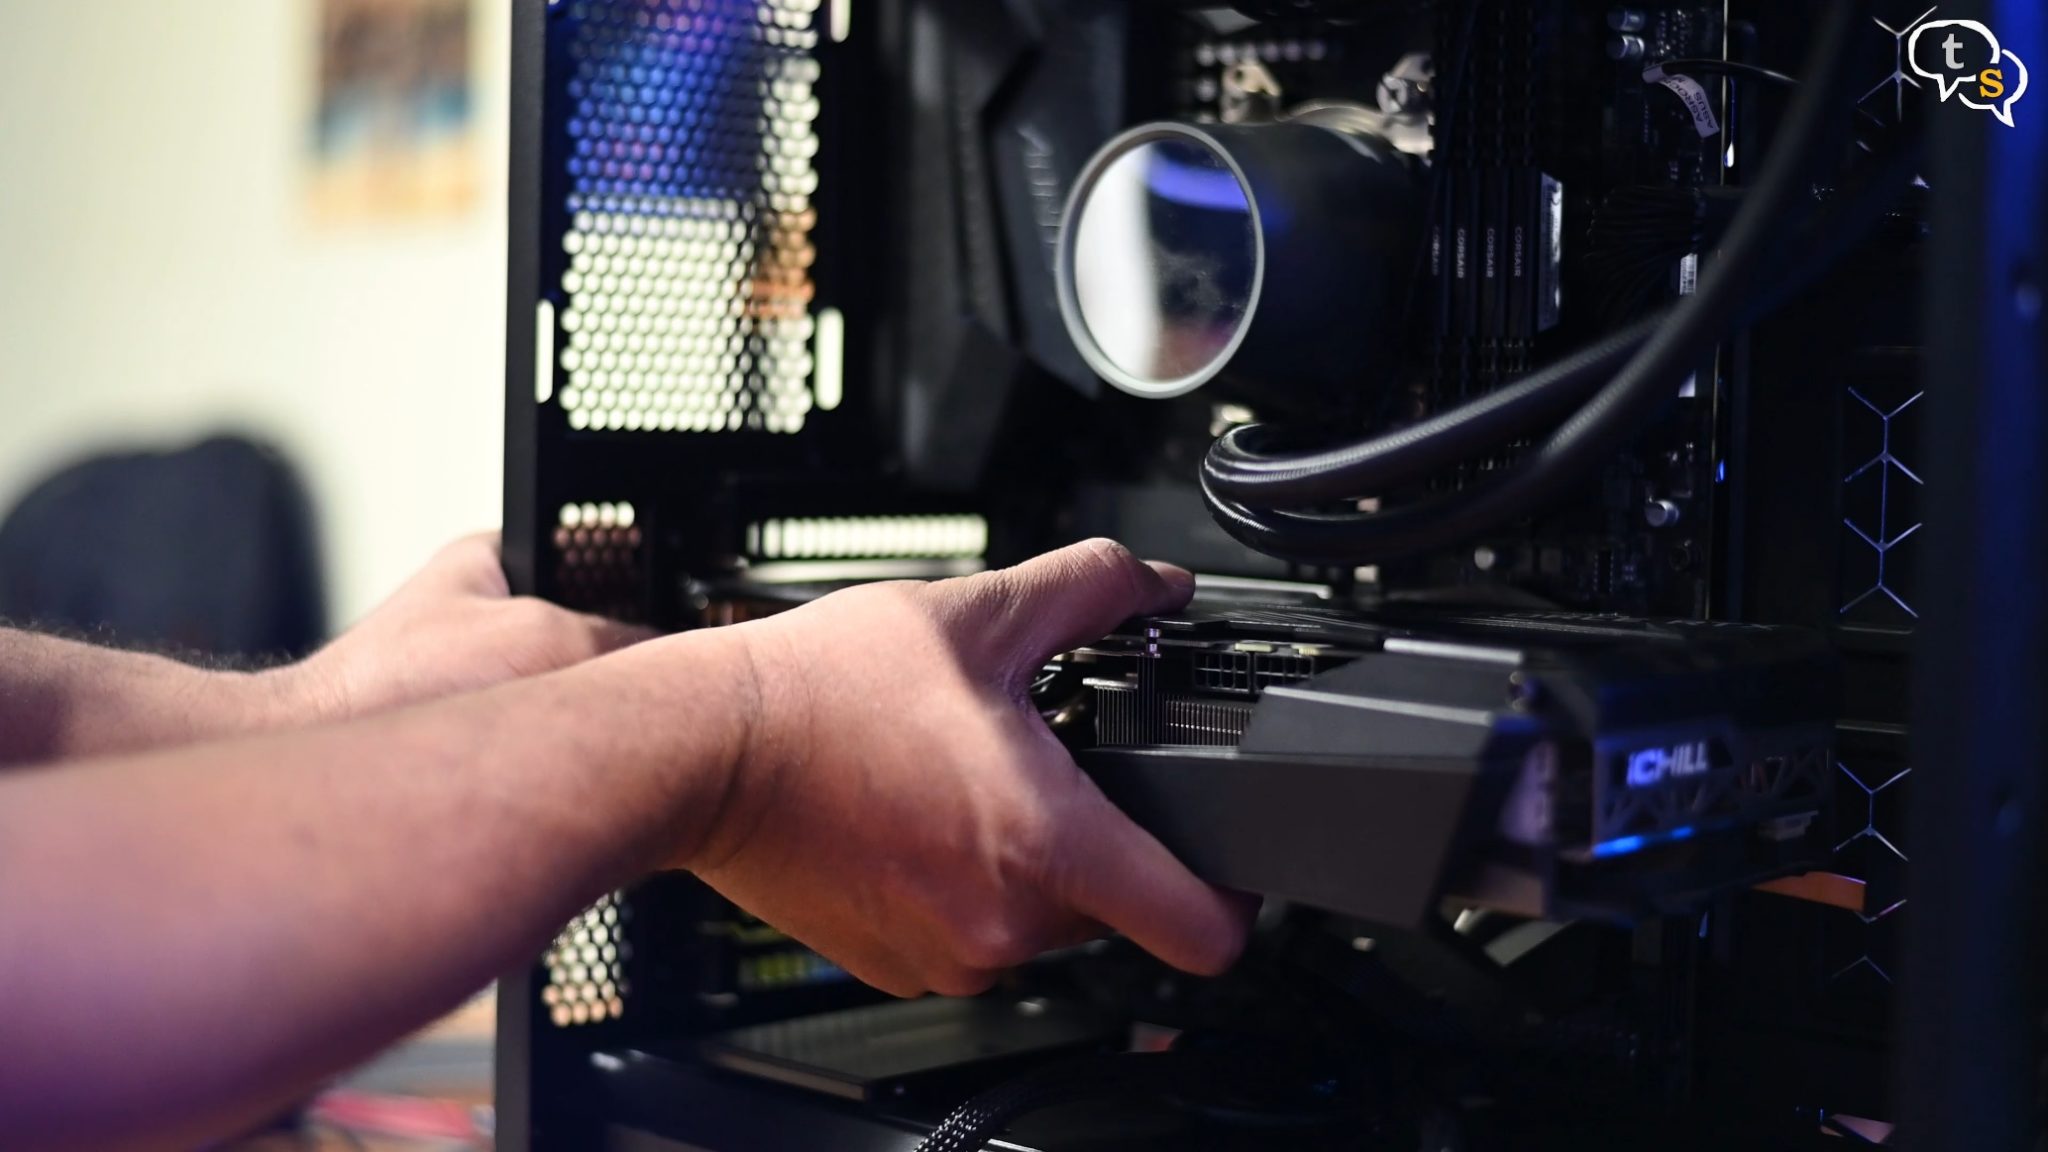
Now for the GPU, this card barely fit into my older case but now I have enough clearance for a 400 mm card.
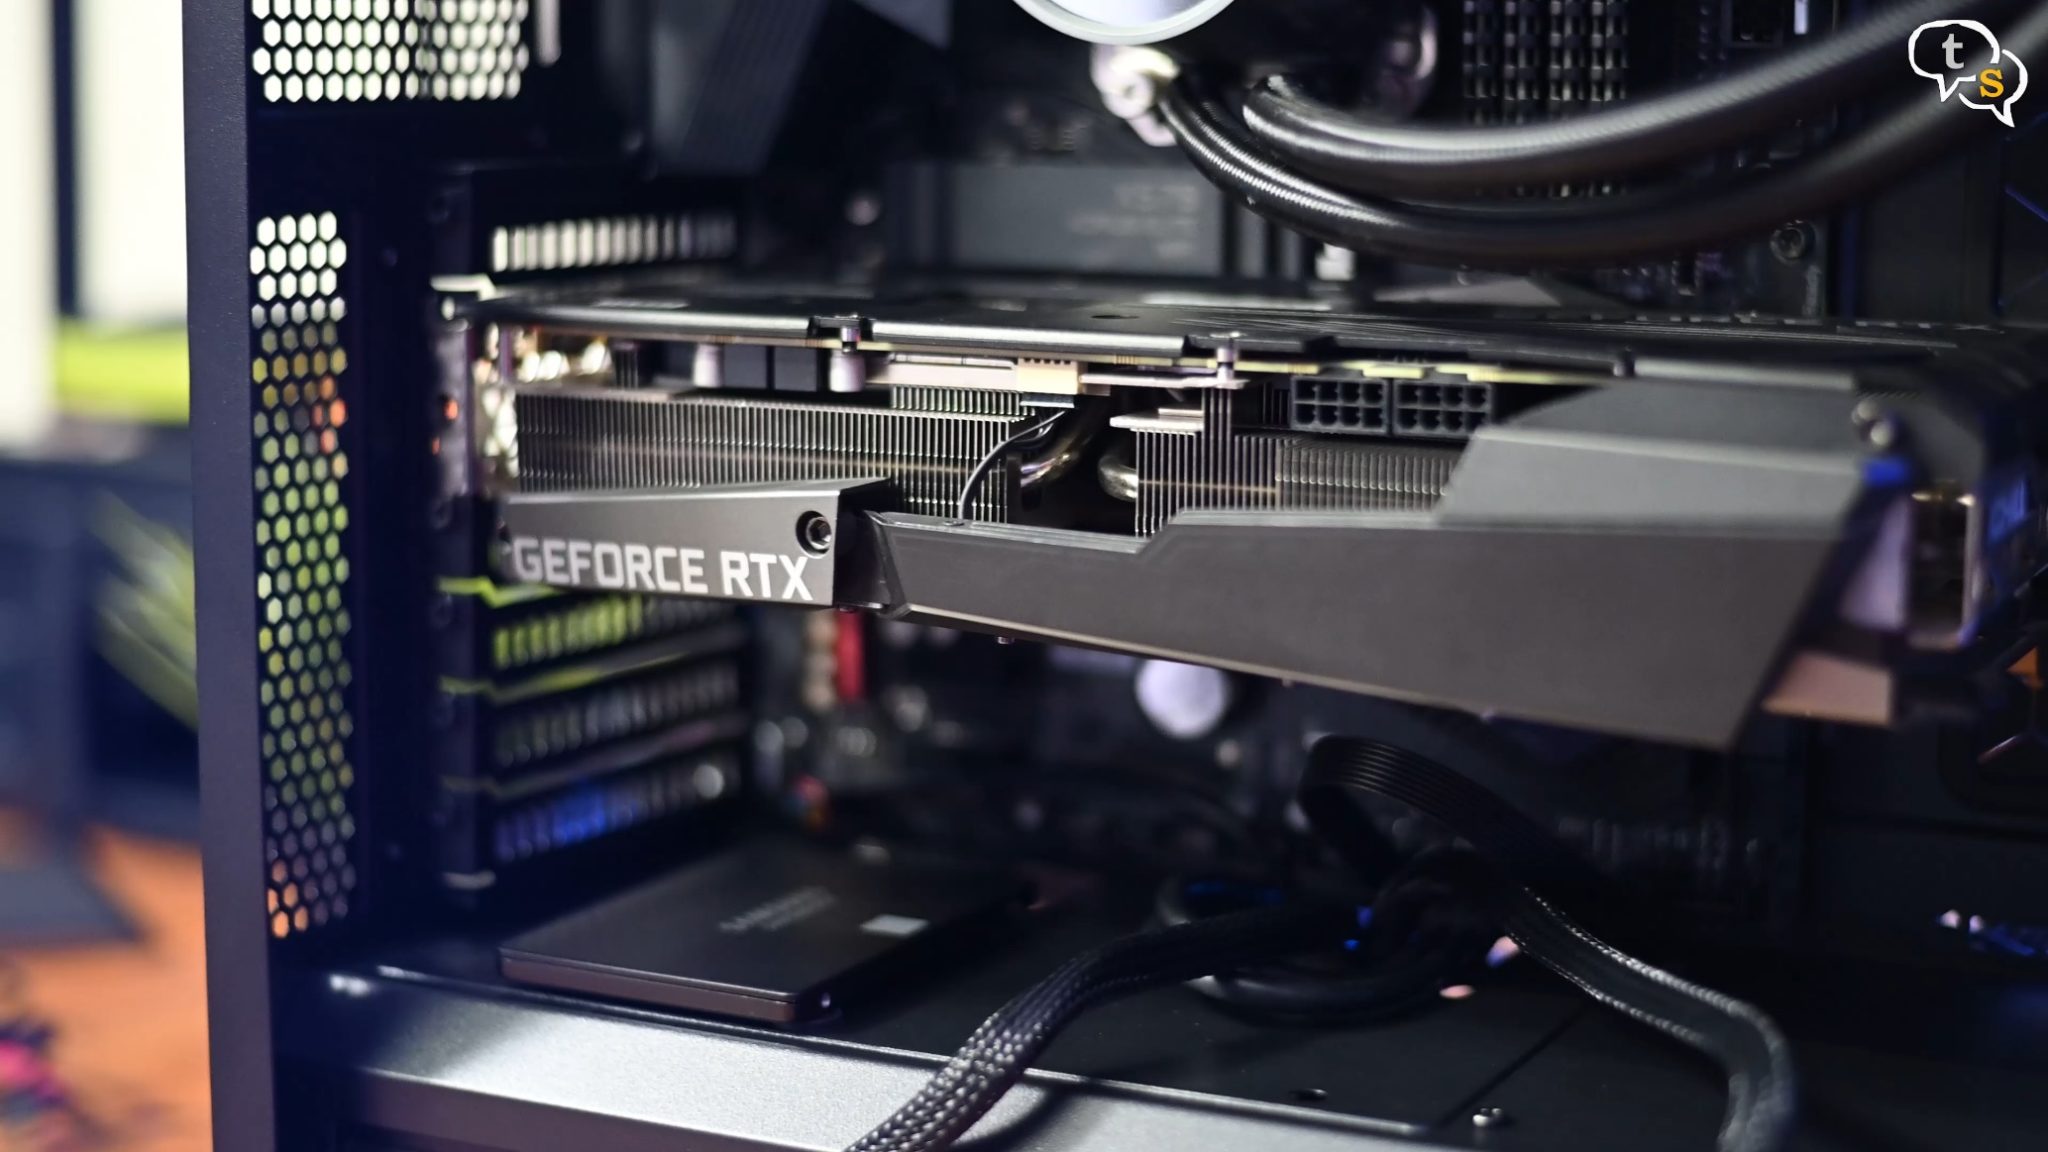
The INNO3D RTX 3070 iCHILL x3 is a 300 mm card.
Plug in the power which are two 8-pin cables.

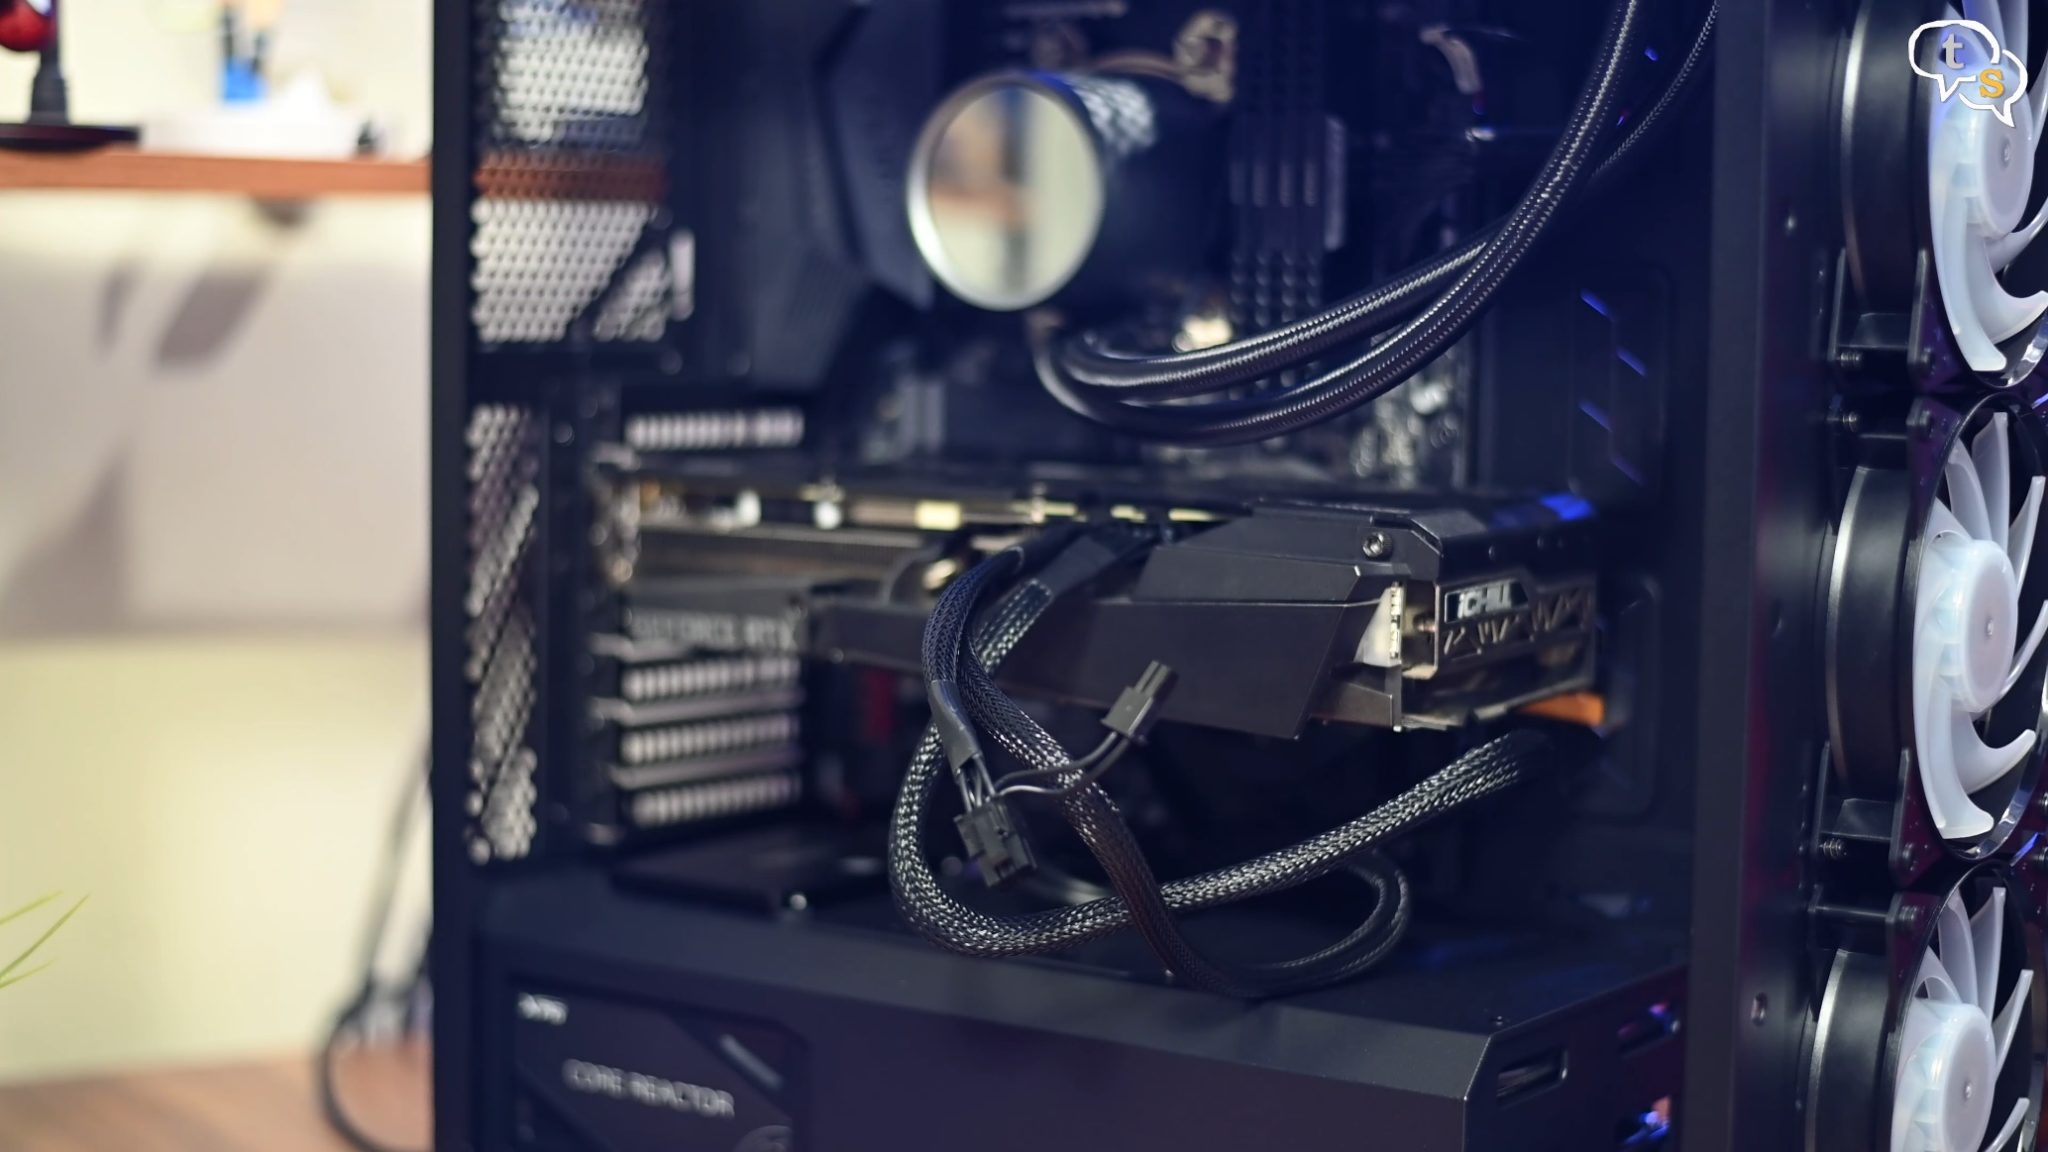
Now that everything is connected, now to test the system. It has turned on, and the system is booting. The front fans have also lit up.
It’s running, phew.
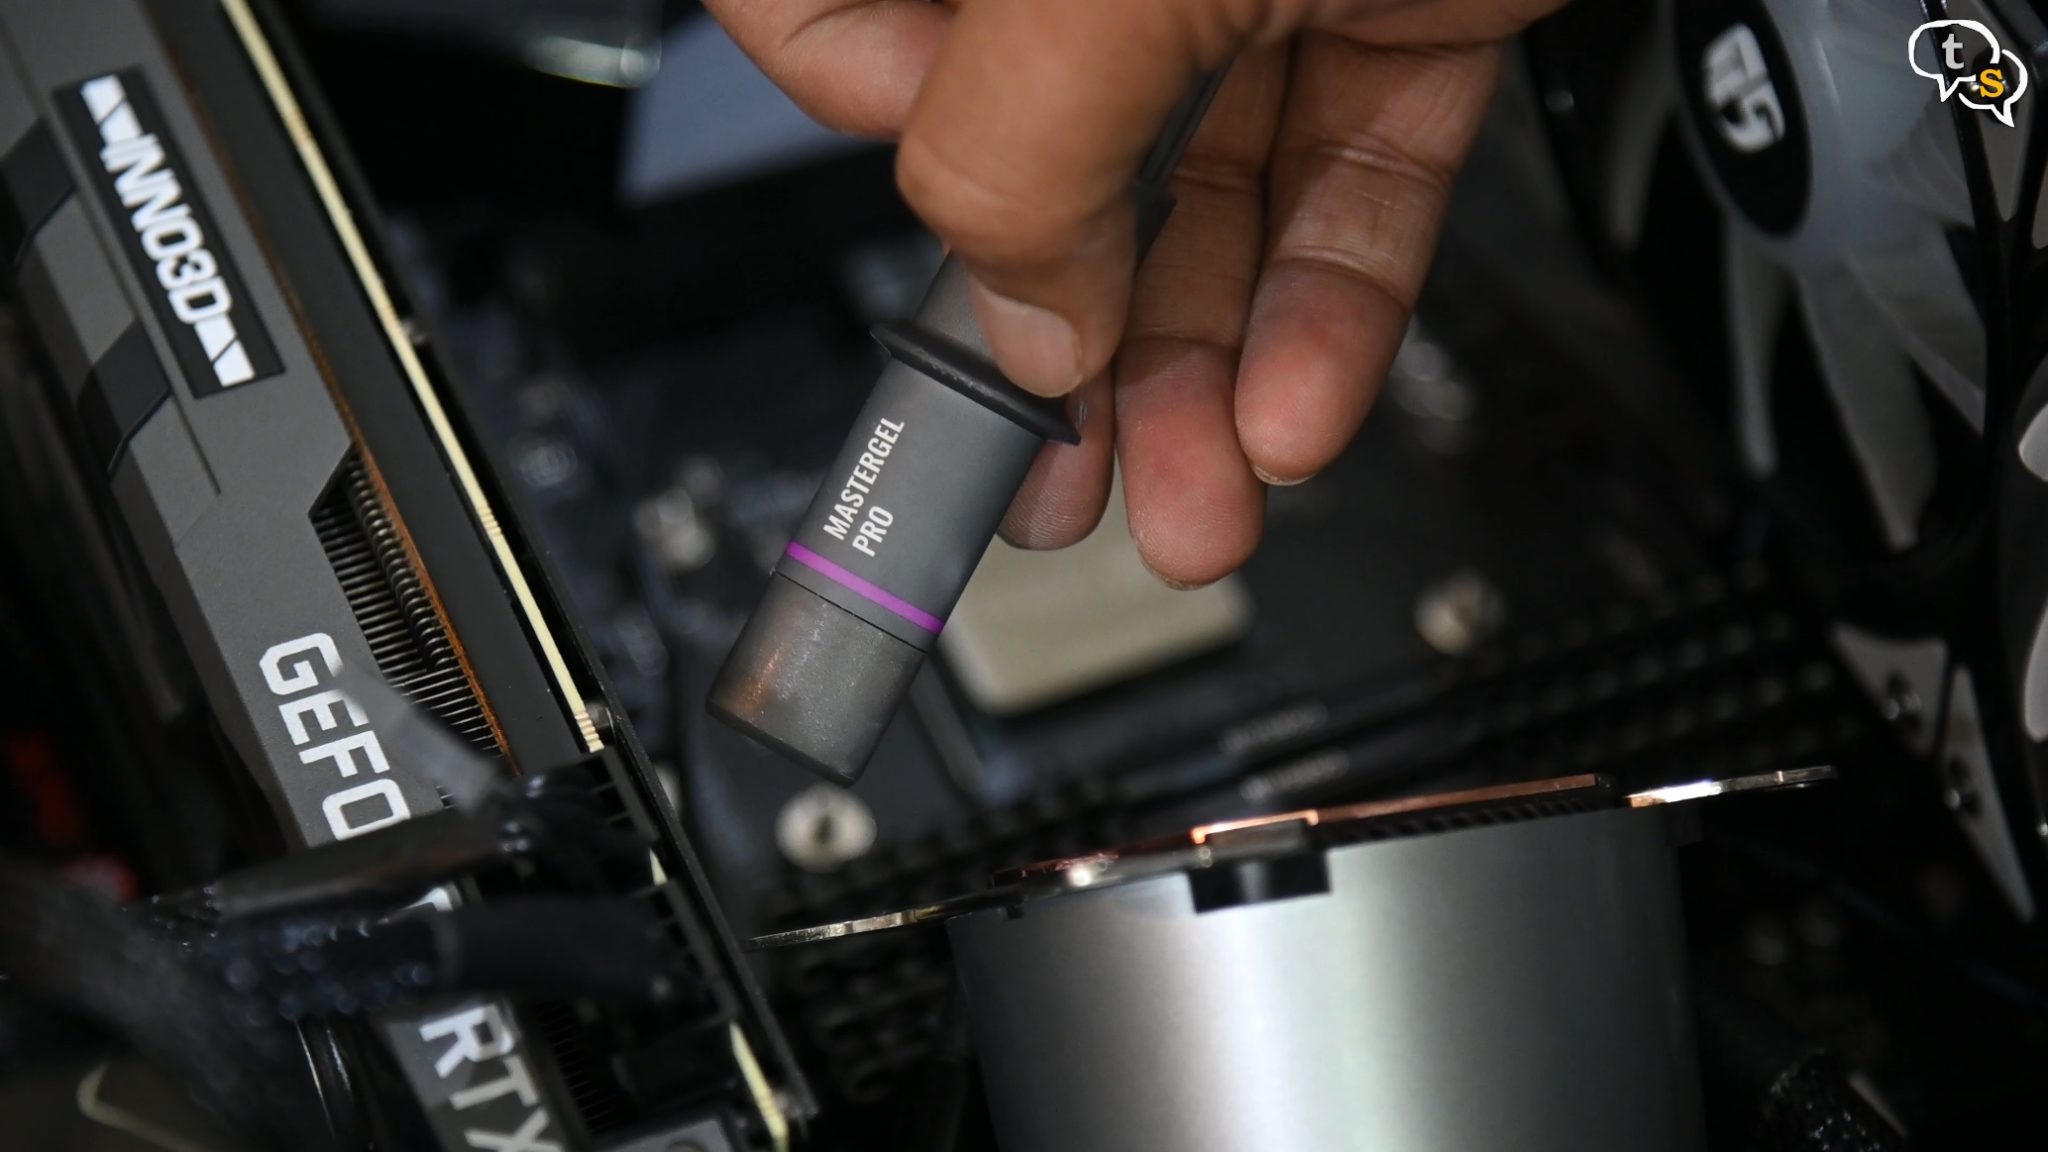
Now that the system is running, I can change the thermal paste. Let a benchmark run for a few minutes to soften the thermal paste, remove the cooler, clean out existing thermal paste and install cooler back. Done
Once all the RGB connections are made and the side panels are on this is how the system looks.
Wow look at all that RGB.
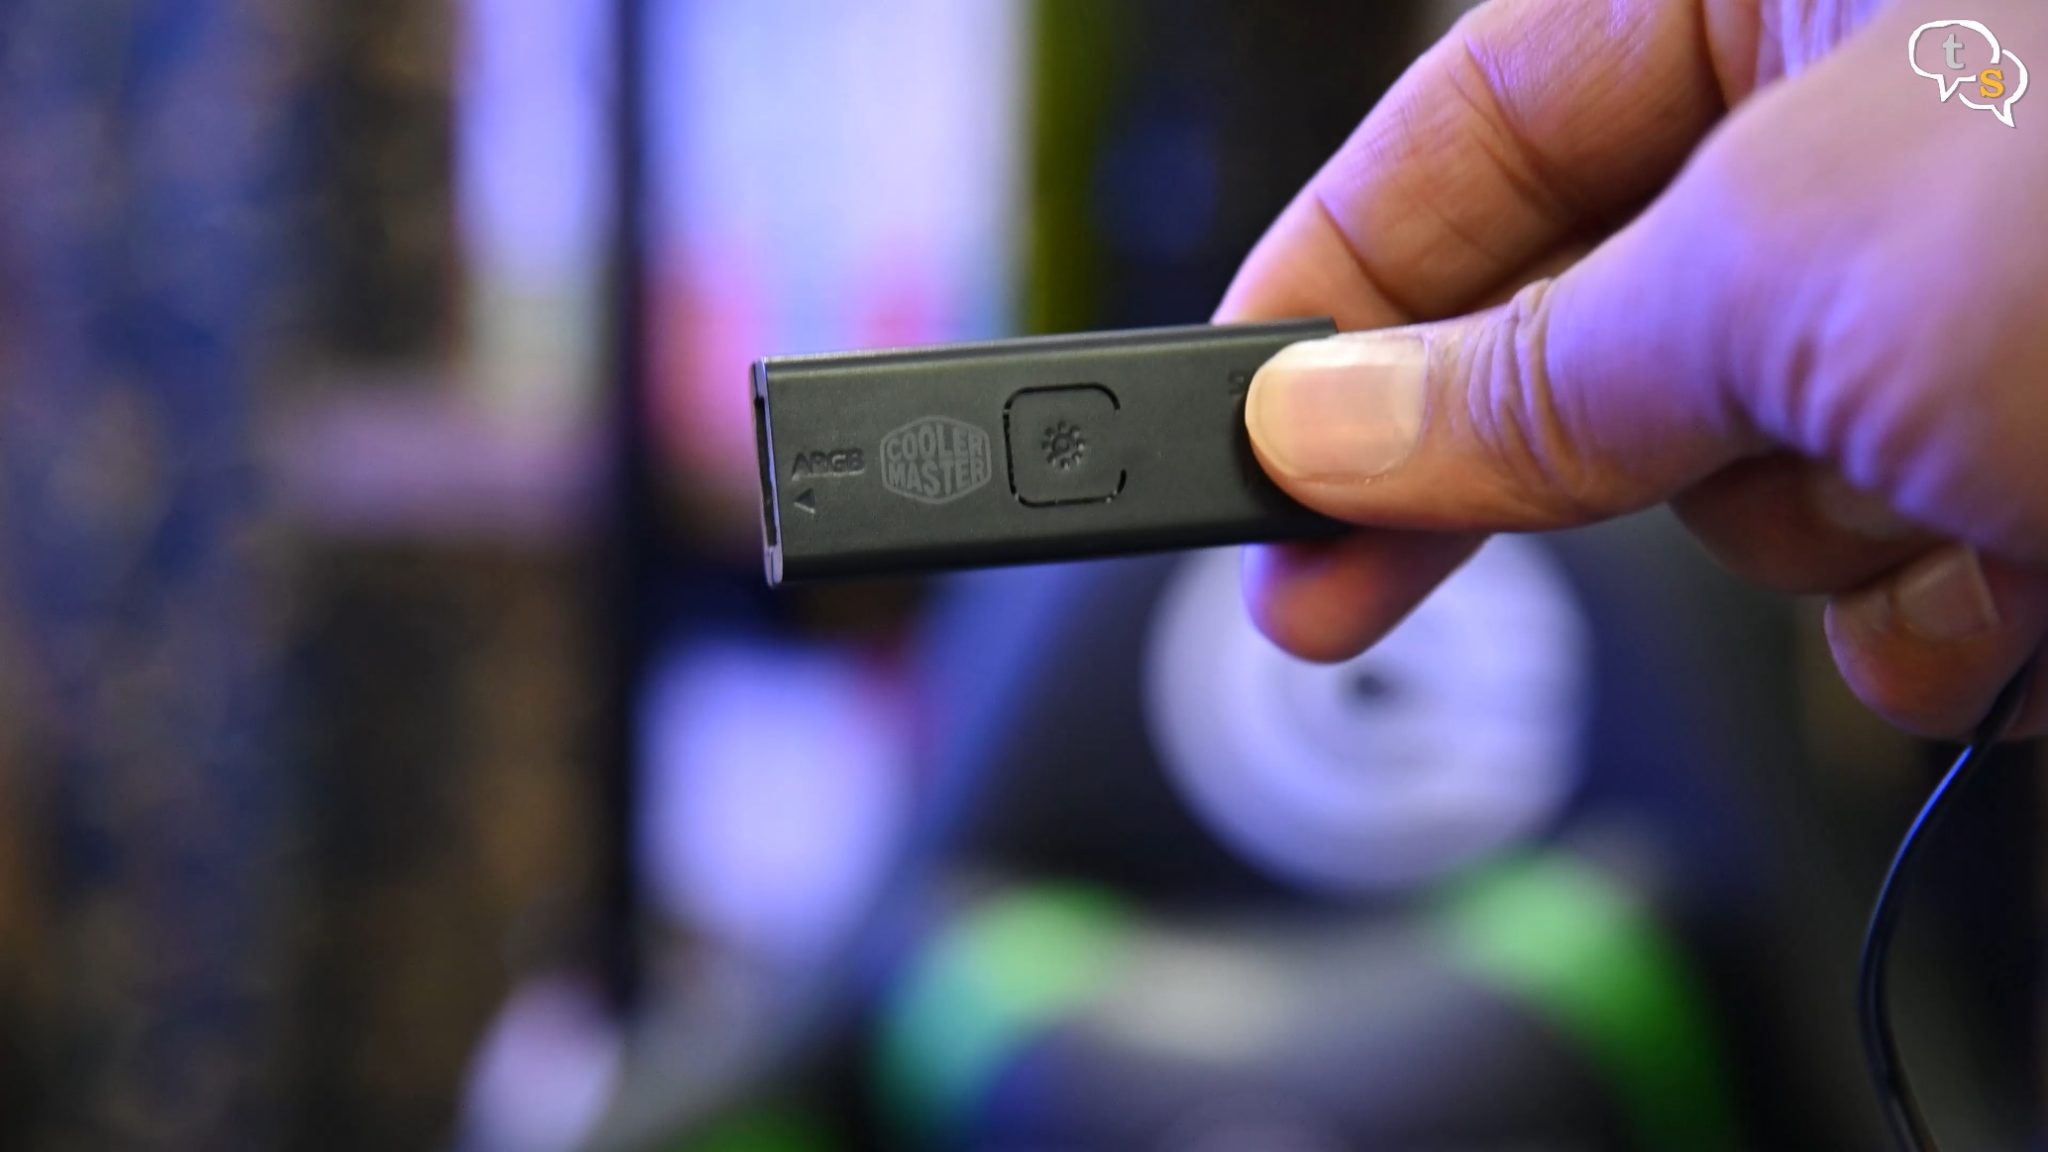
If you don’t have an ARGB header you would use the remote controller provided.
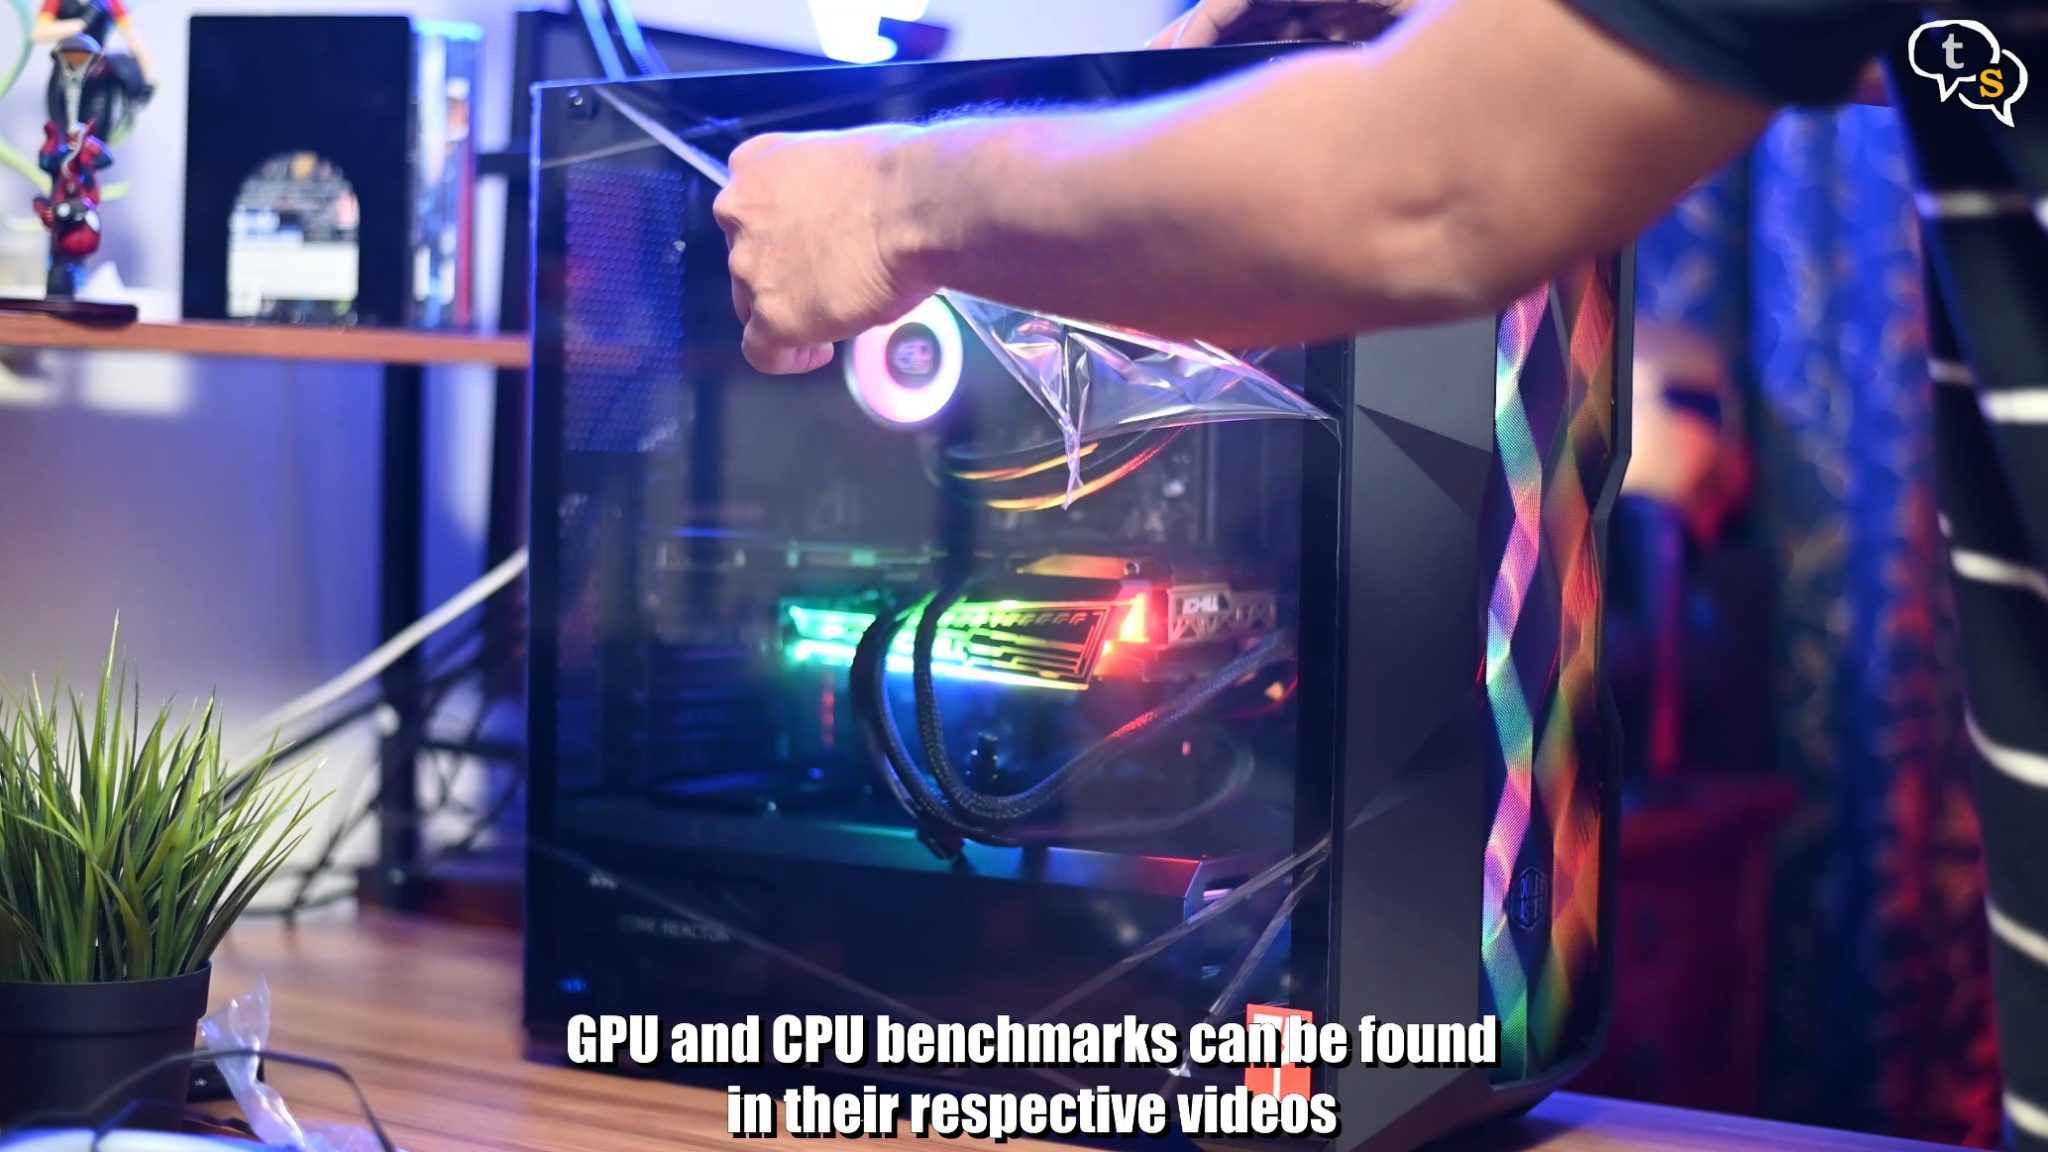
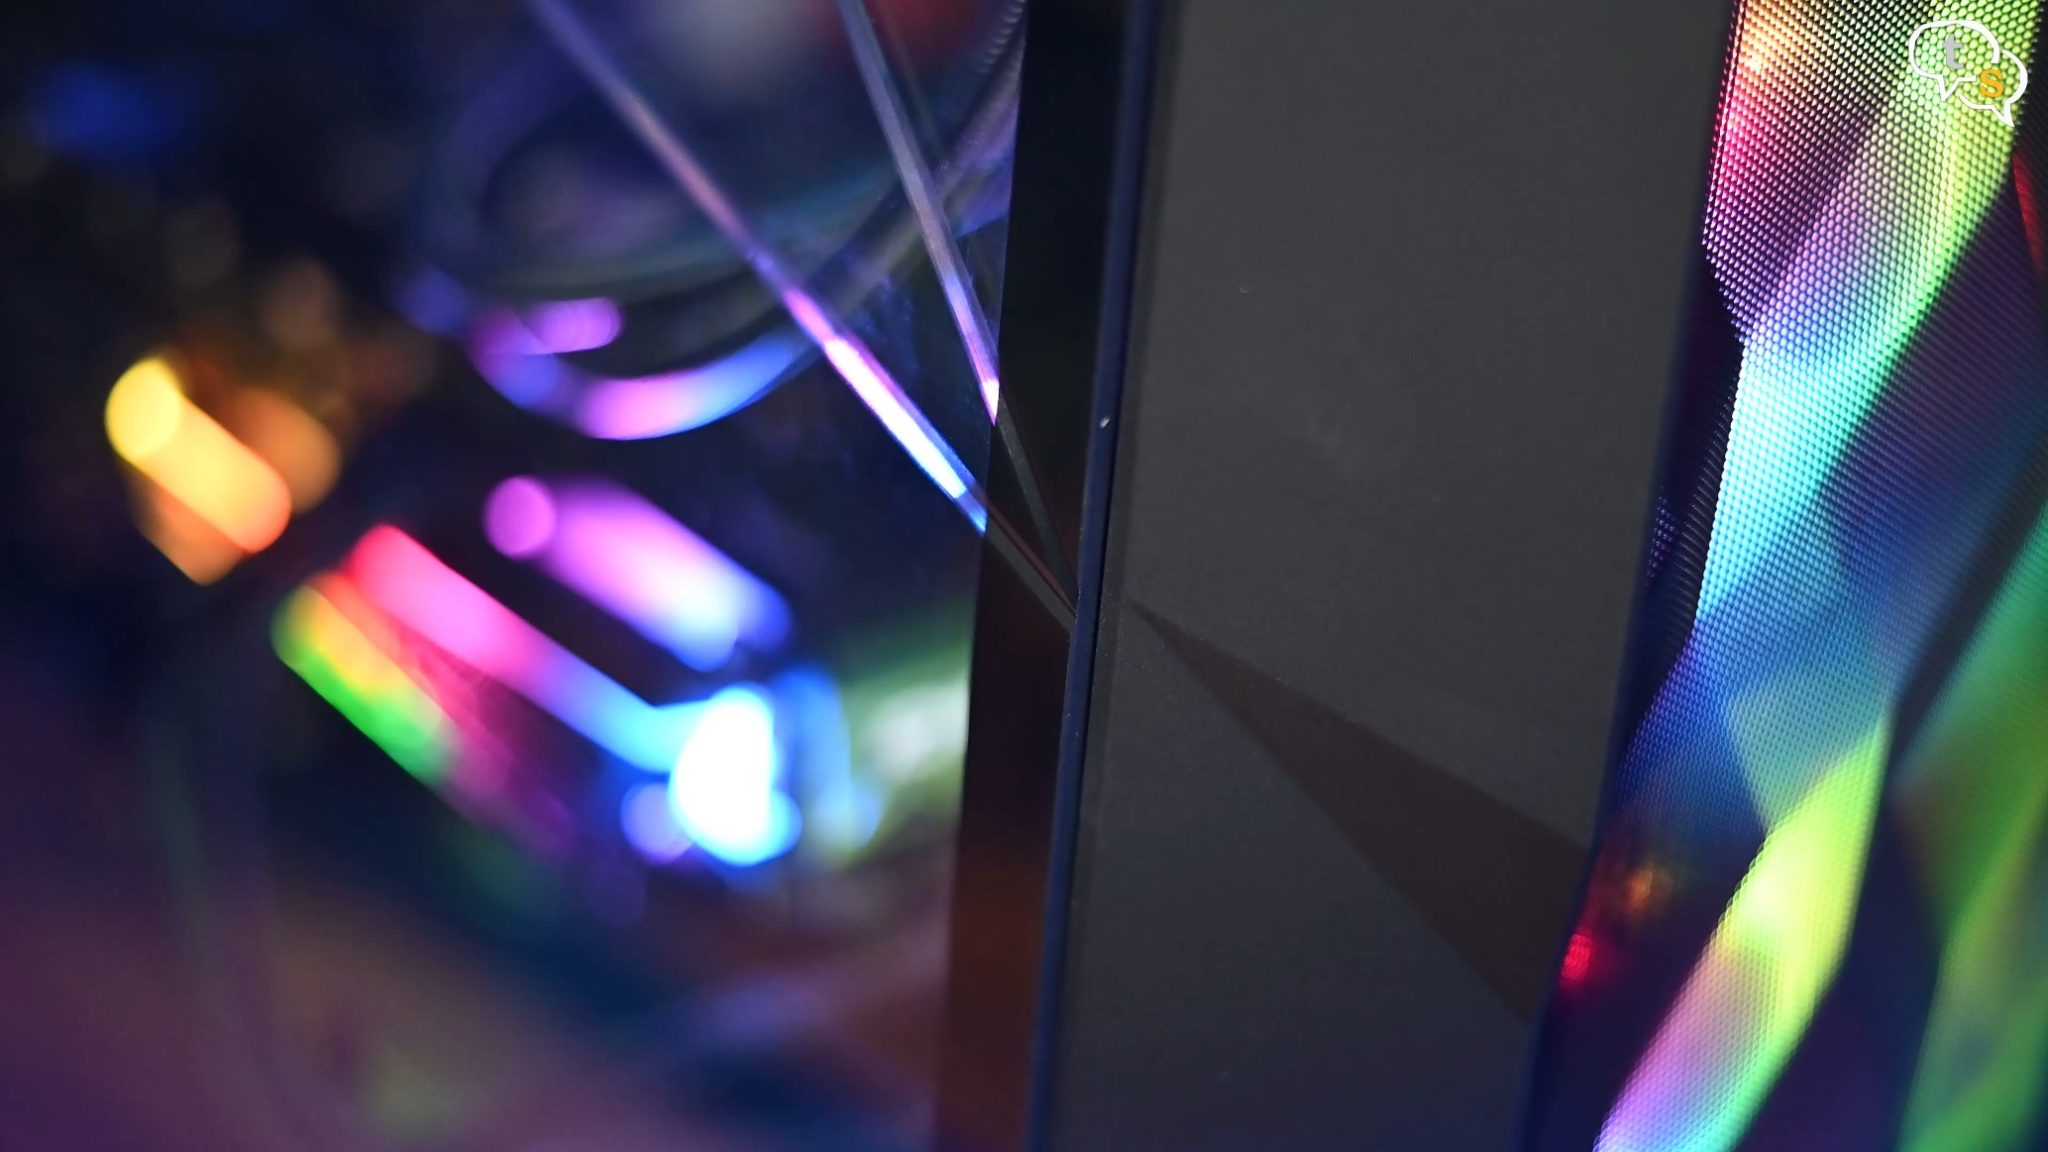
Time to peel the plastic off the tempered glass.
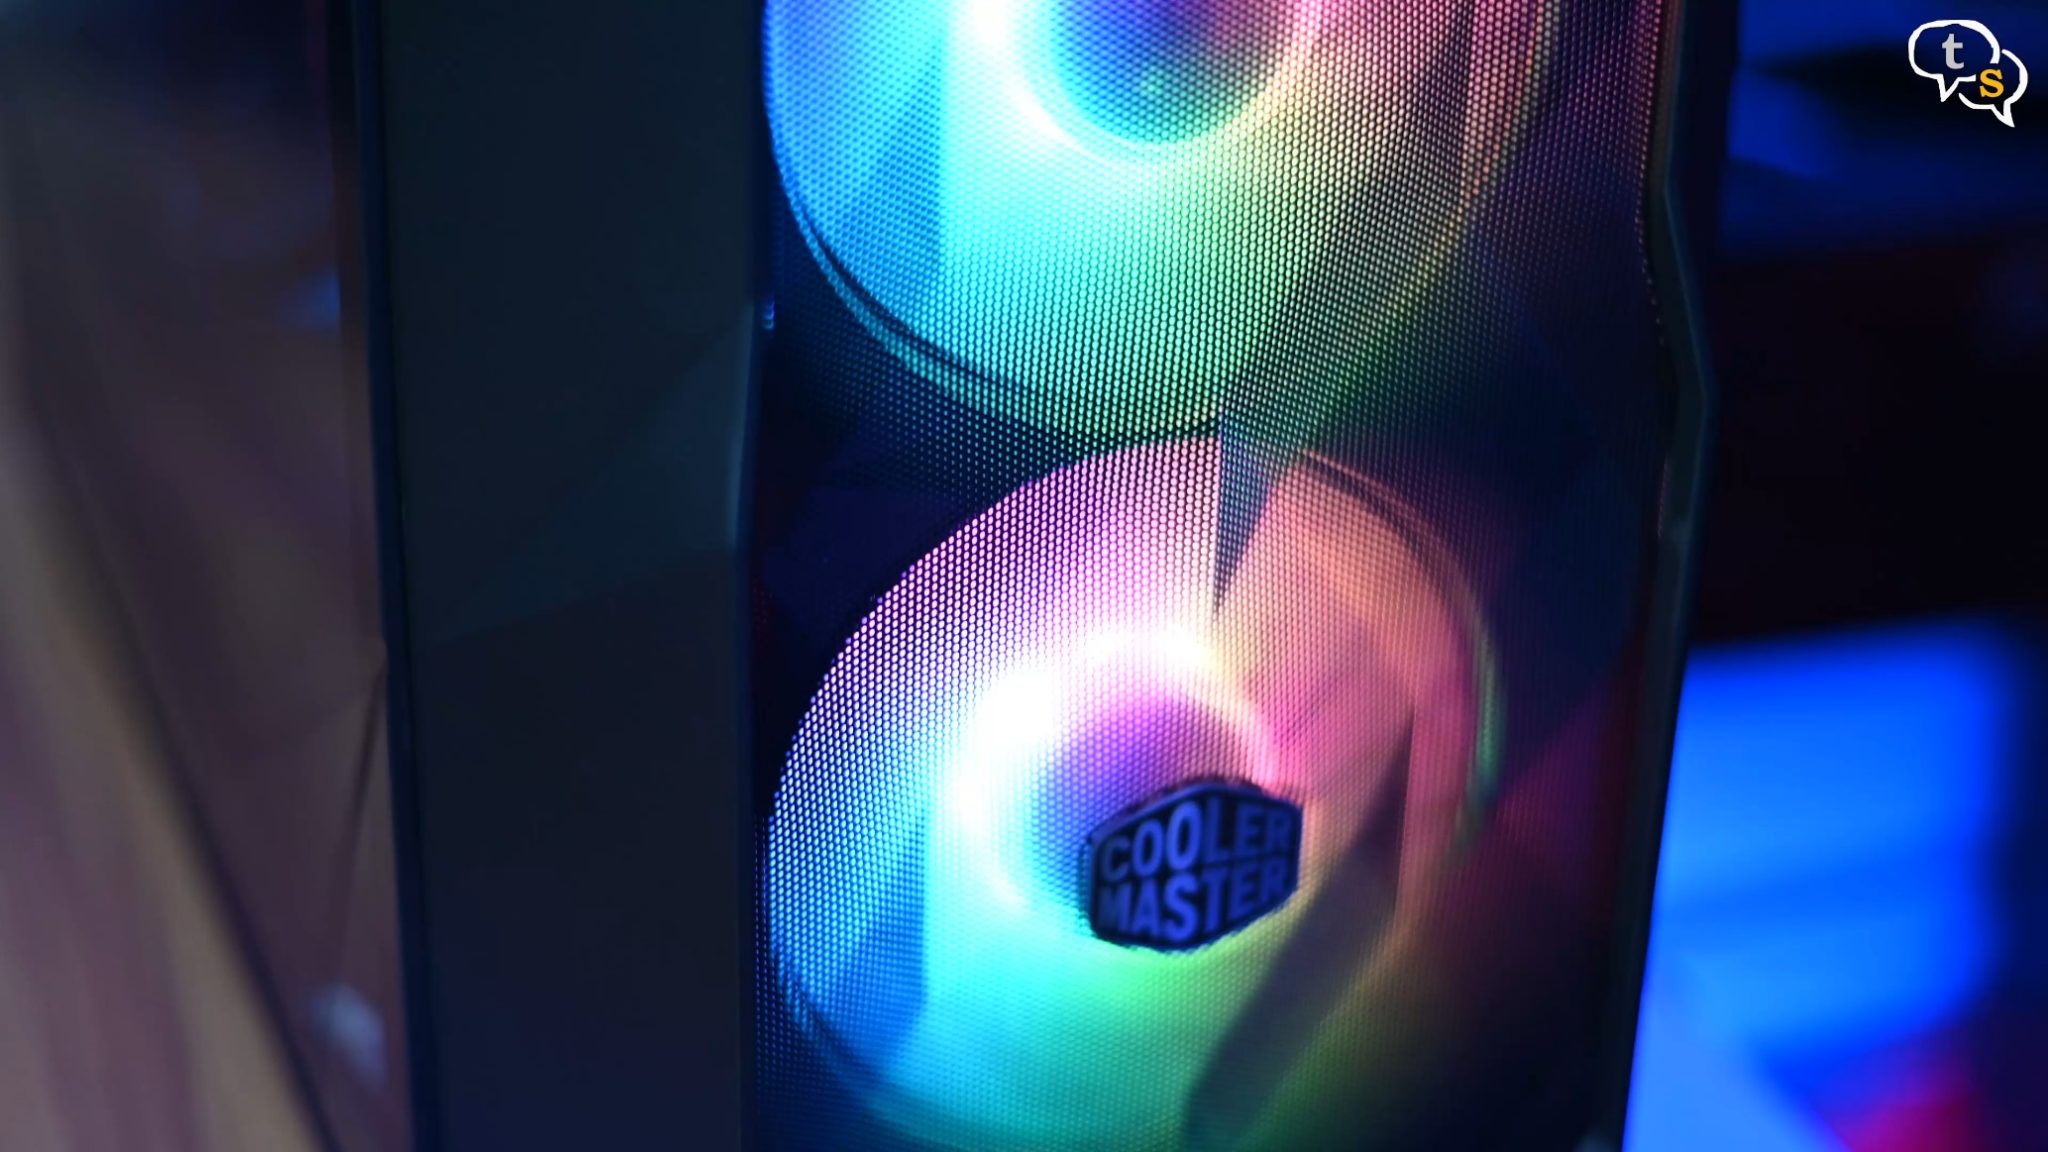
RGB on the fans are more muted as they are hub mounted leds but there’s a nice glow to them.
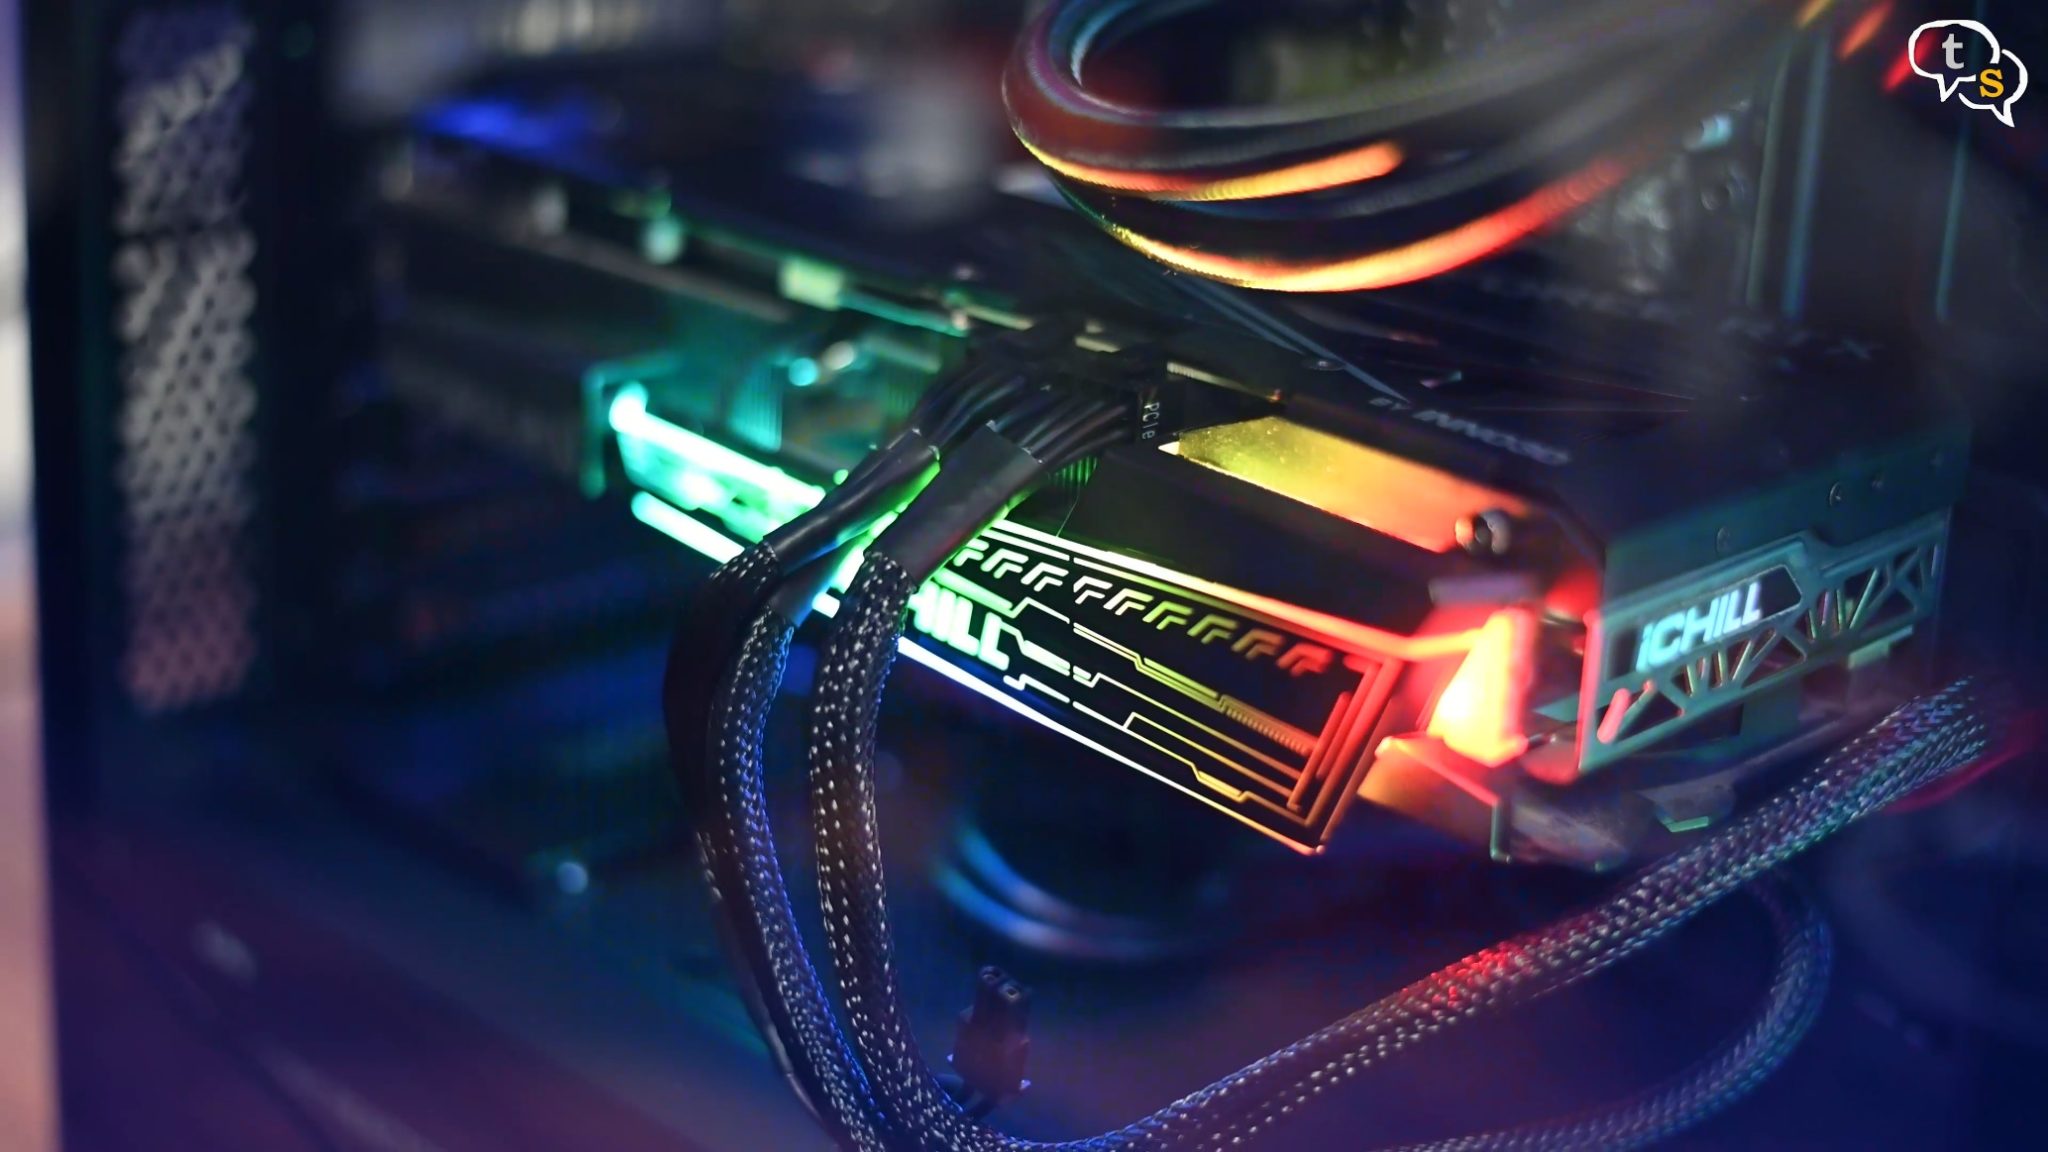
The GPU’s RGB lighting also adds to it and so does the AIO pump.

The system looks beautiful, and the sliced glass on the side refracts the light too.
Well, that was my new main PC build, yes, my PC does get upgraded a bit every year, in small increments and the main upgrade this time was the case and the power supply to support bigger graphics cards which reviews are coming soon. As this is my main workstation every ounce of power is helpful in completing my work faster.
The Masterbox td500 is a spacious case with cut-outs for power and cable management really well thought out. The XPG 850 core reactor power supply should satiate the needs of most graphics hardware available at present, and it’s modularity really helps trim down the number of cables required to be stuffed within the case. If I had only m.2 SSD’s my build would be complete with four cables.