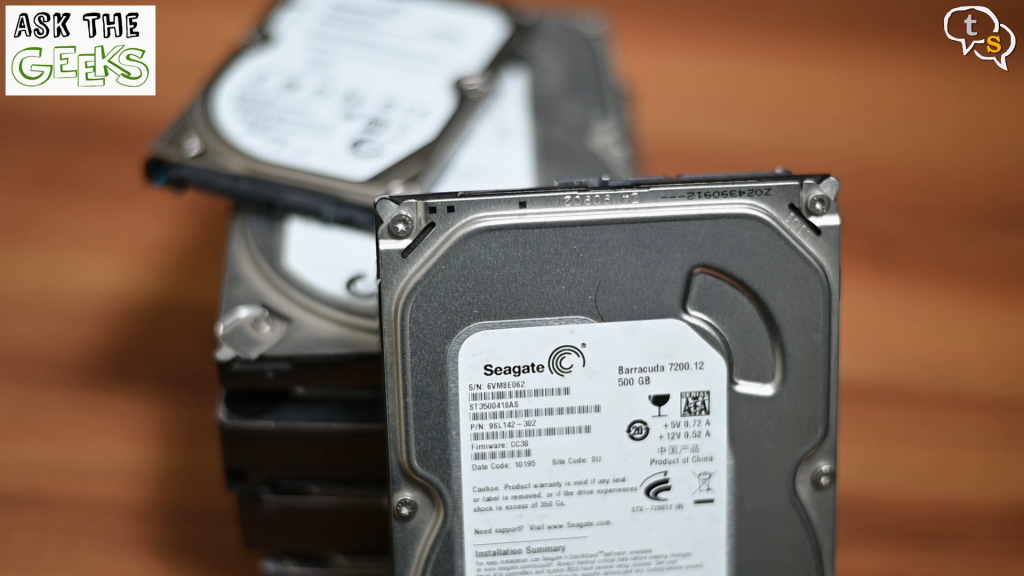
Do you have a lot of harddrives, which are remnants from an upgraded PC? Are you not sure on what’s on each one, but don’t want to have to install it into your system to check the contents? Maybe today’s device will help repurpose your older drives.
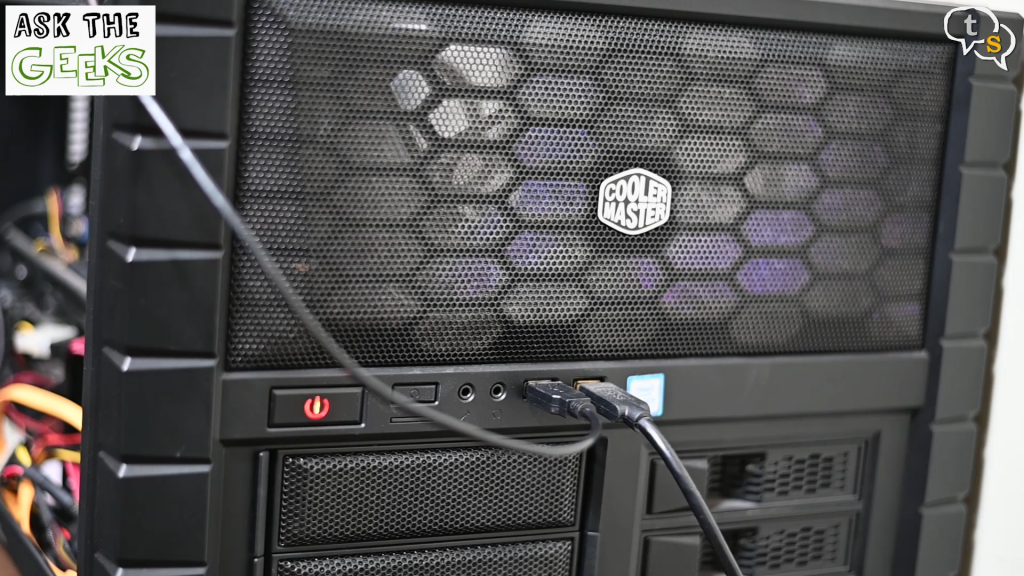
I have been building custom PC’s for myself and my friends for years. But with each upgrade there’s no guarantee that my older hard drives would make it into the newer computer.
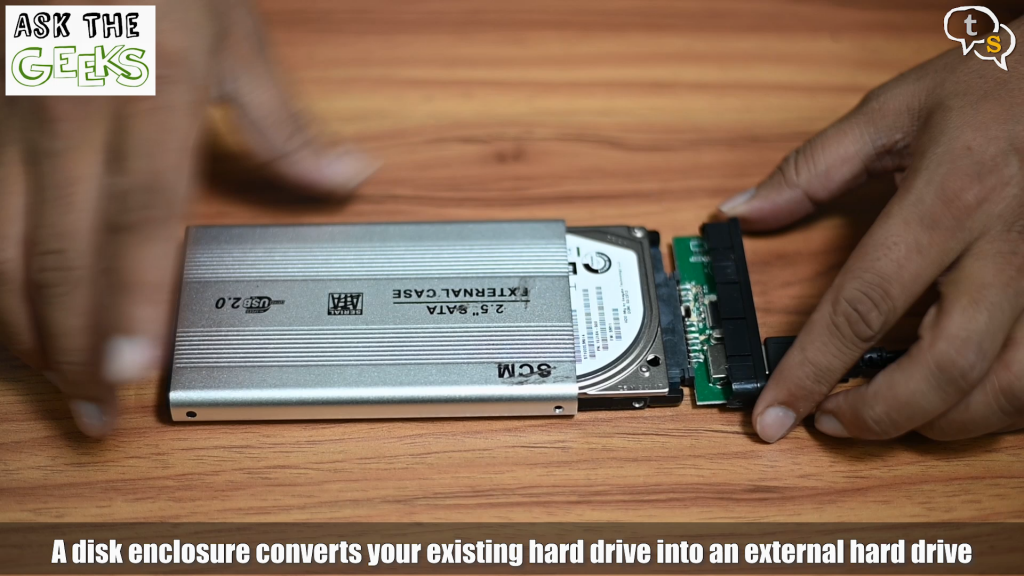
One way to repurpose my older drives was to use a hdd case, which made the drive into an external one.
It was easy to use, and the drive stayed snug and safe within. But one problem that reared its ugly head, was that it was not very easy to change drives as the case has to be taken apart.
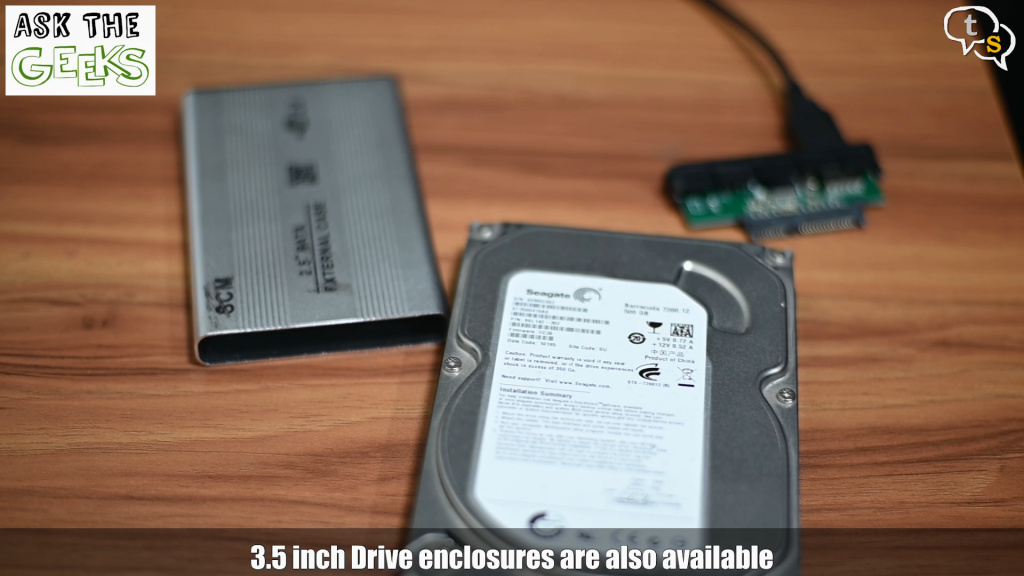
Also, as I had an older case it was only USB 2, making transfer speeds slow and even though it connected with either 2.5- or 3.5-inch drives interface wise but as it didn’t have external power it couldn’t run the bigger drives.
Looking at the stack of drives I have; I needed a faster and easier way to swap drives and use them only when required.
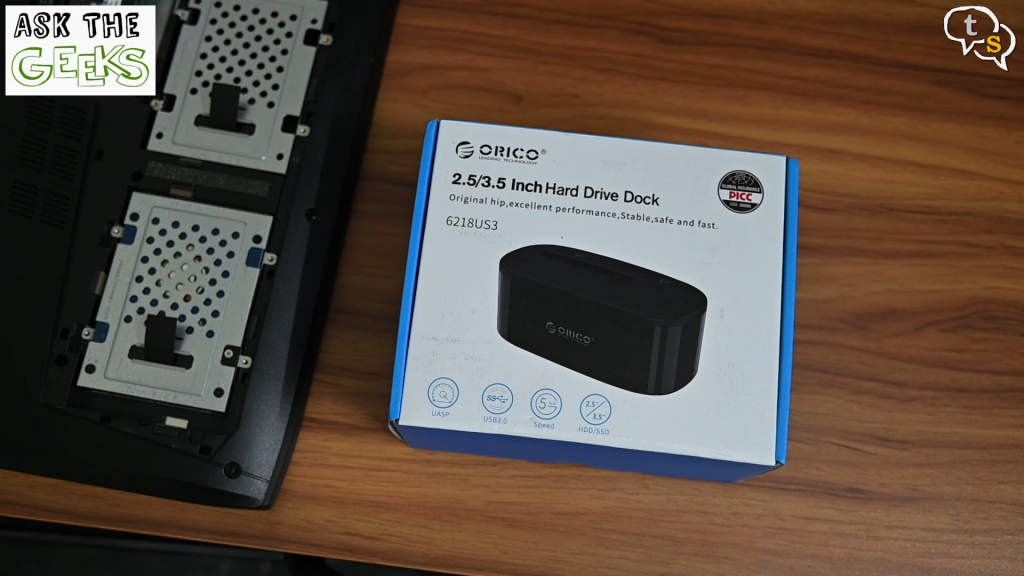
So here I have the Orico Hard Drive Dock. It works with both 2.5- and 3.5-inch drives.
On the box we have the main features:
UASP or USB Attached SCSI Protocol
USB-3
5 GBPS transfer rate
And the best part it supports both 2.5 and 3.5 inch drives
Let’s get the device out of the box and test it out.
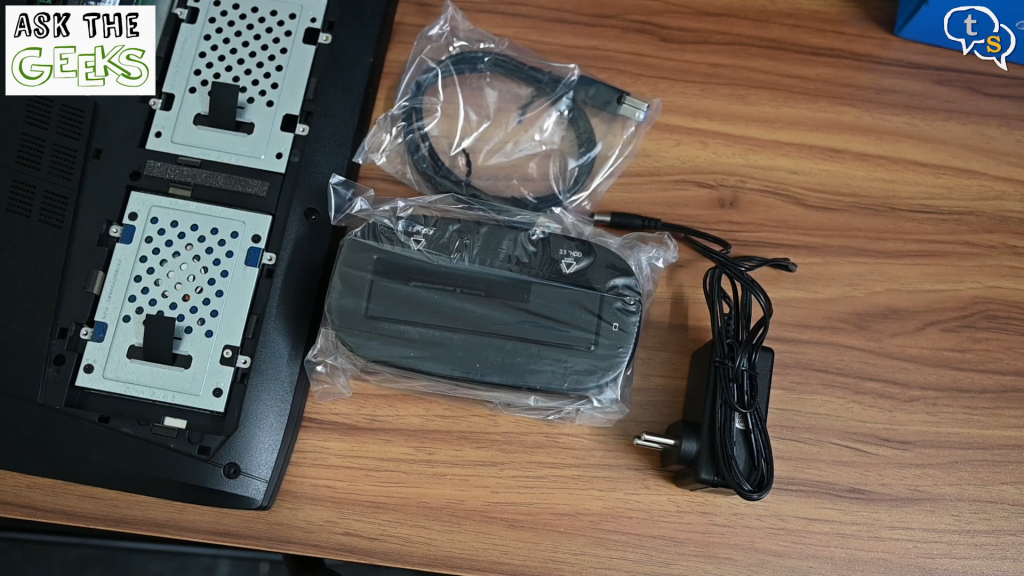
In the box we have the Orico HDD Dock.
A power adapter
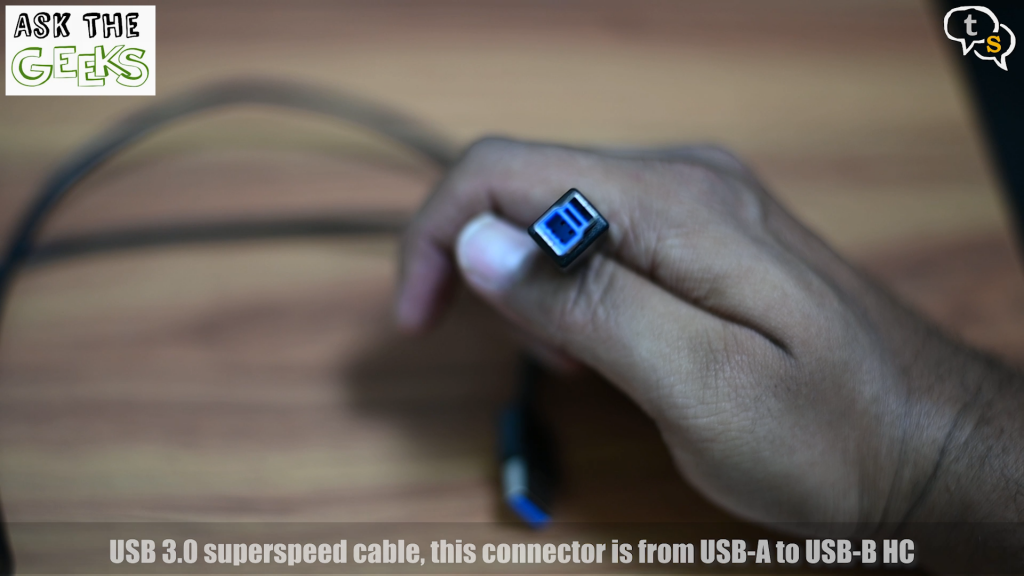
A USB 3.0 superspeed cable. This connector is from Usb-A to USB-B HC-5M
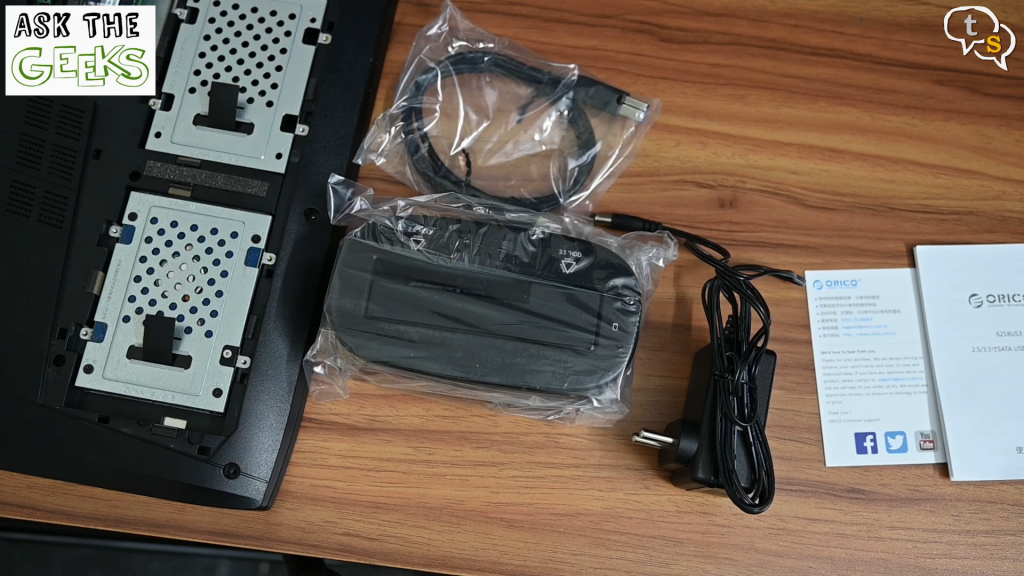
Also included in the box is a thank you card and instruction manual.
Removing the plastic cover off the dock, we see the main device.
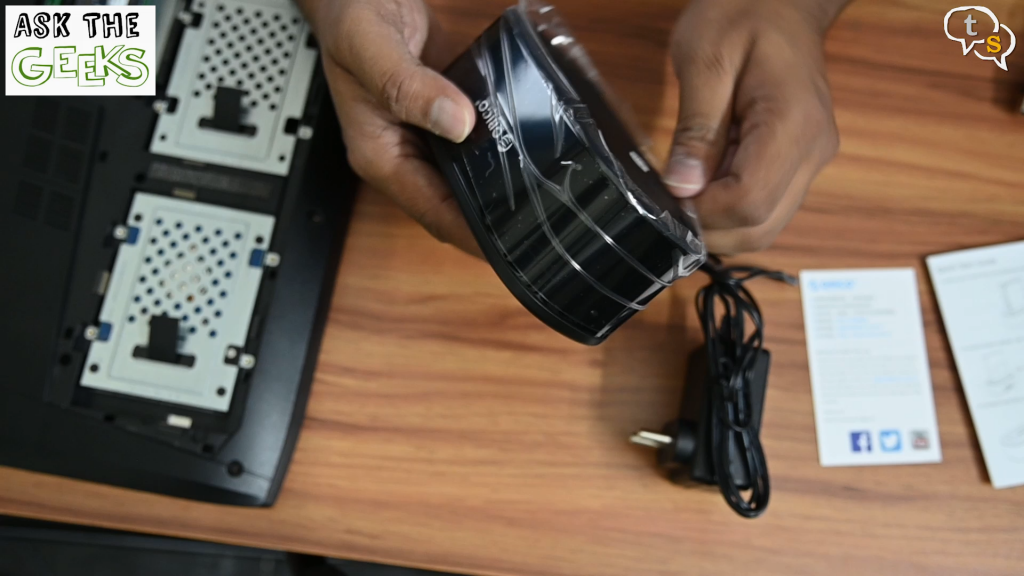
It’s made of plastic; another thin plastic film protects the sides. The sides being glossy, are fingerprint magnets.
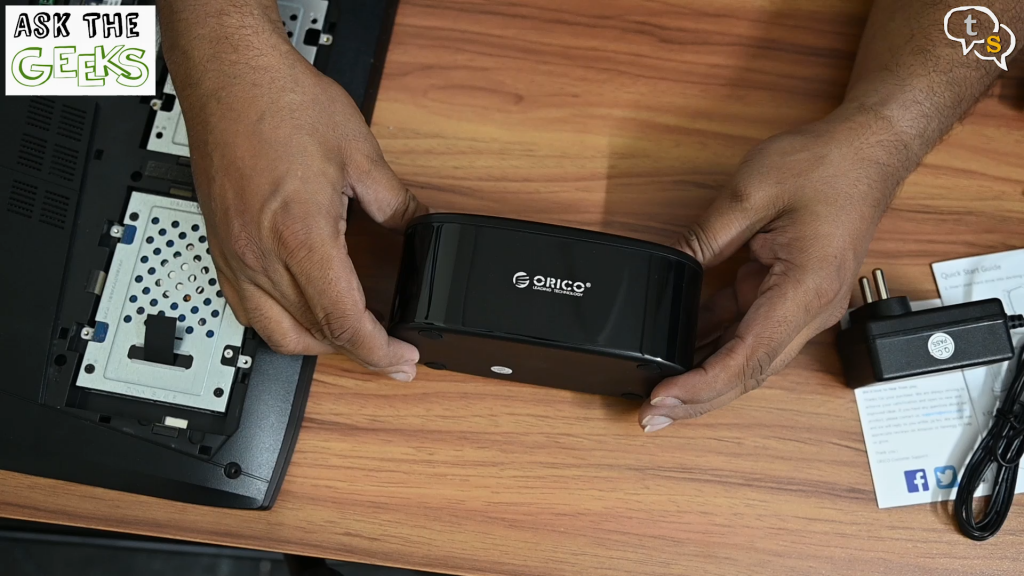
On the front of the device we have the orico branding, on the top we have the actual docking interface.
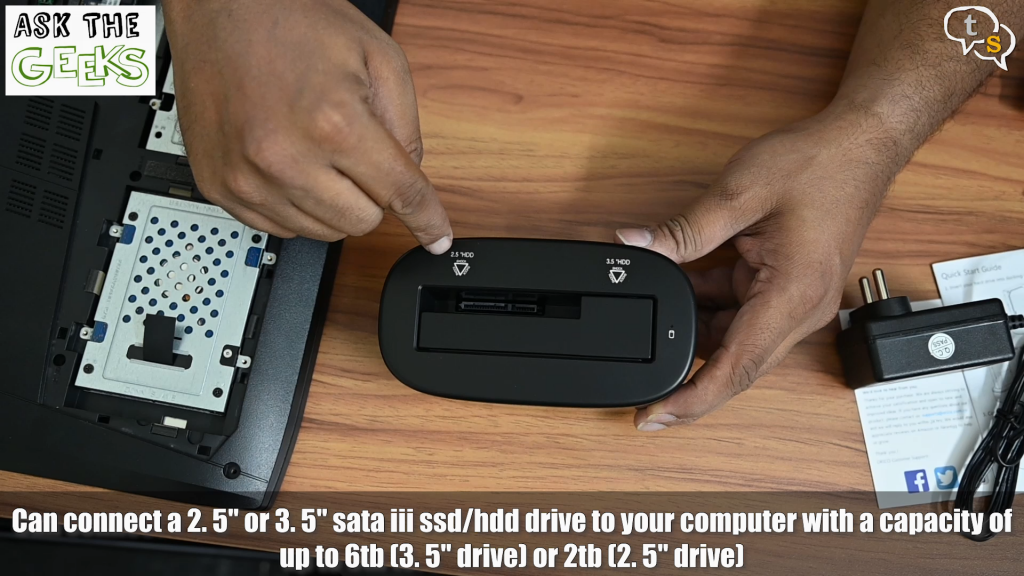
The smaller slot takes in the 2.5-inch drives, and the bigger slot, for the 3.5-inch drive.
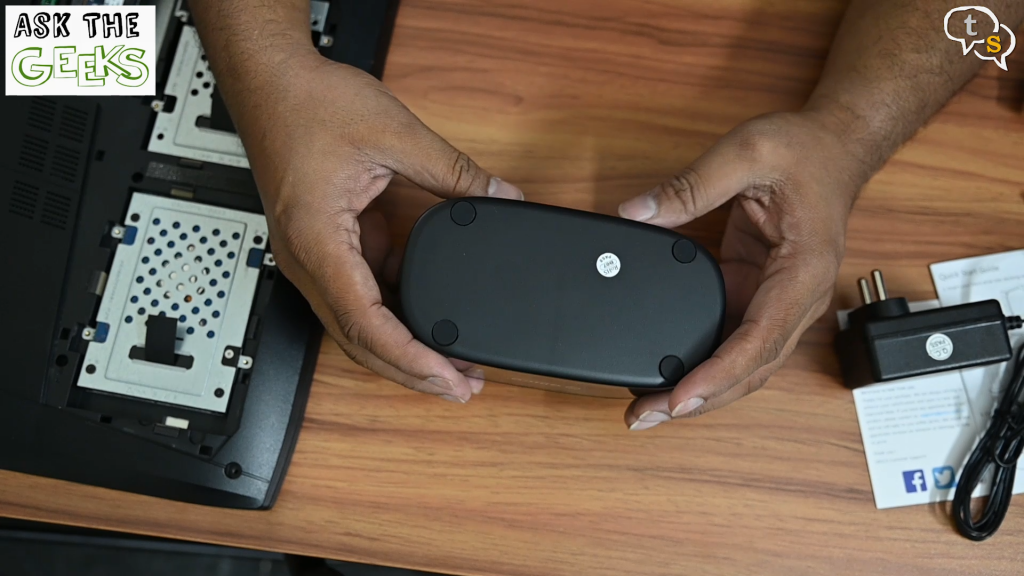
The bottom has rubberized pads, so that the drive won’t move around.
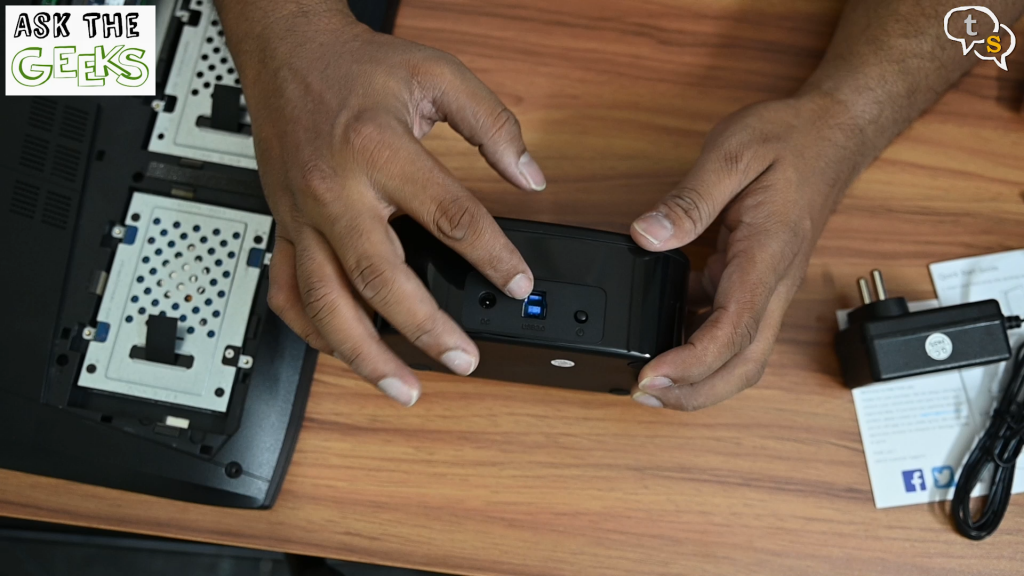
On the back, we have the power button, a DC power input and the USB-3.0 super-speed interface.
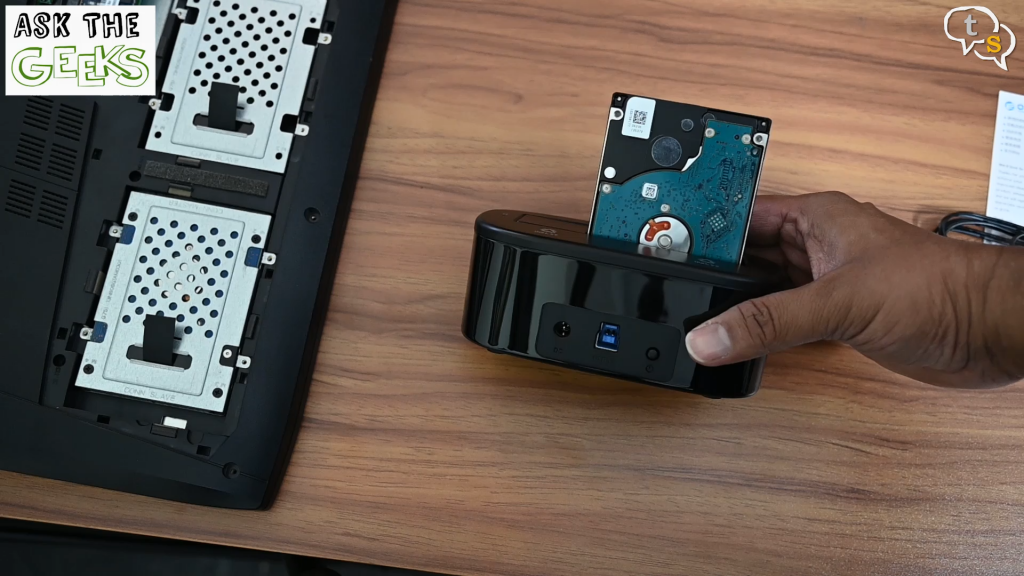
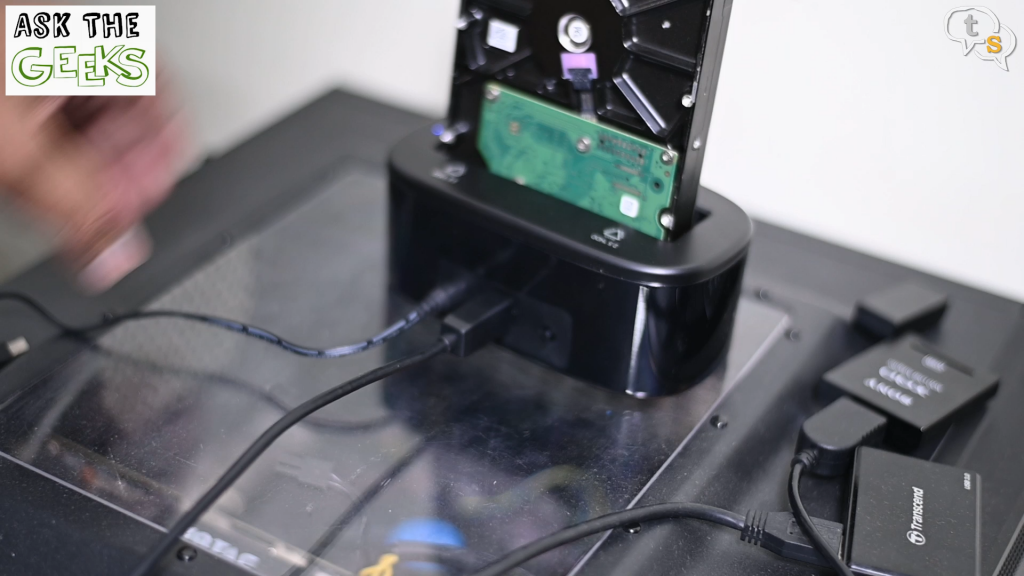
Using the dock is quite simple, you slot in a drive by sliding it in. It connects to the interface on the bottom and it’s ready to use.
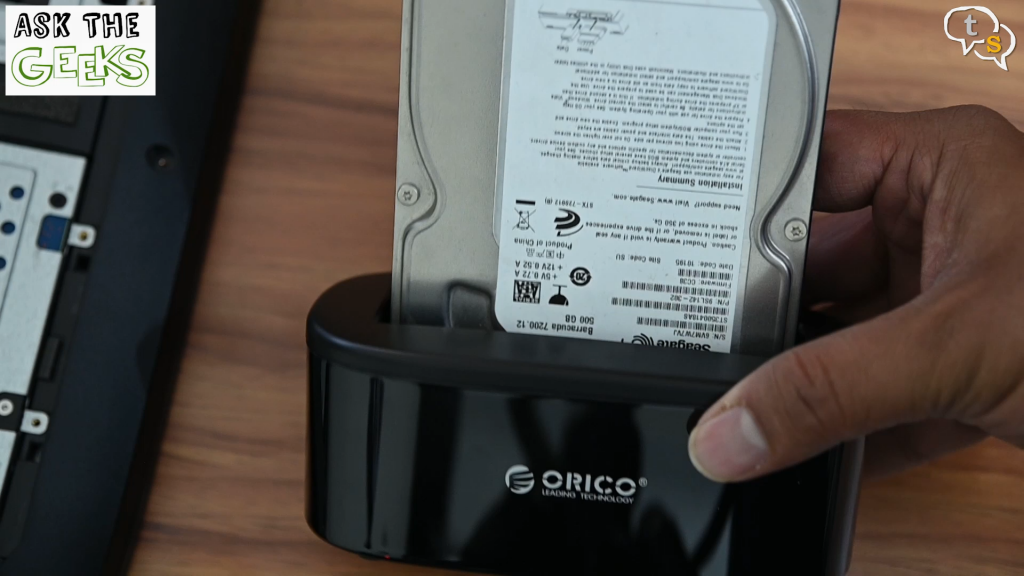
This was a small 2.5-inch drive, let’s try a 3.5-inch drive.
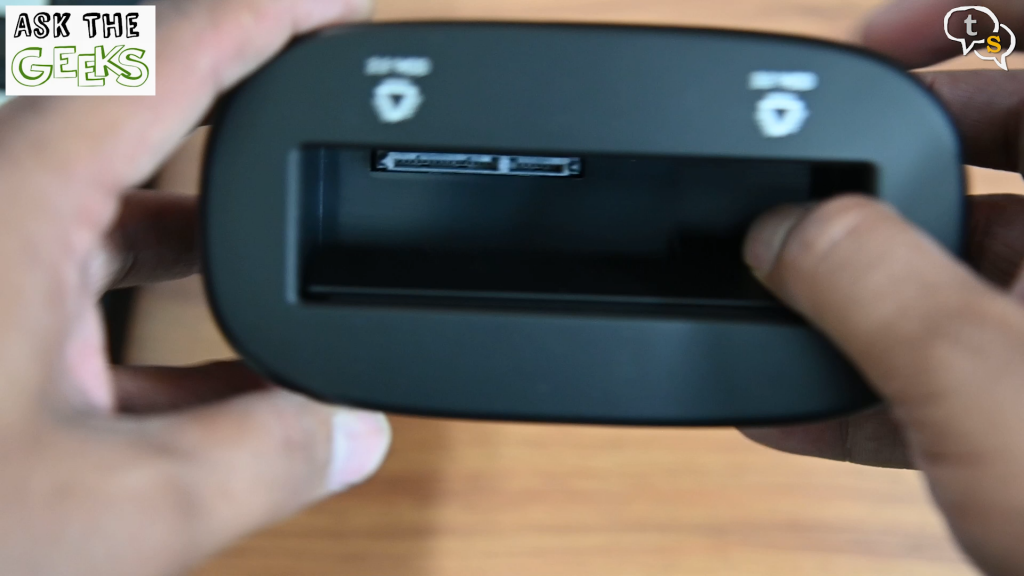
The top plate swivels out of the way to accommodate the bigger drive.
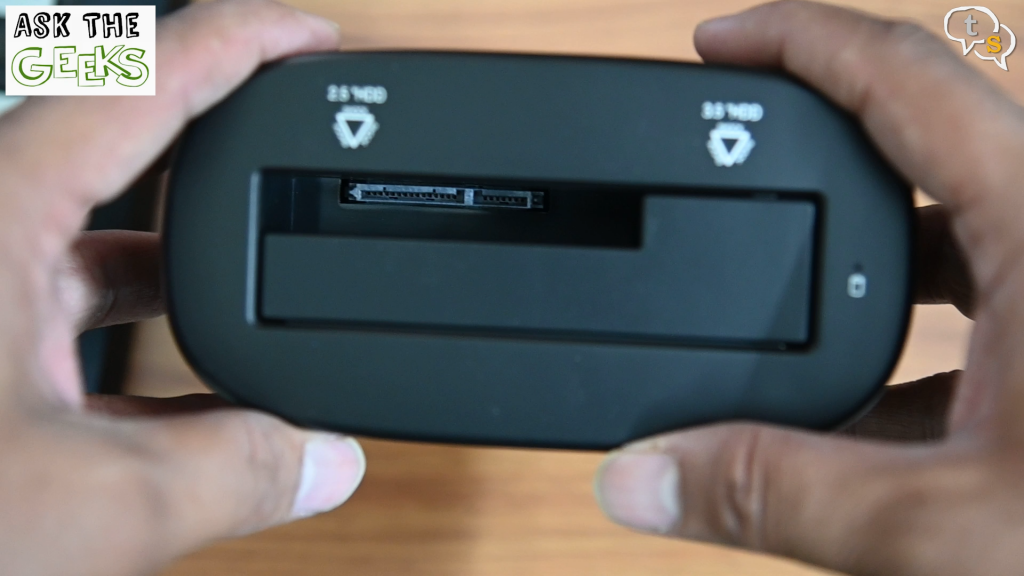
This is the connector within, it’s the same one used by both drives. The slots help guide the drives in aligning with the connector.
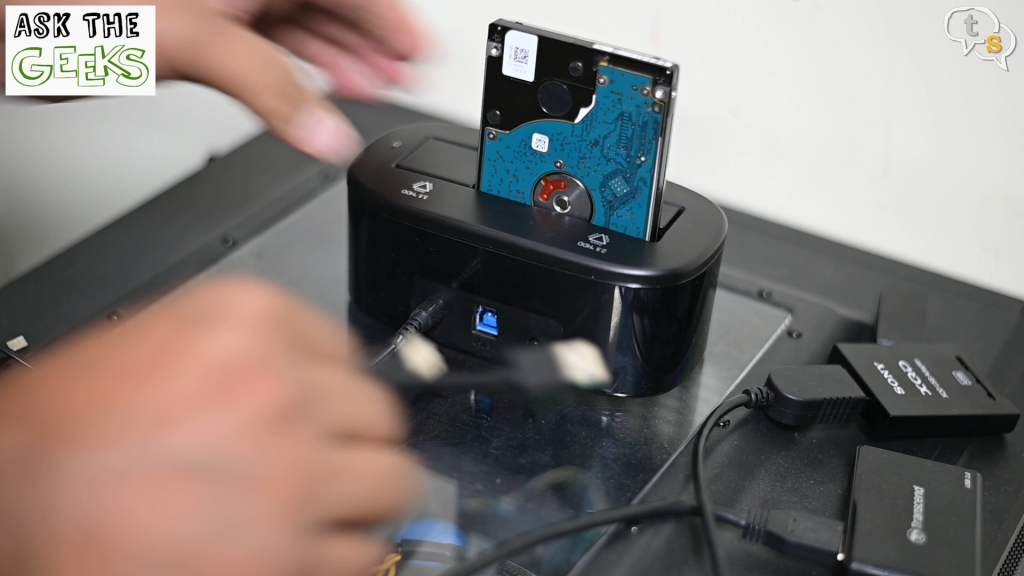
To use the dock, we need to power it up and connect the USB cable to your PC. The drive appears on your computer as an external drive, and you can use it as required.
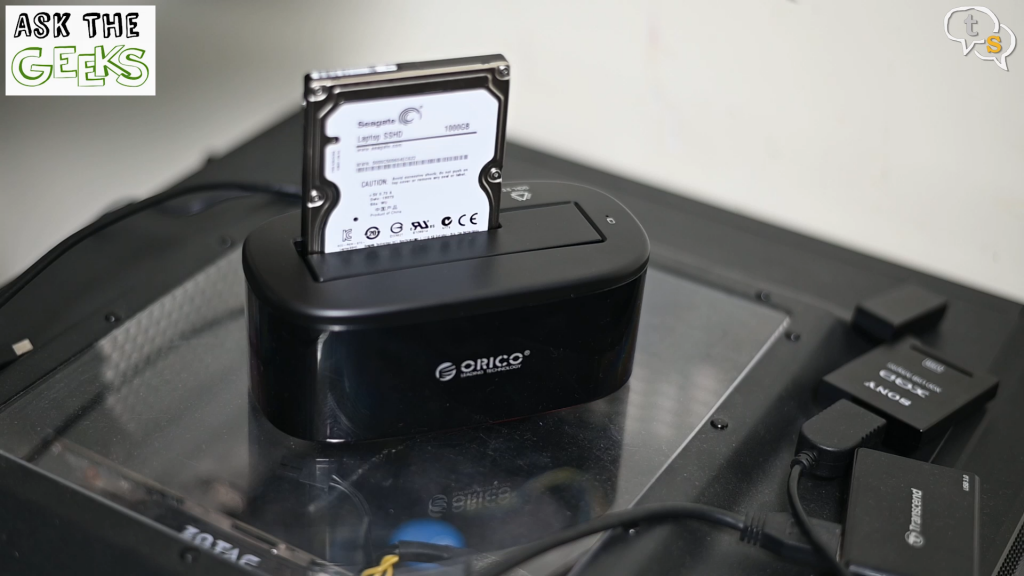
The dock allows for swapping drives, so eject the drive on your computer.
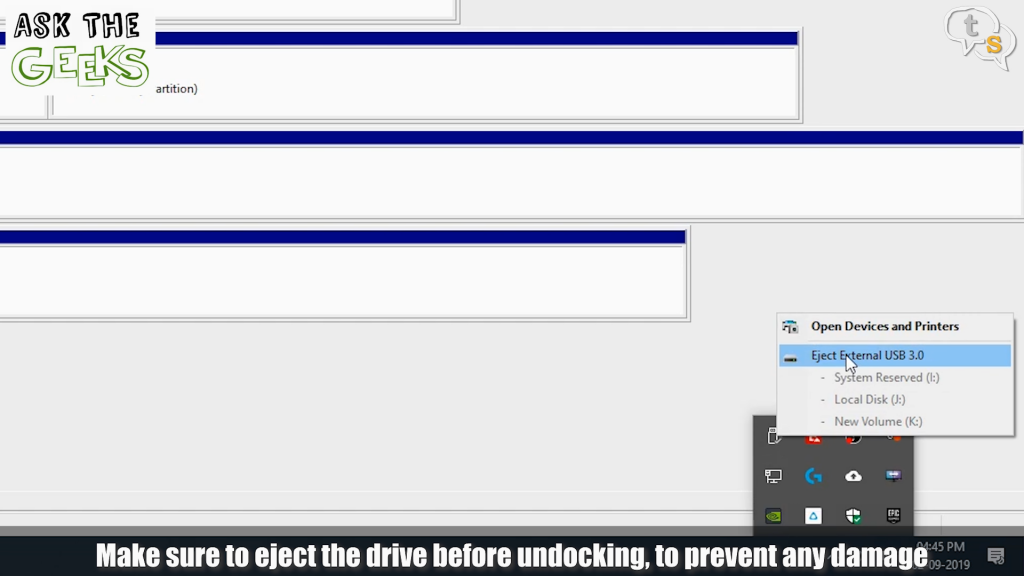
Power off the dock, replace the drive and power on. The drive is swapped without having to power down the whole computer.
Uses of an HDD Dock,

Recover data from hard drives that are malfunctioning without having to attach them to your main system directly.

This could be a drive from a faulty laptop too, which you would want to backup onto your main system.

You could Install or clone an operating system into a drive from a disk image.
Maintain multiple backup hard drives and place them away from the main system or location, keeping your data safe in case of damage to your computer.
There are also dual hard drive docks available which allow for two drives to be inserted together to clone the data between them.
I liked the convenience of having the option the dock drives to the when I needed it , without having to fumble with internal SATA cables and power, and I could swap drives without powering down the system which saves so much time.
So, if you are on the lookout for an HDD Dock, there are quite a few models available. I tested out this model and found that it works really well and would totally recommend one if you have lots of drives you need to access data from.
If you have any questions you can write in to tech@talkingstuff.net or WhatsApp us at 96525 78833.


