Use Coupon “E6ZK6CJ4″ for 15% off on the Mini R3 and S-Mate valid until January 31st 2022.
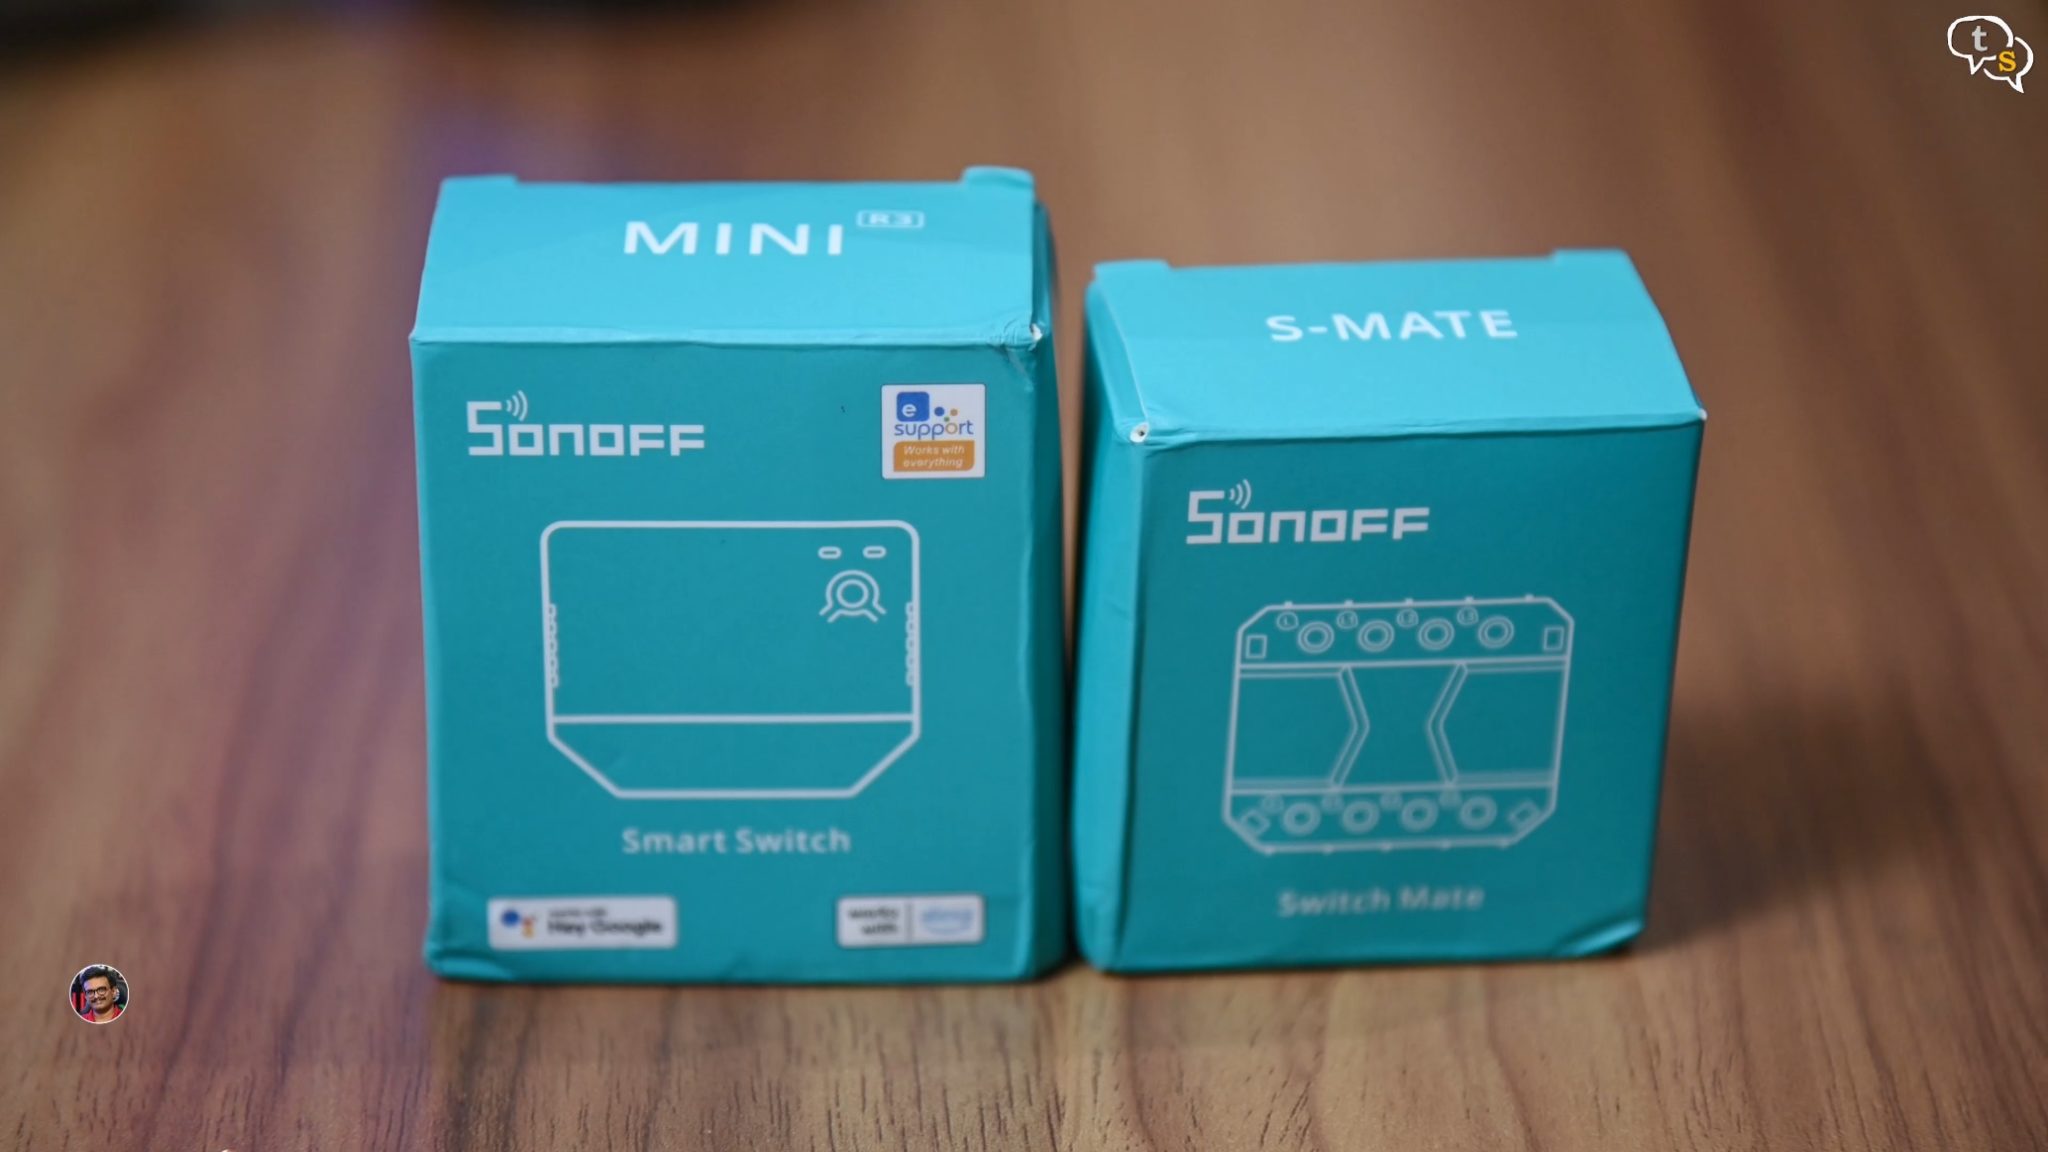
Today I have two new products from Sonoff the mini r3 and the s-mate.
Let’s set these up to see how they’re supposed to be used.
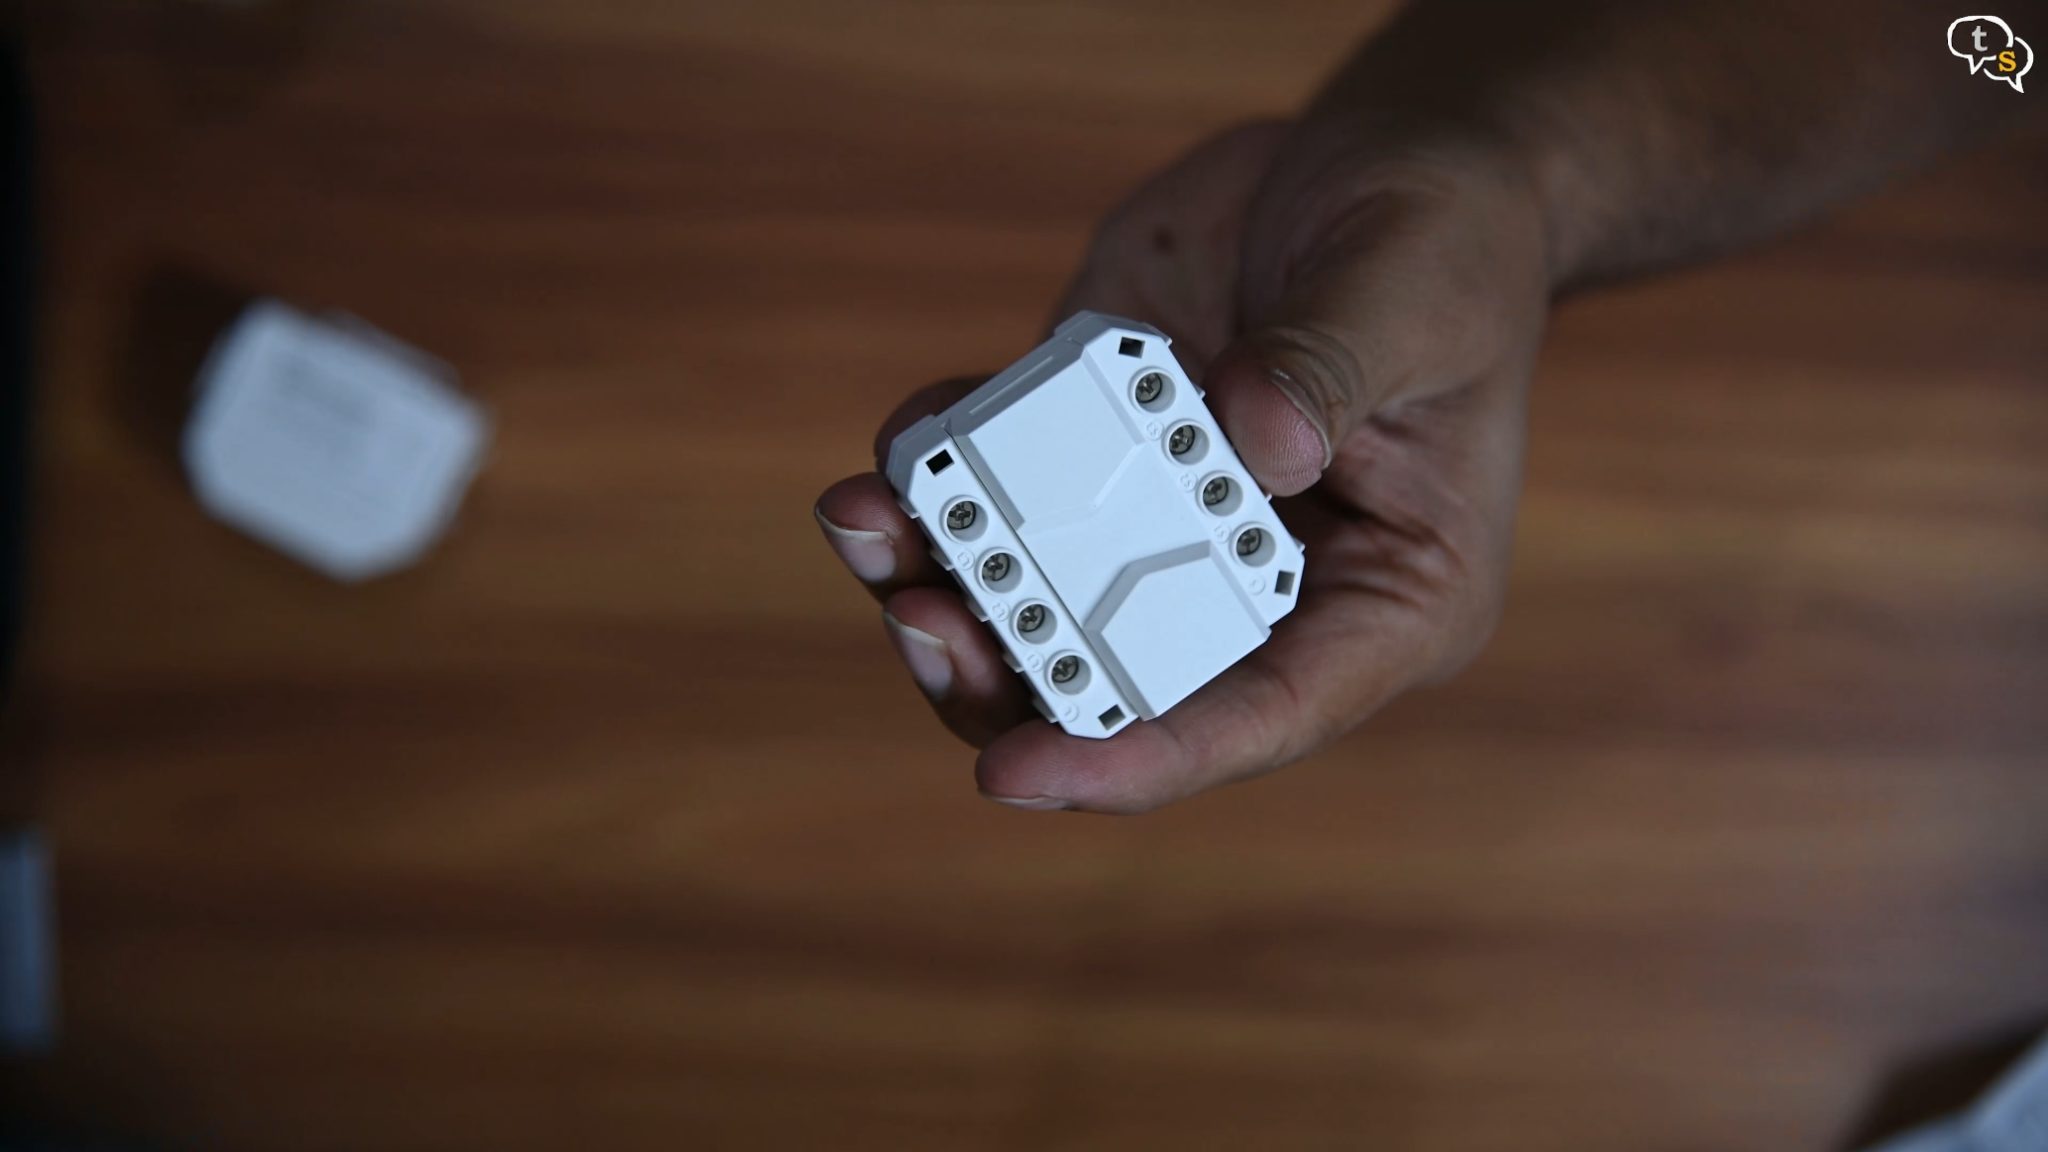
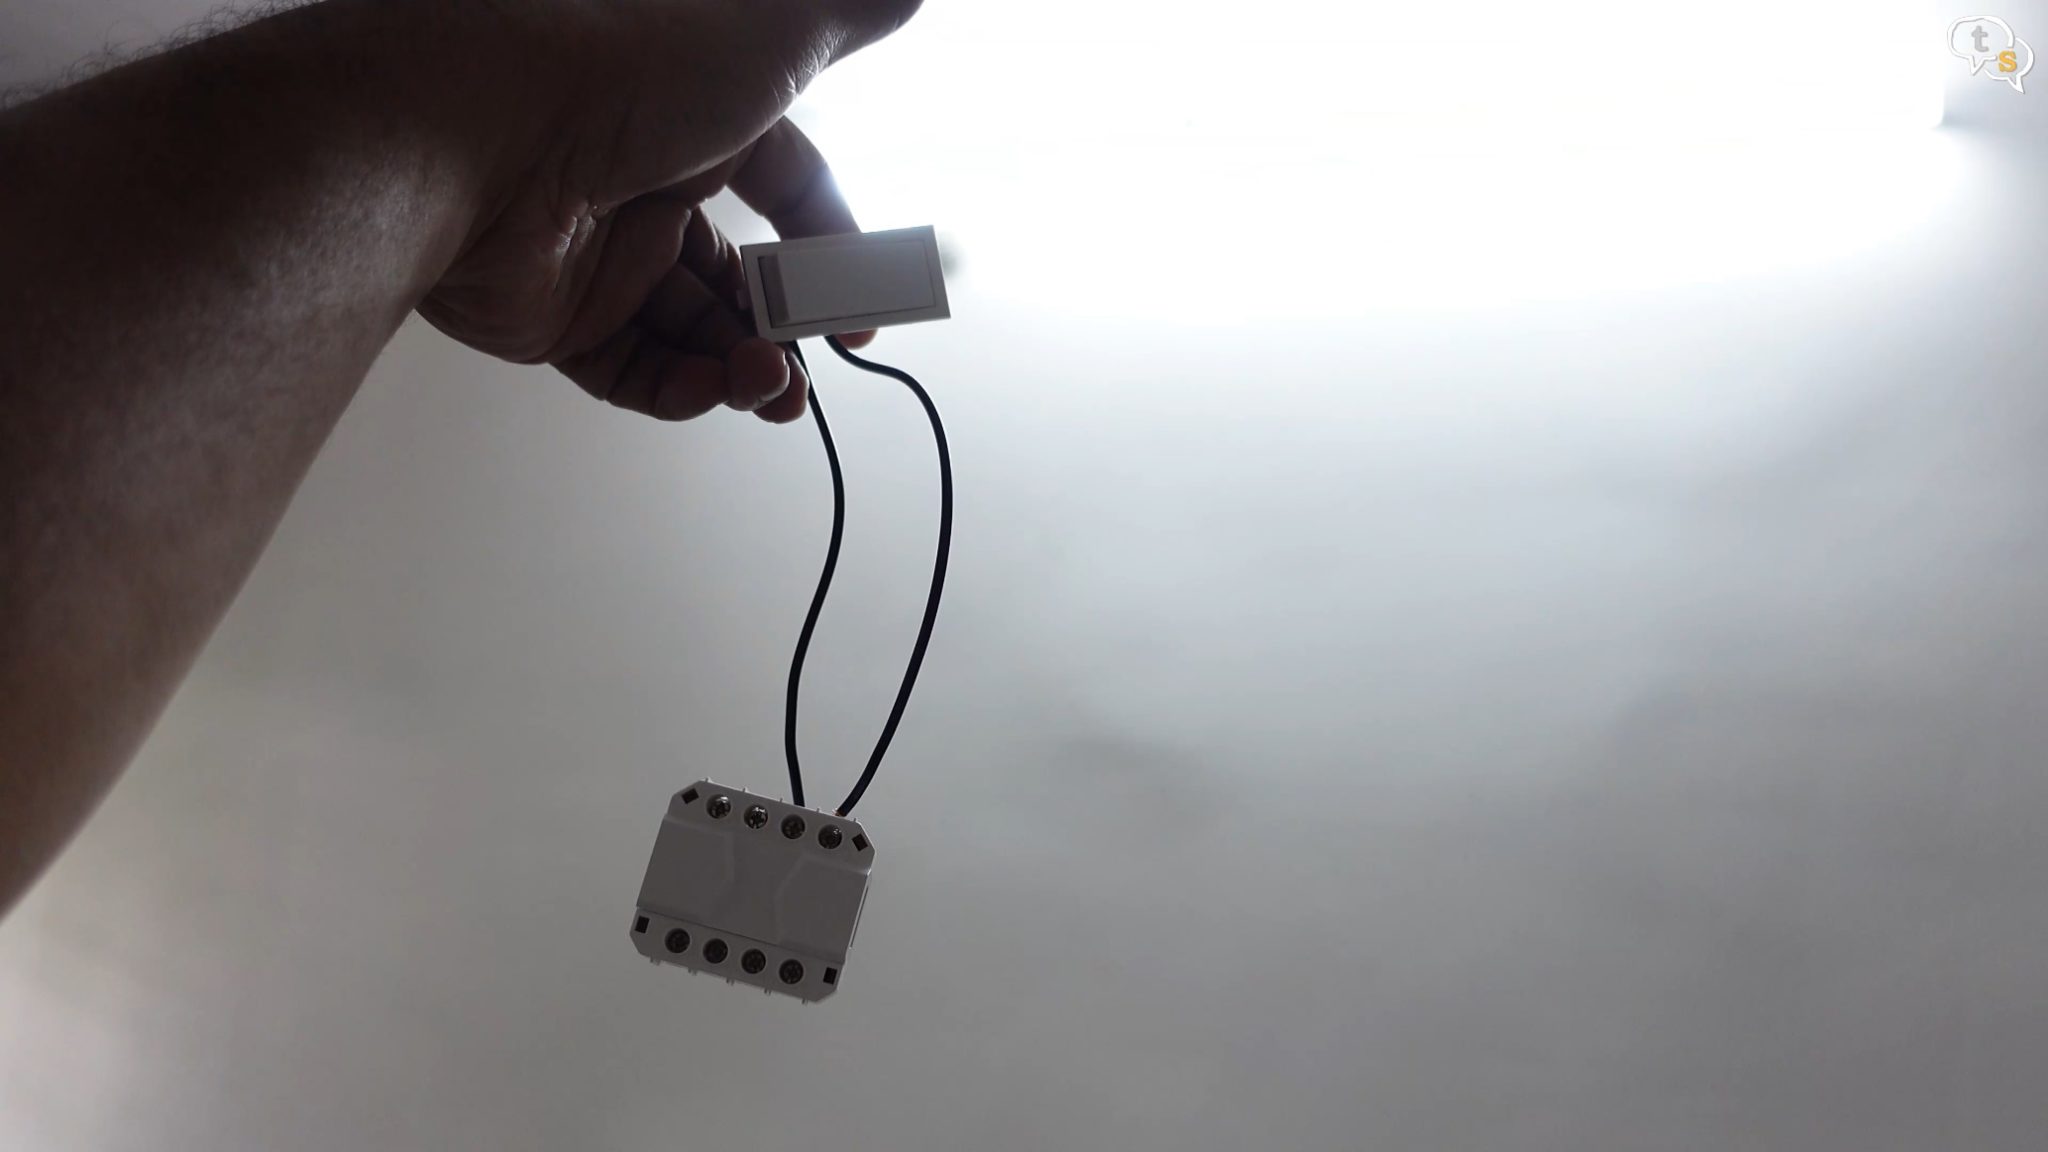
Here I have the mini r3 and the s-mate.
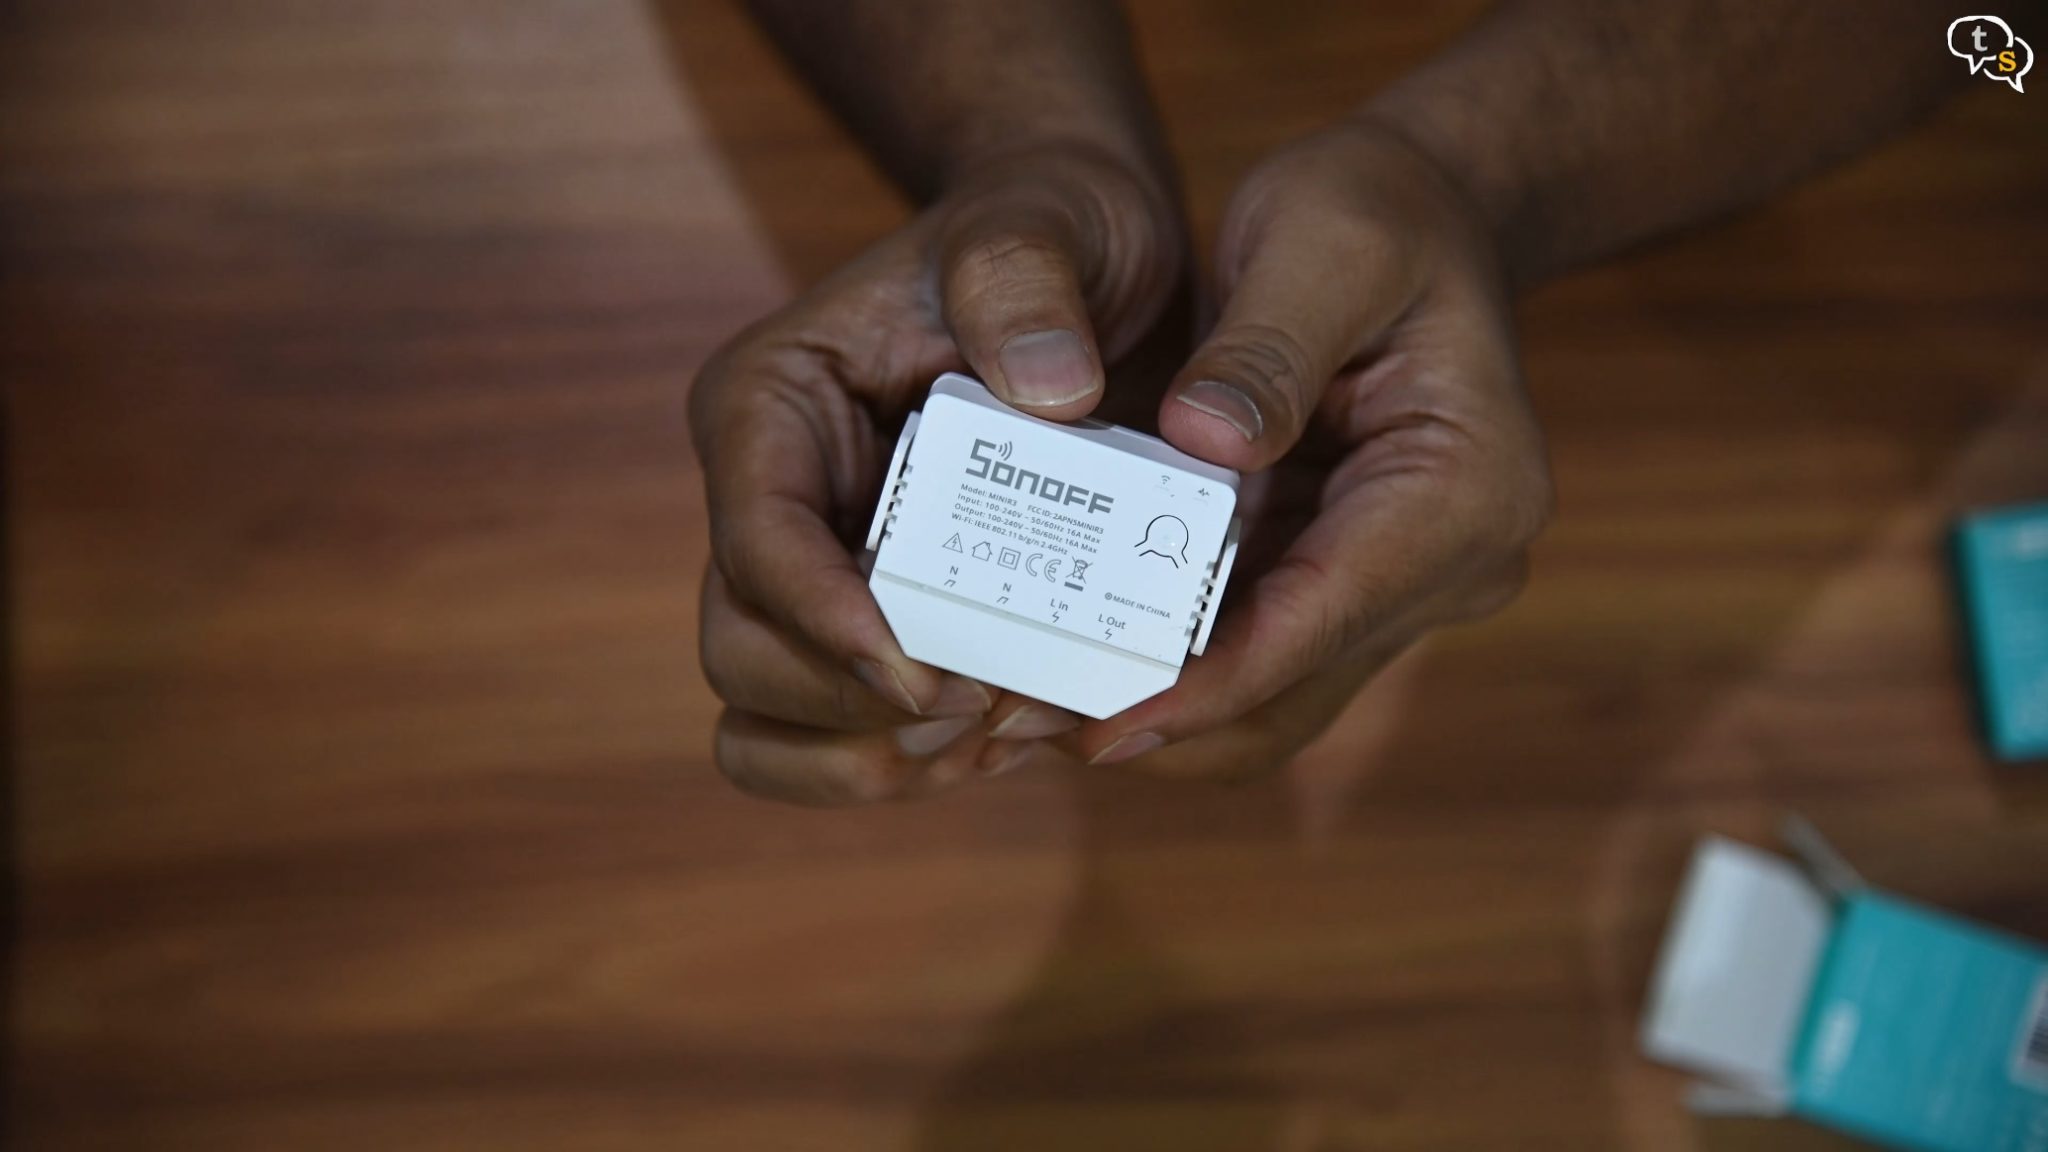
The mini r3 is an upgraded version of the R2, but this is a mini version of the sonoff switch I’ve reviewed earlier.
It has a plastic build, but it’s quite sturdy.
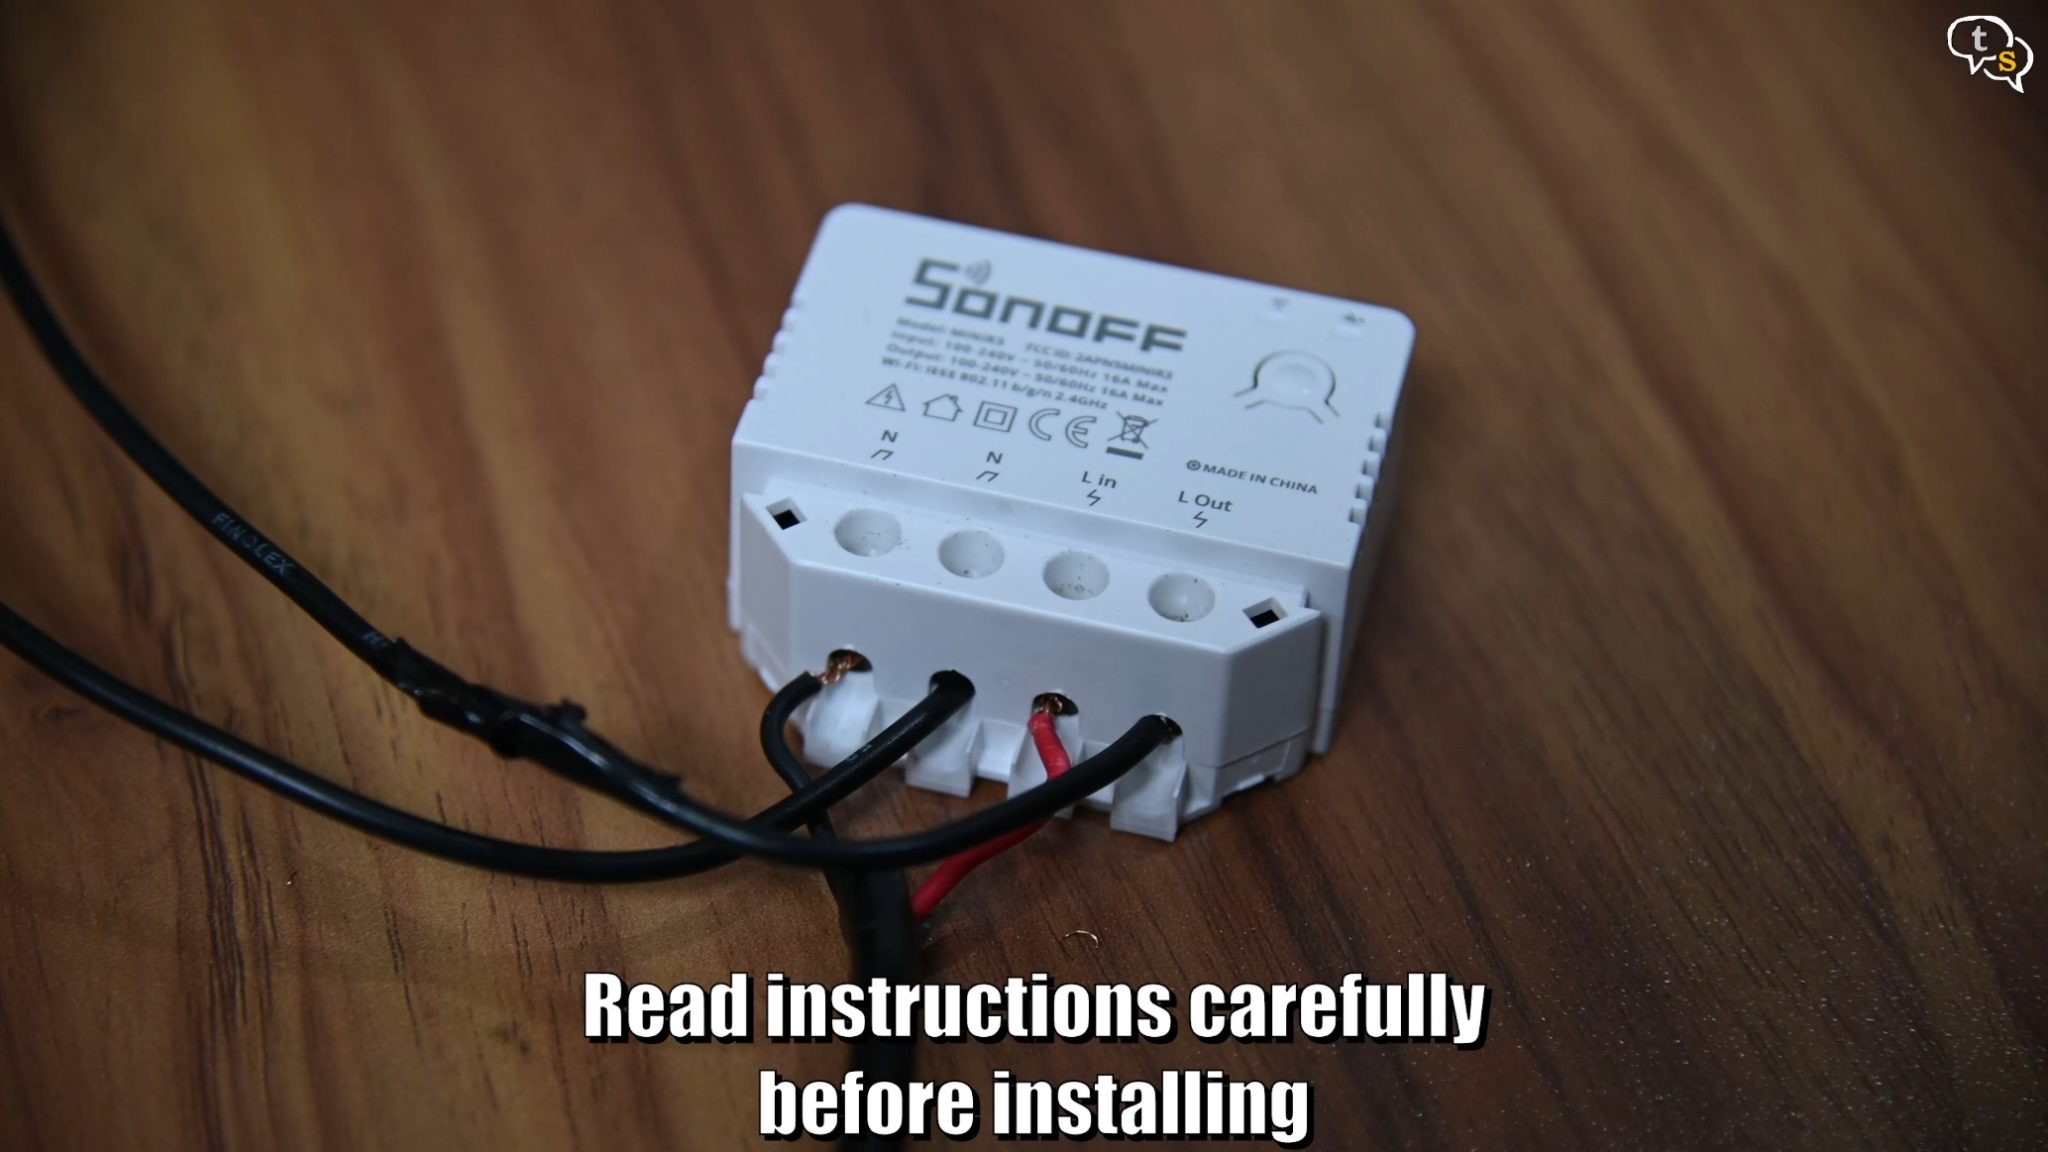
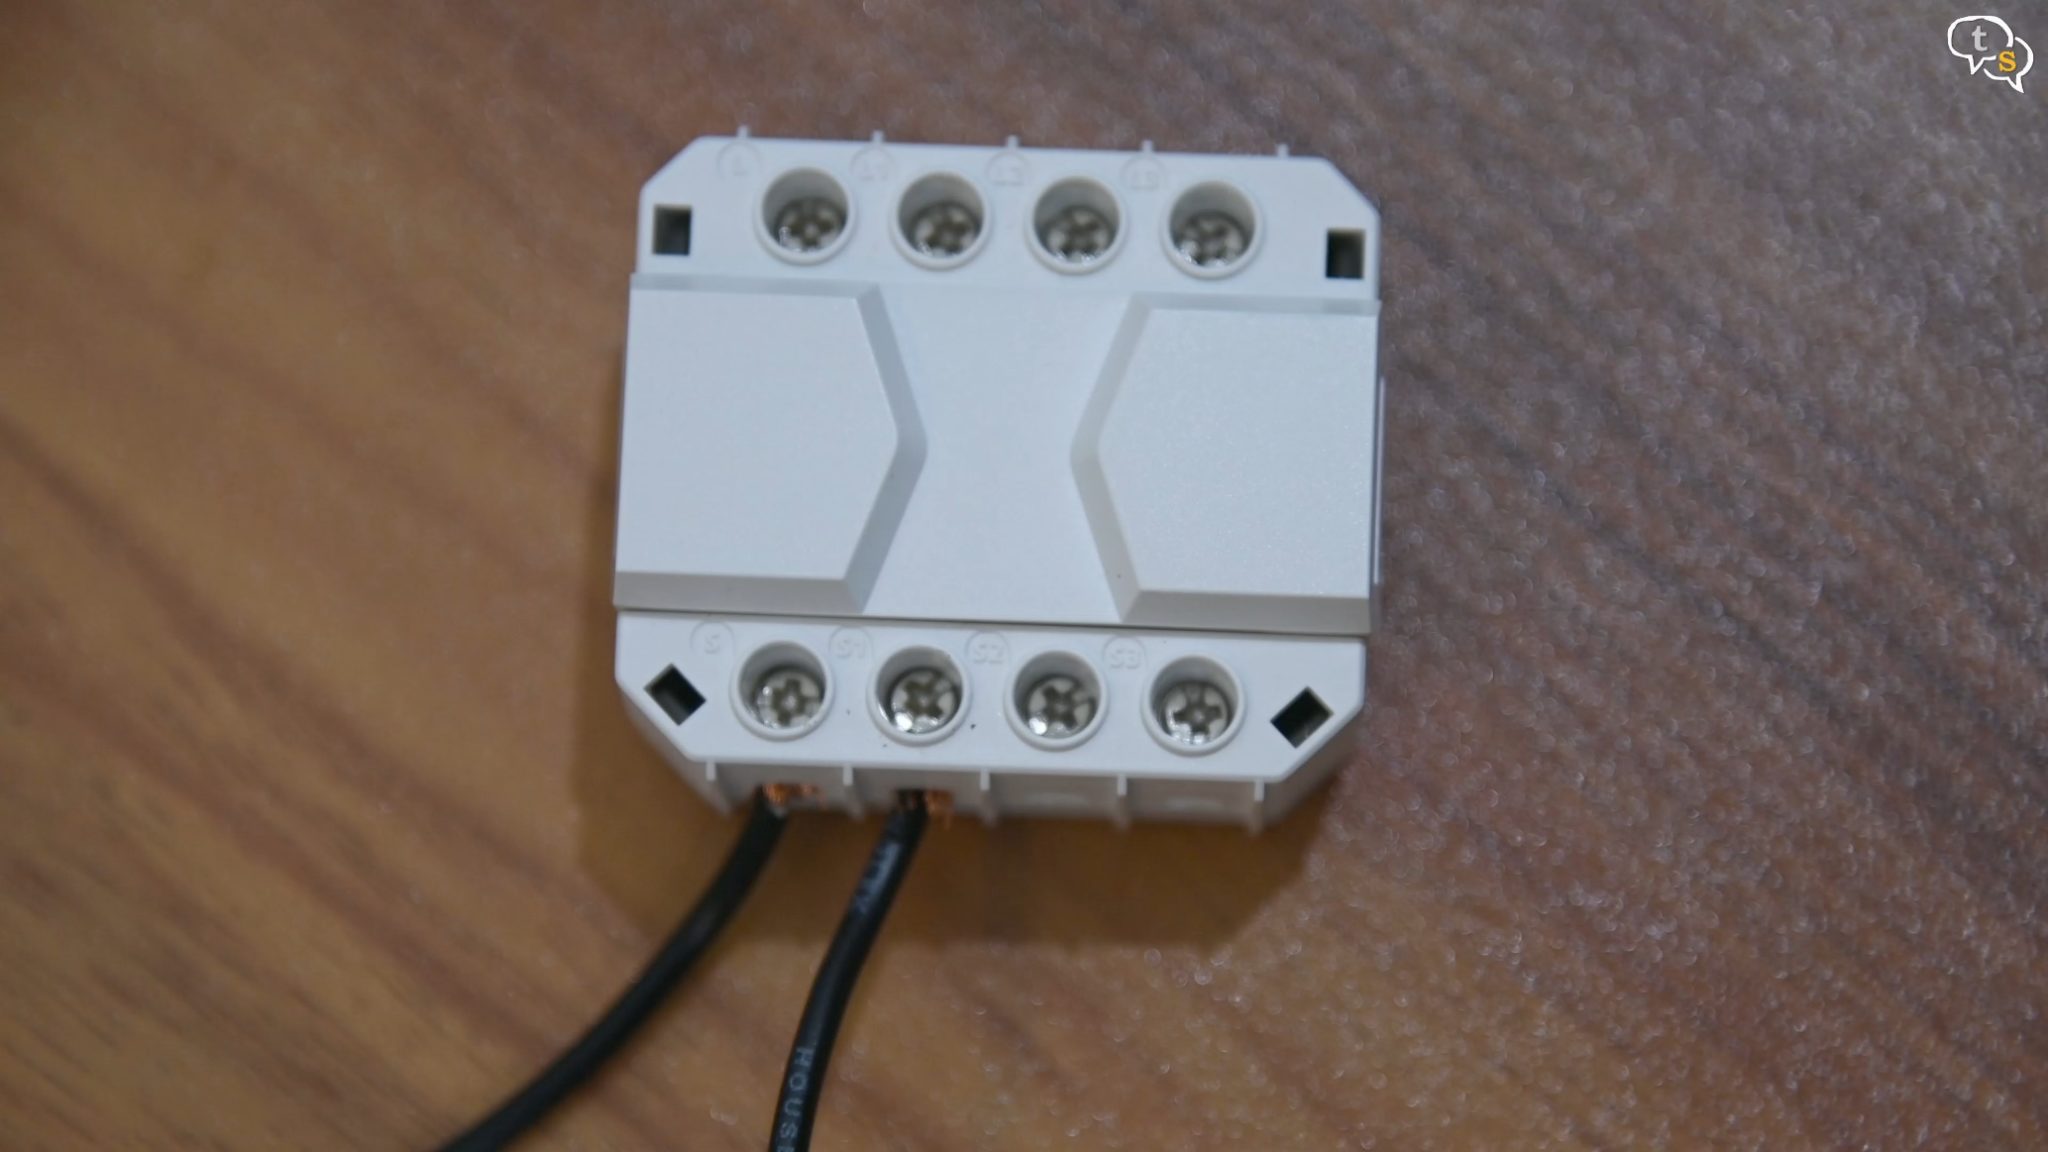
All the connectors are at the bottom here, first two are neutral, and the others are line in and line out, that’s for the line power.

Let’s setup a simple demonstration on how it’s supposed to be setup. I’m using this wire with a plug on the end as the power input, this would connect to the main line.
Generally, you would connect the mini r3 between the line power and the device you want to control. Say a tube light or an appliance. We are working with electricity here, so careful. If you don’t know what you’re doing maybe get an electrician to install it for you.
Ok that out of the way, this wire has two wires coming out of it so black is neutral and red is line, or power.
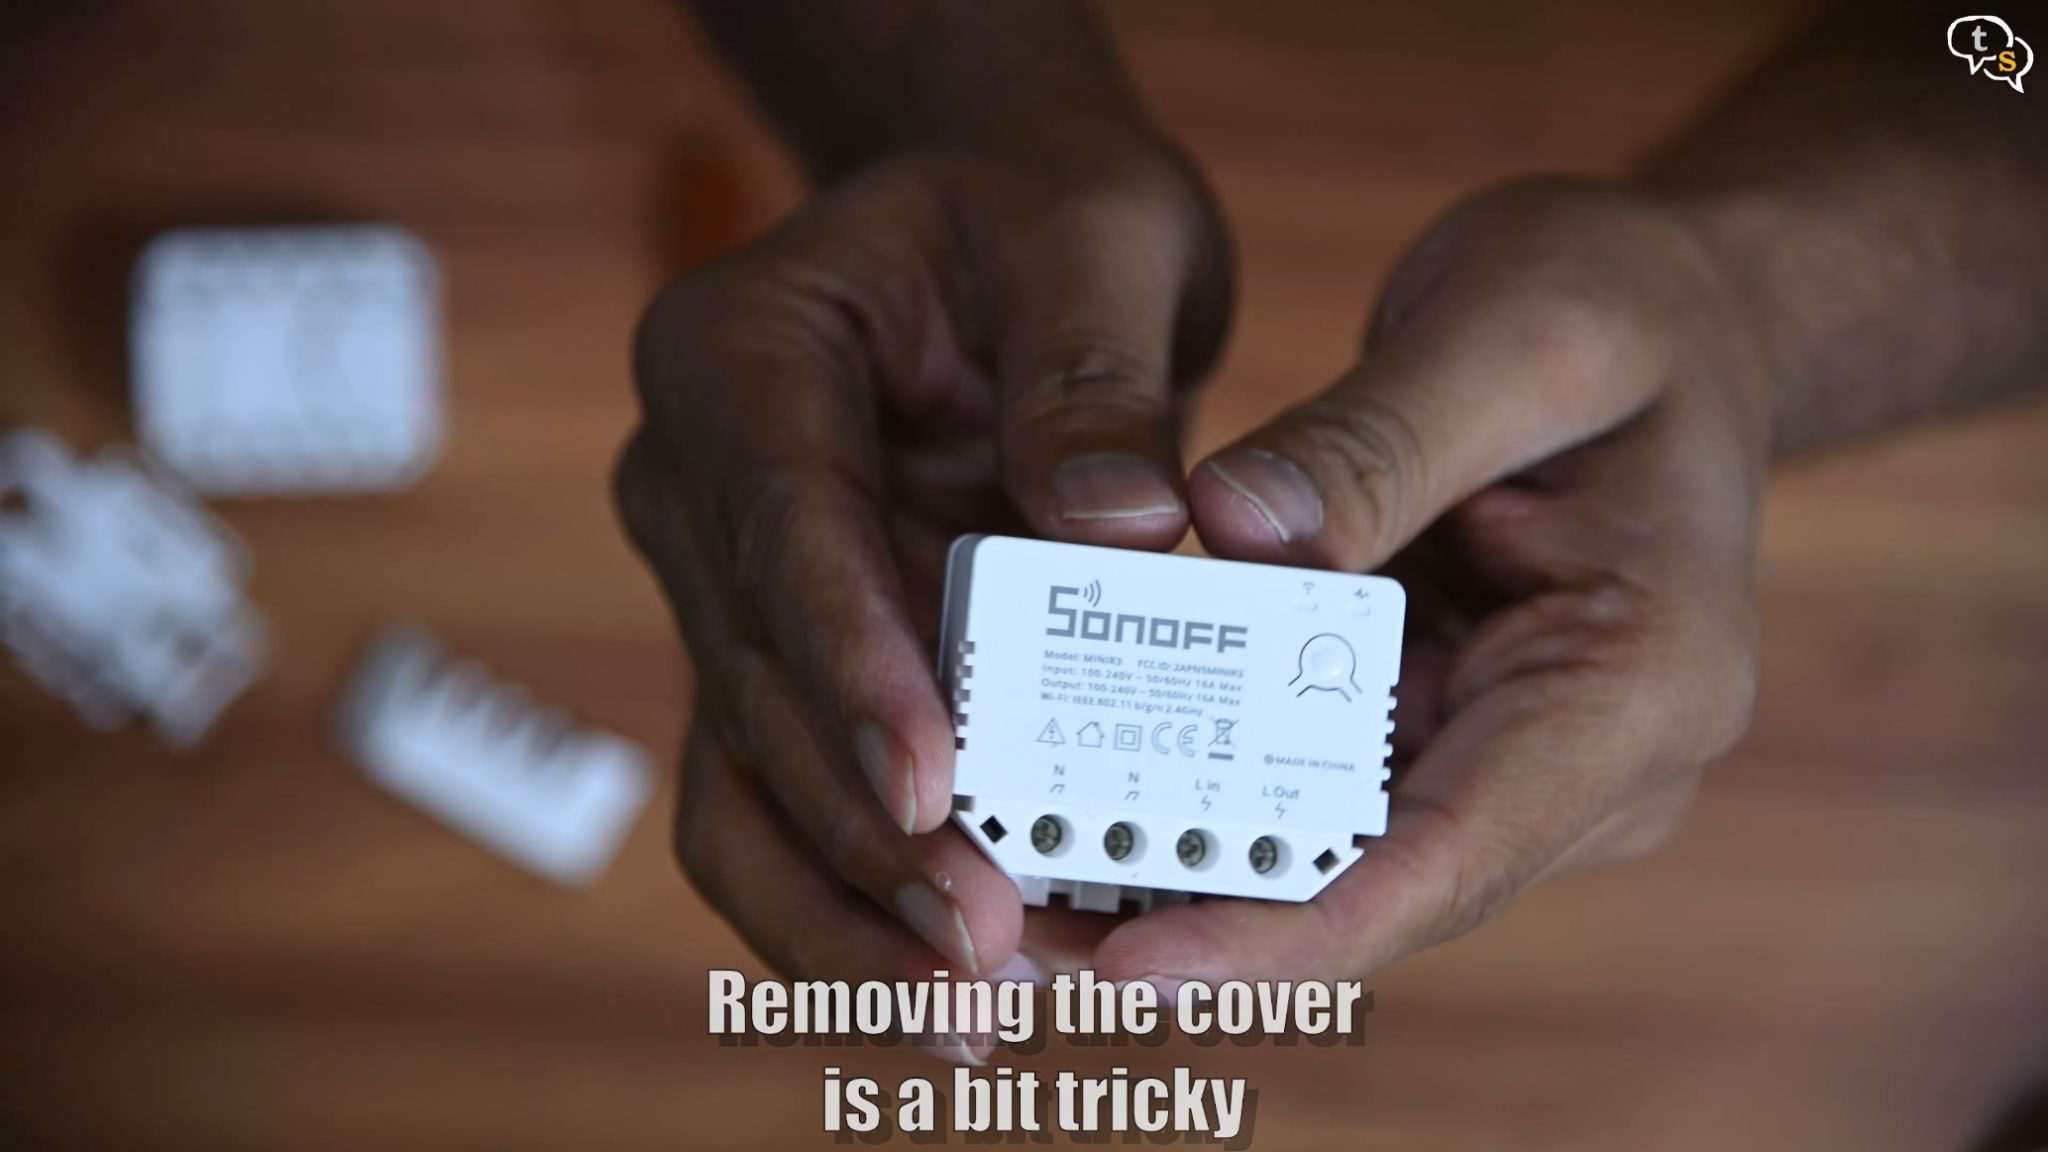
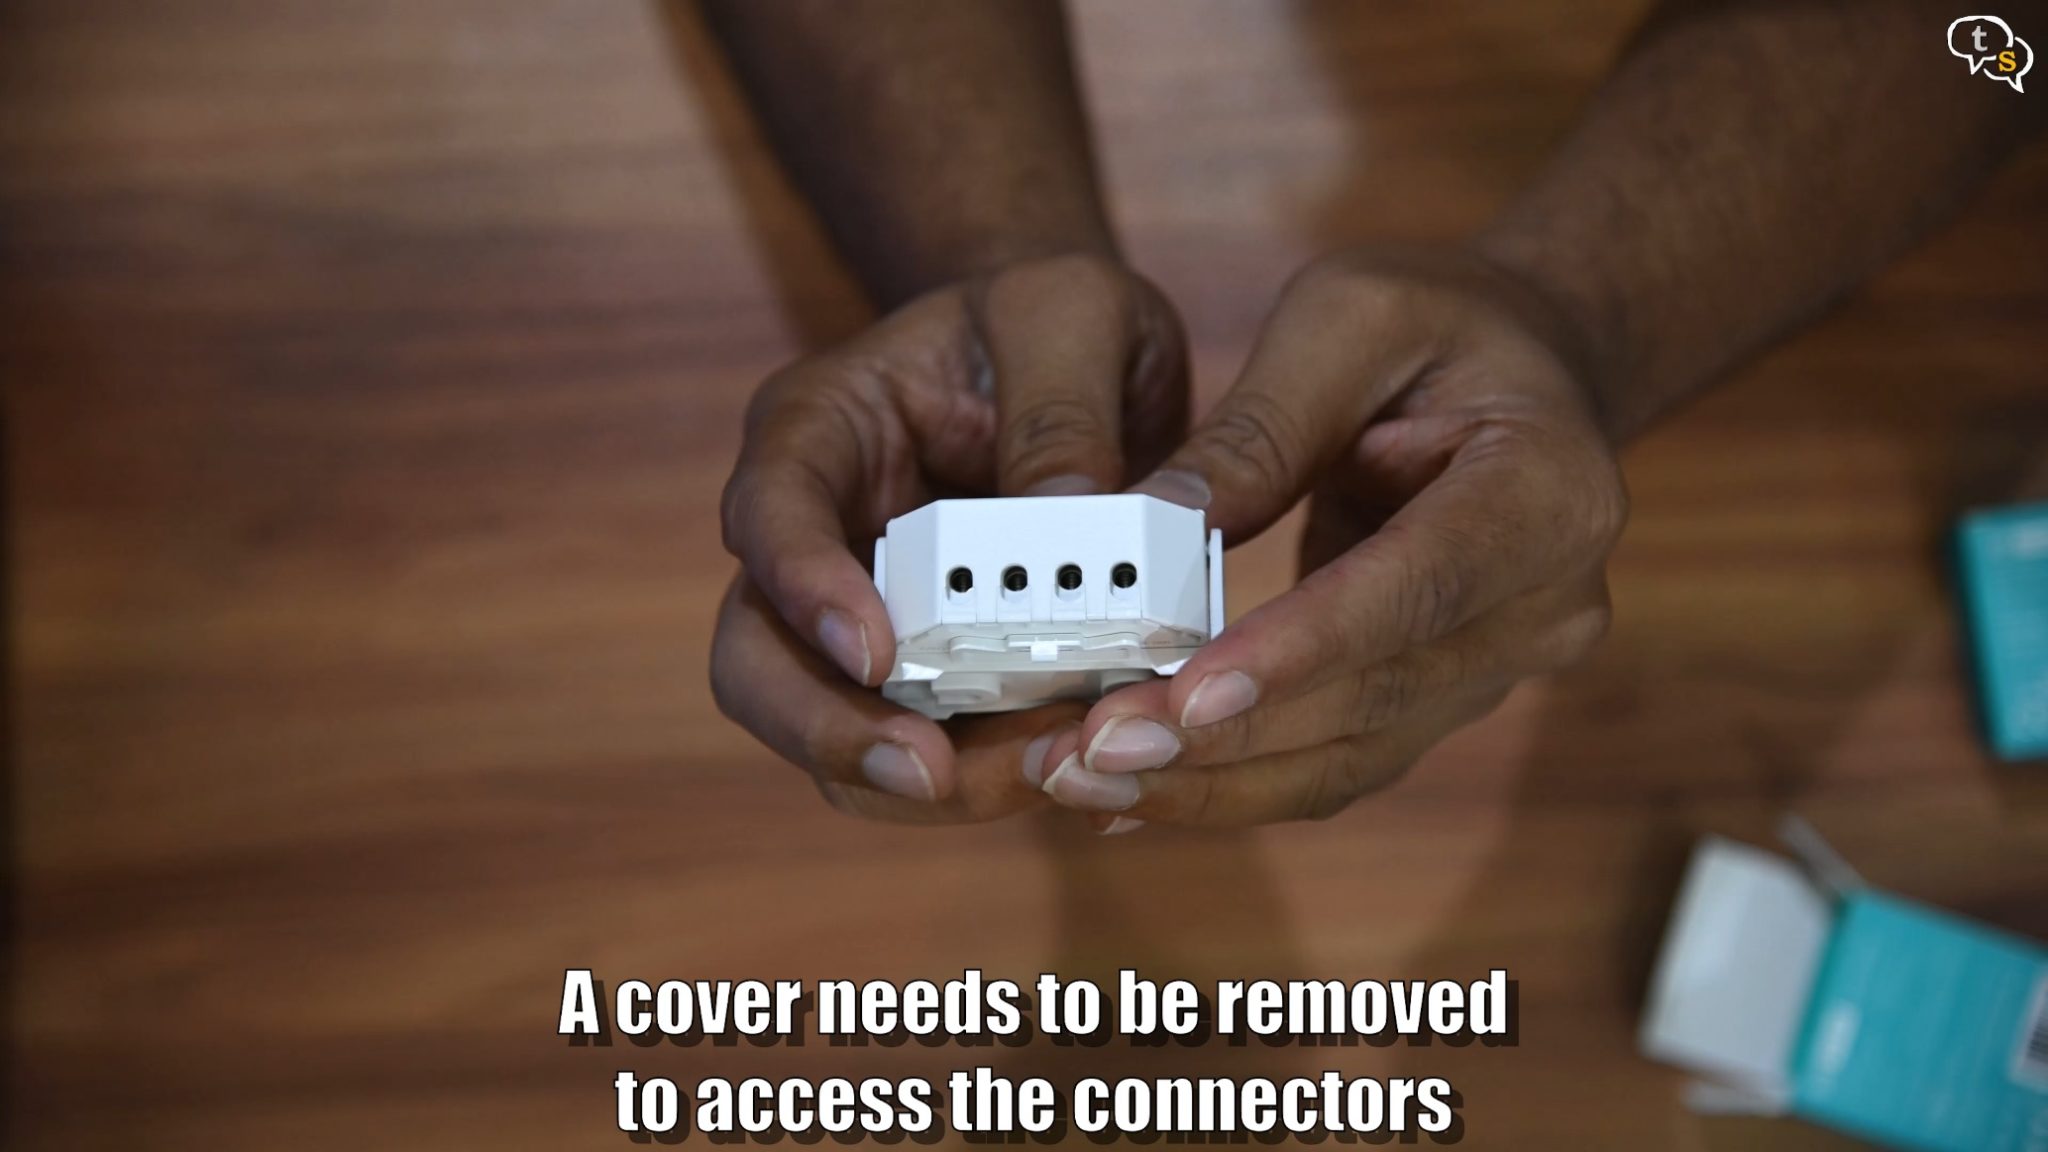
There’s this cover you need to remove before you can access the screws, open it up. It’s a bit tricky to open, but I managed to get it off.
Now that it’s connected, we can set it up.
Now open the eWelink app and pair. It pairs using Bluetooth so first we tap on Bluetooth pairing in the app.
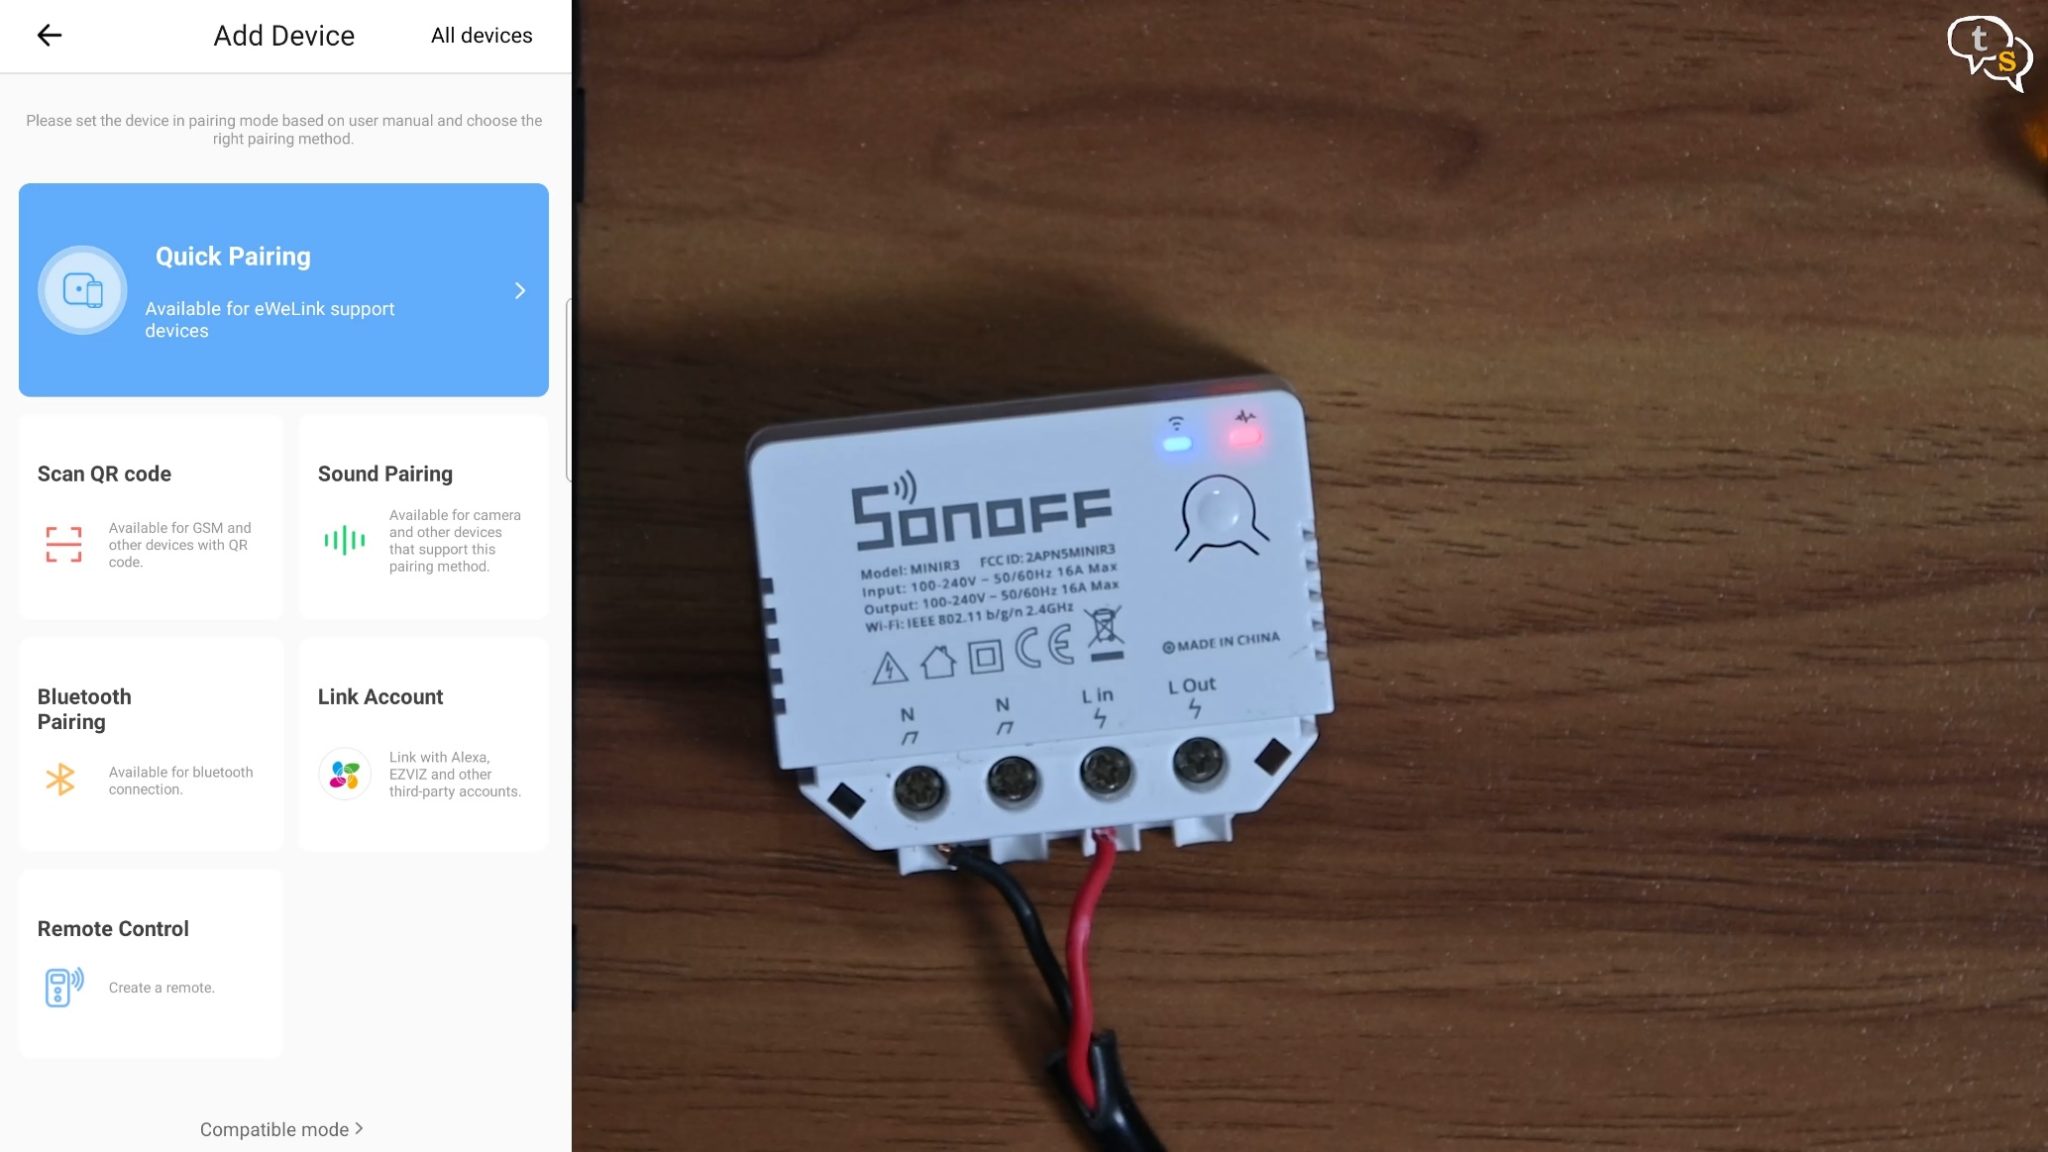
When turned on we see this blue light here.
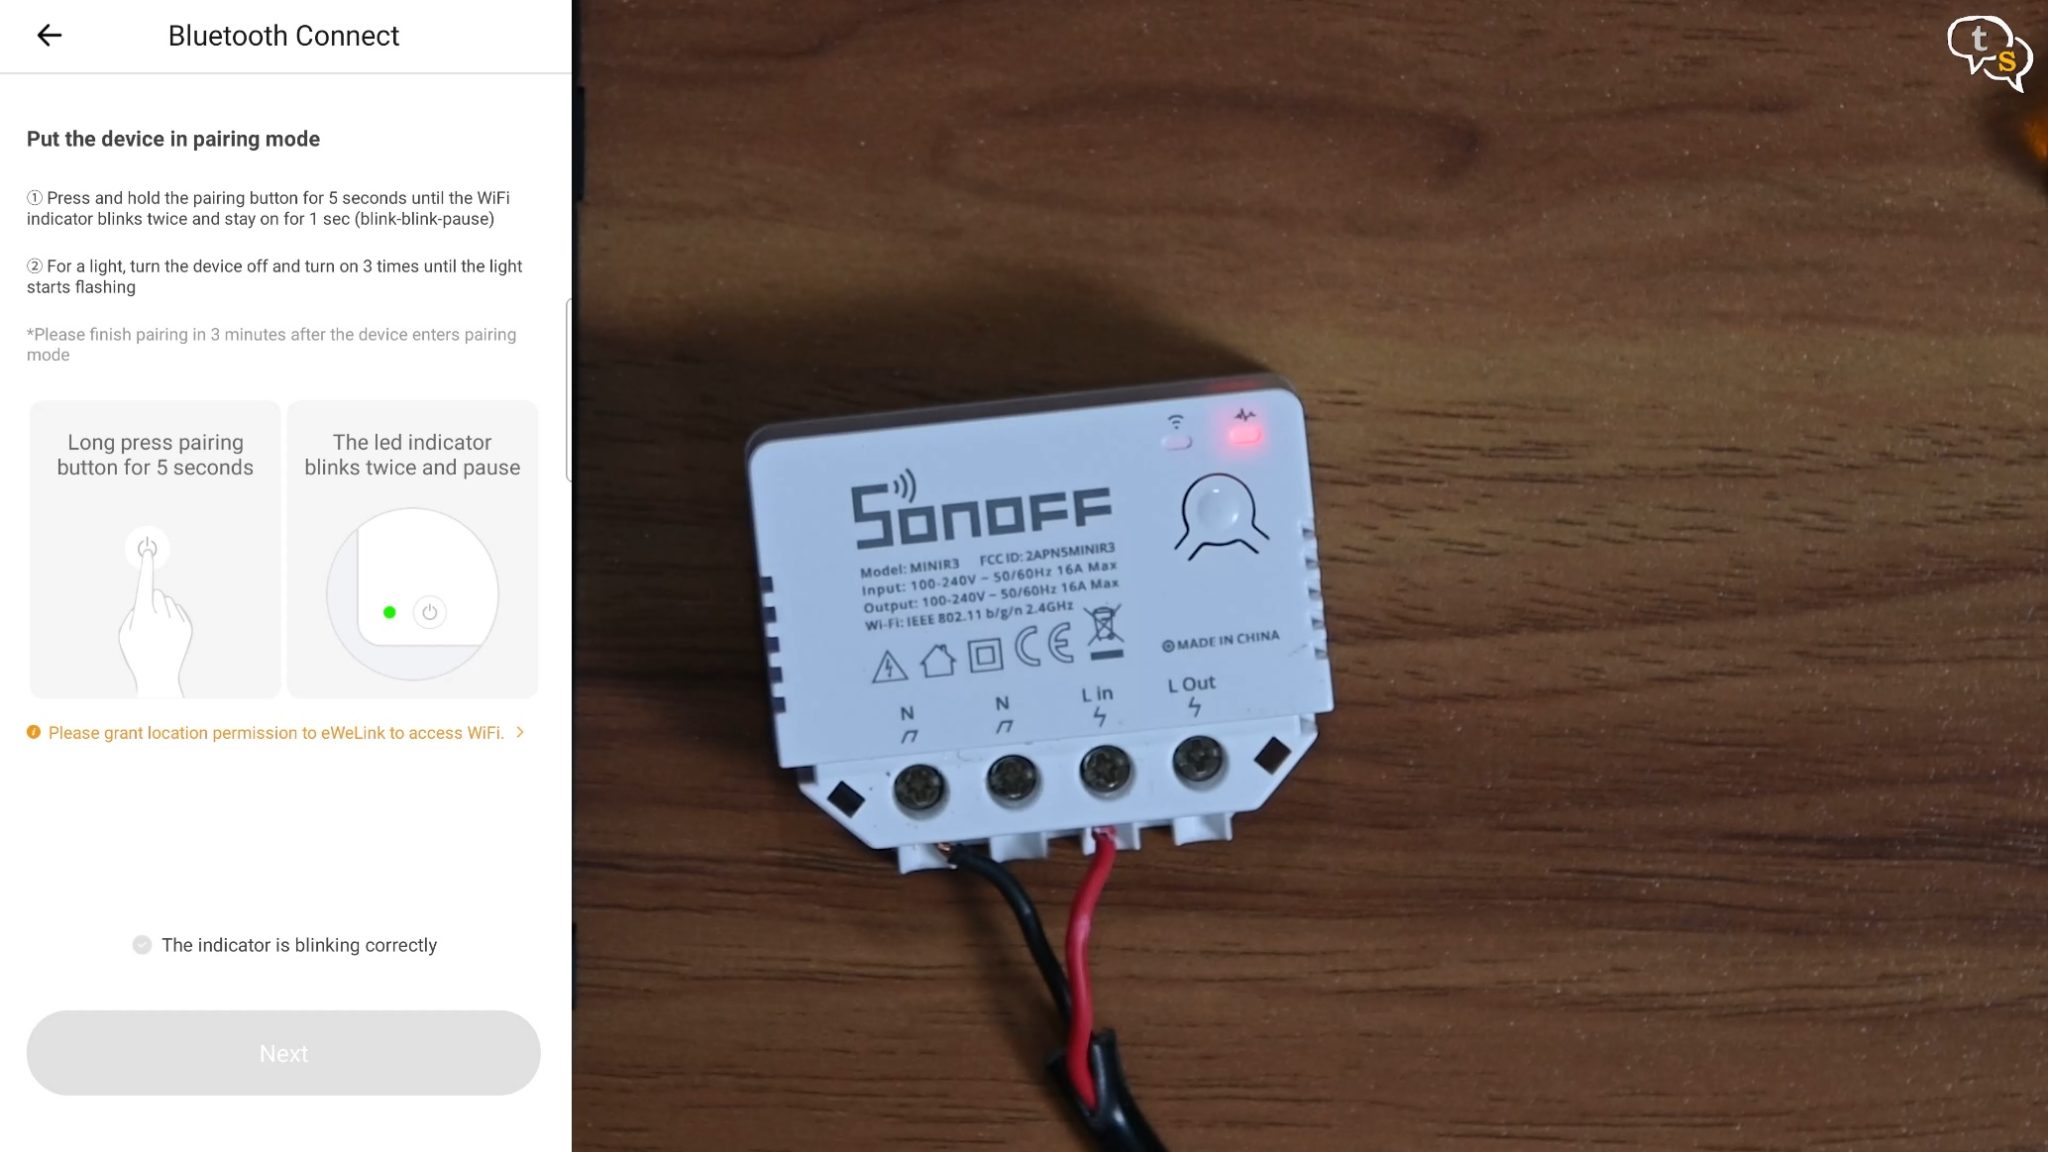
As per the instructions, in order to activate pairing mode , hold down the button here and the blue light starts to blink two times and pause.
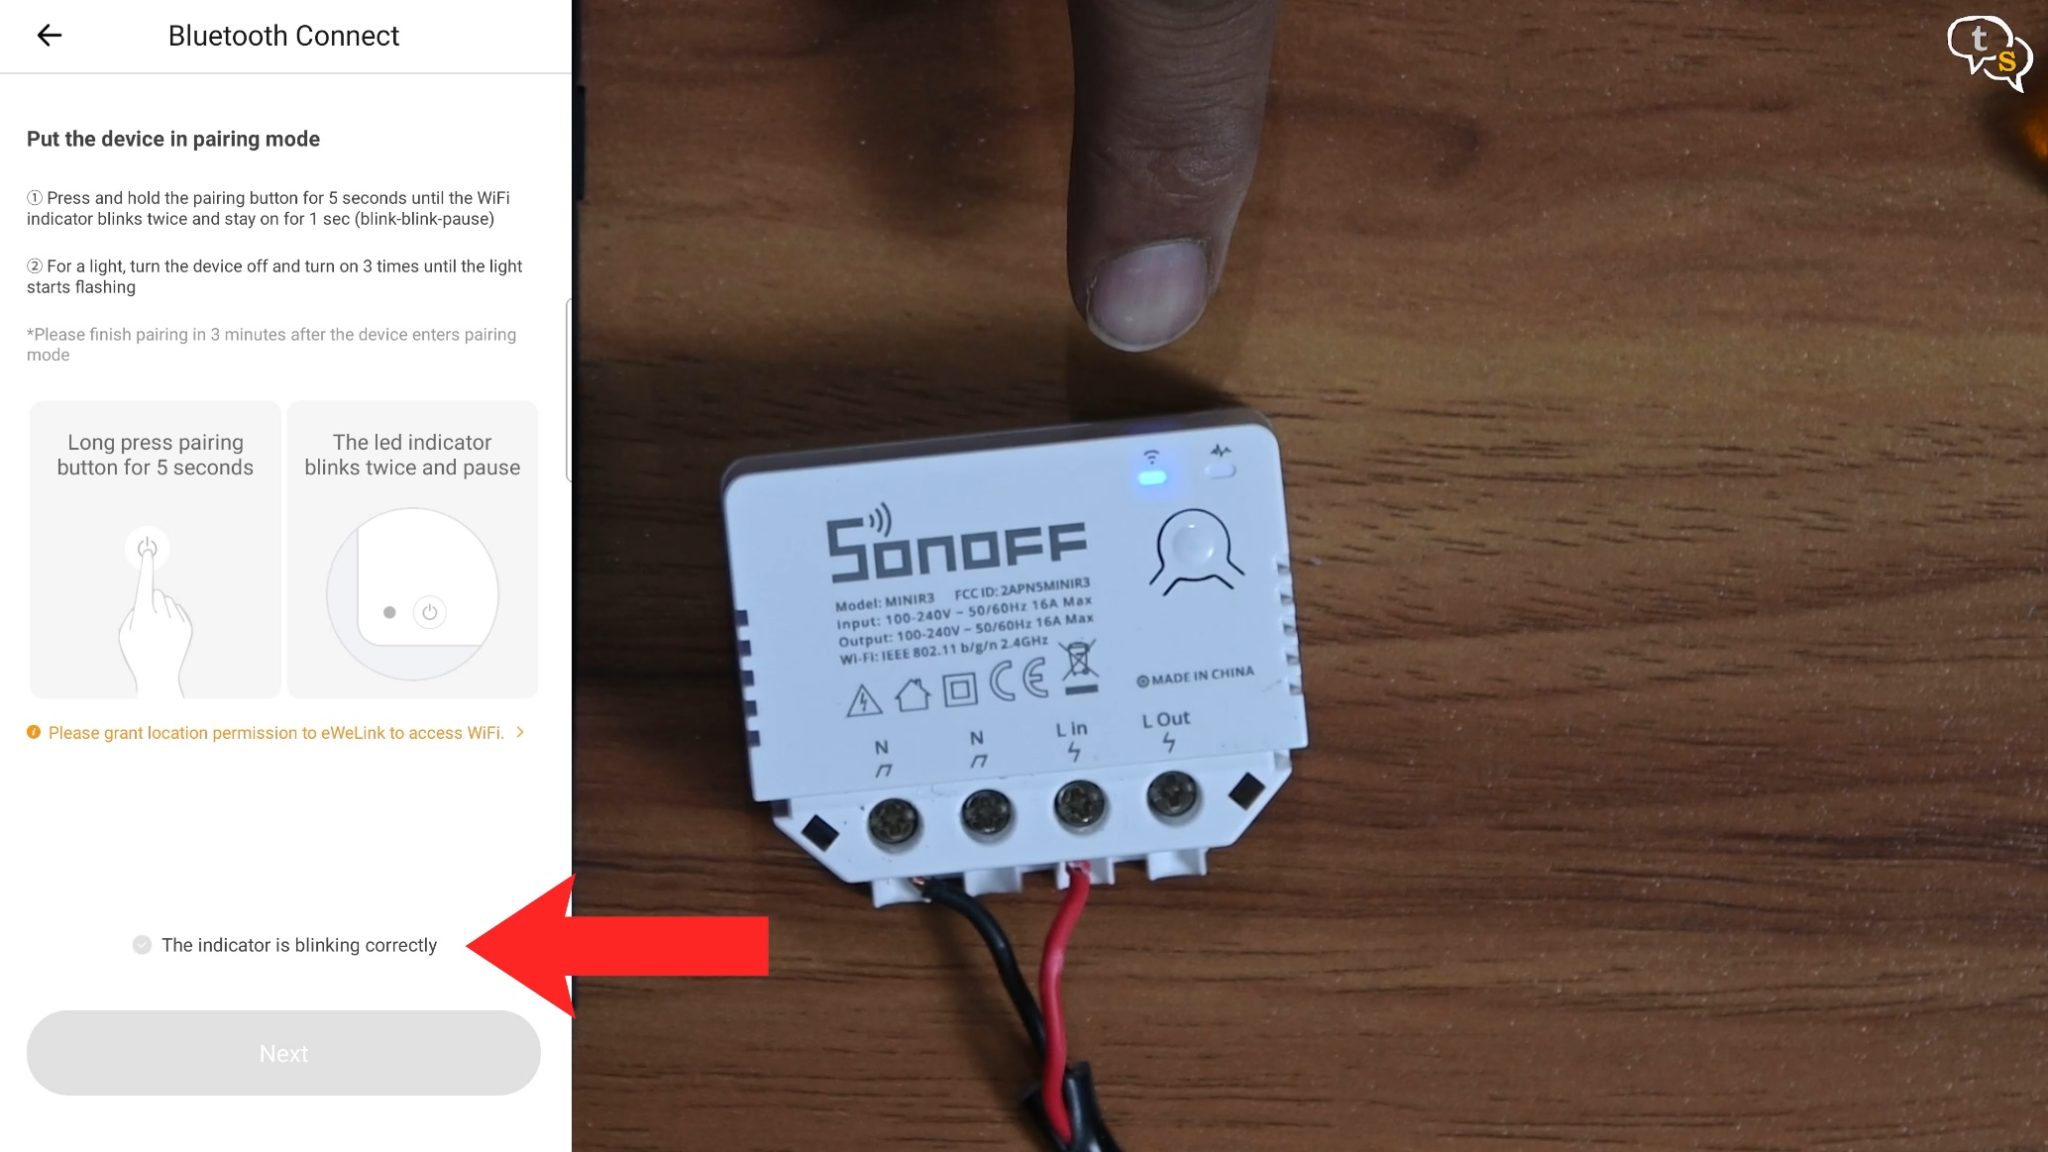
Tick “the indicator is blinking correctly”, next button, the device is found in the Bluetooth device list, tap connect, select your Wi-Fi, enter password and a few seconds later done.
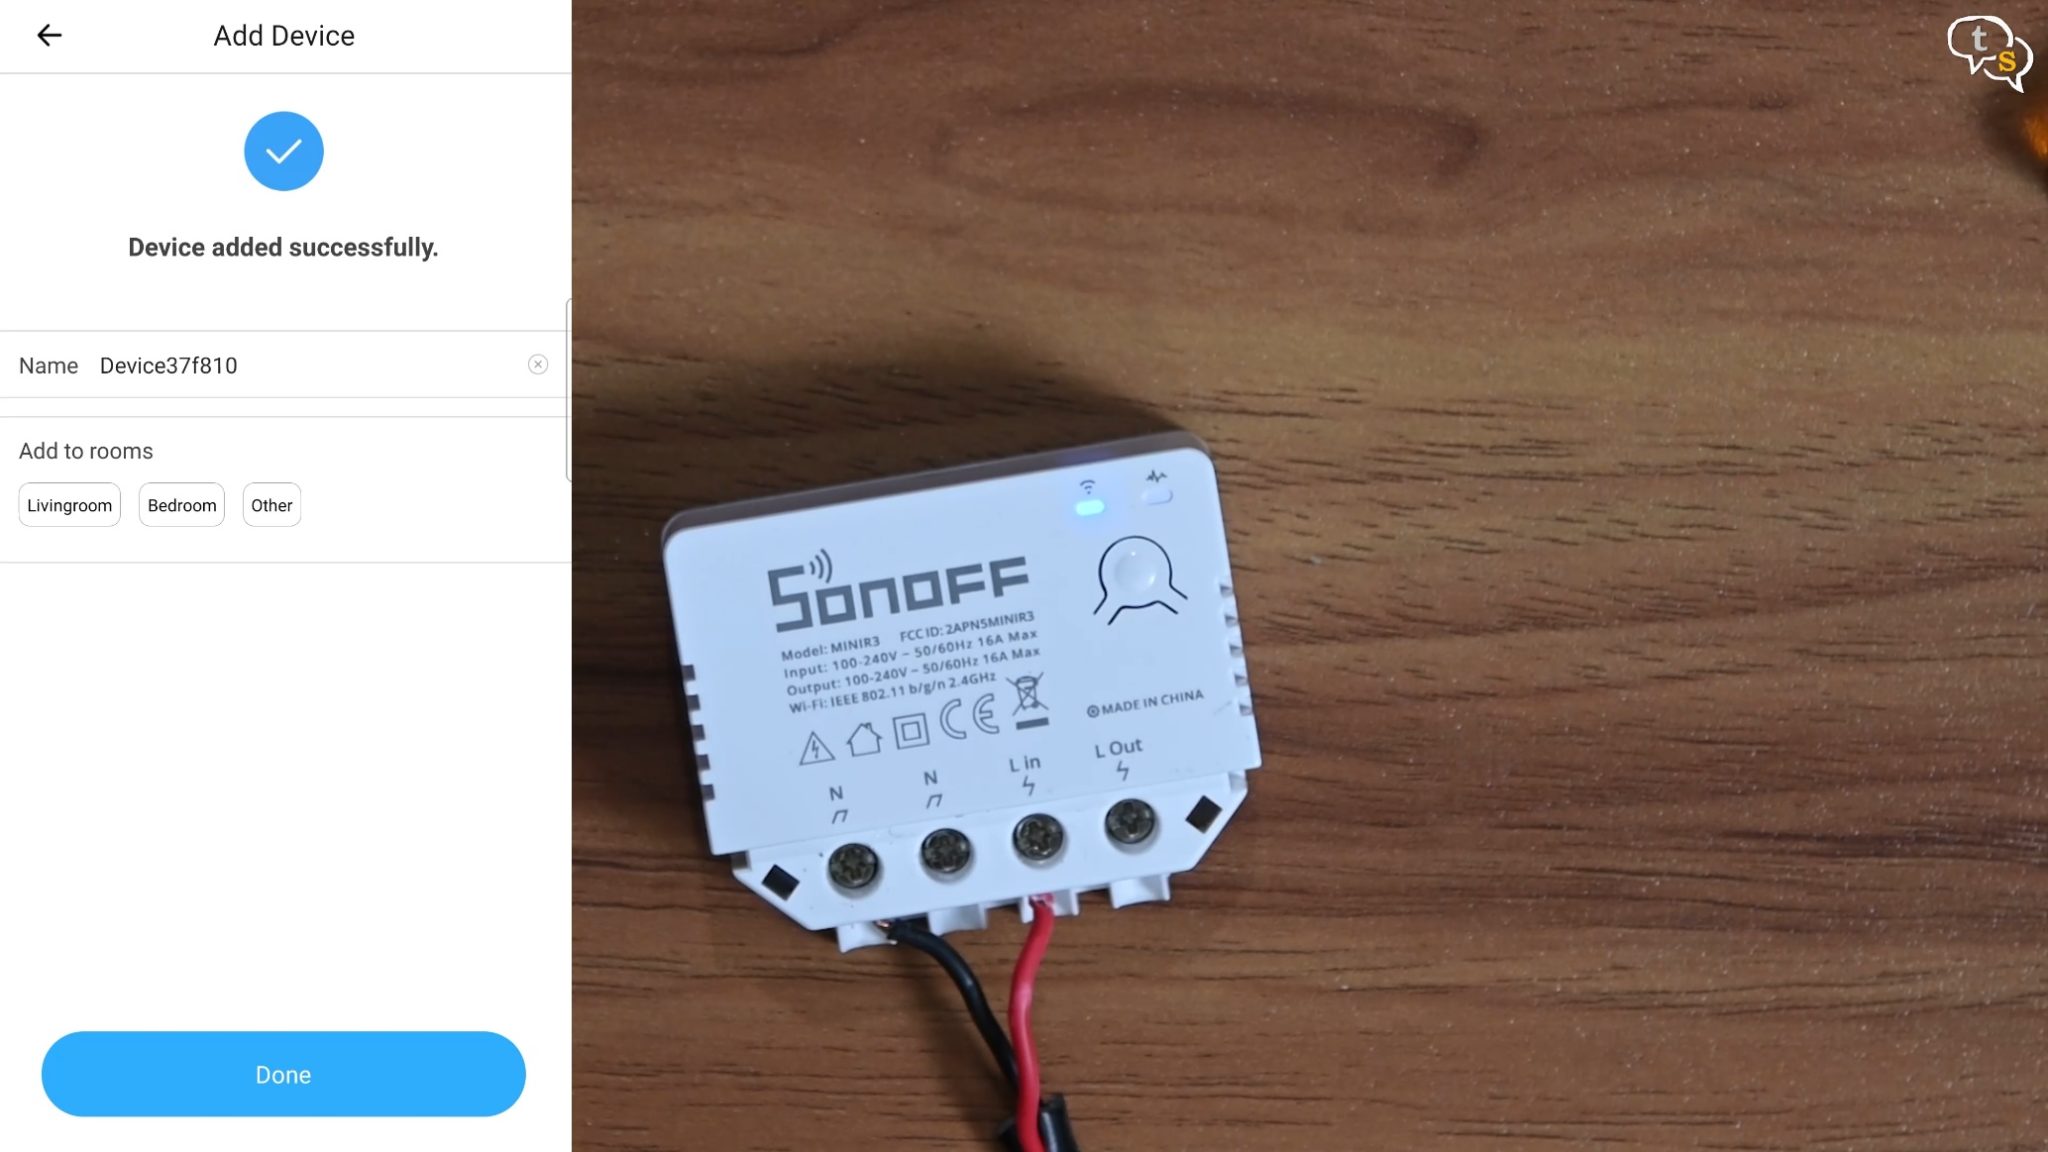
Name the device how you would like it and set a room as to where it would be placed.
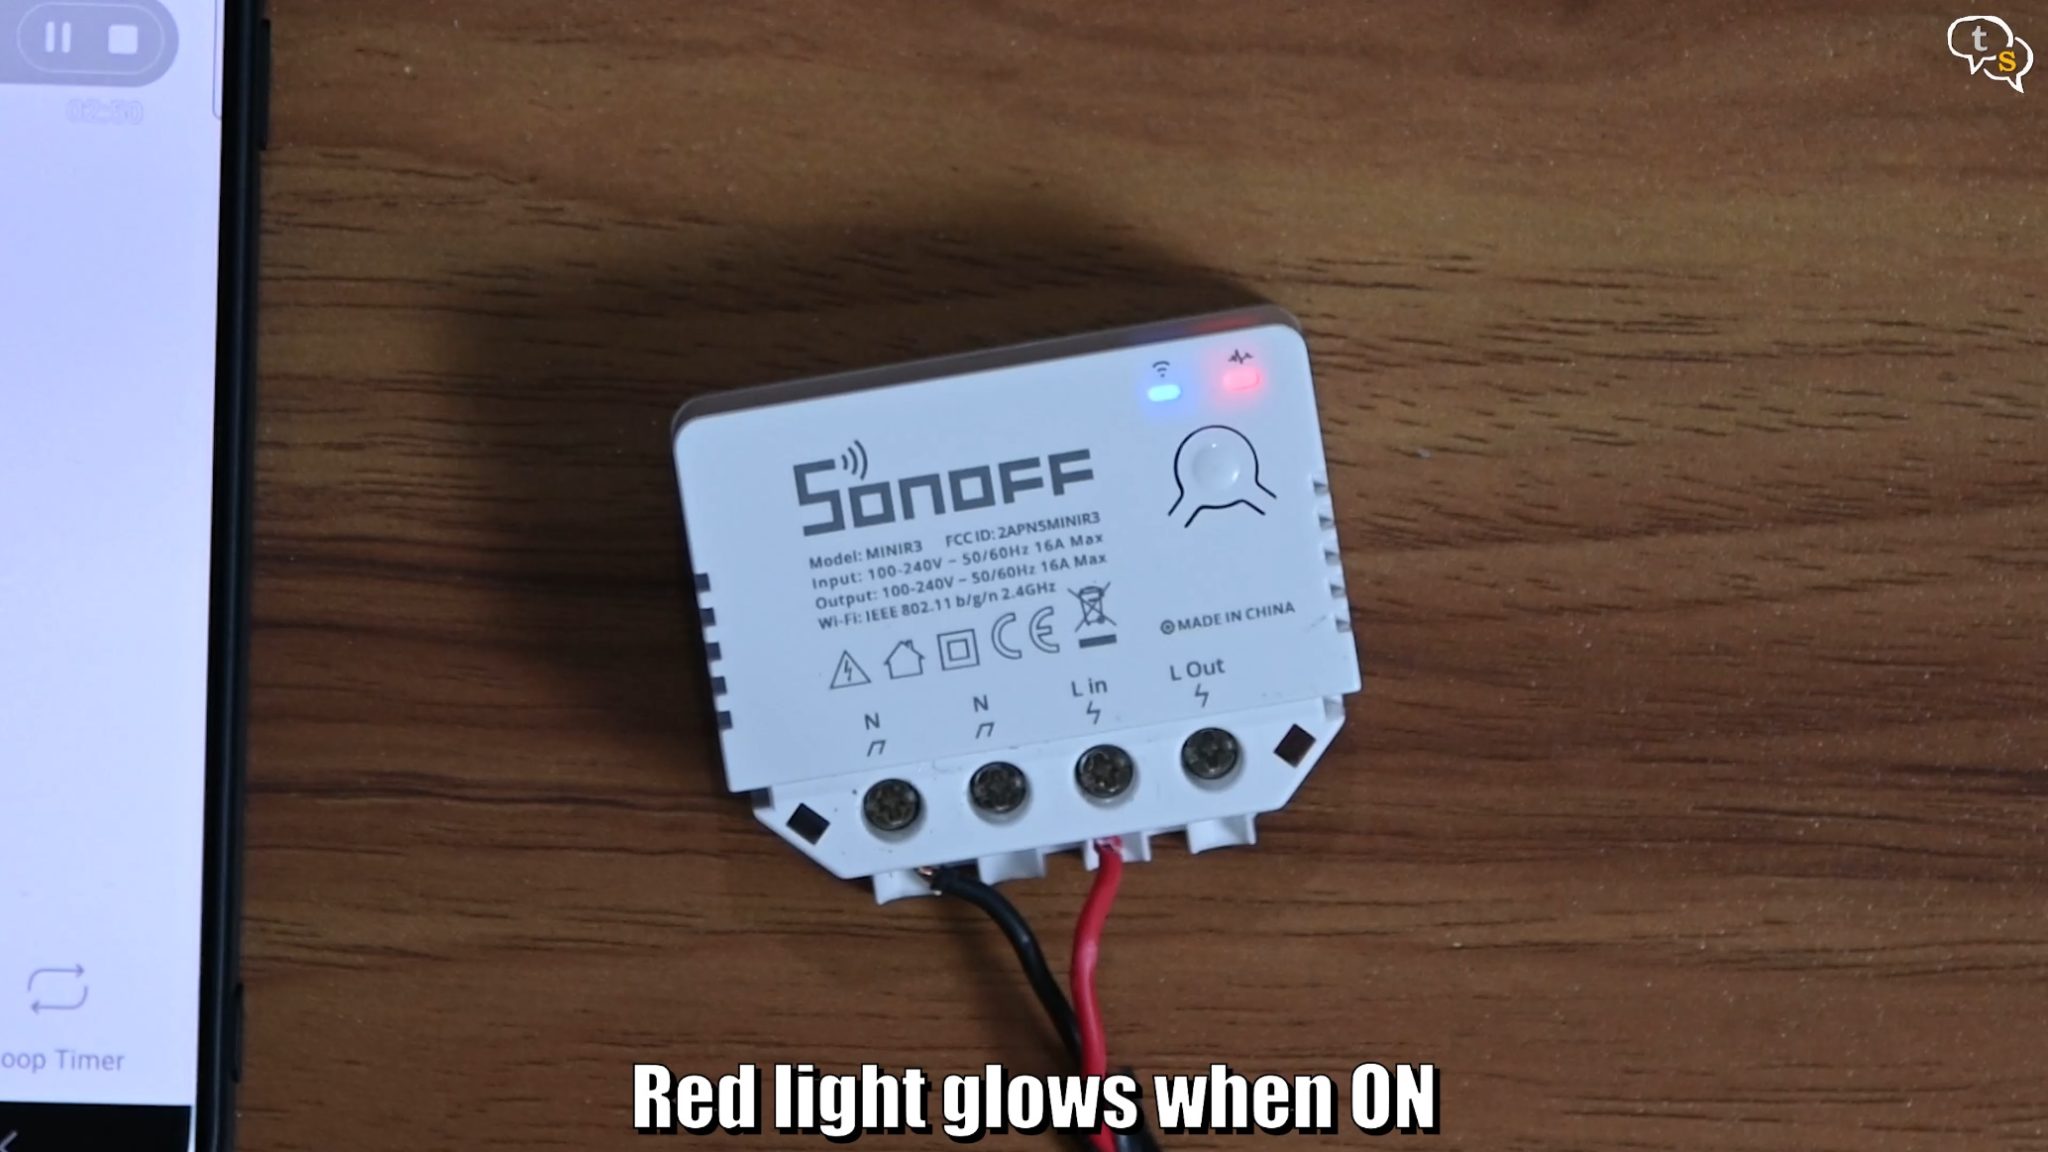
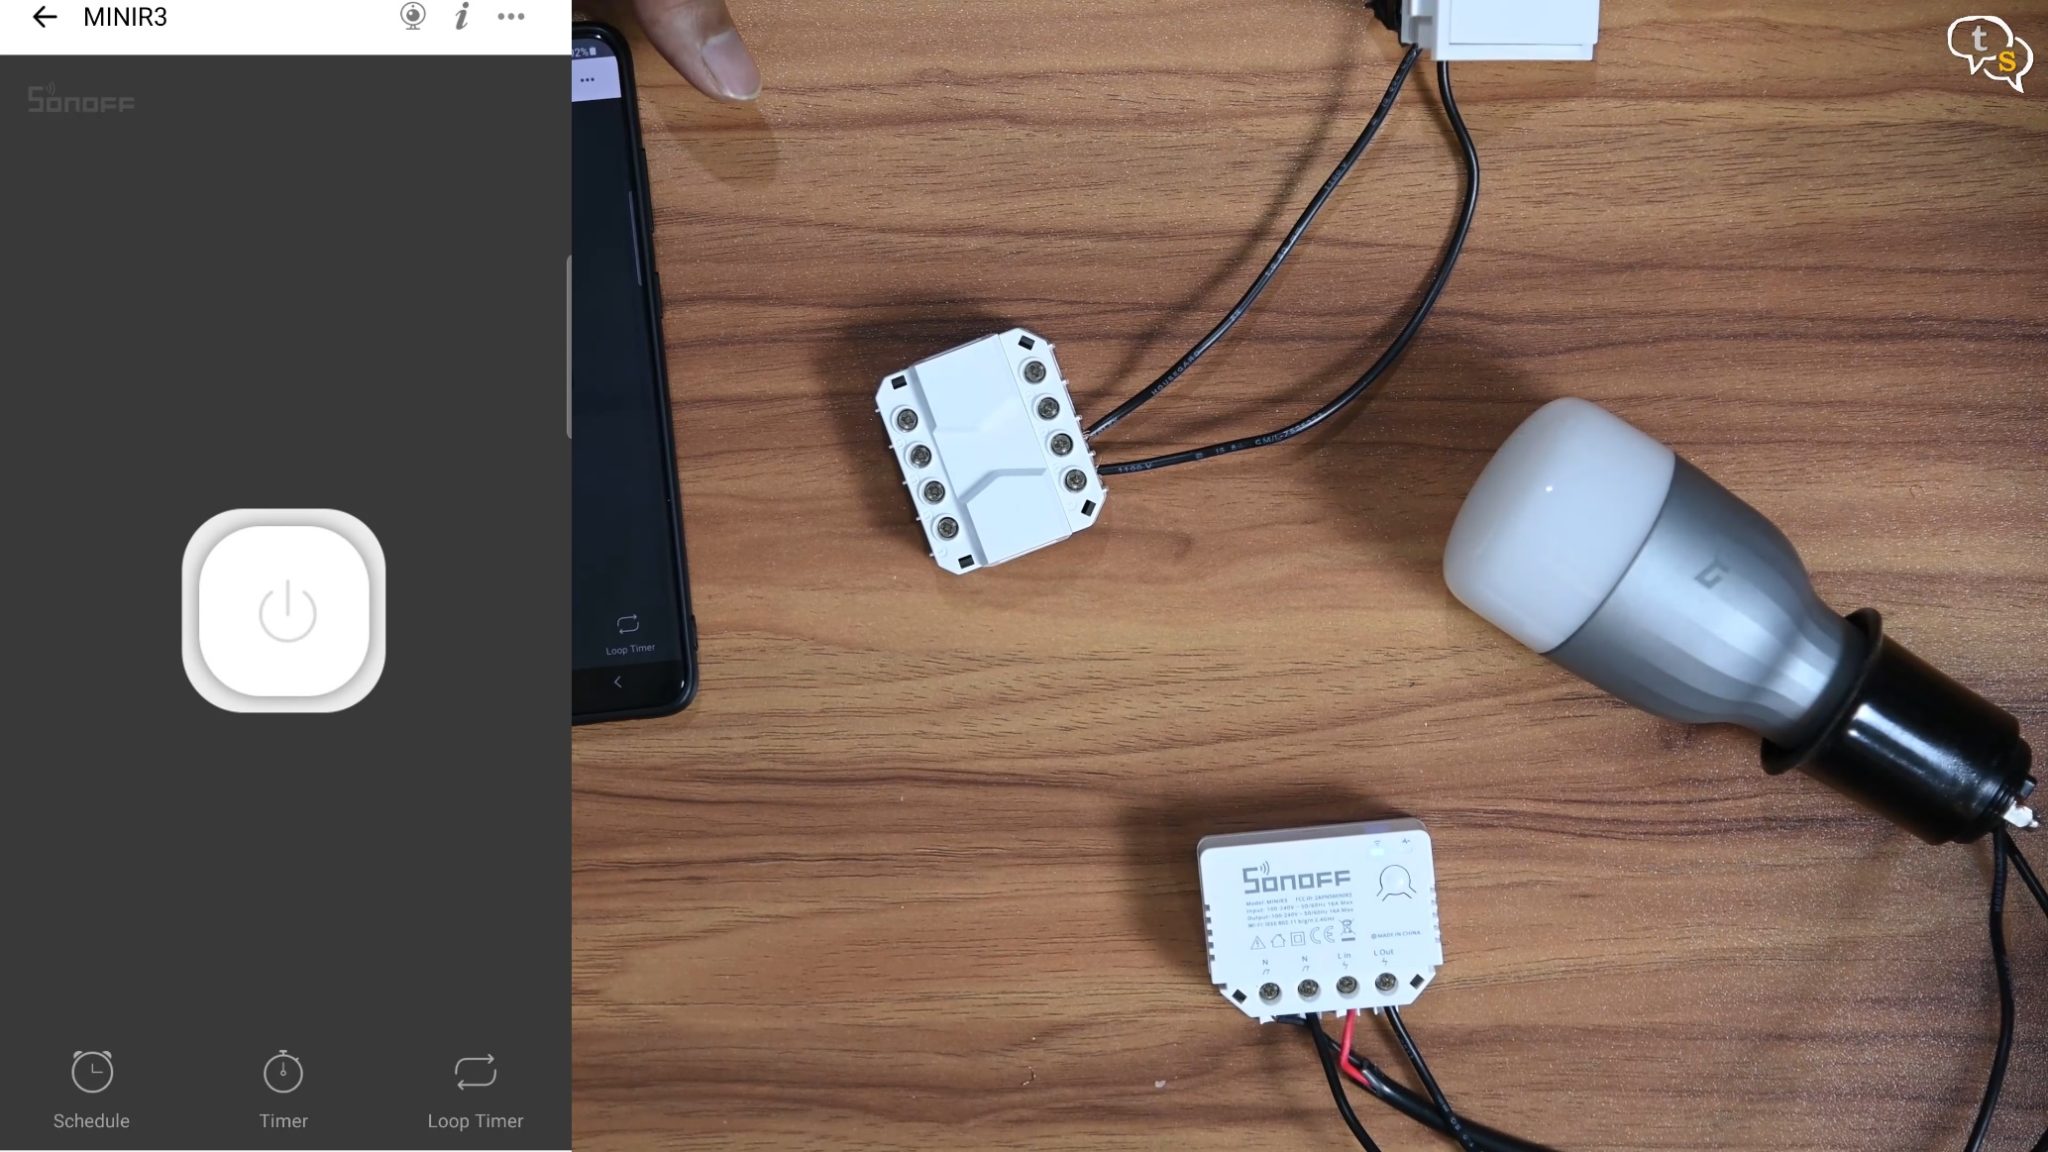
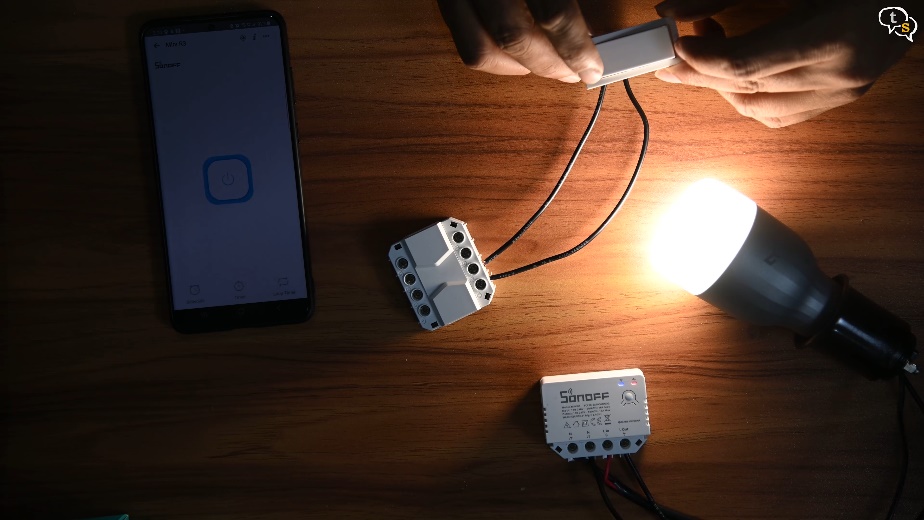
Ok the device is now paired, now when you tap on the virtual button on the app, we can see this red light here. It turns on when the switch is active and there’s power flowing through it. And when off the red light turns off. Now to test if it works.

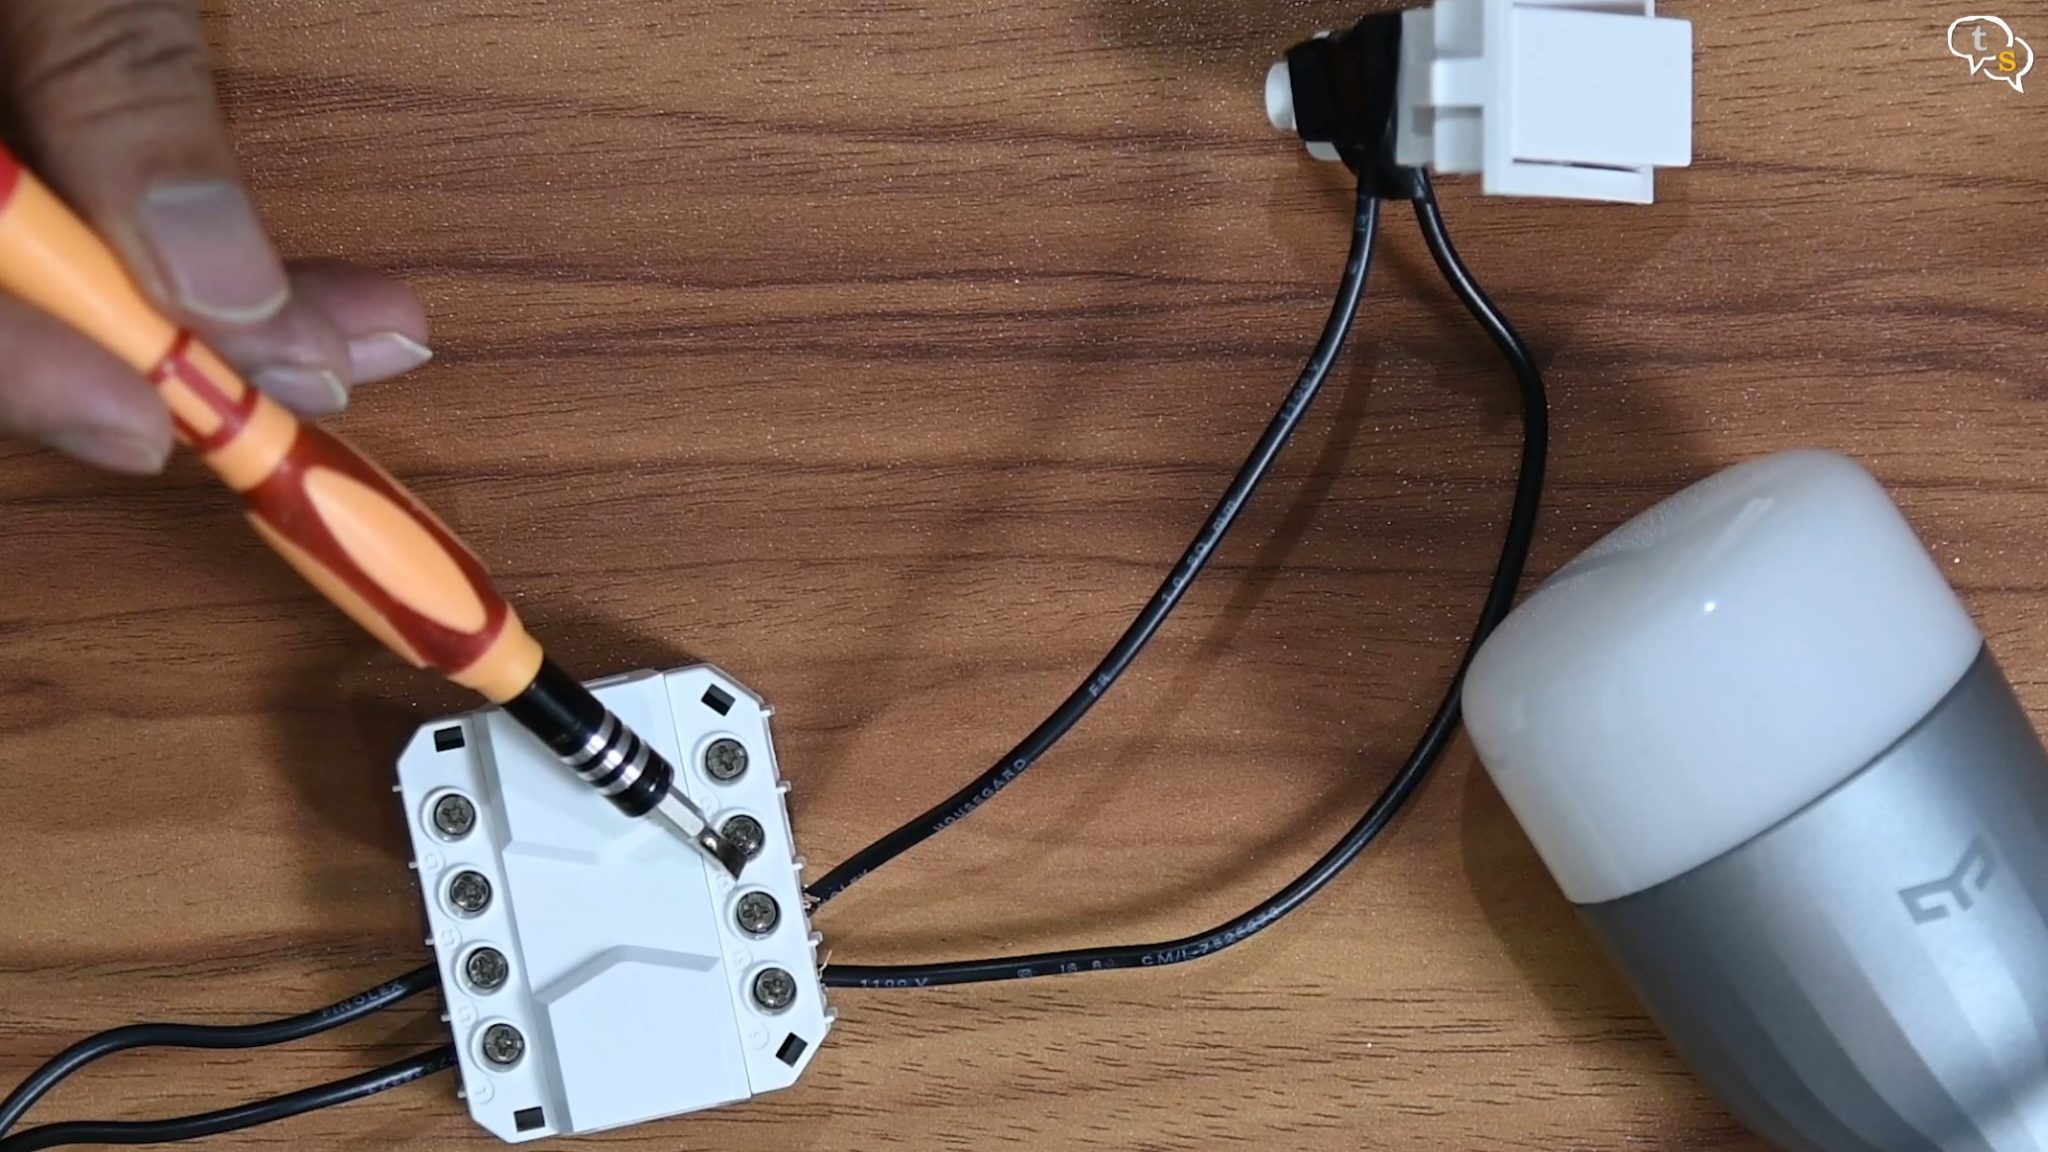
Let’s add a load which is this bulb I have here, it’s already within this bulb holder. Now to connect it to the mini r3.
Unplug before attaching.
So, L out and neutral, done.
Now power the switch back on again, once the blue light is steady it’s connected to Wi-Fi.
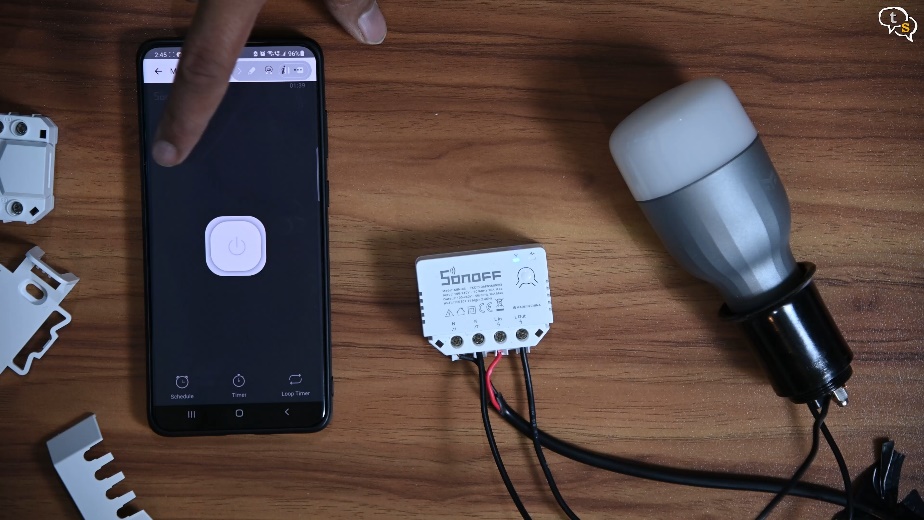
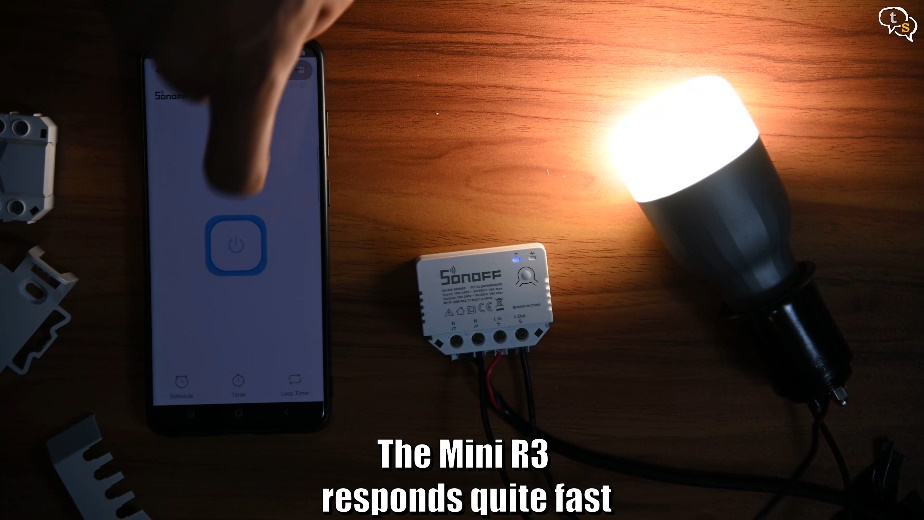
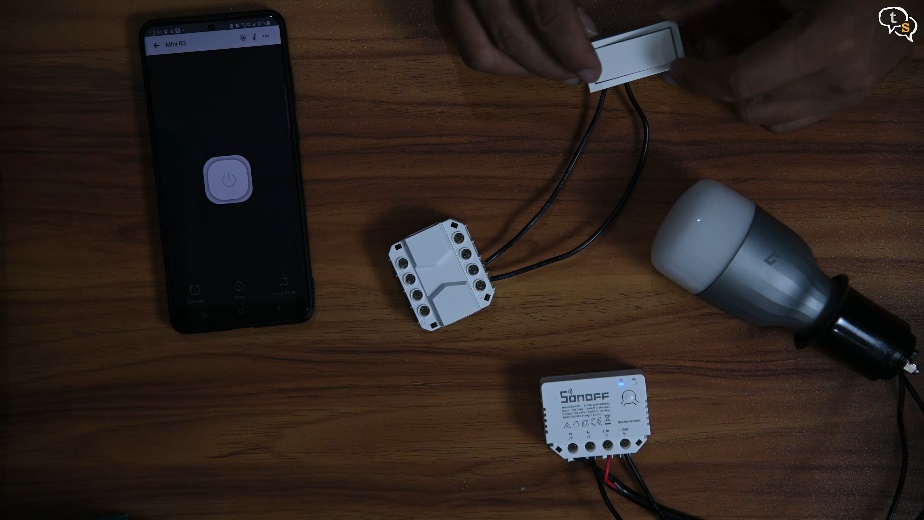
Now turn on using the virtual switch and turn off. It works.

We have tons of other options such as scheduling, to run the switch at certain times, a timer to turn it off or on after a stipulated time or loop timer, which turns the device on or off in certain time intervals that you set.
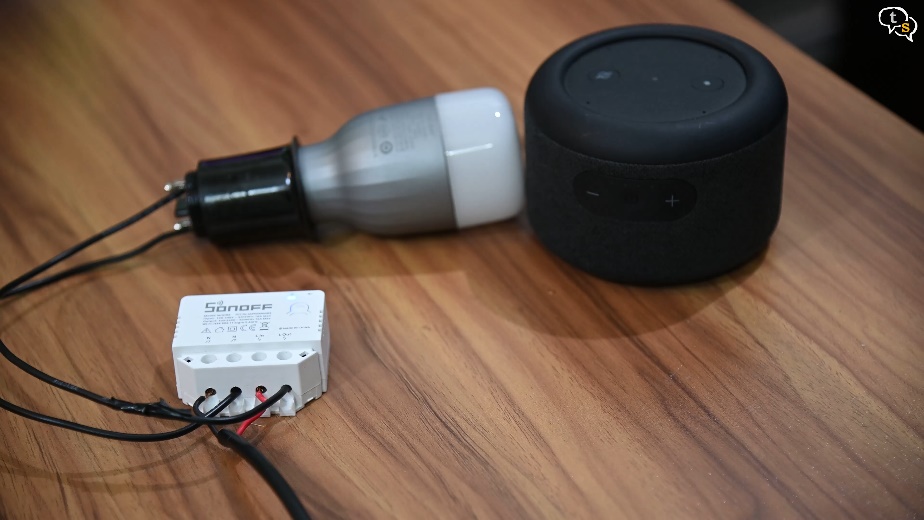
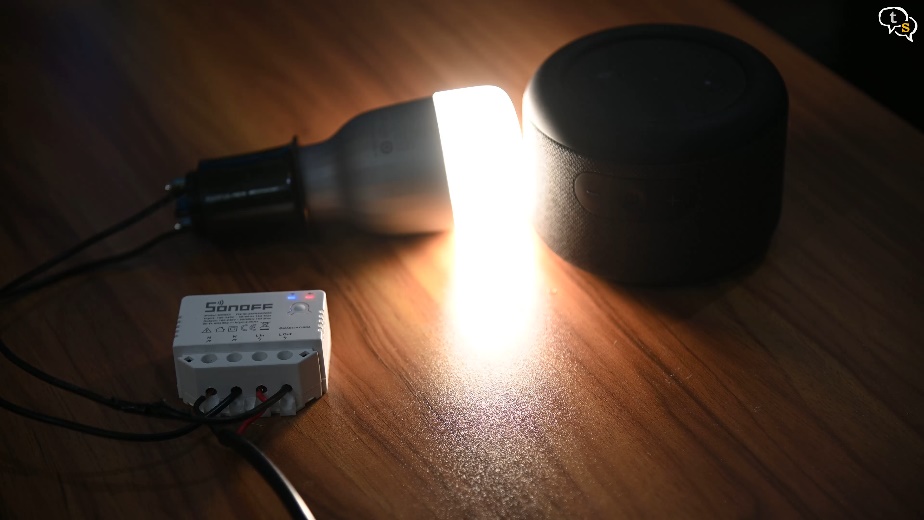
We can also use Alexa to control the MiniR3
Ok that was the MiniR3.
Now we need to be able to control this wireless switch using an actual switch.
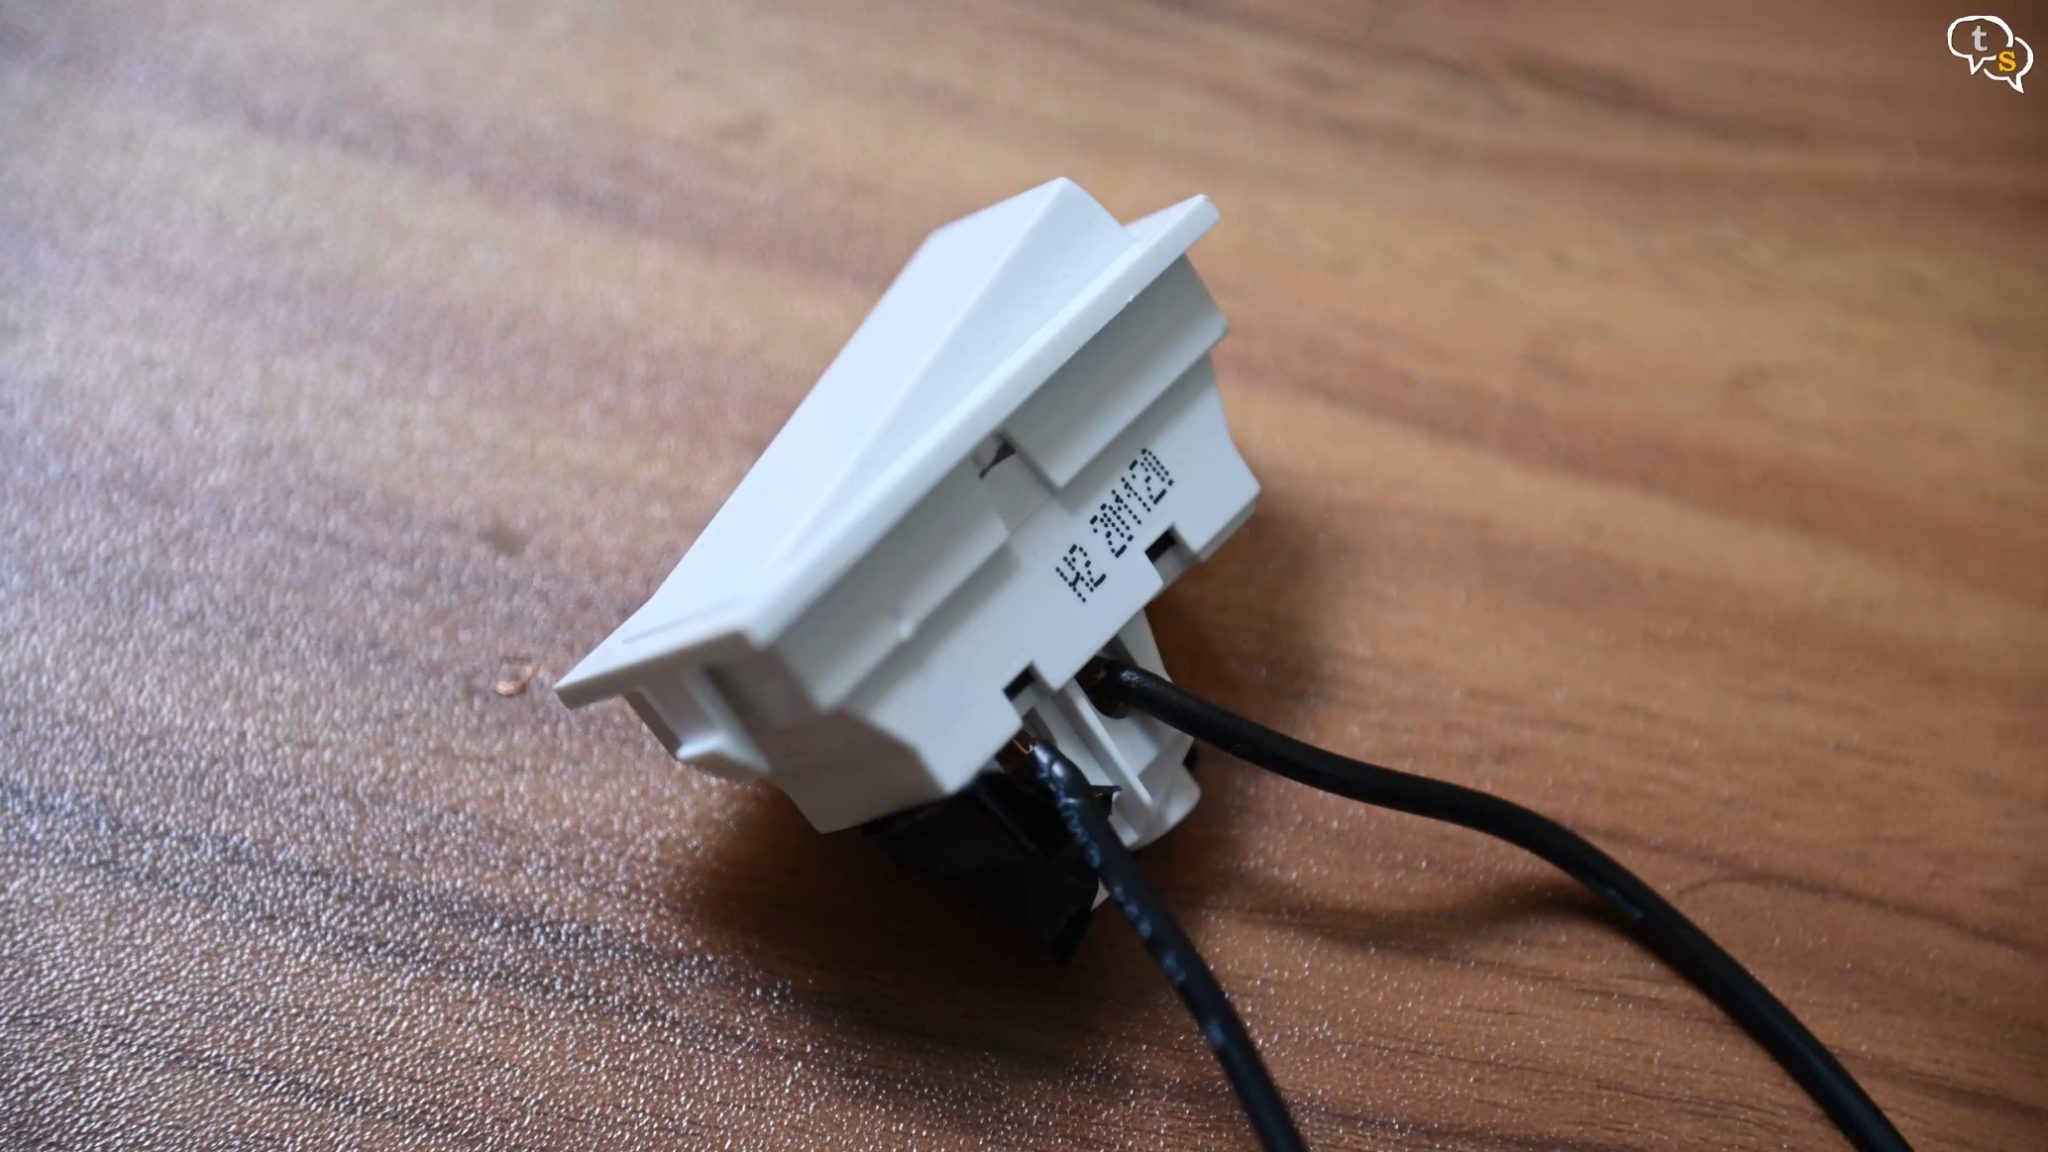
I’m going to be using this rocker switch, which has an on off state.
Here’s the s-mate which will allow connecting a switch wirelessly to the MiniR3.
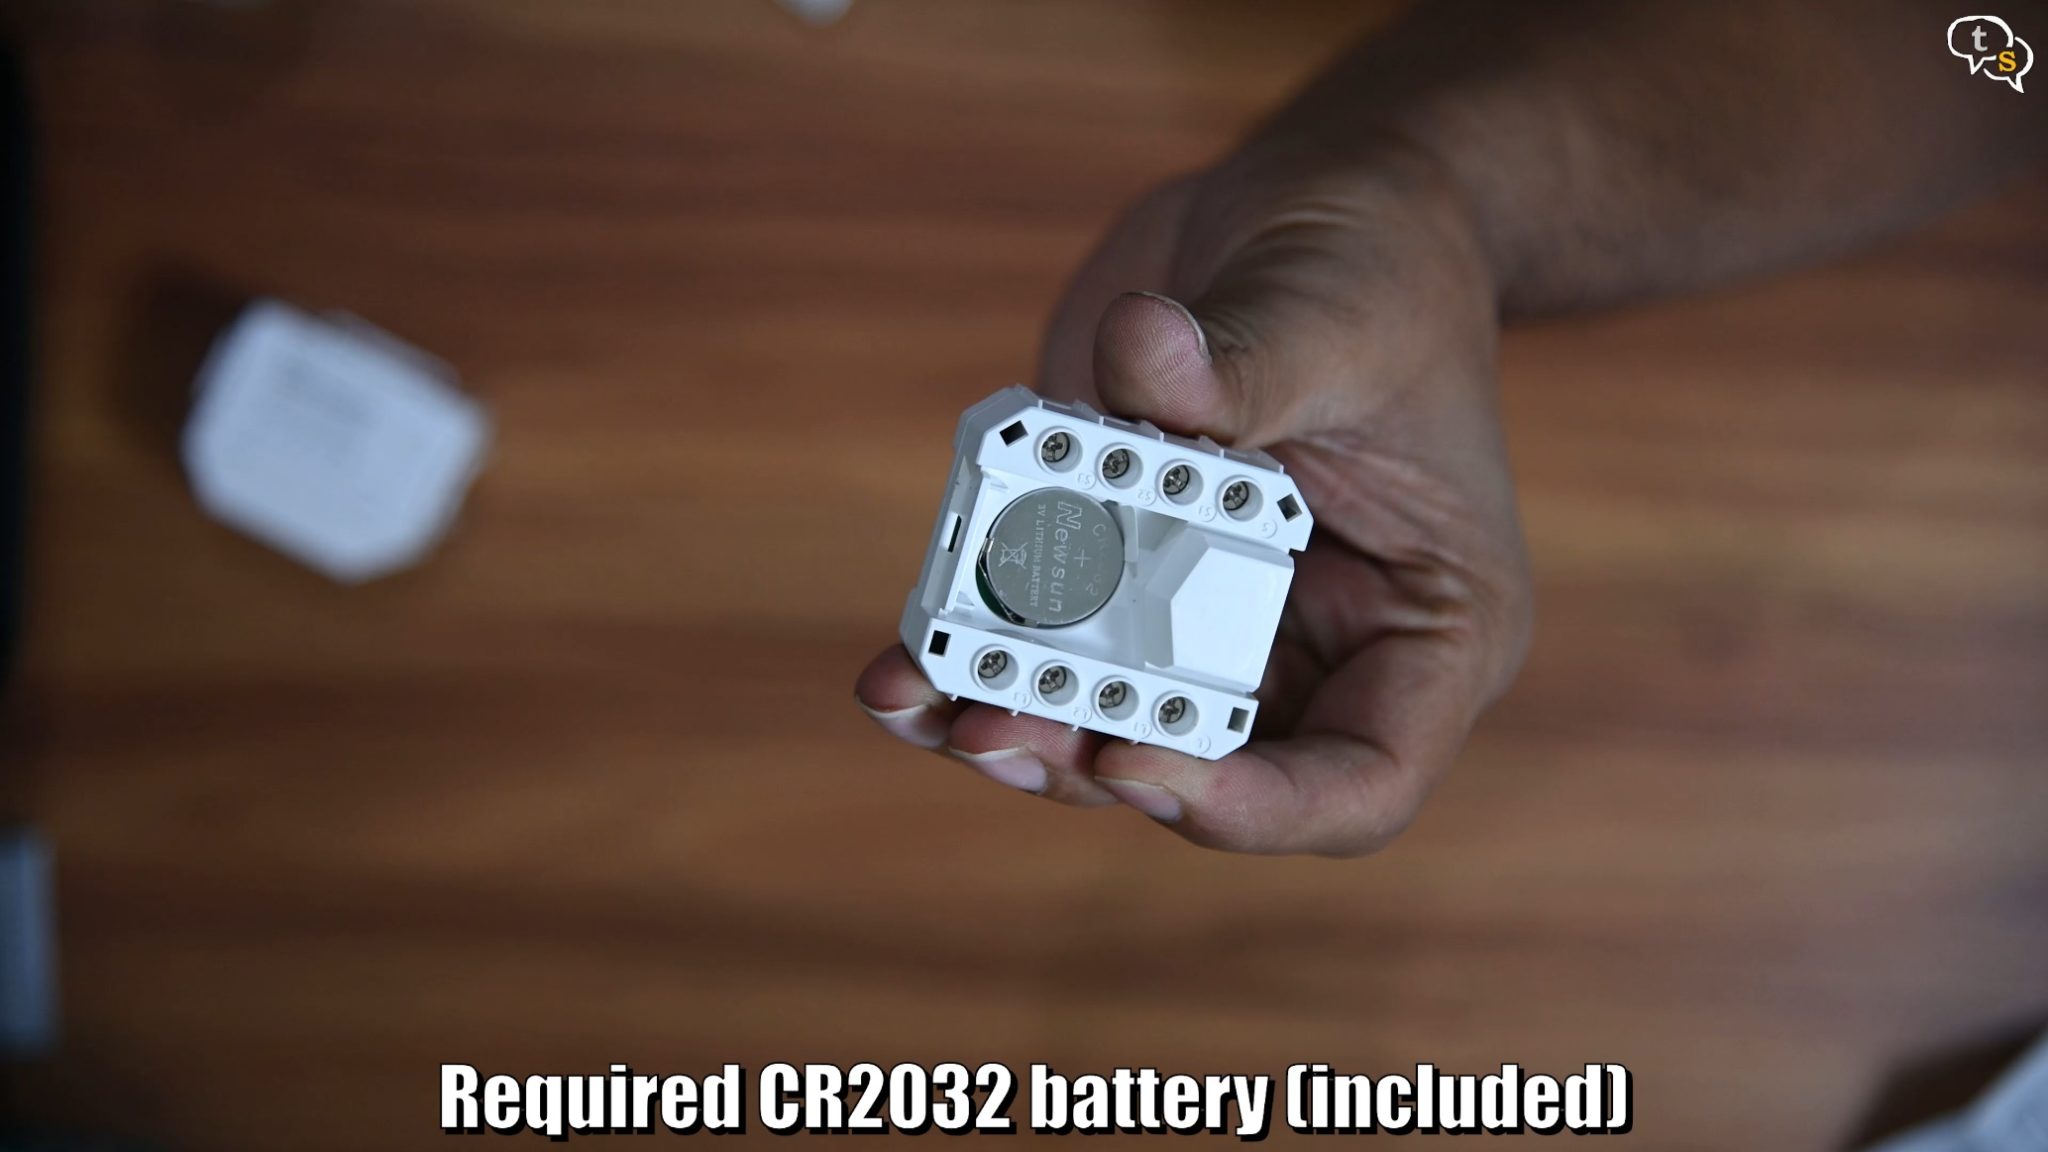
This device uses a battery, so we need to open up this cover here. The battery is a cr2032 battery and it has this plastic tab underneath. Remove that and the device is active which is visible via this small little led on the side.
Now to set it up.
Connect the rocker switch to the s-mate. S is common and would be connected to multiple switches, I have only one switch so here it goes and the other goes to S1, if you have another switch you would connect it S2, S3 etc.
Ok, the rocker switch is ready and now to set it up. Open up the eWelink app and select mini r3 or whatever you’ve named your device.
Open up the eWelink app and select mini r3 or whatever you’ve named your device.
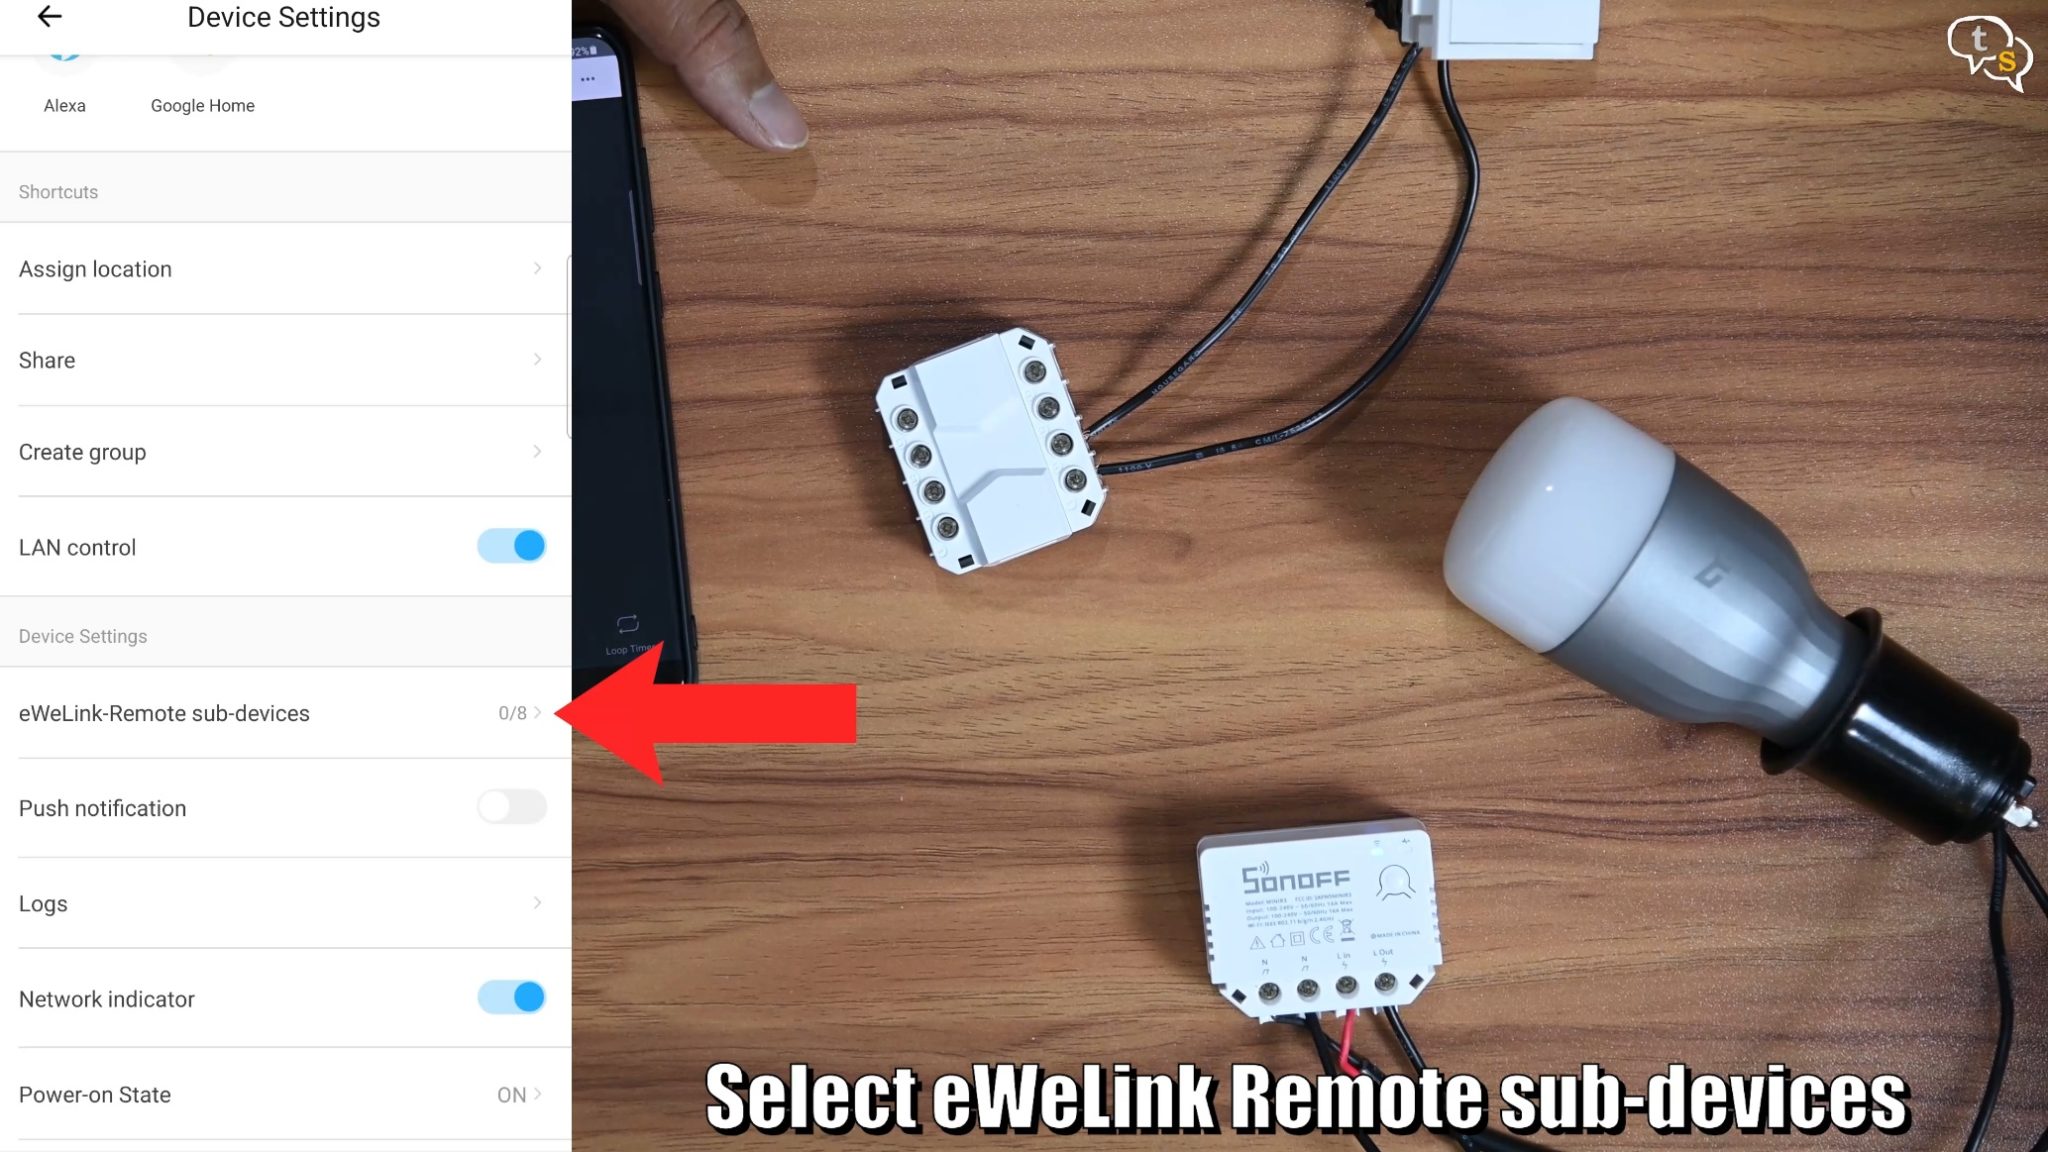
Settings, select e-we link remote sub devices, tap on the + button on the top right and it would be waiting for a new remote trigger.
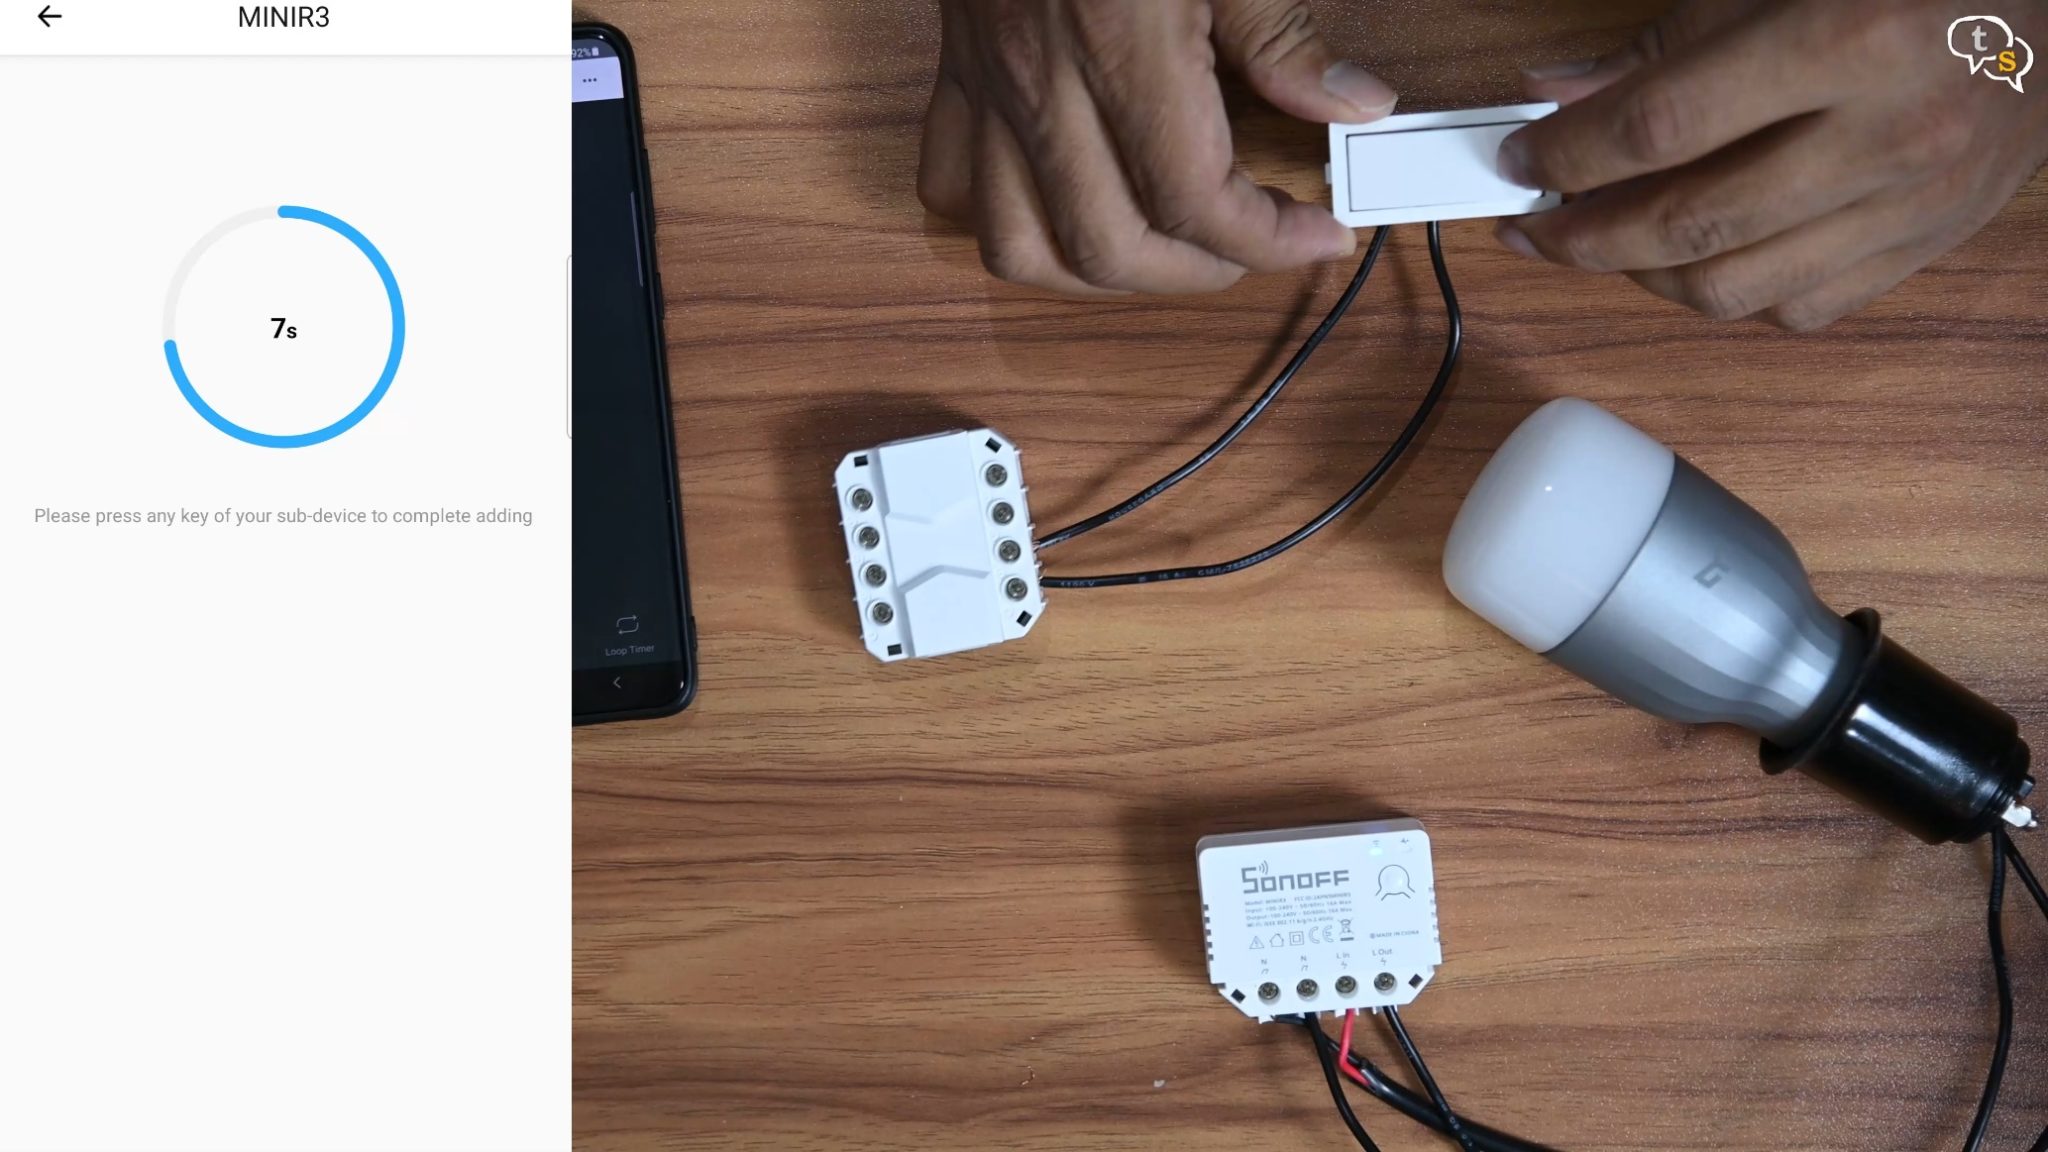
Turn the rocker switch on and the S-Mate is detected.
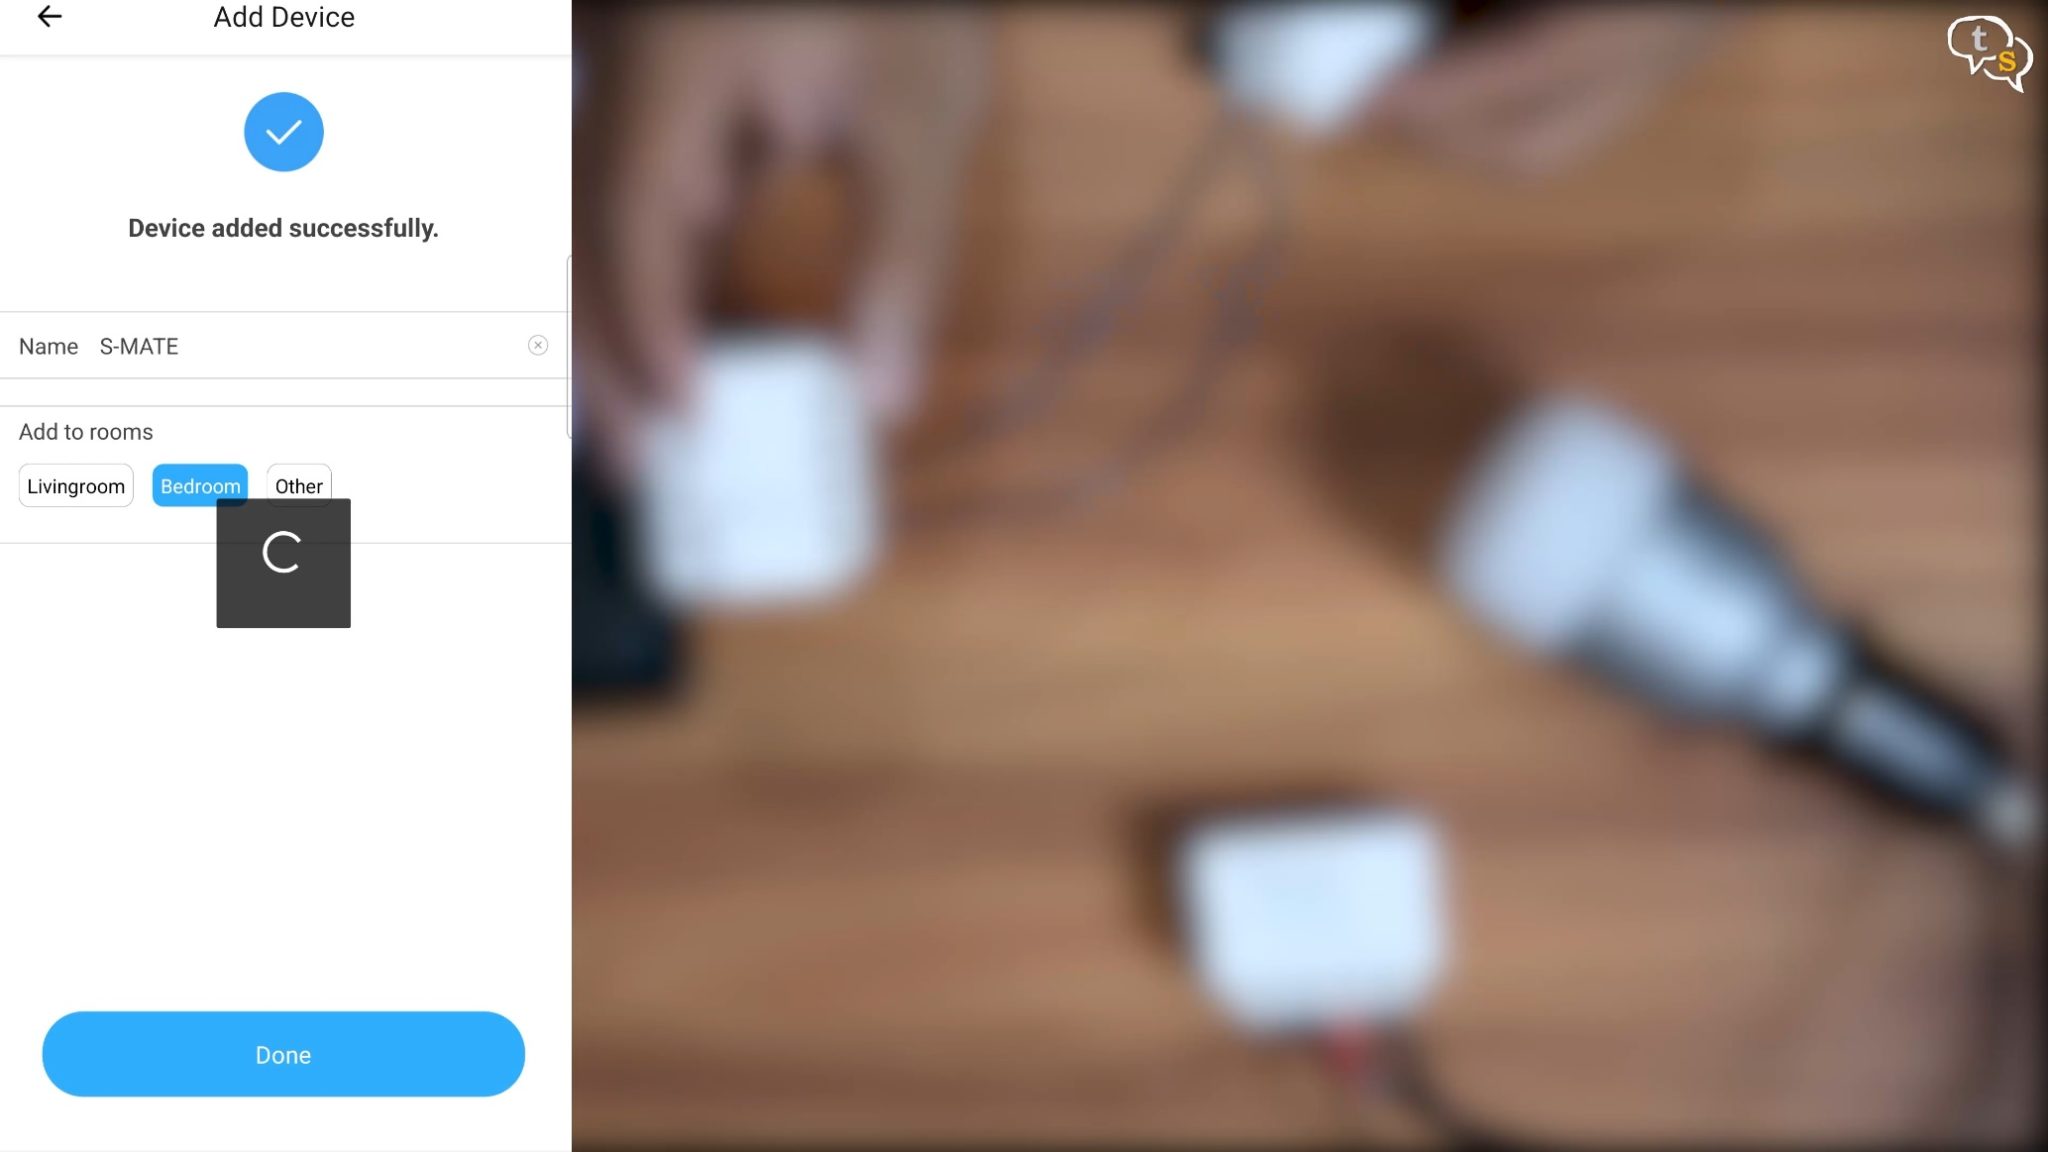
There the switch is now linked to the app.
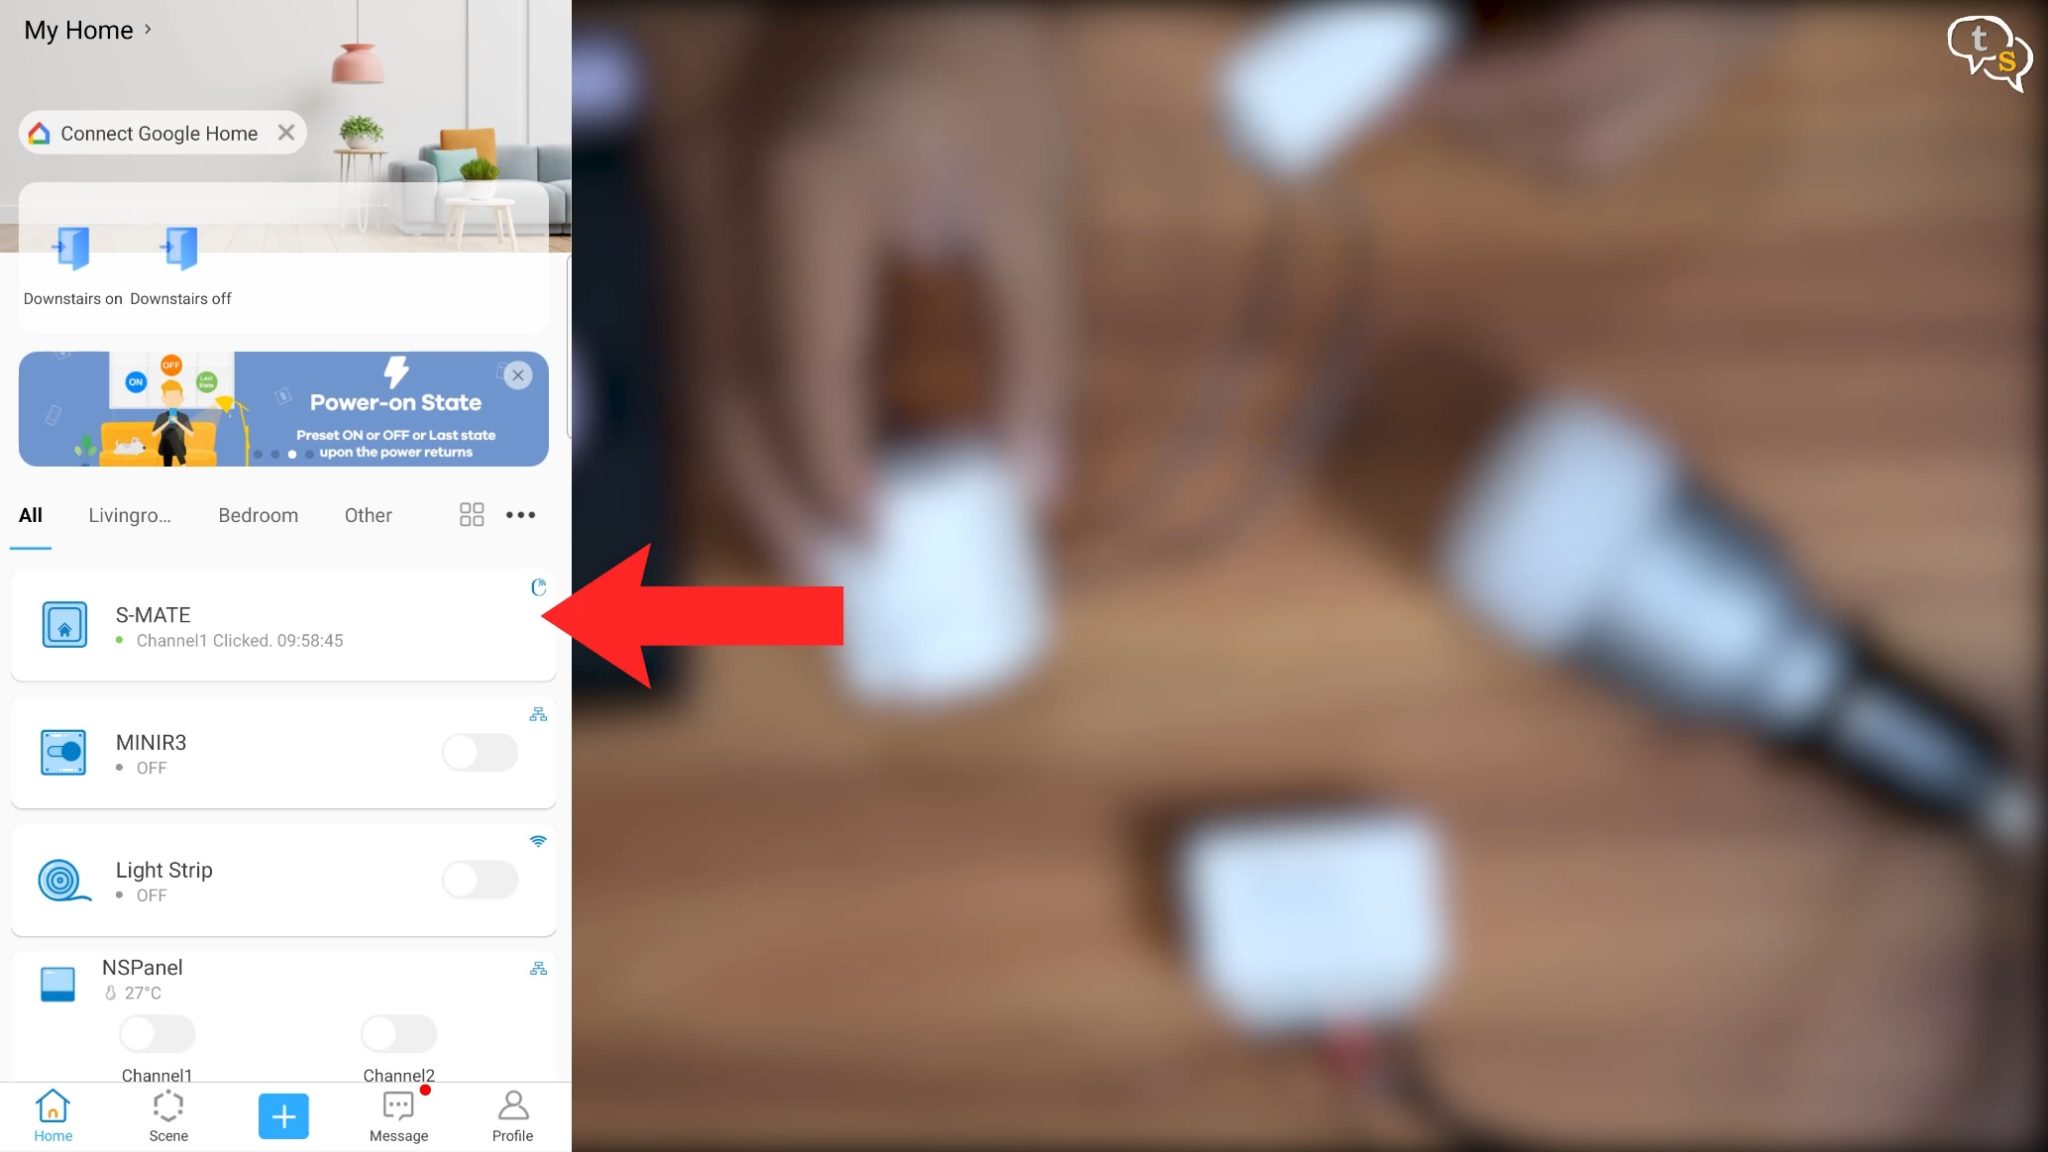
The switch mate is now available to trigger any device using smart scenes.
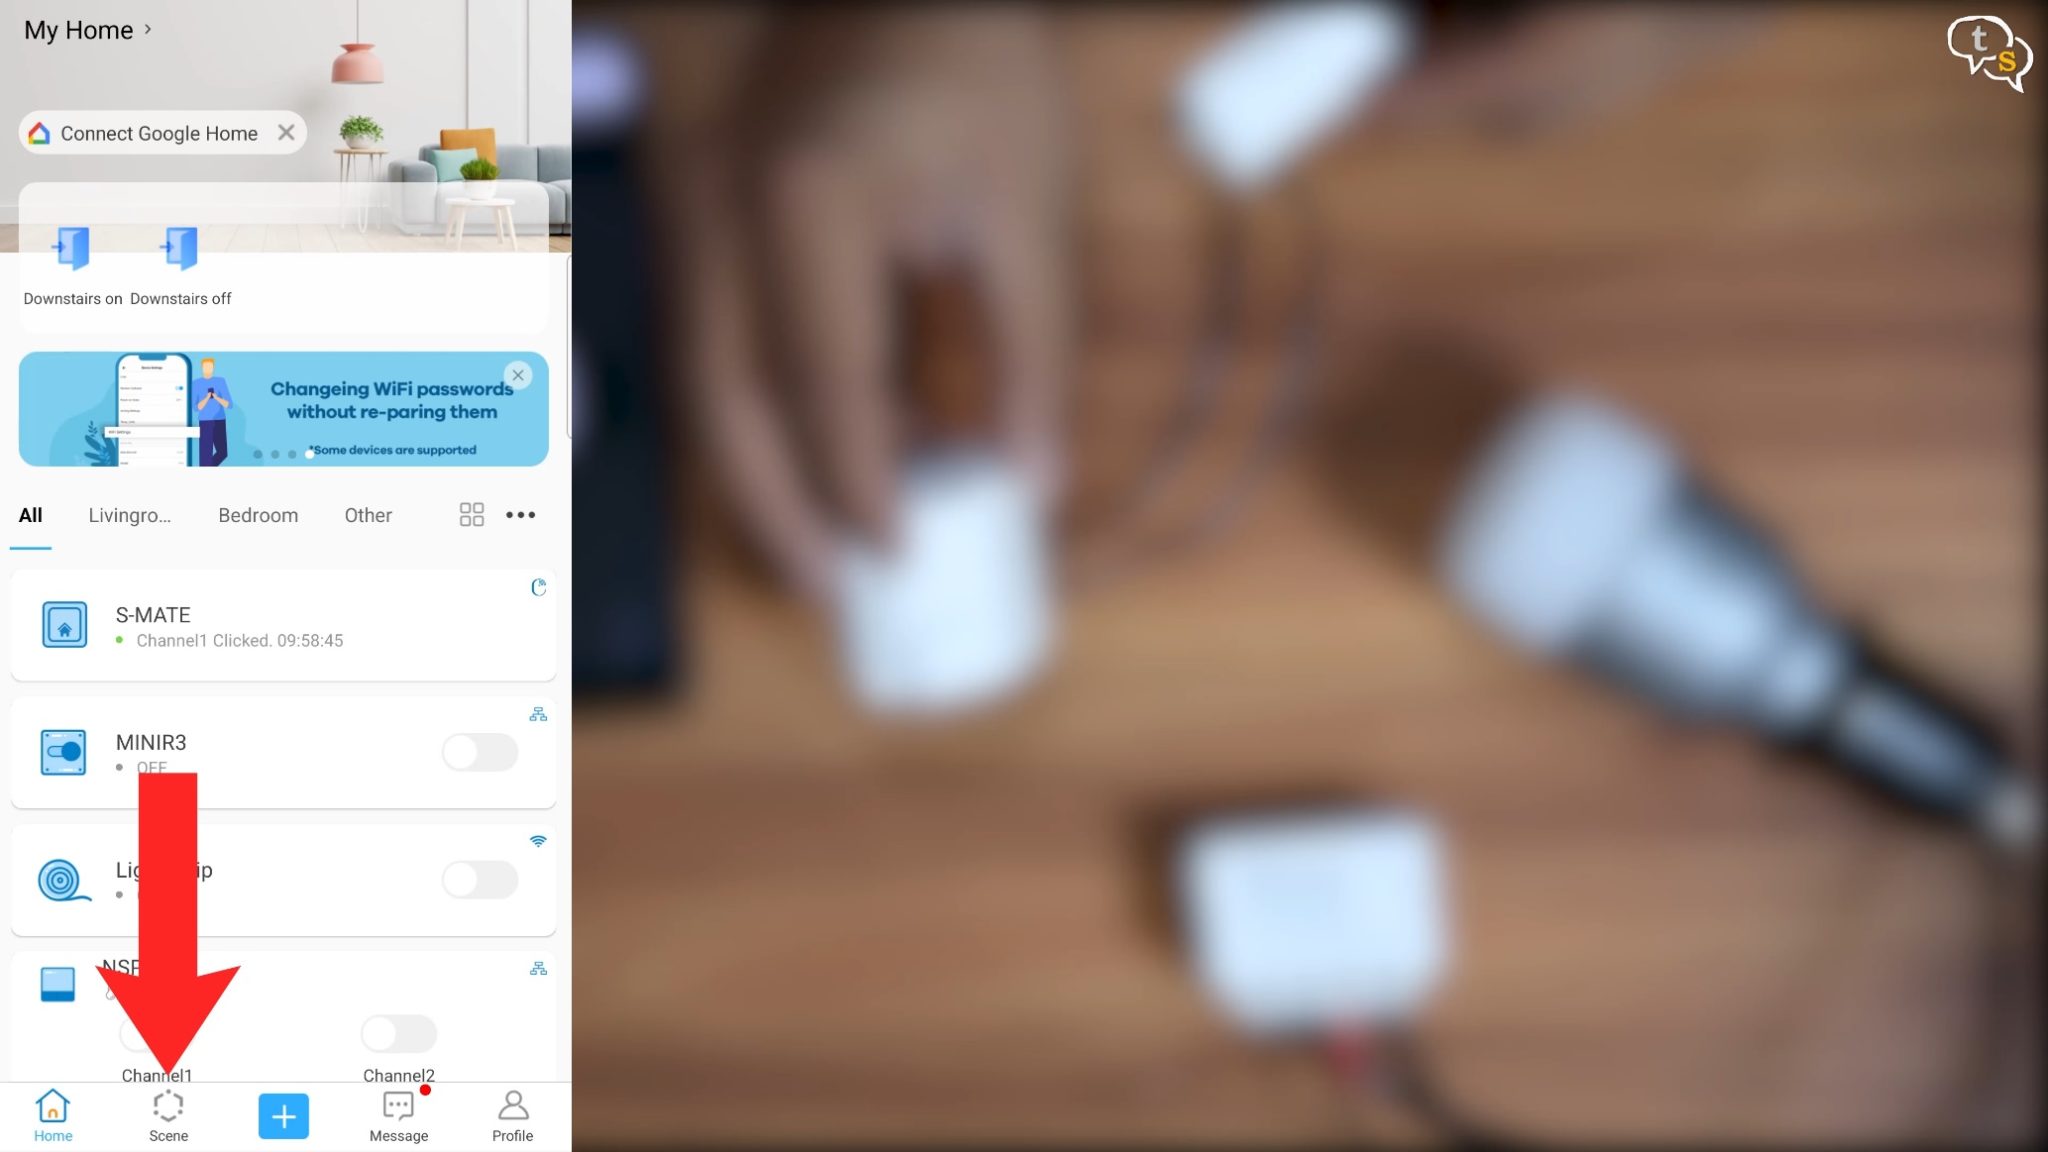
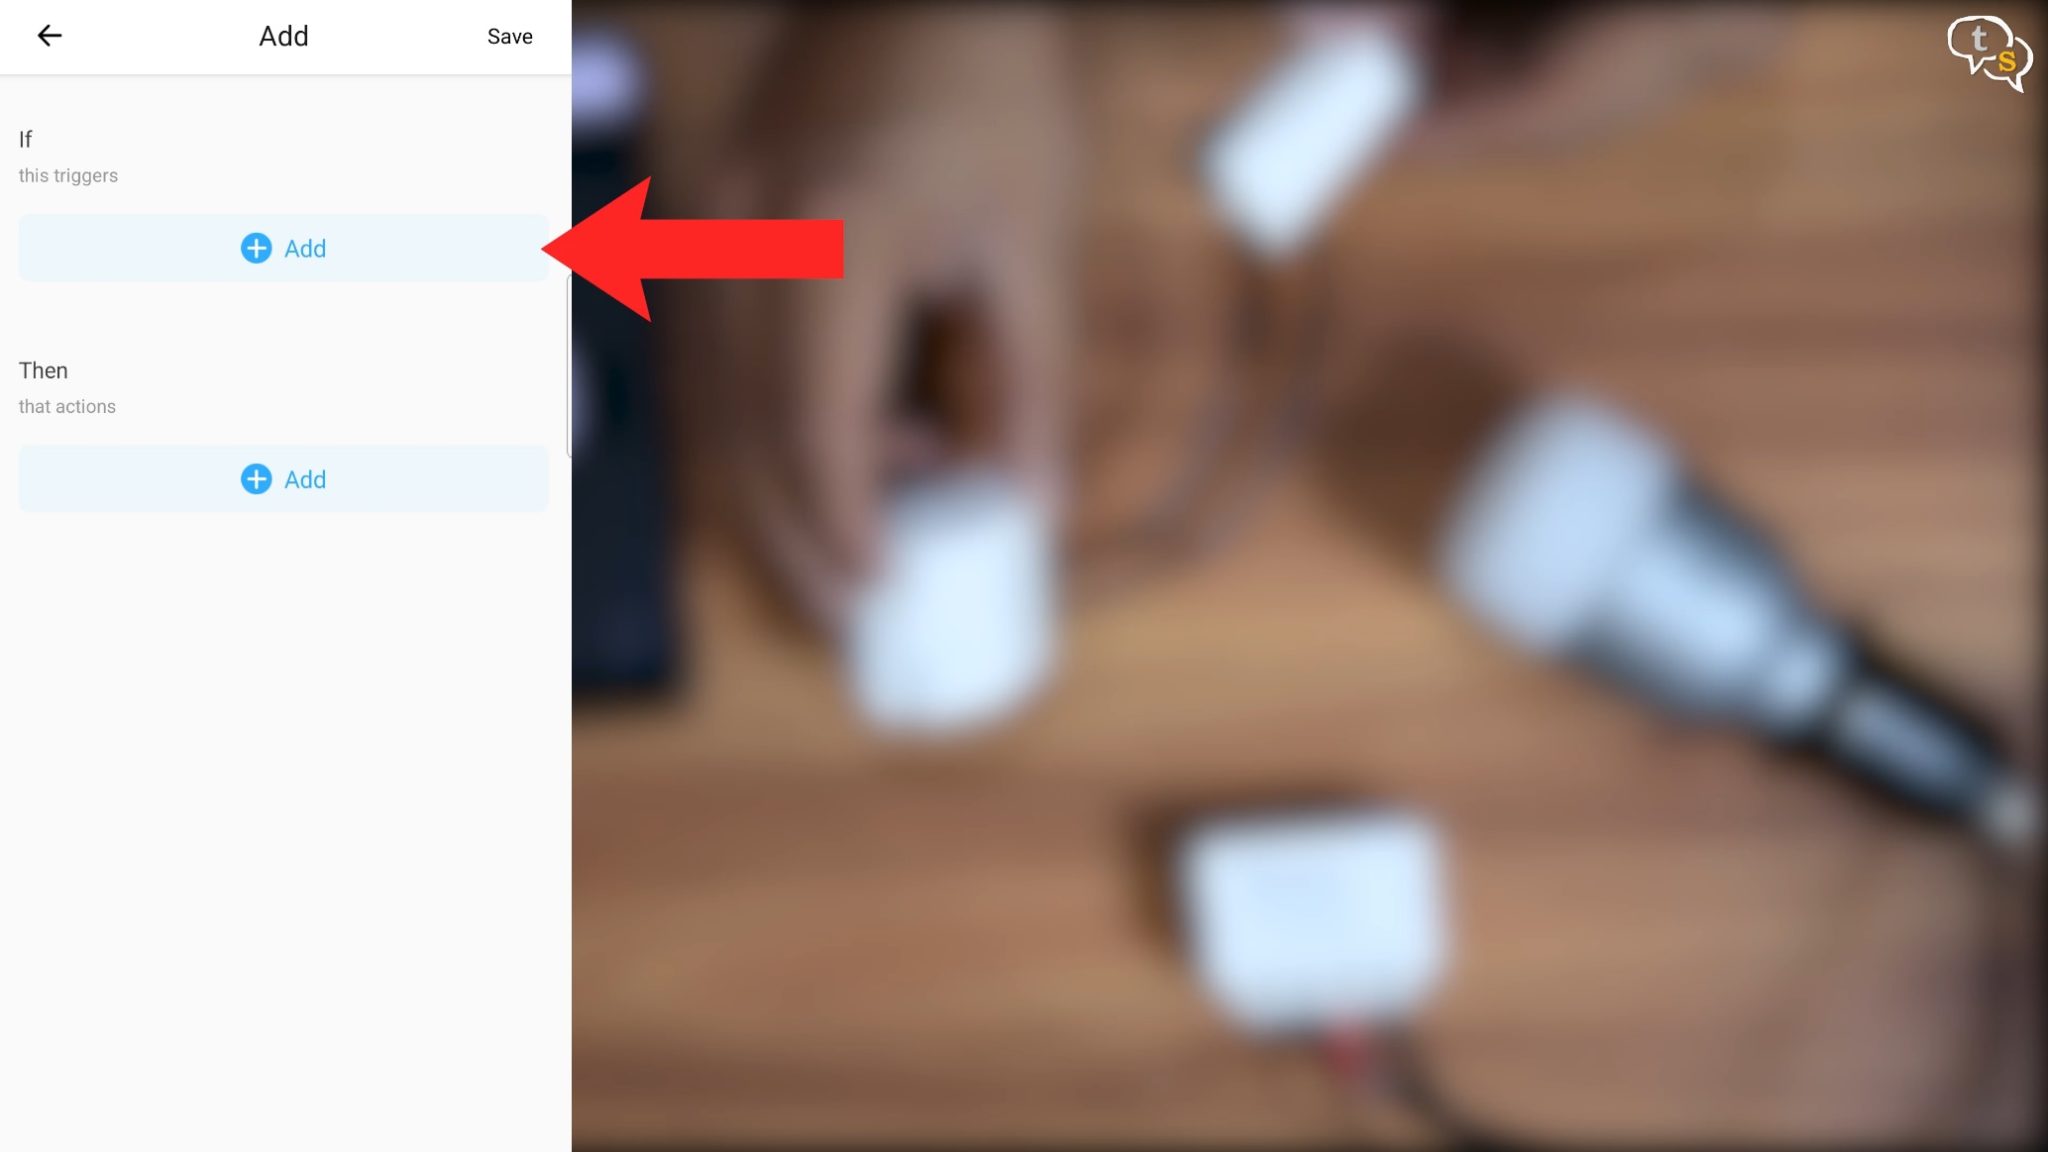
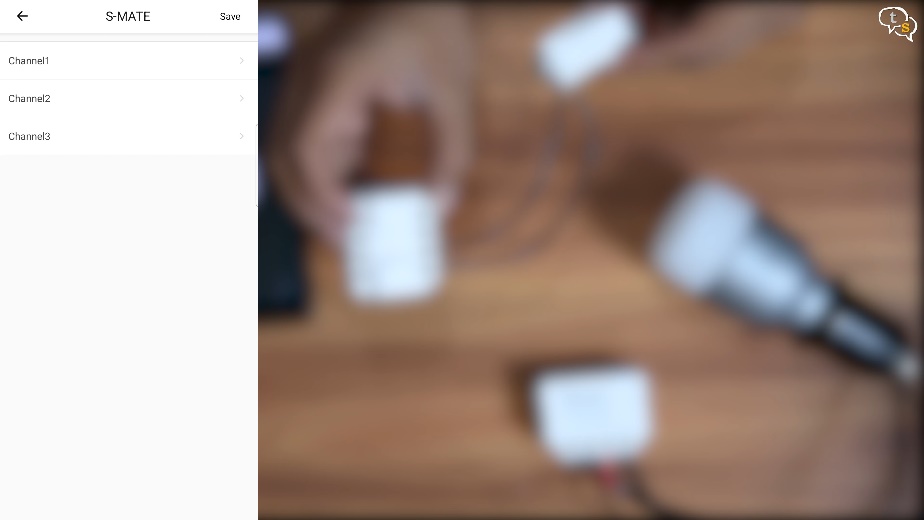
Add a new scene, under if this triggers, tap on add, under smart devices select the s-mate, channel 1 as I’m using s1, tap on clicked, make sure you see a blue check mark on the right. Tap on save, then save again.
Now for the target device, we can select any device within the eWelink app.
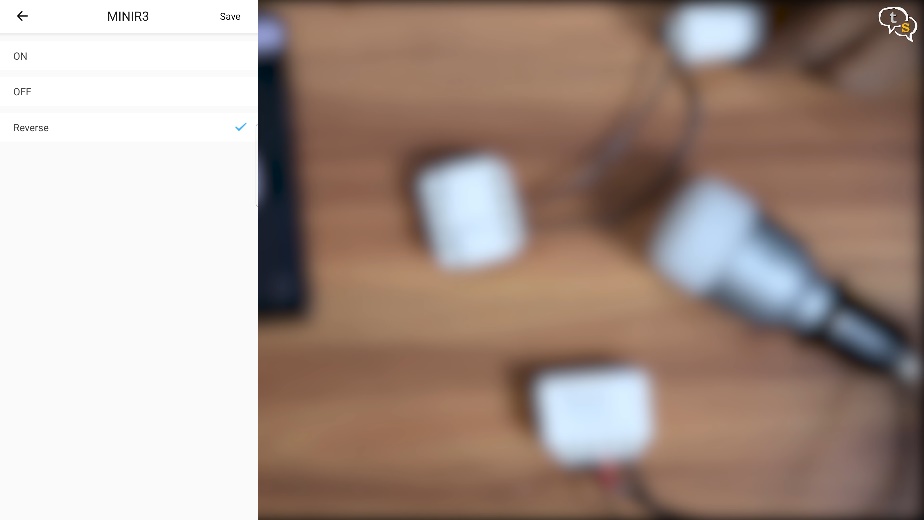
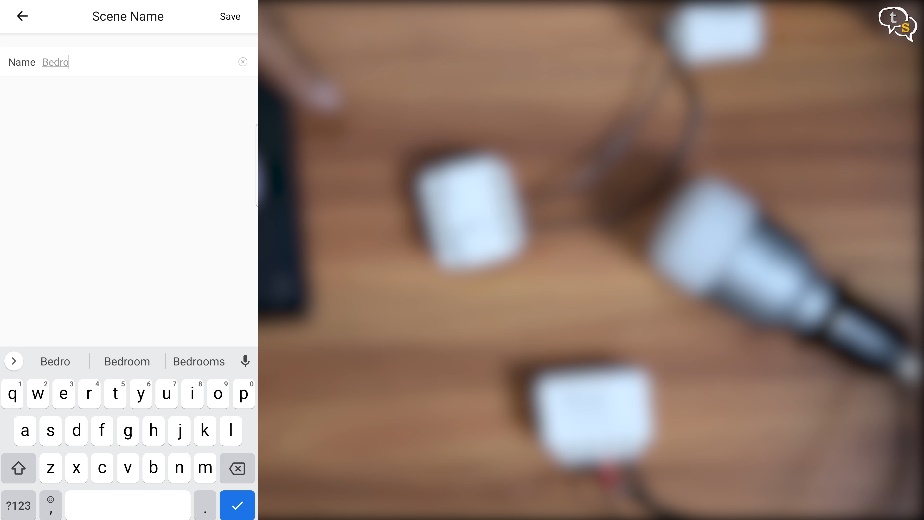
I’m selecting smart device, tap on reverse, which generally toggles between the on/off state, enter a name for the scene and you’re done.
Add more devices if you want, save, and now It can trigger the connected s-mate from anywhere so that’s great.
You could setup the switch across the room and control a light or appliance from a distance.
This is an example of the switch working with the tube-light in my son’s room.
The MiniR3 and the S-Mate are really cool additions to the sonoff smart switch line. The size has really reduced as compared to the original sonoff switches. The small size of the Mini R3 allows it to be hidden away, and the S-Mate allows for remote control which is really cool.
But cons, not major cons but nevertheless
The R2 had a switch input which the R3 seems to be missing. But the S-Mate adds that missing feature and allows connecting up-to three rocker switches that too wirelessly. Ok this wireless feature is a boon but also going to be a niggle as the battery needs to be replaced whenever it gets drained out. A bit of an inconvenience, but now you can have this switch wherever you want.
All in all, a great addition to the sonoff smart device line.