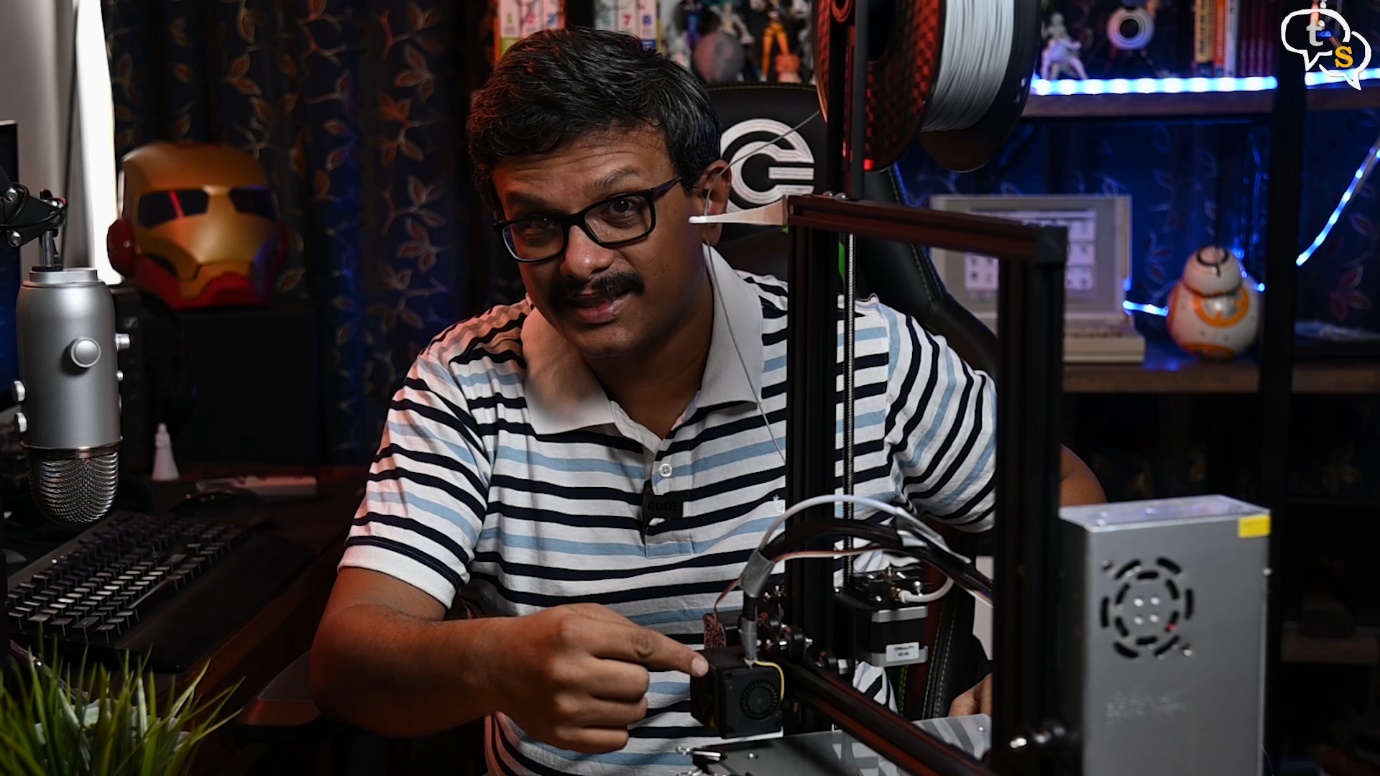
One of the most common tasks when you own a 3D printer is changing the filament. You might want to switch filament types, or your filament might have snapped in between, and you would need to empty what’s left in the extruder, before you re-insert from the spool. So, in this Tutorial I show you simple steps to switching out your filament.
Old filament spool
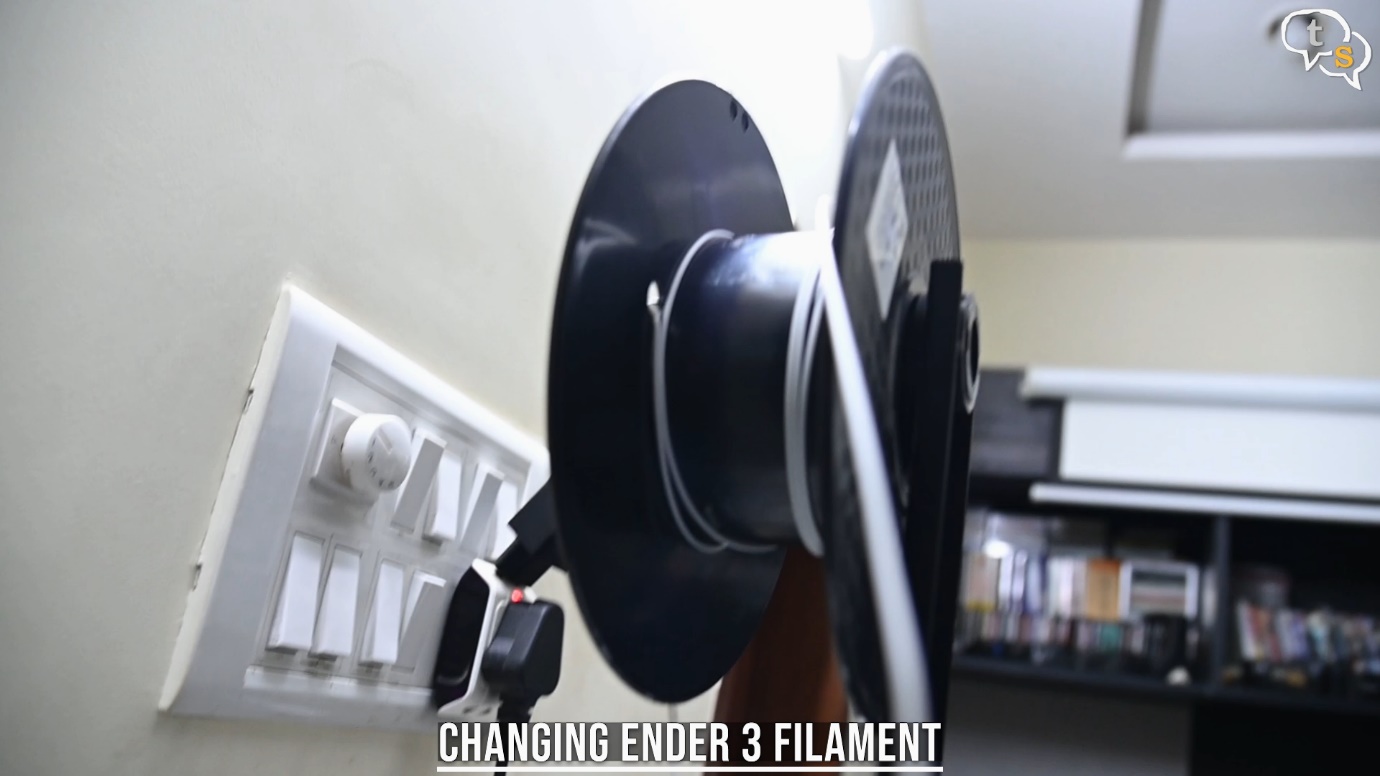
Ok, here’s my current filament spool. As you can see it’s almost at the end, so before I can start a print job I need to change to a new spool as it could runout during a print job.
The filament runs all the way to the extruder here.
So, Step Number 1 would be
Turn the printer on
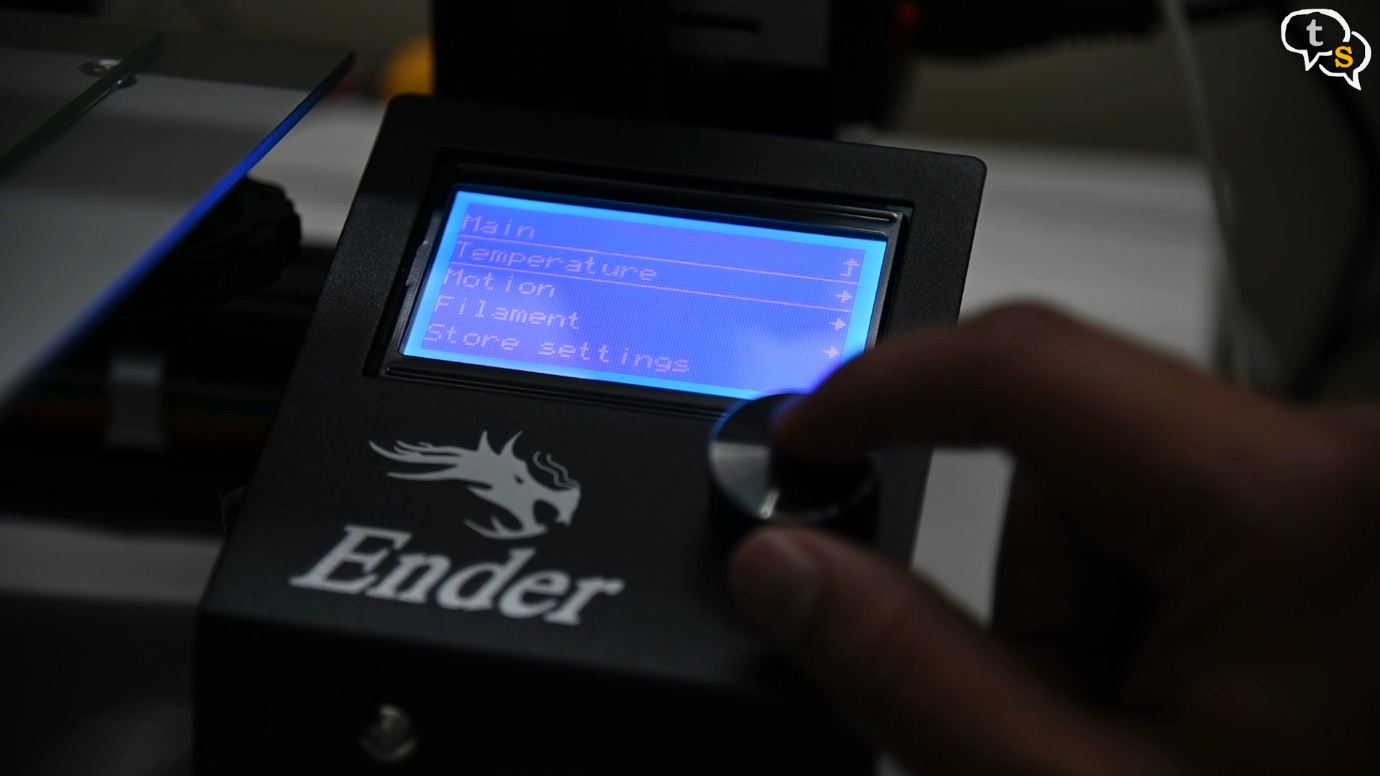
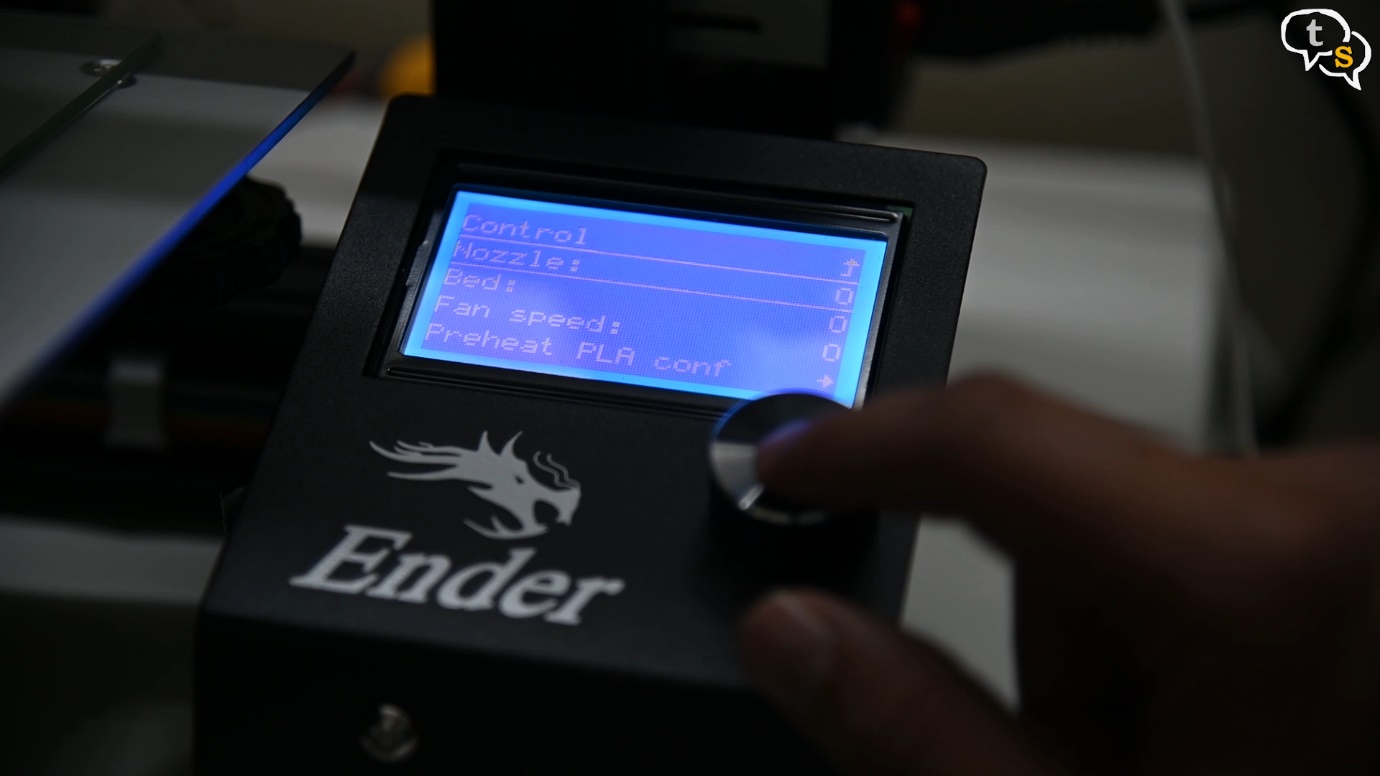
In the menu, select Temperature->Nozzle and set a temperature maybe around 200 degrees, as we need the PLA in the extruder to melt.
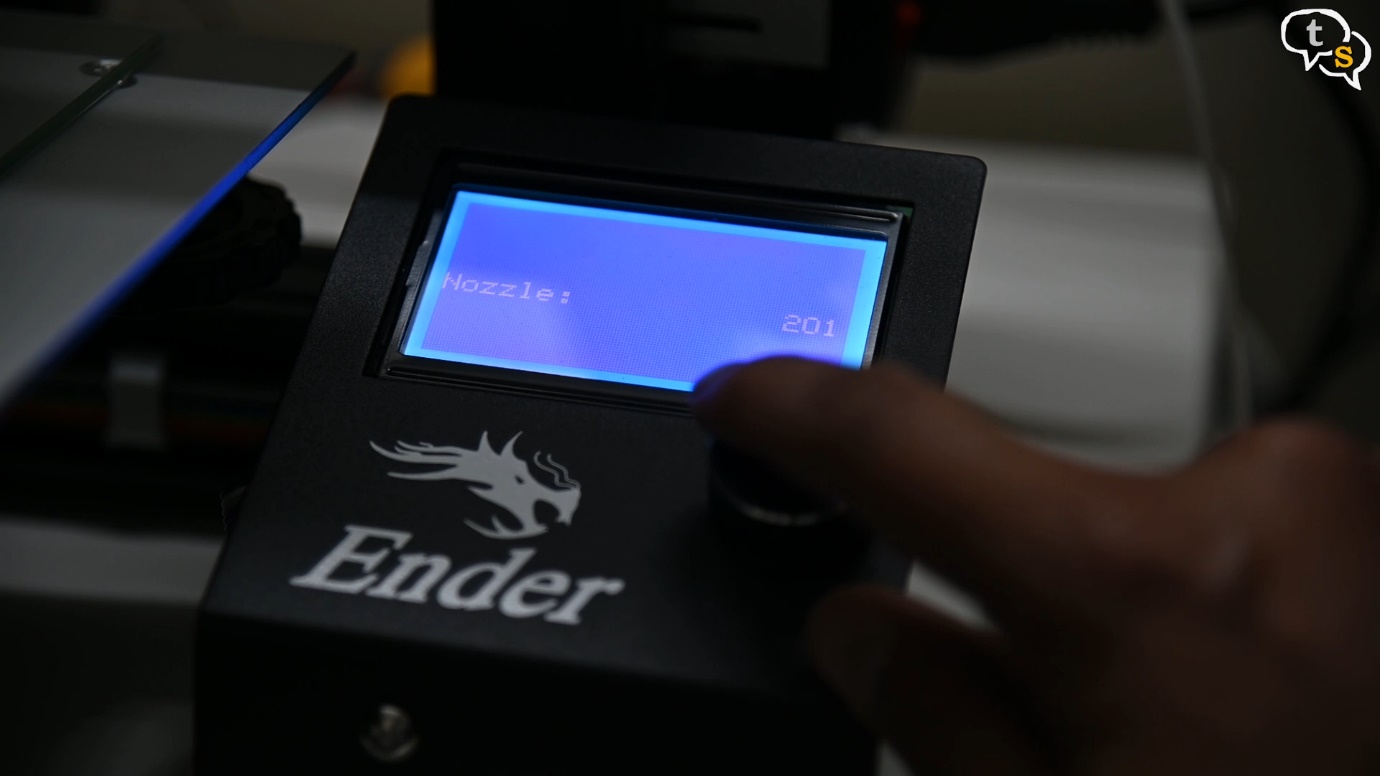
Click to accept the temperature, and now on the main info screen we can see the extruder heating.
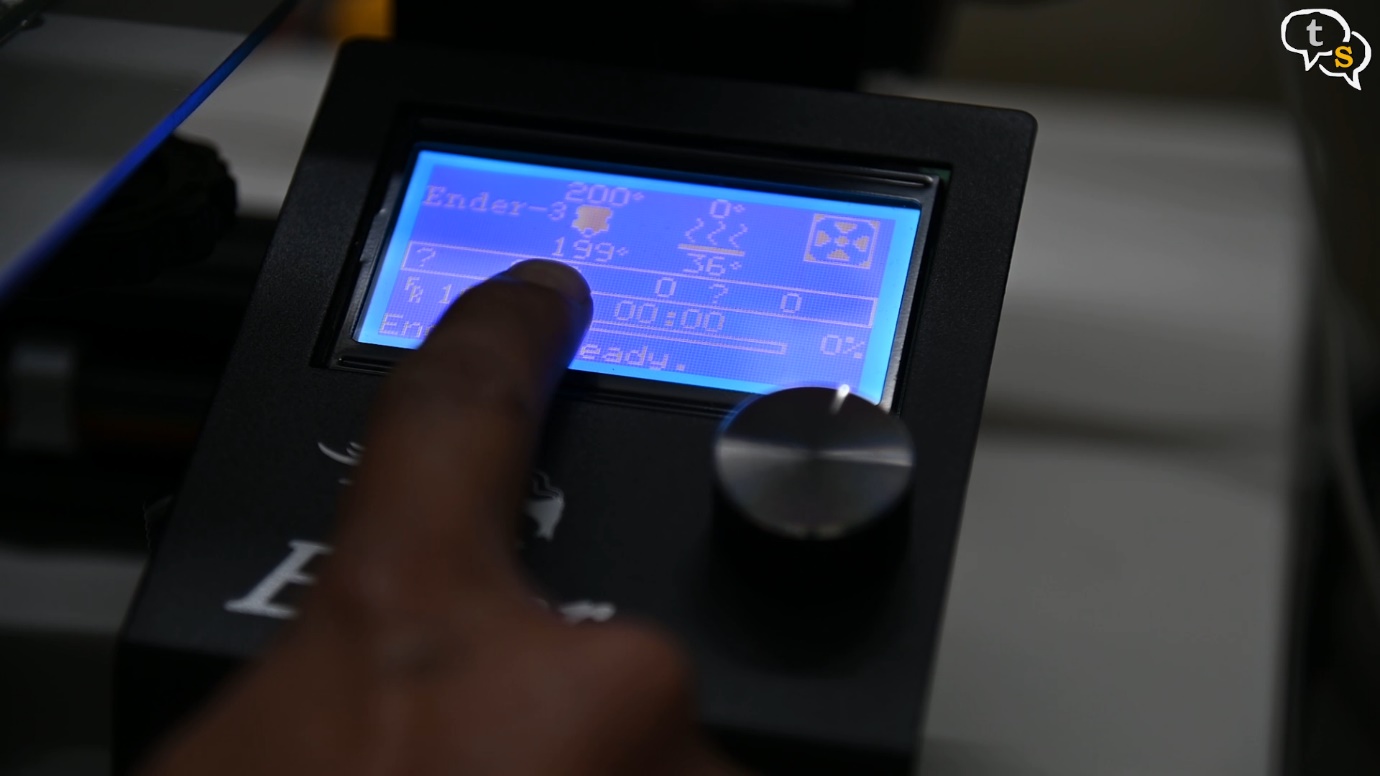
The bed doesn’t heat up as we have set the temperature only on the extruder nozzle.
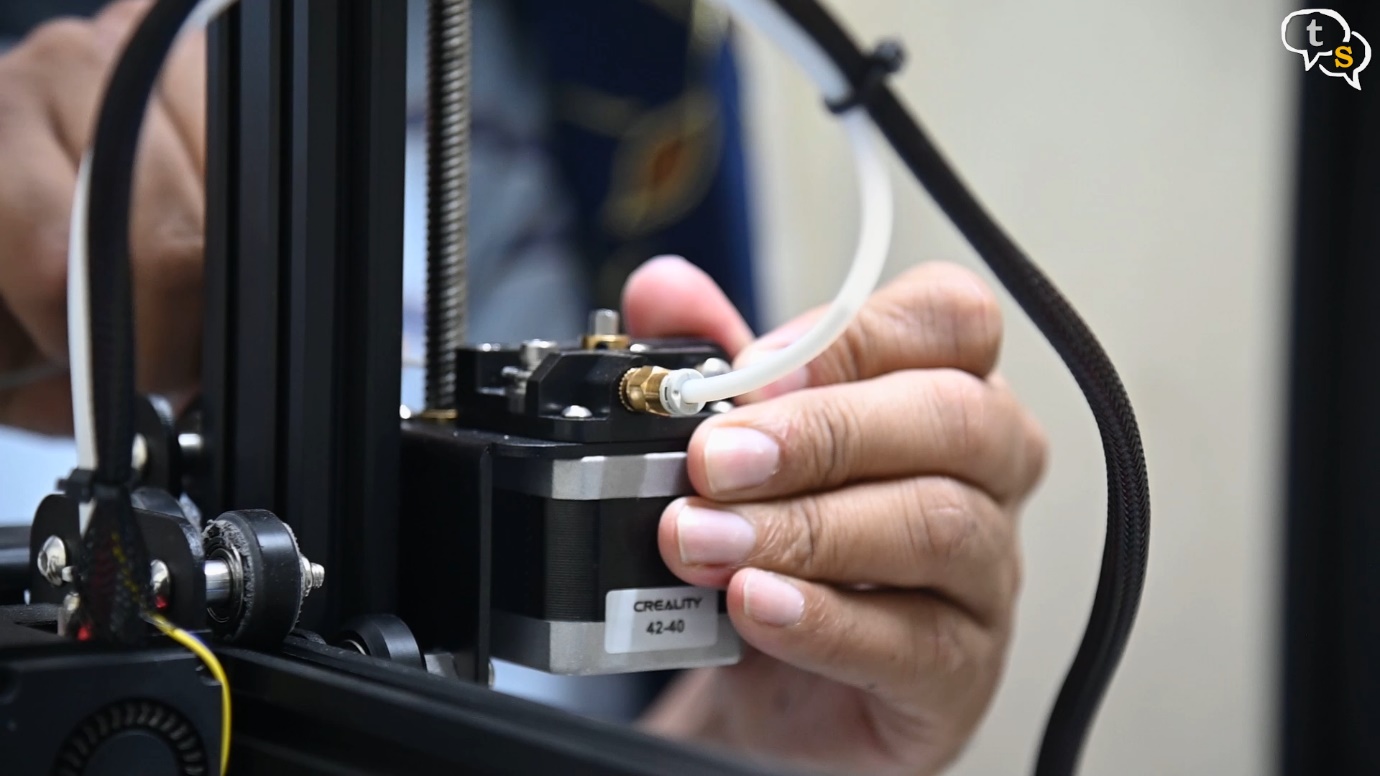
Once the set temperature has reached, we would squeeze the extruder lever, which generally holds the filament and gently pull the filament out.
The end of the filament has melted and that’s what allowed us to pull it out of the extruder as visible on the end.
Do Note, don’t try to pull the filament out of the extruder until the filament has heated properly, give it a few seconds, and once it reaches its optimum temperature it would just slide out. If you’re not careful you could damage the extruder nozzle.
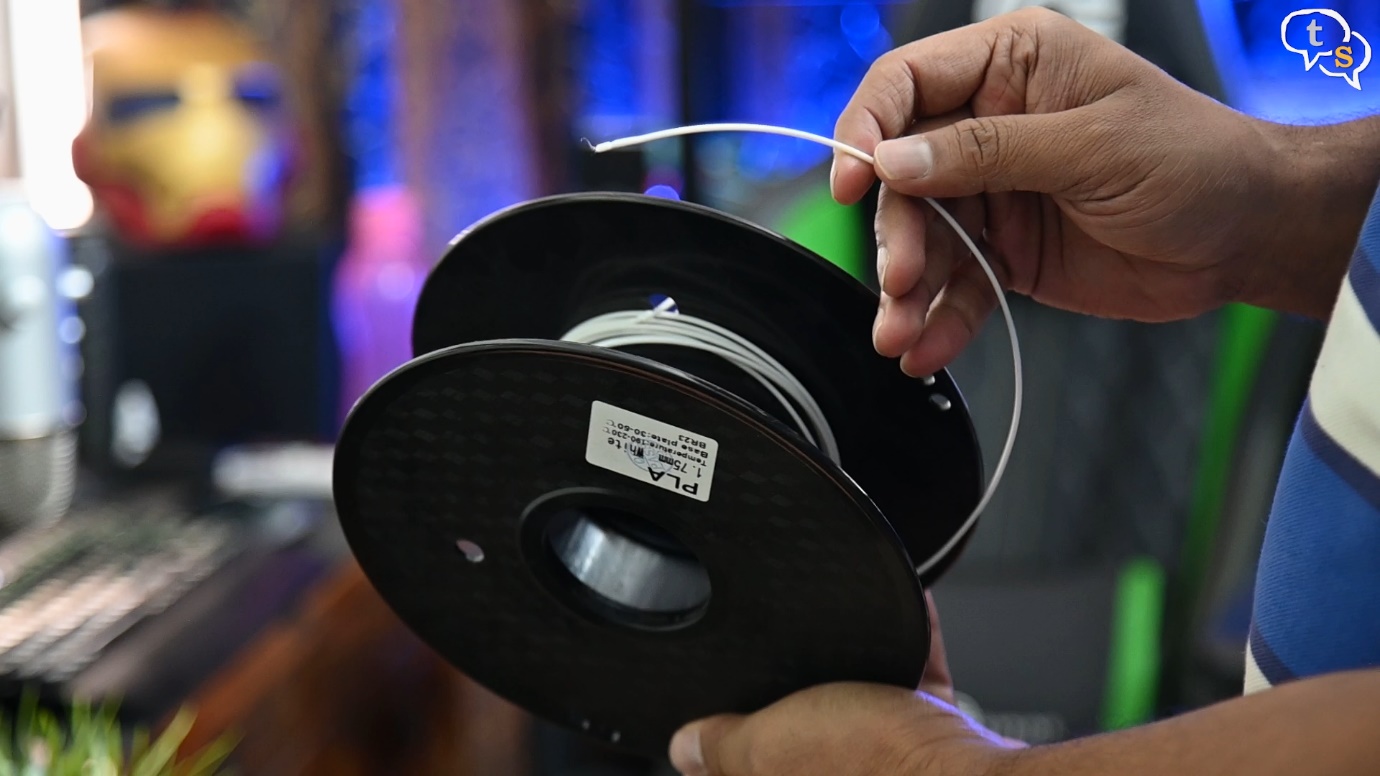
Lodge the filament end into one of the holes on the spool and it’s ready to store. This filament might come in handy for smaller prints.
Step 2: Replace filament
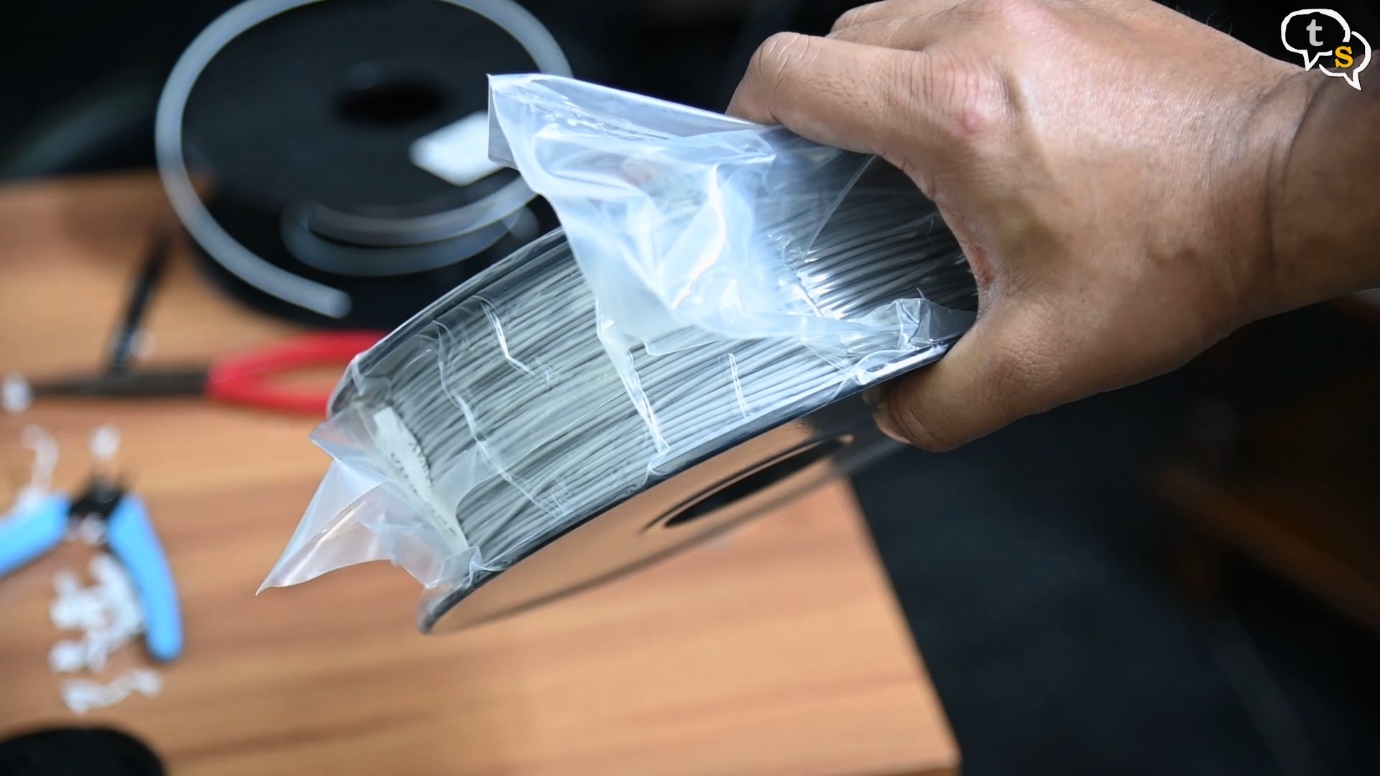
I’m replacing the current white filament with a Gray one. Filaments are generally vacuum packed to prevent getting damaged by water.
I’m using PLA with the printer, as they’re cheap and easy to work with, and do not produce toxic fumes as with ABS.
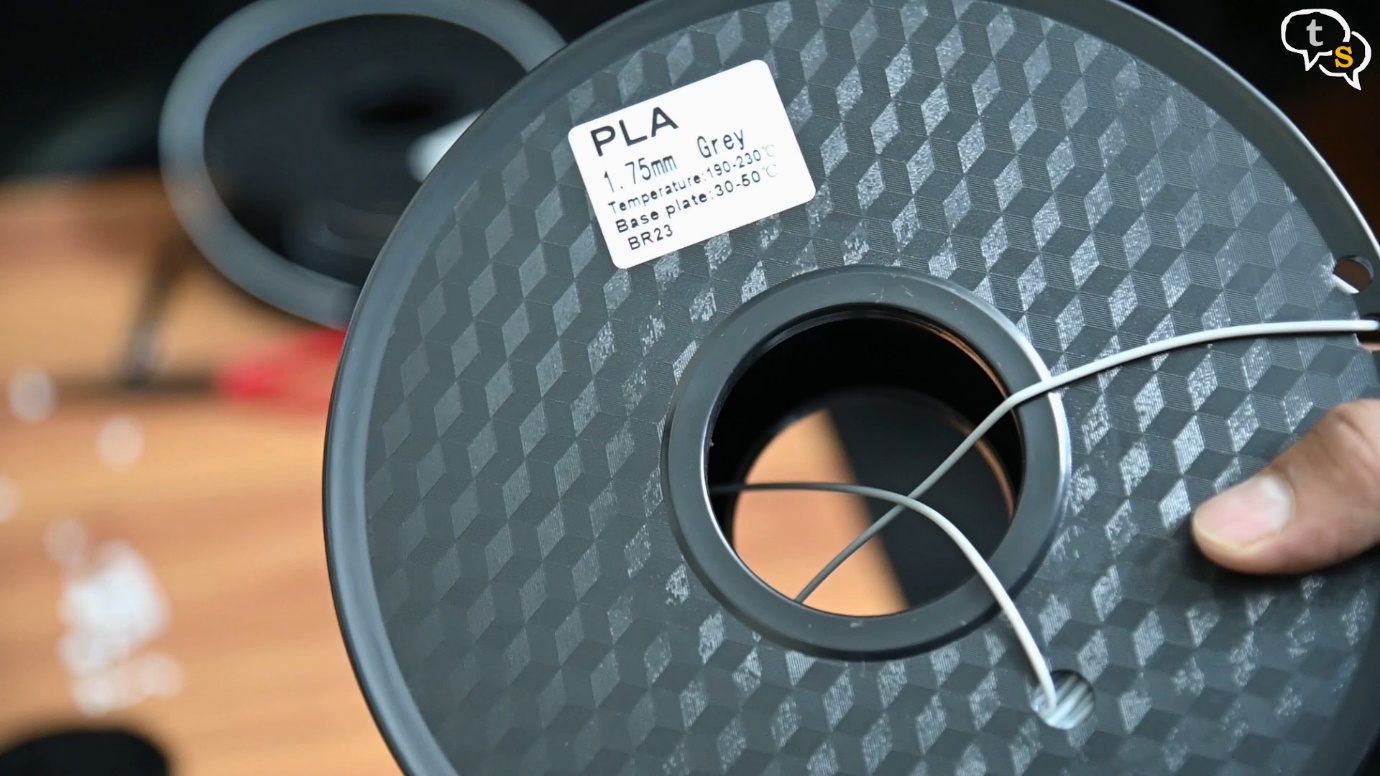
The temperature ranges are marked on the spool, it can work well between 190-230 degrees centigrade for the nozzle and 30-60 degrees on the bed for better adhesion.
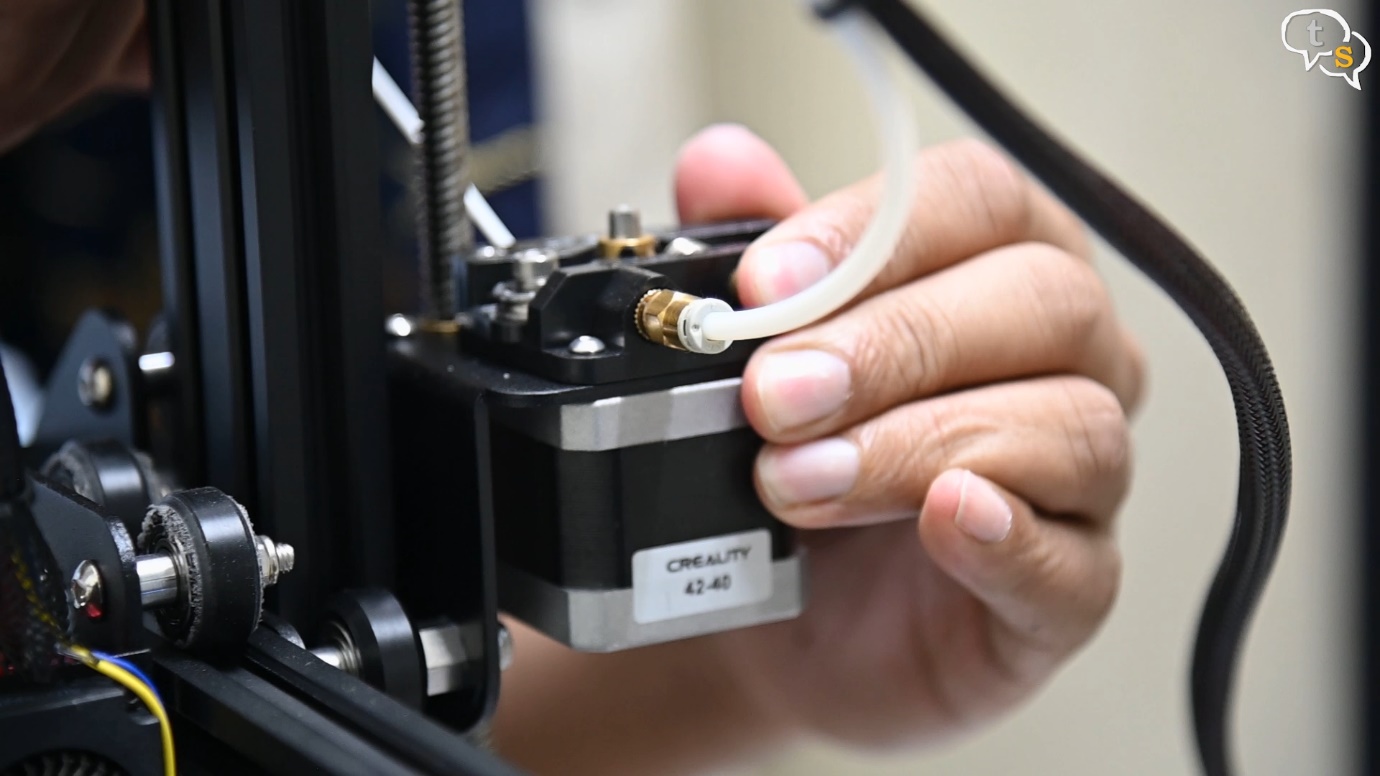
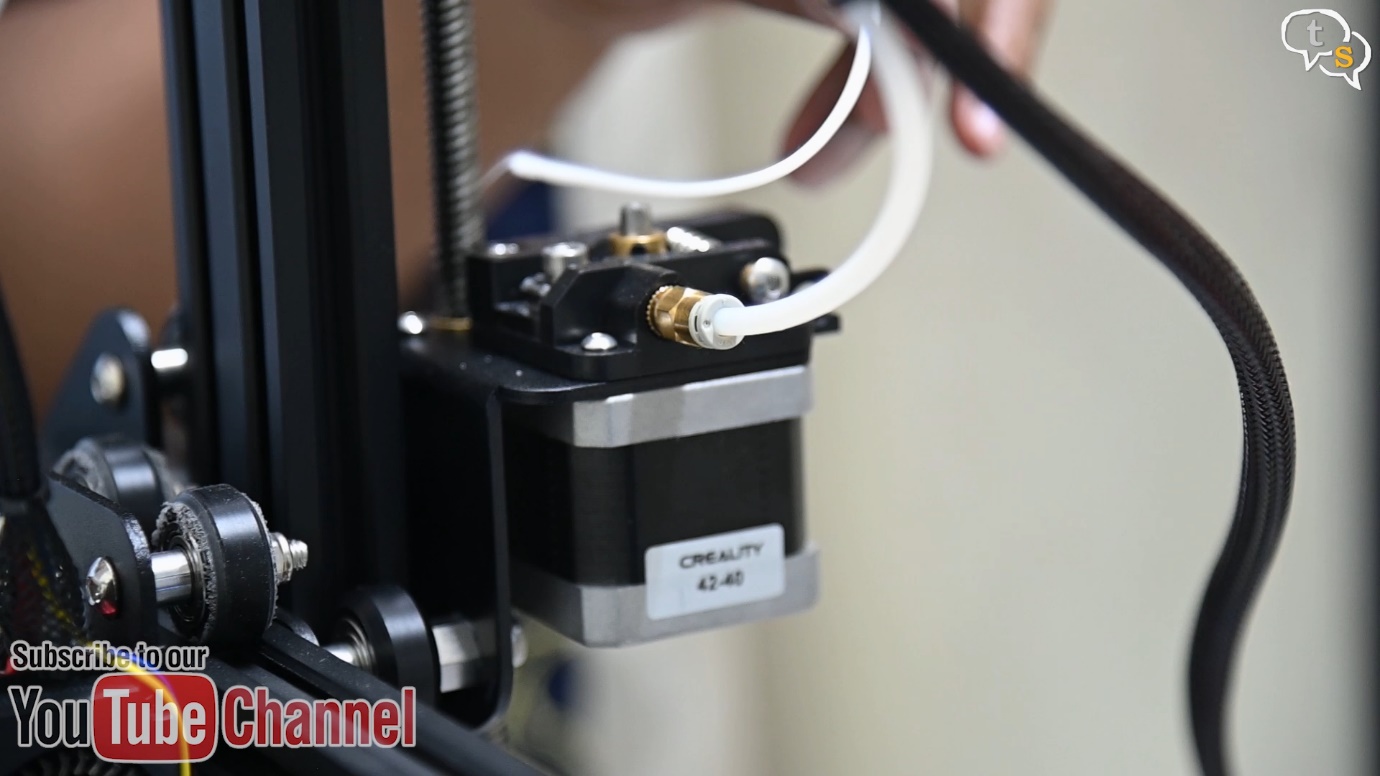
Now we need to feed the filament through to the extruder.
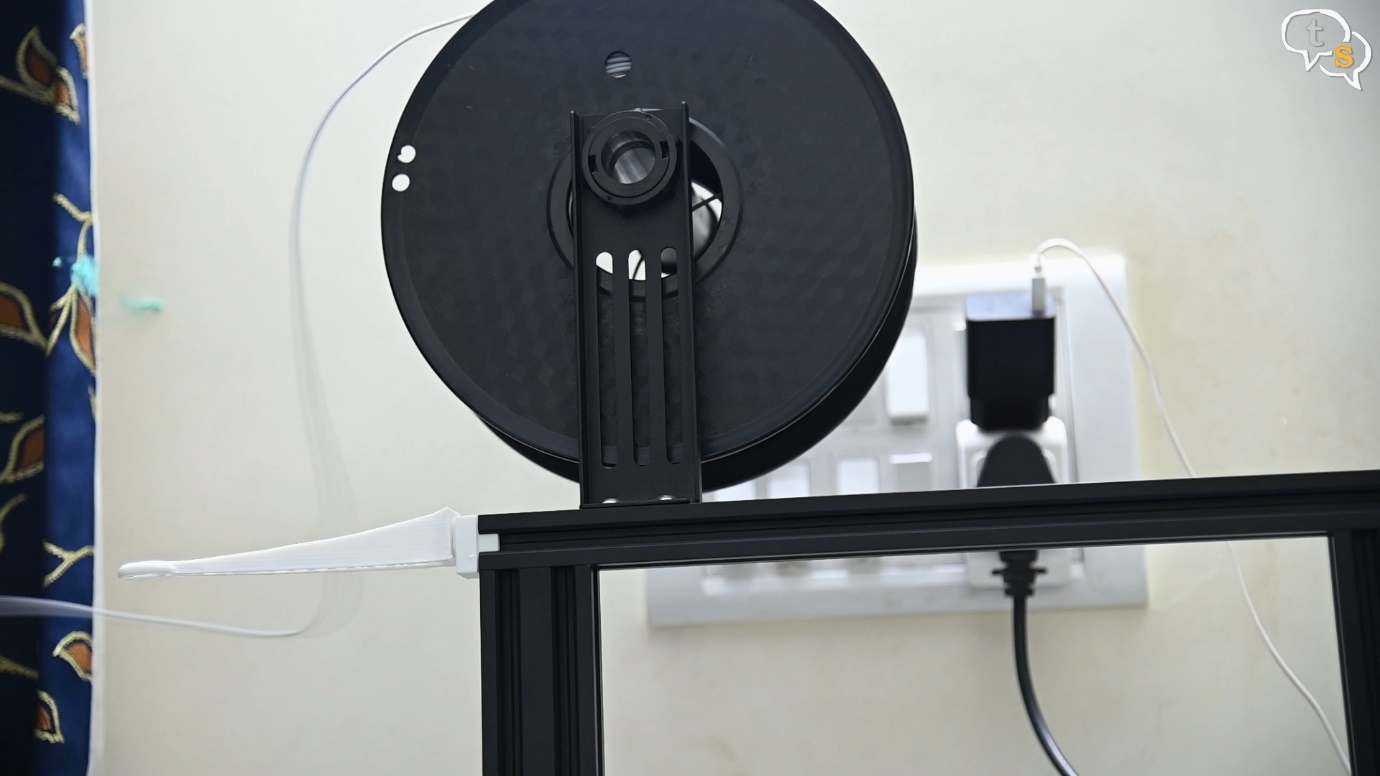
Mount the spool onto the spool holder.
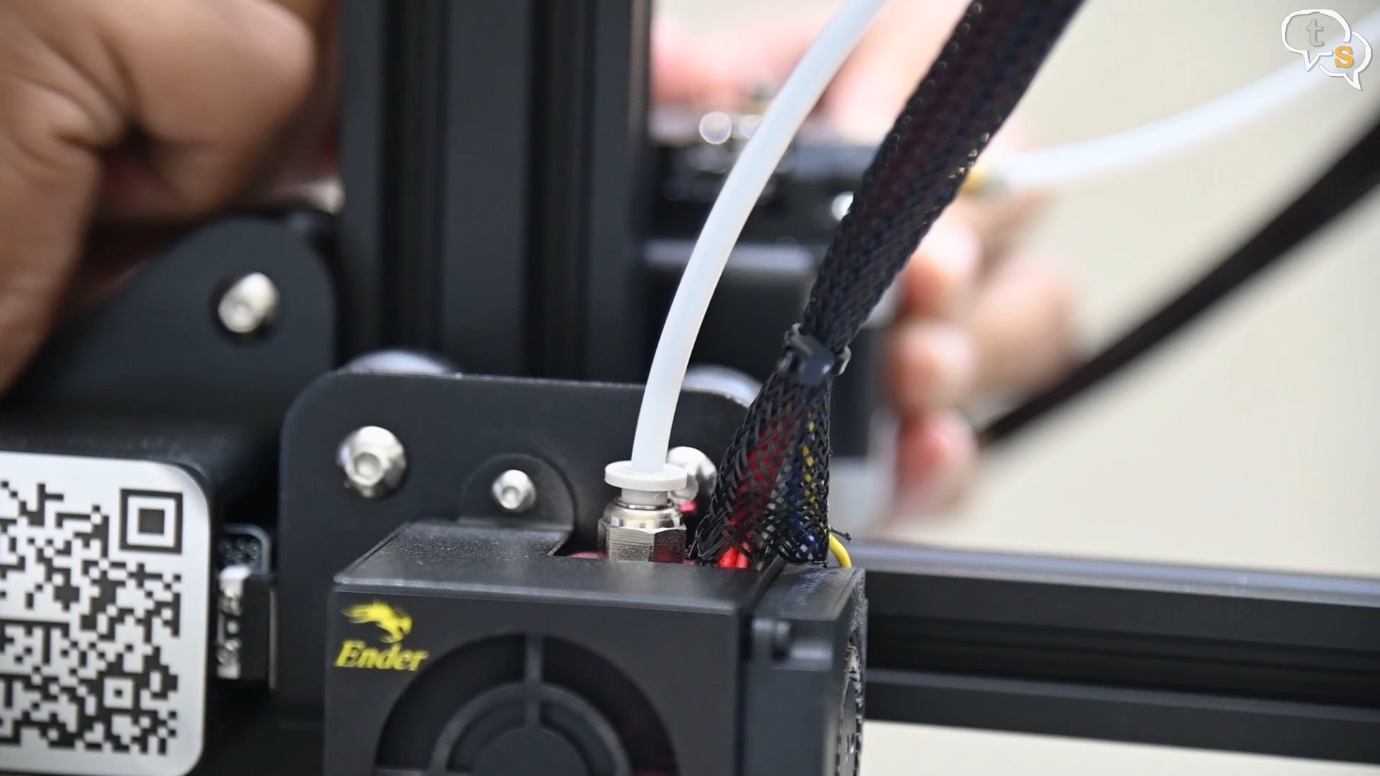
Hold down the extruder clip and pass the filament through, continue on through the Teflon Bowden tube all the way into the extruder until you feel some resistance.
Now the filament is close to the nozzle.
Step 3:
The filament is now at the nozzle, but it will not start printing with it as you would have remaining filament from earlier within.
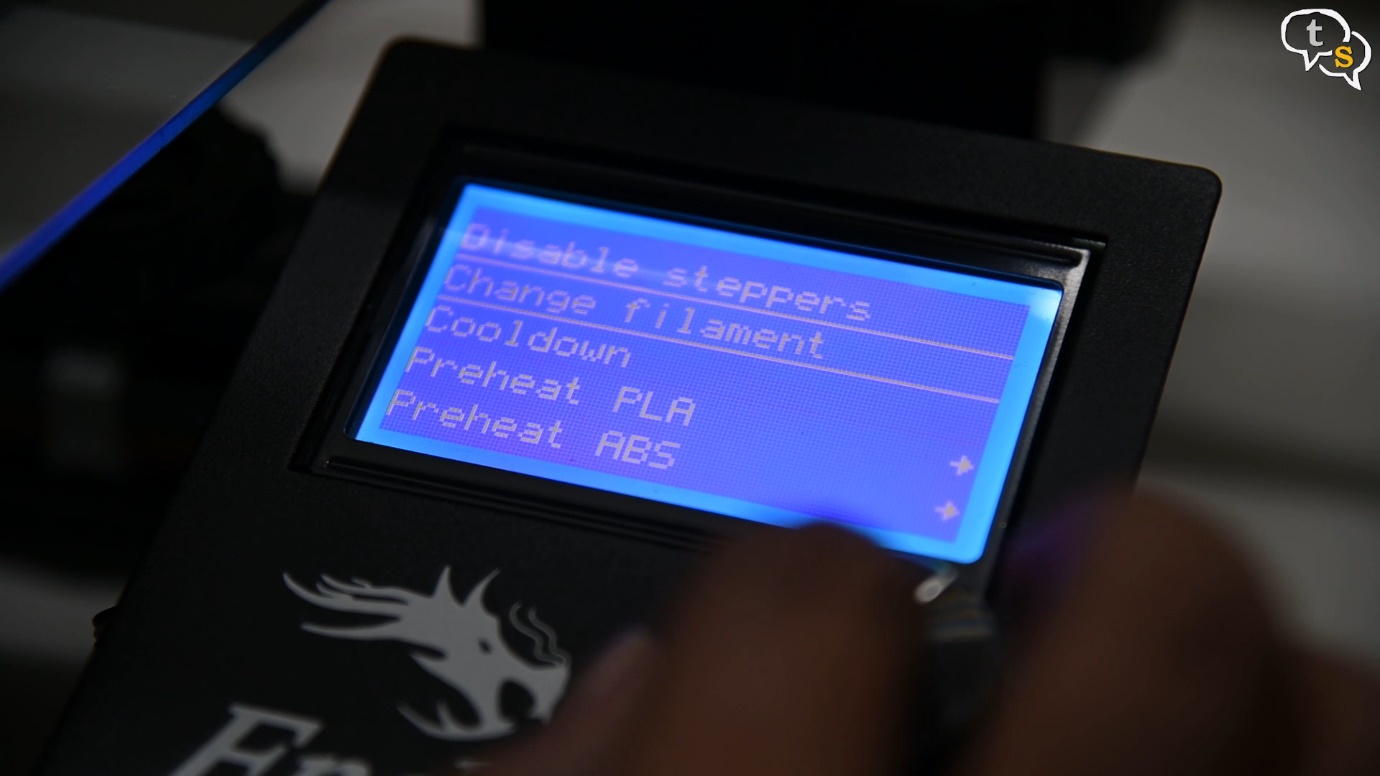
This old filament needs to be purged from the nozzle, and for this we have a handy option called “Change Filament” found under Prepare-> Change Filament
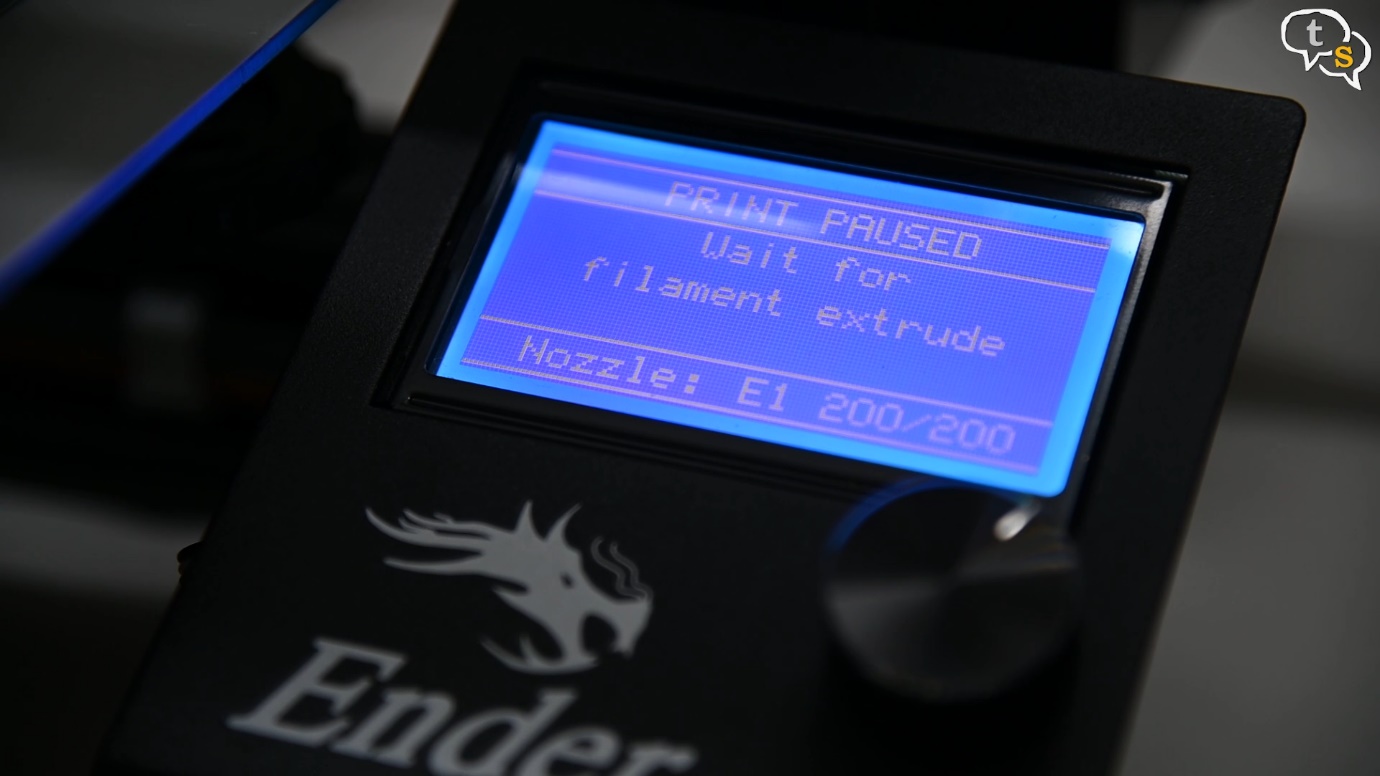
It would heat up the nozzle to 200 degrees and the existing filament is purged as the extruder starts feeding the new filament through the nozzle.
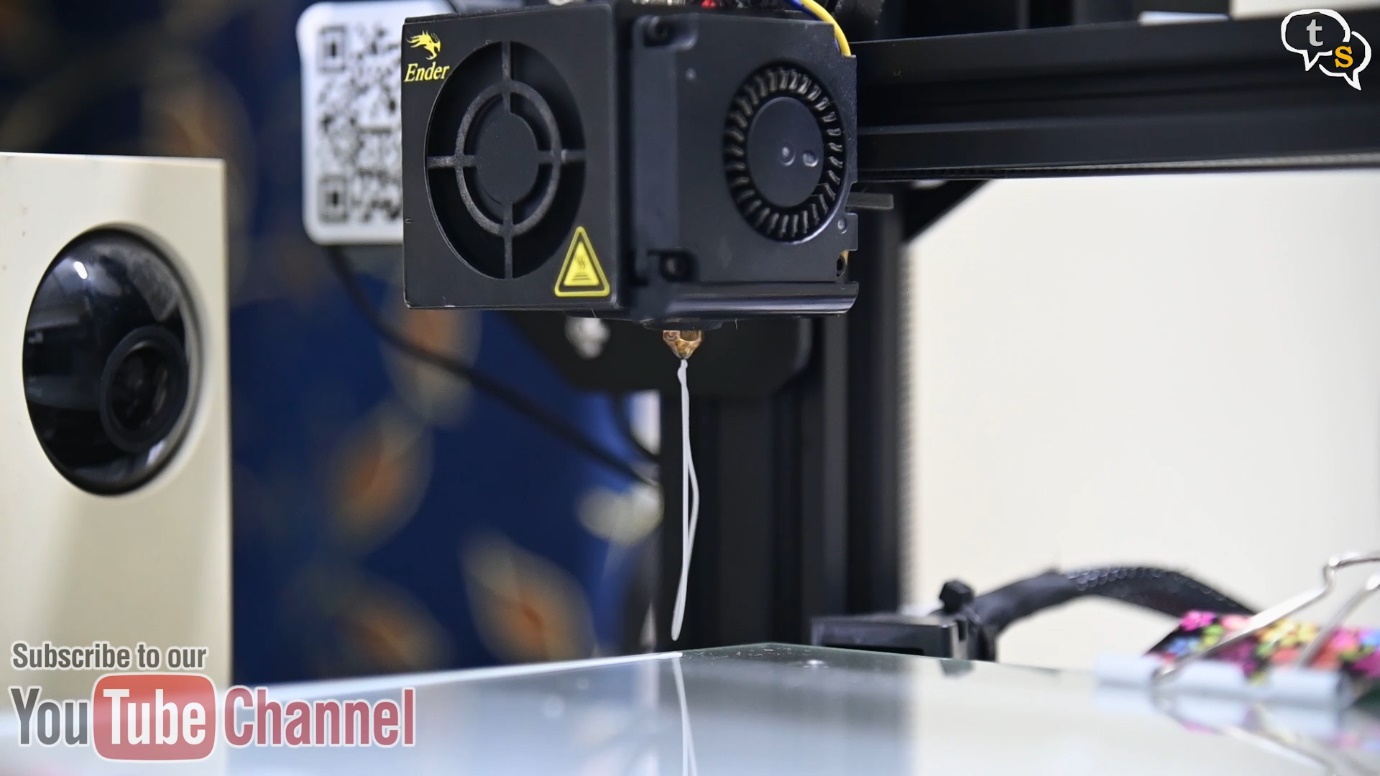
Keep an eye on the colour of the filament being purged, when it changes colour the new filament has taken its place. In my case it’s not very noticeable, as it’s white to Gray, but if you are switching between colours, it will be quite noticeable. Let it keep purging until all the old filament is replaced by the newer one. There’s quite a lot of the old filament within.
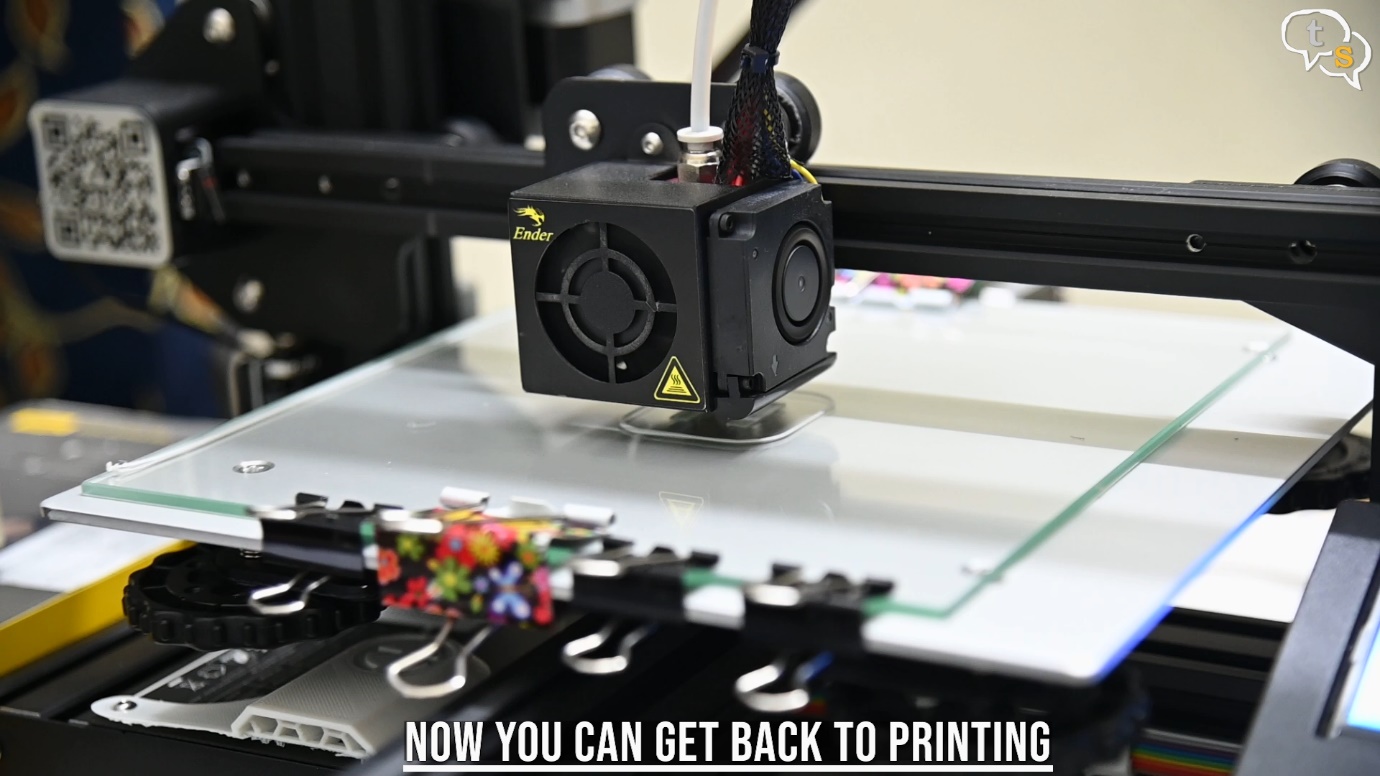
So those were the steps to change the filament on the Ender 3, it’s quite simple and I hope this video helped you understand how to do it.
If you have any questions, do write in to us at tech@talkingstuff.net or whatsapp us at 9652578833.
Make sure to like, subscribe and also click on the bell icon to be informed when new videos are added.
Thank You for watching and see you all next time.