Today I’m unboxing the Skyvik SIGNI 3 Clip on Lens kit, a kit which would augment the features on your phone camera.
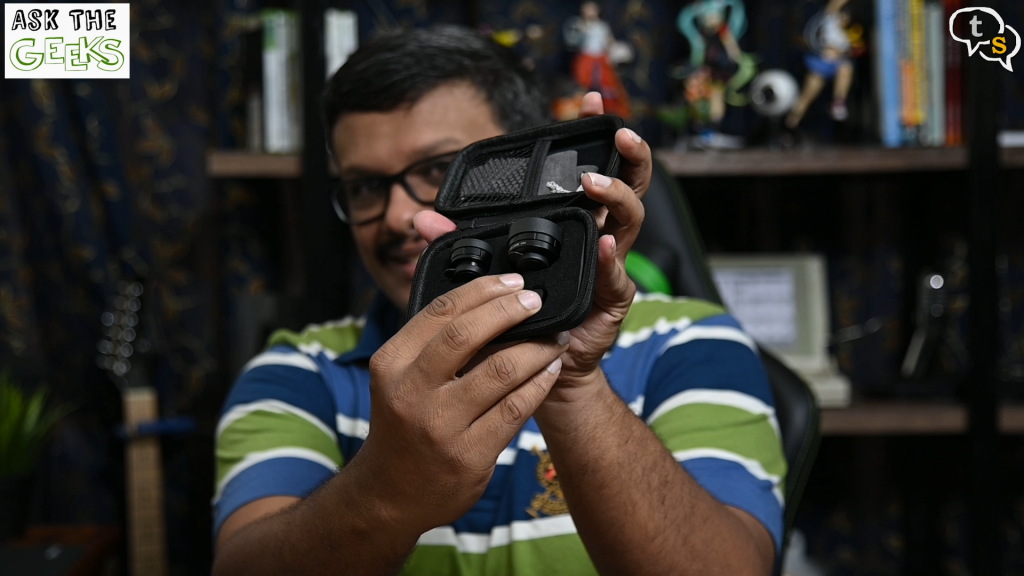
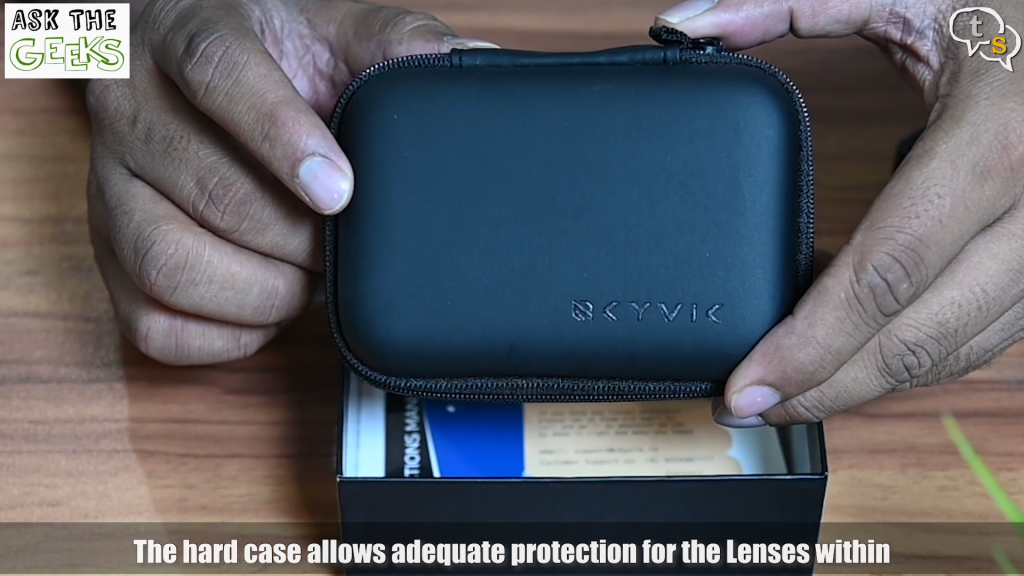
The lenses come in a premium hard carrying case, which provides adequate protection to the lenses and also facilitates carrying them around.
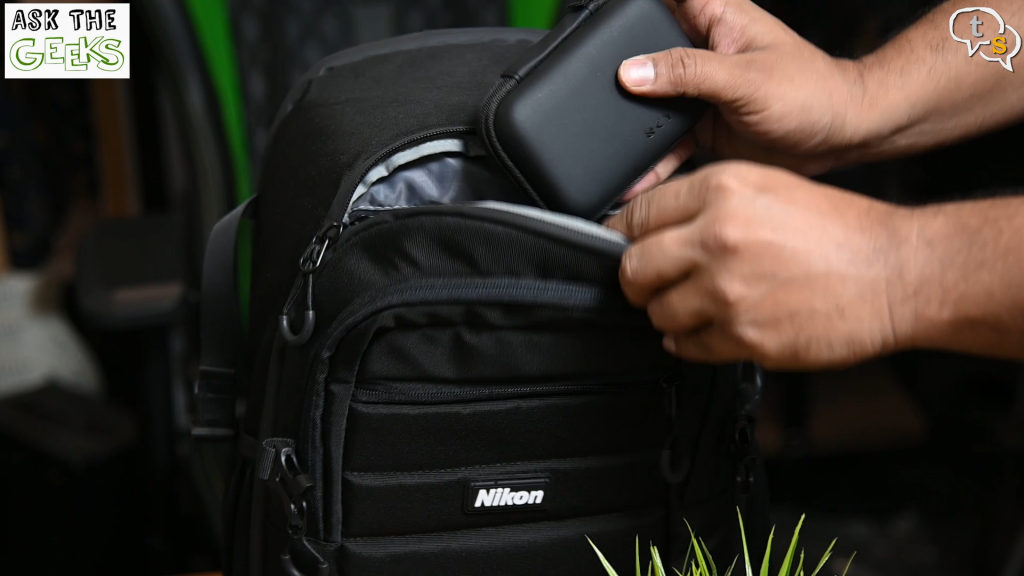
You can throw the lenses into a backpack or handbag without the worry of damaging them.
This kit comes with 3 lenses
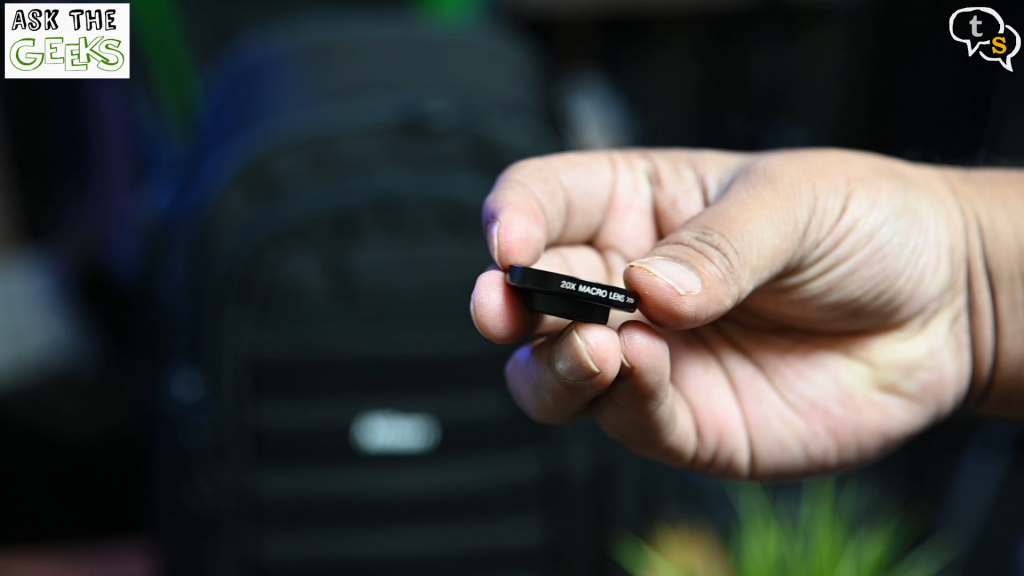
20x Macro Lens
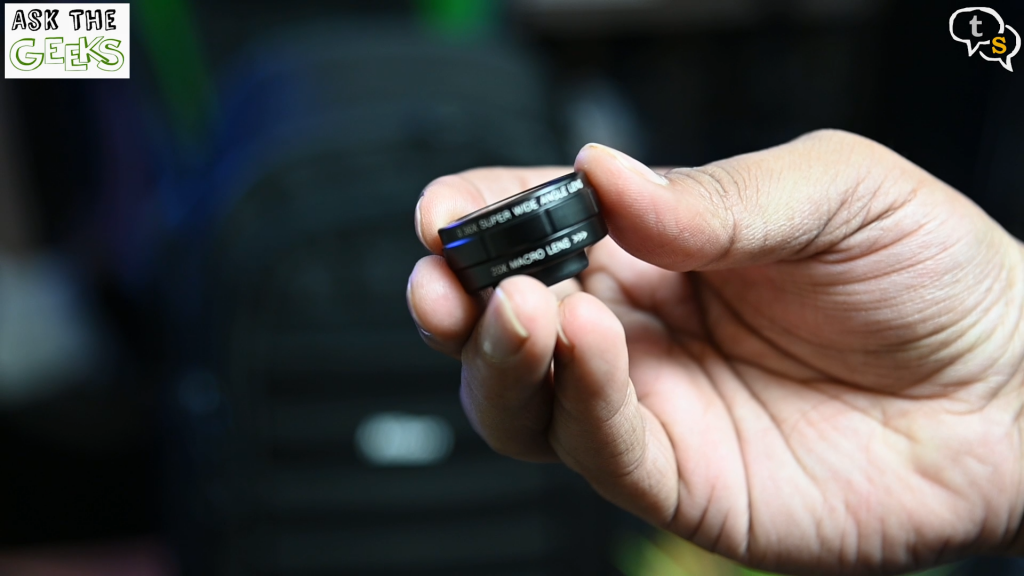
120 degree super wide angle lens
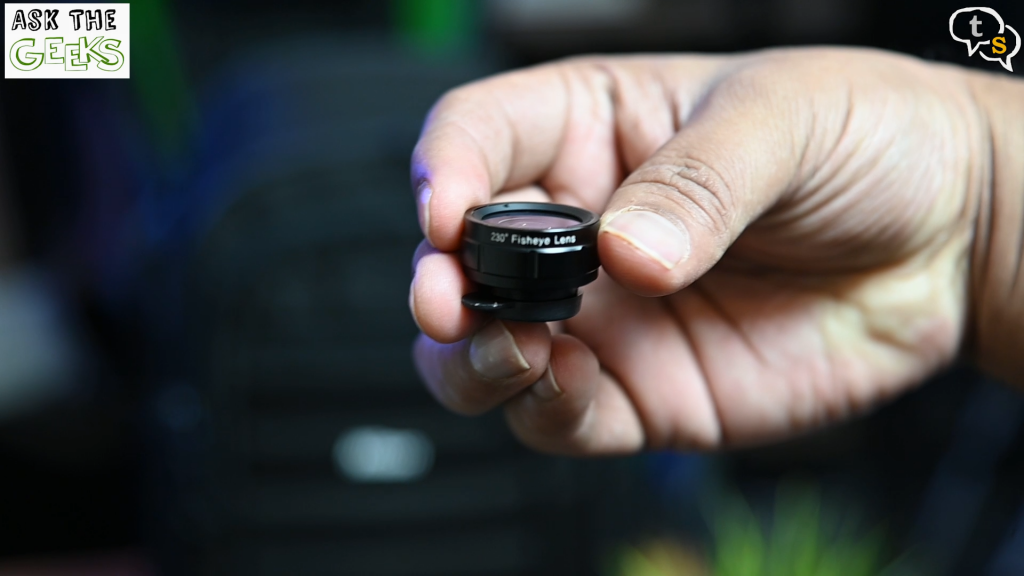
198 degree Fisheye lens
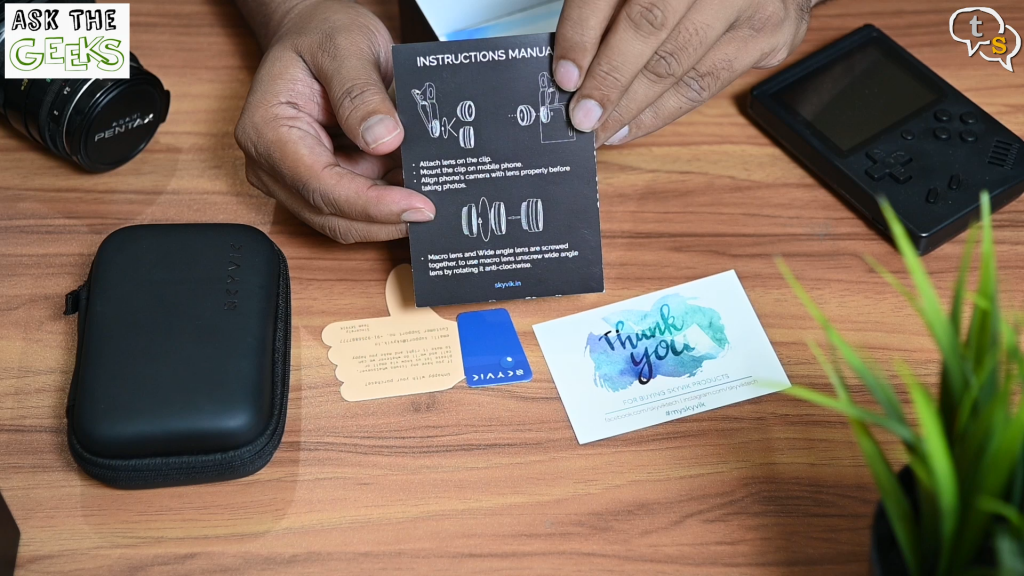
Also in the box are a feedback card, a thank you for purchasing the product card, and the instructions.
The instructions are just on one sheet, it’s quite straight forward but a little more explanation on the macro functionality would have helped. But that’s why we’re here, and I will show you how to use each of the lenses.
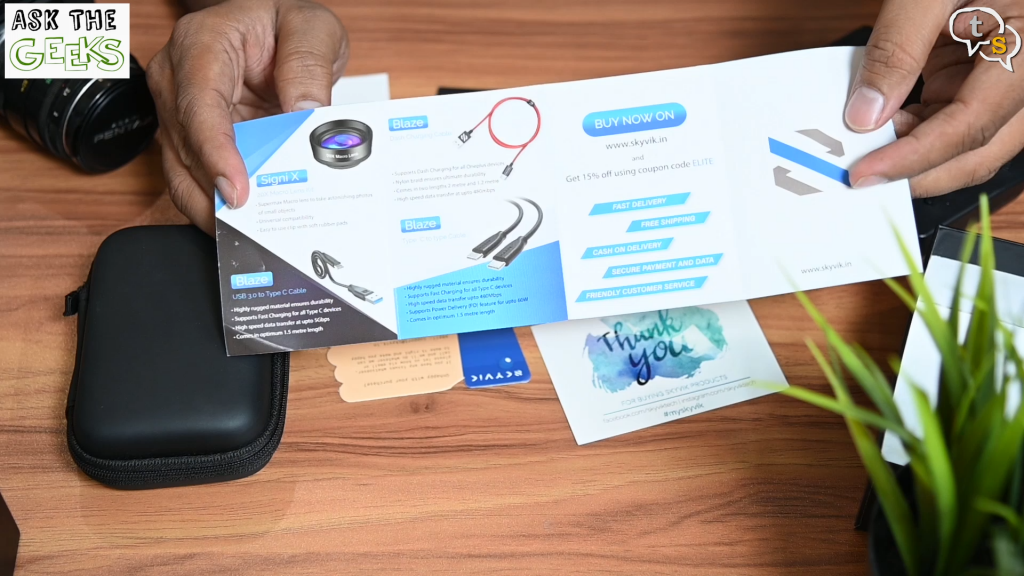
Skyvik has a number of other products, which are showcased in the included mini brochure.
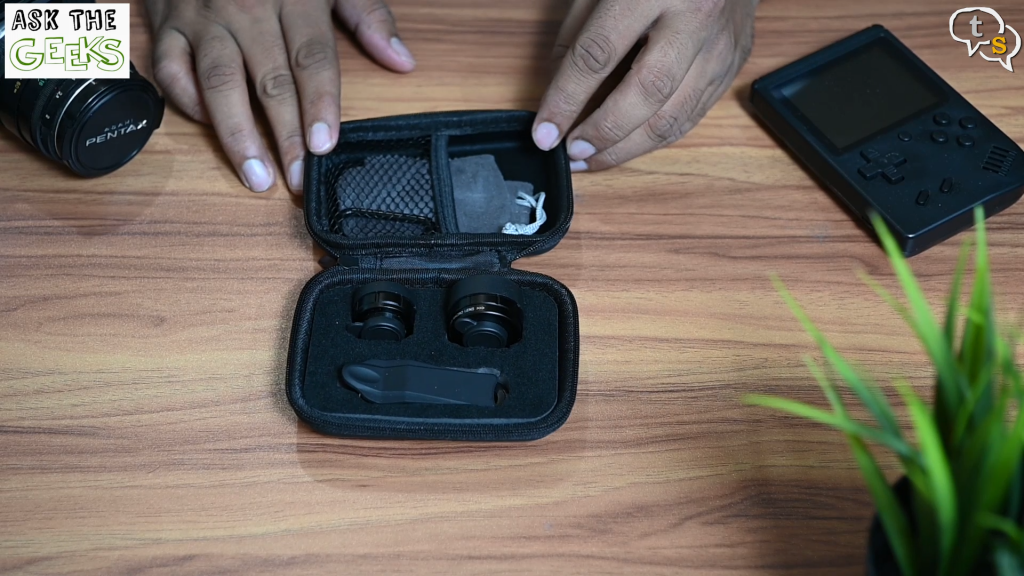
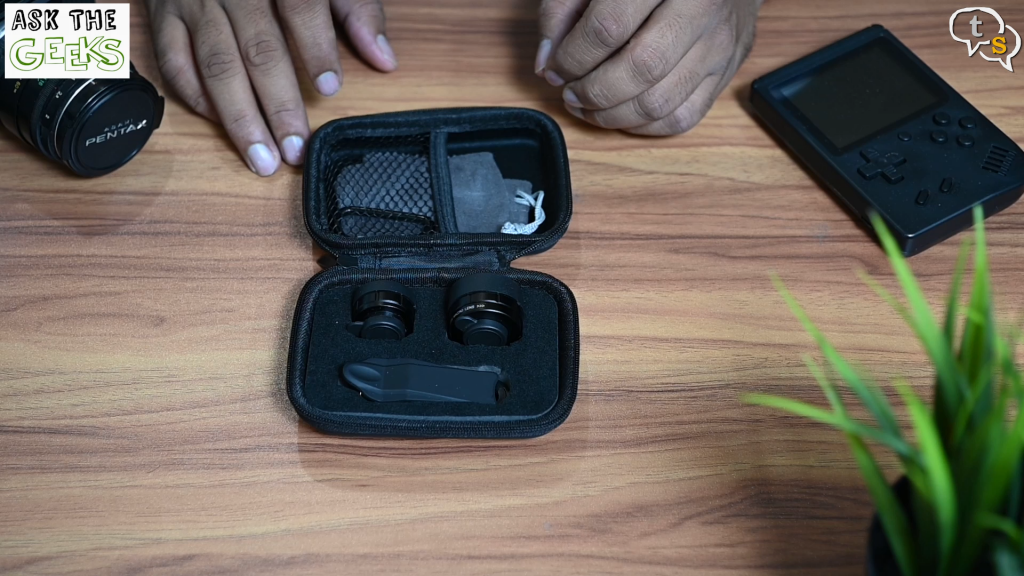
Now let’s get back to the lenses. Open up the hard case and here we find the entire kit with space for each lens and the clip, to keep them in one place.
The lenses are placed in their designated slots but weren’t there supposed to be three.
Yes, there are, one is the super fisheye lens, and the other one is the macro lens and super wide lens screwed together.
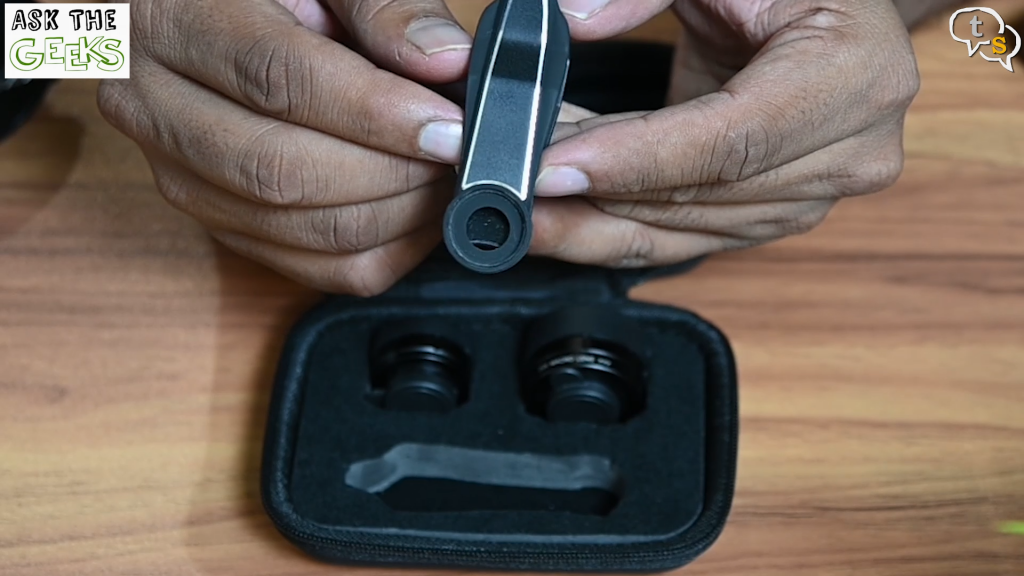
The included clip is used to mount the lenses, for use with your phone.
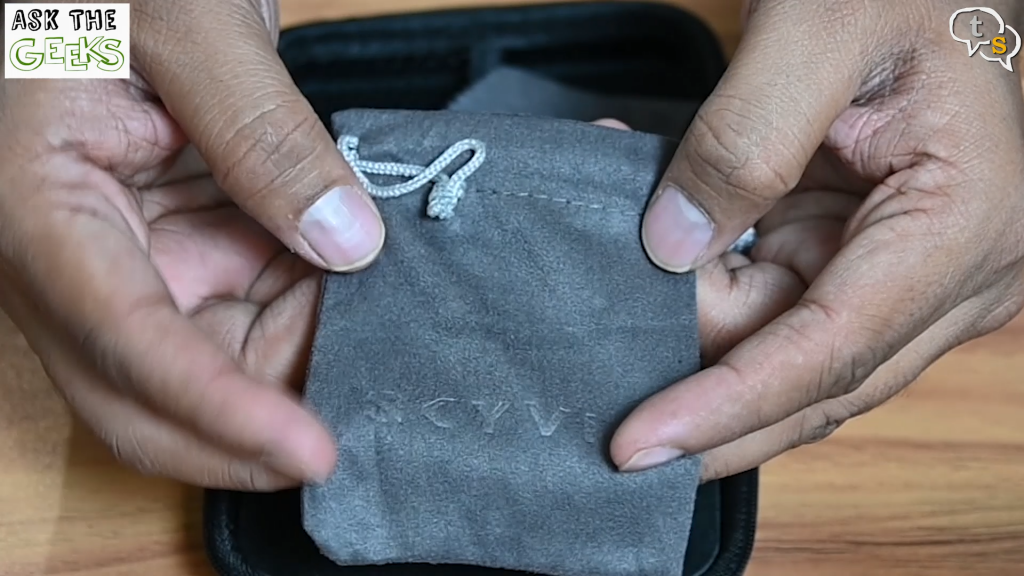
A suede pouch is also included if you don’t want to carry around the case, and to occupy a smaller footprint in your bag.
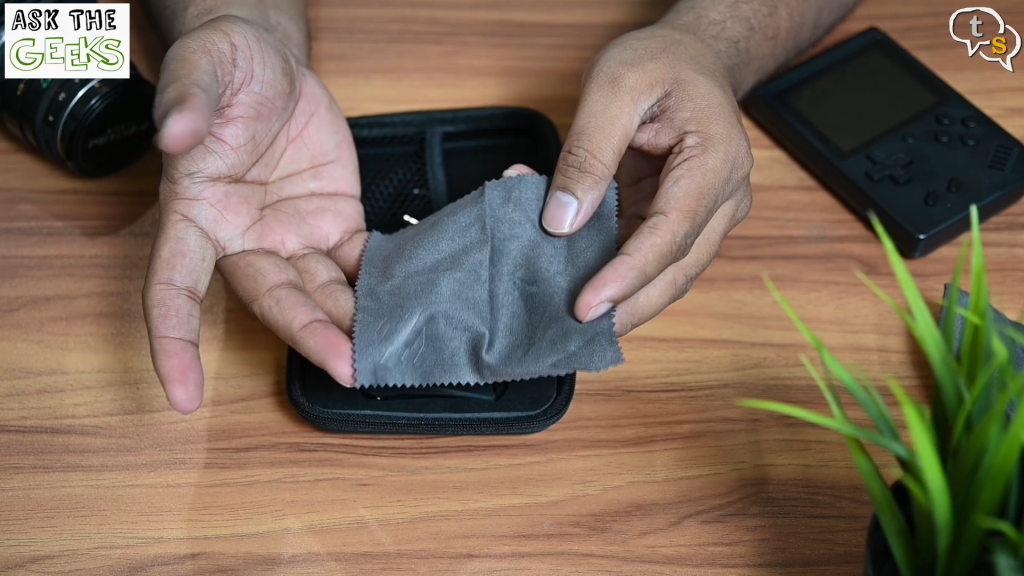
A microfibre cloth is included for cleaning purposes.
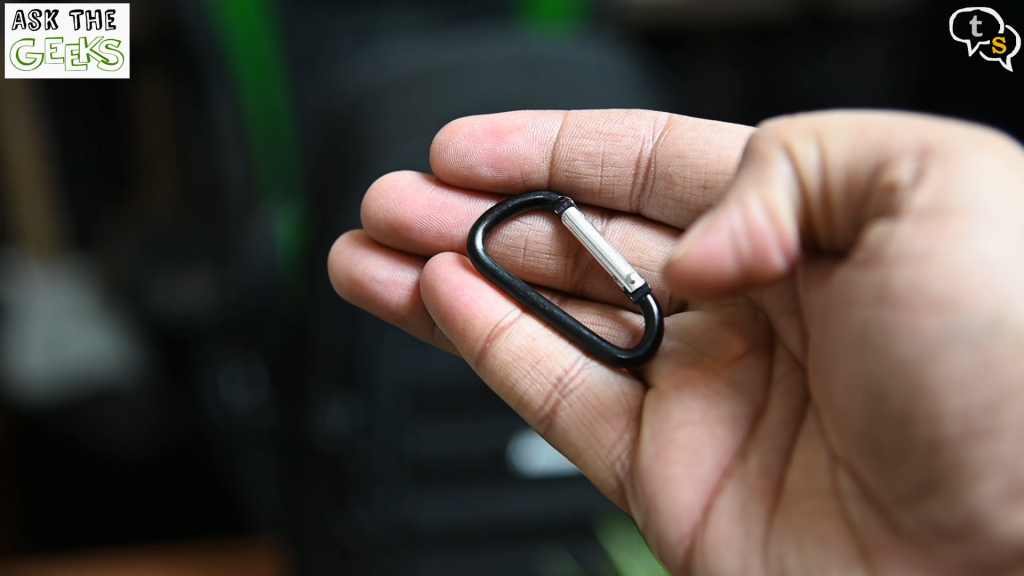
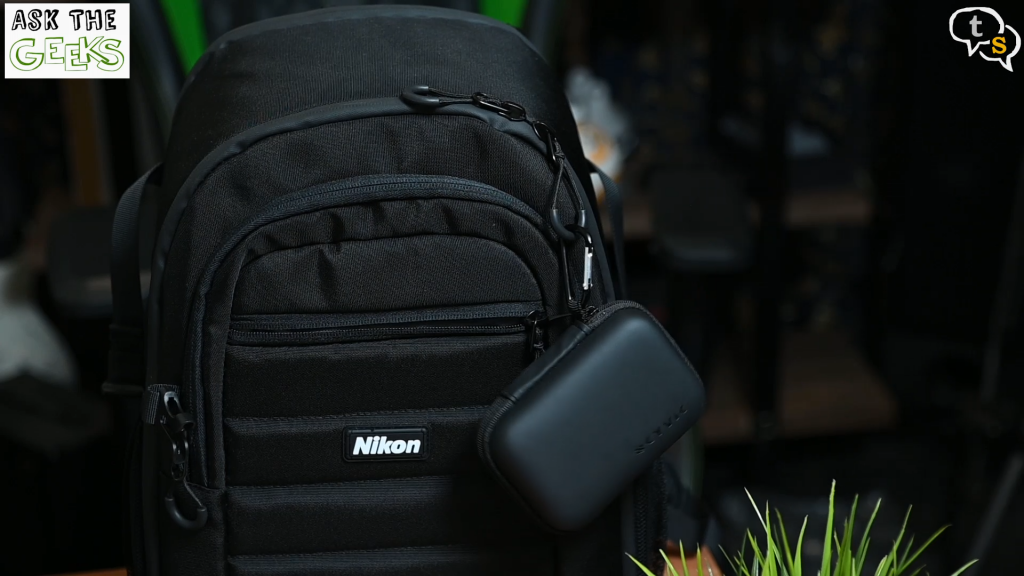
You also get a carabiner hook to hang your case inside your bag, or also outside.
Ok, now let’s get to the lenses.
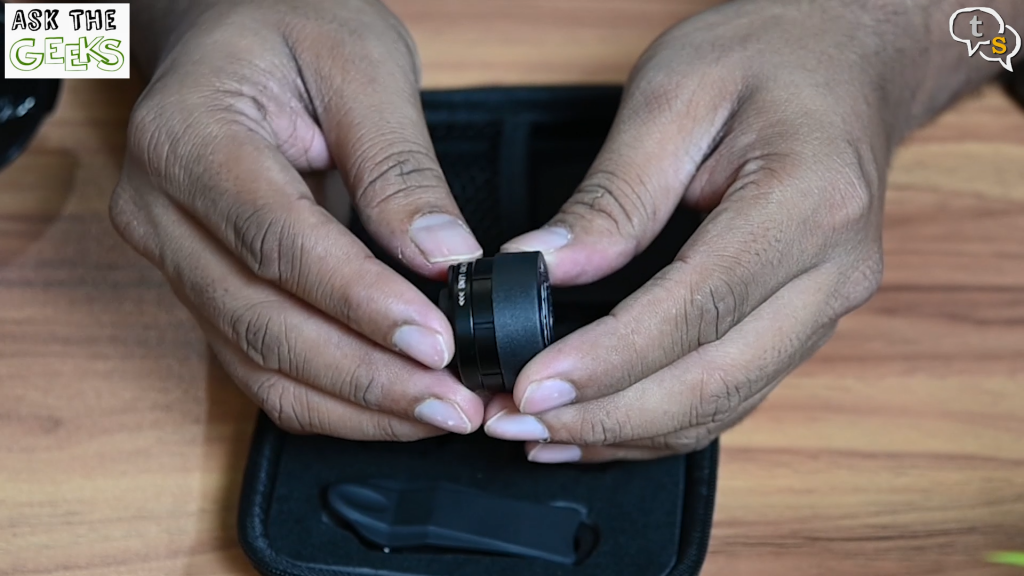
First, we take a look at the macro/ultra-wide lens set. In order to use the macro lens we need to unscrew the ultra-wide lens off it.
The ultra-wide lens comes off when unscrewed in the anticlockwise direction.
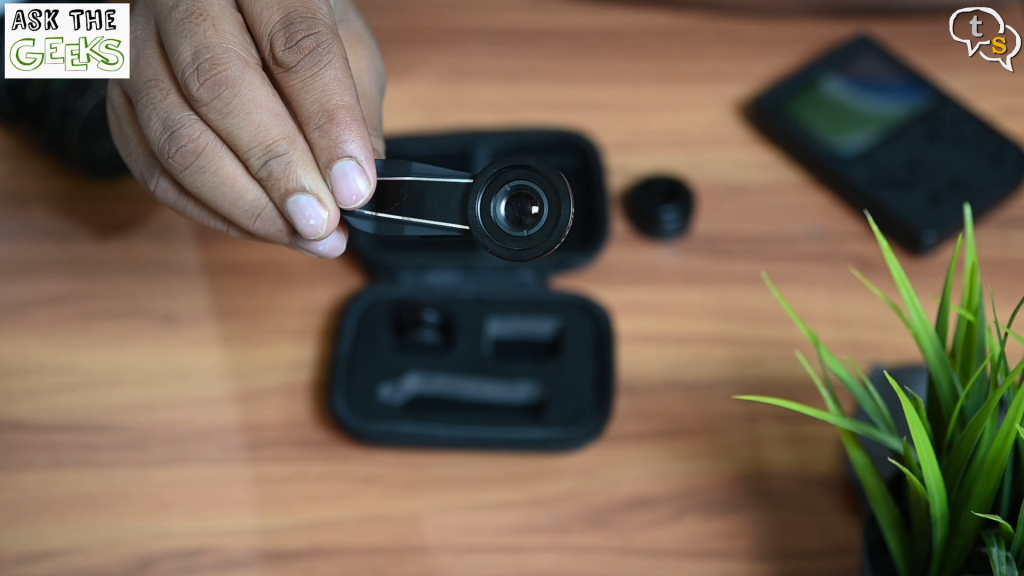
Now attach the lens to the clip by screwing it in.
First I’m testing the macro lens. Let’s test out a few shots with it.
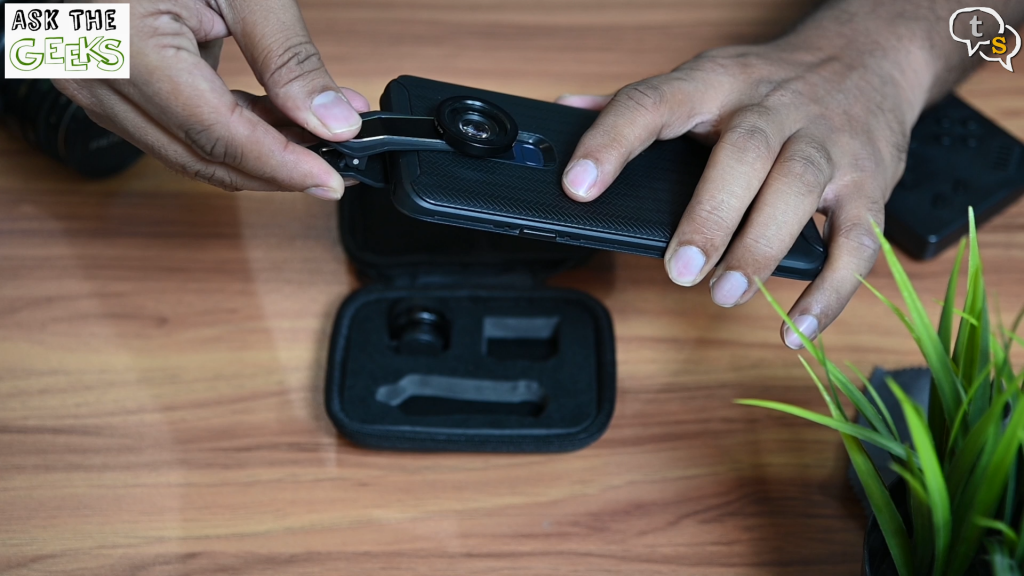
Attach the clip to your smartphone, making sure to place the lens over the existing cameras. If you have multiple cameras on your phone, do note that these lenses will work with only the primary camera. So, make sure to test before shooting.
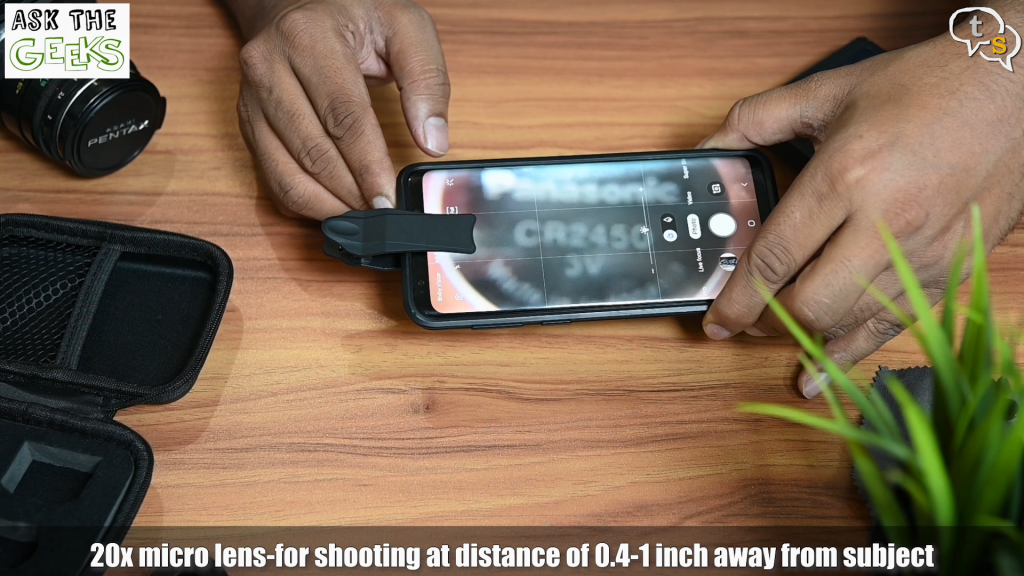
I noticed nothing is in focus on screen which was mostly my fault, as we need to go really close to the object being shot.
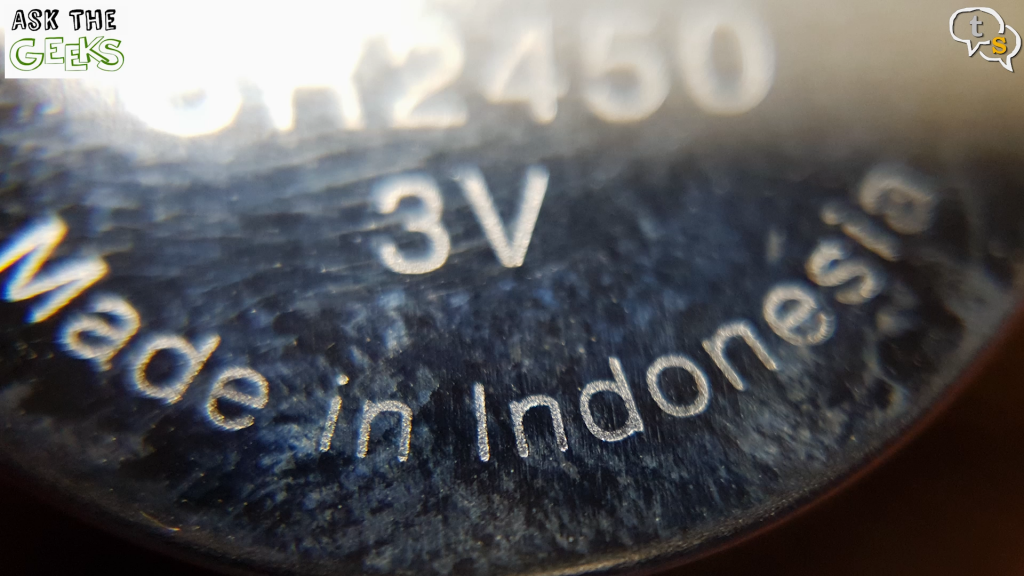
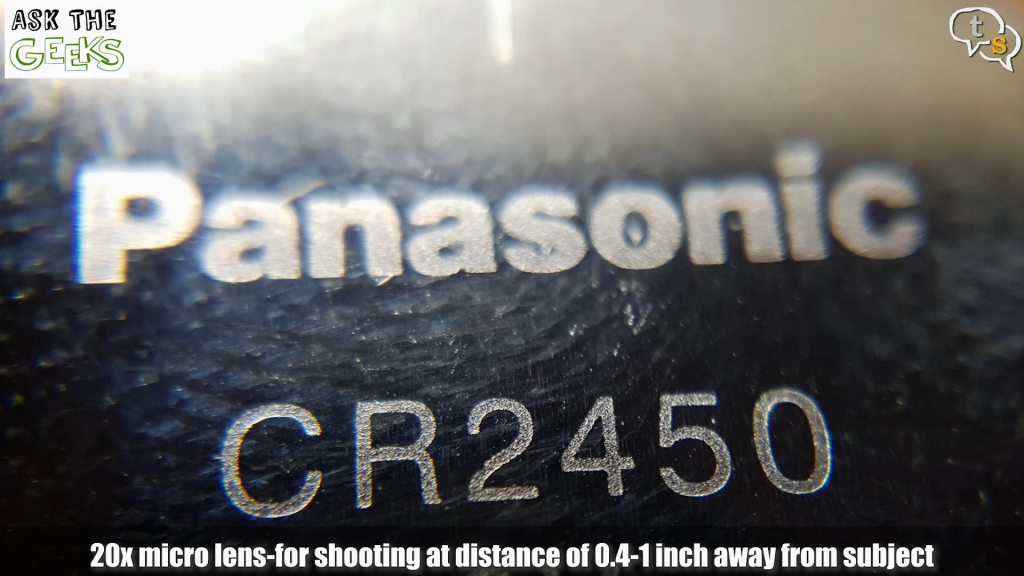
This looks really cool, just look at the details with the phone so close, regularly the phone would never focus when so close.
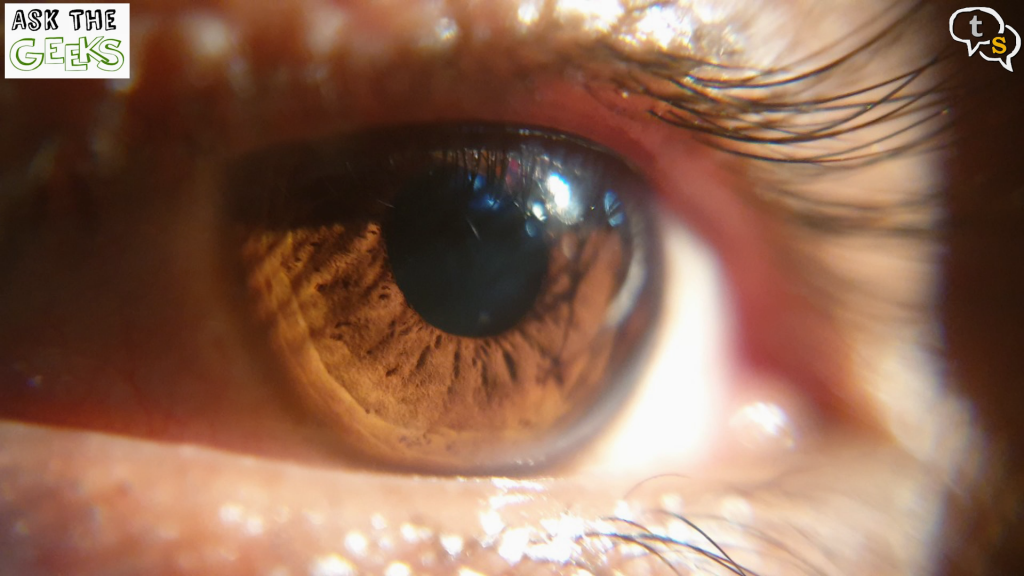

Here are some more shots taken outside, I always love macro shots, it just opens up another world. We can also take video using these lenses. Here’s how it looks through the lens and here’s how the original camera captured the same.
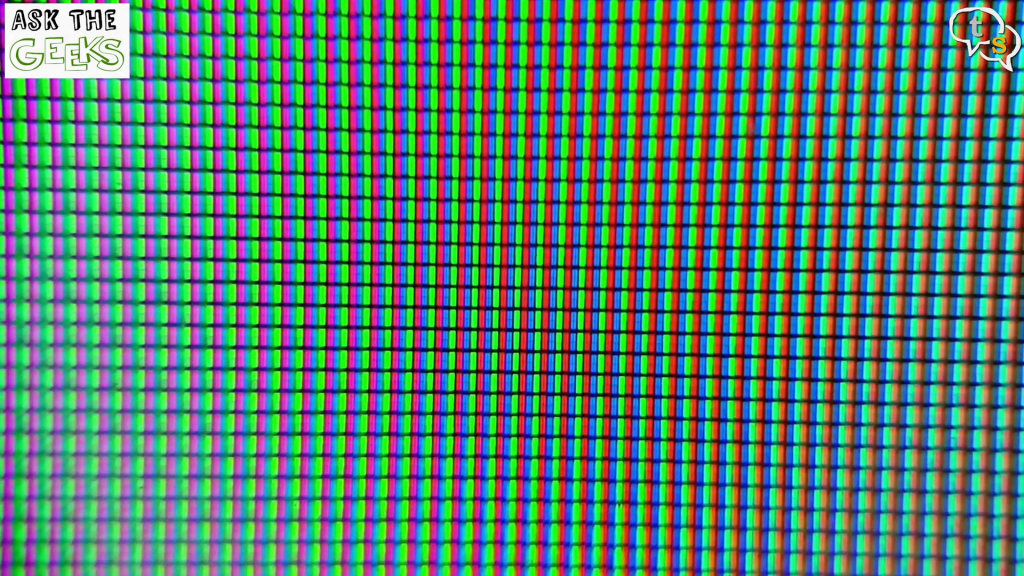
I took a macro shot of the TV and you can see the individual RGB pixels which are used to create the image on screen. Just Wow.
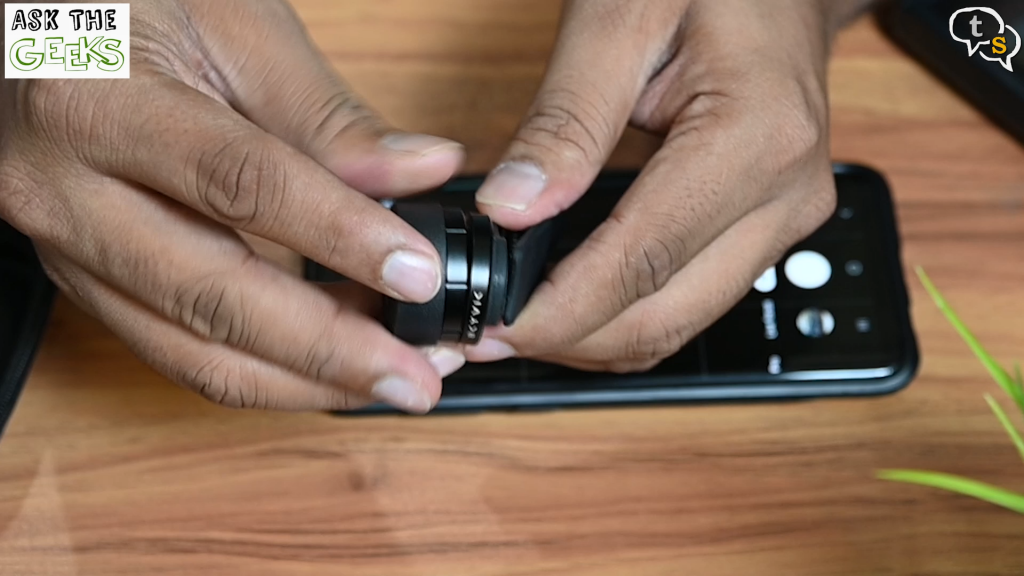
Let’s now try out the ultra-wide lens, this lens needs to be screwed onto the macro lens.
Same as before, unscrew the existing lens and then screw this in.
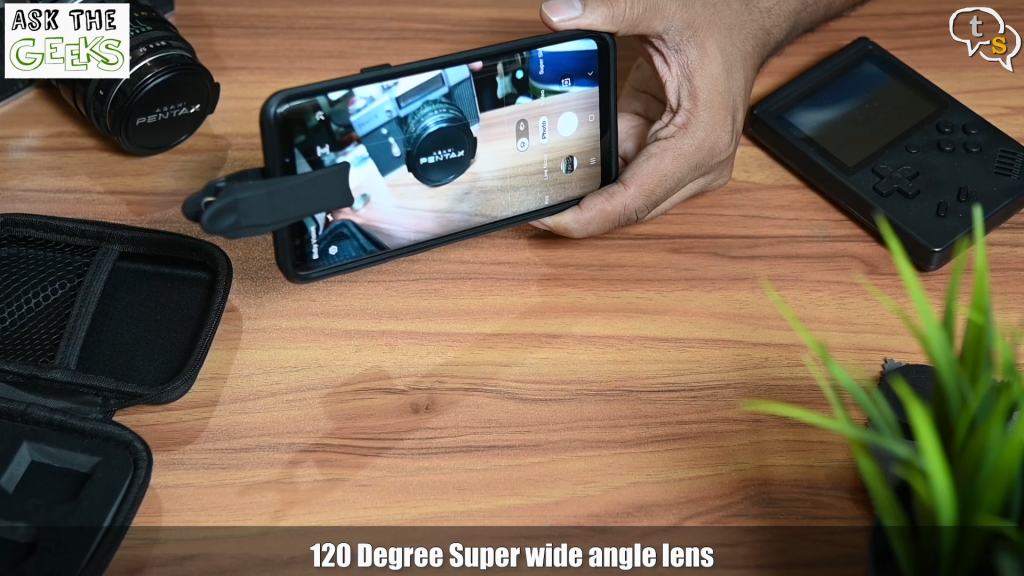
The shot is quite wide, here are some samples of what’s possible using this lens.


Here’s with the lens, and here’s the same without.
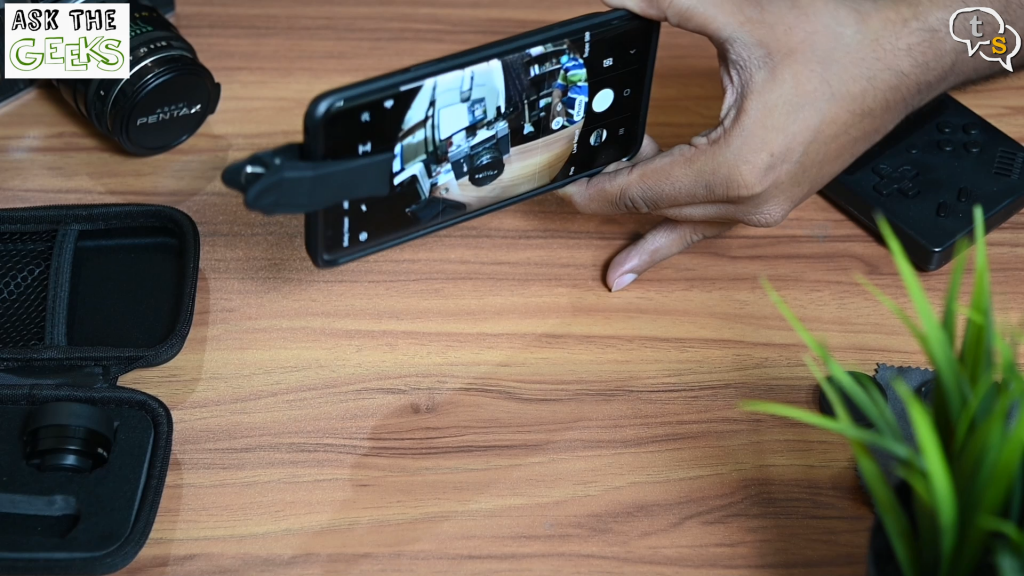
Now for the fish-eye lens, there is a noticeable distortion with a spherical field of view. But you have so much in view, let me remove the lens and show you what the original camera can capture and what we get via the fish-eye lens.
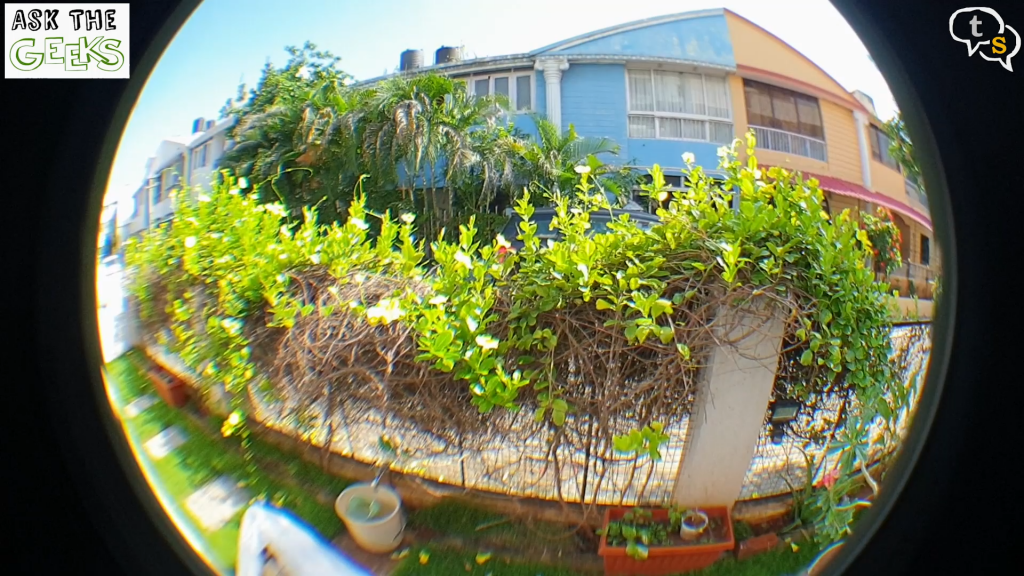
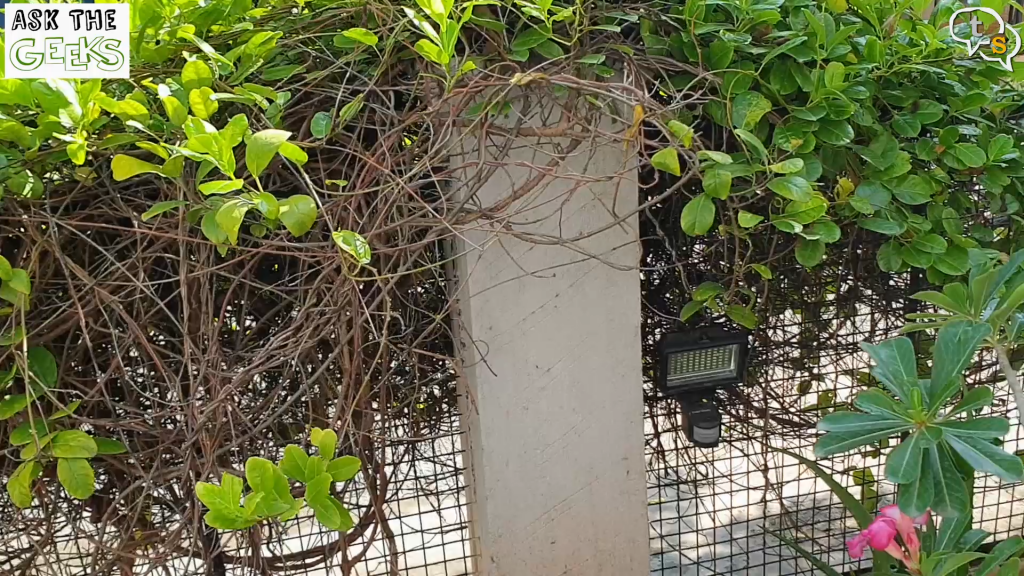
Will these lenses make you into a better photographer? Yes and no, the hardware is available which will allow you to take videos like these, but the skills need to be learnt so use the hardware in the right way to get optimum quality.
If you’re into mobile photography, I would totally recommend the Skyvik Signi 3in1 lens.

