

If you had seen my earlier video, I had purchased a 64 GB version of the SteamDeck which is
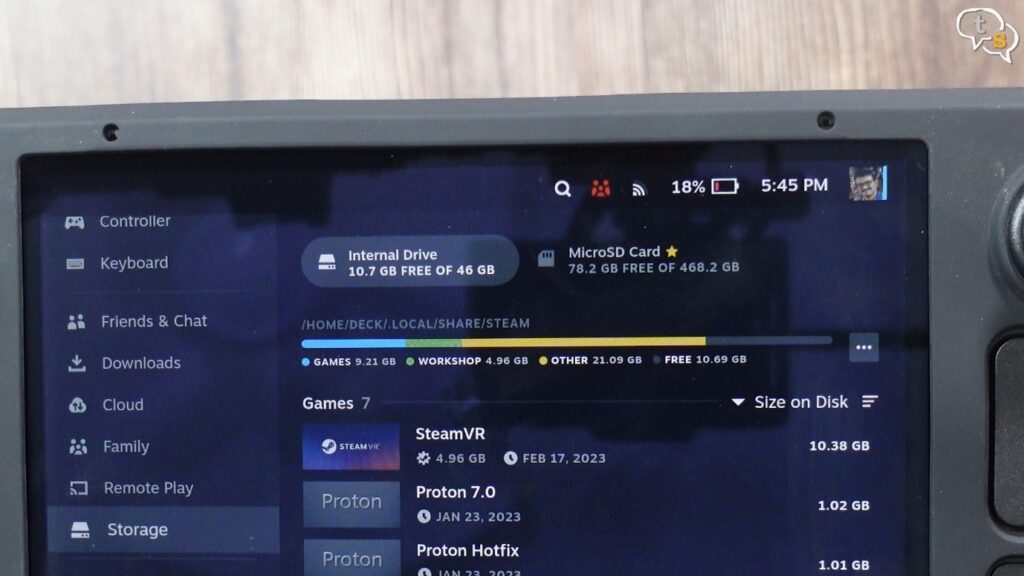
the base model. I was running my games off of 512gb micro-SD card, but I still wanted more capacity on my internal drive.
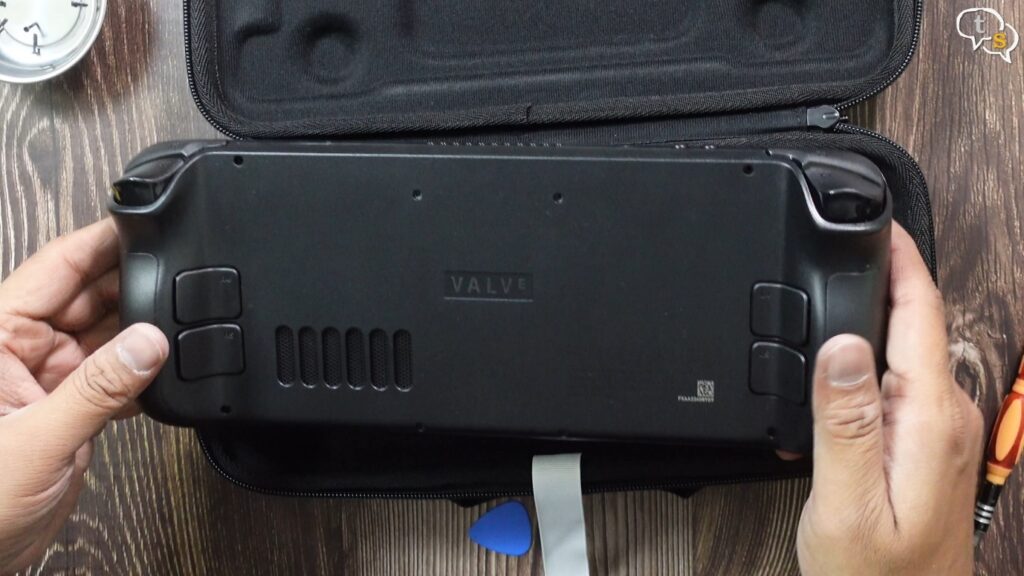
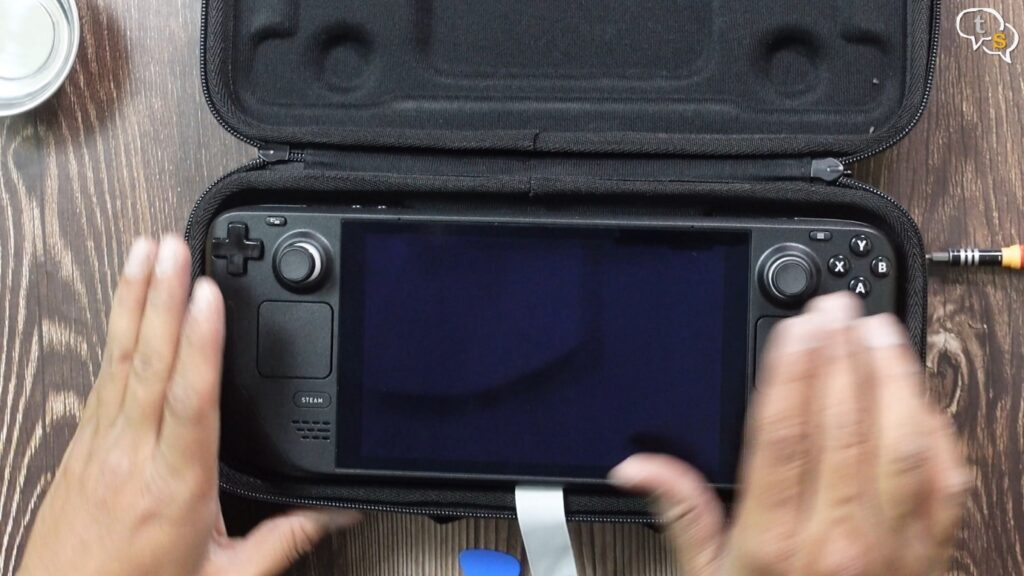
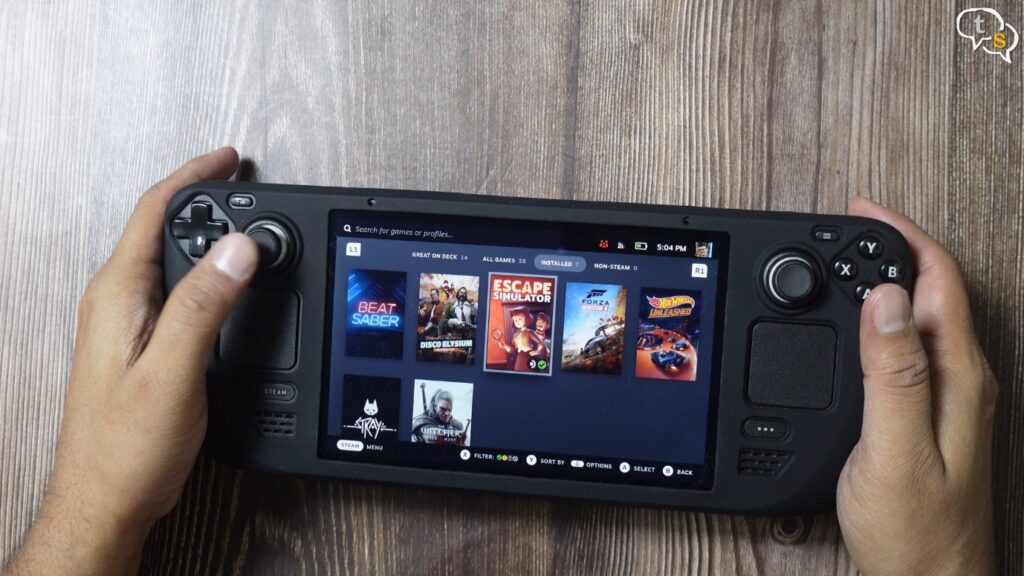
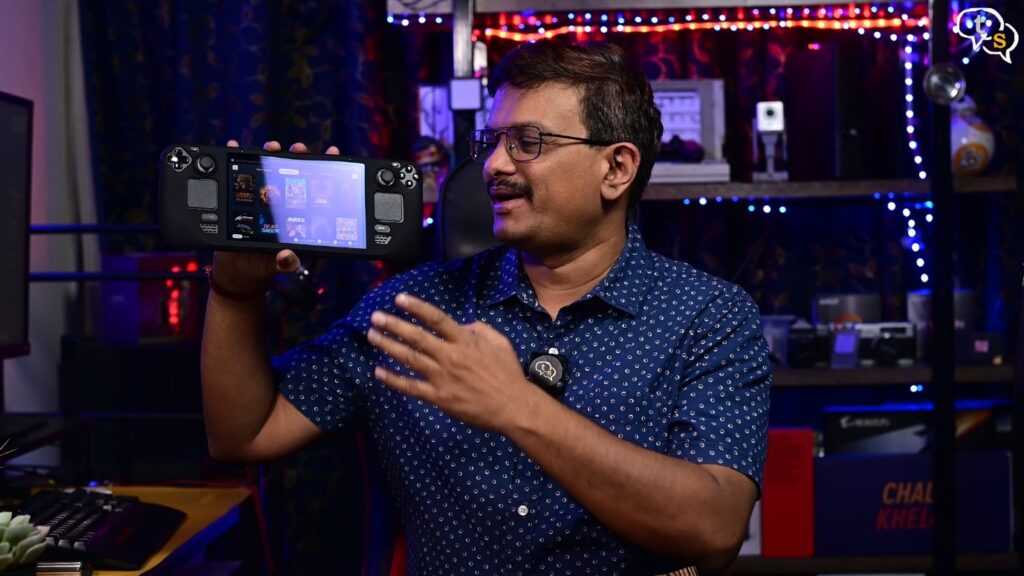
I’m going to be upgrading the internal storage on my steam deck. You guys you can see it’s the 64 GB version and I also have a micro-SD card on this.
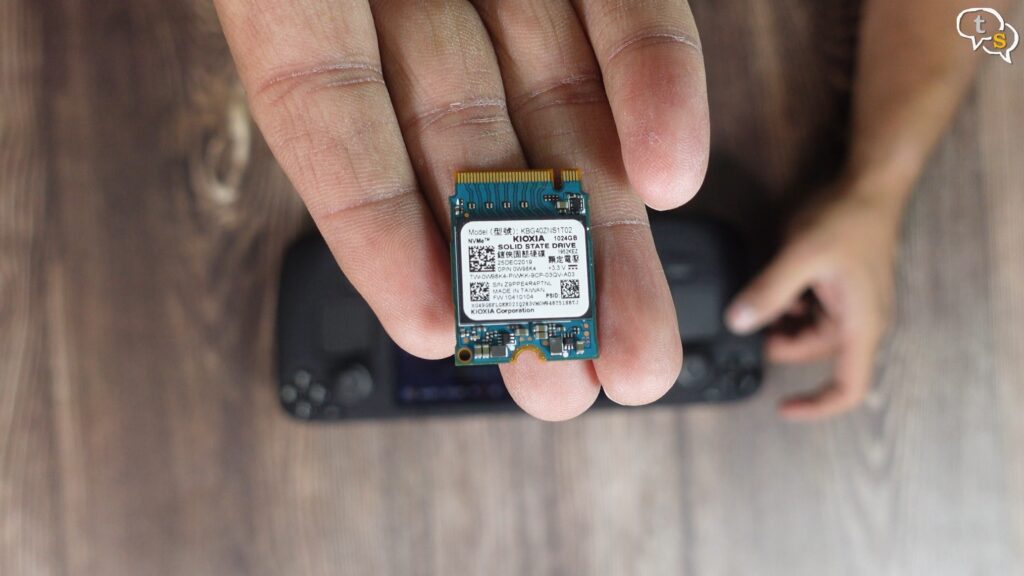
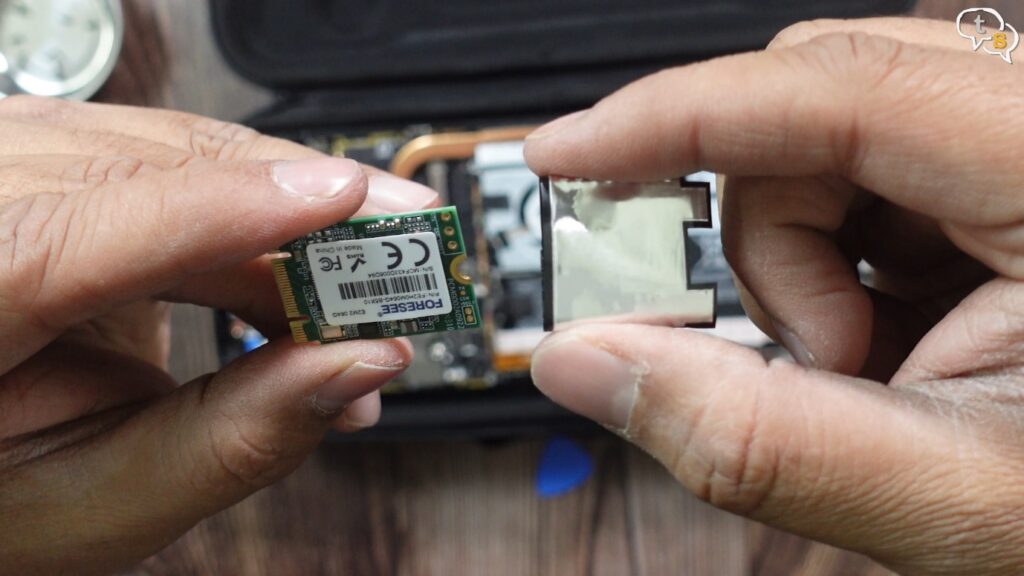
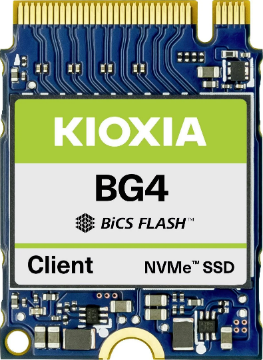
This is the drive I’m going to be installing, it’s a one terabyte Kioxia bg4.
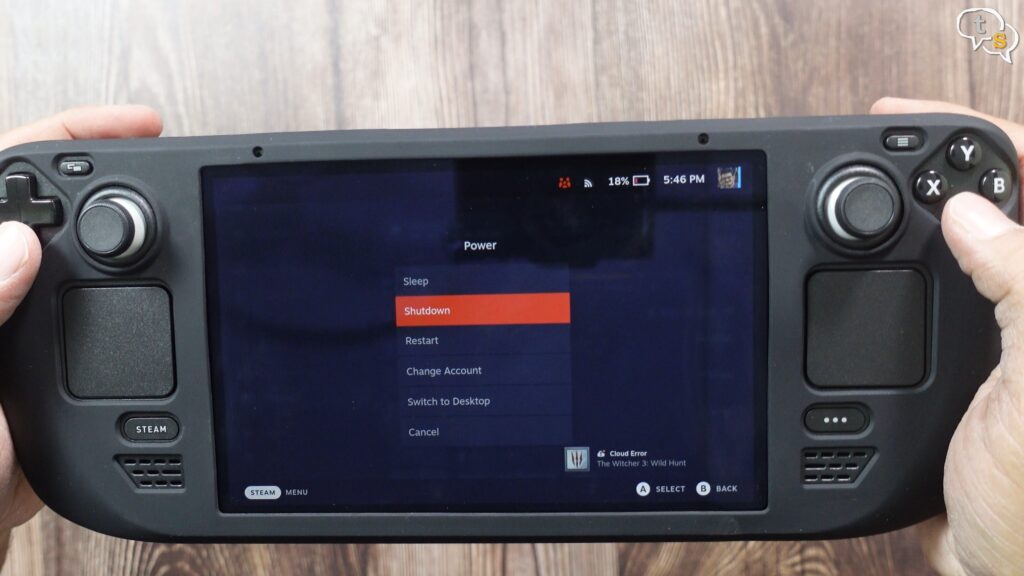
Before you can do that, you need to first shutdown the steam deck.
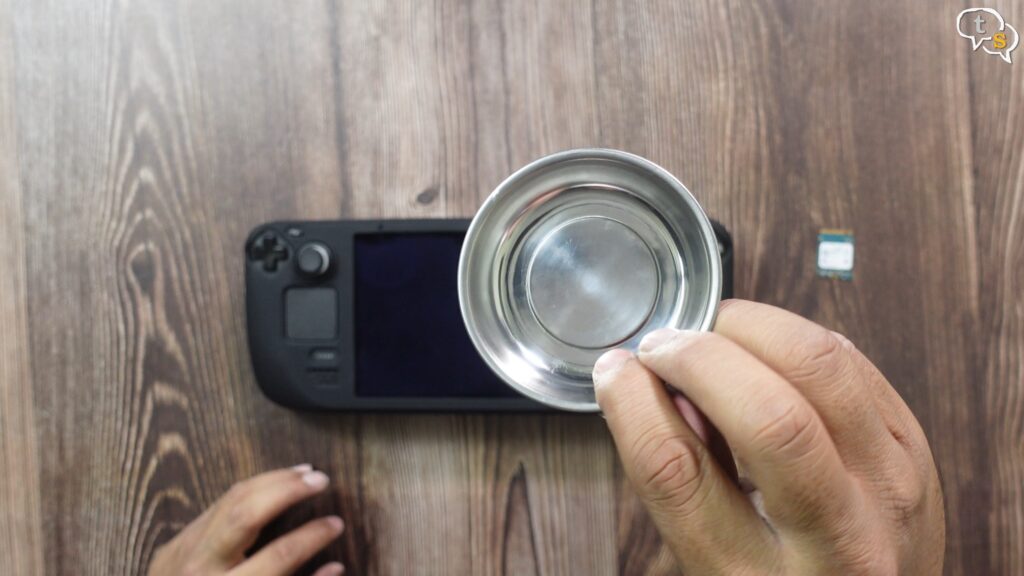
I’m using this magnetic Bowl to keep my screws in place this is important as one sneeze or a wrong move and all your deck screws could go flying into oblivion never to be found again.

I’m removing this silicone case as is only going to get my way.
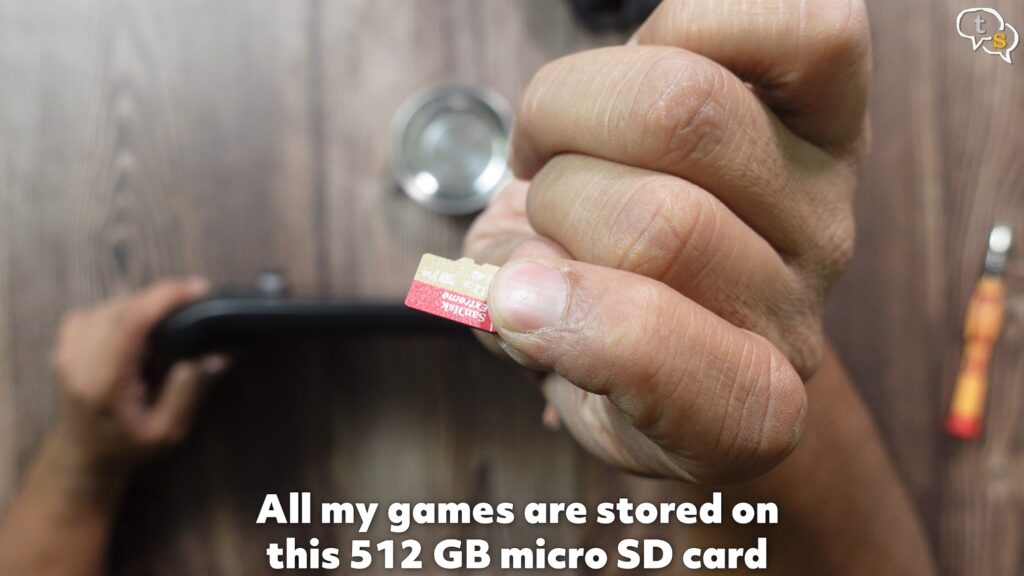
Oh yeah, I should not forget about the MicroSD card I guess, there you go 512gb micro-SD card so all
my games are on this actually.
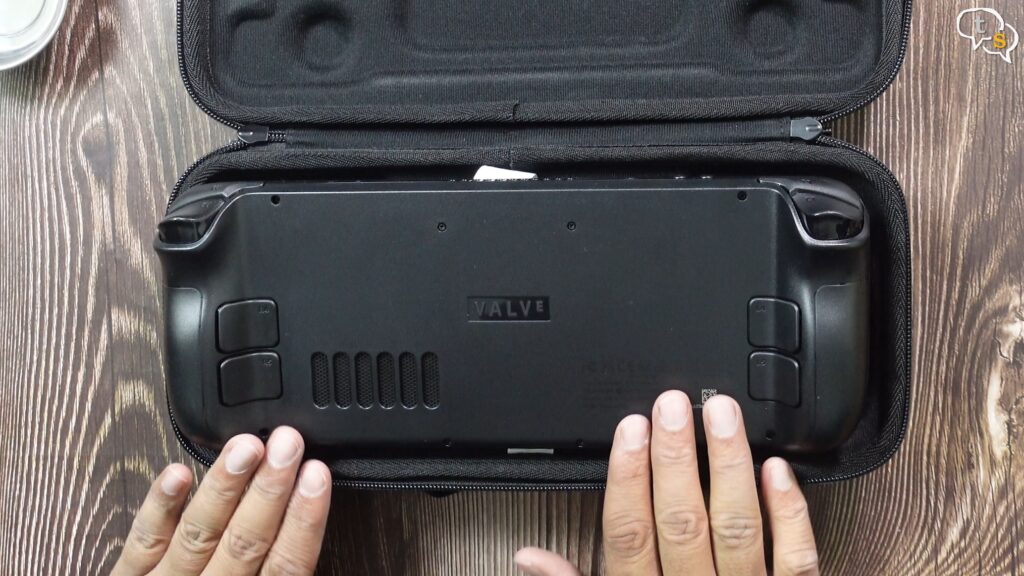
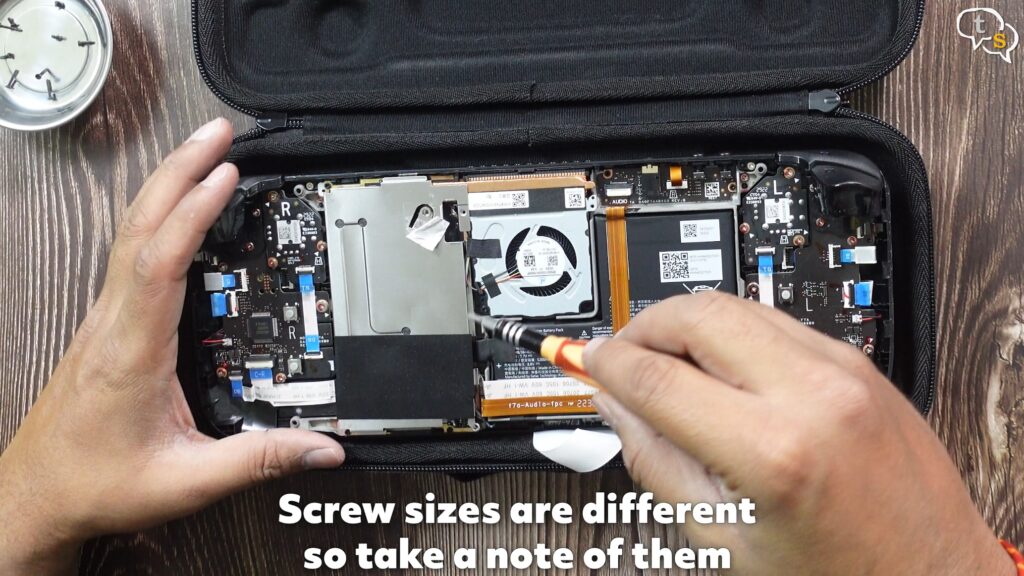
At last, the steam deck has shut down, it’s been said that it is best to keep the steam deck within its case when you are going to be opening the back plate, to protect the joysticks.
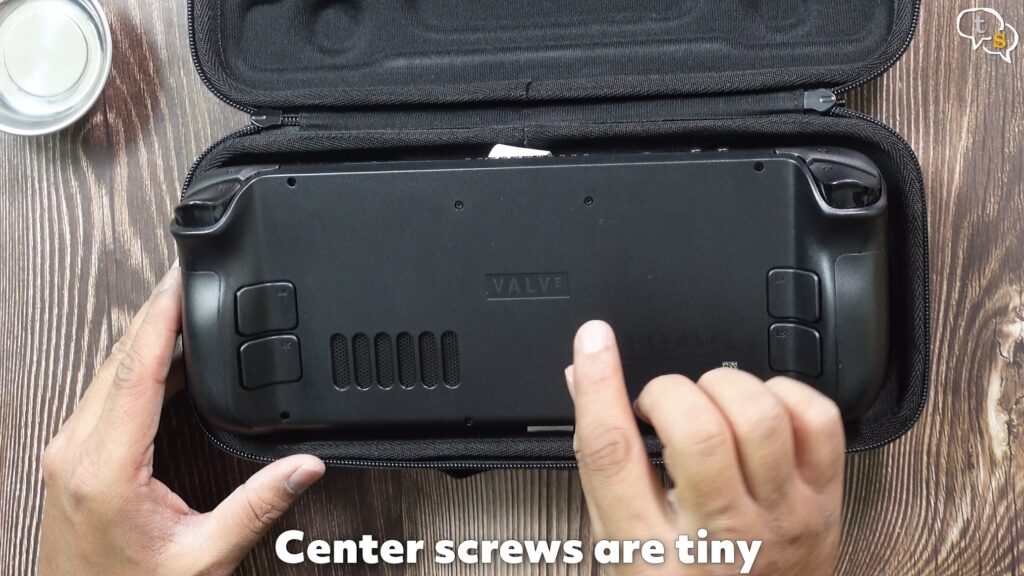
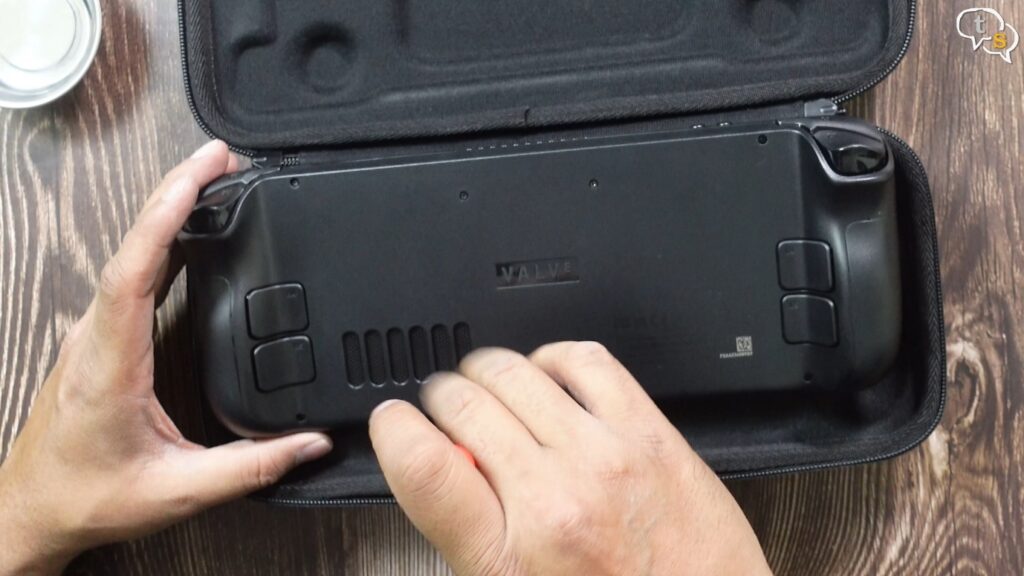
So, these four screws are going to be tiny,
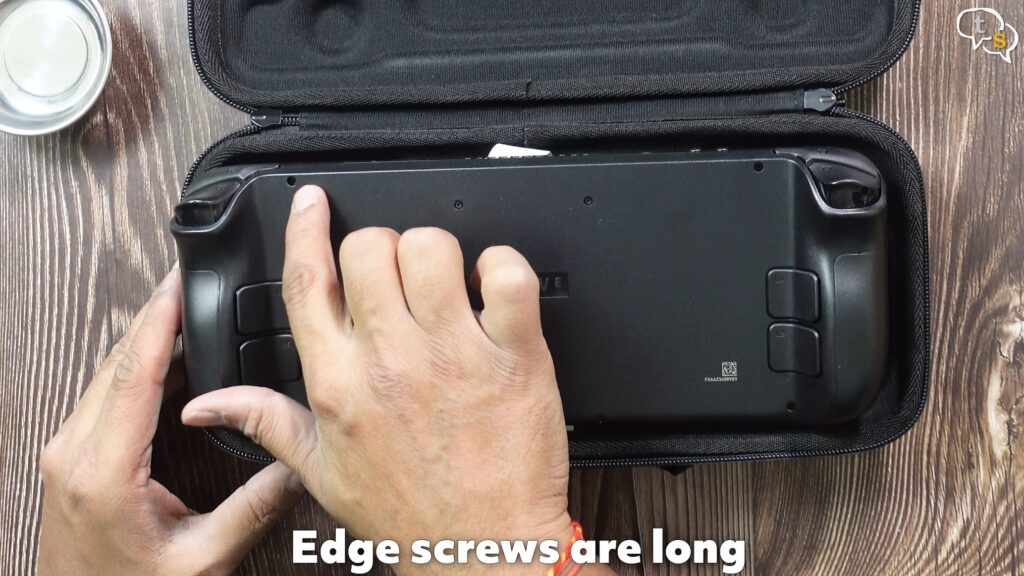
and these four screws are going to be big, the total of eight screws at the back.
So, let’s start this is number one quite small putting it into the plate so the magnet holds it down two, three and four.
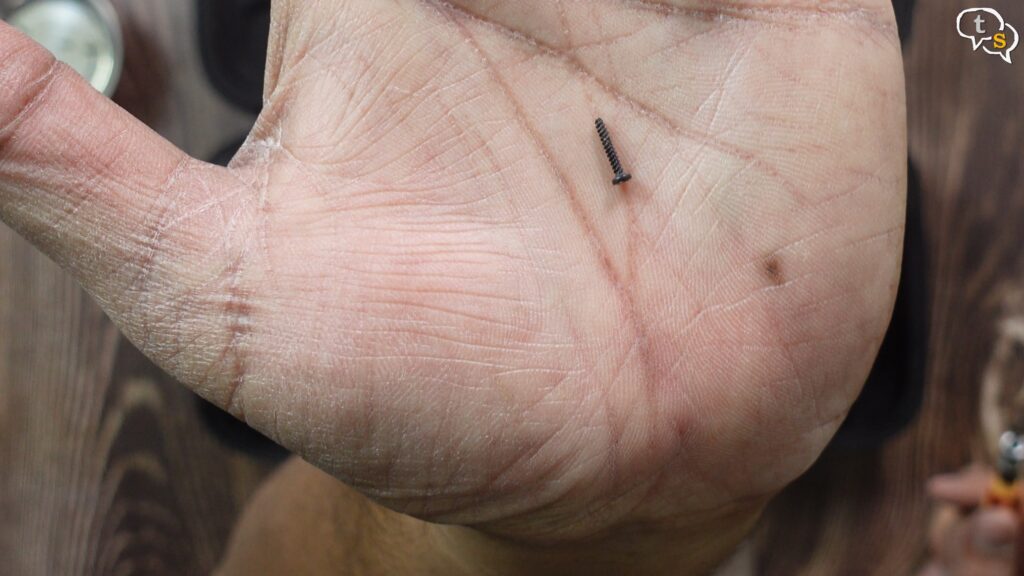
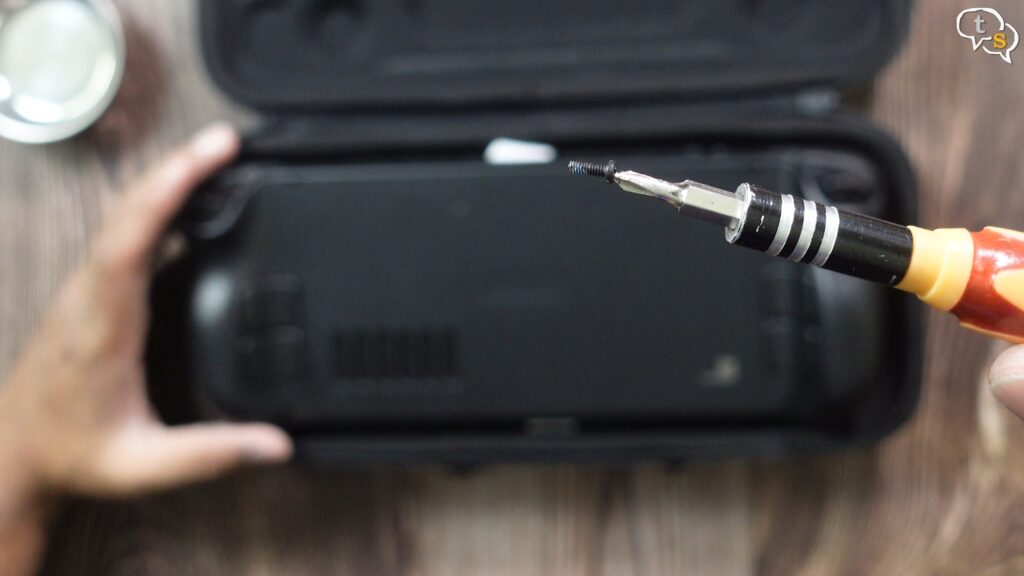
Now for the longer screws here’s one it’s okay this is the length of the longer screws.
Similarly, you just have to remove all the four screws.
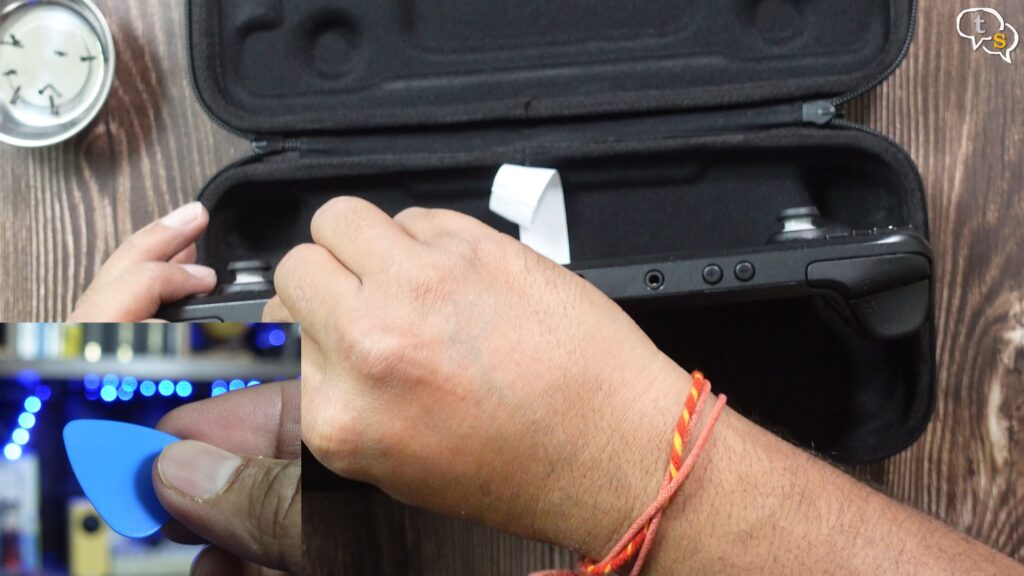
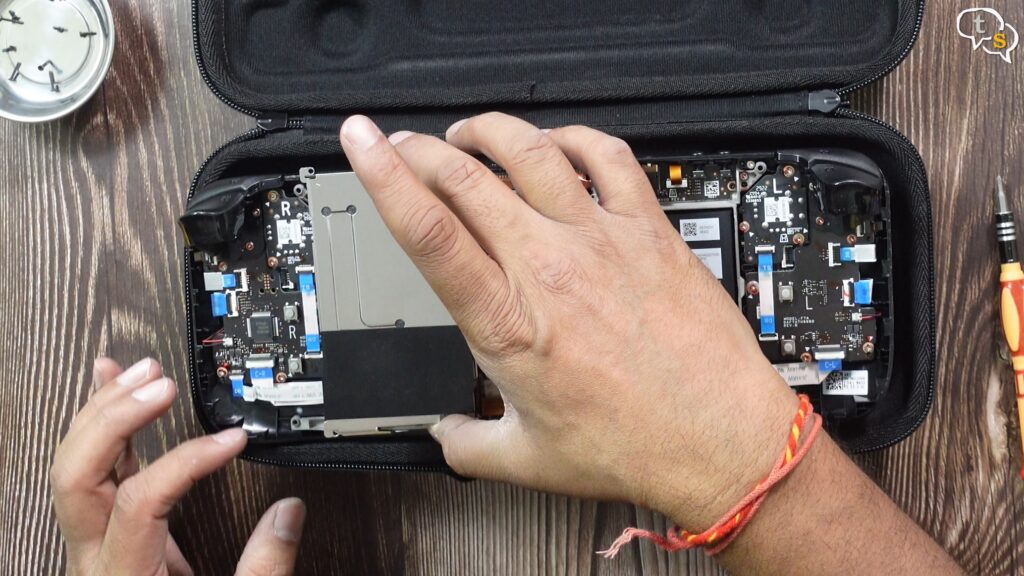
Now that all the screws are off now you have to remove this back plate so I’m using this guitar pick You could also use a spudger to actually open up the sides of the steam deck to remove the back plate.
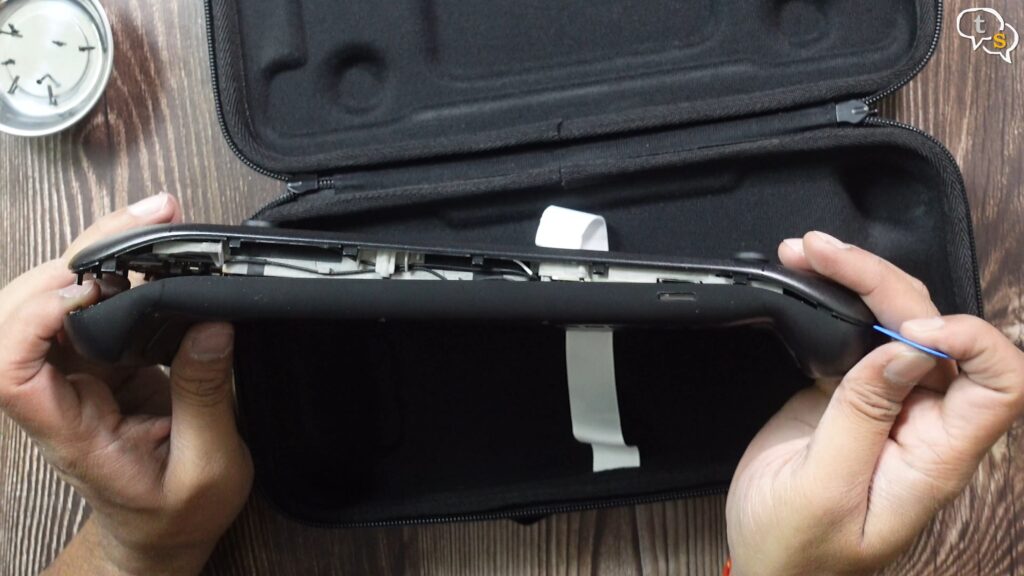
Removing it the first time takes a little effort but as you go on and you go all the sides yeah now the back plate is off.
This is how the back plate looks it has the rear triggers also within
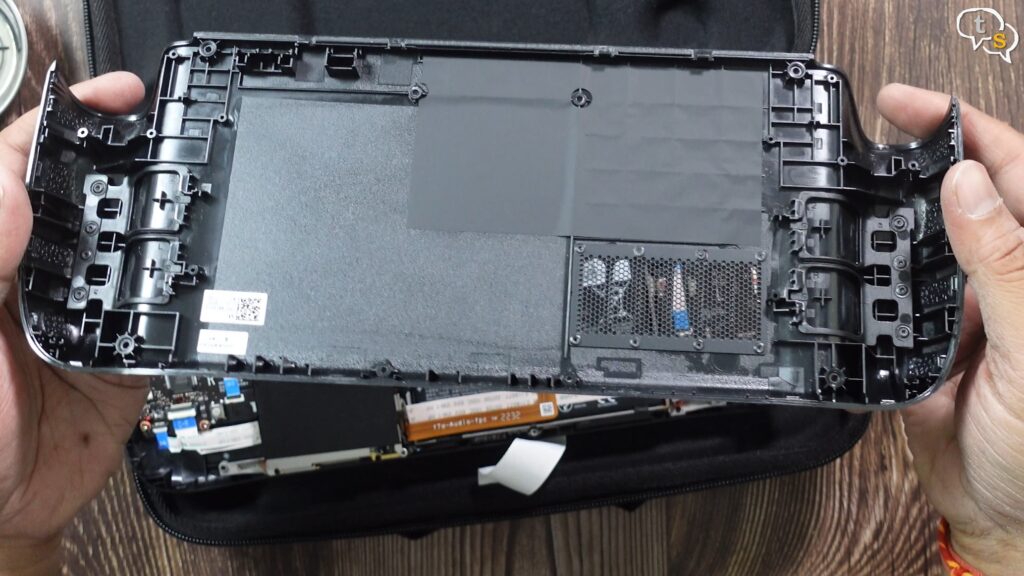
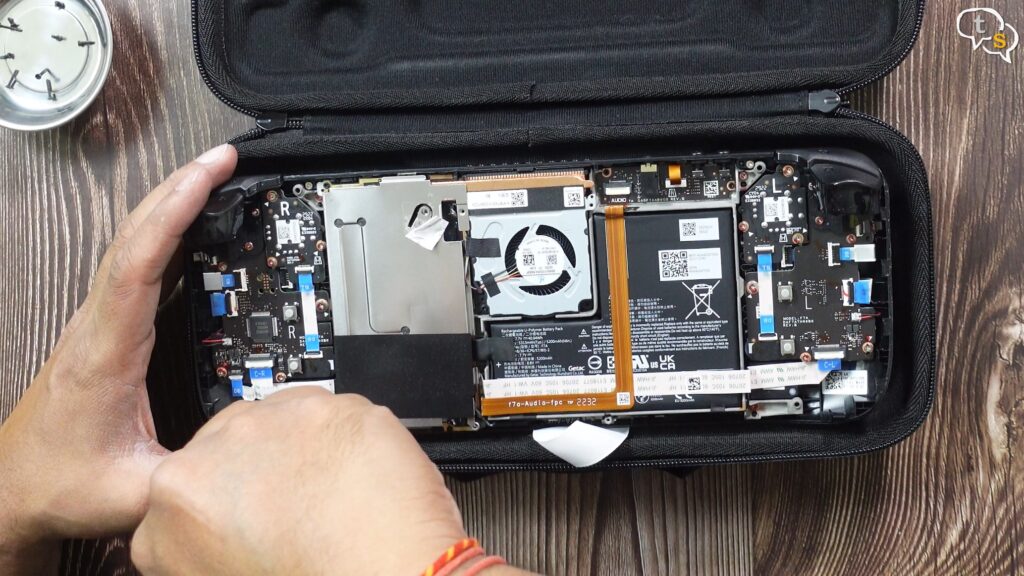
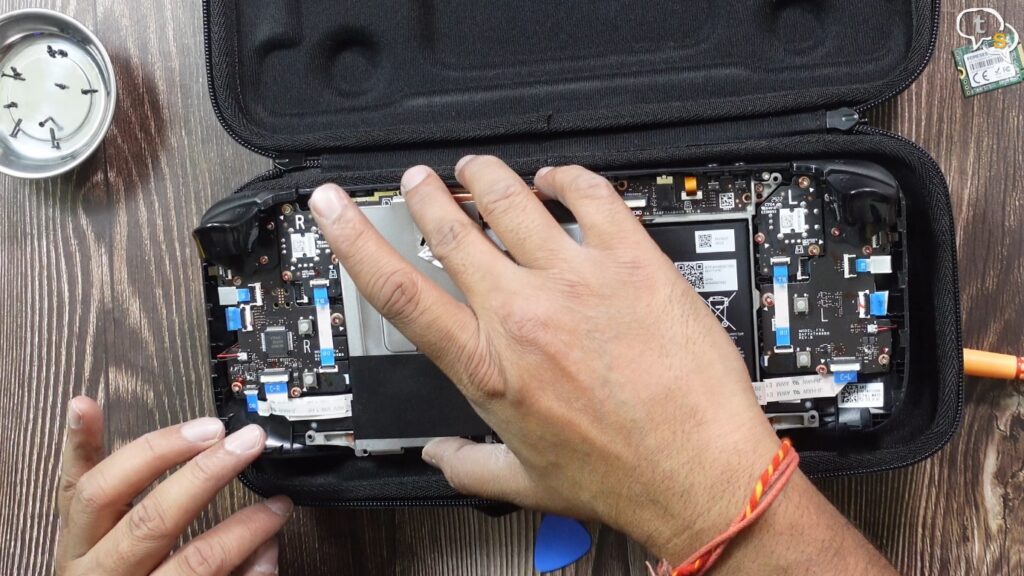
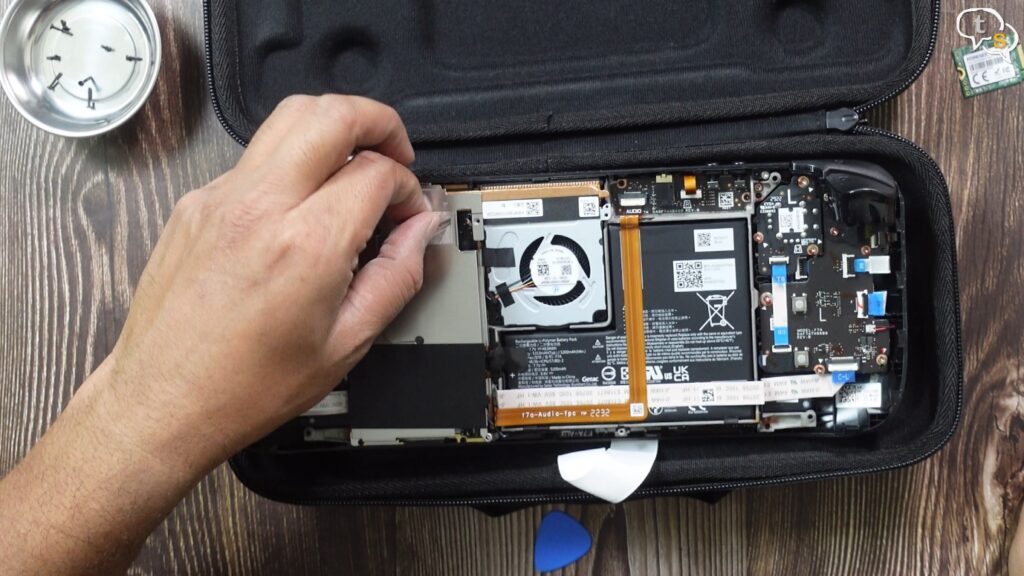
and here’s the internals of the steam deck we have to remove this board shield.
First there’s a screw under the silver label here try not to rip this label as it has to be reused later.
so got a screw out from there.
one on the bottom here
and one more on the top over here
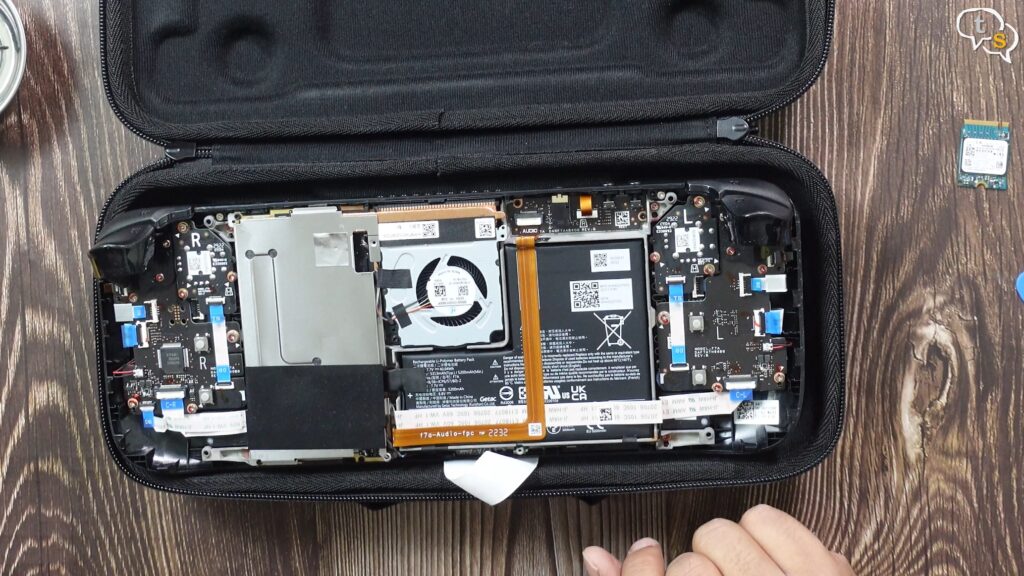
Okay that’s done and now this board Shield can come off and okay like this yep, it’s off,
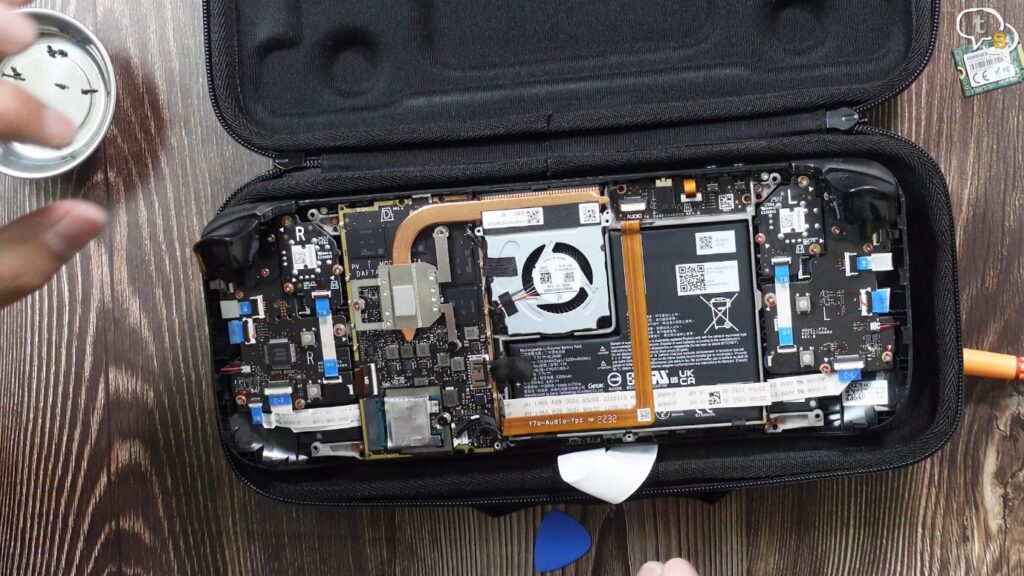
Oh it’s got all these thermal pads on the back.
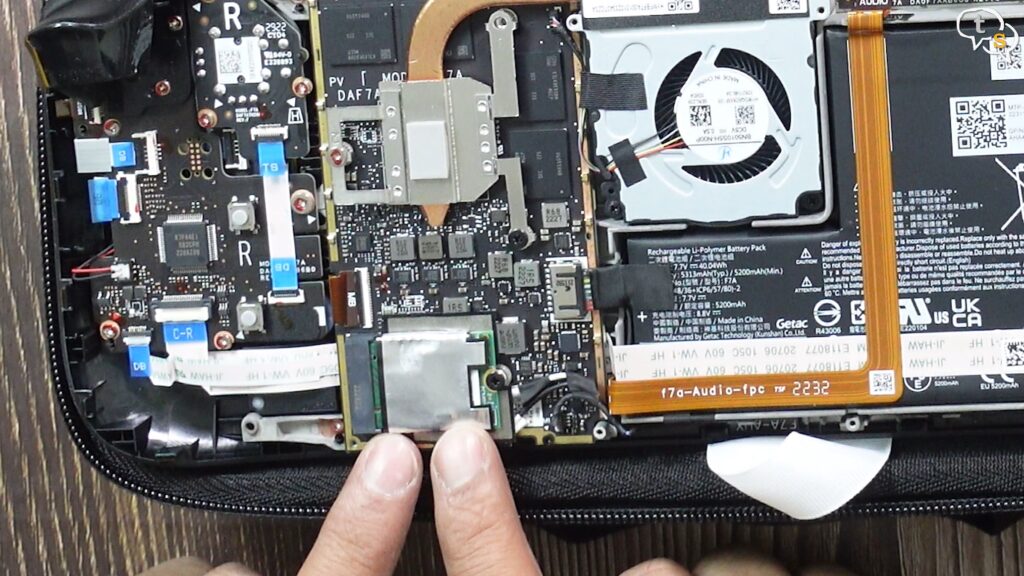
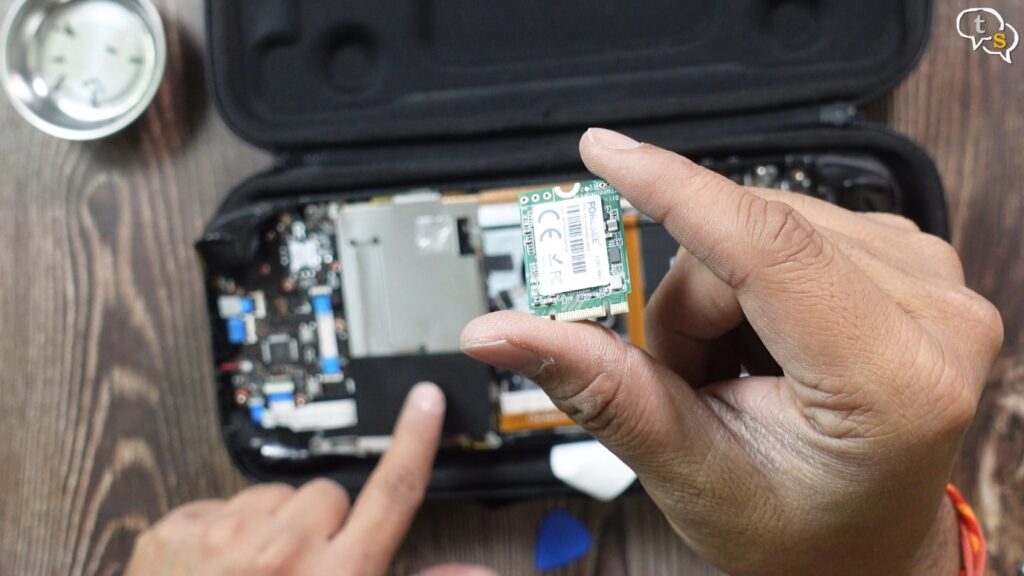
Now this is the actual Drive, you need a 2230 size drive and
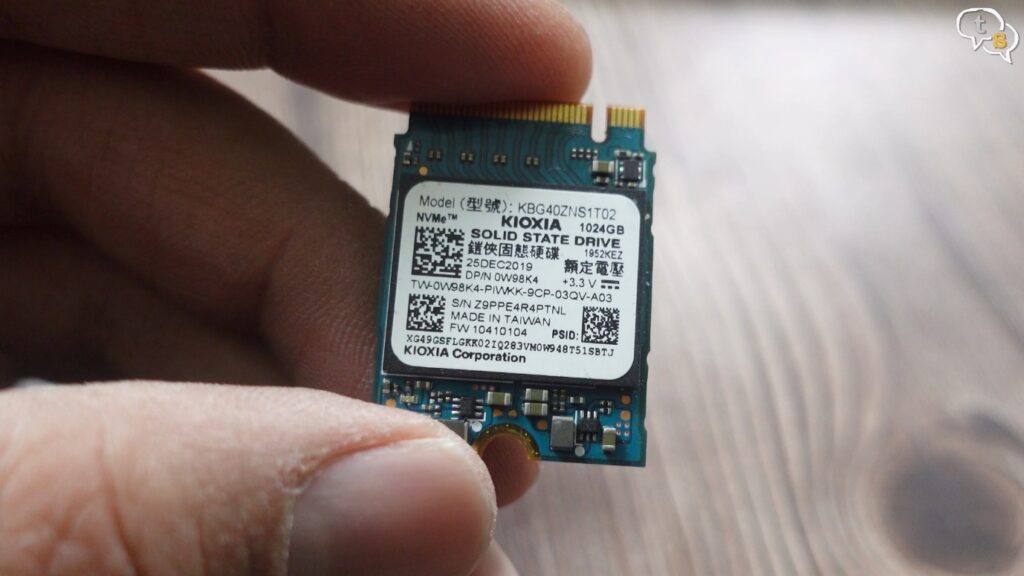
I have this this is the Kioxia bg4 which is in the 2230 size and it’s one terabyte.
So this is an NVMe Drive which will be much faster than my internal 64GB emmc drive.
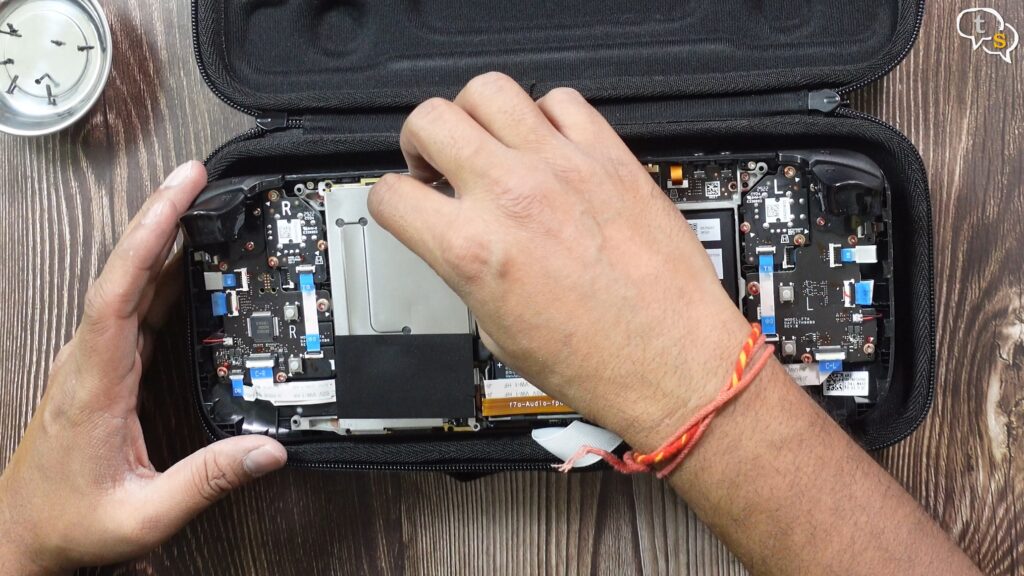
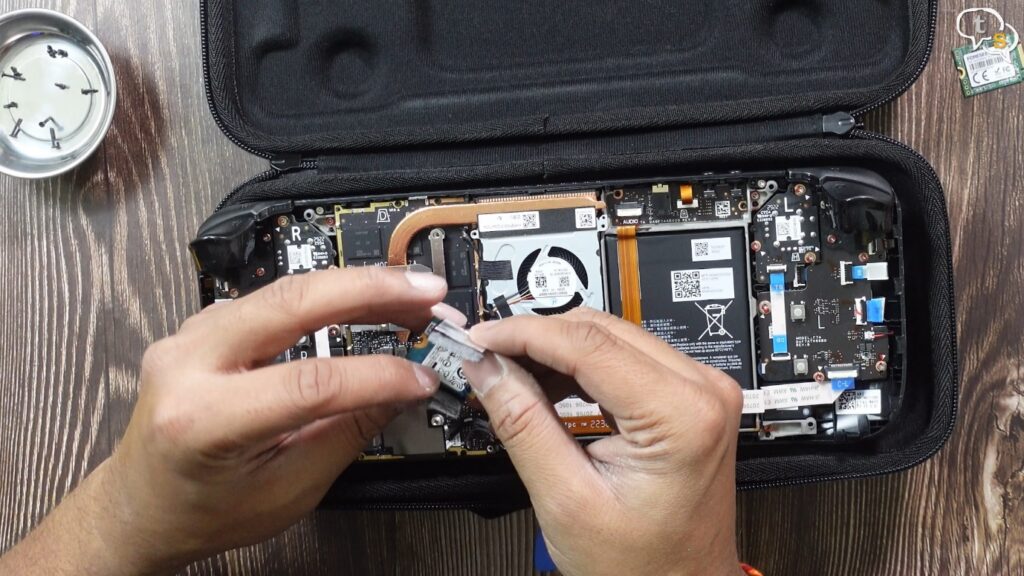
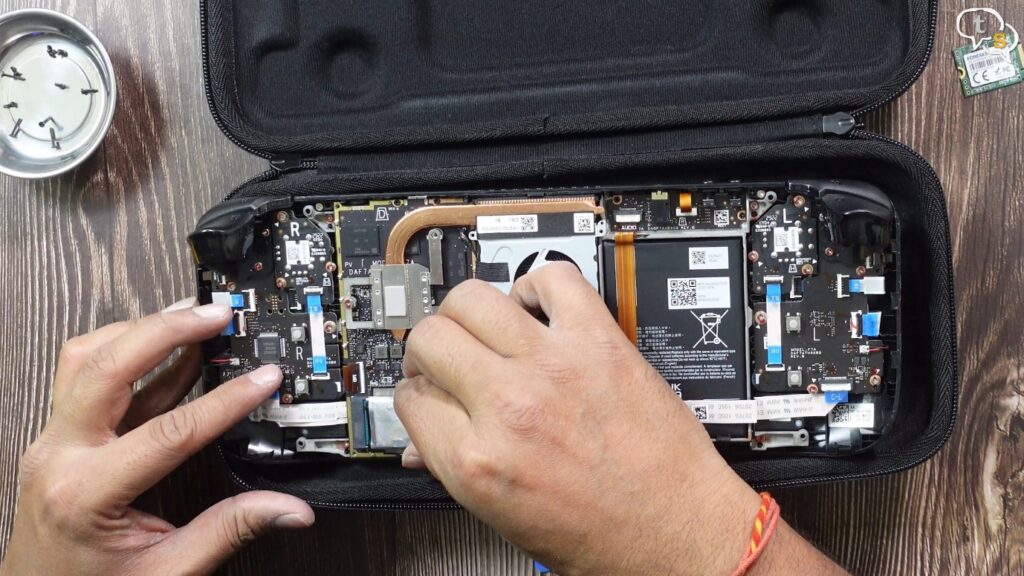
So now I’ve got to remove this, first I have to remove this battery actually the disconnect the battery.
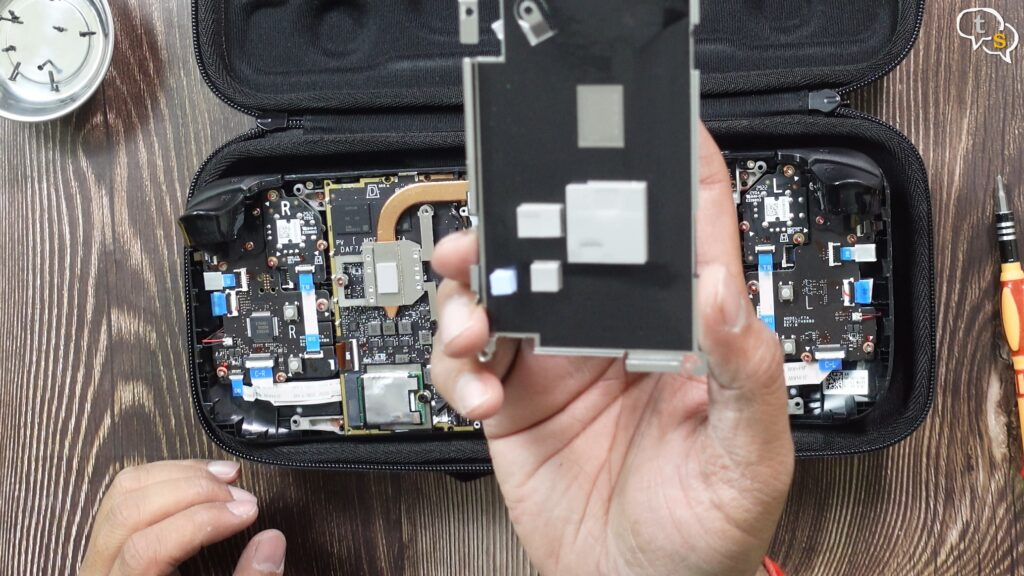
and now for the drive. The drive comes with its own heat shield which I need to remove.
I don’t think it’s for heat only, I think it’s also for preventing any interference from the
electronics within.
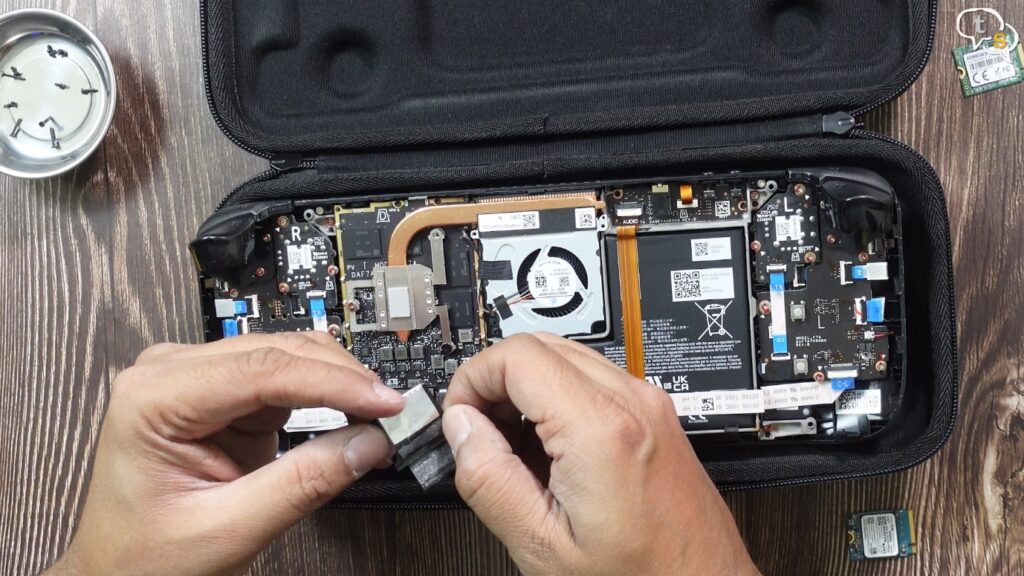
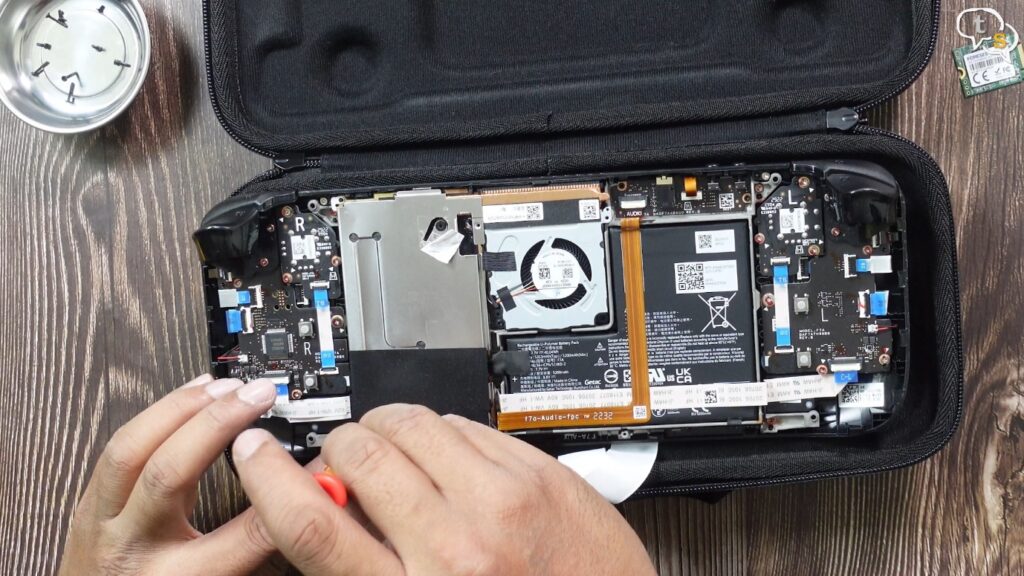
Now we have to remove the shield and then install the new drive within.
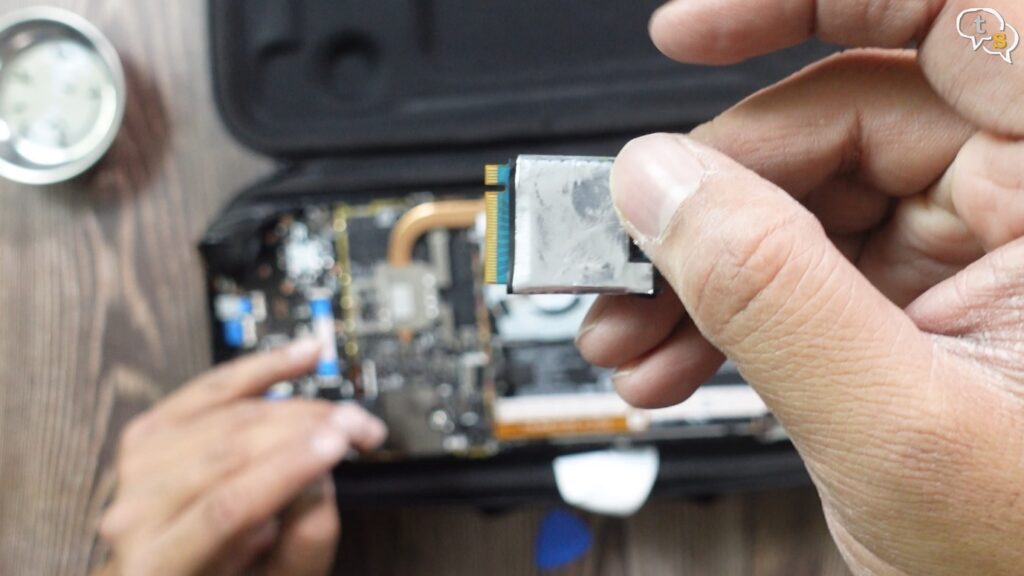
Okay this Shield can be opened up it’s like a sticker so you can just open it up like so.
Place the drive within make sure the orientation is right and it should be similar to how you had the original drive here.
There you go, place it back in
use the screw to fasten it down.
Battery is attached.
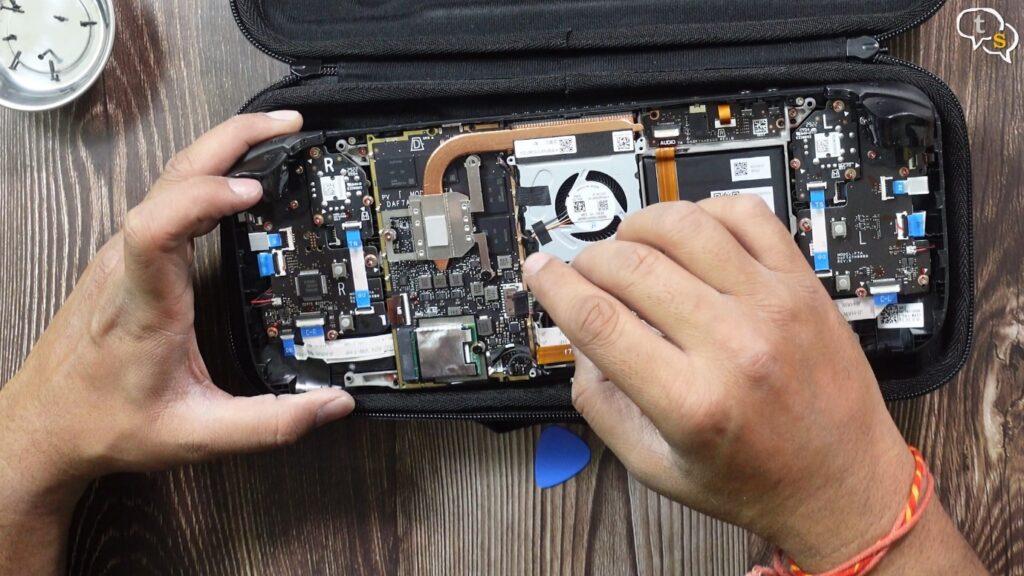
Now to install the board plate back, all the steps that you followed you just have to do it in reverse so put the screws back in first for the board plate.
Make sure that the screws are right because the screw under the sticker is much thicker than the other two screws.
Install the screw under the sticker, put the sticker back on.
Keep this old drive safe because this is at least a backup copy of your Steam OS in case anything goes wrong with the new NVMe drive.
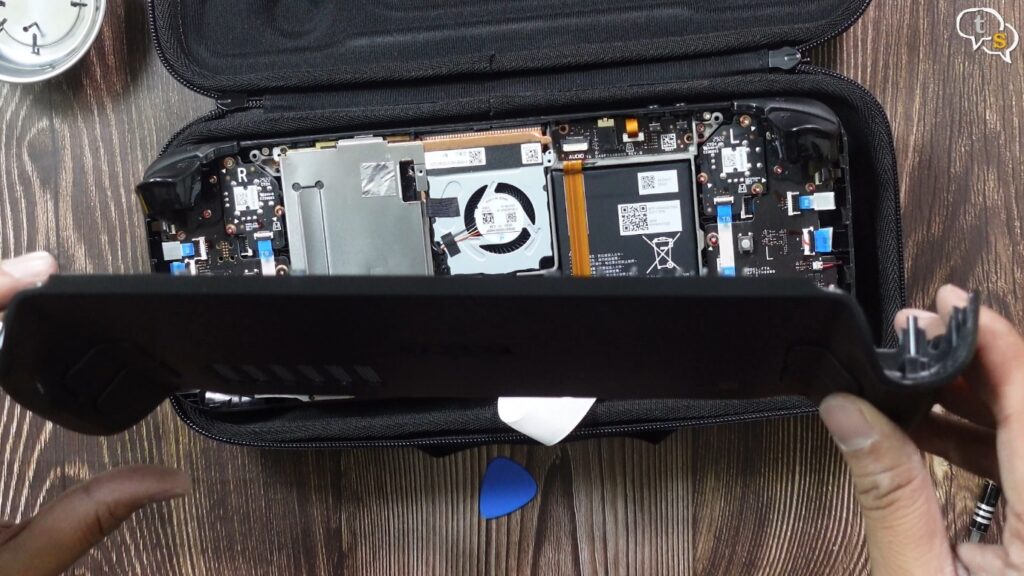
And now for the back plate
just snap it back on
there you go all snapping back on easily.
It’s actually quite simple to put in a new drive I didn’t expect it to be so simple.
Now longer screws for the edges and the center has smaller screws.
And surprisingly as fast as that it’s, done.
But now the main work starts where we need to install Steam OS.
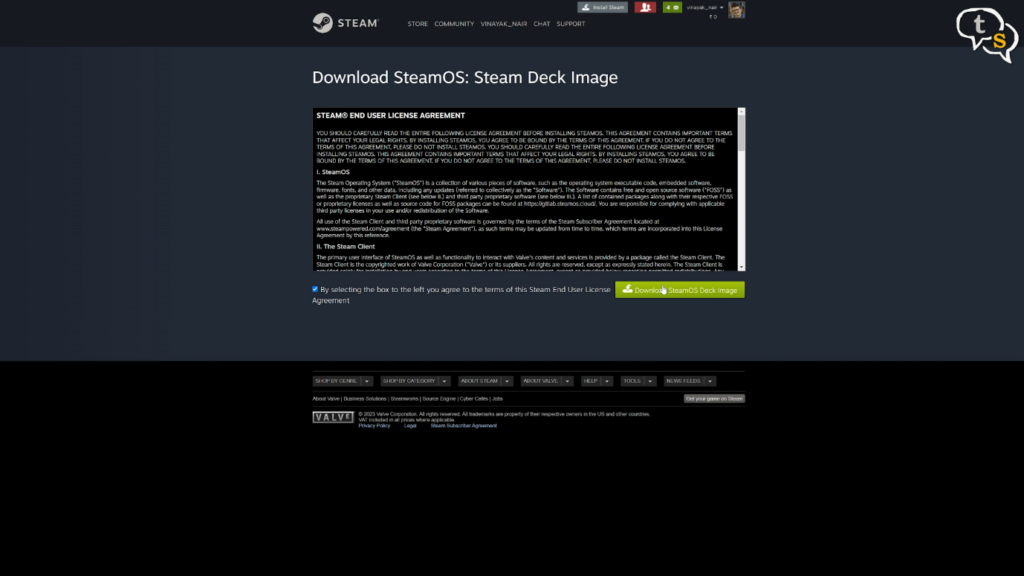
First download the Steam deck image
Download the image onto your system.
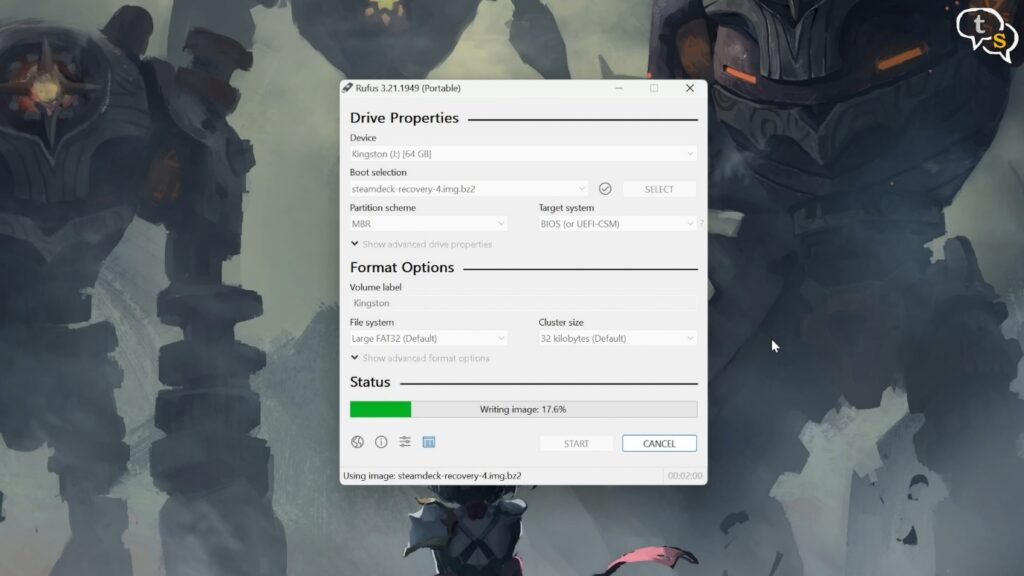
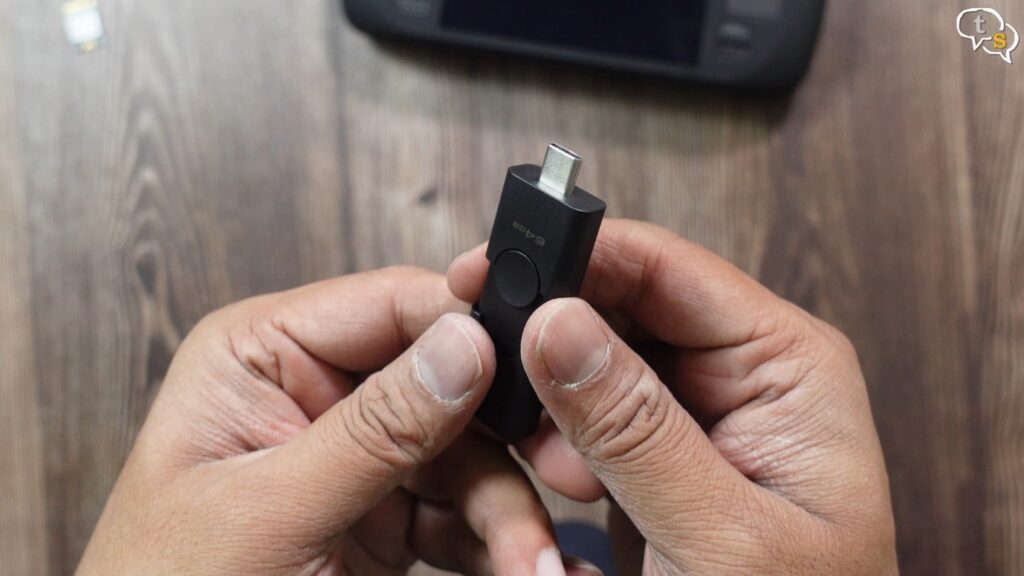
Using the Rufus utility, you can flash or write the image onto the USB drive that I just showed you.
You can use any USB drive, but the capacity should be minimum of 8GB.
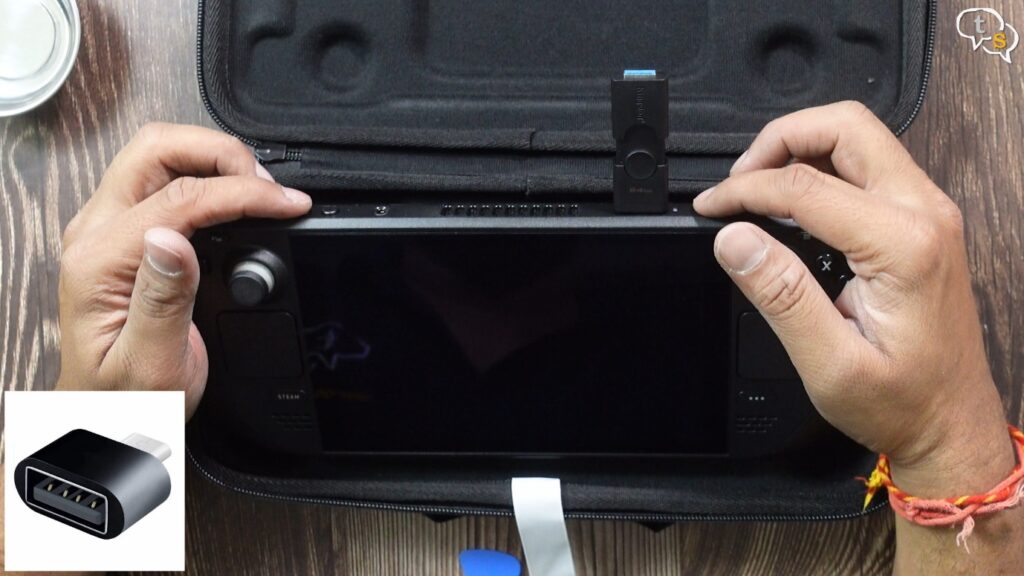
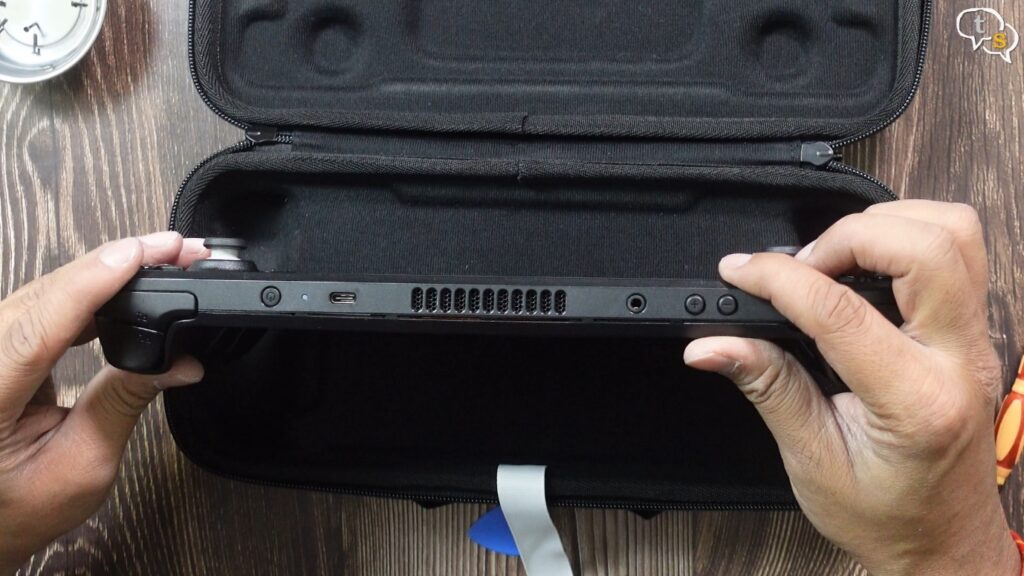
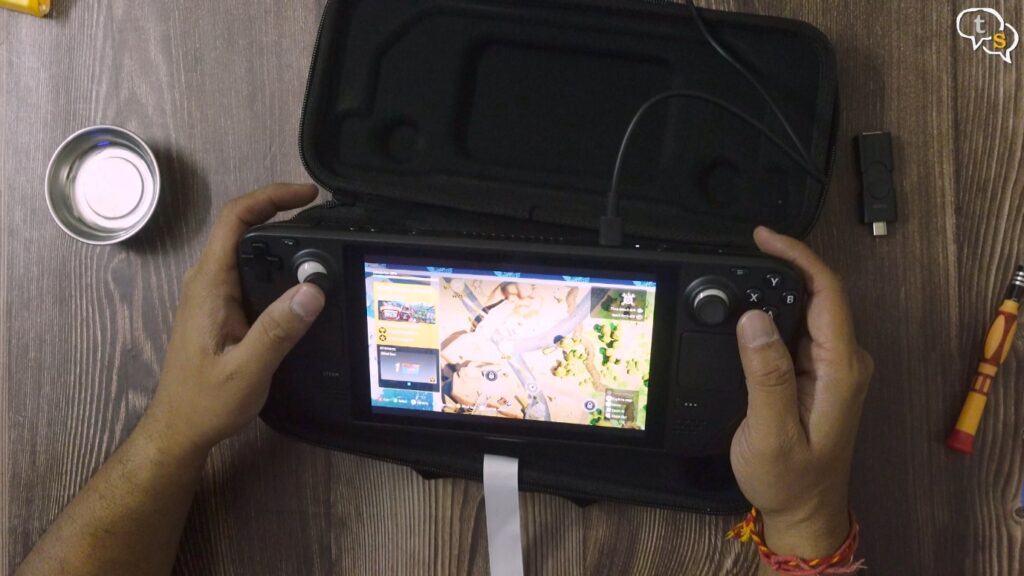
The image is ready on the pen drive let’s start the installation, you can use a dock or any converter to
convert from USB A to USBC to use on the steam deck.
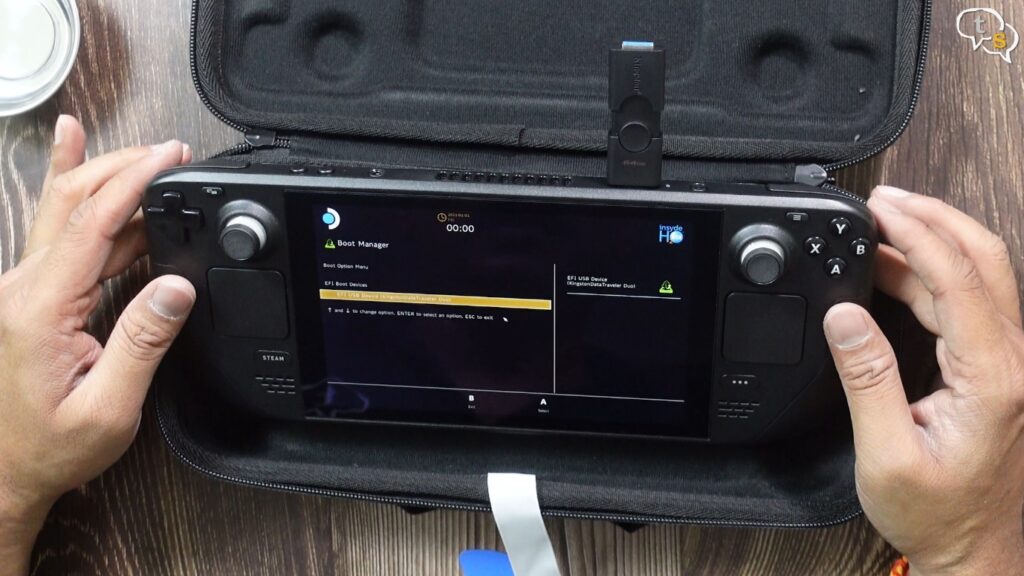
Hold volume down and the power button, when you hear the chime let go of the volume down button and you will boot into the boot manager.
Once in the boot manager select to boot from the EFI USB device which is your USB pen drive.
Just select with the “A” button.
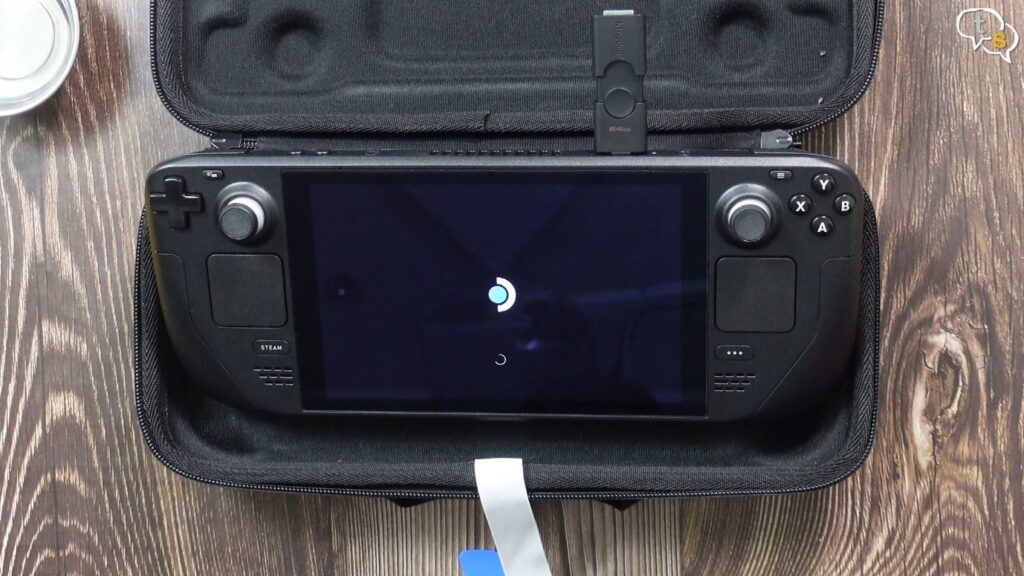
It’s actually booting off the pen drive.
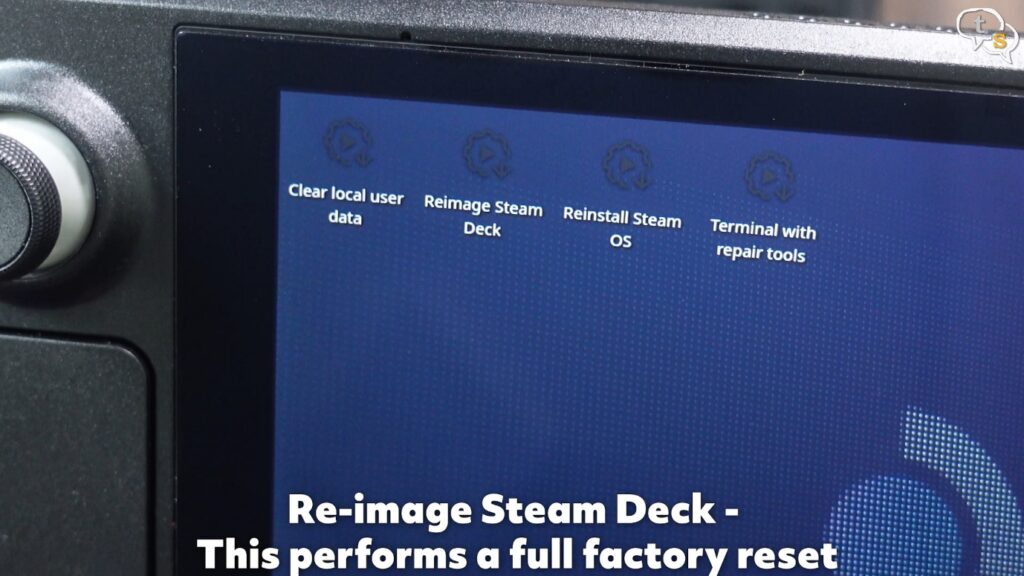
Once on the desktop, tap on pre-image steam deck.
tap on proceed.
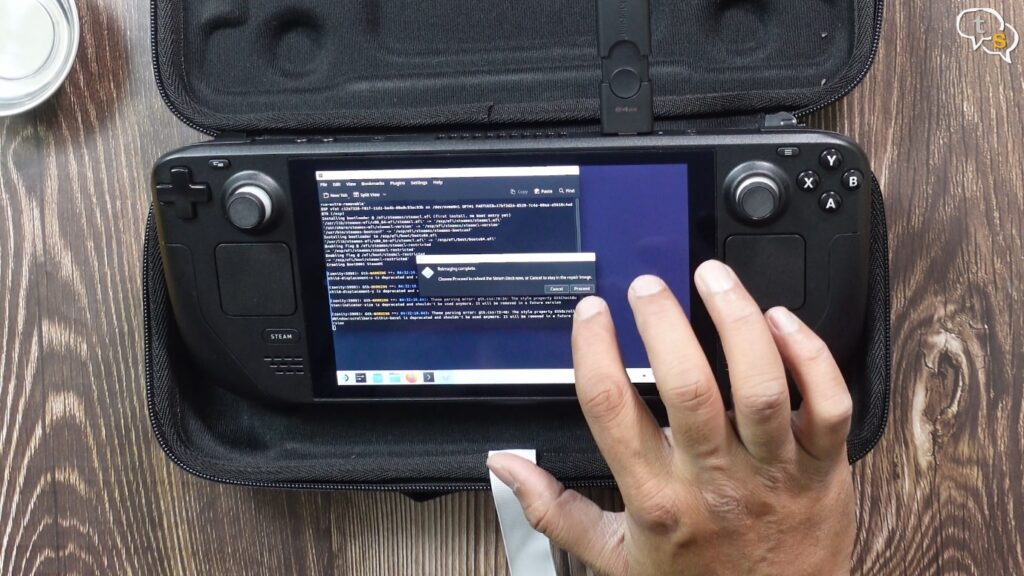
It goes through the whole installation process, tap on proceed again.
Once it boots into steam
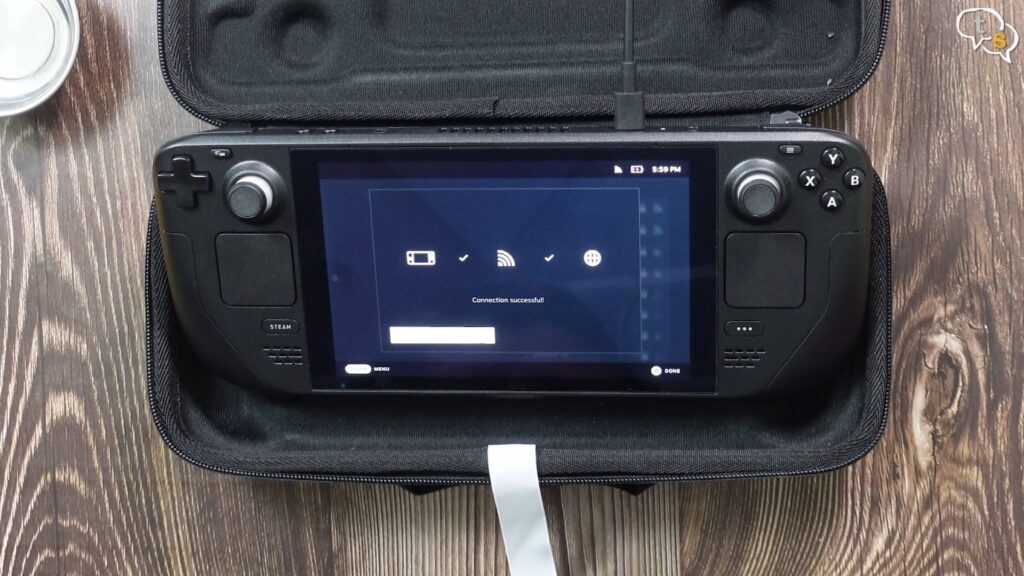
connect your Wi-Fi.
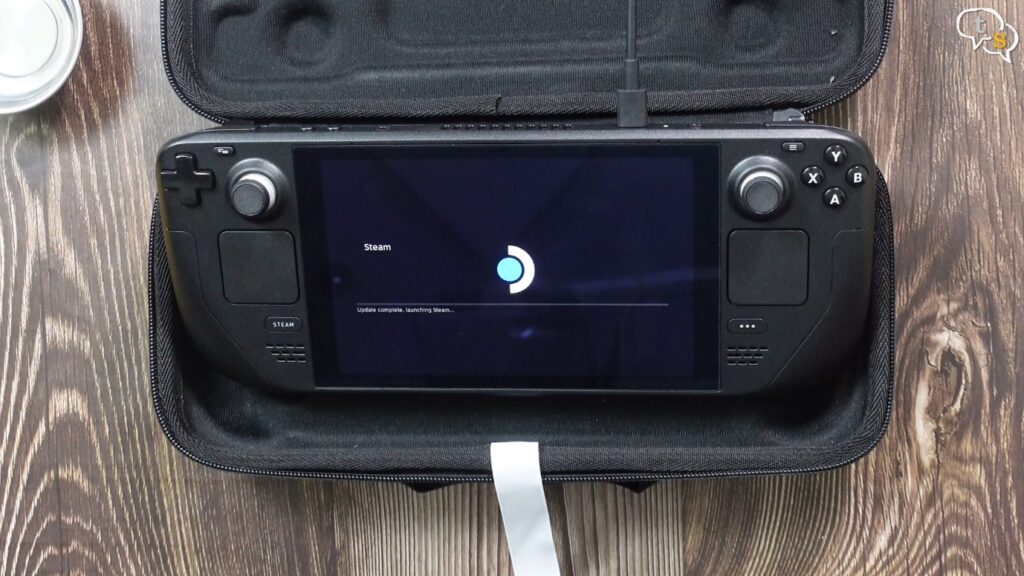
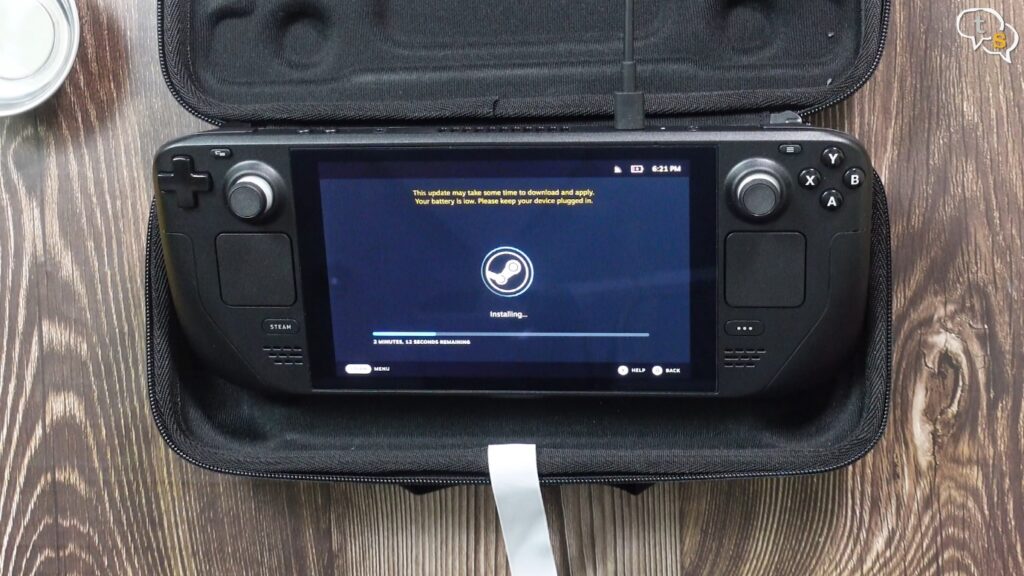
After the files are copied make sure the decks connected to power for uninterrupted installation.
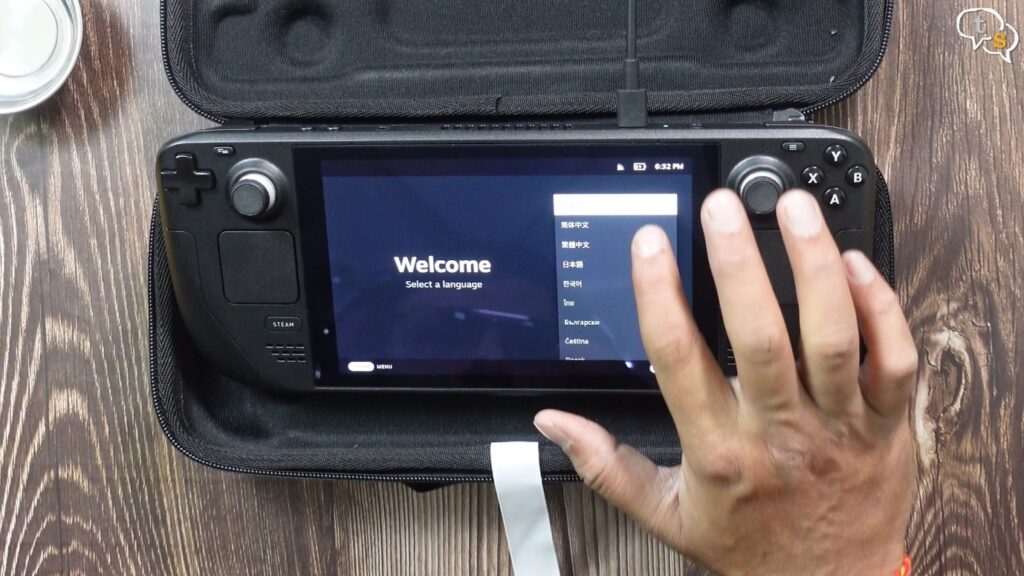
It is a long process so you will have to have a lot of patience for this and you would just set it up as you would have done when you first received your steam deck
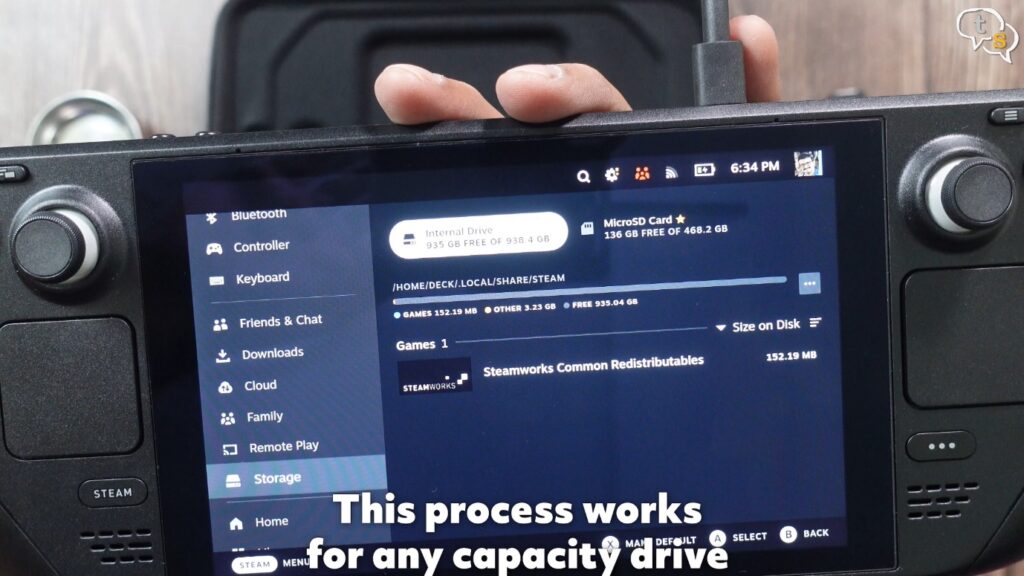
Once all this process is complete the steam deck now would have your new any capacity drive that you would have installed.
I’m quite happy with the process it was quite simple to disassemble, install and assemble back.
Great that Valve made the device easily repairable.
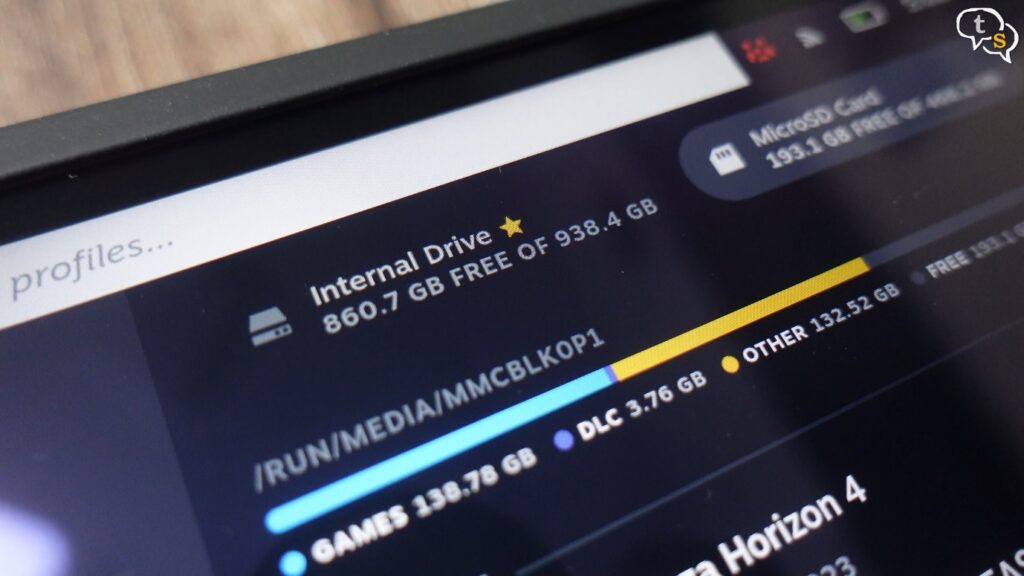
We get a space of 938.4 GB out of the one terabyte.
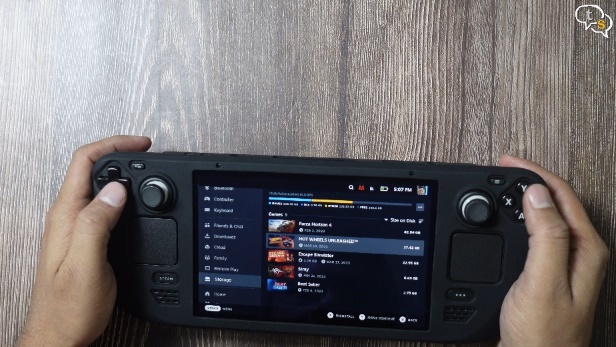


We can also move the games off my micro- SD card to my internal drive so I should not need to download all the games again. That’s a big plus.
Copy time depends on how big the game is.
My SteamDeck now has more storage internally and as a lot of system files and shaders generally take up more space on the internal drive than the external, in the long run I would have run into problems.
Now that I have one terabyte drive within, these worries are now quashed.
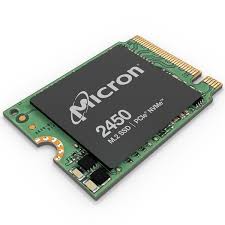


Not all 2230 NVMe drives are made the same and not all of them are compatible with this steam deck as some would draw more power and some of them would have memory chips even below the drive not allowing it to fit the confines of the steam deck.
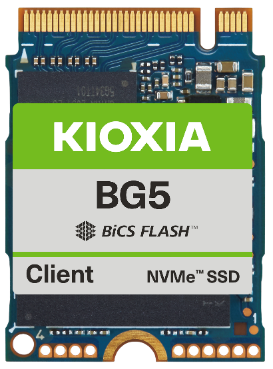
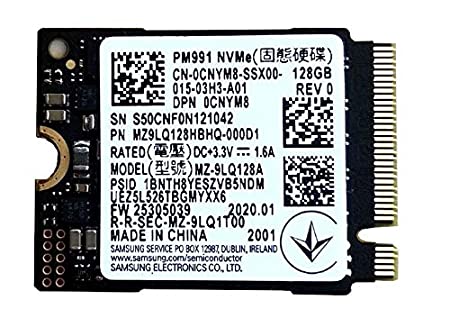
So, to make sure, I read through the forums which ones are supported I found that the kioxia bg4 and BG5 work Samsung pm 991a and the Micron 2450 are also other models that work.
I found the process to be quite simple, but if you’re not used to opening up devices maybe get a store technician to do the same.
I am now the proud owner of a one terabyte model of the steam deck.

