
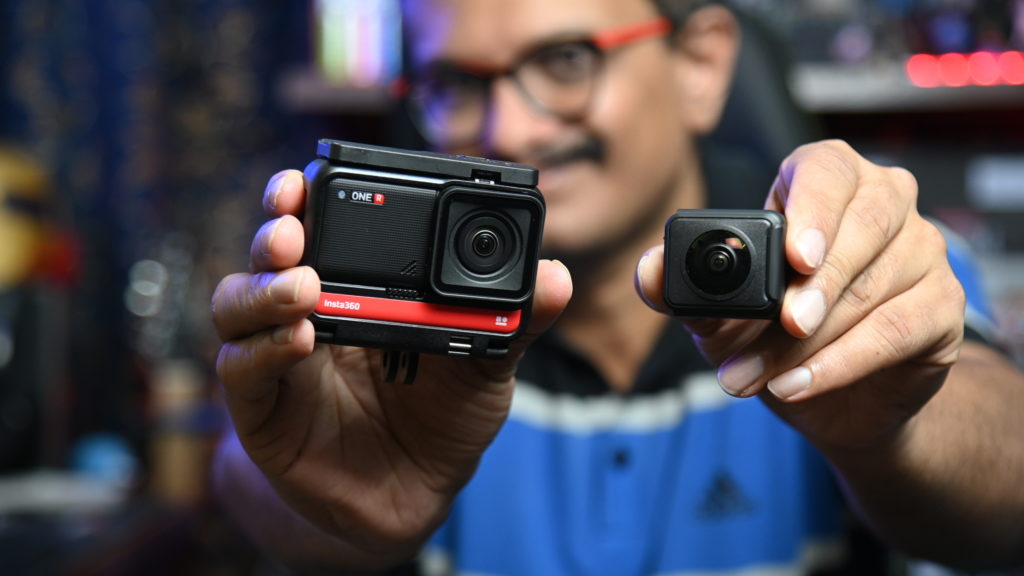


This is the Insta360 One R, an action cam that completely changes the way we look at action cameras.
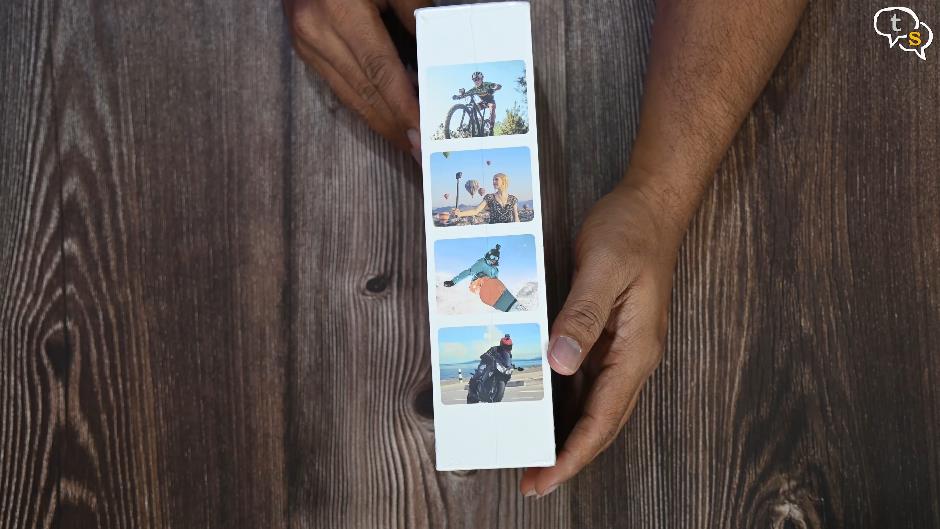
It can do everything an action cam can, as these images would indicate on the side. Cycling, travel, snowboarding and biking and much more of course.
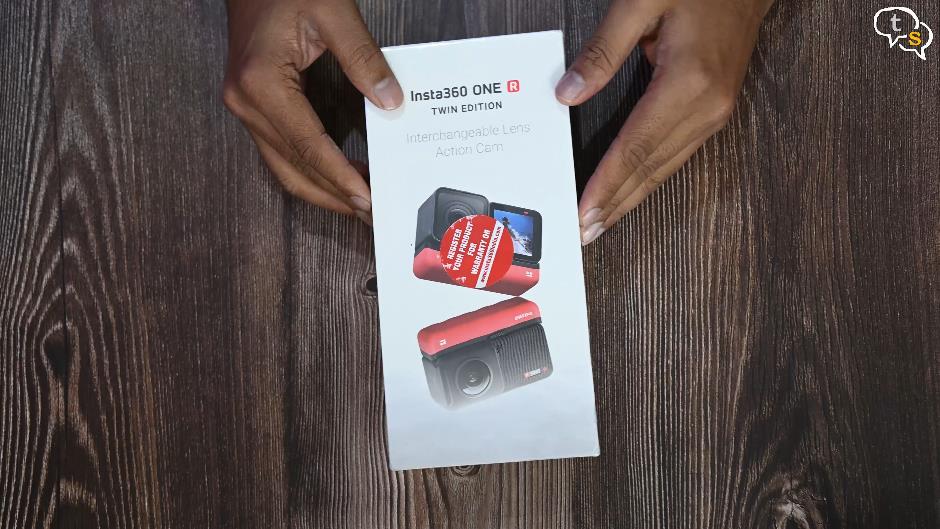
This is the Indian imported version, and we can register for warranty via insta360india.com.
So, what’s so special about this camera, the answers hidden under this slip.
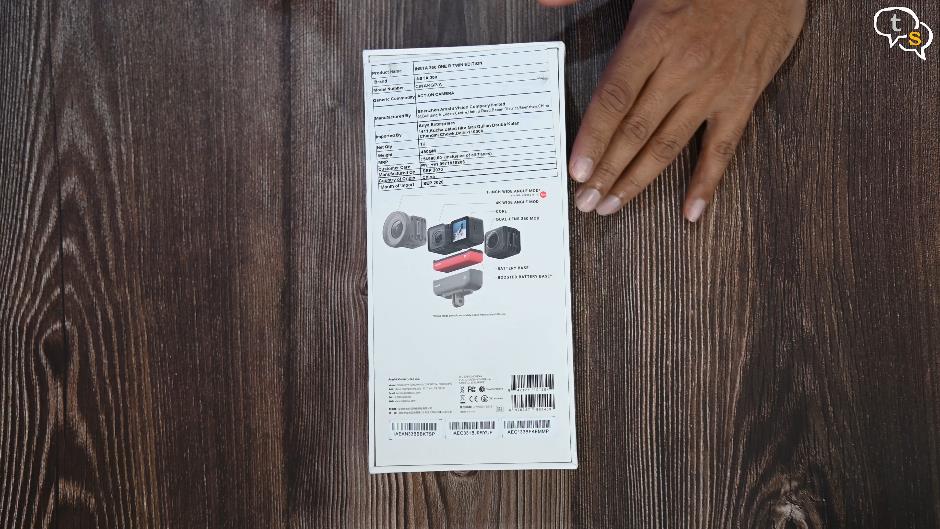
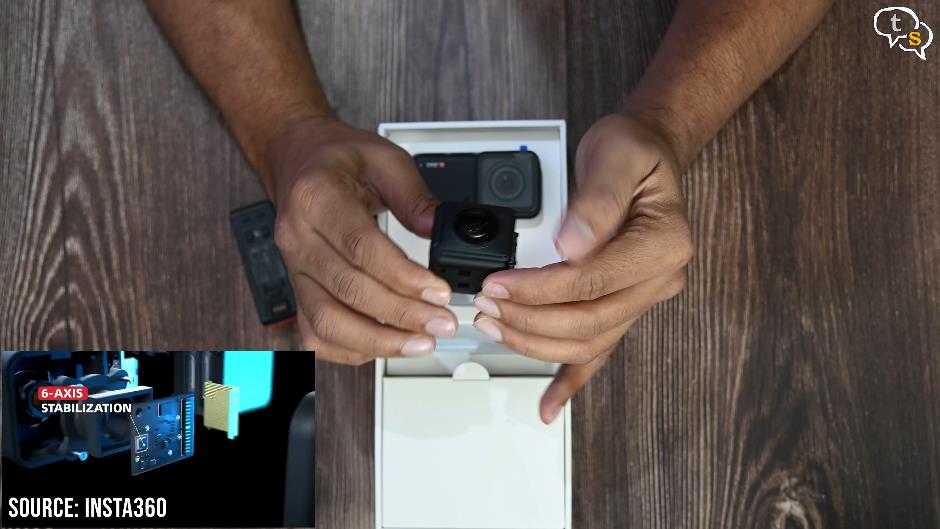
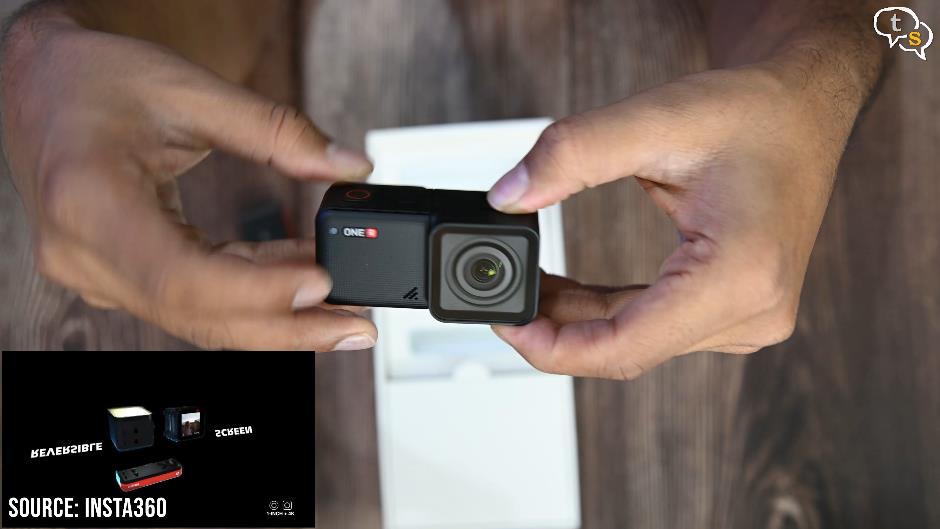
The camera has a modular design, which means we have a core where all the processing takes place and also has the display, a camera module of which we have three options, but my twin edition has two, the 360 camera and a 4k action camera. 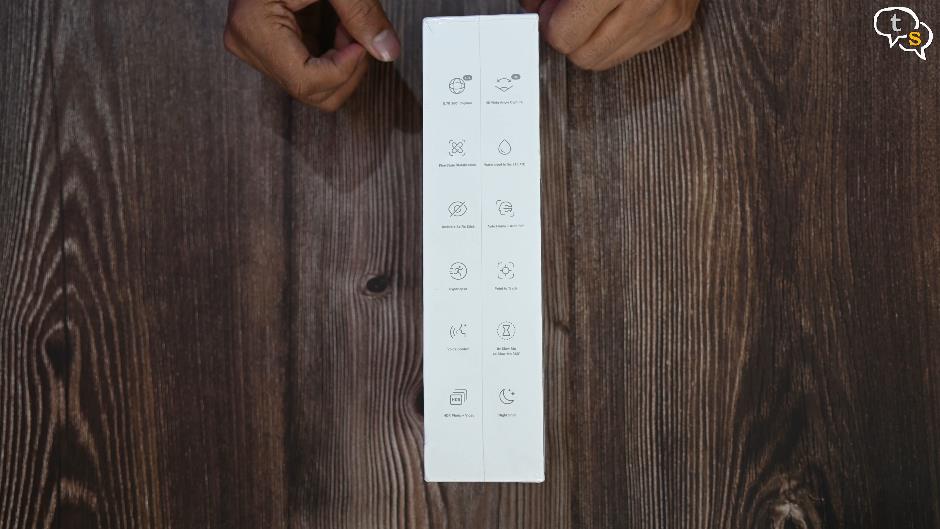
Features are 5.7k 360 degree capture, wide angle lens, flow state stabilization, waterproof upto 5 metres or 16.4 feet, this can erase the selfie stick from your recordings which is cool, AI editing in the app, and a whole host of other features.
Let’s open it up.
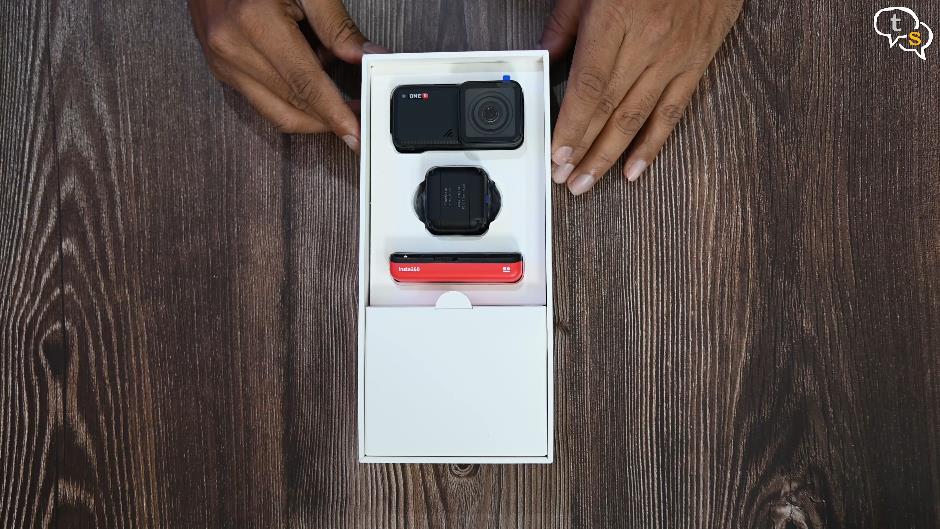
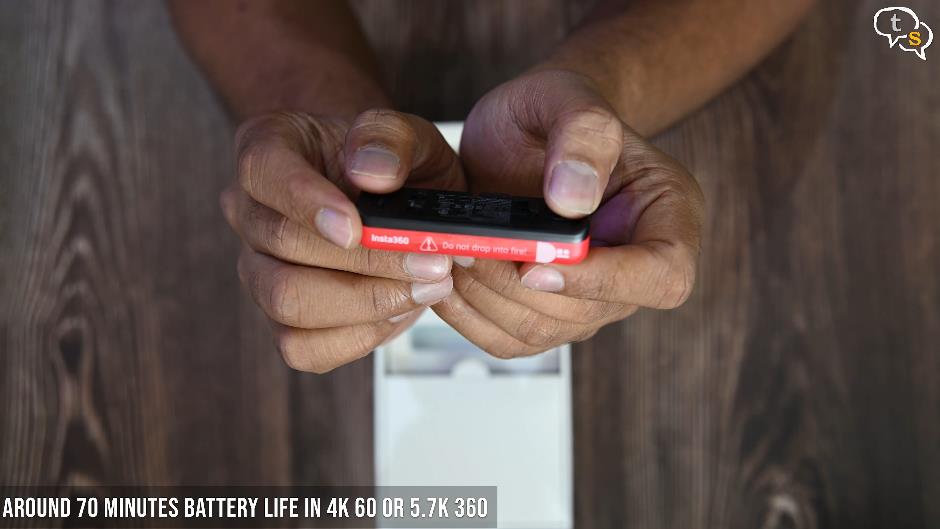
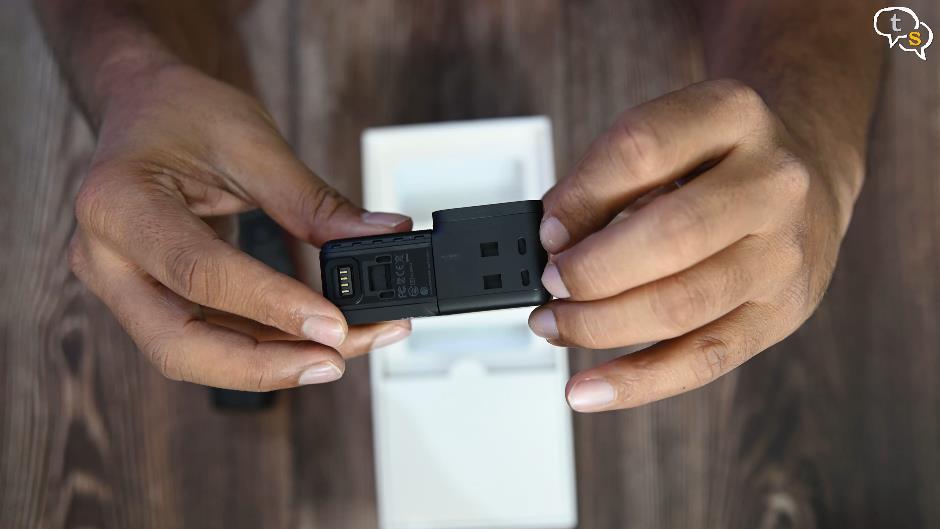
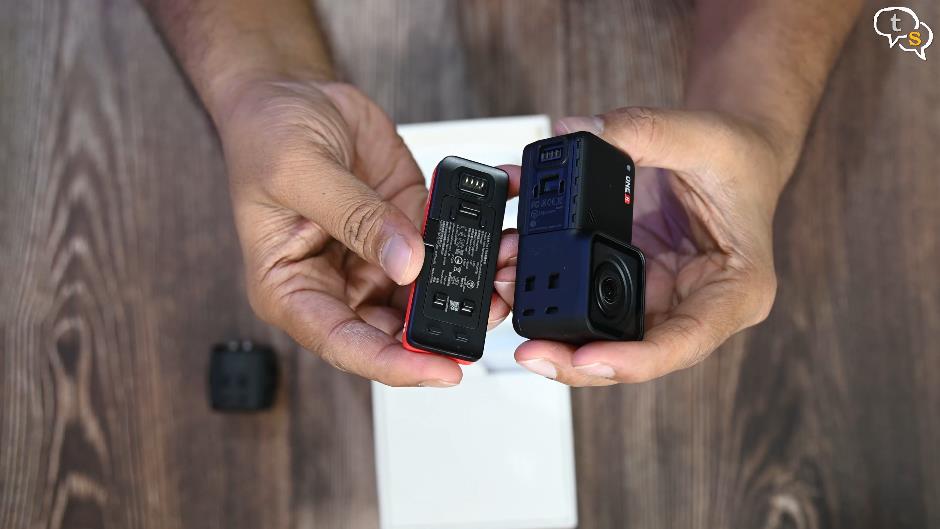
Here we go, on the top we have the Core module with the 4k action cam, next is the 360-degree camera module, and under that is the battery. 1190 mAh, which I’ve heard gives around 50 minutes of continuous record time.
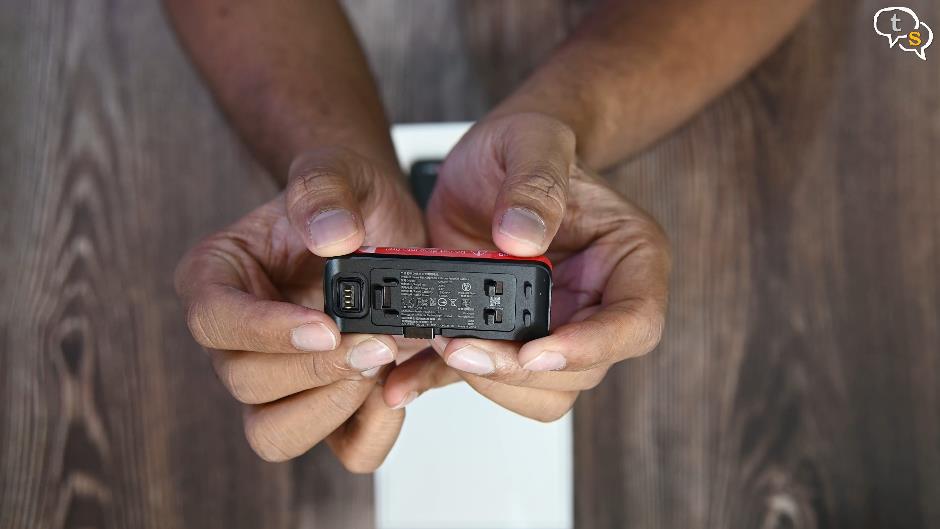
These are the battery terminals that would line up with the core module and power the entire setup.
Do not drop into fire, well lithium ion batteries are volatile, so don’t drop any battery into the fire anyway. Nice and sleek.

Next, we have the 360 module. It has got two cameras each pointing in the opposite direction which would each record a hemispherical video and the two are combined to create a 360-degree video.
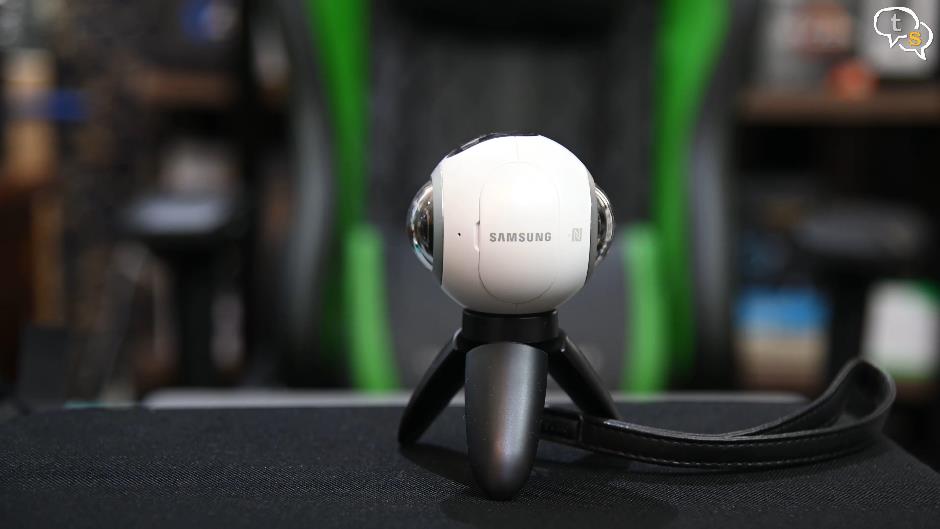
I did have the Gear 360 by Samsung earlier, but that doesn’t have the kind of quality this camera would provide.
F 2.0 and 7.2mm equivalent, which is moderately bright and is quite wide.
Flowstate is insta’s own stabilization solution and it’s quite awe inspiring the kind of videos that are created using this camera.
The lenses have these protective plastic film, let’s get that off.
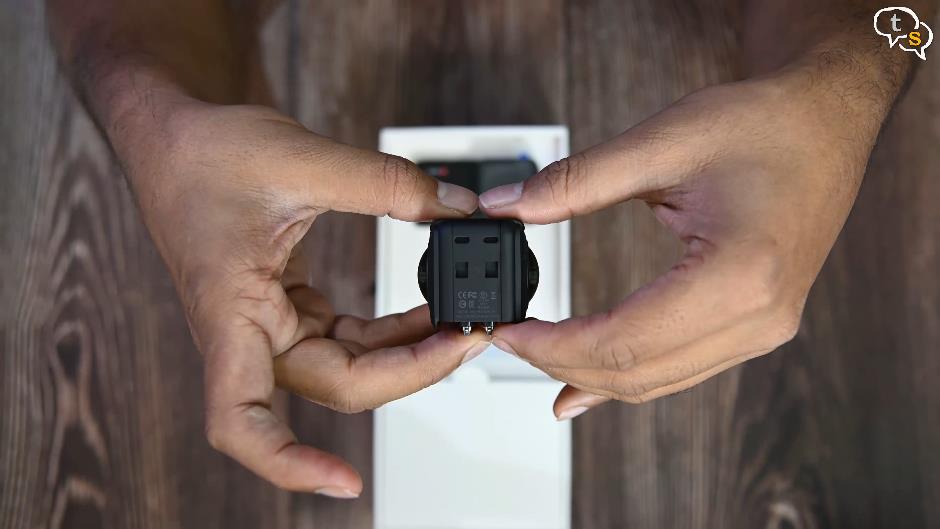
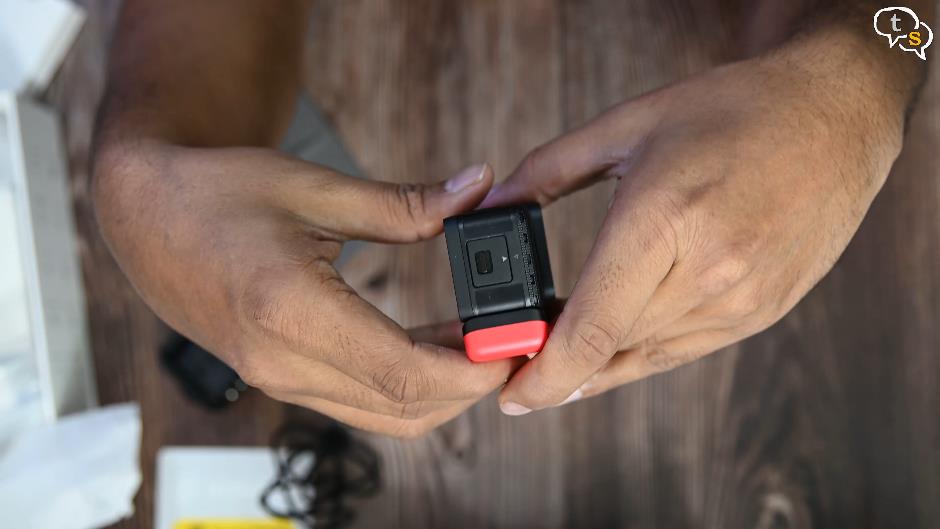
This is the side that would attach to the battery, and here are the contacts that would attach the module to the core.
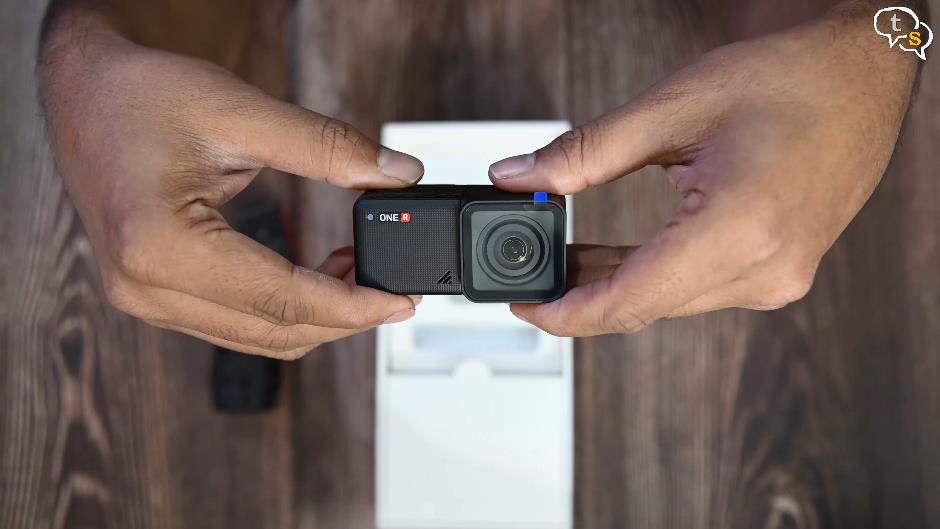
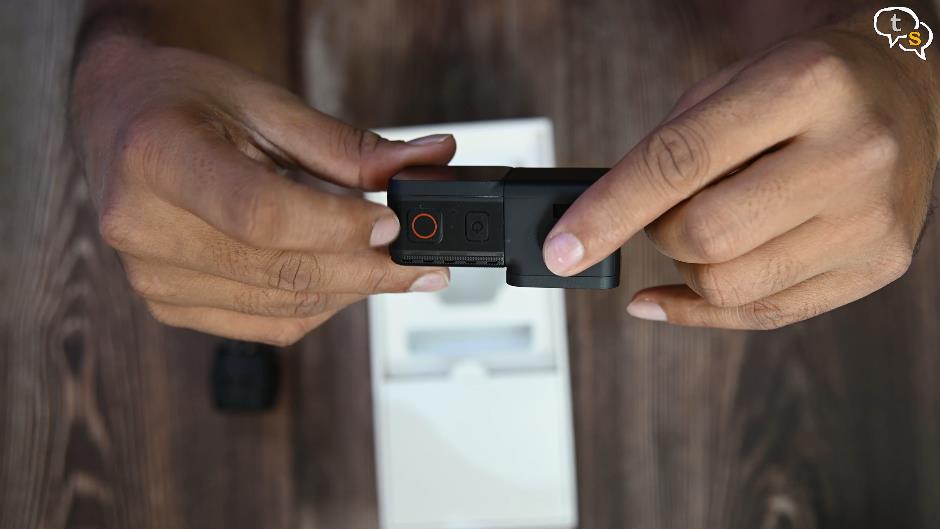
Here’s the core module pre attached to the 4k module.
This module acts like a standard 4k action cam. Get the protective film off the lens, and the same for the display on the core. Quite sleek, it’s actually smaller than i thought it would be.
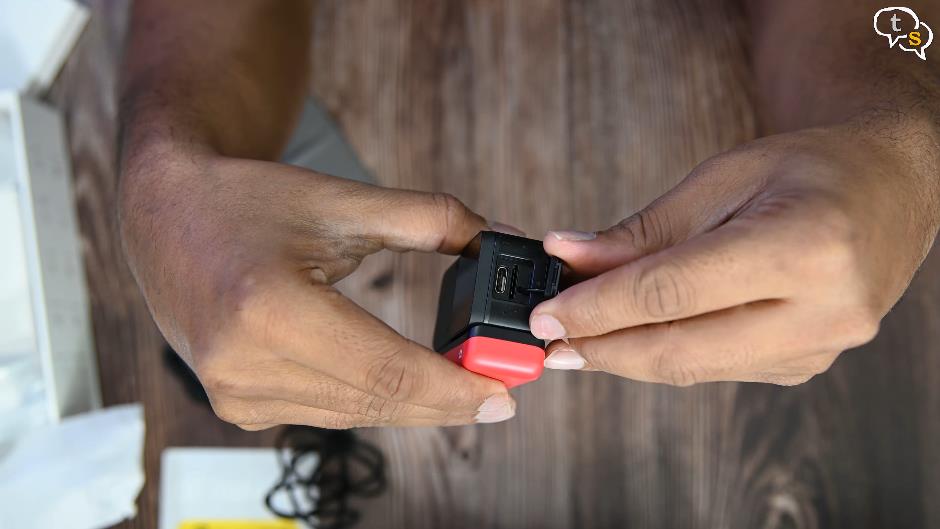
Here’s how the connectors line up underneath where the battery docks. 4k wide angle F2.8 with a 16.4 mm fov.
16.4 is around the sweet spot for vlogging.
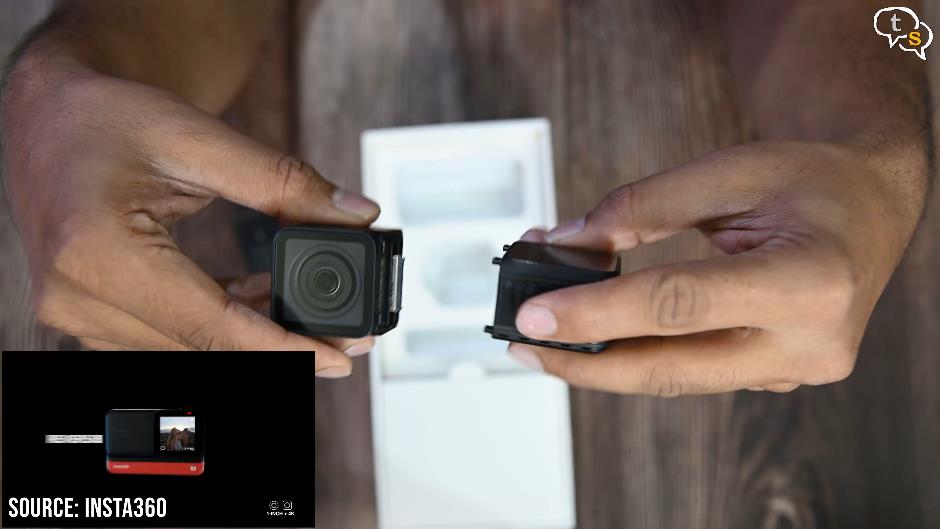
Pull apart and we have them separate now. This is how the connectors look.
Another cool feature is that if you are vlogging, you would like to see yourself while shooting, so just turn the display around and bam you have a front facing display.
On the top of the core we have the power and record buttons. Quite accessible, the record button especially. The power button is a bit smaller, maybe to not have the camera turn off accidentally.
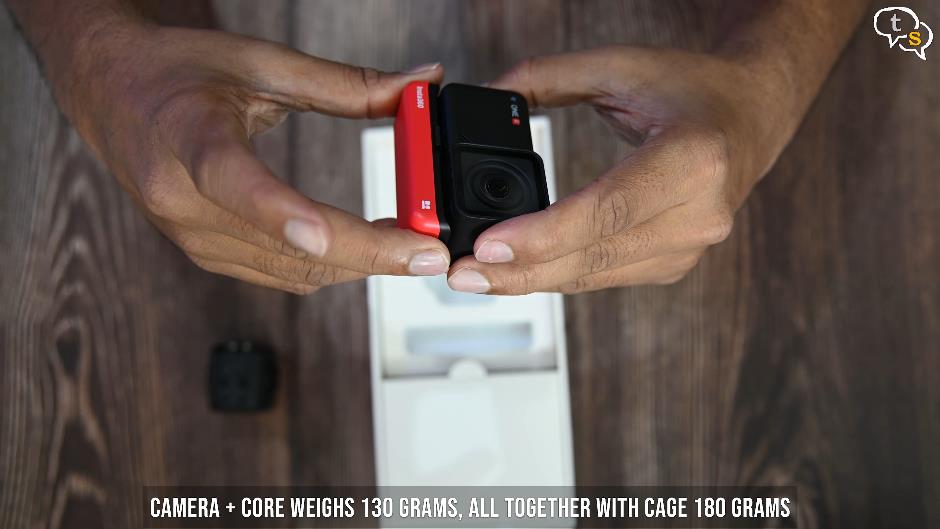
Let’s snap on the battery and that’s it. I’m surprised that this camera is even waterproof due to its modular design. There is a caveat though, it needs to be in the provided cage which I’ll show in some time which holds the pieces together for the waterproofing.
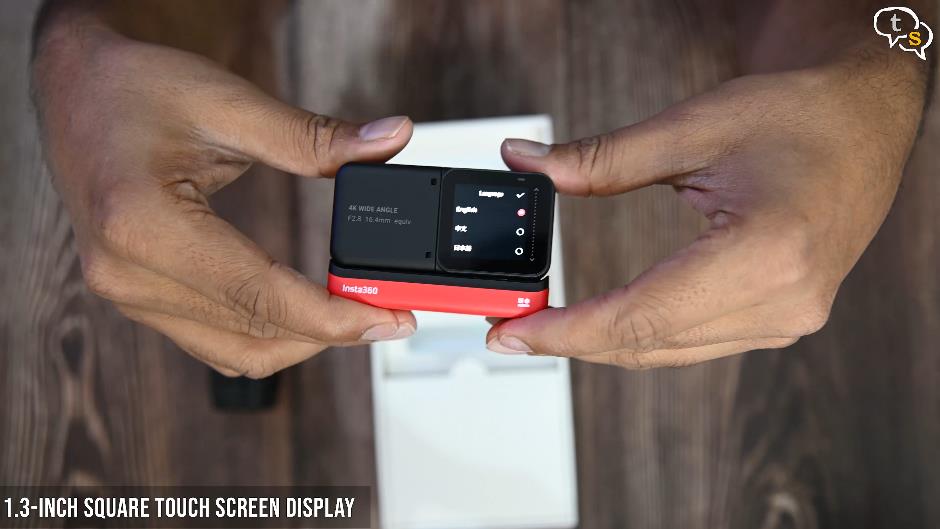
Ok hold down the power button, it’s on. The display is a touch screen so let me select english,
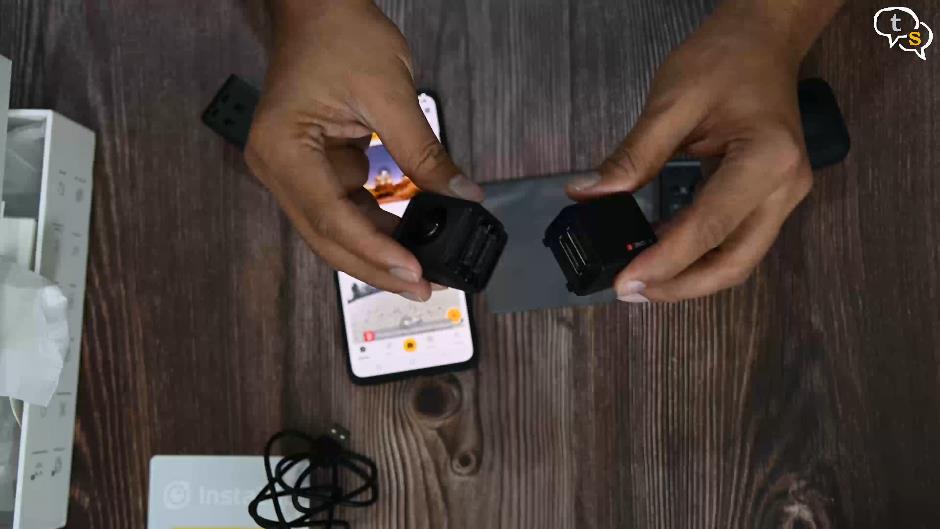
We need to link it to a phone using the Insta 360 One app.
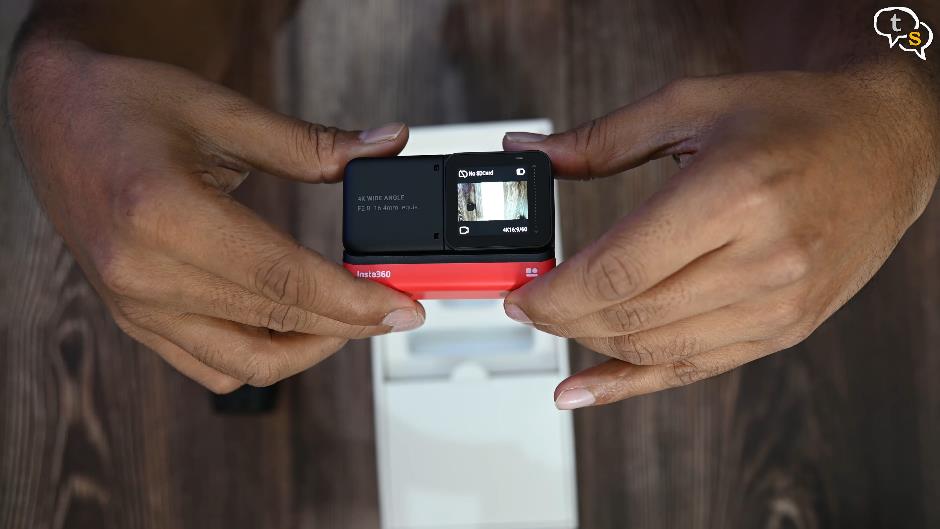
No SDcard, will insert one and the display is small, but enough to know where you’re shooting. But if you’re using the 360 mod, you don’t even need to worry about that as it records everything.
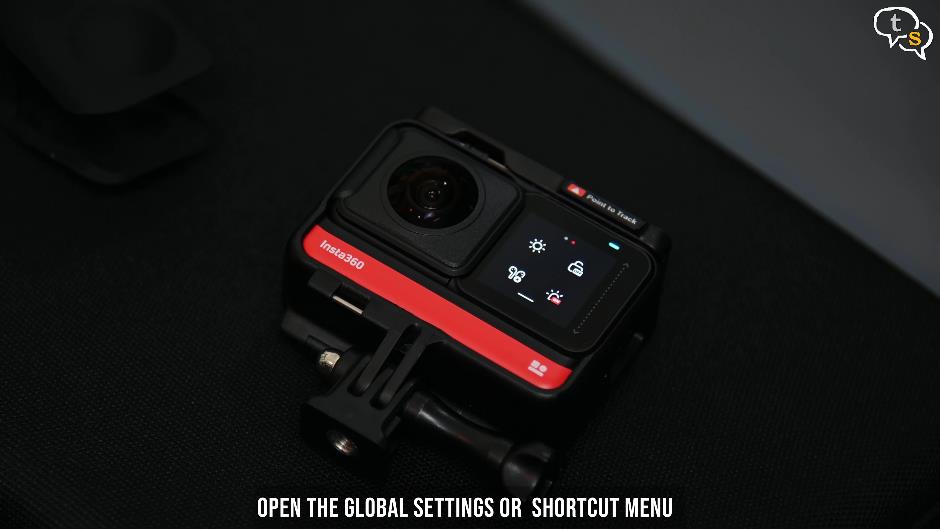
All menu options are available via swipes. Swipe down for the main settings menu.
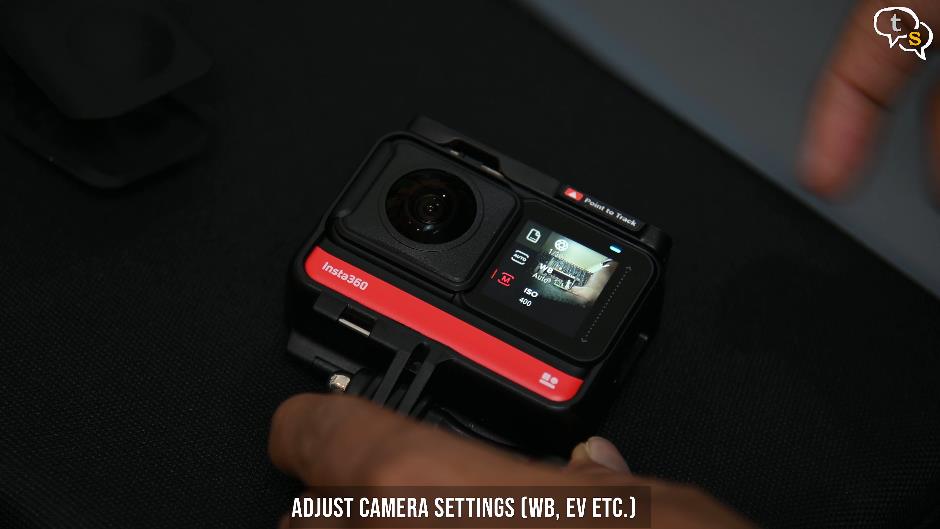
Swipe left for camera settings to set white balance, exposure
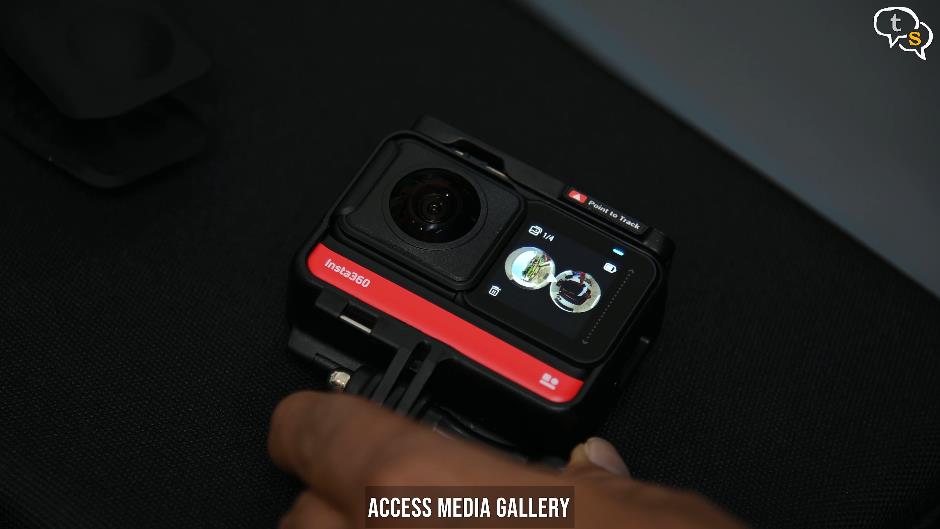
Swipe right for the media gallery.
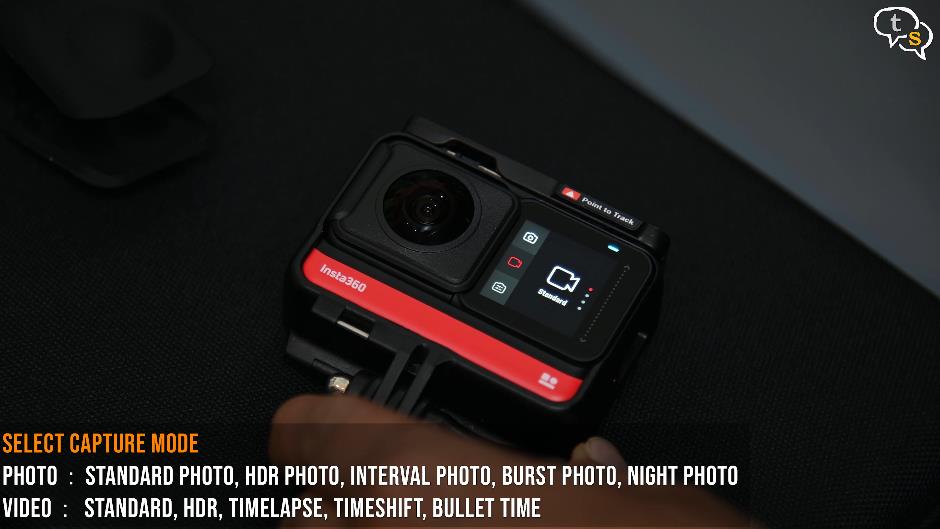
Bottom left icon select capture mode and
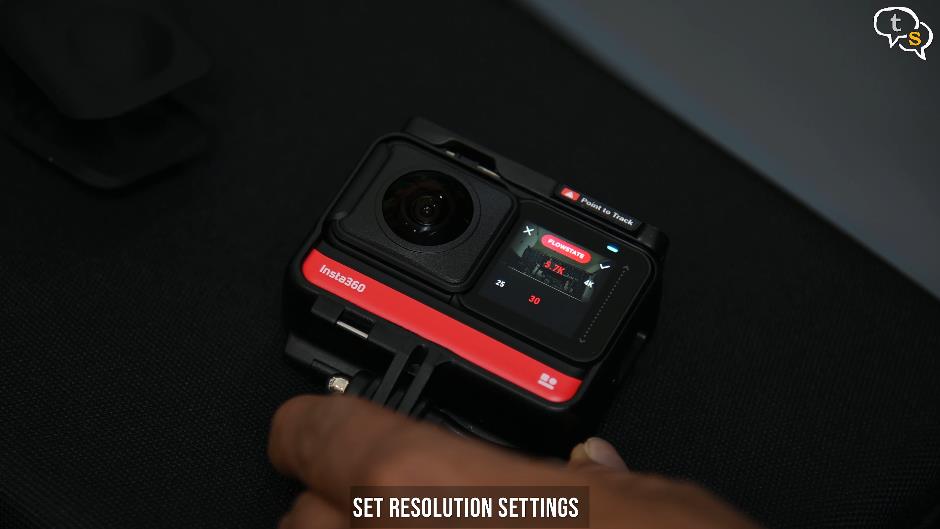
bottom right is for the resolution settings.
Easy once you get used to it.
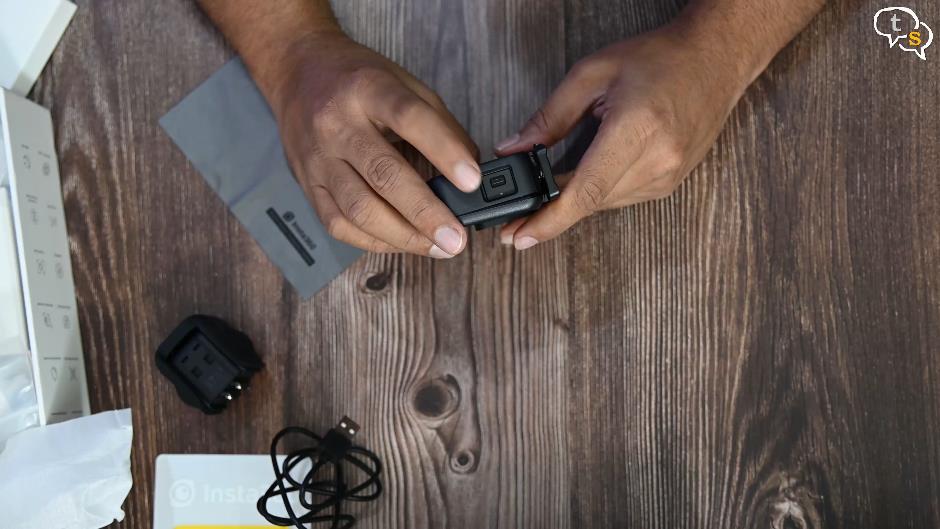
Let’s see what else is in the box.
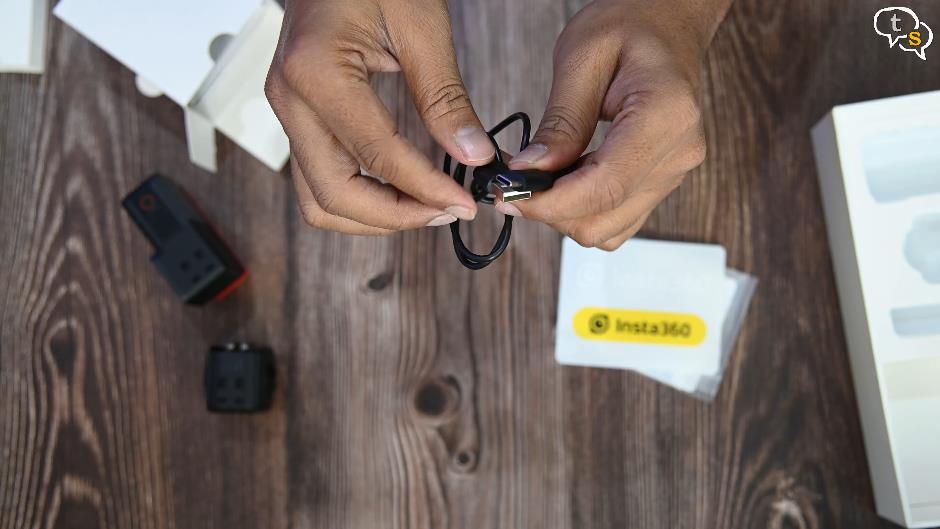
A USB-c cable. No power brick as with most action cameras.
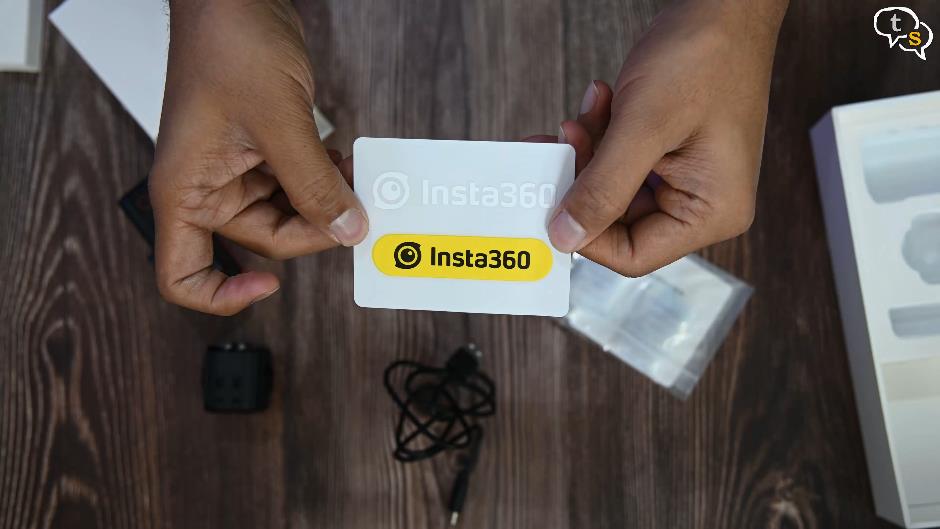
Stickers, and a cover to store your lens mods.
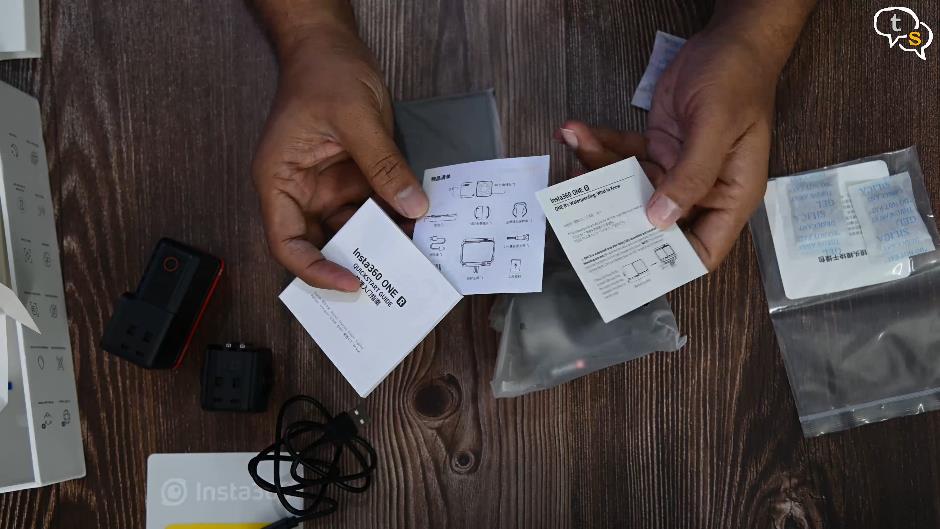
What else do we have, ah at last the mounting case and also documentation.
An insta360 cleaning cloth, which is quite necessary as the lenses are prone to pick up fingerprints.
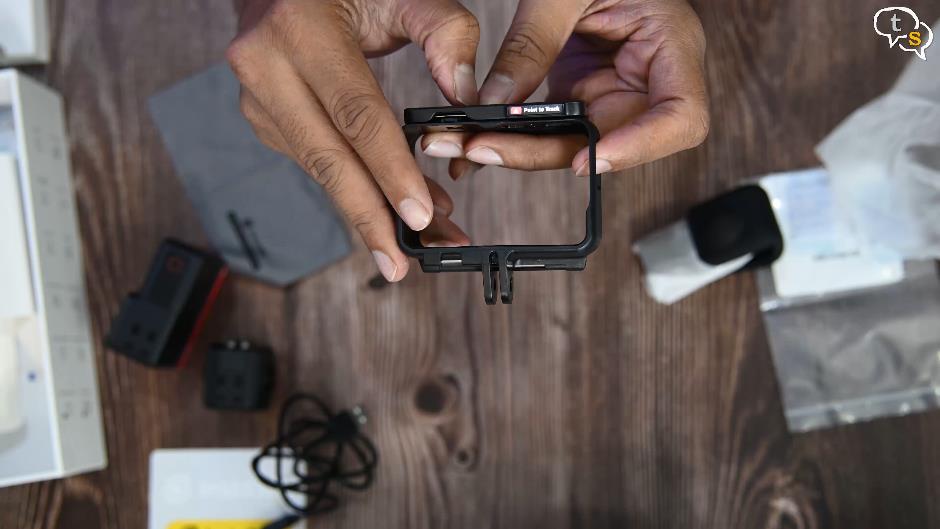
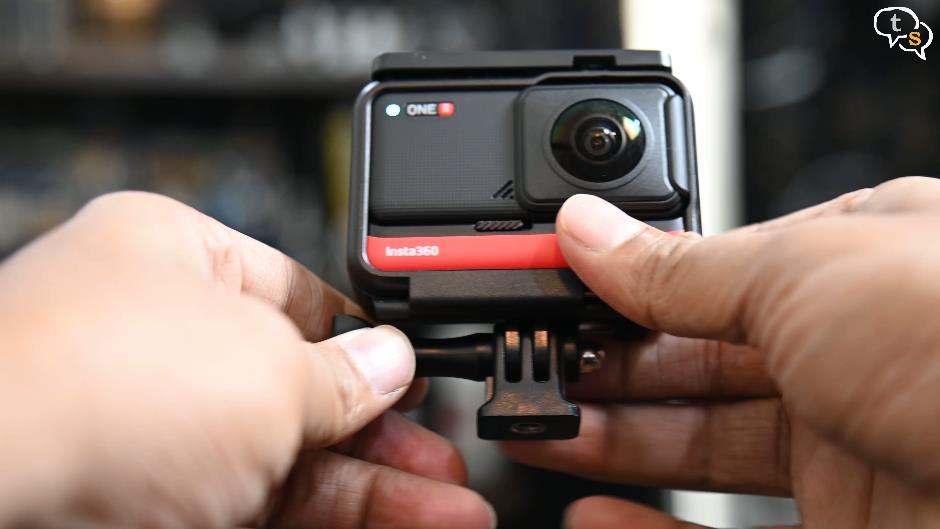
Here’s the mounting cage , you would insert the insta360 one R within and it would keep the components together for the waterproofing.


Also the bottom of the case has the mounting bracket, which works with most if not all action camera accessories.
So slide the switch, open the case, slide in the camera, make sure the buttons are aligned and done.
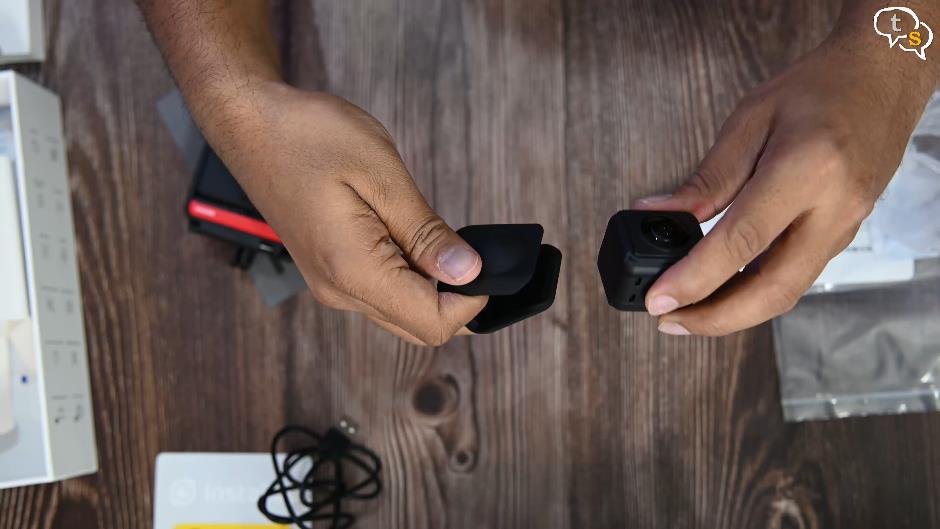
These are lens covers for the 360 modules. Nice that they included it. Slide it on and it’s protected. These can be used even when the module is attached to the core.
The rest of the mounting accessories, a standard screw-based attachment.
And the mount has a tripod screw hole below. This would attach to the bottom like this. There.
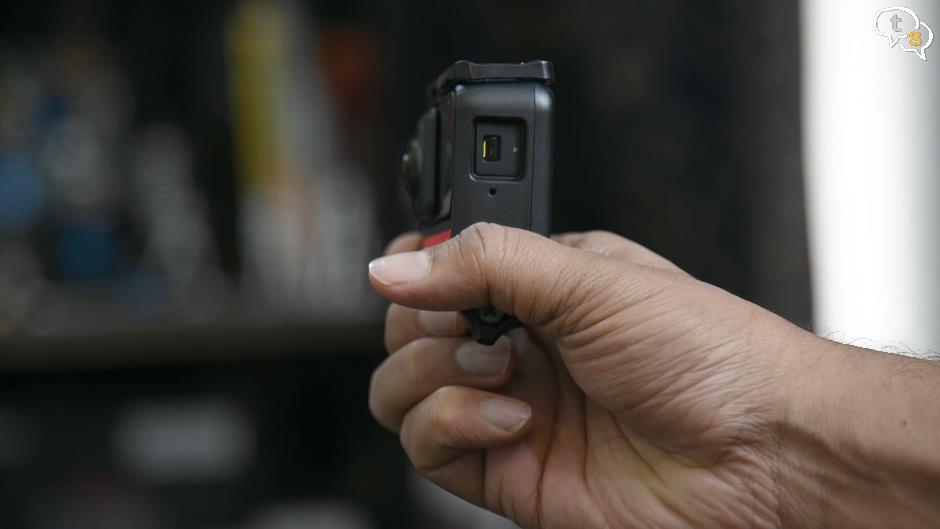
On the side we have a lock cover where we find the usb-c port and micro sd card slot.
Let me get the camera out so that we can get a better view. Notice those two arrows are pointing at each other, this is the orientation we need to lock the cover back.
If the cover is not locked properly it’s not waterproof anymore. Let me put in a memory card,
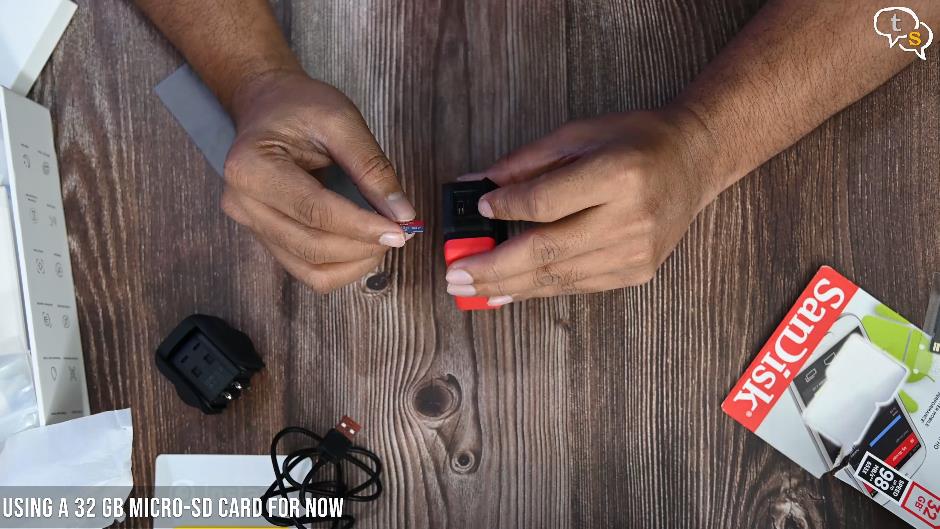
I will have to look for a 128 GB card later as 32 GB is not going to be enough while shooting in 5.7 K.
Slide it in and close.
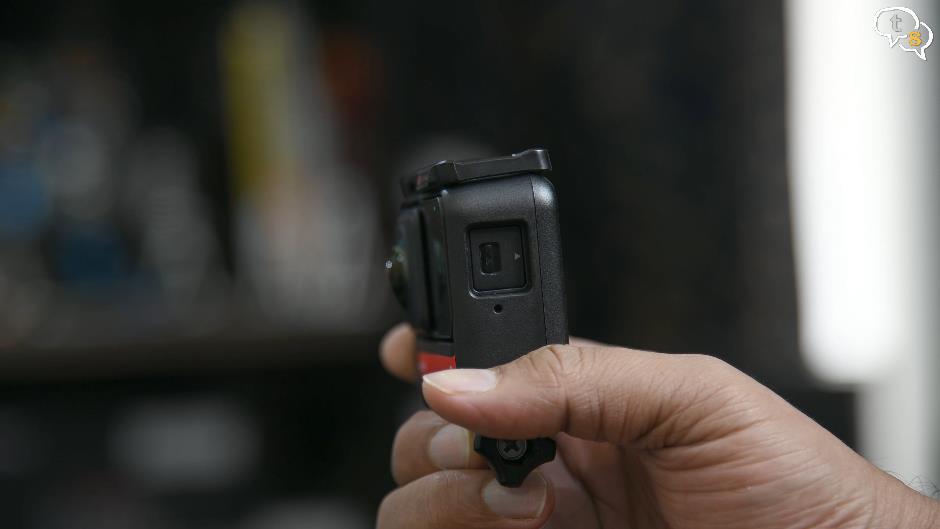
Another cool feature on this lock is this yellow colour here. If the lock cover is not installed properly you will notice this yellow colour. If it’s in properly, it will be black. There are times the lock door is completely out of the slot and it looks black, make sure it’s completely inserted before use.
Let’s set up the camera, we need to activate it via the app.
Install insta360 app. Allow permissions.

Make sure Bluetooth and Wi-Fi are on. Select the one R in the Bluetooth list, after this the phone would connect directly to the camera’s Wi-Fi and the camera is activated.

If the phone doesn’t connect to the camera’s Wi-Fi automatically, you can open up Wi-Fi settings and manually select one R Wi-Fi hotspot.
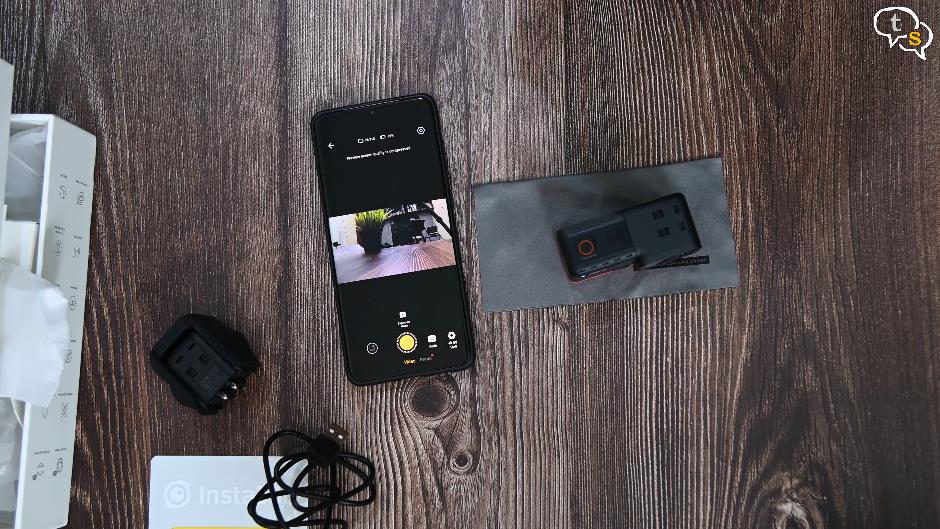
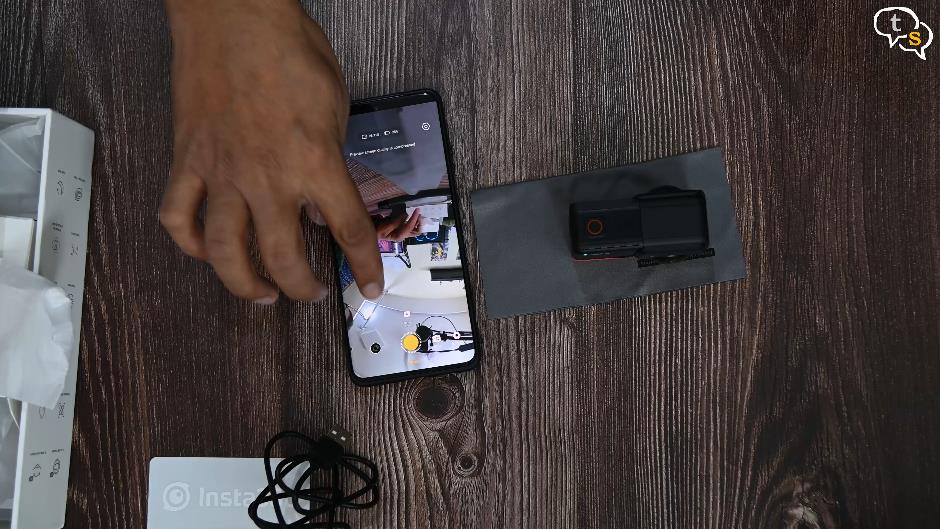
Once connected we can view the live feed off the camera.
So, this is the 4K camera, looks quite nice, the video is compressed, but internally the camera is recording in the resolution you have selected.
Now let us shift to the 360-degree camera.
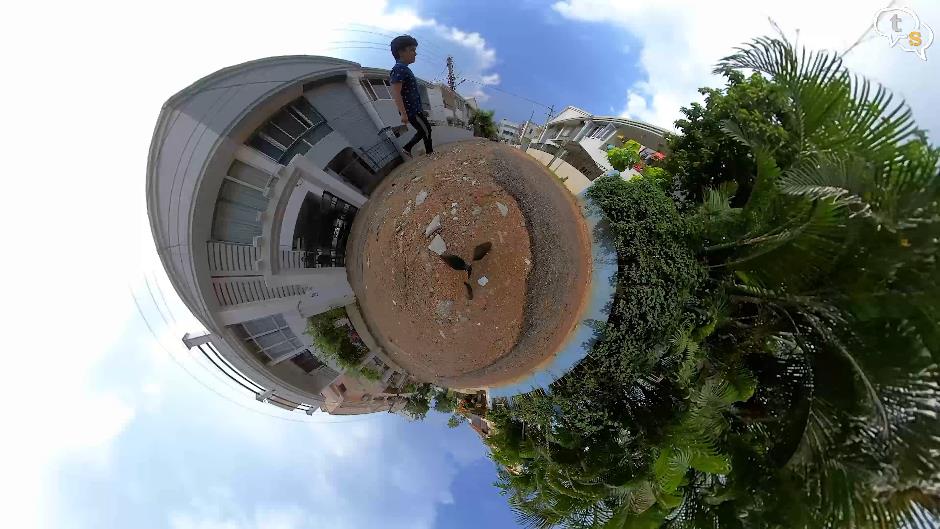
You can pan and tilt in every direction without the camera even needing to move which is fantastic.
We have a lot of preset stories as they are called where we can have effects applied to the footage recorded on the camera.
The best part is that the effects are added in post so we still have the original footage and, we can apply any effect we want multiple times.
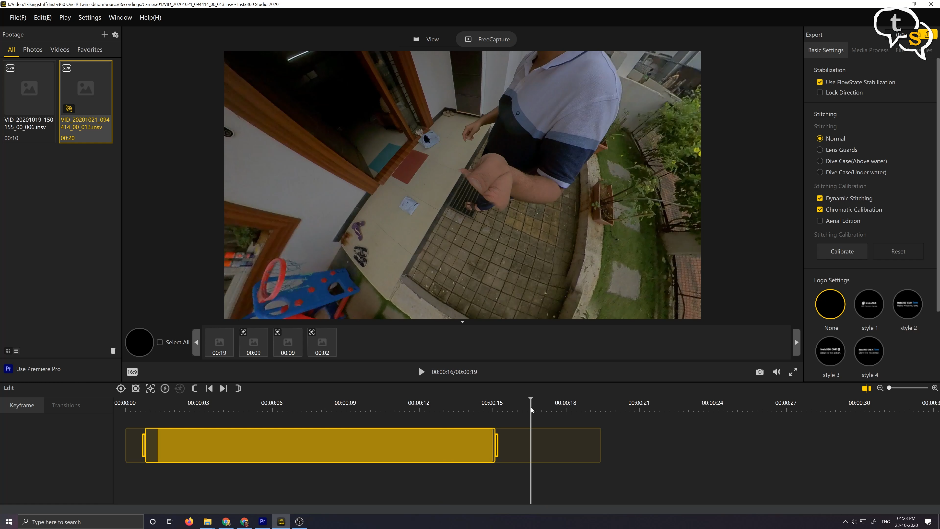
Exporting on the phone only gives out a 1080p video, but if you need more quality use the insta360 studio application on the PC for higher quality. It’s also nice that you don’t need to download the video to the phone before editing, saving the already precious space on your phone, only the exported file takes space but processing takes more time due to this. You can copy the files to the phone for faster processing.

The camera uses it’s own insv format and the application installs the appropriate drivers on windows for enabling thumbnails on the files and we can also edit on the pc.
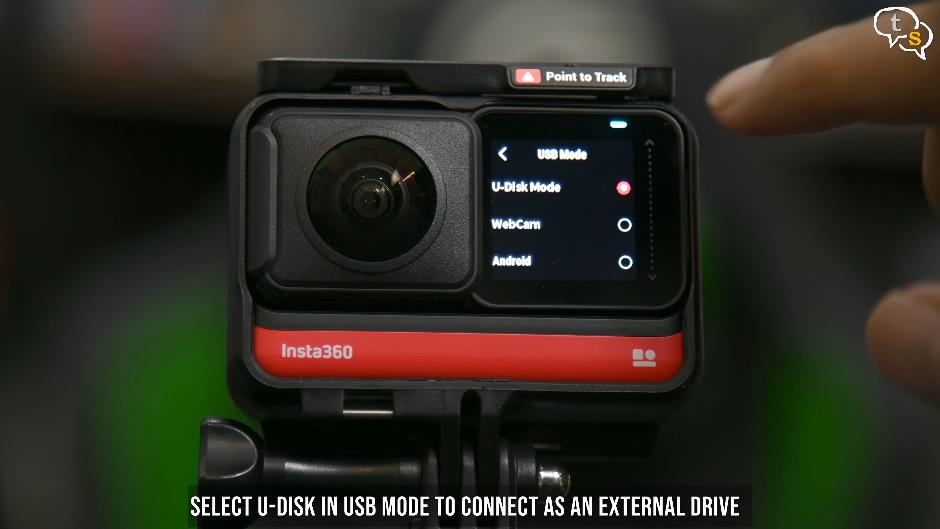
Connecting to the camera is where i had a bit of a problem, even though it was connected it was not showing up as a drive on windows, then after a bit of digging i found the usb mode option and turned on u-disk to enable using the camera as an external drive. Much easier than having to remove the microSD card and put it back in.
The lock cover is a pain to open and close especially if it’s within the mounting case.
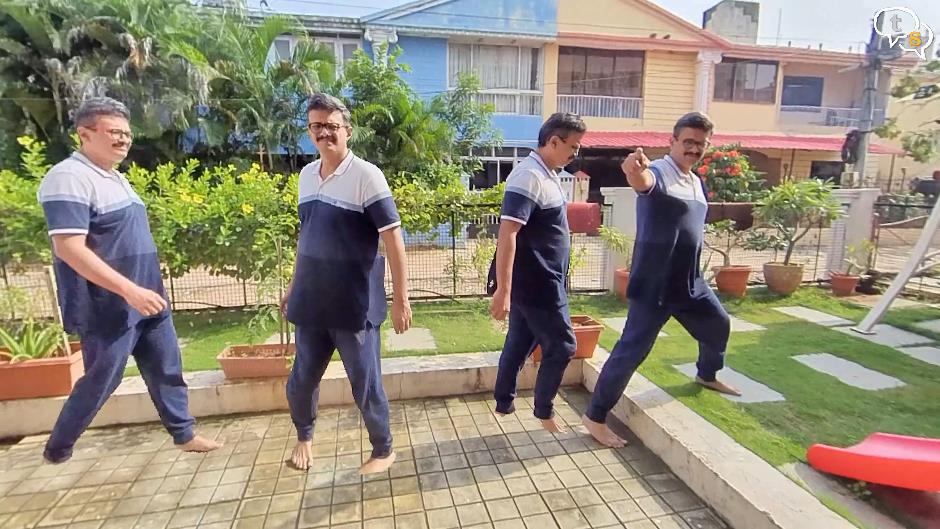
The effects are fun to use and the AI processed the files quite well. Just look at these effects.
I had problems on the phone too as wifi was being connected to the cam so the stories and effects tabs were not populating, all i had to do was enable mobile data for it to download the required files into the app.
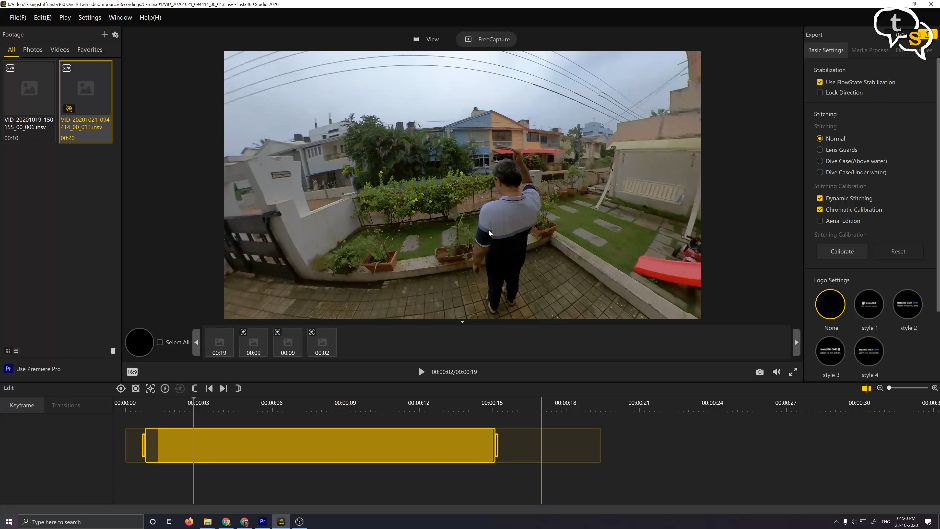
The 360 video at 5.7 k is for the whole 360 degree video and not for one direction so if you point it in a certain direction in post the resolution is lower than 5.7k.
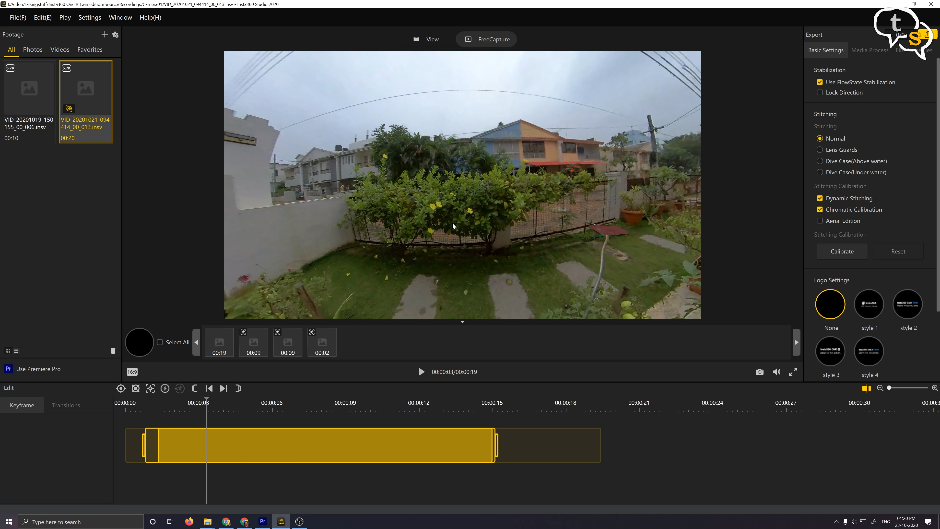
The reframing option is quite nice, and you never miss a thing when recording in 360 as you can turn the camera in any direction you want in post.
The seam lines though are visible, looks to process better on the PC. But keep in mind of the seam lines which are found on the left and the right of the camera.
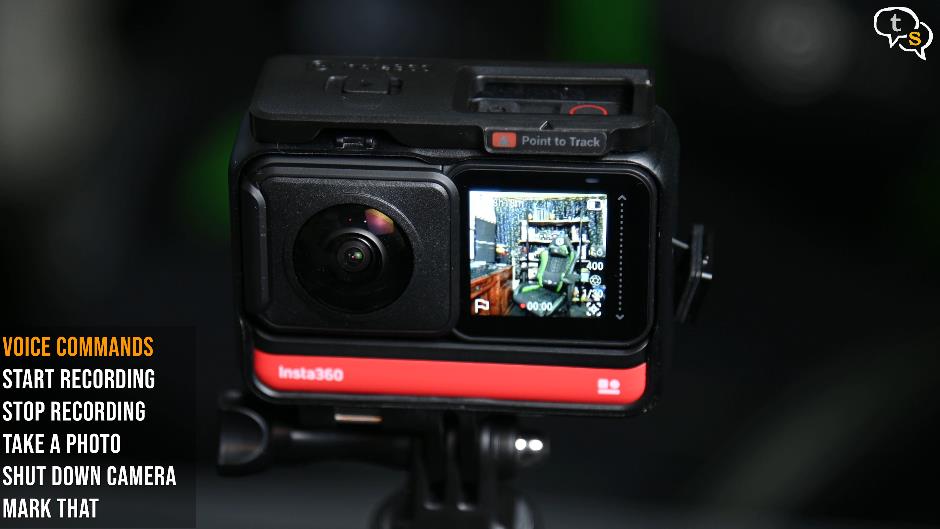
We can control the One R using voice commands. Such as start/stop recording and more.
Battery life is around 70 minutes on continuous use which is normal I guess for action cameras, you can purchase a boosted battery which can get very expensive. Another option is to use a powerbank instead, if you are not stuck in the rain or interacting with water in any way.
Getting the camera in and out of the cage is irritating, but if you need waterproofing and the mount you need to do this.
The camera with it’s little niggles is still a very capable camera which is what earned it’s name as the best action camera. The 360-degree mod is fun to use and the effects you can create automatically via the app in a few minutes are fantastic. I went for the twin edition because the 4k camera was being bundled in for less than 4k more than the price of the 360 module version.
Another advantage of the modular design is that newer modules can be designed bringing in newer features.
I really love this camera and would actually like to travel around and take more shots. But you know what’s going on right now, so not leaving my house, so these shots are the only ones I have for now.
As usual if you have any questions do write in to tech@talkingstuff.net or WhatsApp me at 9652578833.

Vinayak Nair is a self-confessed geek from the days when computer memory was measured in Kilobytes. I create YouTube videos on 3D Printing, DIY Projects, Everyday tech reviews and also delve into gaming.