

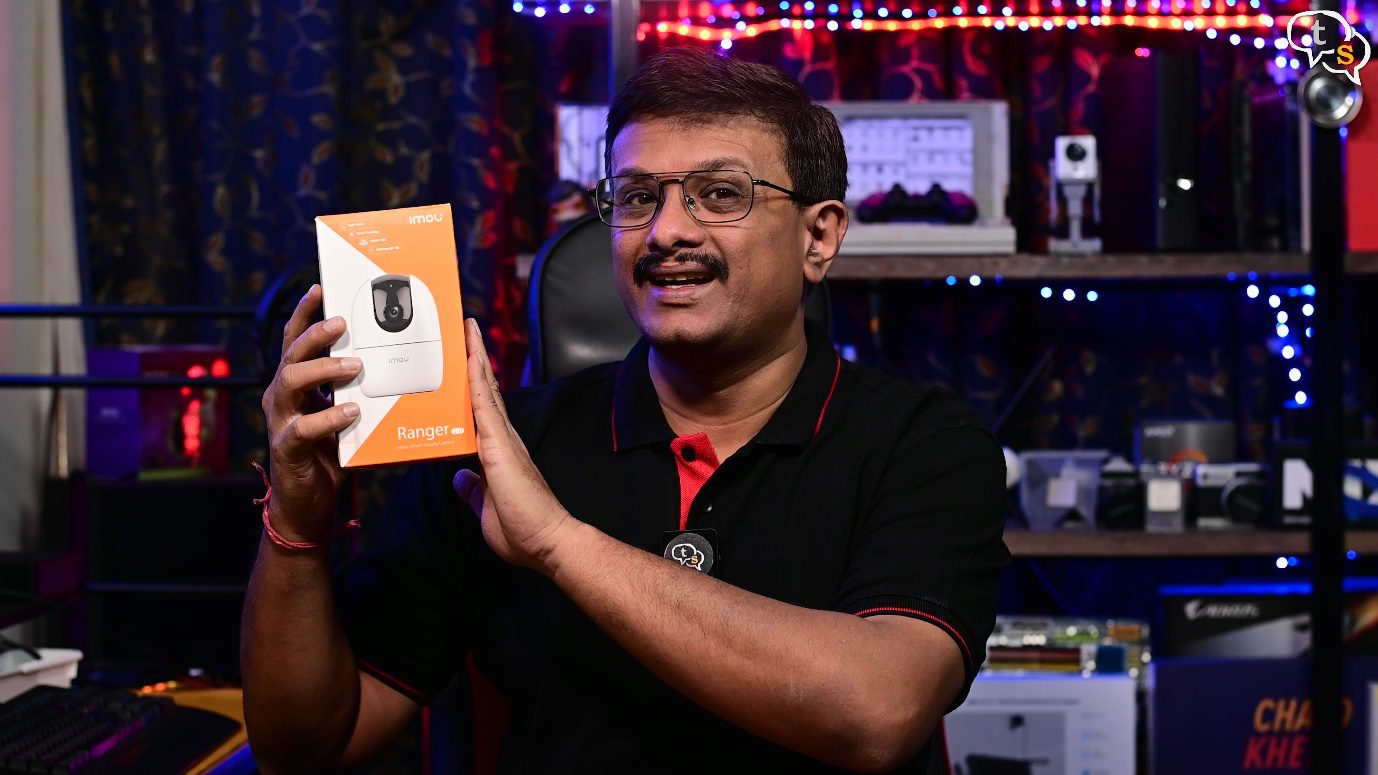

Today I have a new indoor security camera by I-mou, the ranger 2d. This is a 1080p, 360 degree, AI home security camera.
So, let’s get unboxing and check it out.

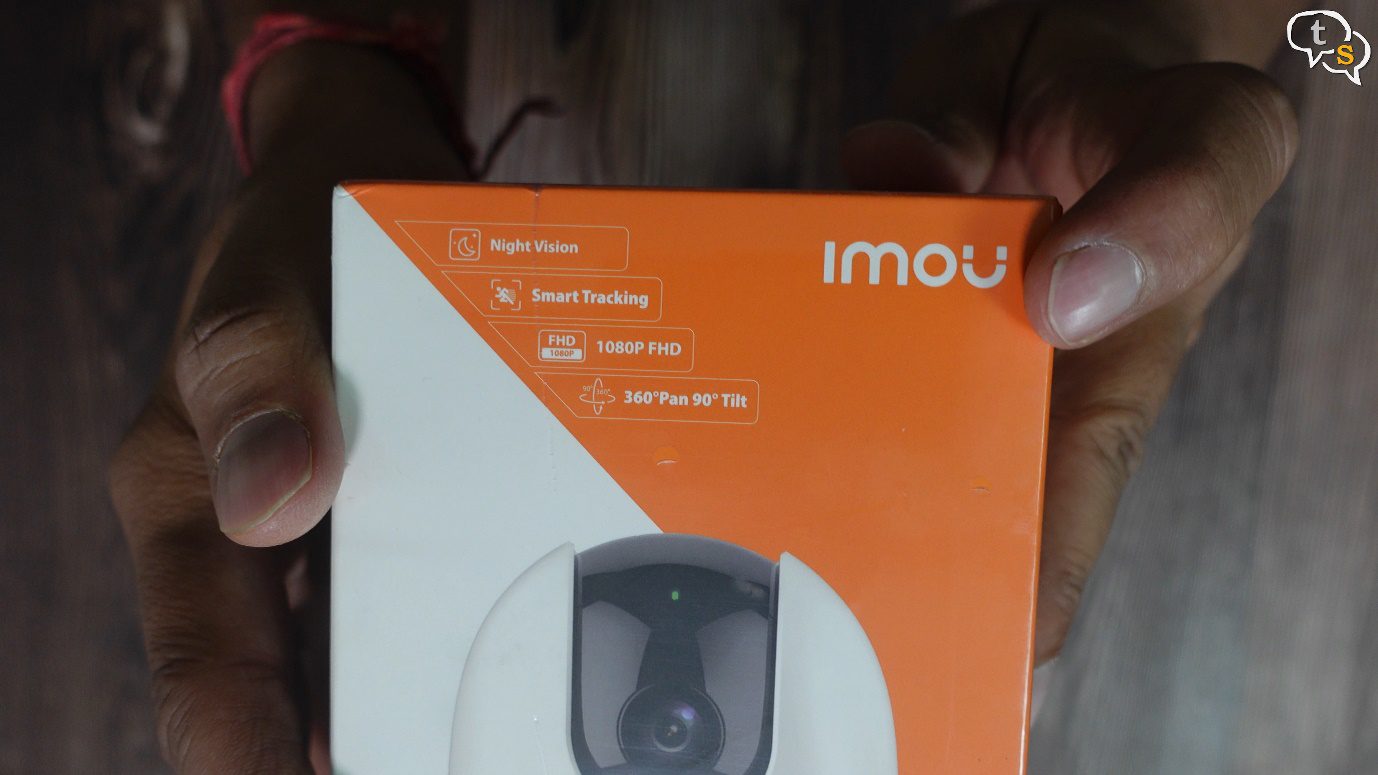
This is the Imou ranger 2d, it has night vision, Smart tracking, 1080p recording and 360 degree pan-tilt motion.
The camera works with google assistant and alexa too. There are tons of features listed on the side, but to check them out let’s first unbox the camera.
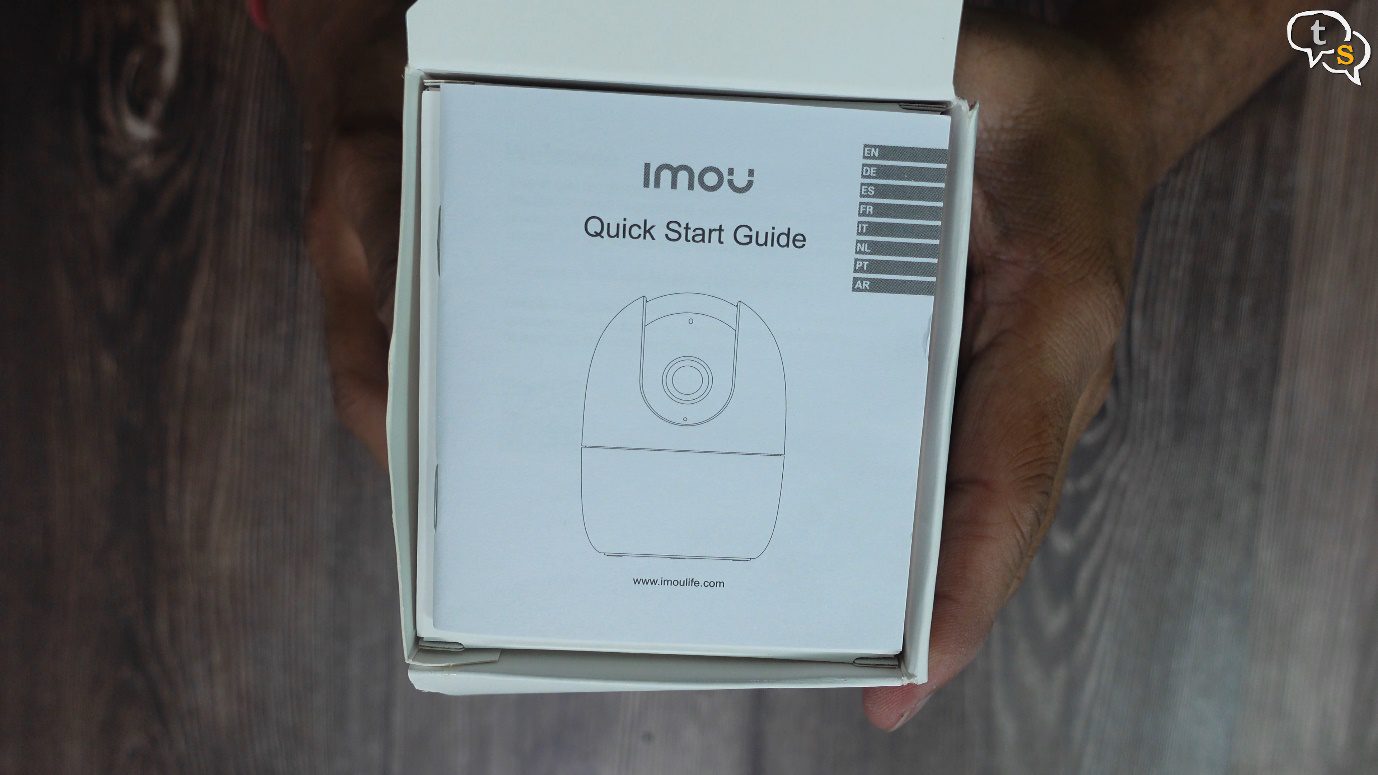
When opened we find a manual first.
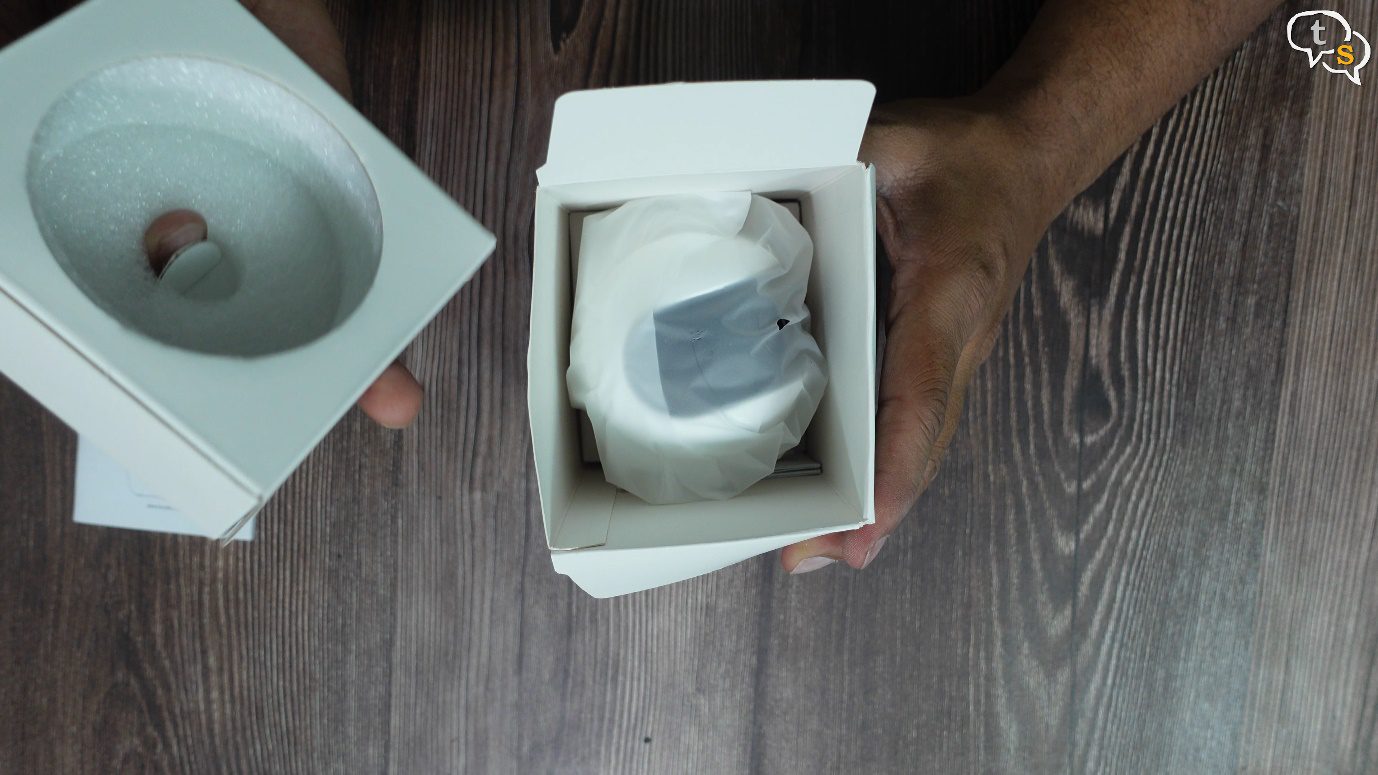
Let’s keep the camera to the side for now.
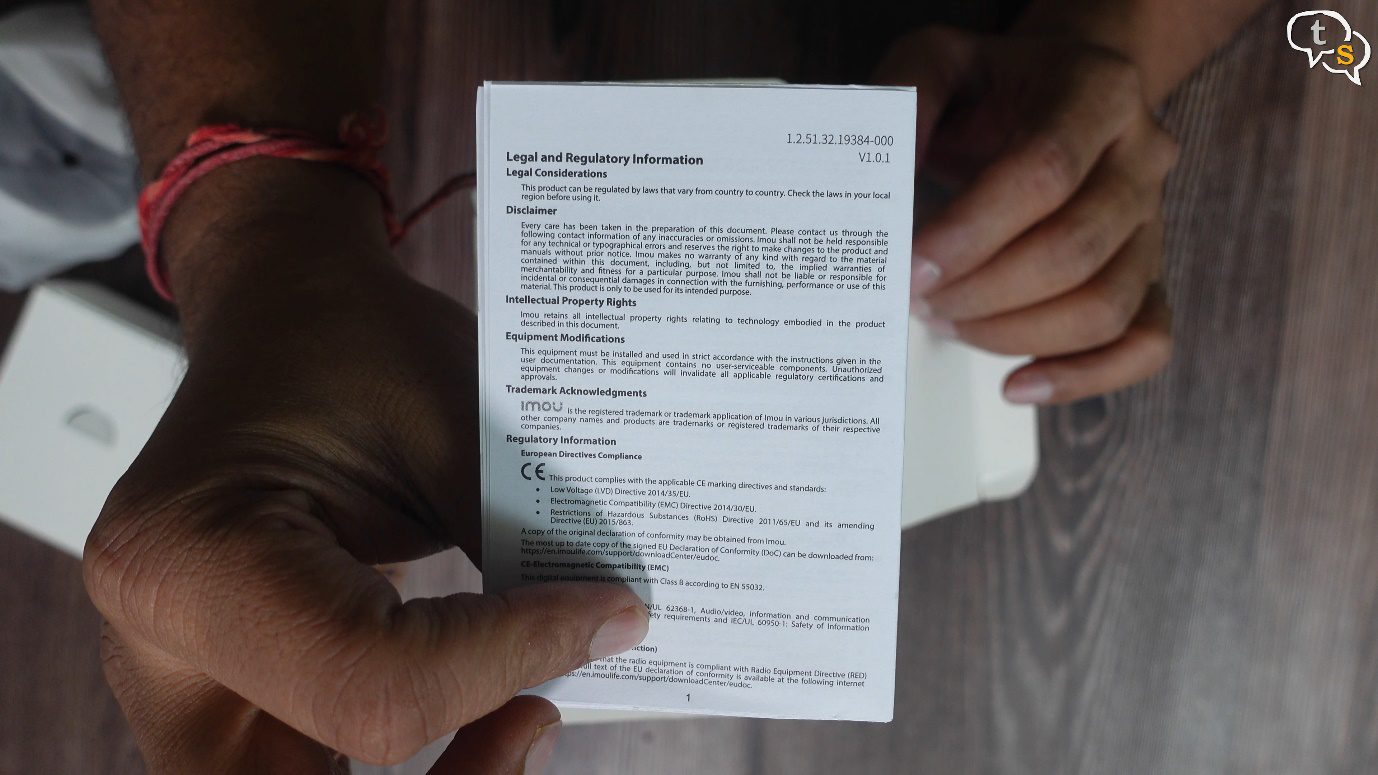
Some more paperwork.
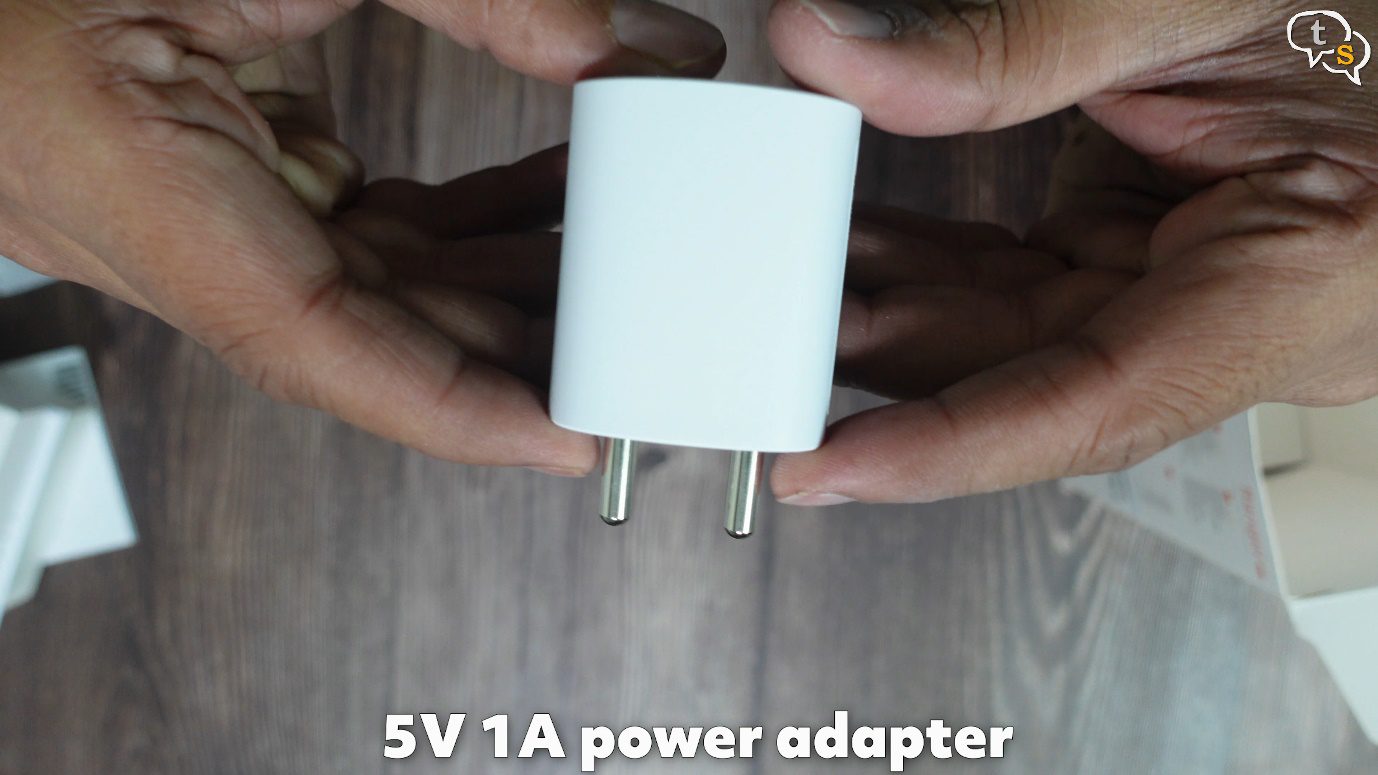
And under that we have, wow they’ve provided a power adapter, not many companies do that.
The charger has an output of 5v 1amp.
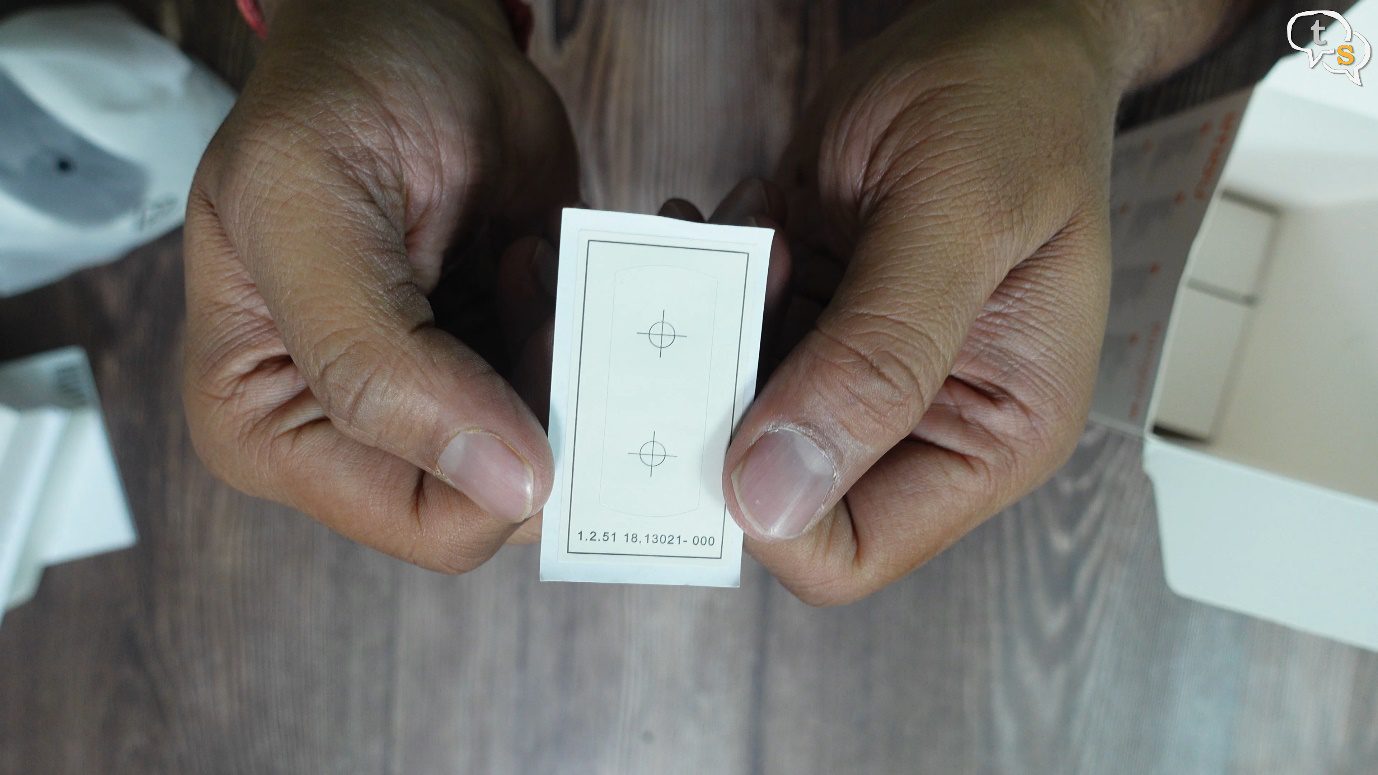
This sticker is for the positioning map used for drilling, needed when using the mount.
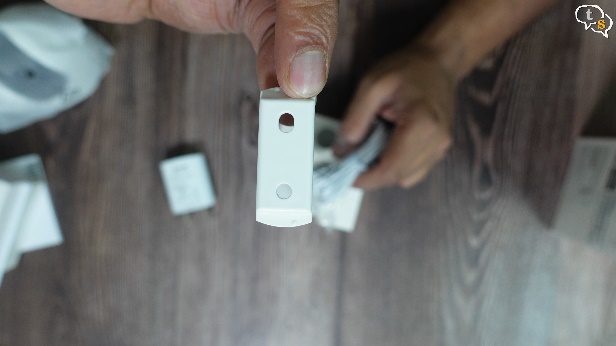

Here’s the mount itself.
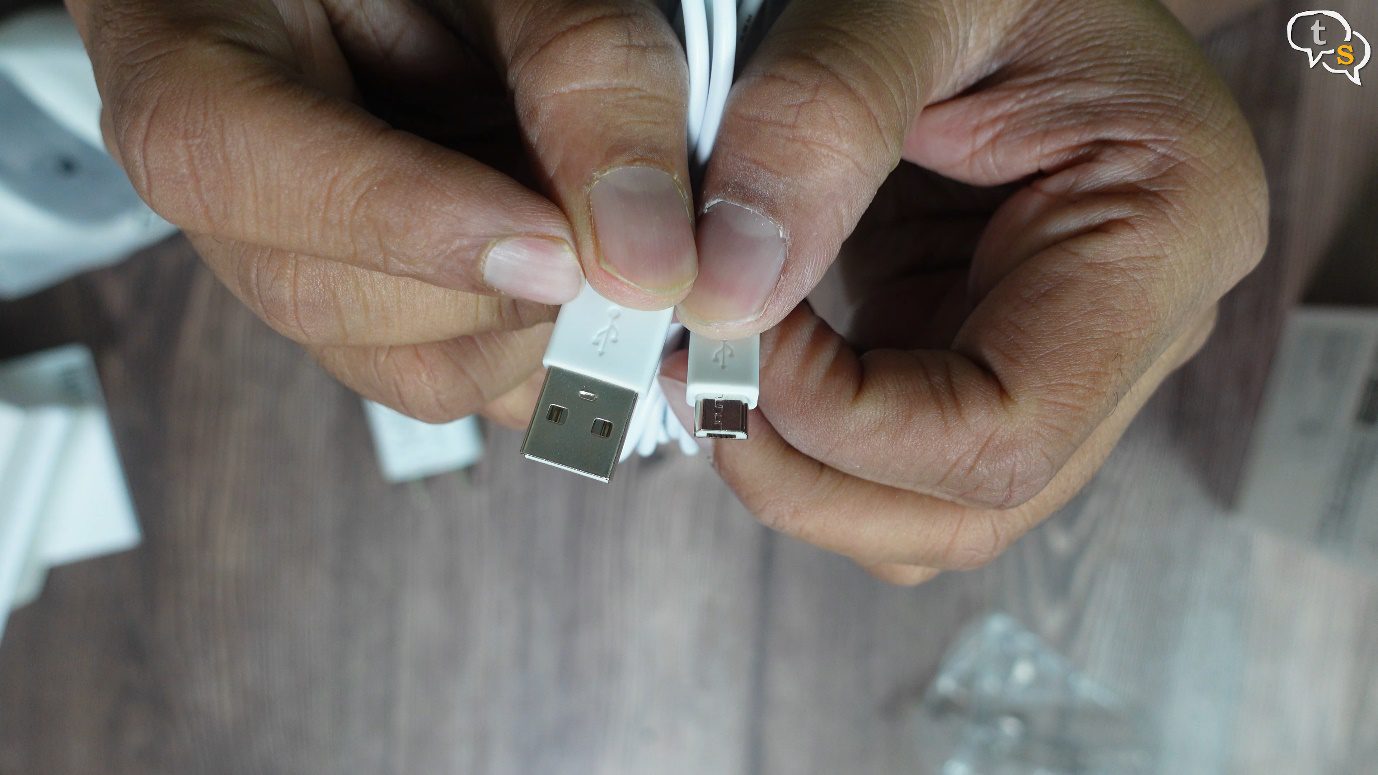
A nice long power cable, which is sadly micro-usb. Not much of a downer as it is only used for power.
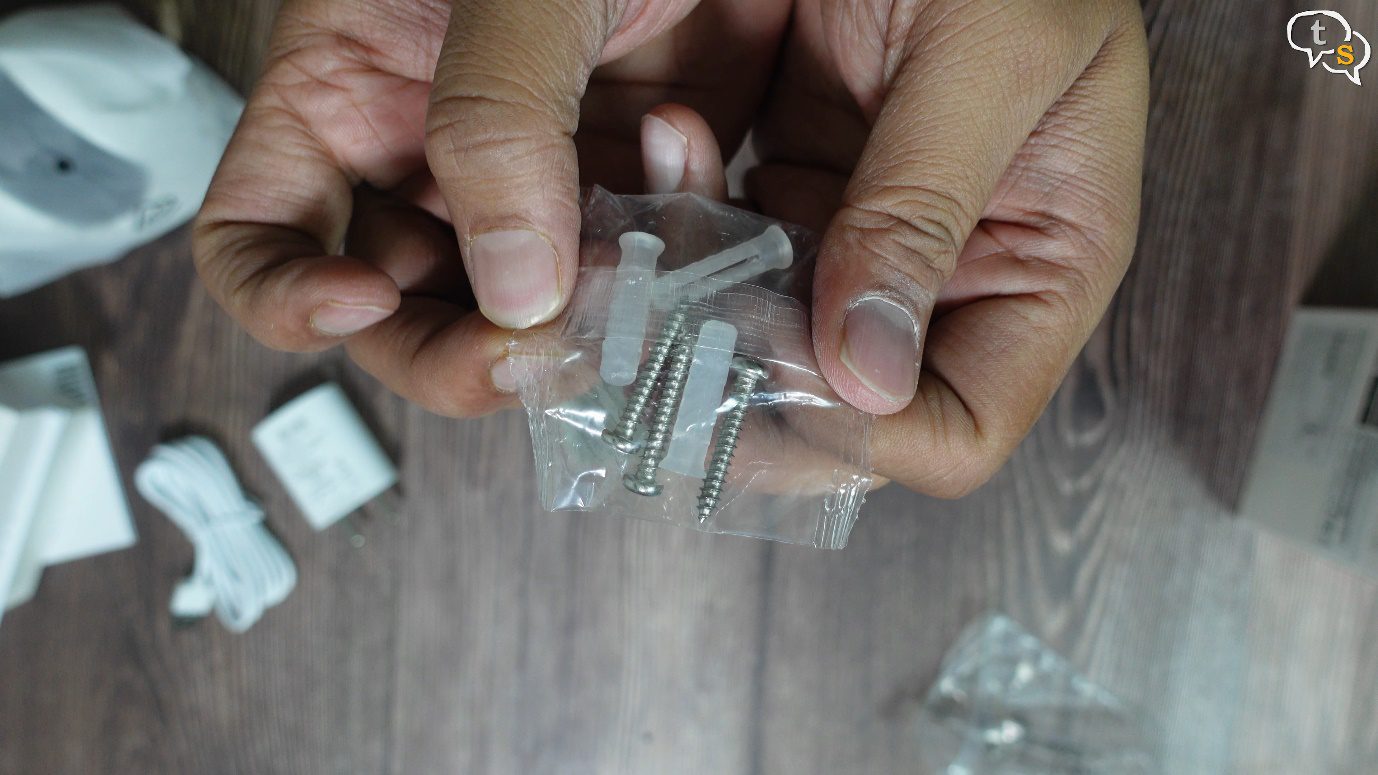
And what else, screws and wall plugs.
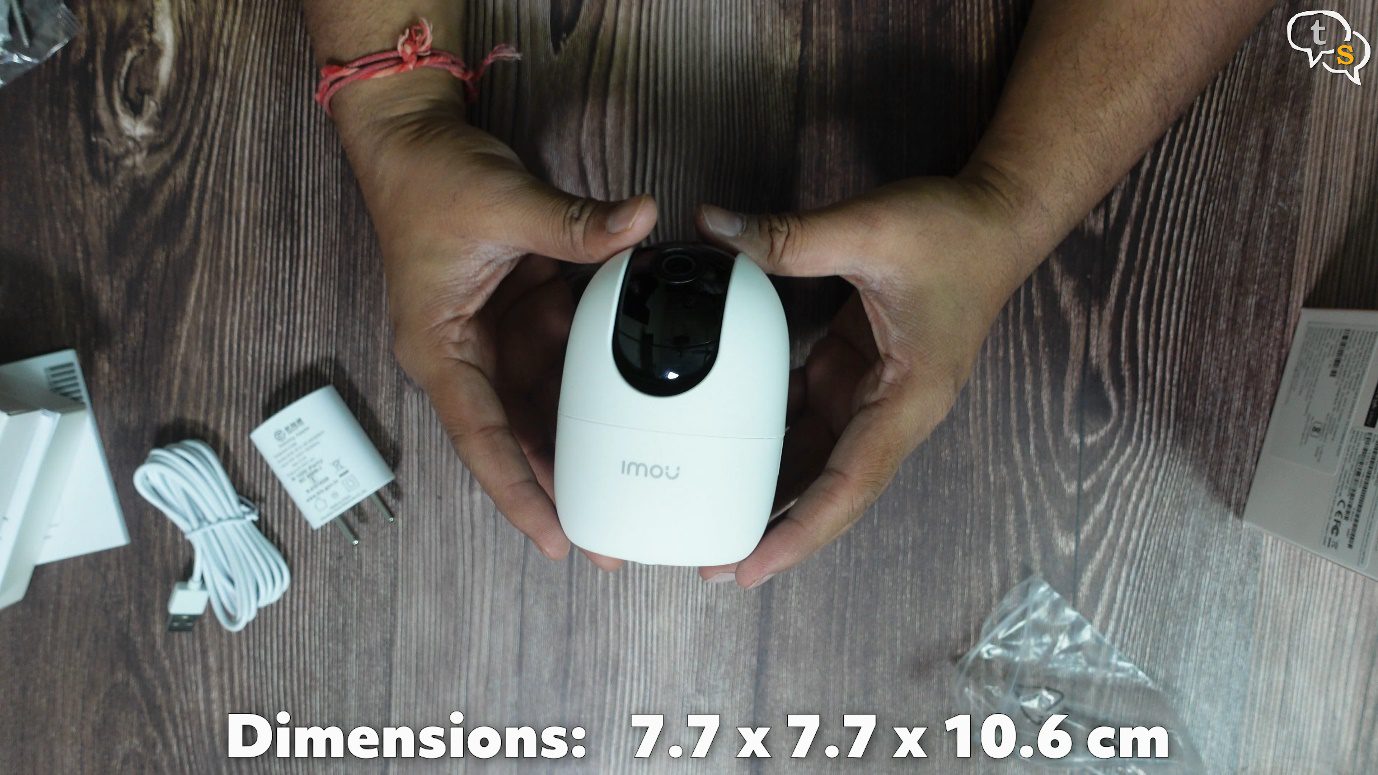
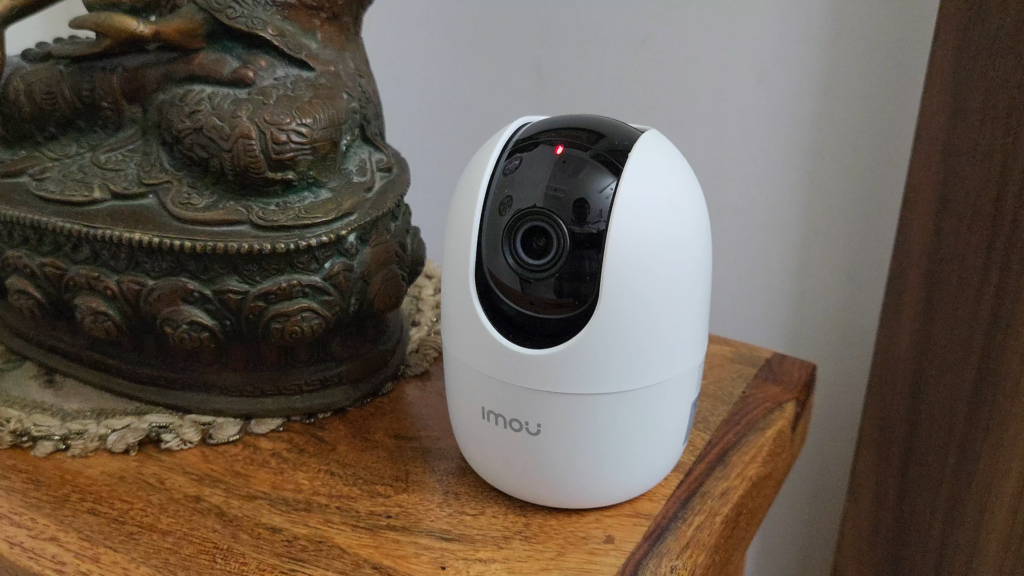
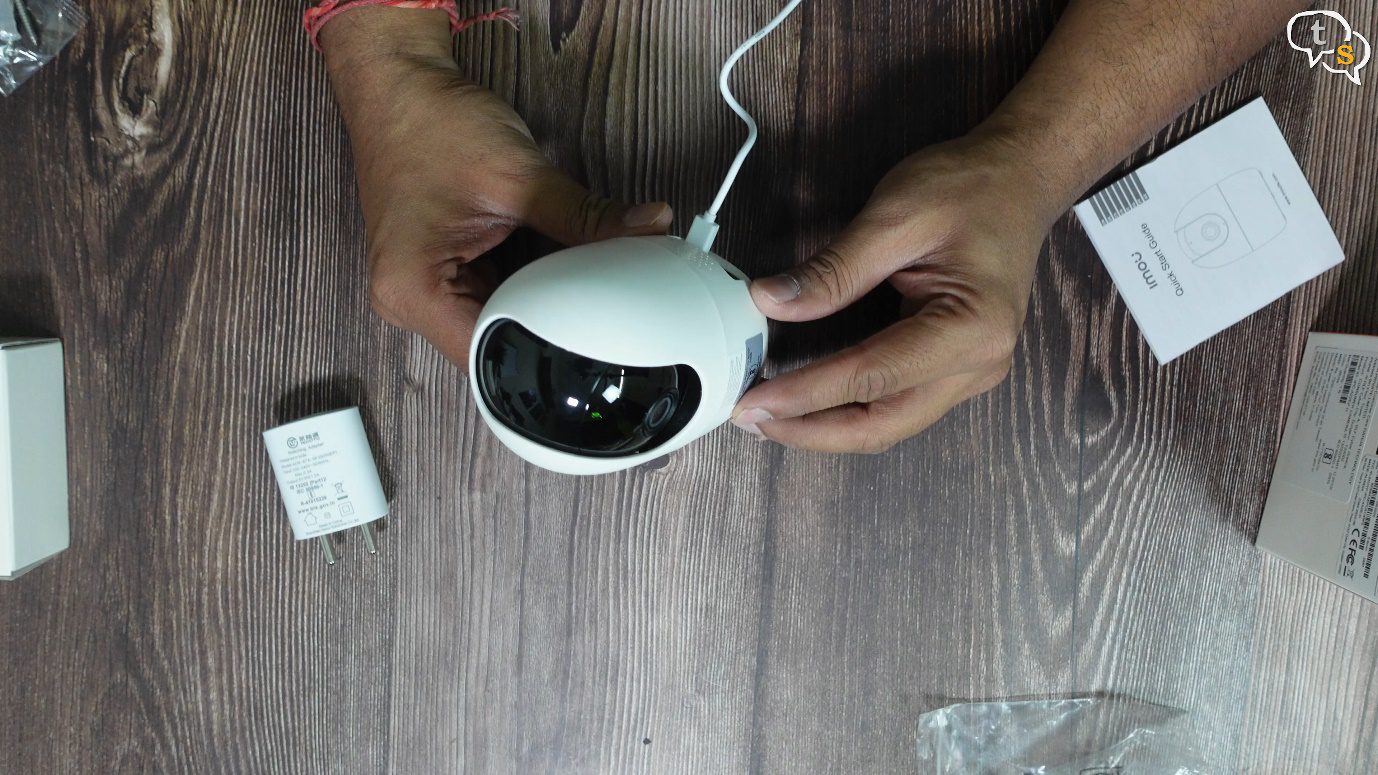
This is quite small, looking at the picture I expected something double the size.
We have the Imou branding in front,
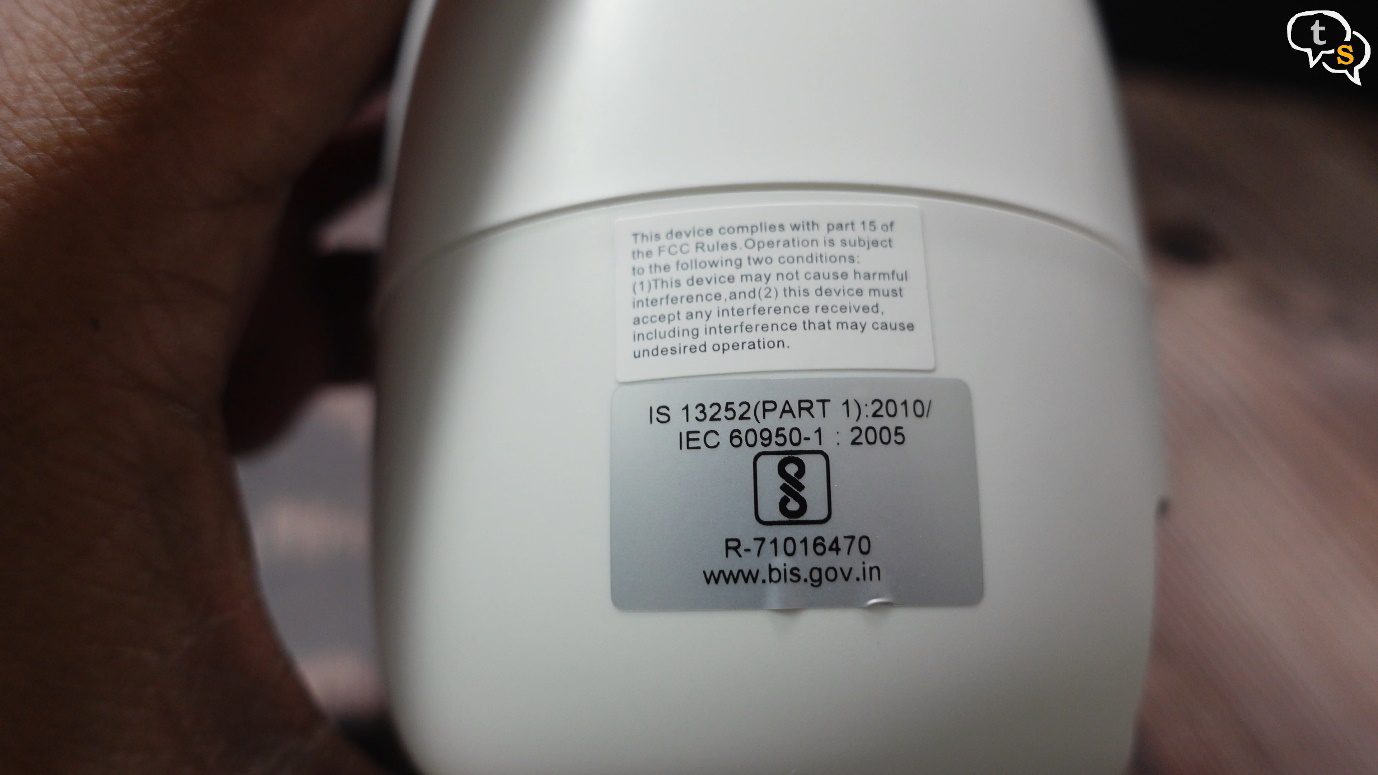
It has bis india regulatory compliance.
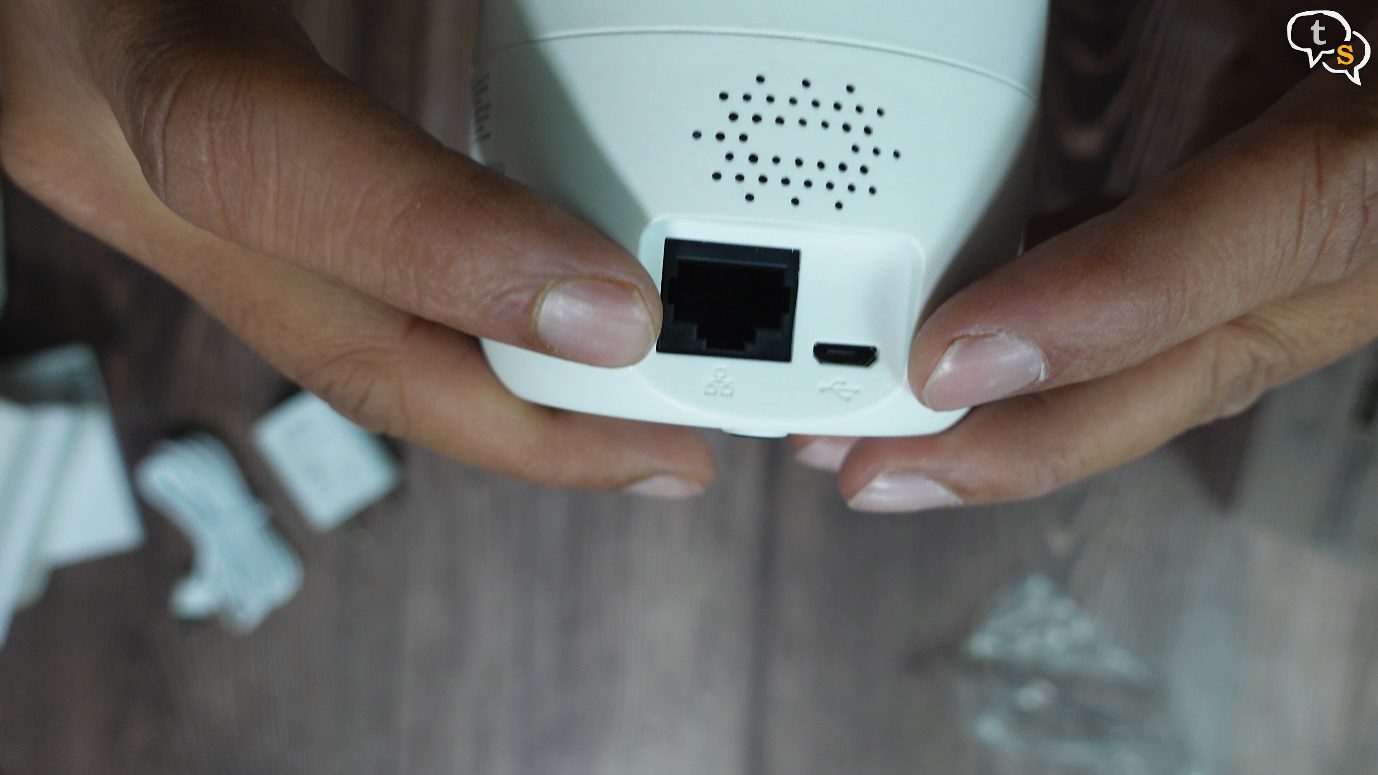
Behind, we find an ethernet port, and a micro-usb port.
Above them is a speaker.
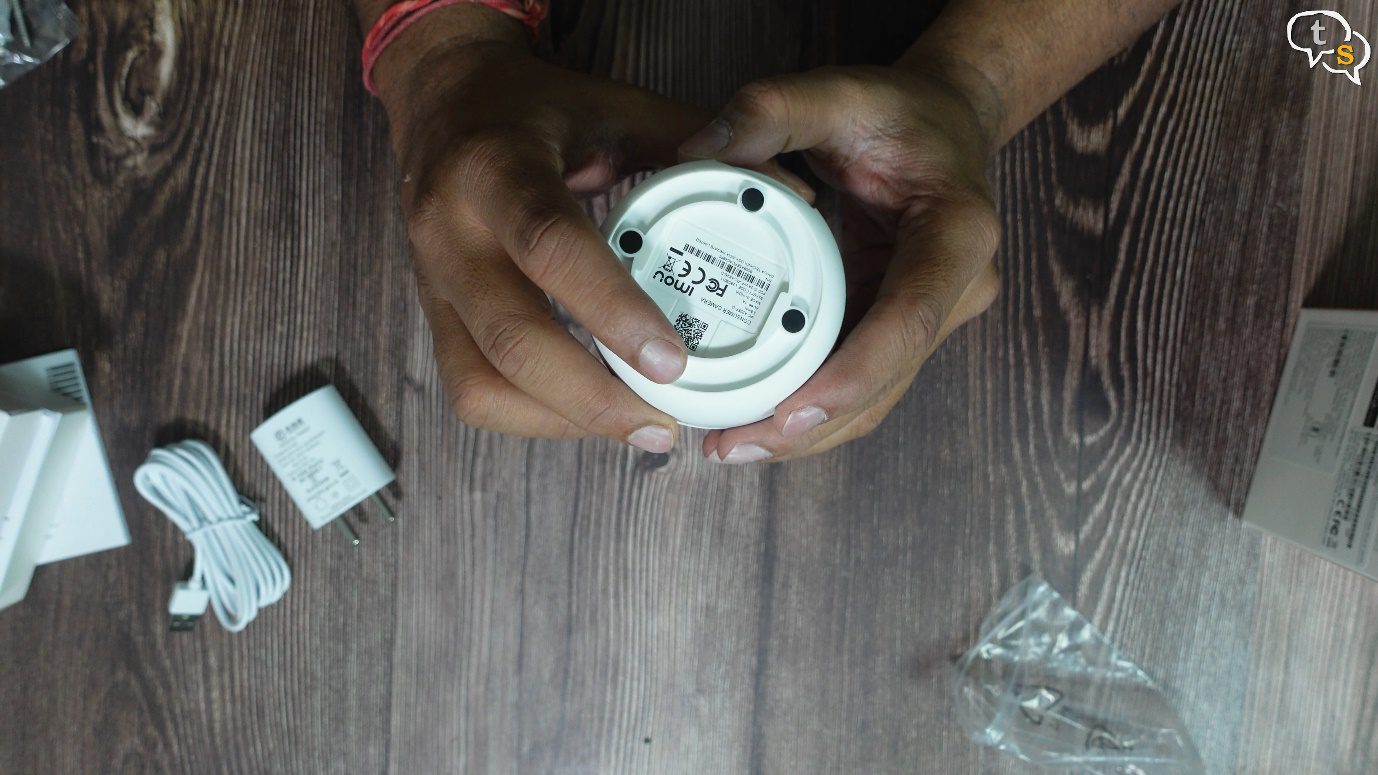
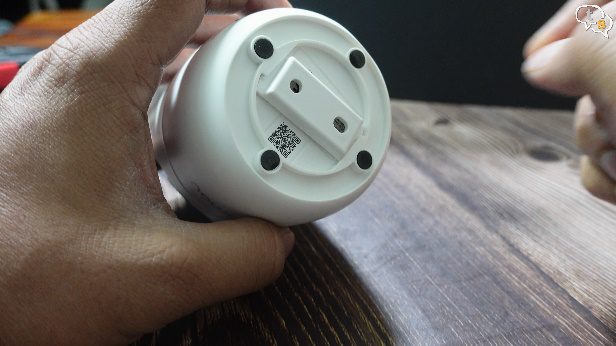
Here’s the bottom, and these rubber feet keep the camera in place and prevent slipping.
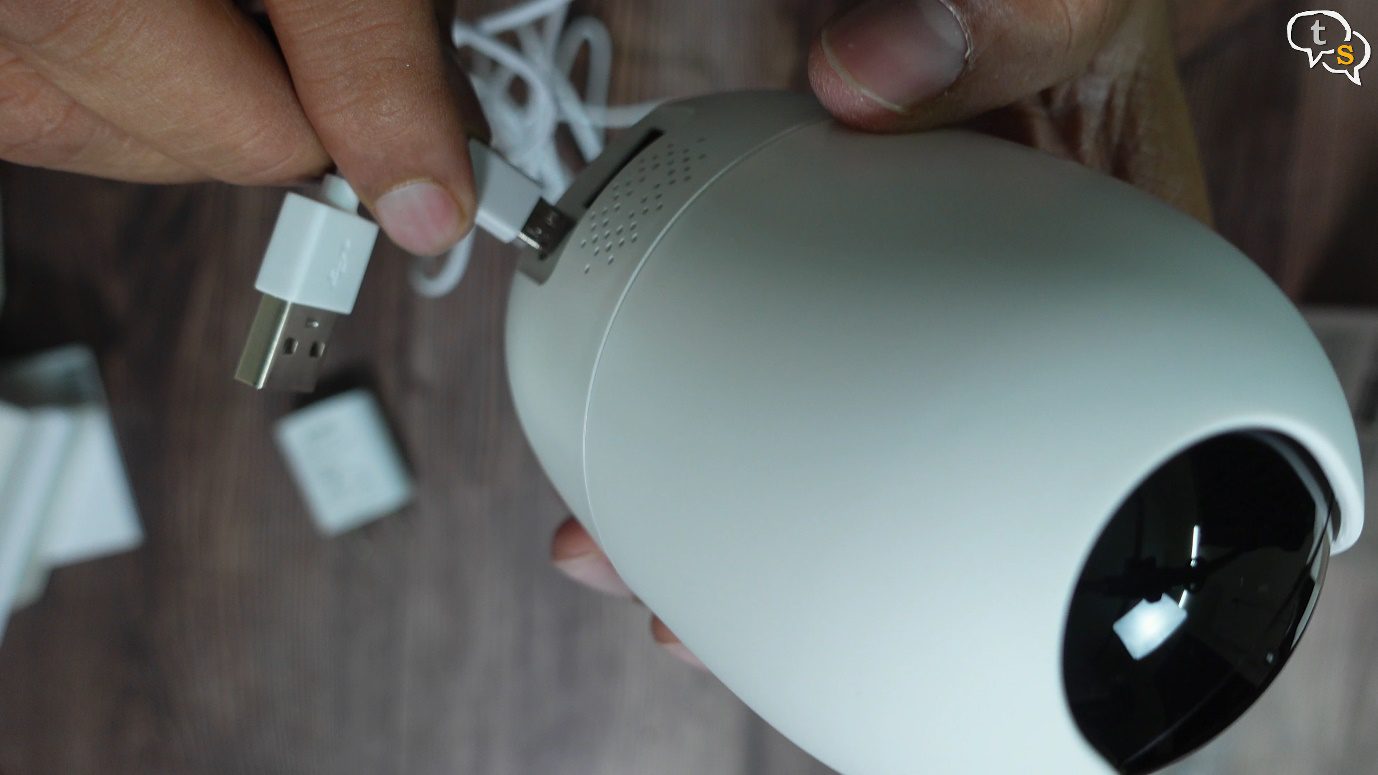
Let’s power it on using the micro-usb power cable.
Here we are, and this usb-a part goes to the power adapter.
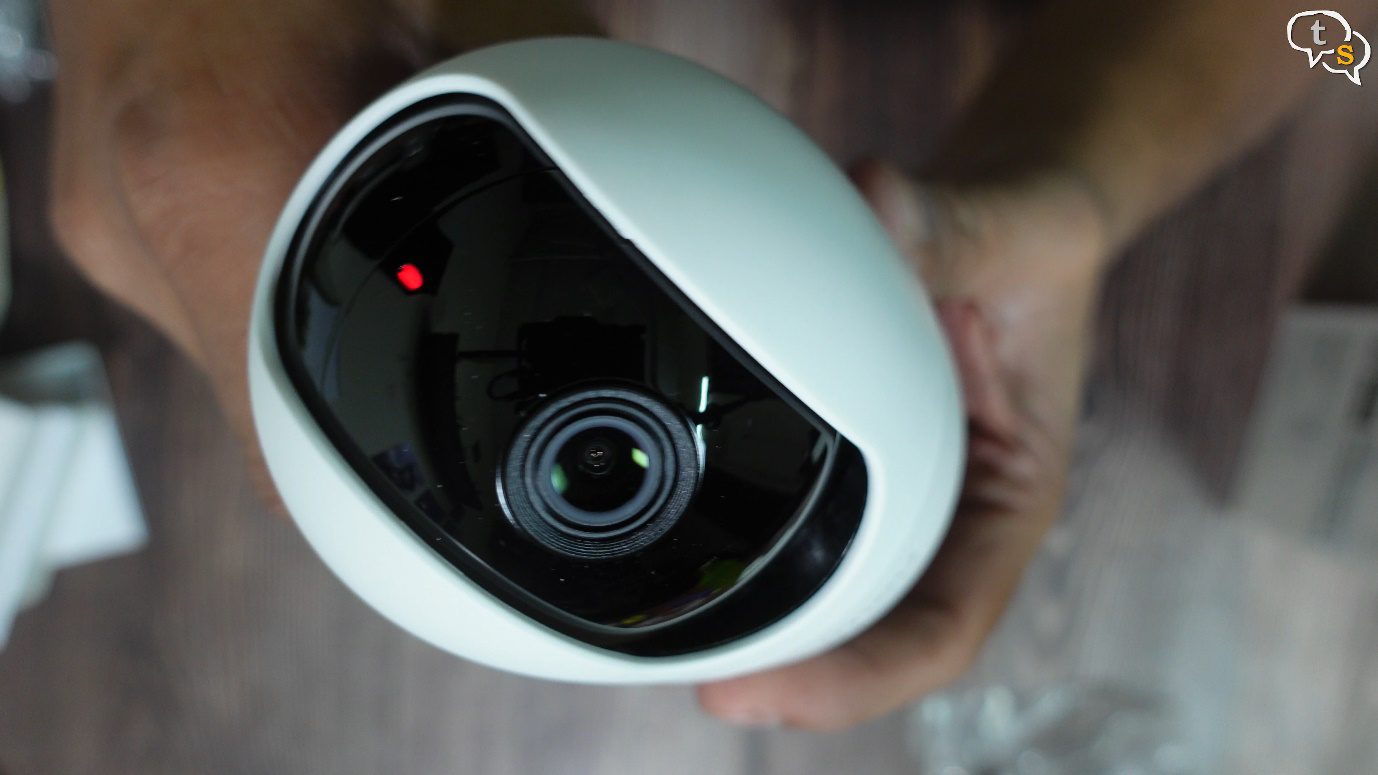
When powered on the top LED glows red, which indicates it’s booting up.
The camera pans and tilts to calibrate itself.
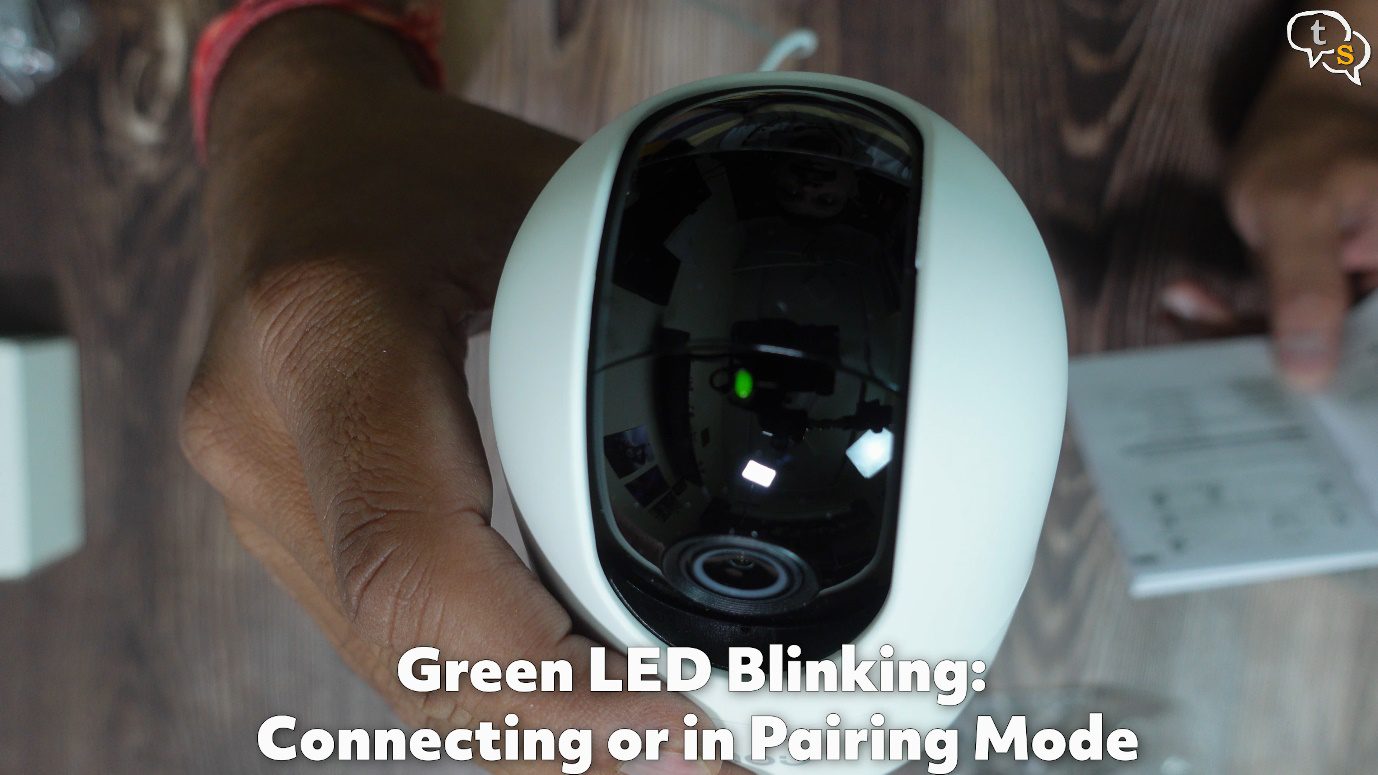
Now the led blinks green, indicating that it’s connecting or that it’s ready for pairing. As it’s a new camera, we need to set it up with wifi.
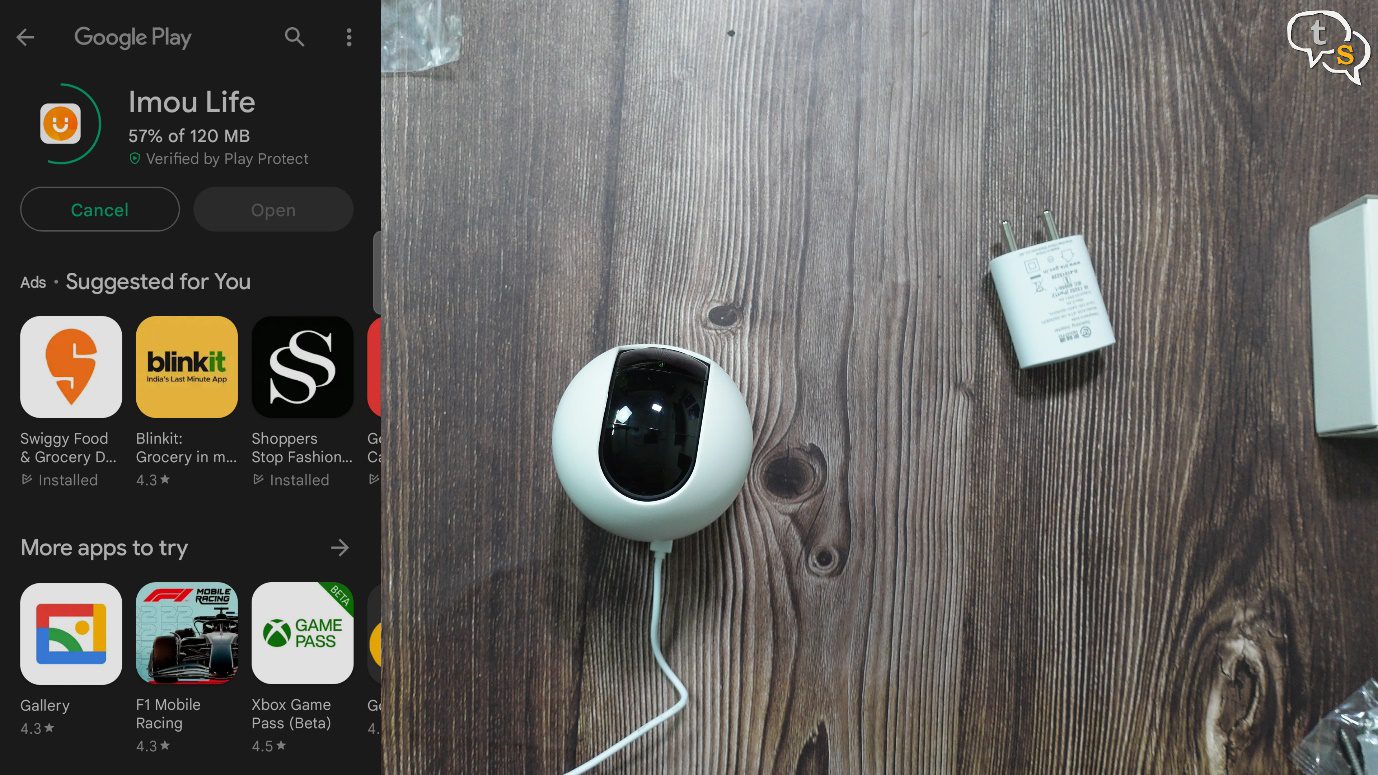
Install the Imou life app, set up an account and then login, and we’re on the dashboard.
Tap on the plus button on the top right, a QR code scanner opens up. Scan the QR code under the camera and select your Wi-Fi, and within a minute the camera is setup and is connected to your Wi-Fi.
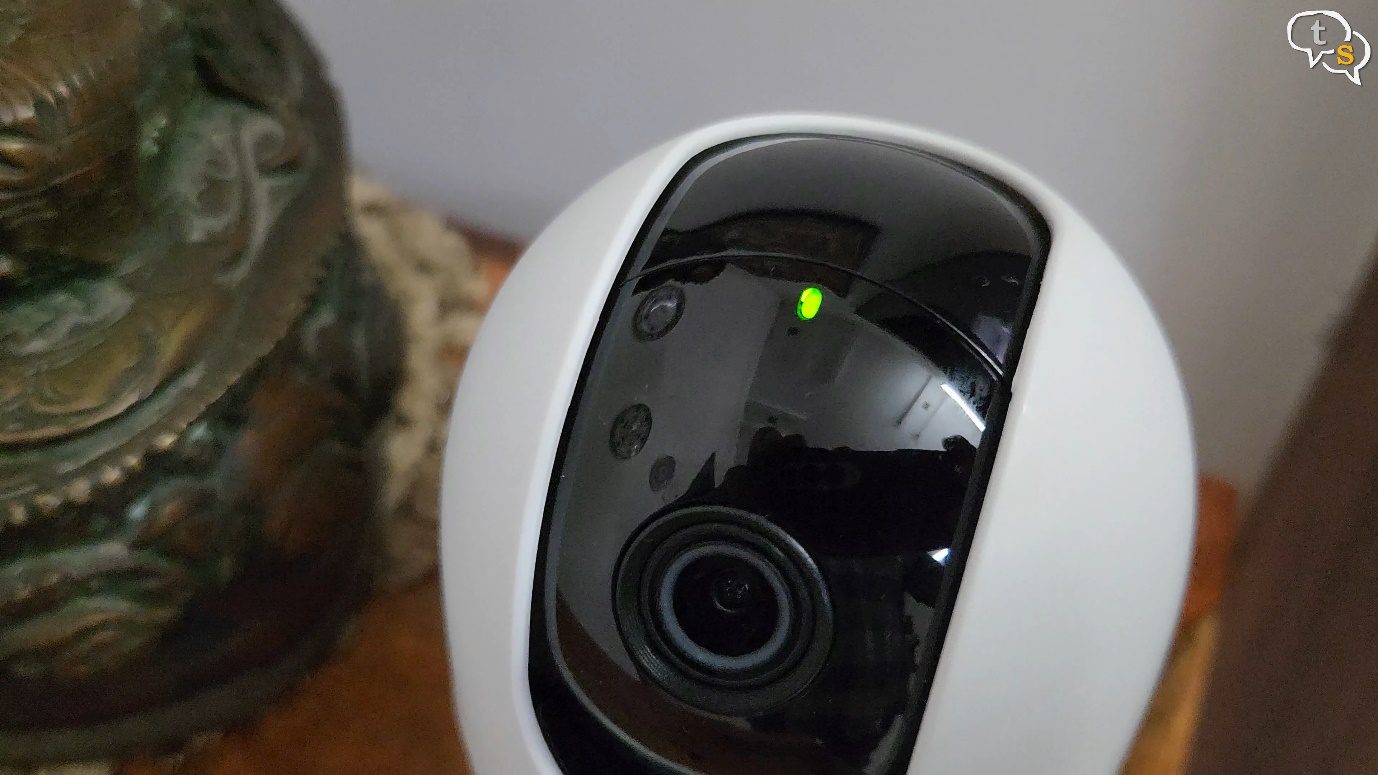
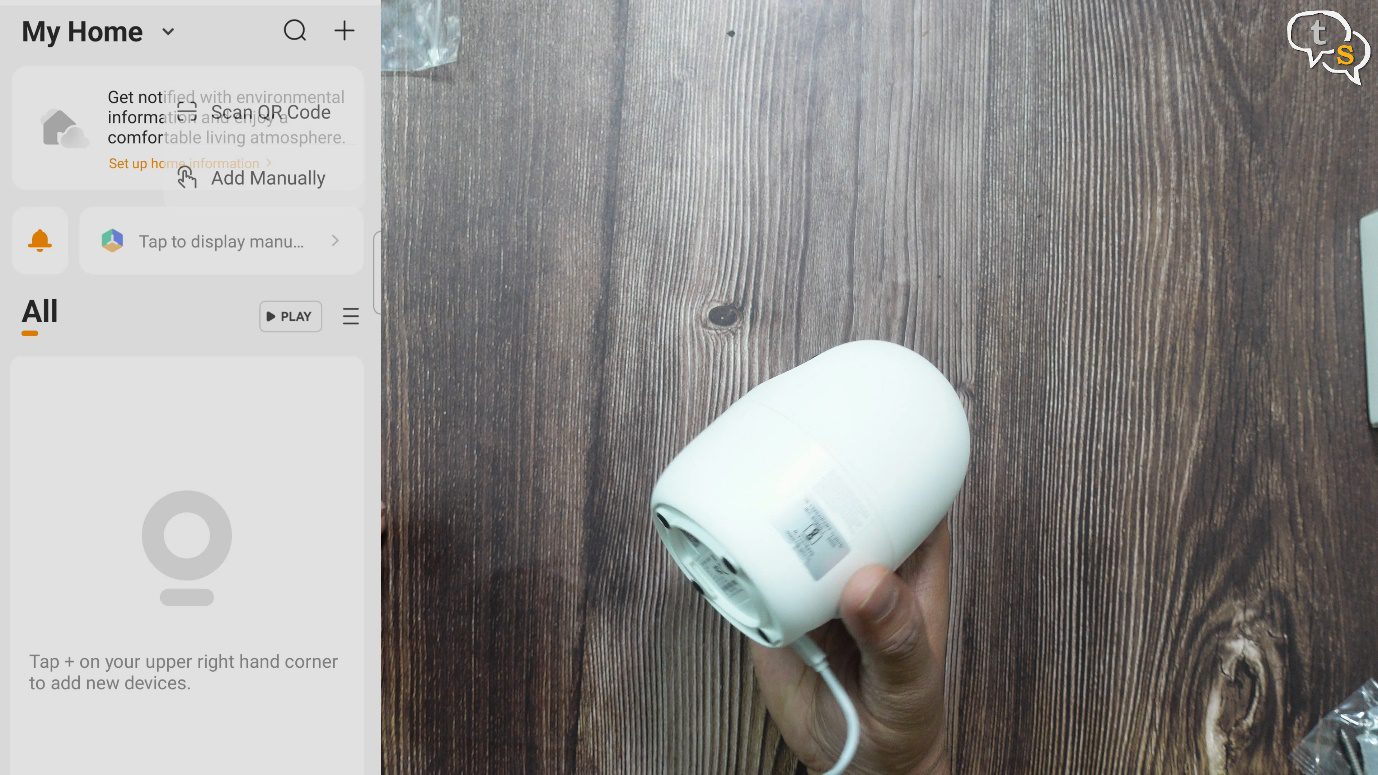
Once connected the green led on top stays lit.
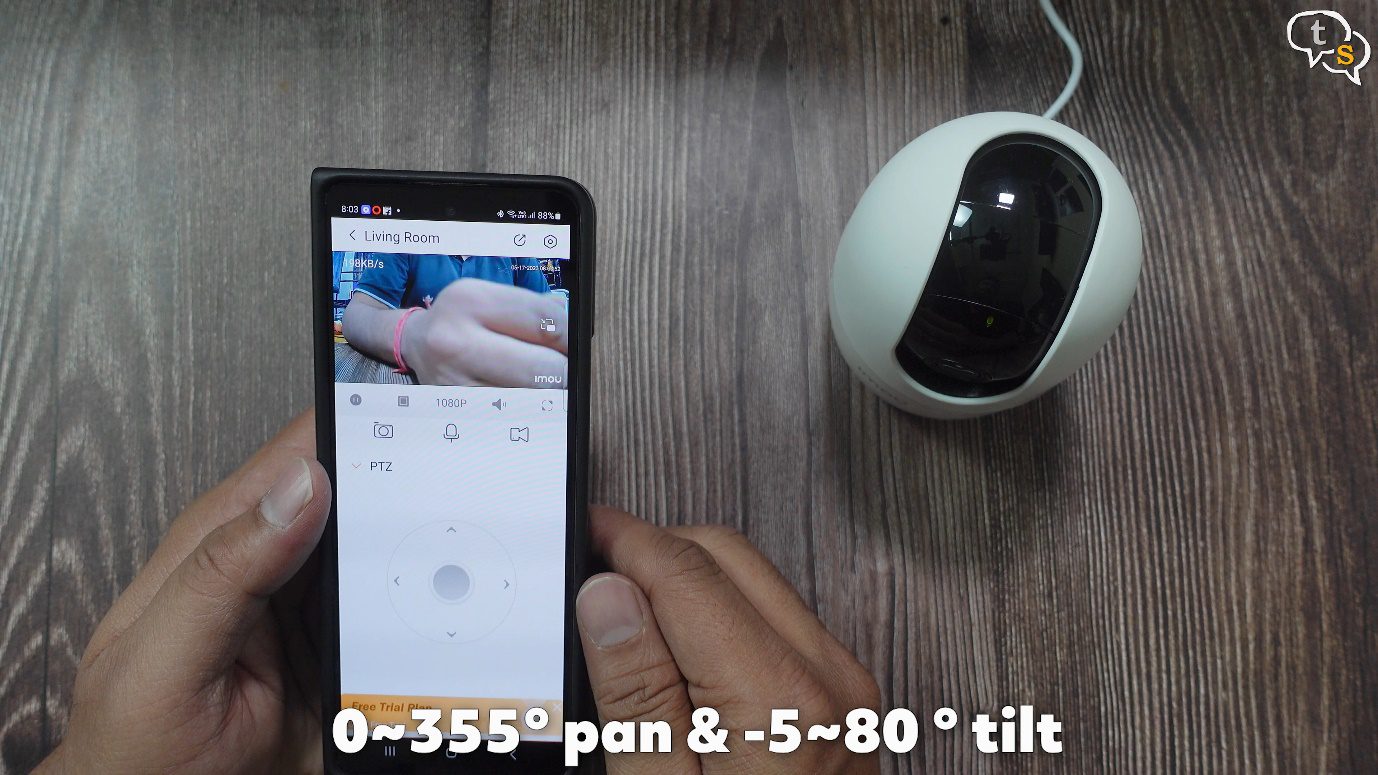
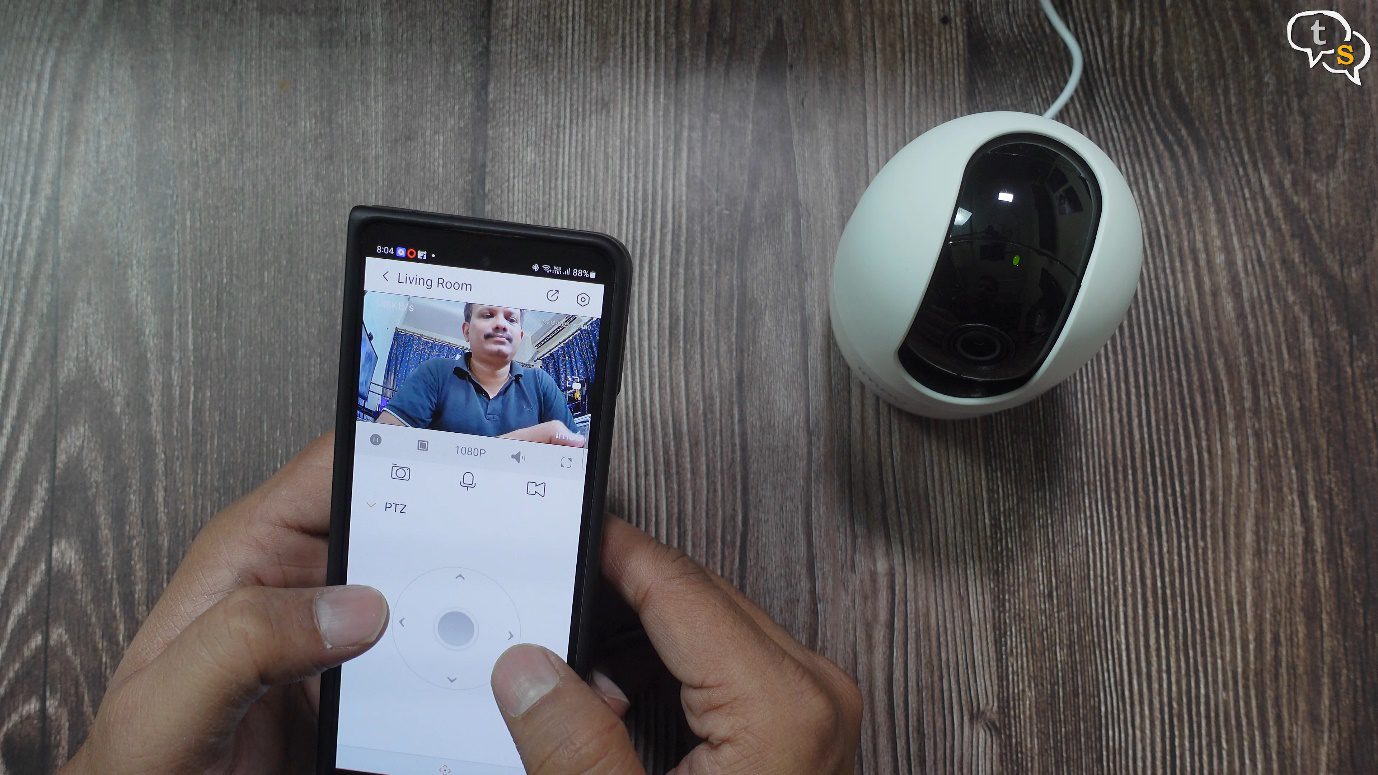
We have the camera listed on screen, tap to view the live feed.
Using the pan controls we can pan the camera left, right and up down.
Use the mic icon to speak through the camera.
Use the camera button to take a snapshot.
Audio through the camera is clear, and the communication is two way.
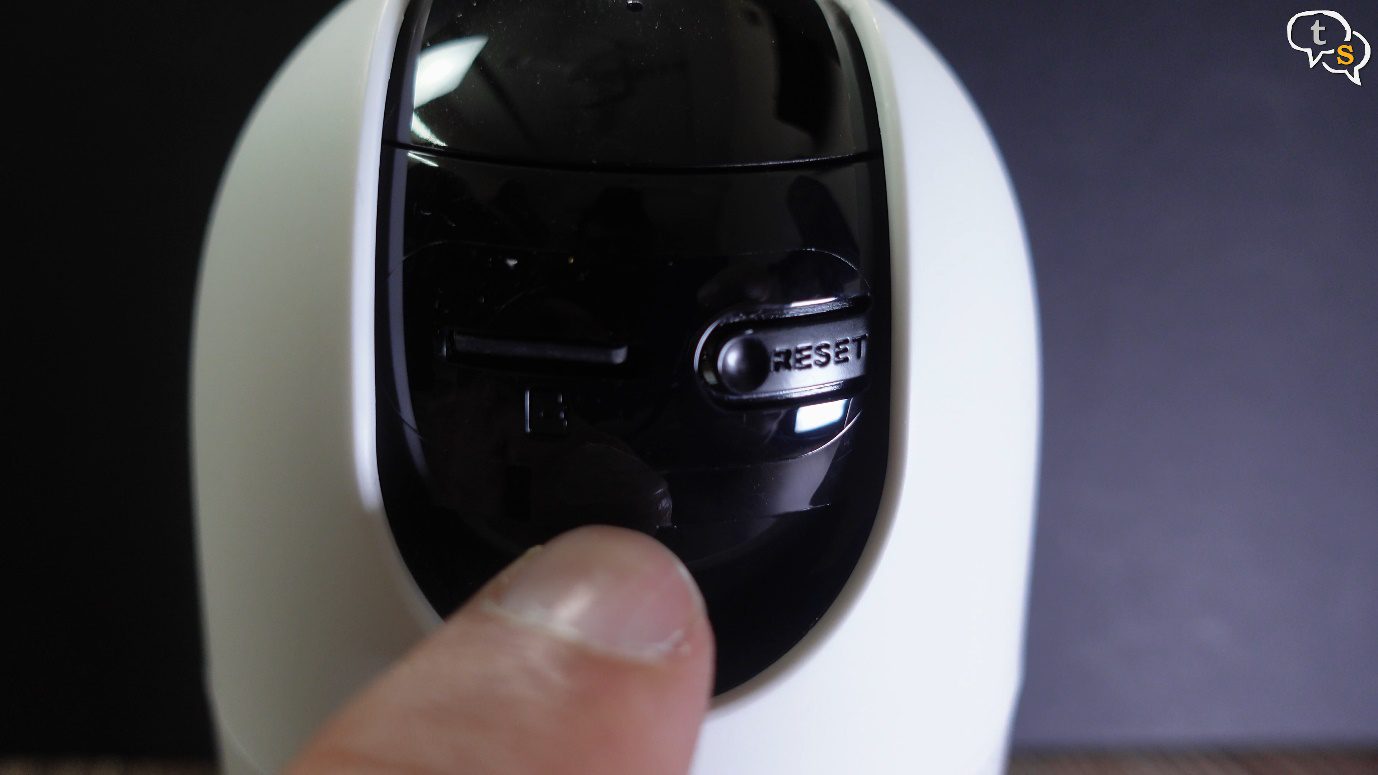
Recording, we need to add a micro-sd card for the camera to be able to record. To access the port, we need to pan the camera up, and we can see the micro-sd card slot and also a reset button.
Insert a micro-sd card within and im using this 16 gb card, no storage is included with the camera. Insert and make sure it locks when you press it in. It can only be inserted in one way. There’s also cloud storage available to purchase, I’m using local storage.
The pan function allows the camera to move 360 degrees around giving you full view of your room. It cannot show all 360 degrees at once, but a section which can be changed using the app. We can also enable smart tracking which makes the camera home in on any movement and center it on screen. It’s quite fast, it’s managing to follow me.
Abnormal sound detection – can detect sounds and send us a notification on our phone. Eg baby crying etc.
Two way communication is a great feature, it allows us to speak to whoever is on the other side of the camera, maybe our kids, the maid, a delivery executive. We can hear them and also speak with them.
Human detection – when a human form 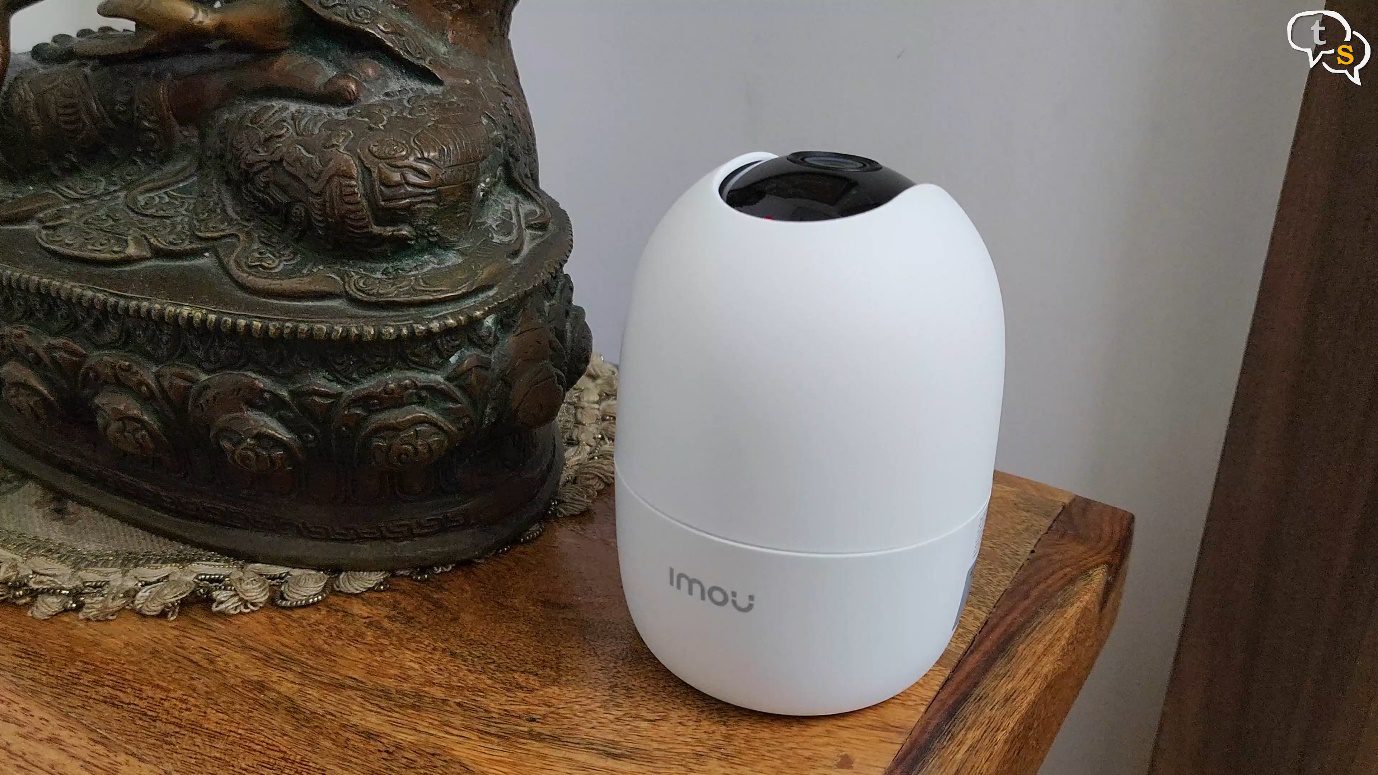
We can have the camera play a siren when it detects a human. This can be turned off in the settings, but is useful if you are traveling and need to keep your house safe.
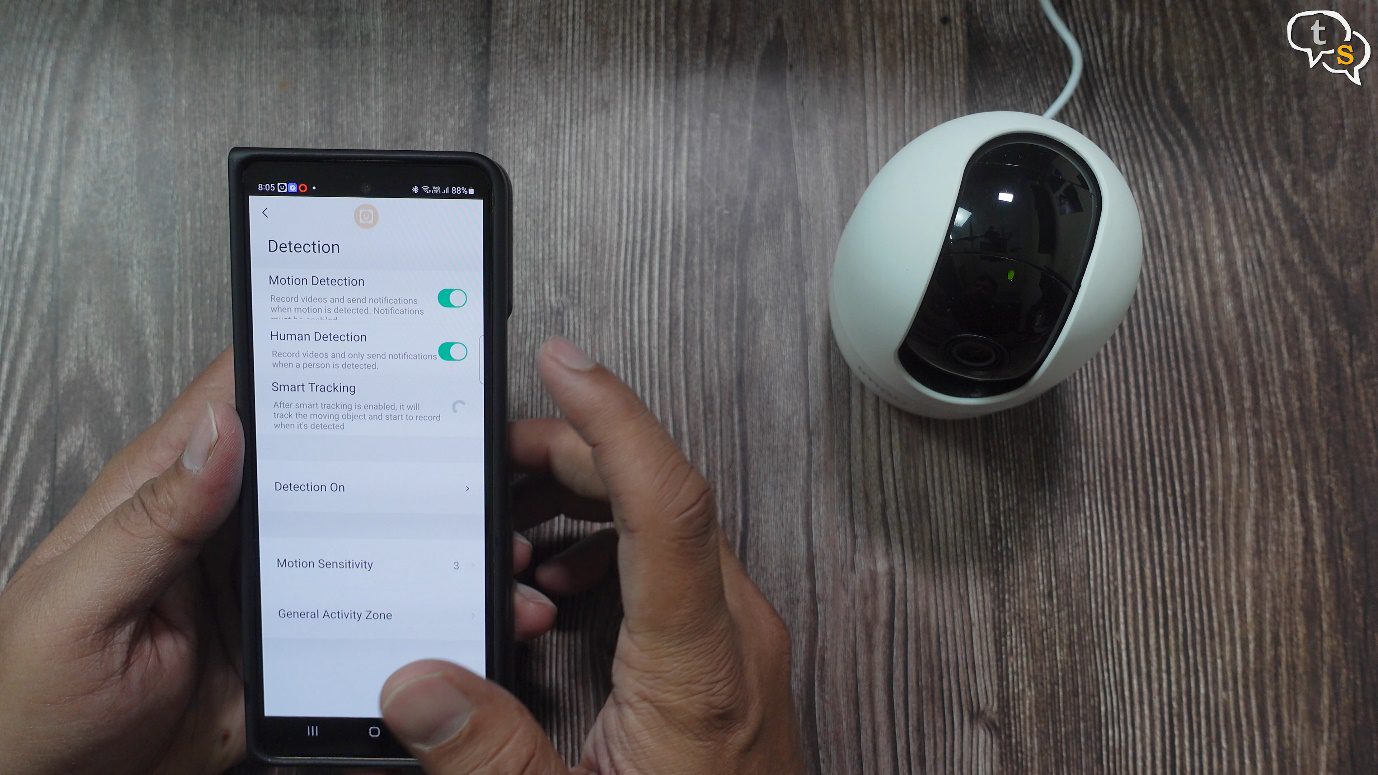
Motion detection and human detection can be turned off in the settings if we don’t want to be notified.
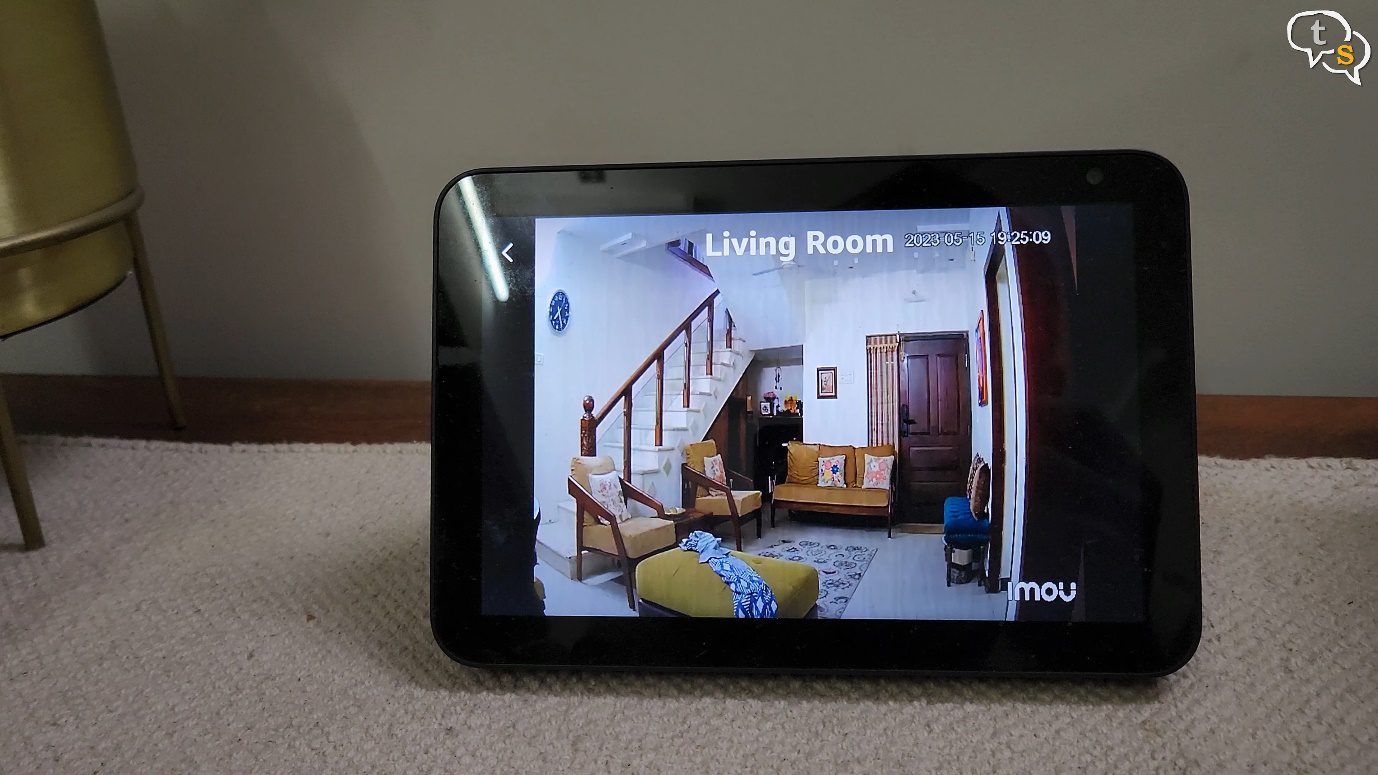
Being compatible with both Google home and Alexa we can view the camera feed on their respective smart screens. I have an echo show here, you can use the interface to activate the feed or even just say, Alexa show me living room, and the live video feed is visible on screen.
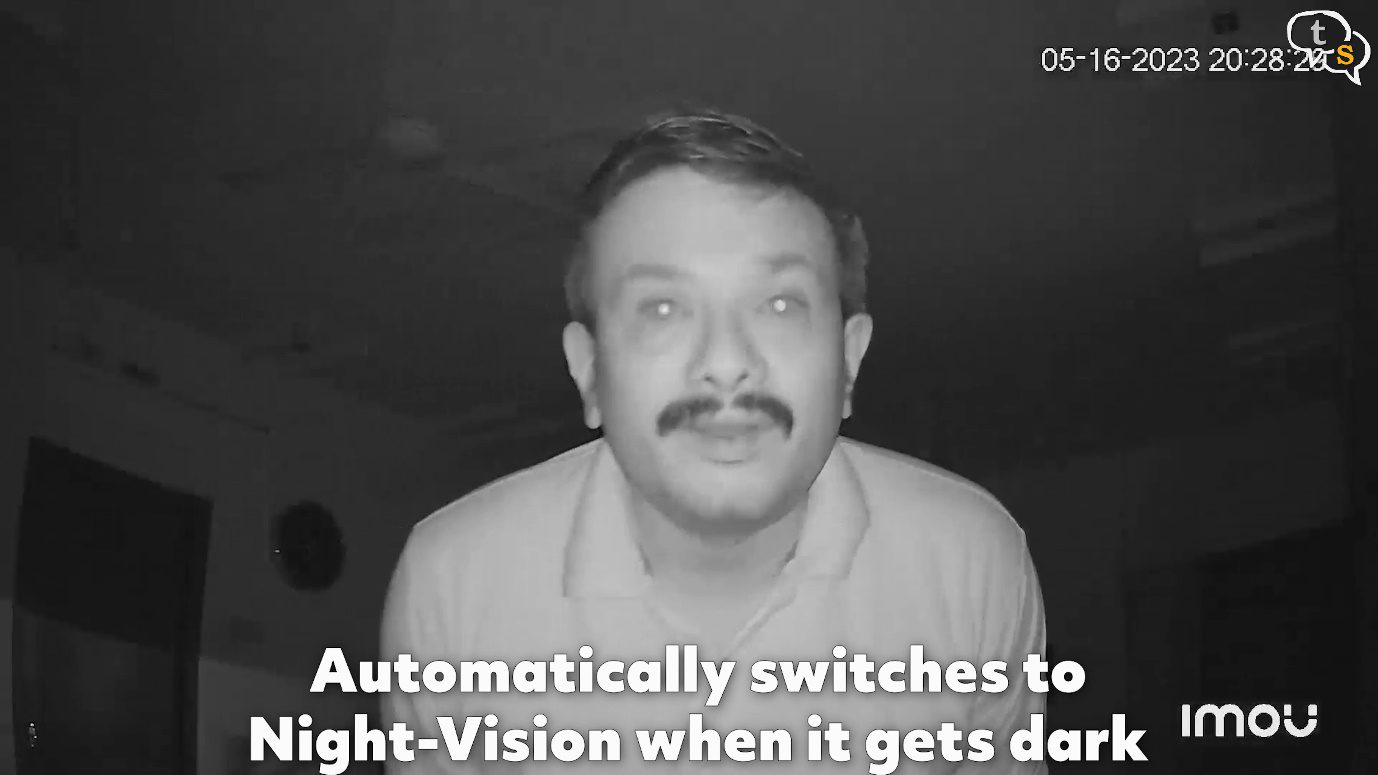
Night vision is available, so you can keep an eye on things even when it’s completely dark. It switches to night vision mode automatically.
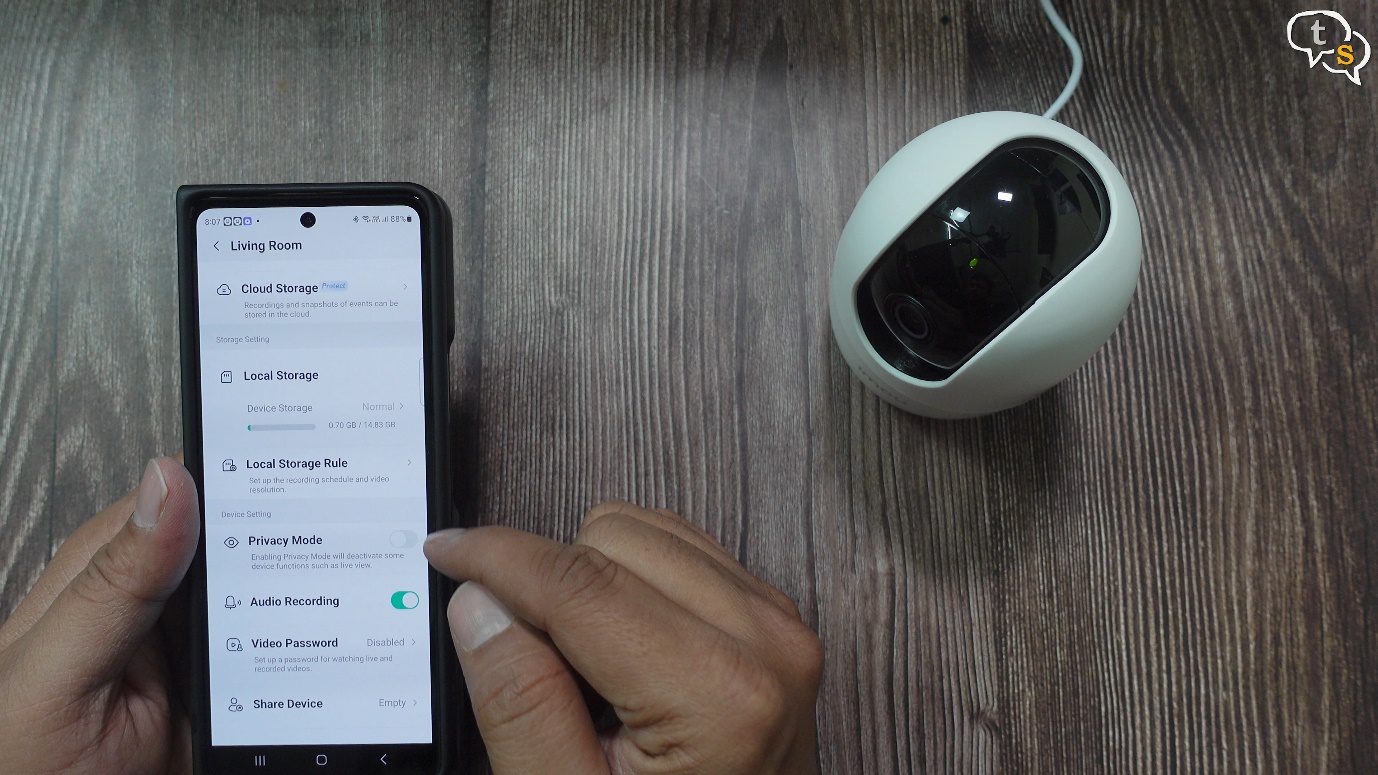
If you don’t want the camera to keep bombarding you with notifications, just turn on privacy mode and when leaving turn it off.
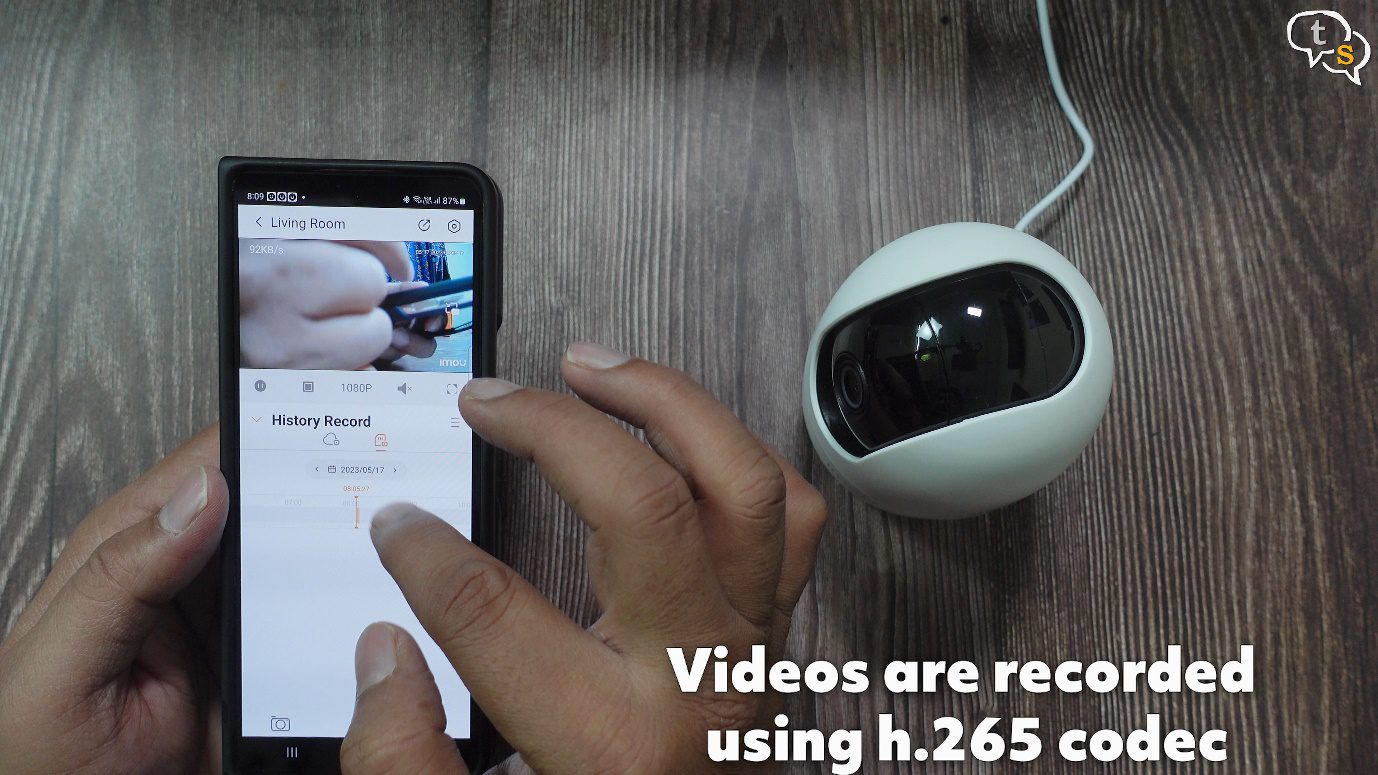
We can view the recordings that are stored on the micro-sd card using this option here.
Videos are recorded using the h.265 codec.
We can switch between hd and sd which would smoothen the playback while viewing the feed.
Tap on this button here to listen in to where the camera is placed. This allows you to monitor the room from wherever you are.
You can switch to full screen view using this option here.
This camcorder button is to take a recording.
Make sure to use 2.4 ghz wifi with the camera as it does not support 5 ghz.
We can set the smart tracking sensitivity, 3 was quite sensitive too.
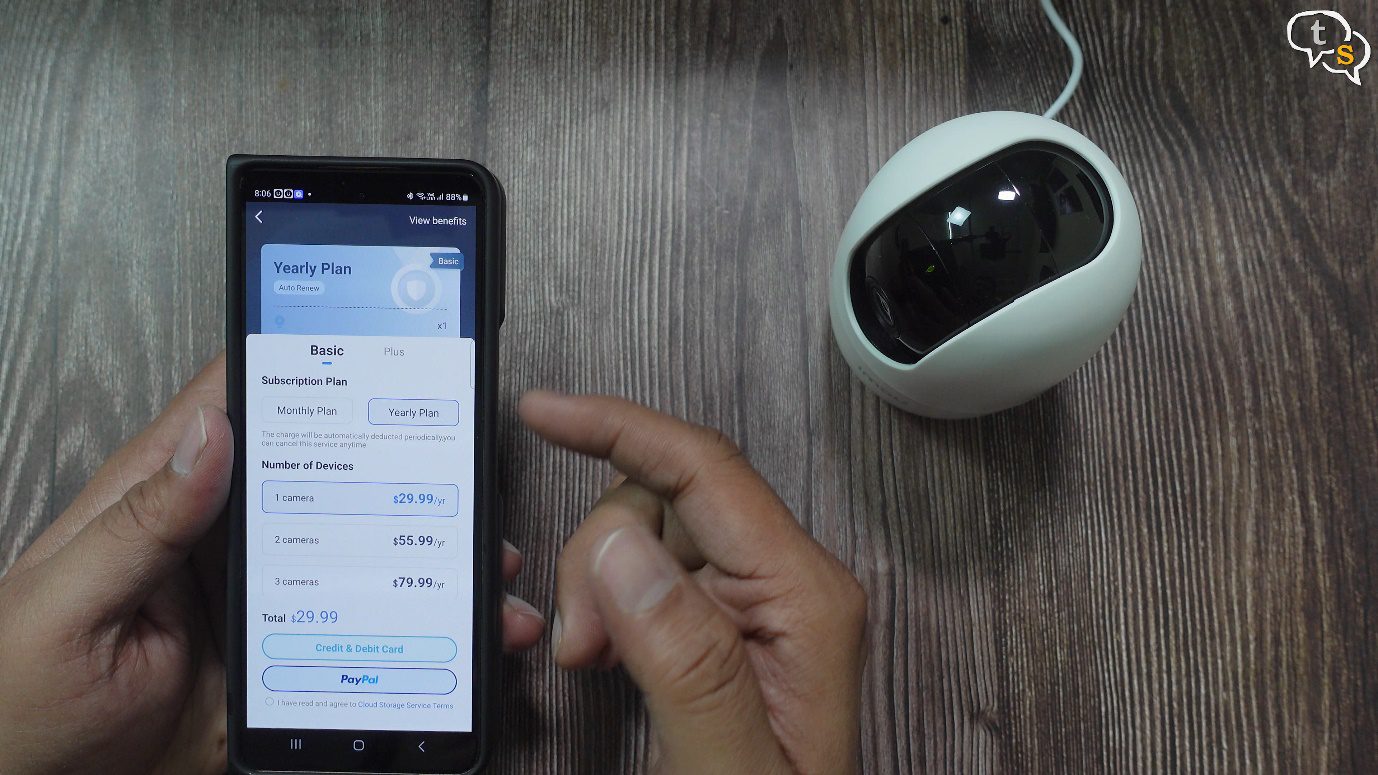
We have cloud storage options here if you want to check out the plans and pick one,
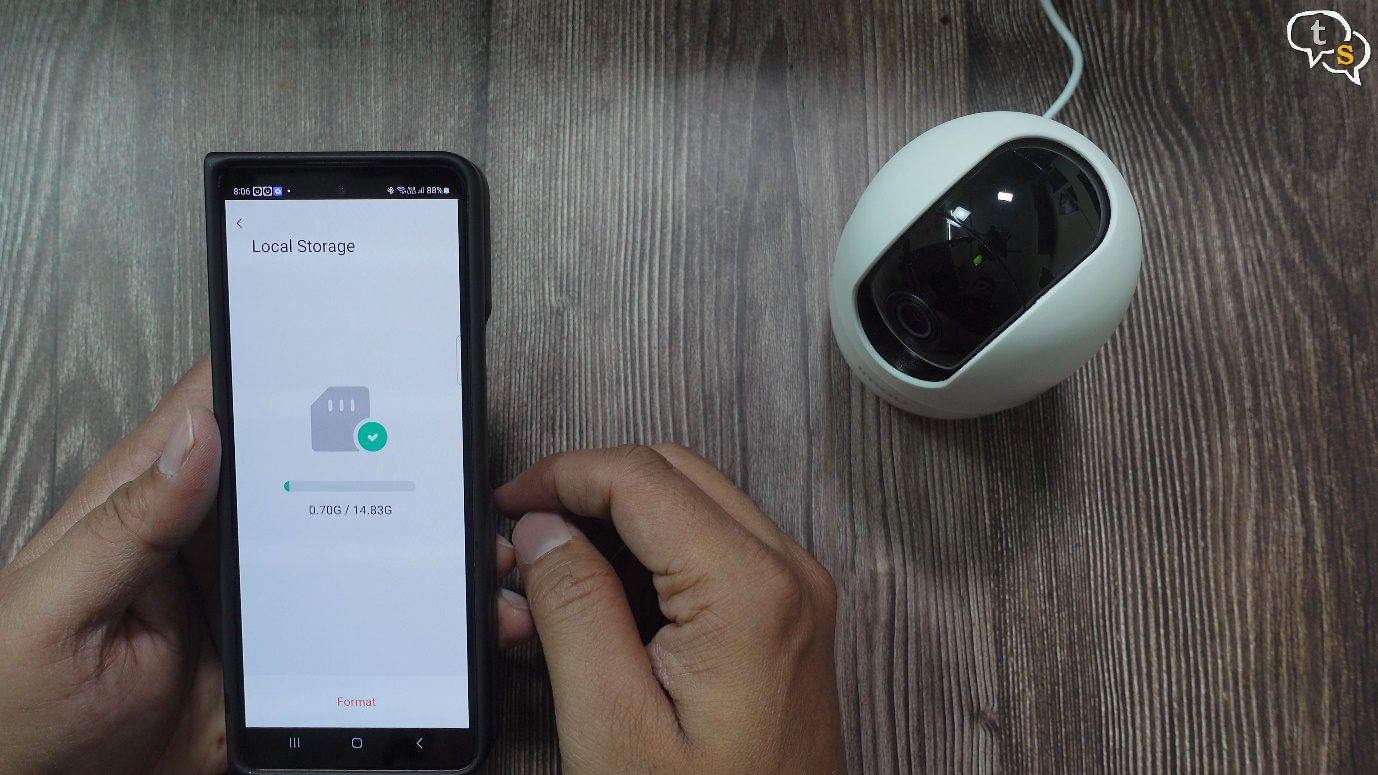
Below that is the local storage where we can view the space occupied on the micro-sd card.
We can also share the device with another family member using this option here.
The indicator lights can be turned off if you find it distracting.
Use the camera image flip option if you are installing the camera upside down.
So that was the Imou ranger 2d, a very different design from standard smart cameras. It looks like a tiny egg. It works really well , 1080p recording , 360 degree pan, night vision, two way communication and a whole lot of other features are also available.
It works well, and setup is quite easy, and at the price point it’s being sold at, it seems to have all the necessary features.
The motors in the camera are generally quiet but you can hear them in the recording when the camera is panning. This was one of my only gripes, everything else is pretty good.
So do you use a smart camera at home, if you want a certain model reviewed make sure to comment below.

