Ohh boy,
We have something really special today!
In an earlier video, we spoke about all types of VR options earlier (you can check the video in the link above) – most of them used your phone to provide basic virtual reality. But what we are about to unbox today is the ‘baap of VR devices’ – the HTC Vive.
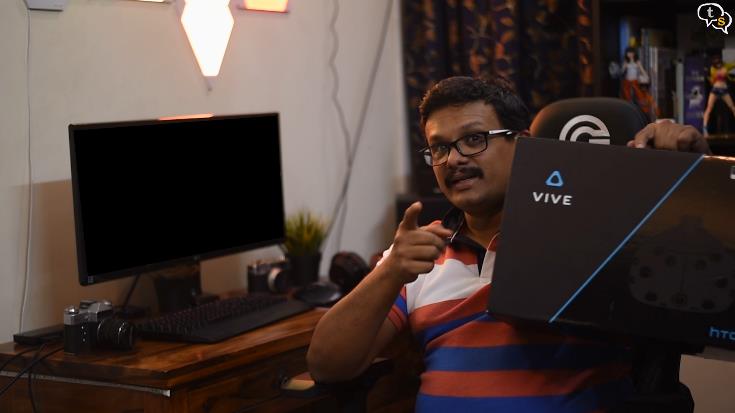
So, if you are the type who would gladly take the Red Pill and enter the matrix – you are going to love this!
Let’s dive right in!
The HTC Vive is a major competitor in the PC based Virtual reality space, pitting itself against the Oculus Rift and Microsoft’s own mixed reality headsets. The Vive’s Room scale is the feature that gives the Oculus a run for it’s money.
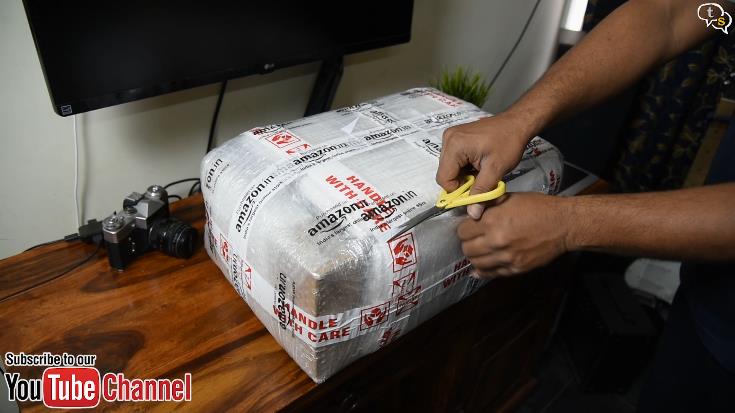
So let’s get to unboxing the HTC Vive, there’s just so much packing all around. The seller has added a small box of converter plugs so as to be able to convert the American plugs to Indian.
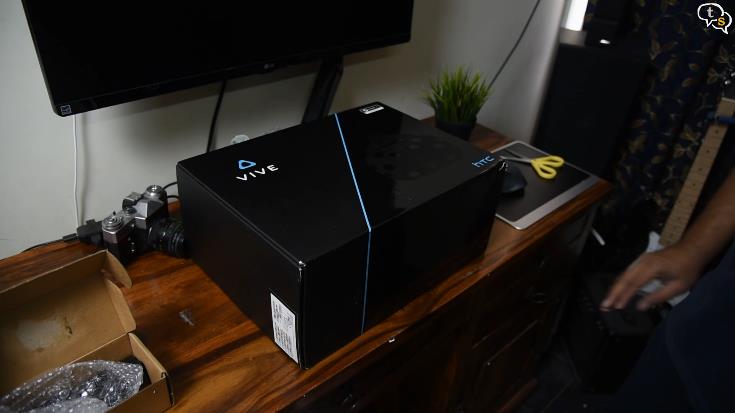
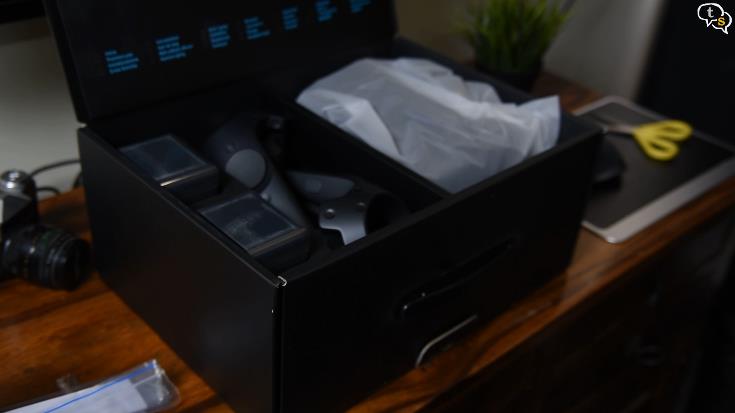
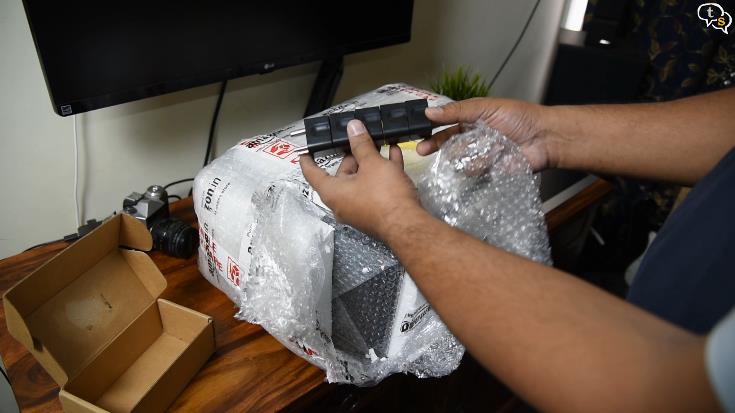
At last here’s the box of the Vive, opening it up we find the main components of the kit, which are two light boxes, two controllers , and the main headset itself which comes pre attached with the 3 in one cable.
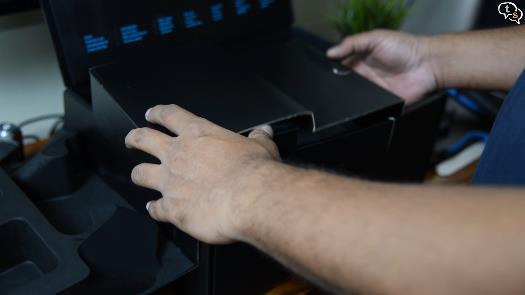
Diving into the box we have a smaller one which contains the accessories, such as this link box, which is used to connect the Vive to the pc.
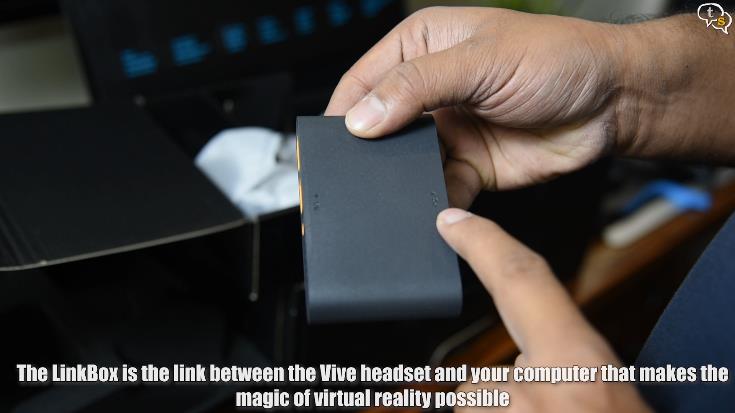
One side has VR marked and the other side is marked PC. Will show how it’s used when setting up.
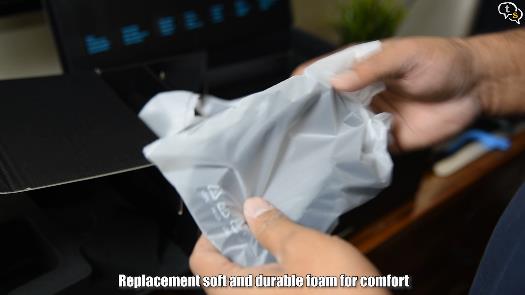
Then we have a face foam cushion, this is an extra one, the Vive already has one installed.
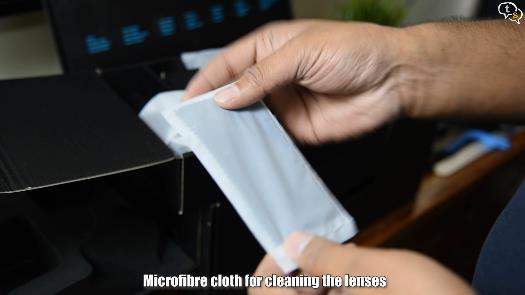
We have a cleaning cloth, which is the only recommended way you clean the lenses.


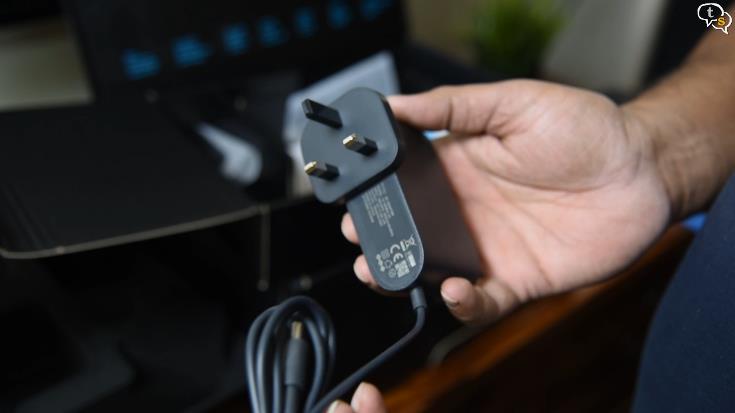
We have a hdmi cable, a USB cable, some Vive stickers, power adapter for the link box, this is where you would use the converter if you don’t have a socket that supports the American plug.
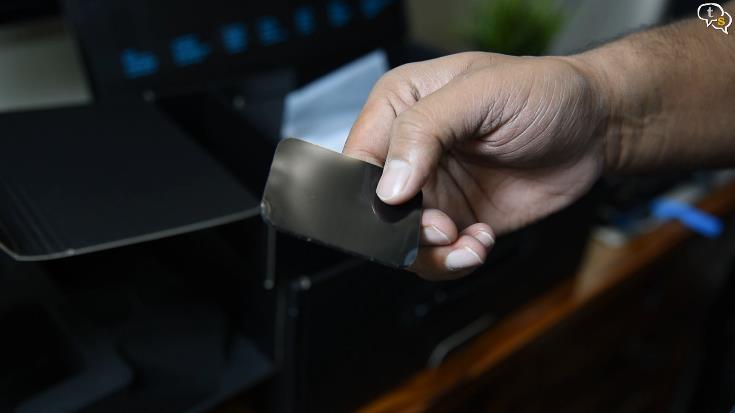
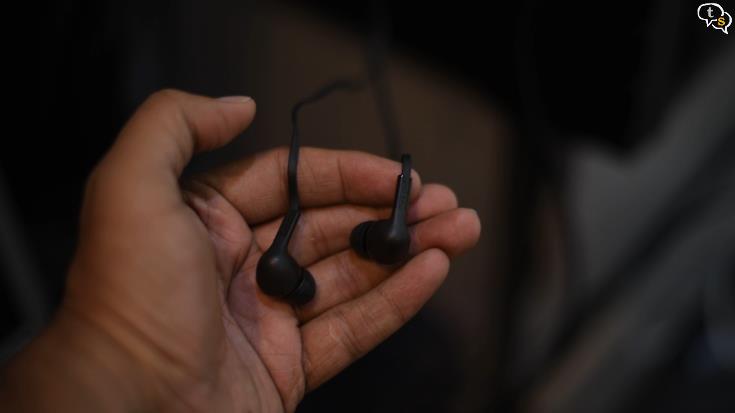
A sticky pad to keep the link box in place. Earphones to connect to the Vive, for audio.
Then under we have the mounting bracket instructions, more power adapters for the light boxes,
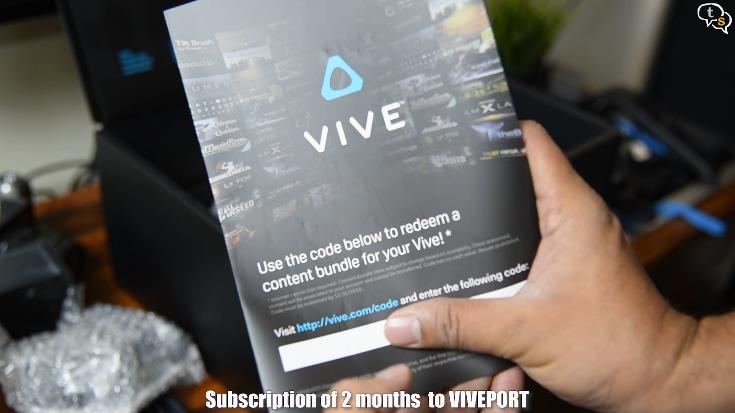
A Viveport redeem code, for two months of Viveport subscription, which allows for downloading up to 5 participating titles every month.
.
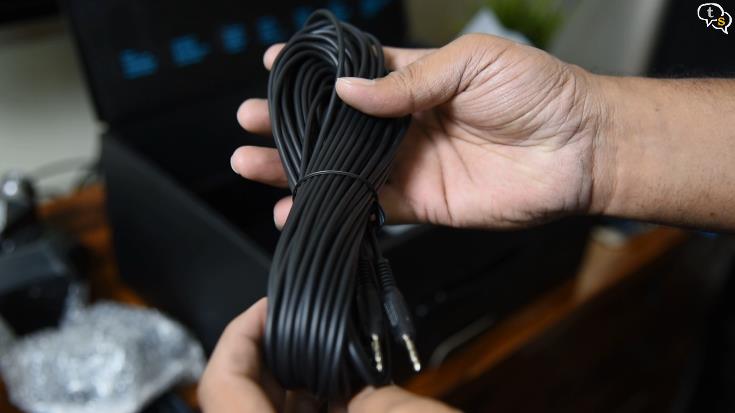
A sync cable, when installing the lightboxes, if they have a problem seeing each other the sync cable can be used to um sync them?
The controllers use a micro USB cable for charging which are included with their corresponding adapters.
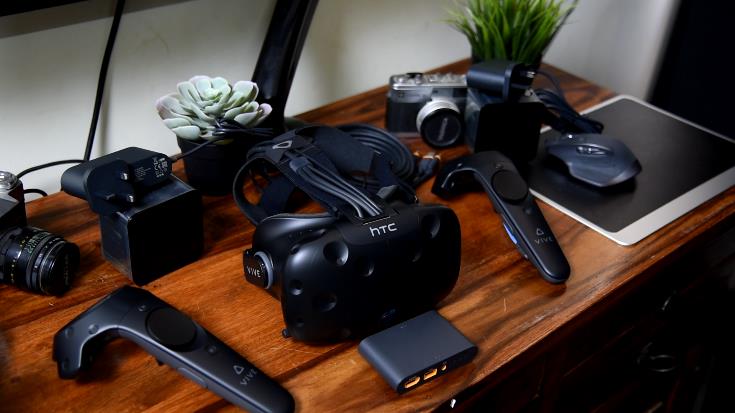
So that was the box, these are what were within, the Vive headset, two controllers, link box, two light boxes, and their corresponding chargers.
This is the Vive, from the outside it looks similar to most VR headsets. But there’s just so much technology crammed into it.
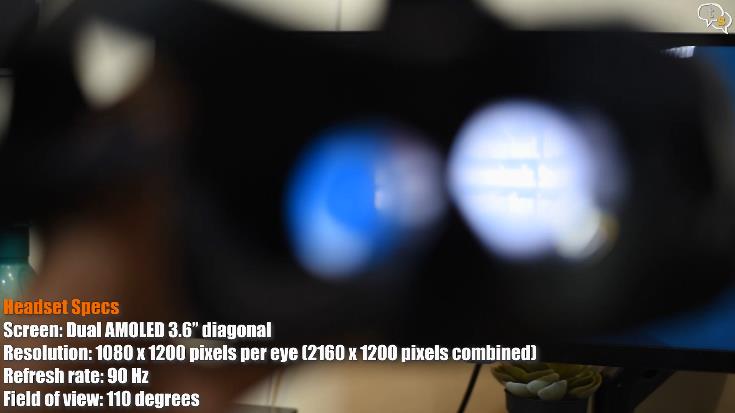
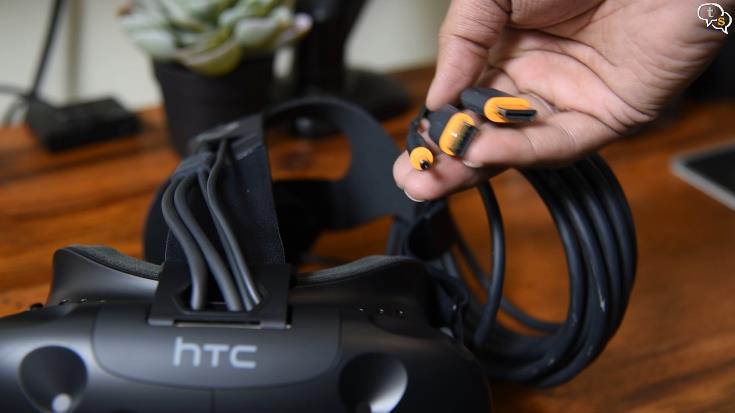
Unlike the mobile based VR headsets this has inbuilt screens, which are at a resolution of 1200×1080 per eye. Attached to the Vive is the three in one cable which gets its video signal, USB connection and power from and is of a very respectable length.

These are the controllers, two are included and the have an internal rechargeable battery.
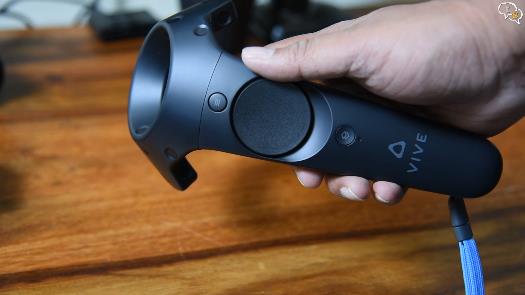
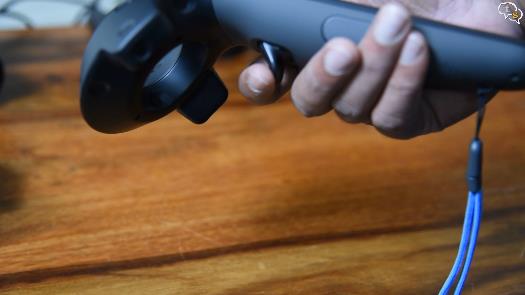
There are buttons and also a direction pad on the top which are used for opening the menu and also navigation in the virtual world. On the bottom is a trigger selecting items on the menu or in app.
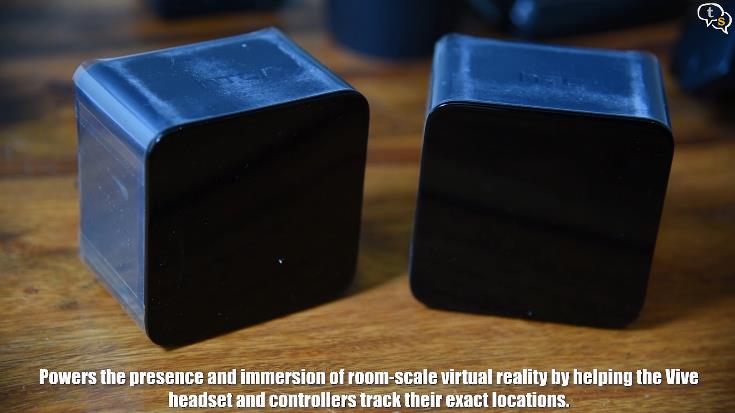
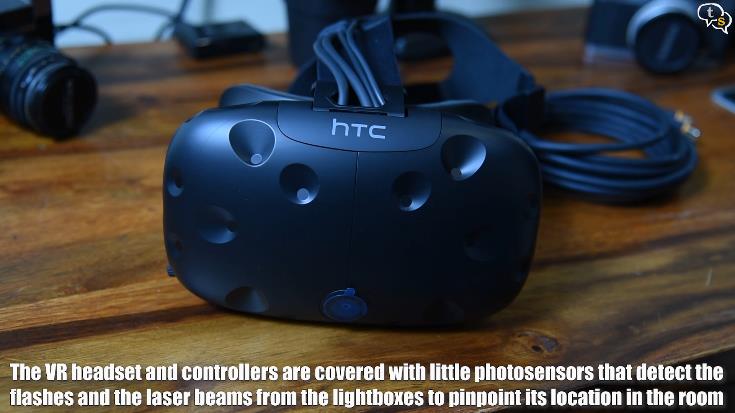
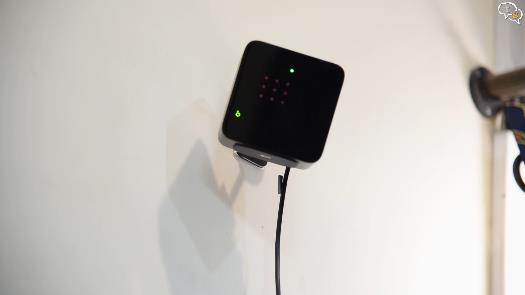
These are the tracking sensors or lightboxes as they’re called as they give out laser light to pinpoint and track your location.

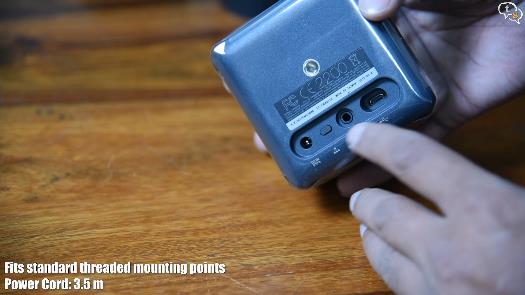
The lightboxes have a tripod mount on the back and also below the device, behind are the power port, channel selector and a micro USB port used when you need to update the firmware.
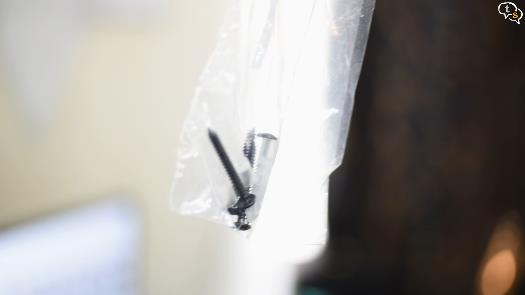
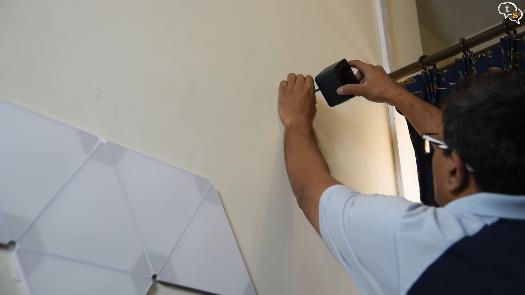
Ok, now I’ve to mount these sensors max 15 feet apart and as I don’t want to put holes in the wall, using command tape by 3M. The Vive does include mounting screws, for the mounting brackets.
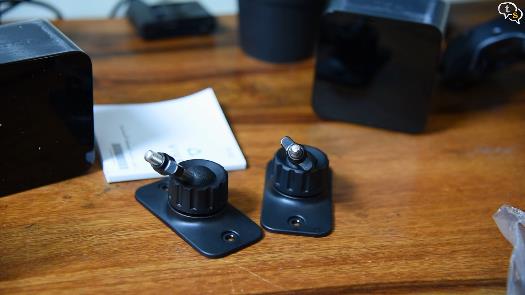
The mounting brackets are made of plastic, with a metal mount screw, which is similar to a tripod screw. So, if you have extra tripods lying around you can also use them.
I have selected to mount the boxes, diagonally across each other.
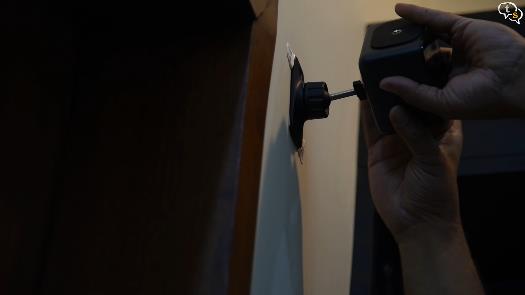
So, one down, lets mount the Lightbox on it. You need to screw in the lightbox not tightly but reasonable enough, then use the wingnut provided to tighten from the other side.
Similarly, the other lightbox too has to be installed. Angle them to point in the same direction and at each other.
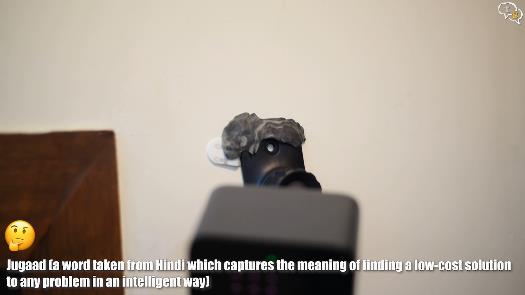
I was not very confident with mounting with only command tape, so I also used M-seal around the mounting brackets just to be safe.
I was lucky to have power accessible near both light boxes. So, using the dc power cable provided, I powered them on.

When powered on, make sure to select the channel b on one device and C on the other. This is when in wireless mode, if you need to use the sync cable, we set one to A and the other to B
Now we get to the breakout box, this is the interface between the PC and the Vive headset.
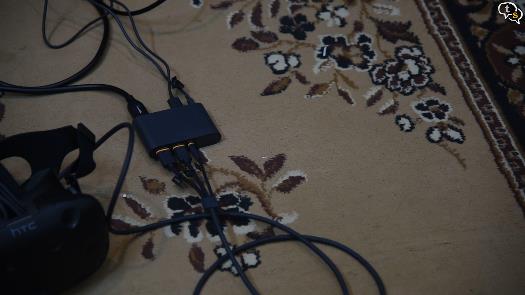
Plugin a HDMI cable, USB and the power on the PC side, and the 3 in one cable from the Vive on the side marked VR.
So that was the installation, now we need to set it up.
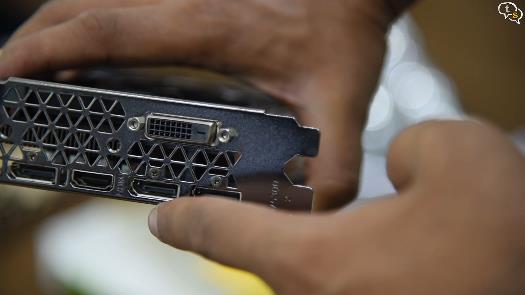
We install Steam VR on the PC and we setup the devices. I kept getting an error that the compositor was not working, as I have GTX 1060, the card only has one HDMI port, the others are all Display ports, and I needed the HDMI for full ultrawide resolution on my monitor else I got only 1080p. The DisplayPort to the link box was not providing the appropriate signals to start up the display on the headset. So, I temporarily connected the HDMI to the headset, and the DisplayPort to the monitor, and continued the setup.
I purchased a mini display port to DisplayPort cable which when it arrives will be able to test if it works with it.
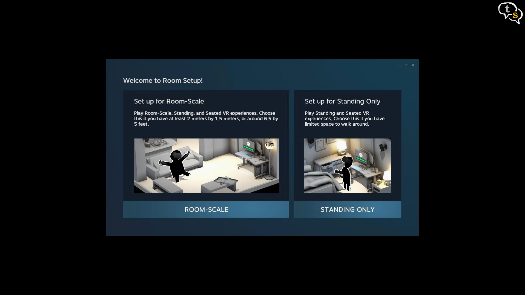
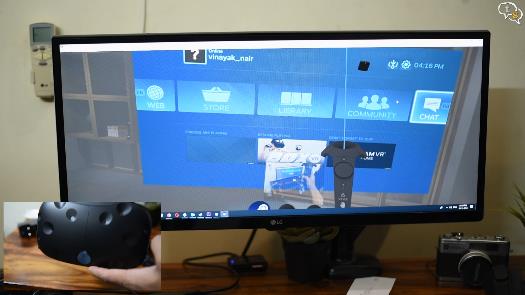
Now everything was working, so I calibrated the area for VR, following the instructions. Please don’t mind the mess, this is the part of the room most of you don’t get to see in my videos. 🙂
Everything’s setup, so let’s test it out.
Now that everything is setup let’s fire up something to test.
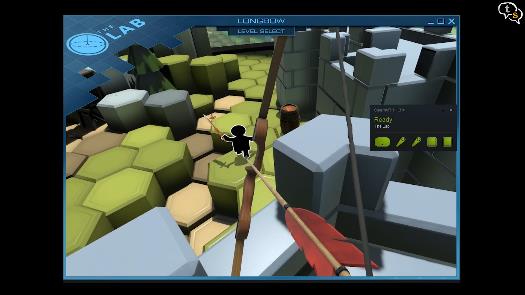

First lets check out the Steam Lab, a free game from valve, which showcases the features available in VR. There are multiple scenarios to choose from, one where we play with a robotic dog, another where we protect our castle. My son enjoyed Xortex 26xx which is a shooter, where we need to shoot all the approaching crafts, while protecting your ship. The action is fast paced and the controllers don’t seem to show any sort of lag.
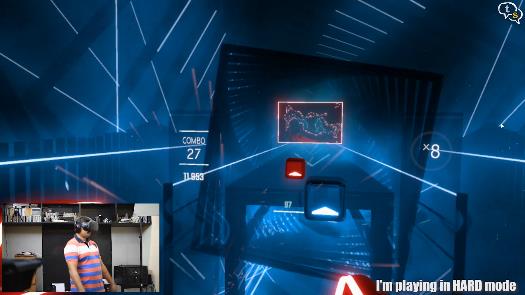
Let’s check out beat saber which is one of the most popular rhythm-based games available for VR. The game is basically boxes that fly at you which need to be cut down using the lightsabre like controls, and the boxes have to be sliced in a particular direction as arrow markings indicate. The ones with a circle in the center just needs us to slice through a little harder.

We also scaled mount Everest in the app aptly named EverestVR.
The Vive also has a camera which can be used to display your surroundings in front of you.
Even though Occulus was first to release a VR headset, Valve and HTC have accomplished quite a lot working together, setting the standard on the direction for VR to take. With the room scale feature the Vive allows for more motion than what the other headsets afford. The immersion on this headset was so good it was scary, even without running a horror game.
With a hefty price tag for the Vive and the requirement to have an equally expensive pc to be able to churn out the graphics to feed it, this might not be for everyone. But VR is incredible, if you can’t get a device of your own, I would still suggest trying it out at the malls, where for a price you can play the same titles.
Vinayak Nair is a self-confessed geek from the days when computer memory was measured in Kilobytes. I create YouTube videos on 3D Printing, DIY Projects, Everyday tech reviews and also delve into gaming.